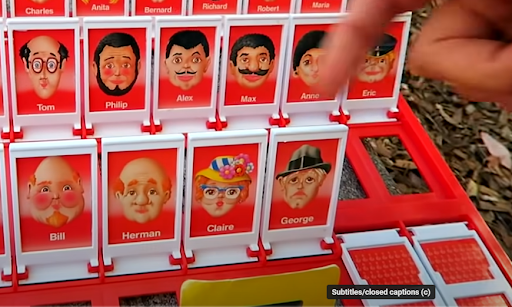
Guess Who? It's Shrek!

We are a group of 3 students from Piedmont Hills High School: Cheung J., He Y., Li V.
In this Instructable, we will be using Adobe Illustrator and Autodesk Fusion360 program a laser machine using CNC technology to remake the Guess Who? game with LED embeds and acrylic cards that light up, which contains customizable cards that make the game more personal!
There are going to be multiple components: Acrylic Cards, Card Holders, Base Plate, and LED wire system.
Supplies
- Acrylic sheets that are 0.125 inches thick
- Wood sheets that are 0.2 inches and 0.125 inches thick
- Wood glue
- LED strips, wires, and battery
- Soldering station
Research
Looking at the current design of the game can help to give a direction to our own design. We had to pay special attention to the "axel" mechanic of each of the cards within the game. The thickness of the material also posed challenges to our design.
Acrylic Cards (Part 1)
_quality(75).png)
With a laser engraving machine, you can customize your characters that are 'printed' on the cards. To do that, Adobe Illustrator will be used.
You should try signing in with your school email in case your school district pays for the program, which allows your access to be free of charge.
Acrylic Cards (Part 2): Image
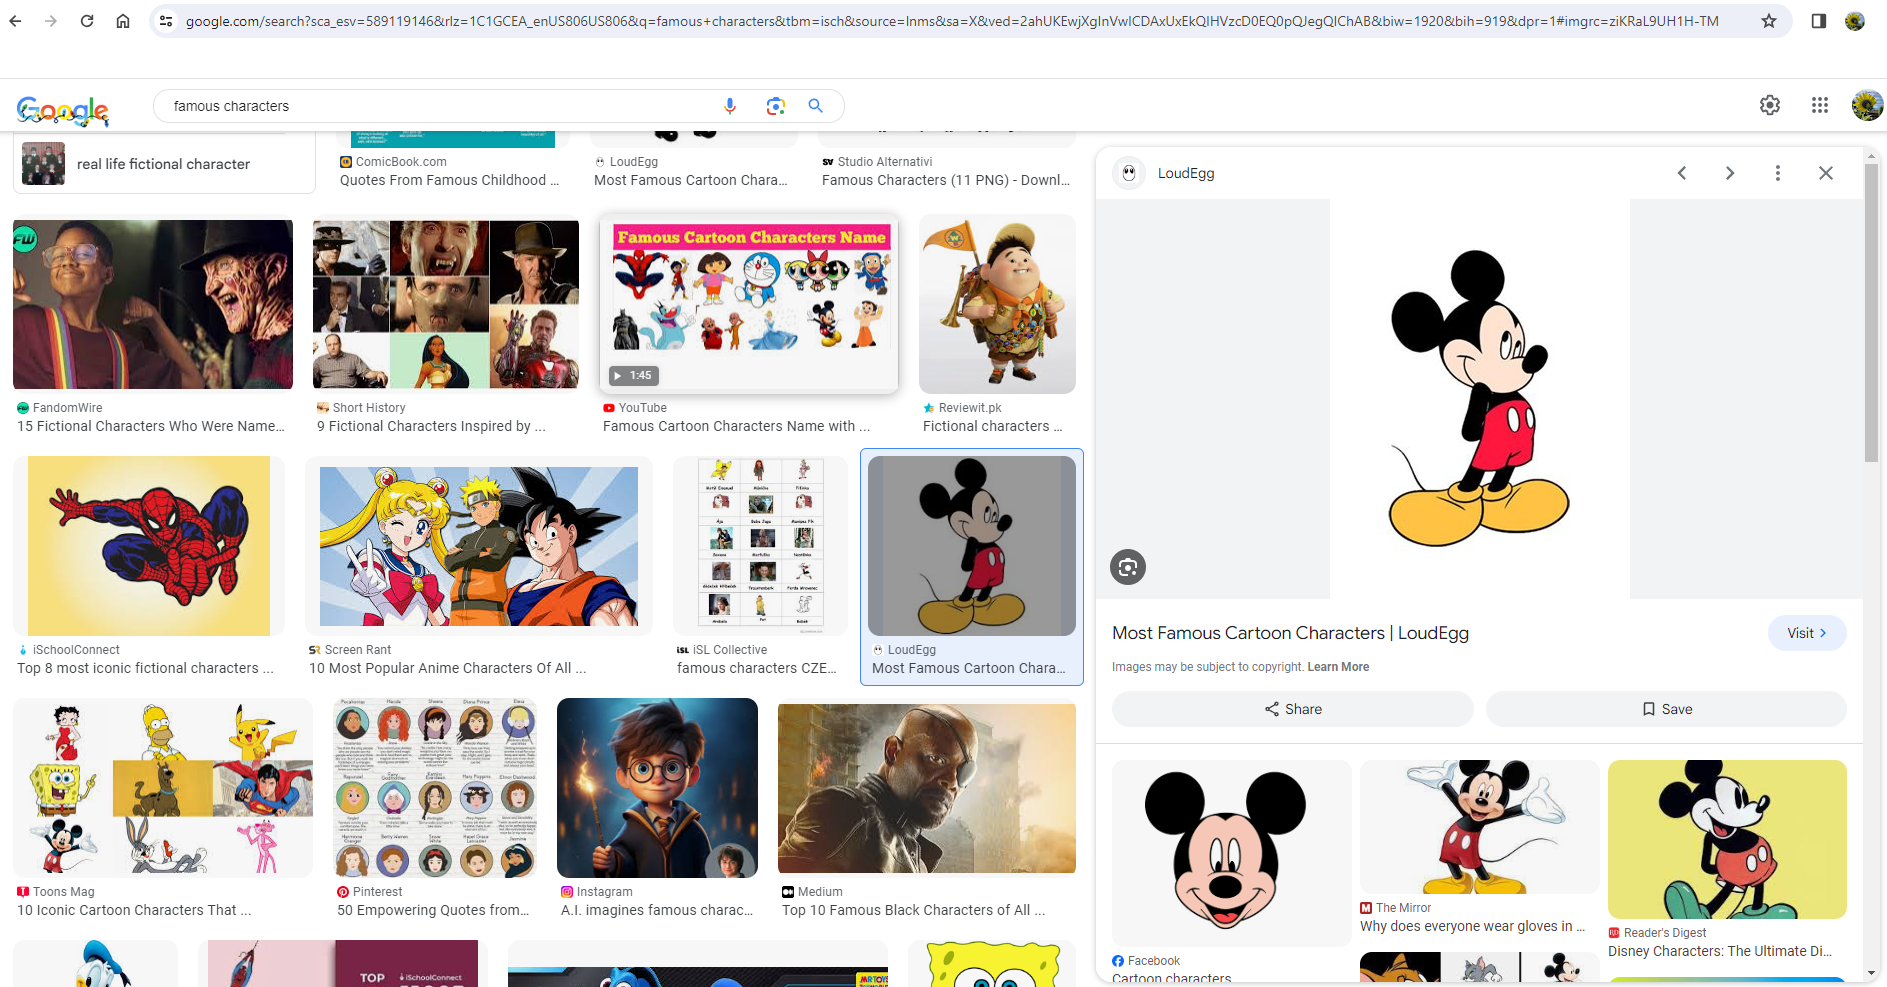
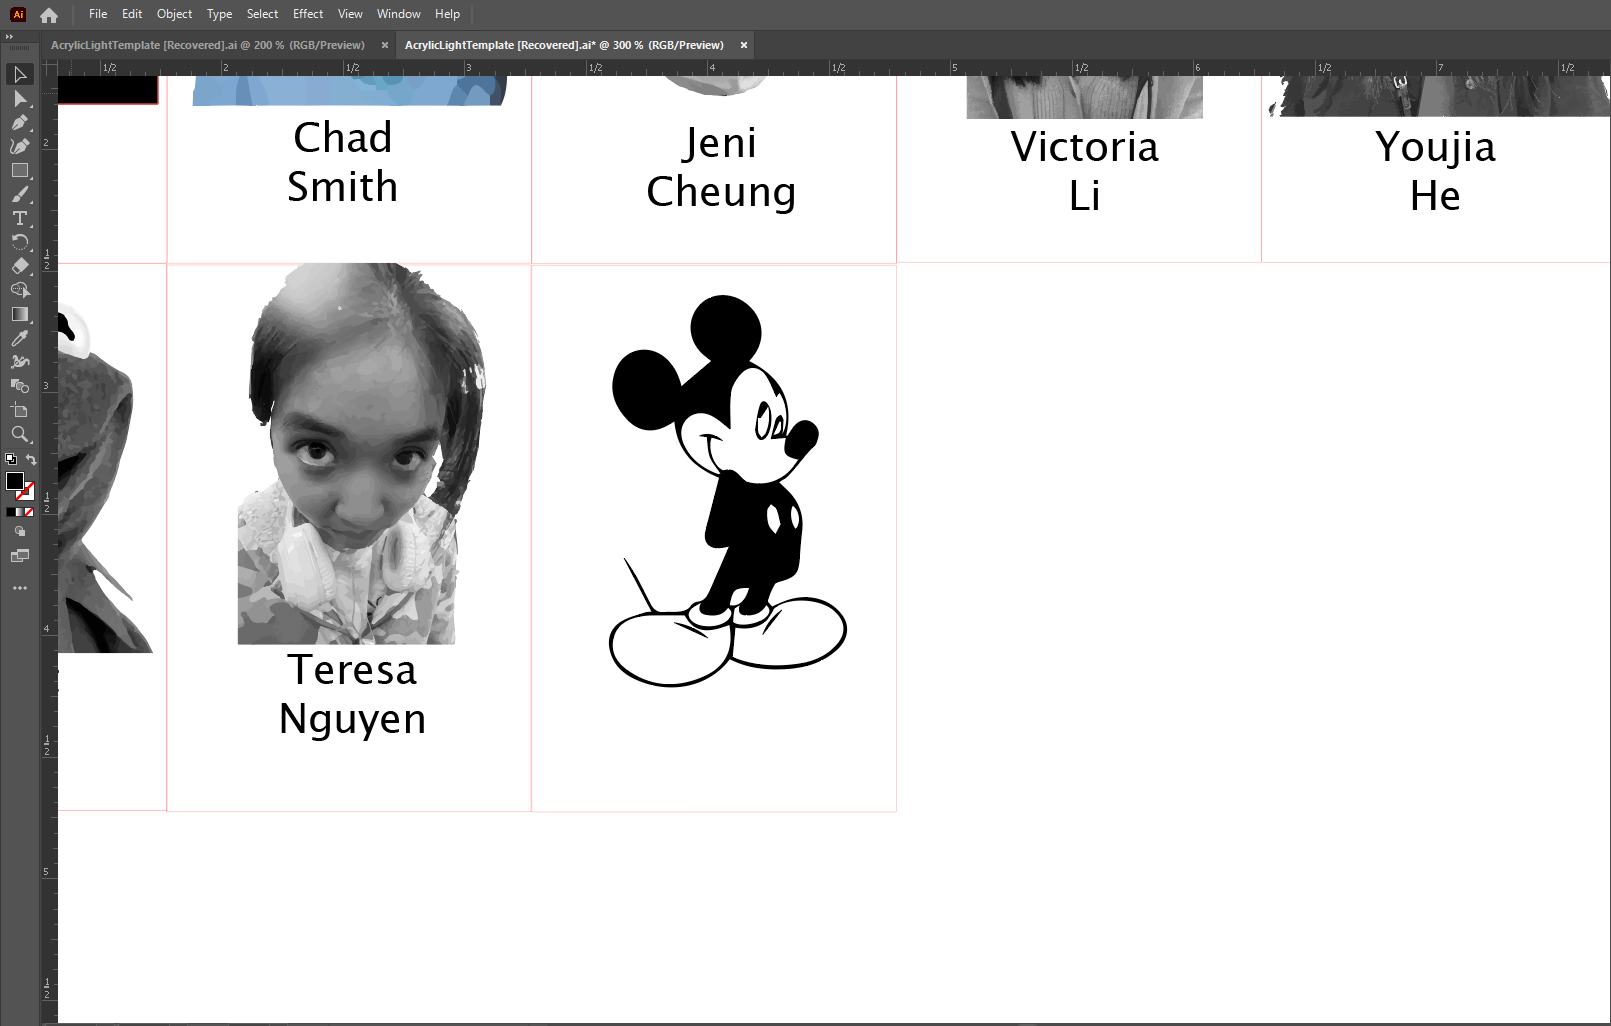
To start, begin choosing which persons, characters, animals, or even objects you want to include in the card deck. Then search for an image in Google. File formats .jpg and .png will work. Download the image.
In this example, I chose Mickey Mouse.
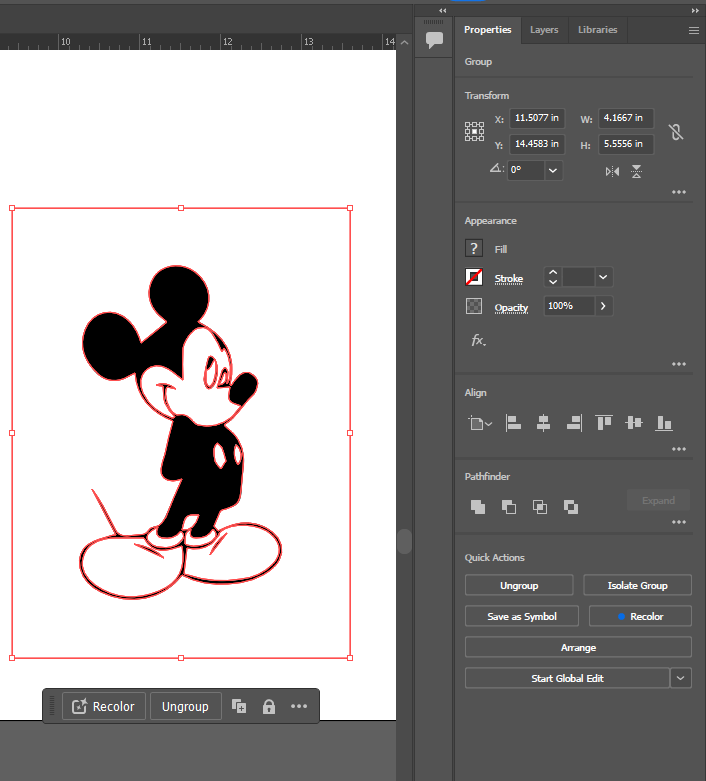
Acrylic Cards (Part 3): Image Trace
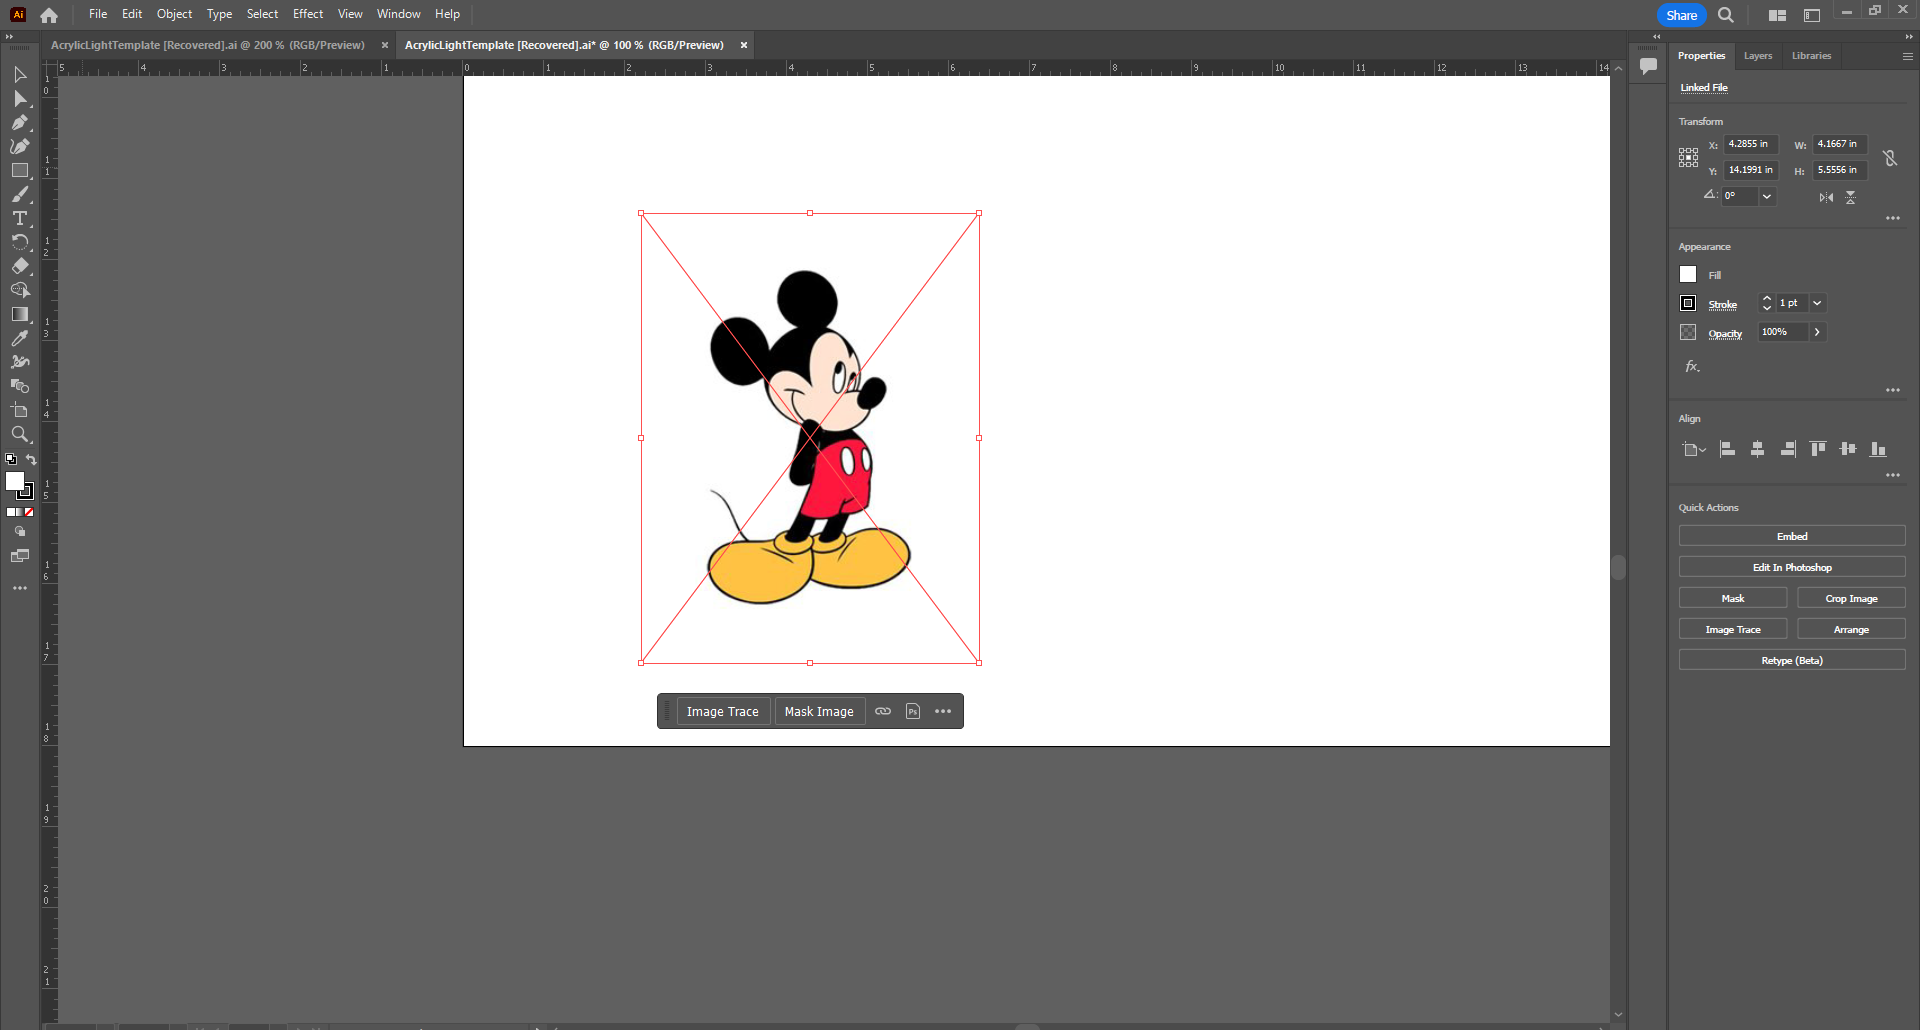
Open Illustrator and insert the image of your choosing by going to the top of the workshop, where a bar of options are located: File > Place and select the image.
Then select Image Trace > Black and White Logo (this setting works best with the sharp cartoon lines)
- The image must be selected for the option to pop up
- The option is available in the black box right below the image and also on the far-right side of the workspace (make sure on the top-right, the Properties tab is selected) under Quick Actions
- If you don't see the Properties tab, then go to the top: Window > Workshop > Reset Essentials
Note for Part 3
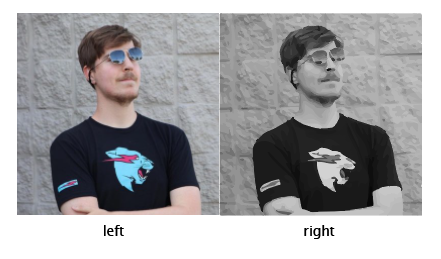
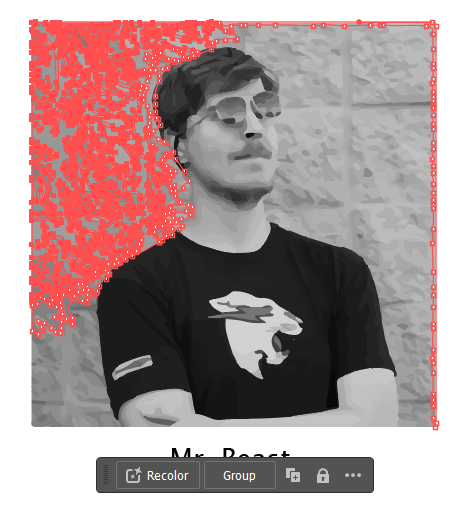
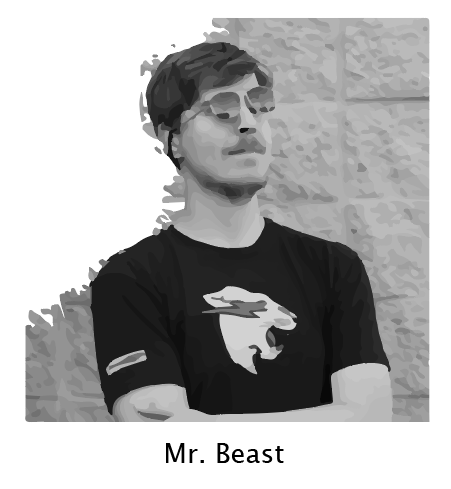
When you have a more "complex" image, such as this picture of Mr. Beast, the option within Image Trace > Shades of Gray is best suited to capture all the details instead of Black and White Logo.
In the image above, the left is the original image, and the right is the image after Shades of Gray.
Tip: If your image is too large and image tracing is taking too long to process, select the image > go to the top > Object > Rasterize.
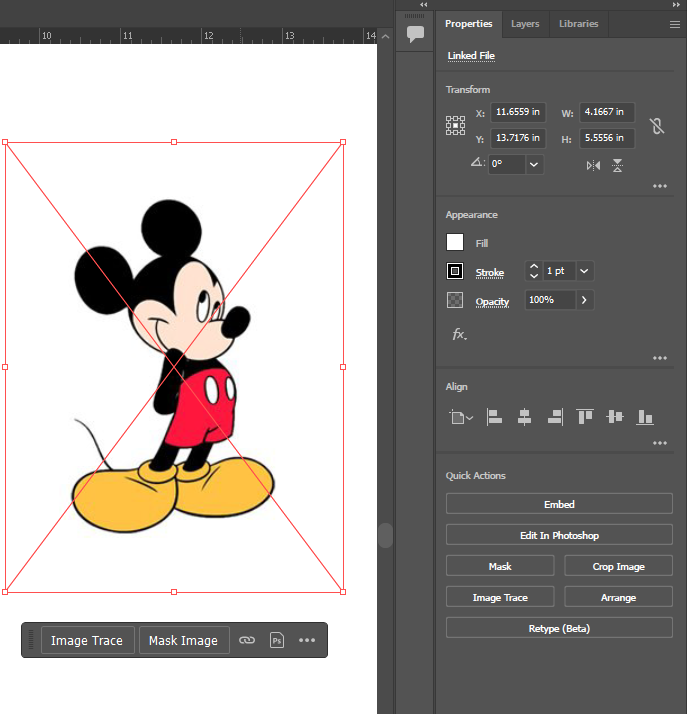
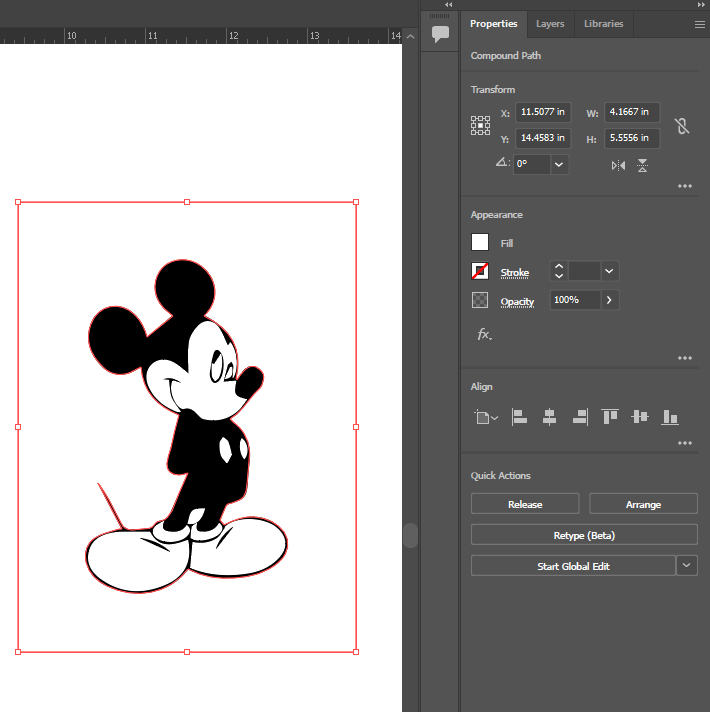
Acrylic Cards (Part 4)
Now select Expand under Quick Actions on the Properties tab.
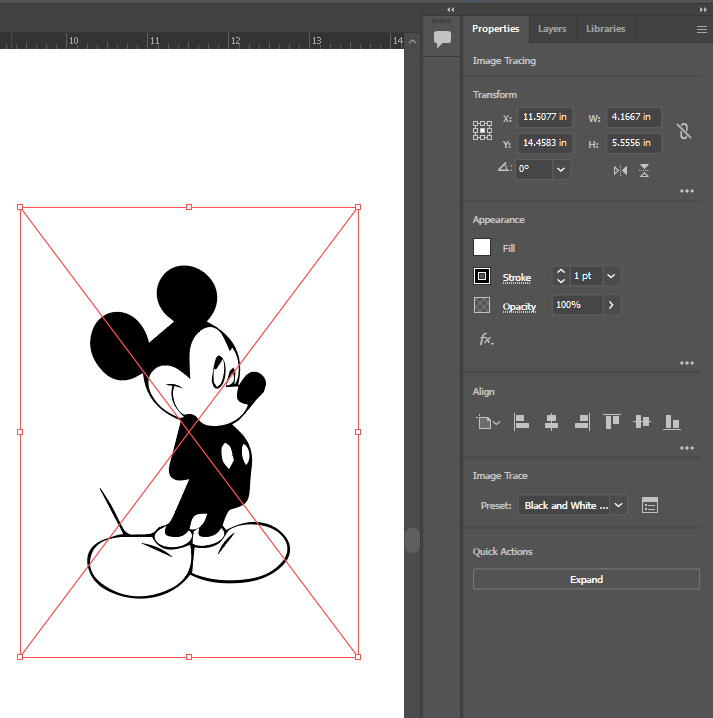
Acrylic Cards (Part 5)
Now select Ungroup under Quick Actions on the Properties tab.
This just means that the white fill color is a separate entity from the black outlines.
Acrylic Cards (Part 6)
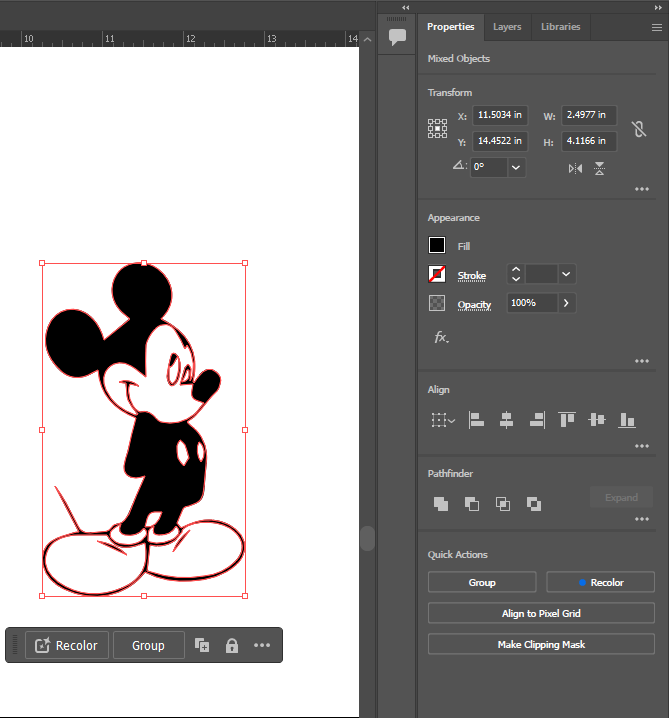
Select white fill color > go to the top > Select > Same > Fill Color, then press the "Delete" or "Backspace" on your keyboard.
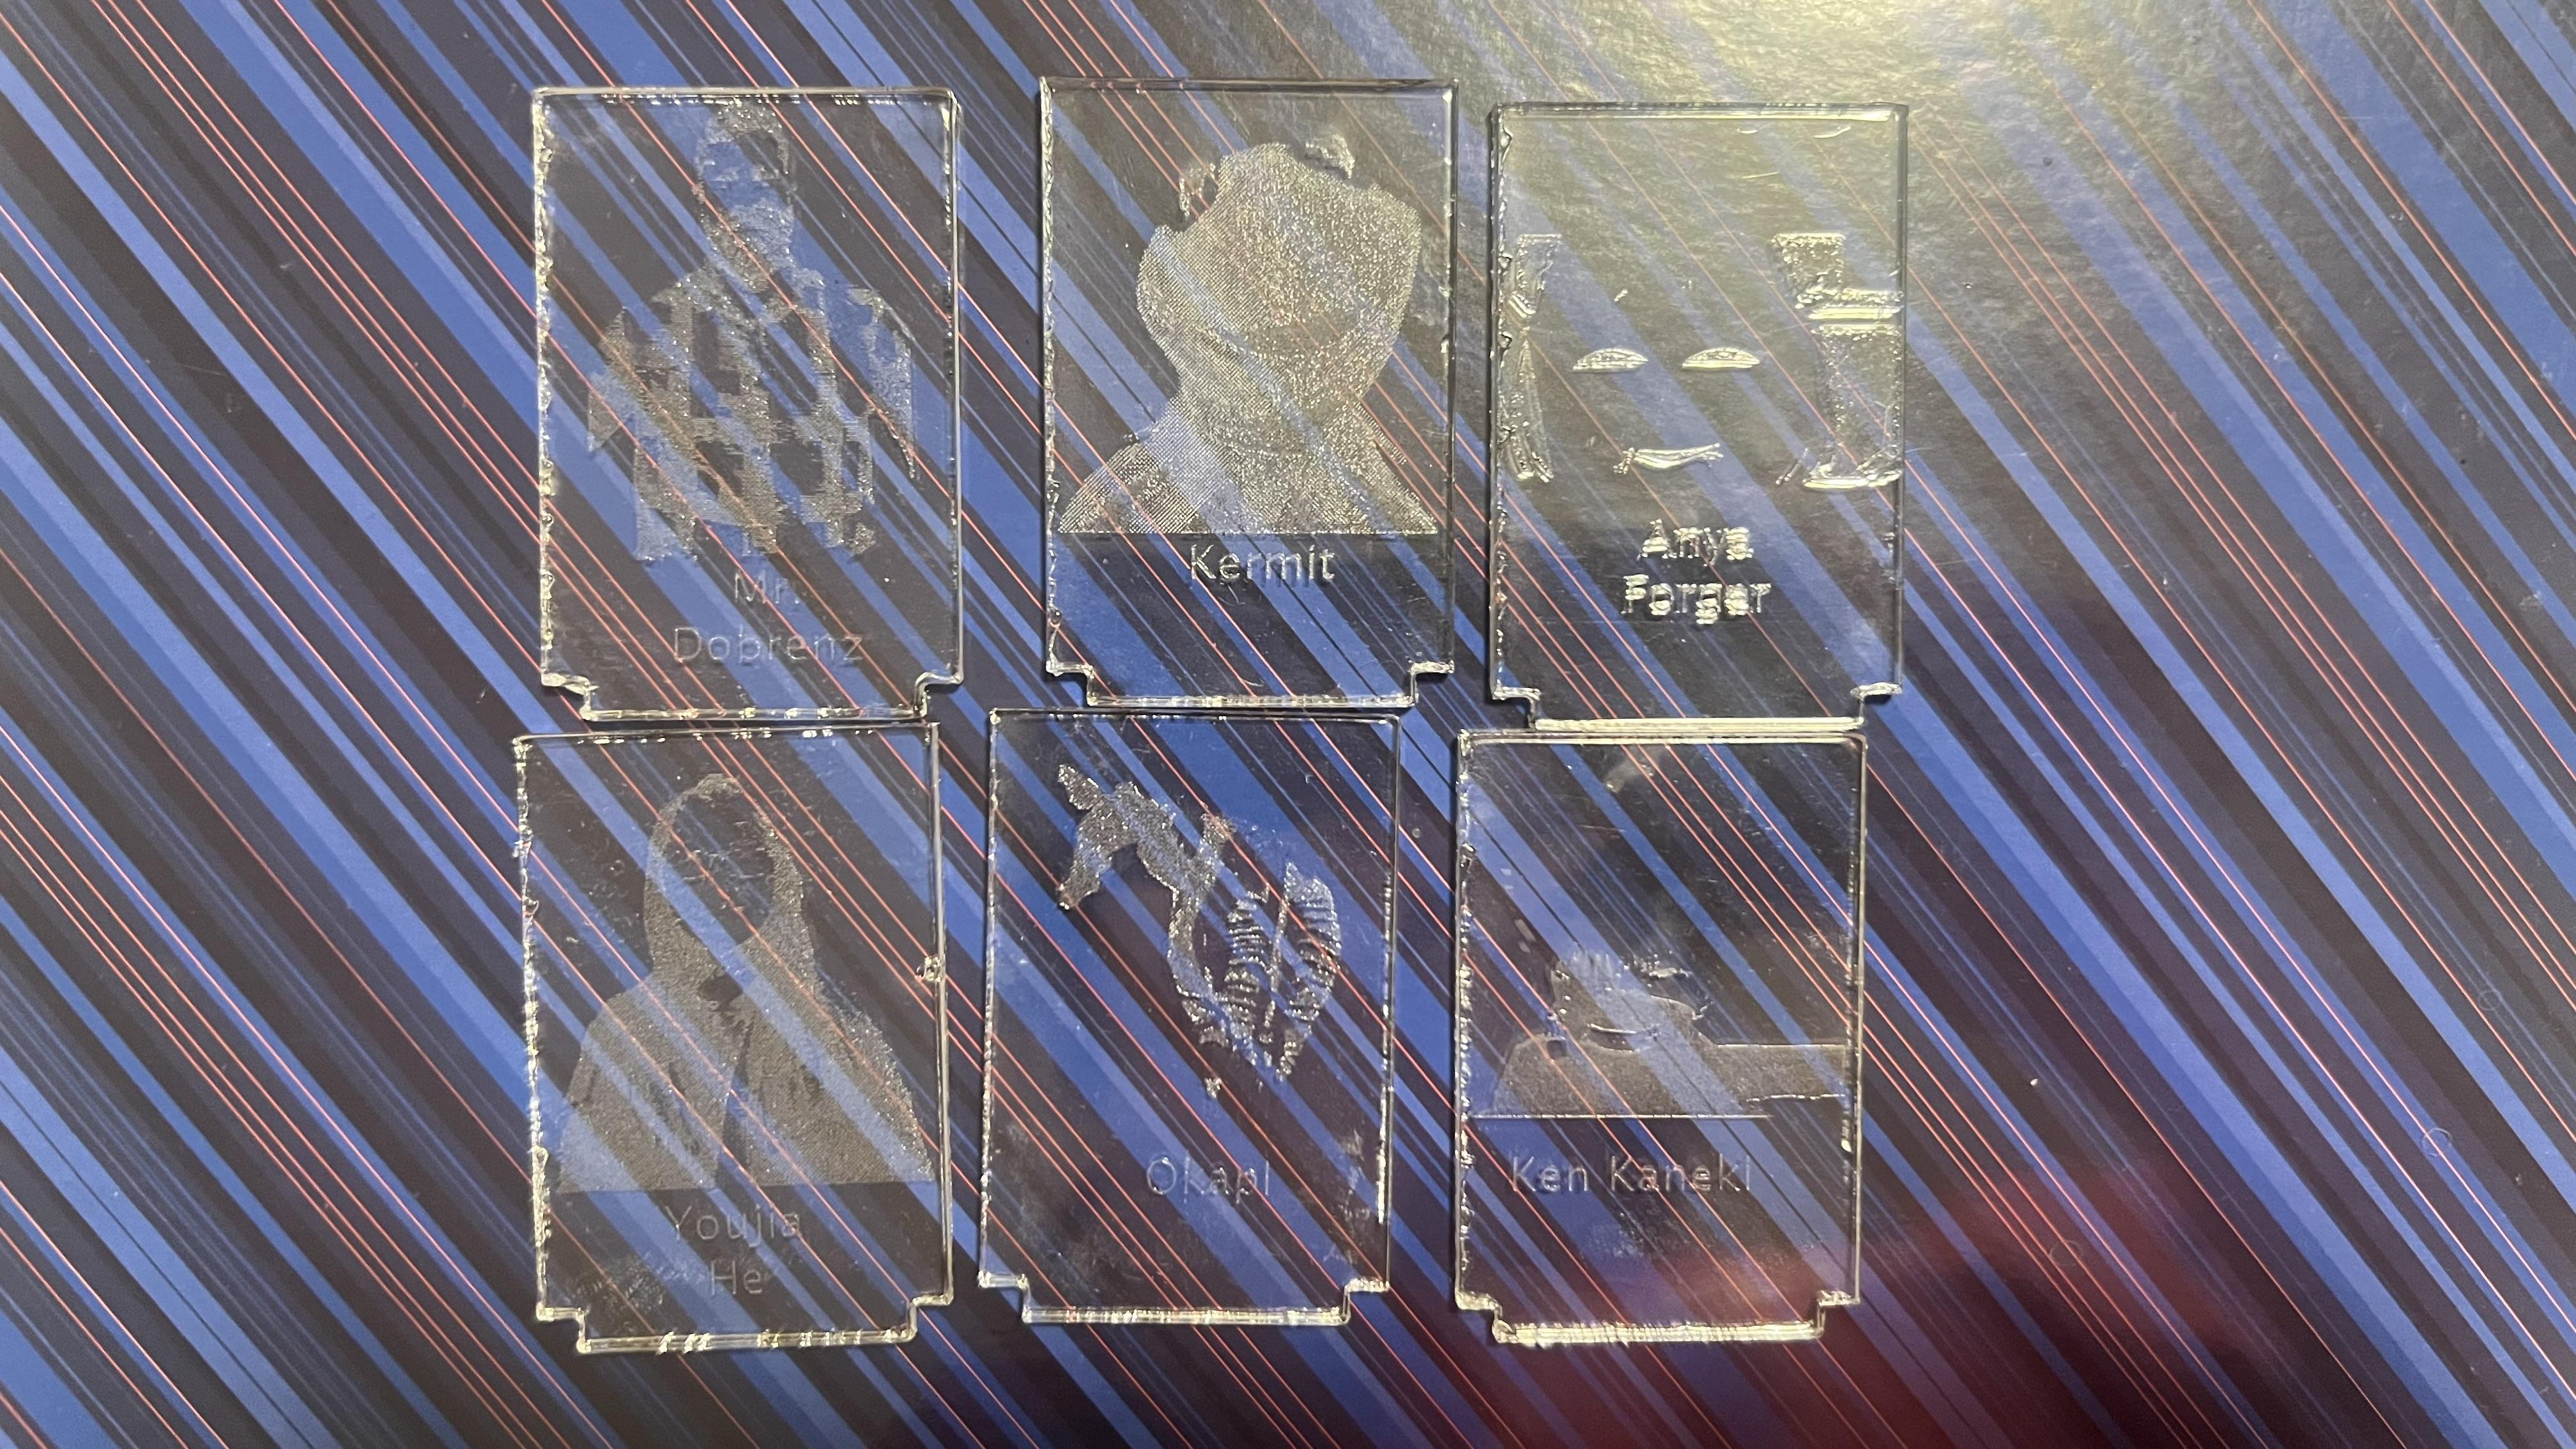
We get rid of the white because the laser will read it as very spread apart dots, which is a look I don't want to go for. The black means very close together dots (which to our eyes look black).
Note for Complex Images Like Mr. Beast
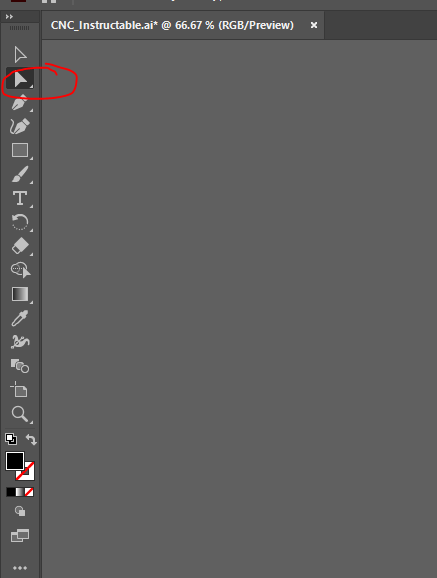
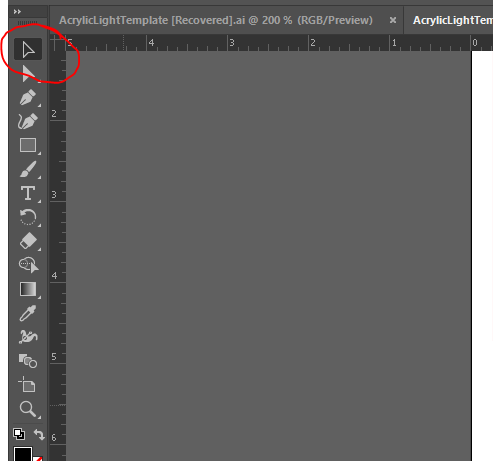
Right click the vector selection tool and choose the lasso tool. This will help you best separate Mr. Beast from his back group and leave only his silhouette.
Tip: Ctrl "+" to zoom in and Ctrl "-" to zoom out
Acrylic Cards (Part 7): Grouping
Click and drag a rectangle to select all of the black outlines. Then click Group under Quick Actions.
Acrylic Cards (Part 8): Rectangle

Now go to the left-hand side of the screen, there will be a bar of tools you can use. Select the rectangle tool and draw a rectangle.
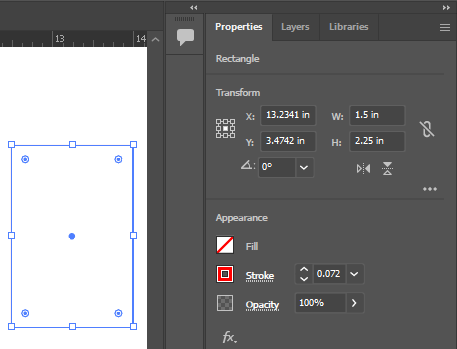
To change the fill color and line color, select the rectangle > Properties tab and change Width (1.5 inches) and Height (2.25 inches), the fill color ("None"), and the line color (red) and line stroke (0.072 pt)
Acrylic Cards (Part 9): Editing
Now resize Mickey Mouse to fit within the rectangle.
To resize, use the select tool (keyboard shortcut V) and hold the Shift key while dragging the corner of the image.
Acrylic Cards (Part 10): Text
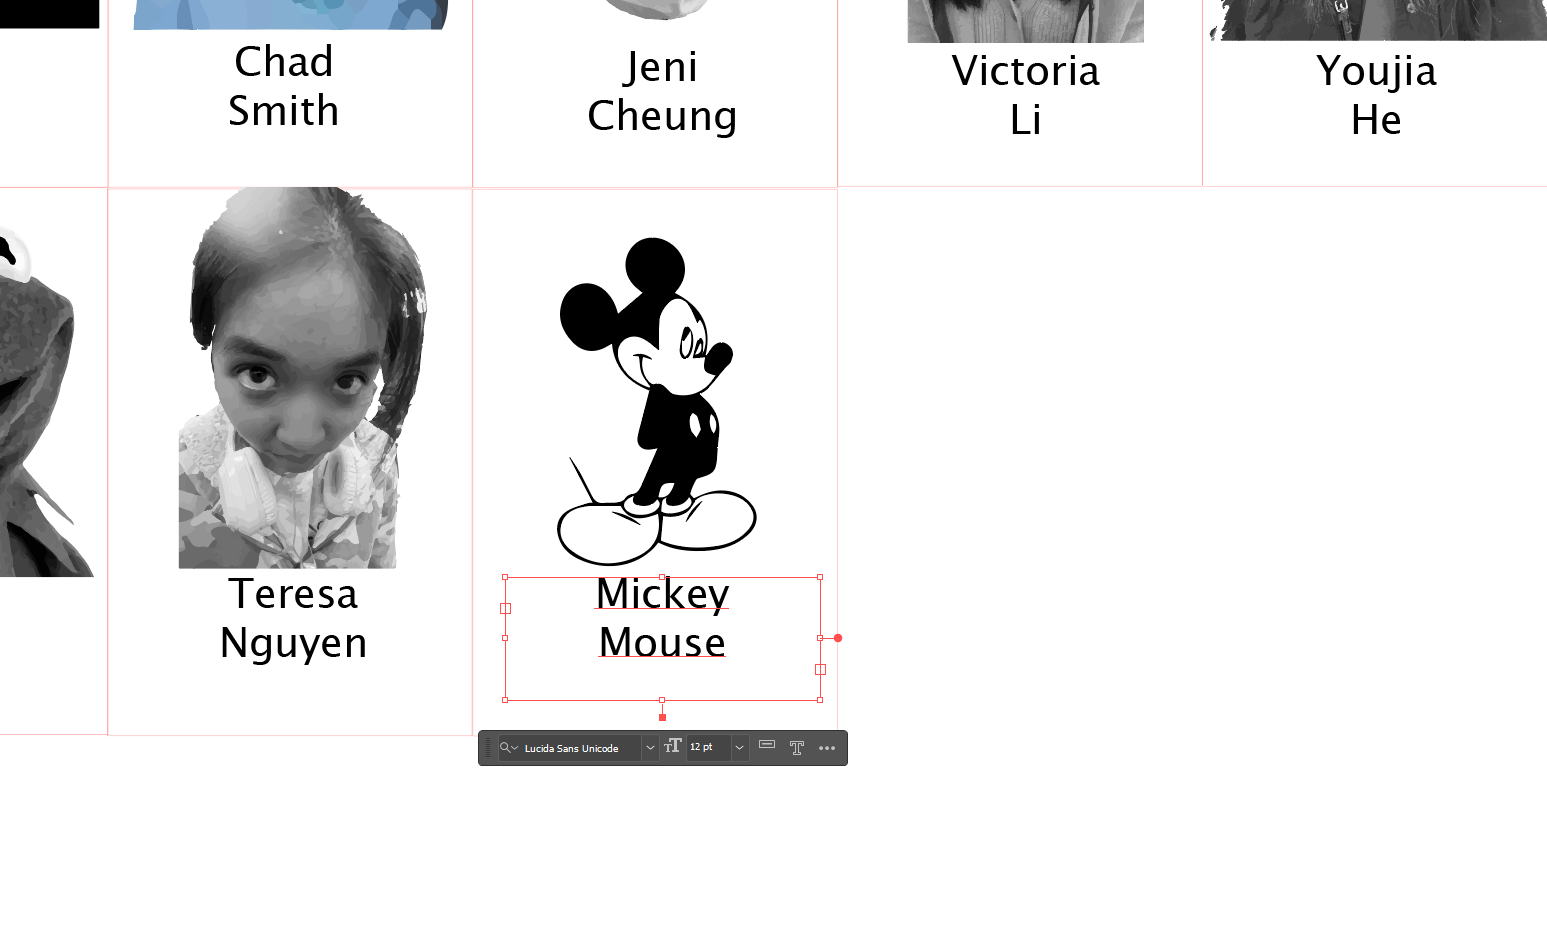

Use the text tool to write "Mickey Mouse." Switch between the select tool to move the text wherever you want.
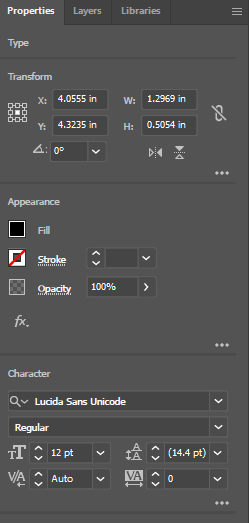
In the Properties tab you can change the font. The font is up to you, but the image above shows the settings what I have for my cards. The most important settings for text design is under appearance and character.
Acrylic Cards (Part 11)
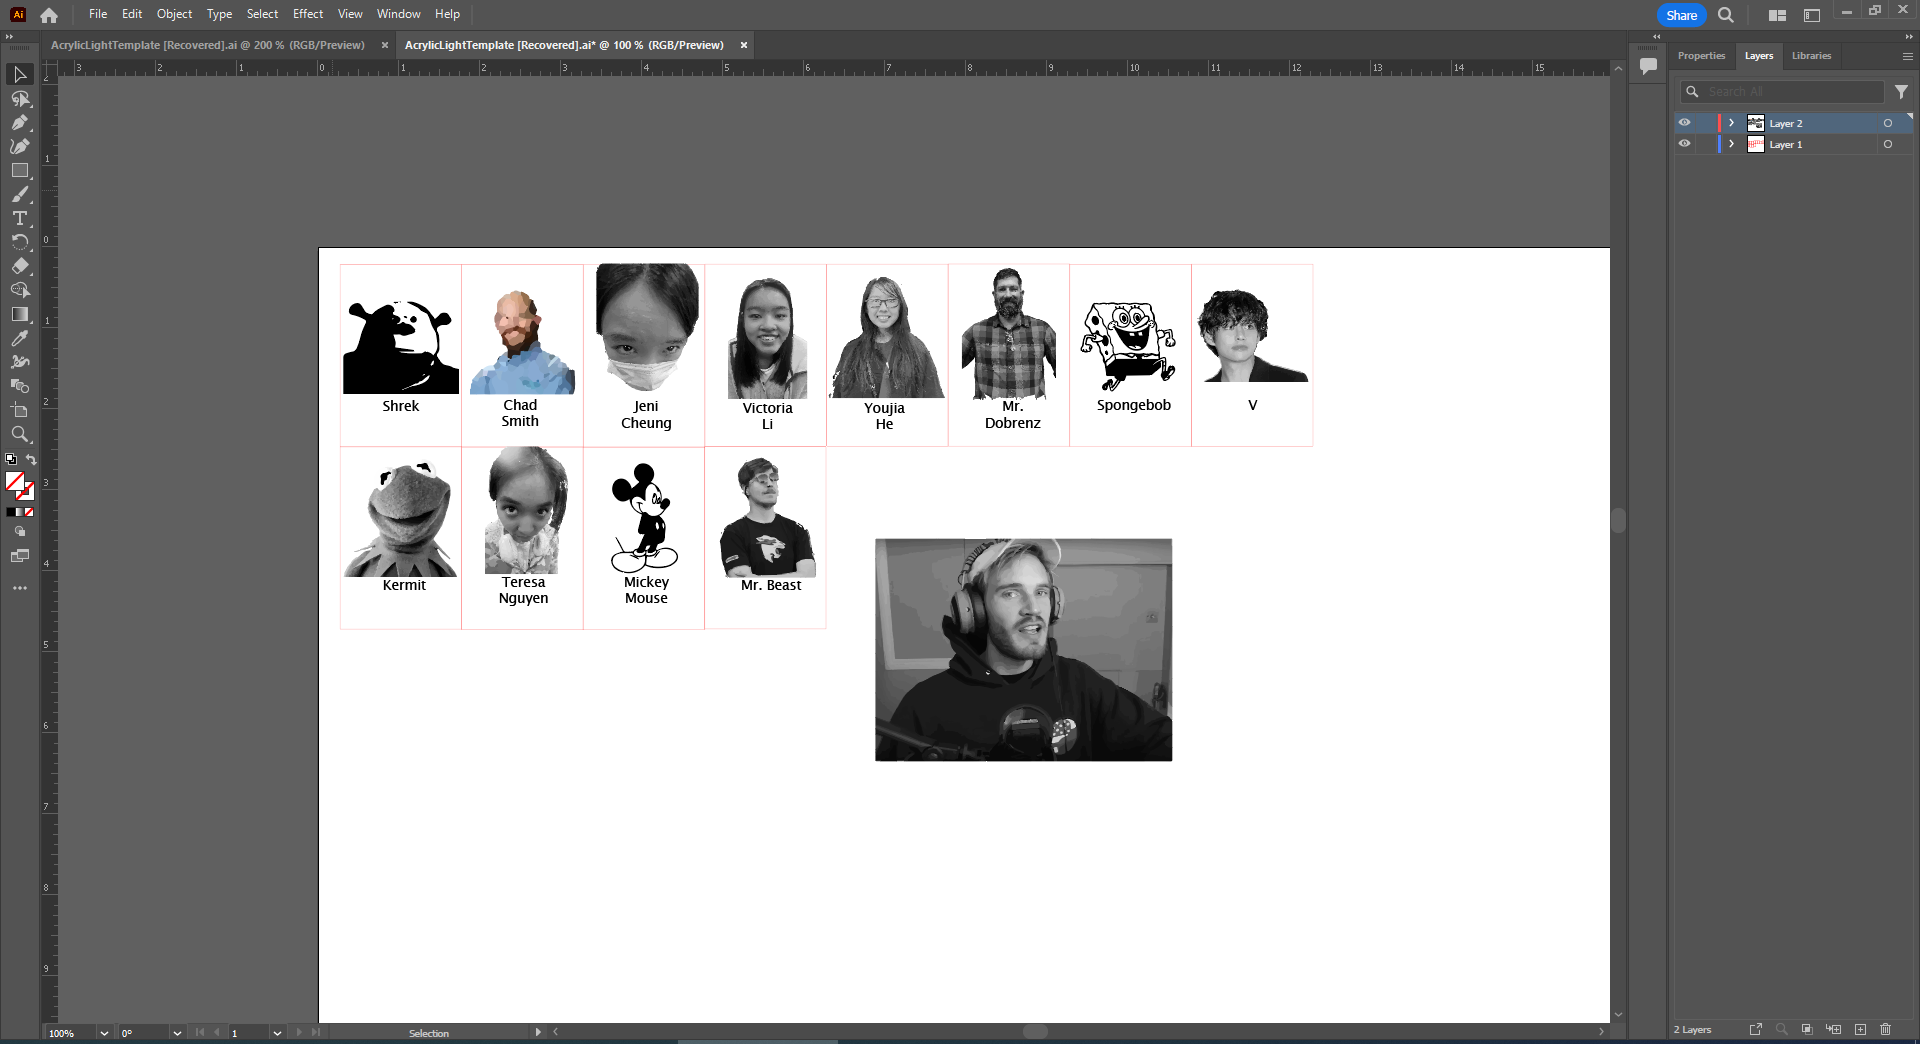
Now repeat it for 23 more cards for a total of 24 cards.
Acrylic Cards (Part 12): Export As PDF
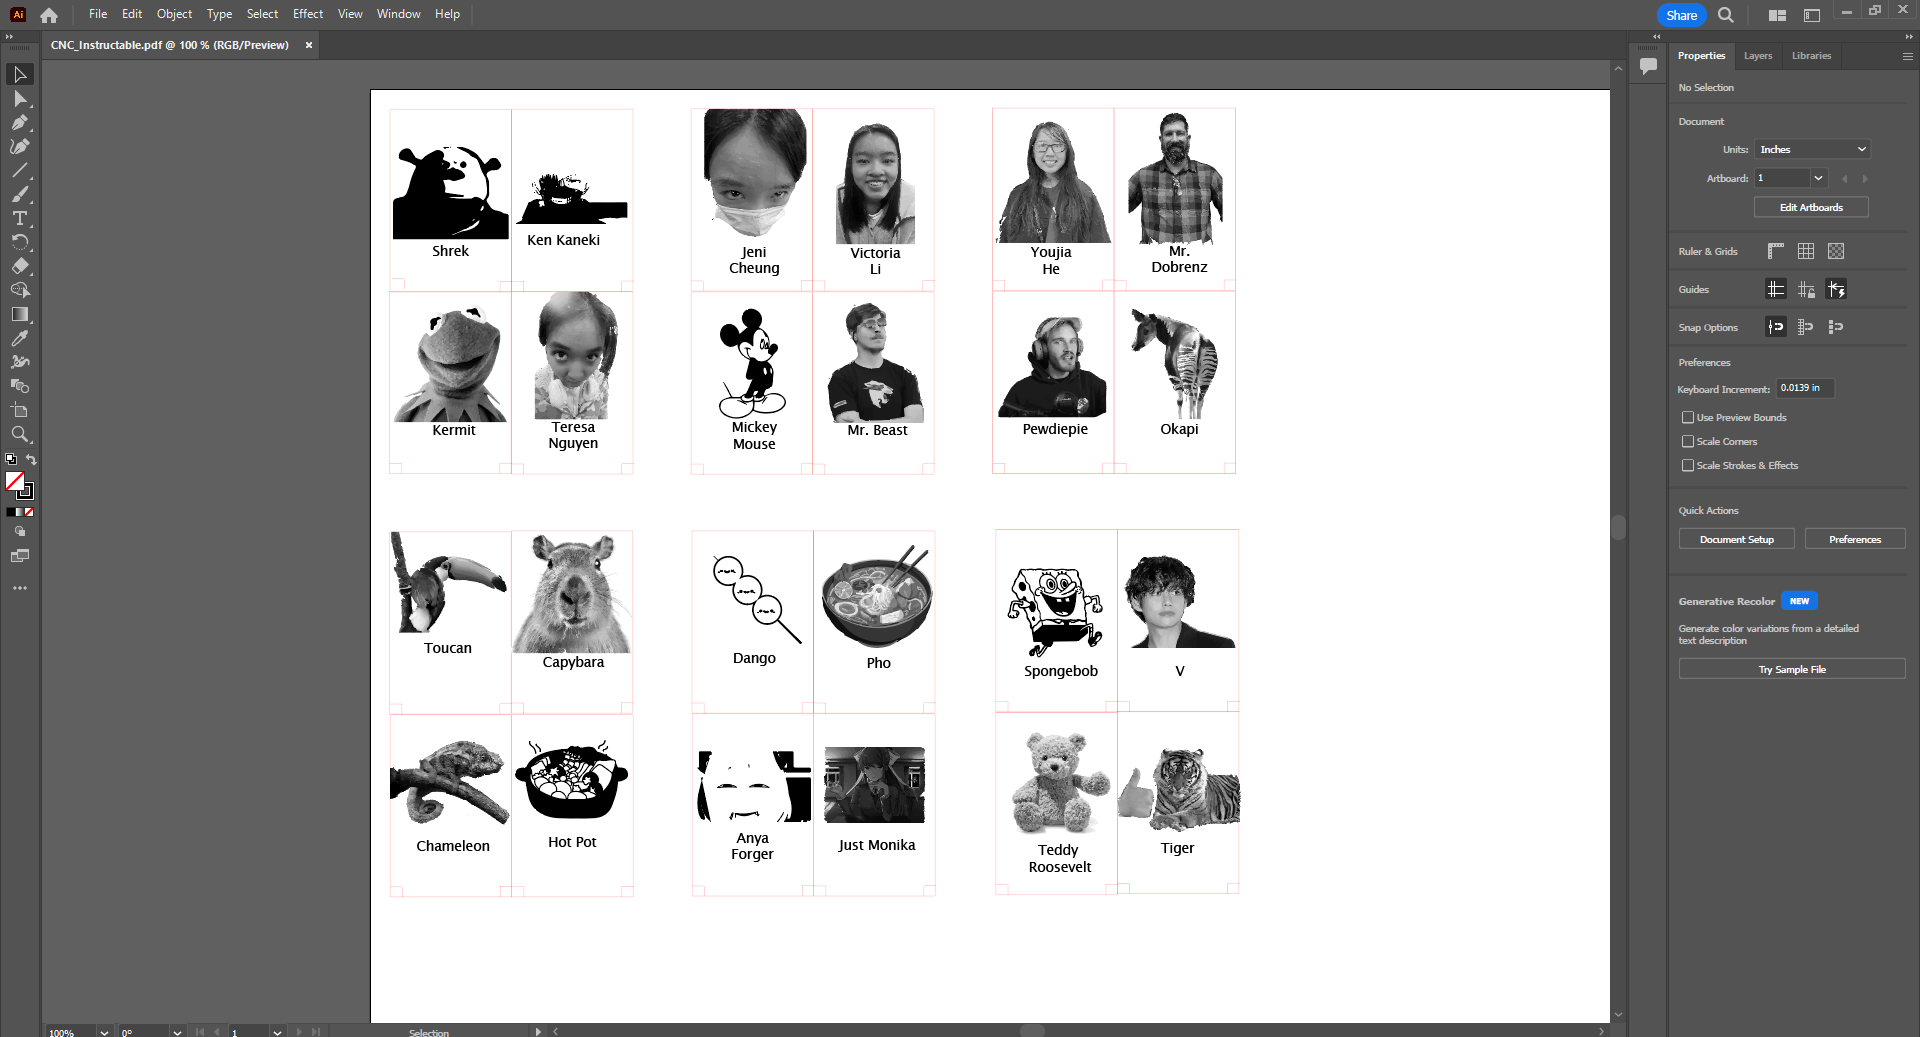
After all your pain, suffering, and lack of creativity from the effort it took to be funny about the people to include on your cards that are "famous" enough for everyone playing your game to know, it is time to send it to the machine.
File > Save As > Save on Computer > in the file types, choose PDF in the drop down.
Downloads
Acrylic Cards (Part 13): Upload Into Laser
Now upload it to your machine and make sure your settings and procedures are good for the material you are cutting and the specific laser machine you are using.
I used a USB drive to upload the PDF onto the machine.
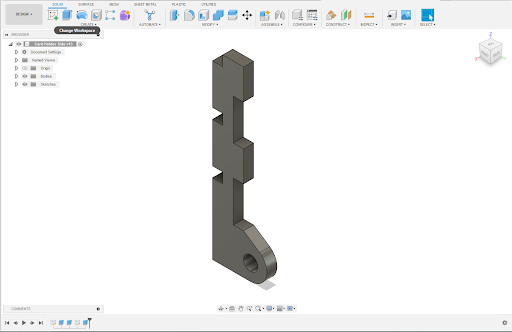
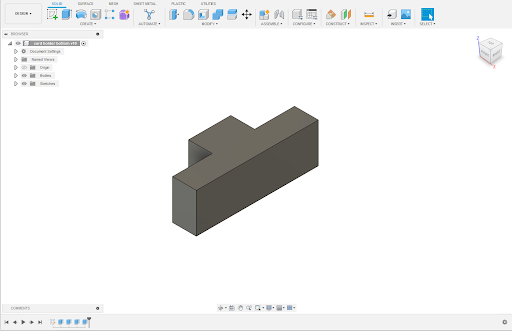
Acrylic Card Holders (Part 1)

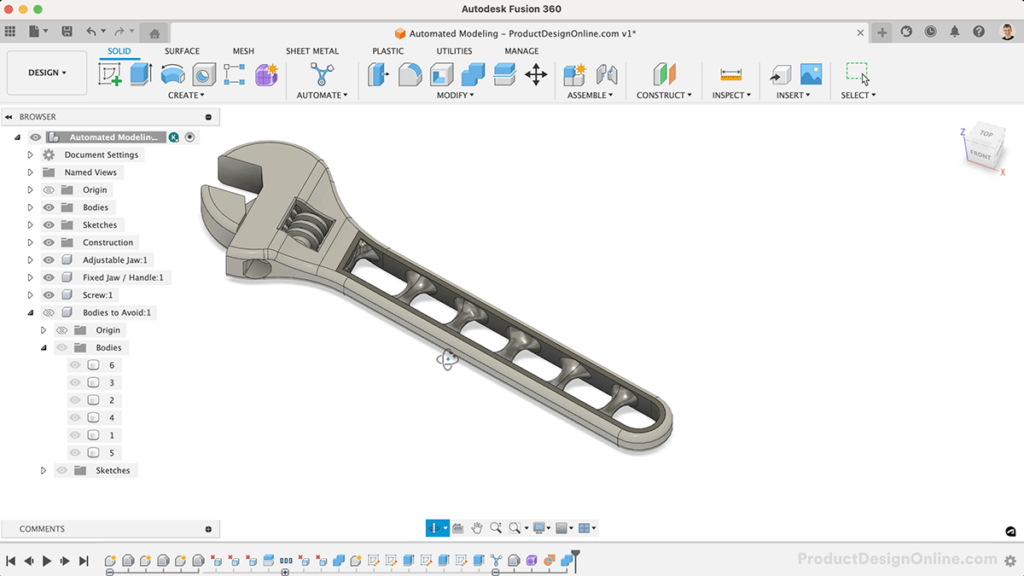
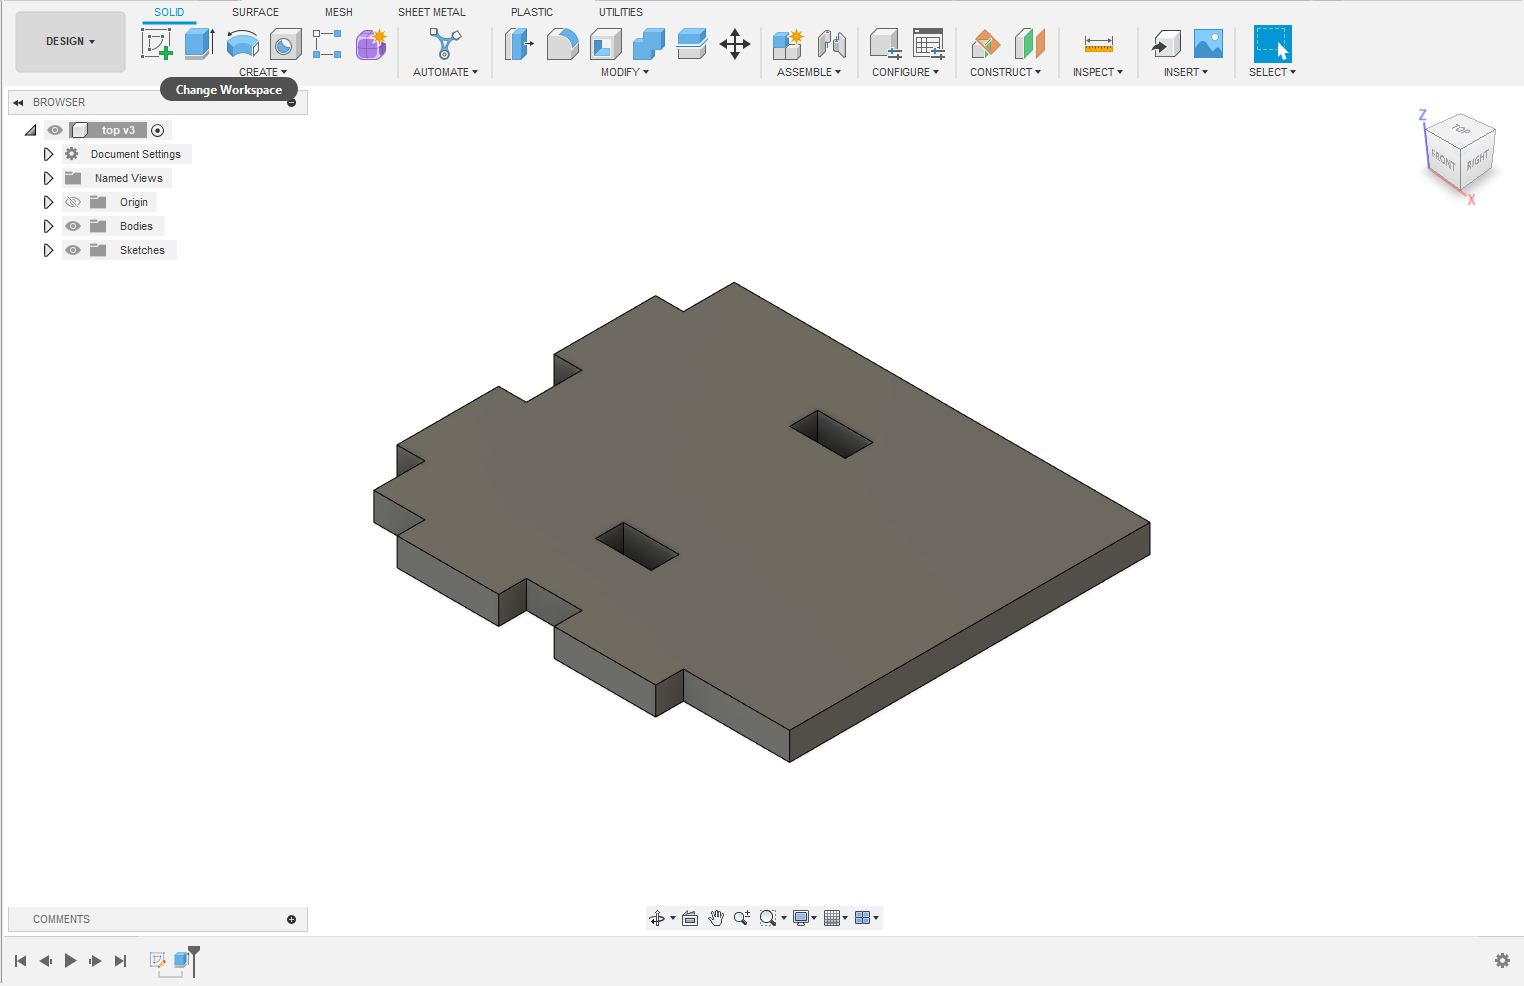
With CAD software, you can design unique parts that can be imported into Adobe Illustrator (maintaining its dimensions and tolerances)to be programmed for a laser machine to read. To do that, Autodesk Fusion360 will be used.
You should try signing in with your school email in case your school district pays for the program, which allows your access to be free of charge.
Acrylic Card Holders (Part 2): the Backboard

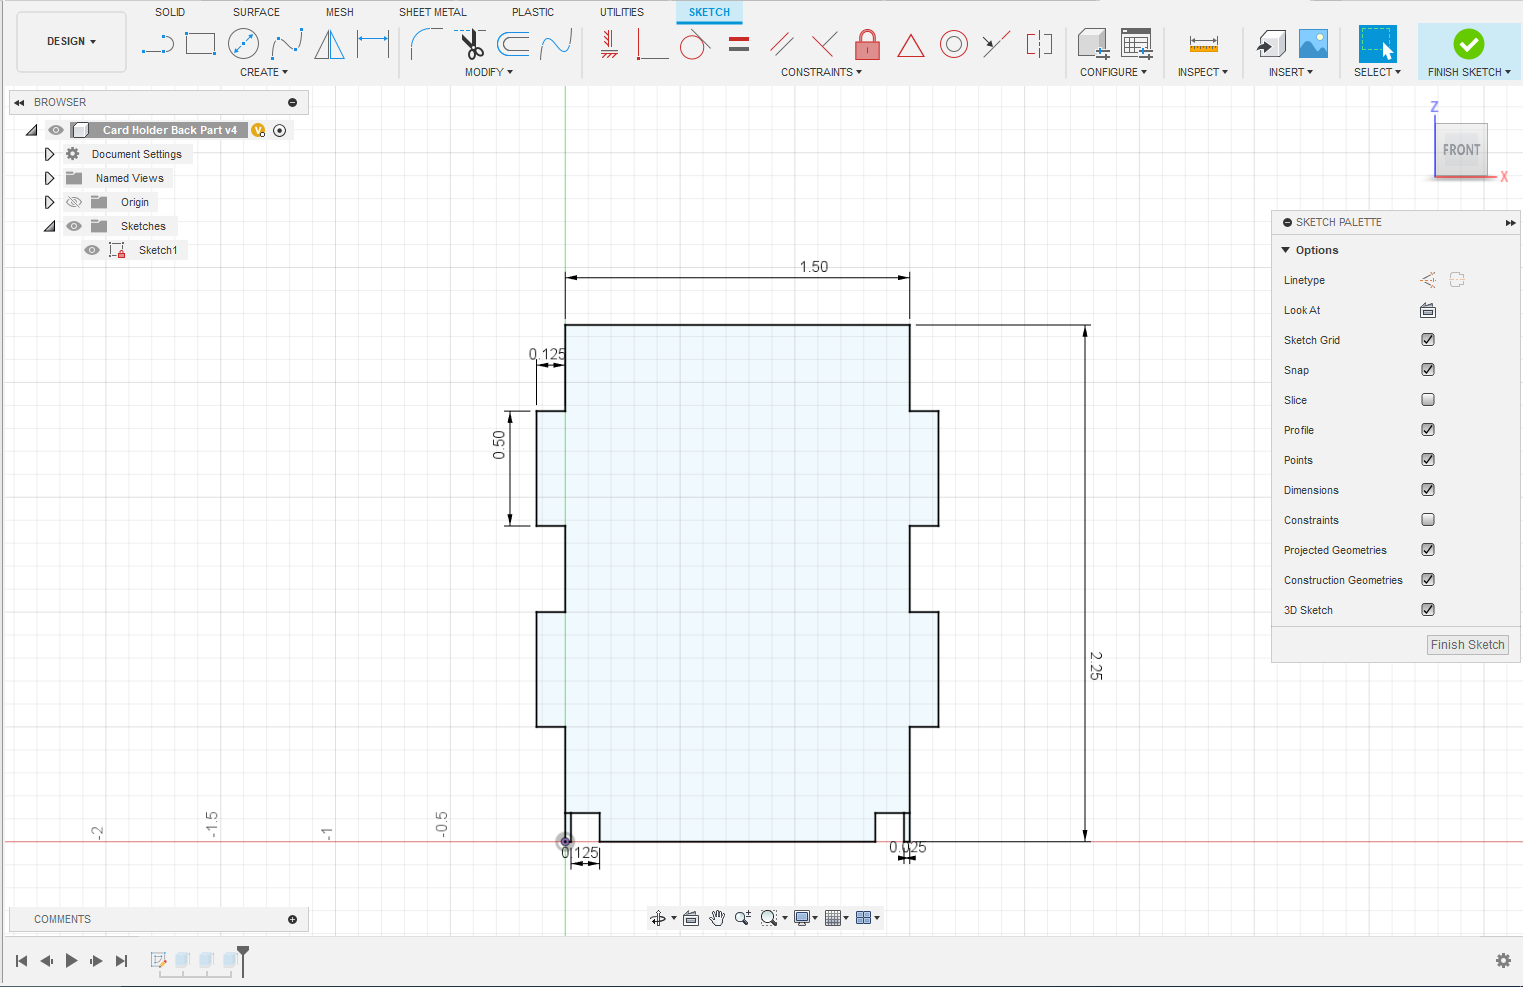
There are three different parts to the acrylic card holder.
The first part is the backboard.
Start by creating a new part in Fusion 360.
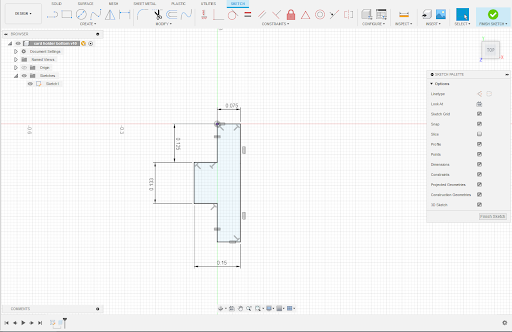
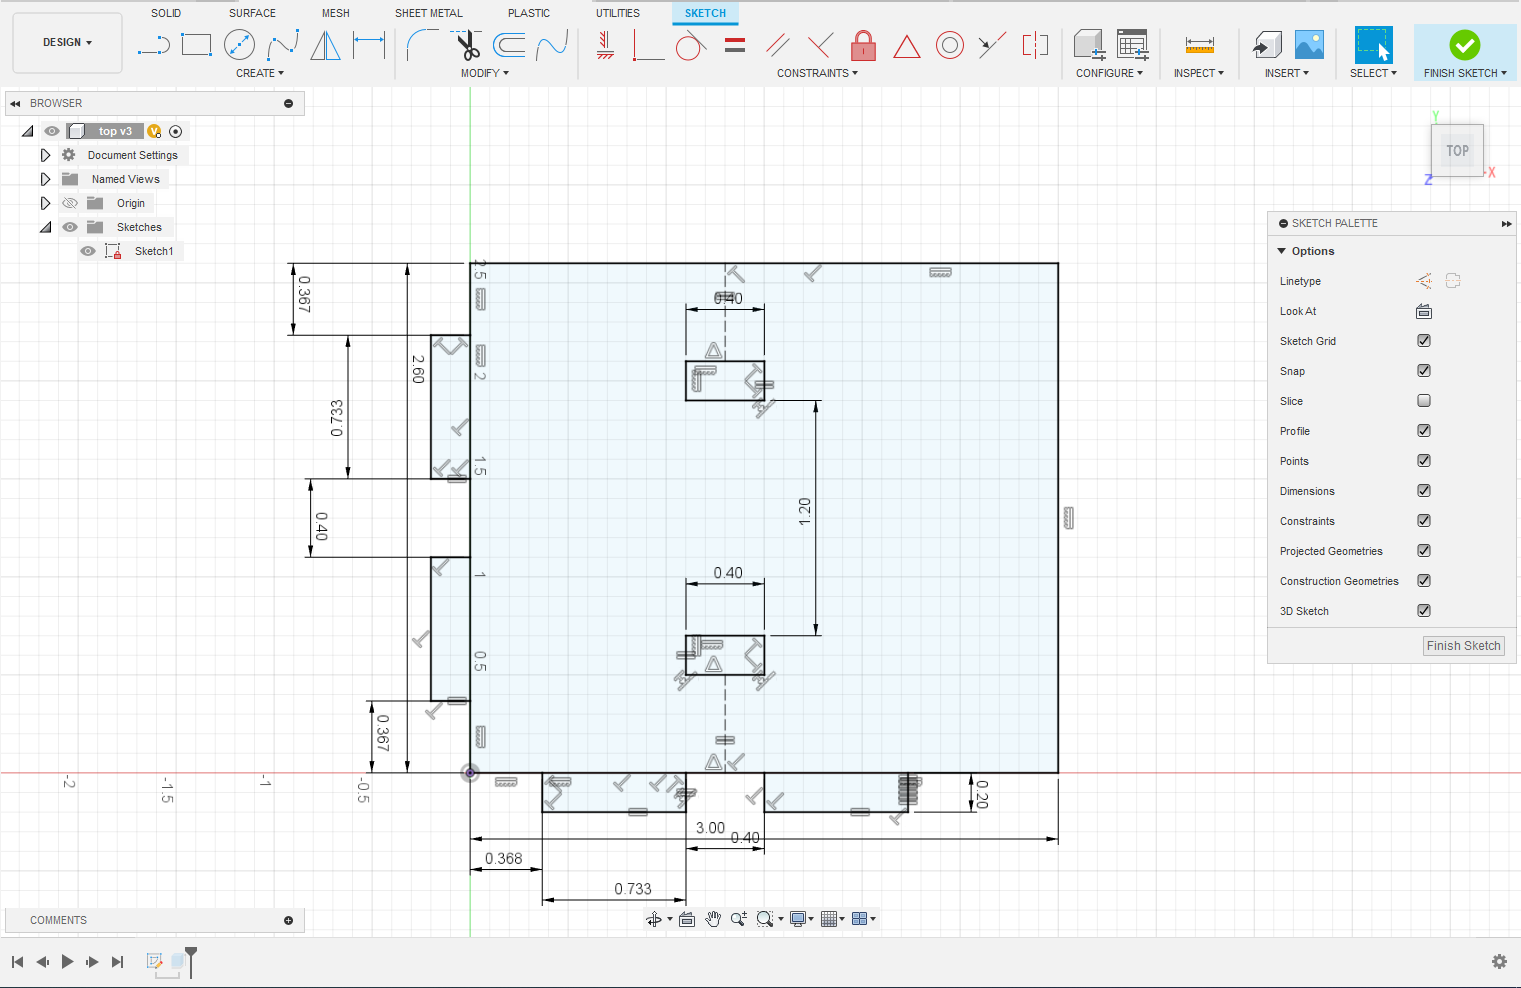
Create a sketch of the backboard. Create a 2.25 in x 1.5 in rectangle. Add 0.125 in thick tabs on the sides. On the bottom, cut out .125 squares from the backboard.
These tabs will allow for the parts to interlock with each other.
(See image for more detailed dimensions.)
When the sketch is complete, extrude the backboard to a thickness of .125 in (the thickness of the wood being cut).
Save the part.
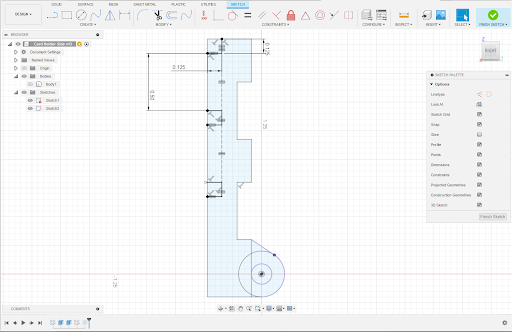
Acrylic Card Holders (Part 3): the Sides
.png)
.png)
.png)
.png)
Create another new part and sketch the side.
Add tabs with dimensions that fit with the other parts.
Open a new design on Fusion 360. Refer to the pictures for specific dimensions.
Extrude the sketch to a thickness of .125 in. The hole should be aligned with the bottom so that when assembled with the other parts, the axle that fits through the hole will be behind the cardholder.
Acrylic Card Holders (Part 4): the Bottom
.png)
Open a new design on Fusion 360. Refer to the pictures for specific dimensions.
Extrude the sketch to a thickness of .125 in. The bottom should be a small part that is shaped like a T. This part will fit in with the notches at the bottom of the back part and the bottom of the front part.
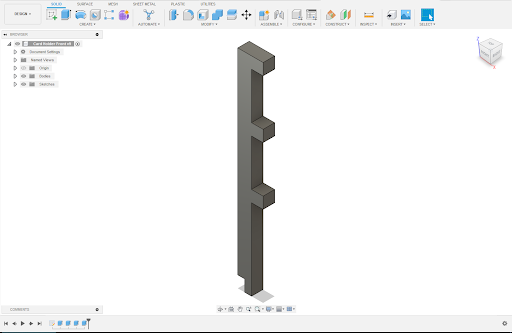
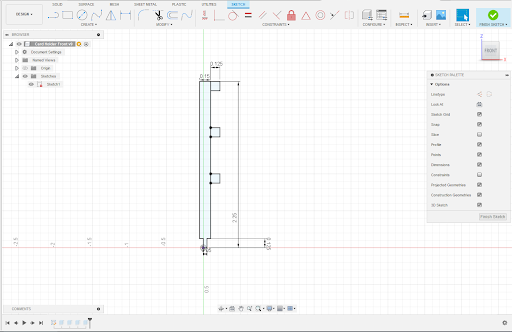
Acrylic Card Holders (Part 5): the Front
.png)
.png)
Open a new design on Fusion 360. Refer to the pictures for specific dimensions of the sketch.
Extrude the sketch to a thickness of 0.125 in. The front should have tabs that interlock with the tabs on the sides. The thinner stick at the bottom of the front will fit between the bottom and the side parts.
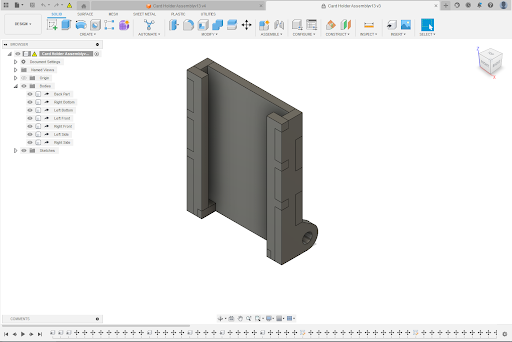
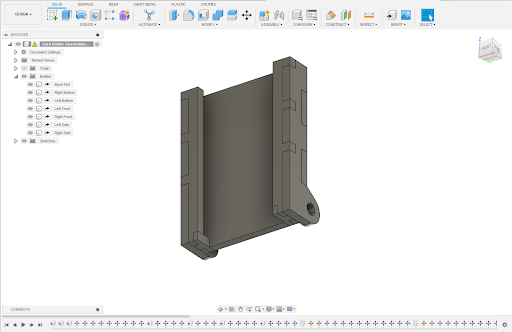
Acrylic Card Holders (Part 6): Assembly
.png)
.png)
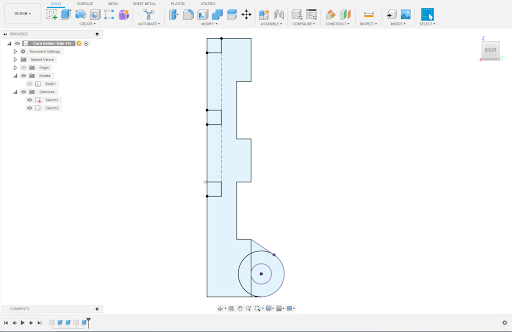
Import all of the parts into a new design as an assembly.
Make sure to import 2 of the side, bottom, and front.
Move the parts so that the tabs align and interlock with each other, creating a model of the complete card holder (refer to pictures for how it should be assembled). Use this assembly to make sure that all dimensions are correct, and that none of the parts overlap incorrectly.
Downloads
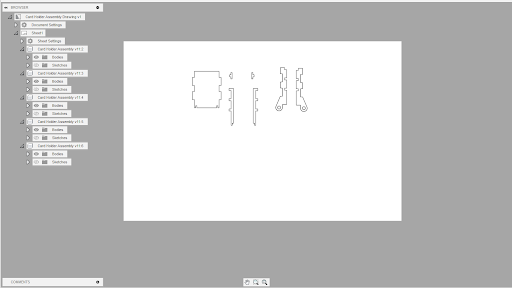
Acrylic Card Holders (Part 7): Drawing
.png)
Create a new drawing based on the assembly model.
In the drawing, hide all of the drawing borders so that the entire page is blank.
Add in the drawings of the assembly to the page at a 1:1 ratio of size to preserve the dimensions of the assembly. Change the visibility of the different parts in the assembly and adjust the orientation of the drawing so that there is a unique drawing for each part.
Each drawing should show a different part (as shown in the image). Once complete, export the drawing as a pdf.
Acrylic Card Holders (Part 8): Adobe Illustrator
.png)
Create a new document on Adobe Illustrator.
Insert the pdf of the drawing from Fusion 360. File > place
Do not stretch or shrink the drawing in order to preserve the dimensions.
Flatten the transparency of the pdf, and make sure to uncheck the “convert all strokes to outlines box.” Object > Flatten transparency
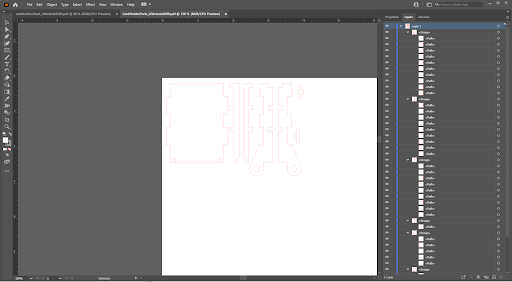
Once transparency has been flattened, open the layers in the document, and expand all of the groups.
Delete all of the clipping path layers.
Ungroup the parts’ drawing until you can move each part separately.
Set all lines/vectors to a thickness of 0.001 and color them red.
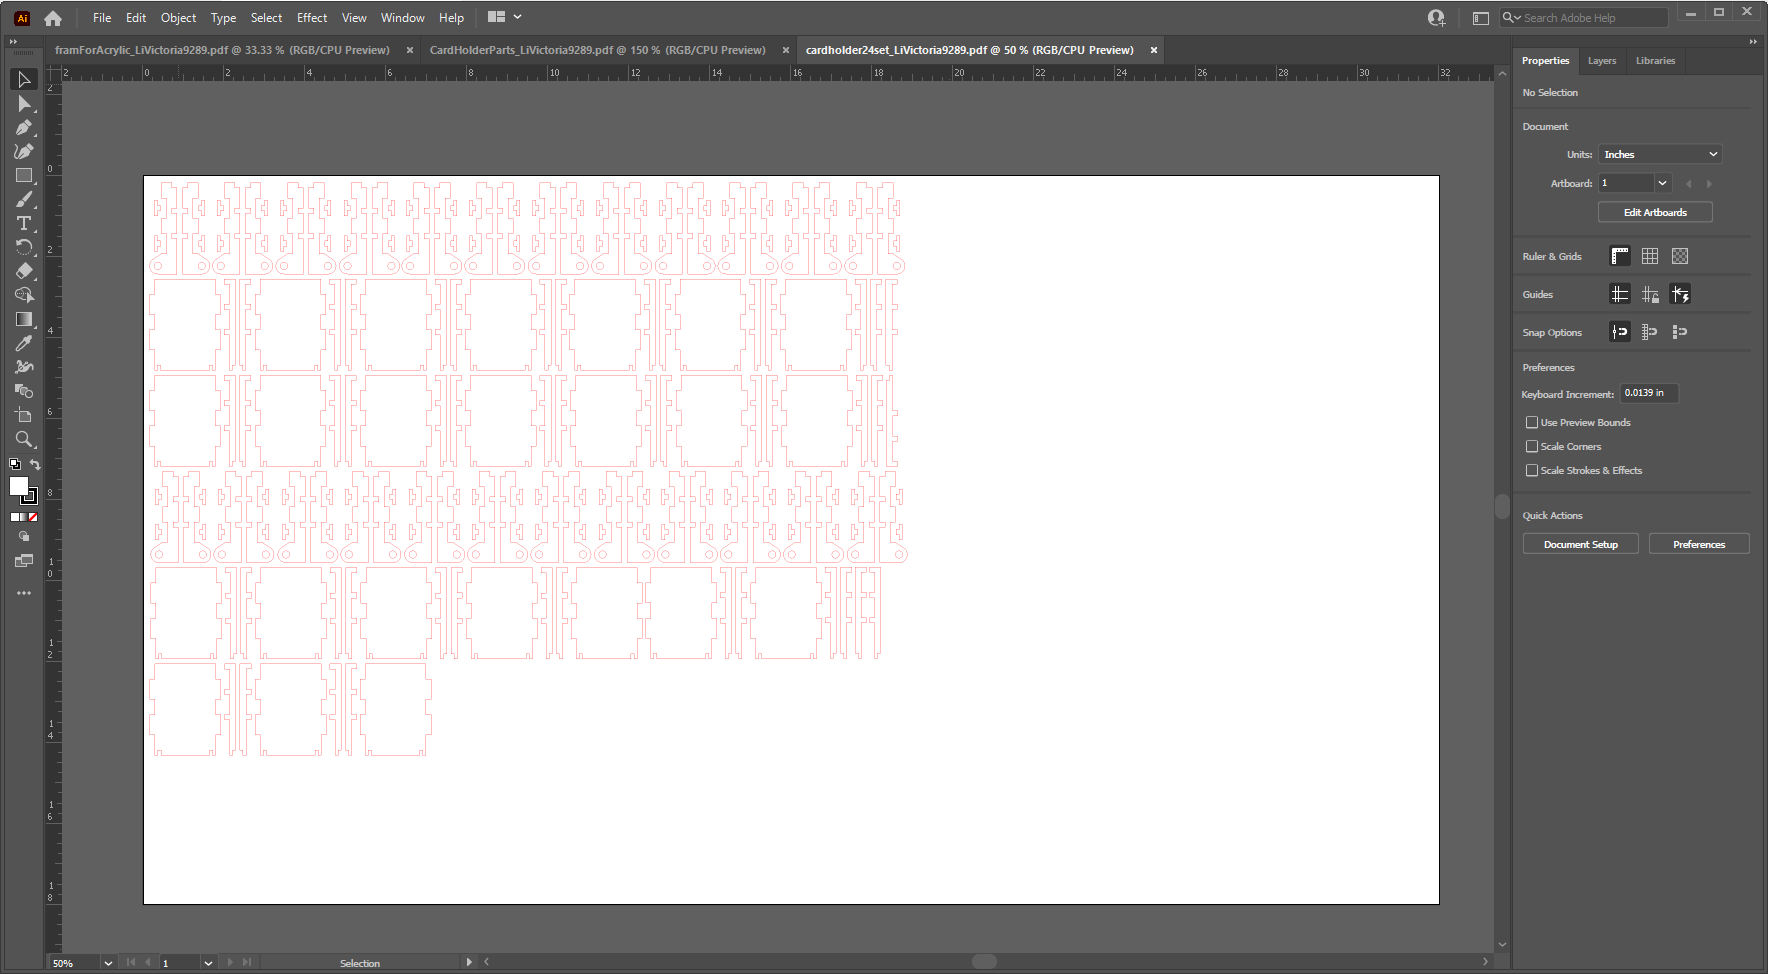
Copy and paste the drawing until there are enough parts for 24 cardholders.
Organize the drawings of each part so that minimal space and resources are wasted in between.
Save the file as a pdf.
Downloads
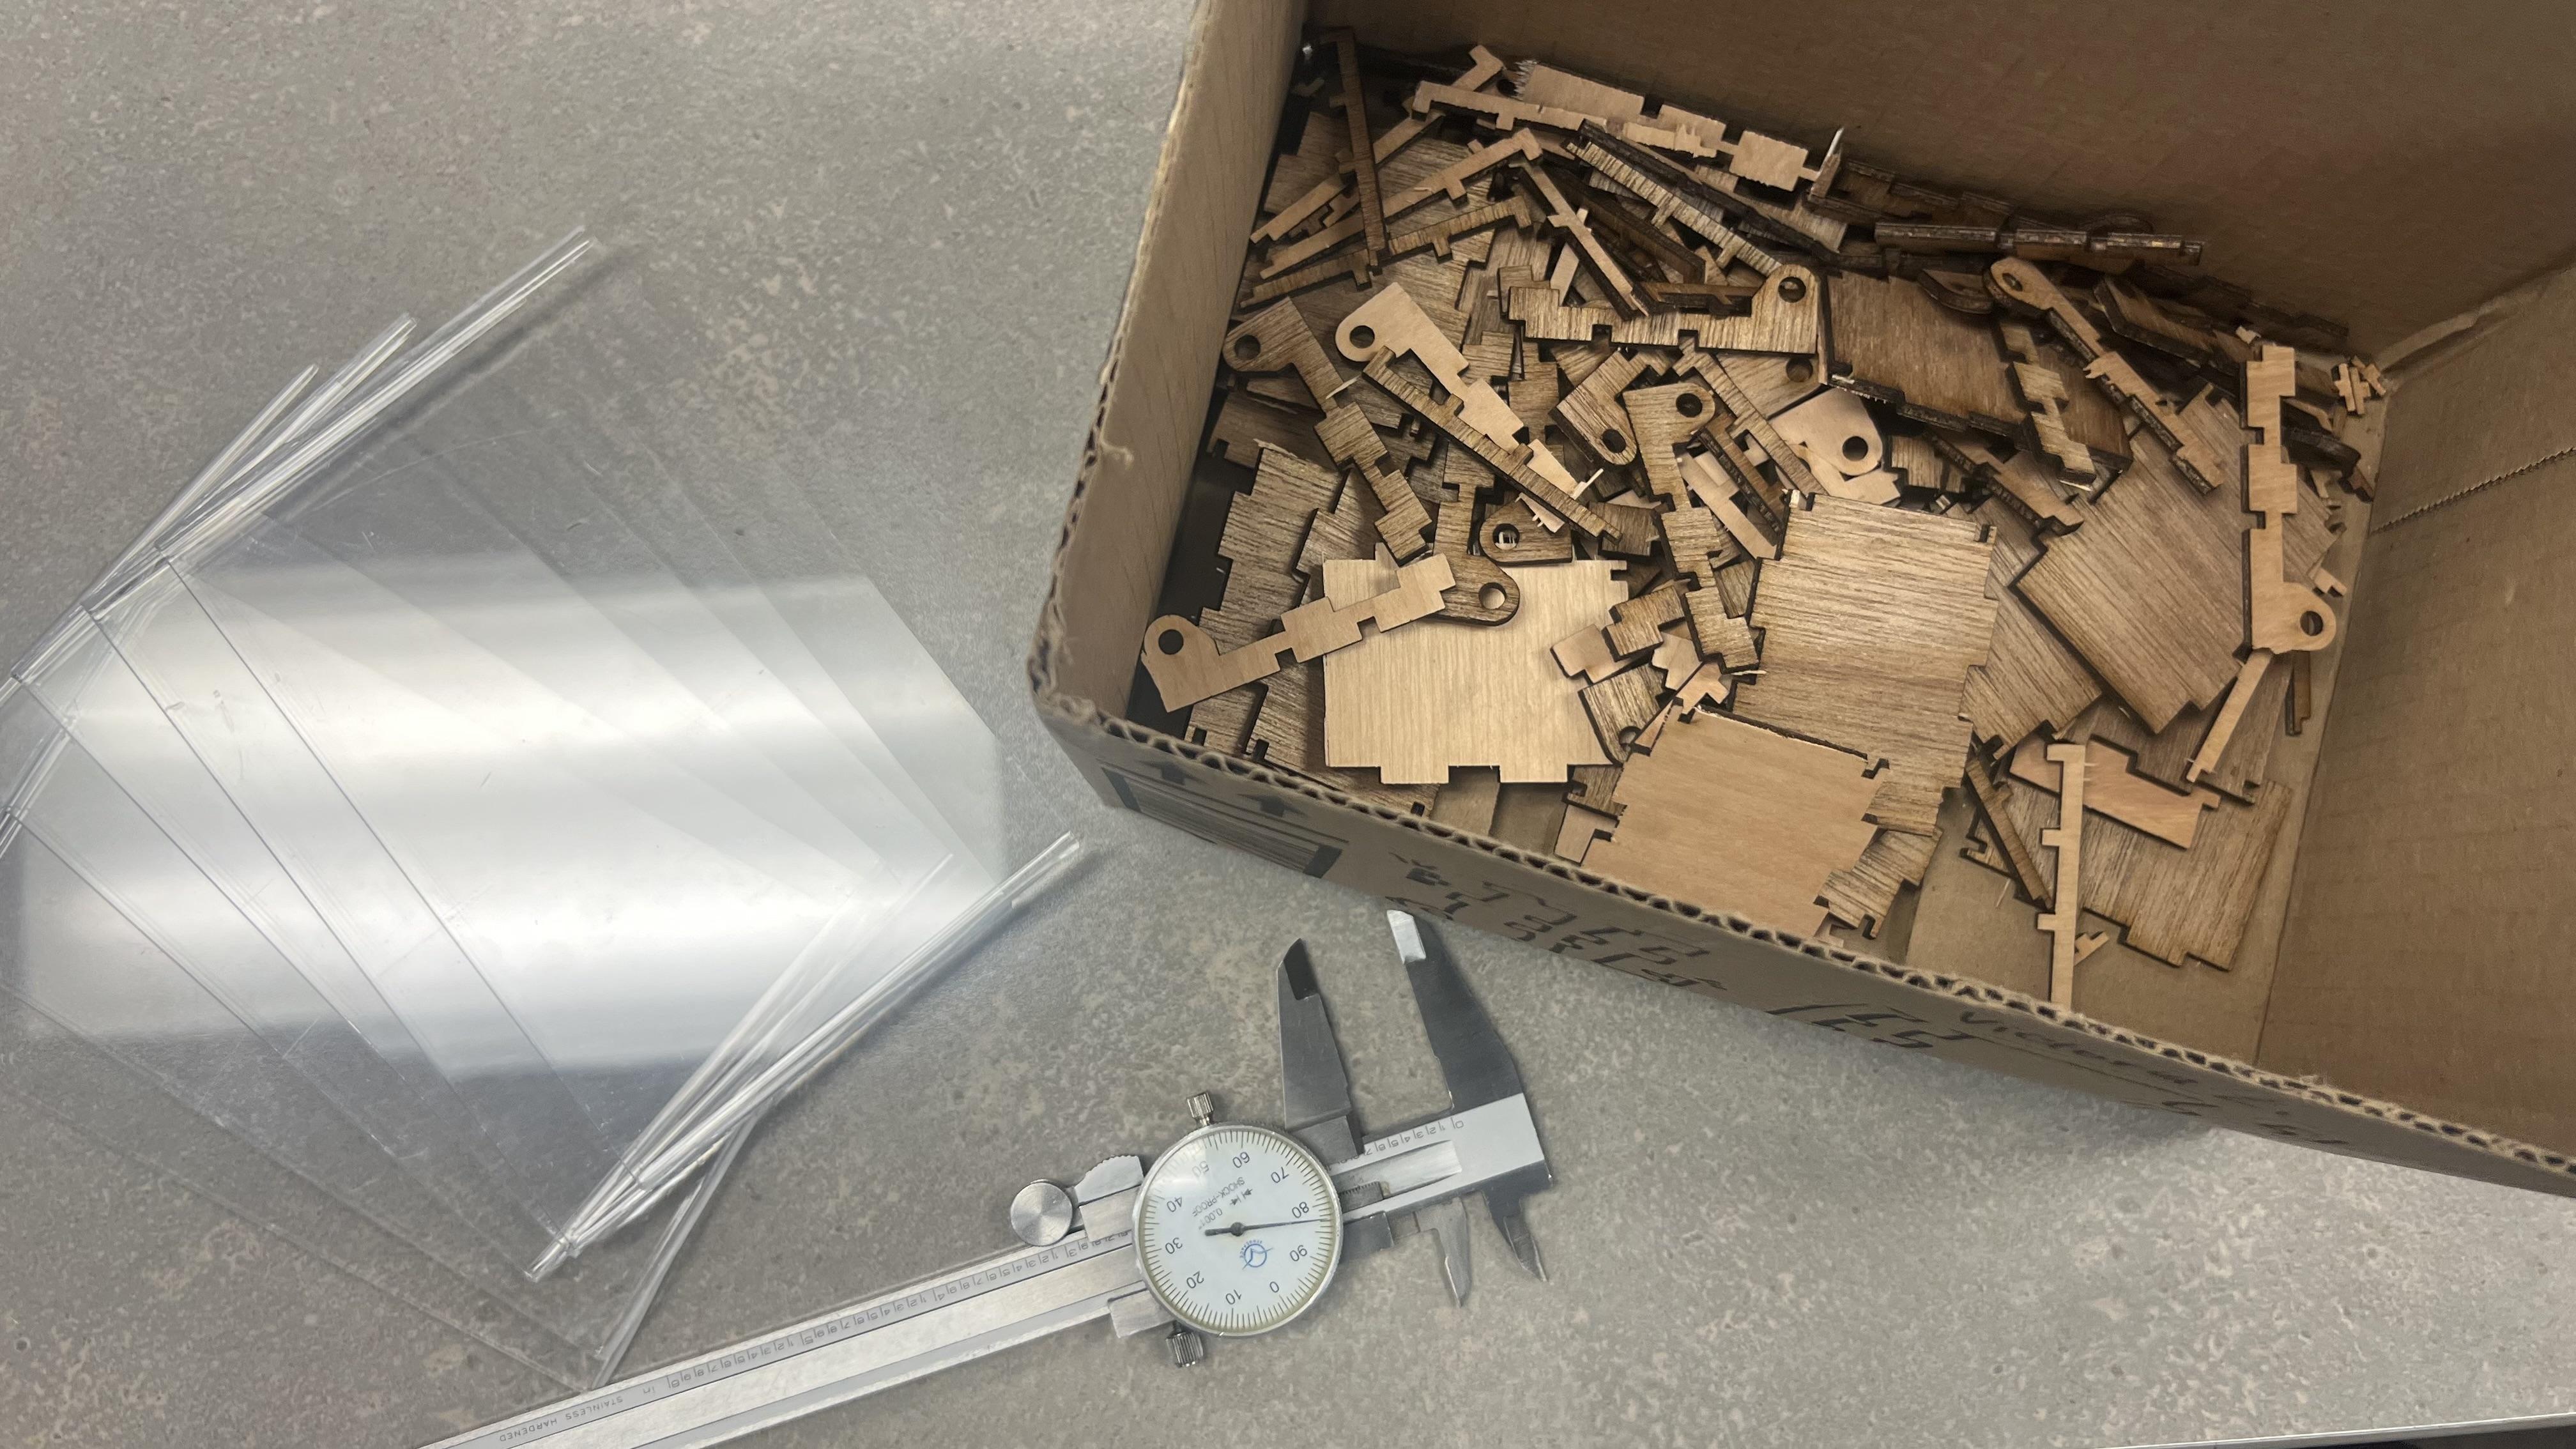
Acrylic Card Holders (part 9): Cutting the Pieces
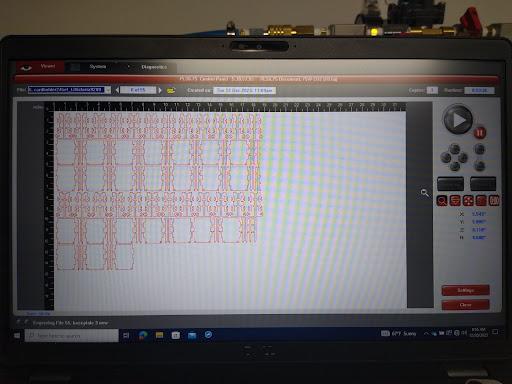
Download the pdf file (from adobe illustrator) to a USB, and upload the file onto the ULS Control Panel application. Make sure to adjust settings on the application to match the material you are cutting the parts out of.
Open the laser cutter and place your material inside. Check that the laser cutter will cut in the desired area on the material. When everything is set, start the program.
Acrylic Card Holders (Part 10): Real Life Assembly
.jpg)
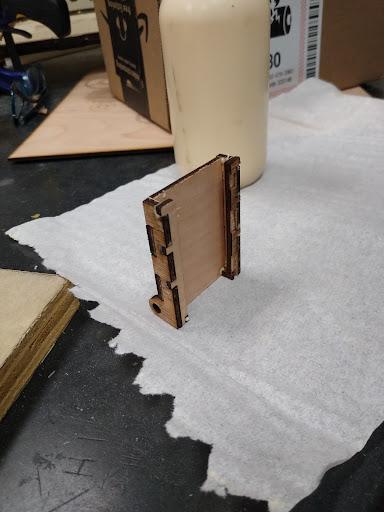.jpg)
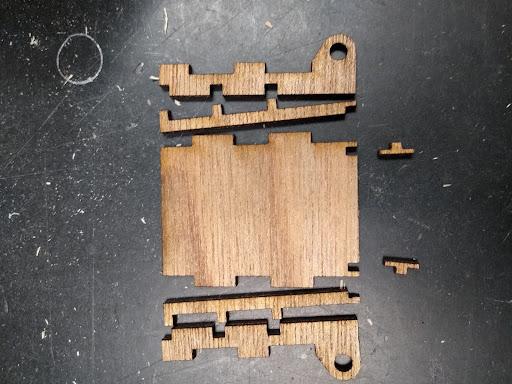
When all of the parts are cut out, remove the parts from the laser cutter. Use wood glue to stick the parts together, interlocking the tabs. Allow the glue to dry for a day or so, and your card holder is complete!
Battery Box (Part 1): Bottom
Open a new design on Fusion 360. Refer to the pictures for specific dimensions.
Extrude the sketch to a thickness of .200 in. This is the bottom of the battery box.
Battery Box (Part 2): Sides
Open two new designs on Fusion 360. Refer to the pictures for specific dimensions.
Extrude each design to a thickness of .200 in. Both sides should be about the same. The only difference is that one side will have a flat top, while the other side will have tabs on top for the top of the box to interlock with.
Battery Box (Part 3): Front
Open a new design on Fusion 360. Refer to the pictures for specific dimensions.
Extrude the sketch to a thickness of .200 in. Make sure the hole for the button is the right size.
Battery Box (Part 4): Top
Open a new design on Fusion 360. Refer to the pictures for specific dimensions.
Extrude the sketch to a thickness of .200 in. This is the top of the battery box which will only cover half of the box since the other half is open as storage for the unused identity cards.
Battery Box (Part 5): Identity Card Stand
Open a two new designs on Fusion 360. Refer to the pictures for specific dimensions.
Extrude the designs to a thickness of .200 in. These parts should consist of a back and a short front that allow for the identity card to be held up.
Battery Box (Part 6): Assembly
Import all of the parts into a new design as an assembly.
Move the parts so that the tabs align and interlock with each other, creating a model of the complete card holder (refer to pictures for how it should be assembled). Use this assembly to make sure that all dimensions are correct, and that none of the parts overlap incorrectly.
Battery Box (Part 7): Drawing
Create a new drawing based on the assembly model.
In the drawing, hide all of the drawing borders so that the entire page is blank.
Add in the drawings of the assembly to the page at a 1:1 ratio of size to preserve the dimensions of the assembly. Change the visibility of the different parts in the assembly and adjust the orientation of the drawing so that there is a unique drawing for each part.
Each drawing should show a different part (as shown in the image). Once complete, export the drawing as a pdf.
Battery Box (Part 8): Adobe Illustrator
Create a new document on Adobe Illustrator.
Insert the pdf of the drawing from Fusion 360. File > place
Do not stretch or shrink the drawing in order to preserve the dimensions.
Flatten the transparency of the pdf, and make sure to uncheck the “convert all strokes to outlines box.” Object > Flatten transparency
Once transparency has been flattened, open the layers in the document, and expand all of the groups.
Delete all of the clipping path layers.
Ungroup the parts’ drawing until you can move each part separately.
Set all lines/vectors to a thickness of 0.001 and color them red.
Copy and paste the drawing until there are enough parts for 24 cardholders.
Organize the drawings of each part so that minimal space and resources are wasted in between.
Save the file as a pdf.
Battery Box (Part 9): Cutting the Parts
Download the pdf file (from adobe illustrator) to a USB, and upload the file onto the ULS Control Panel application. Make sure to adjust settings on the application to match the material you are cutting the parts out of.
Open the laser cutter and place your material inside. Check that the laser cutter will cut in the desired area on the material. When everything is set, start the program.
Battery Box (Part 10): Real Life Assembly
When all of the parts are cut out, remove the parts from the laser cutter. Use wood glue to stick the parts together, interlocking the tabs. Allow the glue to dry for a day or so, and your battery box is complete! When the frame is complete, attach the box with glue.
Led Wiring Materials and Technique
Materials:
- 1 nine volt battery
- 4 LED light strips (12 in. long by .5 in., 12 volts)
- Two 13 in. wires
- Solder and solder tools
- Wire cutter
- Switch (.75 in. diameter(circular switch))
Here, we will use parallel circuits to provide power to the LED that light our cards.
Note for LED Wiring
We used a nine volt Duracell battery(it's the only one we have on hand at the moment) to power our 12 volt LED light strips, which means that our version of this project is not rechargeable :(. Please know that there are alternative solutions to supplying rechargeable energy to the Guess Who game.
LED Wiring (Part 1)
Glue the bottom and 2nd last layer together.
- Place long LED strips in the grooves of the 2nd to last layer.
Downloads
LED Wiring (Part 2)
Above is a diagram showing the wiring placement(black for (-), red for (+)) on the 2nd to last layer of the base plate.
Utilize a soldering wand/station to wire.
Downloads
Base Plate (Part 1)
1) Glue to combine the 3 similar base plate layers.
2) Glue to fix dividers in the 3 layers(shown above).
- Only glue the side opposite of the cut hole so that the divider is flexible enough to slip in the card holders(more information next step).
3) Glue to combine the LED wiring layers underneath the 3 similar base plate layers.
Downloads
Card Holder on the Base Plate
The smaller circular pieces will act as the axles of the card holders.
Yes, you will need to glue them to the card holders for each and every one.
- Place your acrylic designs!