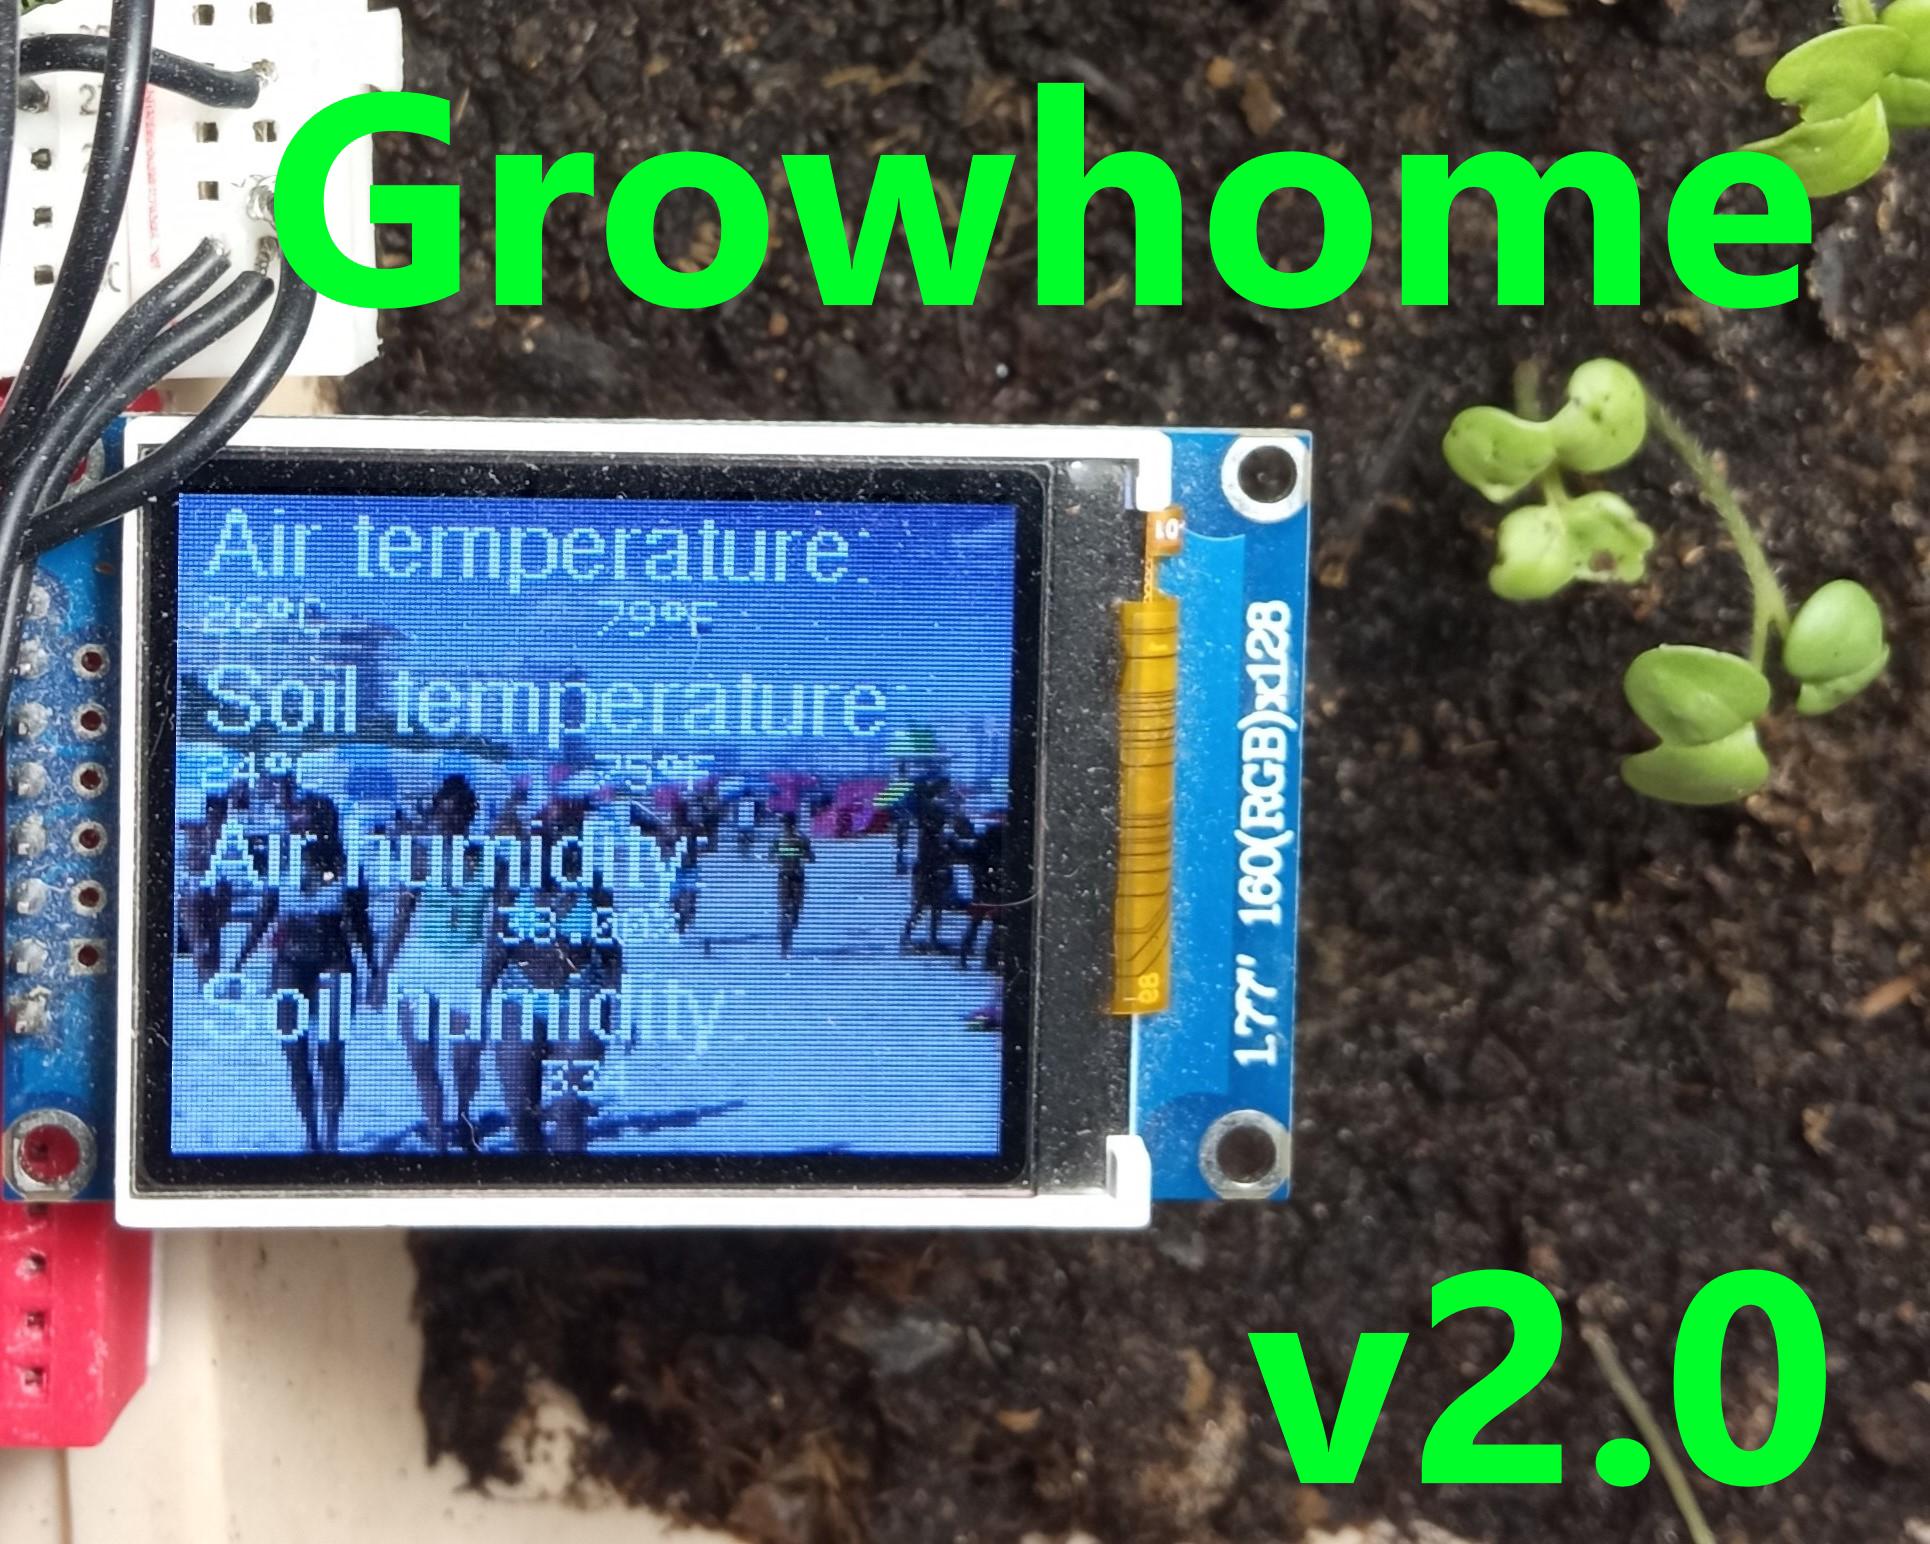
Growhome V2.0


Some kind of plants requires to grow in a special conditions. A lemon tree needs a lot of sunlight, air temperature is around (15-25C) and middle value of humidity. A coffee tree requires the similar conditions. This is why I made this project. The Growhome 2.0 project can help you to control conditions of growing. The DHT22 sensor measures air temperature and humidity. Waterproof DS18B20 and Moisture Sensor v1.2 measures soil temperature and humidity.
If the soil humidity is less than required, relay turns on the water pump that makes soil more humid. When the soil humidity is more than required, relay turns off the water pump.
So we can say that Growhome 2.0 has auto watering system, this is the main feature of a new version of Growhome.
TFT LCD displays all the information about air humidity, air temperature, soil humidity, soil temperature.
In this Instructable, I'm gonna help you to assemble your own Growhome v2.0
The visual feature of my project is GTA VI trailer screens.
Supplies
- Raspberry Pi Pico x1;
- 4k7 resistor x3;
- A button x1;
- DS20B18 x1;
- DHT22 x1;
- TFT LCD ST7735 display 1.8 inch x1;
- Capacitive Soil Moisture Sensor v1.2 x1;
- Relay SRD-05VDC-SL-C x1;
- Water pump 5v x1;
Install and Configure Arduino IDE *Optional
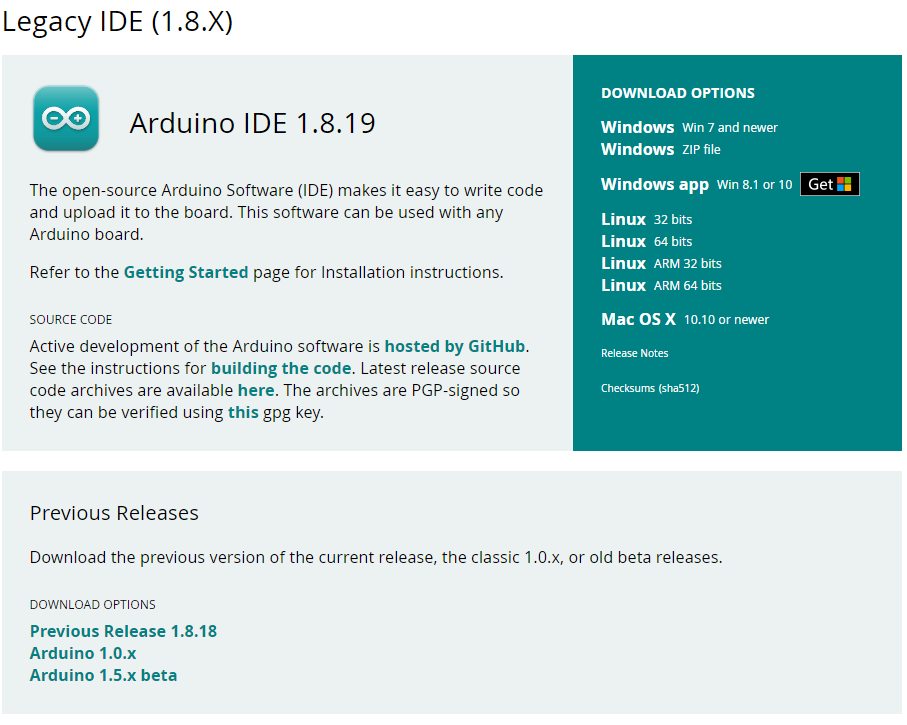

If you have never used Arduino IDE, you will need to download and install it. We'll need to download and install Arduino IDE to upload the code into a microcontroller.
ATTENSION!!! Do not download 2.x versions, at the moment of 10/6/2023 there are still a lot of bugs. It better to download a 1.8.19 version.
Download it here - https://www.arduino.cc/en/software
- After Installing, navigate to File > Preferences
- Find Additional Boards Manager URLs, and paste this link into a text field - https://github.com/earlephilhower/arduino-pico/releases/download/global/package_rp2040_index.json
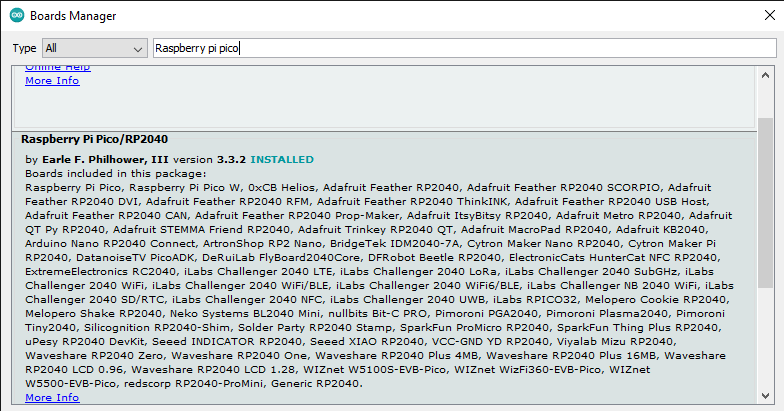
- Then, navigate to Tools > Board: > Boards Manager
- Type the "Raspberry Pi Pico" in a search field, find and Install.
Install Arduino-Pico-Littlefs-Plugin
The primary purpose of the arduino-pico-littlefs-plugin is to let you upload the files into the RPI's flash memory. In this tutorial, the purpose of this tool is to format the RPI's flash.
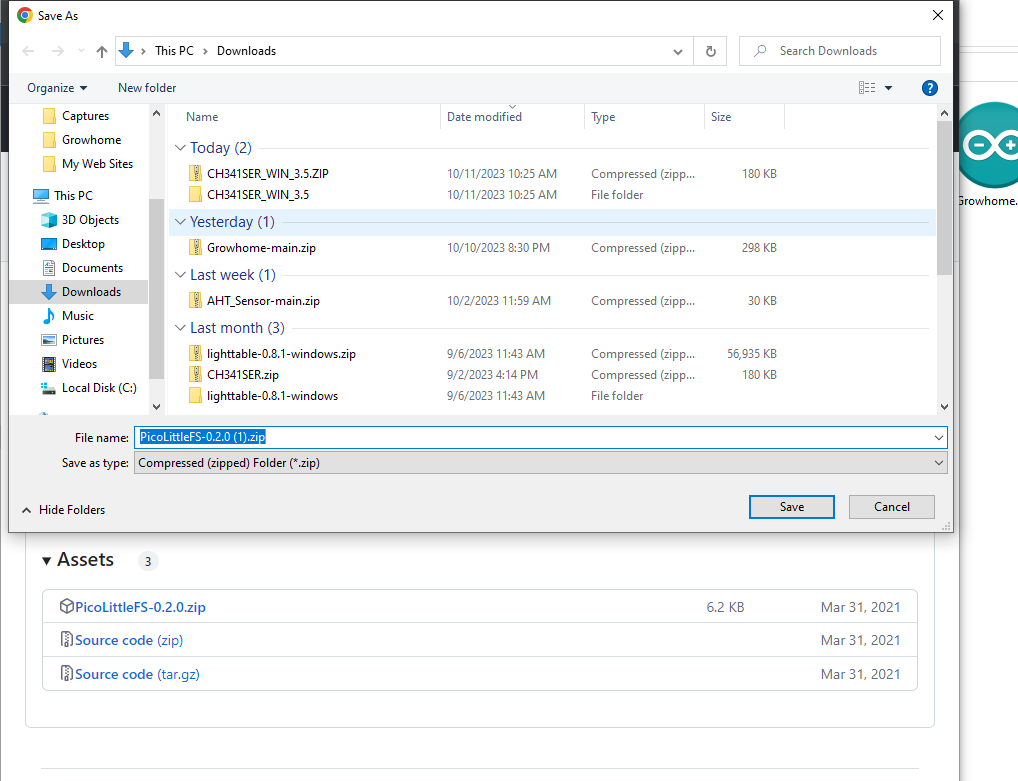
Download the file called PicoLittleFS-0.2.0.zip from https://github.com/earlephilhower/arduino-pico-littlefs-plugin/releases/tag/0.2.0
And then extract the content of the archive into the "...\Arduino\Tools\" folder.
After that, restart the Arduino IDE.
Install Libraries
Install libraries is necessary to work with the microcontrollers, encoders, displays, thermometers, other components, and get the information from there.
- Navigate to Sketch > Include library > Manage Libraries
- Type every single library one by one and download:
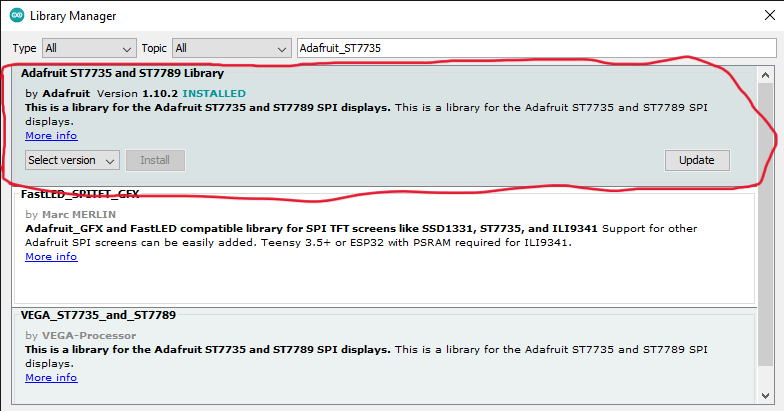
- Adafruit_ST7735
- SPI
- EncButton
- Adafruit_GFX
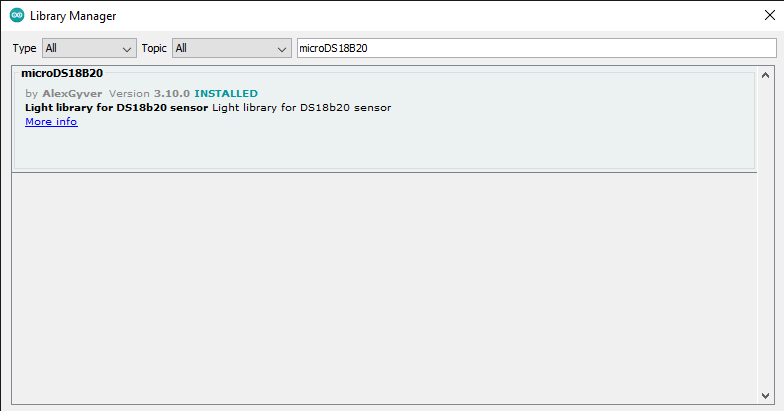
- microDS18B20
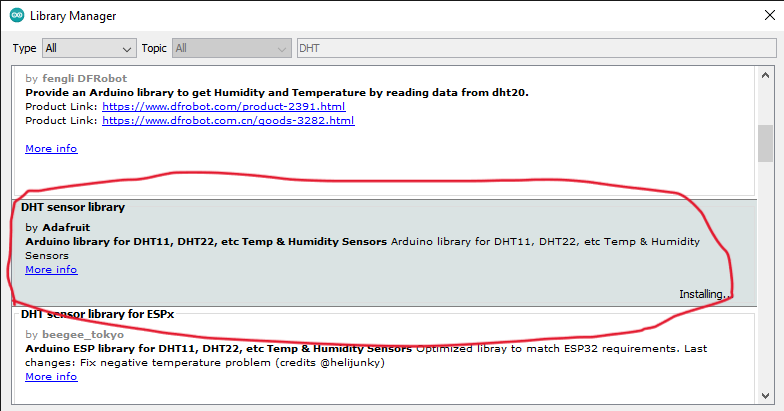
- DHT
Download Firmware
The Firmware folder is the main folder of the project because it contains the code, that we'll upload into a microcontroller.
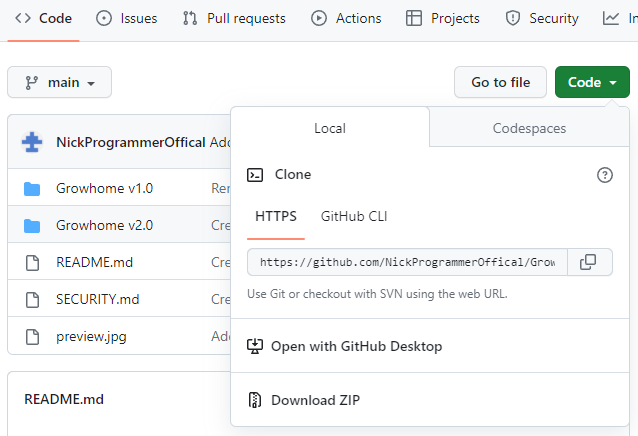
GitHub Growhome v2.0 Repository: https://github.com/NickProgrammerOffical/Growhome
- Download the .zip on my GitHub.
- Extract the Growhome folder, then open Growhome v2.0/Firmware.ino file with Arduino IDE.
Assemble Growhome
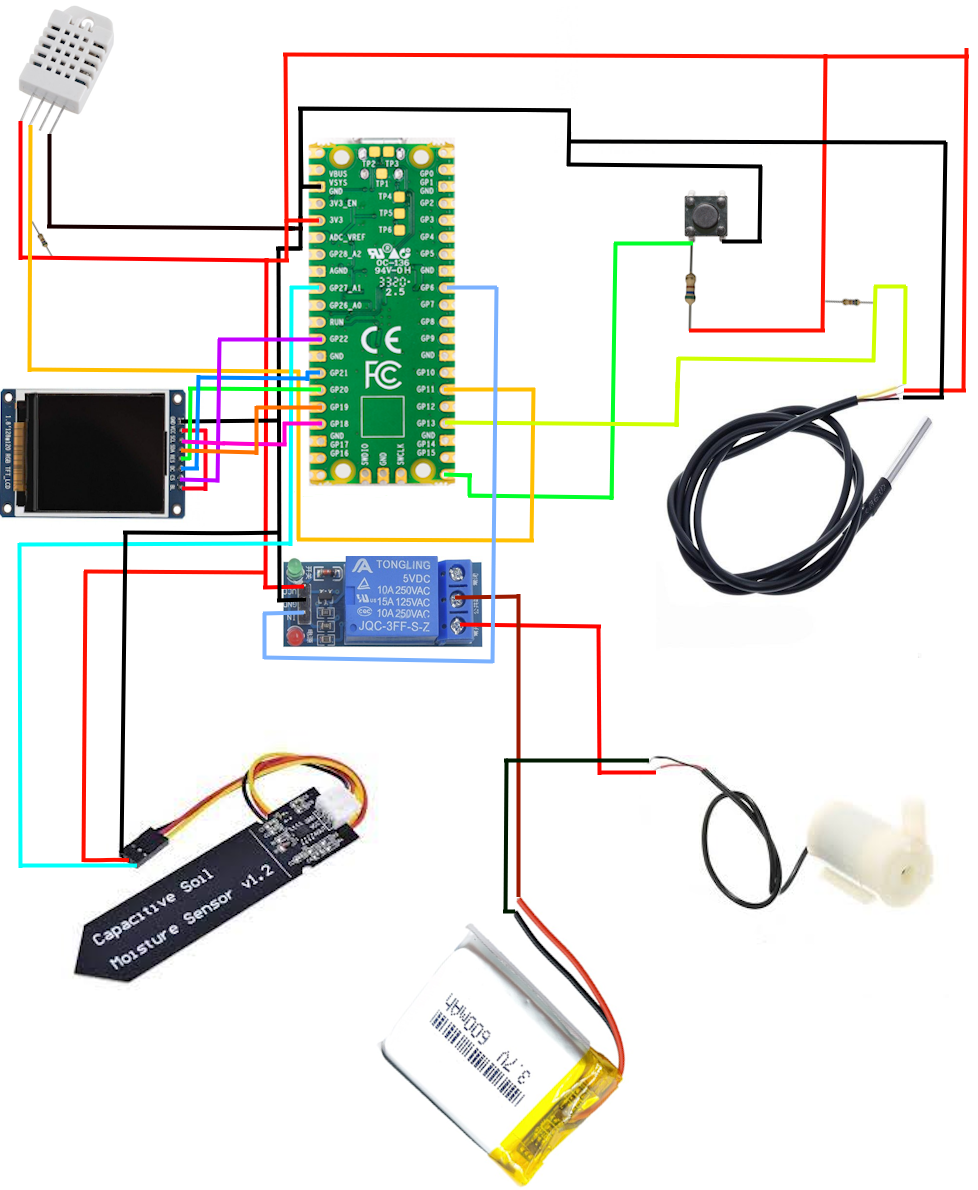
Assembling is the most interesting part. I'd recommend you to begin assembling with TFT screen.
Upload the Firmware
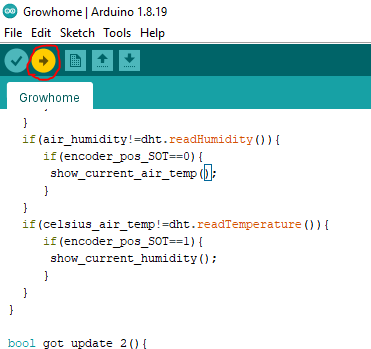
The last step of assembling is upload code into microcontroller.
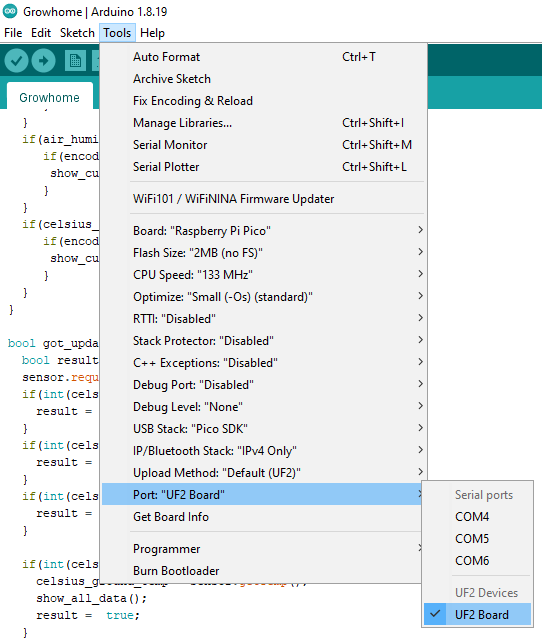
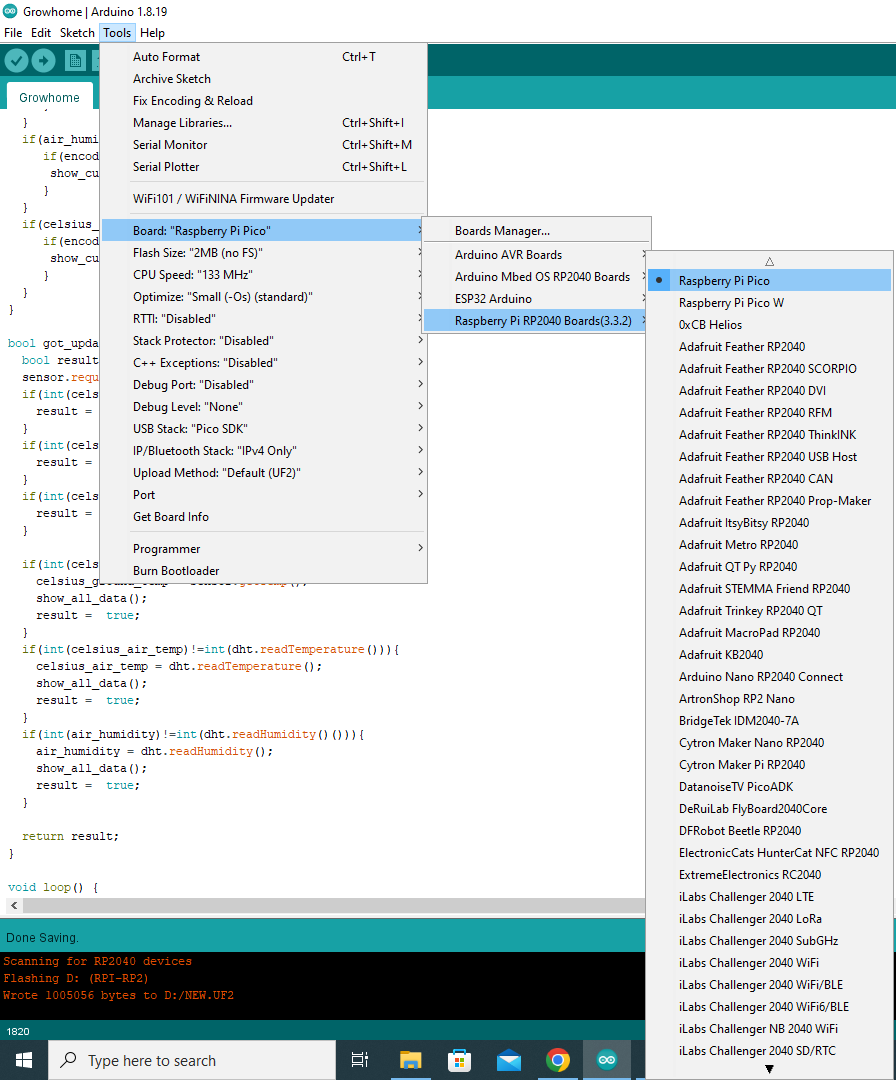
- Navigate to Tools > Board: > Raspberry Pi RP2040 Boards > Raspberry Pi Pico;
- Hold BOOT button on Raspberry Pi Pico board and plug it to the computer;
(The step is necessary to be able to see the boot port)
- Navigate to Tools > Port > UF2 Board;
- Click upload button in the left top corner;
Tutorial and Recommendations
When you plug, you will see the Growhome logo and GTA VI city on the TFT screen.
All you have to do is push button.
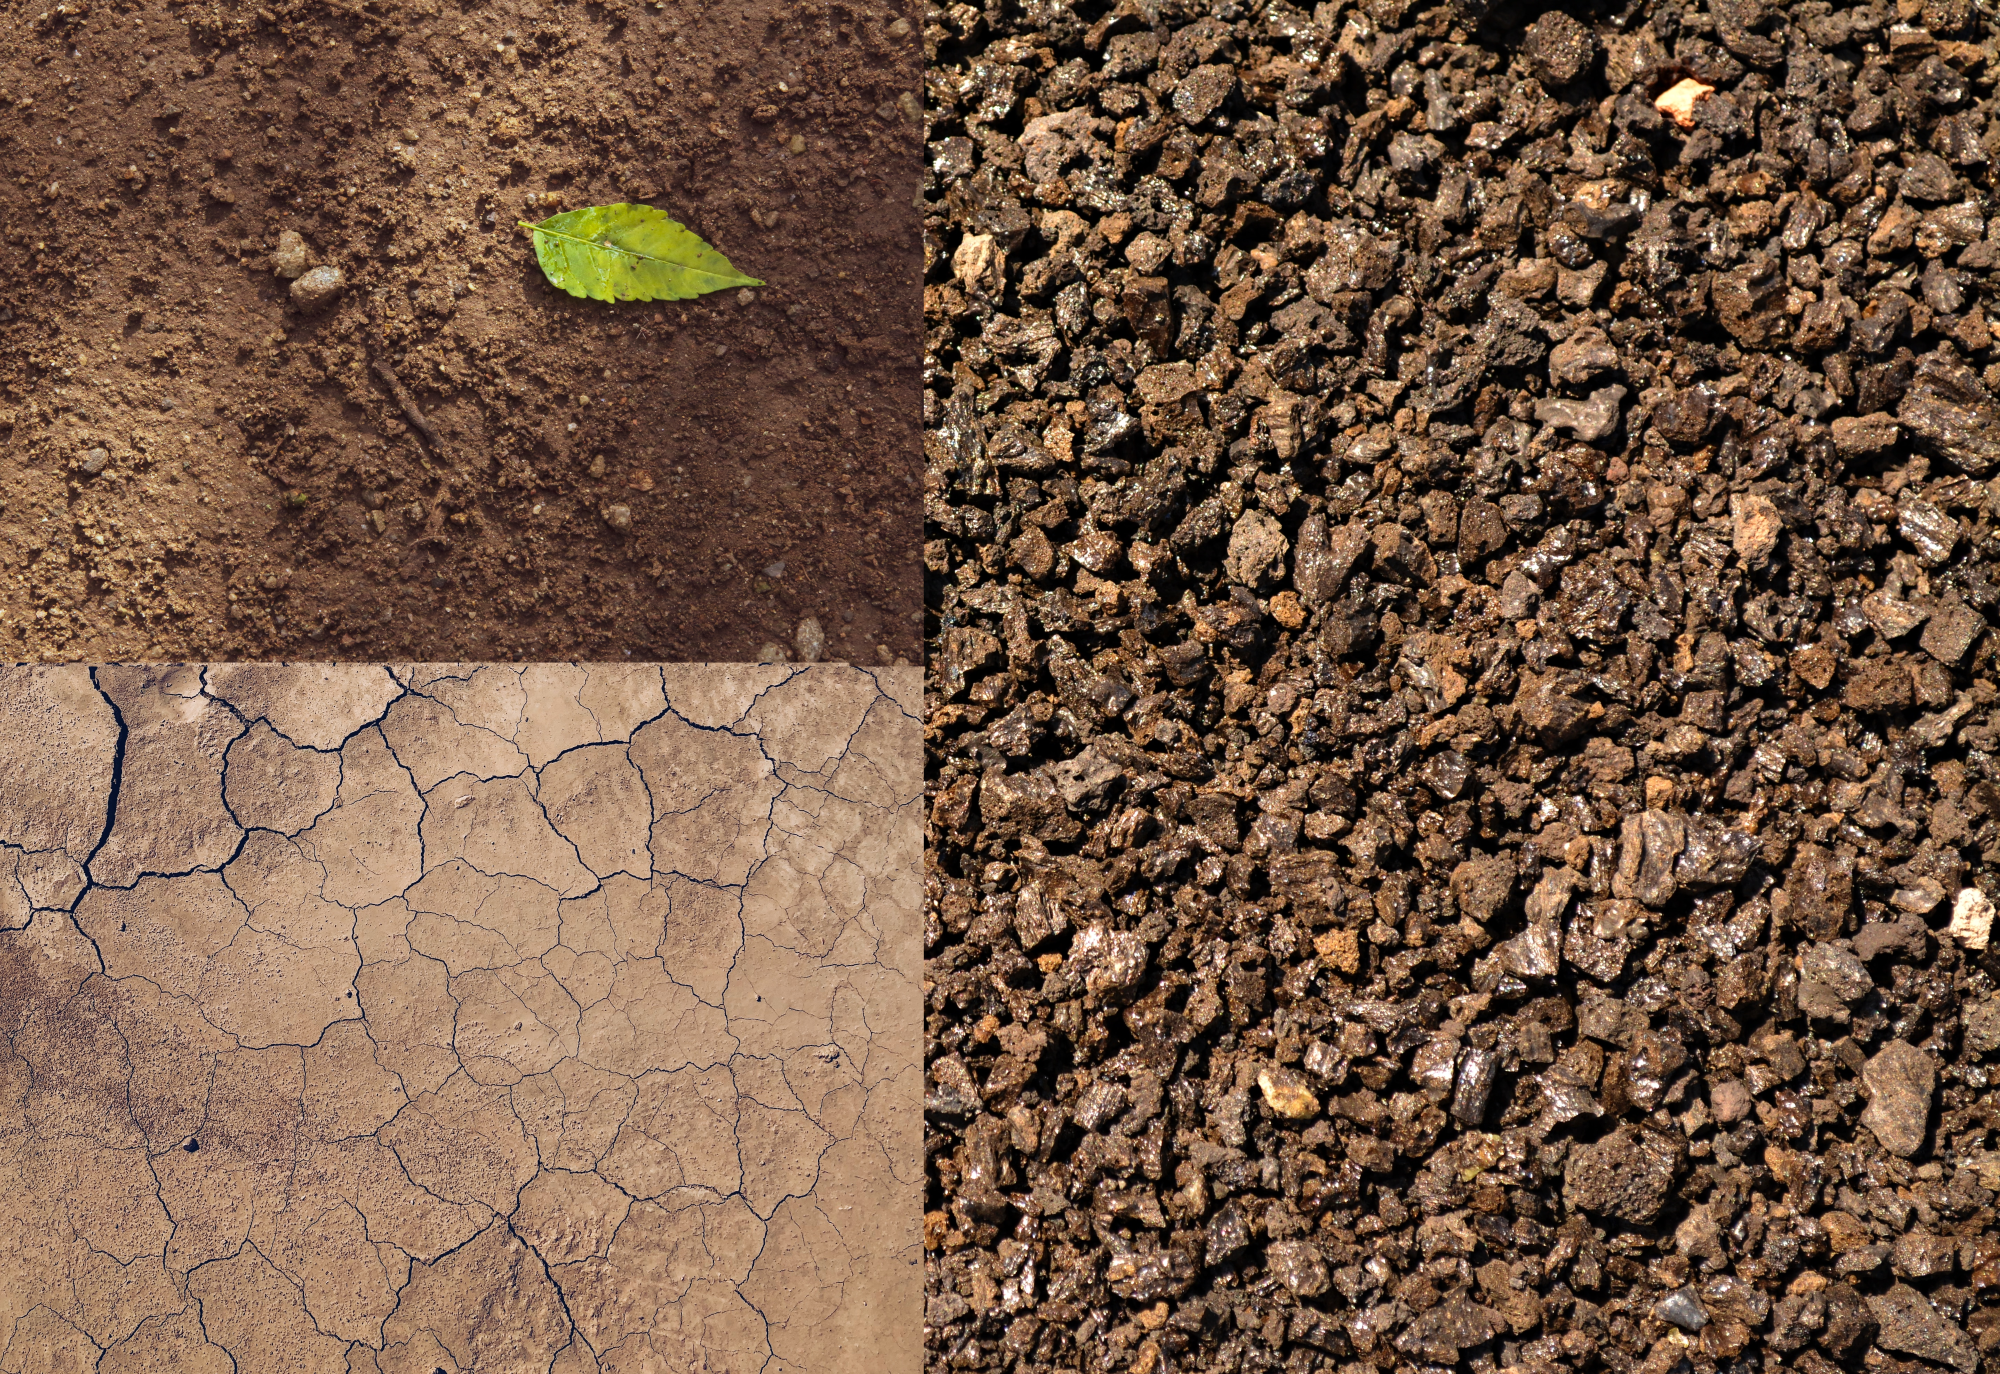
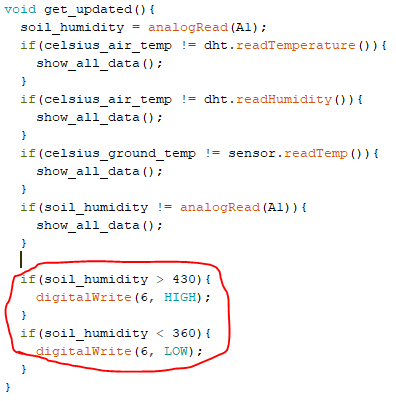
!!!! Everybody has different type of soil.
Different type of soil makes Soil Moisture Sensor v1.2 feel the humidity by different.
So you can find these values in void get_updated() method and change it to your own. !!!!
You made it!