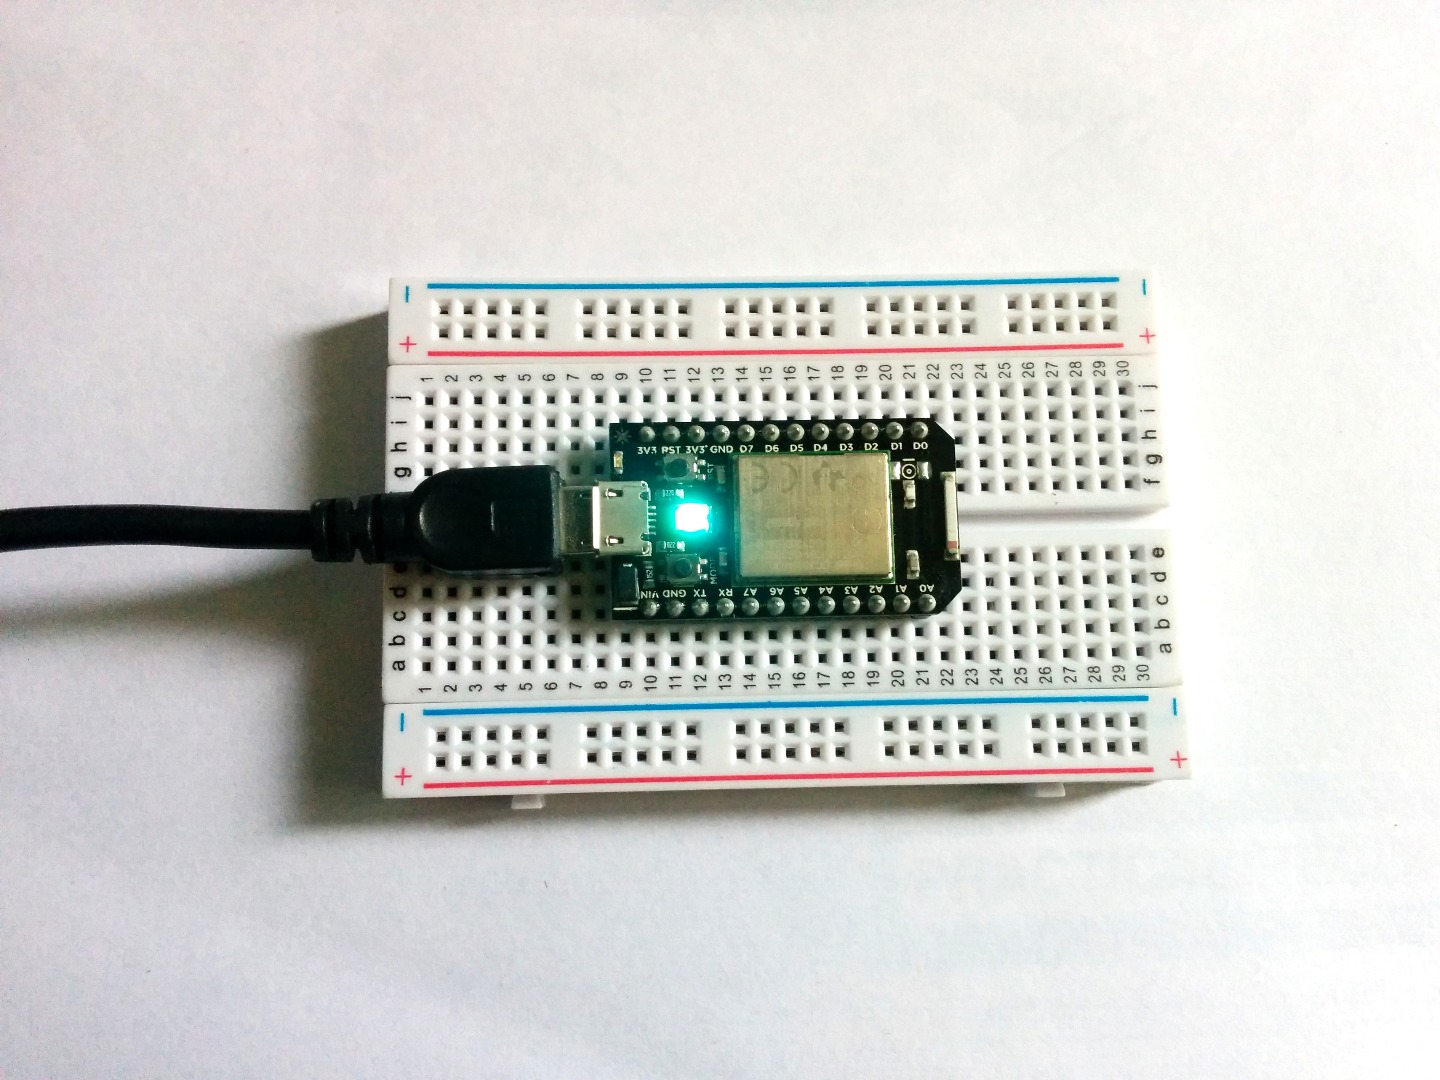
Grove Sensors With a Particle Core - Halls Sensor
by LightBug in Circuits > Microcontrollers
5508 Views, 50 Favorites, 0 Comments
Grove Sensors With a Particle Core - Halls Sensor


Recently I got a few Grove Senors, and I tried running it with an Arduino and the very next step for me is to take it to the internet and what better way than do it with a Particle Core. To start of with I'm going to show you how to rig up a Grove Hall sensor which is based on Hall Effect, which is the production of a voltage difference across an electrical conductor, transverse to an electric current in the conductor and a magnetic field perpendicular to the current. In a nutshell, this sensor detects the presence of a magnetic field around it.
To start off with a Particle Core do check out my previous instructables before diving right into this one. I have also tried to keep this instructable as simple as possible so that no one gets left behind.
So lets get started.....
Tools and Components


All that you need for this instructable is -
- Particle Core or Photon
- Grove Hall Sensor
- Breadboard
- Jumper wires
- Magnet
Note - No soldering skills are required for this instructable as we will be using a breadboard. Also that the Particle Core is no longer available so you can get a photon and all the instructions and code in this tutorial run fine on a Photon.
Getting Started

If you have followed my previous instructables you already have set up your core and have it connected to the internet.
If you are here first, then you can check the step two of any of the previous instructables in the series for steps on how to get started. The steps involve -
- Creating an account at Particle.io
- Getting it connected to the internet.
- Claiming a Core
- Trying out Tinker
- Trying out my previous instructables
If you have gone through all of these steps, then you are good to proceed to the next step.
Circuit

The hardware connections go as follows-
- VCC => Core 3.3*V
- Gnd => Core Gnd
- Sig => Core D2
- LED Anode => Core D4
- LED Cathode => GND
Note- There is no connection to the NC terminal. The VCC terminal can handle +5 so you can hook it up to vin of the Core but if you experience any noise from the vin you can switch back to 3.3*. The * indicates a noise free voltage and is ideal for analog devices.
Code

The code is quite simple and all it does is turn on the led at digital pin 4 when a magnetic field is brought near the hall senor.
The Hall Sensor can also calculate the speed of varying magnetic field in rpm but I will leave that for a future tutorial. Feel fee to modify the code as you like and don't forget to leave a comment on what you came up with.
#define HALL_SENSOR 2
#define LED	4//the Grove - LED is connected to D4 of Arduinovoid setup()
{
 	pinsInit();
}

void loop()
{
	if(isNearMagnet())//if the hall sensor is near the magnet?
	{
		turnOnLED();
	}
	else
	{
		turnOffLED();
	}
}
void pinsInit()
{
	pinMode(HALL_SENSOR, INPUT);
	pinMode(LED,OUTPUT);
}/*If the hall sensor is near the magnet whose south pole is facing up, */
/*it will return ture, otherwise it will return false.				*/
boolean isNearMagnet()
{
	int sensorValue = digitalRead(HALL_SENSOR);
	if(sensorValue == LOW)//if the sensor value is LOW?
	{
		return true;//yes,return ture
	}
	else
	{
		return false;//no,return false
	}
}
void turnOnLED()
{
	digitalWrite(LED,HIGH);
}
void turnOffLED()
{
	digitalWrite(LED,LOW);
}