Green Aurora Digital Illustration
by HarleenD1 in Design > Digital Graphics
1751 Views, 11 Favorites, 0 Comments
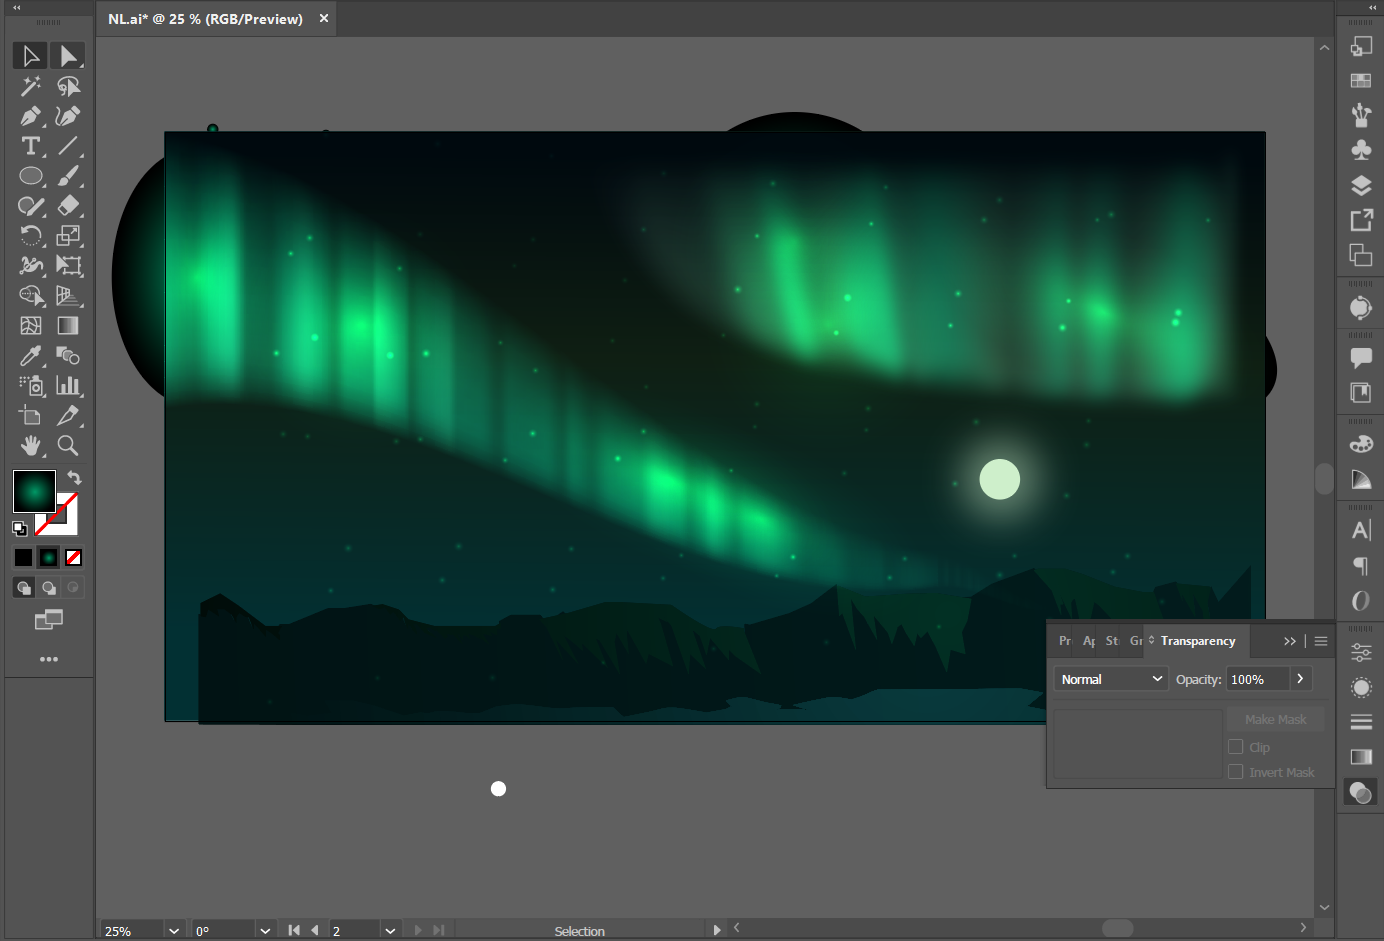
Green Aurora Digital Illustration
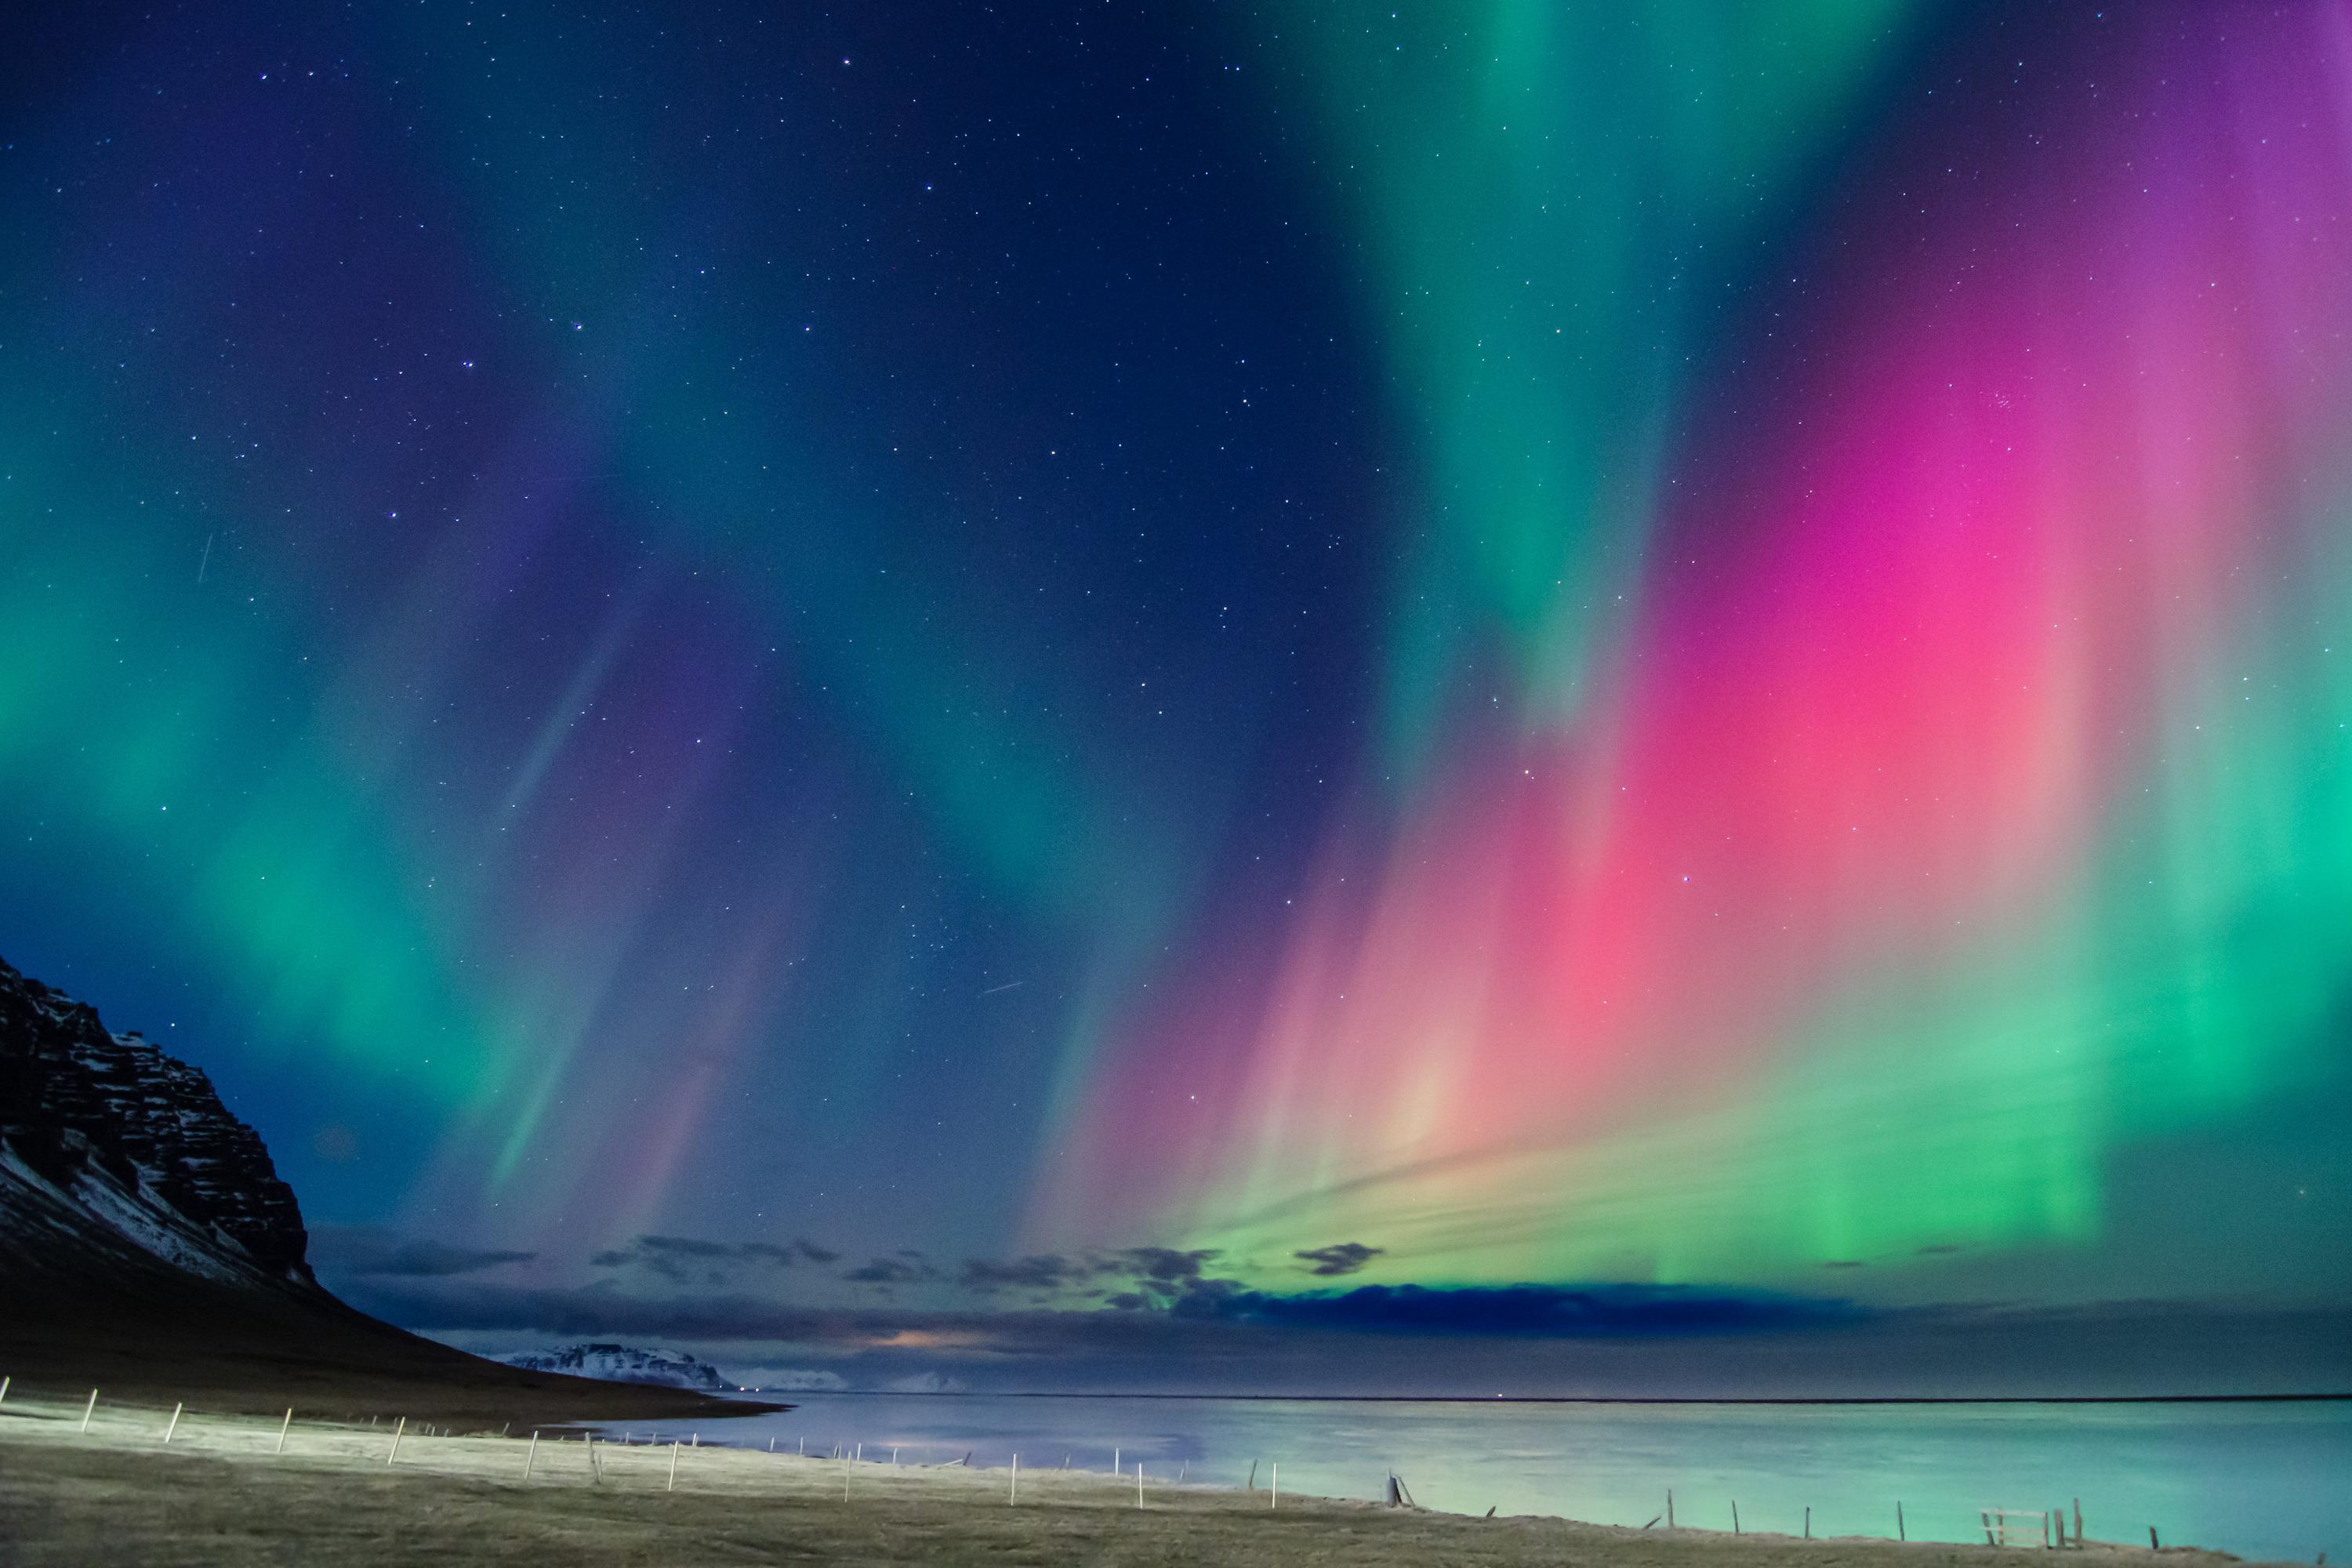
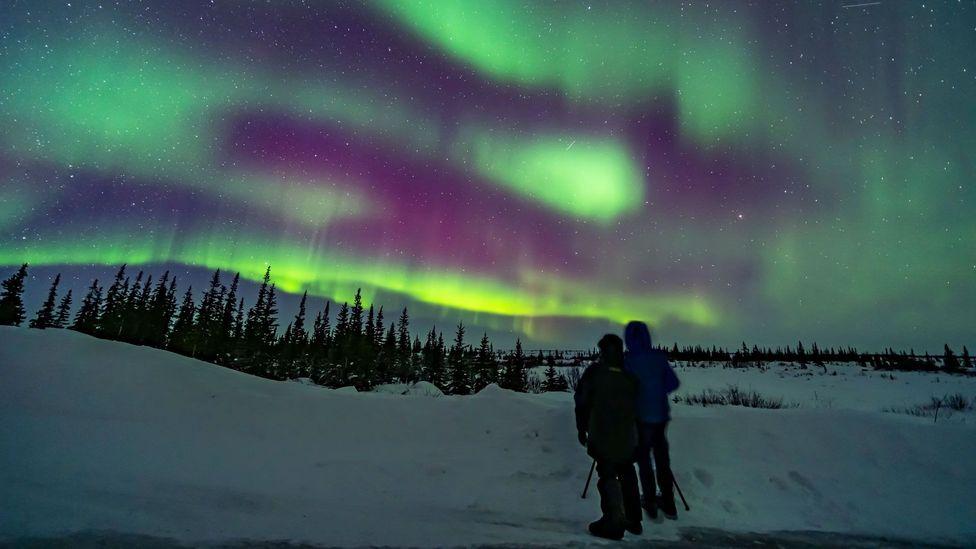
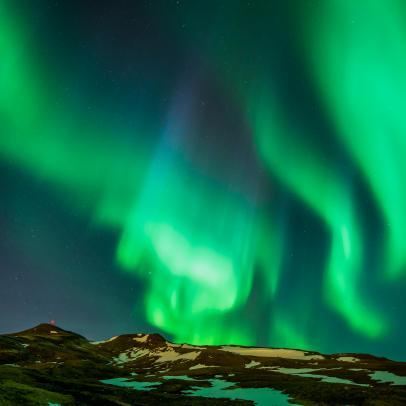

The color green is quite prevalent in nature, perhaps the most. But where does it appear the most majestically? No, not on the ground but up in the sky - The Northern Lights or the Auroras. This illustration was made in an attempt to capture the moving magic of the auroral band.
Some of us are gifted with painting skills with real paints and colors, however, for the others like me, enjoy digitally illustrating it to capture the magic.
As can be seen in the reference images, they can be found in different shades and colors. However, I am exploring a monochromatic green. You can print and enjoy this as your self-made digital painting (make in RGB if it is to be printed). It’s very evocative and magical to look at! I hope you have as much fun making it as it is to look at the final piece!
Supplies
- Pictures of Northern Lights or Auroras for reference
- Adobe Illustrator/ Inkscape or any vector software, or Adobe Photoshop (here I am using Adobe Illustrator)
- Some long hours, preferably late at night, with coffee and some ~ low-fi music ~ (Optional)
Background
- On an Artboard of size 700x380mm.
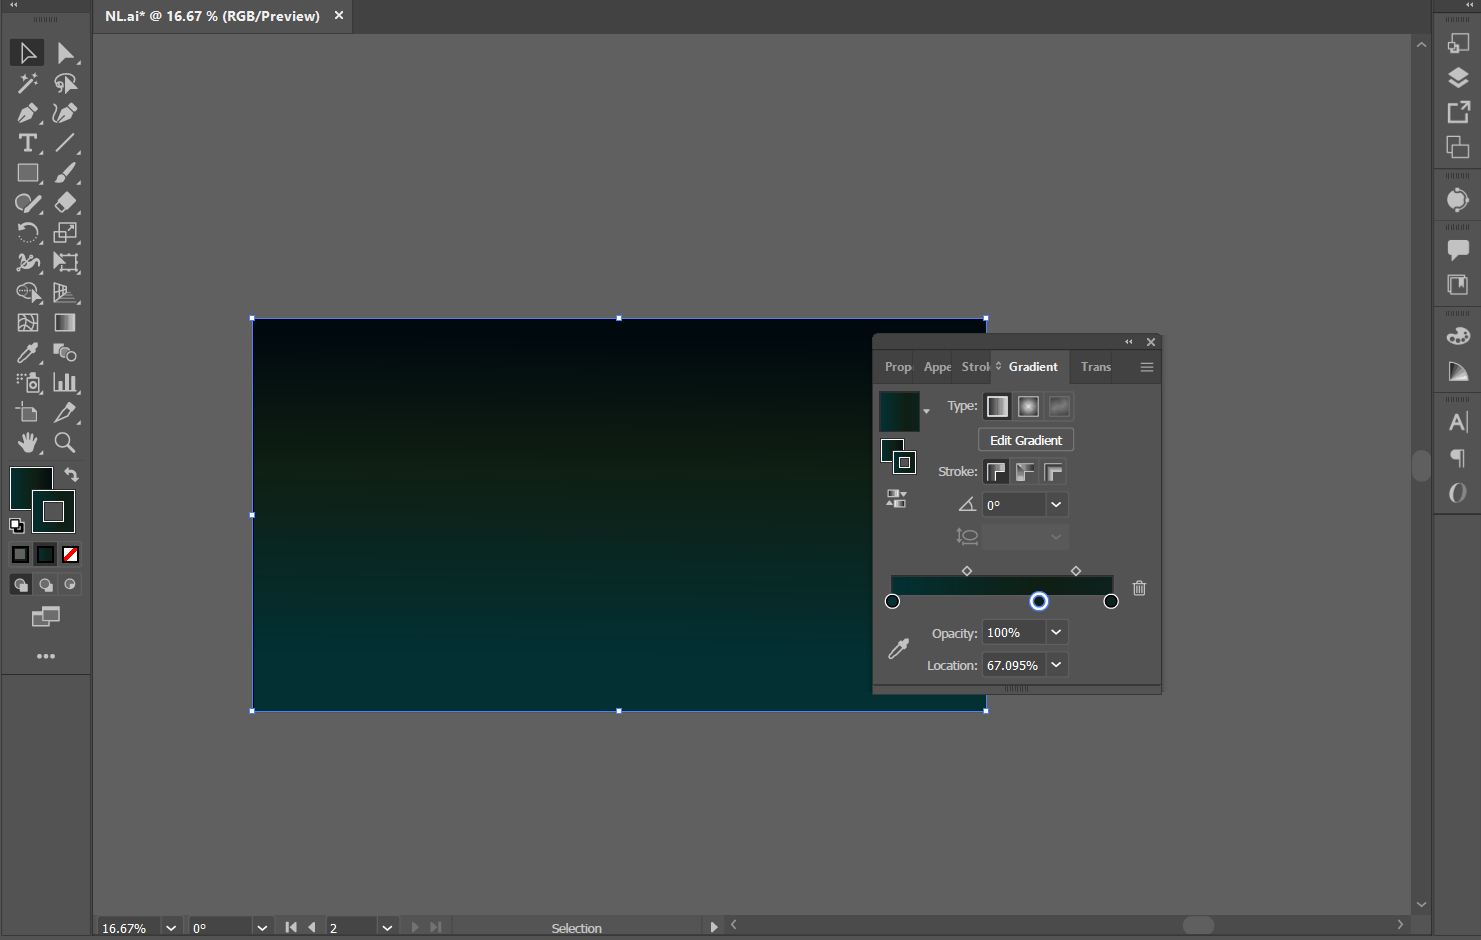
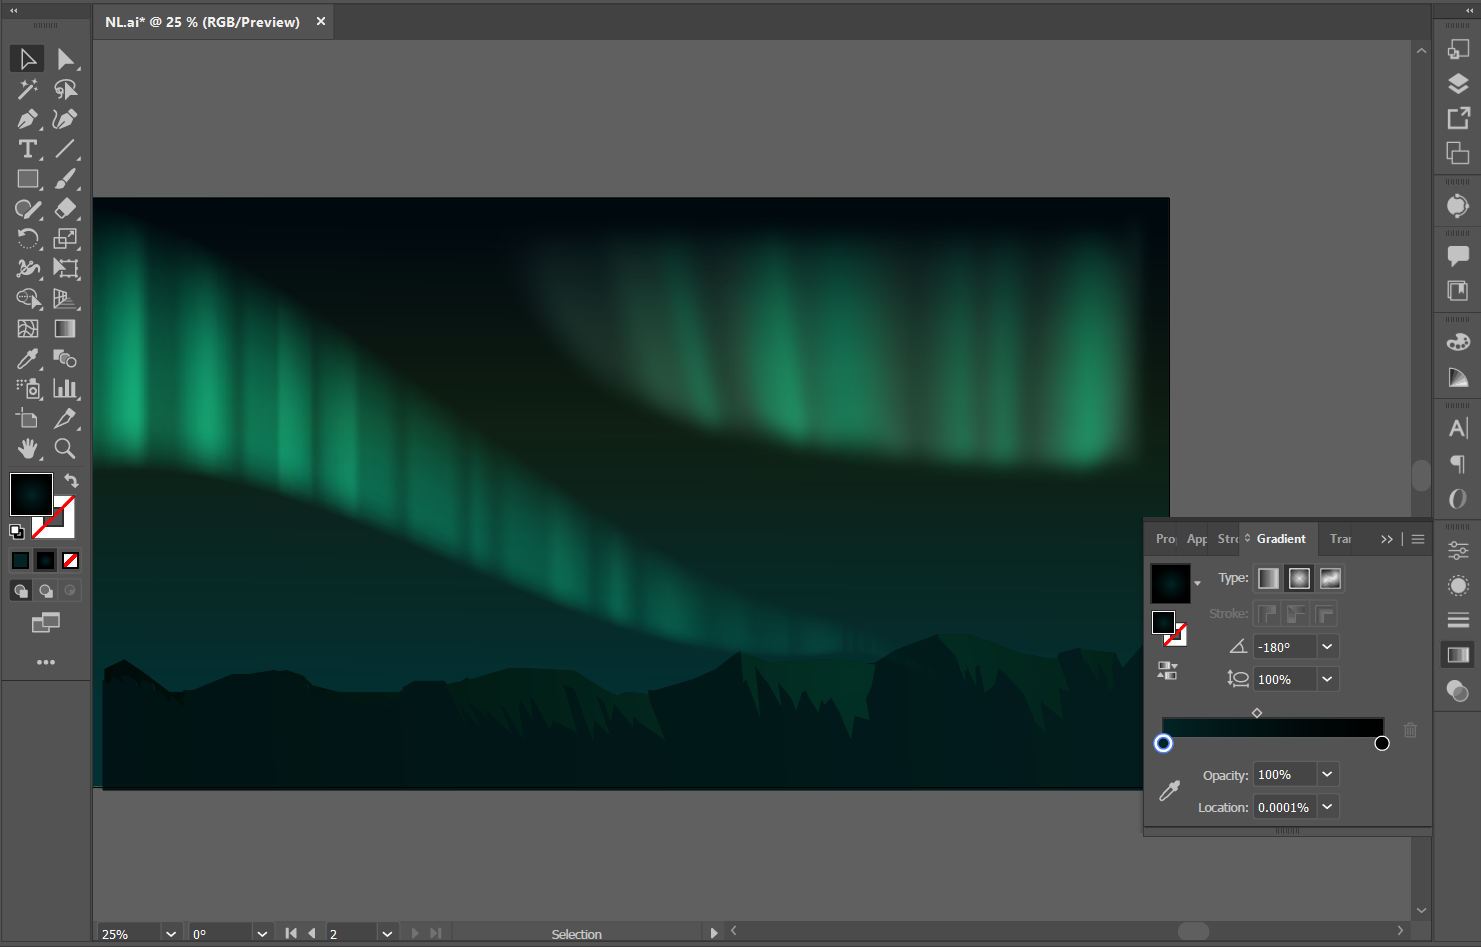
- Add a rectangle of the size of the artboard. Select the rectangle and add three linear gradient colors - #023033, #0f1f13 and #00090e.
Making the Auroras
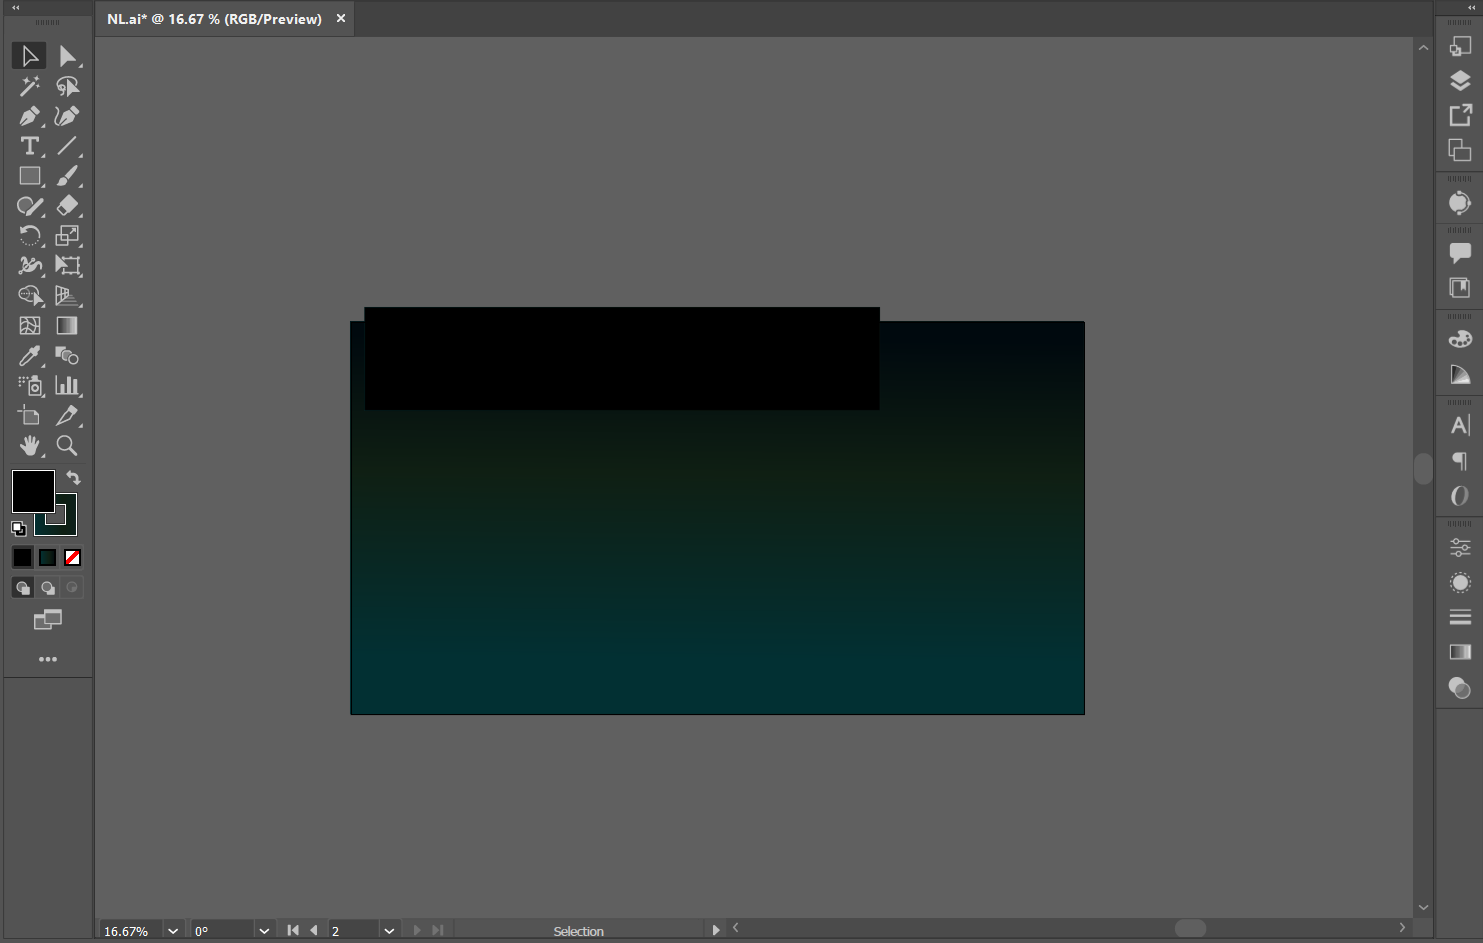
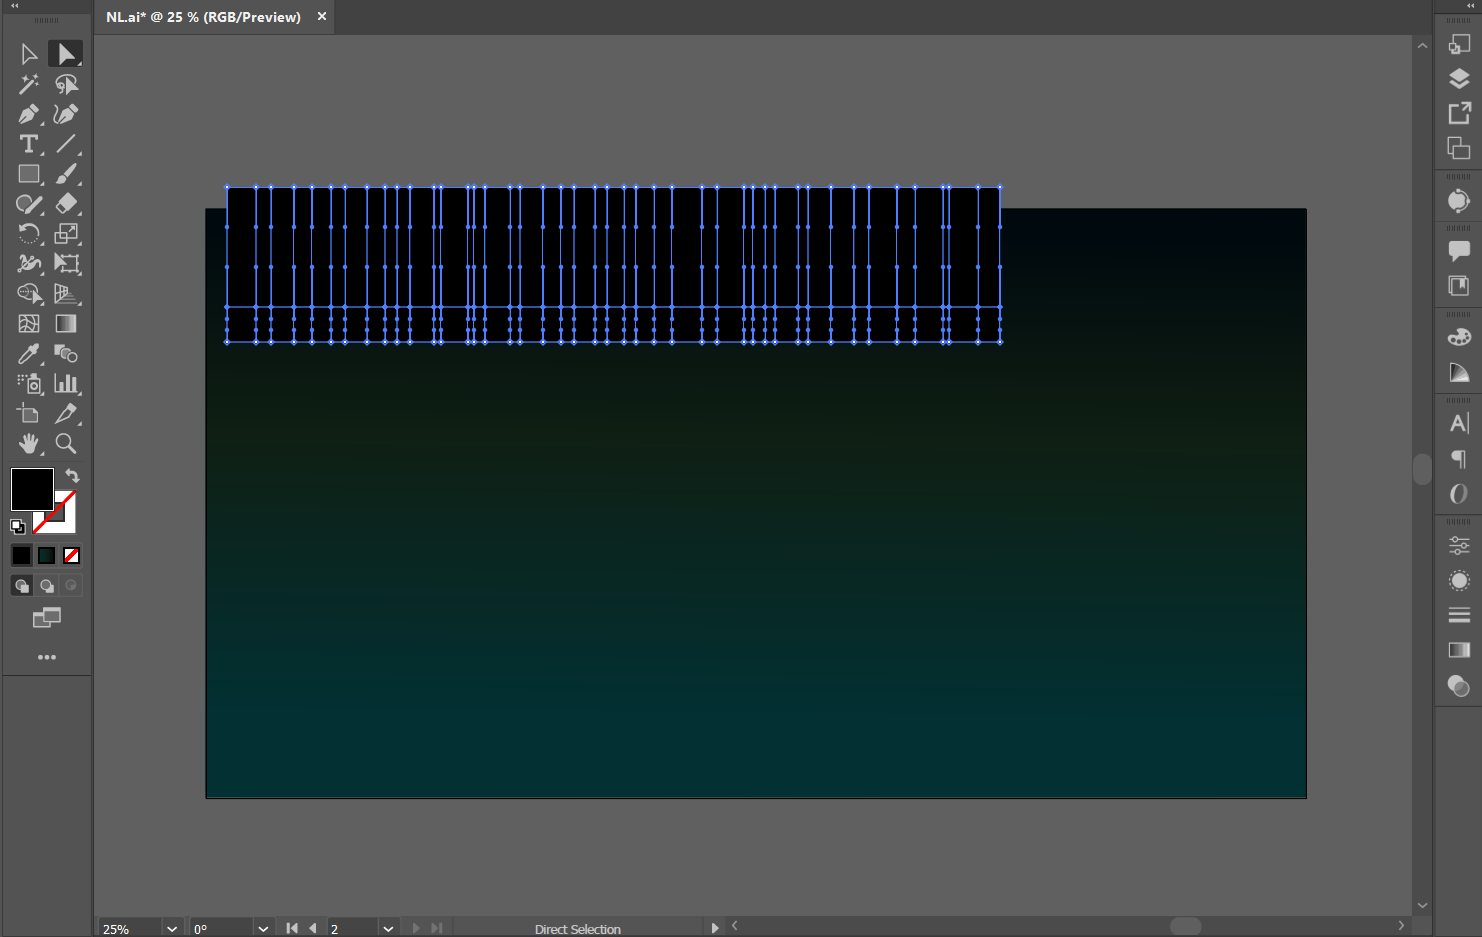

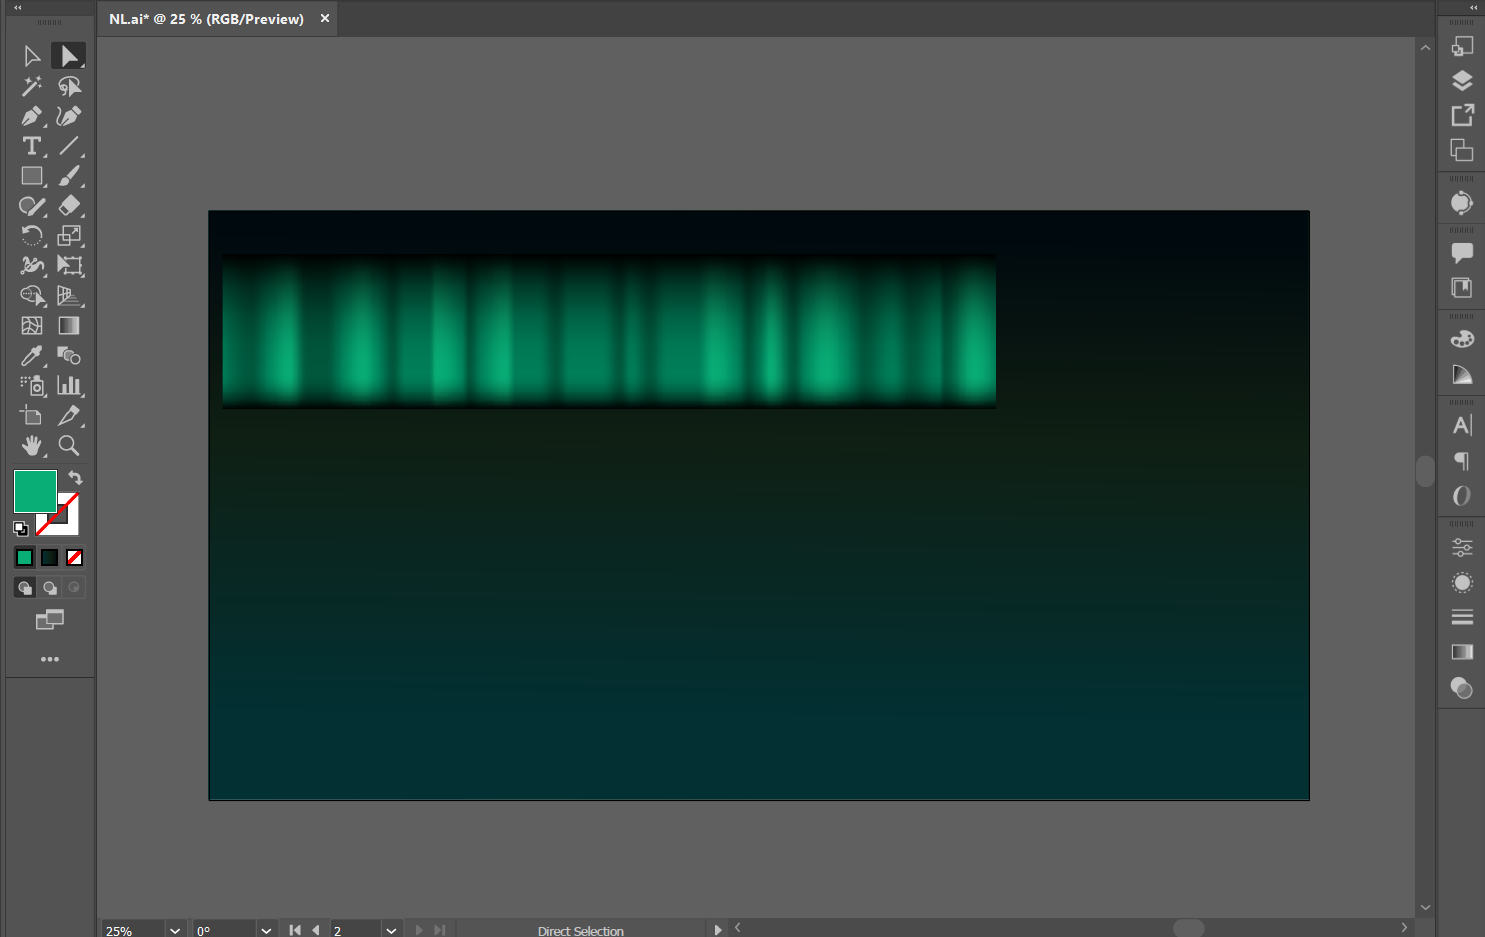
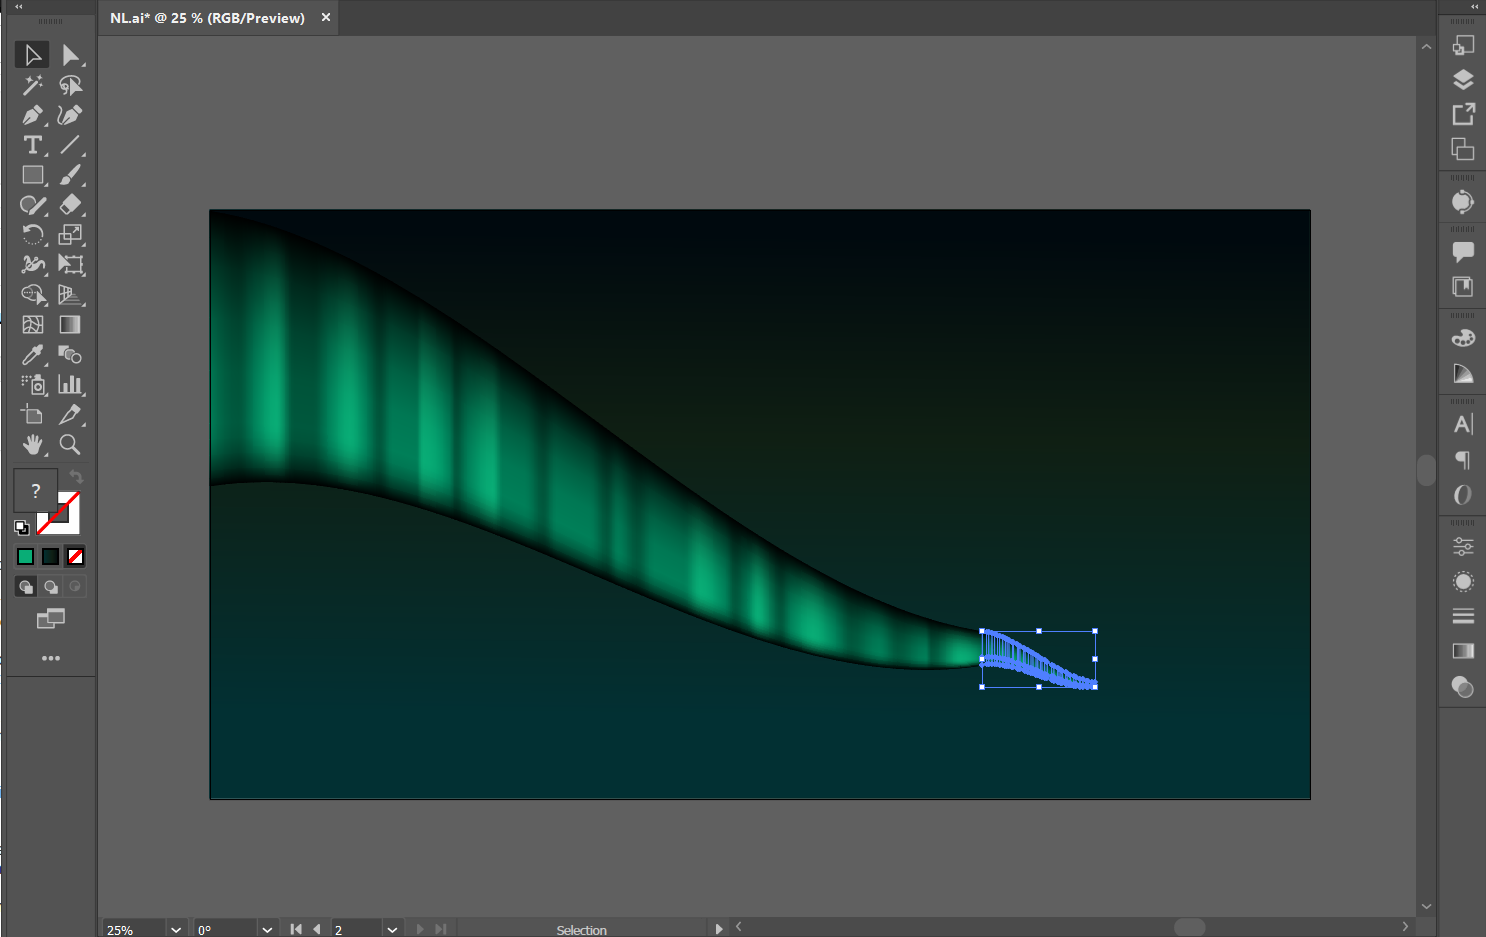
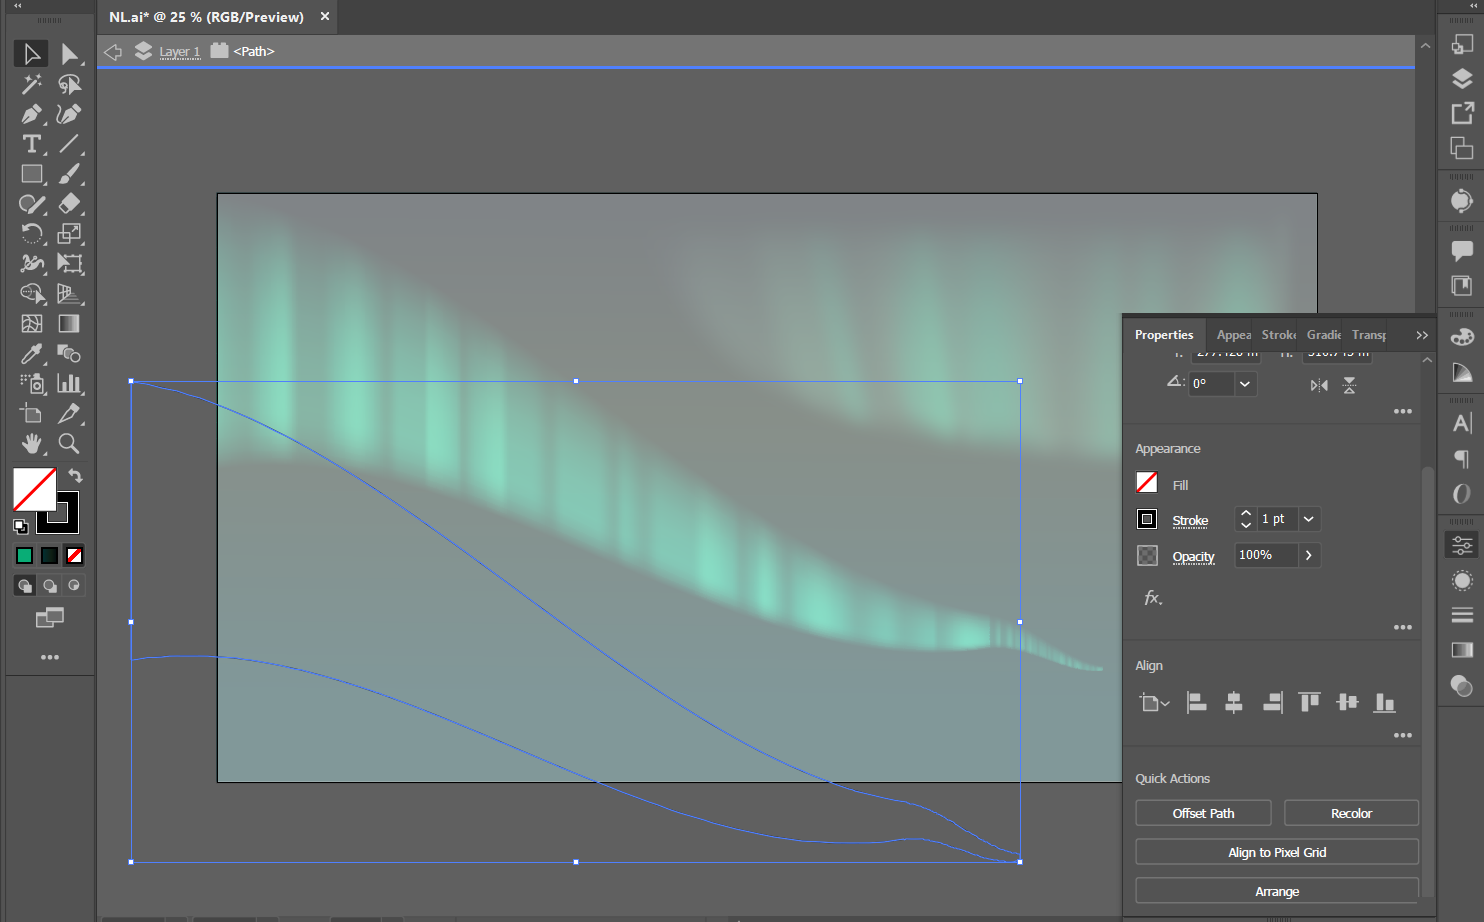
- Draw a rectangle of approximately 500X100mm, with a fill of black
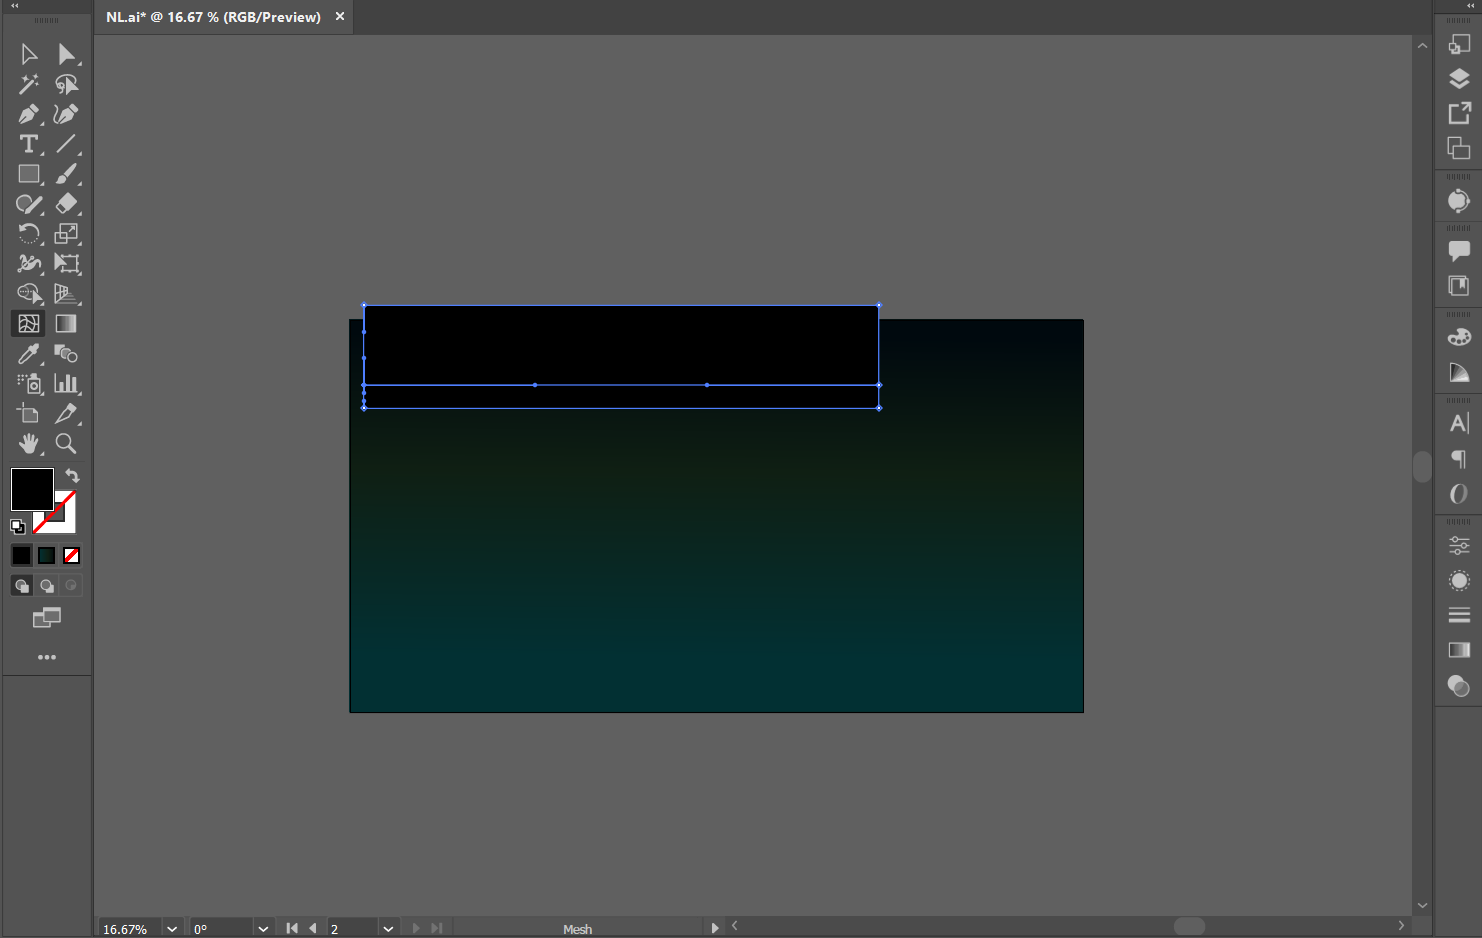
- Select the rectangle and select the 'Mesh' tool from the sidebar. Add multiple vertical meshes.
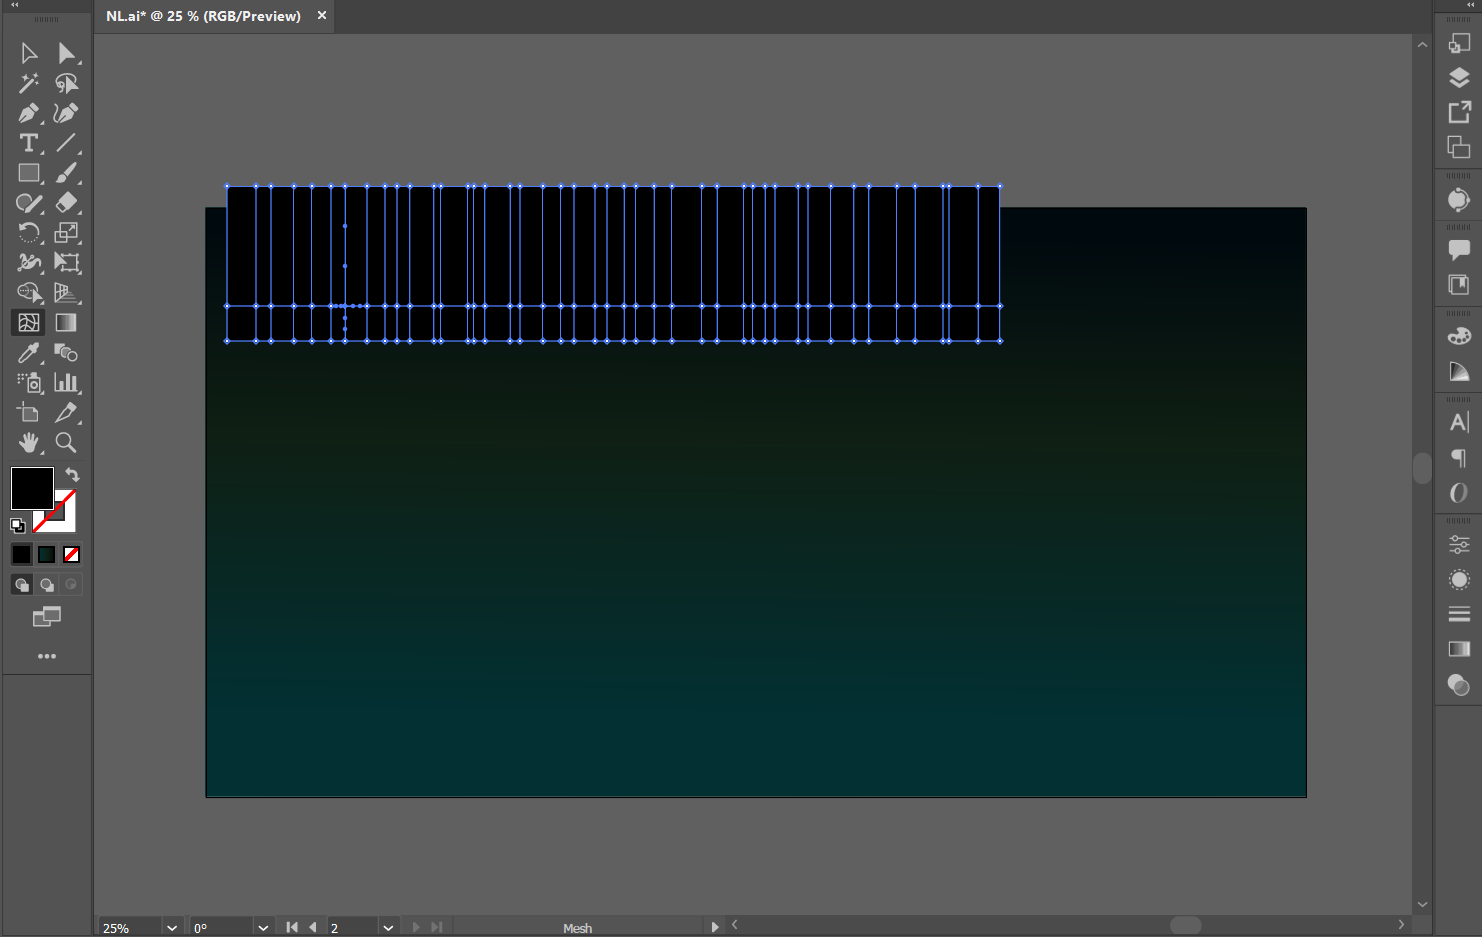
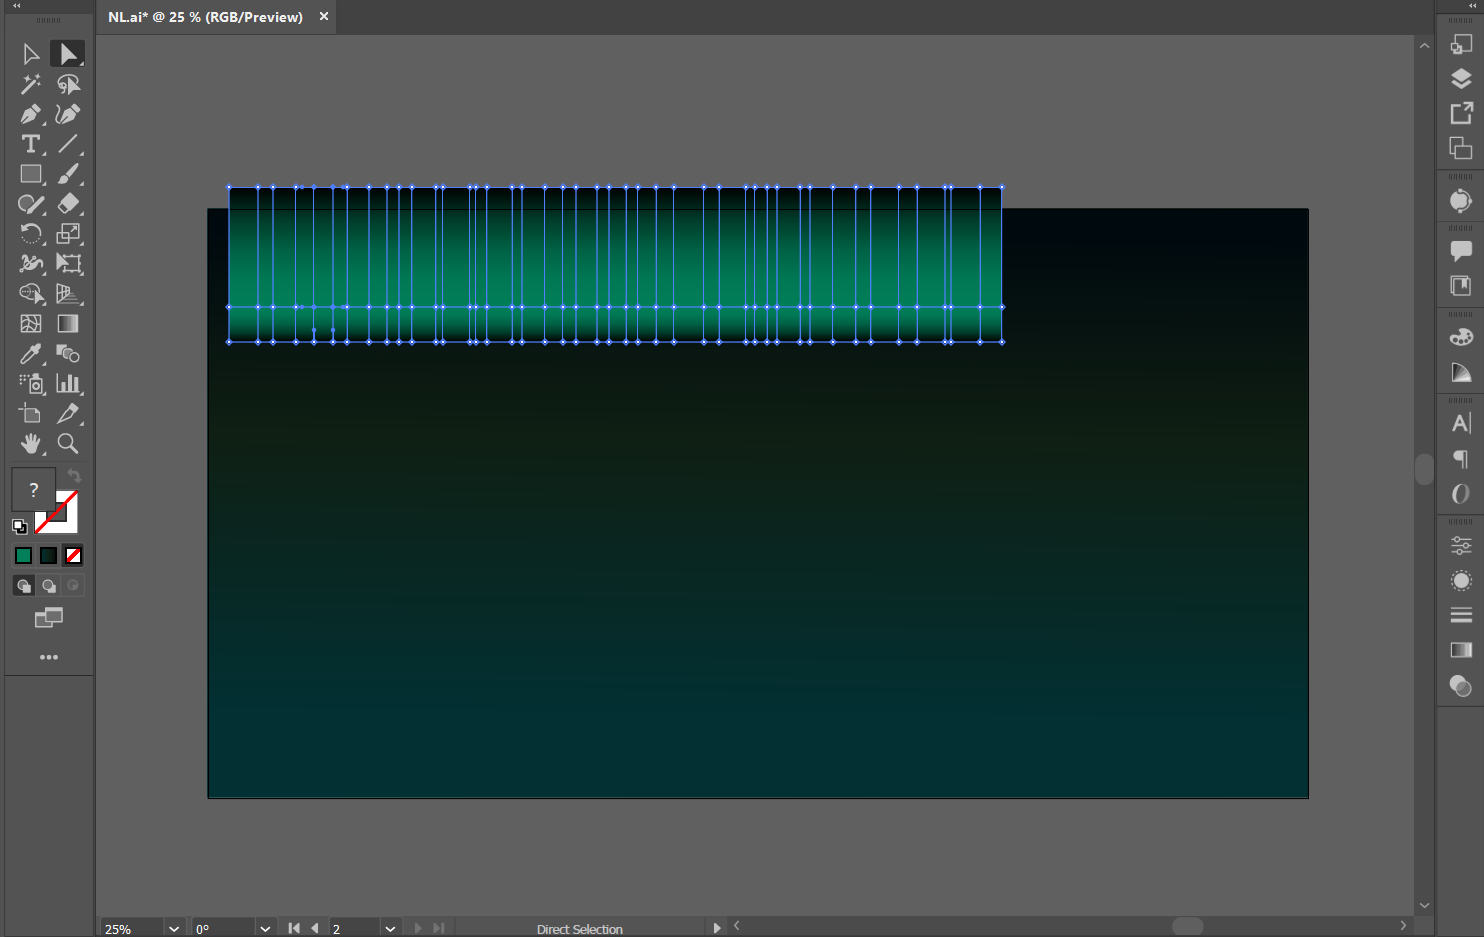
- Using the 'Direct Selection' tool, drag and select the entire horizontal line. Add the green color #007F58 to add a gradient to the rectangle
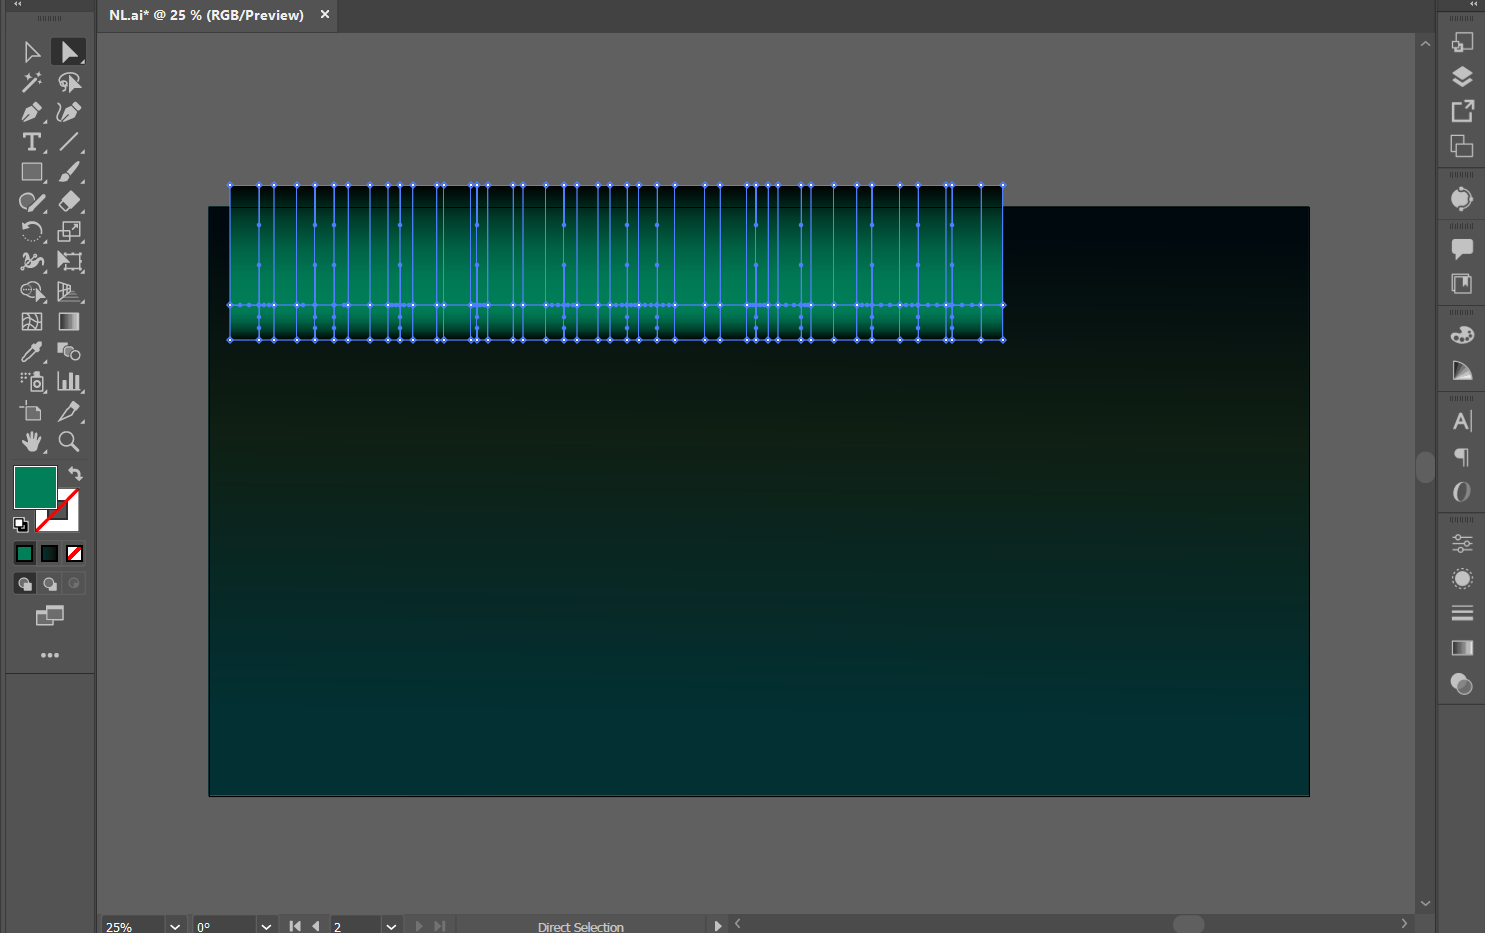
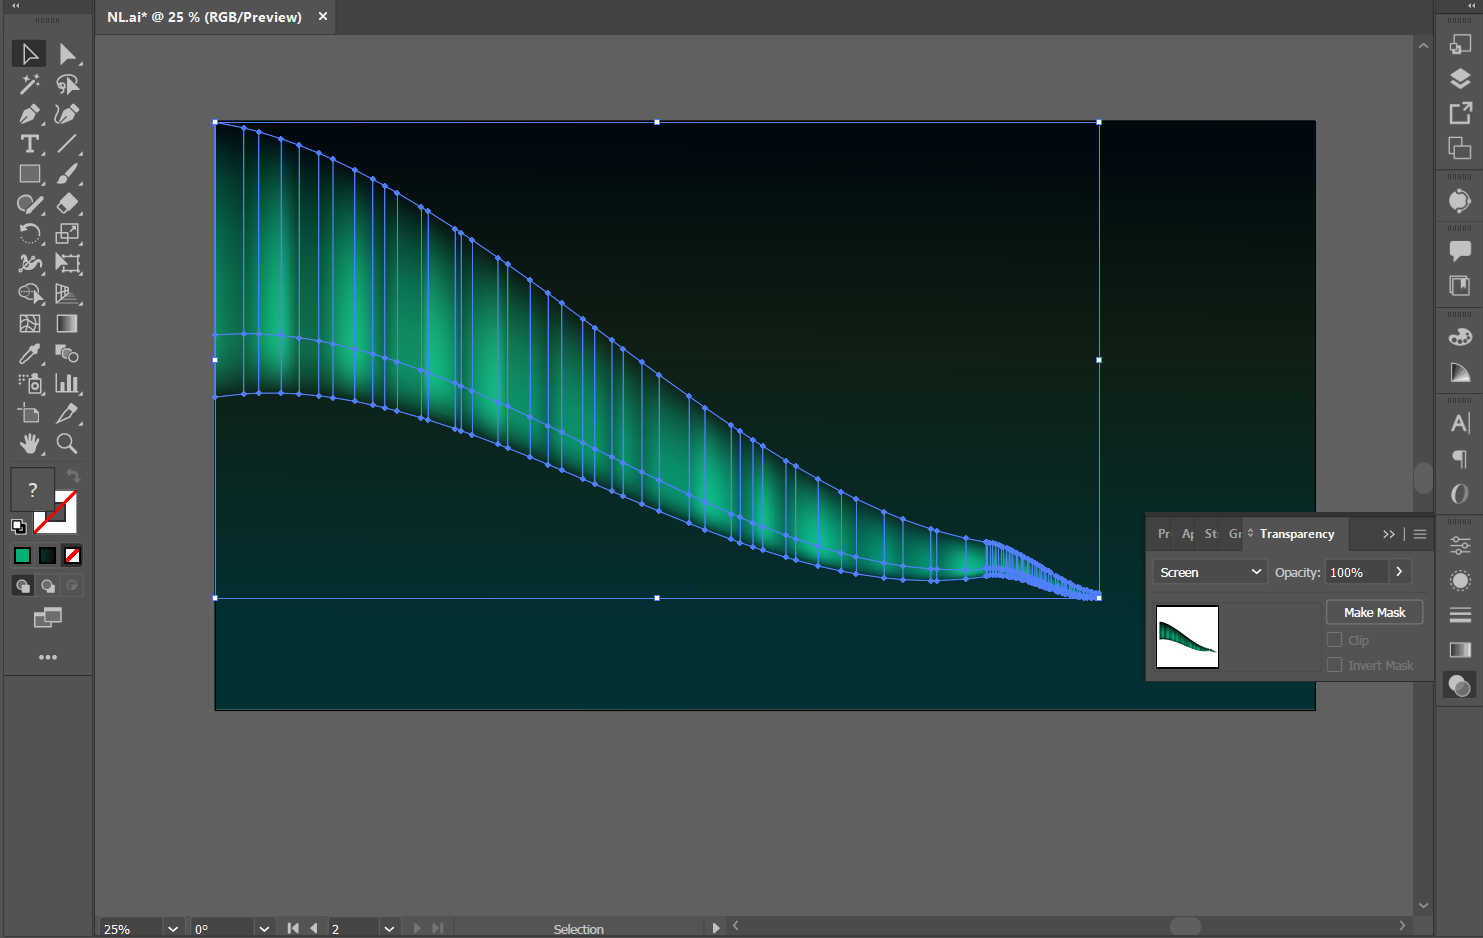
- Using the 'Direct Selection' tool, randomly select certain points in the horizontal line of the mesh, and using the 'Eyedrop' tool add a darker green.
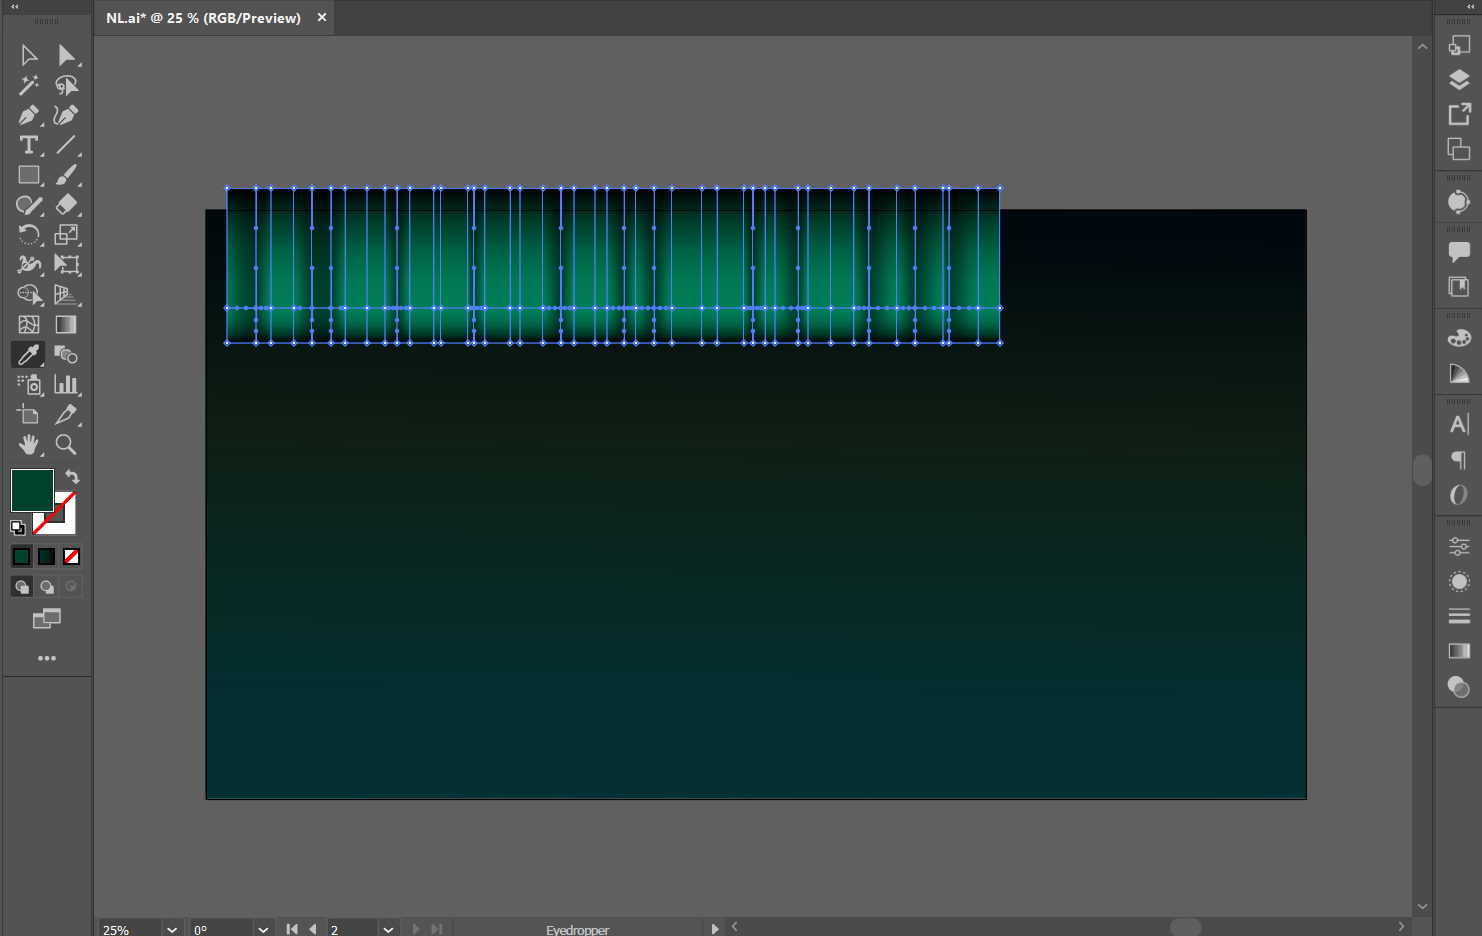
- Repeat Step 04 again with other random points to add a lighter shade (approx #09ad76) to the original green.
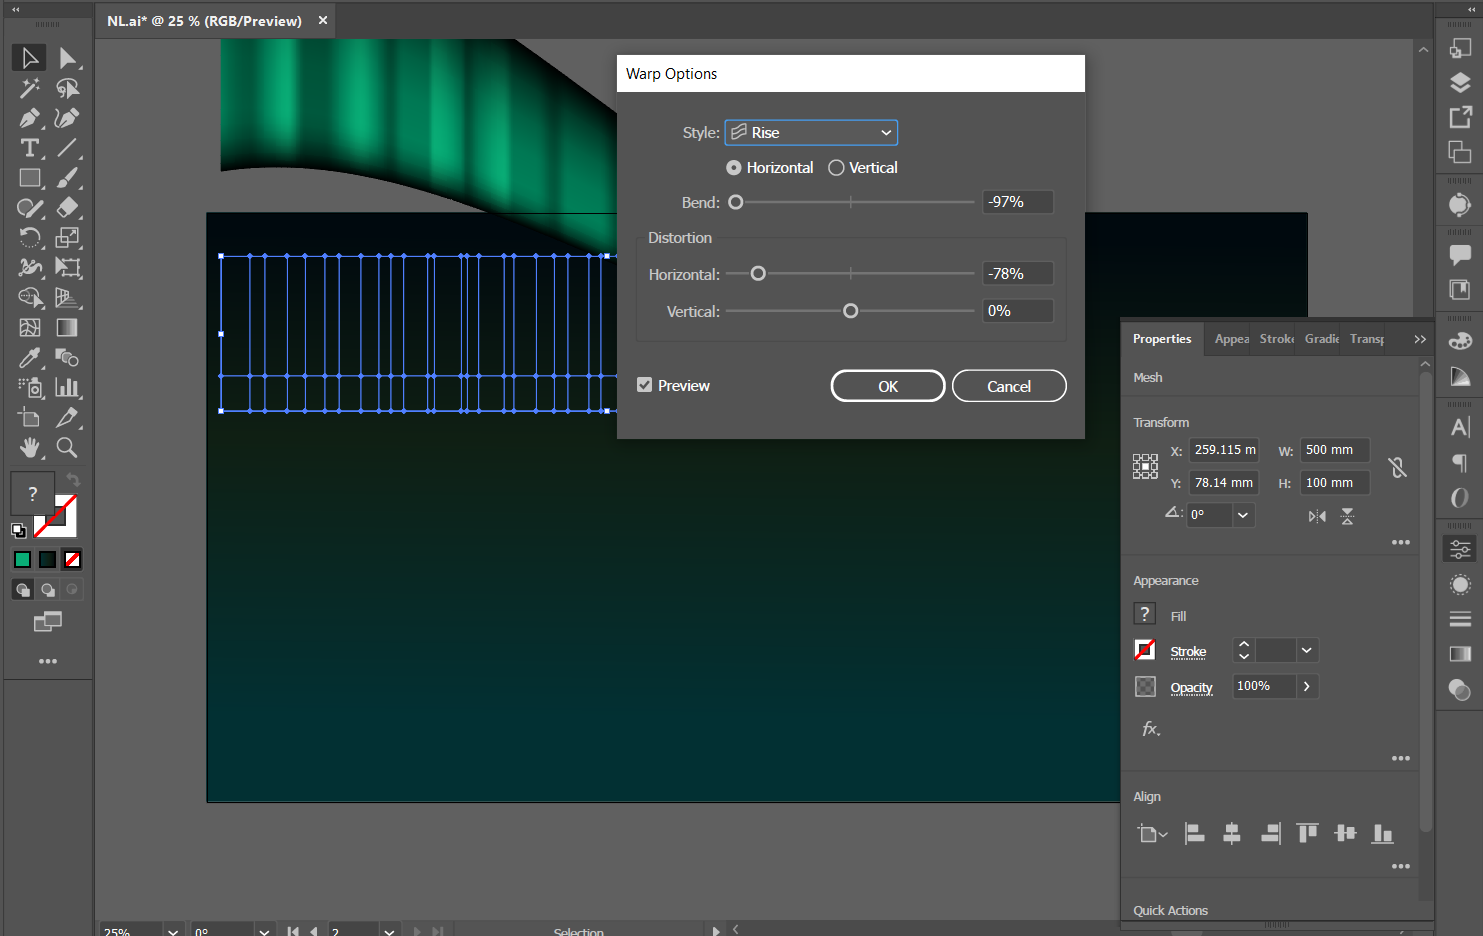
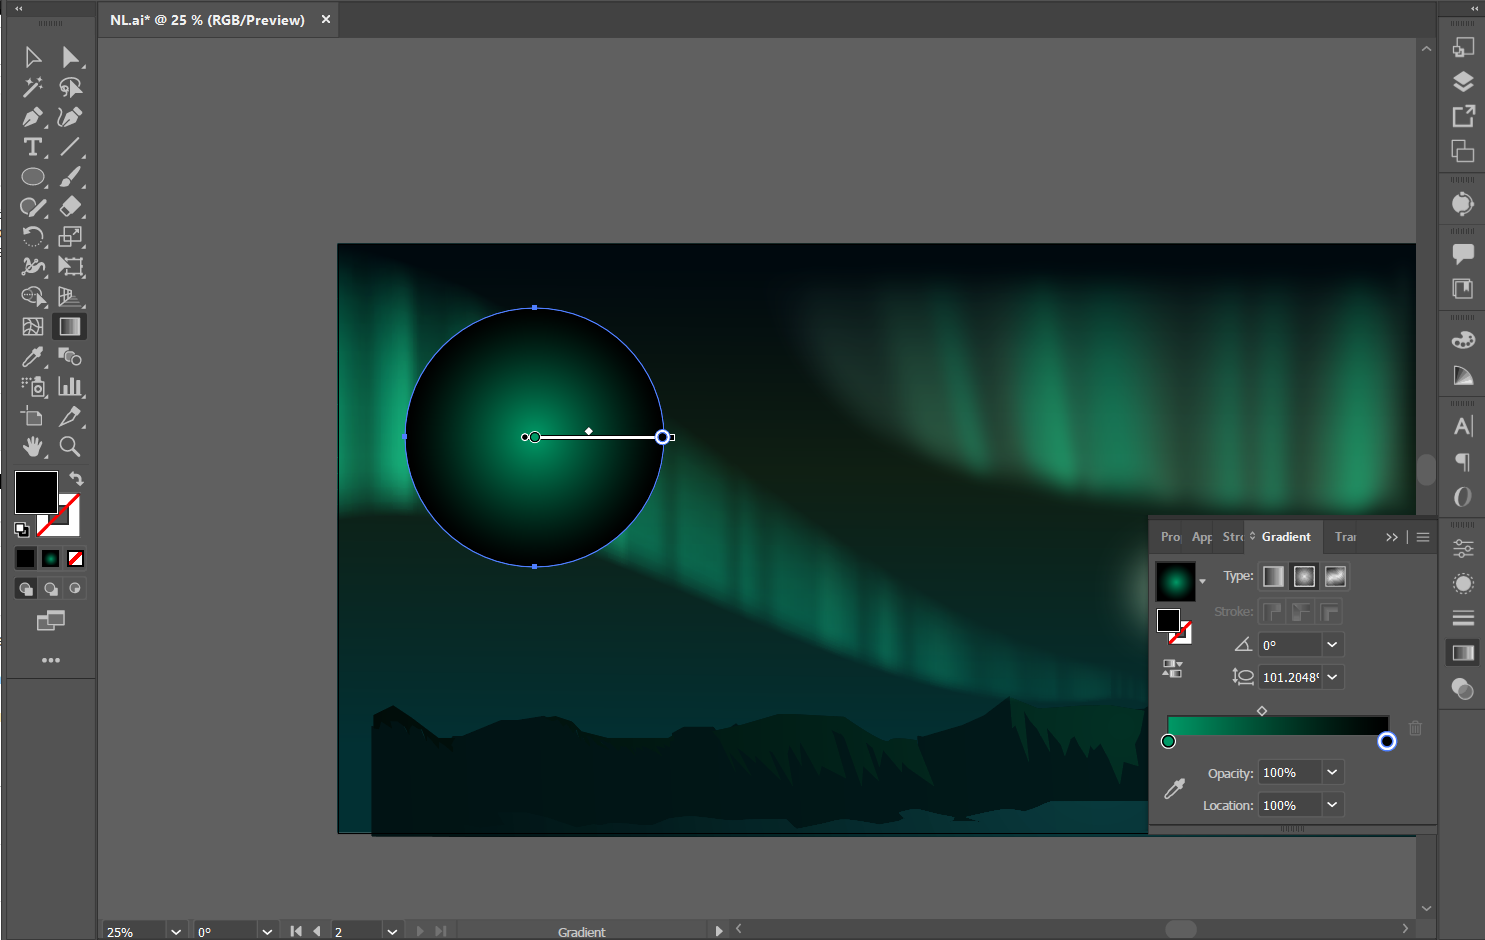
- Select the rectangle, and go to Effect>Warp>Arc. In the pop-up window, Choose 'Rise' from the 'Style' Option and choose 'Horizontal'. Select 'Bend': -97% and Distortion 'Horizontal: -78% and click OK.
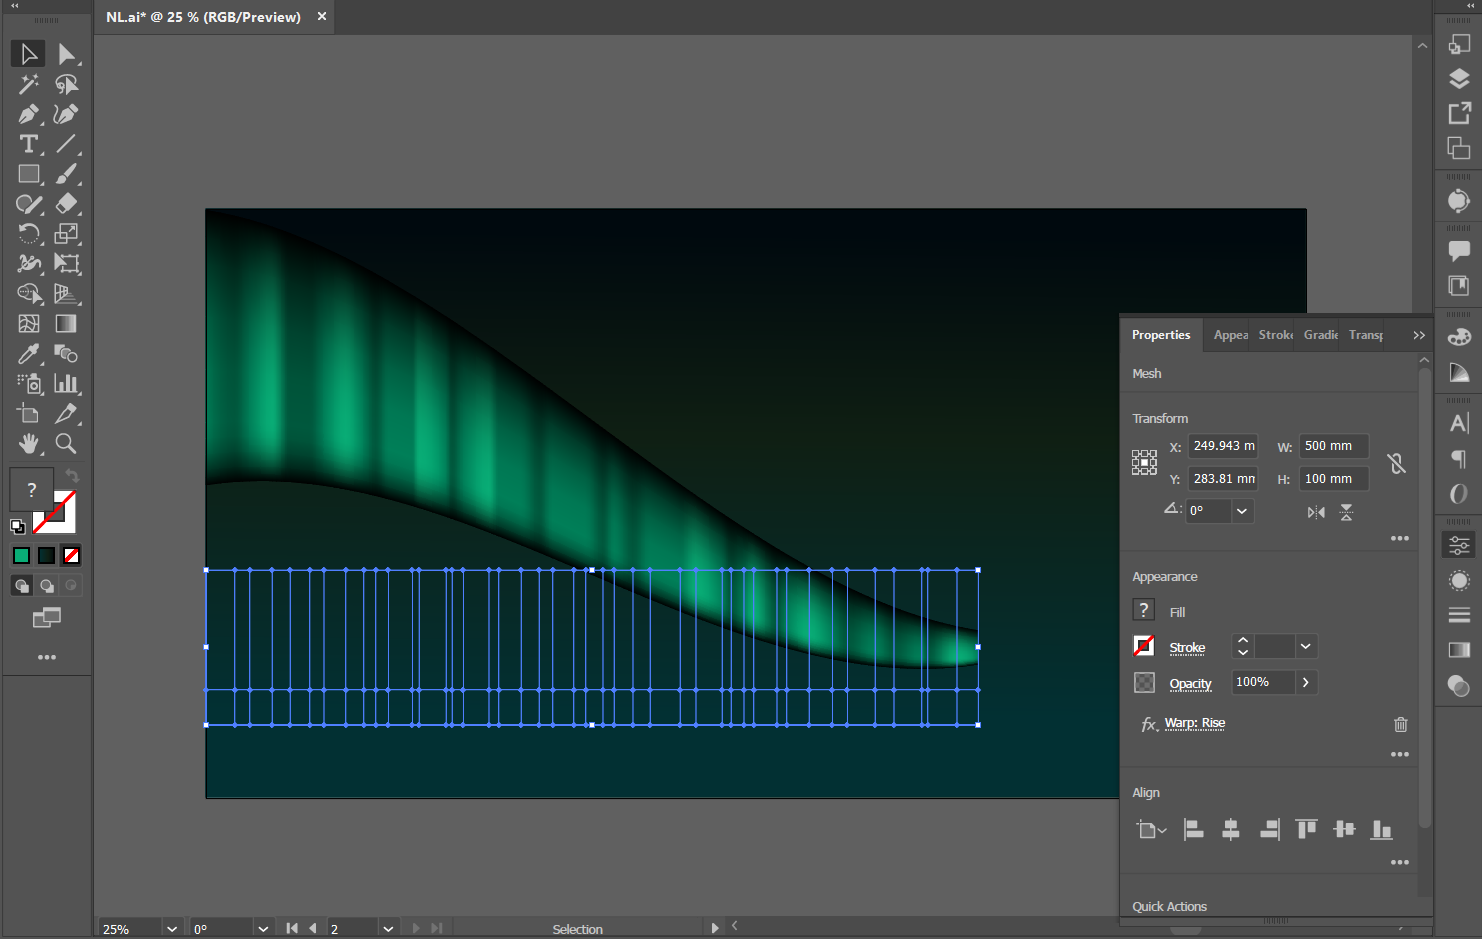
- Go to Object>Expand Appearance.
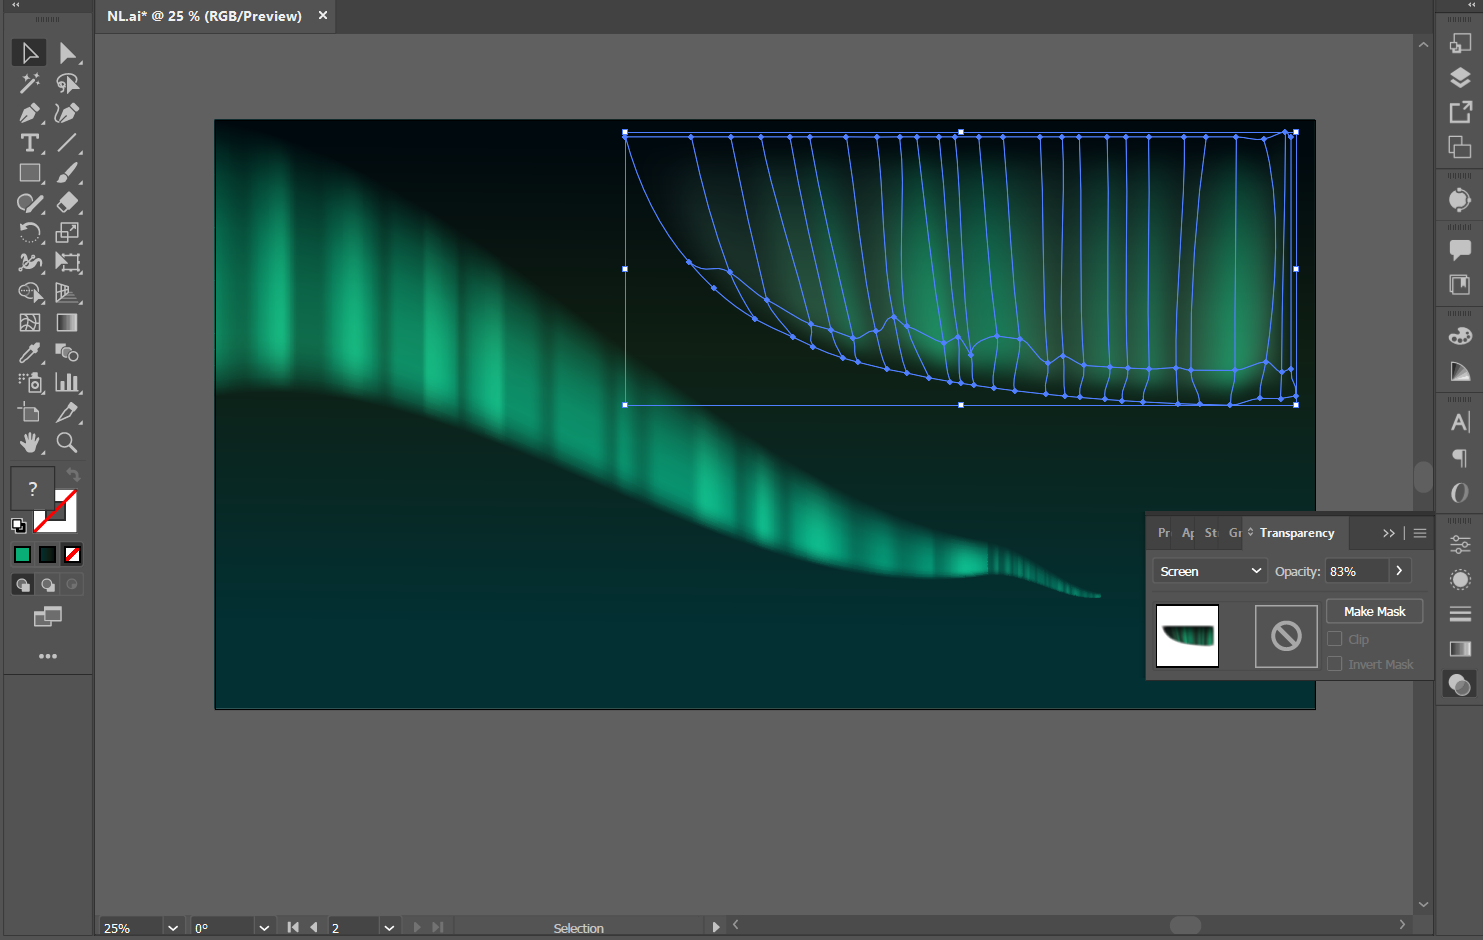
- Copy-paste this form and reduce the size to put it as an addition tail to the first one, as shown in the image.
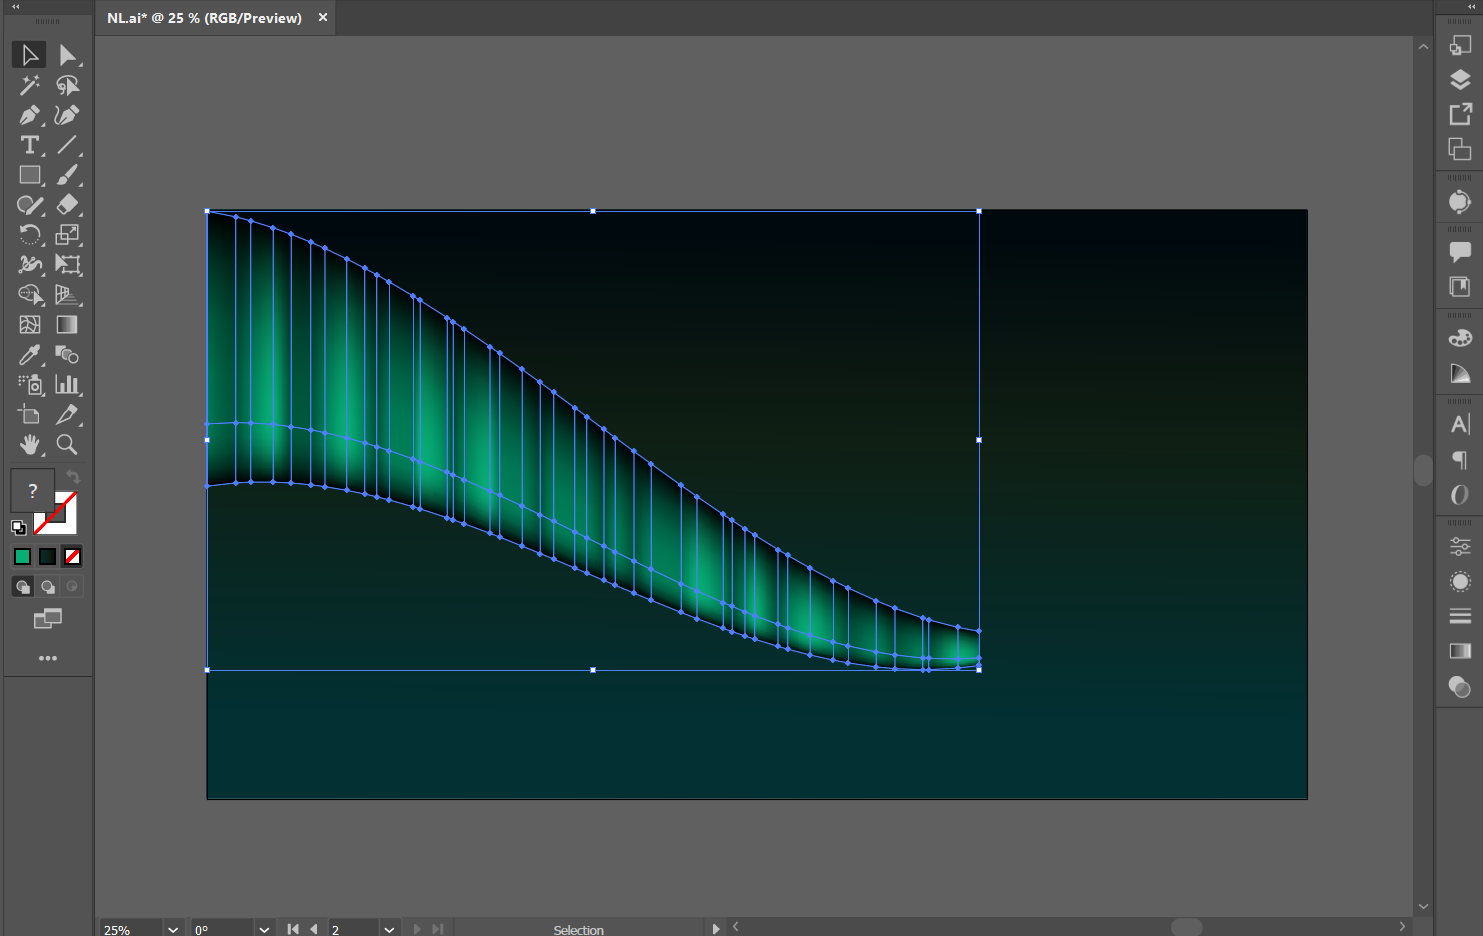
- Using the 'Free Transform' tool from the sidebar, adjust the shape so it is bigger at the beginning and smaller (thus looking distant) at the tail.
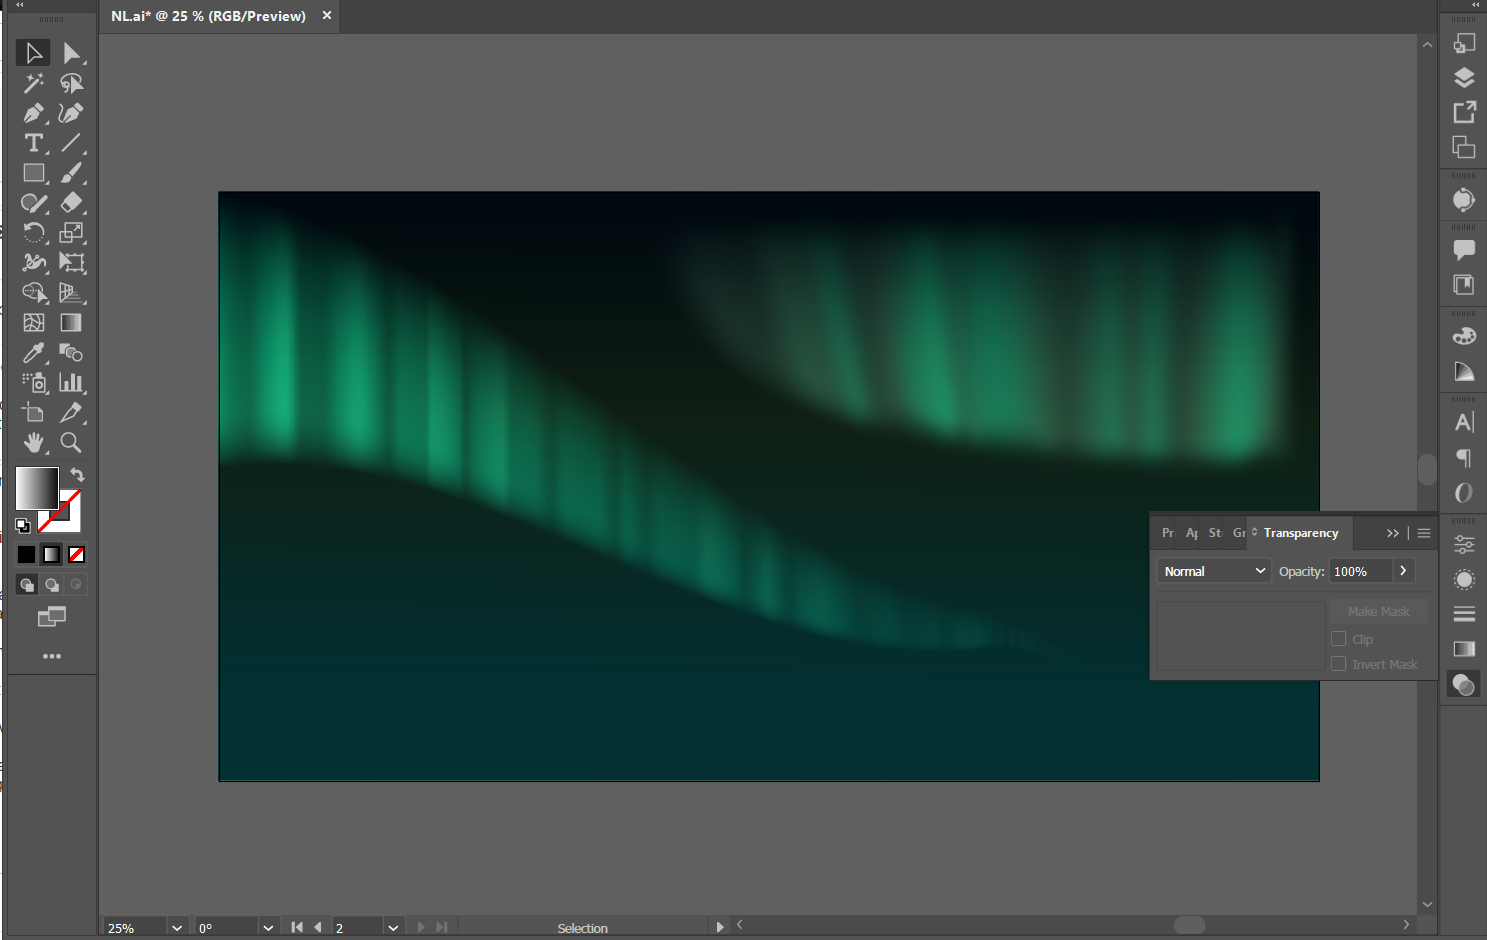
- Select and group this first 'aurora' and under 'Transparency', select 'Screen' to make this shape get a shiny effect.
- Draw another fatter shape, almost like a quadrant of a circle on the top-right corner as shown.
- Add the meshes as before to this shape. Repeat the steps to make another aurora.
- As shown in the image, play with the mesh's curves and distances (gaps) to add different wavy effects because of the gradient.
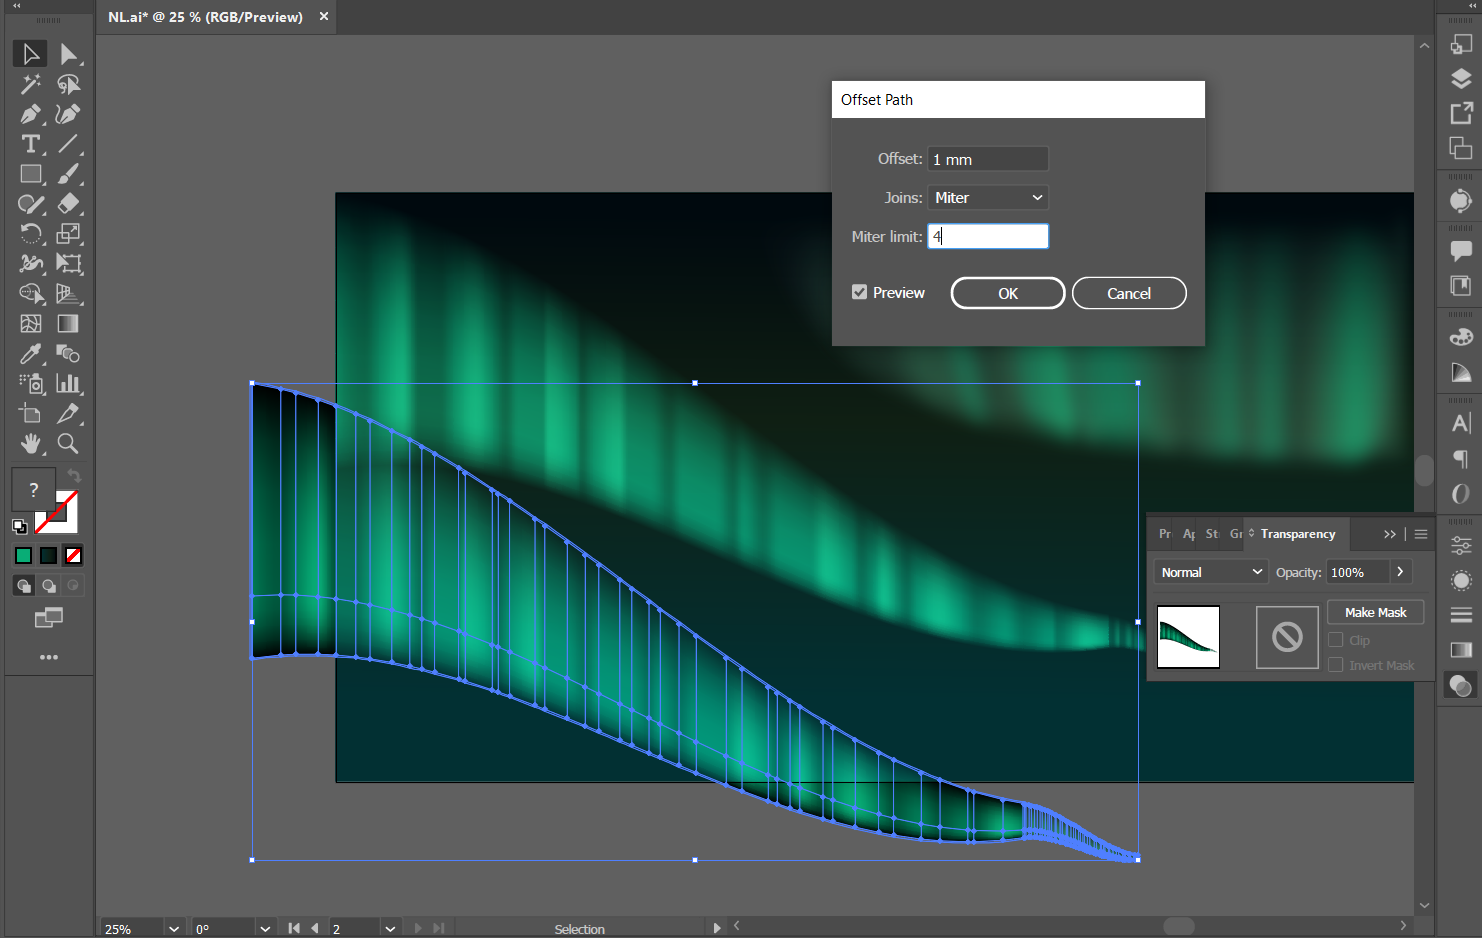
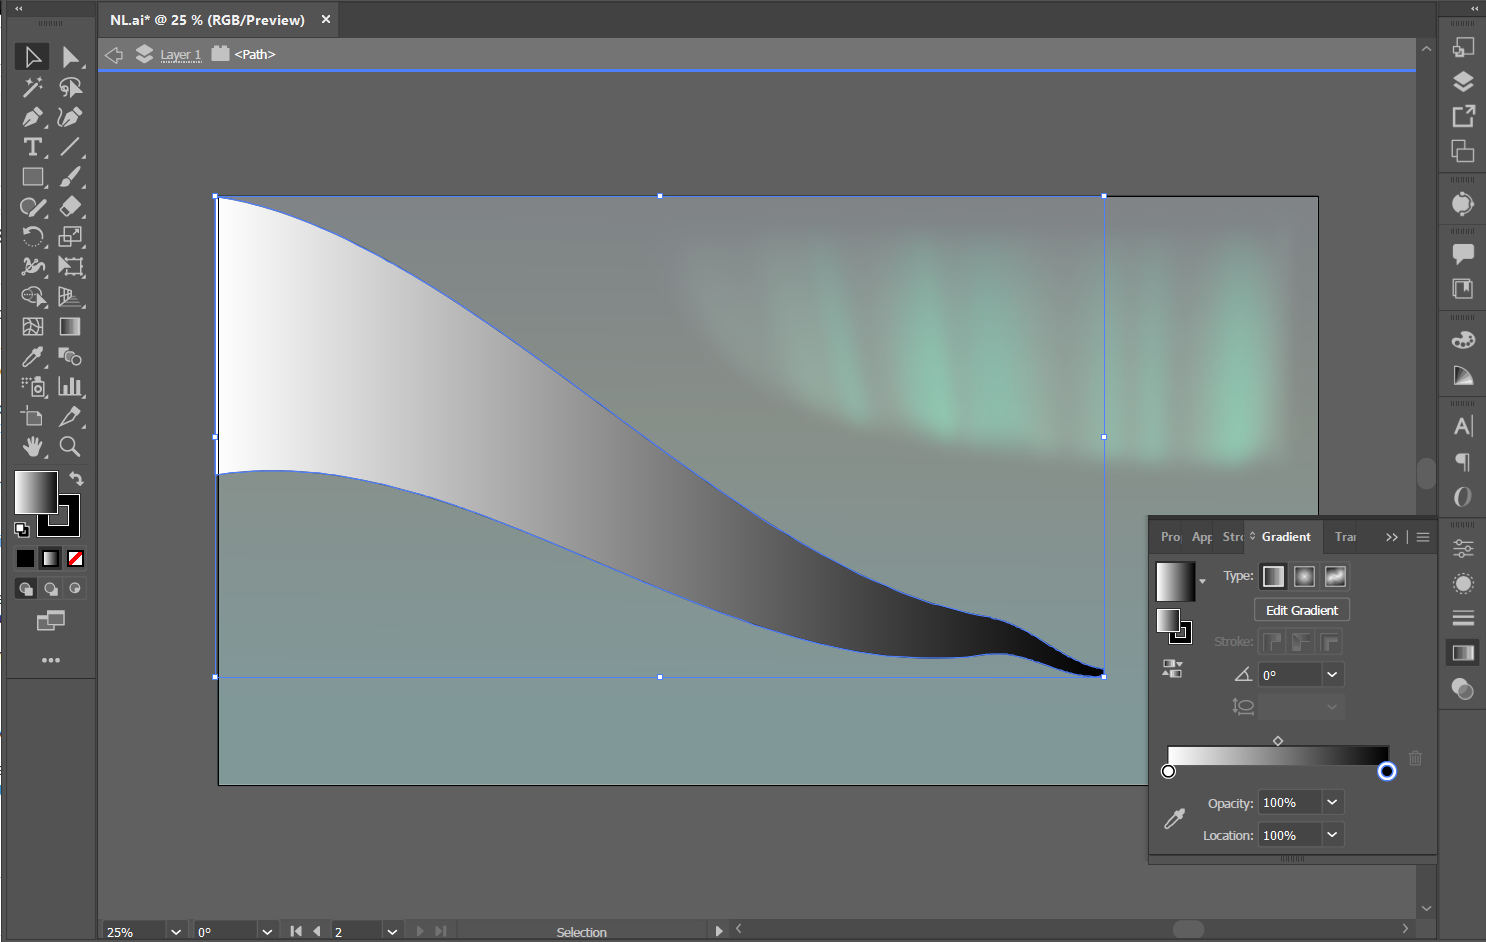
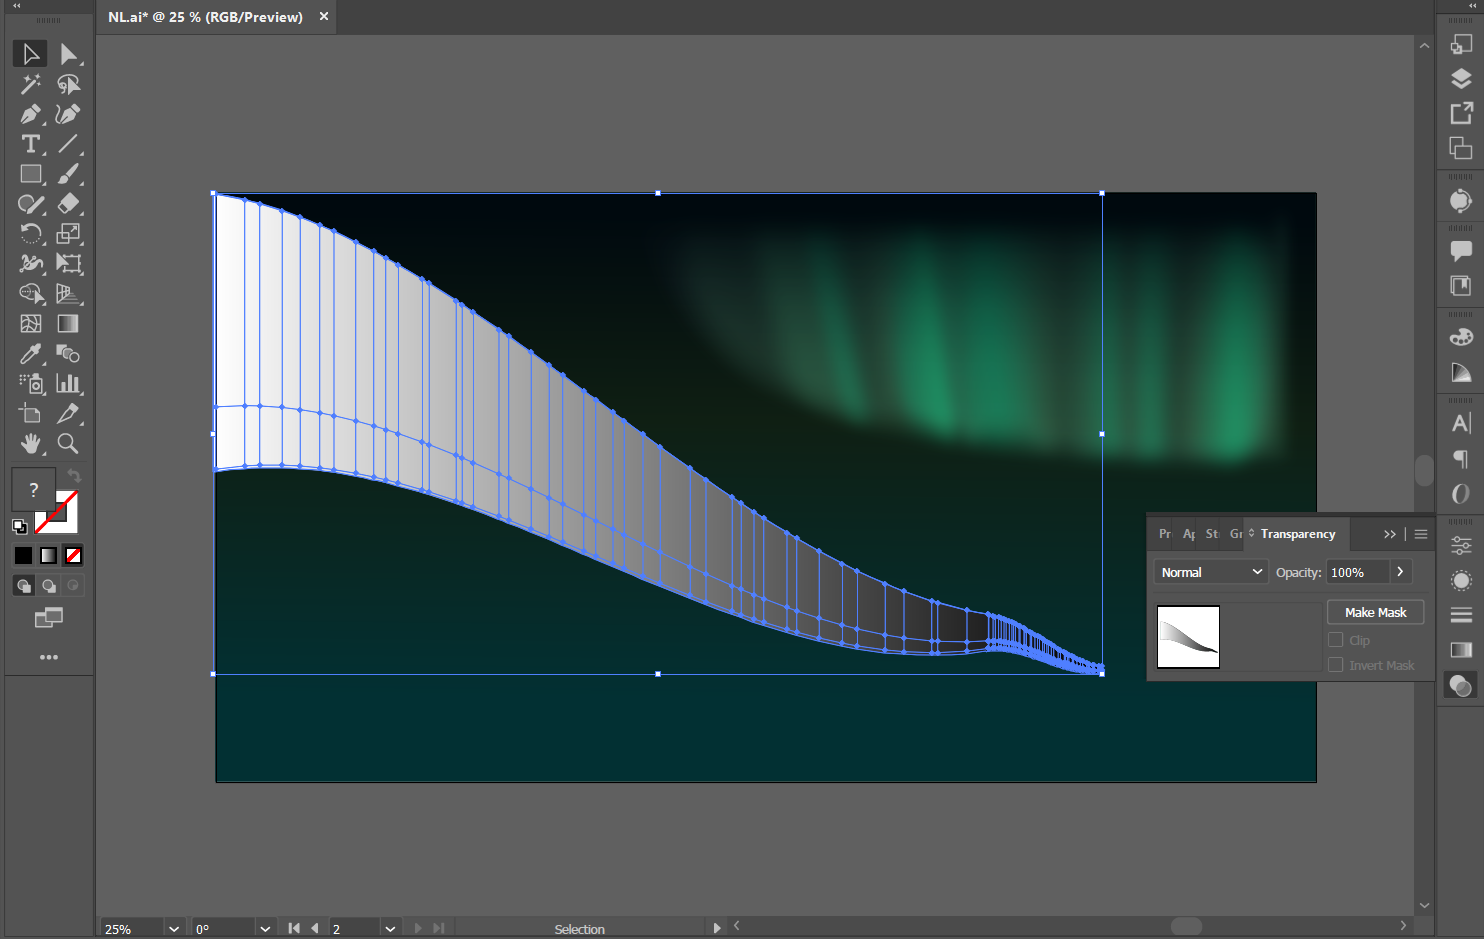
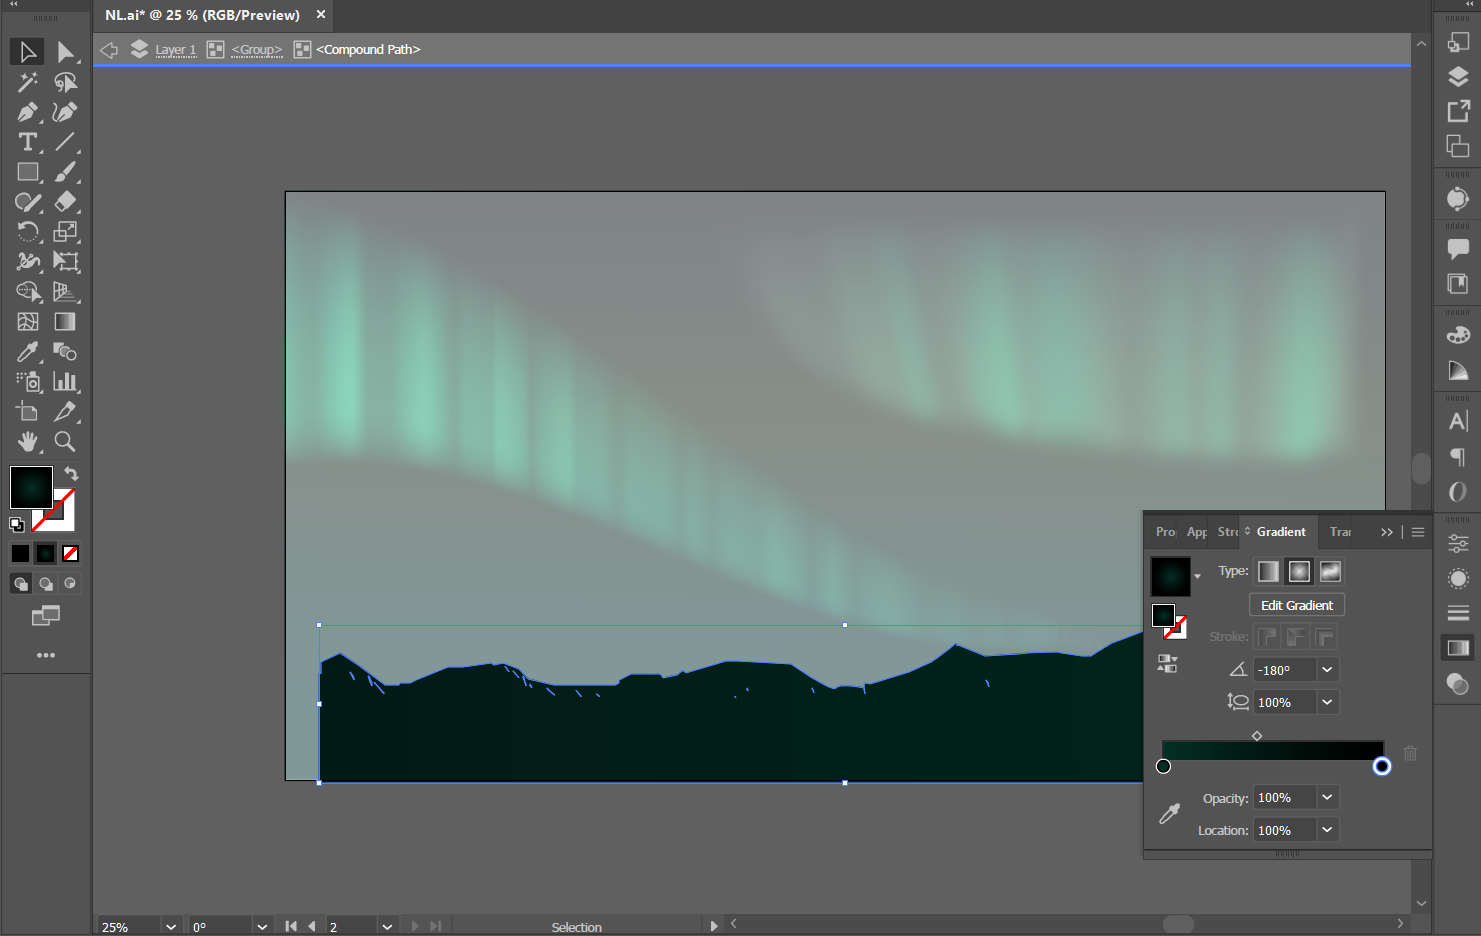
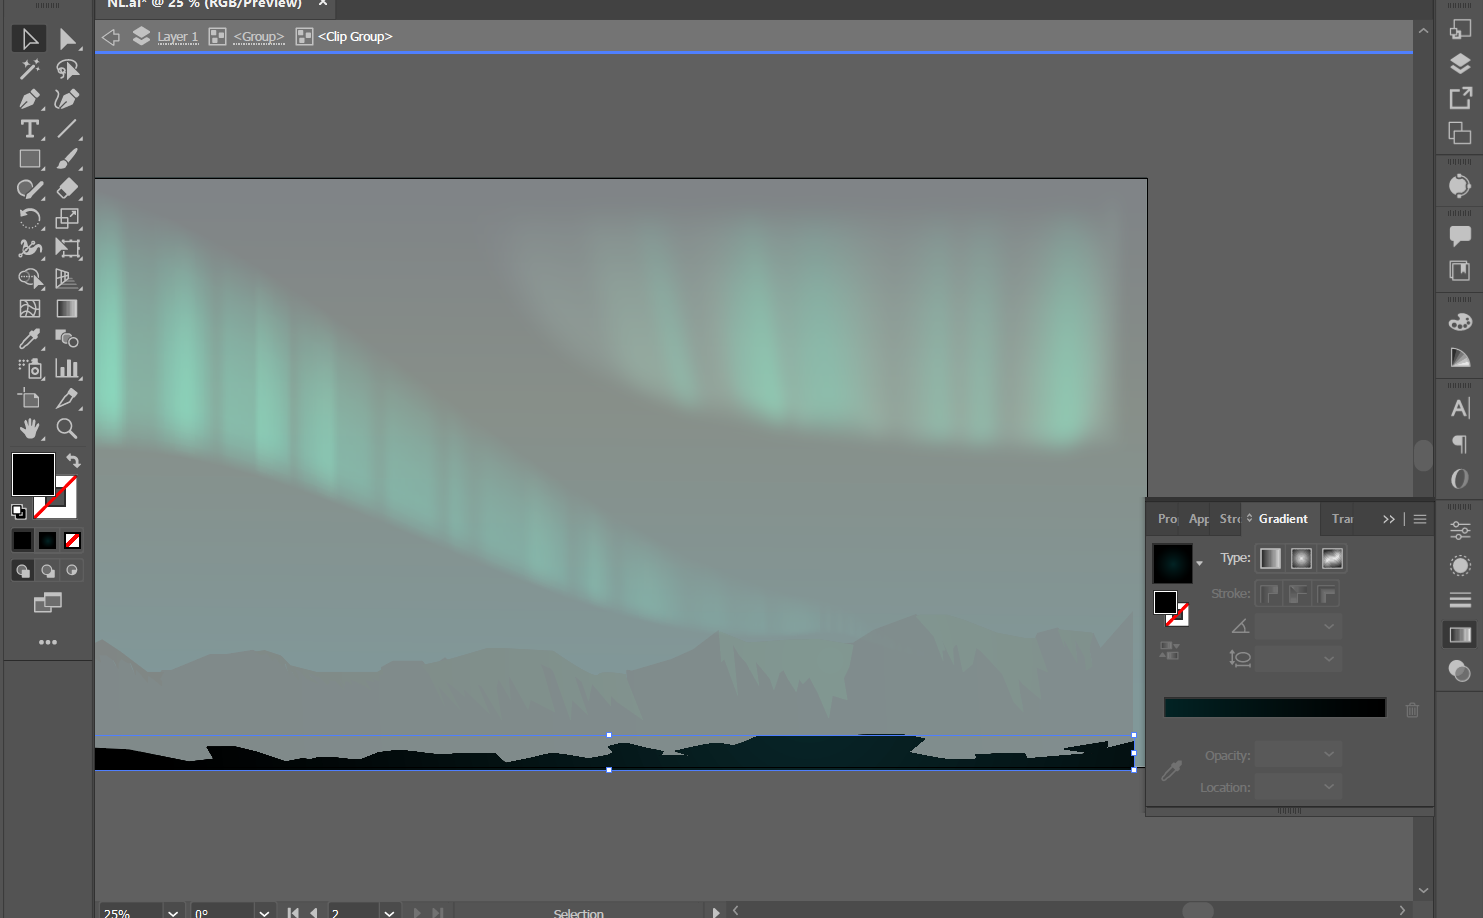
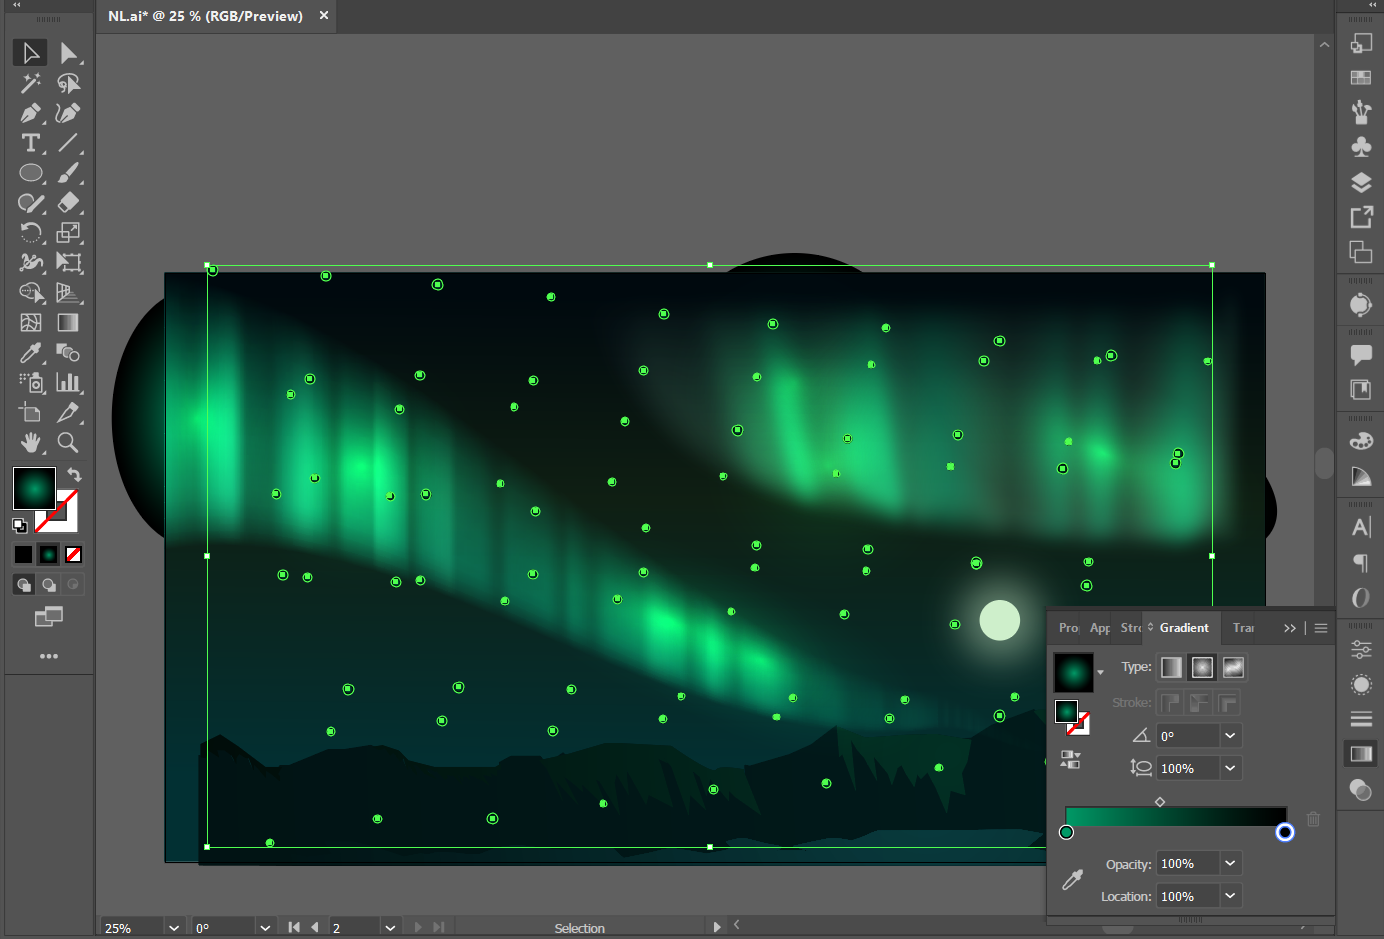
- Take the first shape and copy-paste it on the side. Select Object>Path>Offset Path to get an outline of this shape. Delete the inner gradient so only the outer shape remains, and click 'Union'.
- Now, add a gradient from 'white' to 'black' to this shape, place it on the final aurora and click 'Mask'. This step helps create an opacity difference, making this aurora seem like it's going into depth and merging with the sky - making it more realistic and less flat.
Adding Environmental Details - Mountains, Lake, Stars
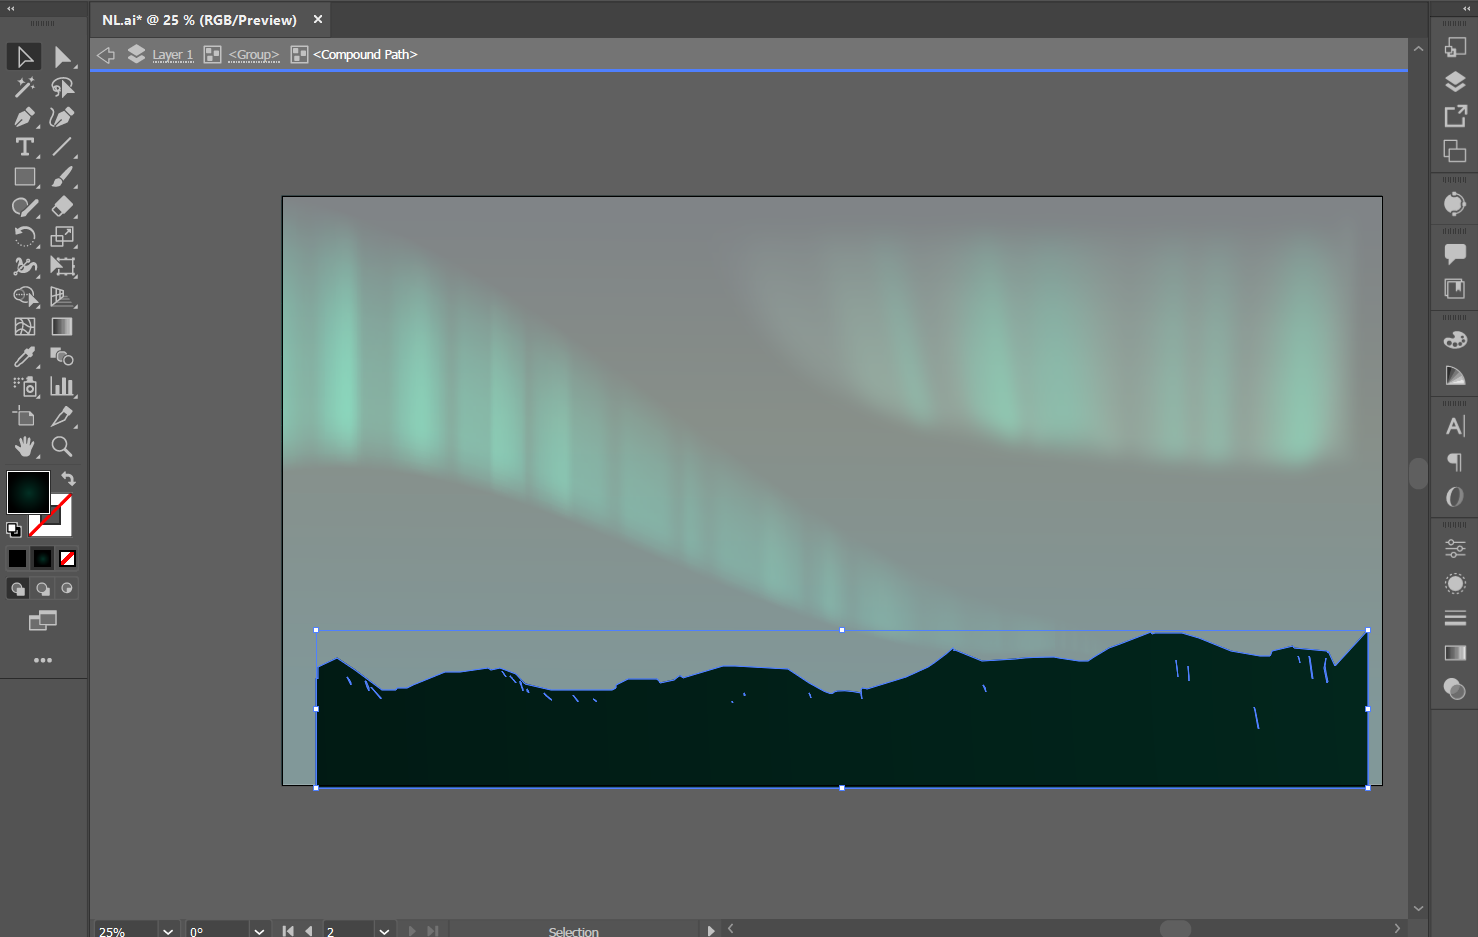
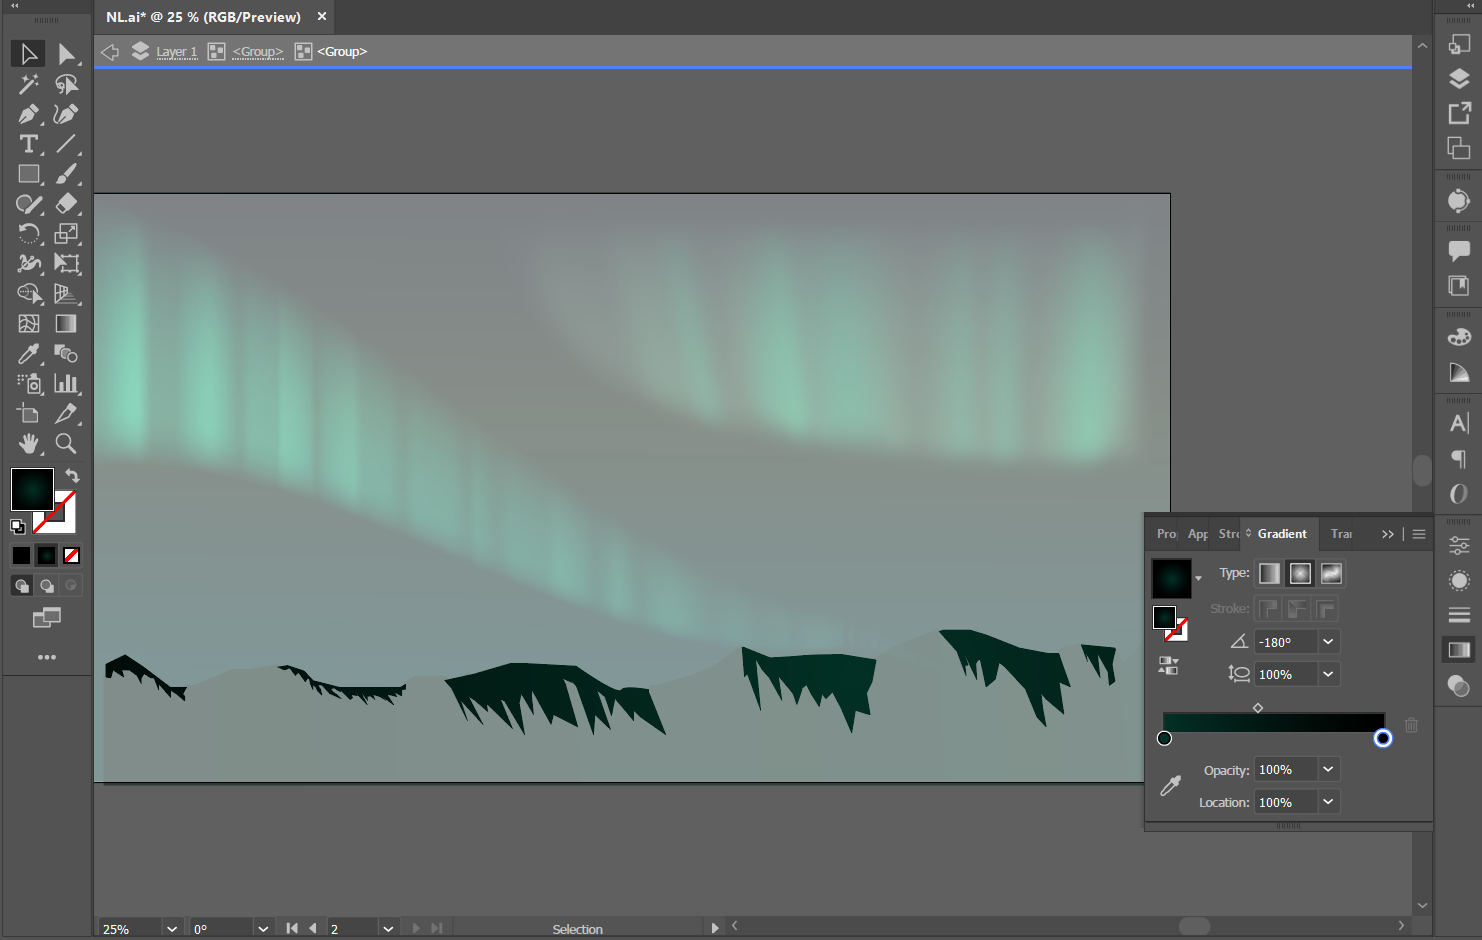
Mountains
- Using the pen tool, make a rough shape that is a silhouette of hills, as shown.
- Add a fill color - #061713. In the radial gradient, add HSB: 186, 83, 19
- As shown in the image, using the pen tool, add the lighter parts of the mountains and add color HSB: 165, 100,8.
- Make the Transparency of this layer as 'Screen'.
Lake
- Using the pen tool, add a lake as shown in the image. Use fill color - HSB 186, 82, 12
- Make its Transparency as 'Screen'.
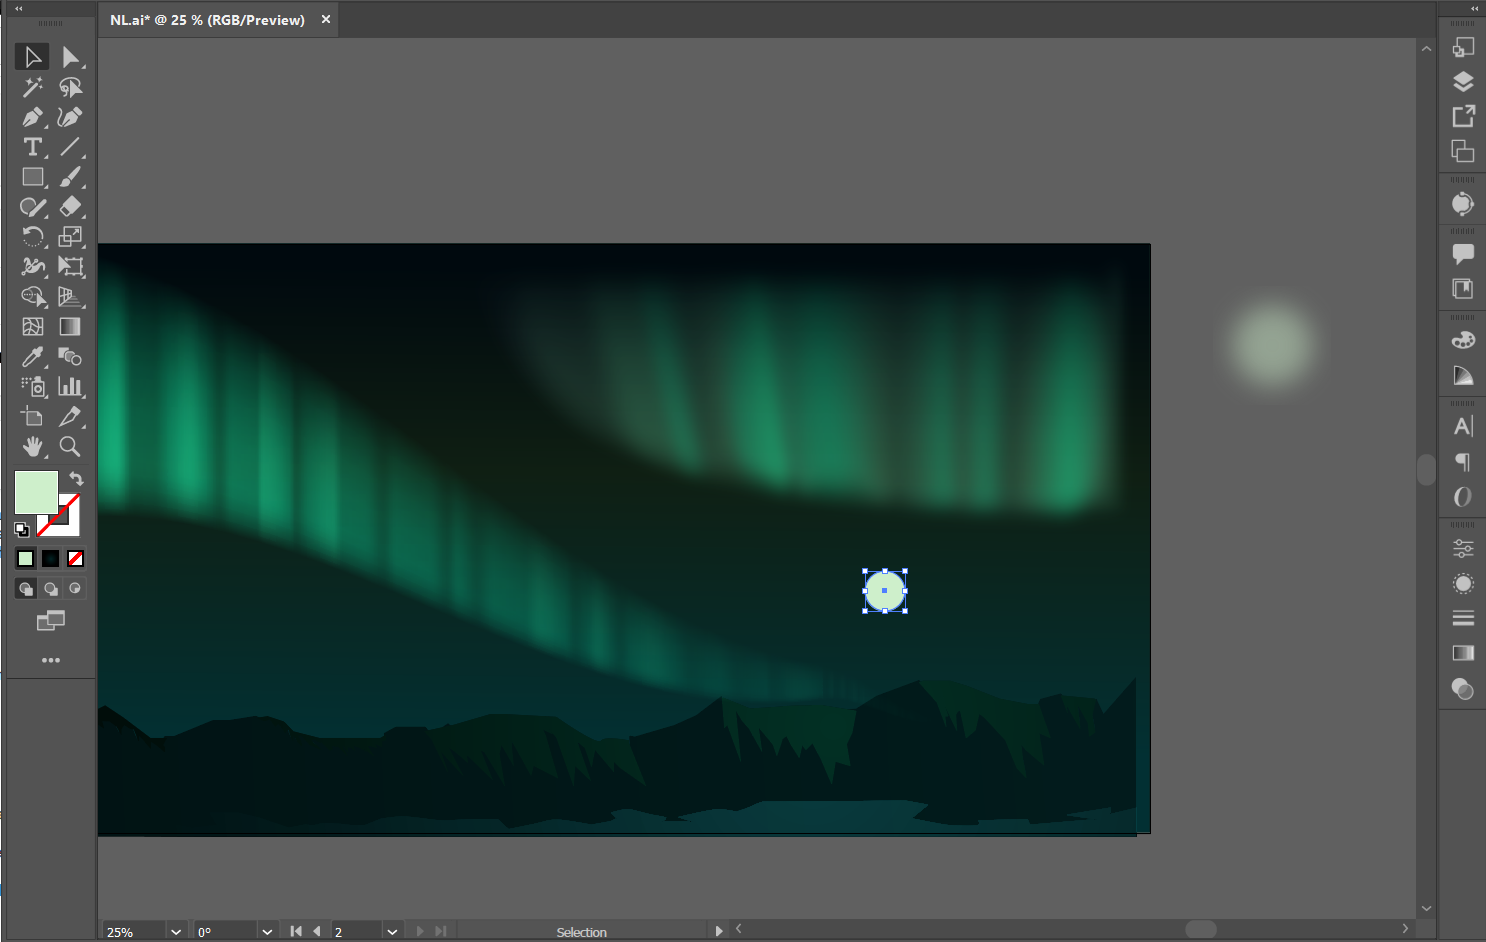
Moon
- Draw a circle with color code #ceefcb
- Copy-paste and increase its size to about 1.5x, and place this layer below the layer of the moon.
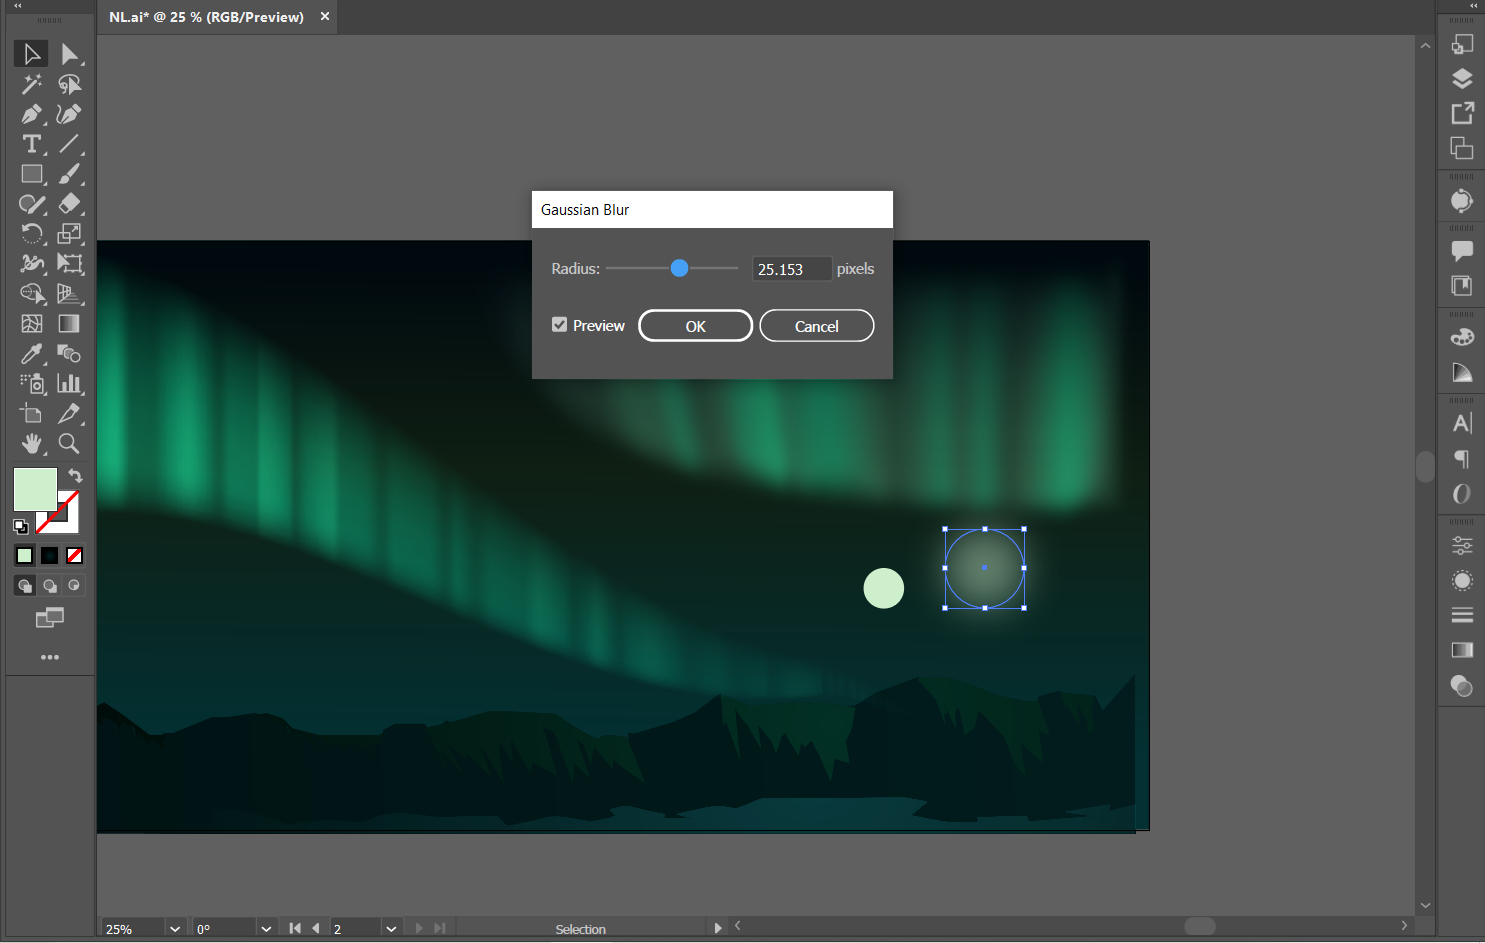
- Go to Effects>Blur>Gaussian Blur, and make the blur about 15-25px
- Reduce Opacity to about 60%
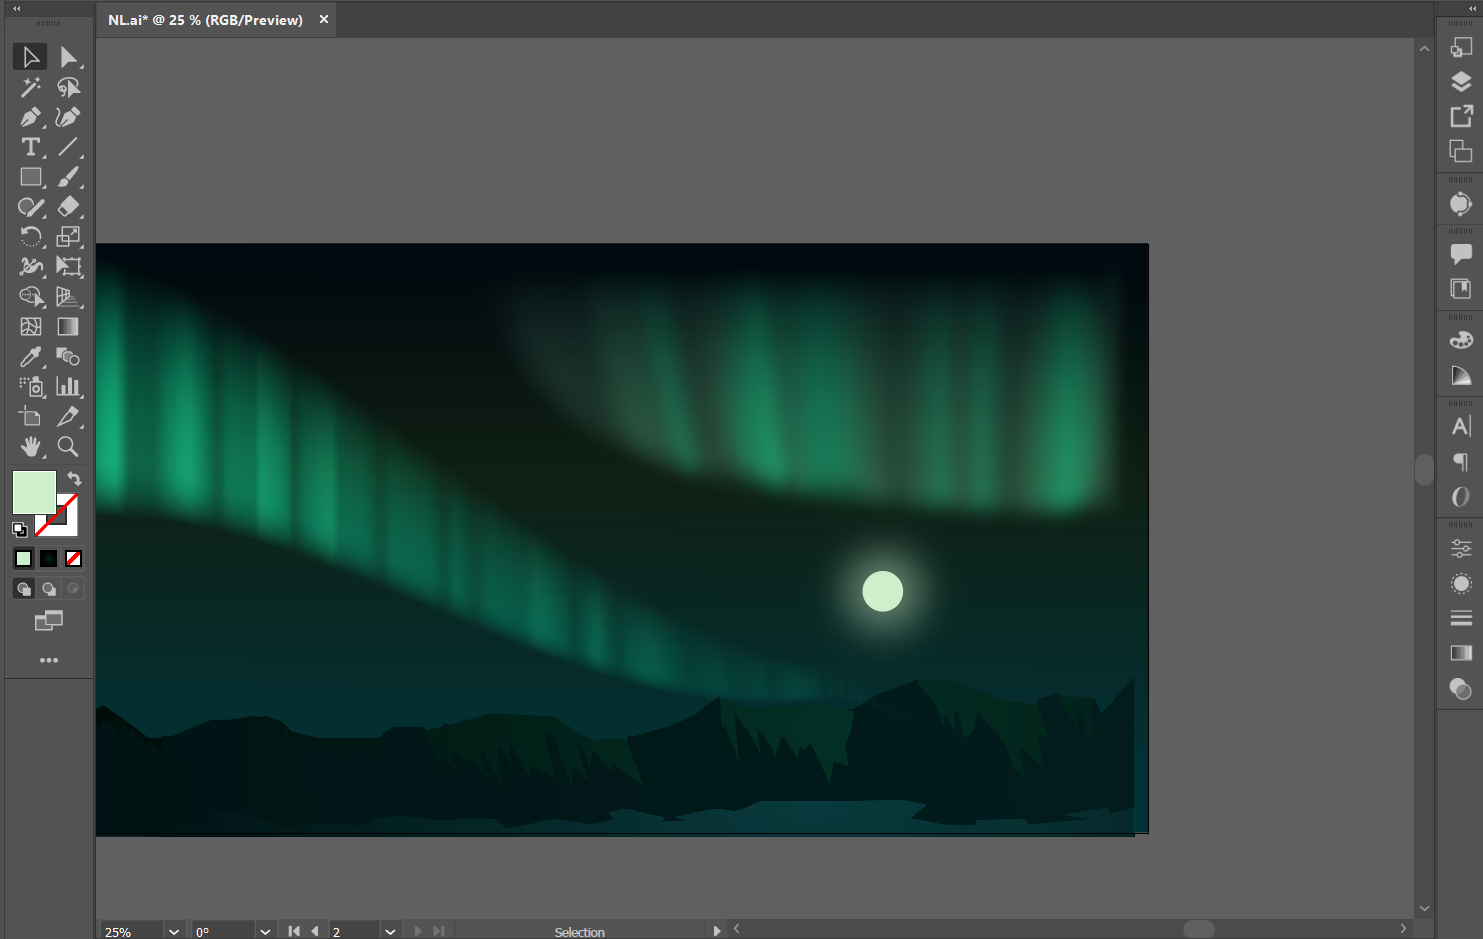
- Copy-paste the moon and add it to the lake. Reduce Opacity to 50%.
Stars
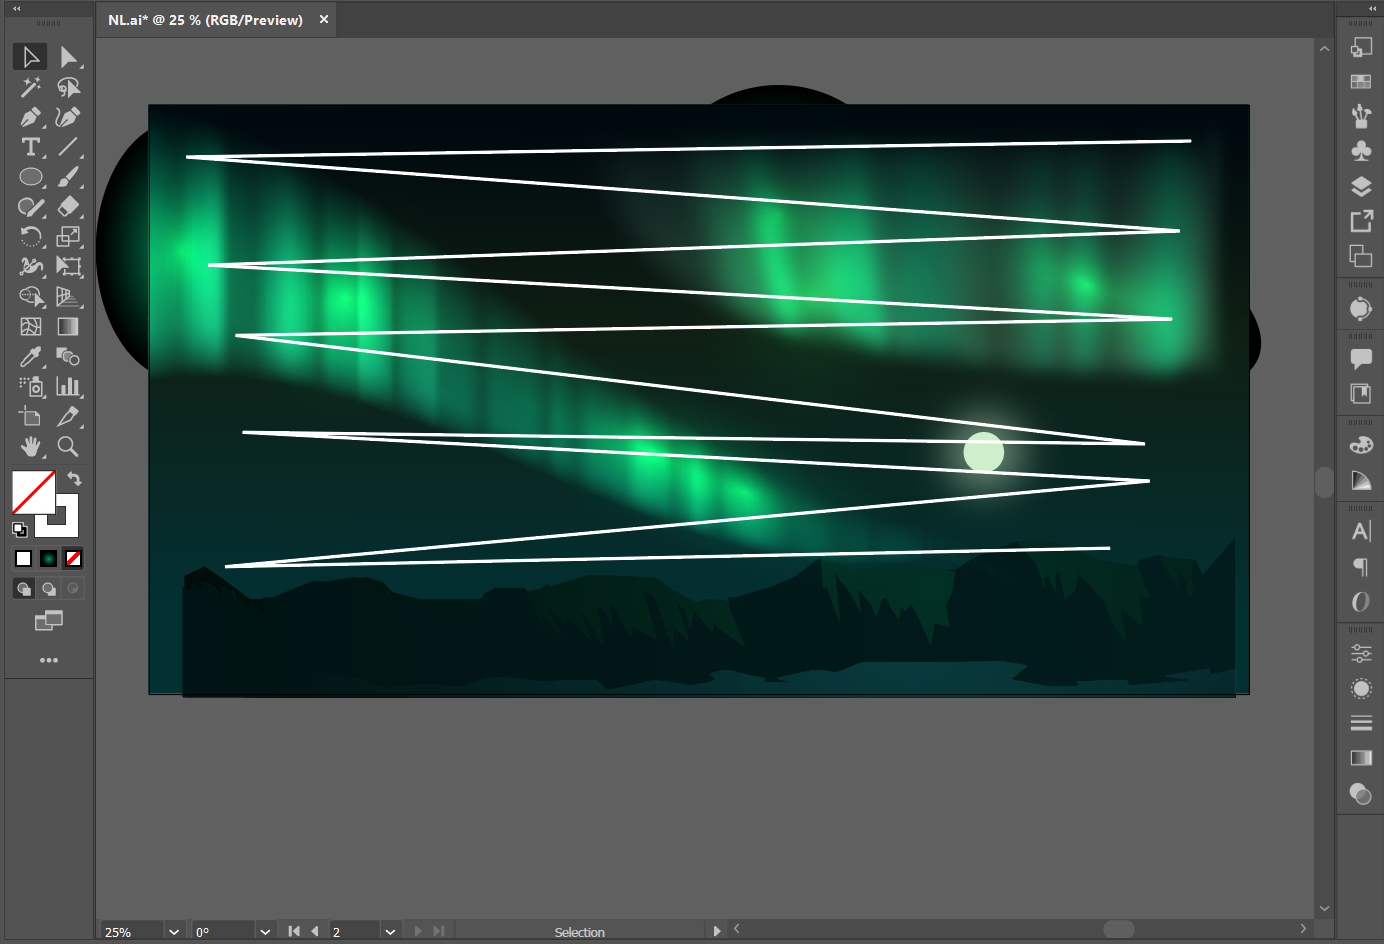
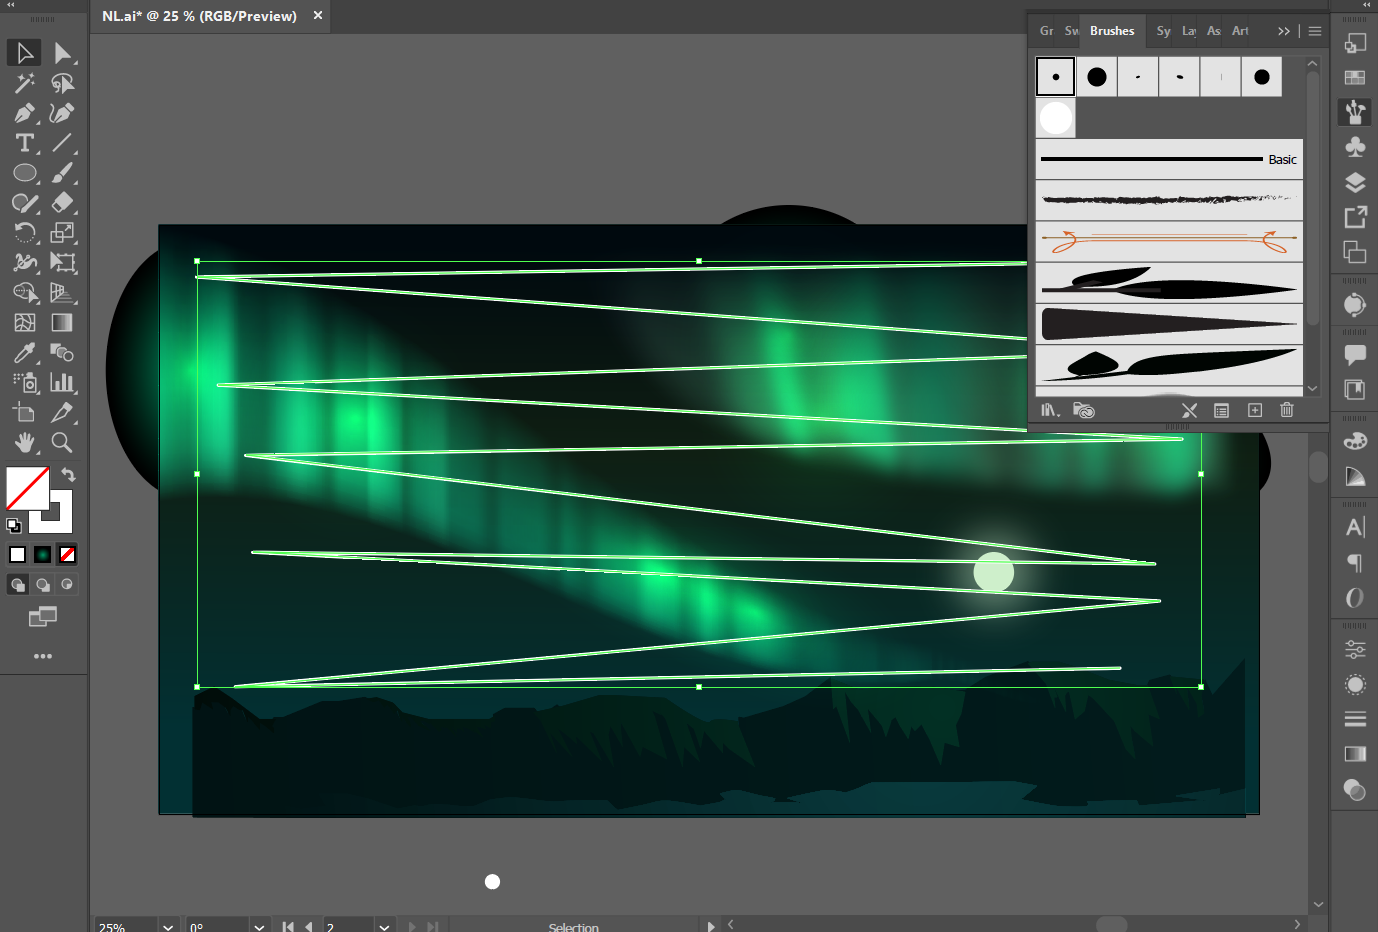
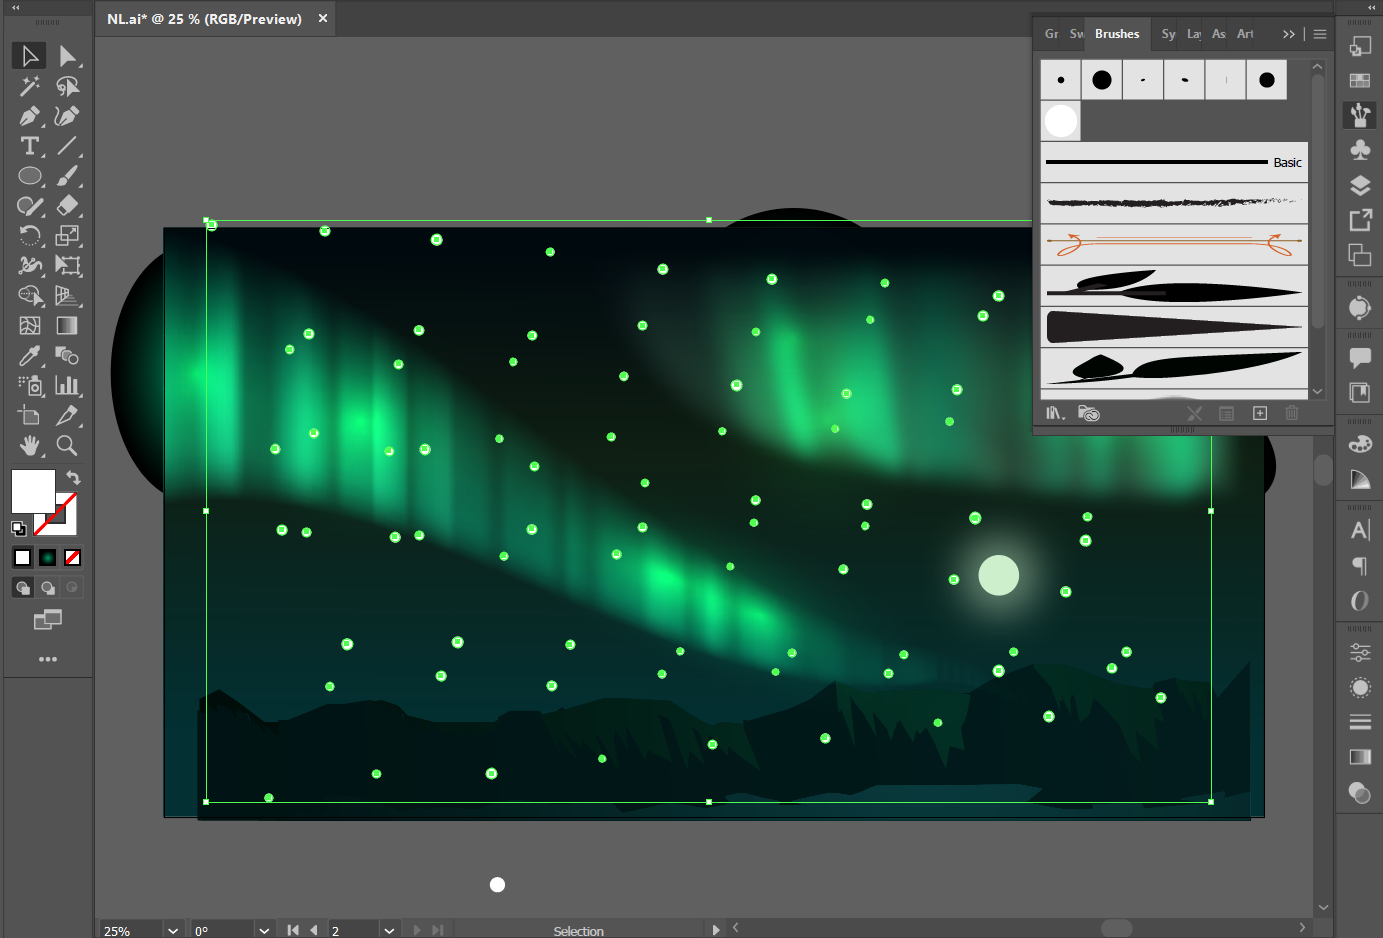
- Using the pen tool, draw a zig-zag line as shown in the image.
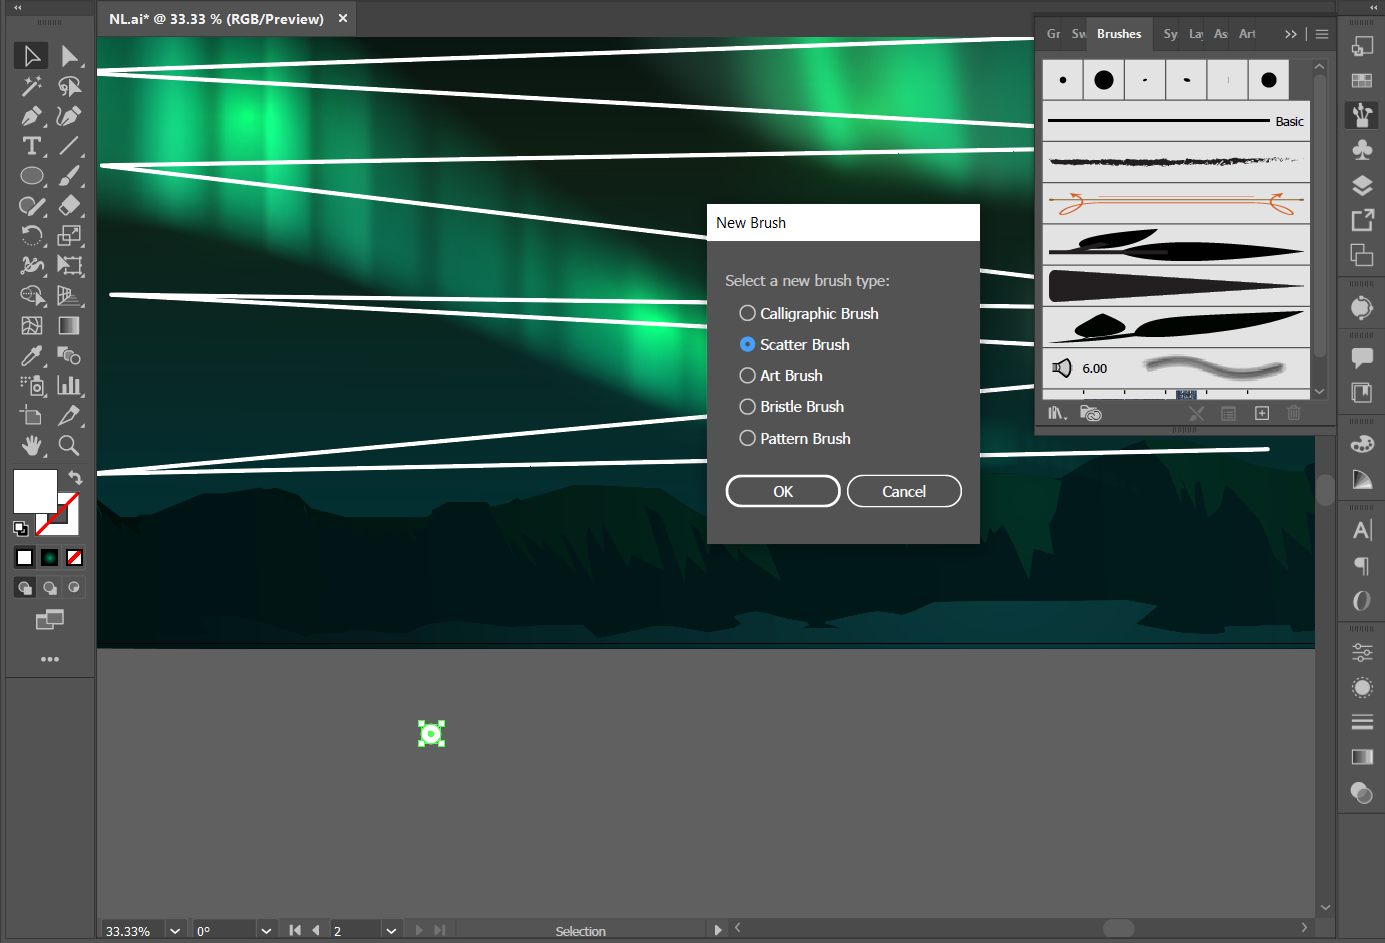
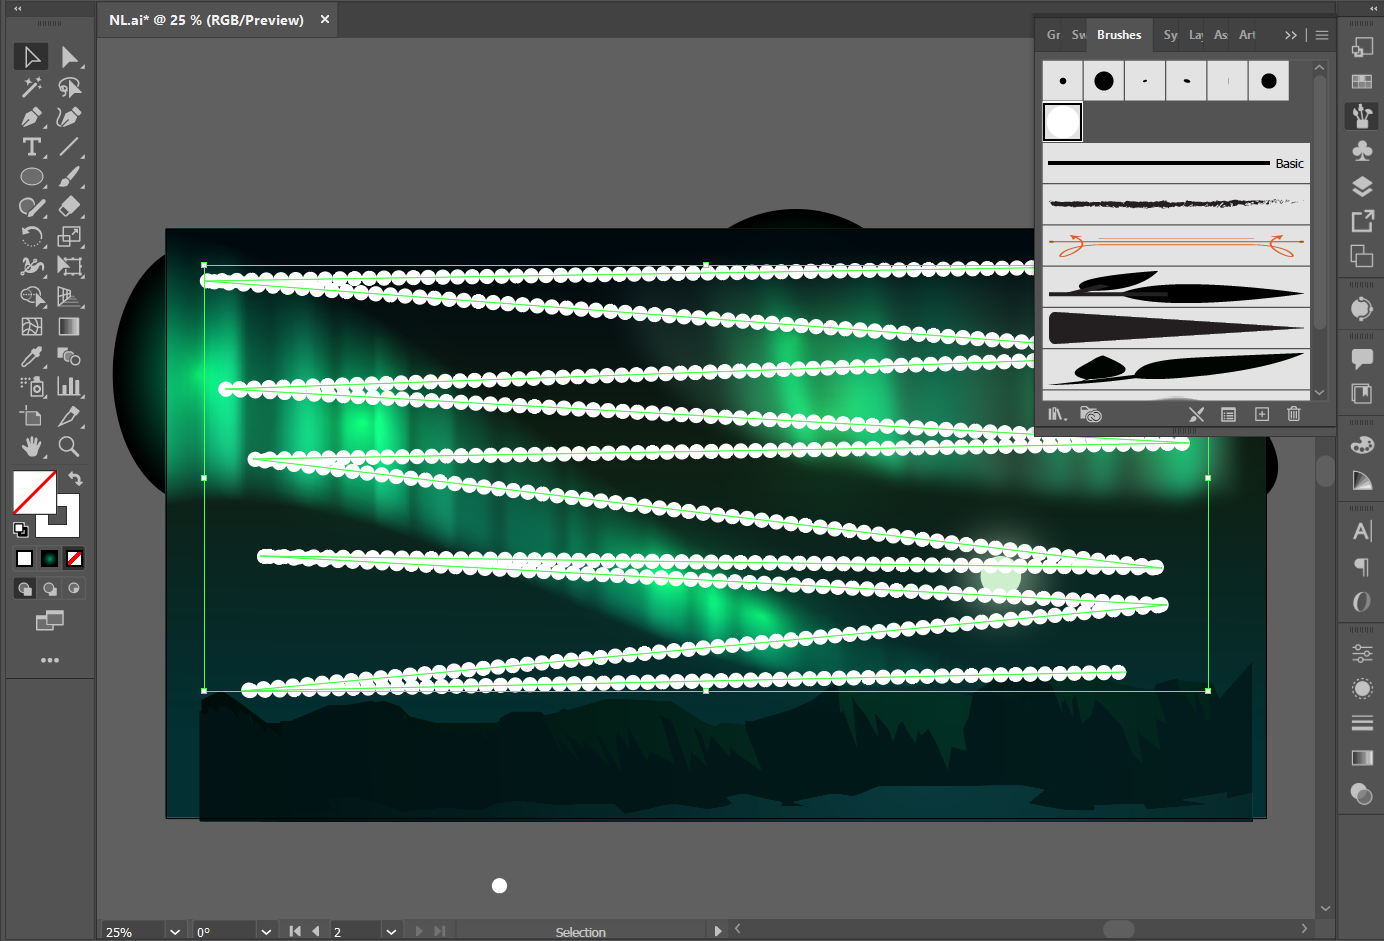
- Outside the artboard, draw a small white circle, and add it as a new 'scatter brush'.
- In the 'Brush' options, select a white circle/ dot as the brush, and you can see the line change to a series of circles/ dots following that line path.
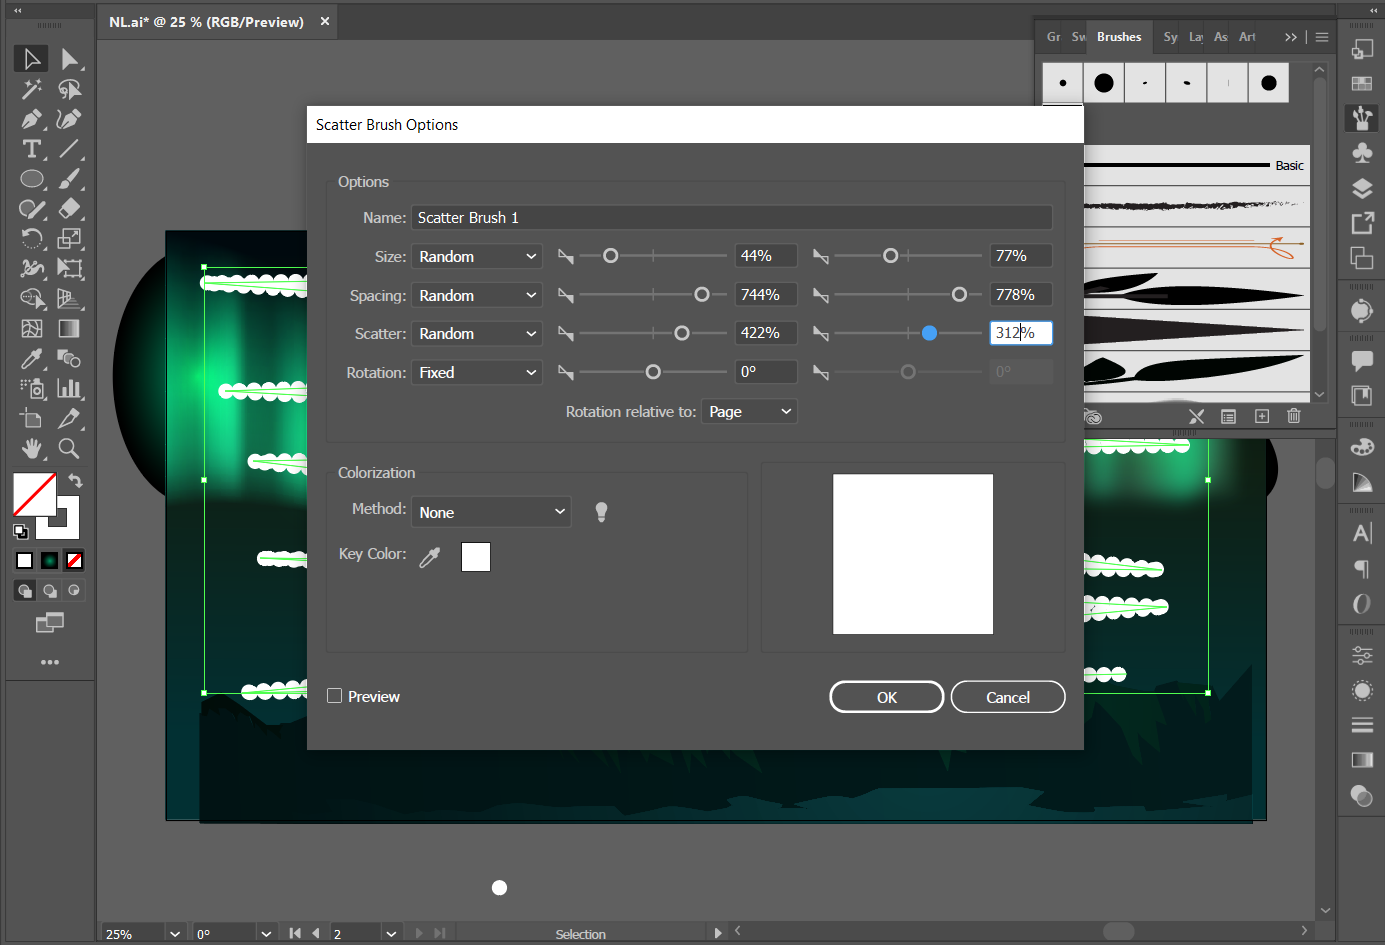
- Double click on this brush type. Under the 'Scatter Brush Options', make all the options and percentages as shown in the image. Click OK and then 'apply to strokes' in the new pop-up.
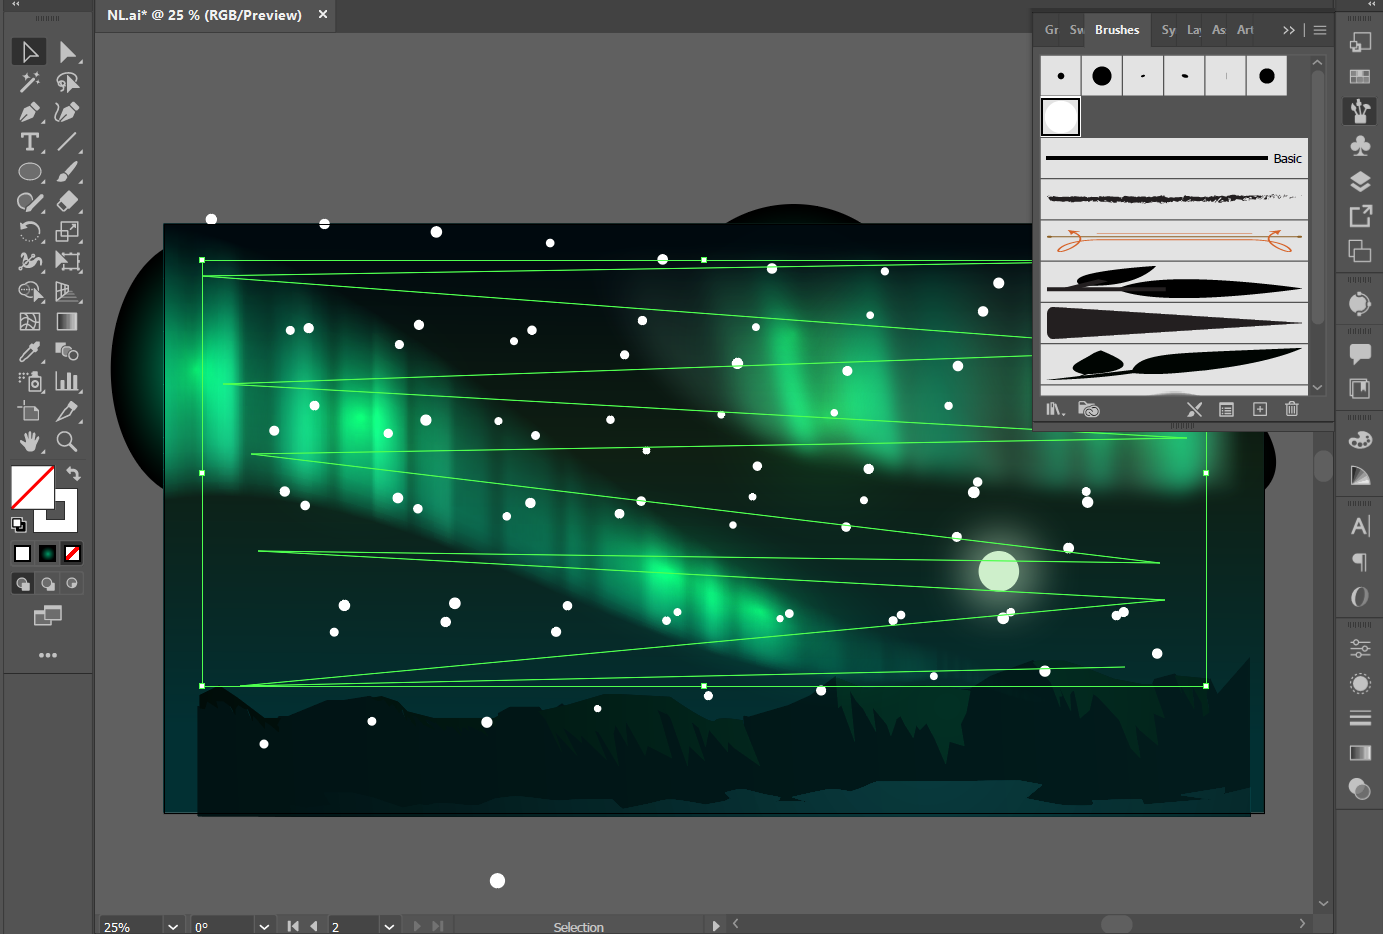
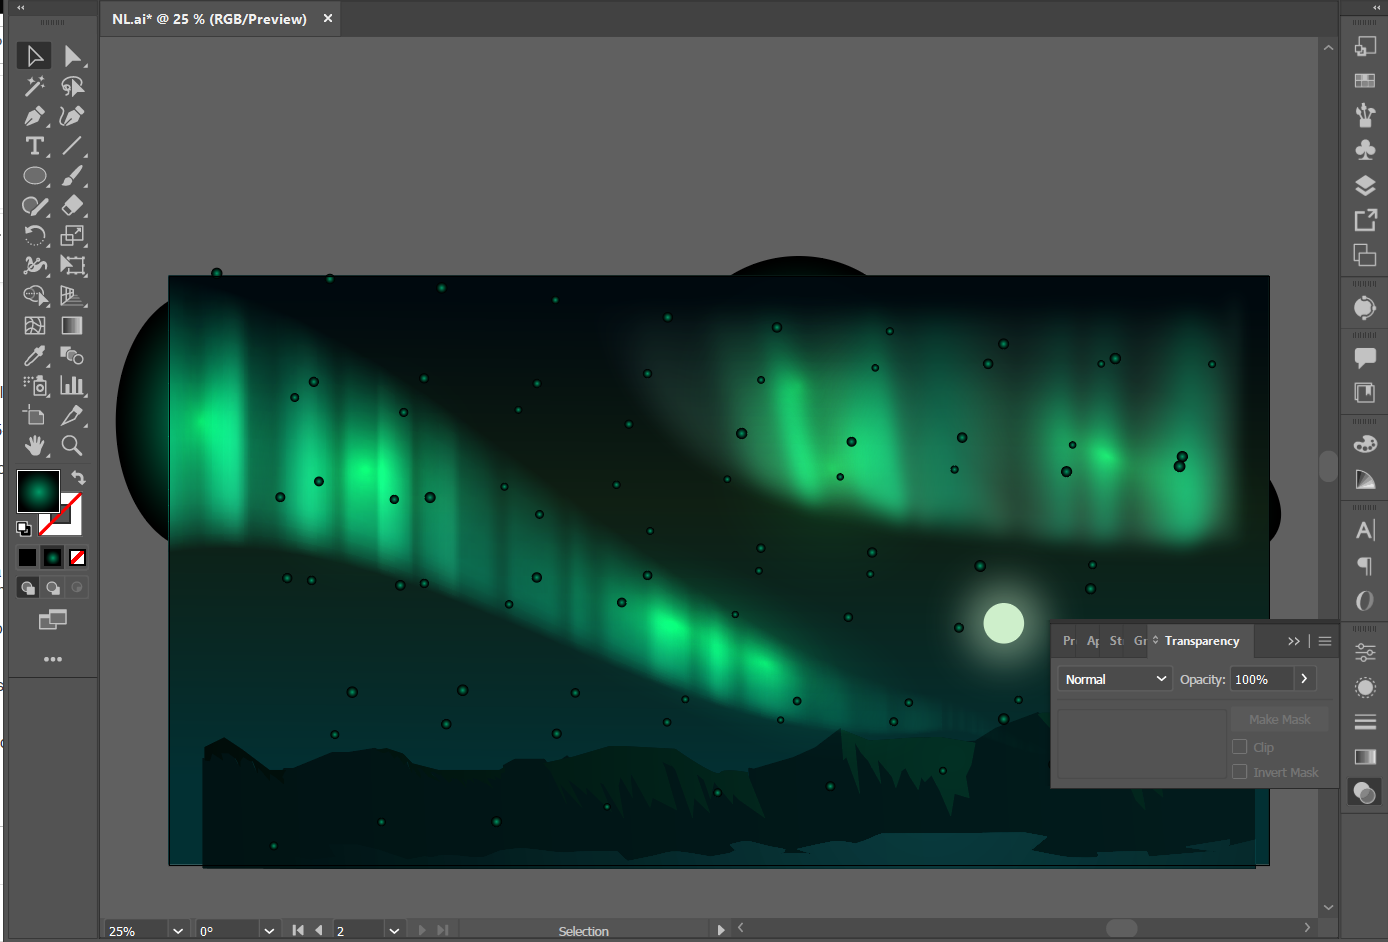
- Go to Object> Expand Appearance. CTRL+G to group the dots, and add a radial gradient from white-to-black. Reduce opacity to 80%.
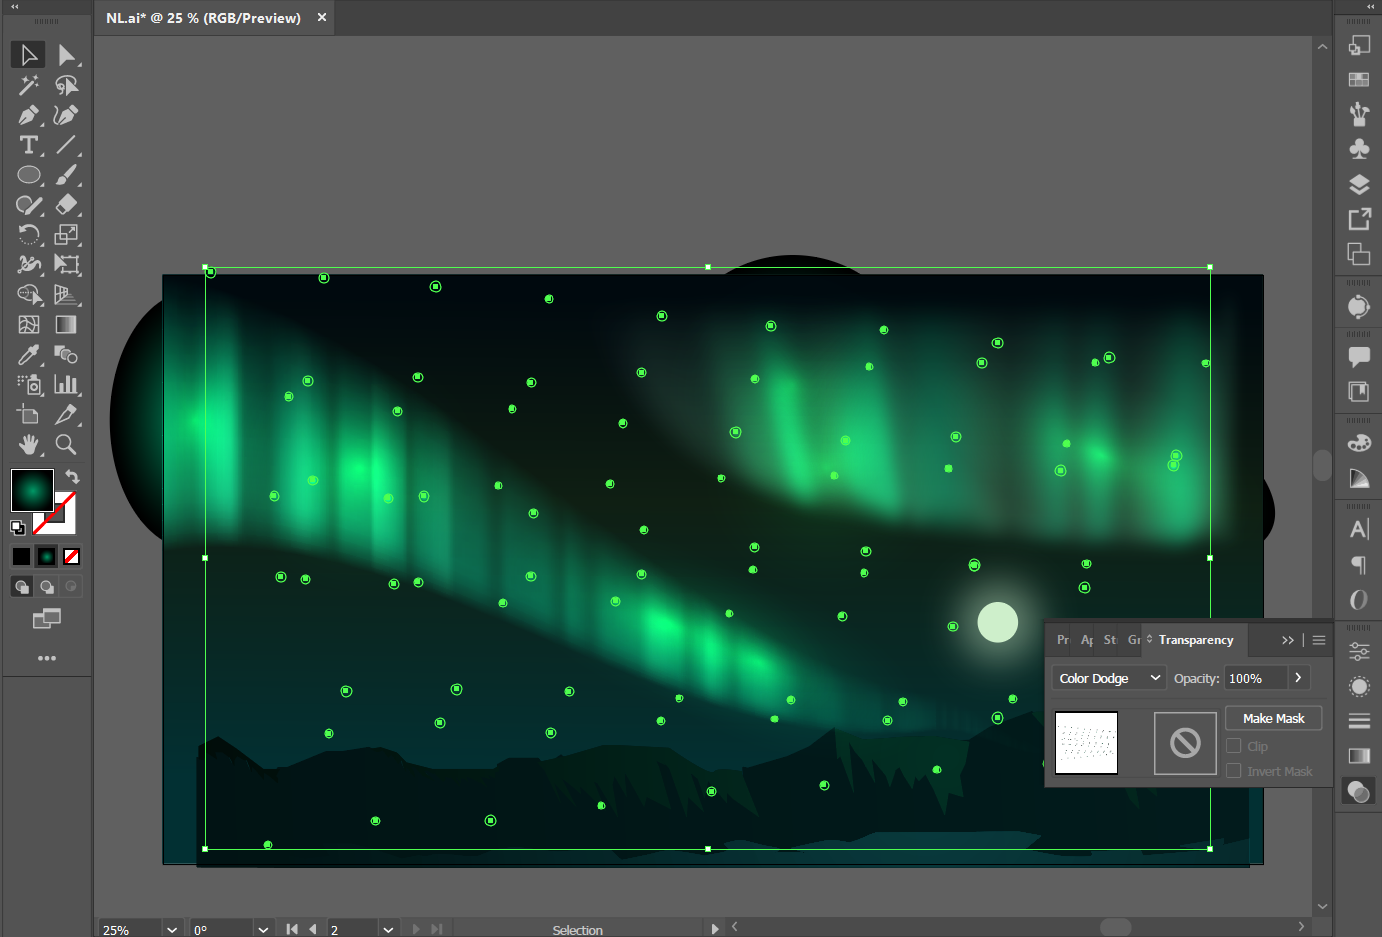
- Select the stars and change Transparency to 'Color Dodge'.
- You can further select certain stars and make them bigger to add to the shine in the sky.
The Green Magic

Green mystical shine
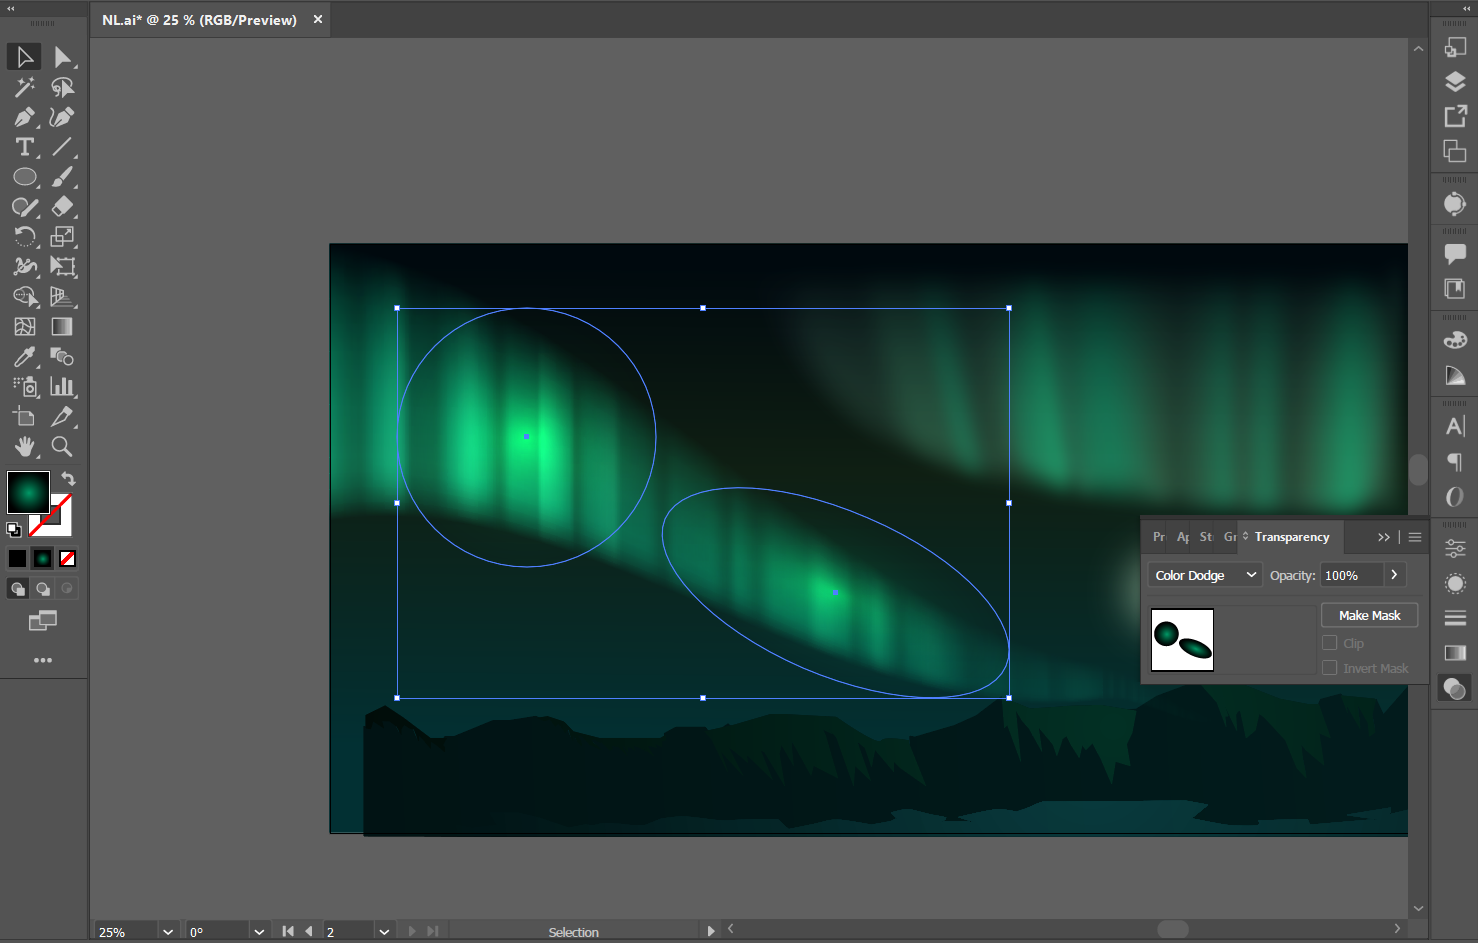
- Add a circle as shown in the image. Add a gradient of black and a lighter green (approximately ~HSB: 160, 100, 60).
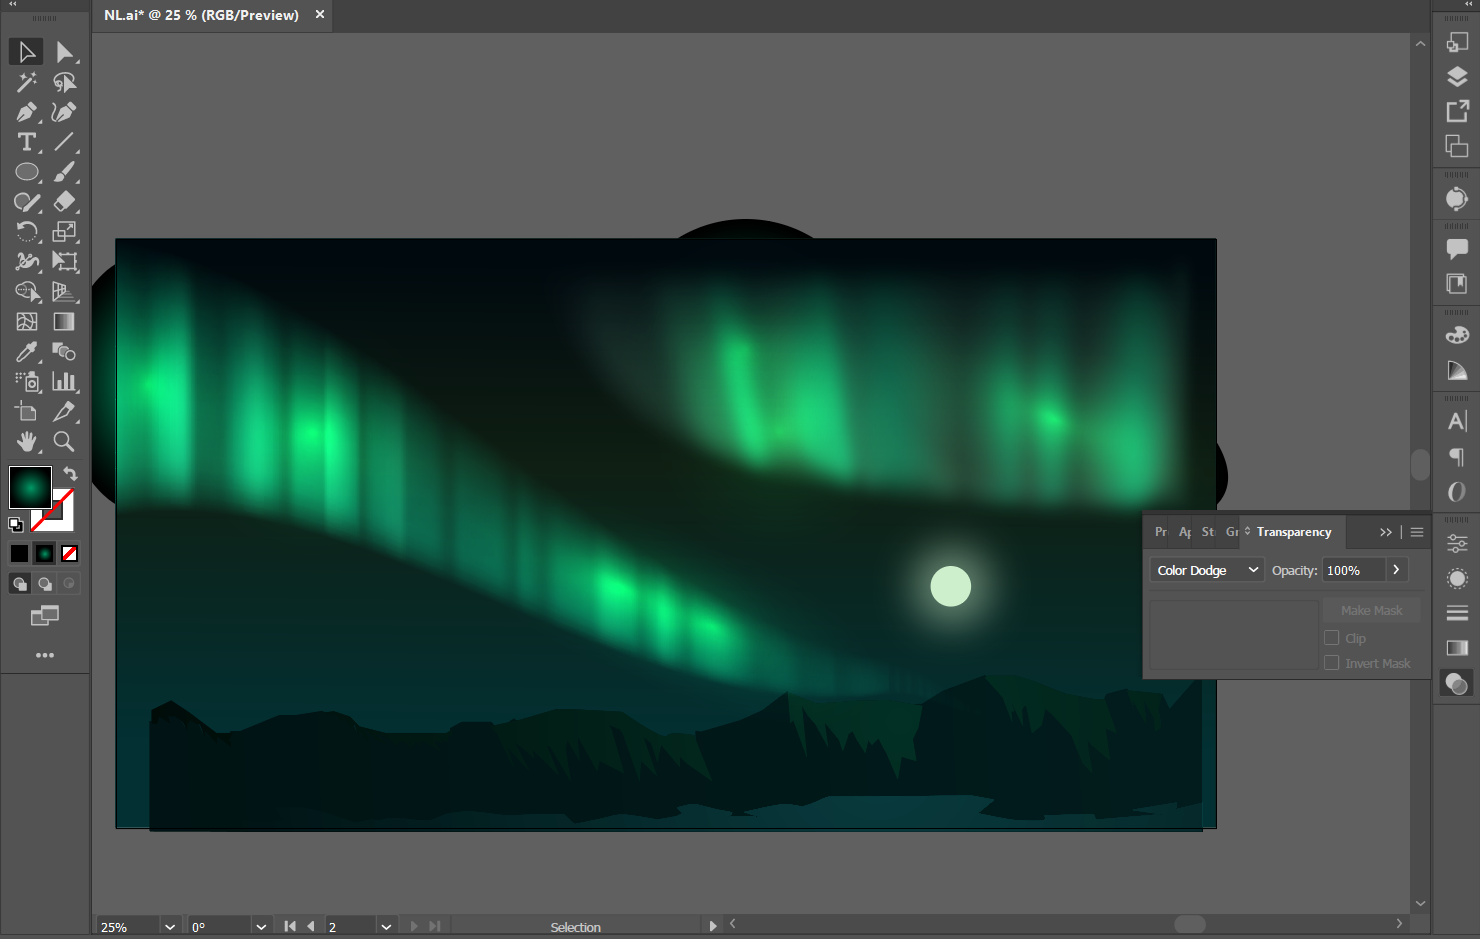
- Add Transparency 'Color Dodge'. Making sure this layer is on the topmost, copy-paste it at different places of the aurora.
- Resize, rotate or squeeze the size and place them on the bottom parts of the aurora.
With this step, you'll suddenly feel the illustration come to life with that mysticism of the northern lights.
Adding Optional Objects
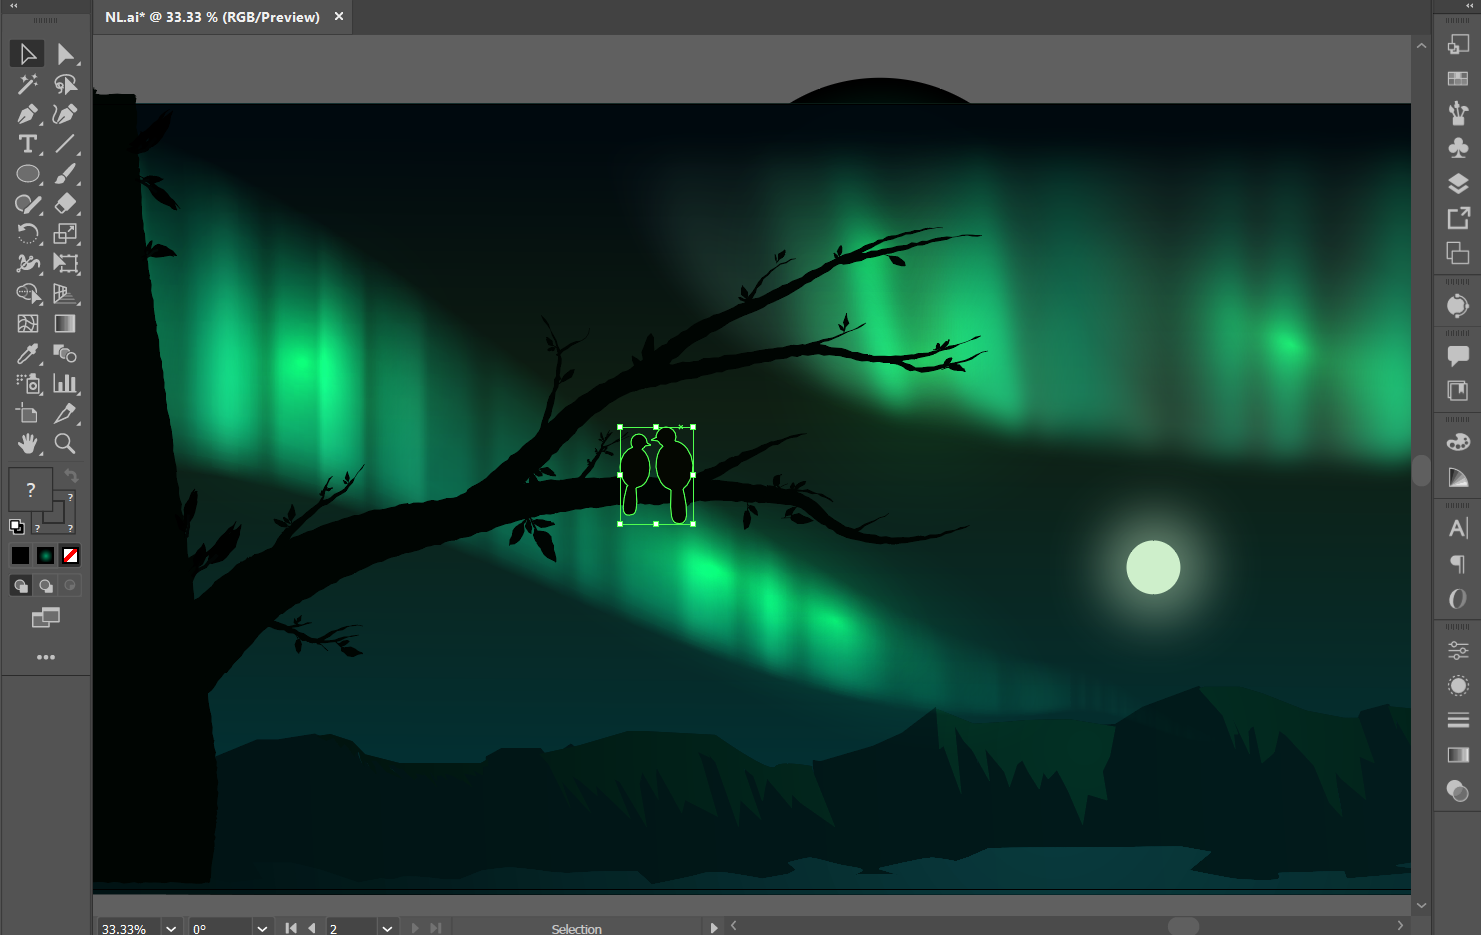

I have used this layer as the nearest one, hence the darkest green. This layer almost acts like a silhouette.
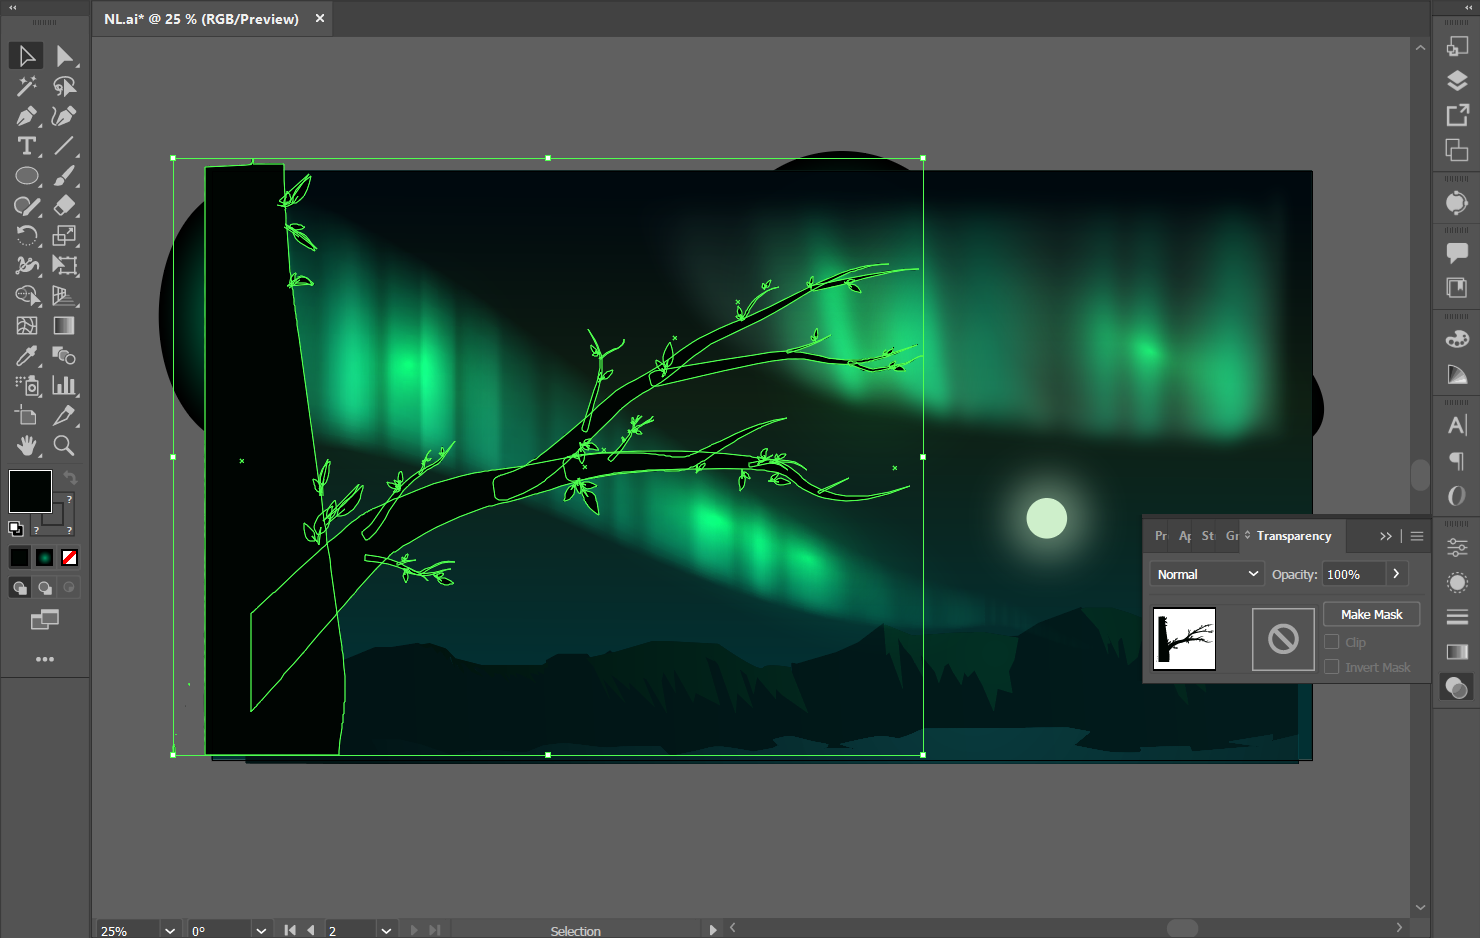
Tree to frame the illustration
- Using the pen tool, draw the shape as shown. Feel free to add or reduce branches
- Use the 'Union' tool to make this shape merge as one
- Use fill color #000502.
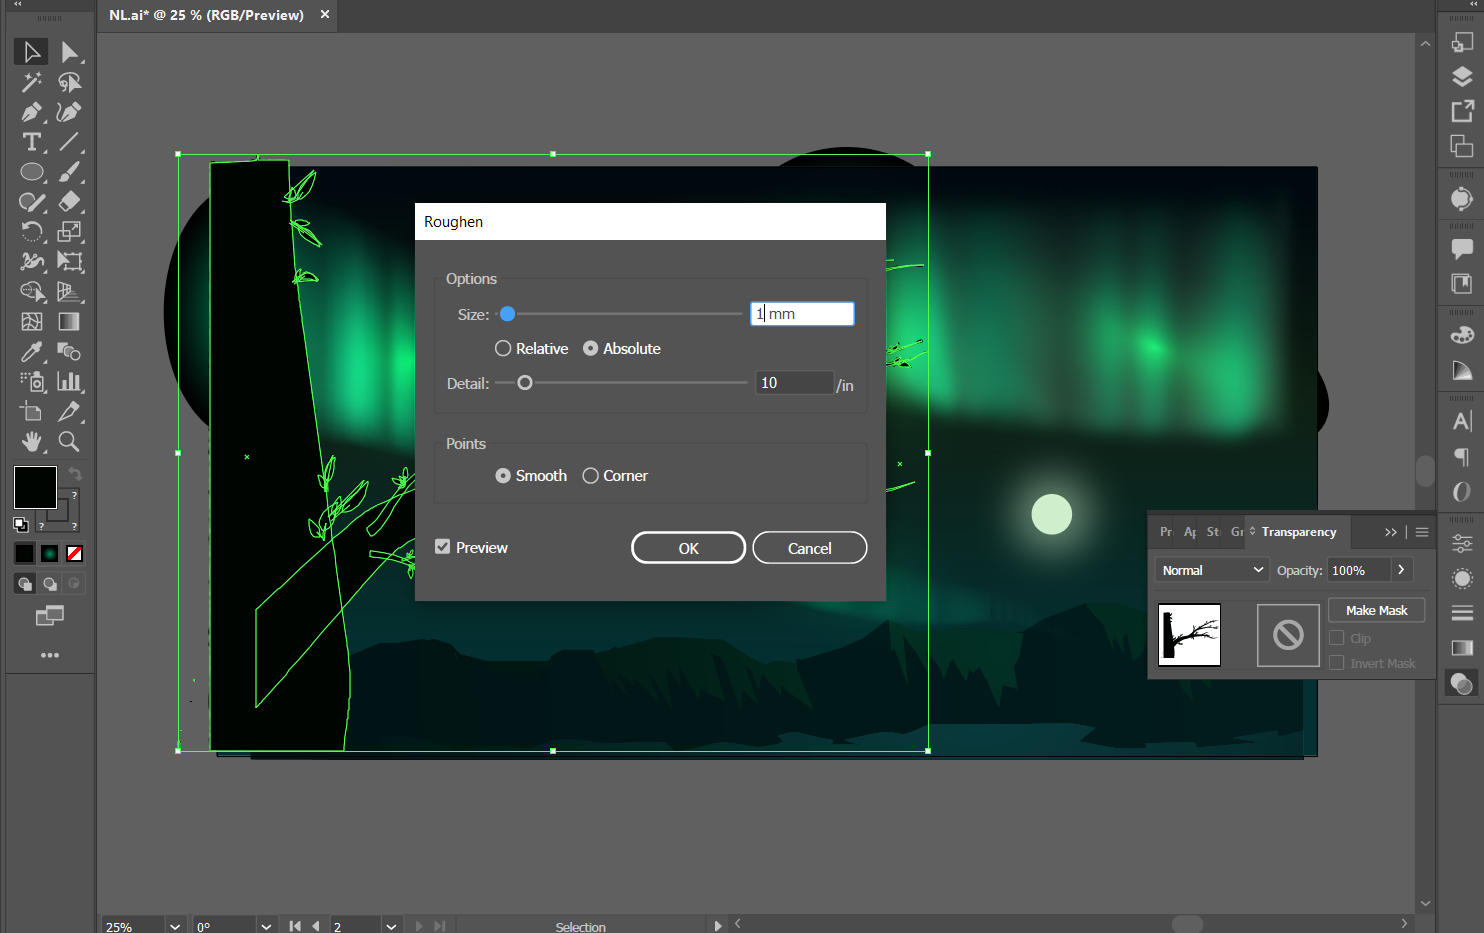
- Go to Effect>Distort and Transform> Roughen
- In the pop-up window, Select 'Absolute' and 'Smooth' and make the size about 1%.
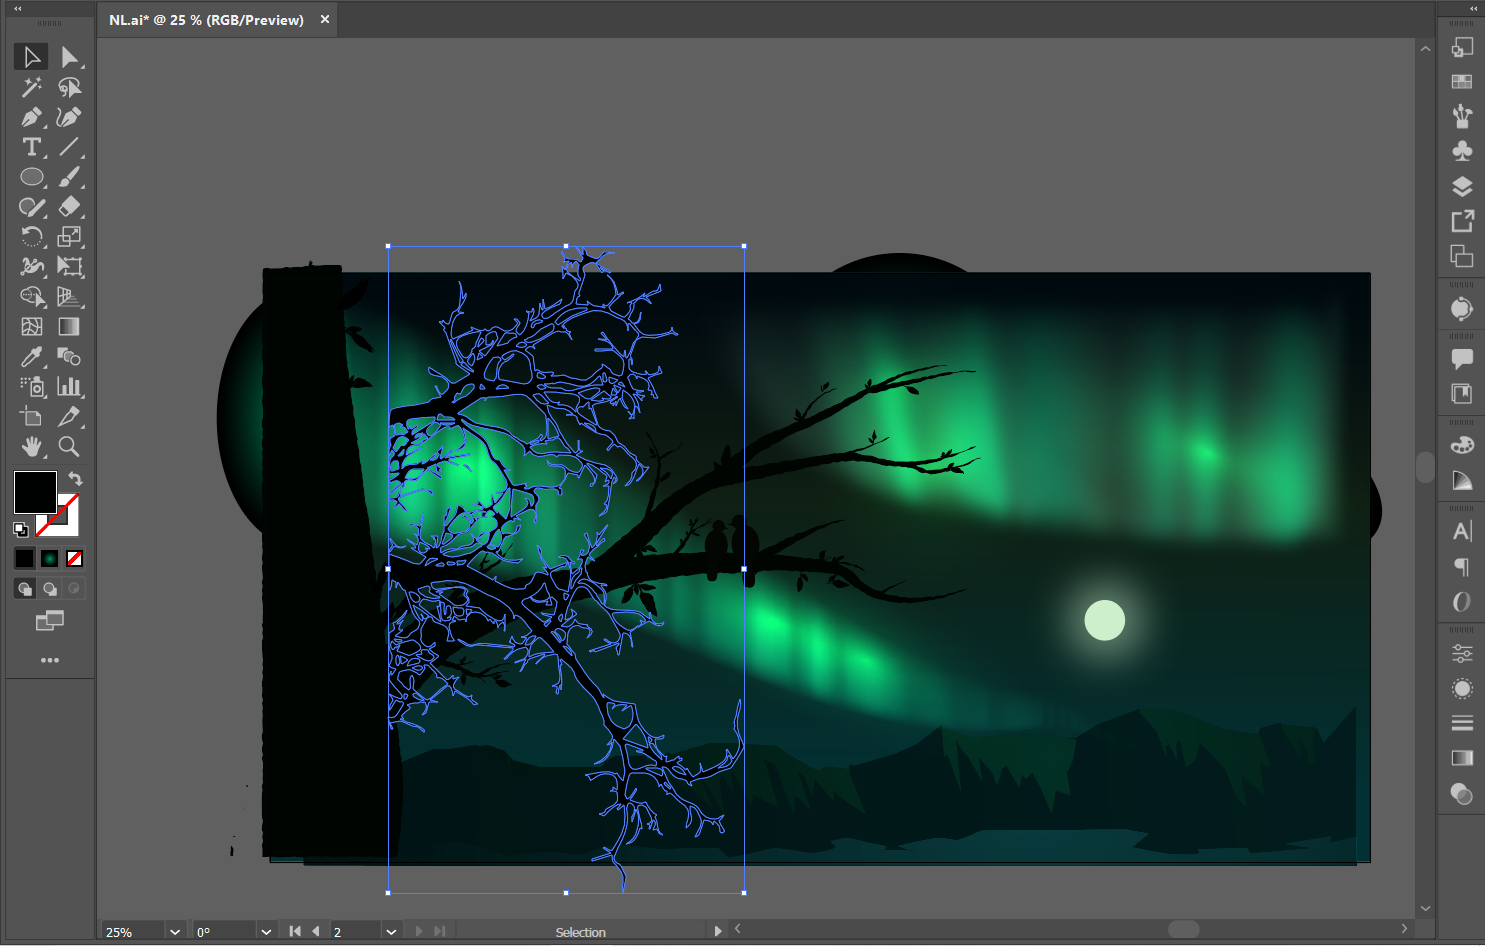
You can further download a png image of tree branches and use the 'trace' option to make it into a silhouette shape. Use color code #000202 for this so it appears the darkest and nearest.
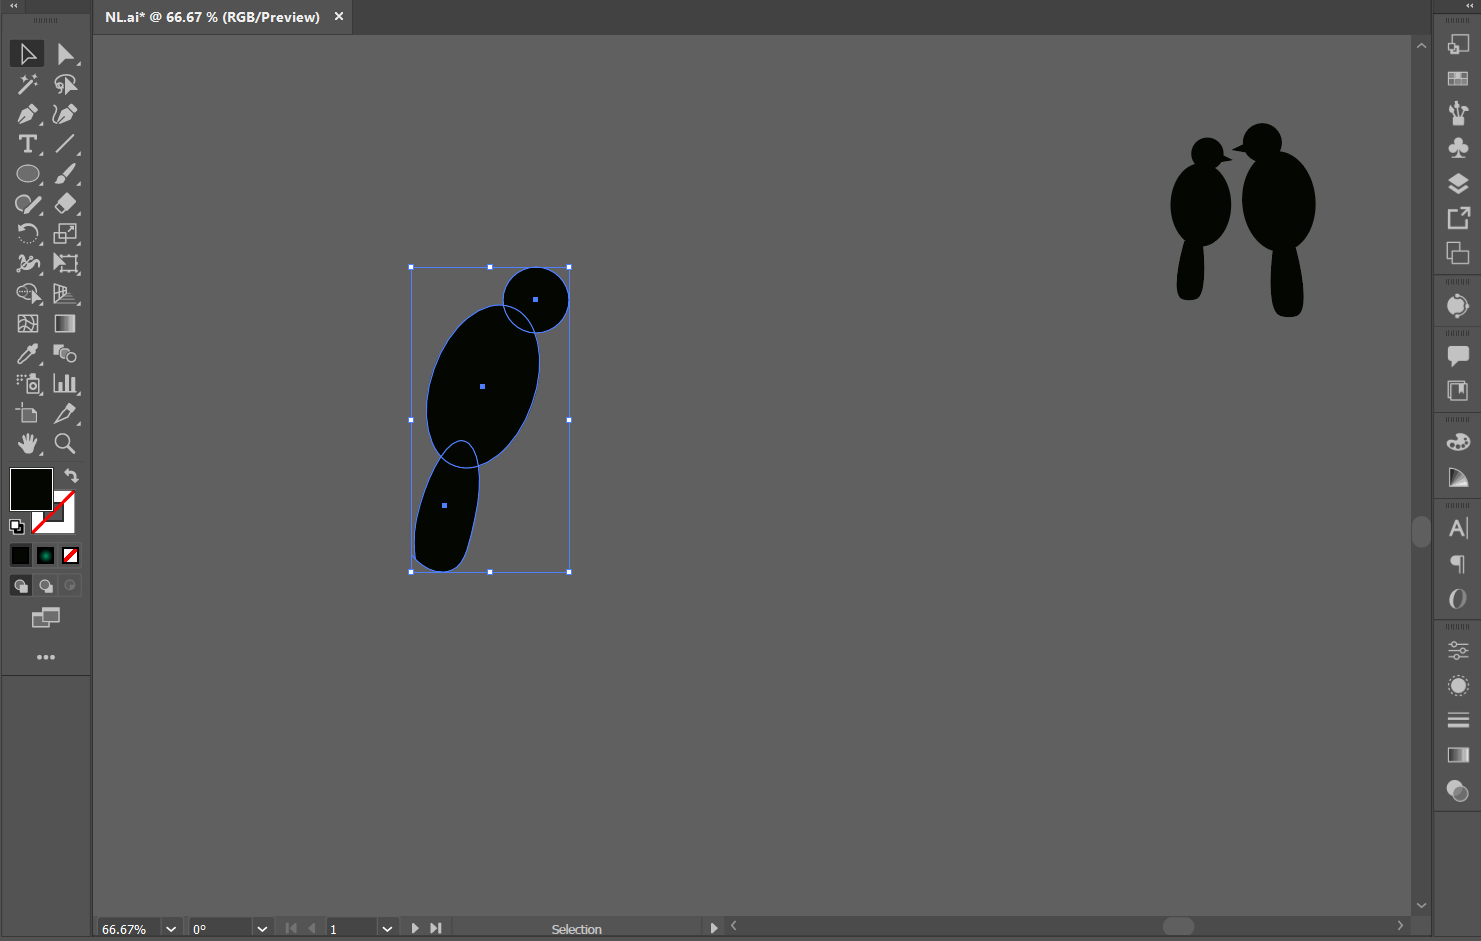
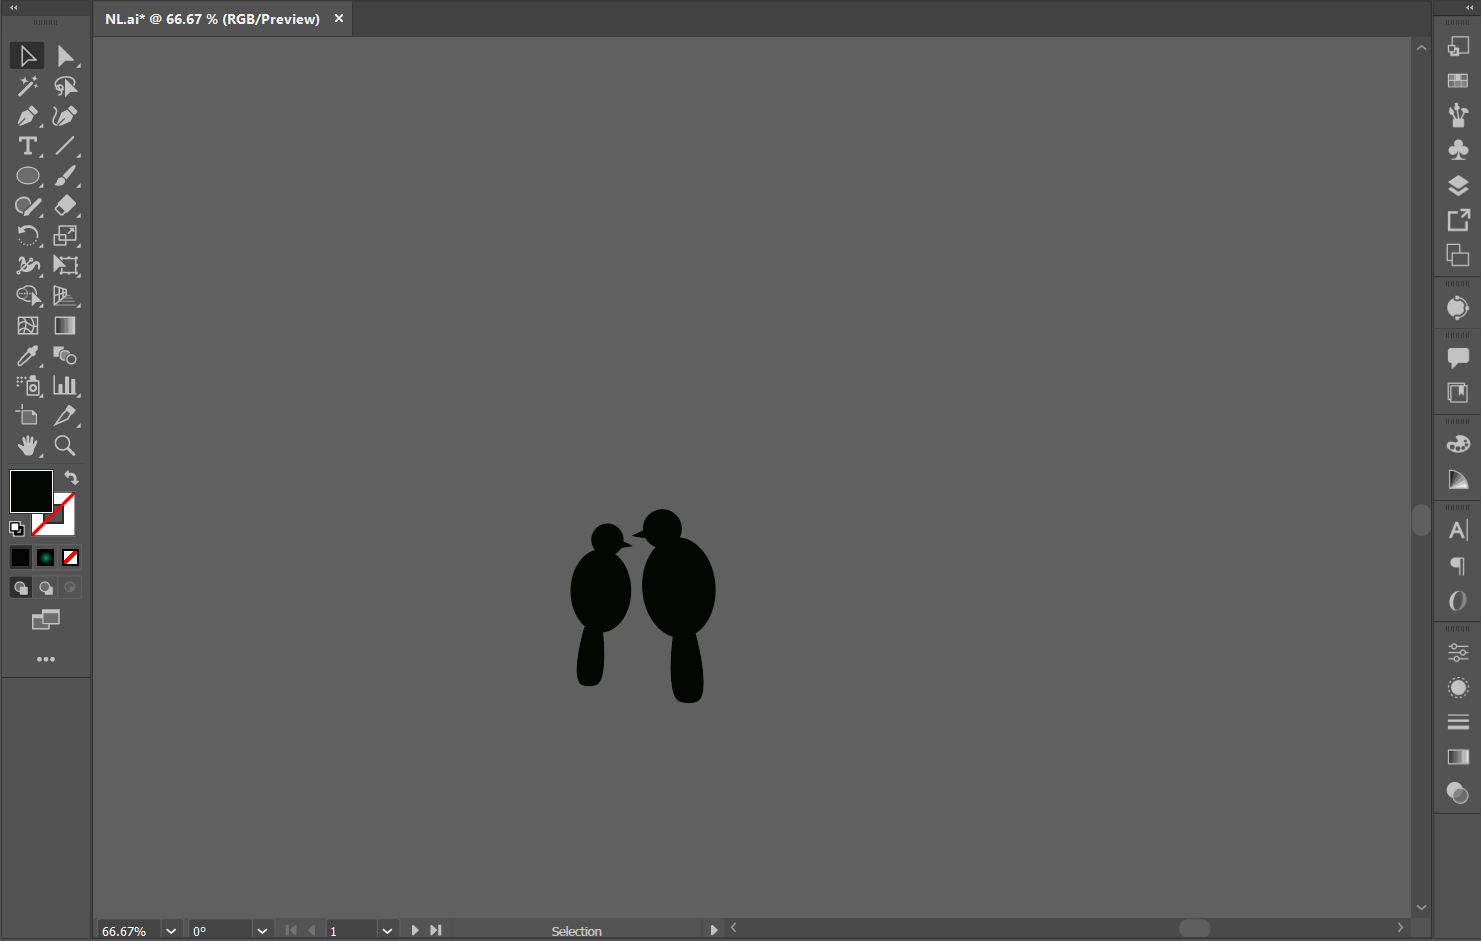
Birds and leaves
- For the silhouette of the birds, I have simply used ellipses and unioned them together. I have used the same color code on it as the tree - #000502.
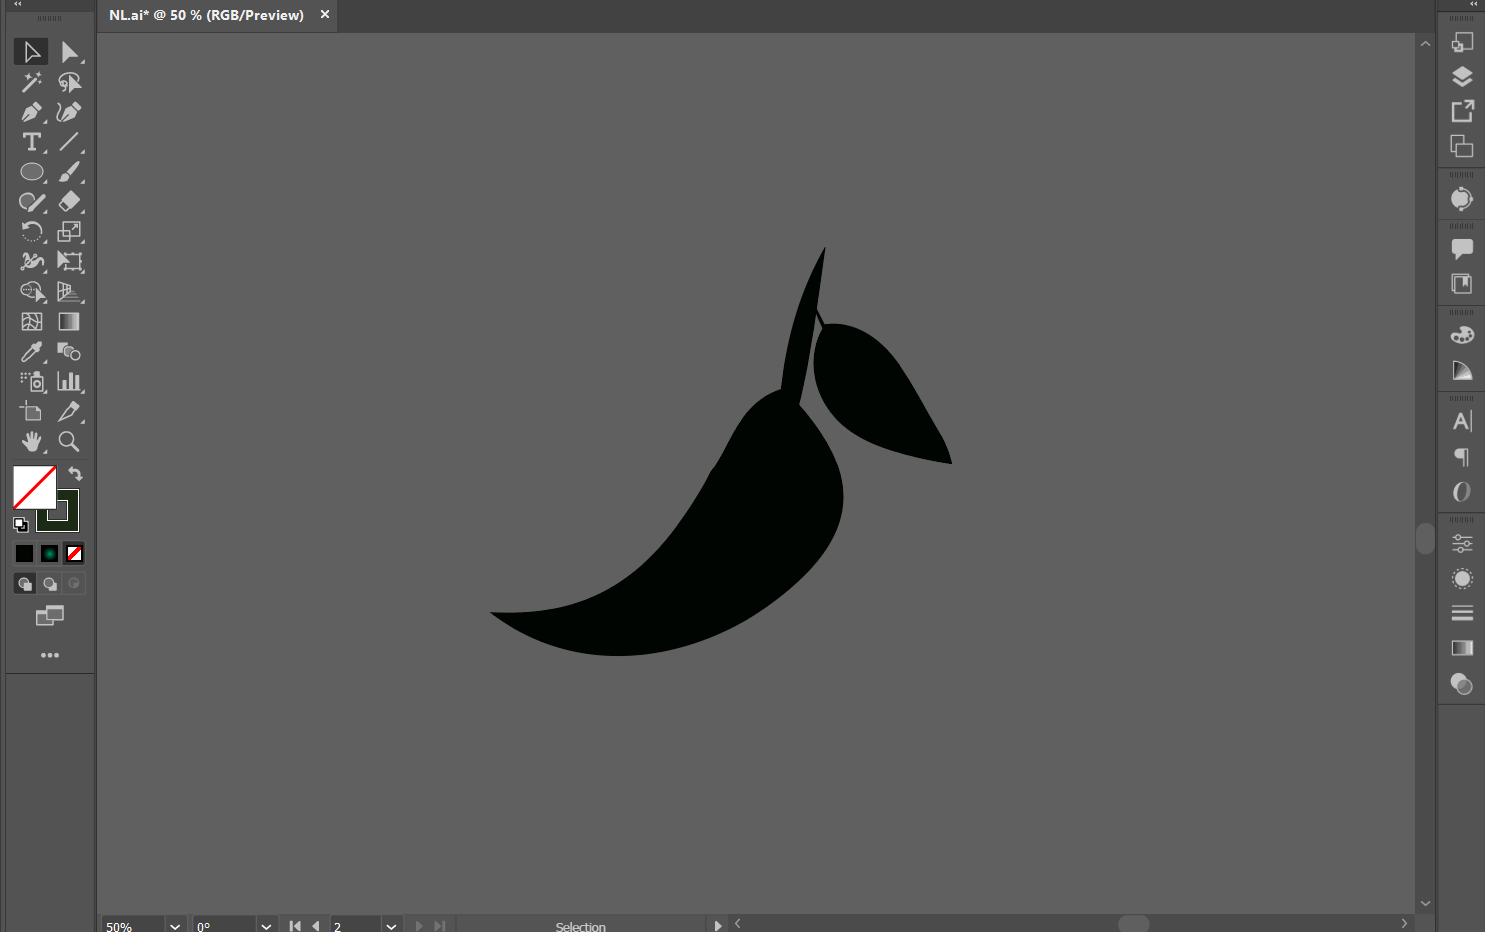
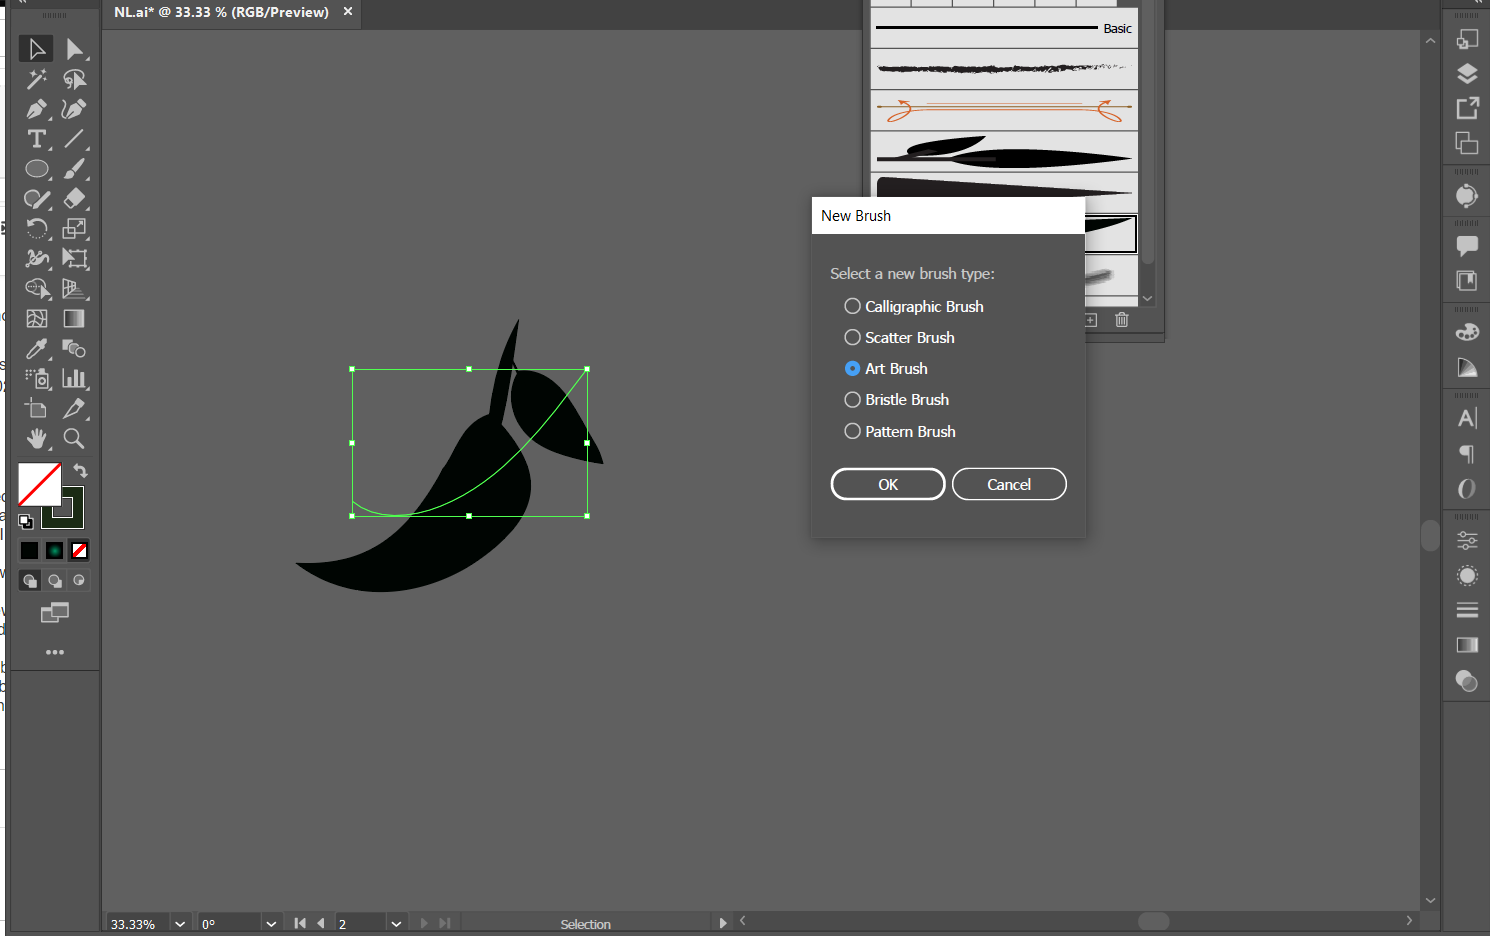
- For the leaves, since it will be a multiple object, I have added one module of two leaves into a brush preset.
- For this, make a set of two leaves as shown, and then go to Brushes> New brush.
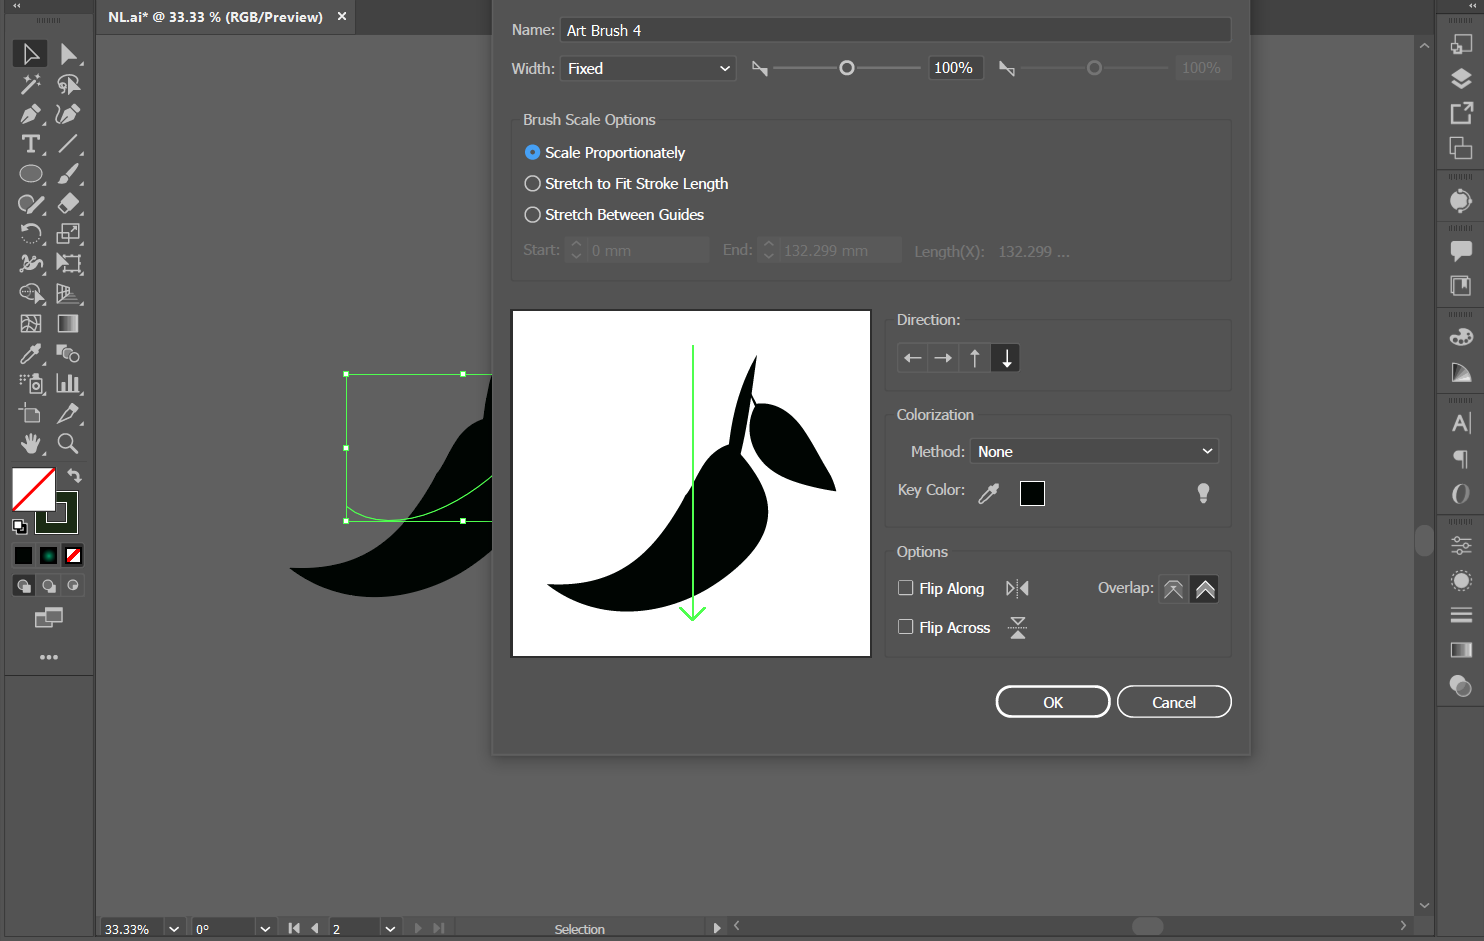
- Select 'Art Brush' and select ok. In the new pop-up window, select option 'scale proportionately, direction downwards, and color same as the tree - #000502. Click ok.
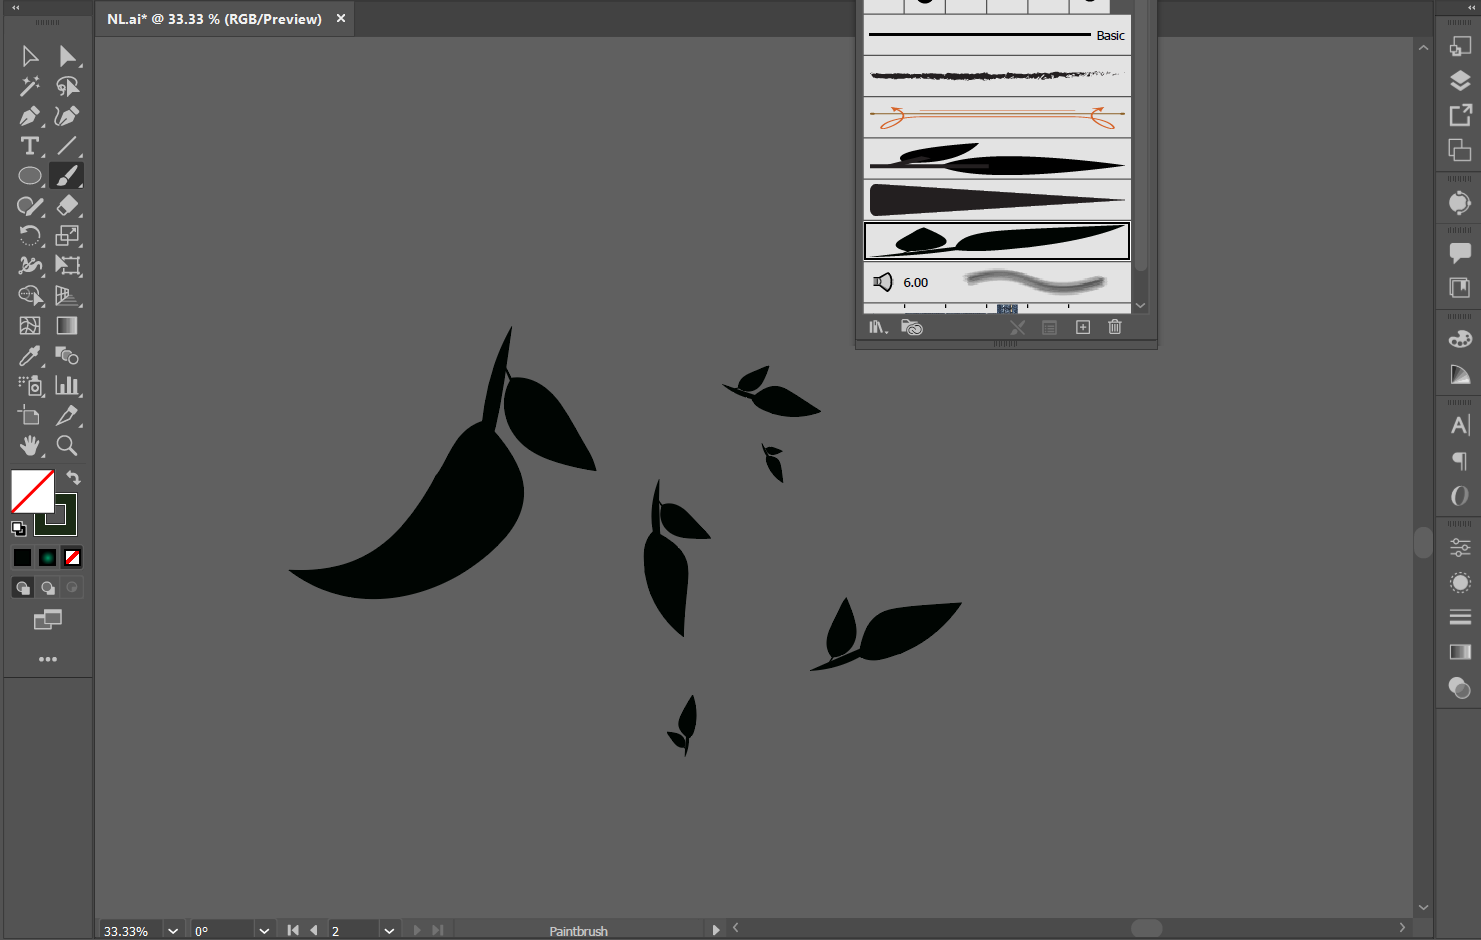
- Now that we have saved this shape as a brush, use the Brush tool and form these leaves at various parts of the branches using drag-release. The longer you drag, the bigger the leaves, and vice-versa.
And there you go!
Feel free to explore adding other objects and doing a non-monochromatic version of this. Do share what you come up with.
Reference - https://www.youtube.com/watch?v=Ms6M-kzu5Zw&t=23s
Instagram - https://www.instagram.com/harleen.dhawan