Grabbing a RF433 Signal With a Buspirate V.3.6
by ppillonn in Circuits > Tools
2915 Views, 24 Favorites, 0 Comments
Grabbing a RF433 Signal With a Buspirate V.3.6
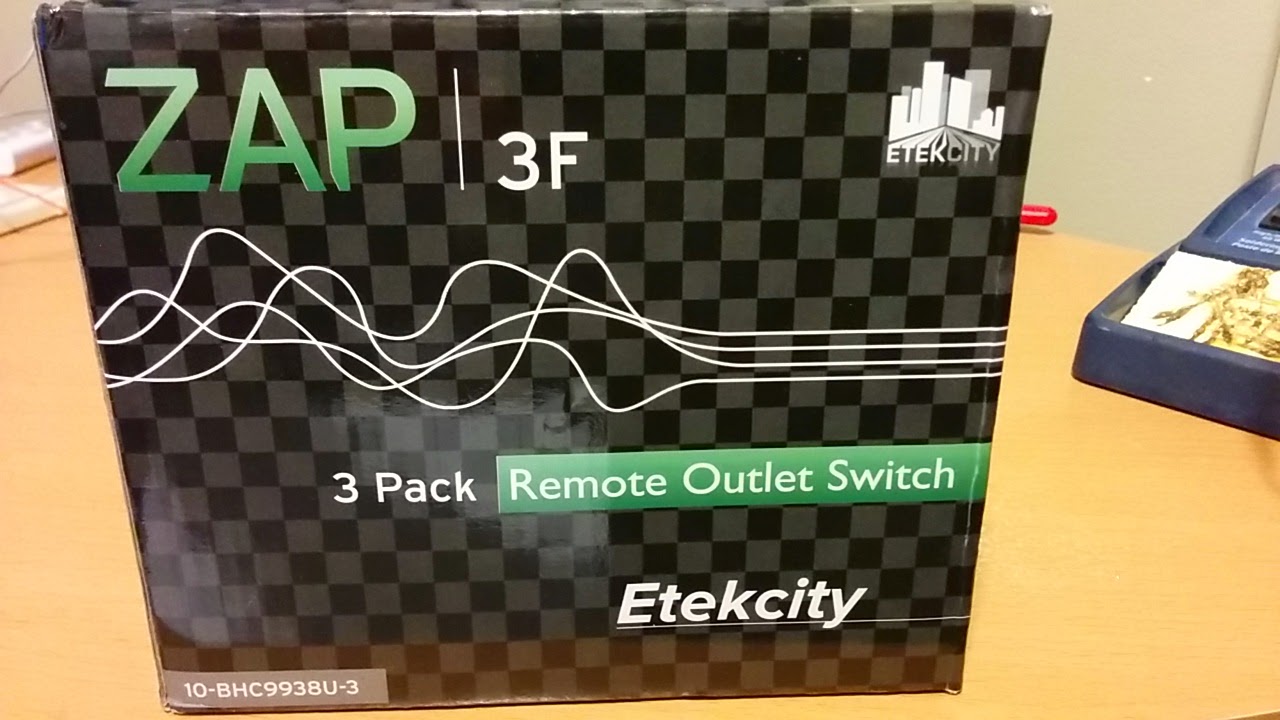
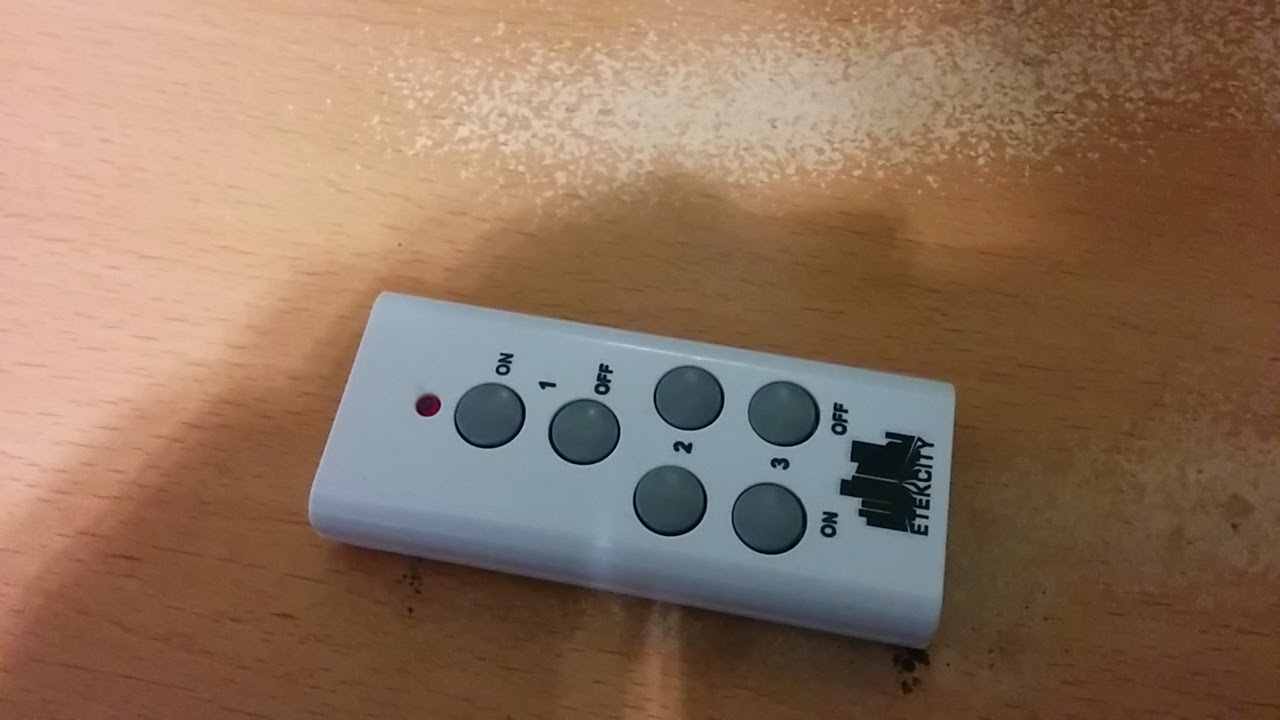
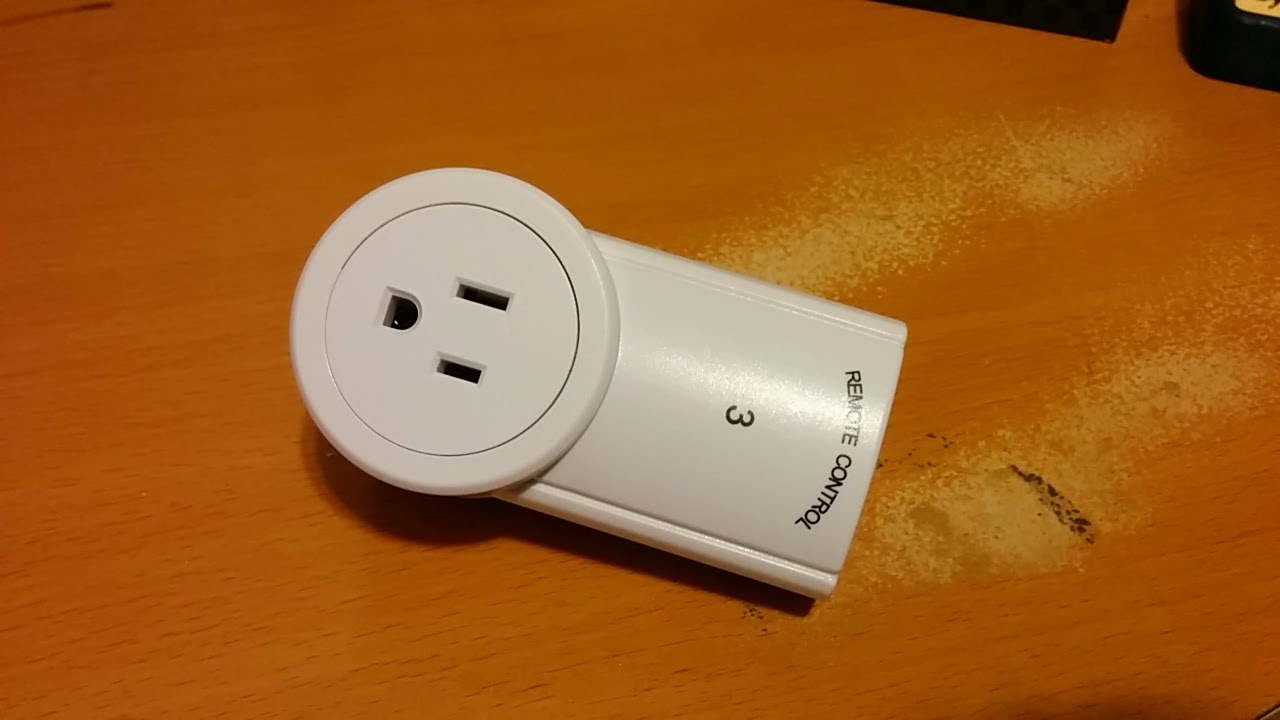
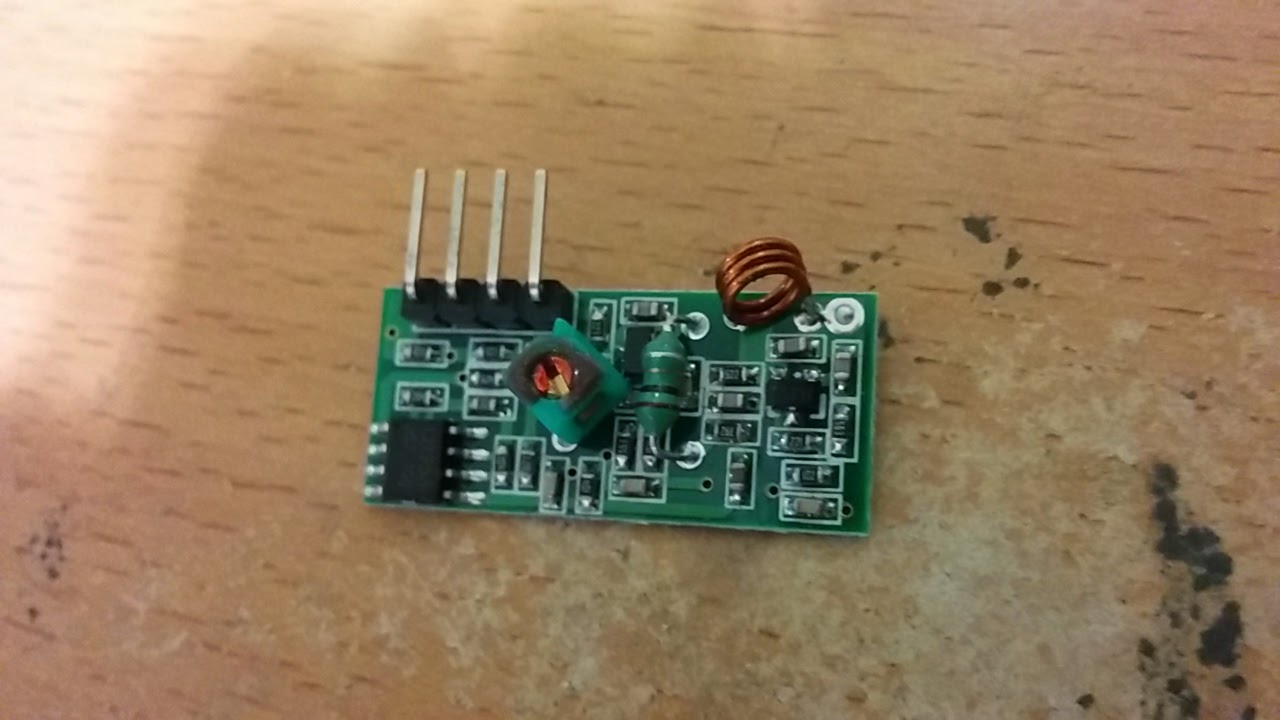
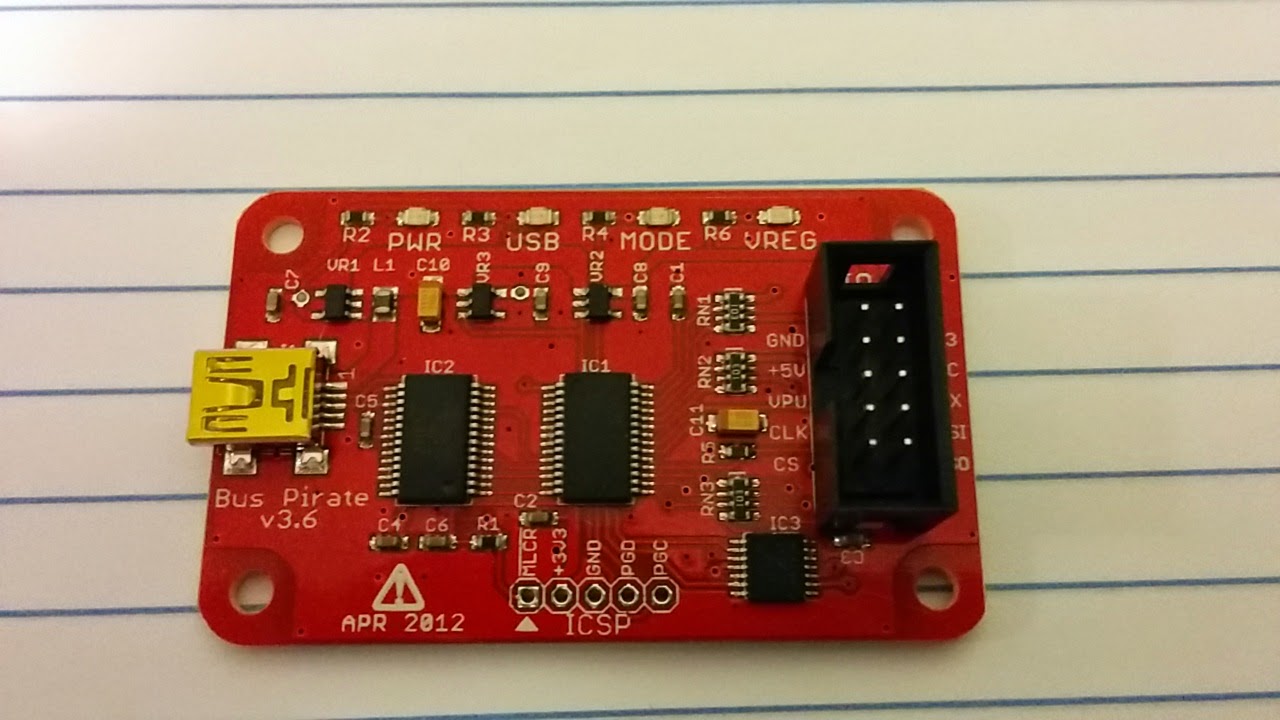
I have decided to break my attempts at cheap home automation into a couple different instructables. I ran into a lot of issues trying to receive and decode the RF signals so I figured that would be a good place to start. I ended up using a basic RF 433 receiver that I purchased of ebay for a couple dollars. A cheap 120V RF433 kit from ebay, I'll post a price later. I think it was around $20.00 canadian. To decode the signal I used a buspirate version 3.6. This tutorial will be about using the buspirate as a sniffer to find the RF code necessary for the RF 120V receiver.
Lets Get Some Software
To use the buspirate as a sniffer you will need to download a logic sniffer. I ended up using "open logic sniffer". You can read up on it and download it from here. http://www.lxtreme.nl/ols/#download.
It's java based so it is cross platform compatible and I found it to be fairly easy to use.
It's java based so it is cross platform compatible and I found it to be fairly easy to use.
Connecting the Buspirate to the RF433 MHZ Receiver
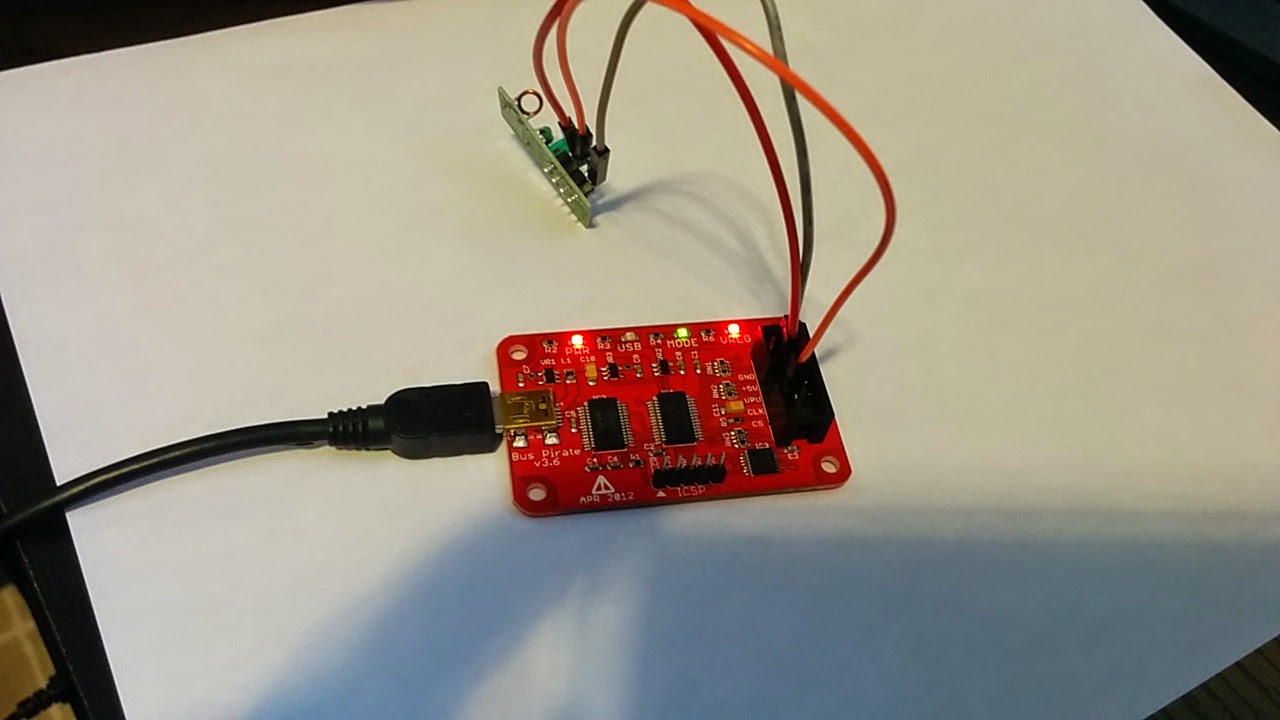
Now that we have all of the components necessary lets get started. To connect the buspirate to the RF 433 receiver we need 3 connections. You can use a bread board if you like, I simply connected the wires directly from the buspirate to the receiver
The receiver uses 5v. Lucky for us the buspirate can output 5v as well. We will need to connect vcc from the receiver to 5v on the buspirate. GND on the receiver to GND on the bus pirate. And one of the two data pins from the receiver to the CLK pin on the buspirate. CLK doesn't have to be used but that is the pin I went with.
We will of coarse want to do this while everything is powered down and disconnected.
Lets Use the Built in Console to Turn the Power On.
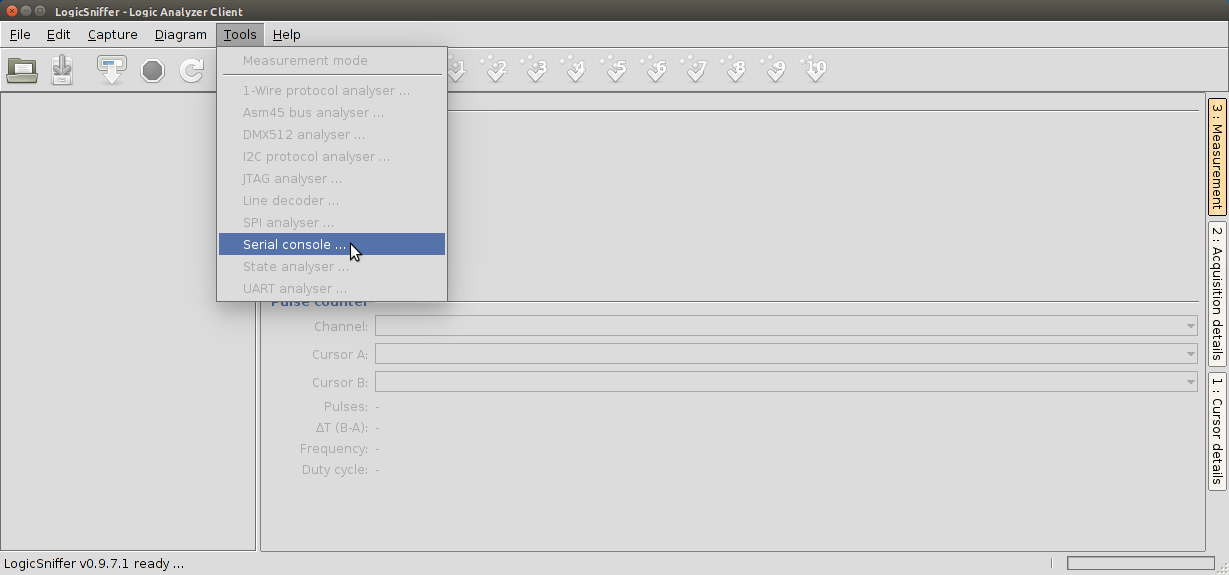
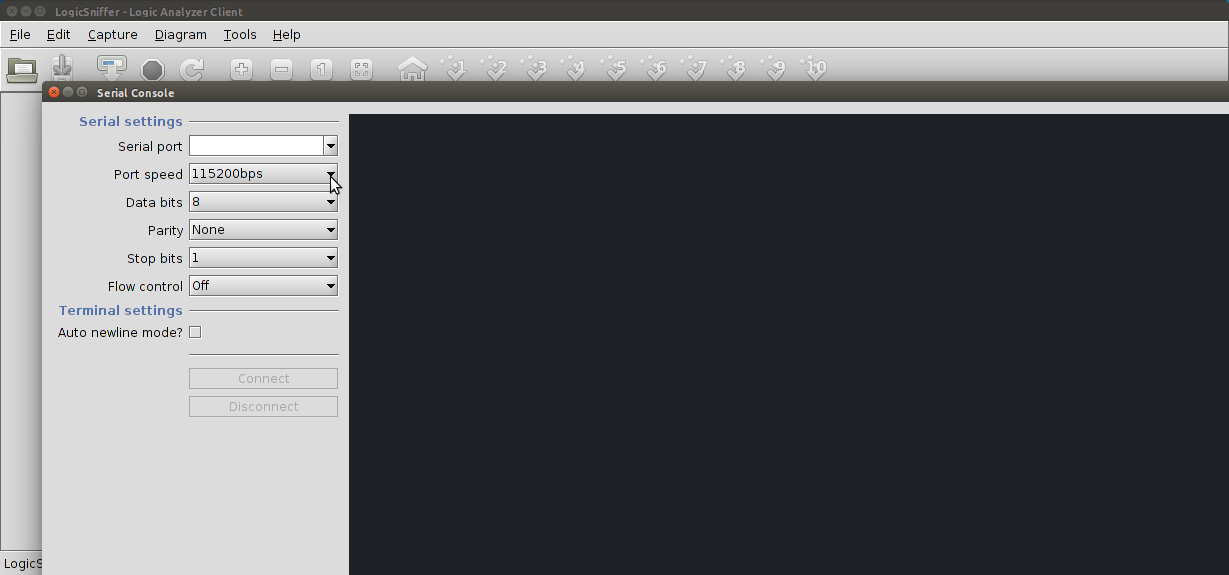
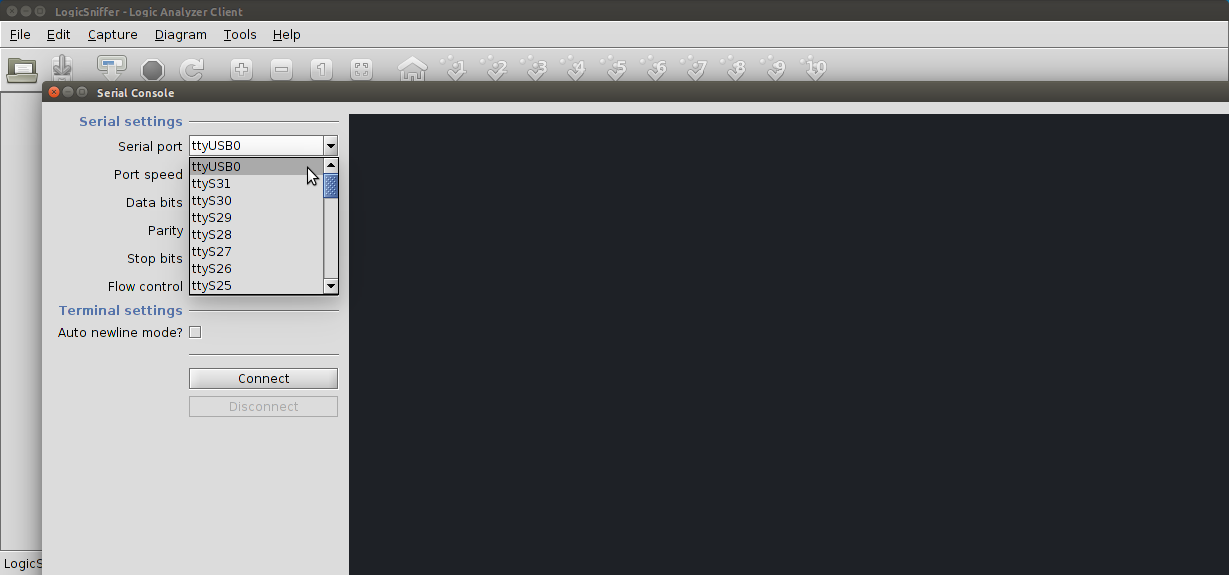
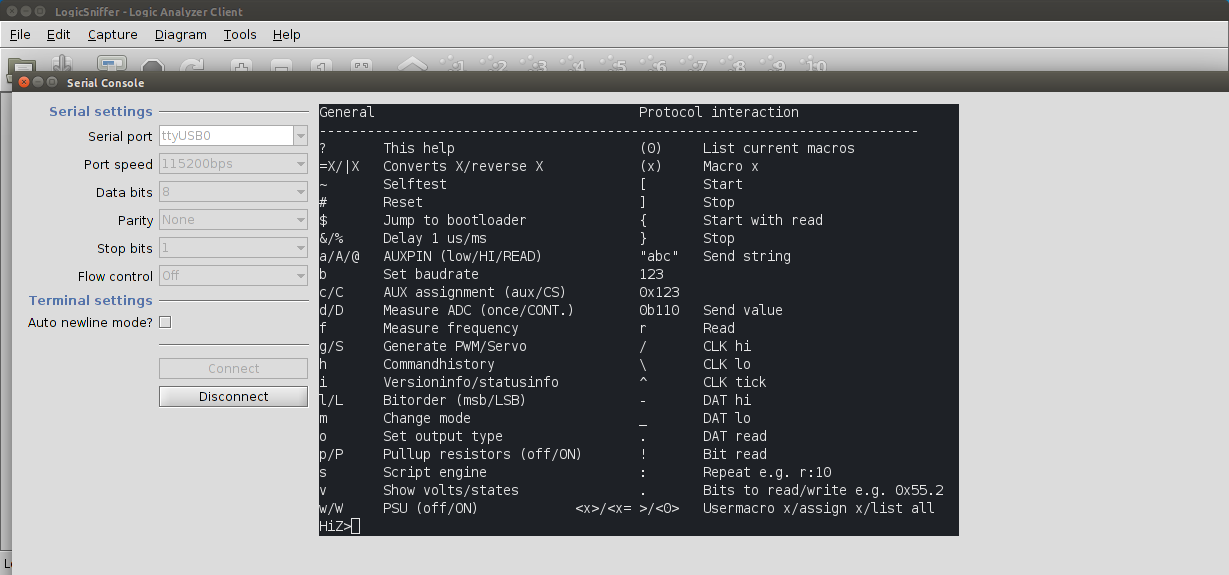
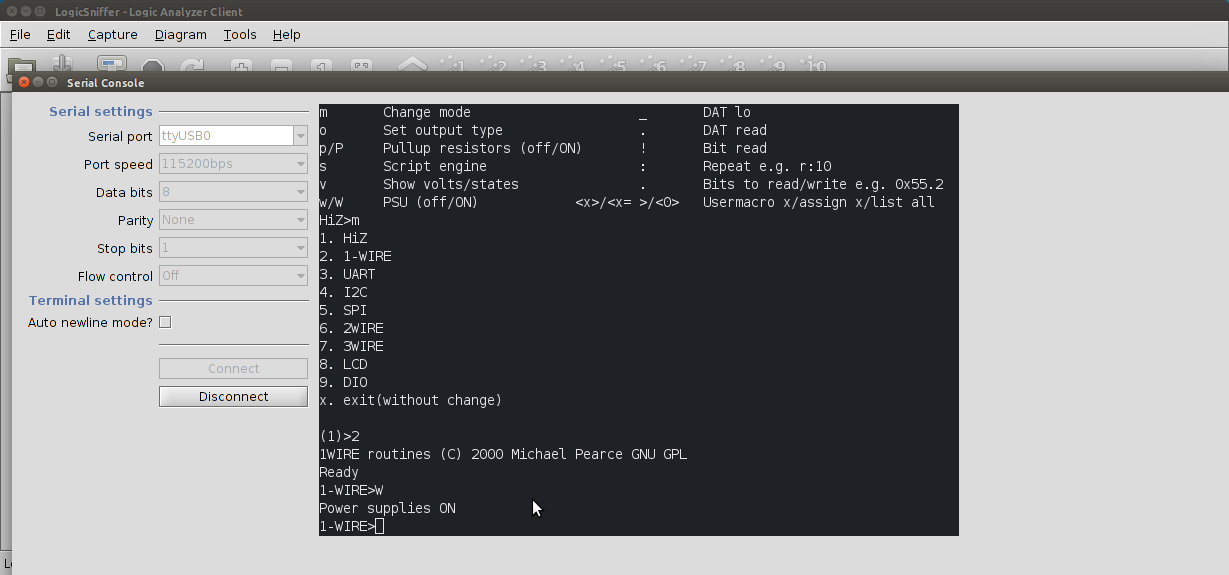
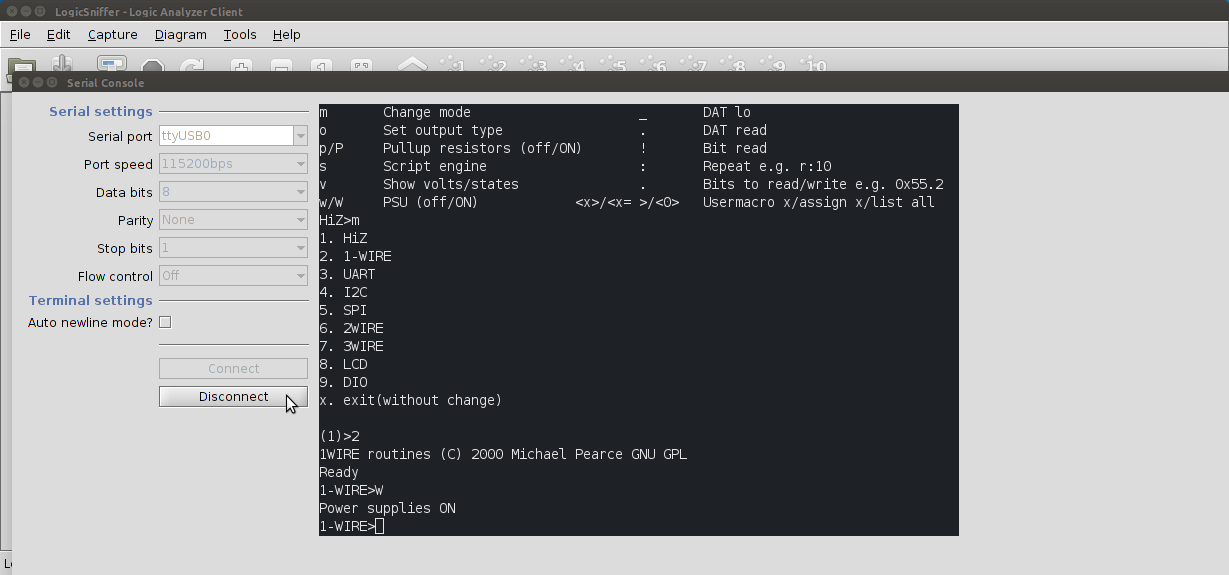
Now we need to configure the software. In order to use the 5v power supply that the buspirate offers we have to turn that feature on. Start the "open logic sniffer software" and select "tools" then "serial console". Here we can connect to the buspirate via a console built into this software. We want to make sure and leave most of these settings alone. The port speed should be set to 11520bps which is the buspirate default settings. At the top of the screen there is a "serial port" drop down box. We want to select the appropriate port. On my linux box it is labelled as ttyUSB0. There may be a couple different options depending on what you have plugged in. An easy way to determing the correct port is check the drop down befor you plug the buspirate in and then after. Once we have to correct serial port settings we will now click connect. At the bottom of the black serial console box there is a text entry box. Enter "?" then hit the send button. You should now have a "help" menu in front of you. If not, something is wrong and you are not connected.
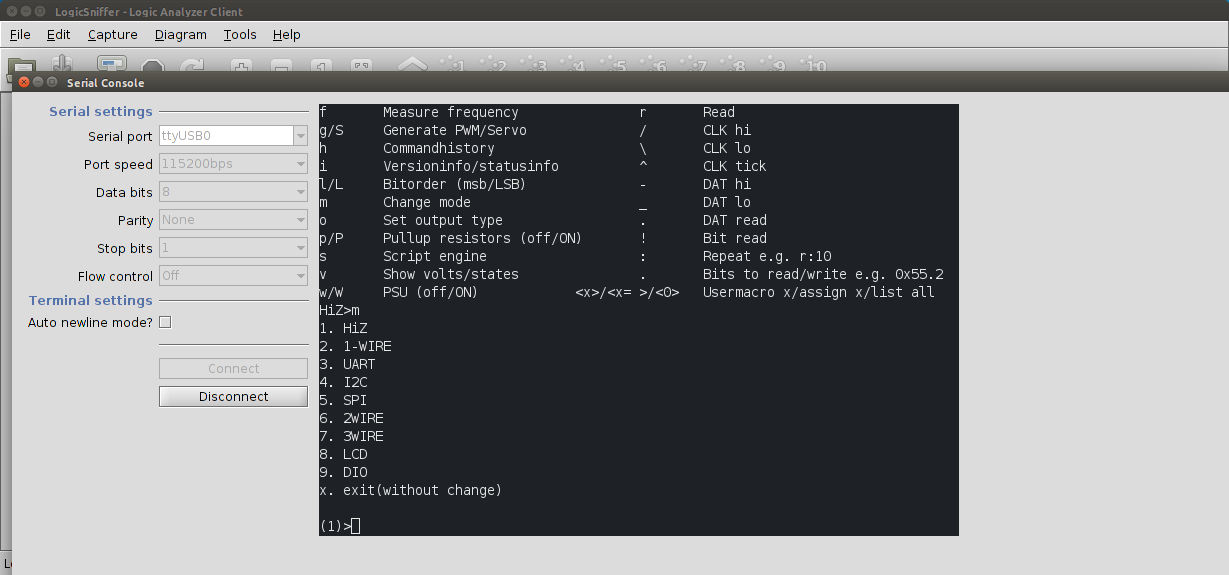
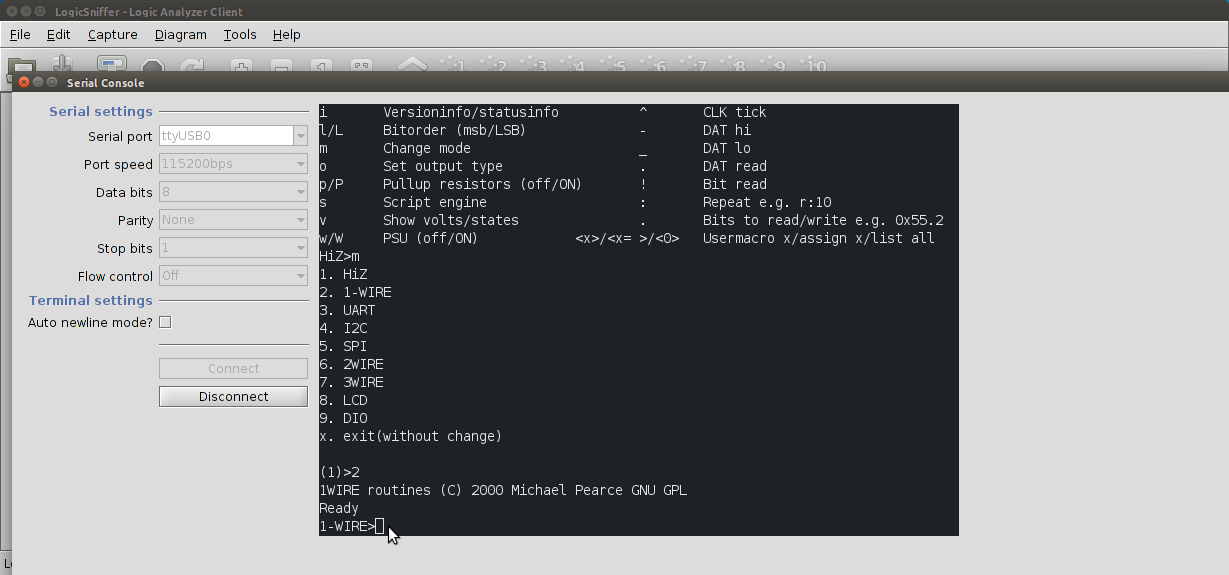
Near the bottom left of the screan you should see w/W PSU (off/on). This is how we can enable the 5v pin. In order to use the power feature we have to choose a "mode". It doesn't really matter what mode we use so I'll recommend the "1 wire" option because there is no configuration for it. Now we can turn on the power by sending "W". On the buspirate you should now see the VREG led light come on.
The last thing we have to do in the console is to disconnect from it.
Configuring the Software to Get a Good Signal.
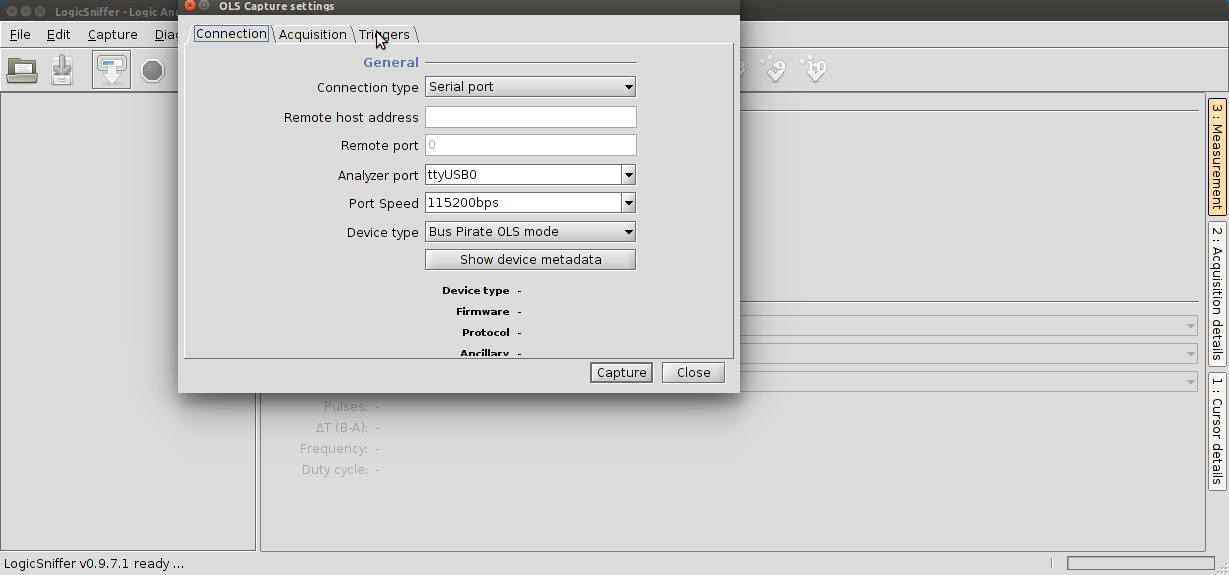
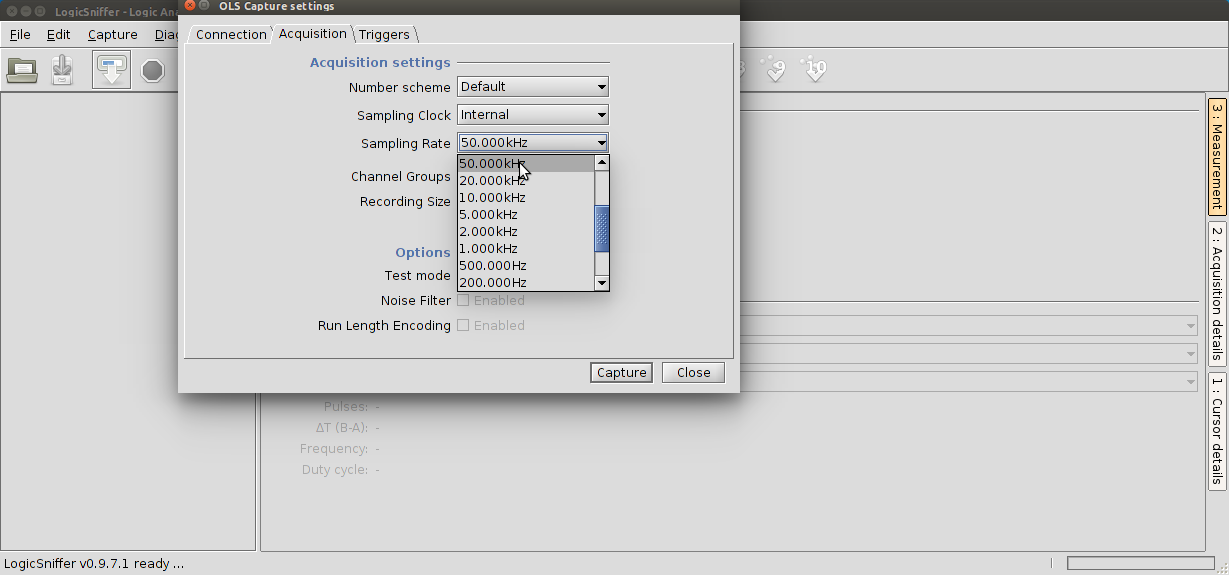
Back at the main screen we need to make a couple other configuration changes. Select "capture" then "begin capture". Make sure that the settings here are good and that the same port is selected under "analyser port" that we used previously to connect to the serial console, in my case it was ttyUSB0.
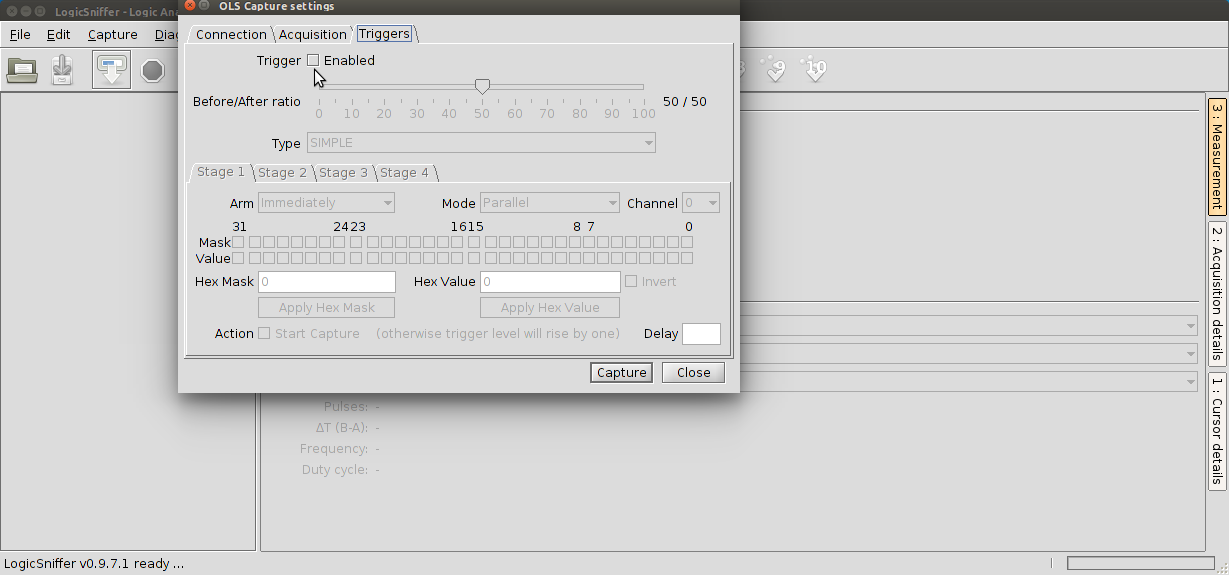
Next we need to go to the "triggers" tab. Here we need to disable the triggers by unchecking the box.
Under the "acquisition" tab we can change our sampling rate. The default is 4mhz. You'll want to lower this to something a little more reasonable. I went with 50khz. This will give us a large enough sample to be able to see what is going on but it's still fast to minimise any errors.
Now click capture!
Capturing Data
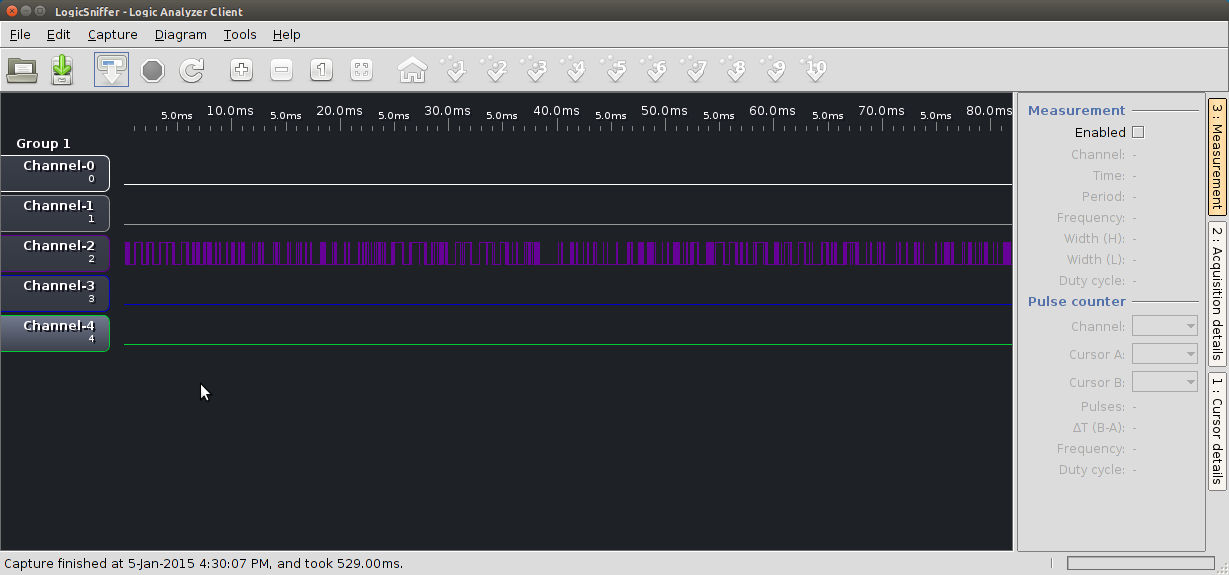
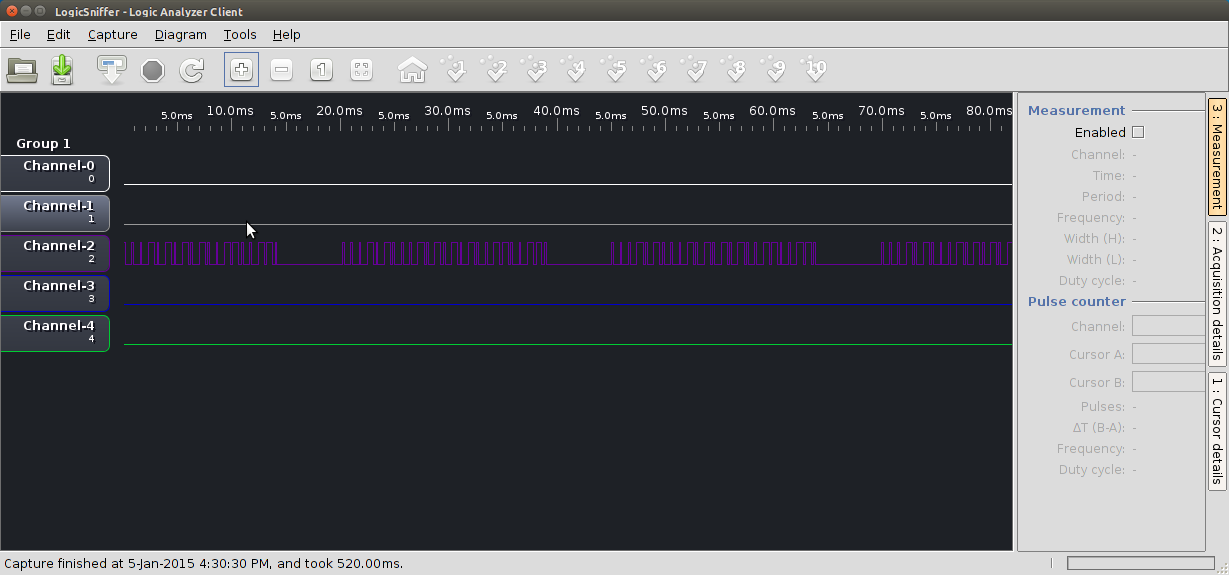
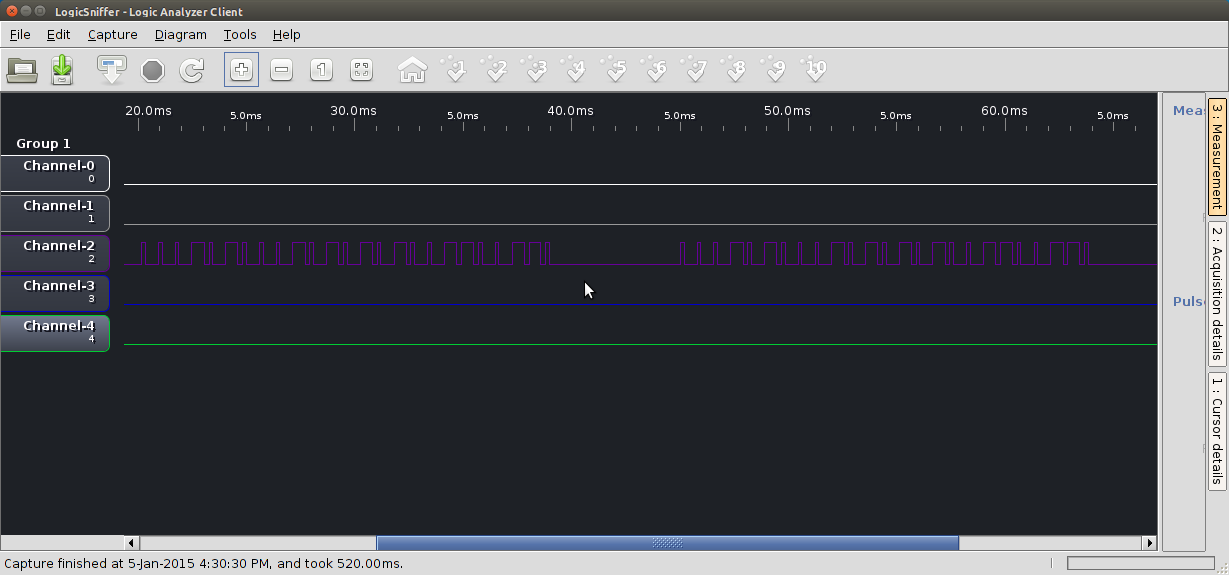
If you clicked capture you'll probably notice that channel-2 has a bunch of data that it seems to have capture.... but what is it?
If you click capture without using the transmitter that came with the RF 433mhz kit it still shows data. The data is "nothing", or more appropriately it is noise.
Lets try the capture again but this time do it while holding down one of the buttons on the remote. Now we should have some information. You should see a repeating pattern as it sends the signal over and over again. If you zoom in on the pattern this is what we have been after. This is the signal the is being sent by the transmitter and is now being received with you're $2.00 receiver from ebay. With this information and a transmitter (may have come with the receiver) we can connect the transmitter to a microcontroller and control the wall receiver. Thats another story.