Gored Skirt With 2 Fabrics.
by PsychoticHatter in Craft > Fashion
6415 Views, 9 Favorites, 0 Comments
Gored Skirt With 2 Fabrics.
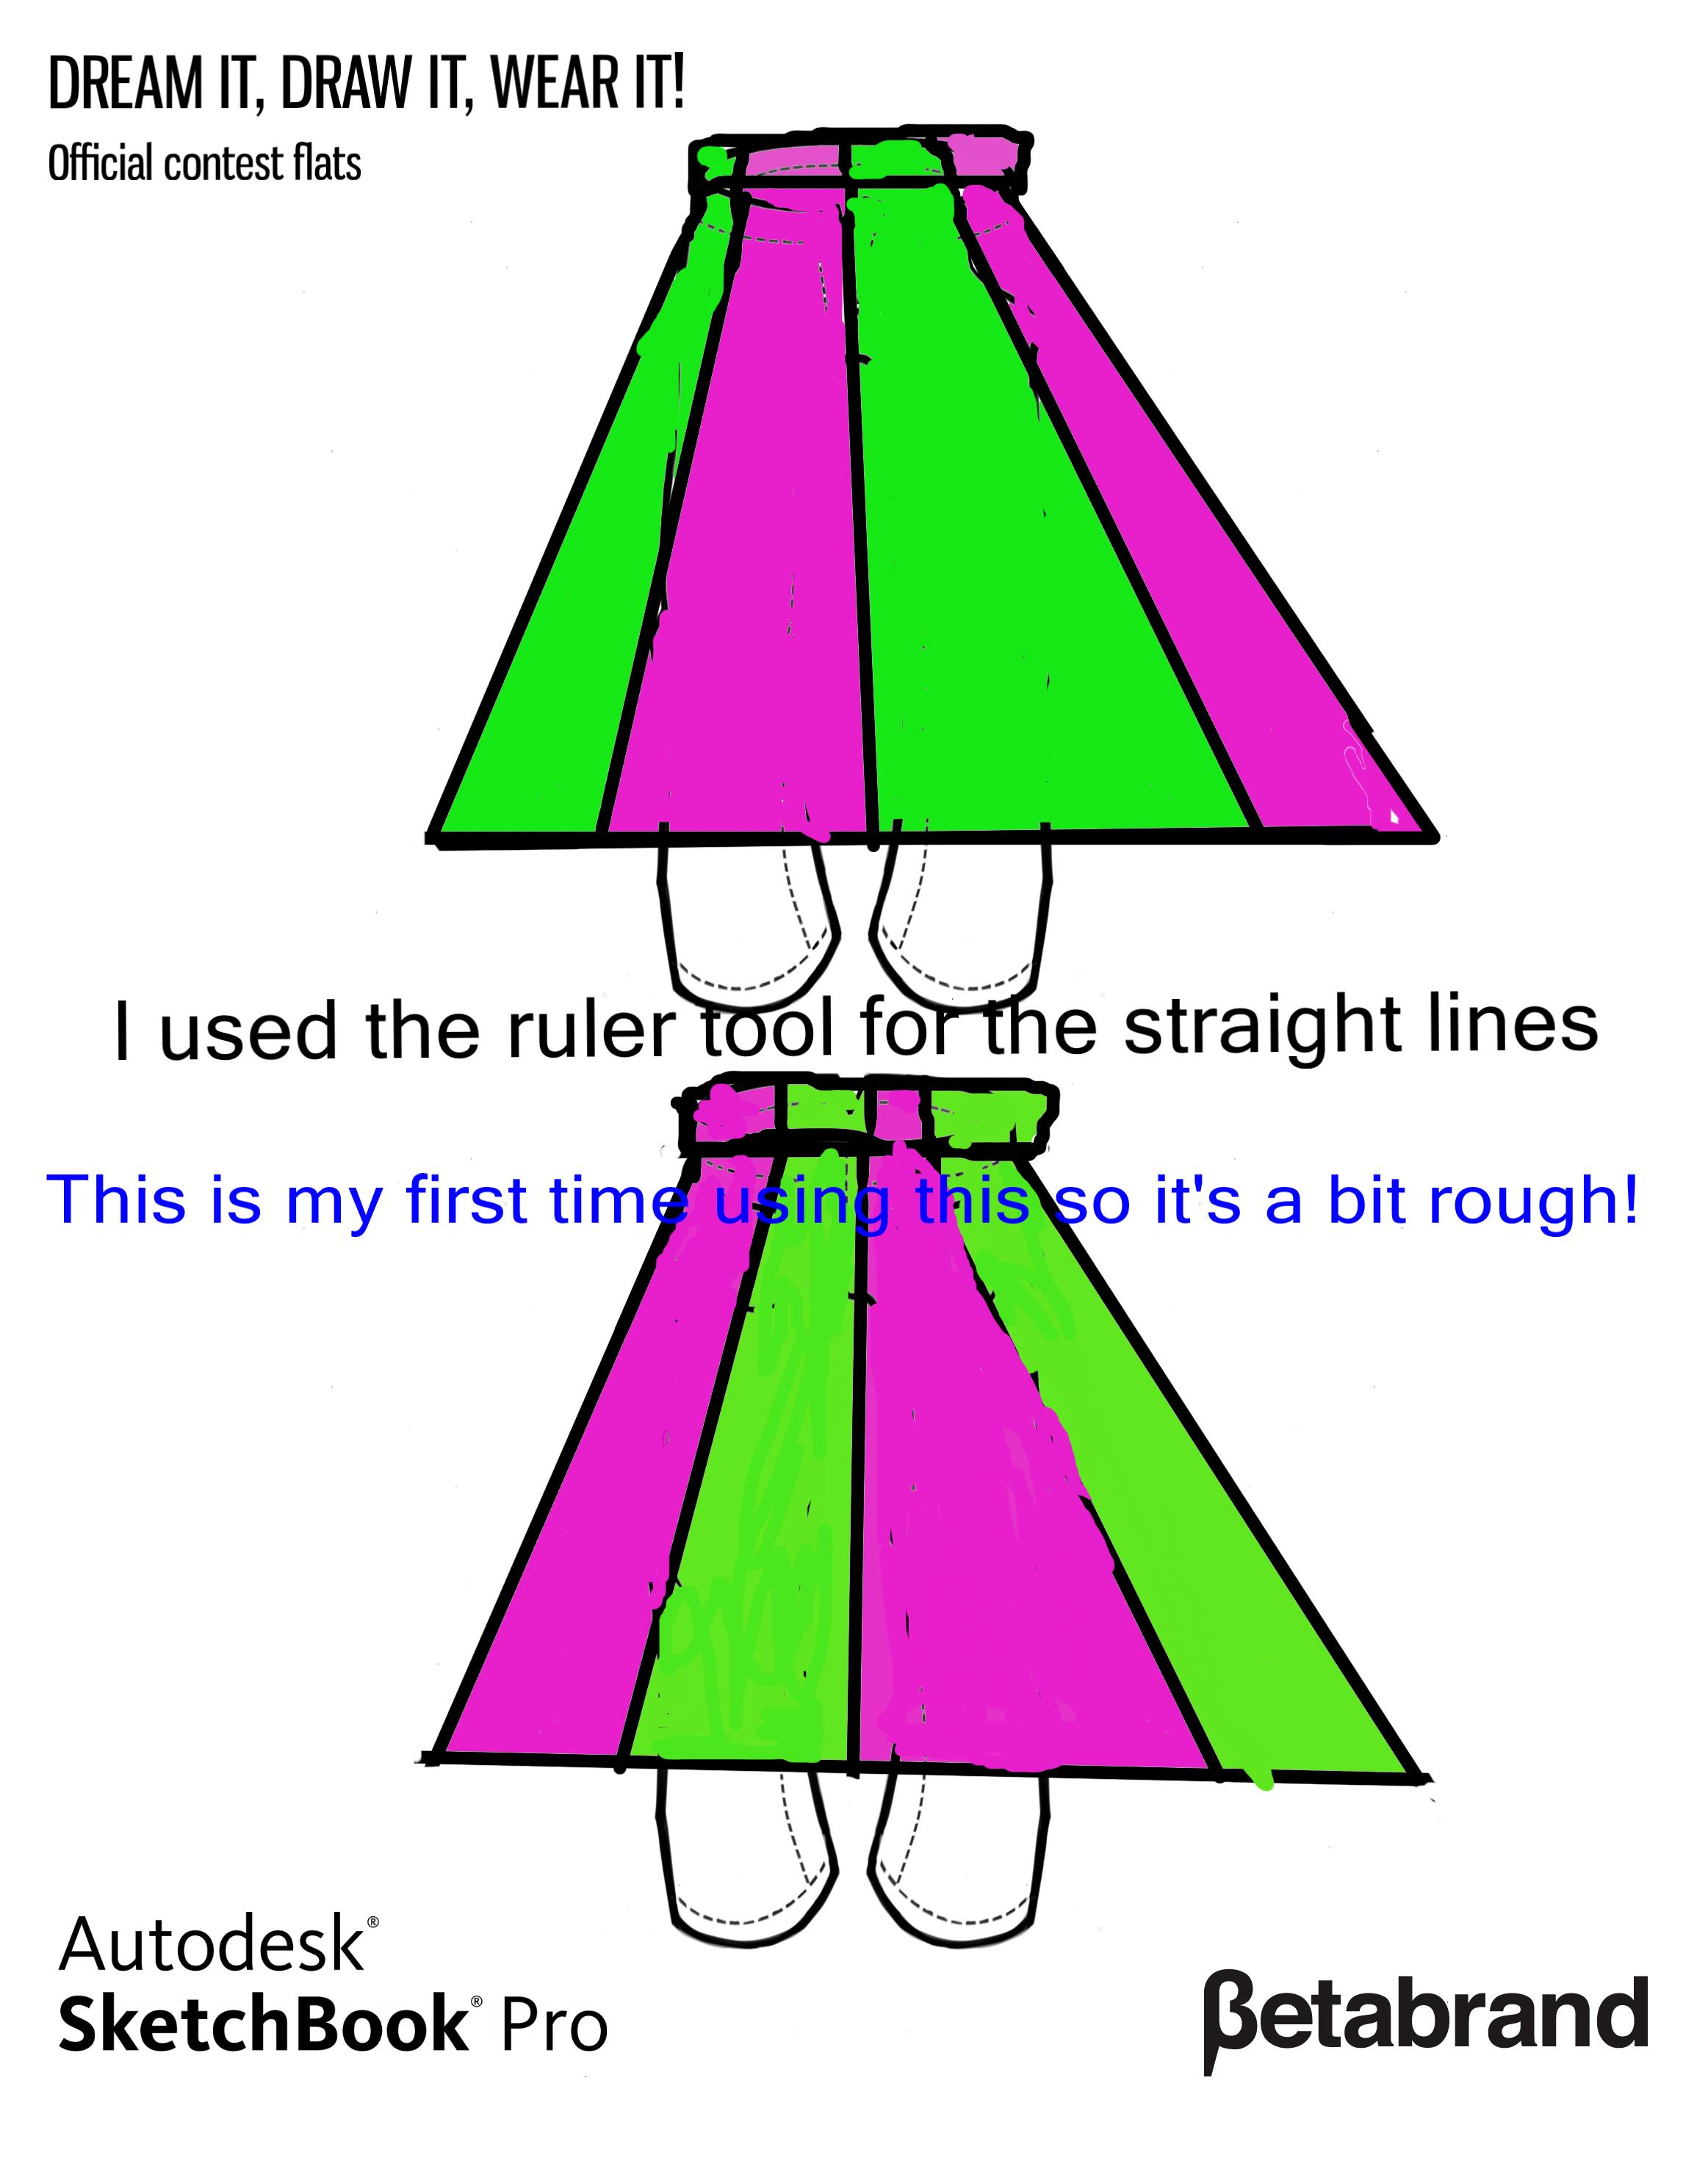
So this is a skirt that is so much fun to twirl in! This is good for younger and older people. The reason I made this skirt is because it is a nice breezy skirt that is wonderful when it is hot out! It's a good one to privately lounge in and it works in public too.
This was my first time using Sketchbook Pro and I decided not to show my step to step with it because I'm new to it.
(Sketchbook Pro TIP***If you decide to use it and use text you will have to merge the layers using the layers tool bar which you will find it in the Window edity button thing at the top with the File button. You will then have to click and hold down on the bottom layer bit and then drag around the circle of icons that pop up until you find the one that says Merge All, you'll want to click that. That will make the text permanent!***)
The first thing you will have to do is make a circle skirt pattern.
Measure your waist (mine is 47") Add 2 (47+2=49) Divide by 6.28 ((47+2)/6.28)=7.803 (w+2)/6.28=R (R is radius)
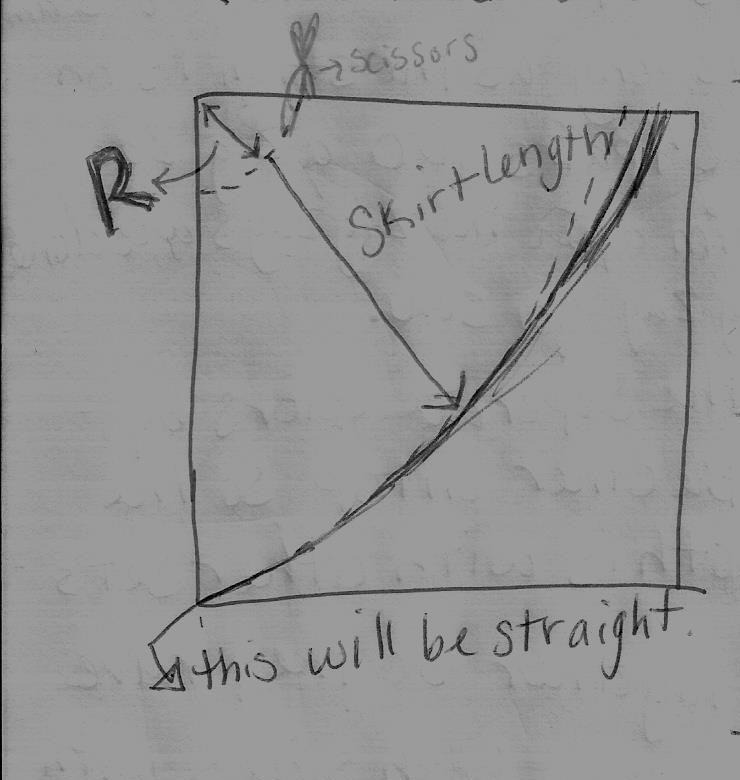
Now make a large square out of tissue paper or something similar.
Measure from one corner down with your R or for mine 7.803" make a dotted line or a full line.
My skirt is about 20" long, measure from where you put a dotted line, make a line at the length you want.
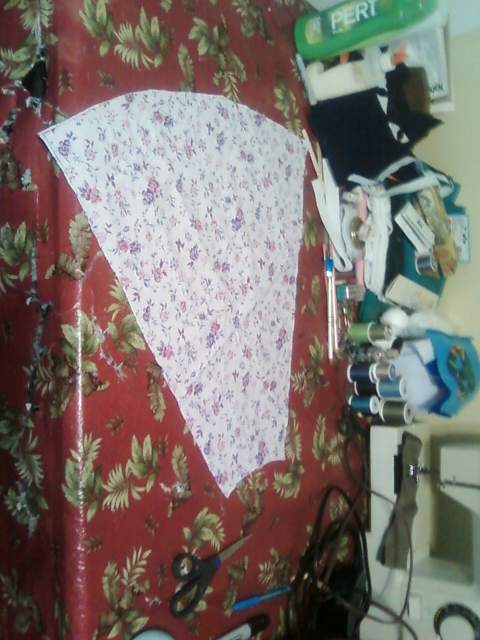
Cut out your pattern follow the lines you made.
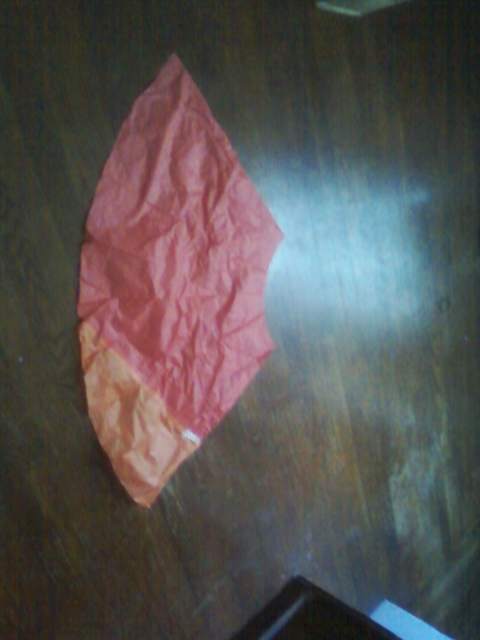
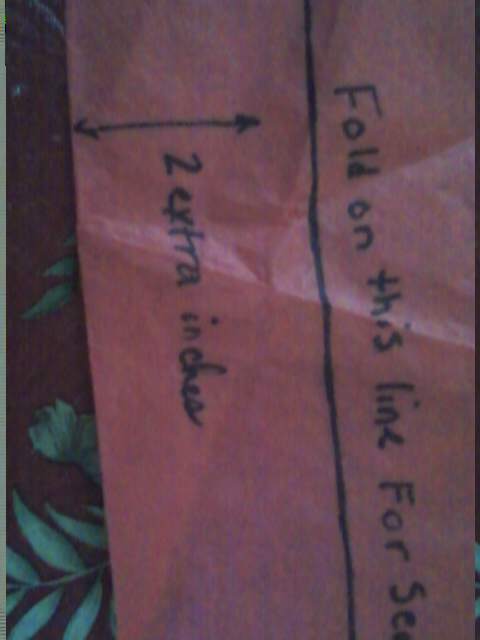
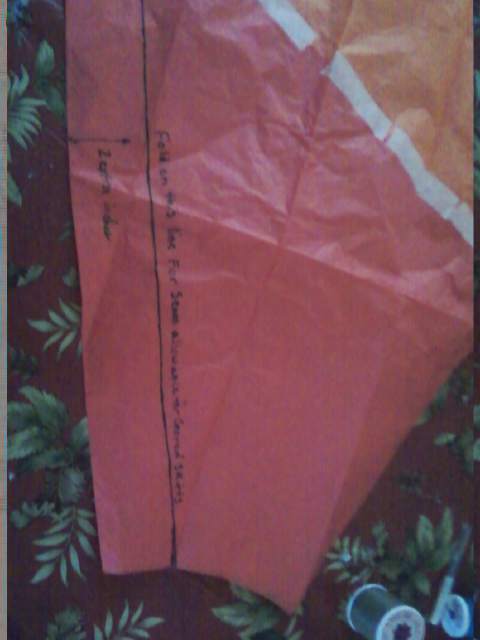
The next step for this pattern is to fold it in half, then measure 2 inches over from the folded edge and make a line exactly 2 inches from the fold all the way down. Refold along the line that you just drew.
Cutting the Fabric! and What You Need!
You will need:
About 2 yards of 2 fabrics The Stretchier the better. (You can do more but 2 is one of the easier ones. The Yardage depends on the size and length of the skirt)
A sewing machine (you could do it by hand but it would be harder)
Thread of whatever color you want. I don't care if the thread shows up
Pins
A ruler
Elastic
A safety pin
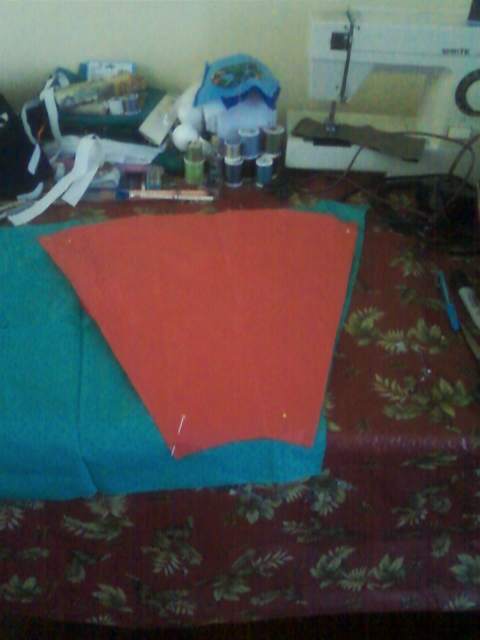
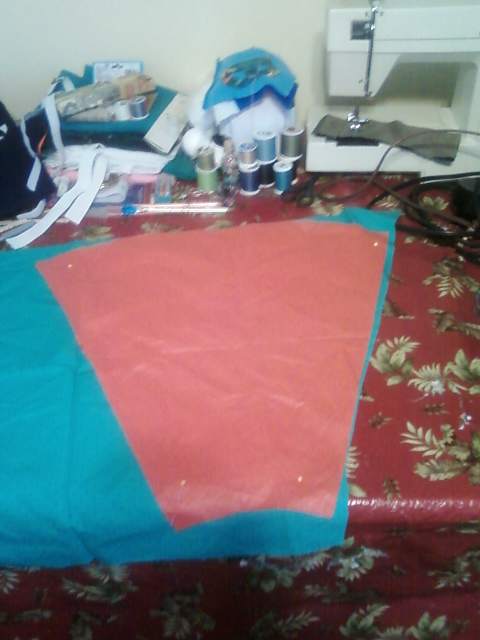
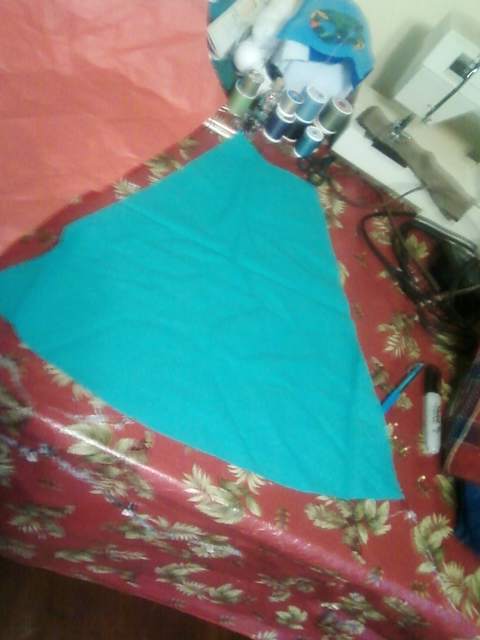
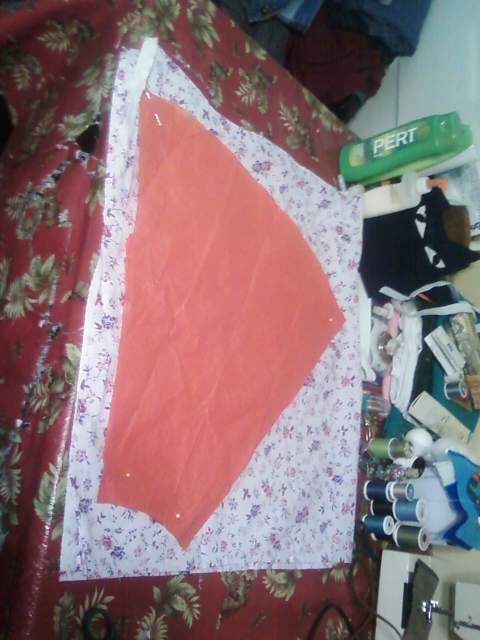
Pin the pattern onto the fabric (My pattern might seem small because I forgot to add the 2 inches for seam allowance)
You can do this by folding the fabric so that it is double layered (I did) You also could do it quadruple layered but 2 layers are easier to cut through.
You will pin the pattern twice on each fabric if you fold it so the fabric is double layered, only once (per fabric) if quadruple layered.
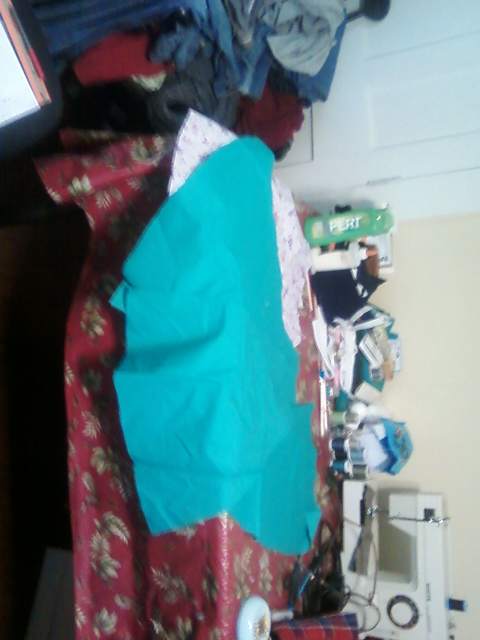
You will end up with 8 pieces of fabric, 4 of each color.
Starting to Sew!
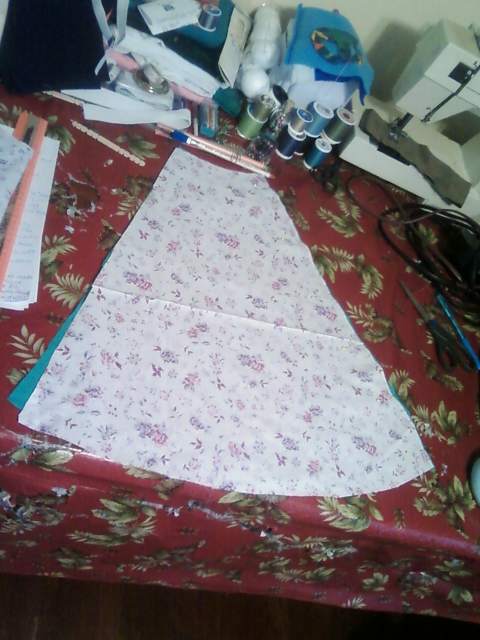
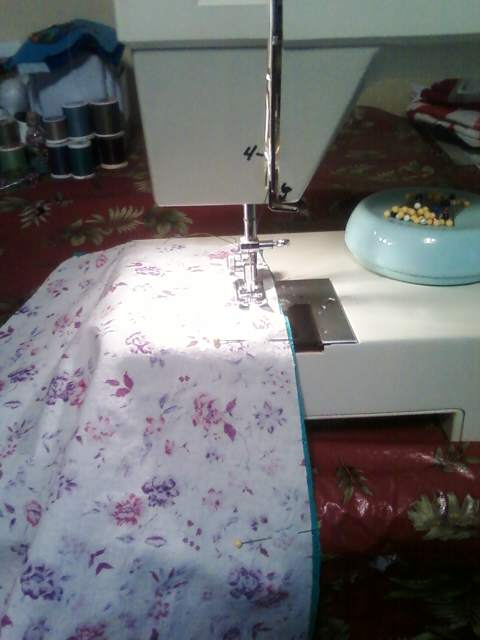
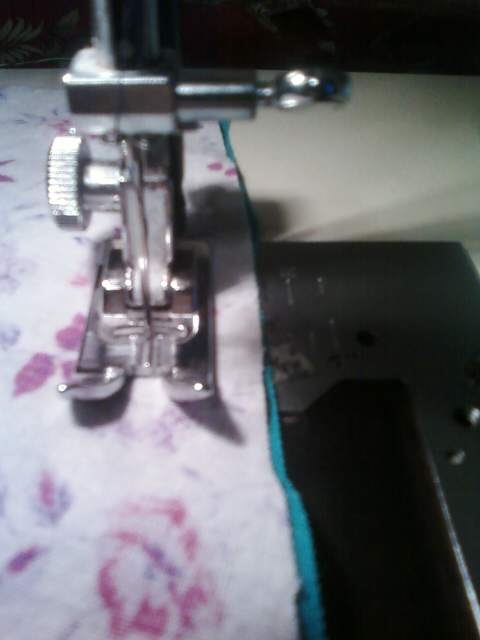
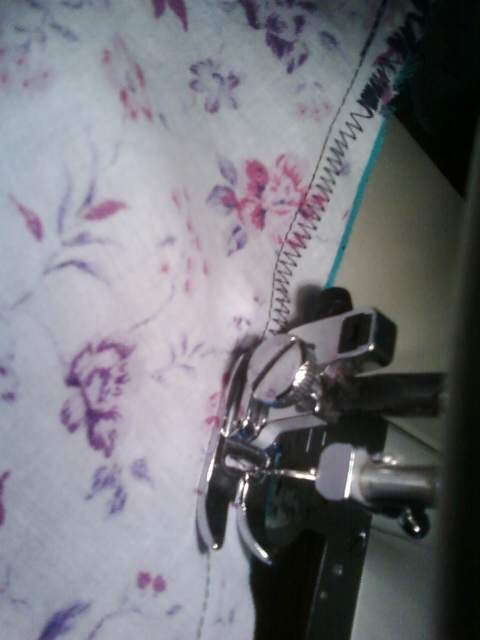
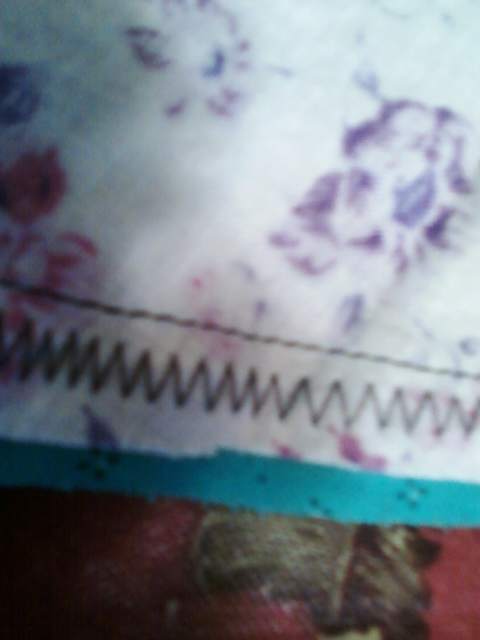
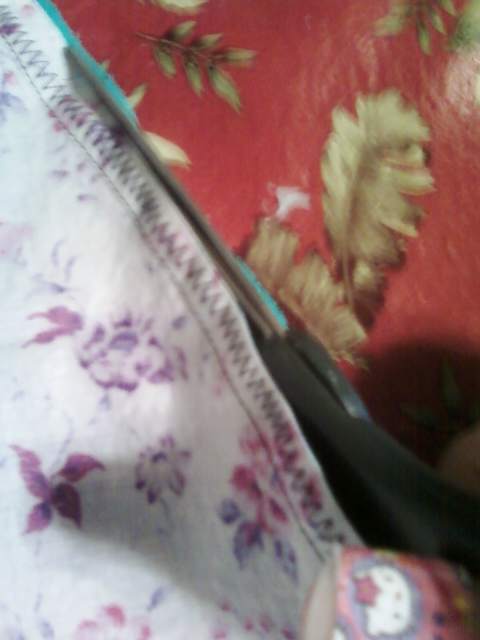
First you will want to match up the right sides of 2 alternating colors (you do this with all 8 pieces and end up with 4 sets)
Pin the pieces along the right side (for it to alternate correctly the sewing HAS to be on the same side)
Sew a 5/8" straight stitch, removing pins as you come to them.
After you do all the straight stitches on the 4 pairs you will sew a zigzag in the seam allowance (to the right of the straight stitch)
I used a 5 on my zigzag size knobby thing (my sewing machine is quite old and has separate dials for straight and zigzag sizes)
When finished all of the zigzags you will trim close to the zigzag but not cutting the zigzag.
Sewing Two Pairs of Two Together!
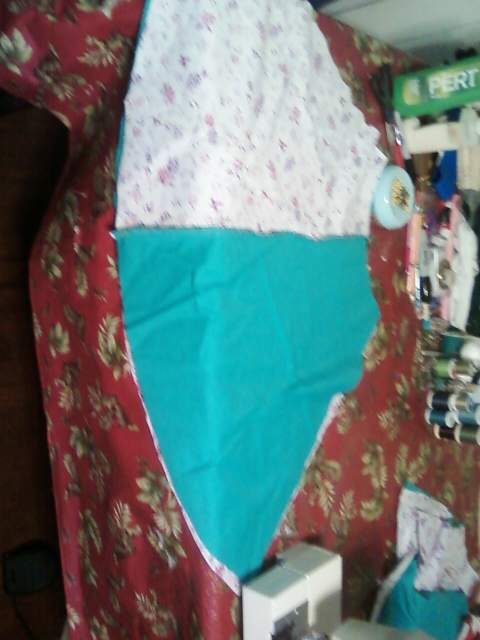
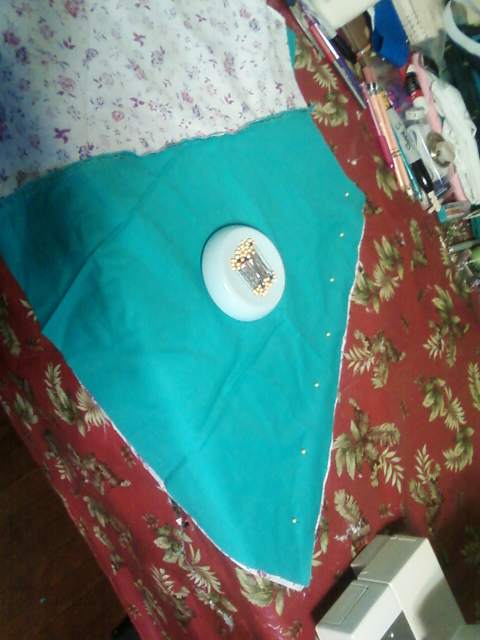
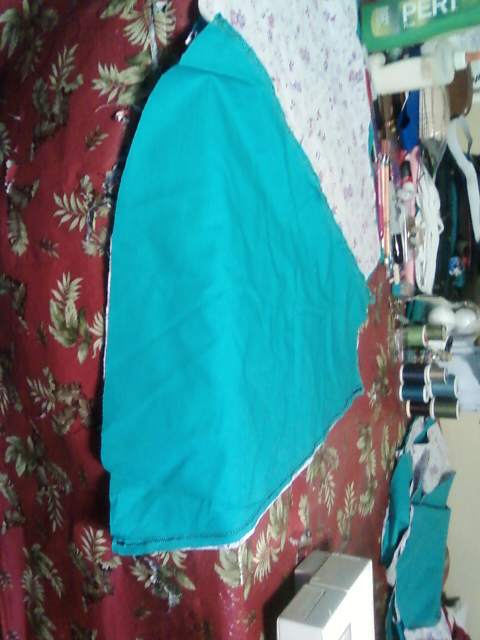
My first picture is a bit blurry but it is showing how you lay the two sets.
DON'T FORGET TO FIX YOUR STITCH BACK TO A STRAIGHT STITCH. I sometimes forget so I thought it might be helpful.
You need to lay one set down with the right sides up (after opening it up) (seam side down)
Lay the other layer with the right sides down (seam side up) right on top of the other set.
Make sure they are lined up perfectly and pin the right side of the fabrics together.
Sew a 5/8" straight stitch along the side.
Sew a zigzag stitch in the seam allowance.
Trim the area by the Zigzag stitch.
You do this with the remaining pair if you have not yet done it.
Stitching Together the Last 2 Pairs.
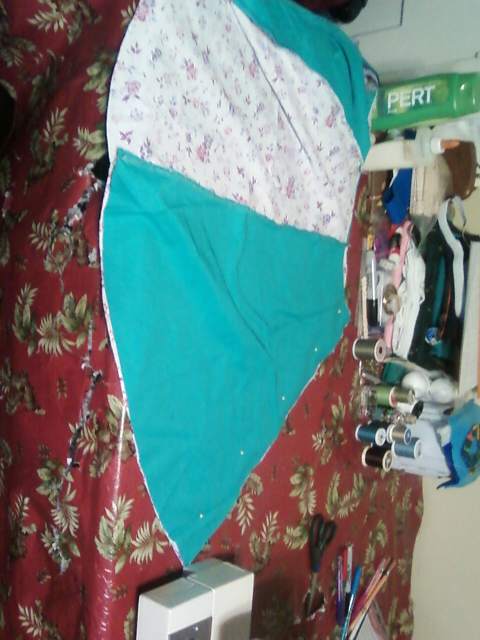
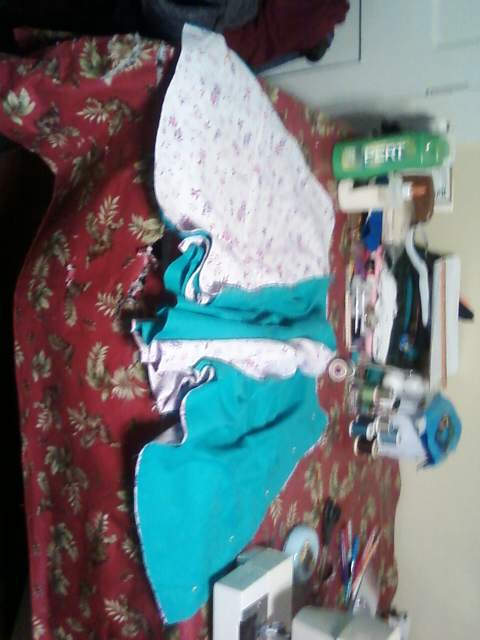
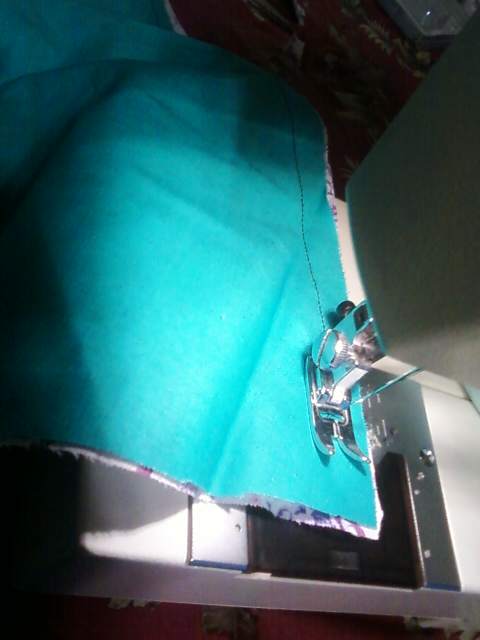
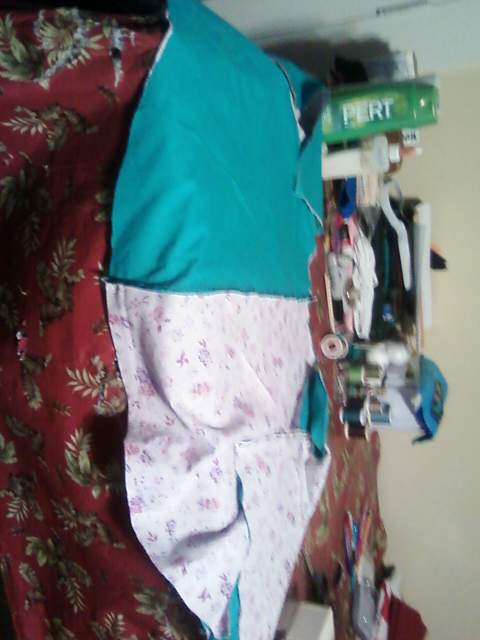
Pair up the 2 sets of 4 colors with seam down on bottom and seam up on top.
Pin after making sure the sides are matched as best as they can be.
You pin both sides this time not just the right sides.
Sew a 5/8" straight stitch on each pinned side.
Then sew a zigzag stitch in the seam allowance.
Trim the area by the zigzag.
Pin after making sure the sides are matched as best as they can be.
You pin both sides this time not just the right sides.
Sew a 5/8" straight stitch on each pinned side.
Then sew a zigzag stitch in the seam allowance.
Trim the area by the zigzag.
Making a Casing for Elastic! RULER Time
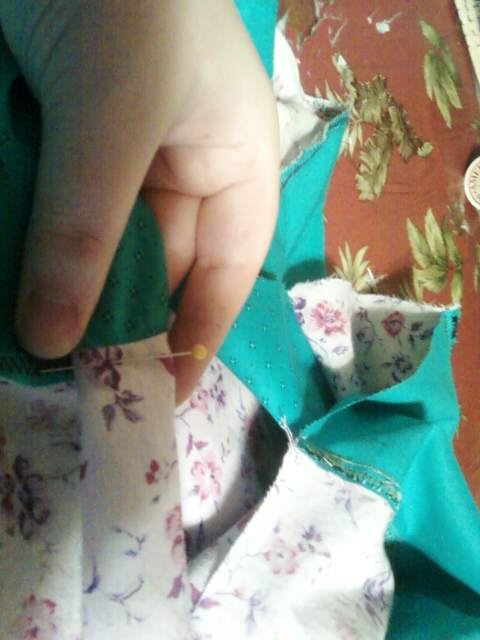
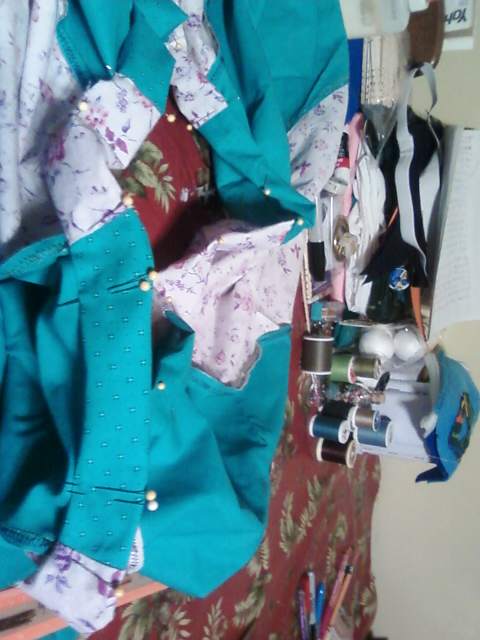
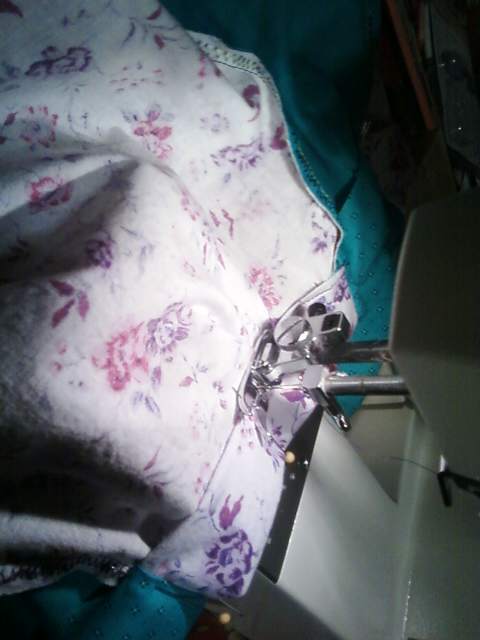
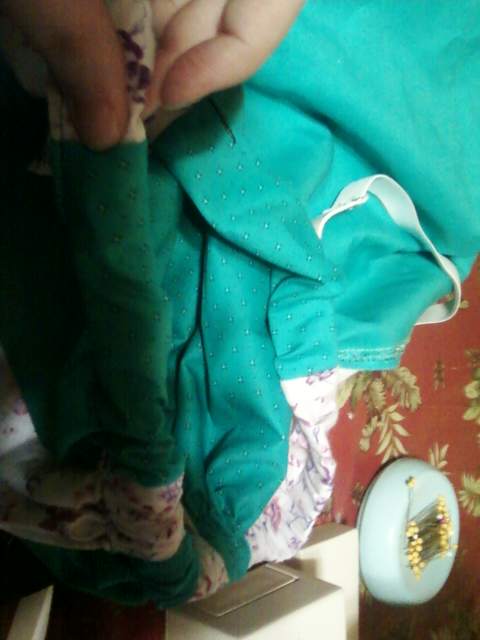
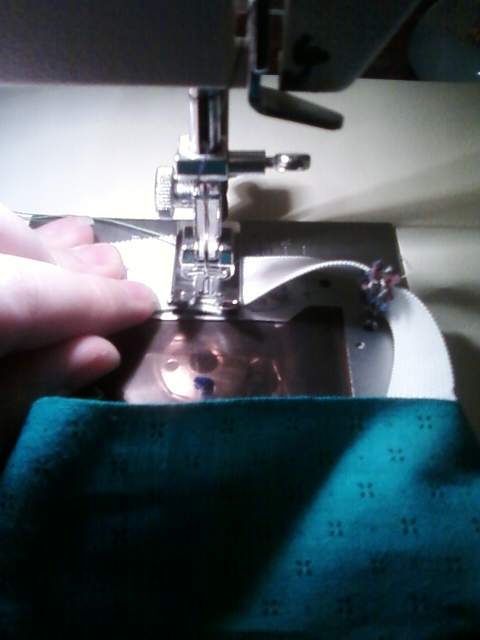
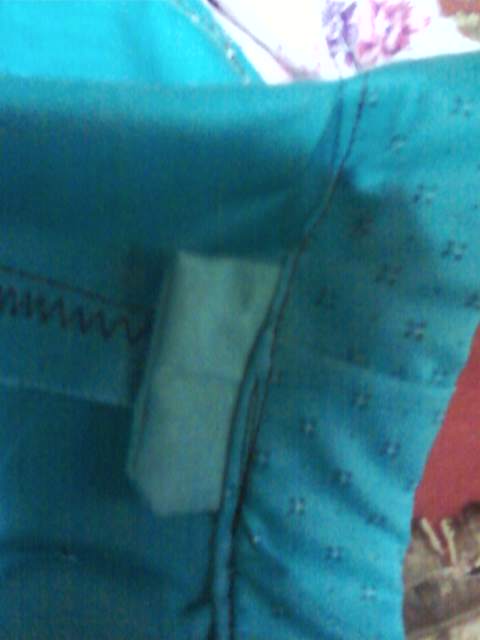
The casing depends on the size of your elastic.
My elastic was 1" wide so my casing was 1 1/4" wide.
You fold (and or iron) down the top edge of the skirt 1 1/2" then you fold up 1/4" at the bottom of the folded piece (It's similar to making a hem)
Pin the folded under piece continue until the whole thing is pinned.
Place a double pinned part near another double pinned part to mark where you DON'T sew.
Sew a straight stitch along the bottom edge of the casing, start at one of the double pinned spots, end at the other edge.
Remove pins if you haven't
Take your elastic attach Safety pin to one edge.
Start feeding the safety pinned side of the elastic into the casing continue until the elastic pops out the other side.
Once the elastic is out make sure it is flat inside the skirt and make sure the casing is flat against the elastic.
Try the skirt on and tighten the elastic until it is a good fit, use the safety pin to hold the two sides of the elastic together.
Take off the skirt and use normal pins to hold the elastic in place and make a square of a straight stitch to hold the elastic in place.
Let the elastic go back in.
You could make a tag by cutting fabric 1" x 2" and folding, sew around 2 sides and then flip inside out
Place the tag unsewn edge under the casing bit left open.
Pin or hold the tag there and sew the casing shut.
Hem the Bottom!
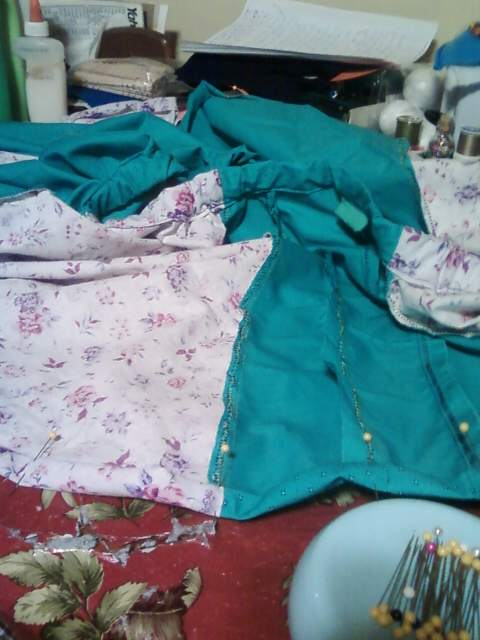
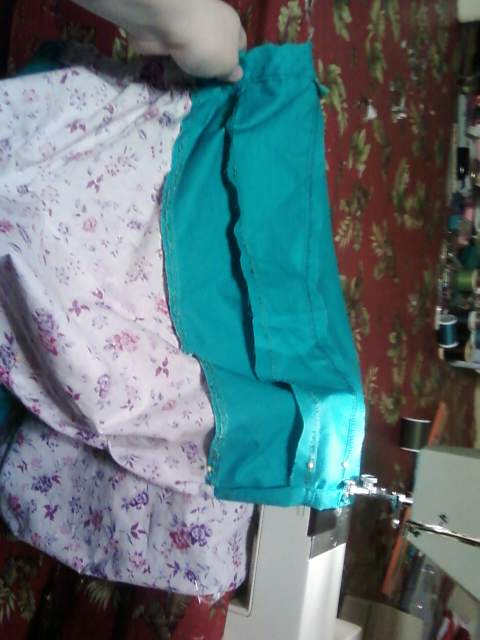
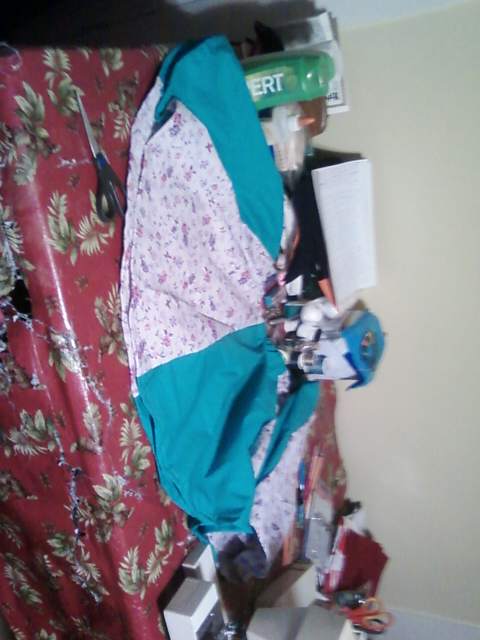
First you can stitch in the ditch along the side seams of the casing, which means to sew a short line (normal and back stitch) along the seam that is already there to make sure the elastic doesn't move around when it gets washed. Do this at each seam if you want it to be super secure.
To make the hem you use a ruler and fold up 3/4" (or whatever seems to work) Then fold under 1/4" and Pin.
Once it's all pinned sew a straight stitch along the folded edge.
To make the hem you use a ruler and fold up 3/4" (or whatever seems to work) Then fold under 1/4" and Pin.
Once it's all pinned sew a straight stitch along the folded edge.
YOU ARE DONE!!!!
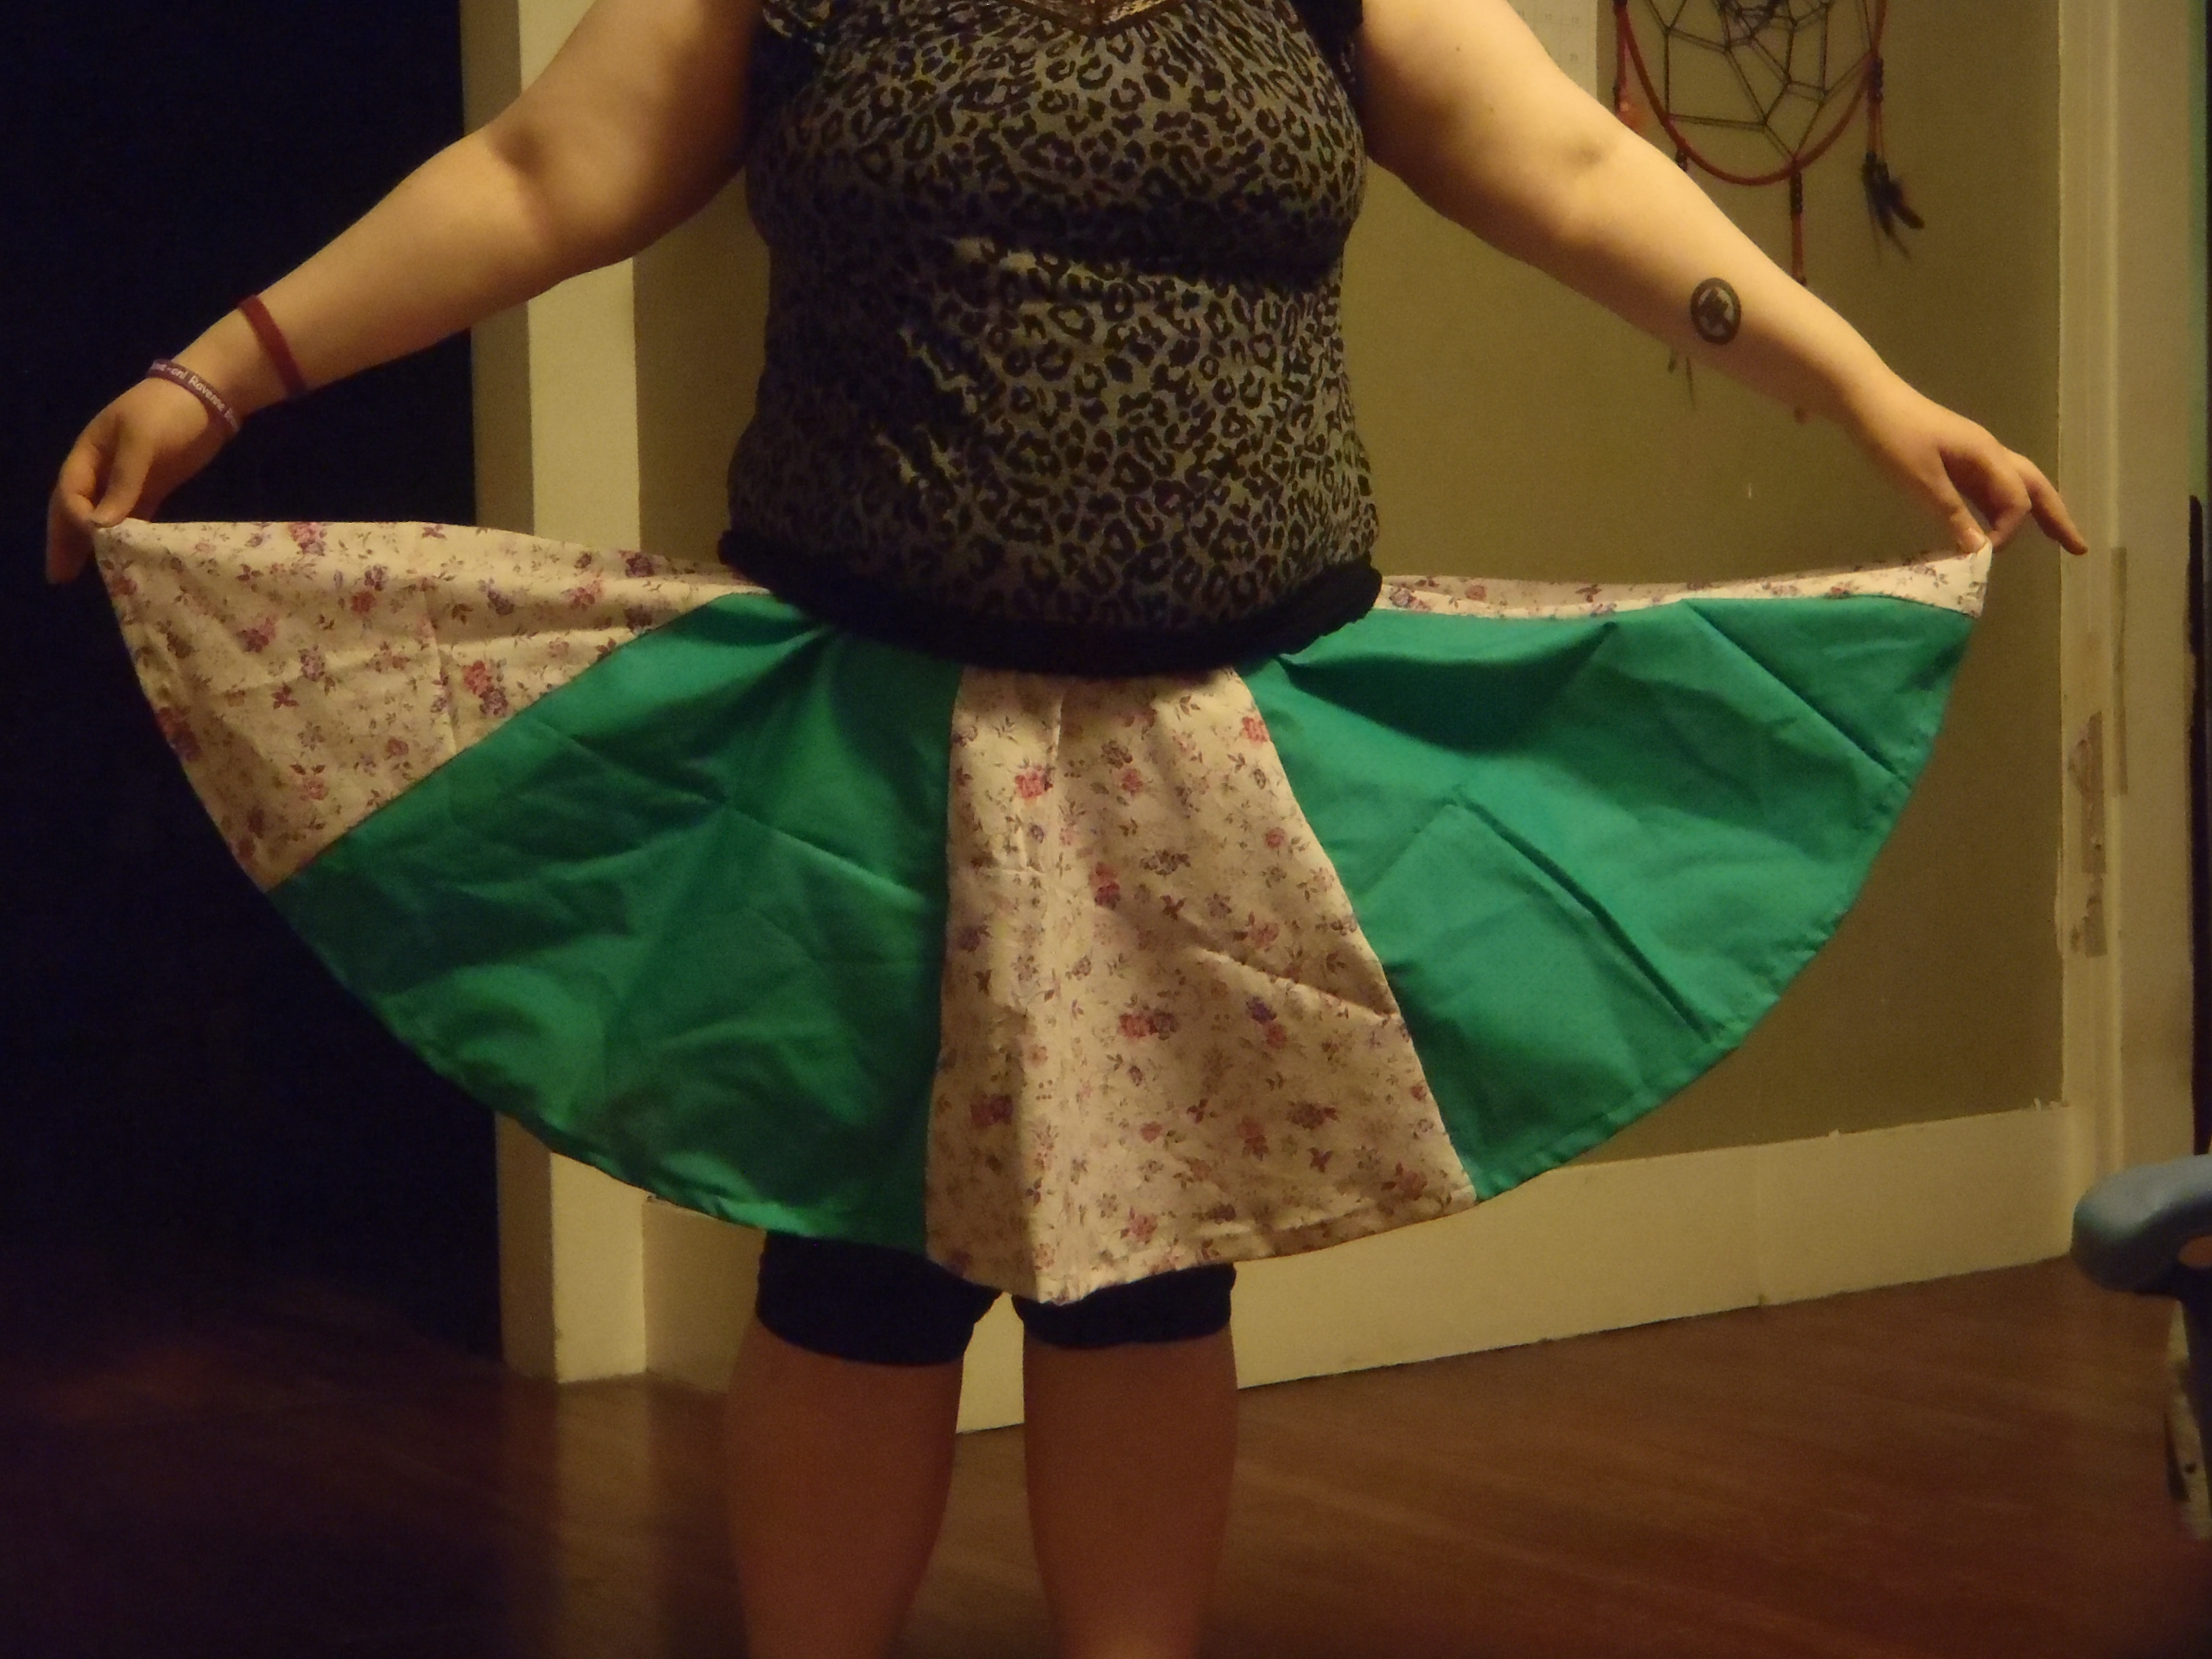
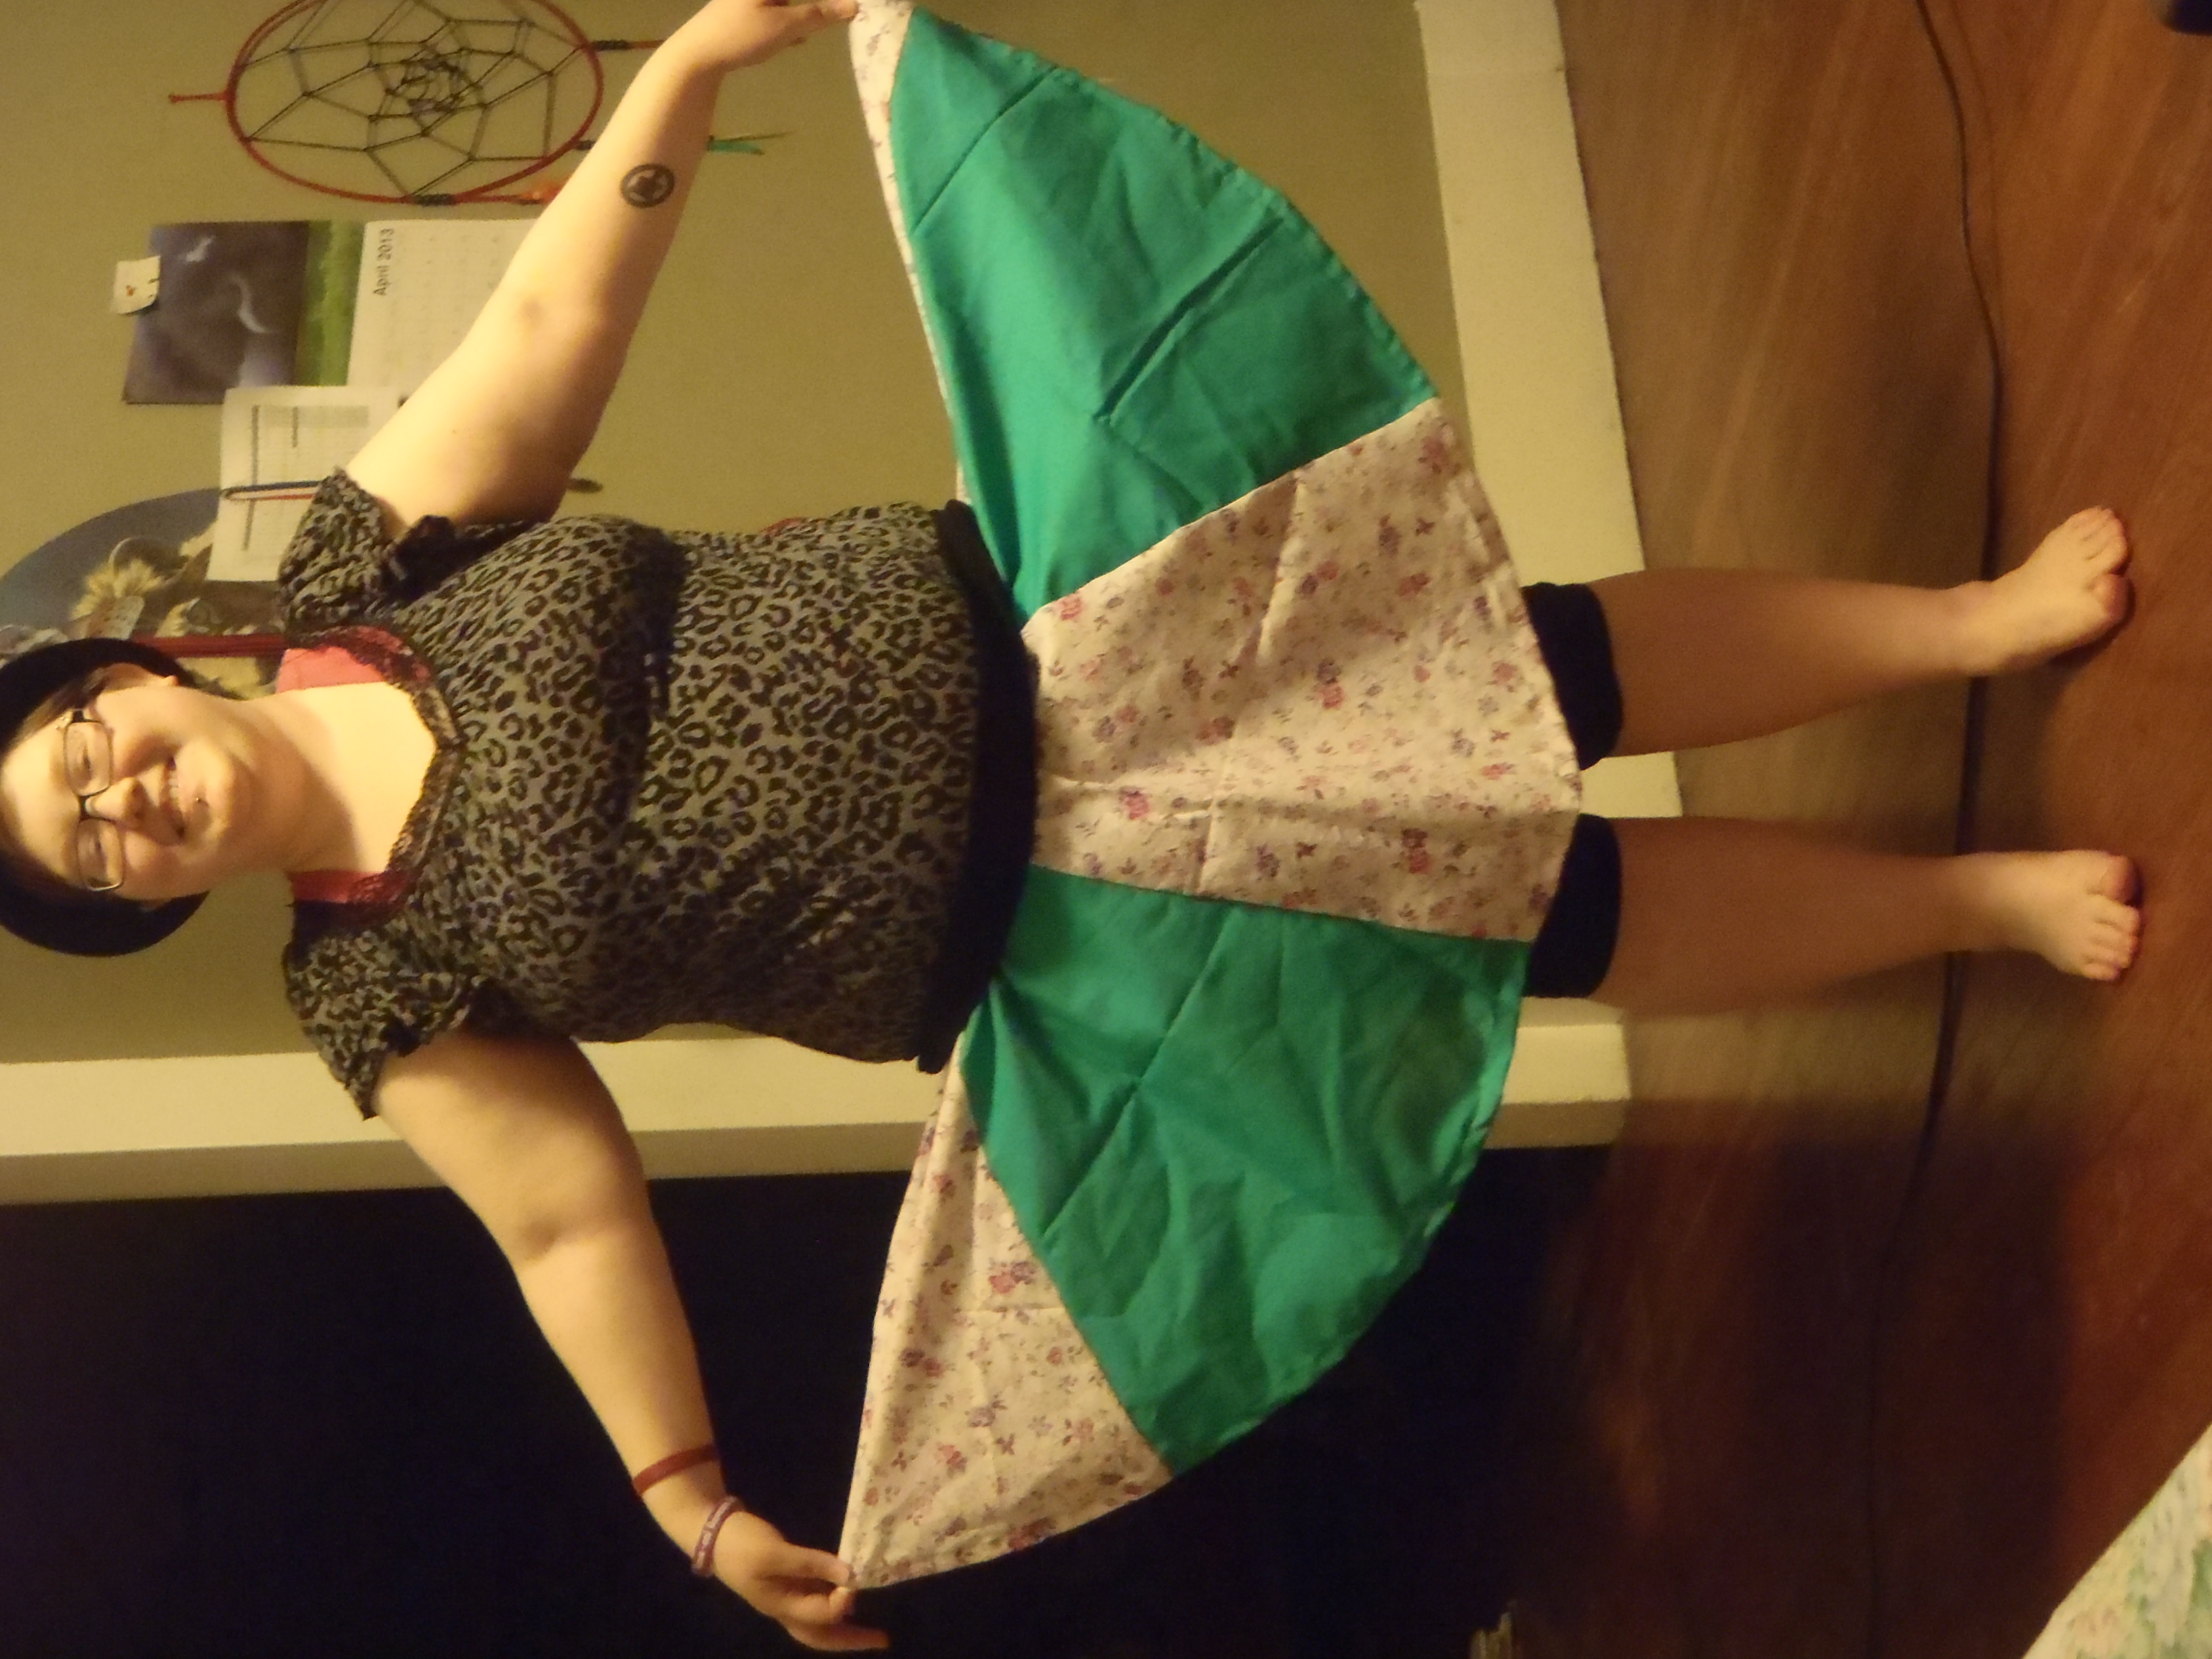

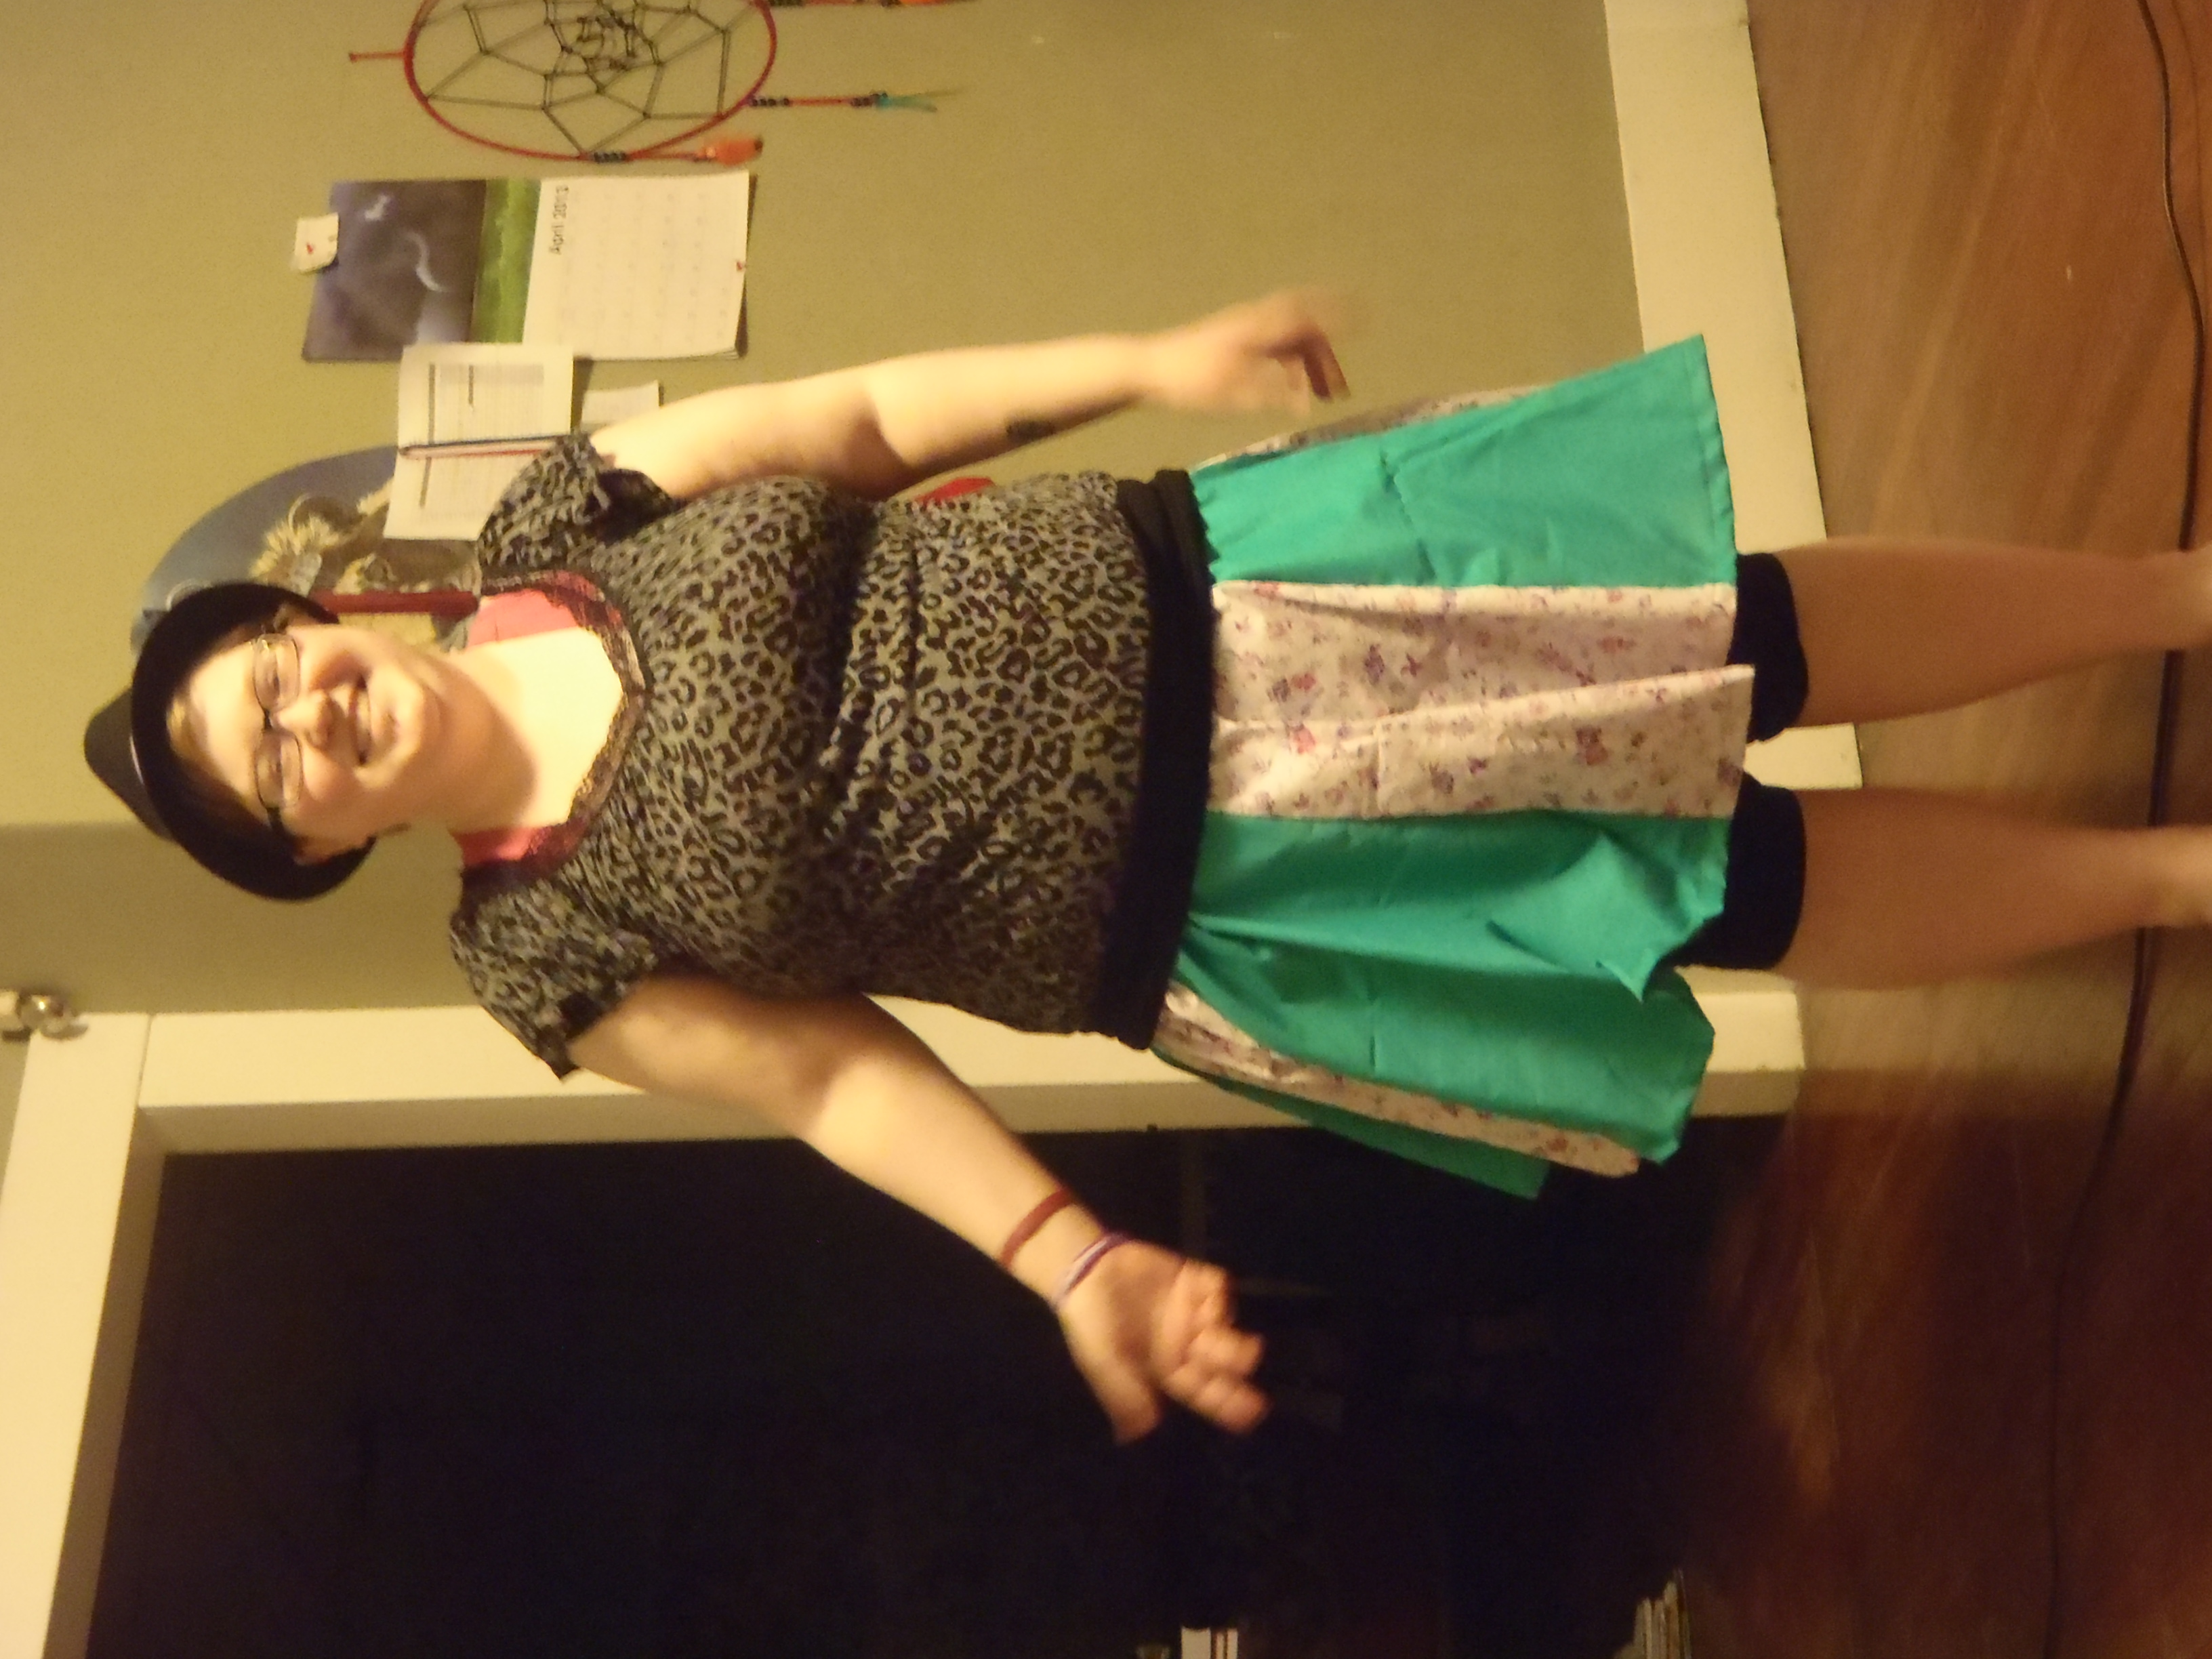
You are finished and here is a picture of me wearing the skirt I made!!!