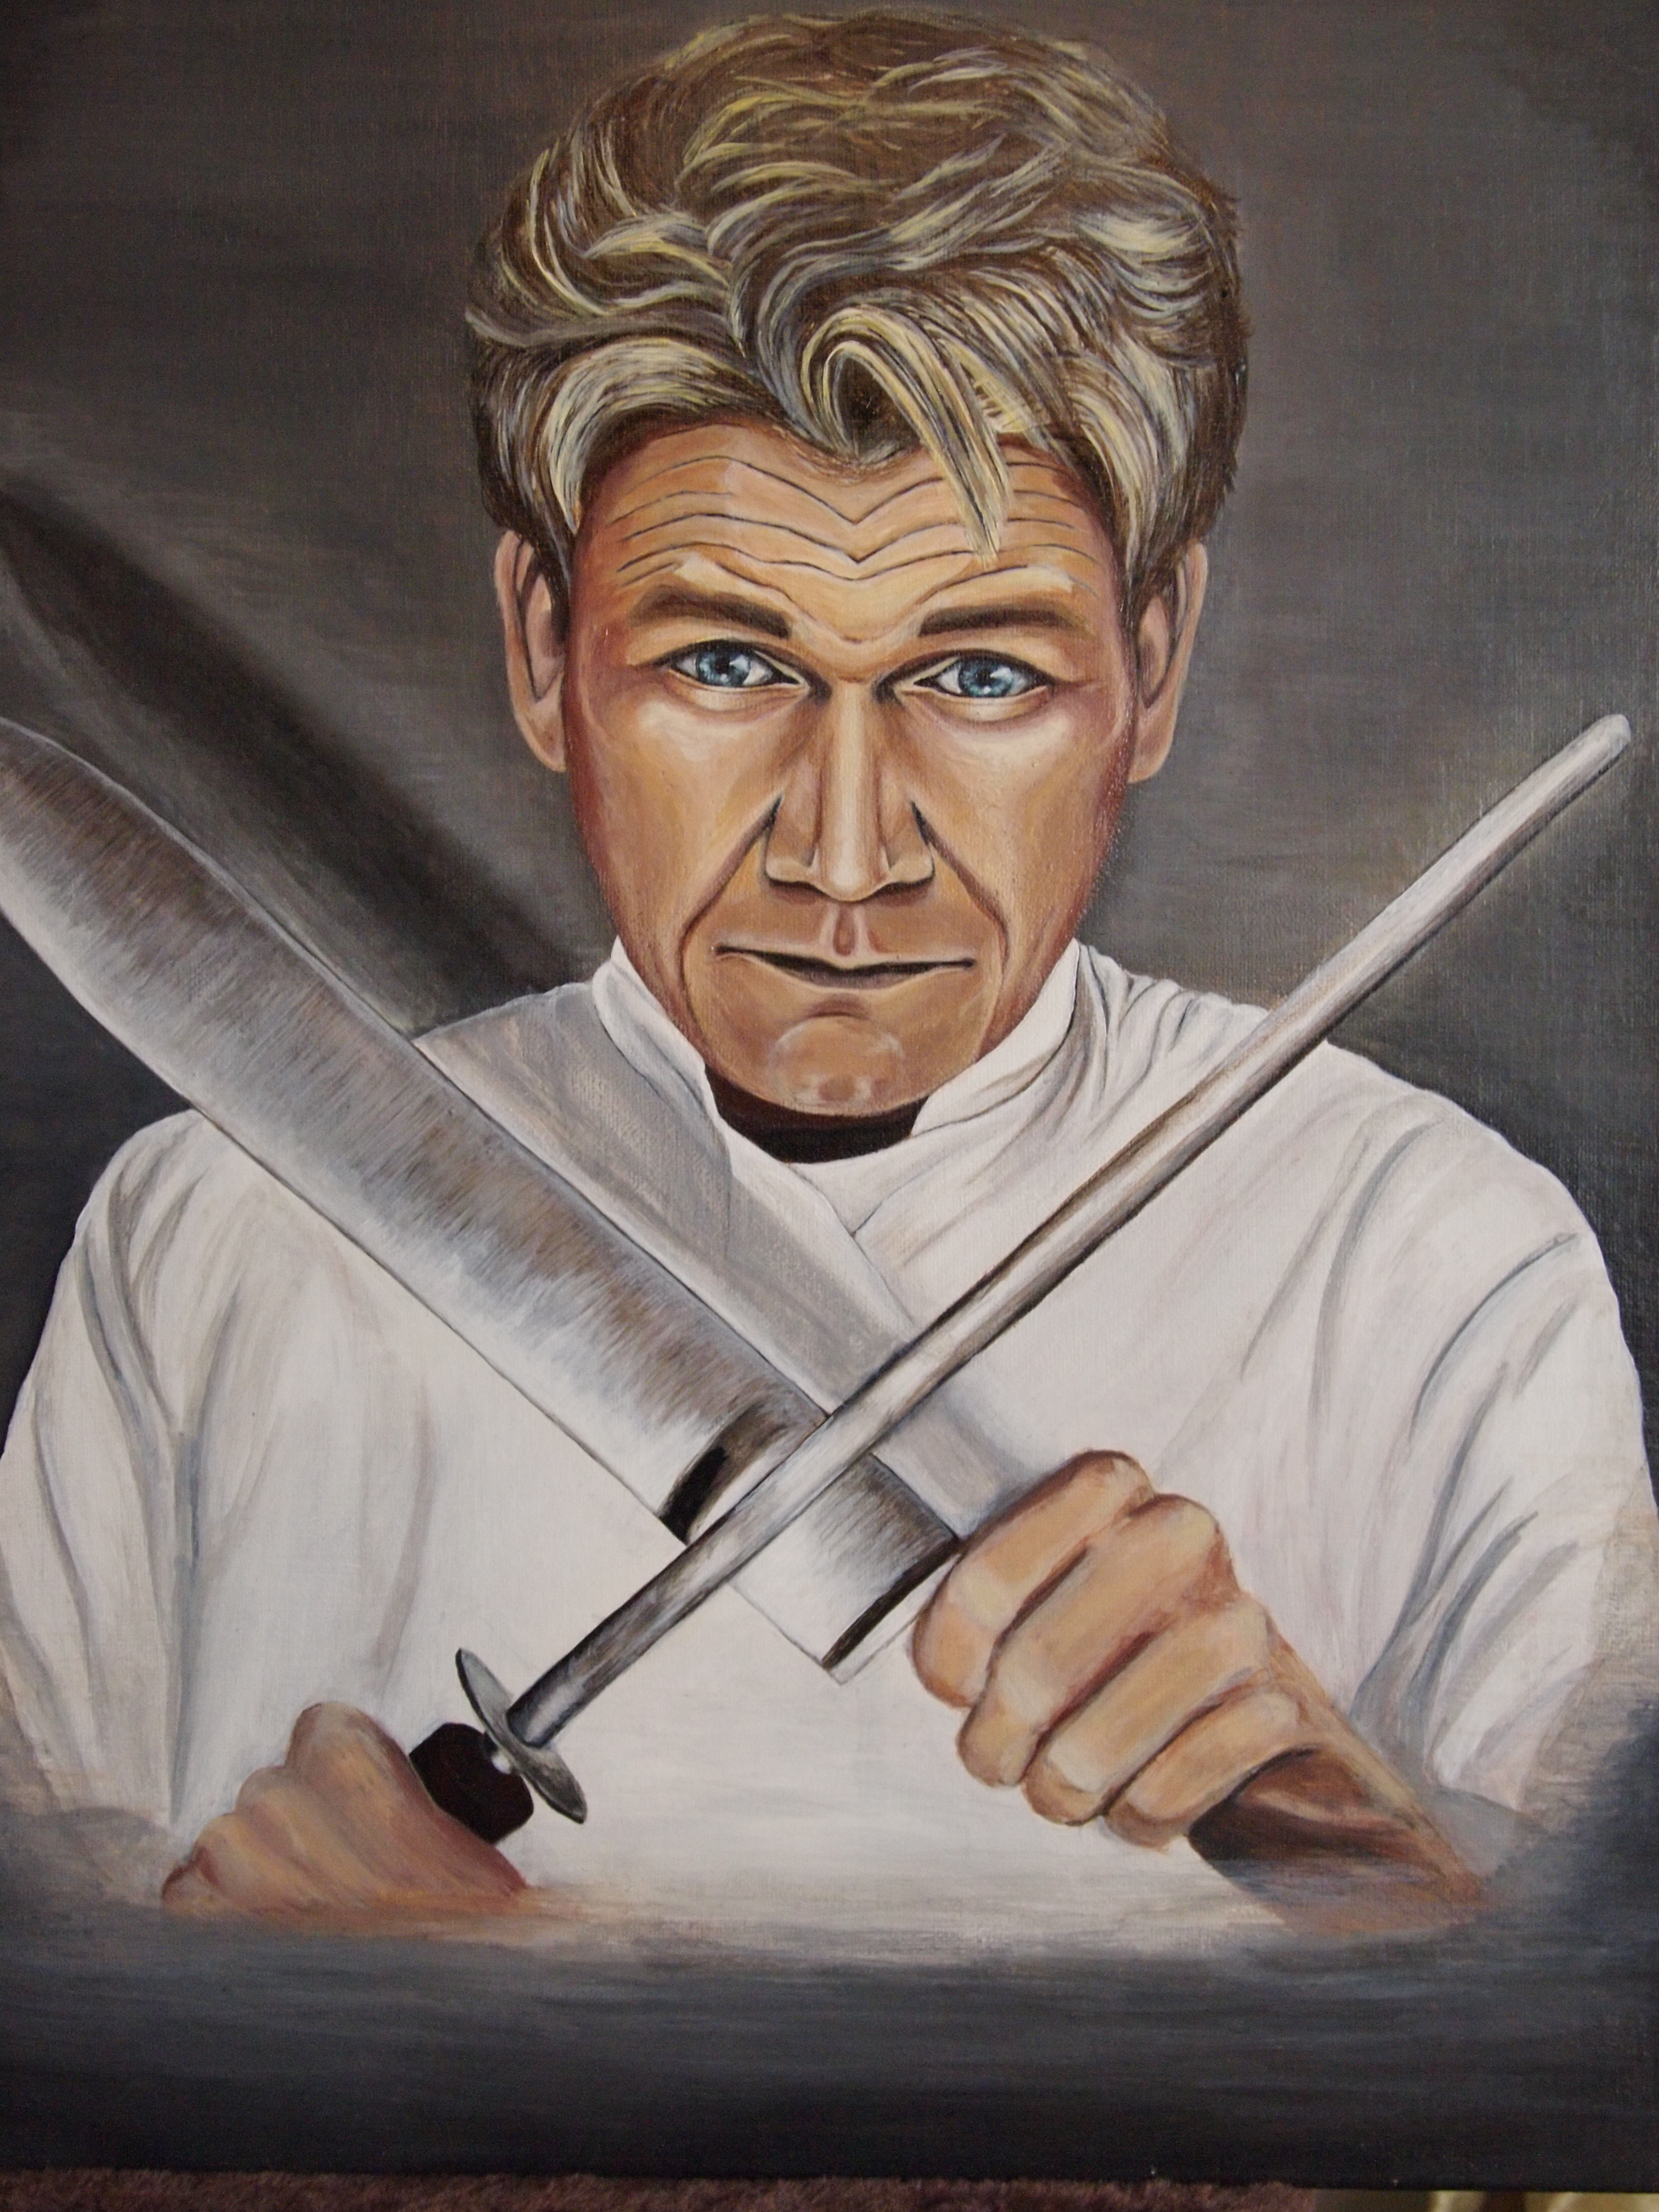
Gordon Ramsay Acrylic Portrait Painting & Tips
35109 Views, 75 Favorites, 0 Comments
Gordon Ramsay Acrylic Portrait Painting & Tips
![P1016613 [1600x1200].JPG](/proxy/?url=https://content.instructables.com/F64/OPSX/HQ9K7JJQ/F64OPSXHQ9K7JJQ.jpg&filename=P1016613 [1600x1200].JPG)
![P1016595 [1600x1200].JPG](/proxy/?url=https://content.instructables.com/FMT/OI65/HQ9OLUGU/FMTOI65HQ9OLUGU.jpg&filename=P1016595 [1600x1200].JPG)
![P1016605 [1600x1200].JPG](/proxy/?url=https://content.instructables.com/FDE/VJ5M/HQ9NUBOZ/FDEVJ5MHQ9NUBOZ.jpg&filename=P1016605 [1600x1200].JPG)

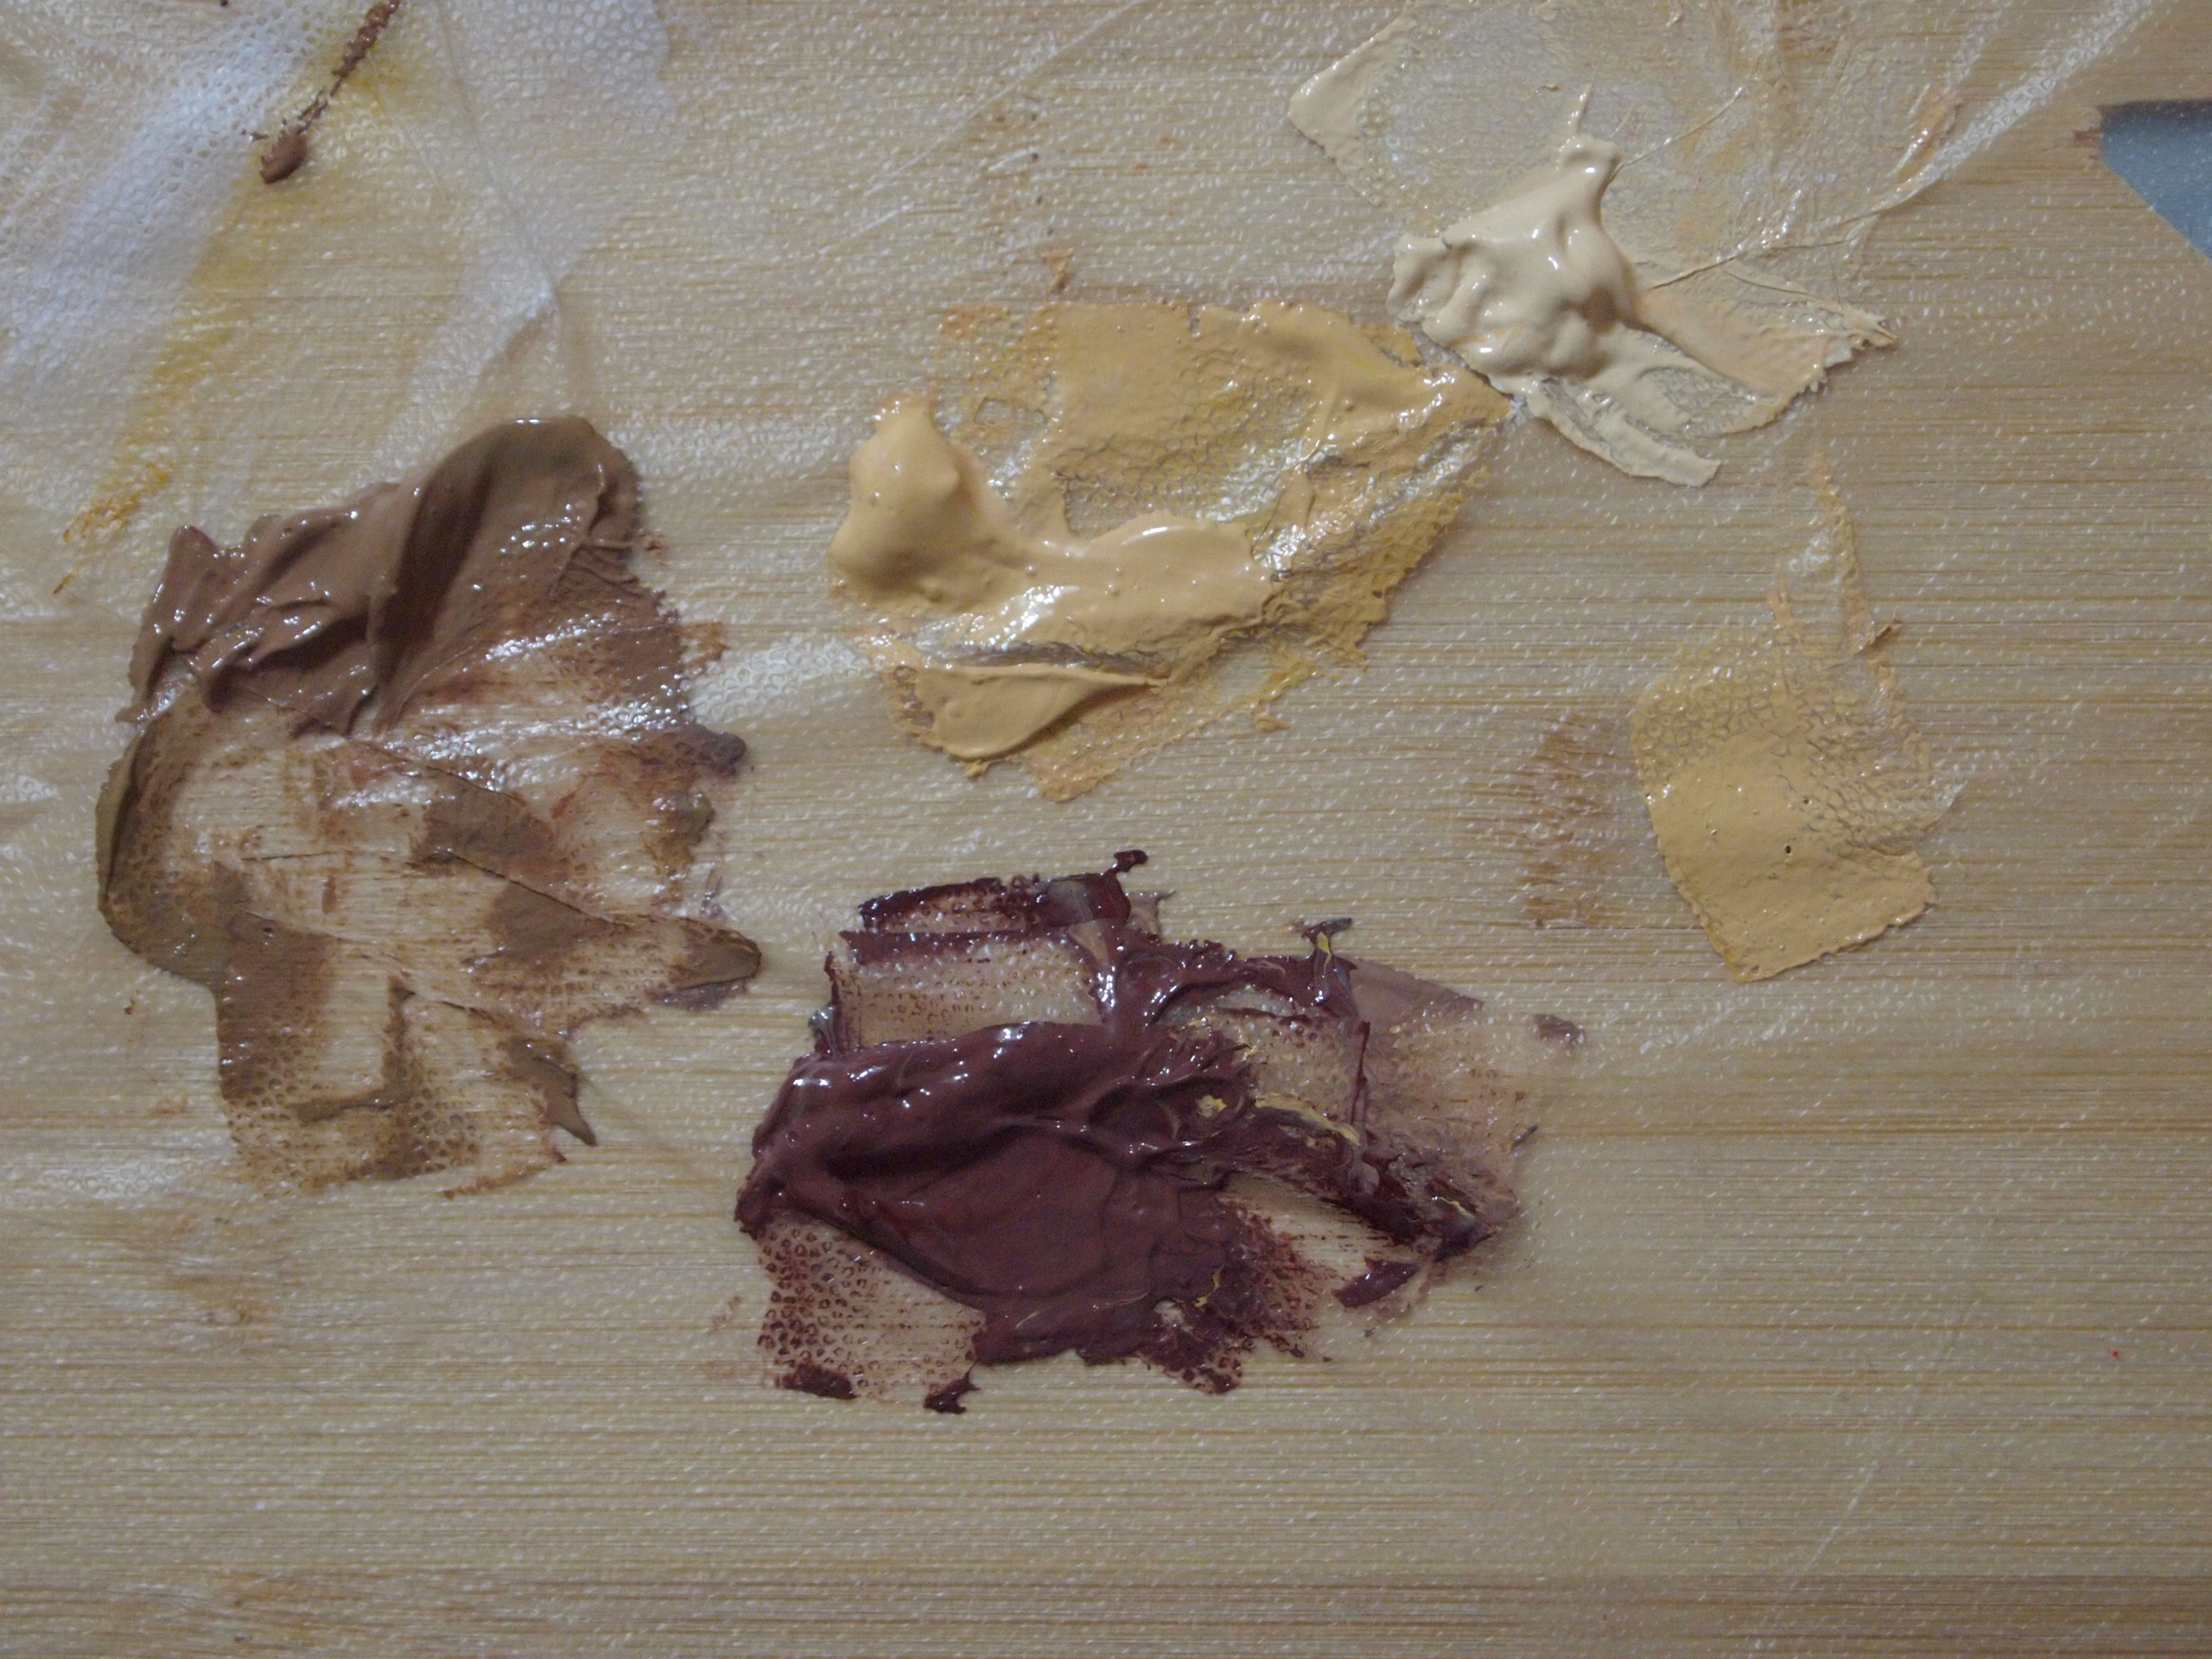
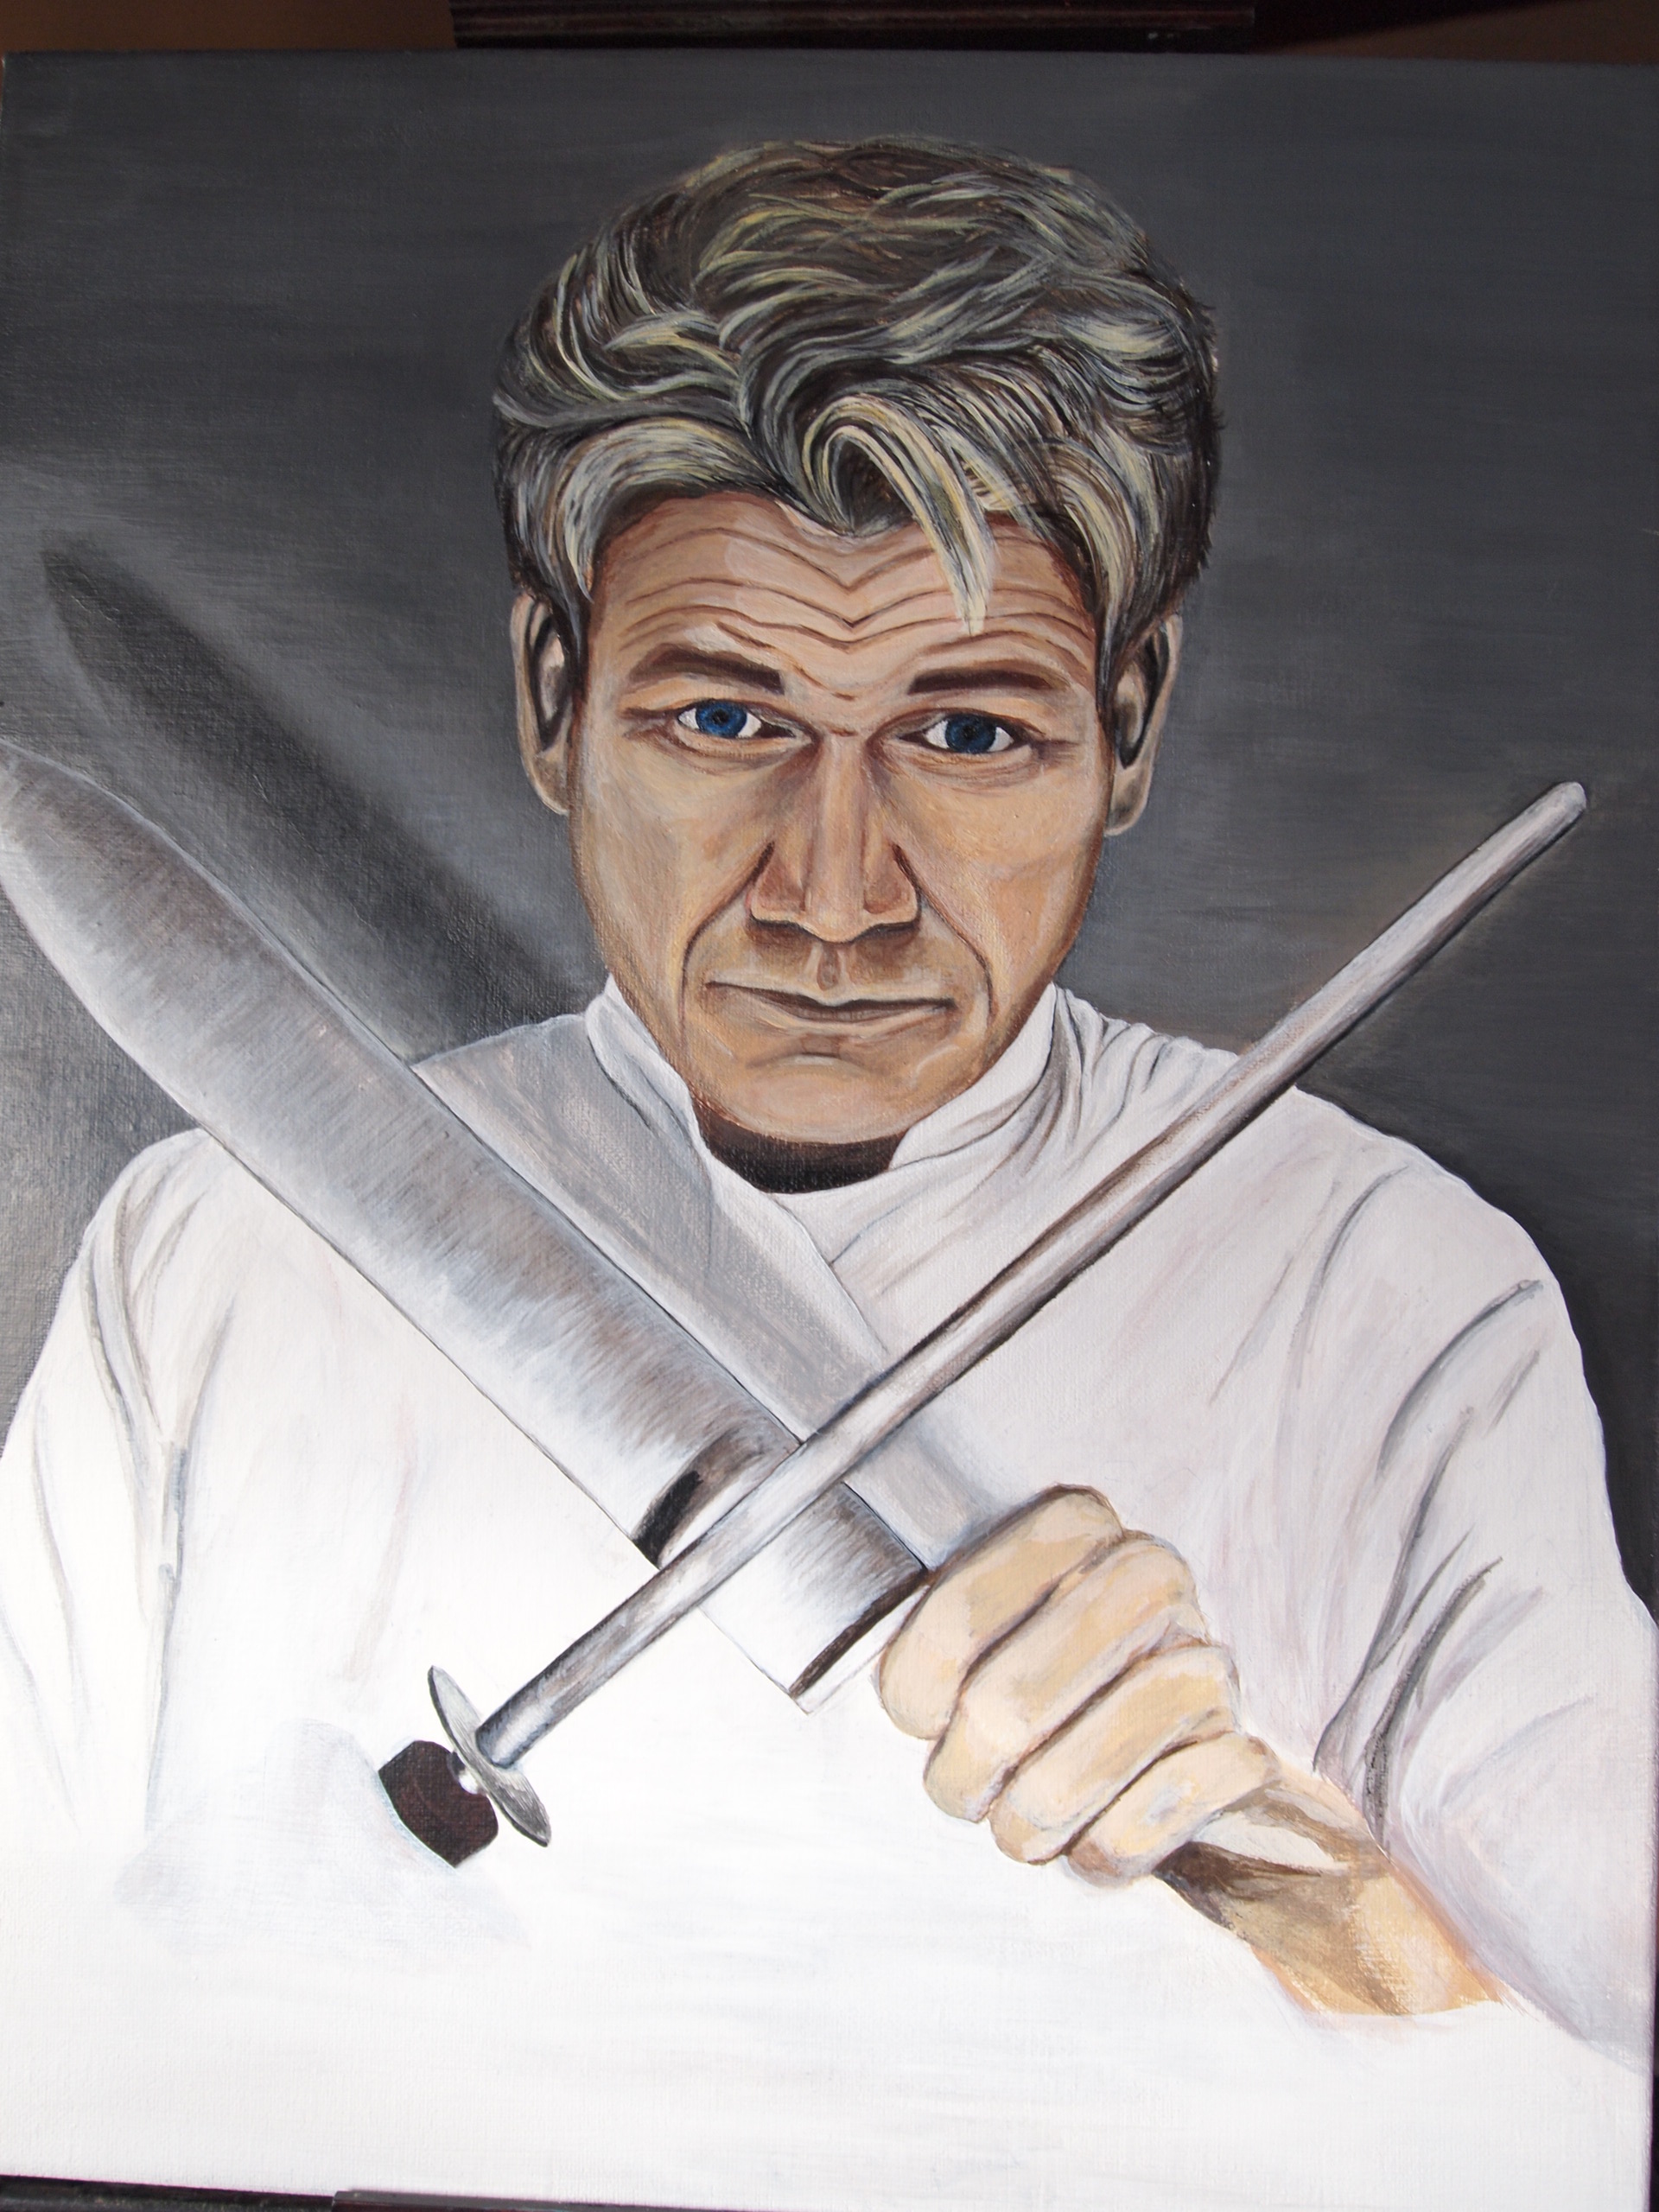
I'll try my best to share everything I learned while doing this project and how I achieved the results. I learned a lot and spent many hours messing up and fixing things and repeating that again! So maybe this can help you save a little time on your painting project! If you're struggling to create a natural skin tone, highlights and shadows - I'll also share the colors used to create each one. That was the most difficult part for me!
Materials for Acrylic Portrait Painting & Prepping
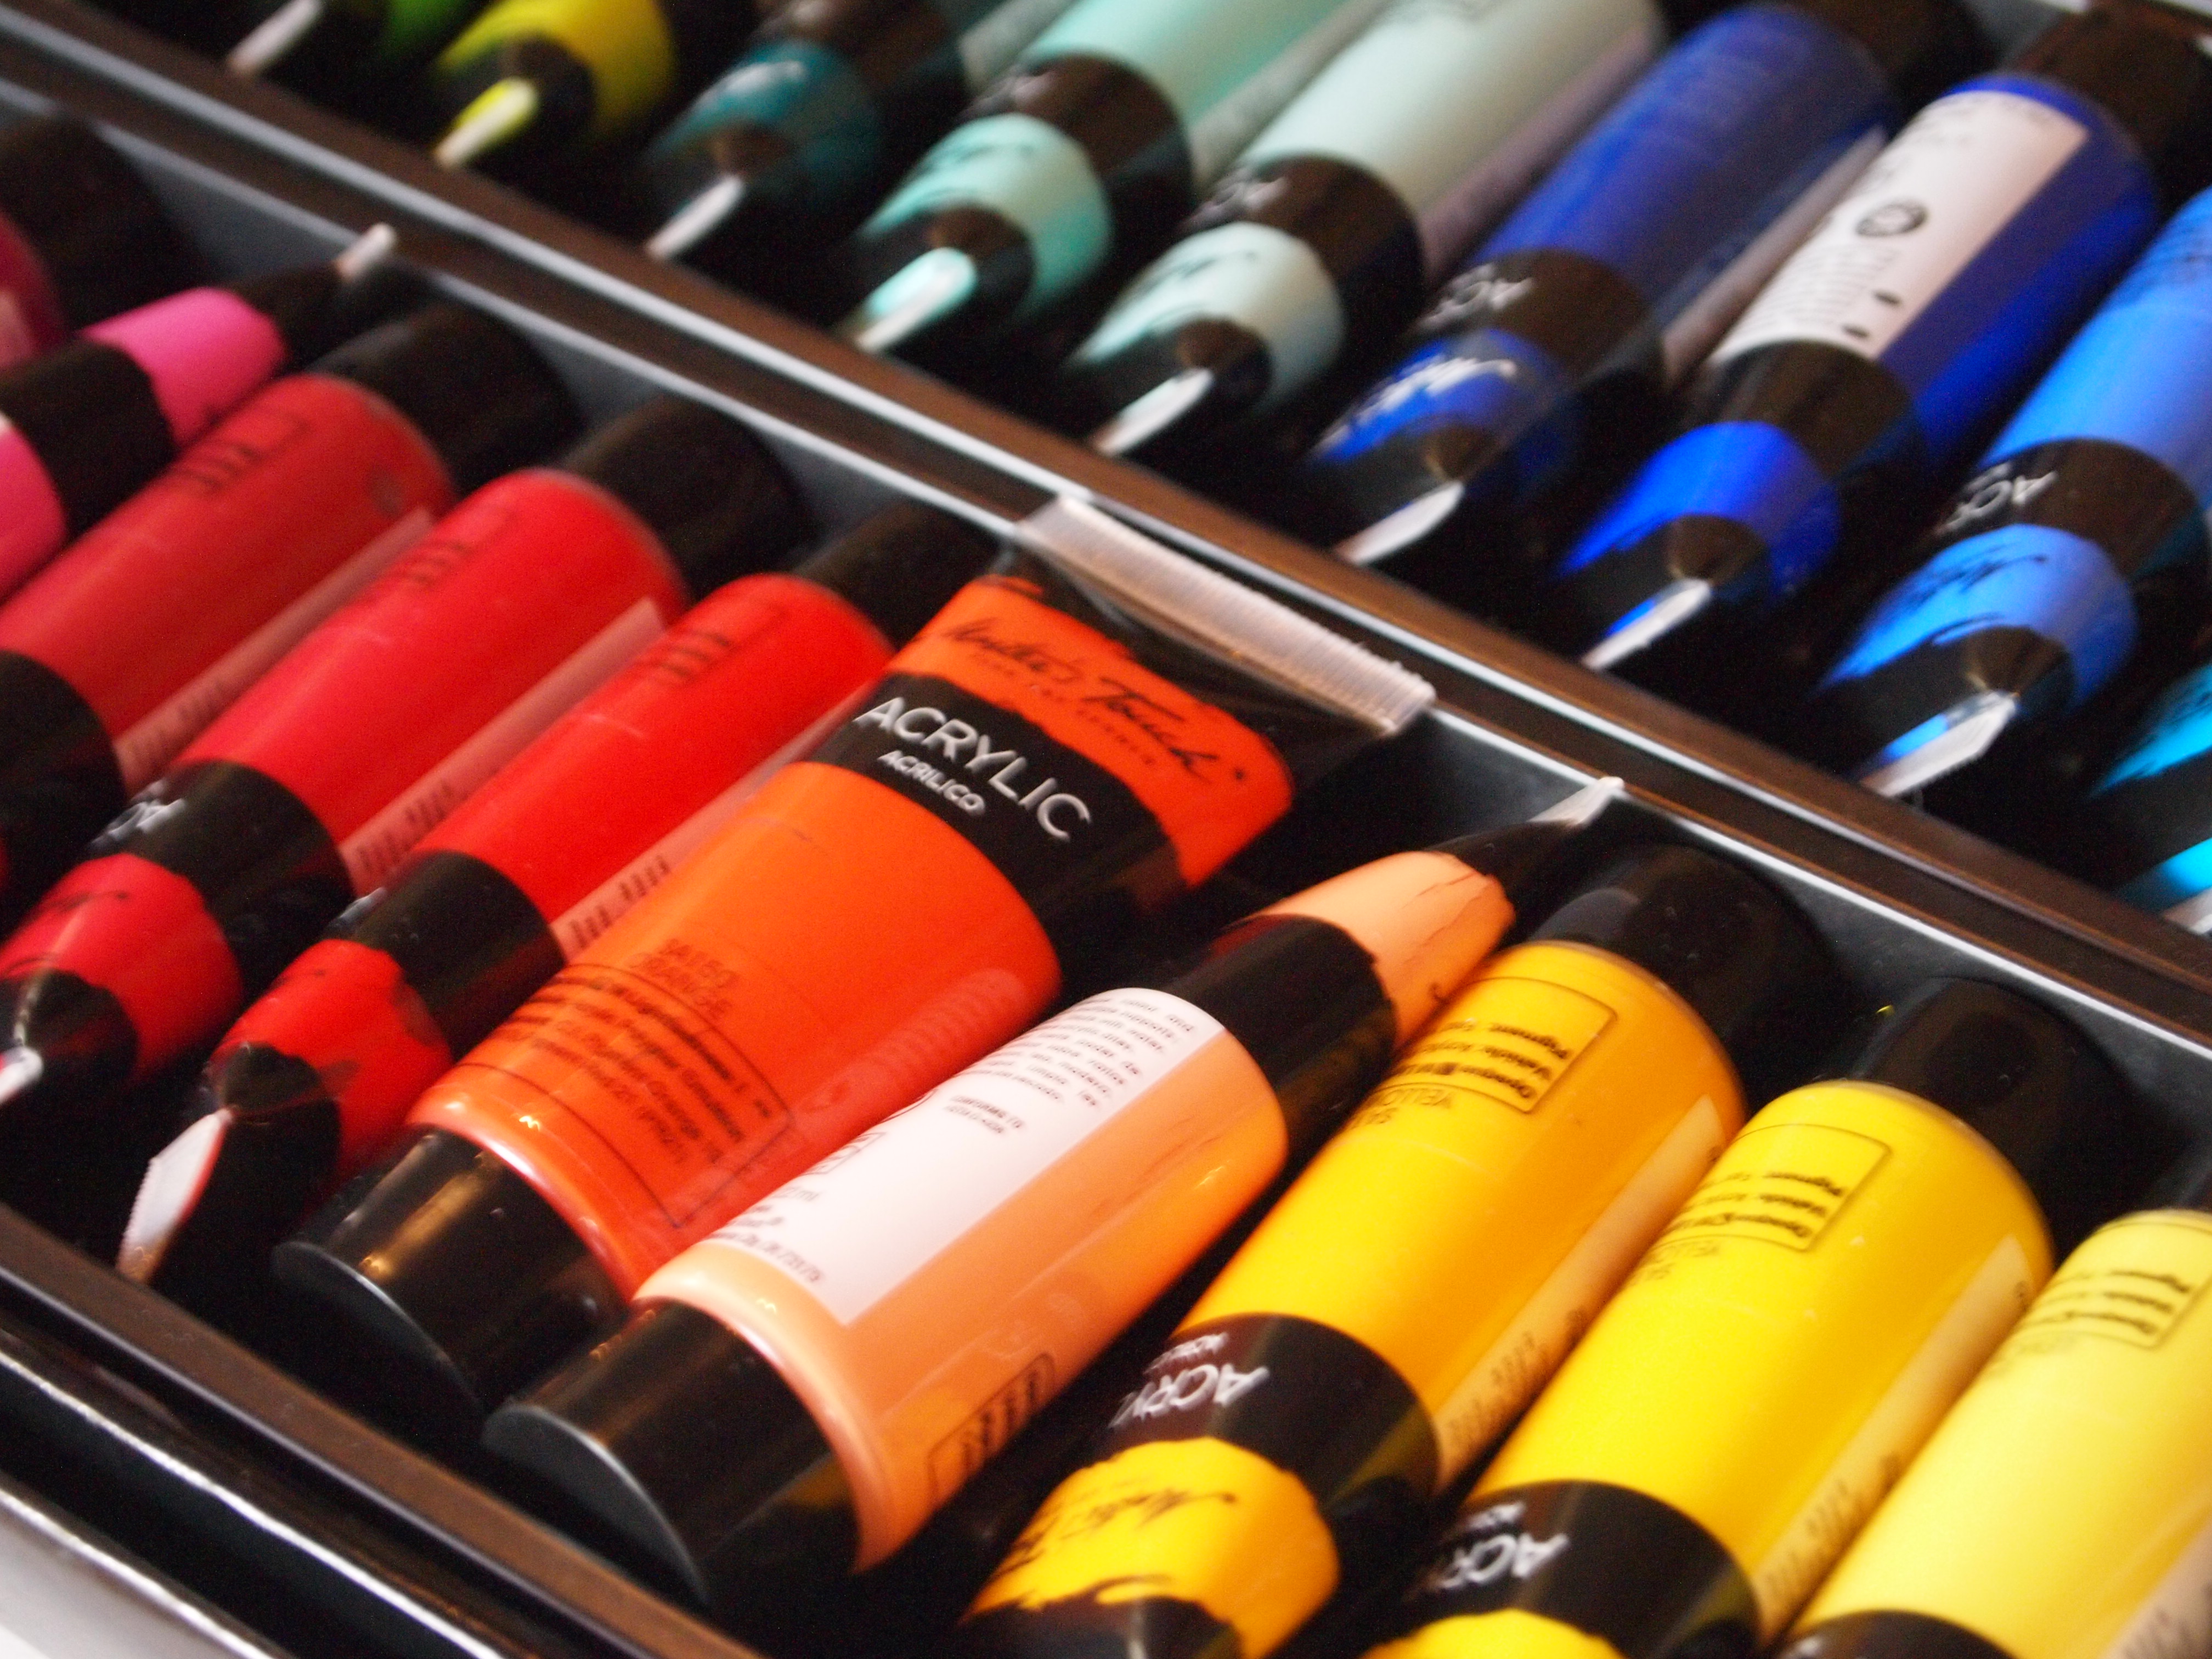
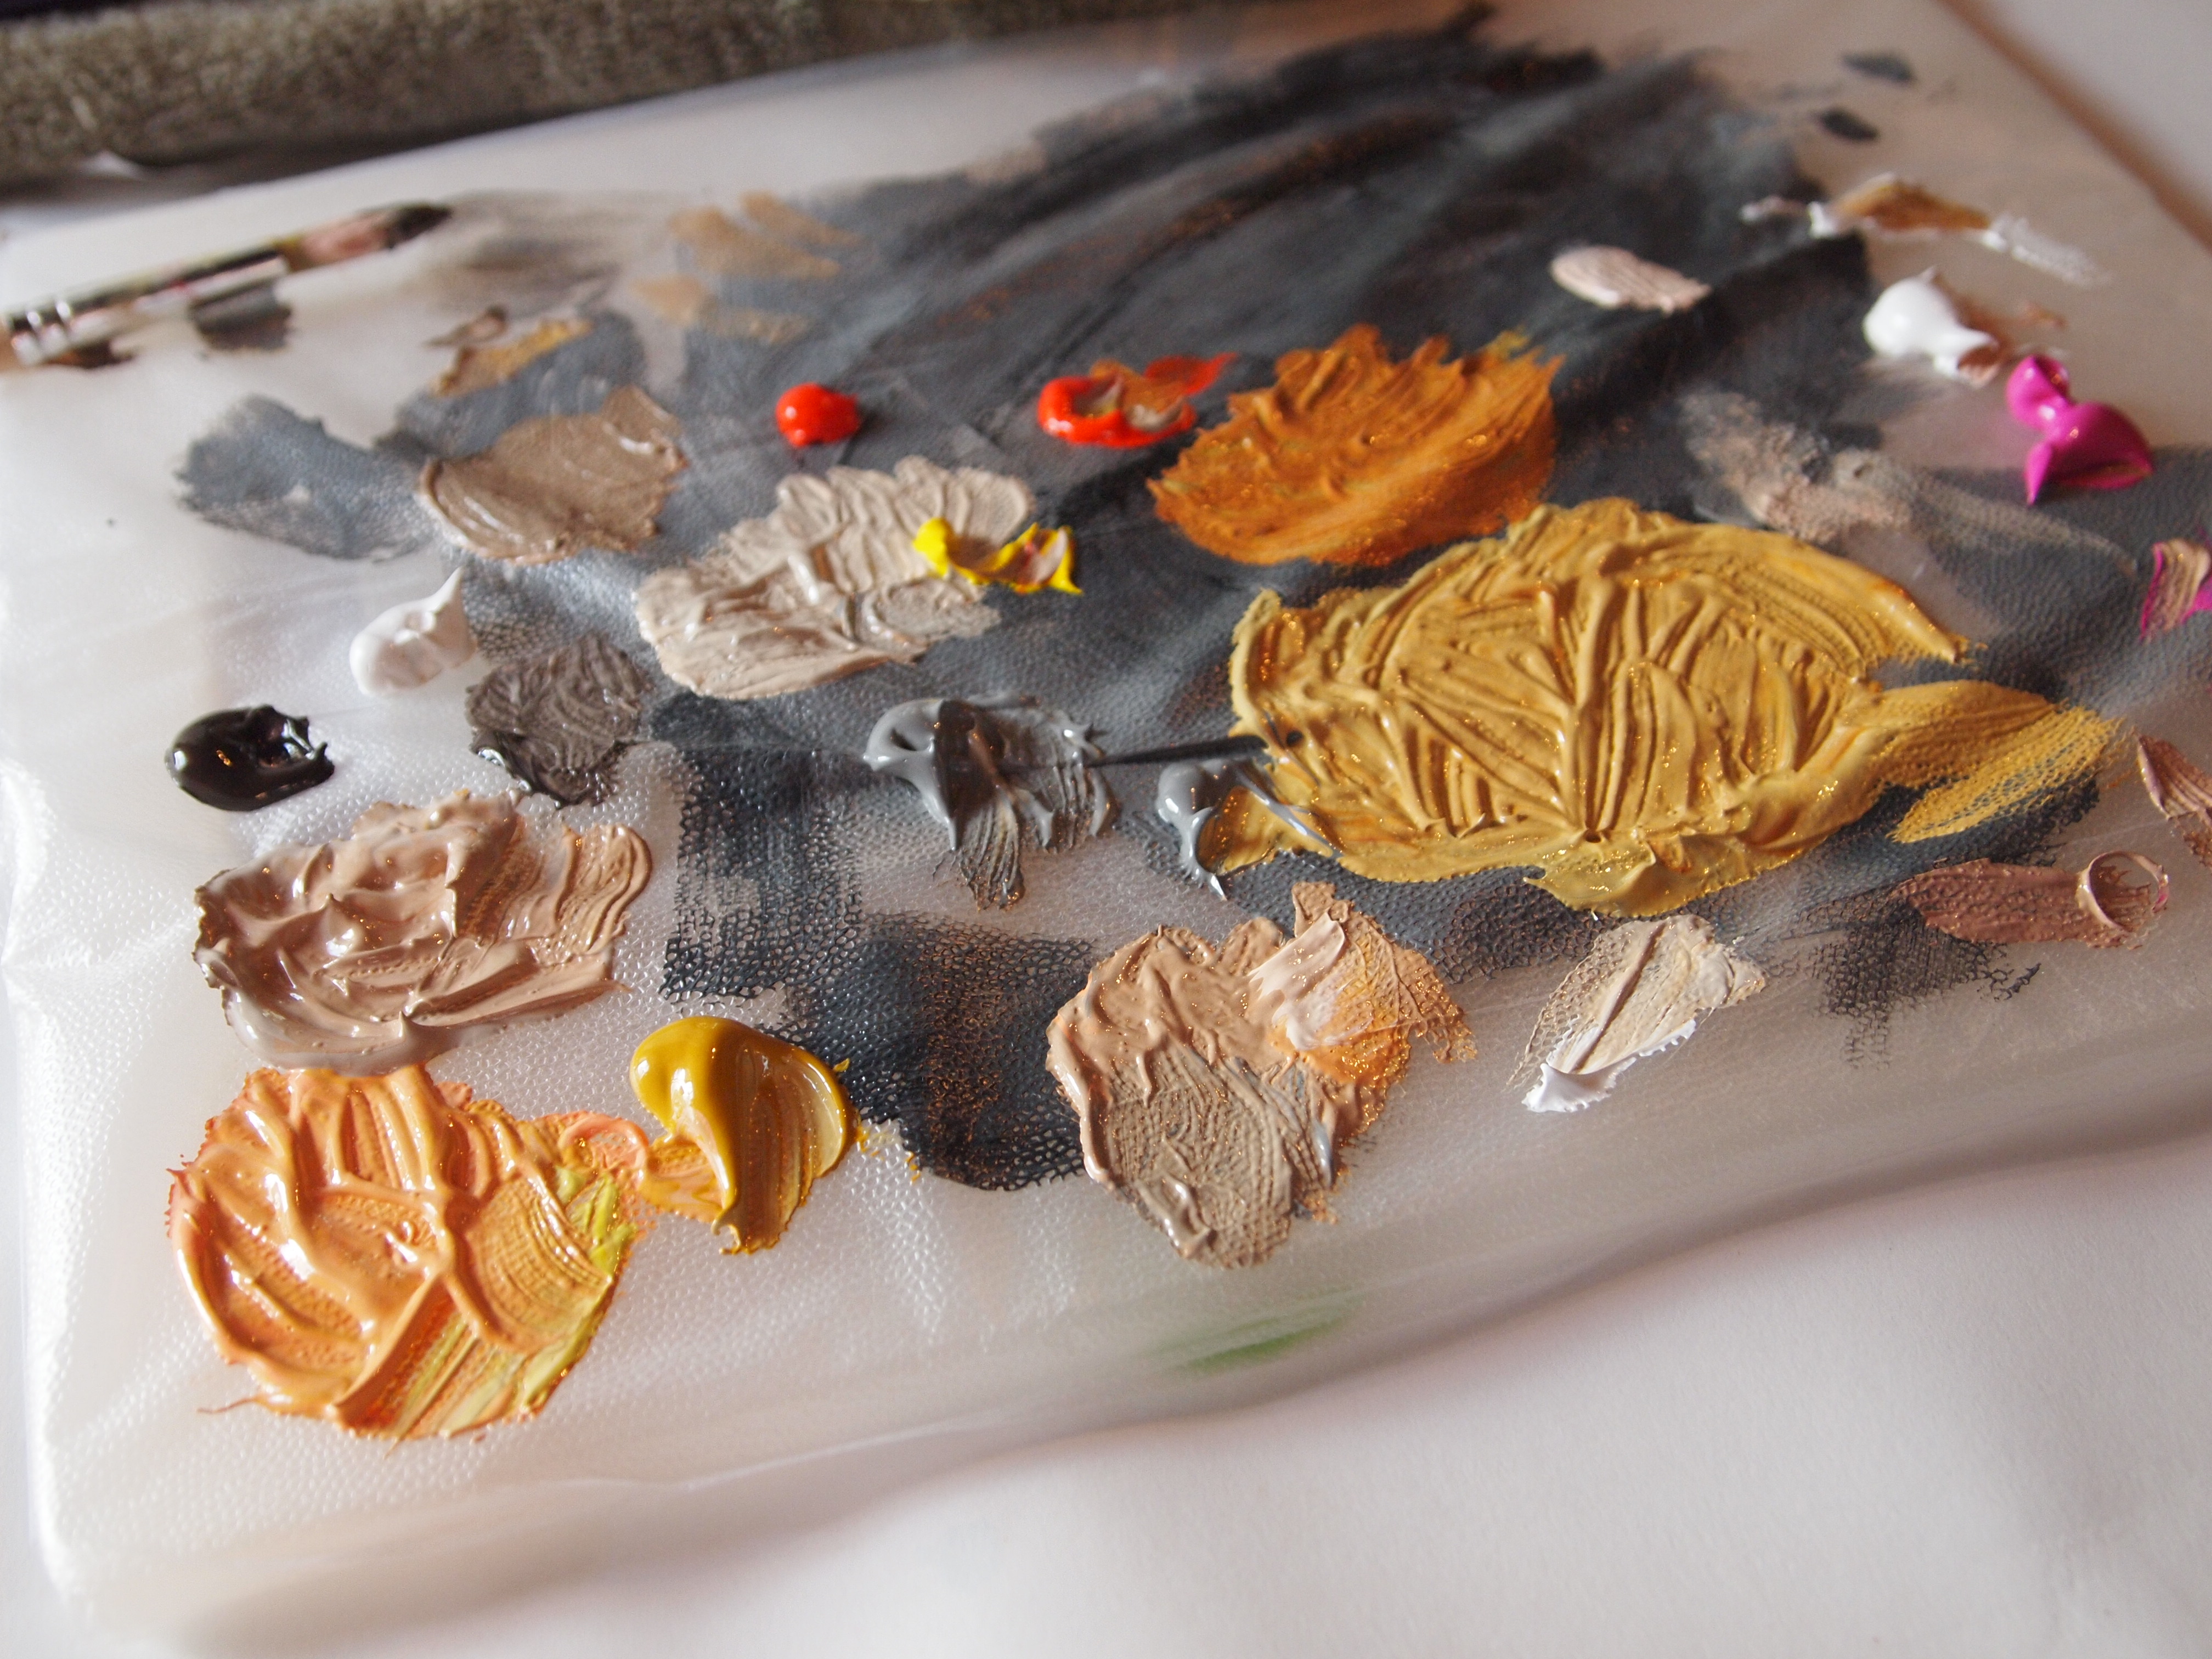
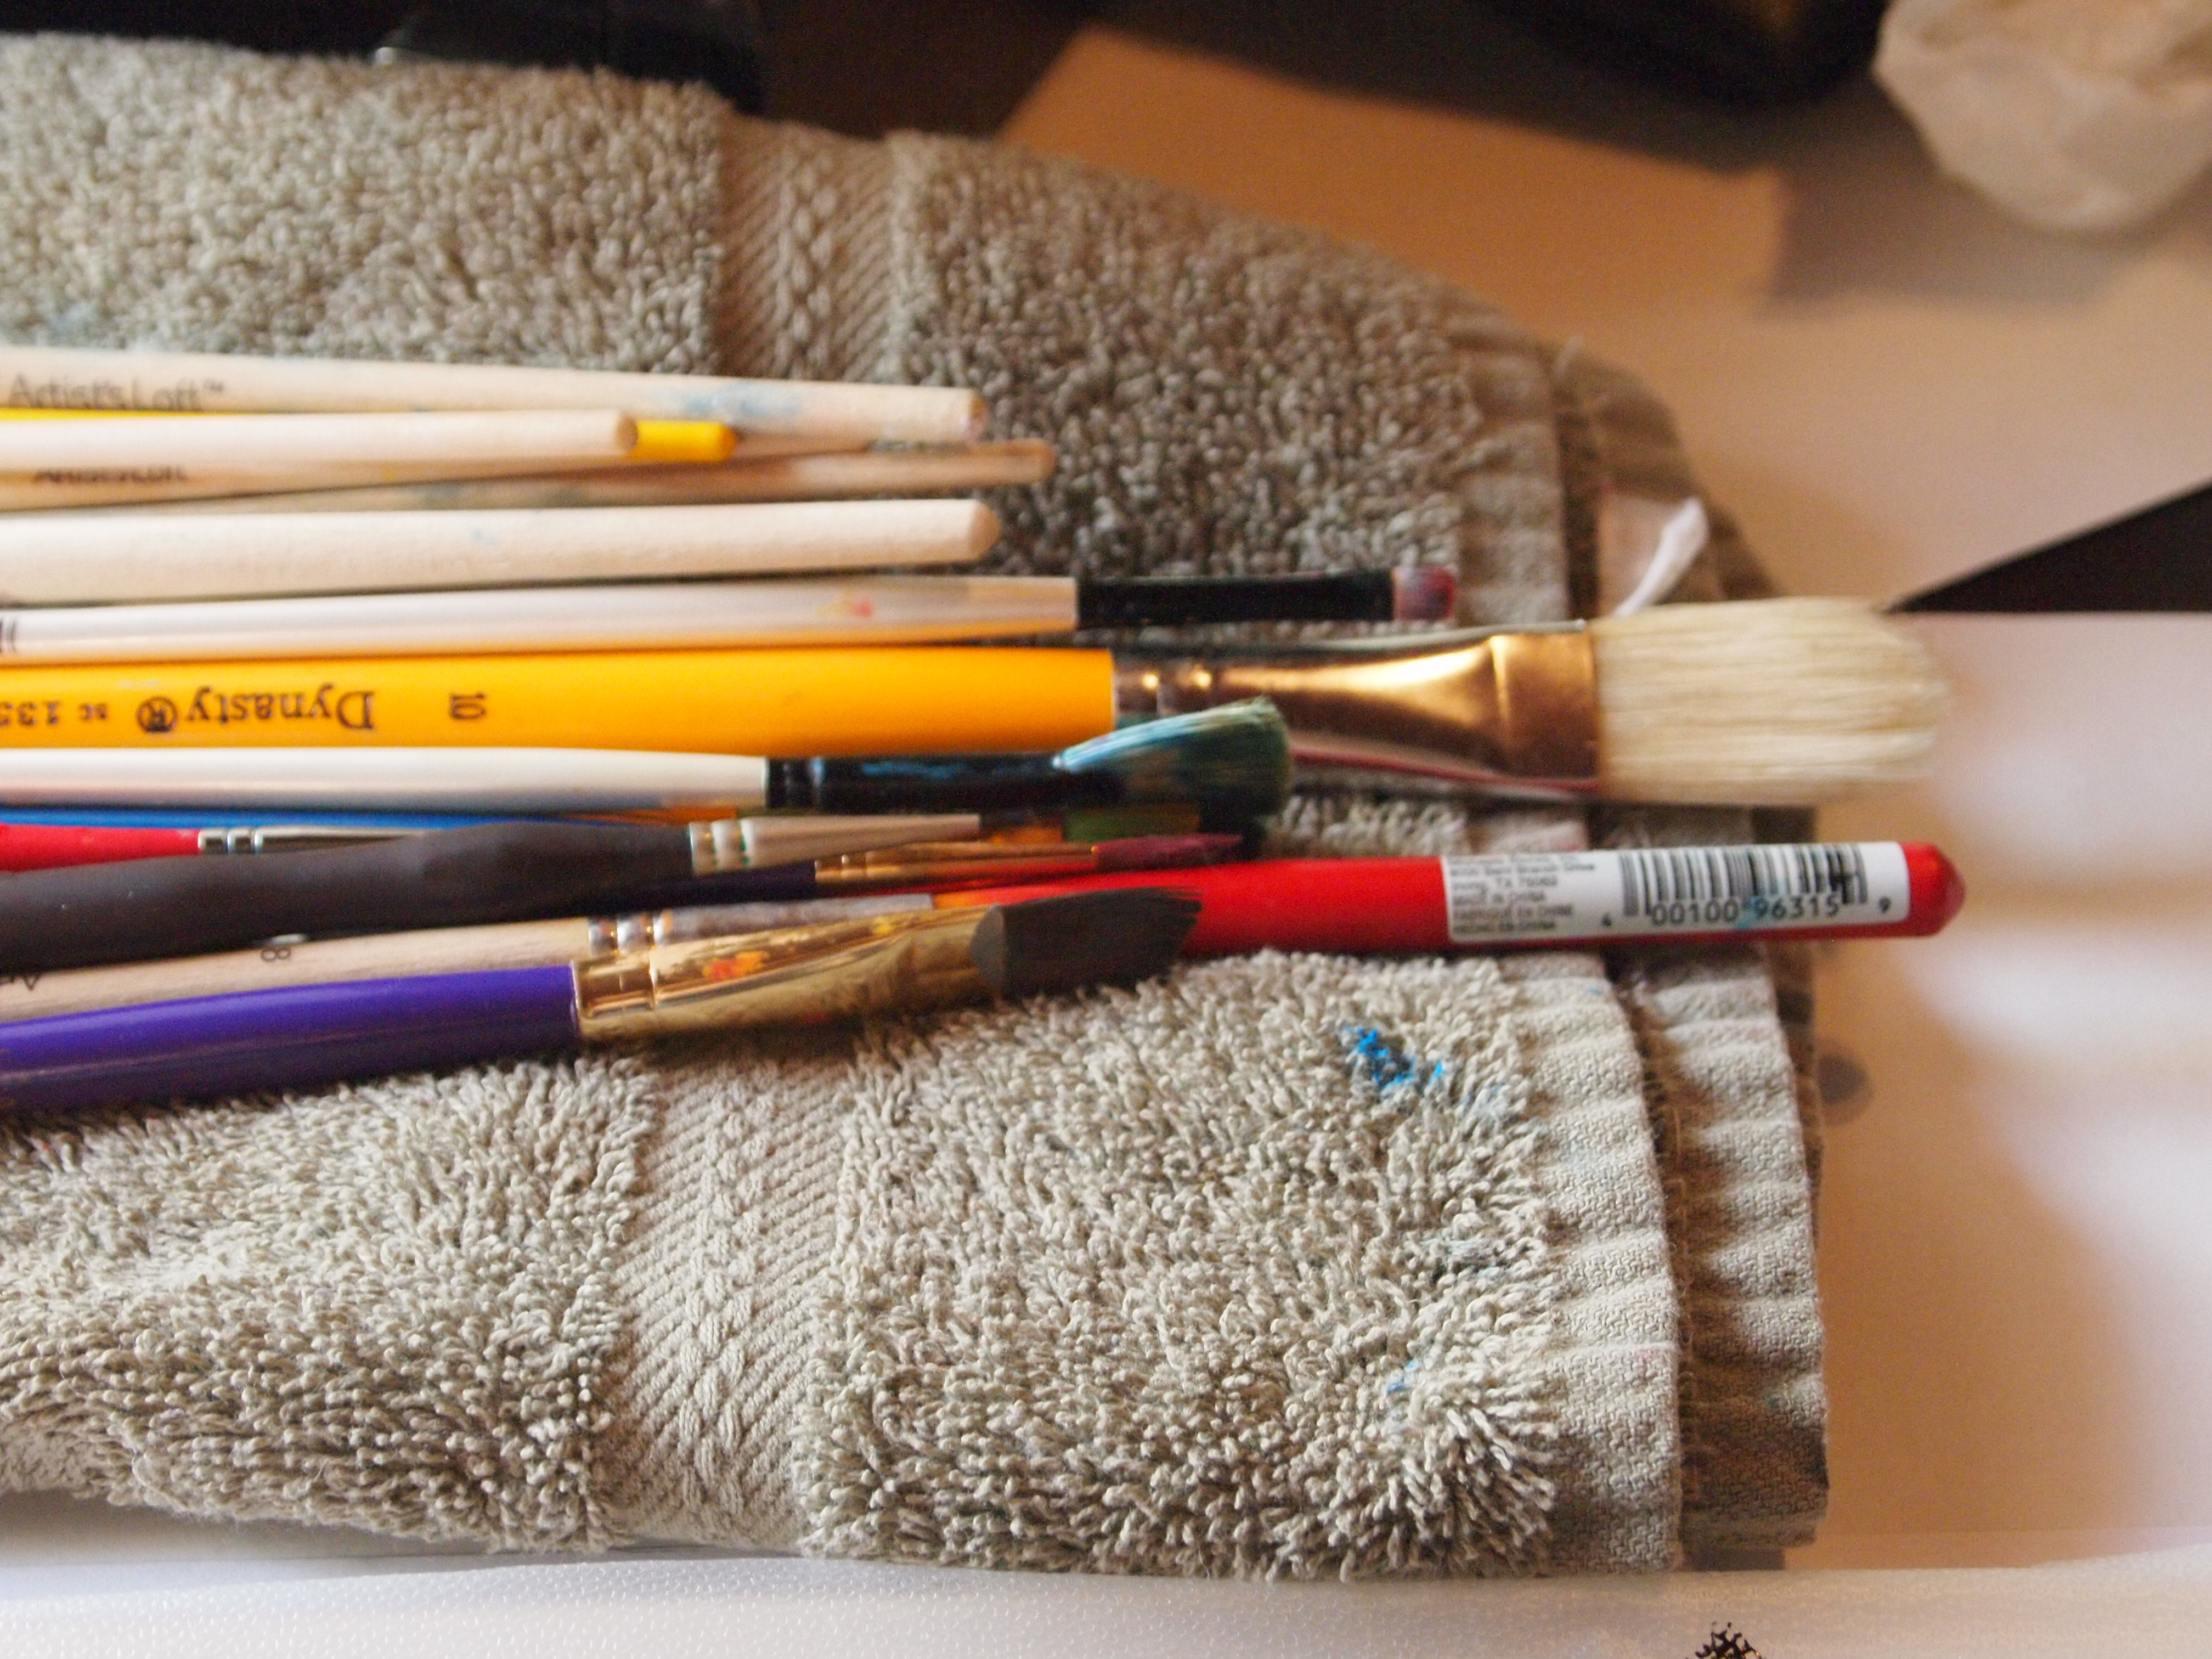
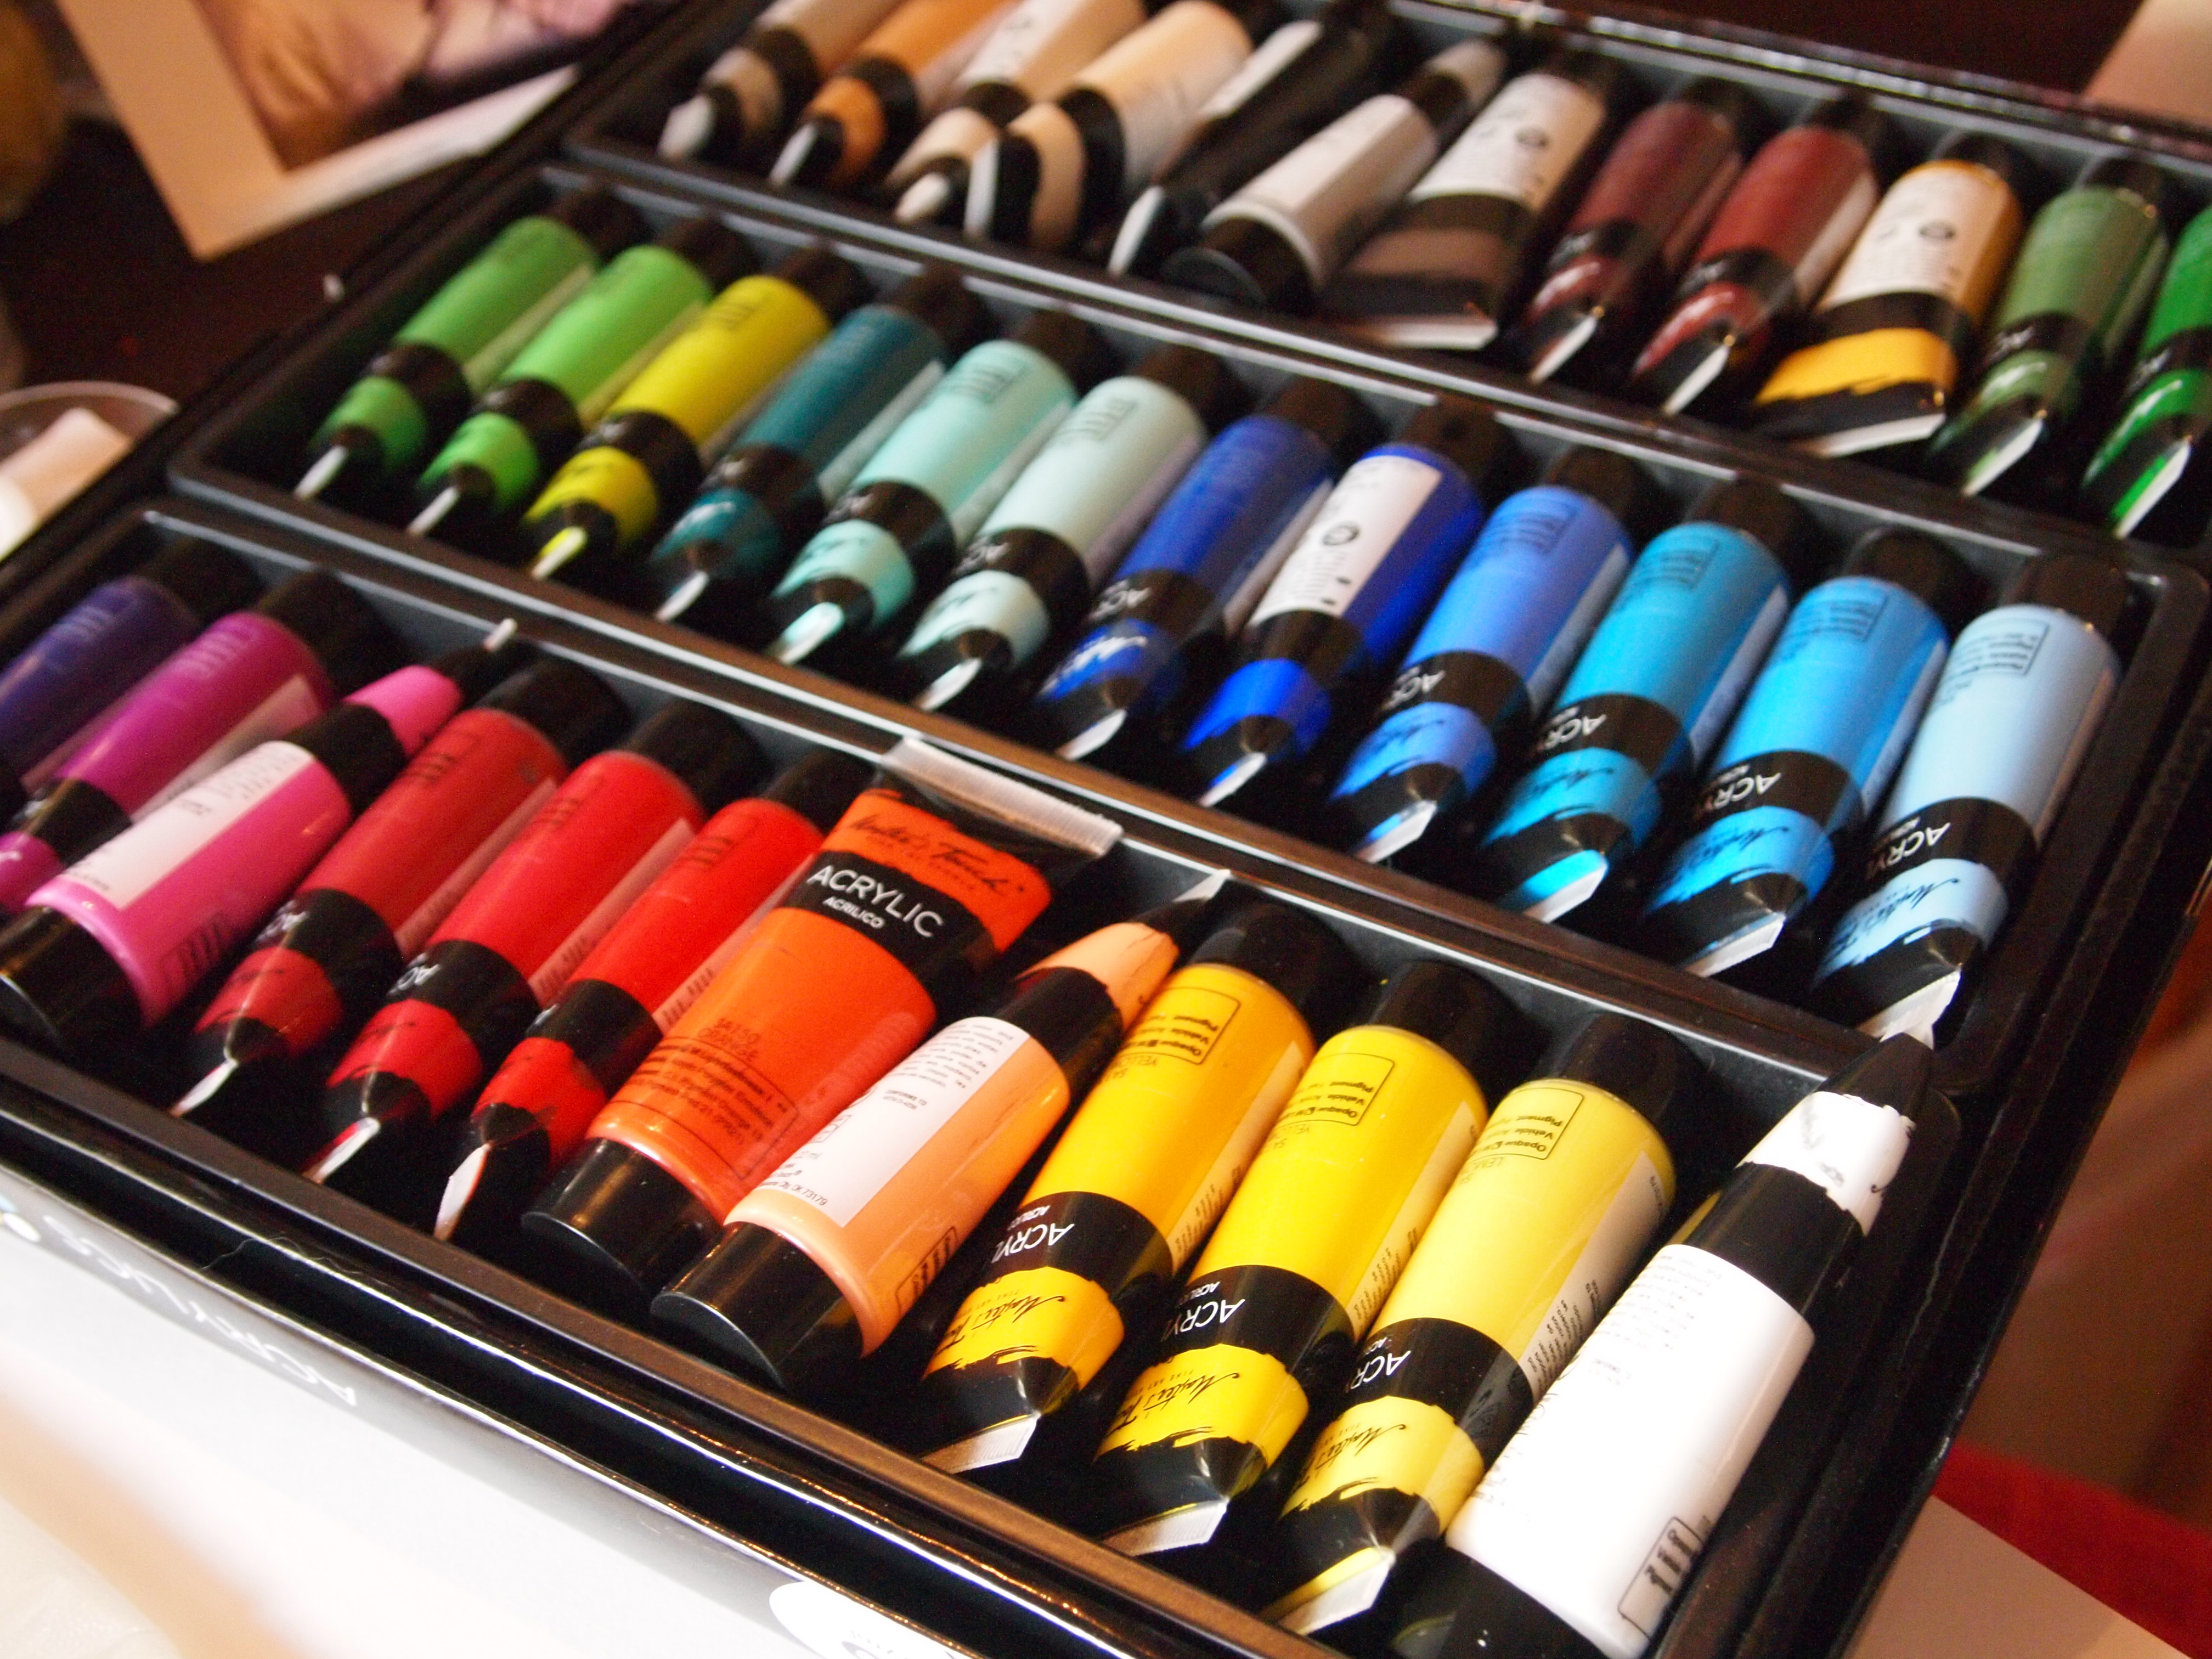
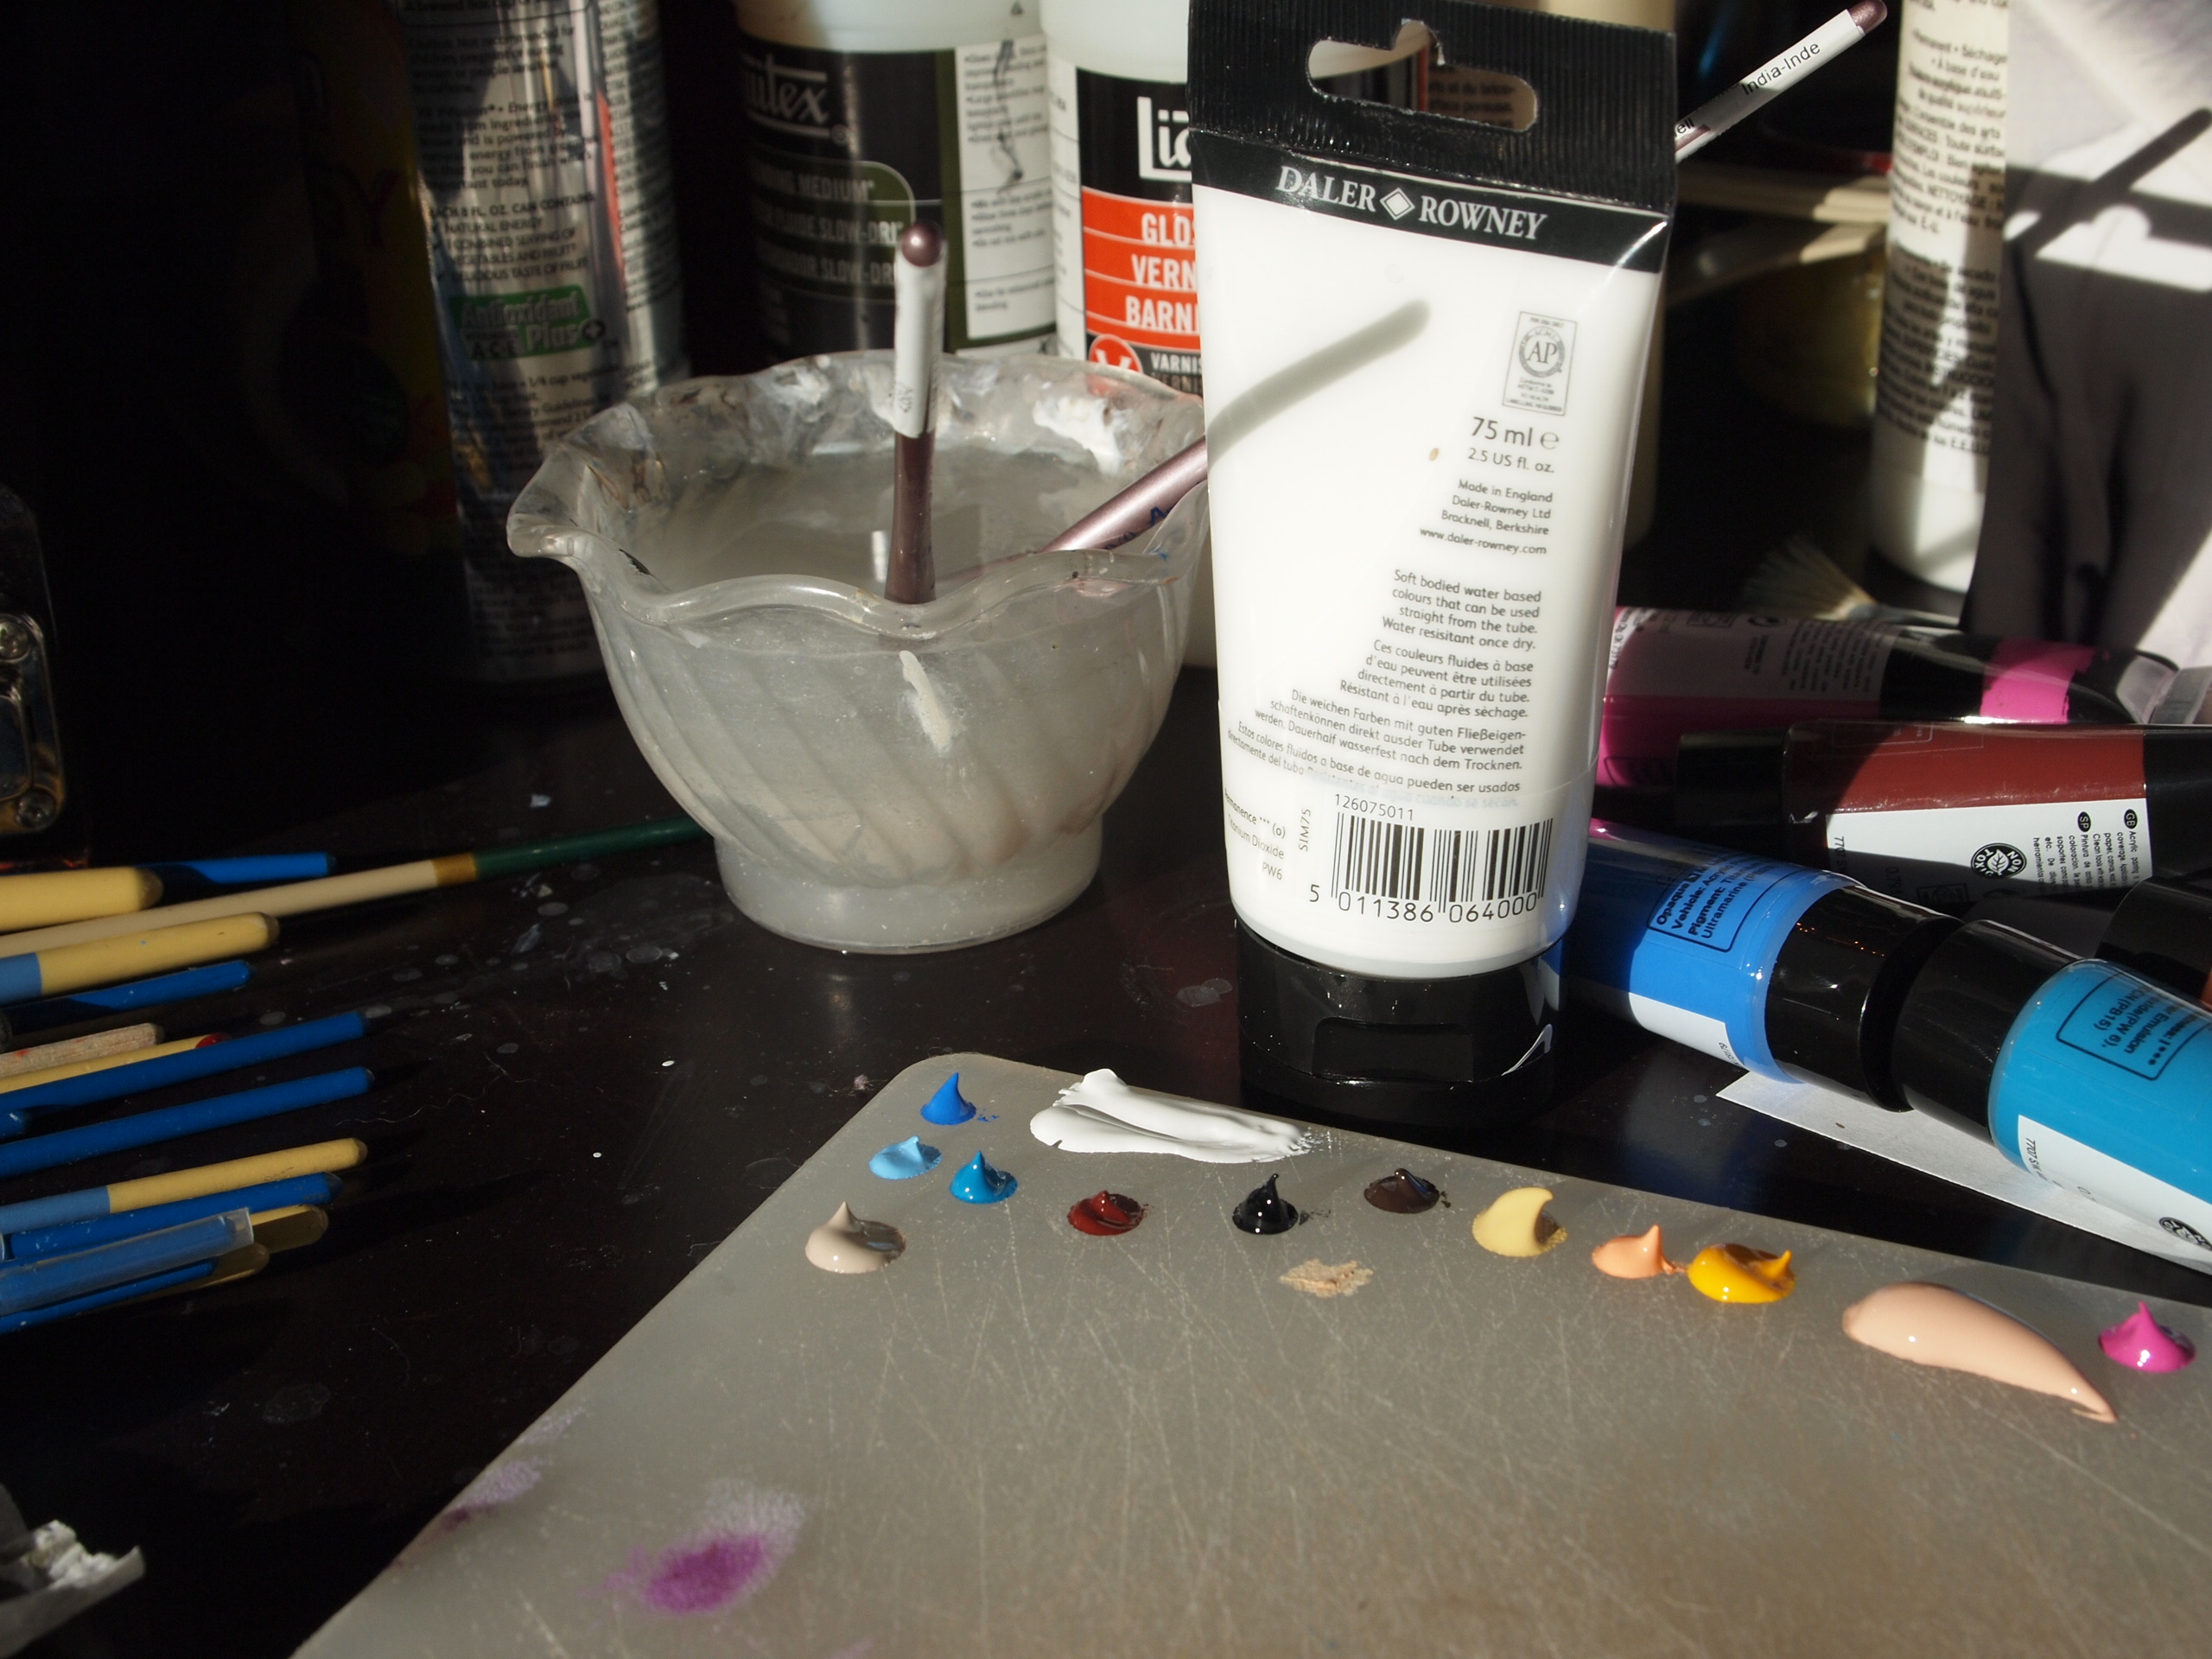
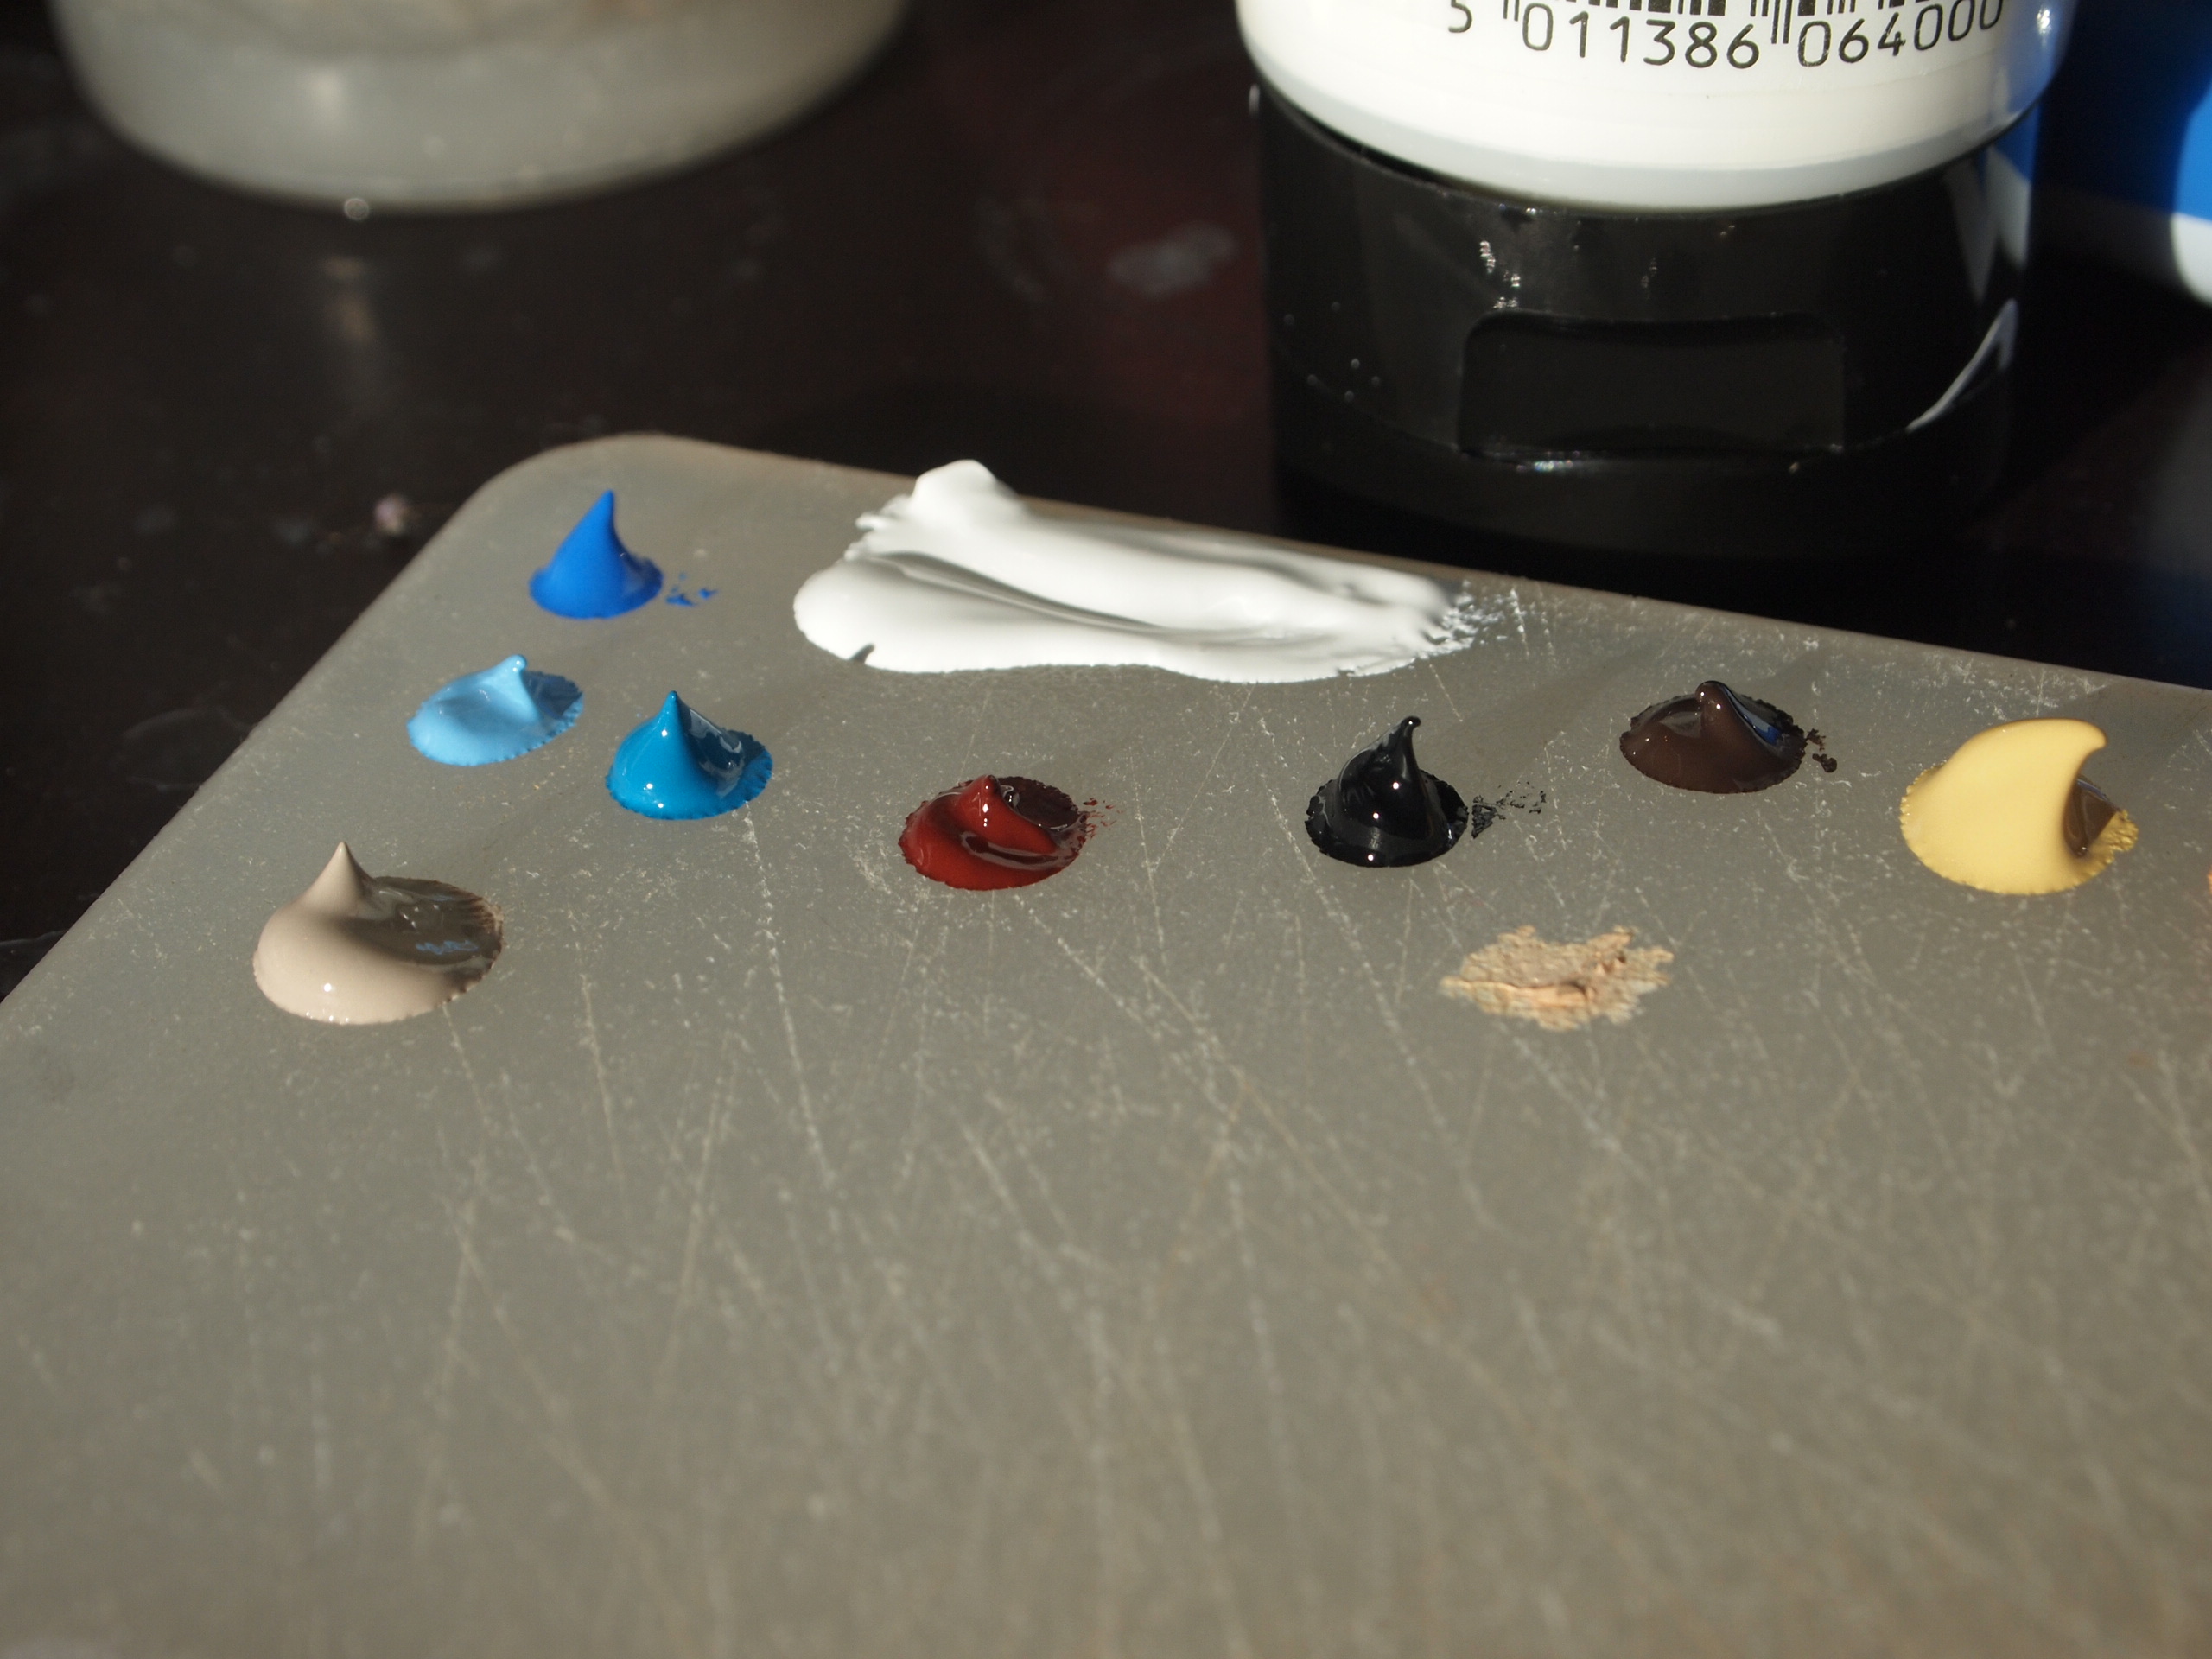
Materials
- Acrylic Paint - here is a nice set of Acrylics on Amazon
- Paint Brushes
- Water, bowl for cleaning brushes, paper towel or hand towel
- Canvas - Amazon has this (affordable) set with a canvas, easel, paint & brushes
- Photo of Person
- A Palette
- Sand paper
- *Optional: Glossy medium
Palette Prepping
You don't need anything fancy for the paint palette. The paint dries very fast and I've found it easiest for me to use a small cutting board and cover it in plastic wrap (or foil if I don't have the plastic wrap). Once the paint dries I just toss it out and when painting again later, I put new paint and plastic wrap on it again.
Prime the Canvas
There are quite a few canvas choices available and many are very affordable. I bought a pack of canvases from Michaels on sale (or they always have 40% off coupons) for a very low price. One thing you should do before beginning your painting on it is to prime it. You'll want to paint a fresh coat right onto the canvas. Let it dry out and then sand it to get rid of any rough texture. Get rid of any dust from the sanding and then paint one more coat on top of that and let it dry. It is now primed. You don't need to buy any special paint for this. A neutral color is best (but that also depends on what you're painting is for) and if the house paint is too thick - mix it up with a little bit of water first. Doing this will make your painting look more professional, you'll use less paint and you should be able to complete the painting a bit faster as a result.
Holly Mann is a participant in the Amazon Services LLC Associates Program, an affiliate advertising program designed to provide a means for sites to earn advertising fees by advertising and linking to amazon.com.
Photo to Canvas Transfer
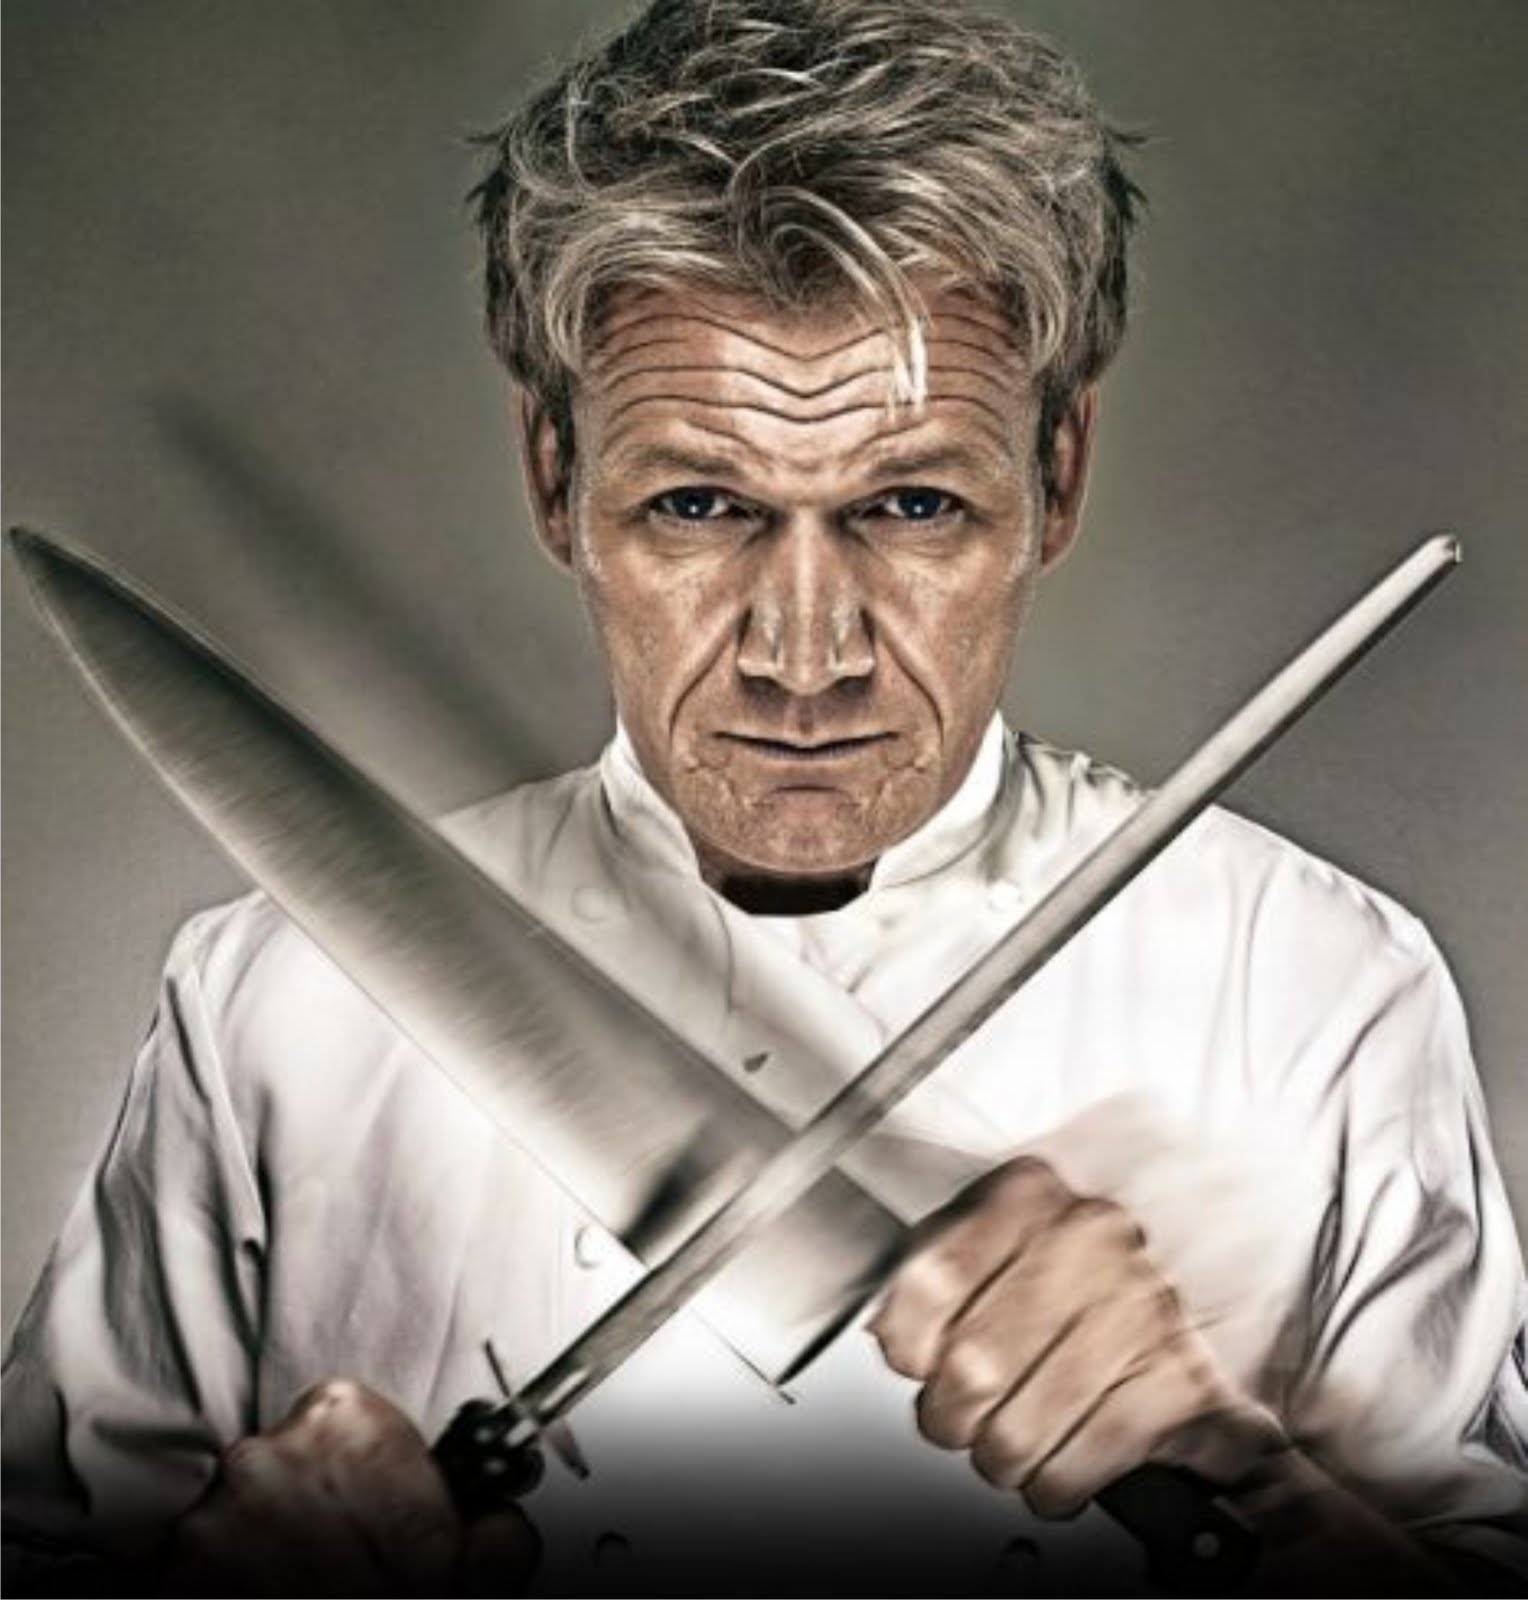
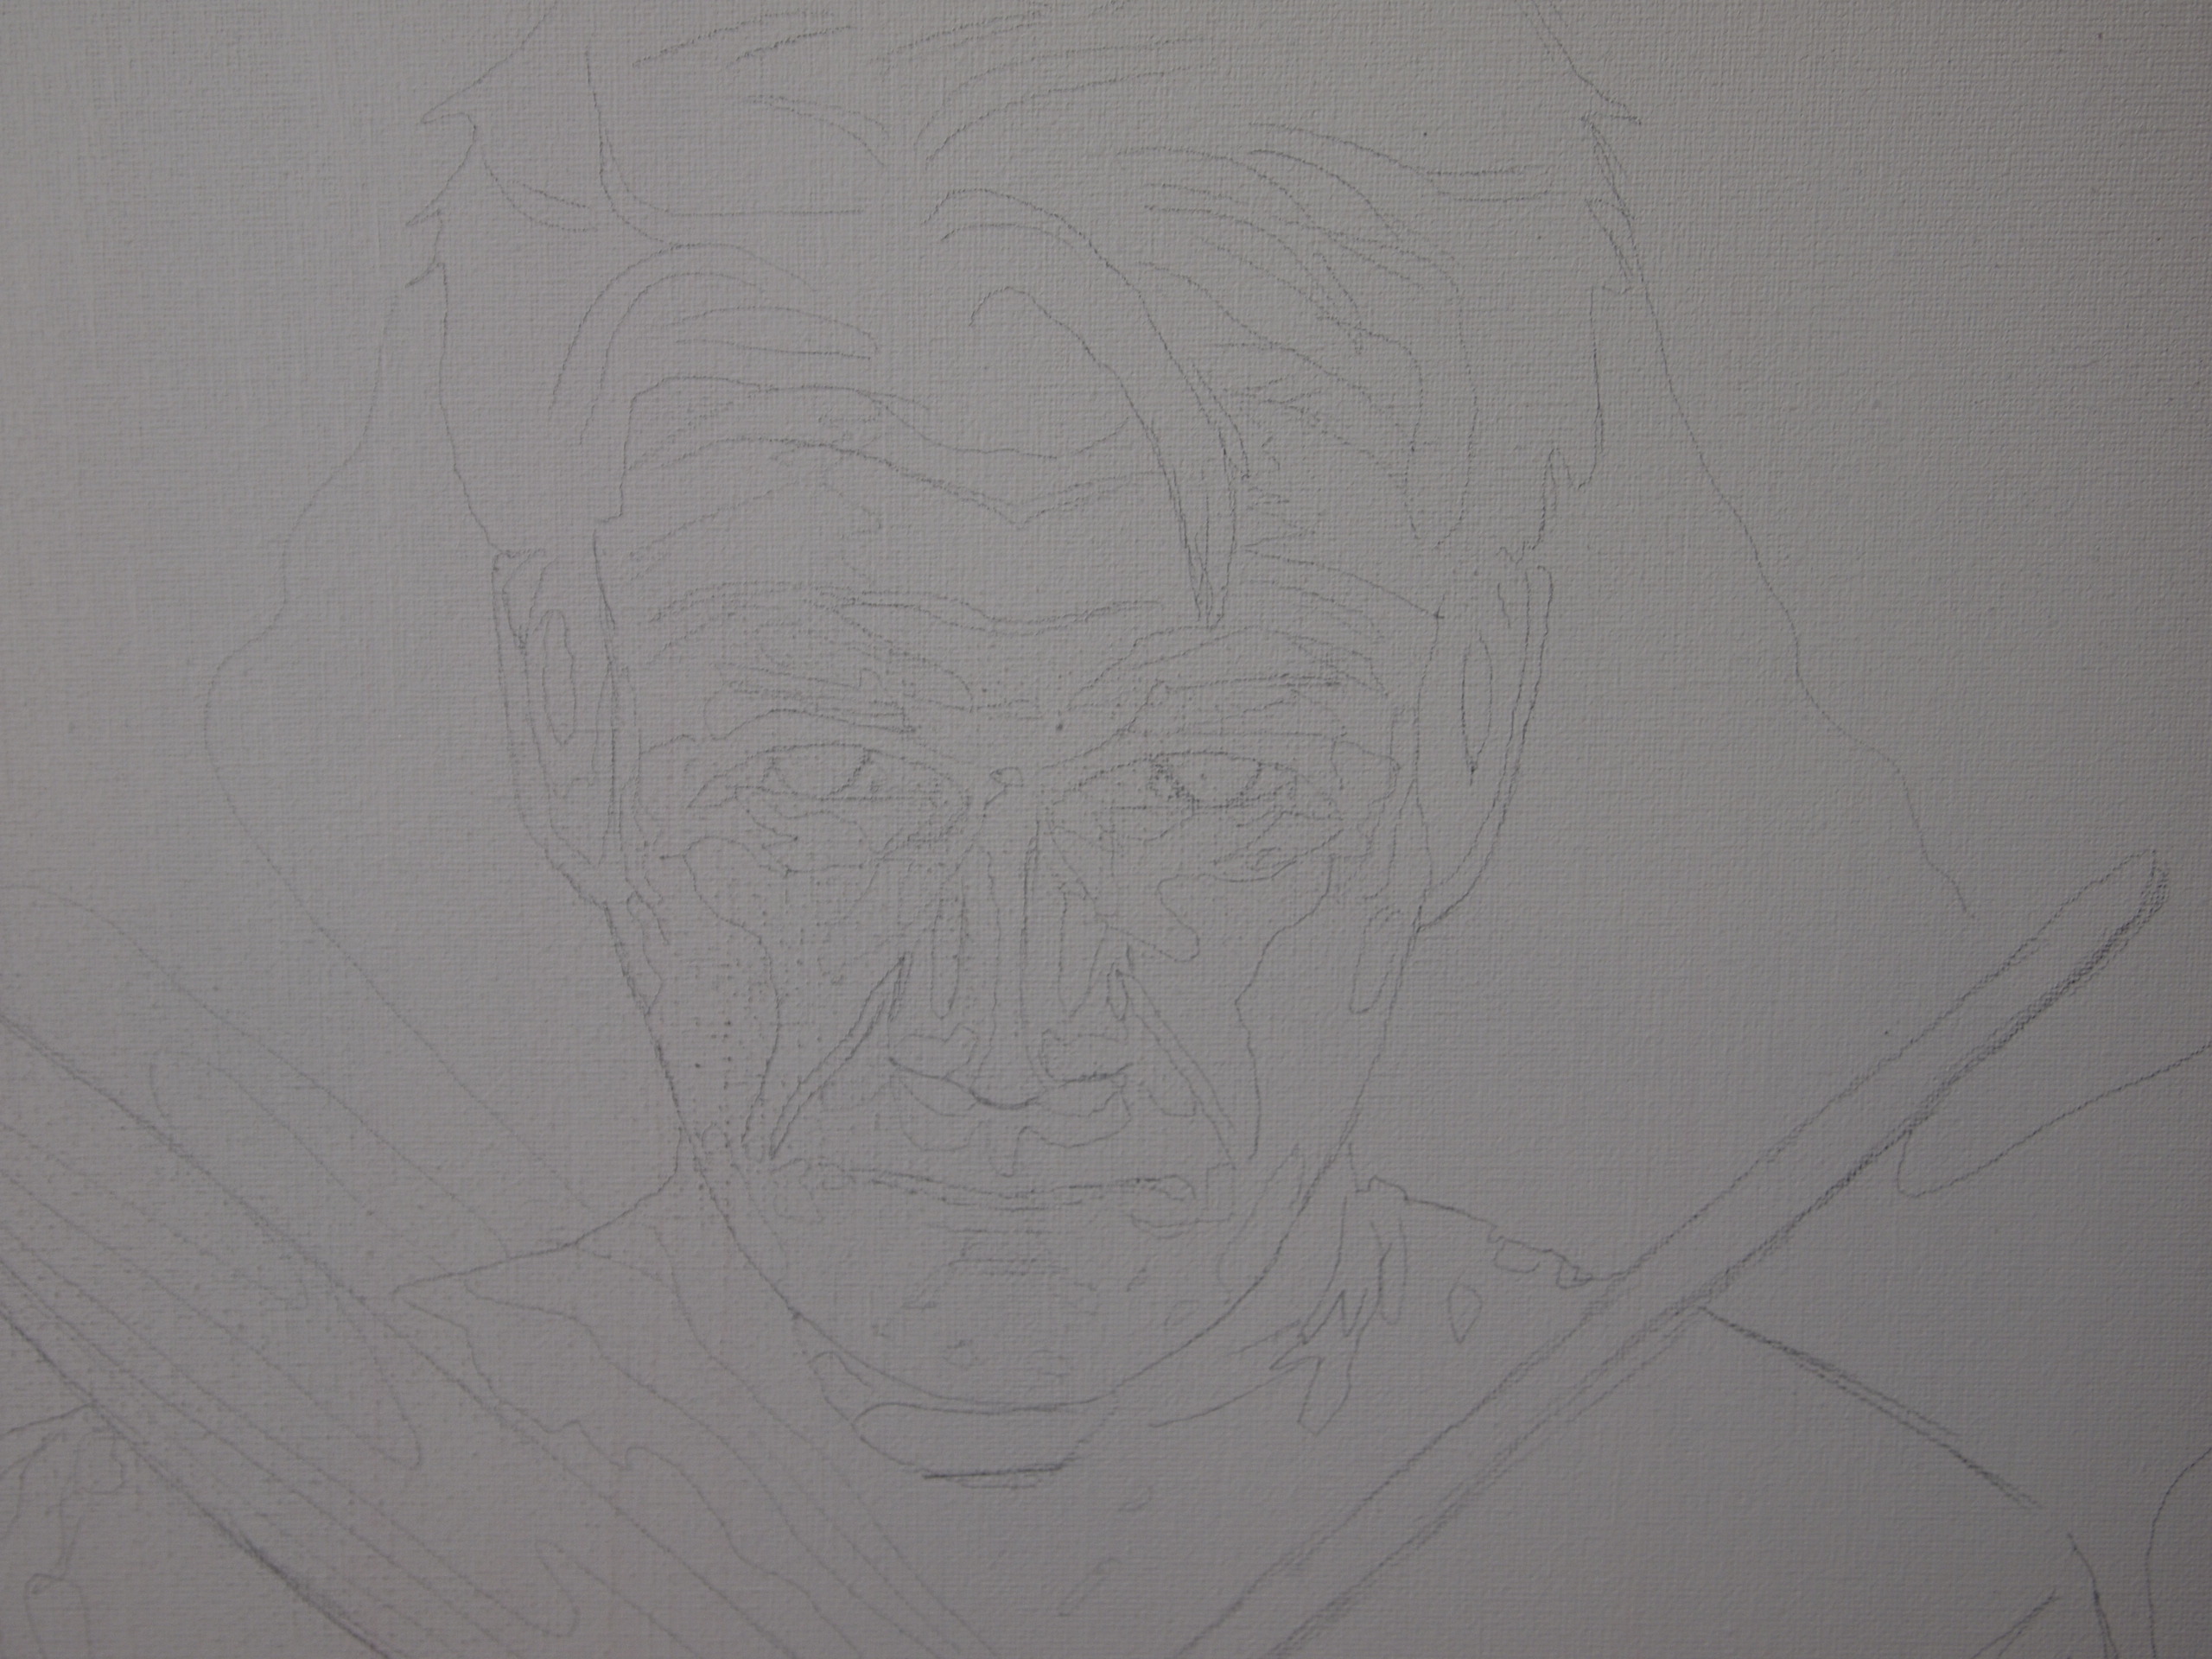
If you have no access to a projector and just need a little help in transferring the major facial lines over - then there is an easy way to do that. But, you'll need to print out a photo that you can work from and it needs to be the accurate size that you'll be transferring to the canvas - 1:1. I did another Instructable that involved painting and a photo transfer and it was a watercolor painting of my kitty Sammy. In this step here, I explain how to transfer the photo with tracing paper. I hope that helps! Once transferred, you can start painting!
Skin Color, Highlights & Shadows and Painting Tips
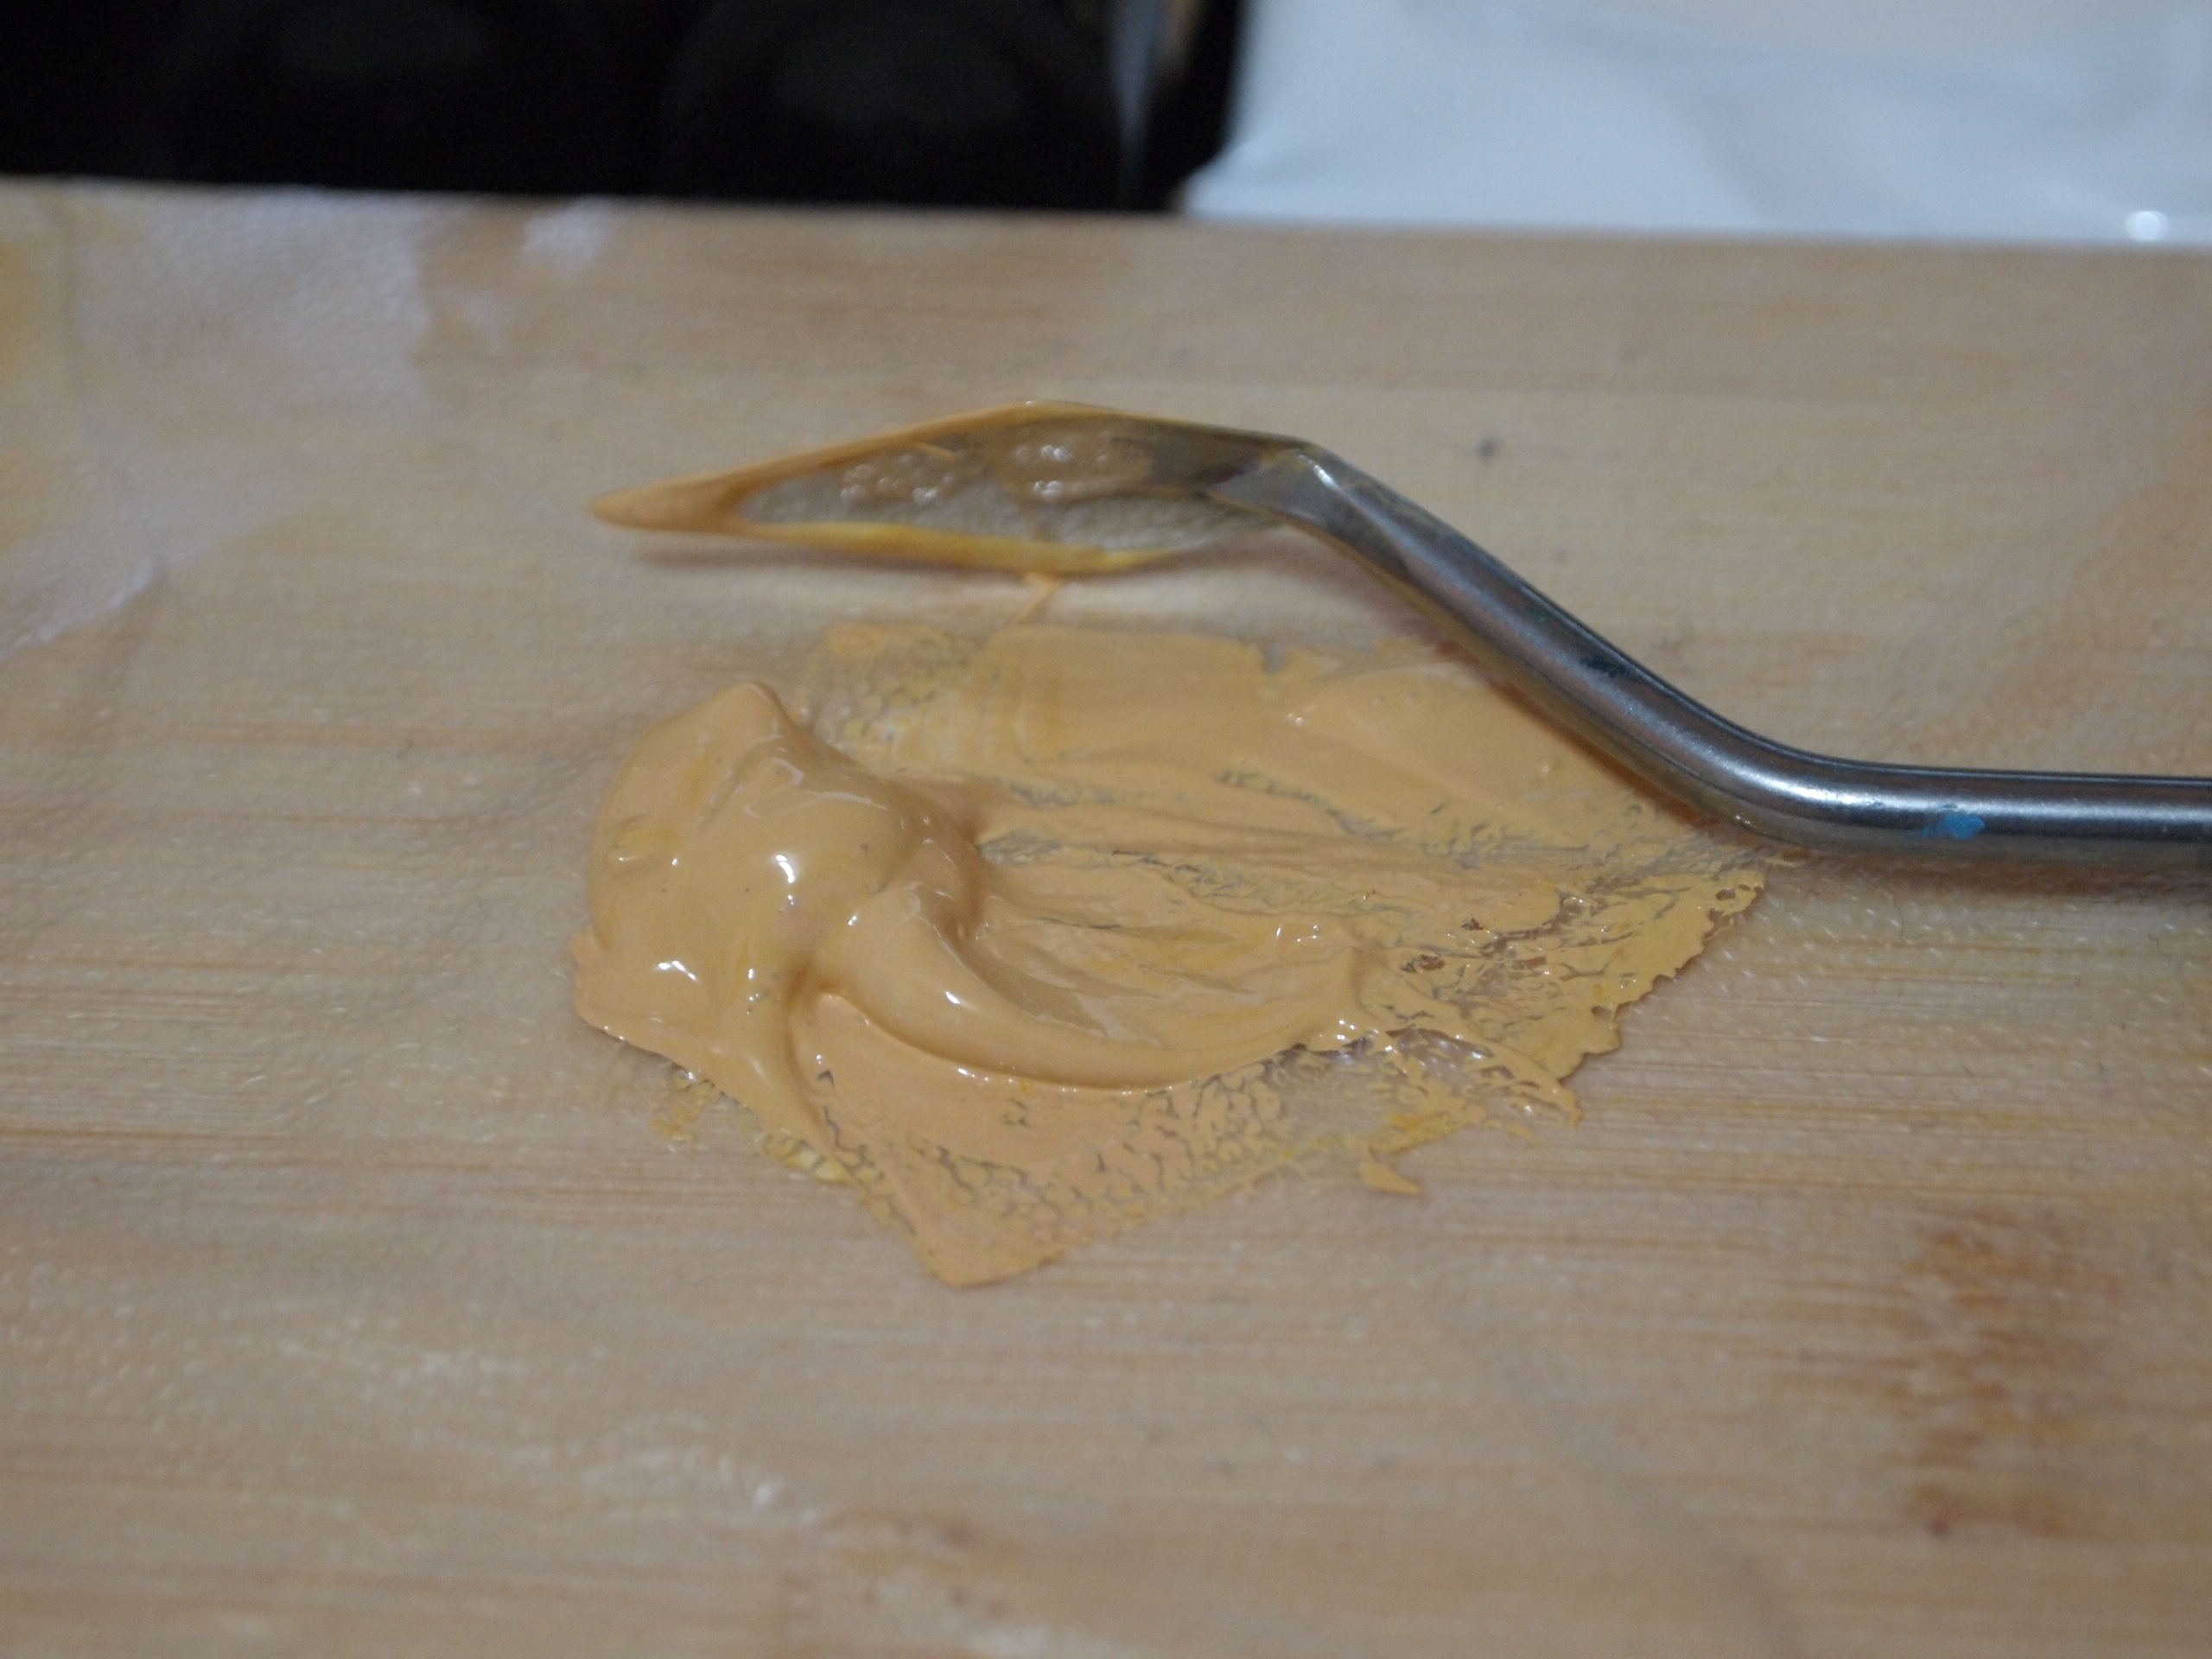
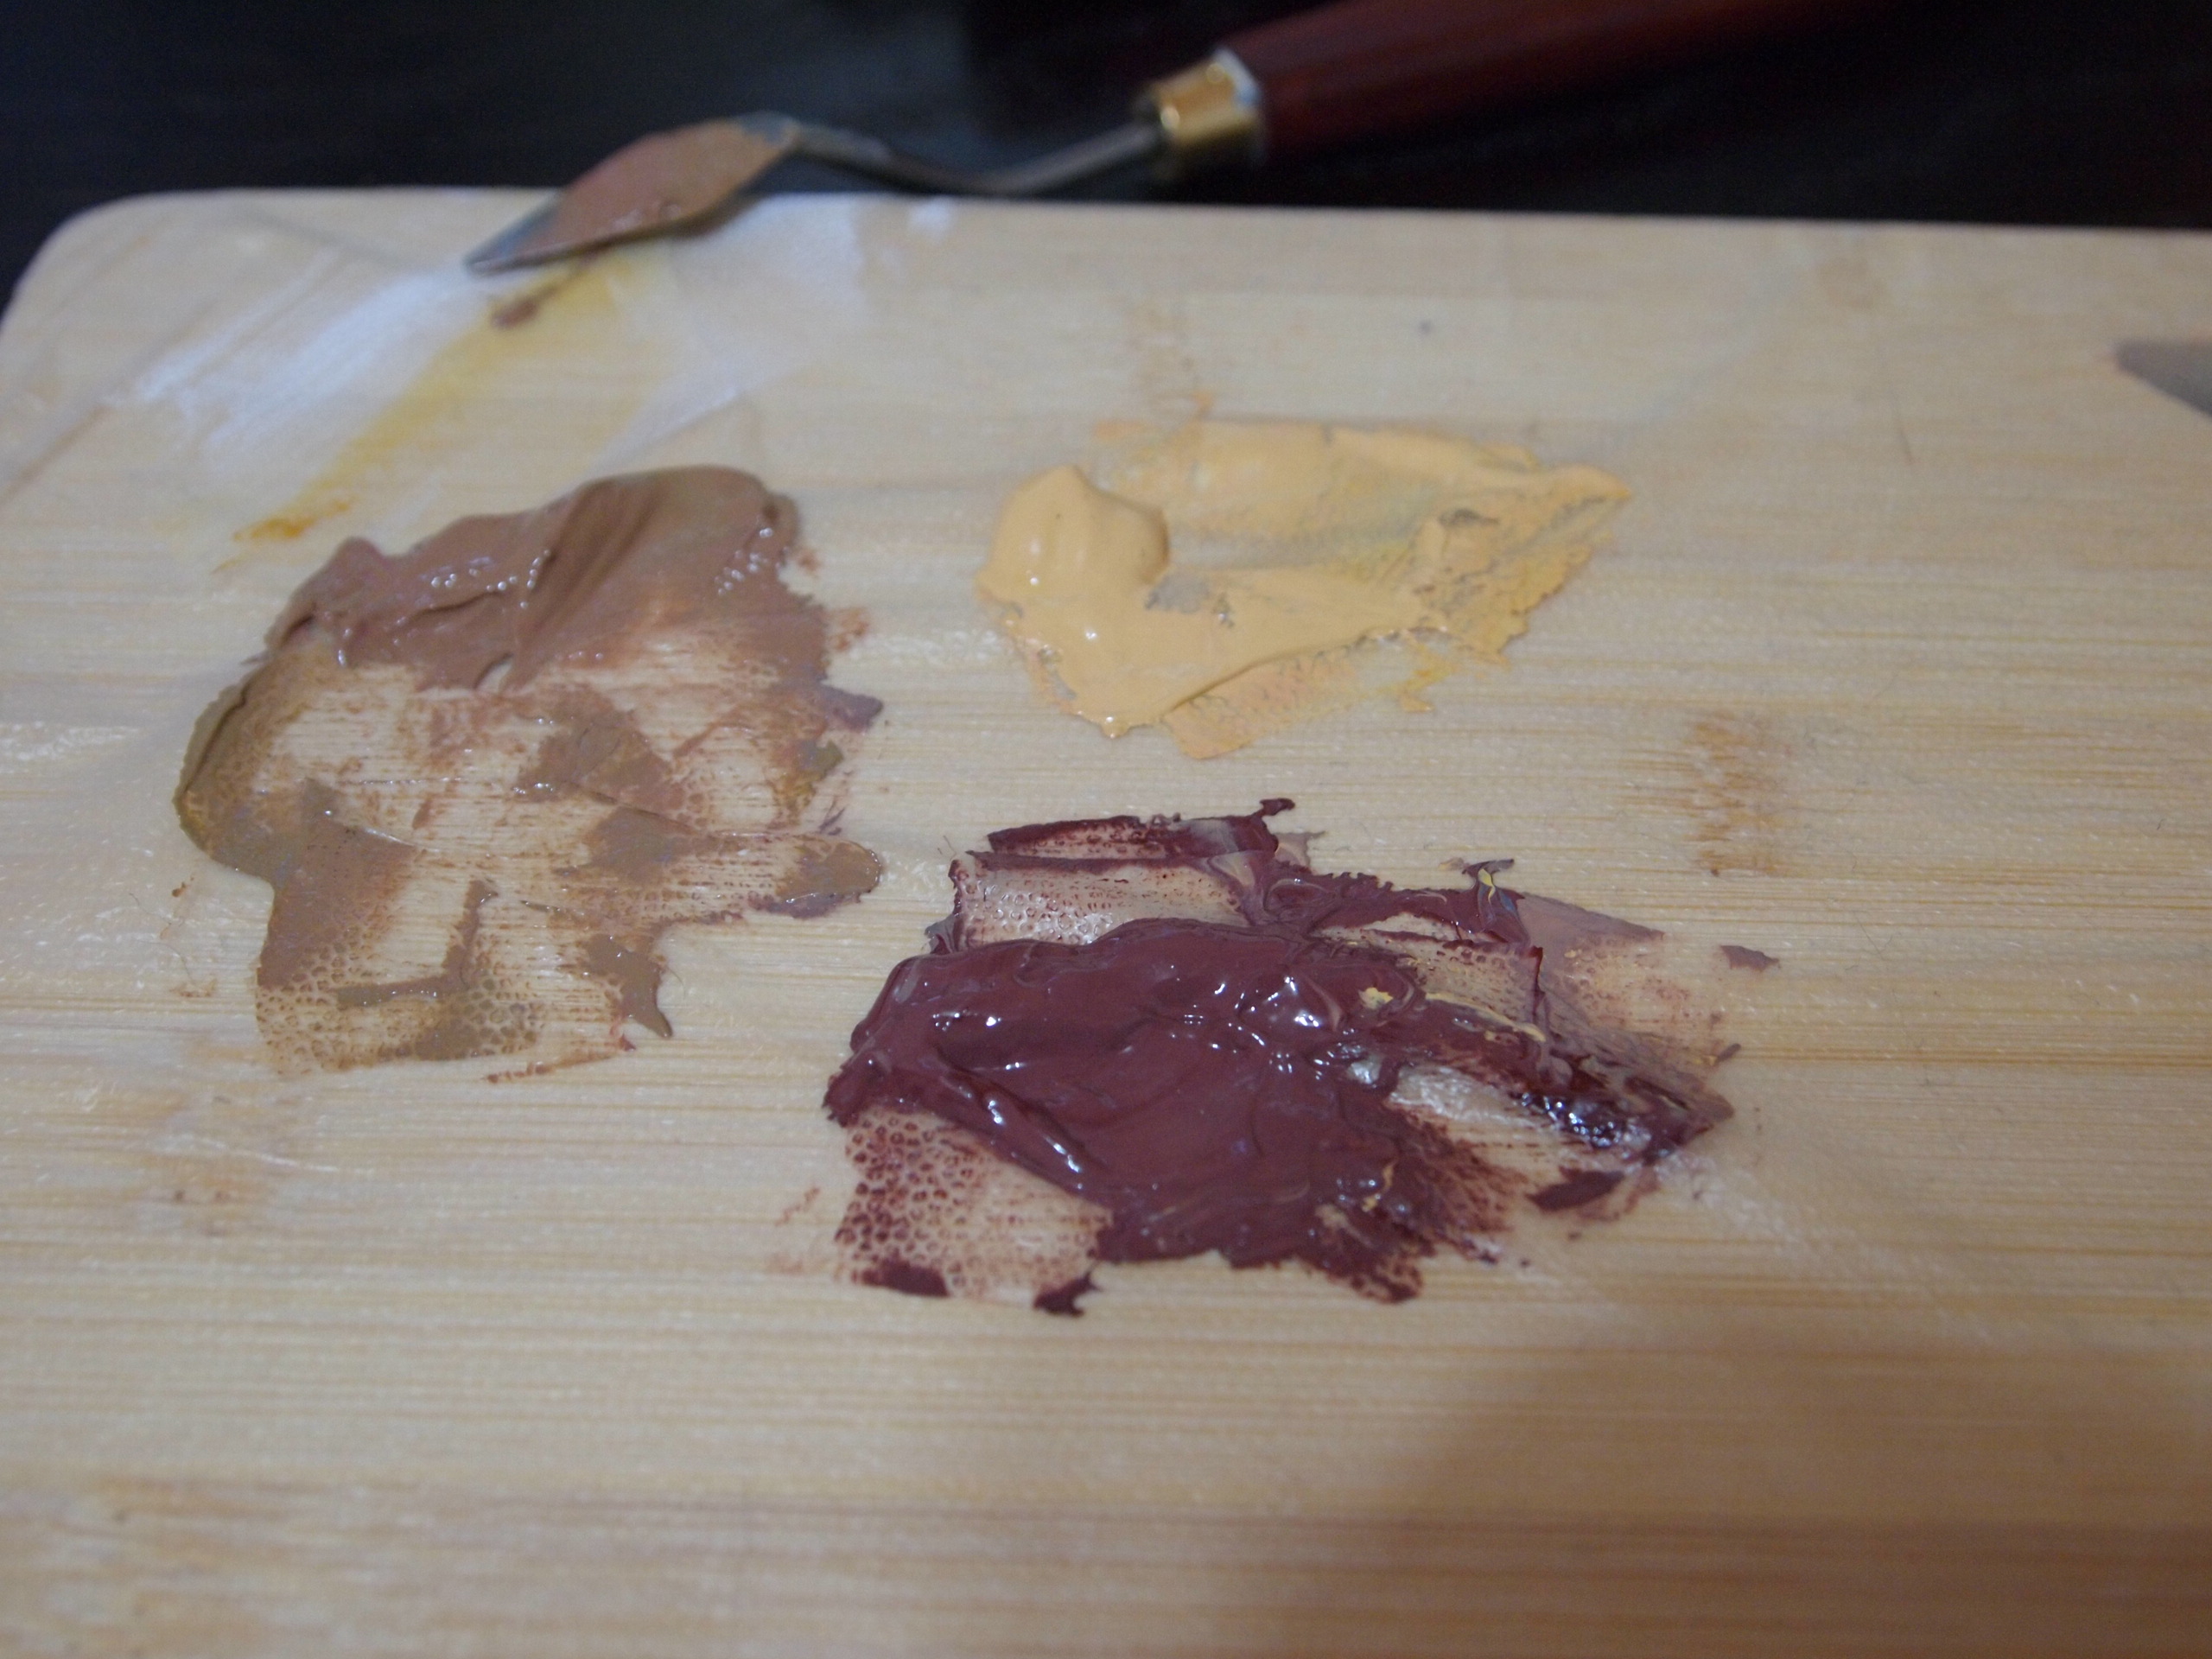
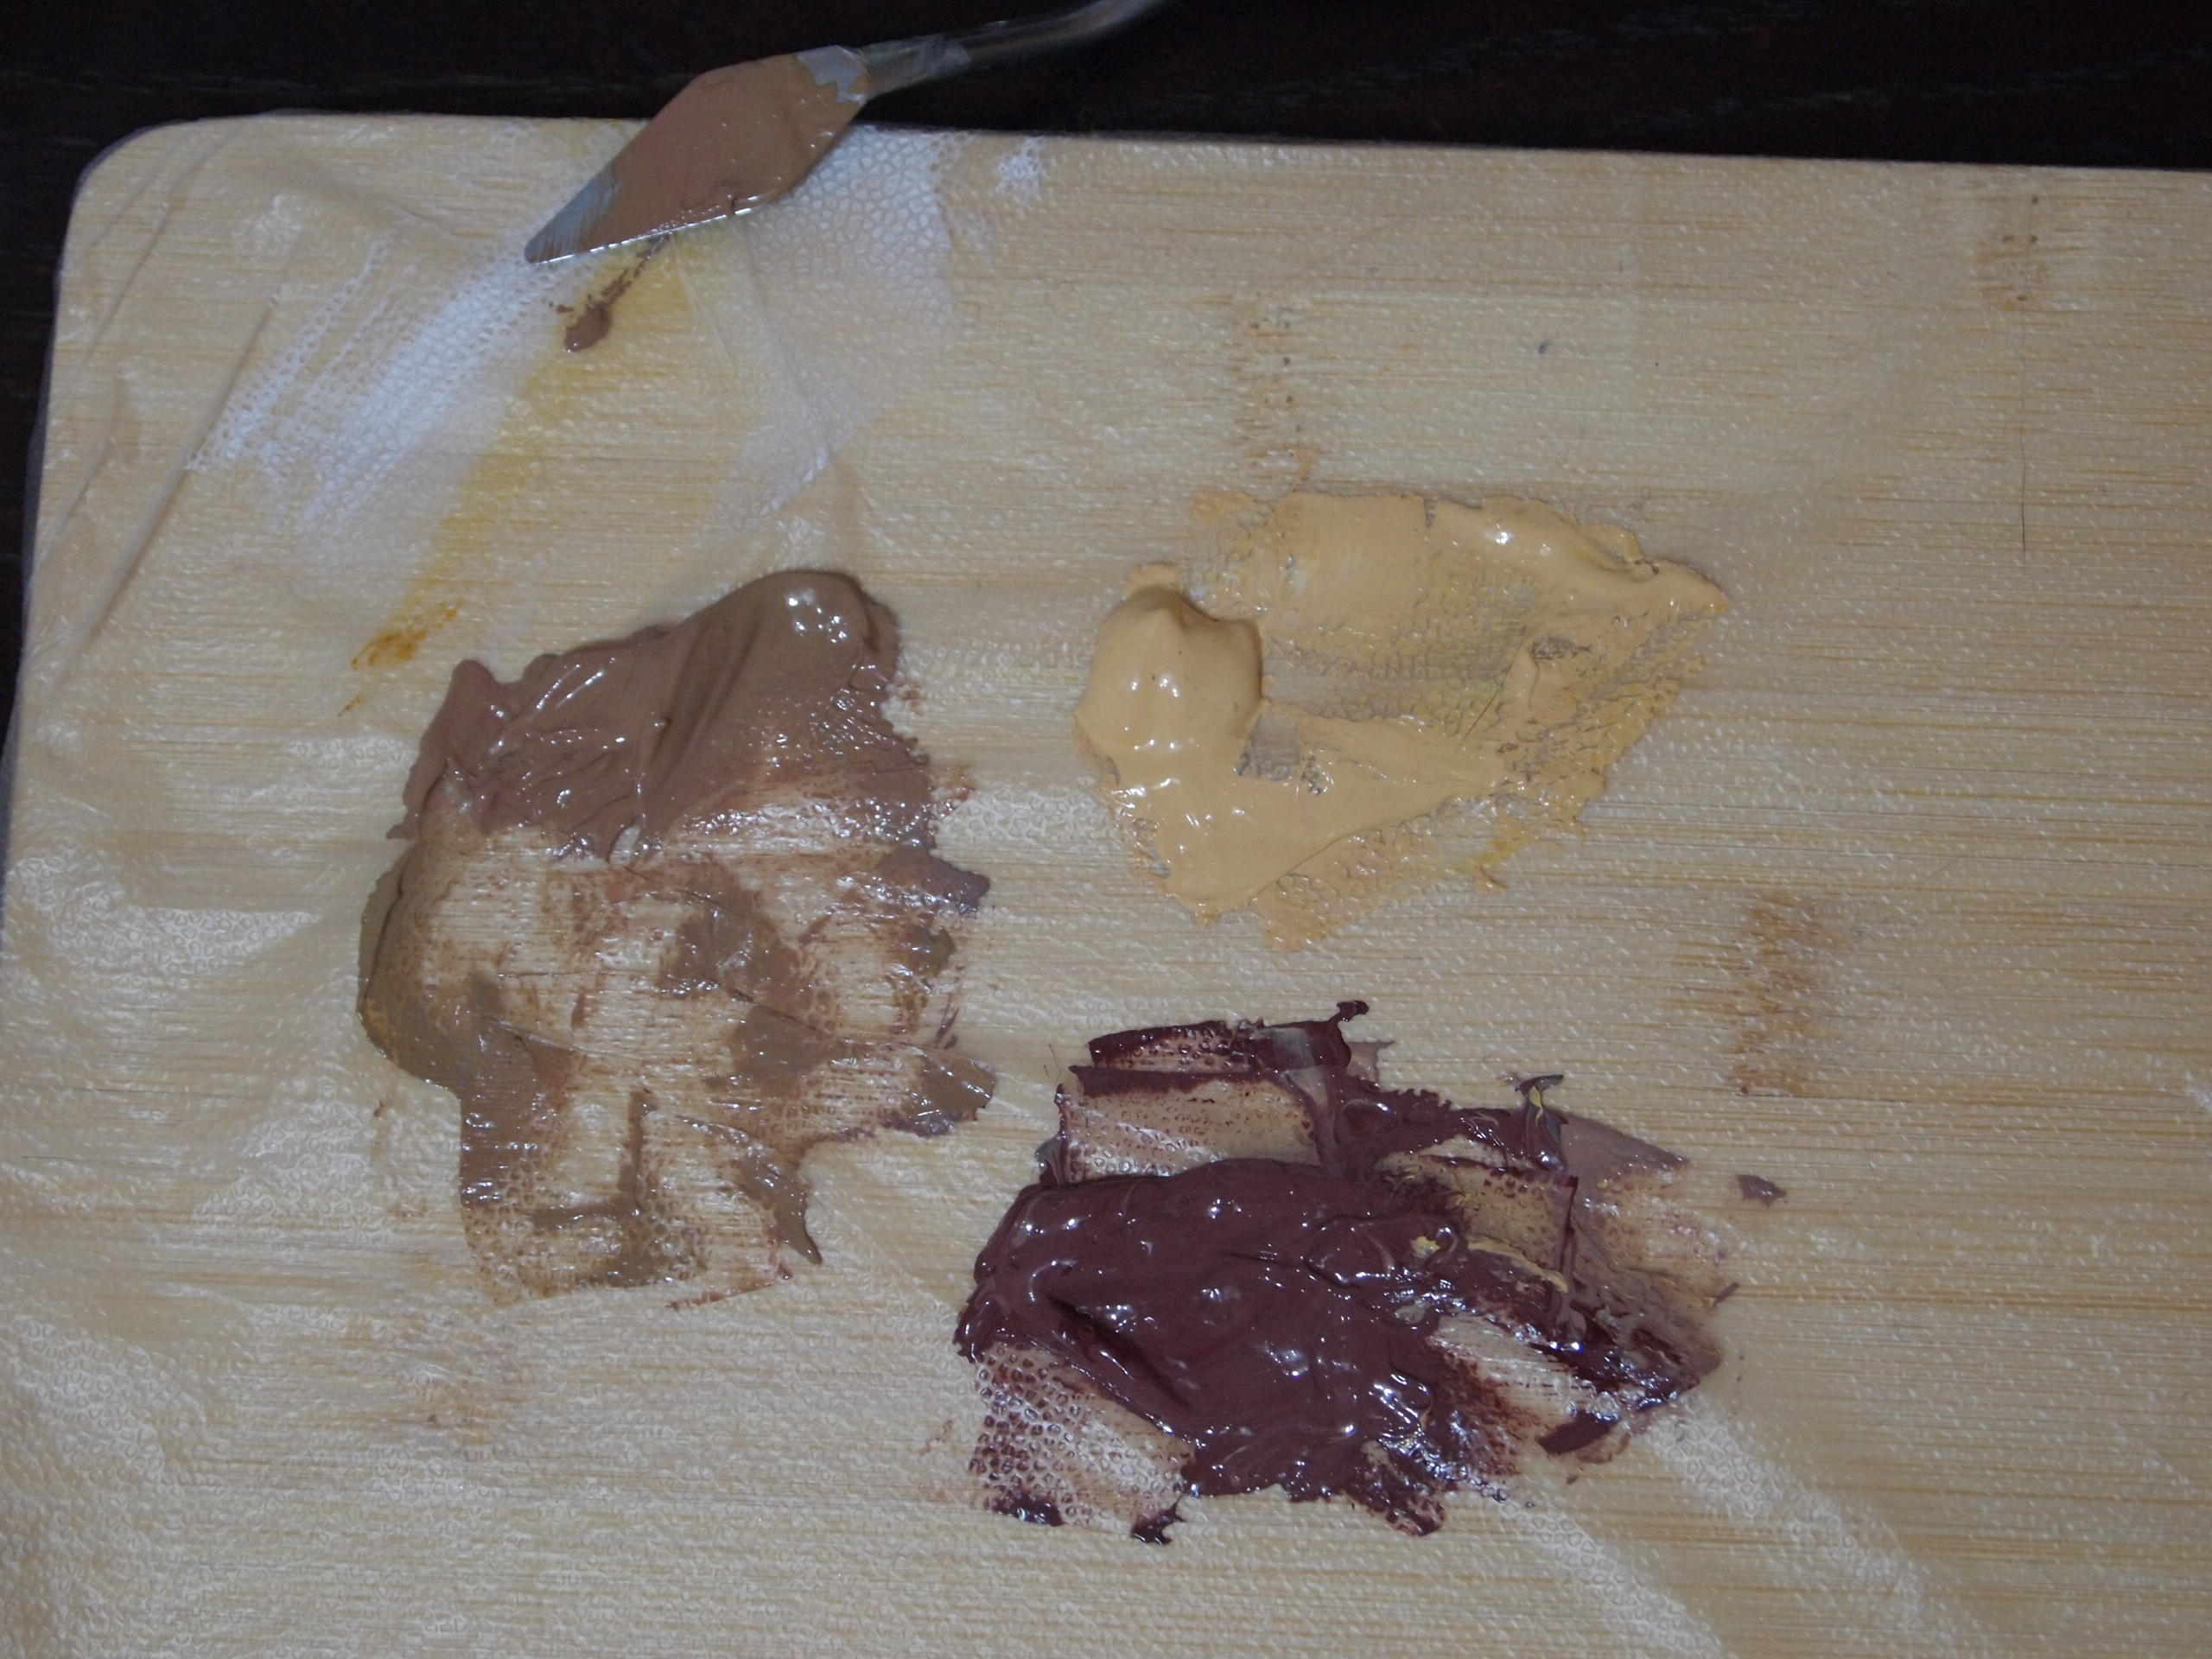
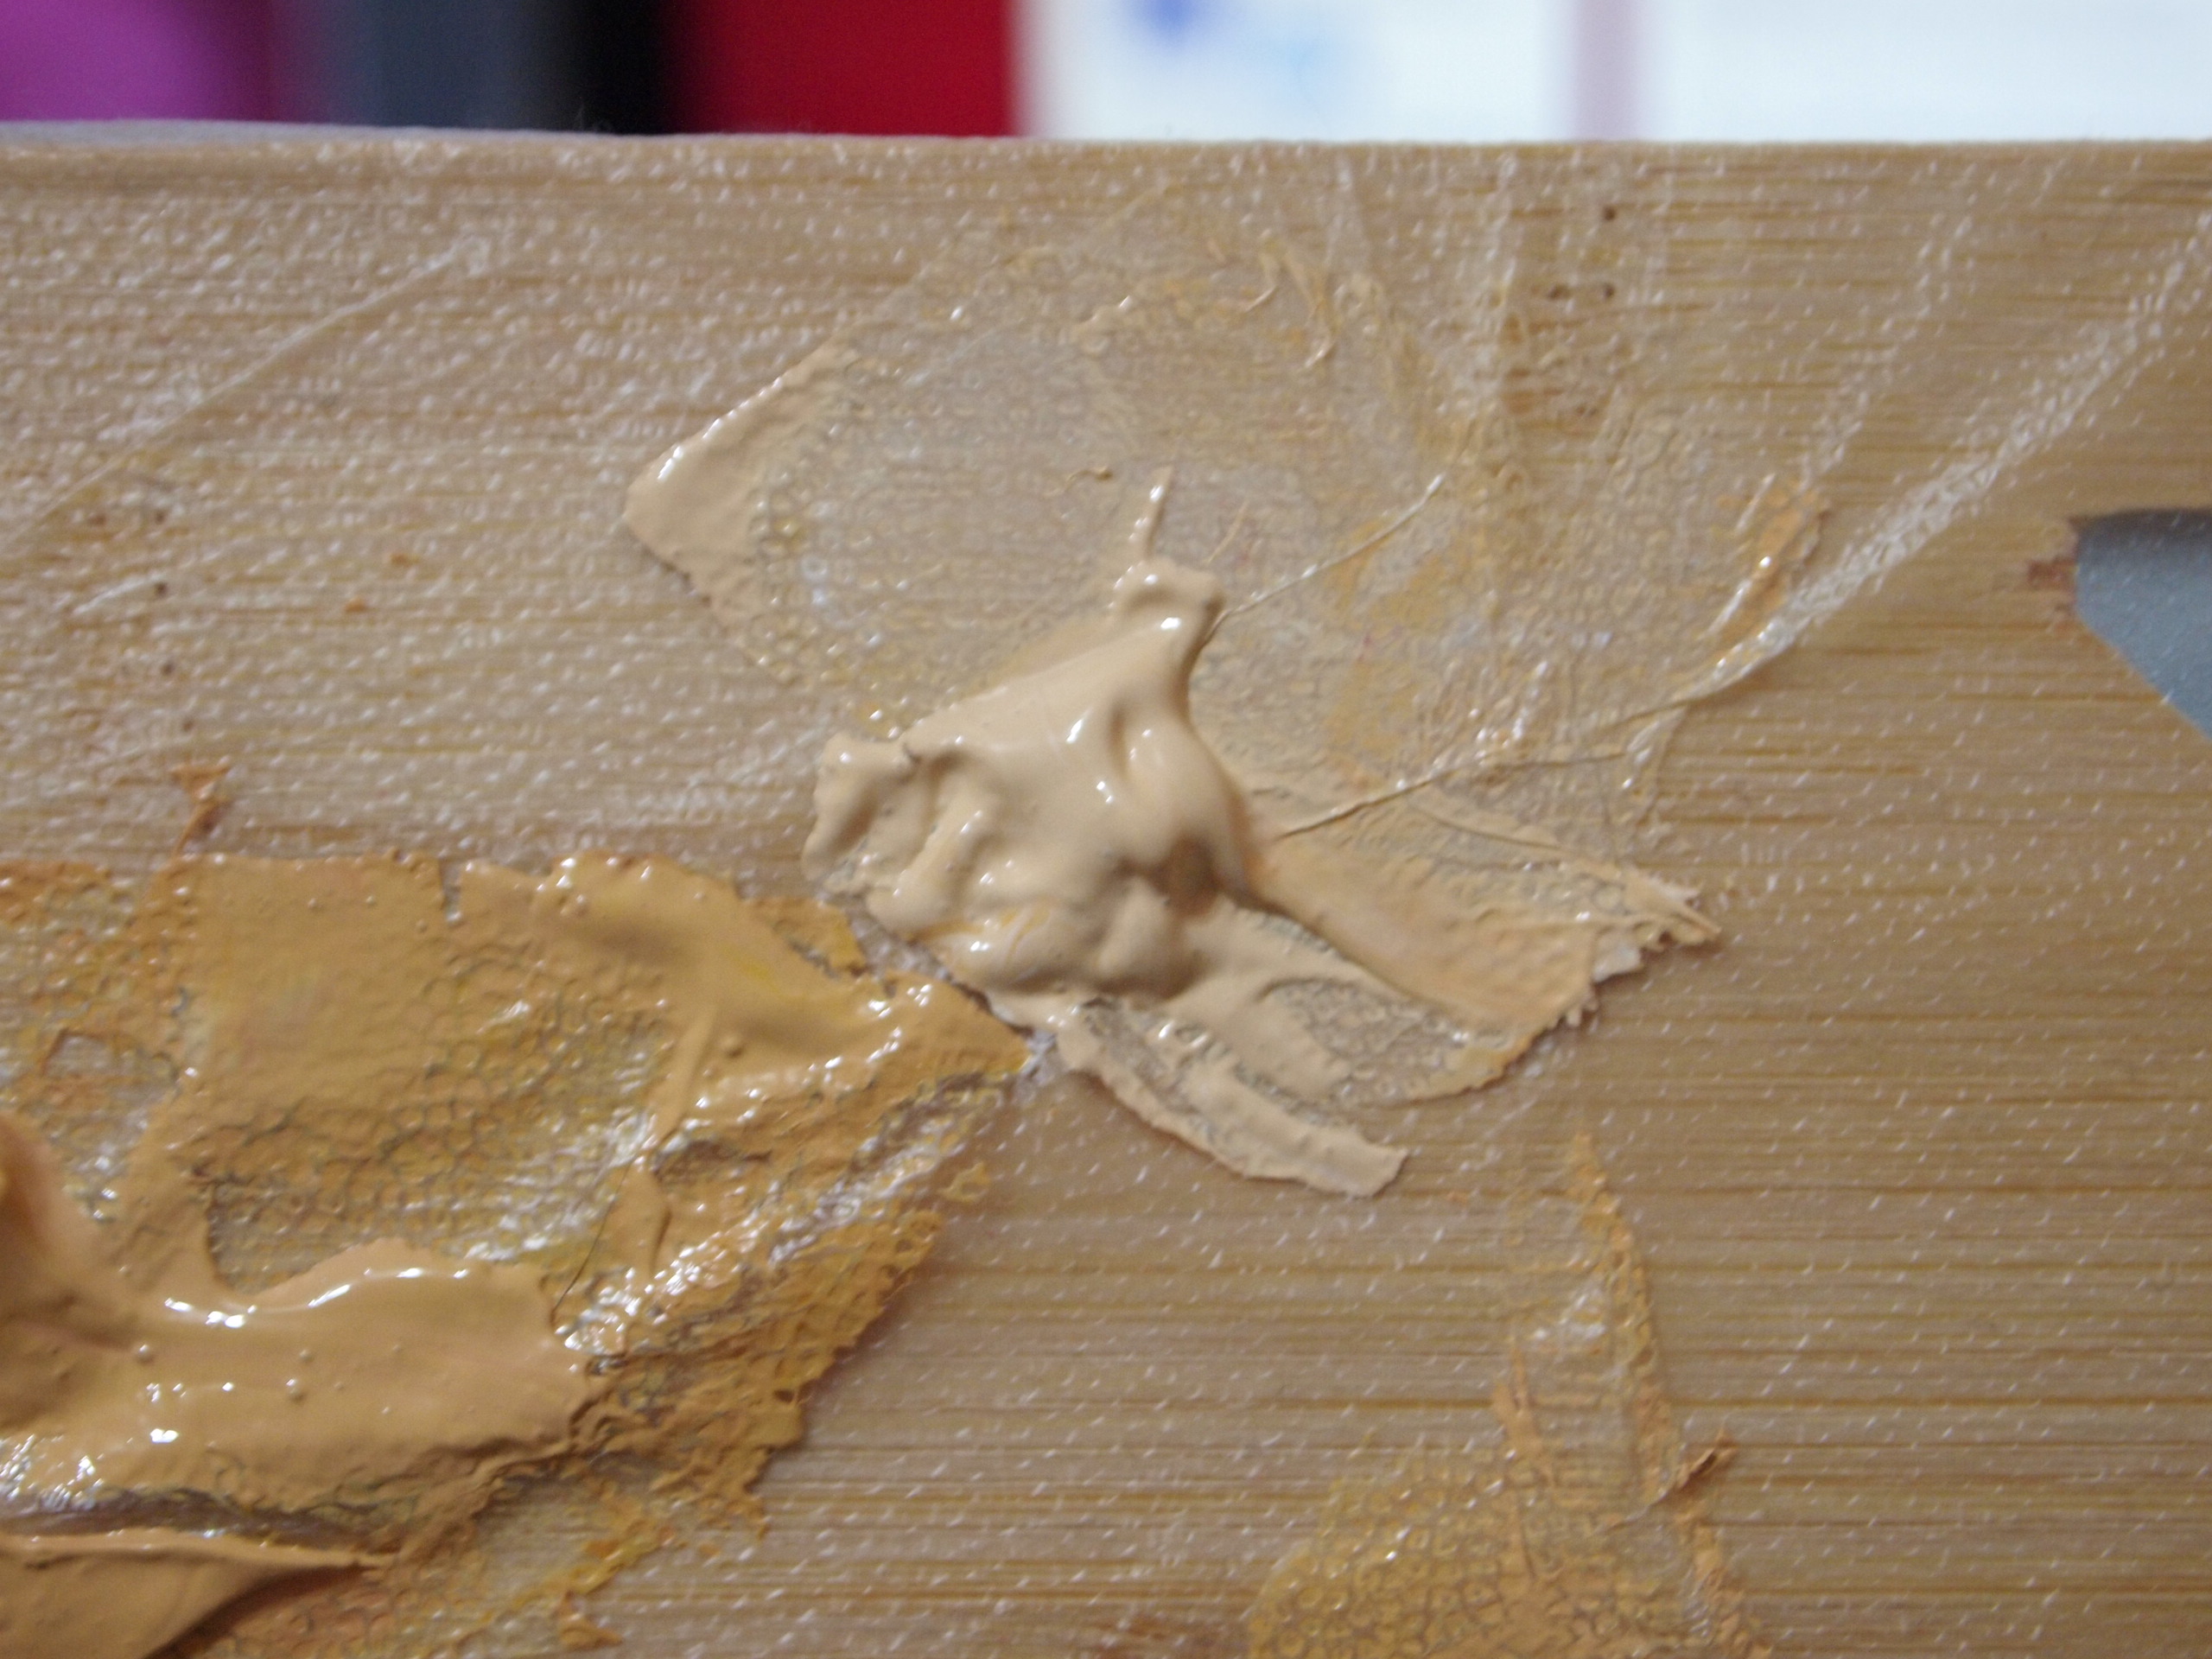
Portrait Painting with Acrylic Tips
- Acrylic Drying Time & Moisture
- Add water to your paintbrush and paint to extend the time you have before it dries out (vital when trying to blend)
- Some people use a small spray bottle and mist the palette to keep things moist - be sure to do this from a distance
- There are also special palettes and palette paper that are supposed to help the paint retain moisture longer so you can use it longer before it dries out on the palette (I have yet to try this)
- Blending on the Portrait
- Work in small sections and as fast as possible
- Use water on your brush to help keep things moist
- If blending two areas of the face - for example the cheekbone area with a highlight - try this:
- Paint the highlighted area
- Then paint the skin under and above or around it - quickly
- Take a dry brush and use that to quickly brush in the area where the two meet up - creating a soft blended edge
- * This takes practice and you'll end up finding your own methods for this as you go along
- Where to Begin
- I began my portrait by doing the background first
- Paint in the major areas of color and variations of color first before moving onto the face
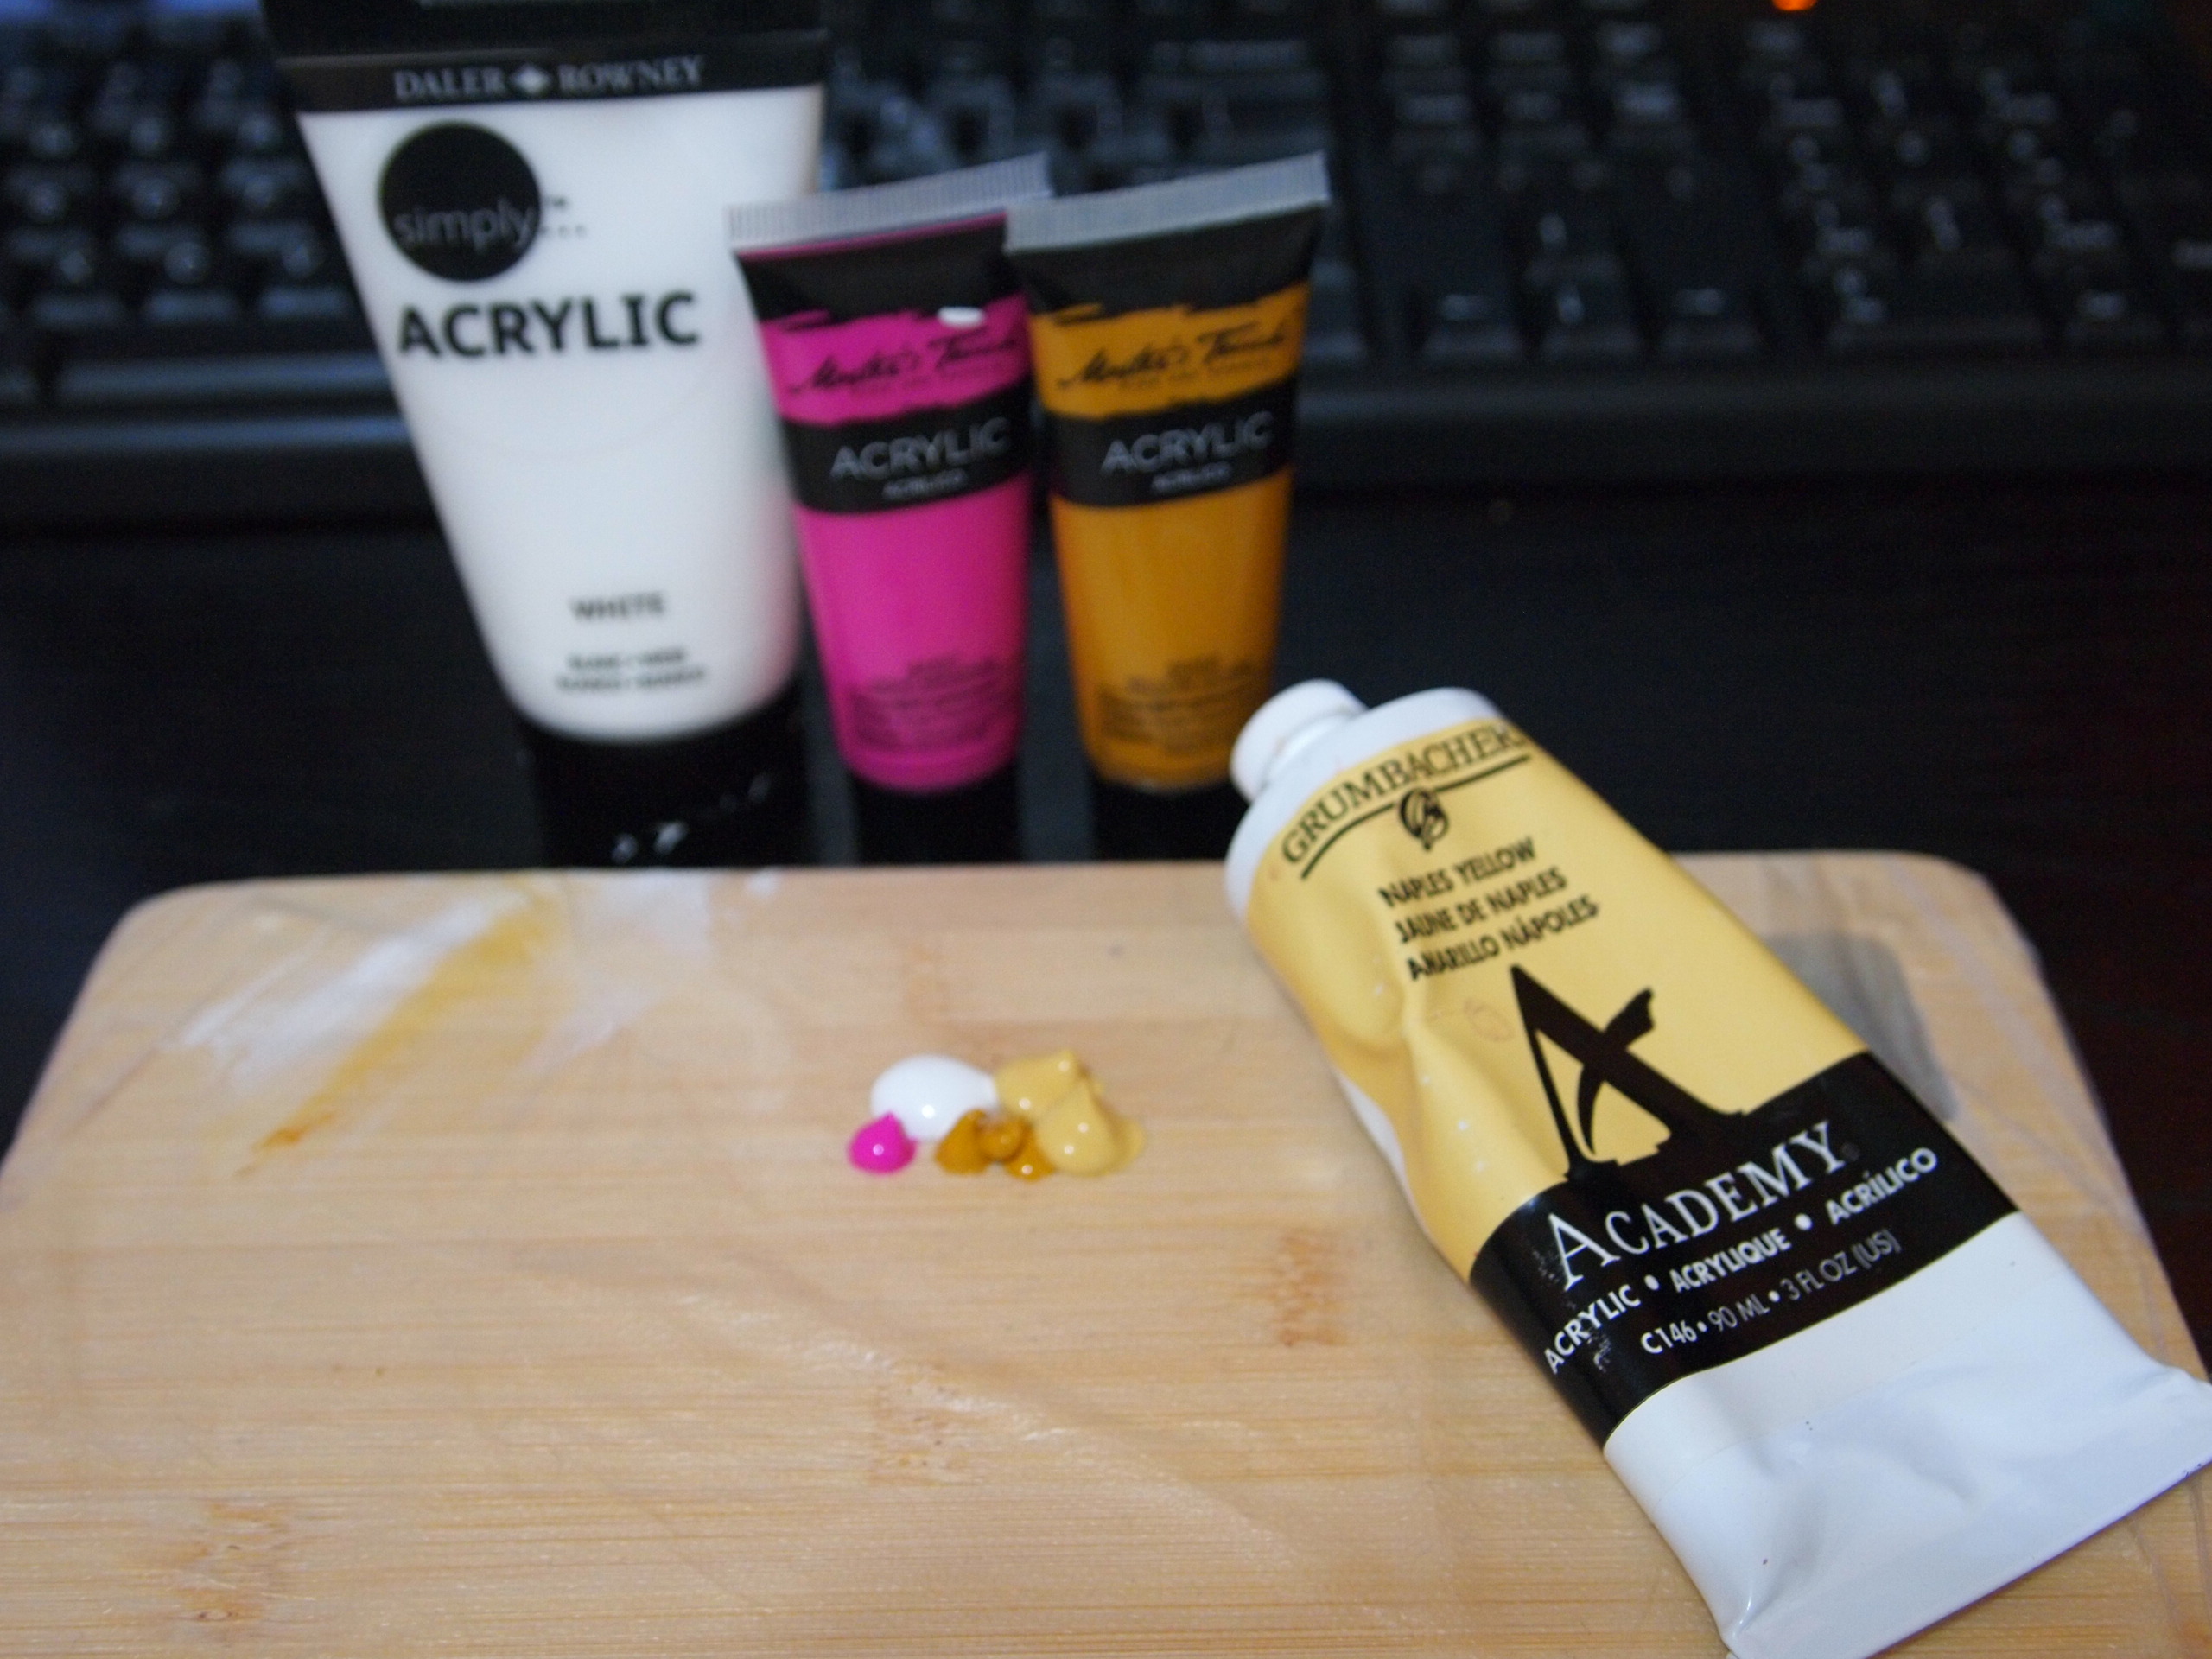
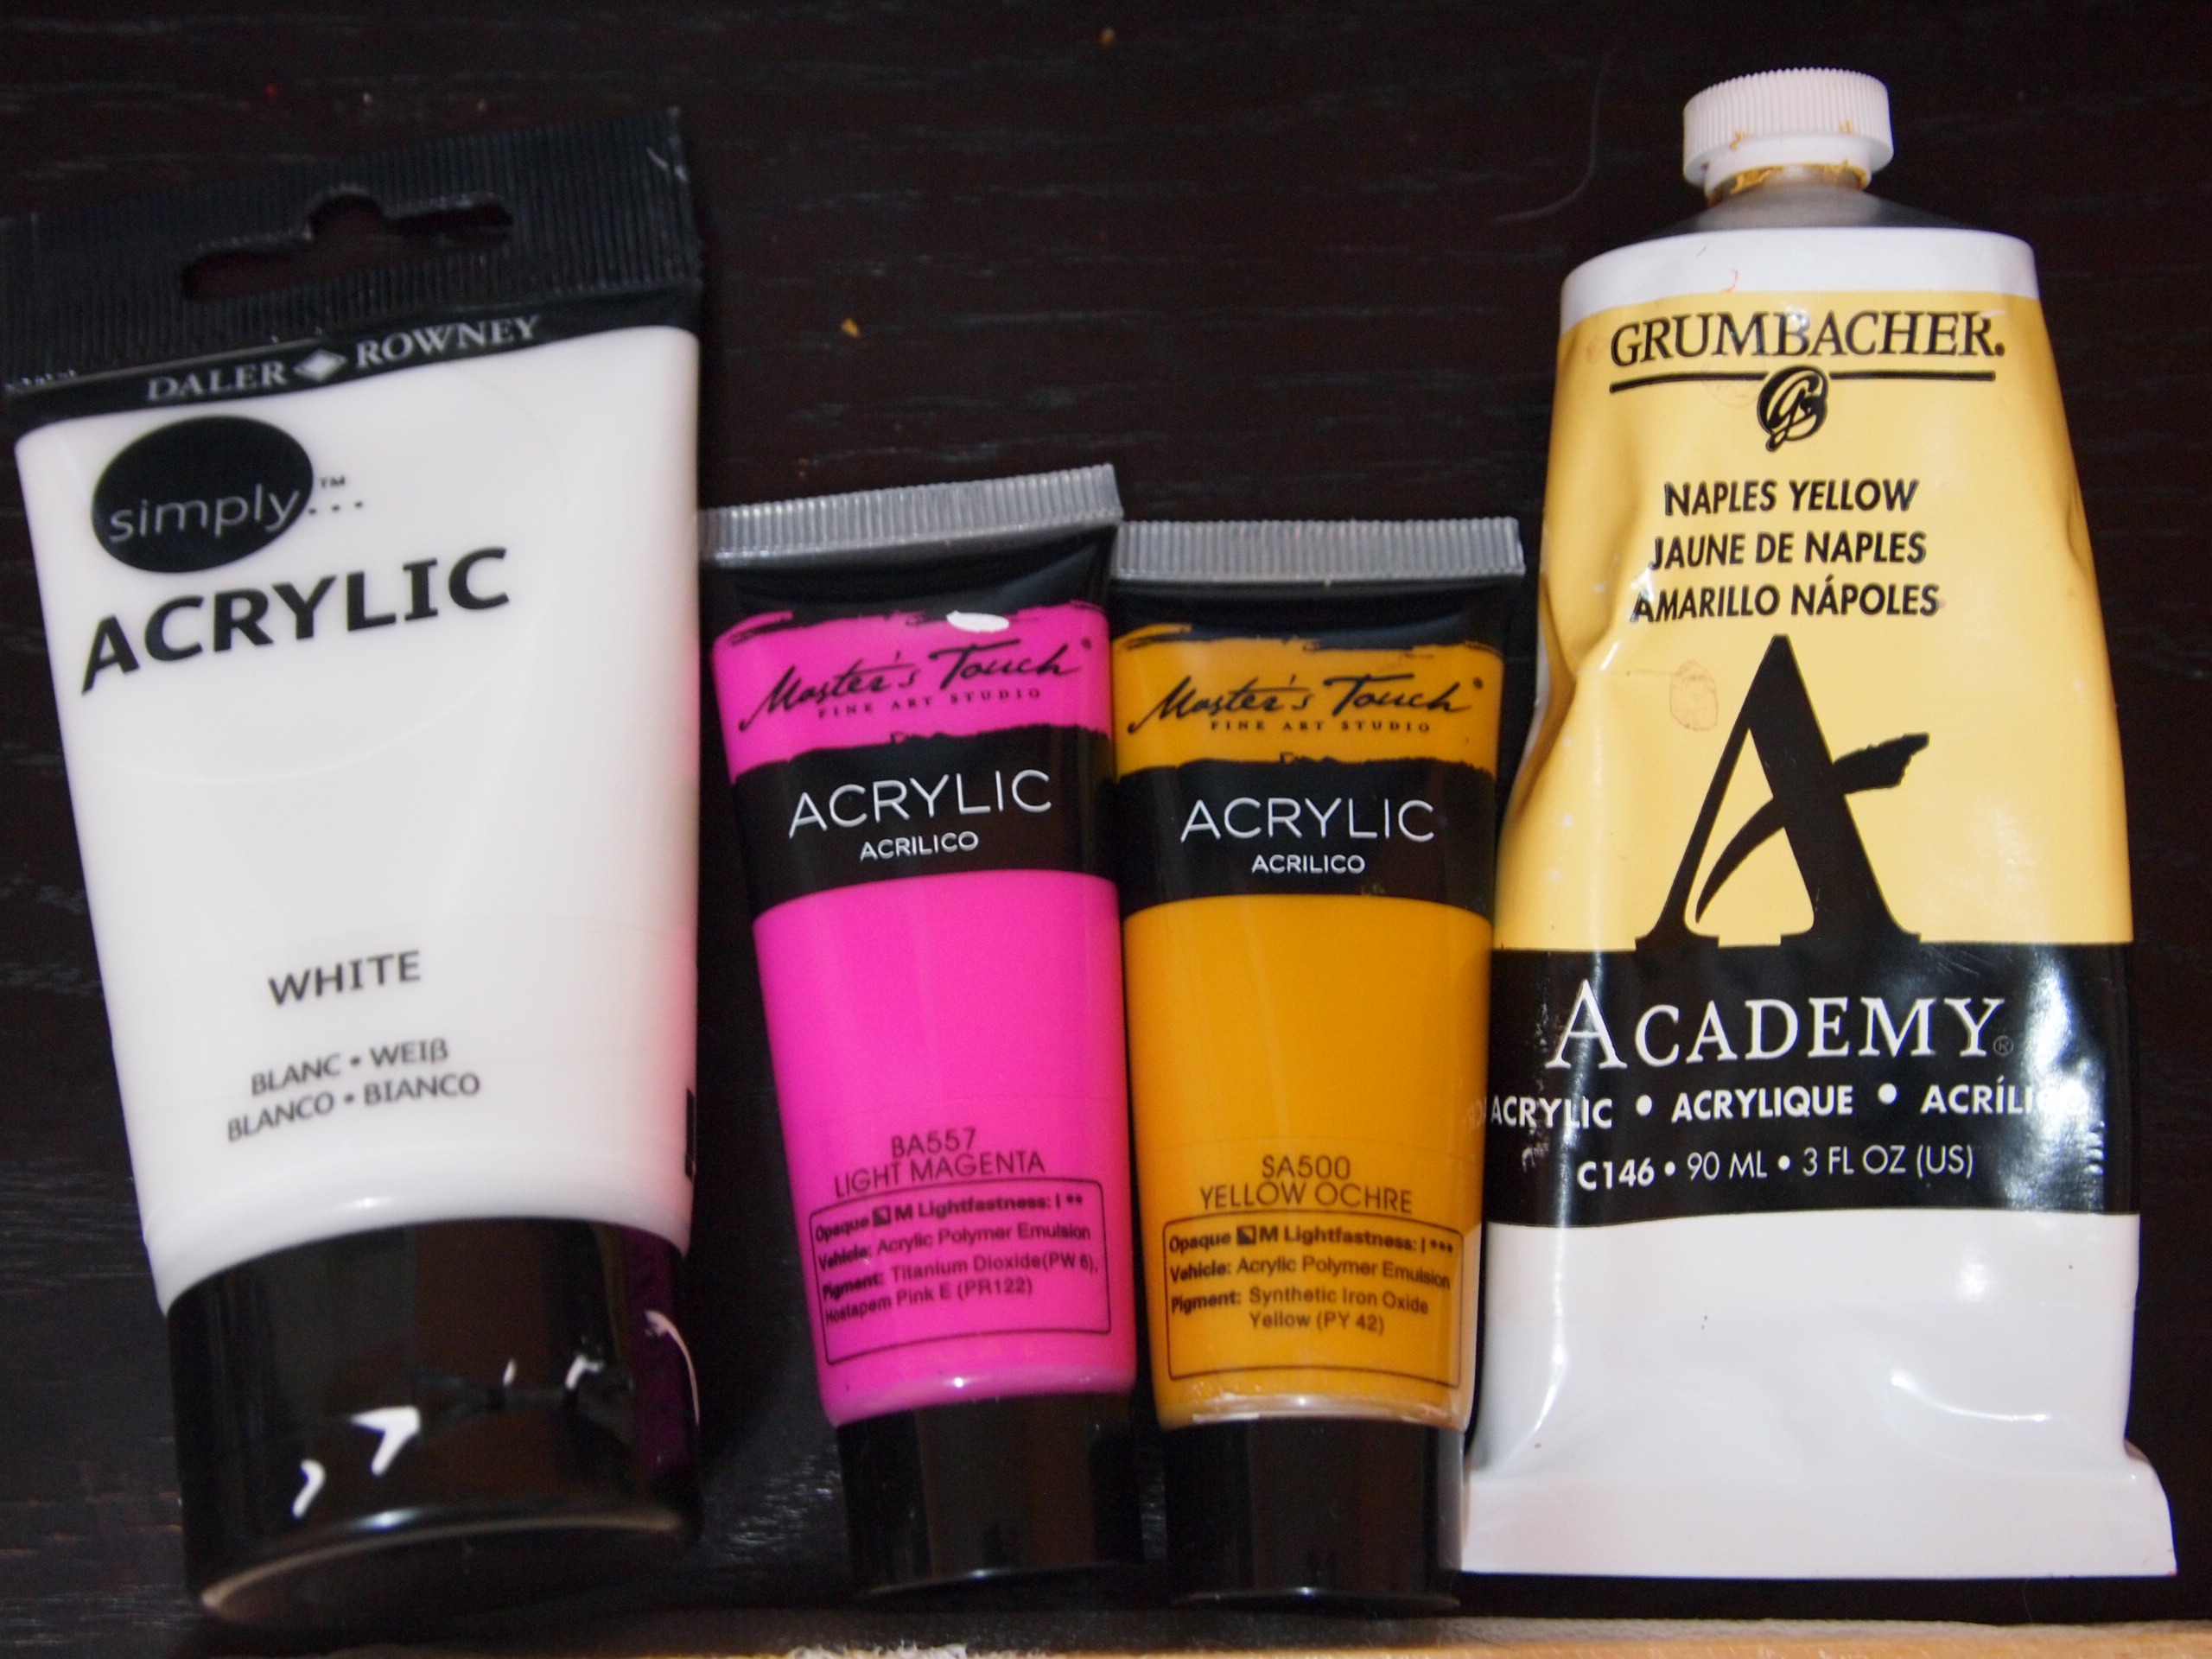
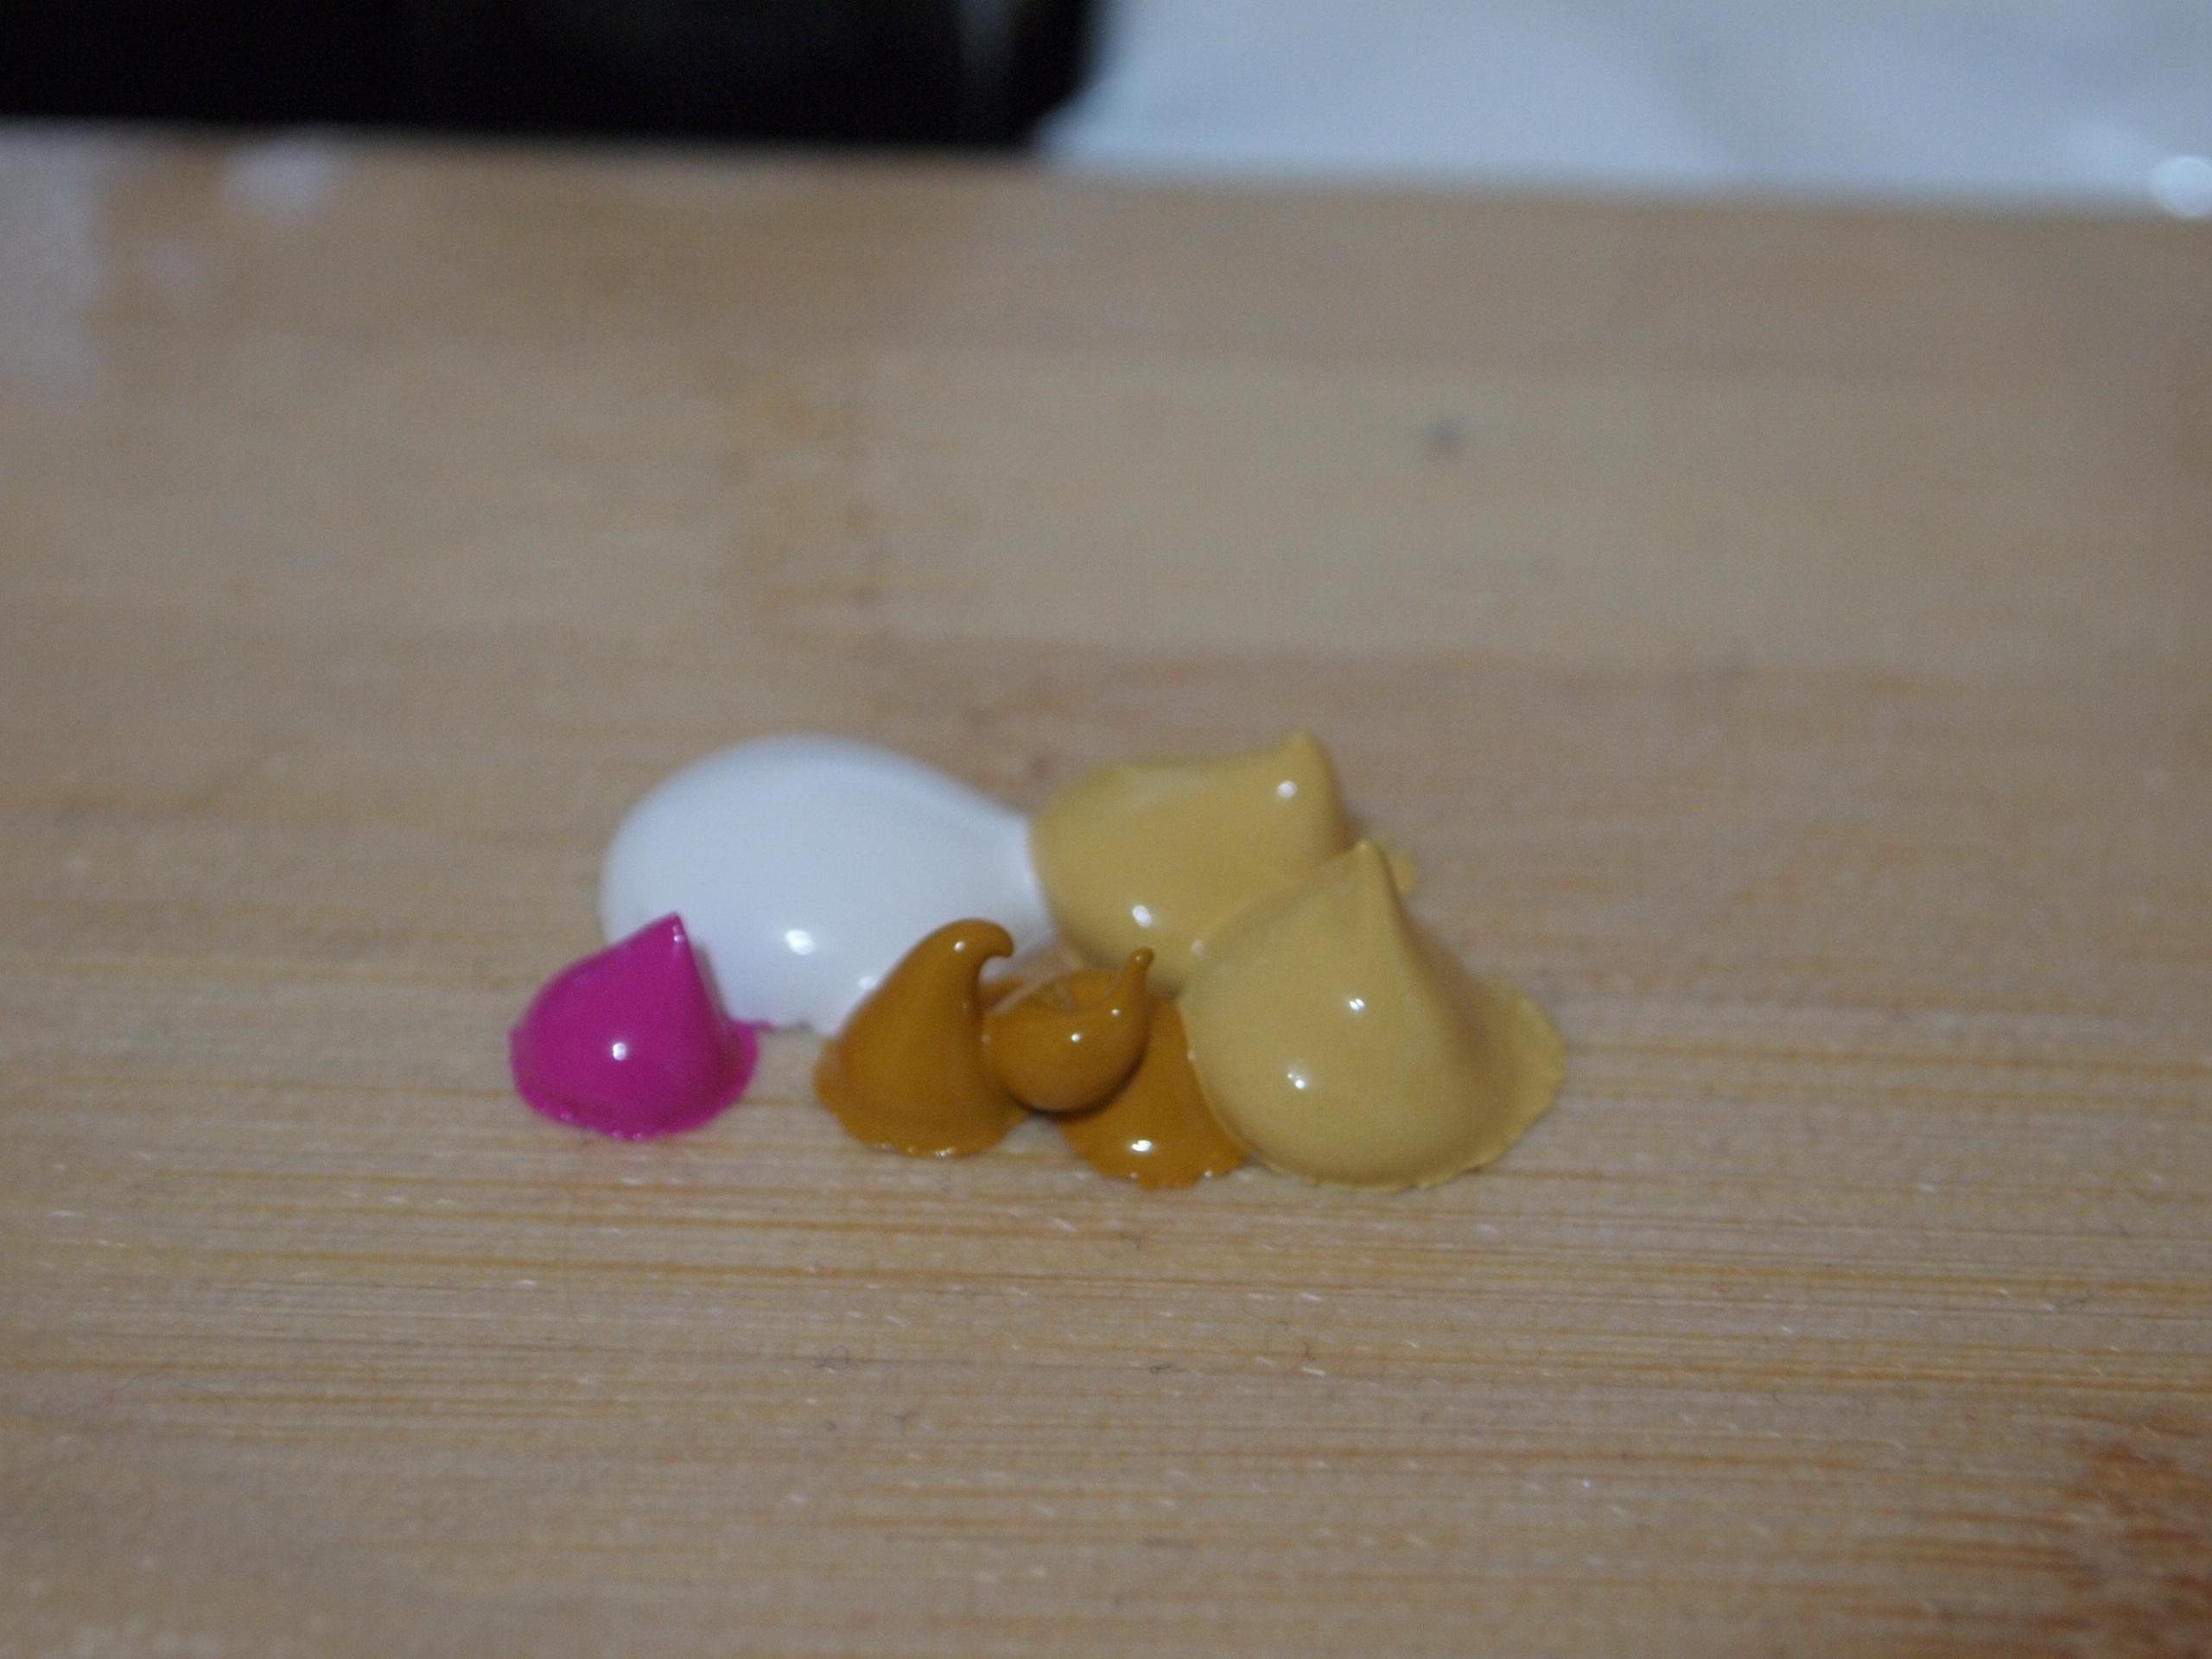
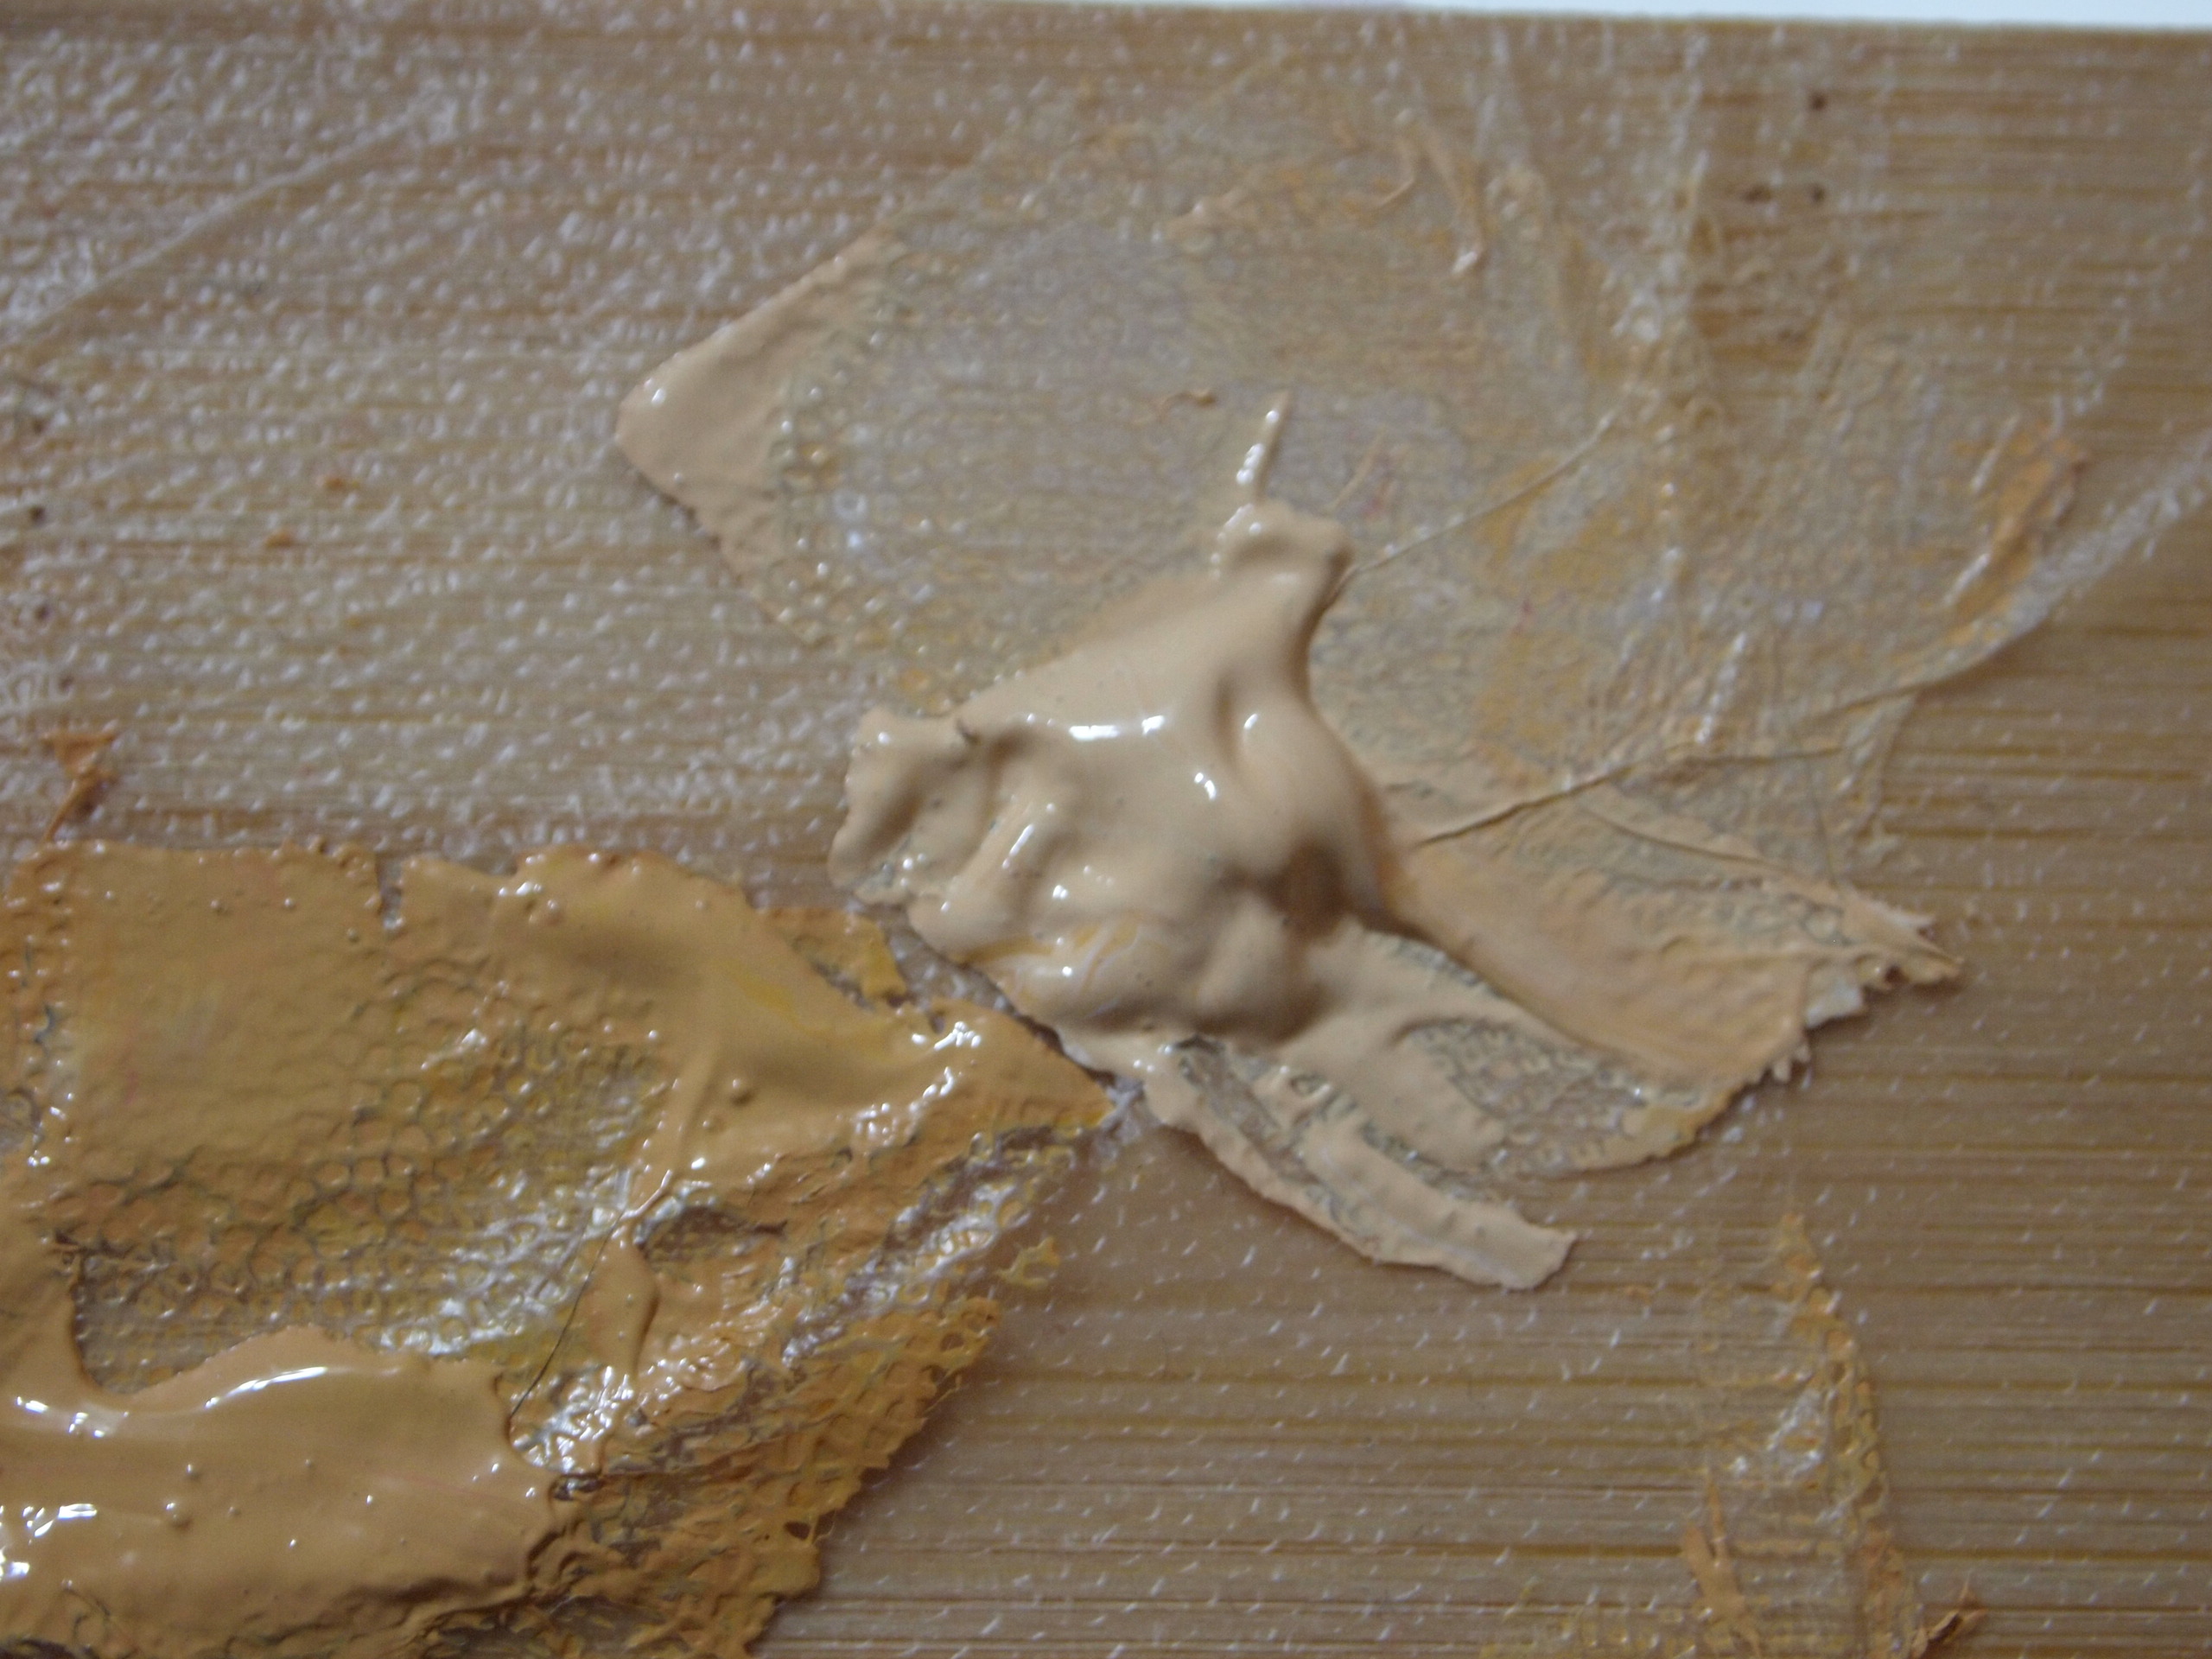
- Basic Flesh Skin Color
- 1 part light magenta
- 2 parts white
- 2 parts yellow ochre
- 4 parts naples yellow
- Medium Flesh Tone or Mid Shadow
- 1 part ultramarine
- 1 part burnt sienna
- 1 part flesh
- 1 part yellow ochre
- 1 part light magenta
- *Alternative: You can also make a mid-tone or medium flesh tone by adding 1 part shadow to 1 part flesh
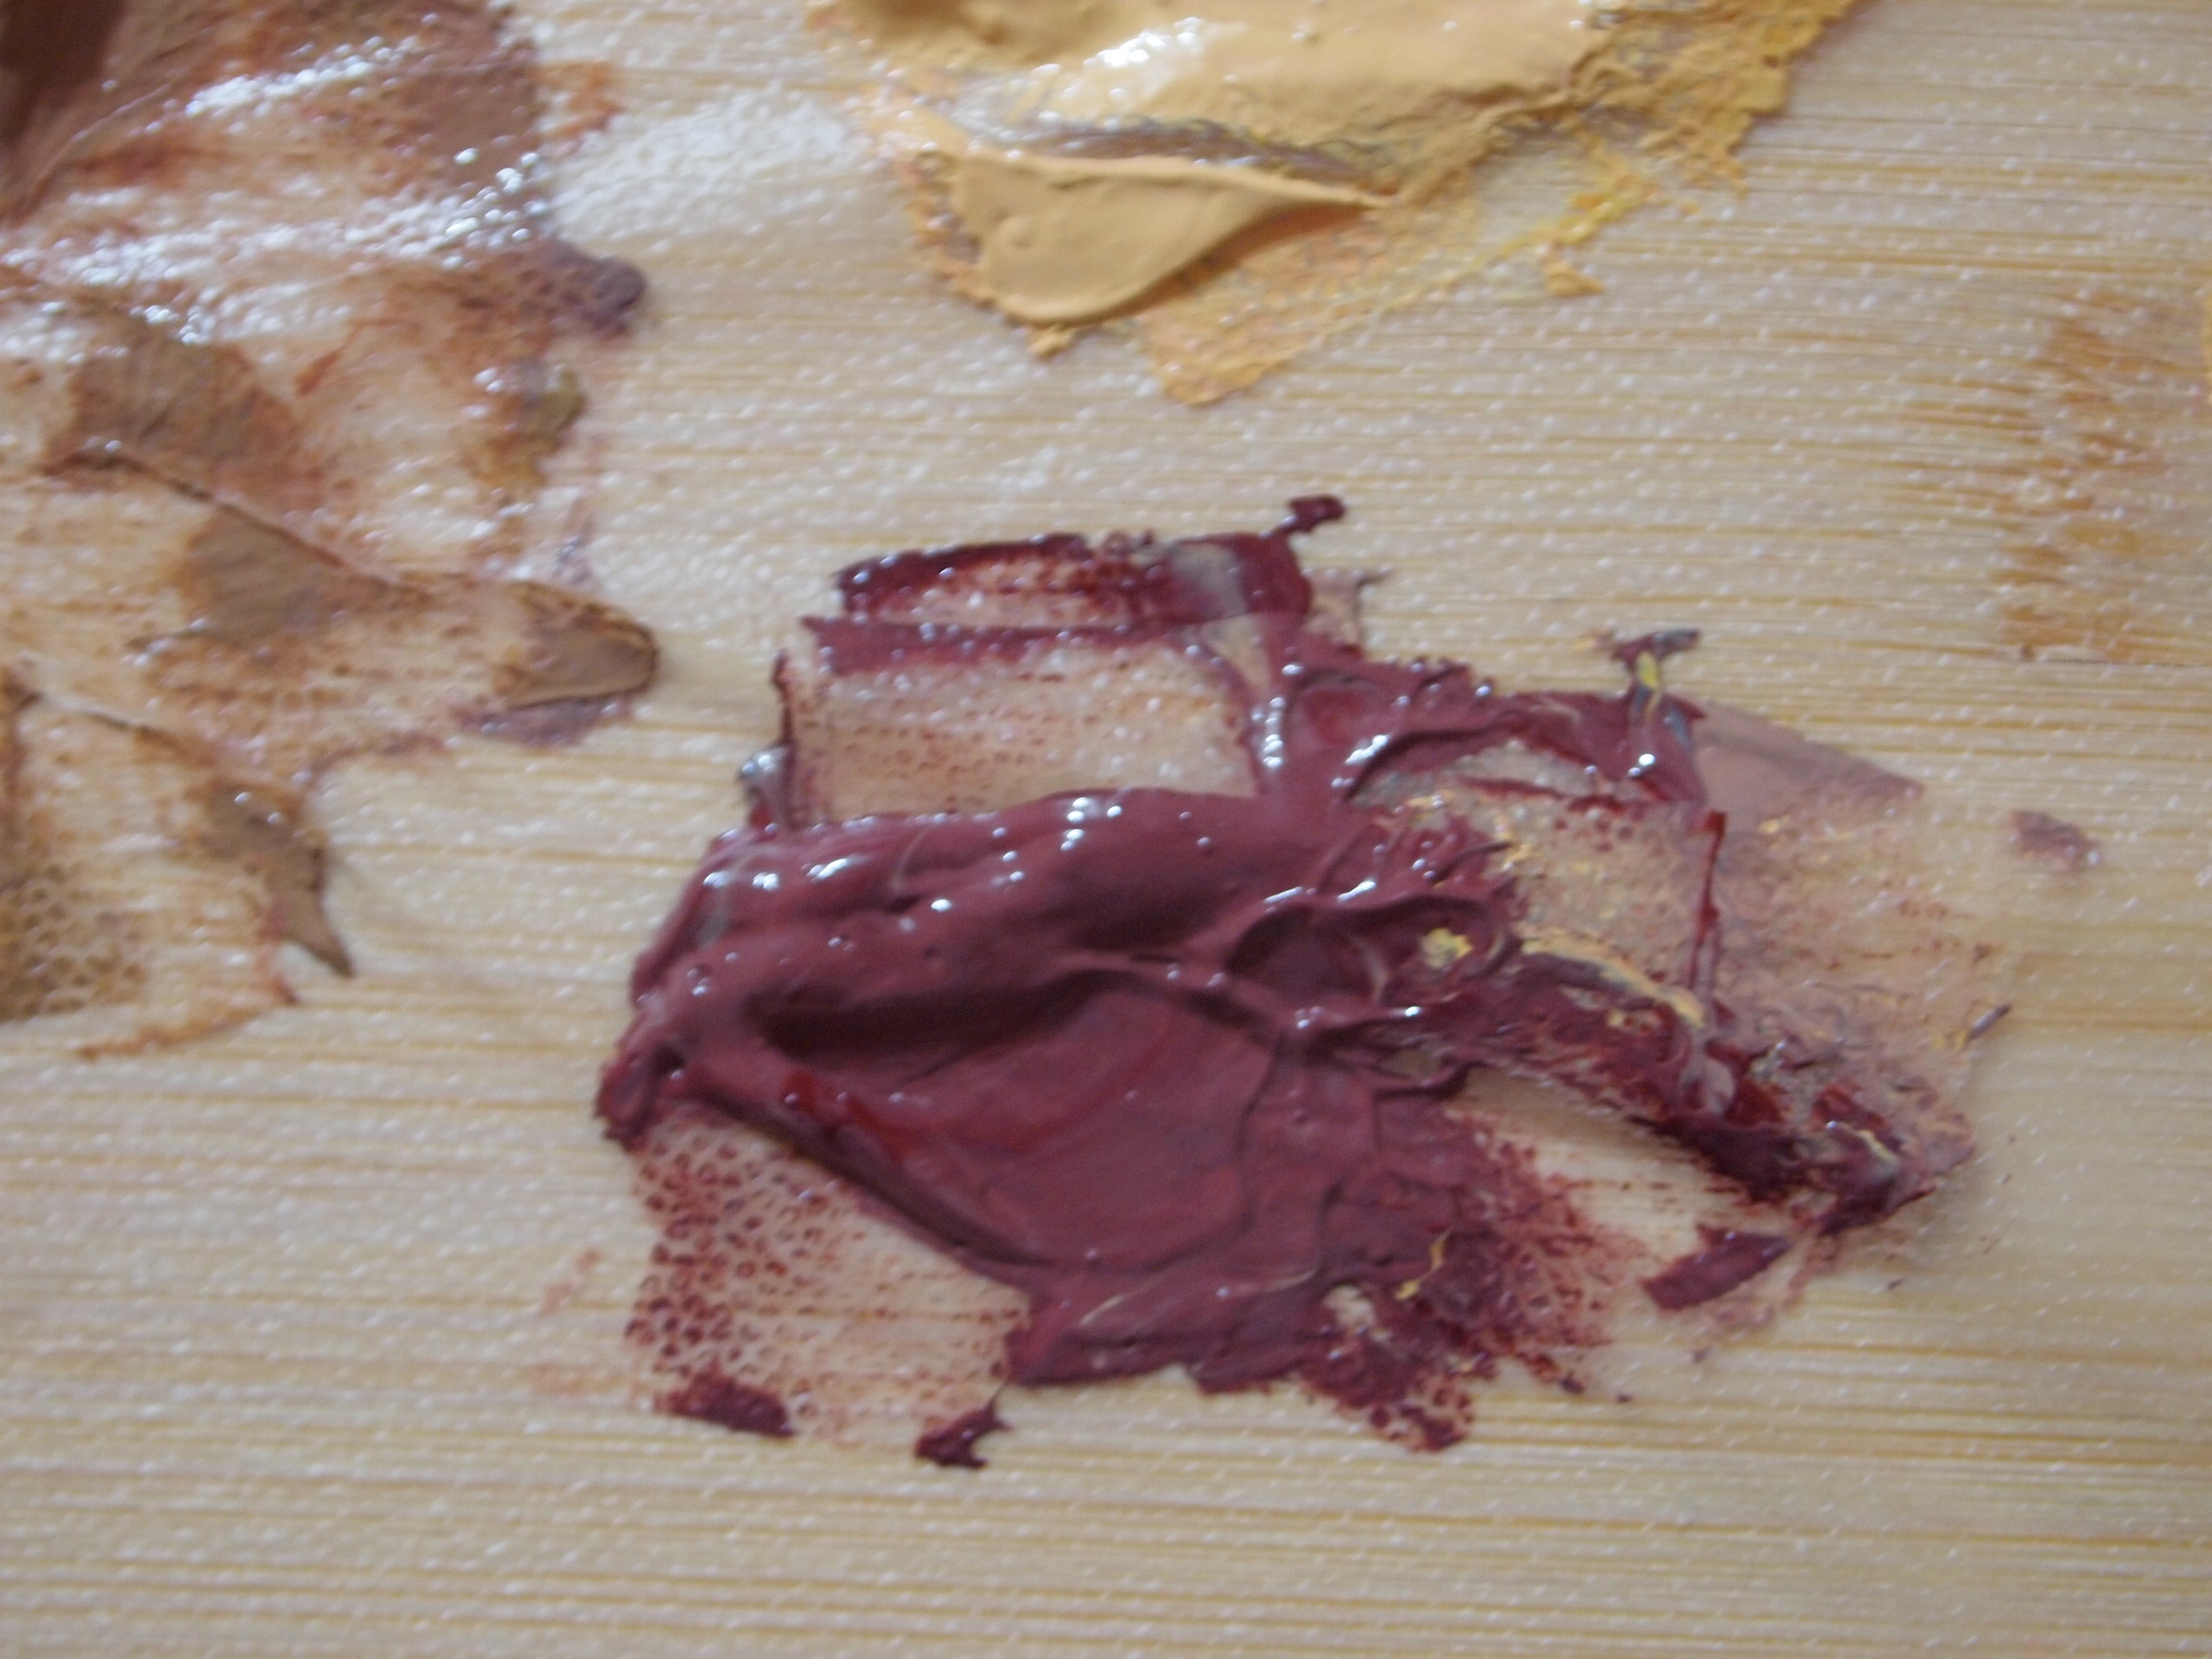
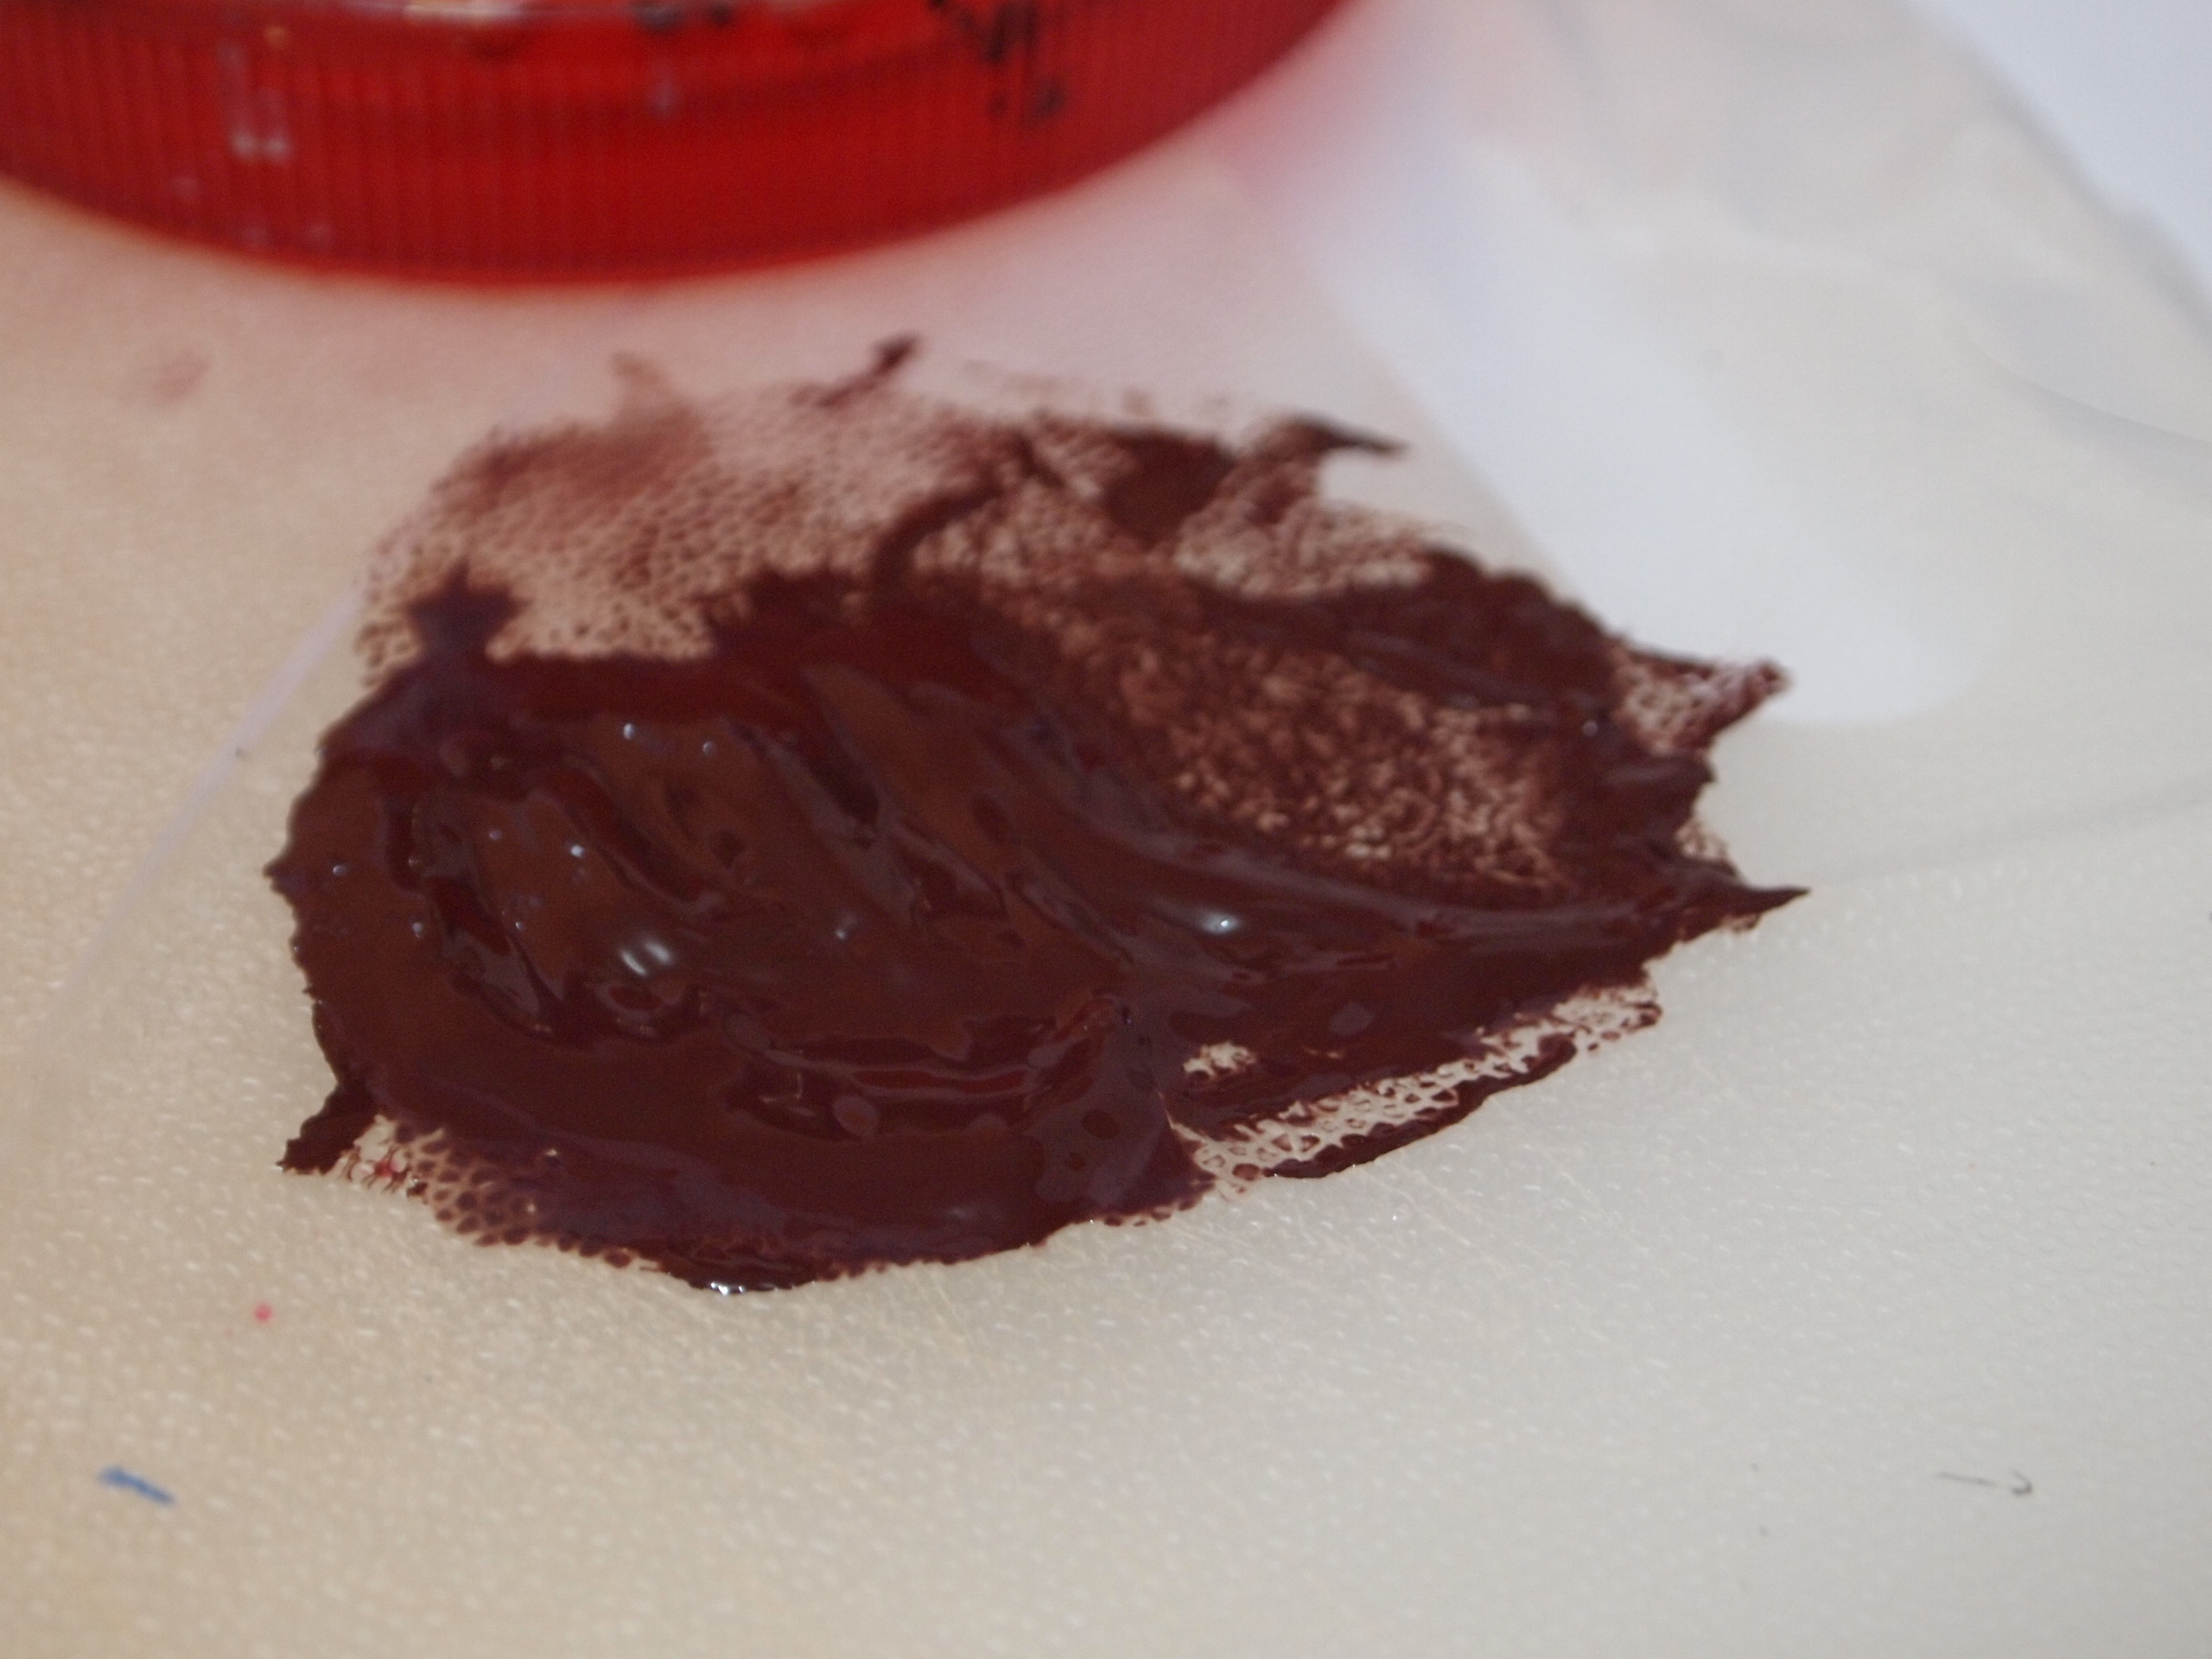
- Darkest Shadow
- 1 part ultramarine
- 3 part burnt sienna
- 1 part flesh
- *To make it darker, add more burnt sienna and/or burnt umber
- Highlight
- 1 part flesh
- 1 part white
My Painting Process
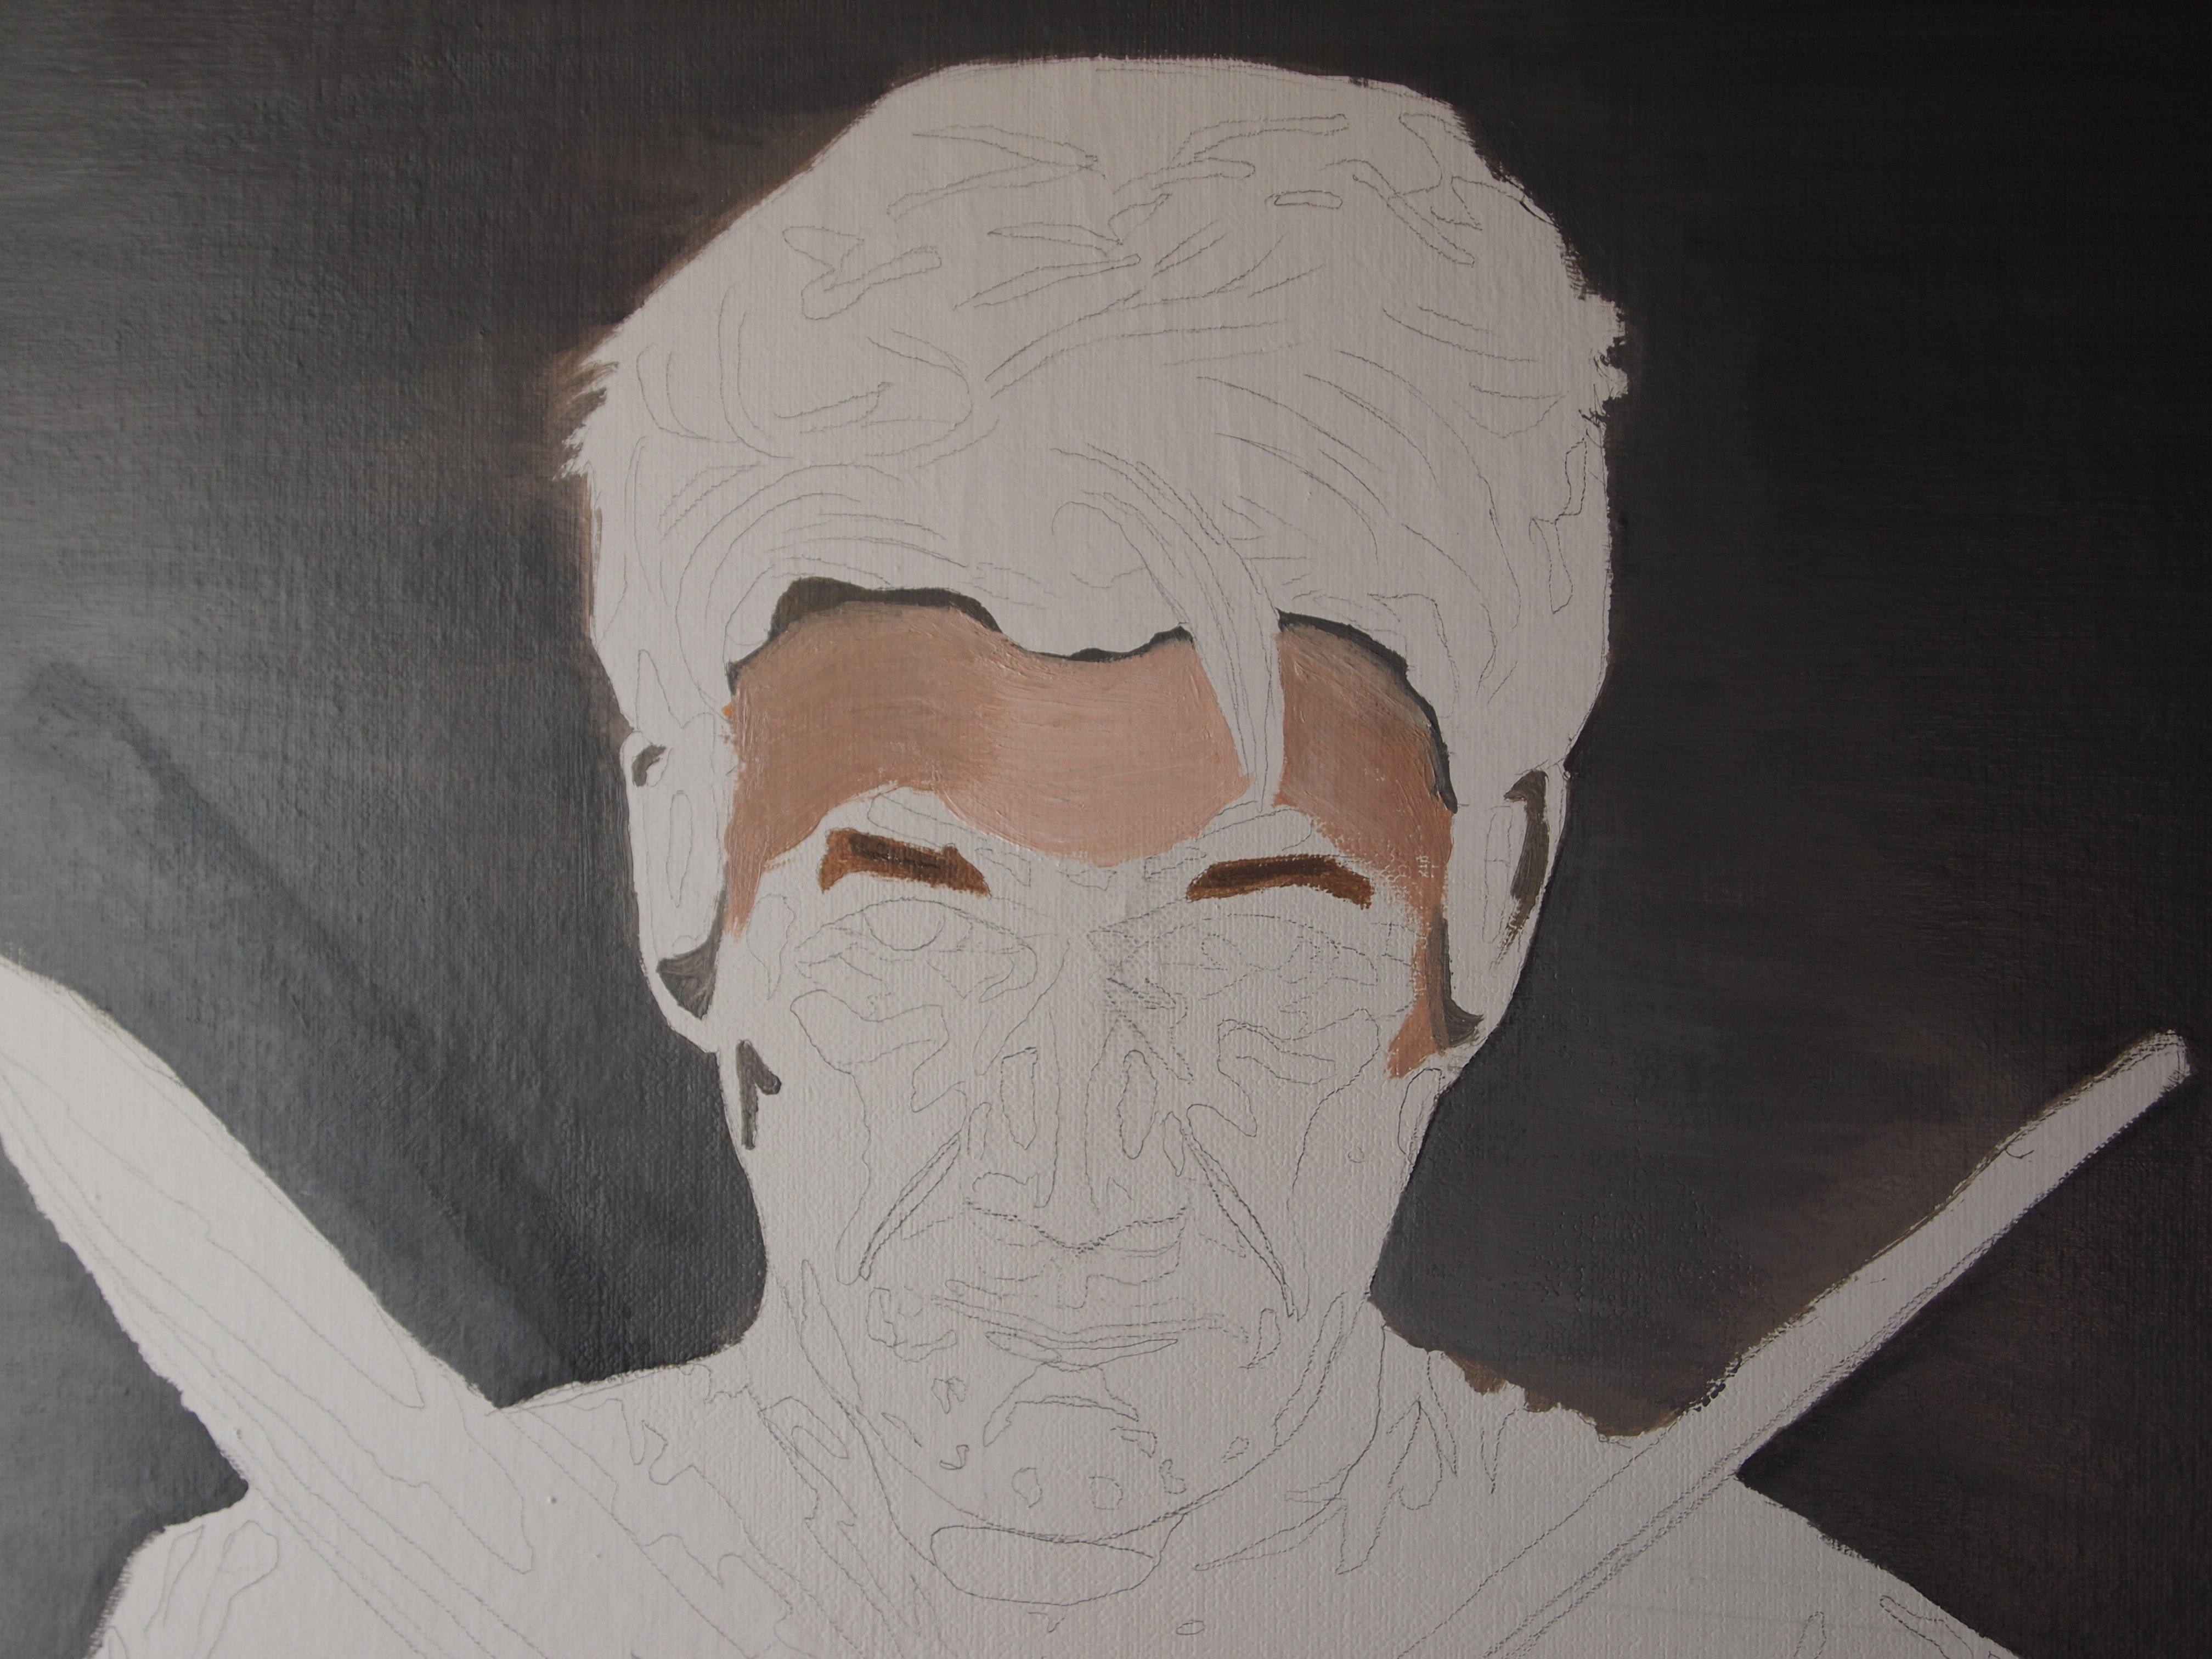
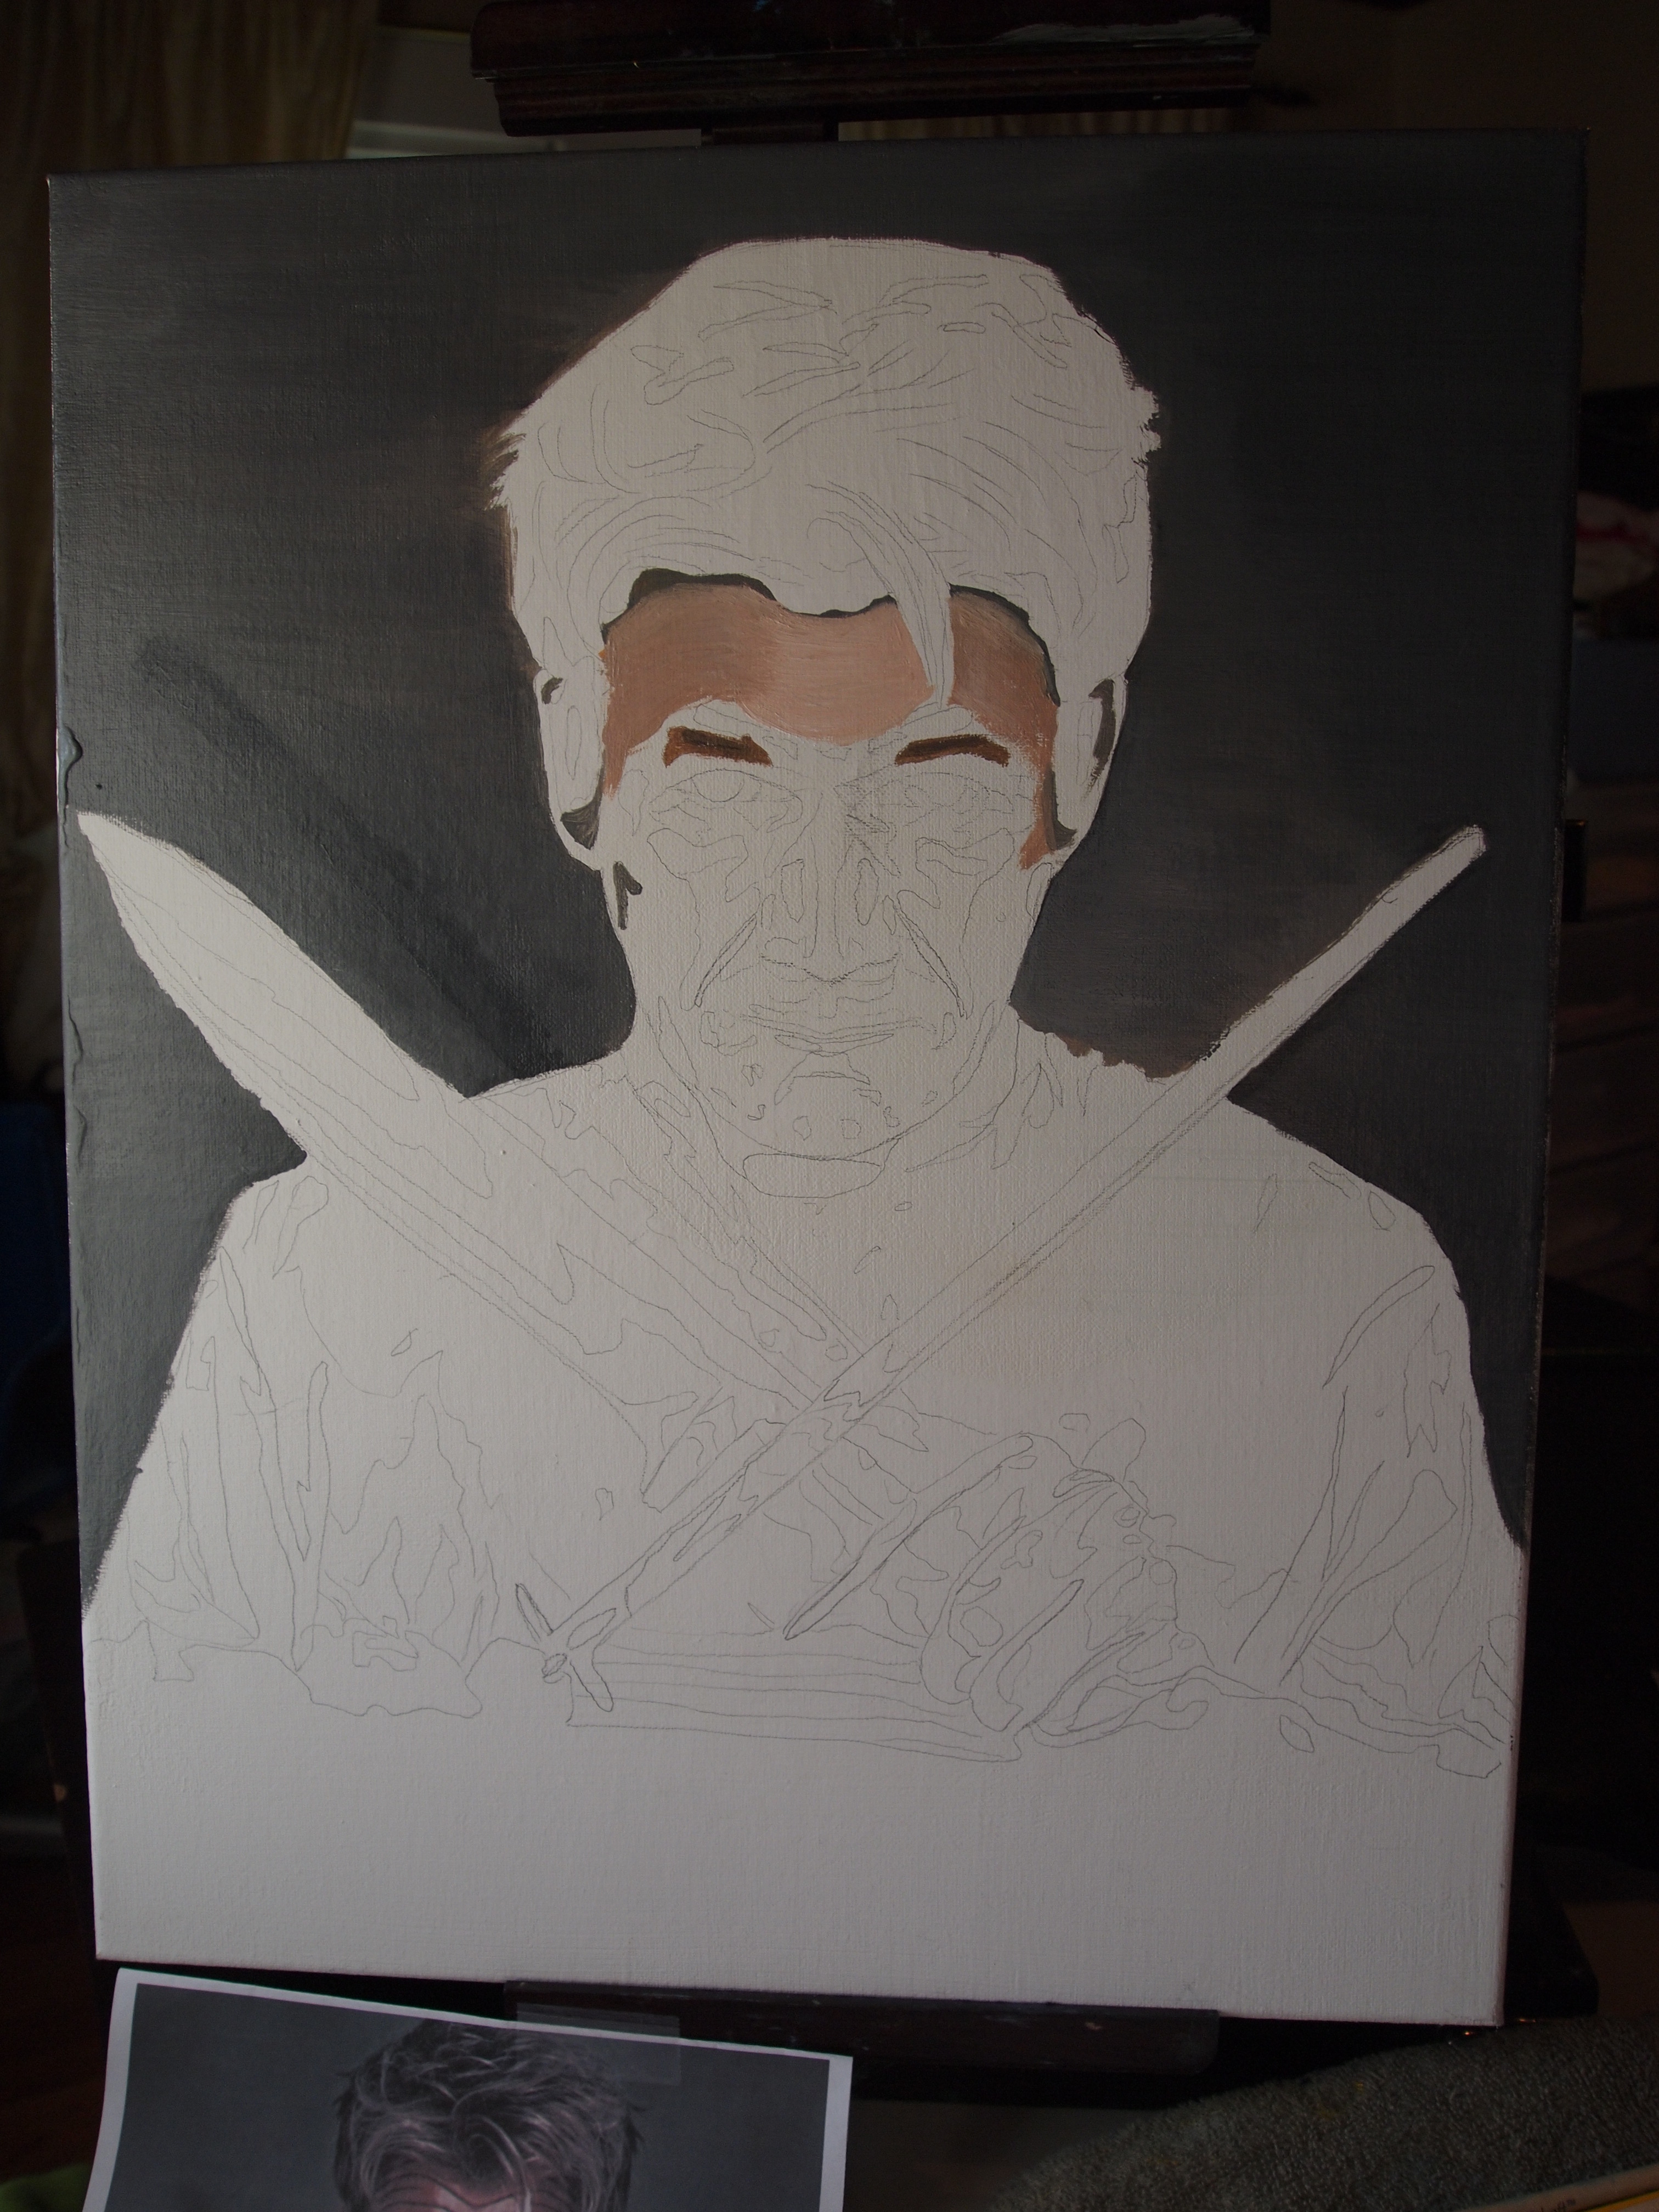
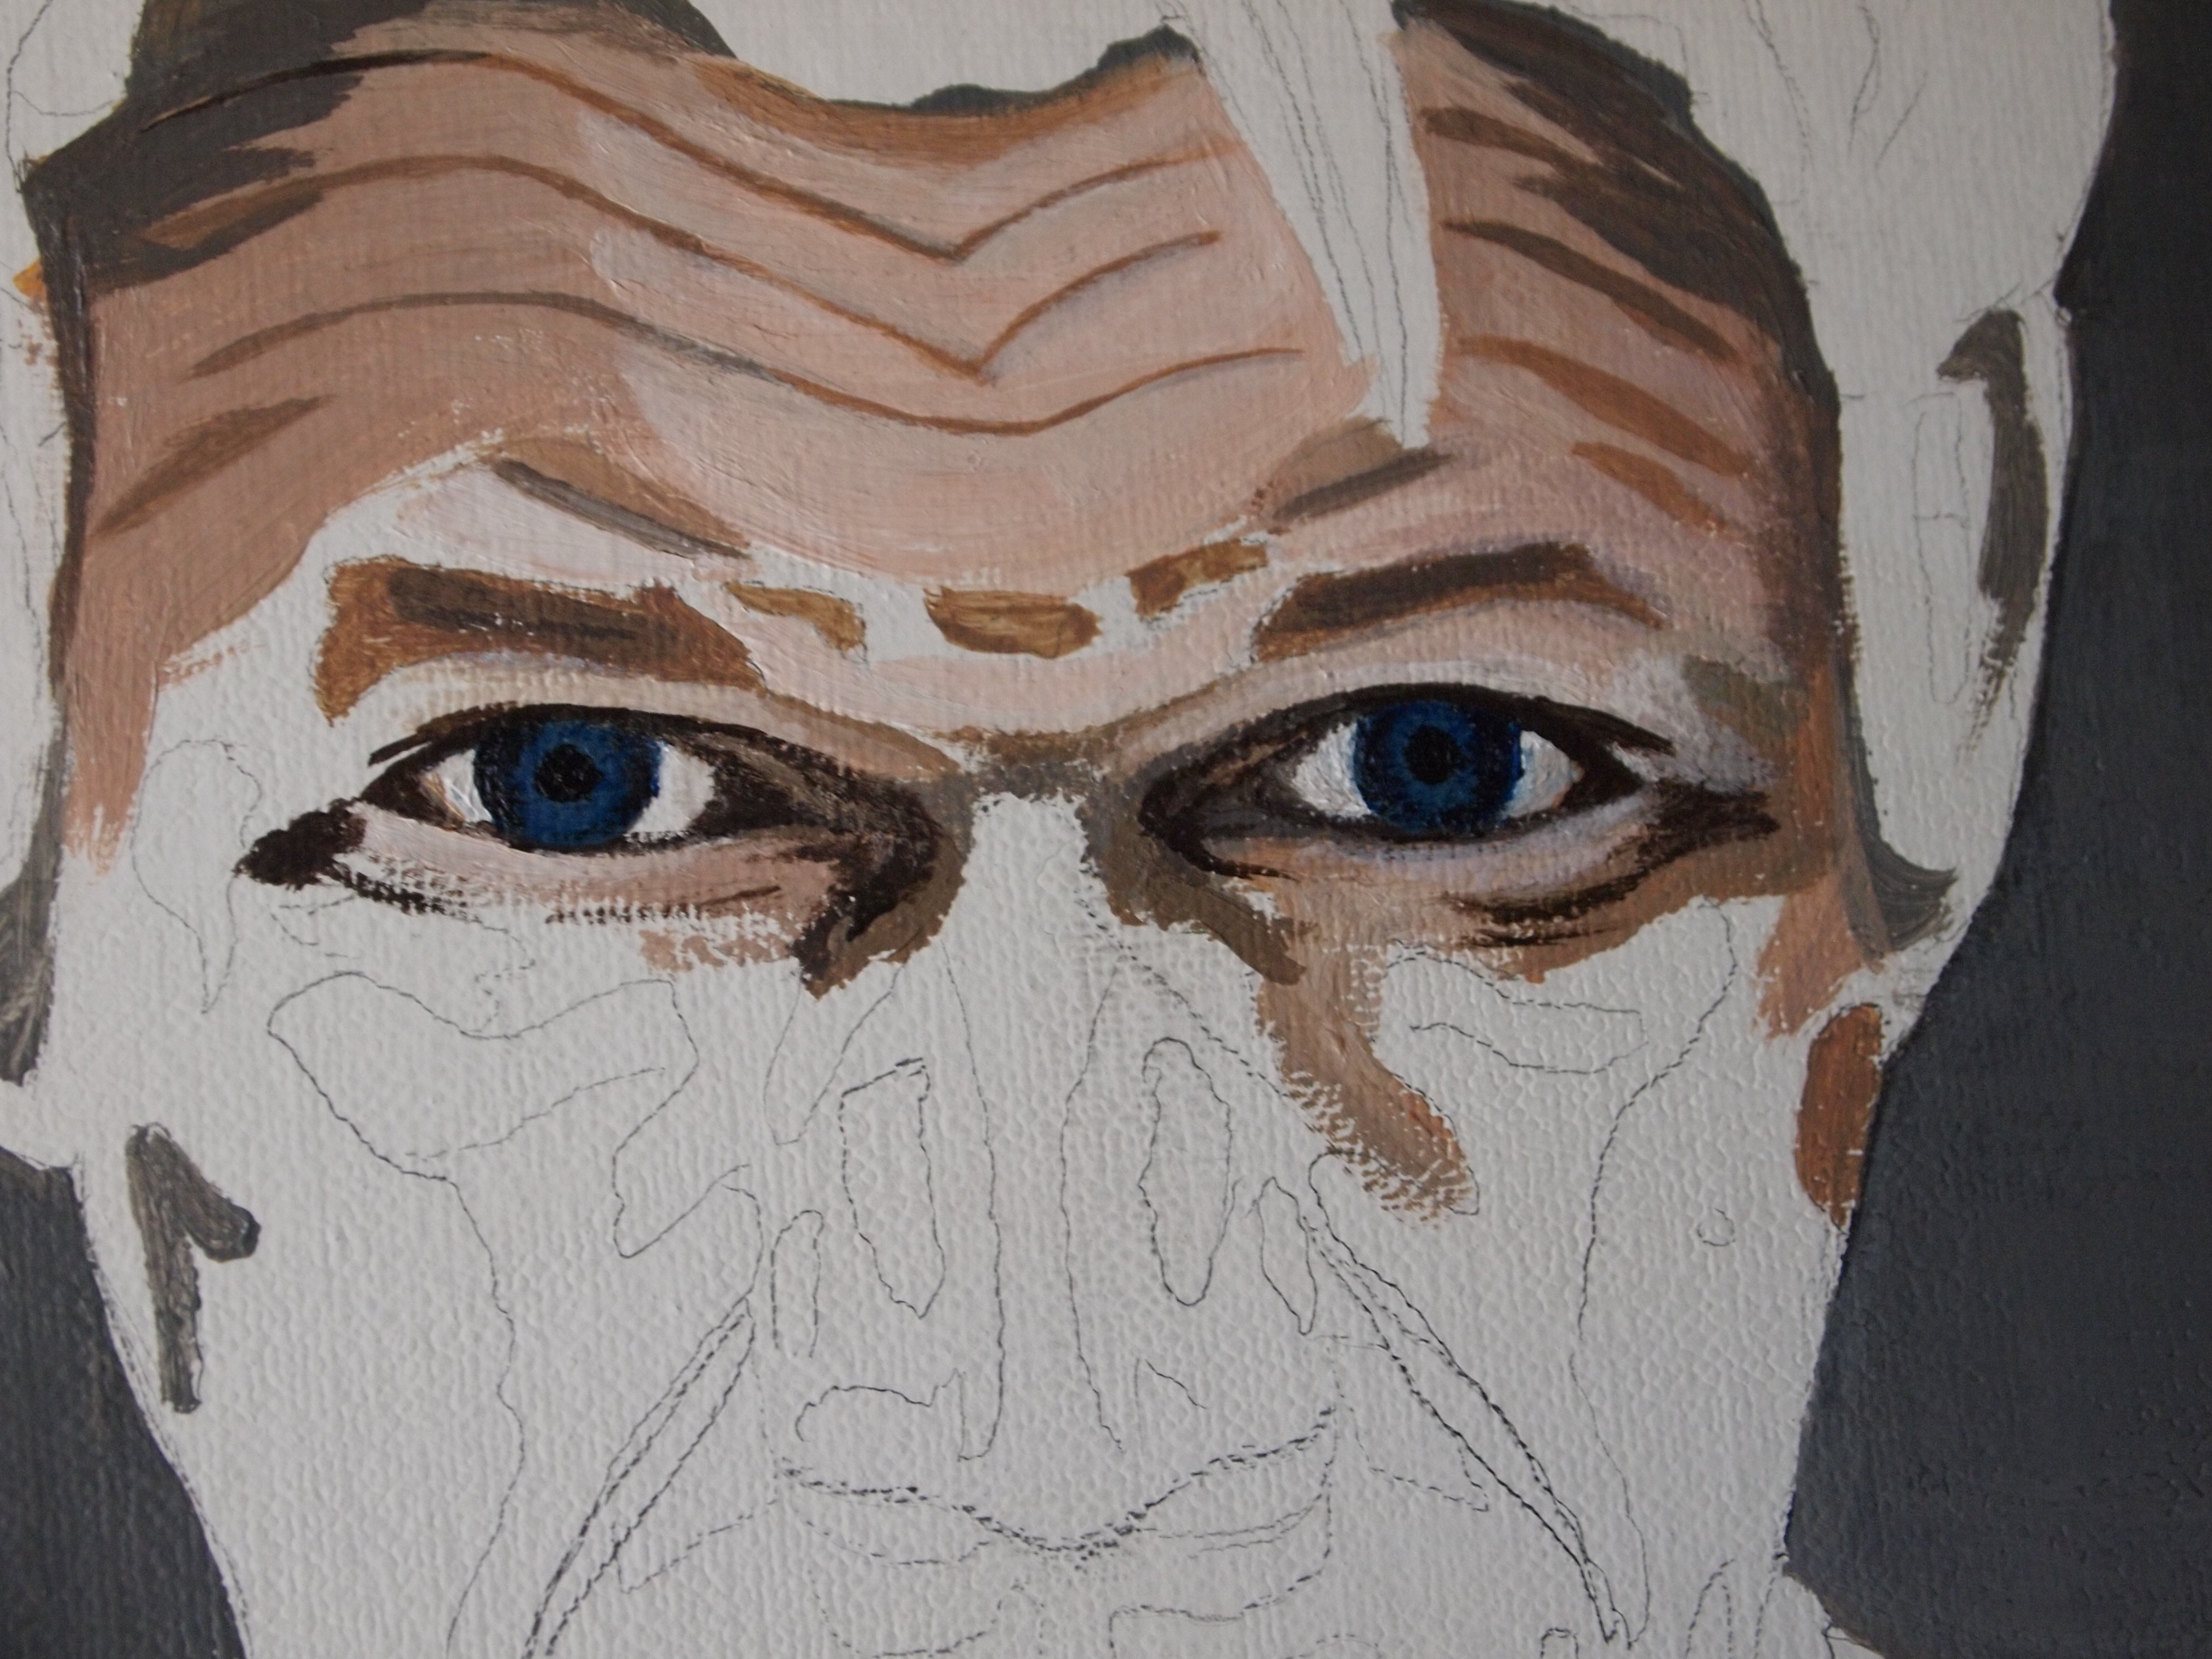
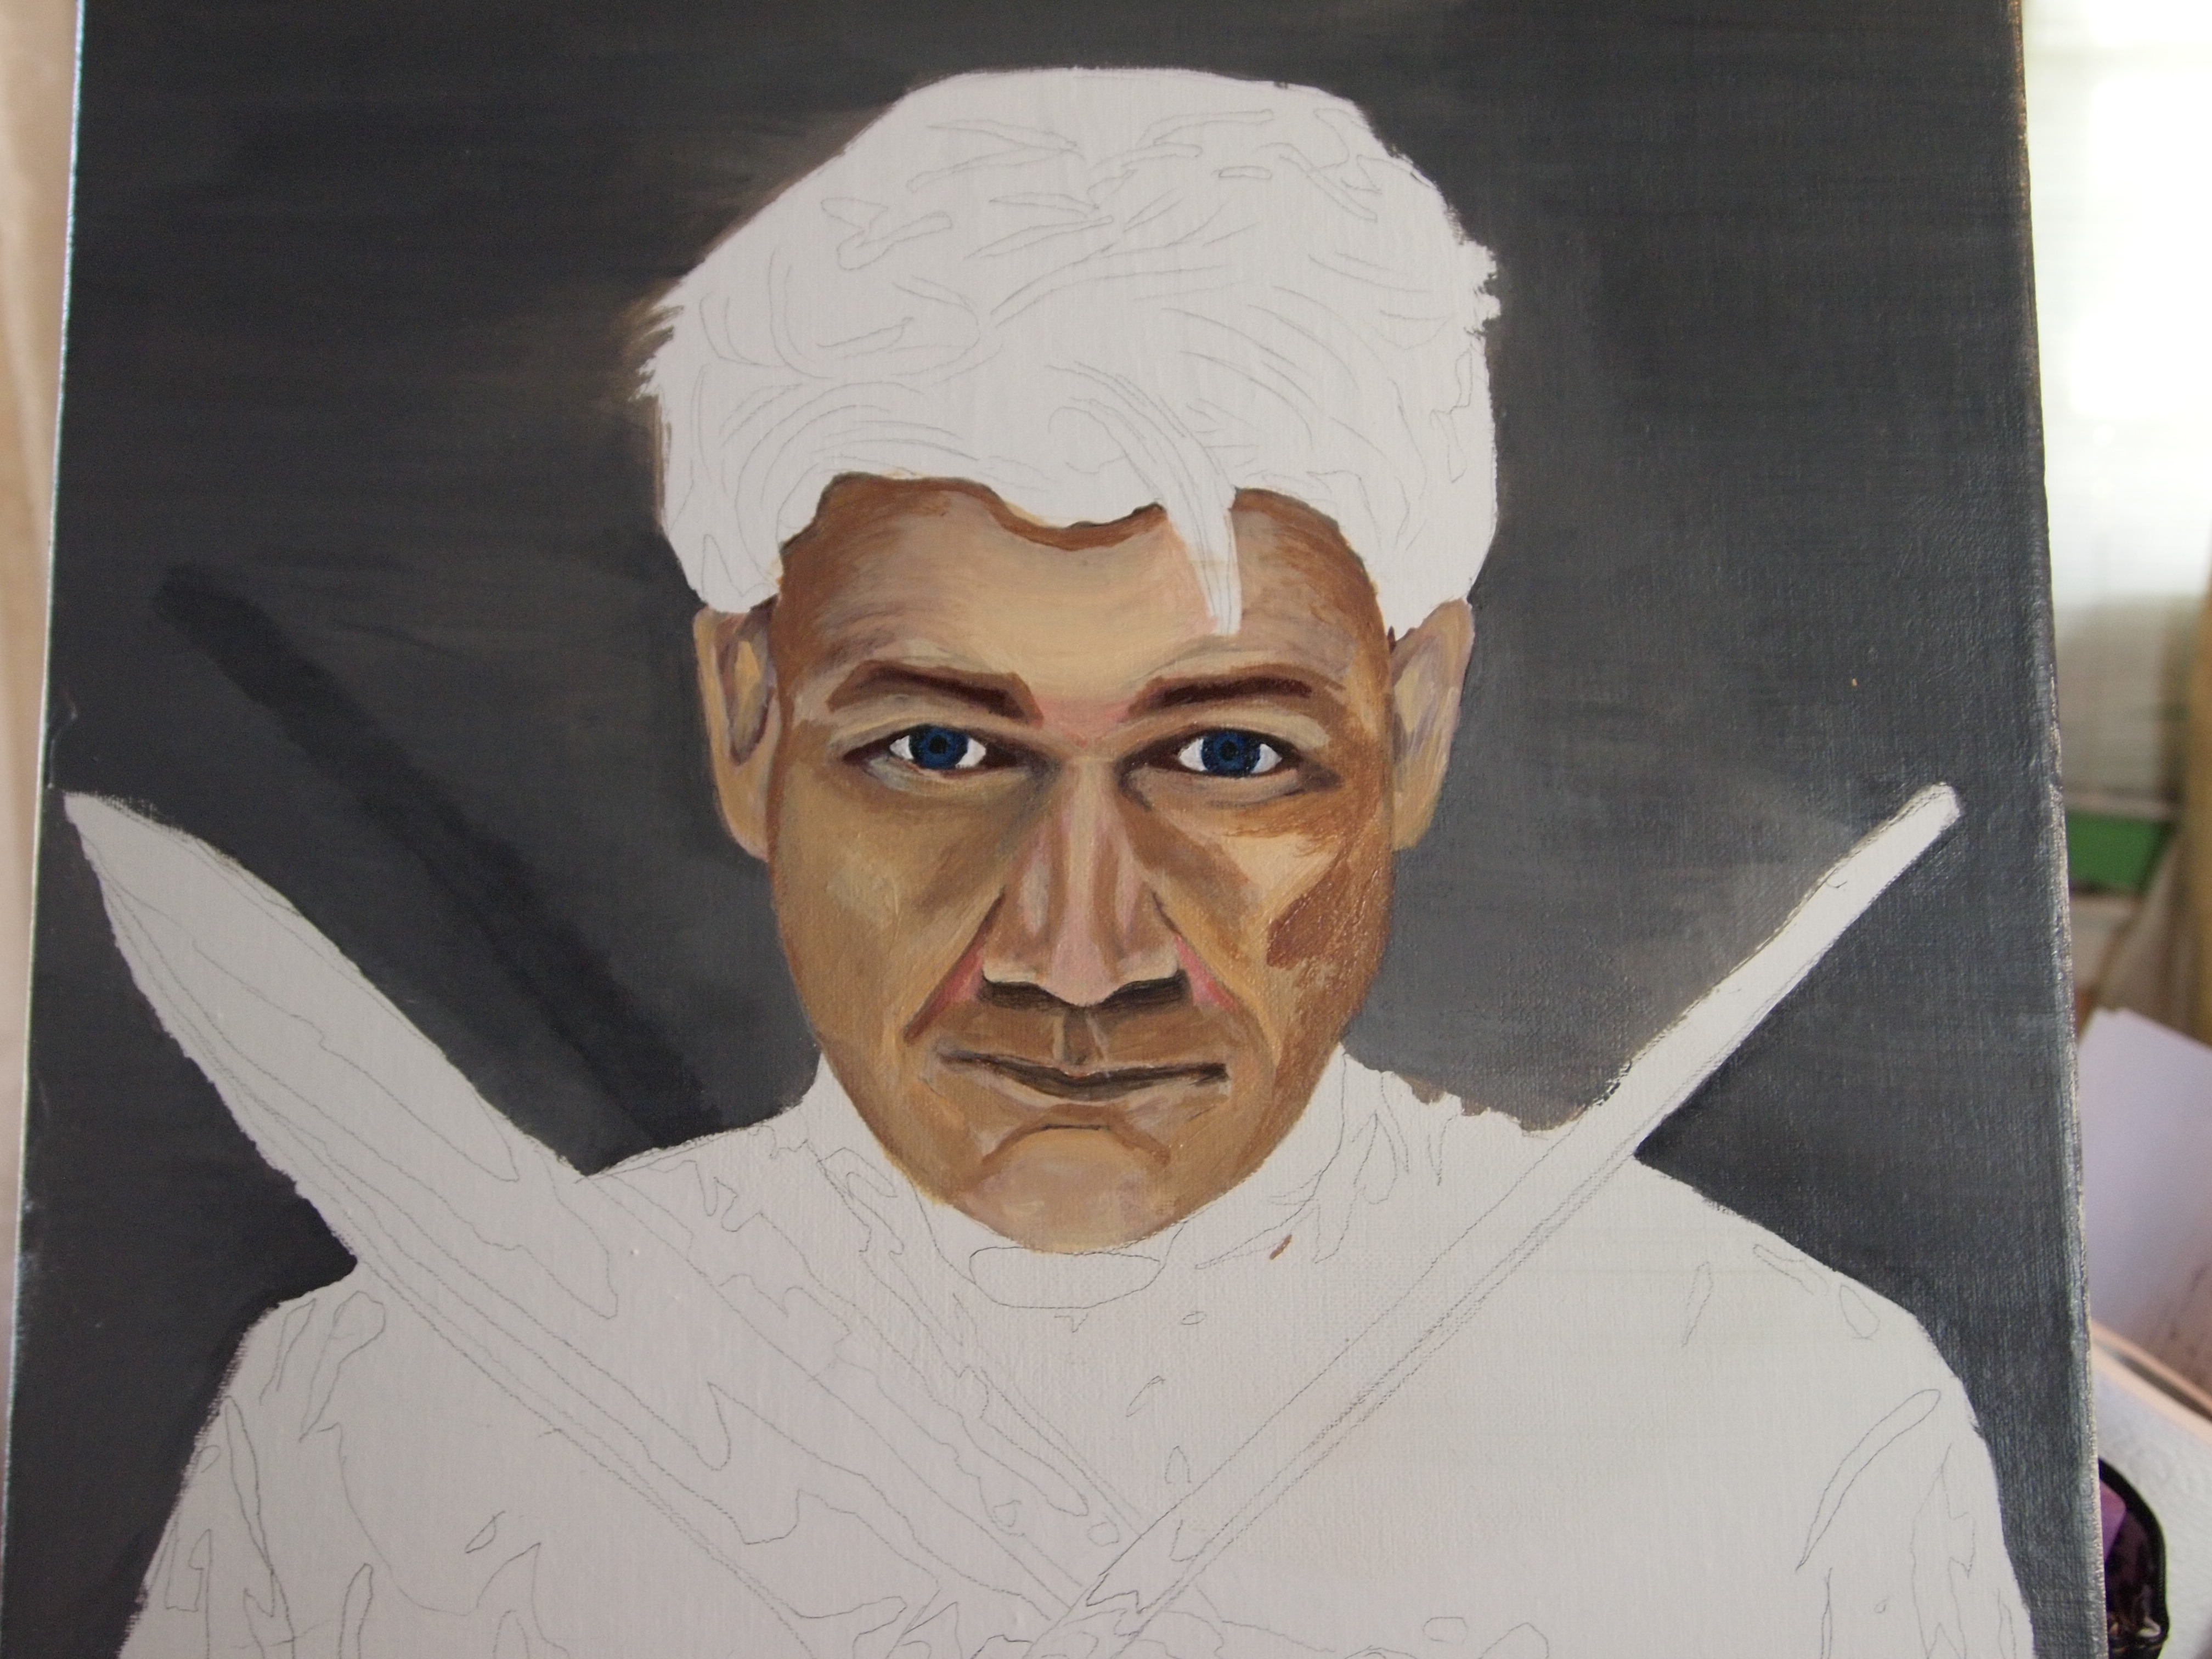
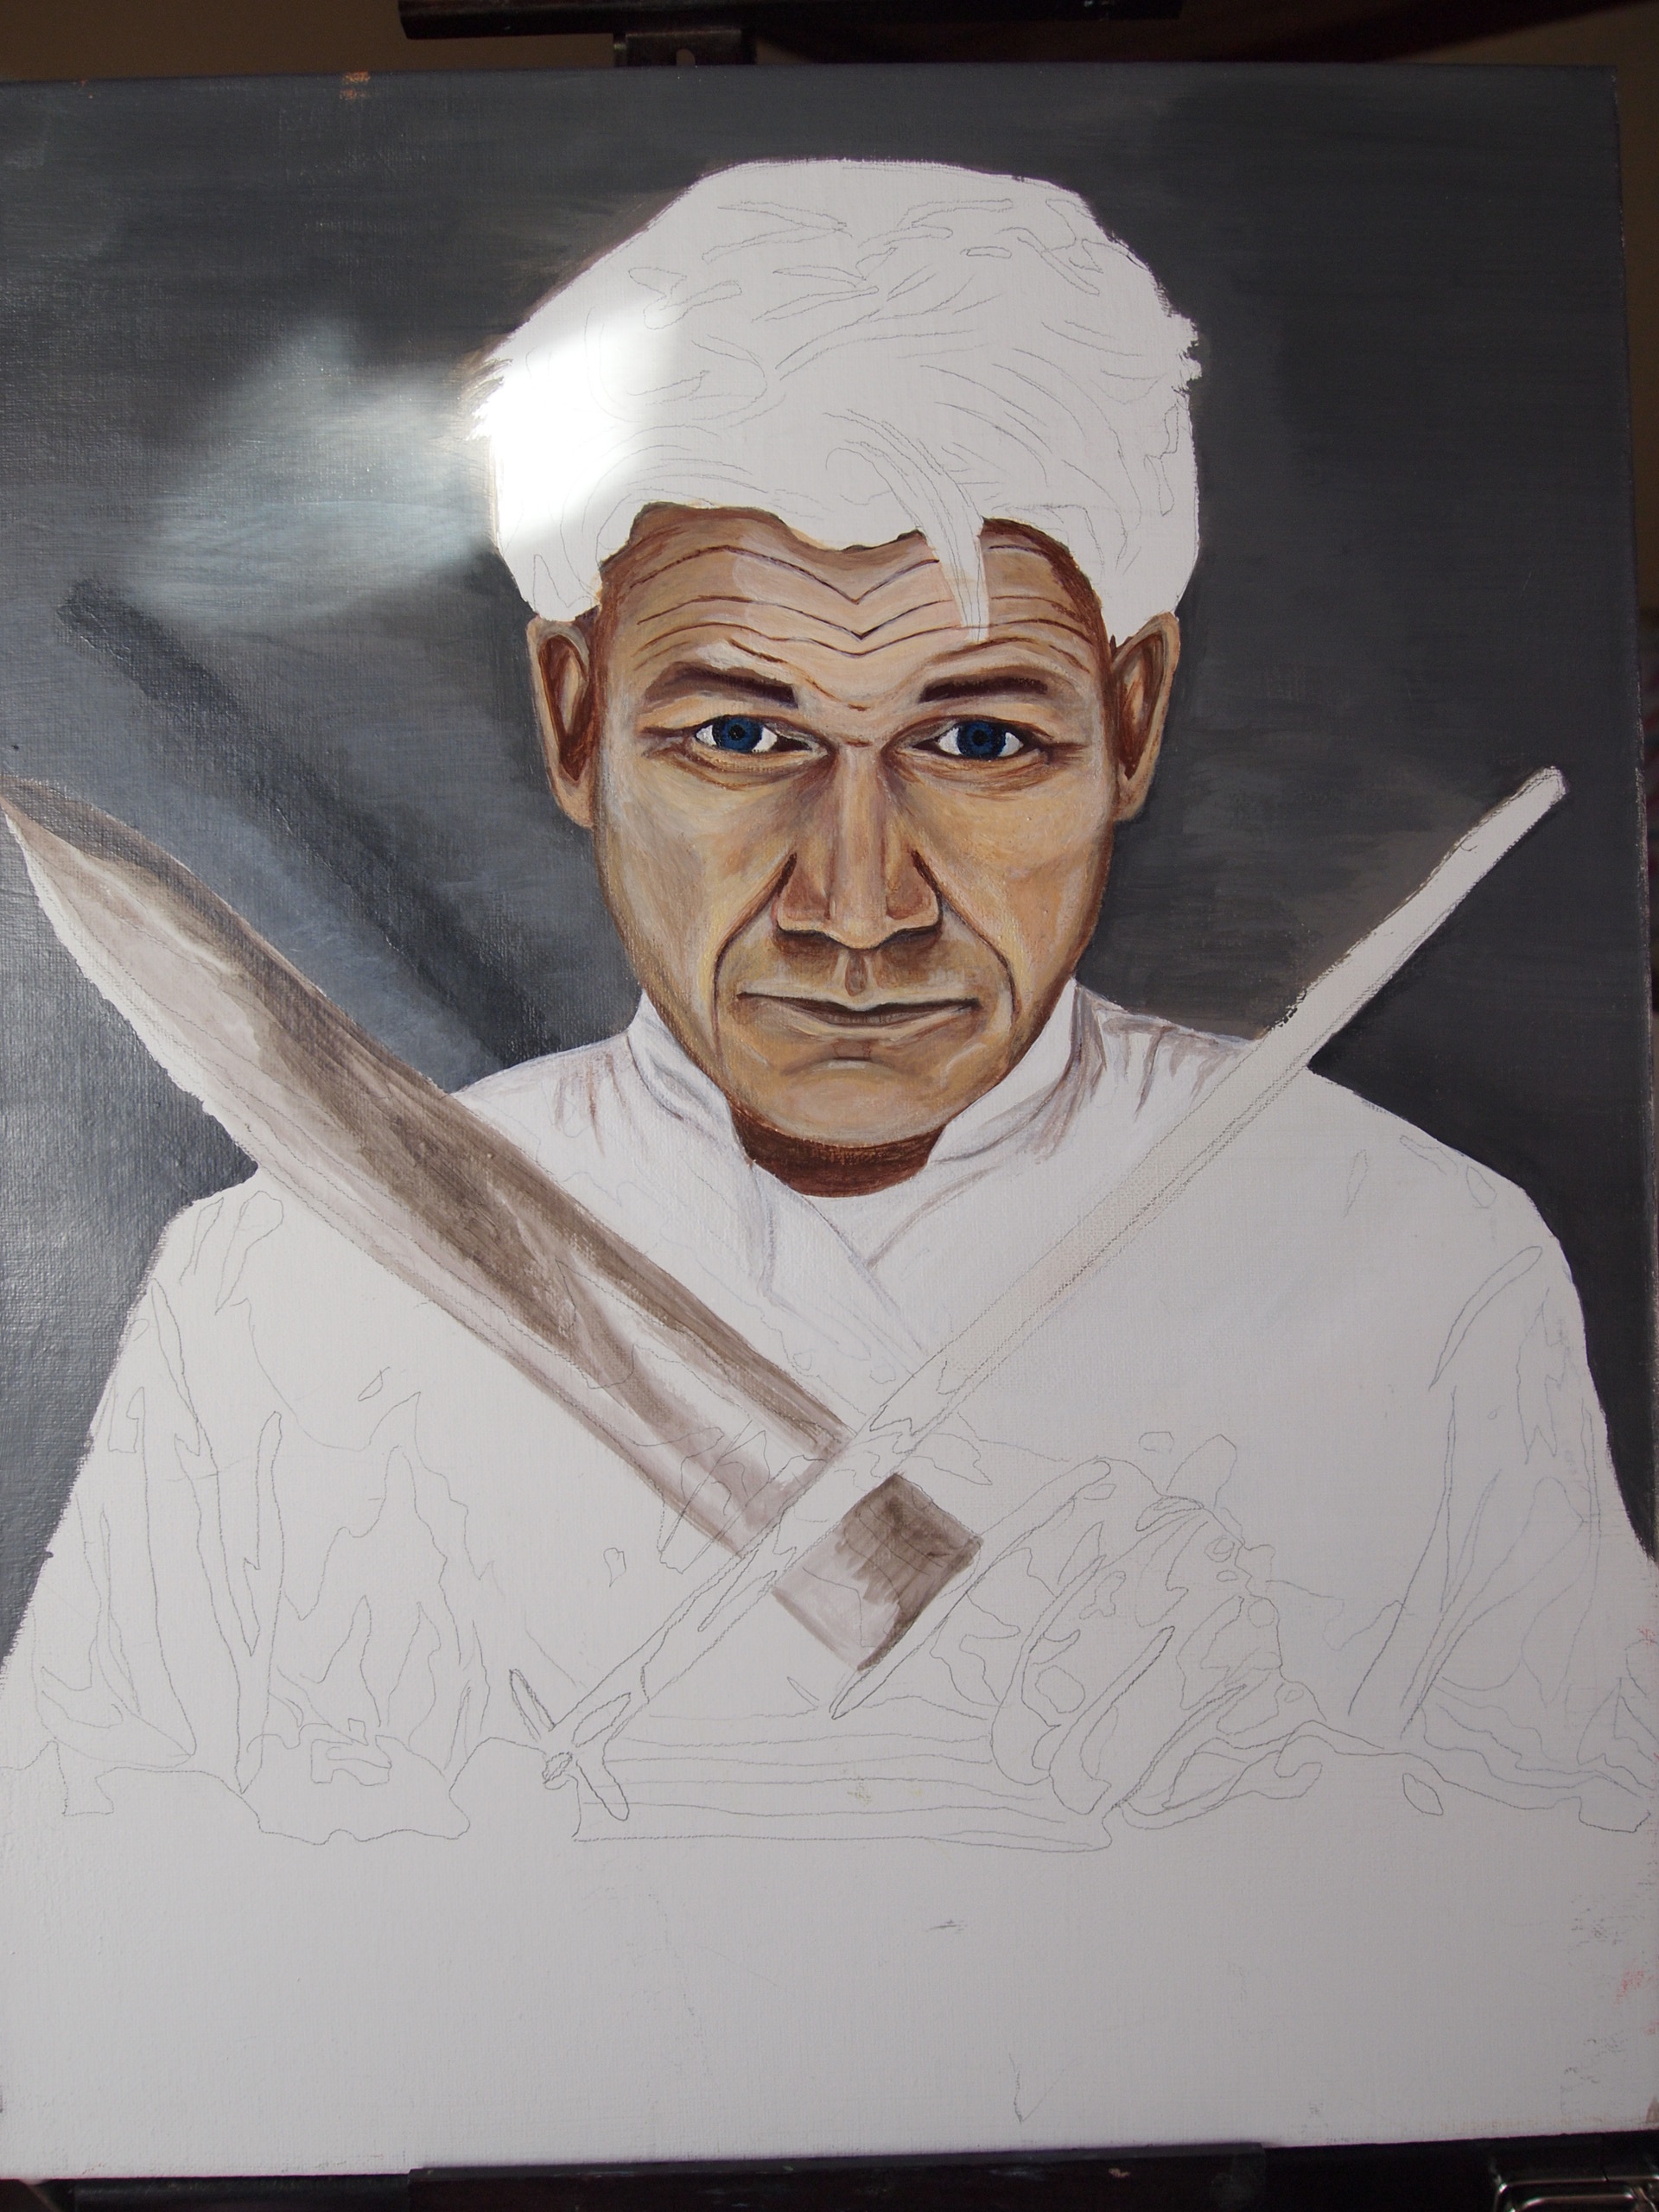
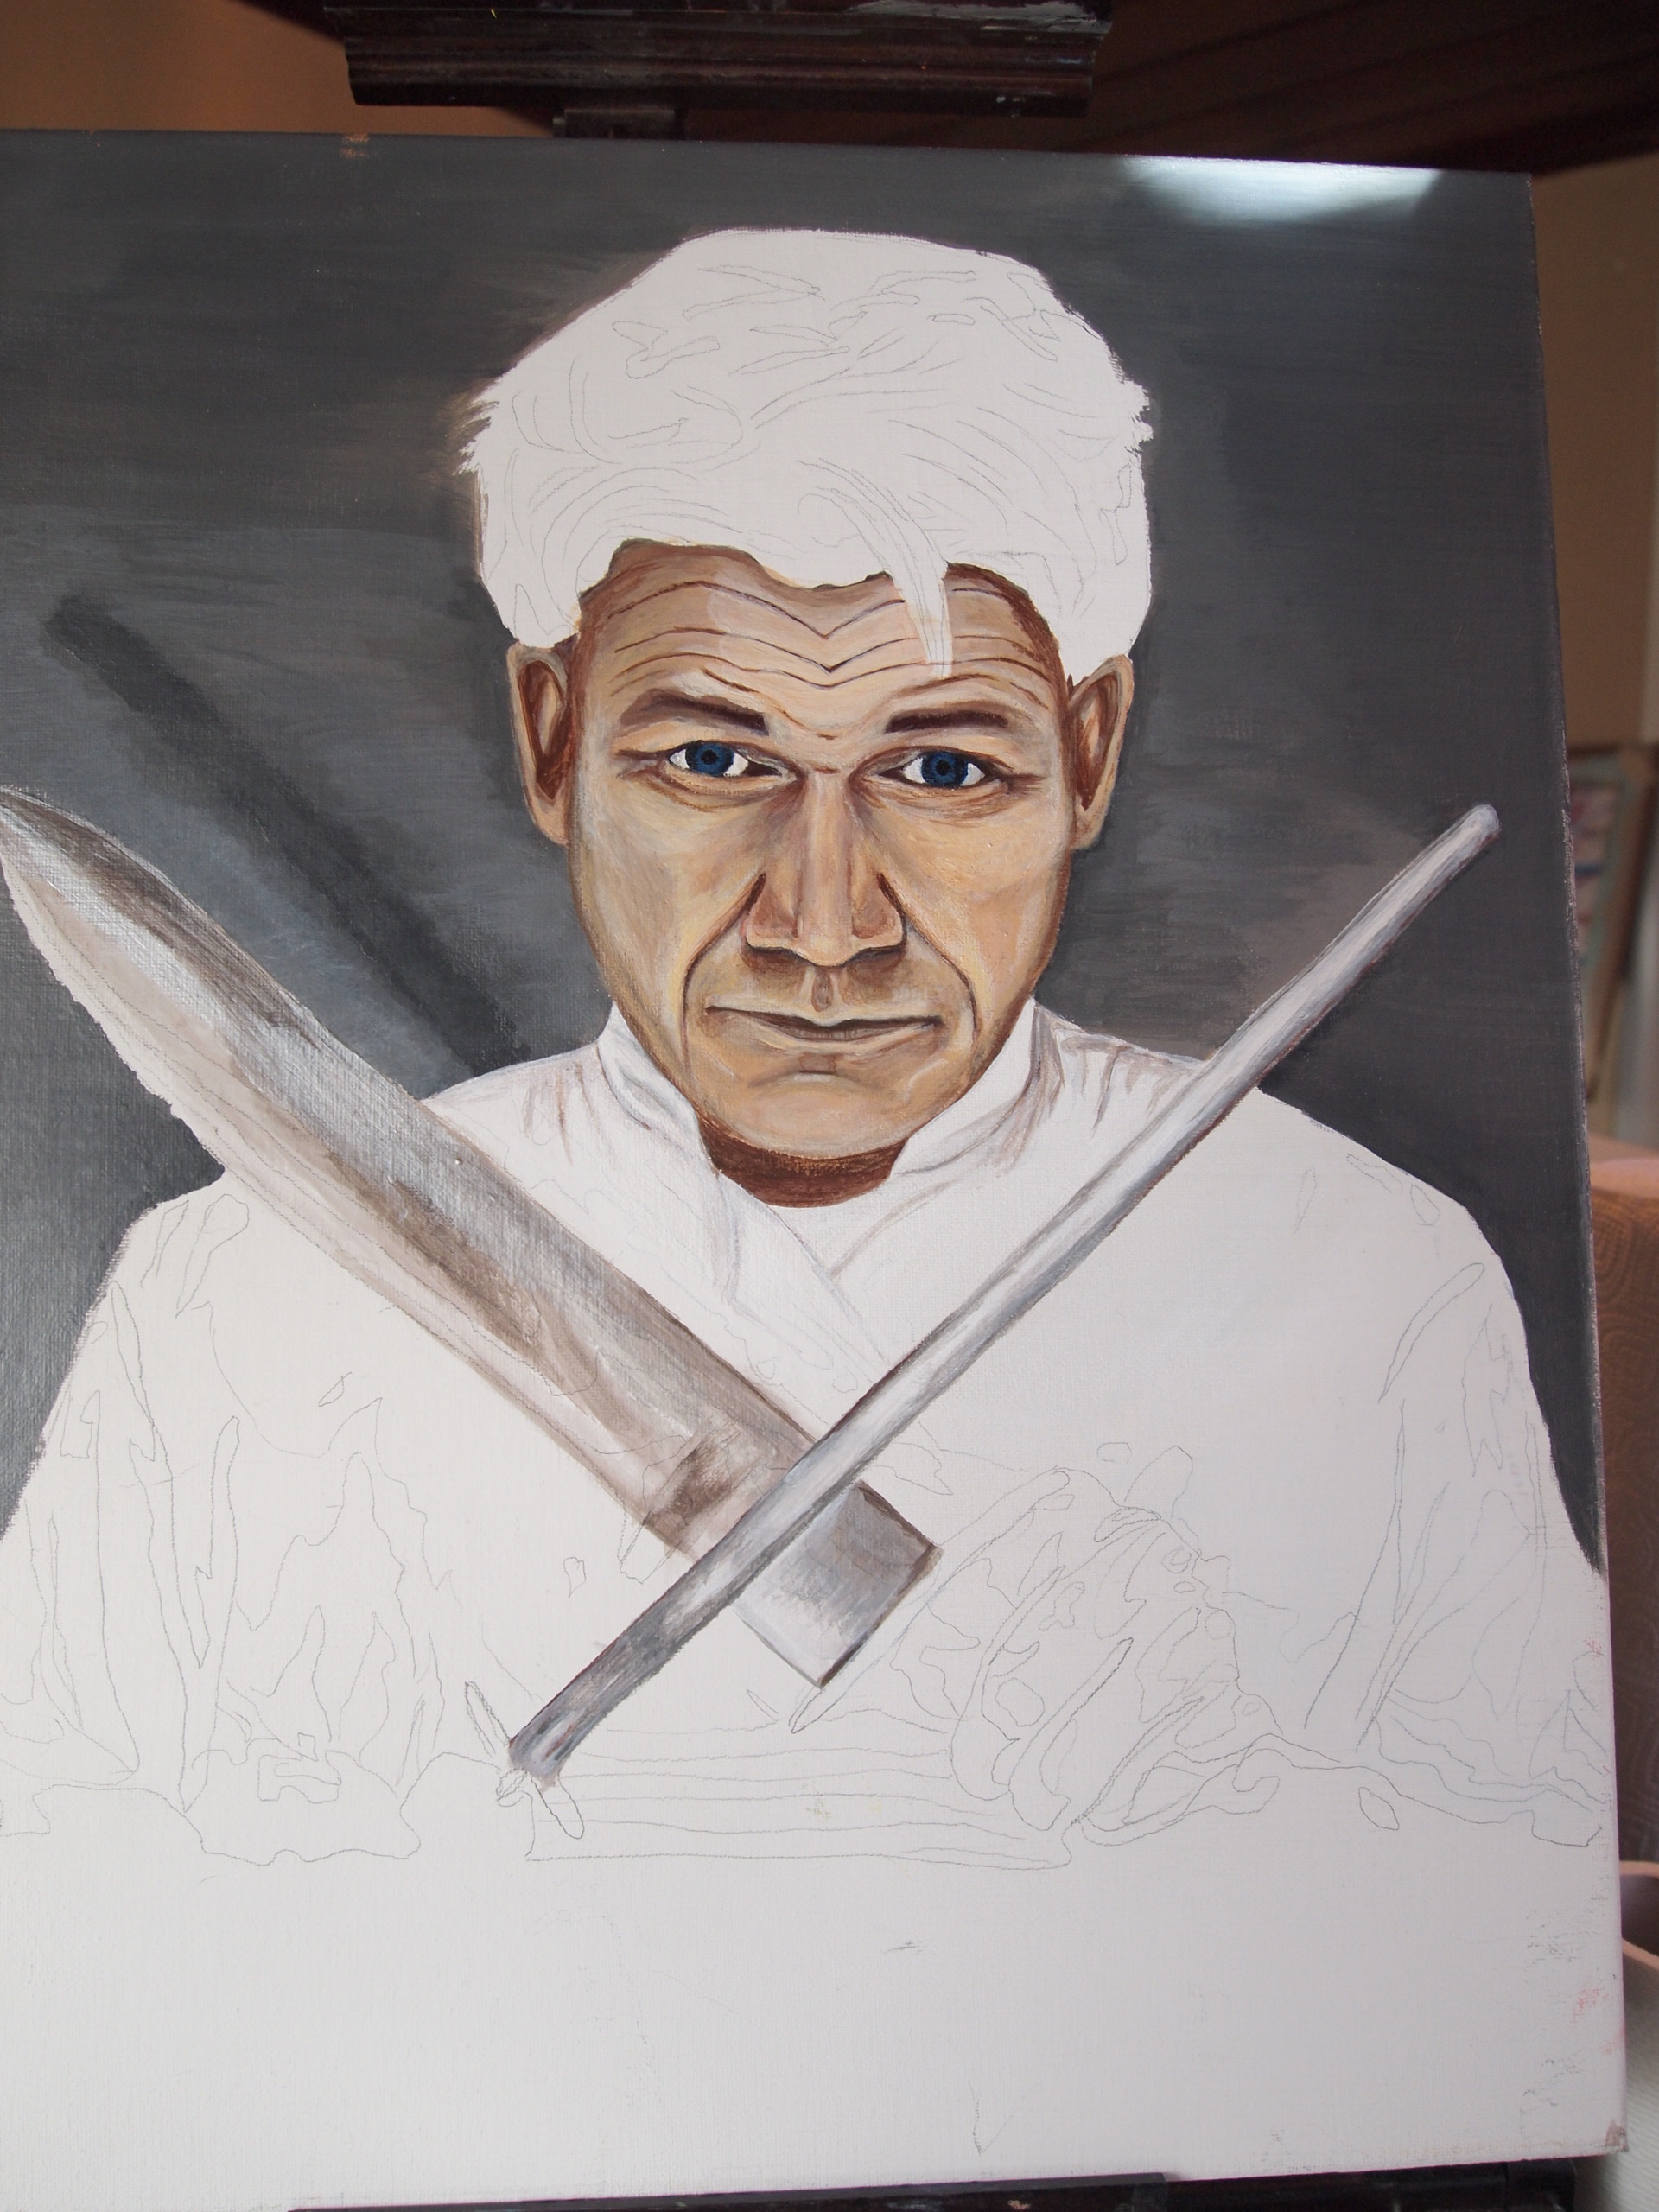
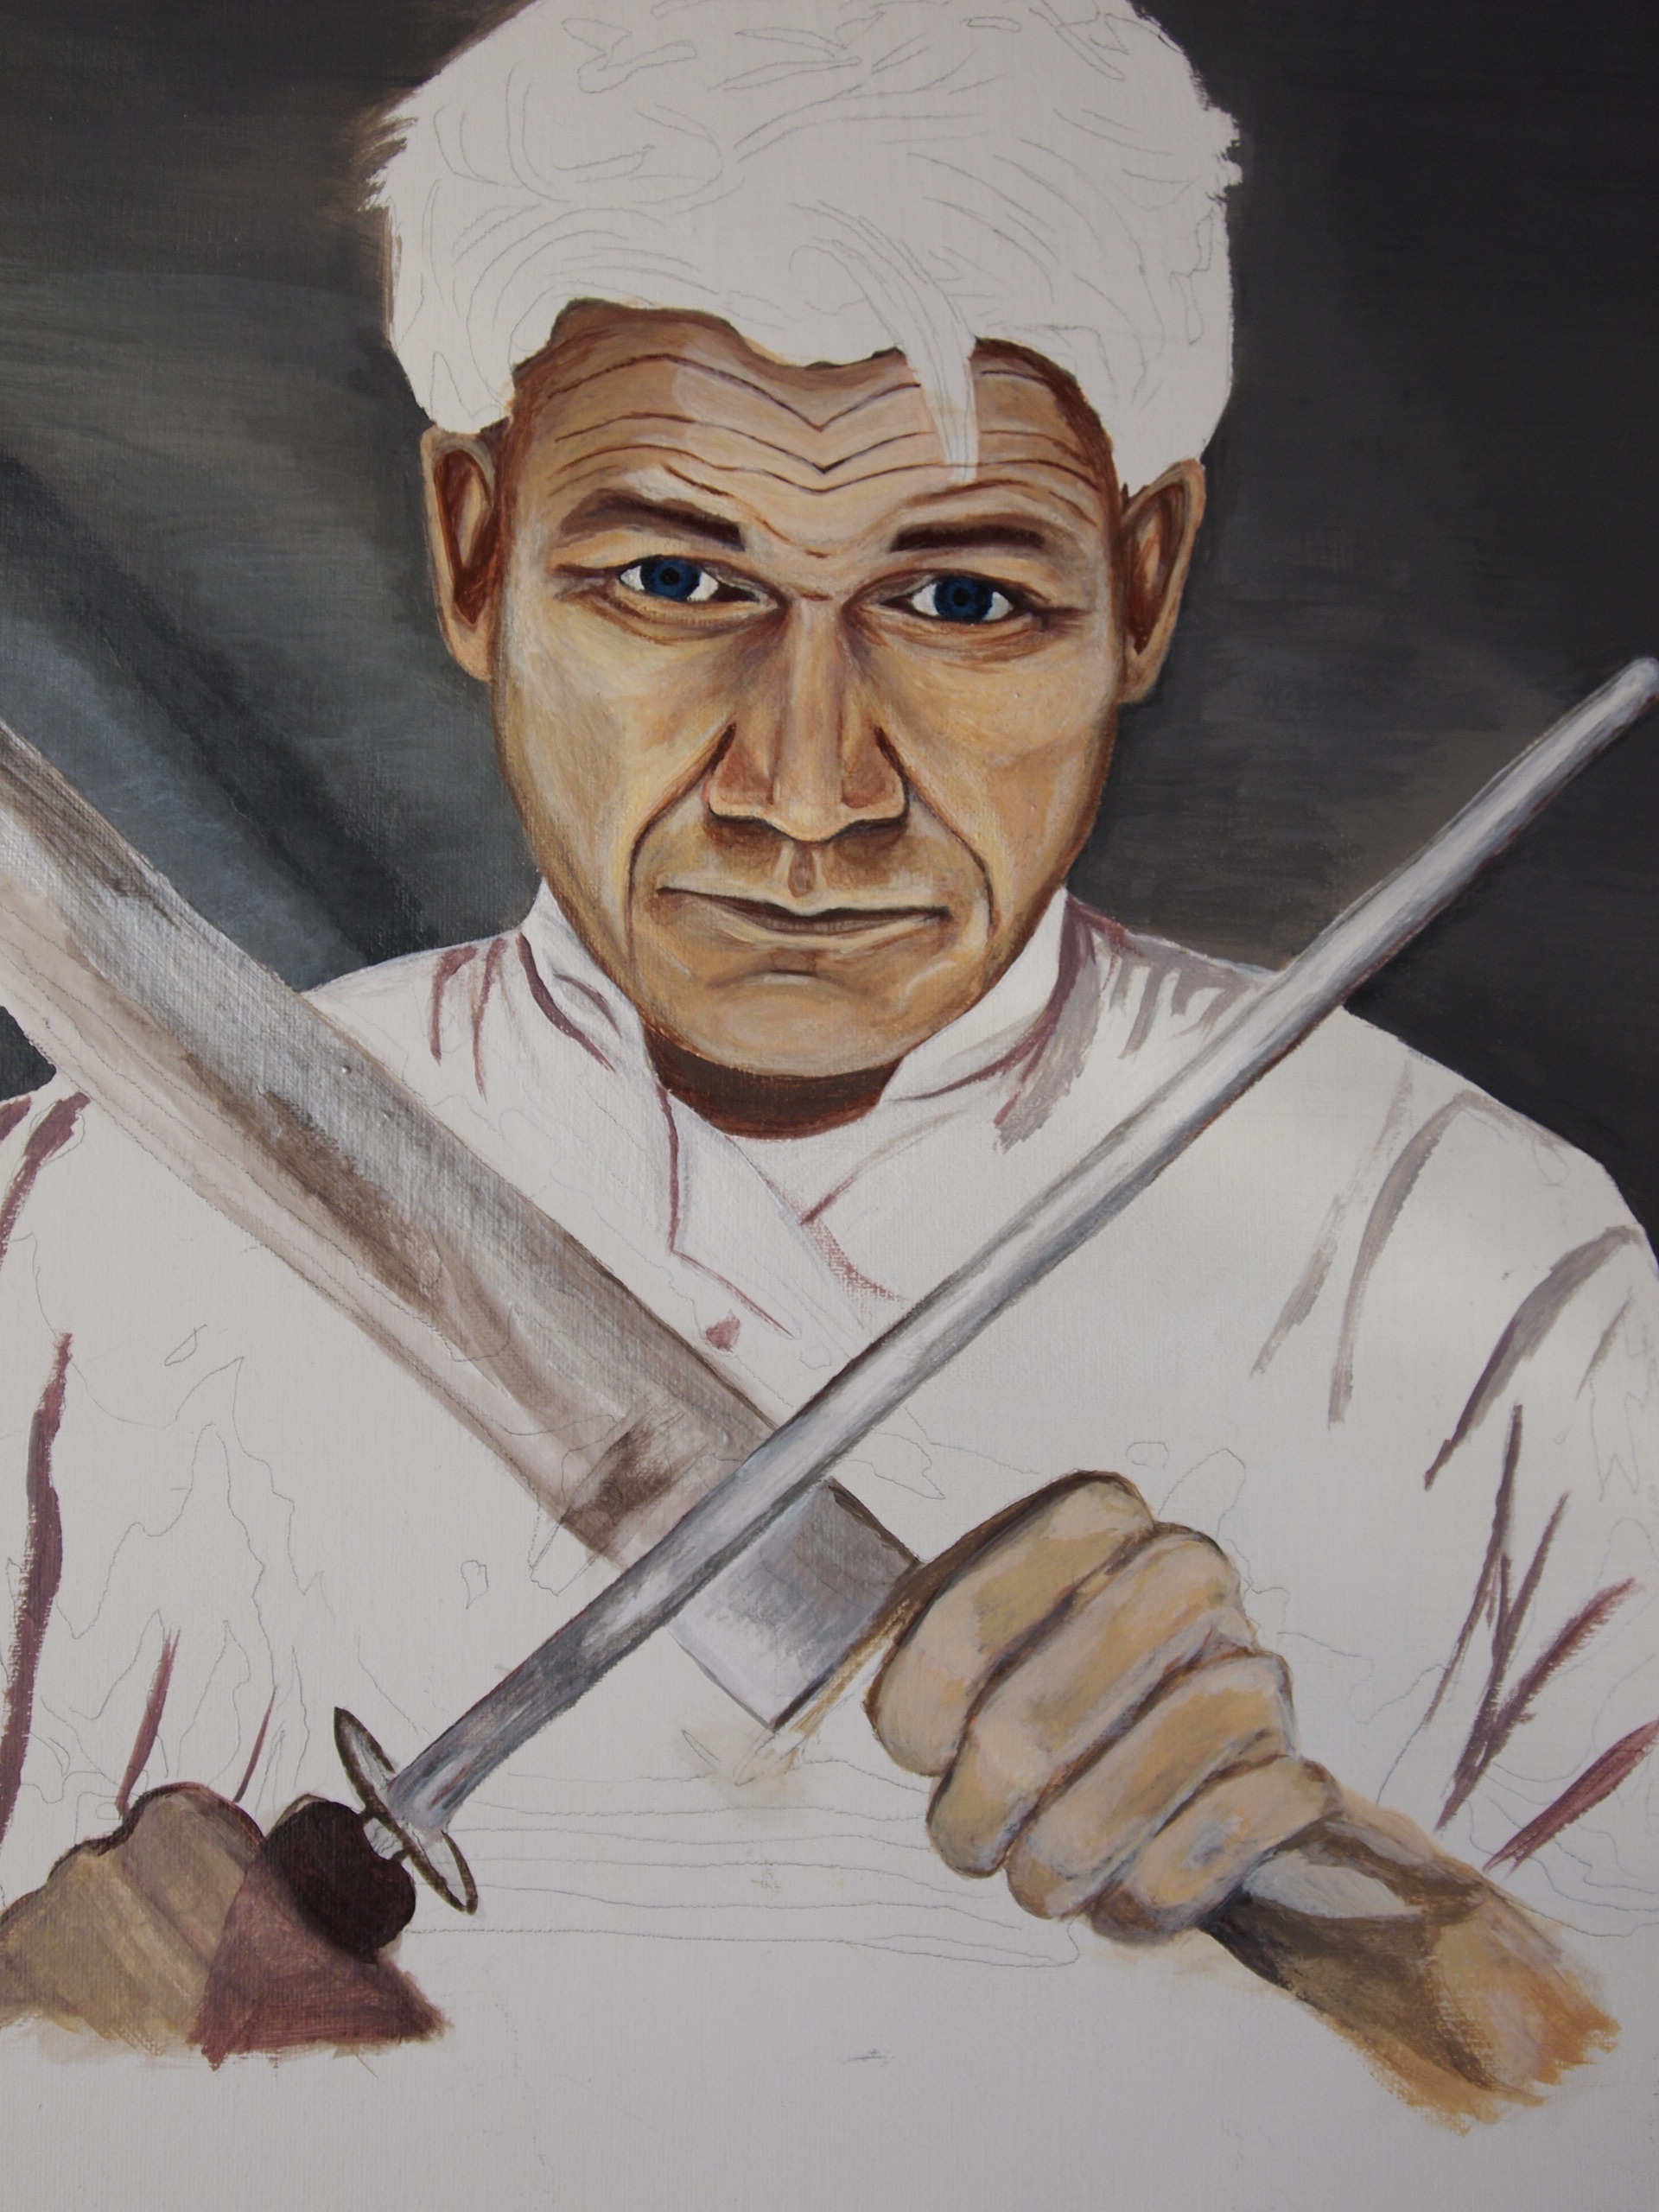
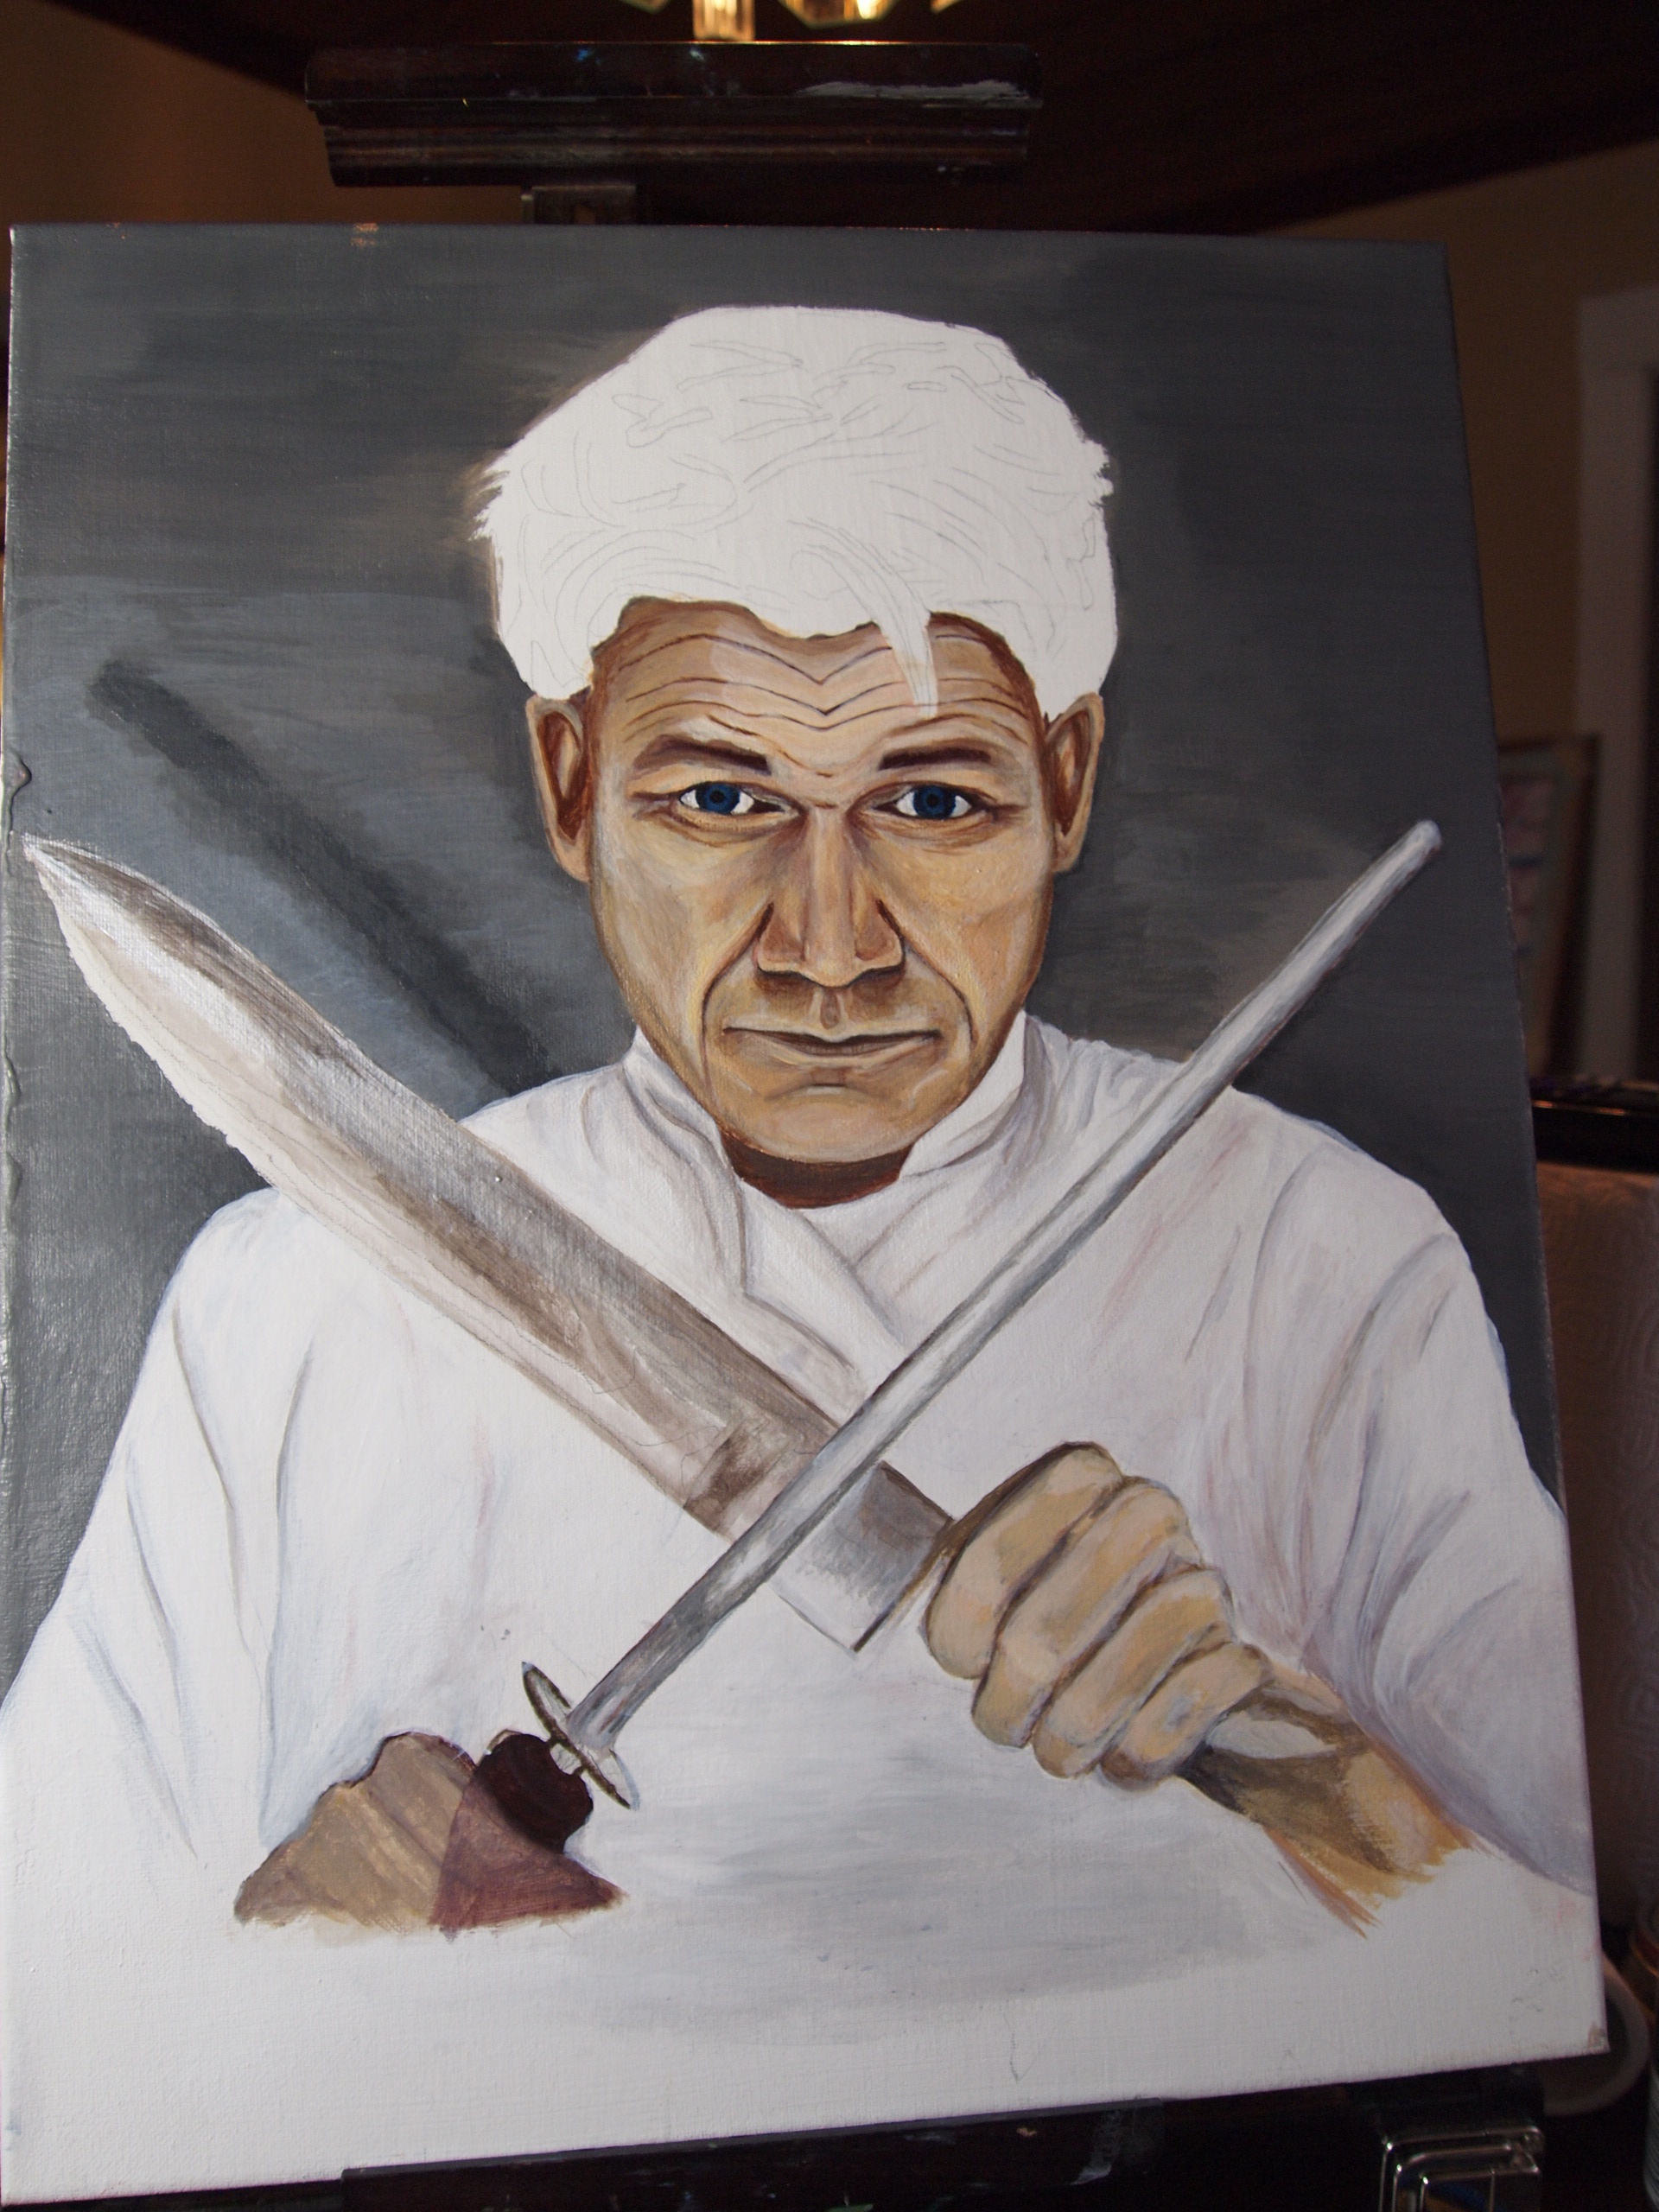
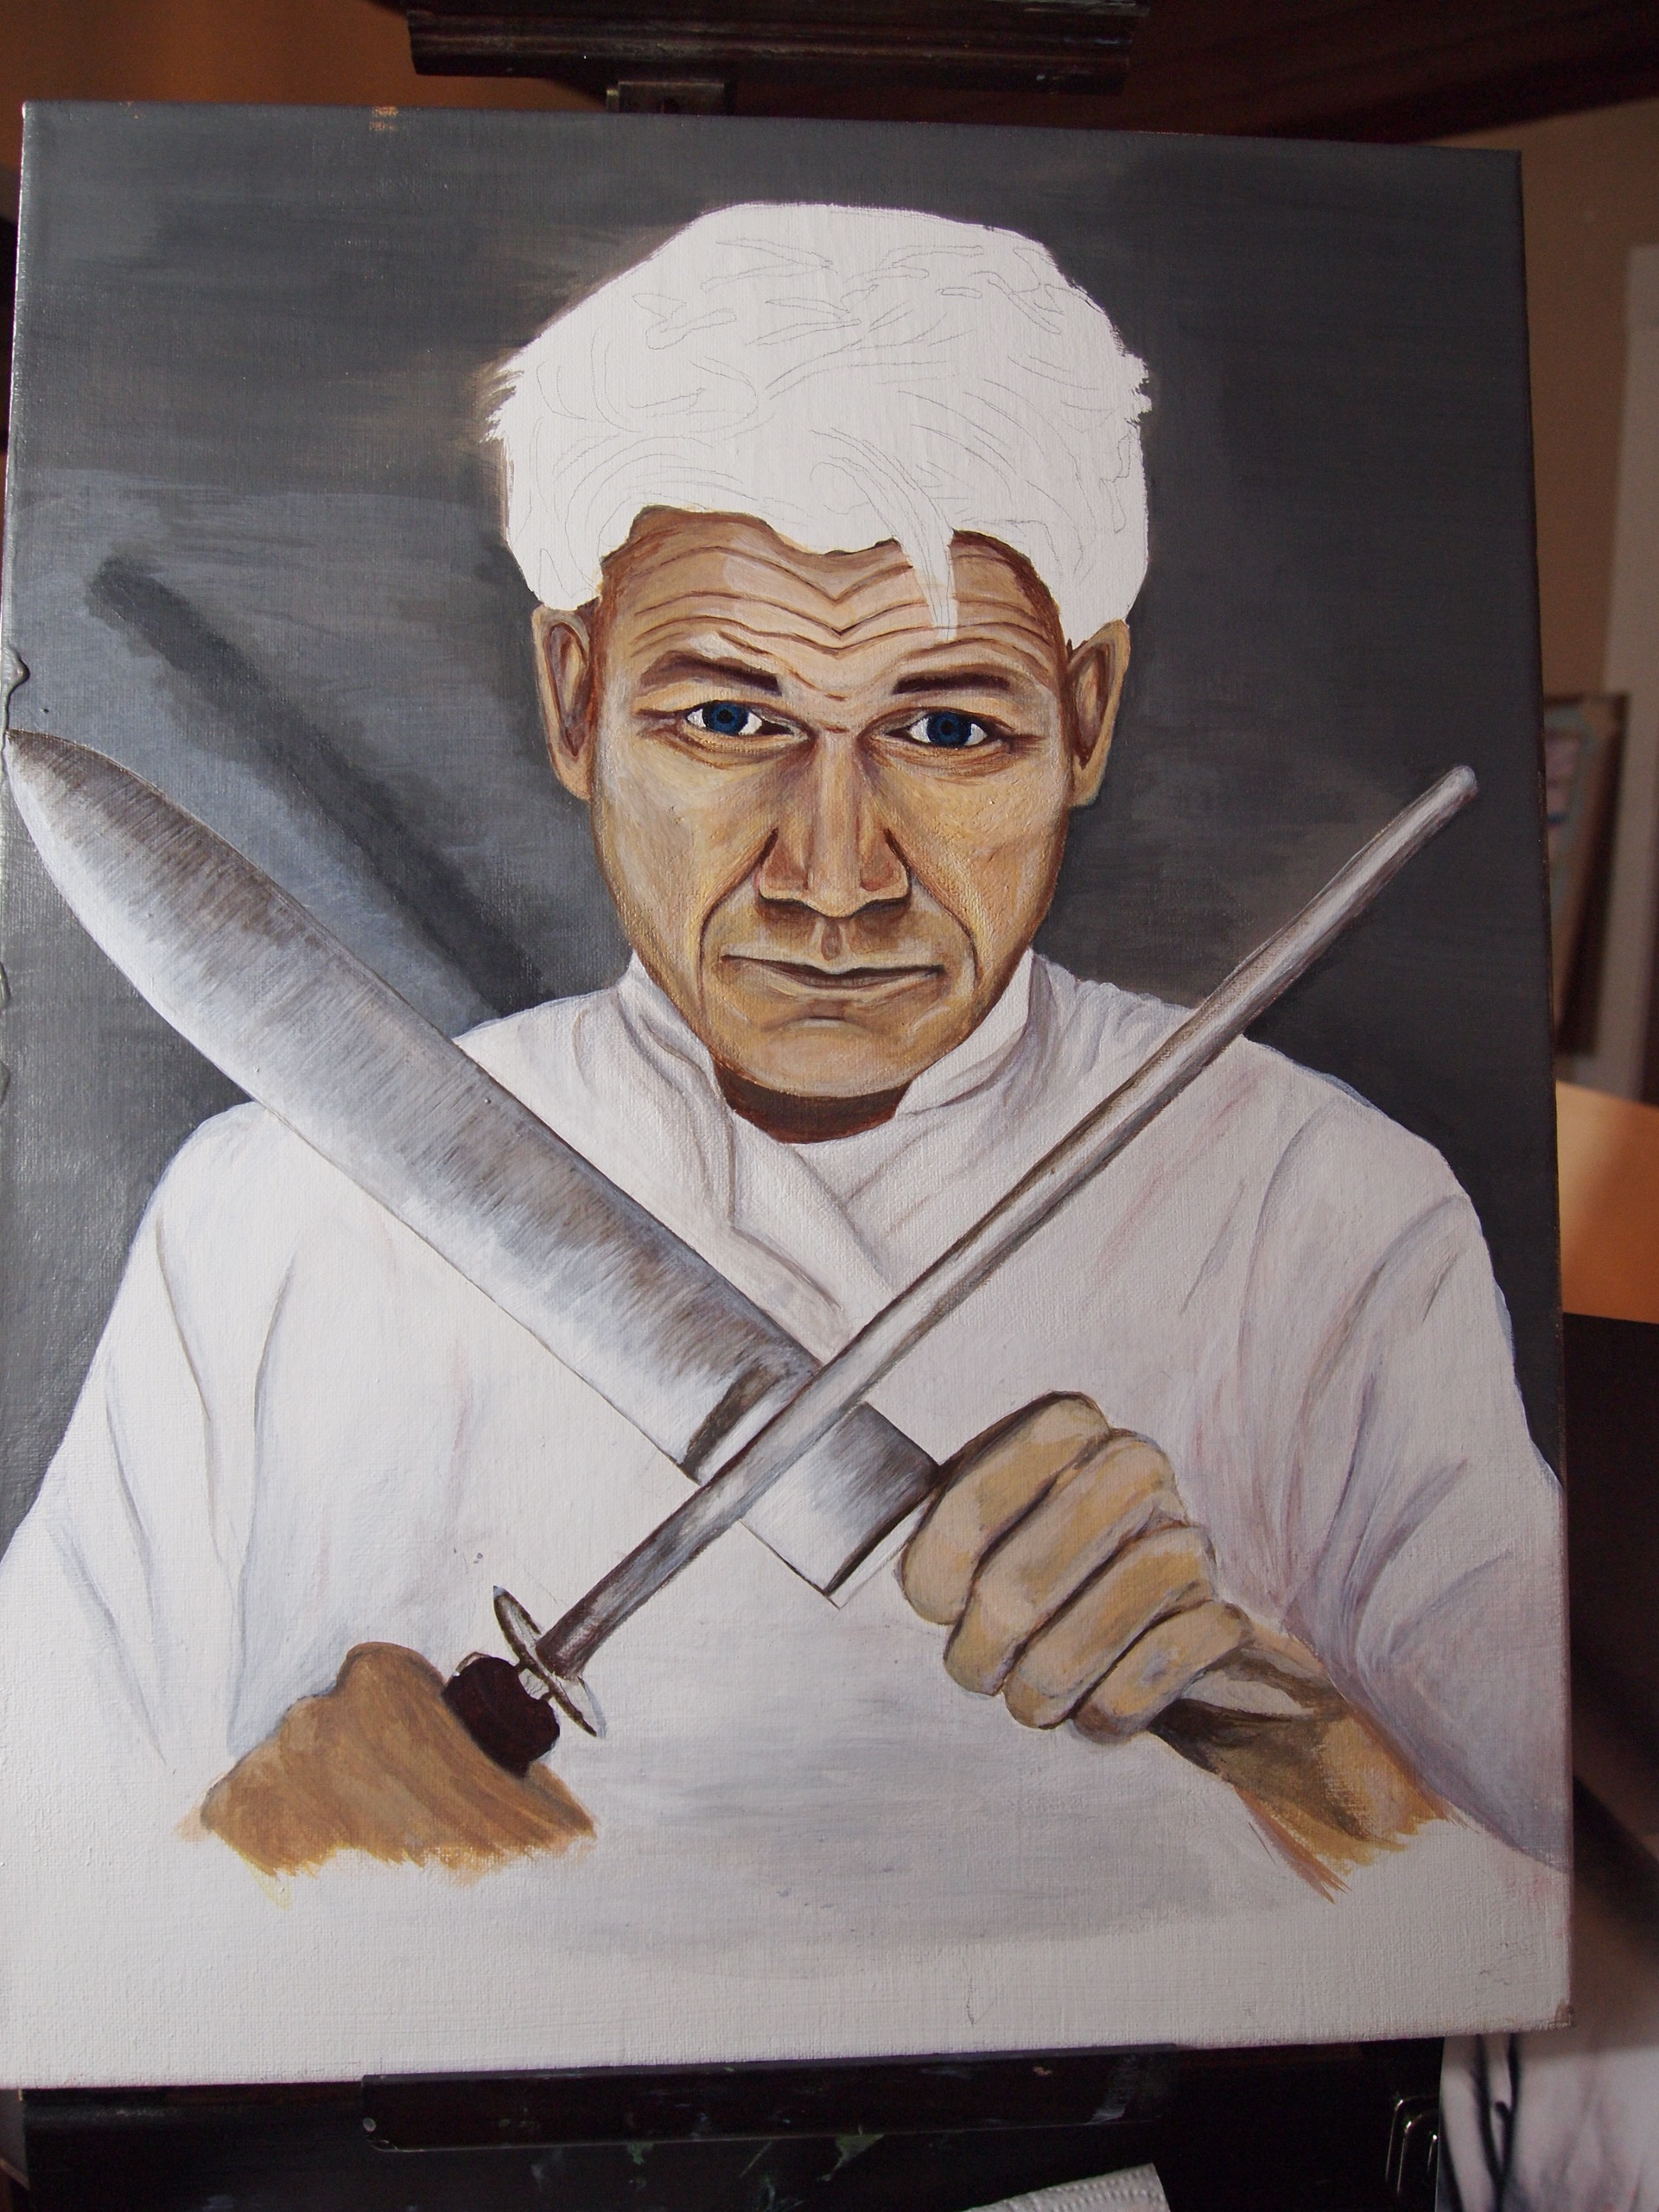
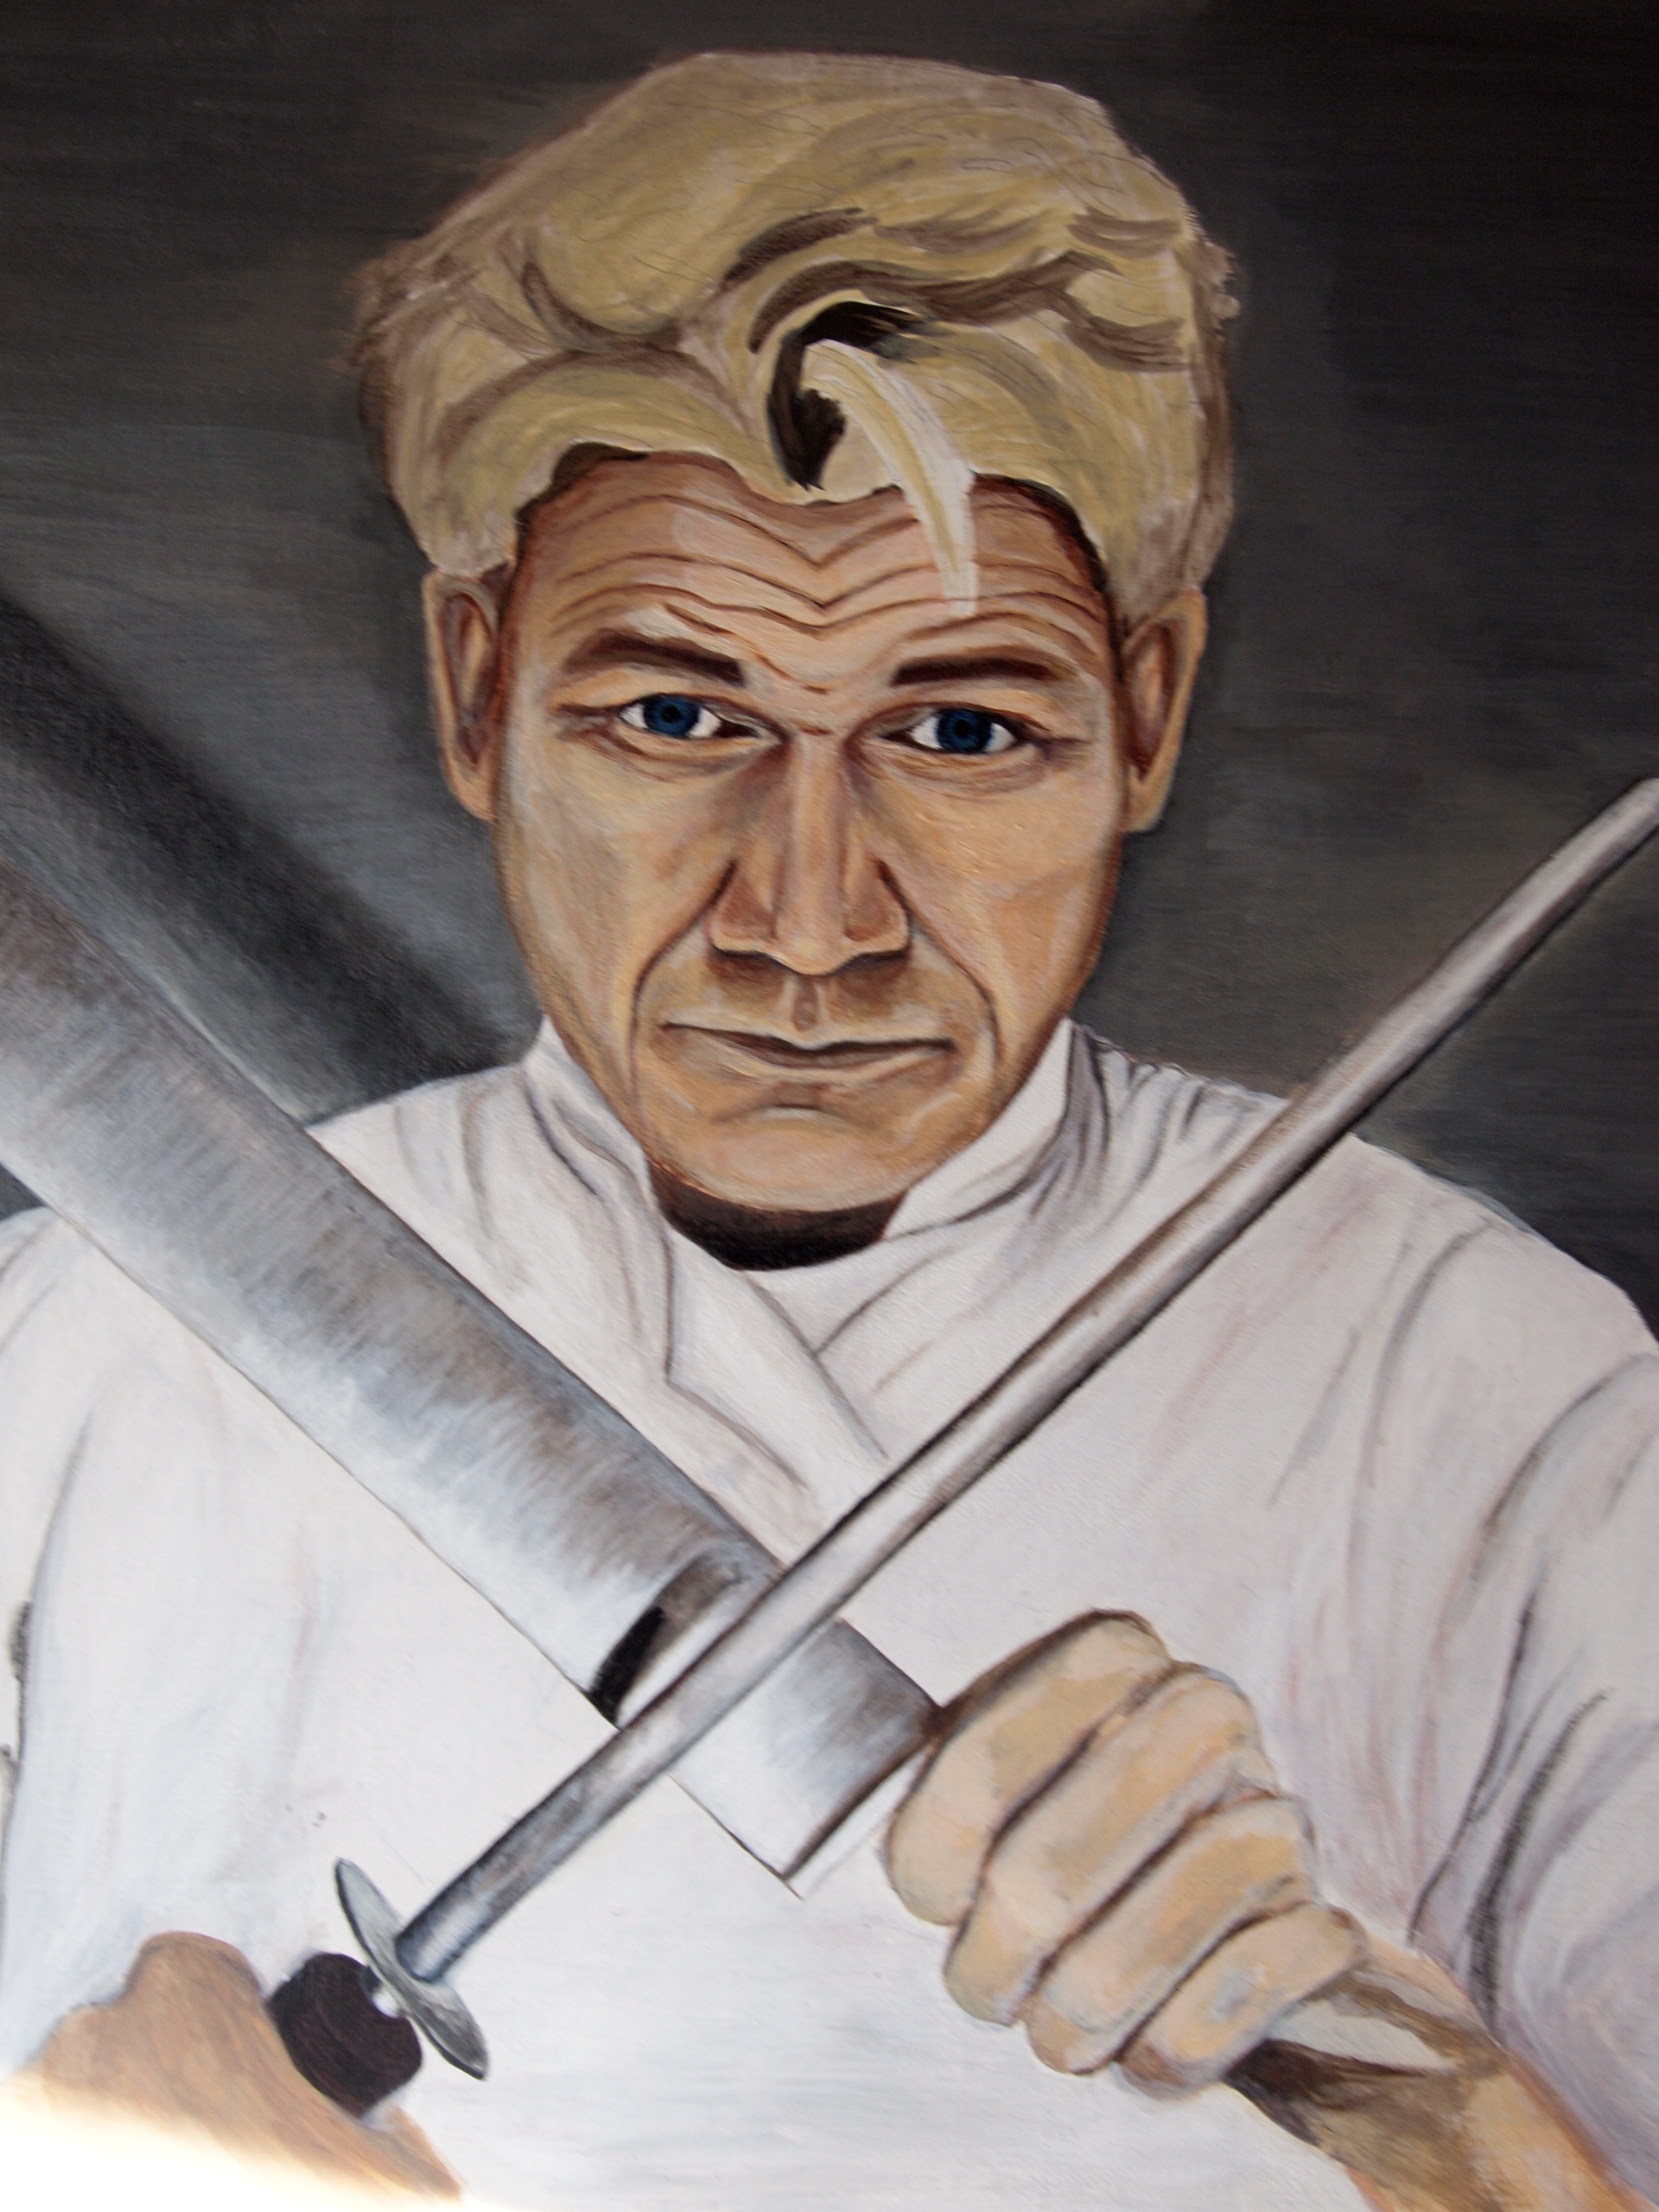
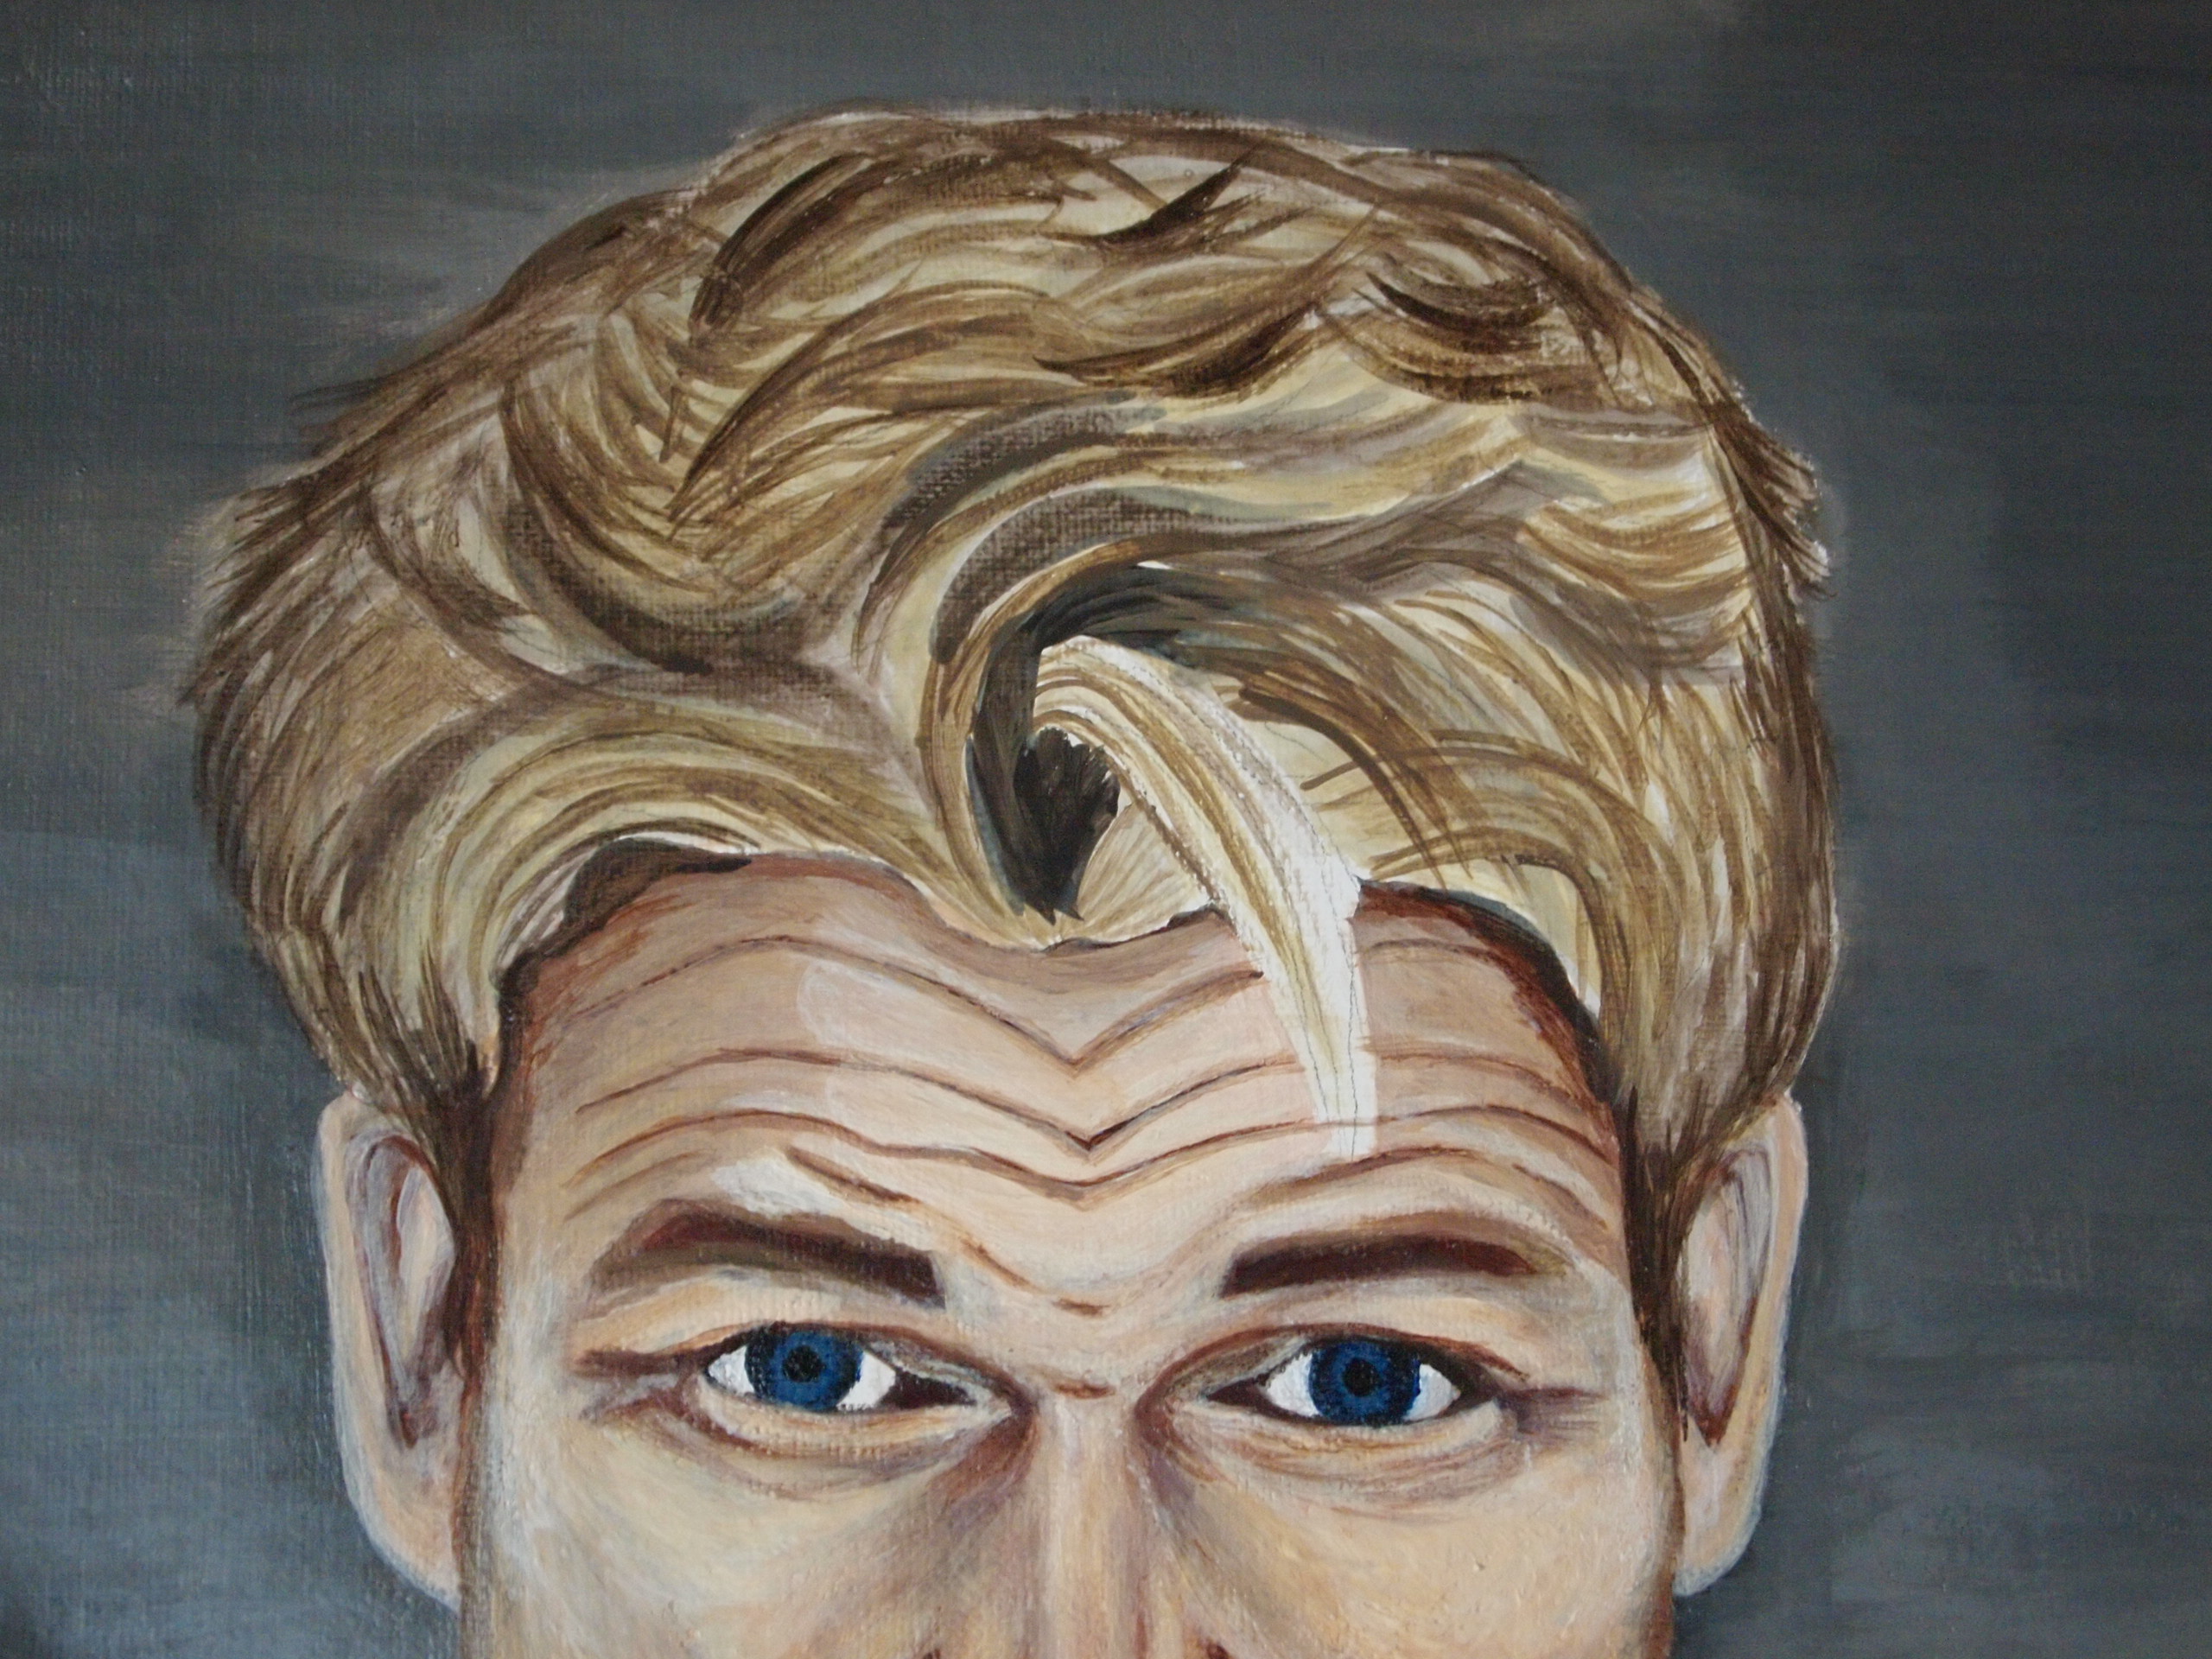
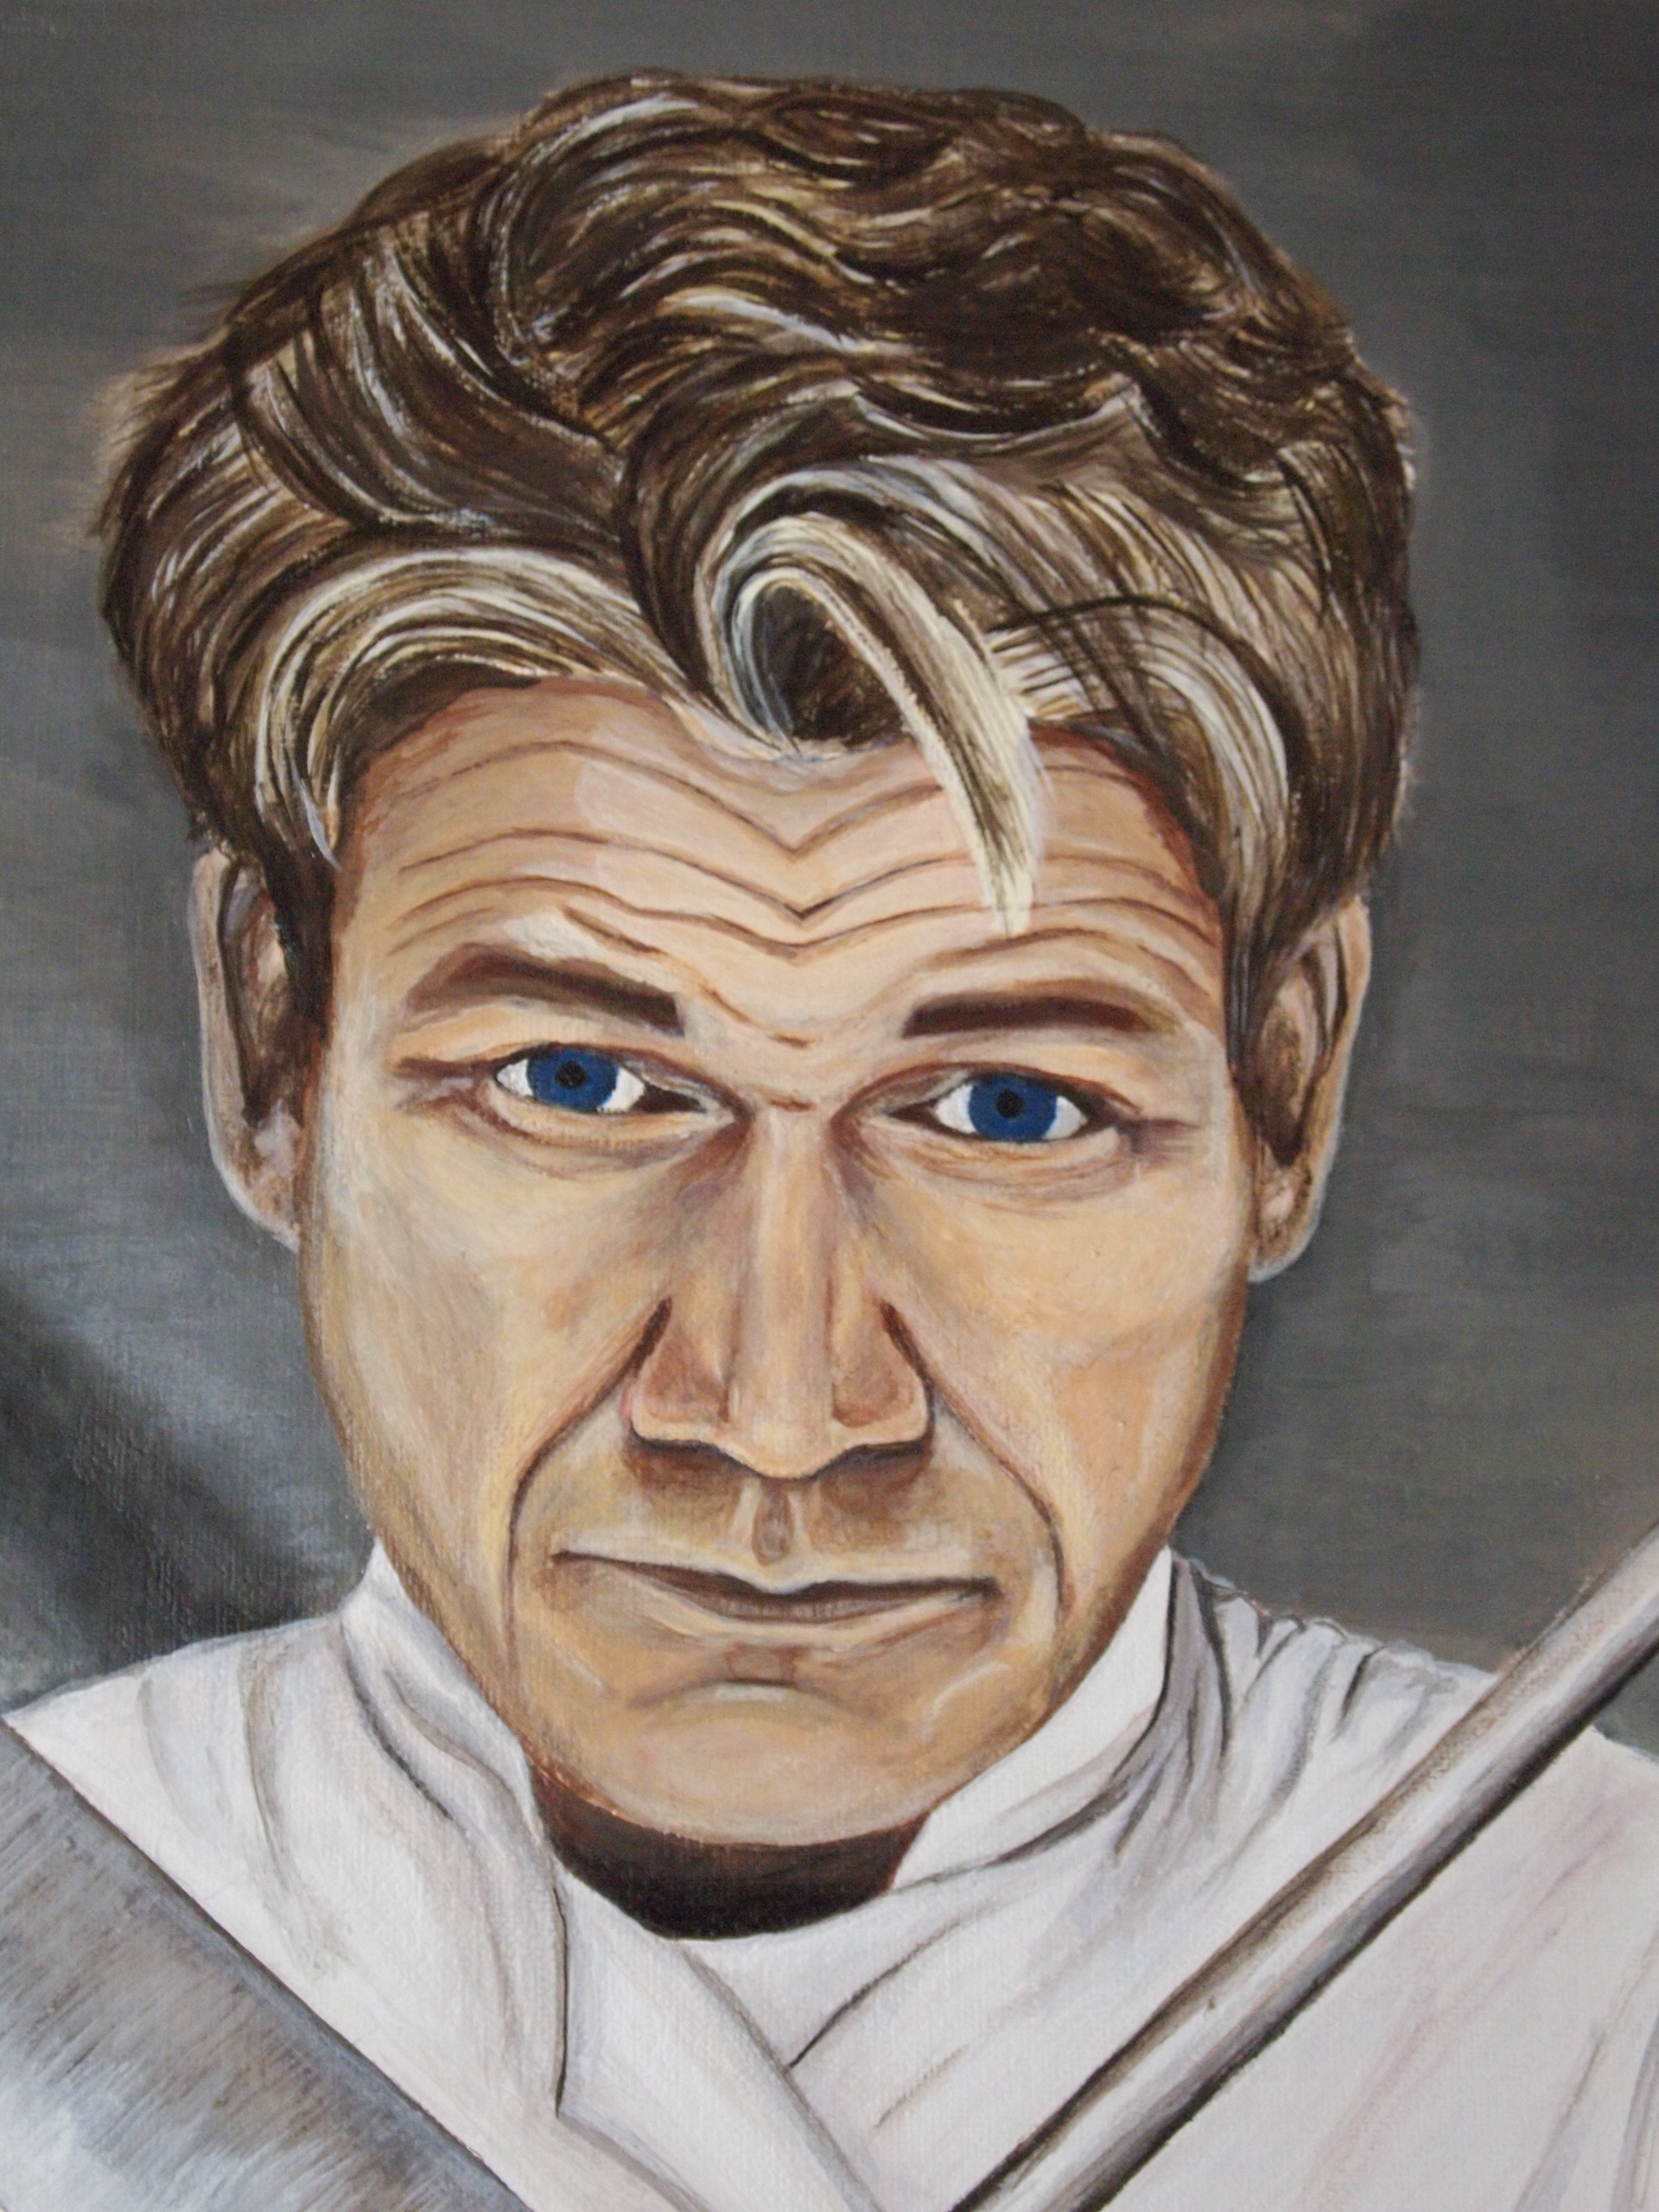
![P1016613 [1600x1200].JPG](/proxy/?url=https://content.instructables.com/FZW/2S2R/HQBFWTBK/FZW2S2RHQBFWTBK.jpg&filename=P1016613 [1600x1200].JPG)
![P1016605 [1600x1200].JPG](/proxy/?url=https://content.instructables.com/F8Q/G6LB/HQBE5ZGT/F8QG6LBHQBE5ZGT.jpg&filename=P1016605 [1600x1200].JPG)
![P1016612 [1600x1200].JPG](/proxy/?url=https://content.instructables.com/F34/0JN5/HQBFWTBM/F340JN5HQBFWTBM.jpg&filename=P1016612 [1600x1200].JPG)
![P1016603 [1600x1200].JPG](/proxy/?url=https://content.instructables.com/FV4/O1N6/HQBFWTBN/FV4O1N6HQBFWTBN.jpg&filename=P1016603 [1600x1200].JPG)
![P1016604 [1600x1200].JPG](/proxy/?url=https://content.instructables.com/FA6/MXYS/HQBEJSNN/FA6MXYSHQBEJSNN.jpg&filename=P1016604 [1600x1200].JPG)
![P1016597 [1600x1200].JPG](/proxy/?url=https://content.instructables.com/FKG/HPNO/HQBE5ZJA/FKGHPNOHQBE5ZJA.jpg&filename=P1016597 [1600x1200].JPG)
![P1016599 [1600x1200].JPG](/proxy/?url=https://content.instructables.com/FJ6/VKRF/HQBEJSNT/FJ6VKRFHQBEJSNT.jpg&filename=P1016599 [1600x1200].JPG)
![P1016608 [1600x1200].JPG](/proxy/?url=https://content.instructables.com/FGT/J2Y9/HQBE5ZKA/FGTJ2Y9HQBE5ZKA.jpg&filename=P1016608 [1600x1200].JPG)
![P1016609 [1600x1200].JPG](/proxy/?url=https://content.instructables.com/FOX/BK2T/HQBE5ZKB/FOXBK2THQBE5ZKB.jpg&filename=P1016609 [1600x1200].JPG)

![P1016599 [1600x1200].JPG](/proxy/?url=https://content.instructables.com/FF4/ERKG/HQBEJSOF/FF4ERKGHQBEJSOF.jpg&filename=P1016599 [1600x1200].JPG)
The main things to keep in mind are that you should really work in segments and really look at your photo to see the true colors and shades that are being represented. Sometimes it seems strange to paint a shadow in a certain way or certain place but if that's how the photo looks - that is what you should paint. I think I found that all the drawn on lines on my canvas were not that helpful and less could have been more. But I quickly covered them up anyway and it helps to constantly compare and refer back to the image.
When doing the hair, I did one thinned out layer (or a wash) of a light yellowish brown color first. I then used different size paint brushes to start doing layers of brush strokes the direction of the hair I saw in the photo. I kept doing that and building on it until I thought it looked right. This is where I also used some glossy medium (just a little bit) mixed in with the paint to make the hair a bit shinier.
The photos on this page show the progression from beginning to end. So many things change along the way as one color change can lead to changing all the colors in that area of the portrait. So the last 10 or so photos depict the final portrait on this page. The 2nd to last photo is the picture the portrait was based on.
If you have any questions please feel free to ask - I will try to help!