Google Search on ESP32
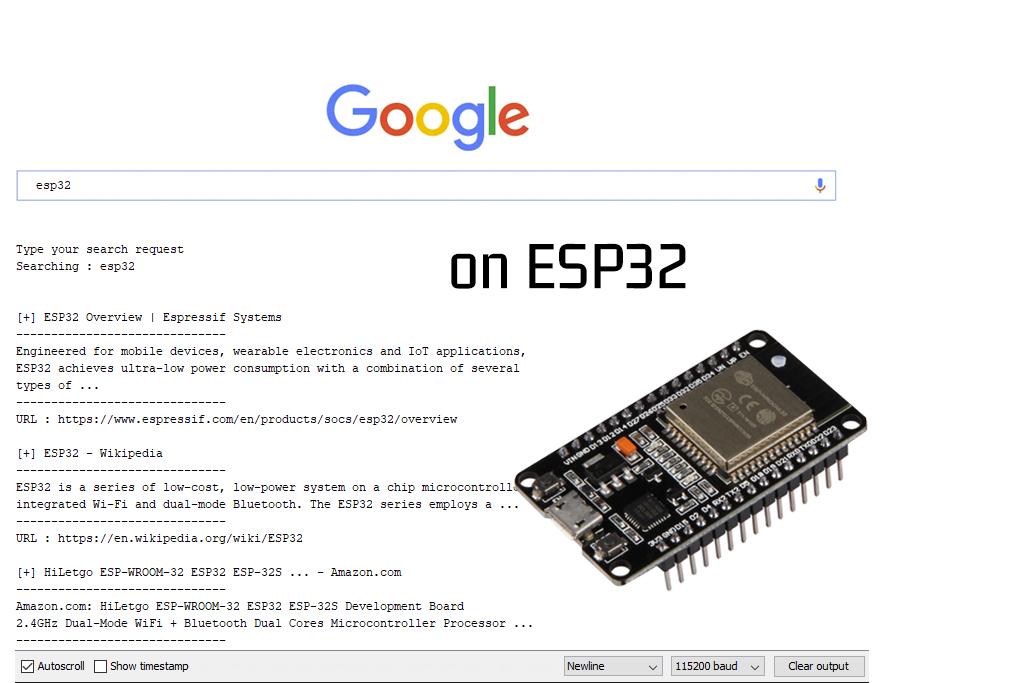
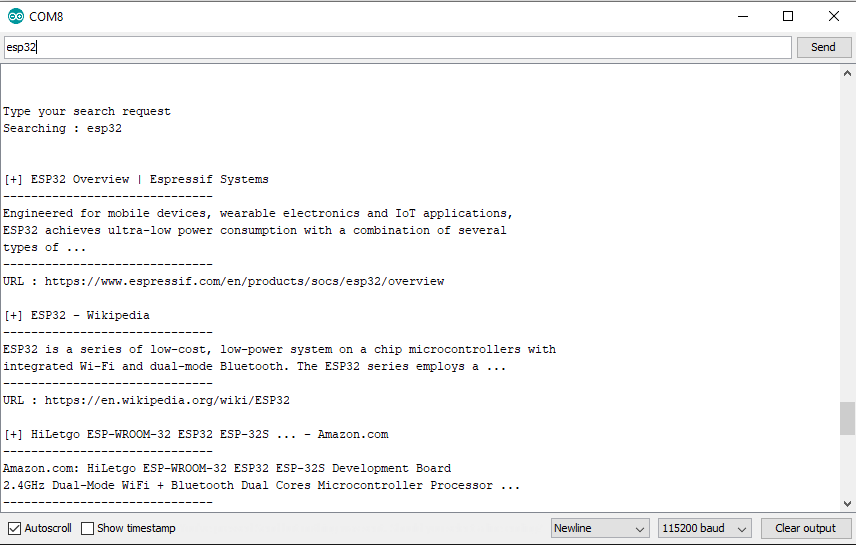
In this tutorial I will show you how to do google searches with an ESP32. The result itself isn't very useful because the search results are in the serial monitor on the computer, but it's a cool thing to do and show the power of ESP32. The code can be improved to create a mini web browser on ESP32 and print result on a LCD screen for example.
In this tutorial, I will use an ESP32 board with 4 MB of PSRAM to be sure to have enough memory. This can be useful to download the html code of sites found.
Supplies
- ESP32 Board with external RAM like uPesy ESP32 Wrover DevKit
- Arduino IDE or PlatformIO with esp32 extension installed
- A Google Account
Download HTML File or JSON File : the Good and the Bad Way
The easiest way to retrieve google searches would be to download the HTML page from the url: https://www.google.com/search?q=esp32, with your query after q=
This is the bad way for few reasons :
- It's difficult to parse (extract data), because there is no HTML parser for ESP32. So you have to find the right HTML tag, extract strings,... : the code will be messy.
- It's not data efficient : You need to download the whole HTML page with javascript and css scripts only to extract small pieces of information. The size of the HTML page is around 300KB, the ESP32 does not even have enough memory to download the html page at once (possible only with external PSRAM).
- You could be blacklisted by Google : If you do too much research quickly, Google will consider you as a bot and good luck solving a captcha on ESP32.
The good way is to use the Google search API which returns a JSON file. A JSON file could be easily parsed on ESP32 with librairies like ArduinoJson. It will be very easy with this method to excract search results.
Create a Search Engine
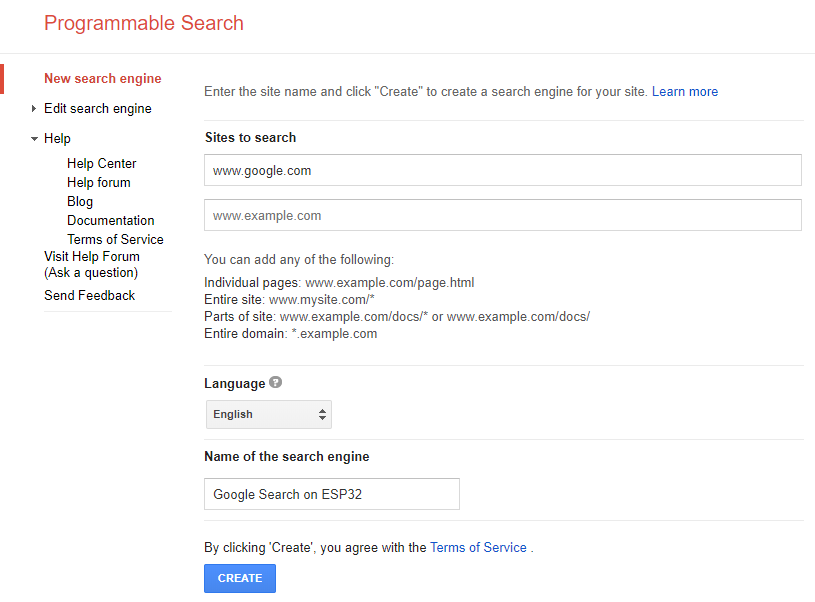
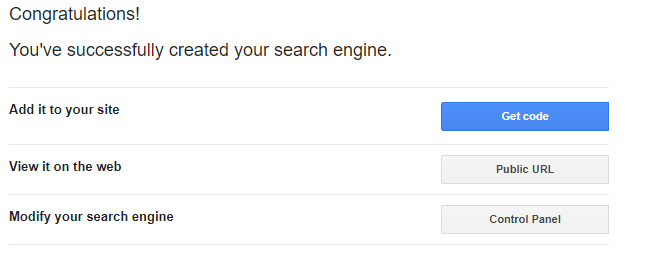
First, we must create a custom search engine in your Google account:
- Go to https://cse.google.com/cse/create/new
- Add www.google.com to "Sites to search"
- Change language if you want
- Name your search engine and click on "Create"
Search Engine Configuration
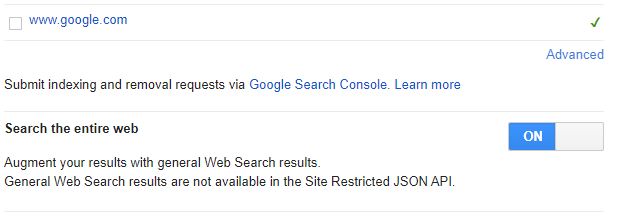
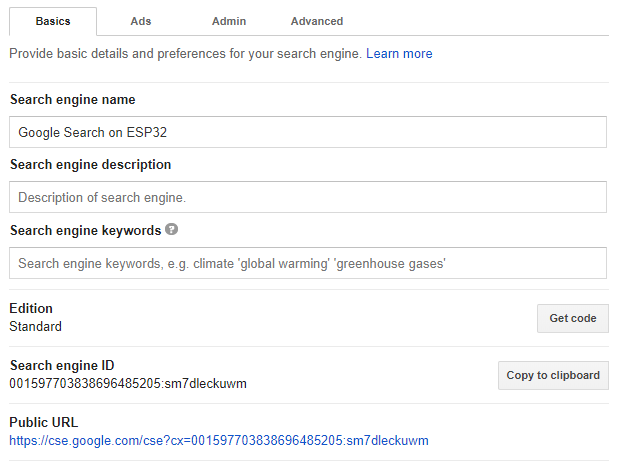

Go to the control panel of the search engine to modify parameters:
- Enable "Search the entire web"
- You can change language or region, enable images
- Get the Search Engine ID, it will be useful for next steps
Scroll down until "Programmatic Acces" and click on "Get started"
Get API Key

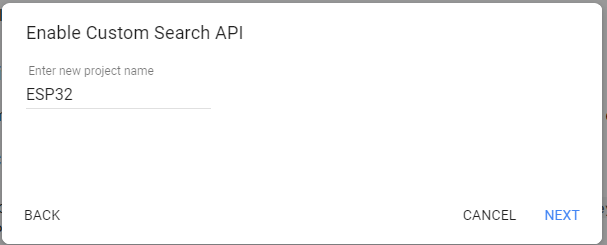
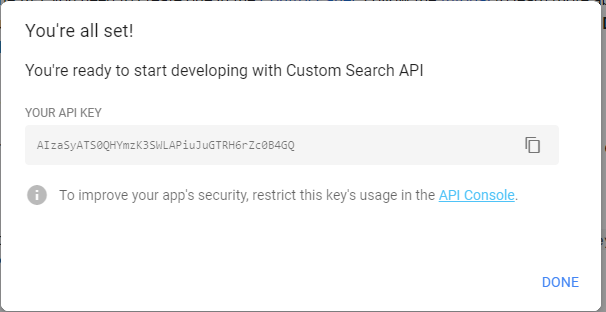
You should be now on https://developers.google.com website:
- Click on "Get a Key"
- Enter a Project name
- Copy your API Key
Test API
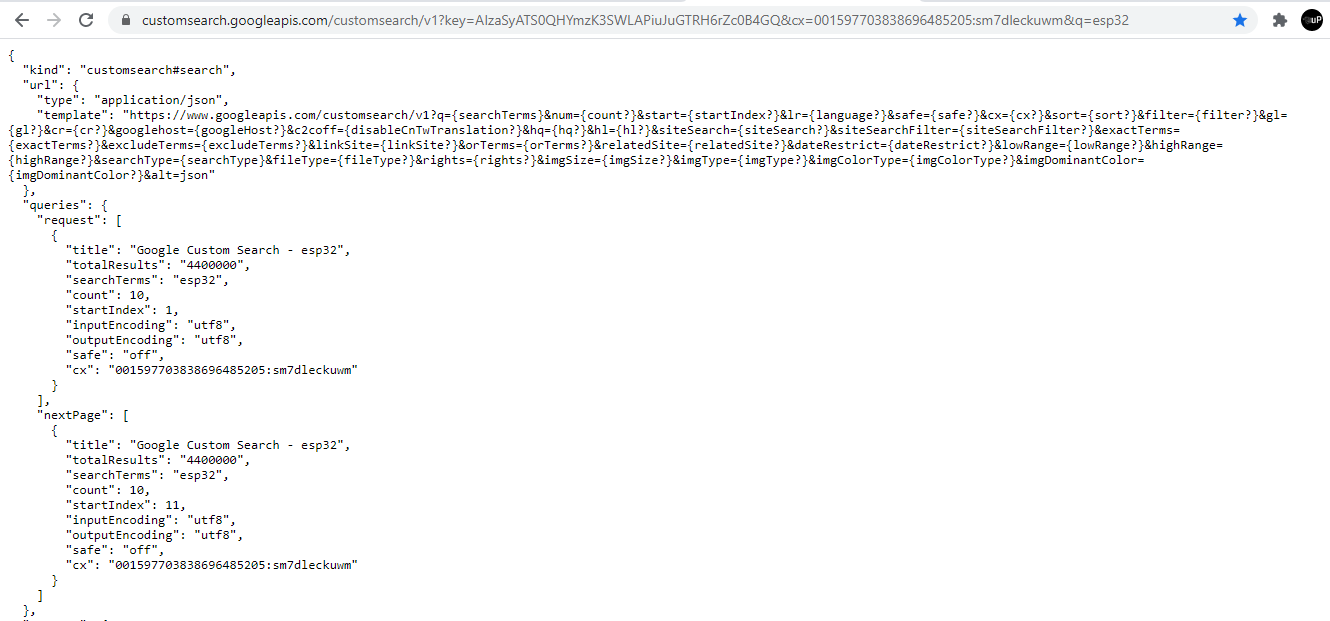
Now we can test the API, URL is as follows :
<p>https://customsearch.googleapis.com/customsearch/v1?key=YOUR_API_KEY&cx=YOUR_SEARCH_ENGINE_ID&q=esp32</p>
Replace "YOUR_API_KEY" and "YOUR_SEARCH_ENGINE_ID" by yours.
In your web browser, go to this url, you should see as result a Json file with google searches results like in the screenshot.
The list of all parameters are available here https://developers.google.com/custom-search/v1/ref...
Install ArduinoJson Library

To parse JSON file, we will use ArduinoJson library.
Go to the Library Manager in Arduino IDE, and type ArduinoJson. Install the right library"ArduinoJson by Benoit Blanchon".
Congratulations, all configurations is done.
Download the Sketch and Search on Google
For this last step :
- Download the sketch.
- Add your WiFi crendentials, your API Key and your Engine ID.
- Compile the sketch and use the serial moniteur to send your query.
More tutorials on my website: upesy.com