Google Assistant Controlled LED Matrix !
by Nematic! in Circuits > Arduino
10971 Views, 77 Favorites, 0 Comments
Google Assistant Controlled LED Matrix !
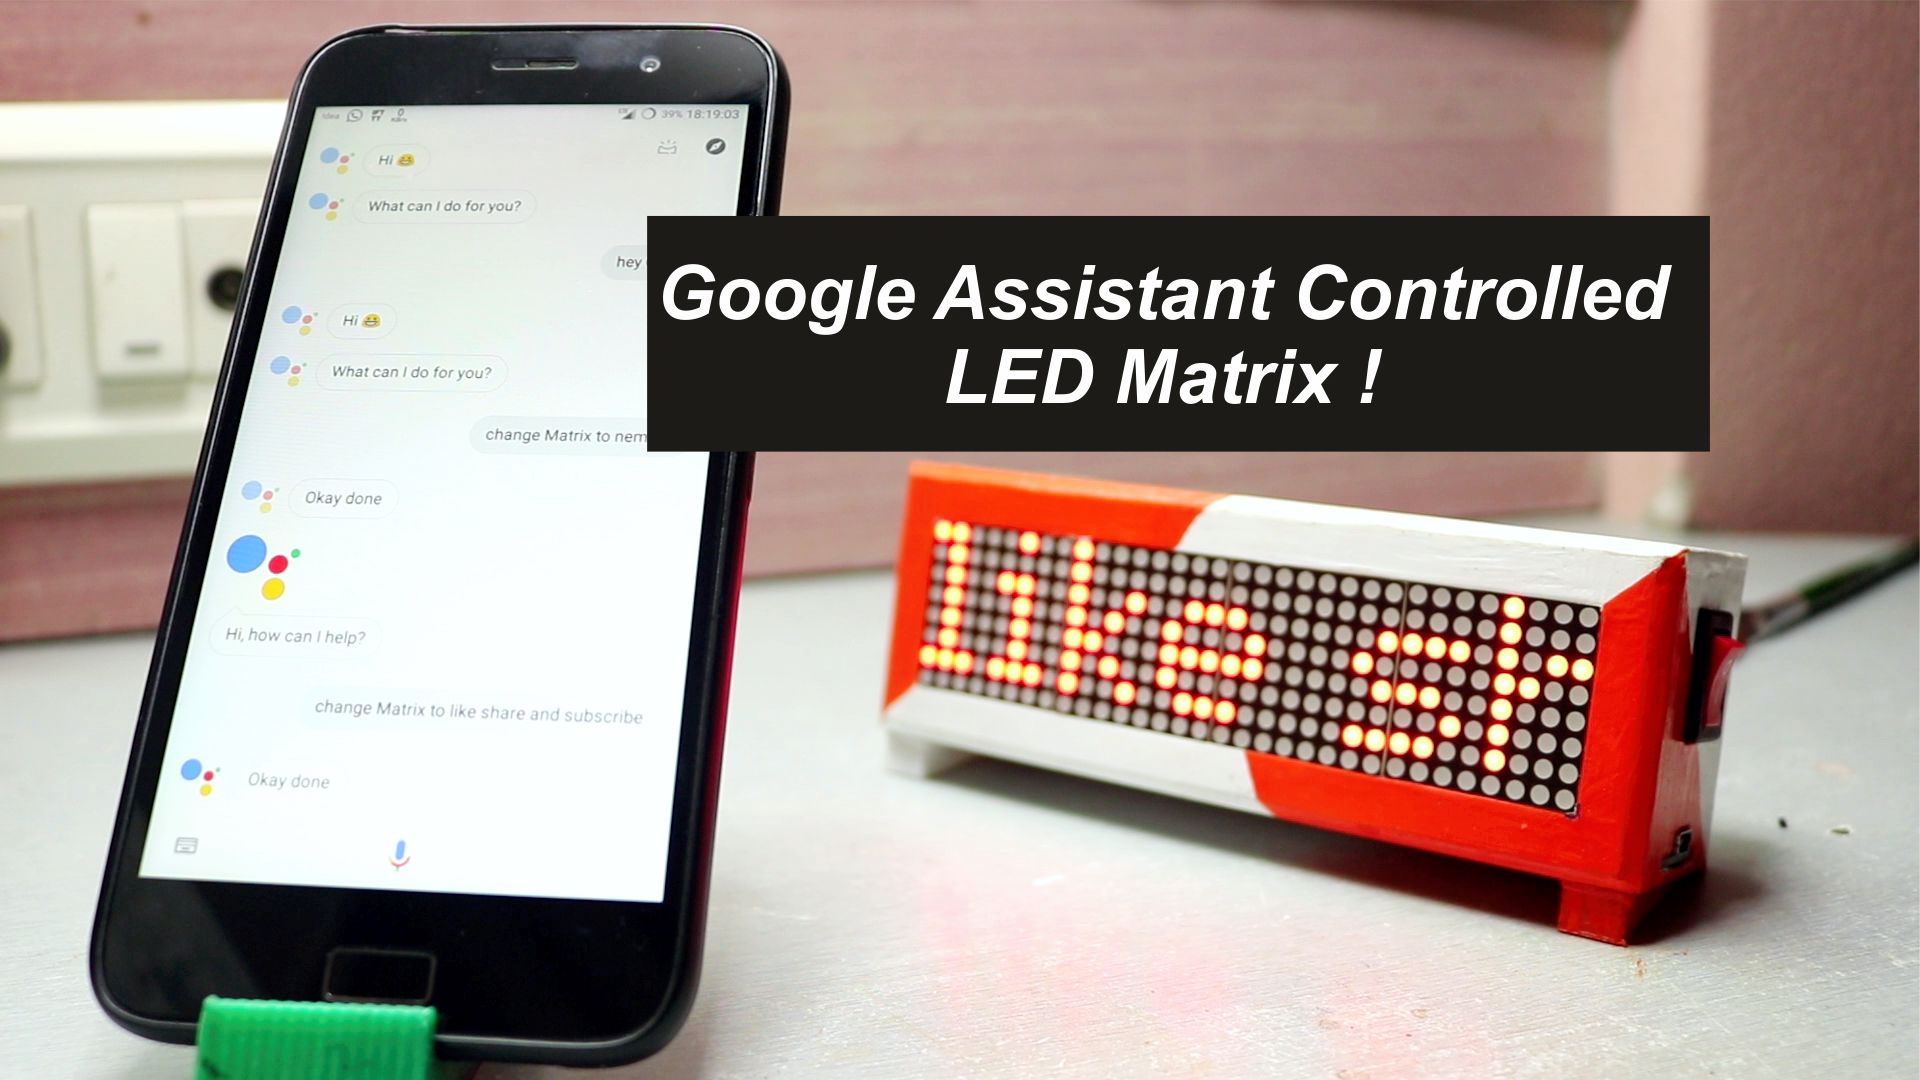
In this tutorial, I will show you how you can make Google Assistant Controlled LED Matrix which you can control form anywhere using a smartphone,
So let’s get started!
Watch the Video !
If you don't want to read all the stuff you can watch my video!
Downloads
Everything We Need !
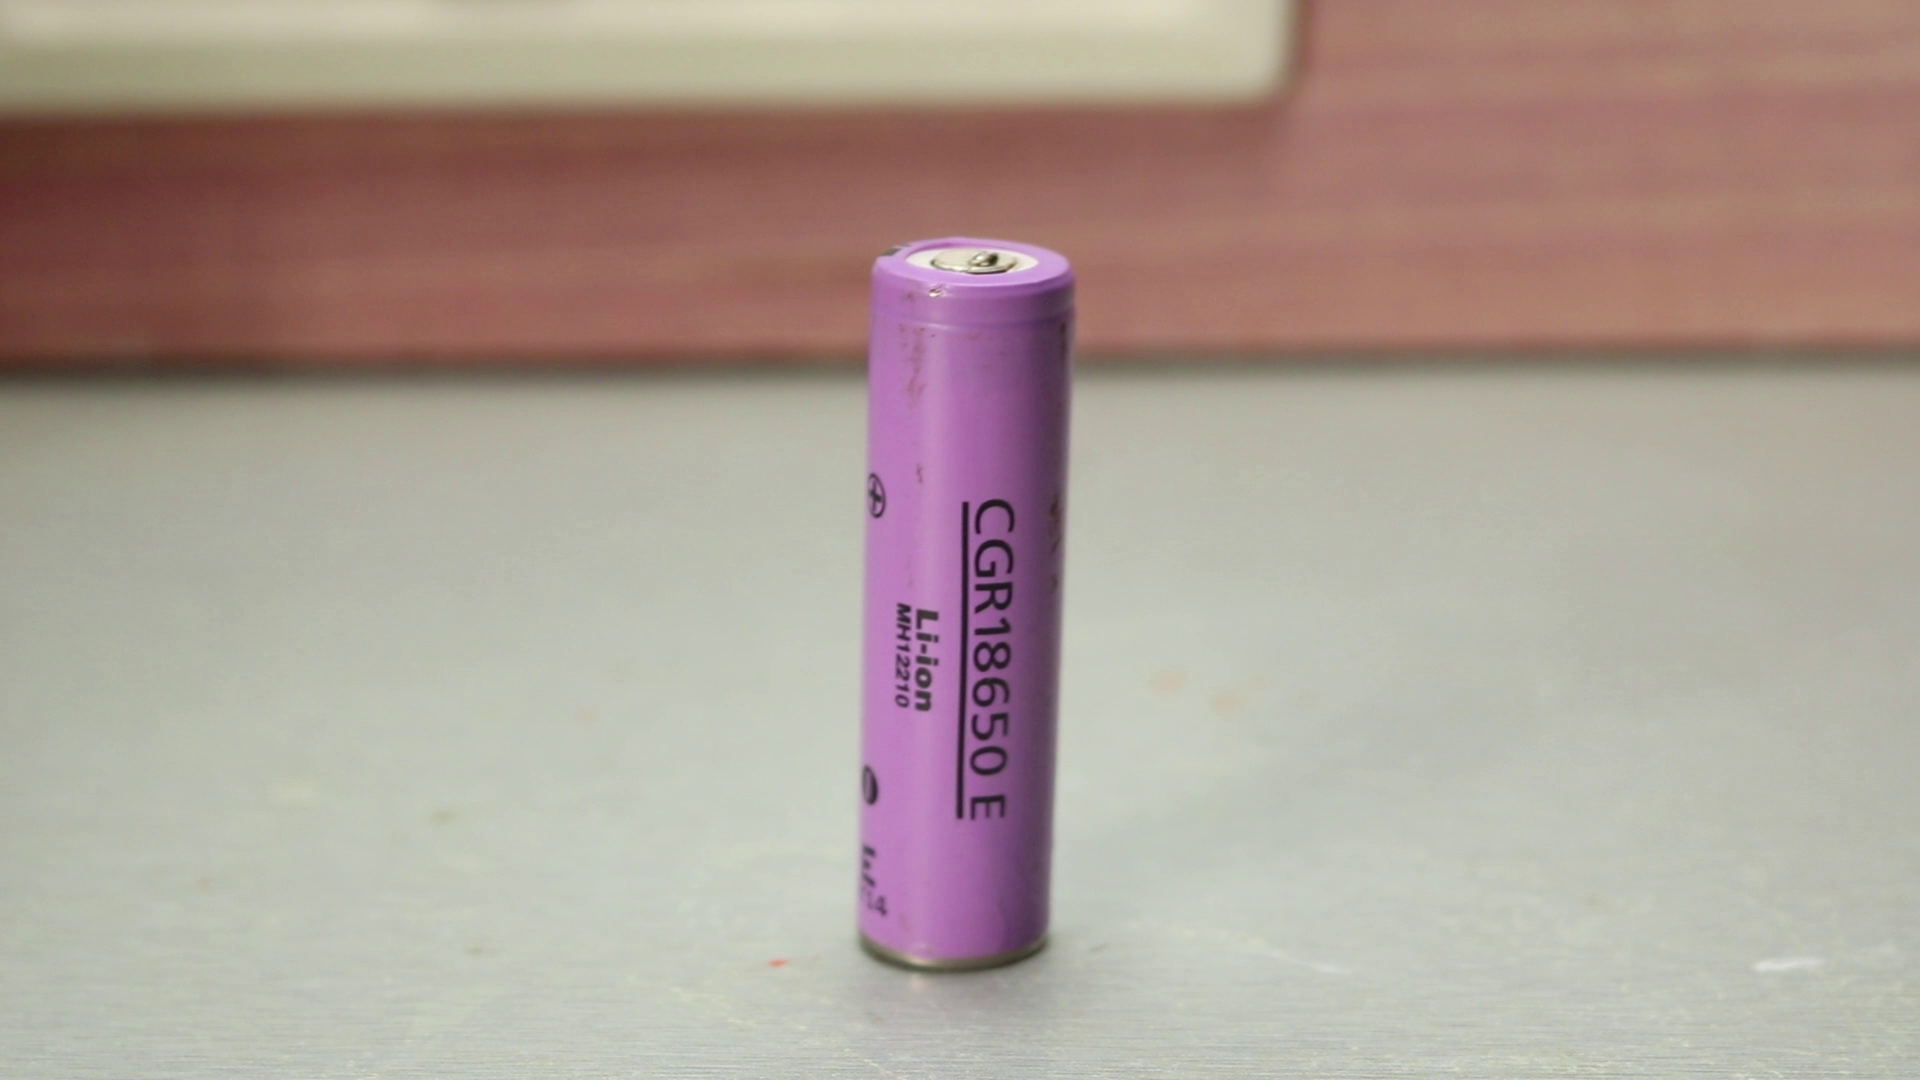
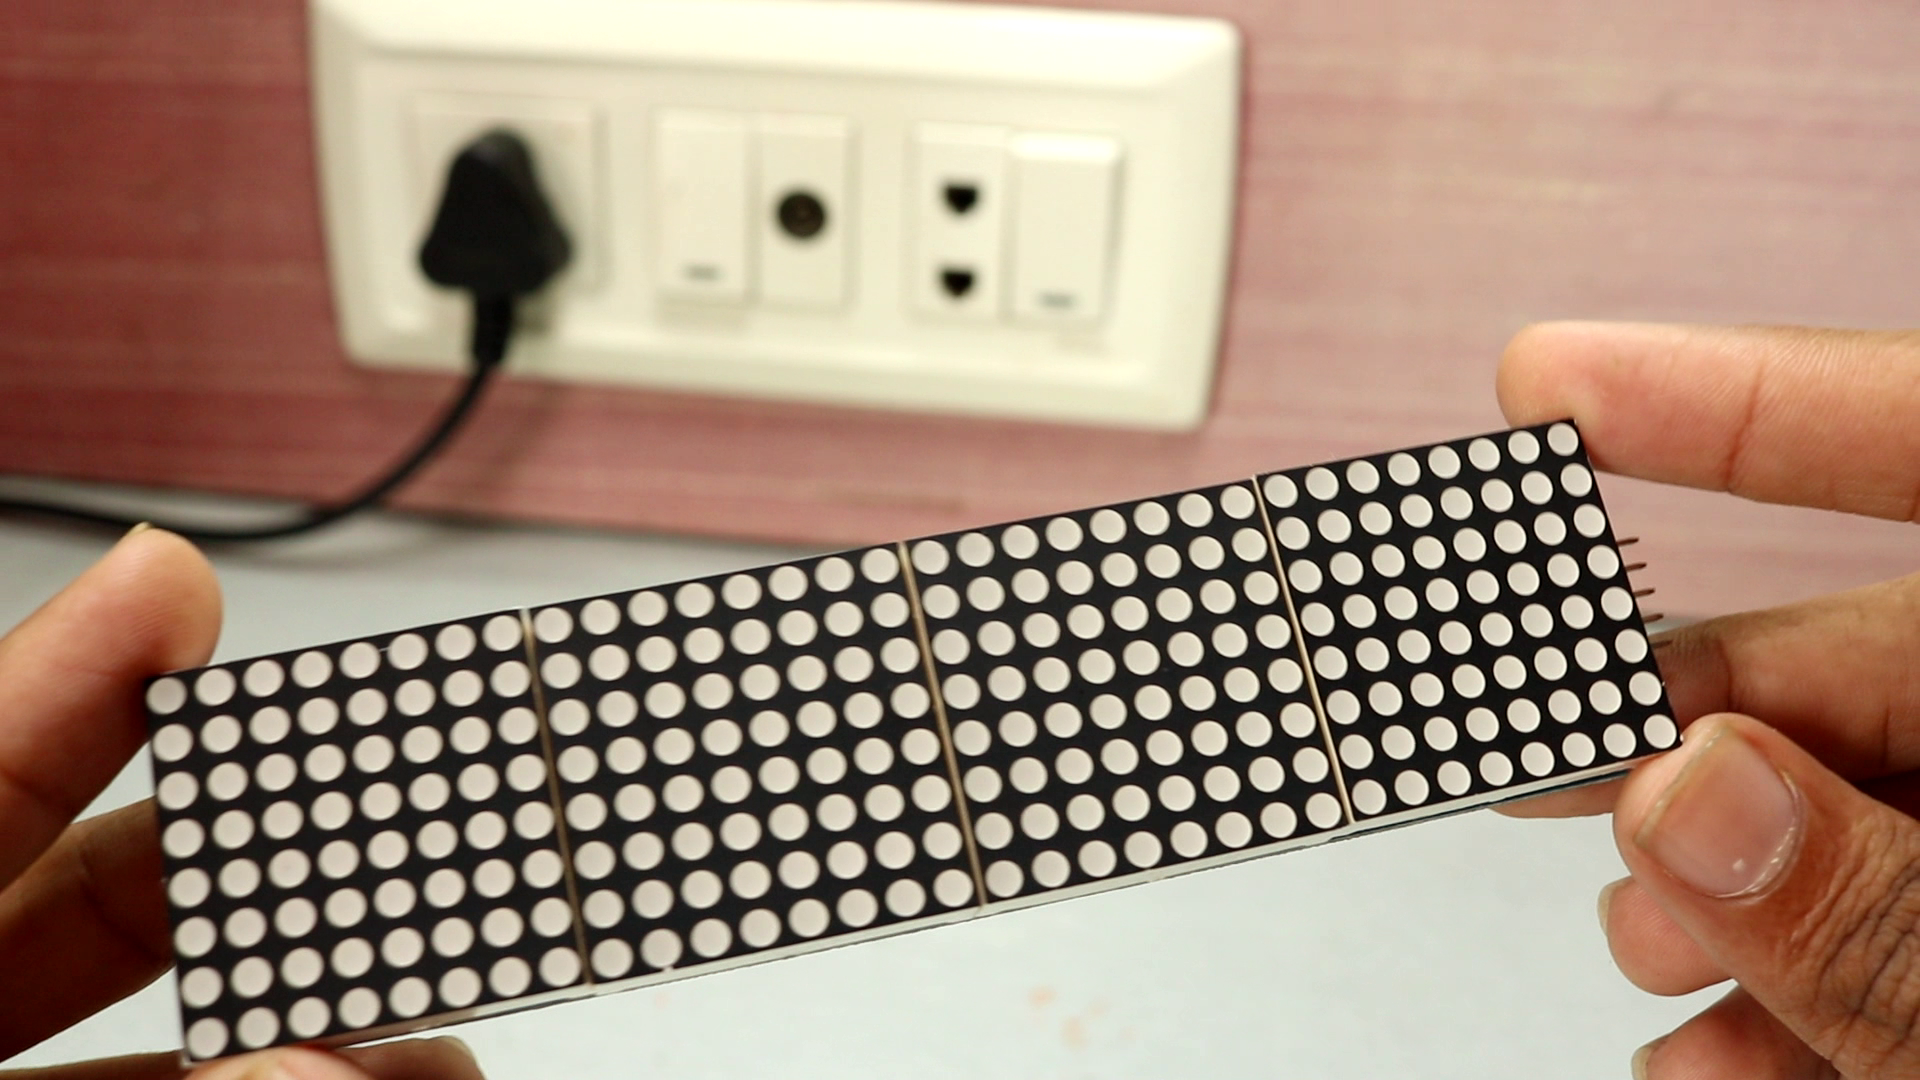
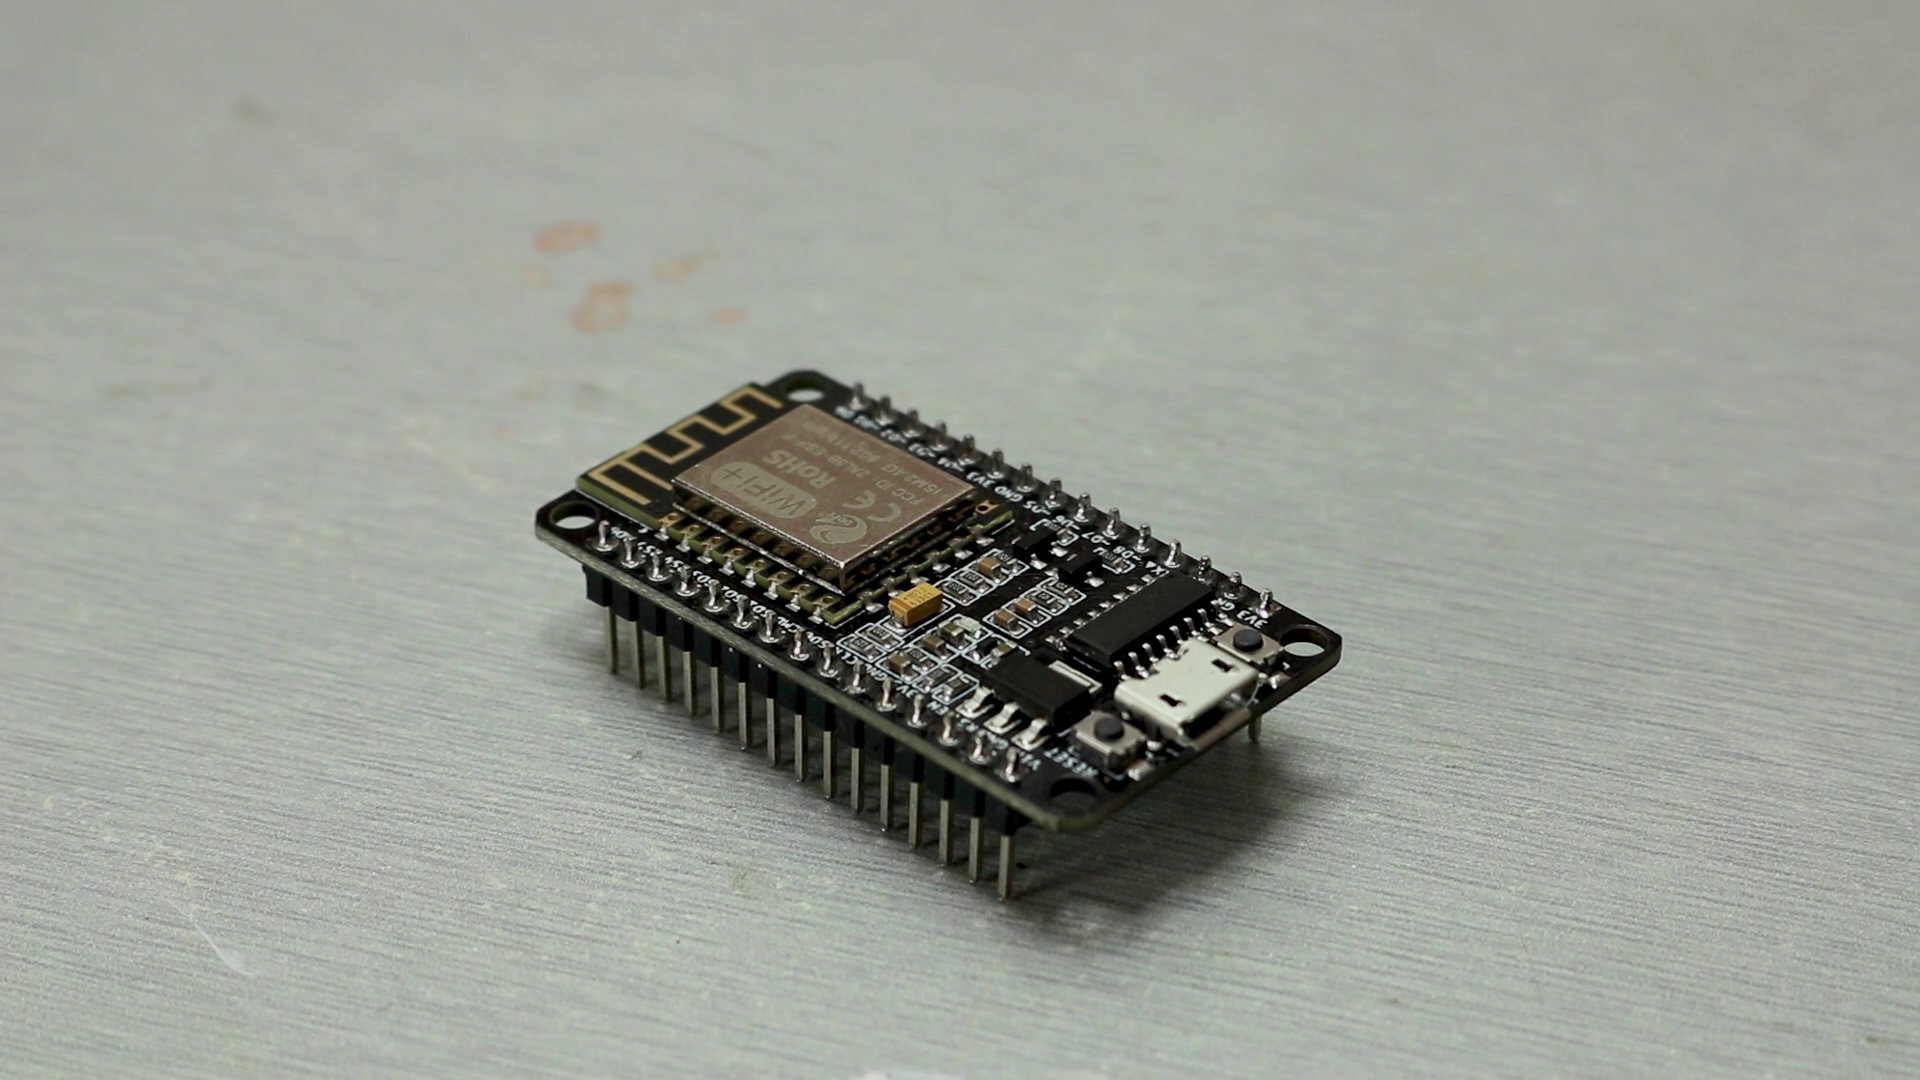
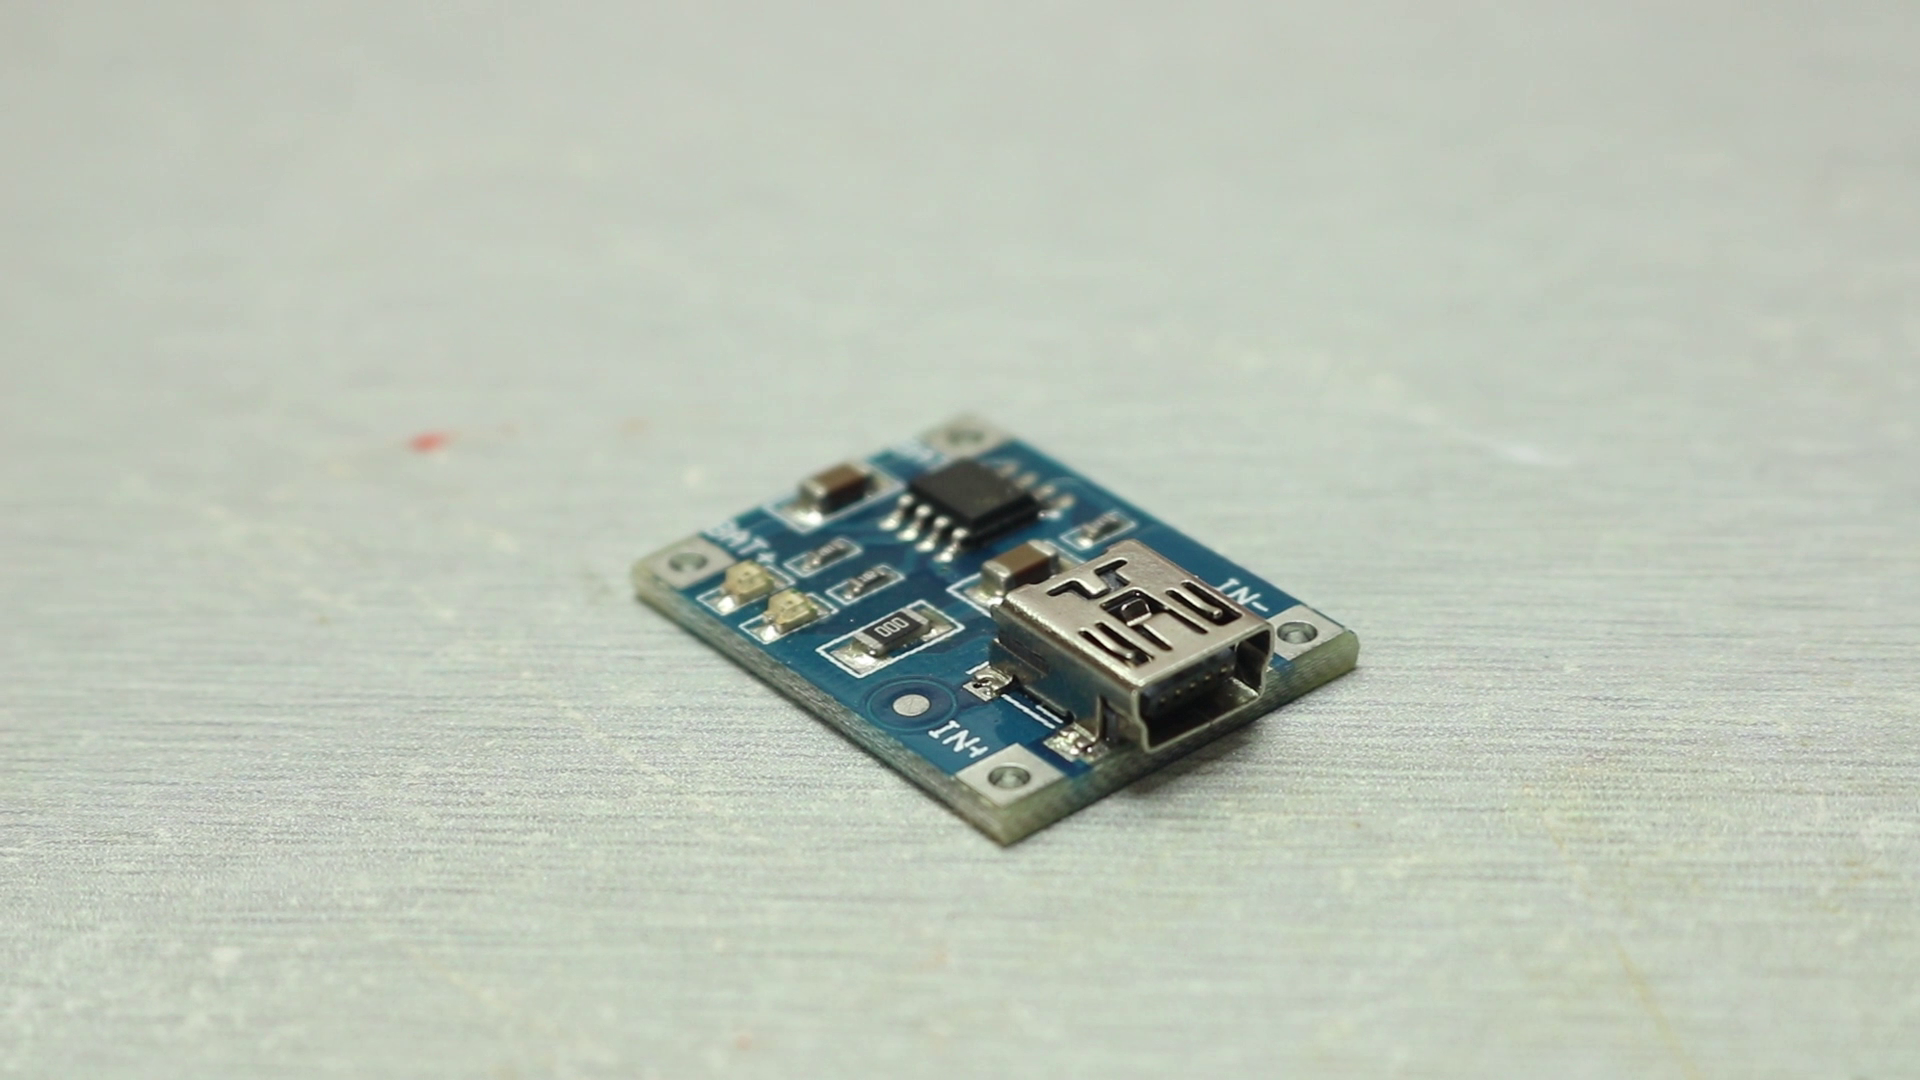
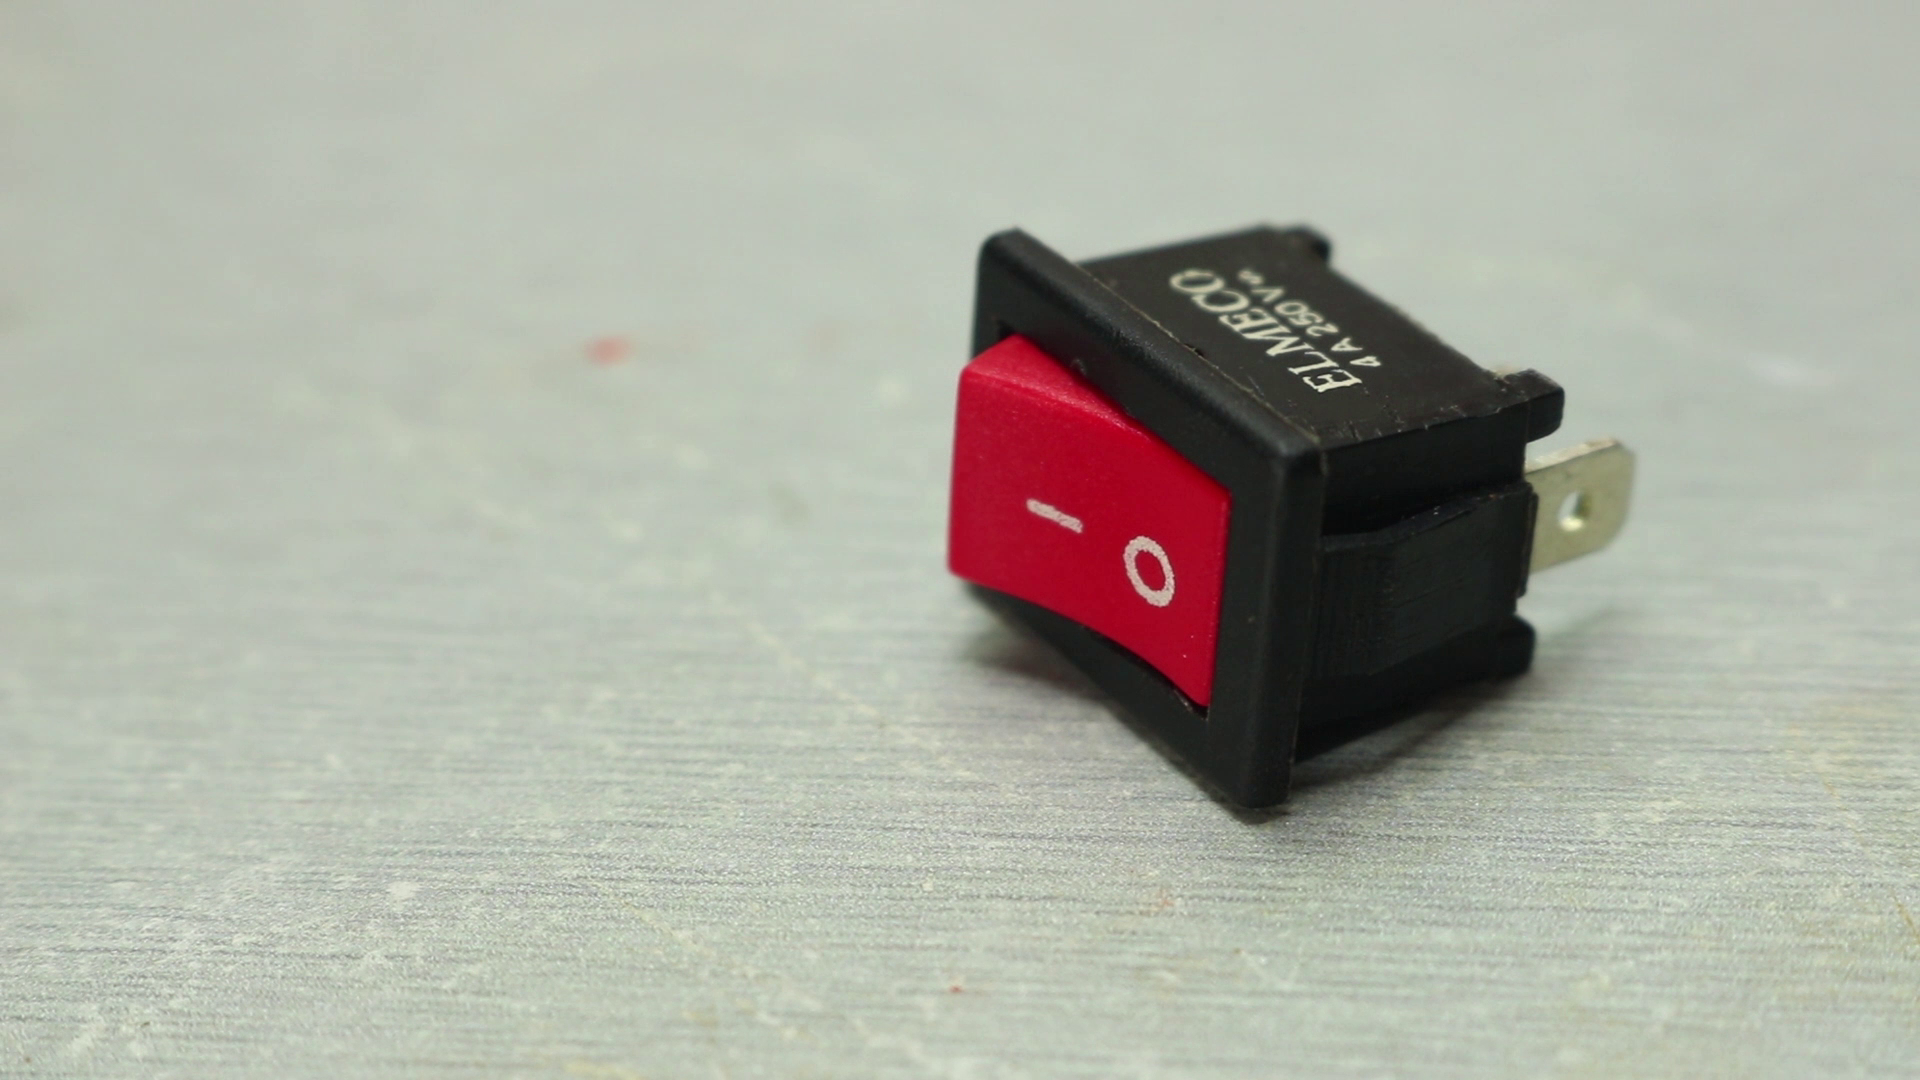
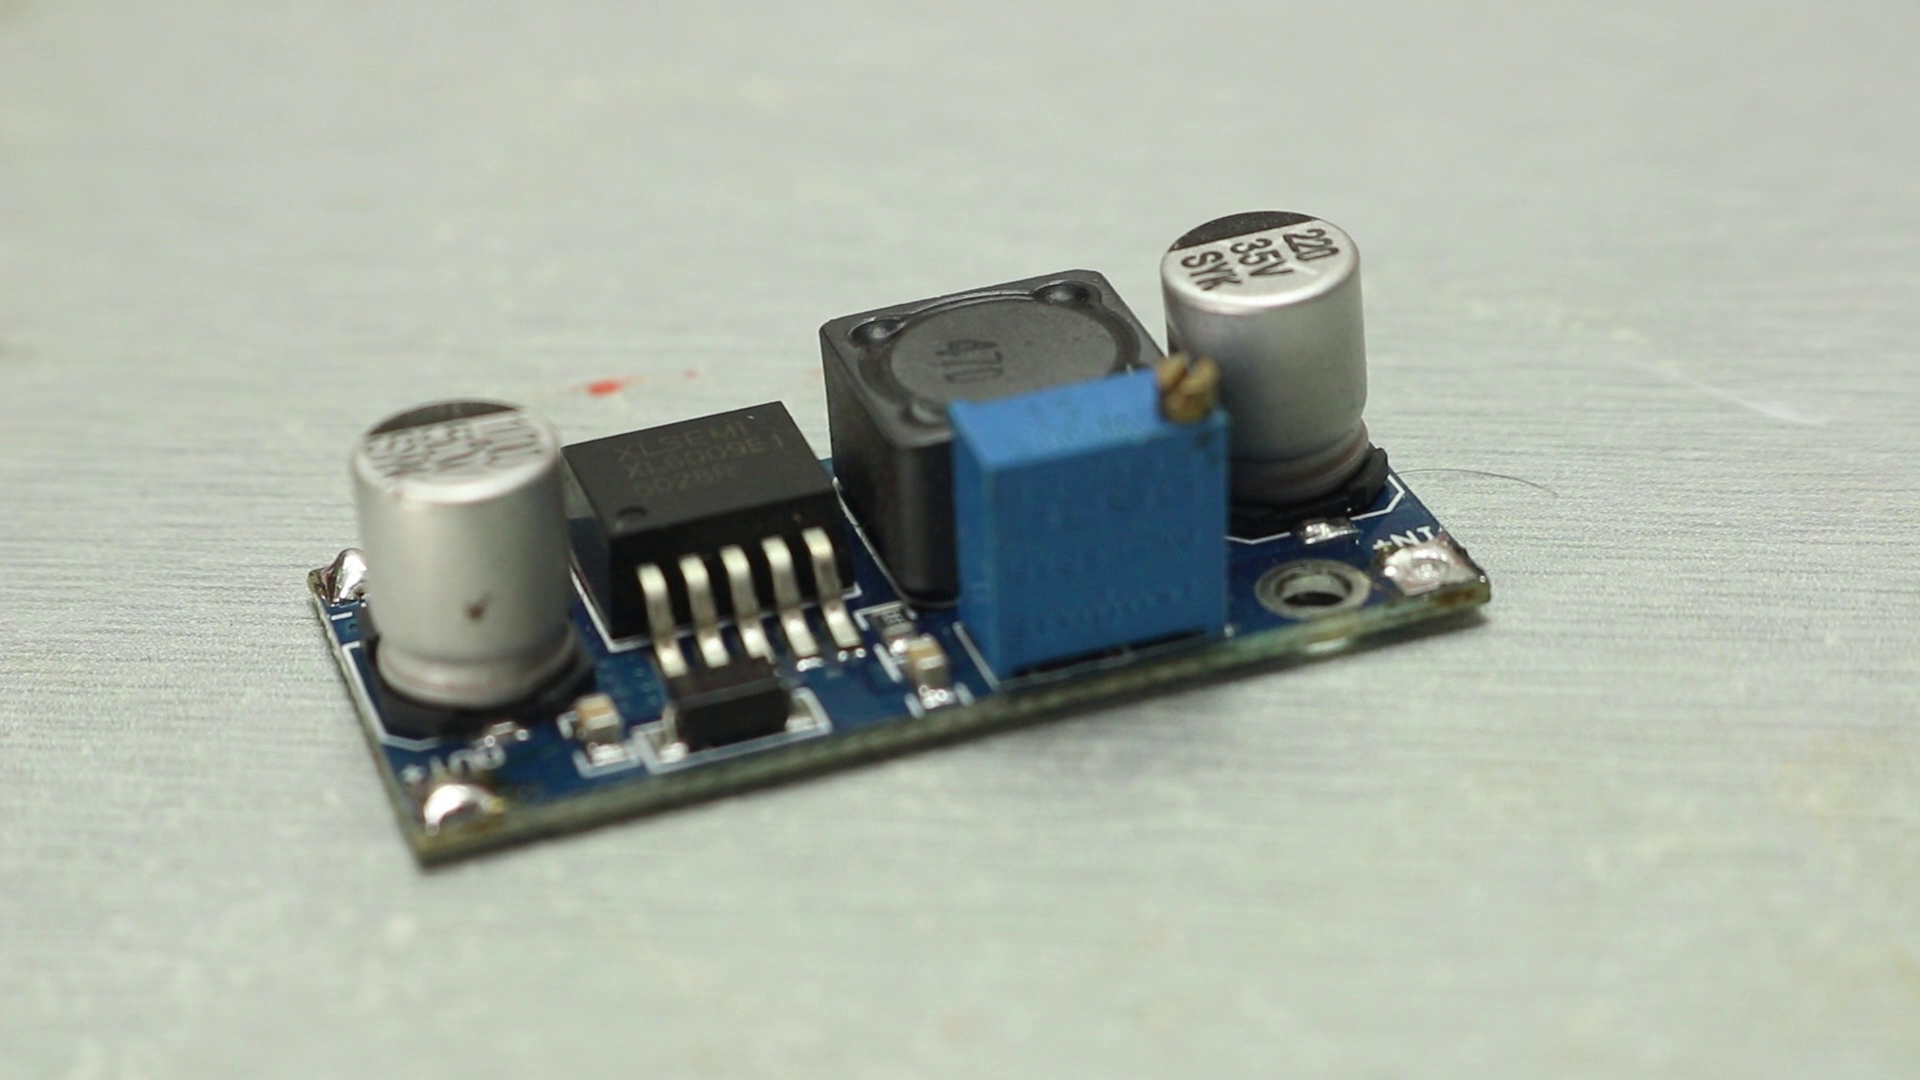
Here is the list of material,
1) 18650 Li-ion Cell - https://www.gearbest.com/batteries/pp_241348.html?...
2) Max 7219 Module -https://www.gearbest.com/raspberry-pi/pp_391811.ht...
3) ESP8266 - CP2102 https://www.gearbest.com/transmitters-receivers-mo...
or CH340 https://www.gearbest.com/other-accessories/pp_0094...
4) TP4056 - https://www.gearbest.com/other-accessories/pp_2581...
5) Switch - https://www.gearbest.com/diy-parts-components/pp_2...
6) Step Up Module- https://www.gearbest.com/other-accessories/pp_2272...
7) 3D Printed Case (STL File below)
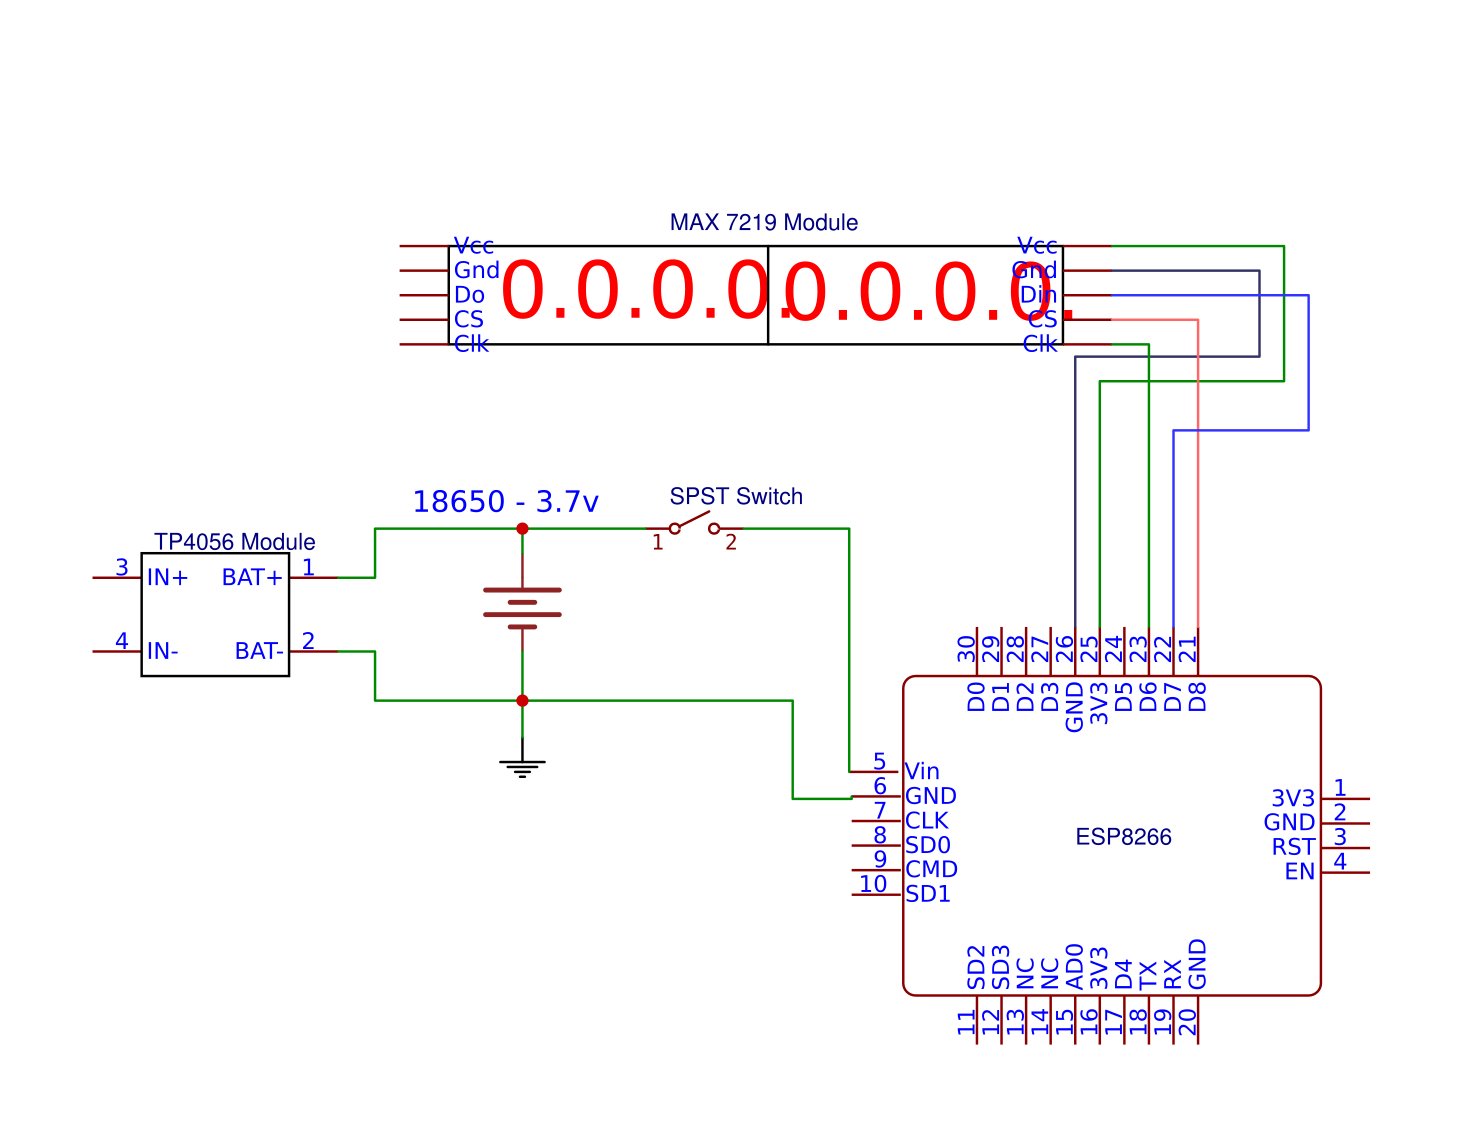
Schematic, Code and Setup
.png)
Connect the
CLK to D5
CS to D8
DIN to D7 and
Vcc and GND pins to ESP8266 Board.
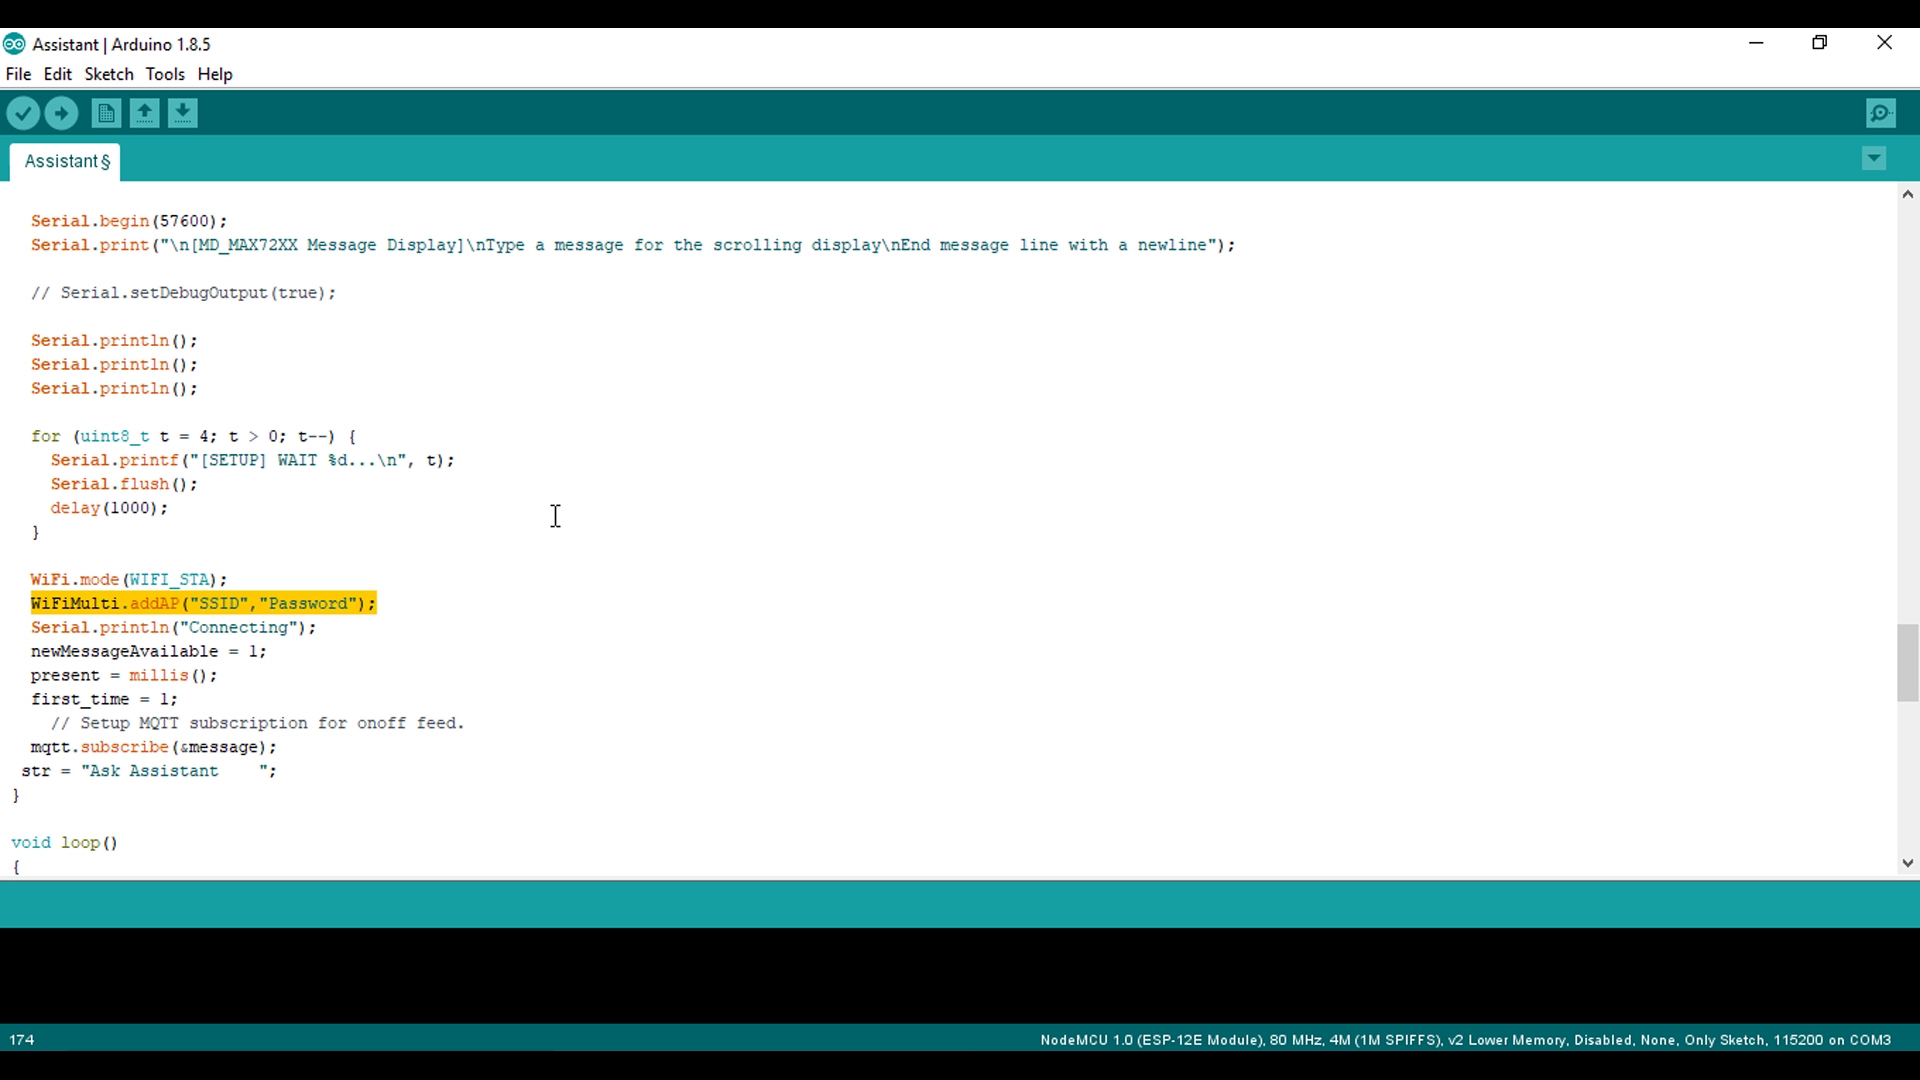
Then download the code for this project. Just enter your WiFi SSID and Password in the program and save it
Downloads
AdaFruit IO Setup
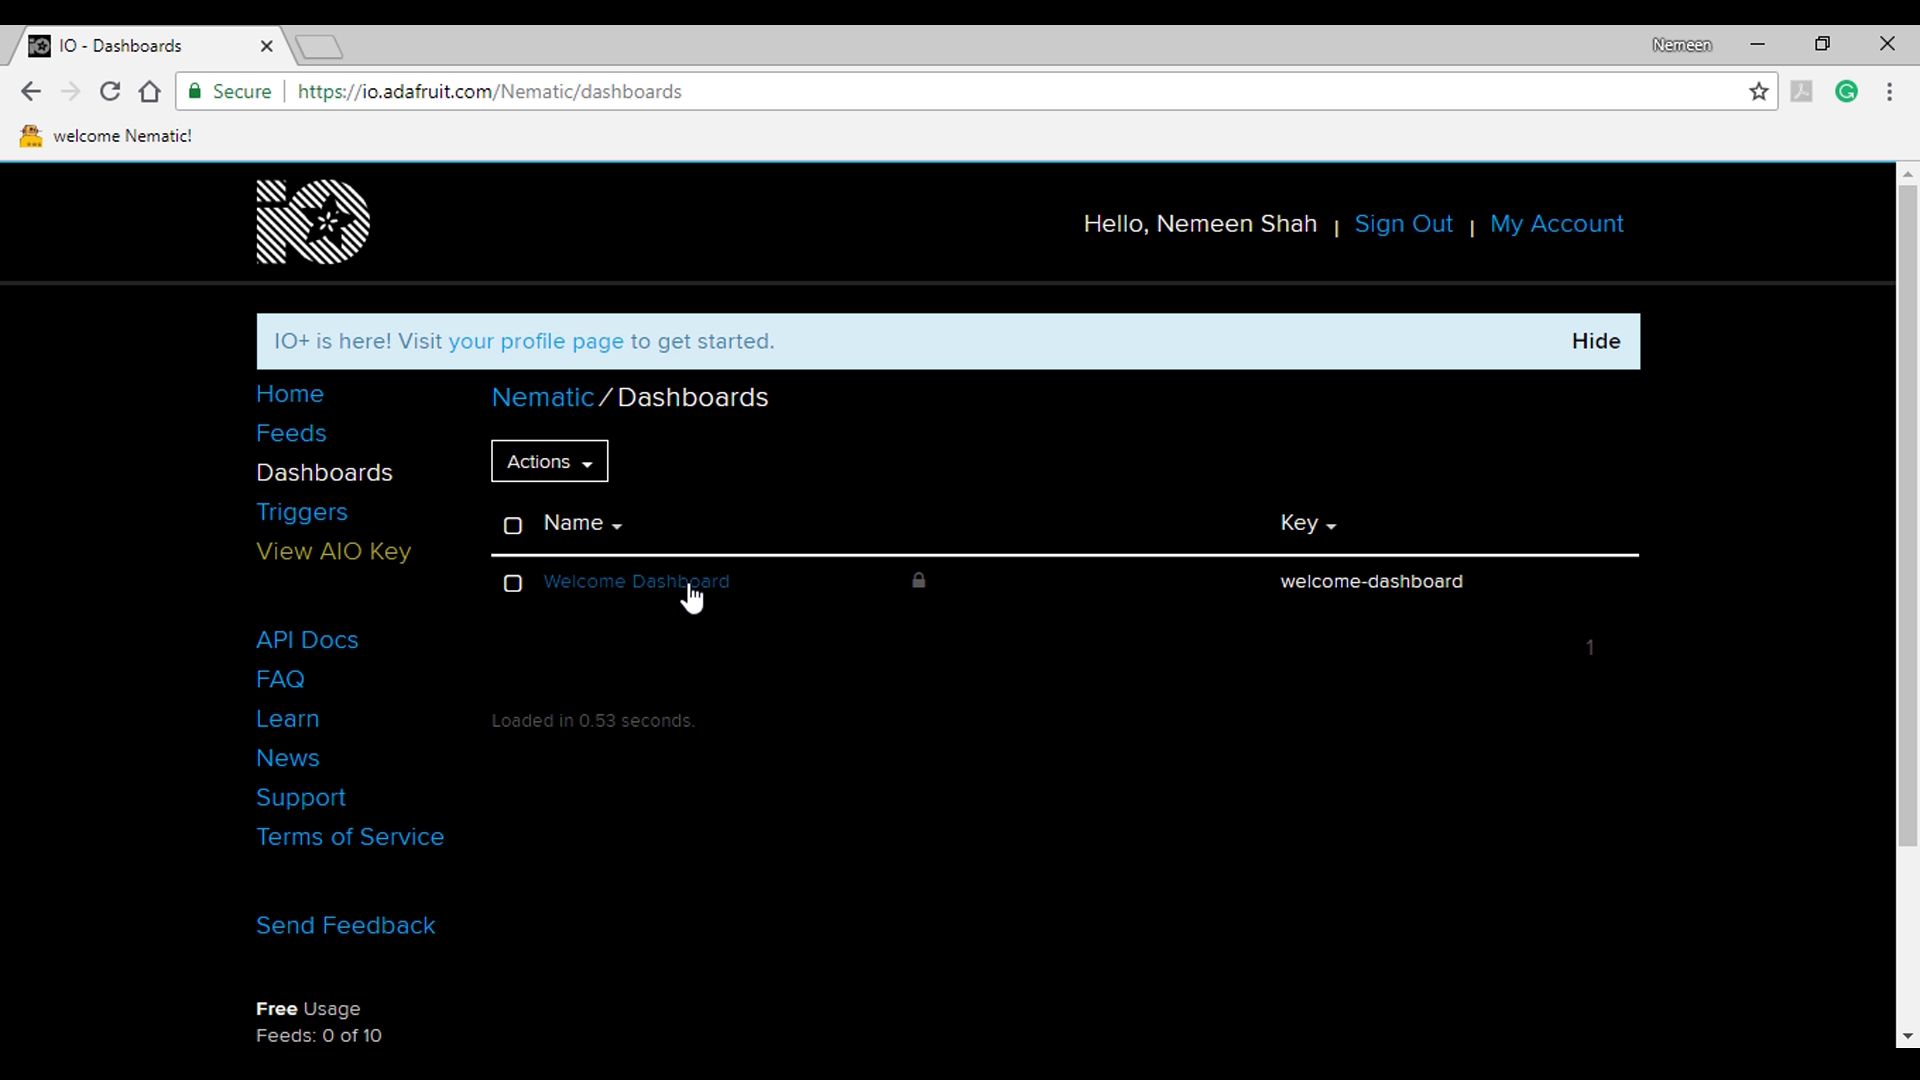
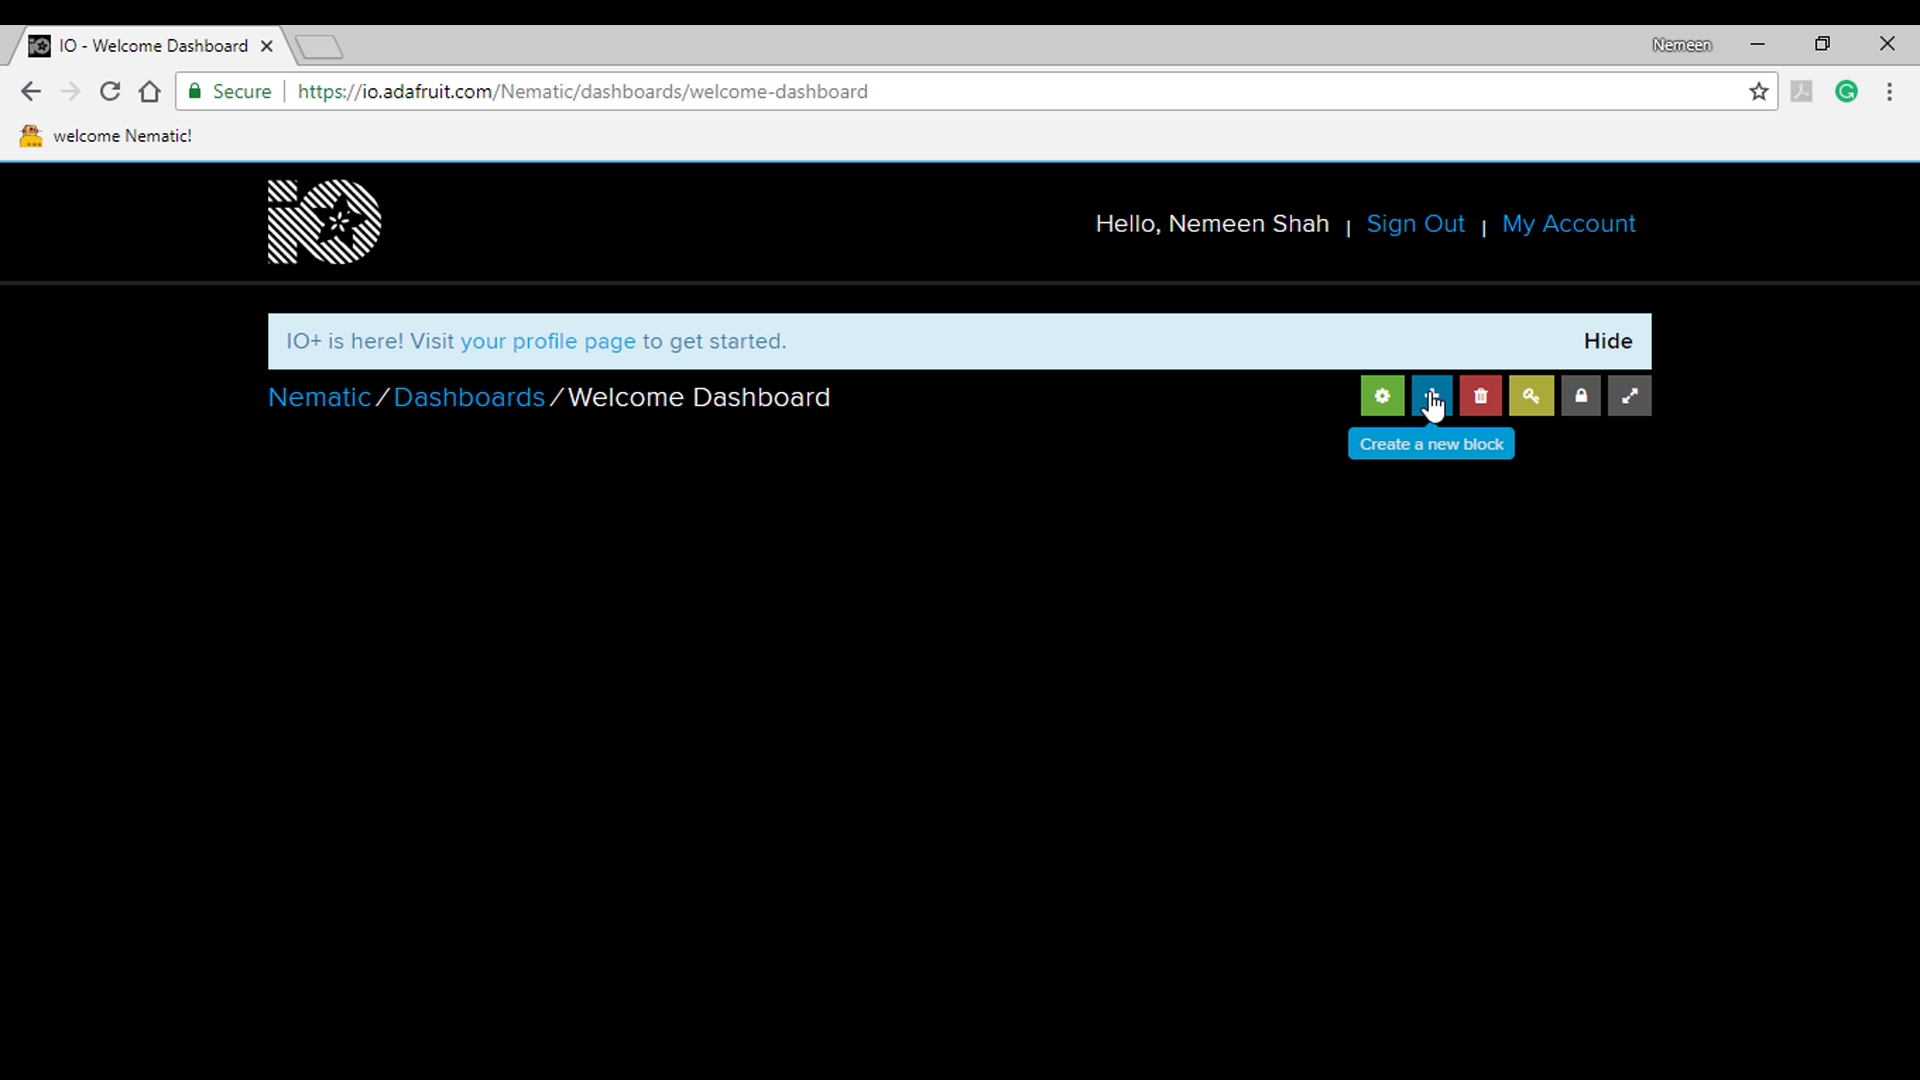
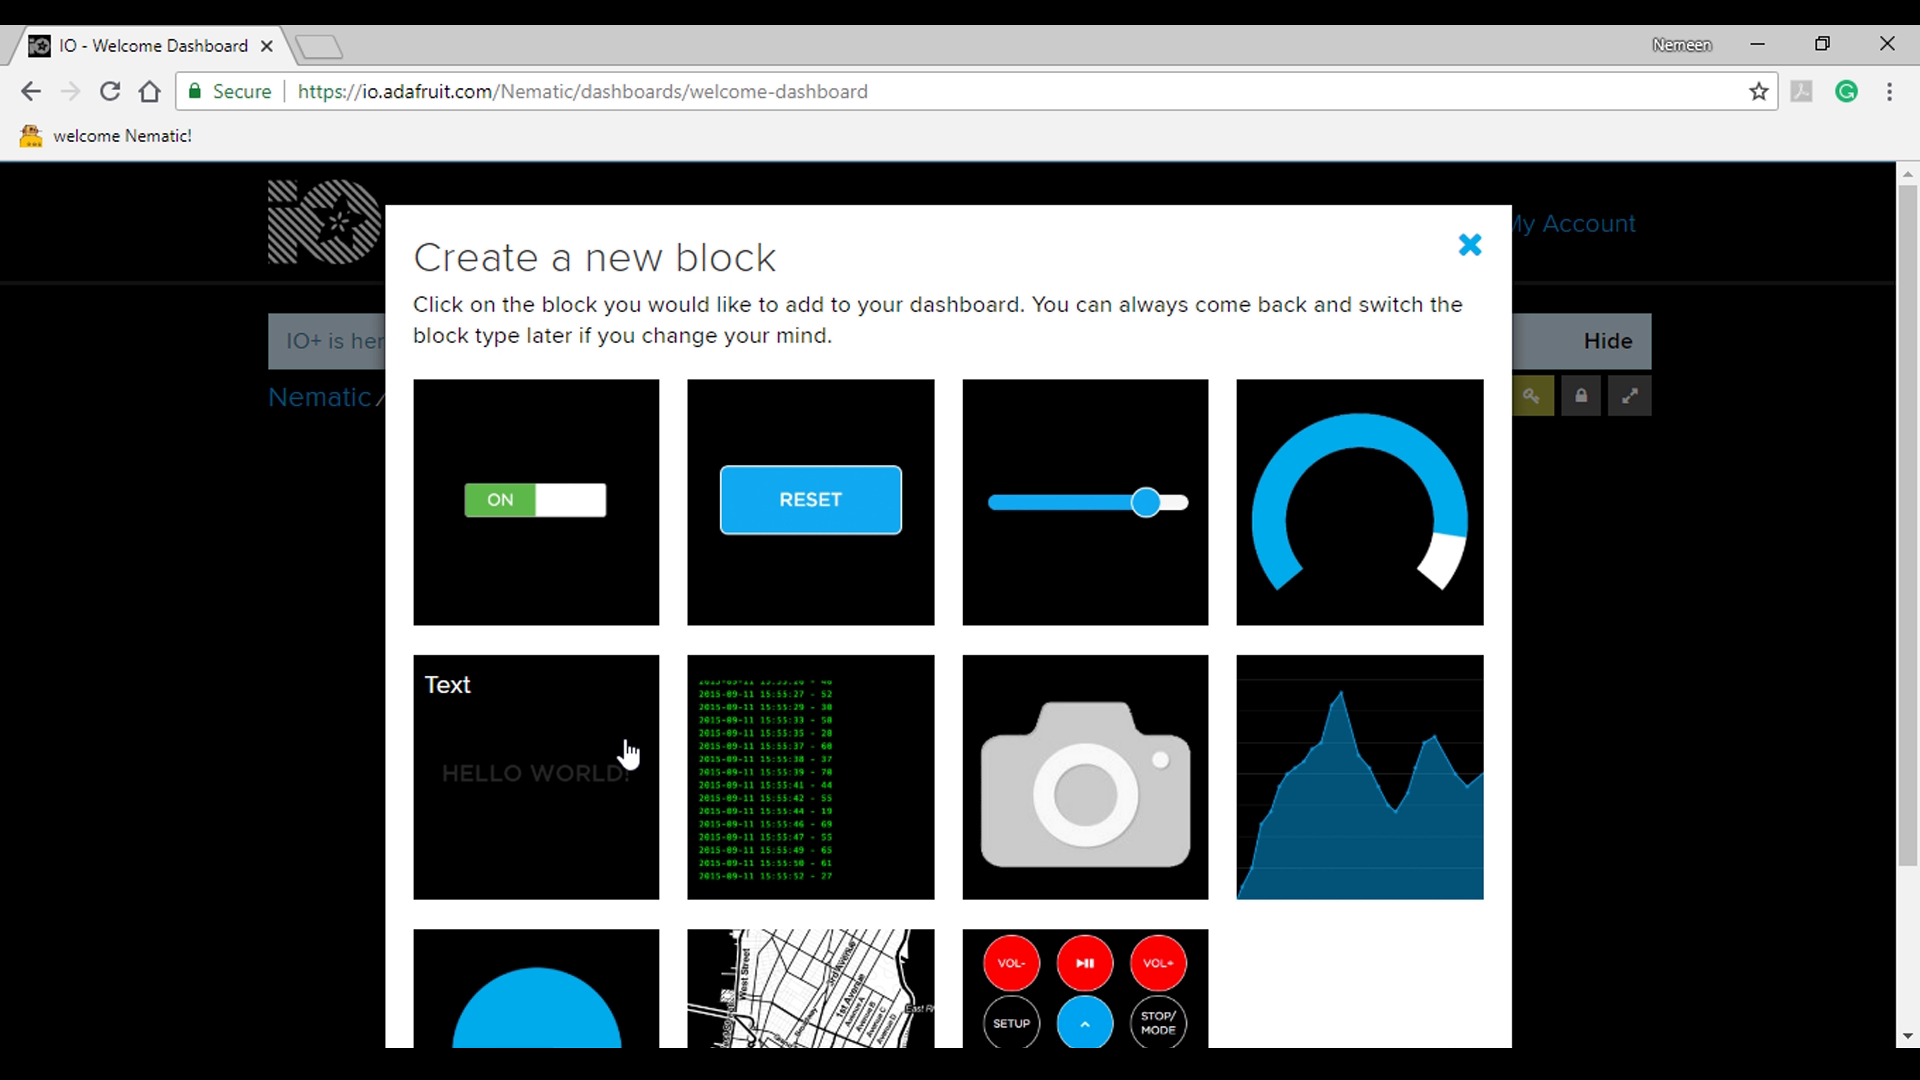
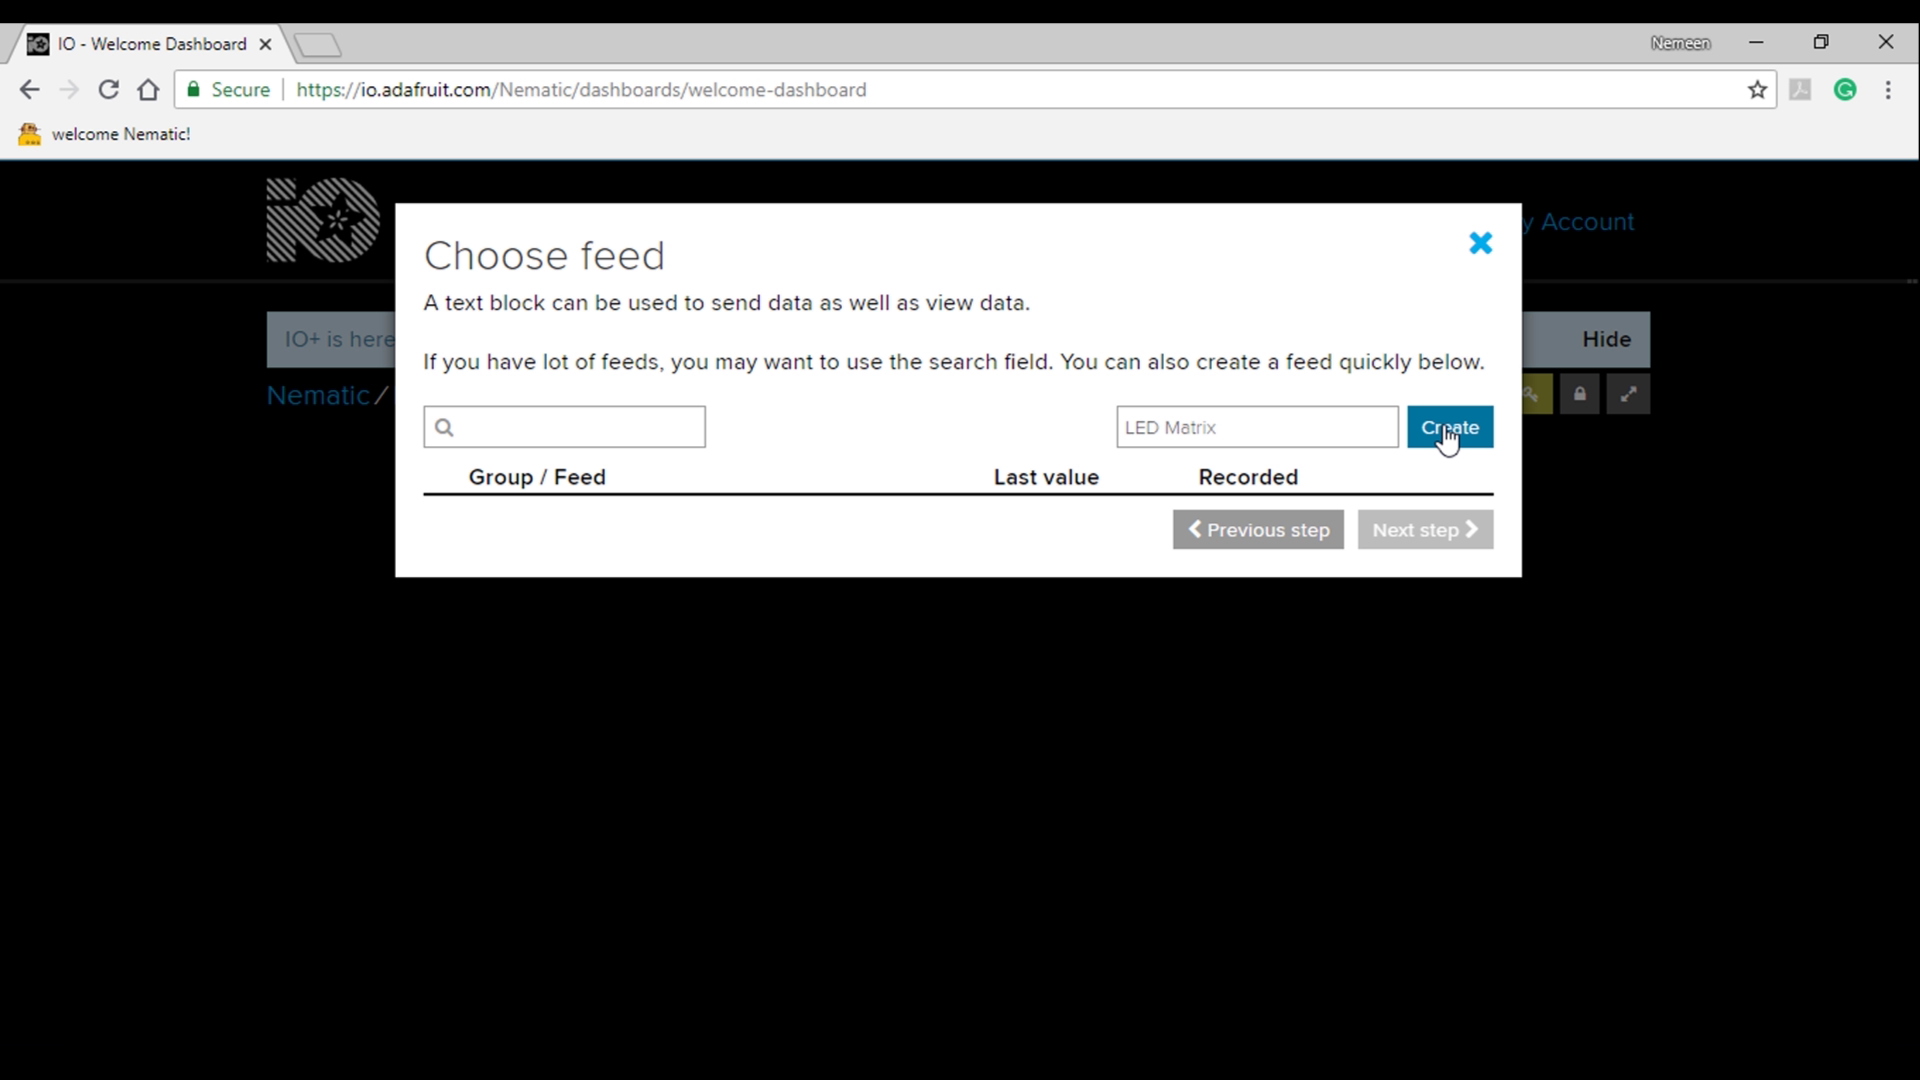
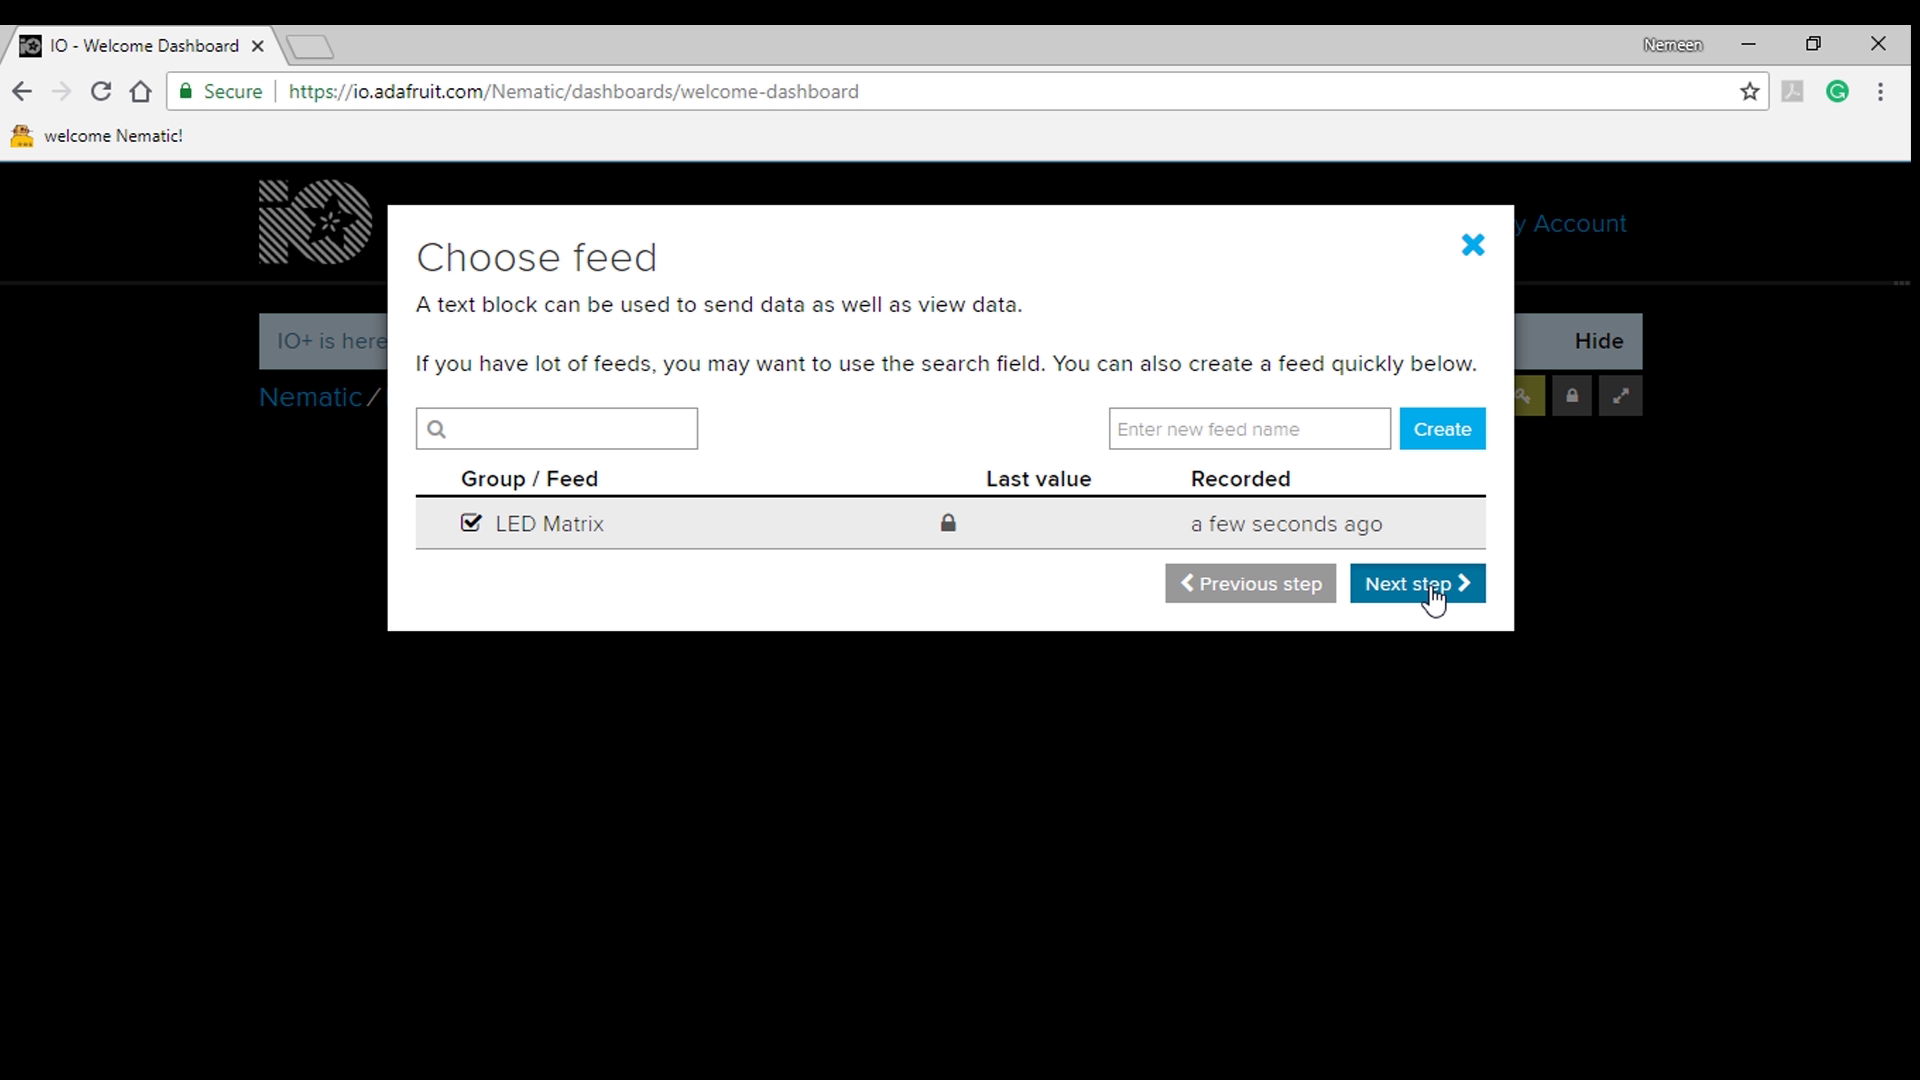
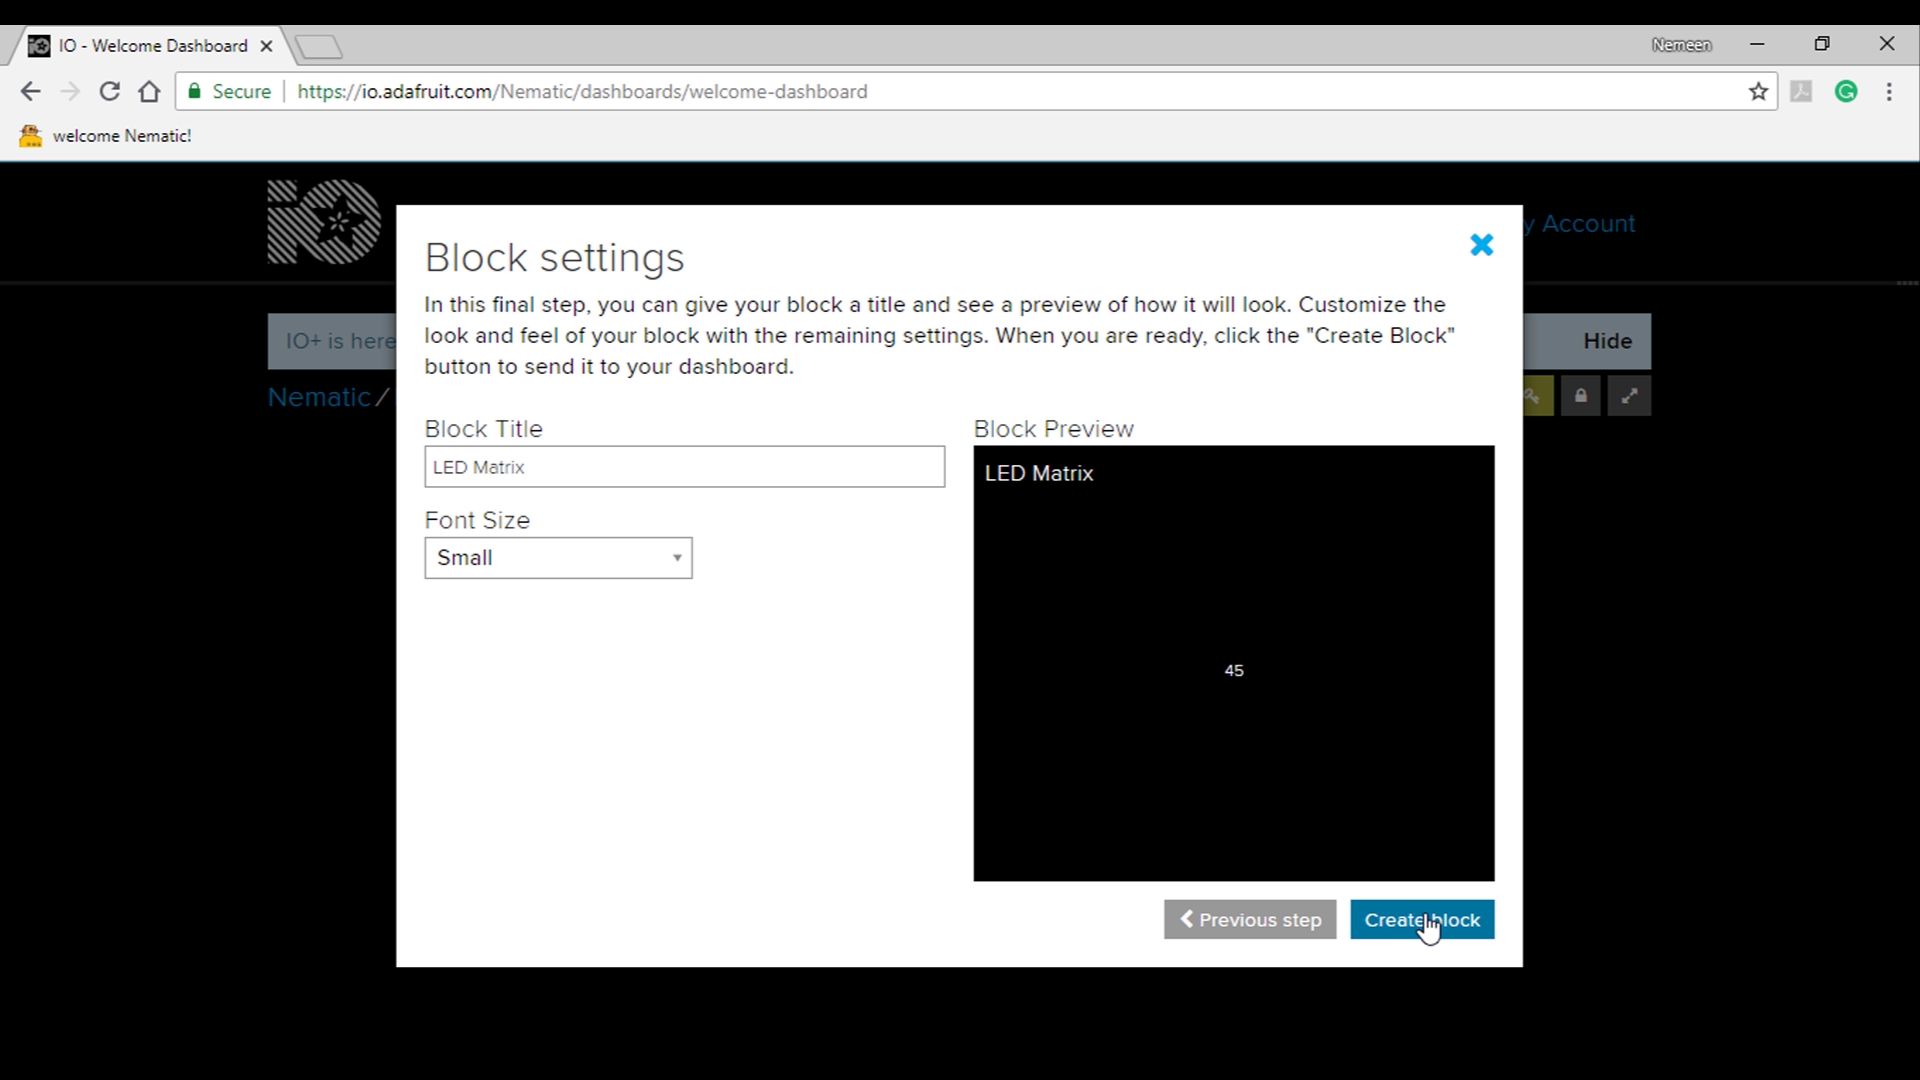
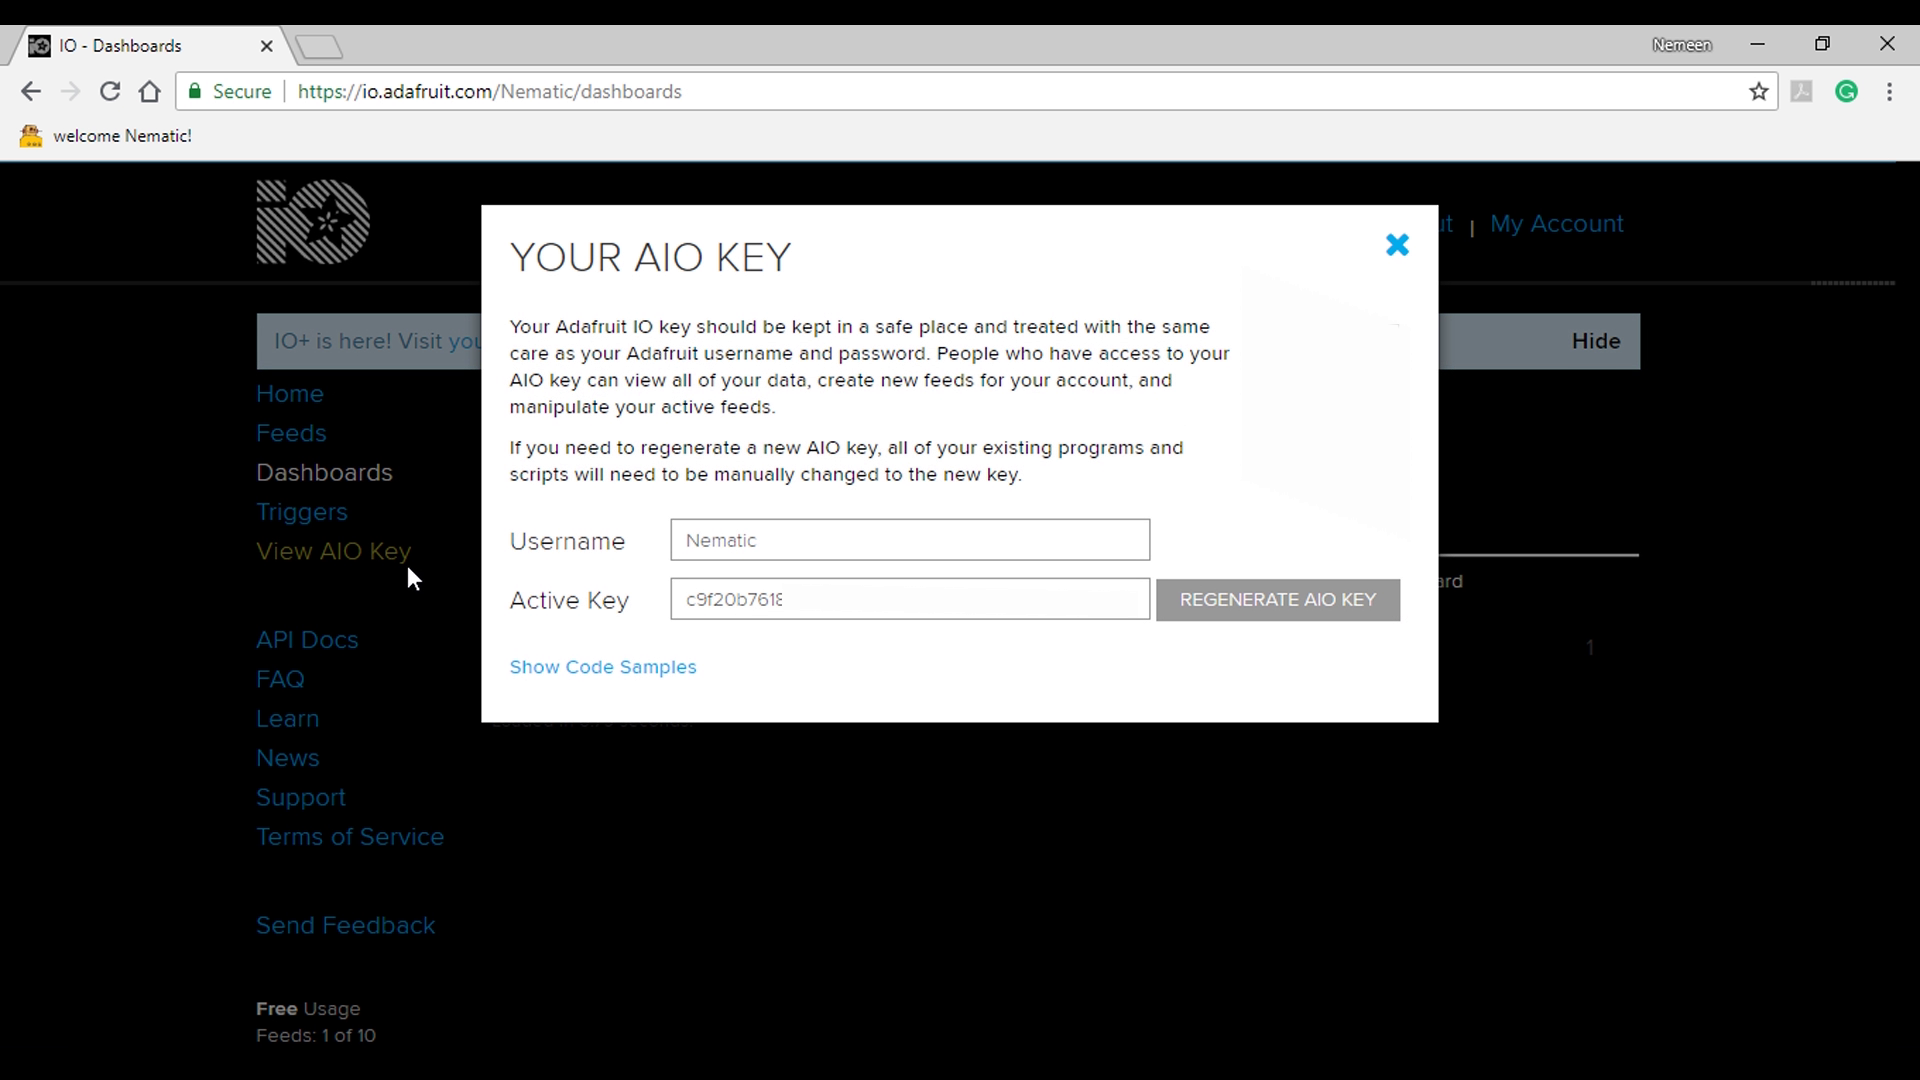
Head over to io.adafruit.com site
Once you login you will see Welcome Dashboard click on it, then click on Create New Block and select the Text then enter LED Matrix (program won’t work if you change it) and select Create then select it and click Next then Create Block. then go back to your dashboard and select View AIO Key and copy it.
Now open the program and paste this key here with username and upload this code to ESP8266 Board.
Google Assistant Setup

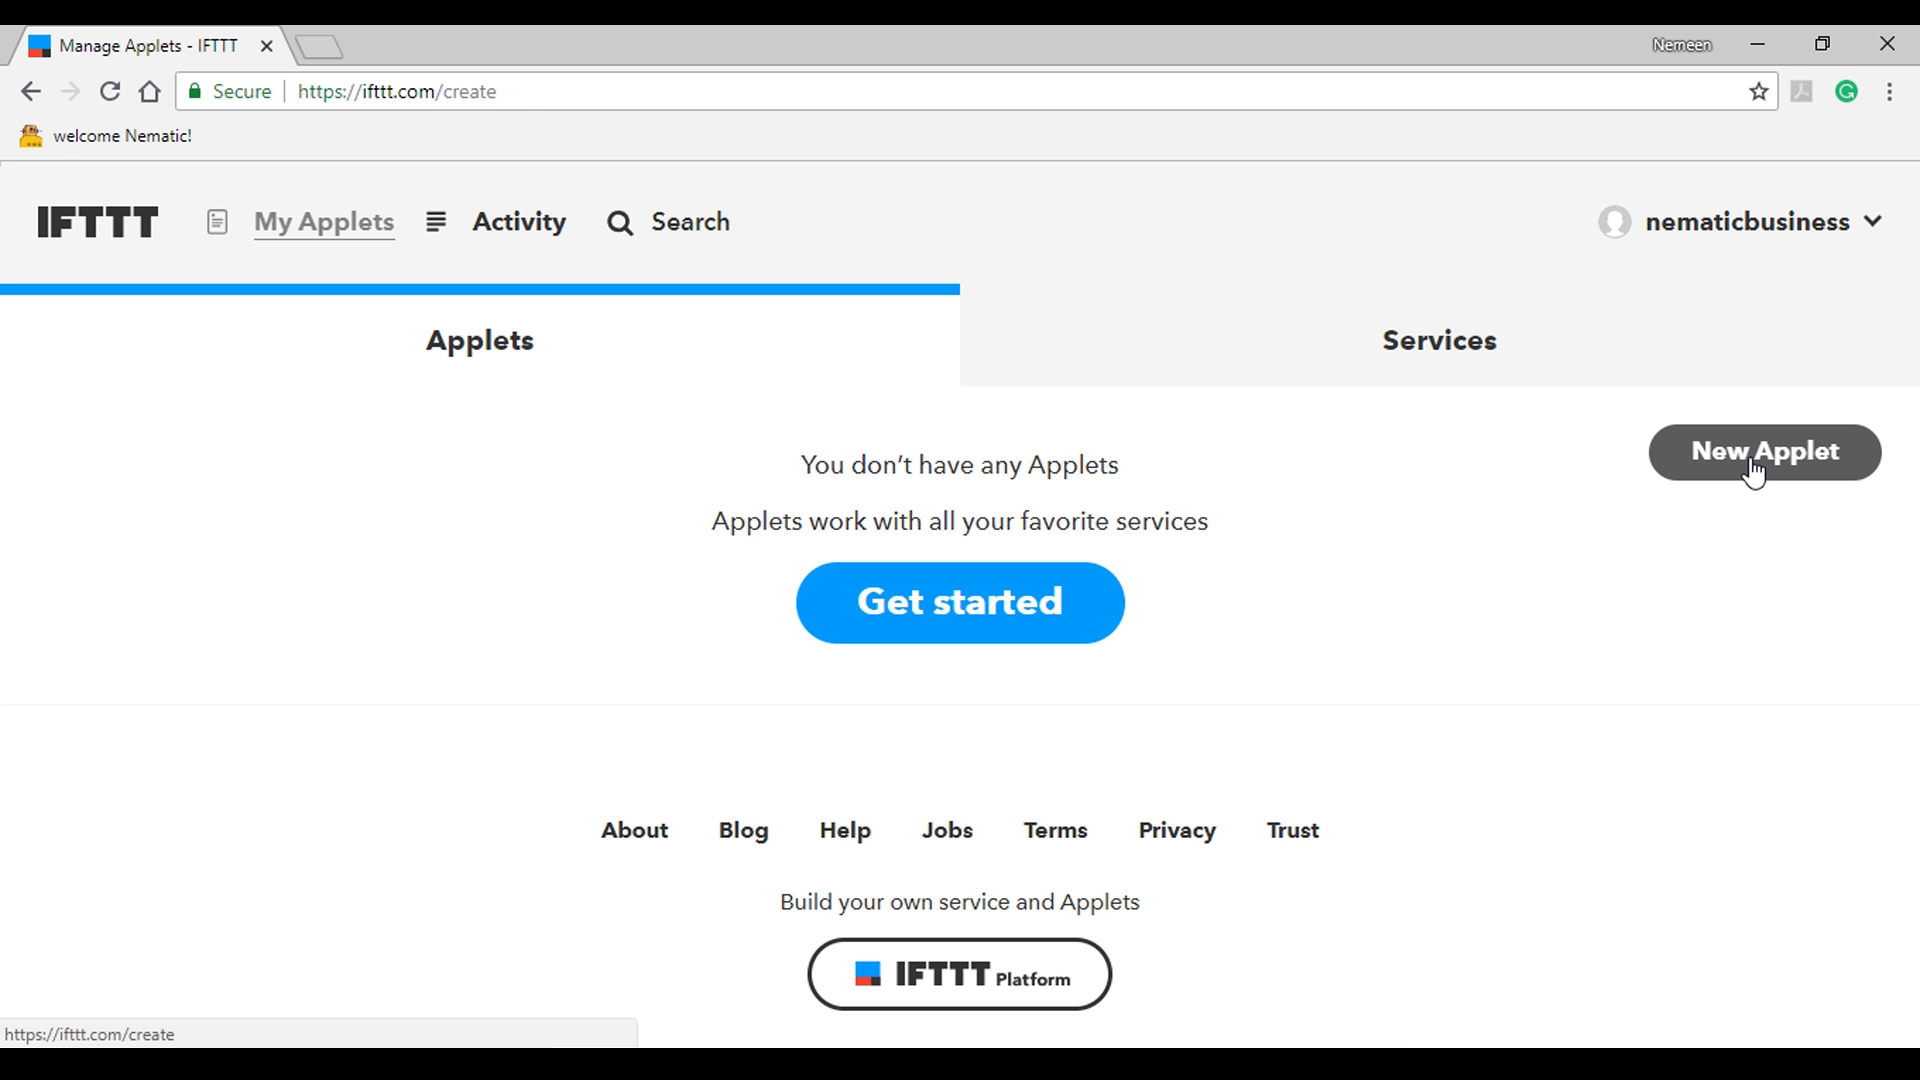
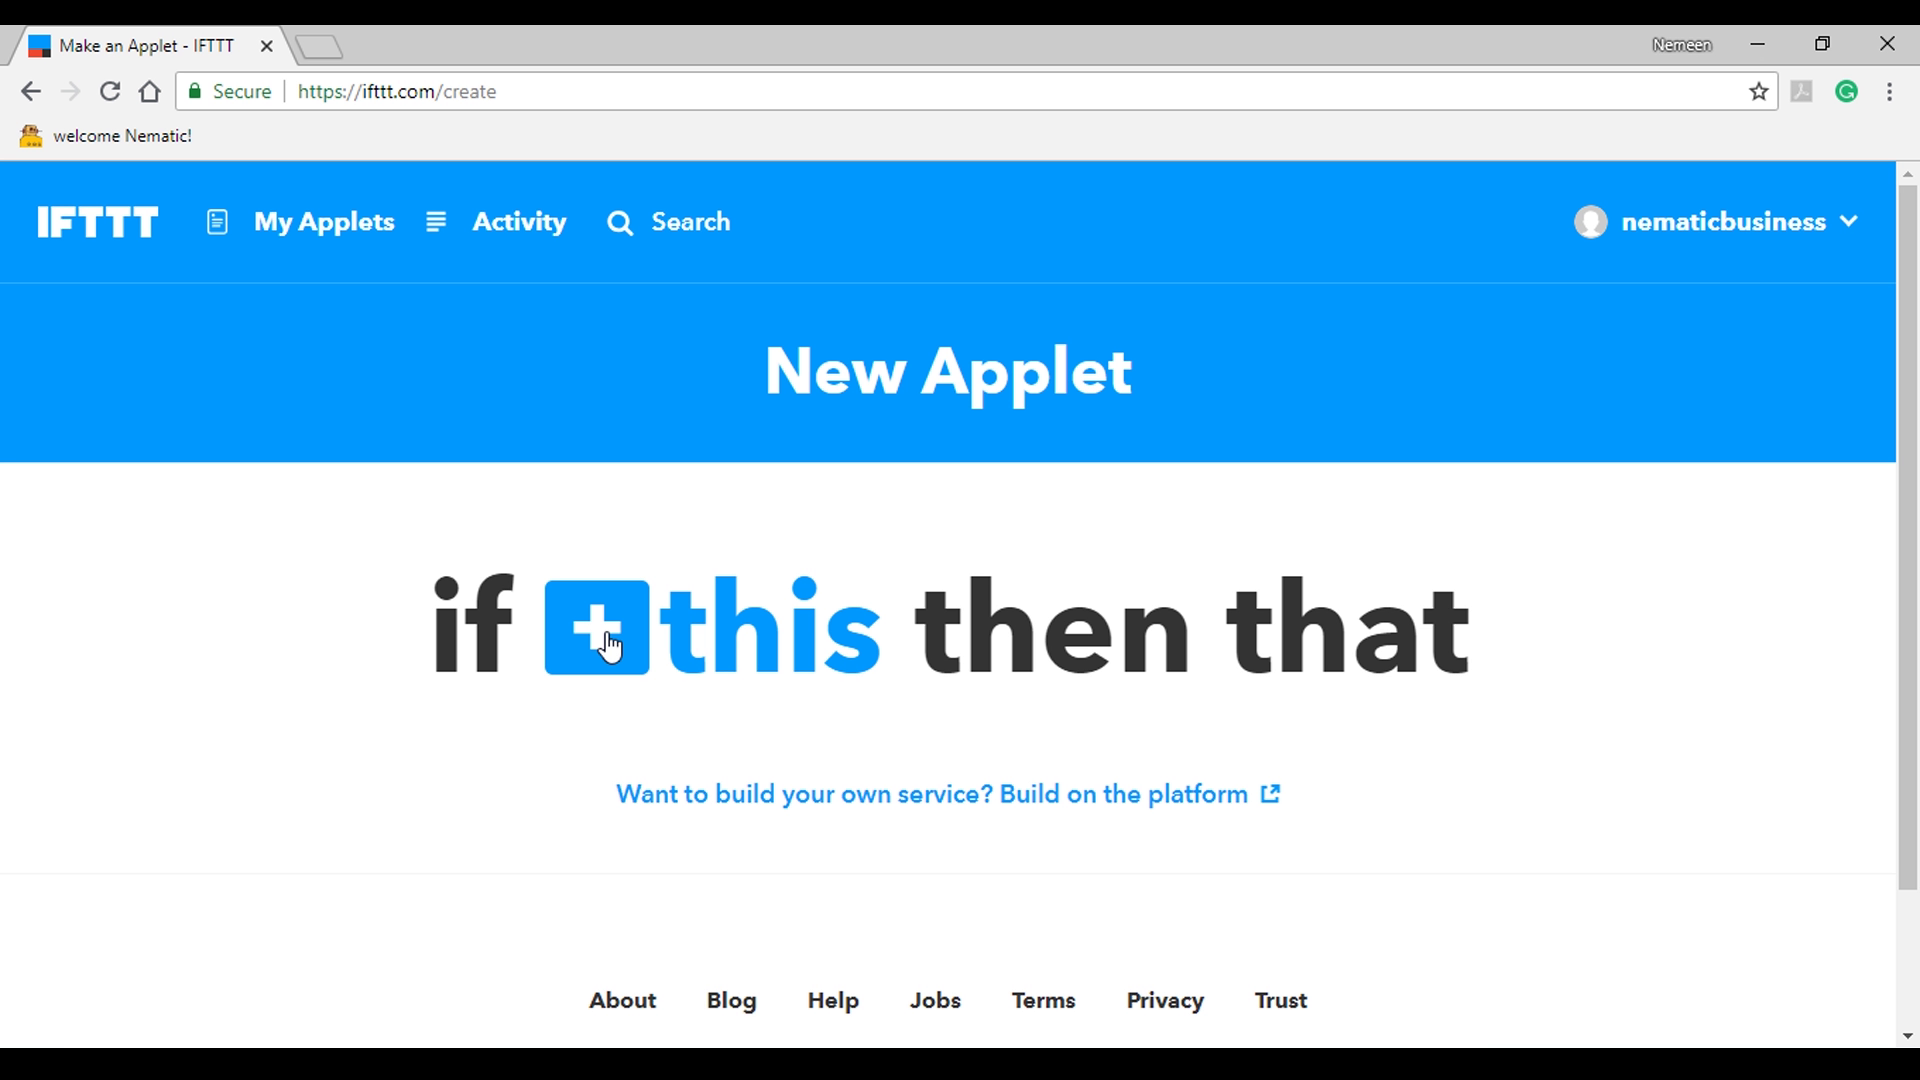
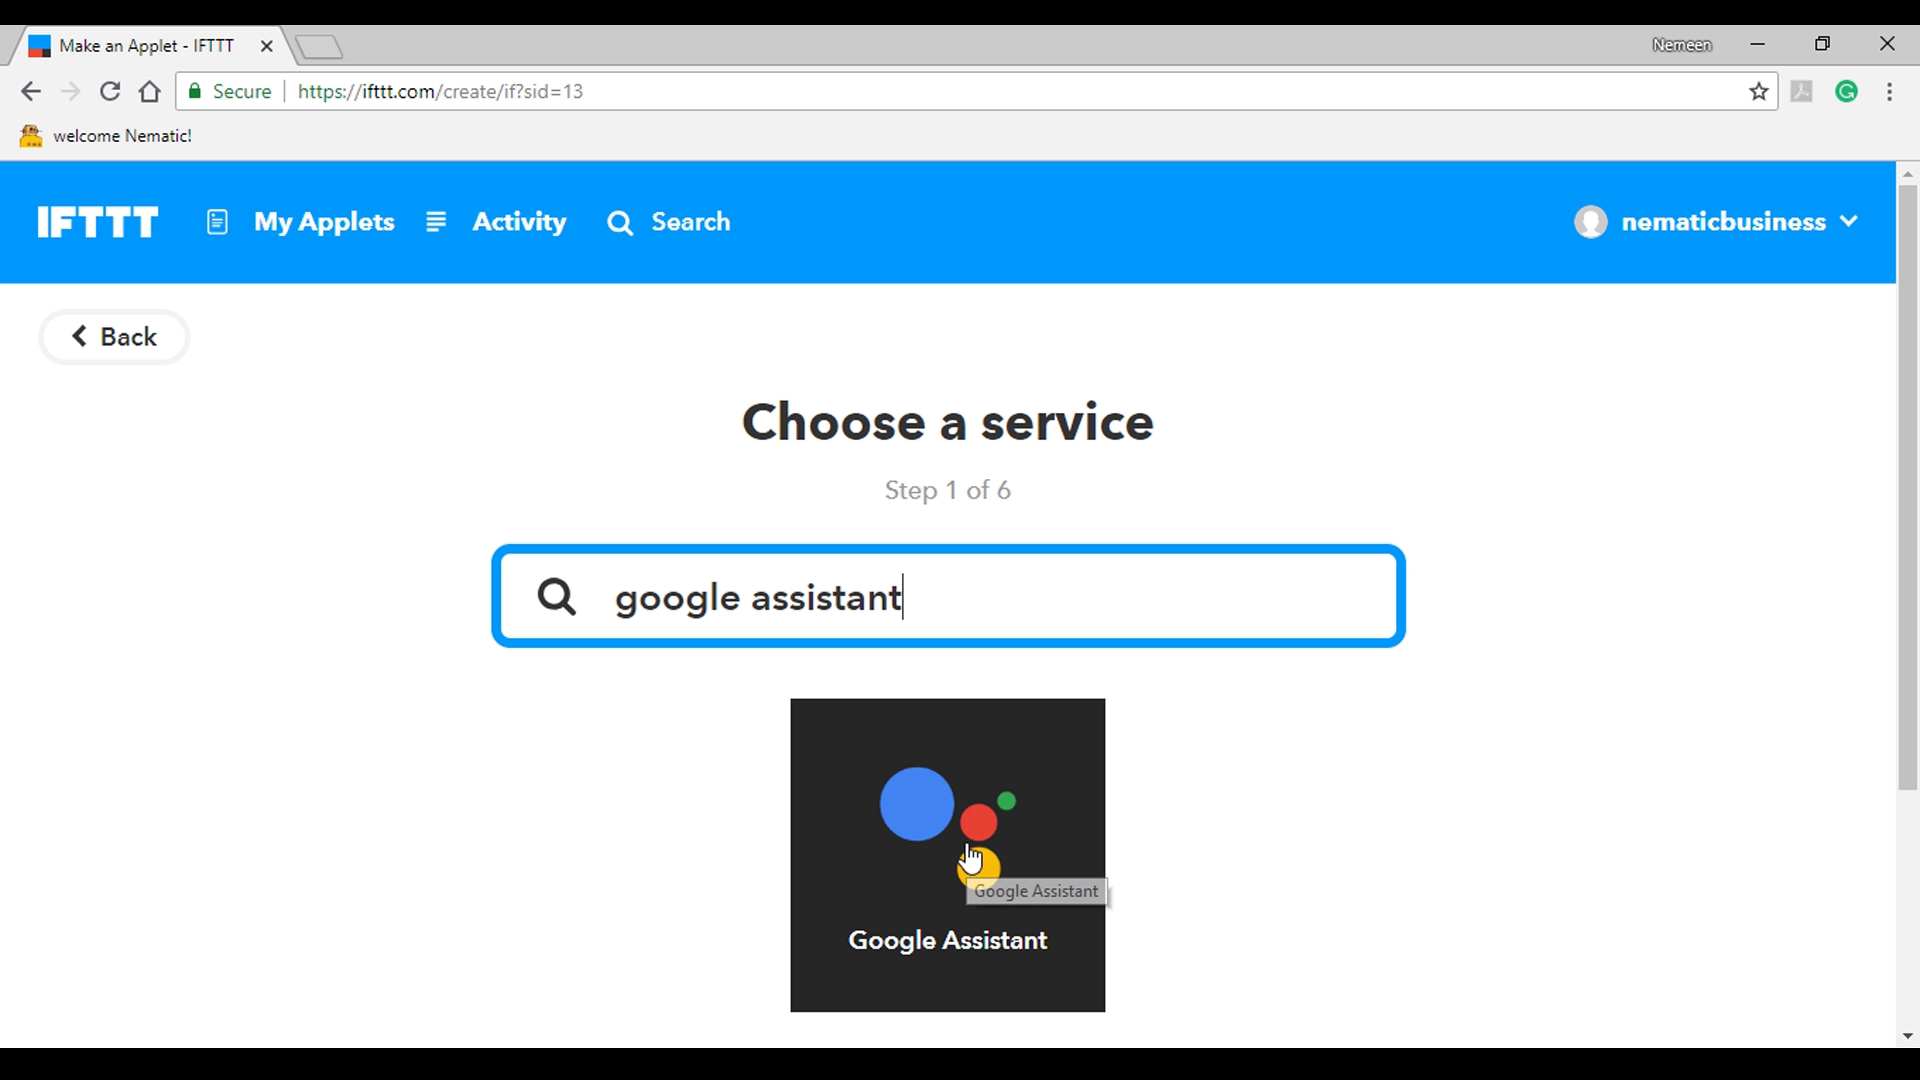
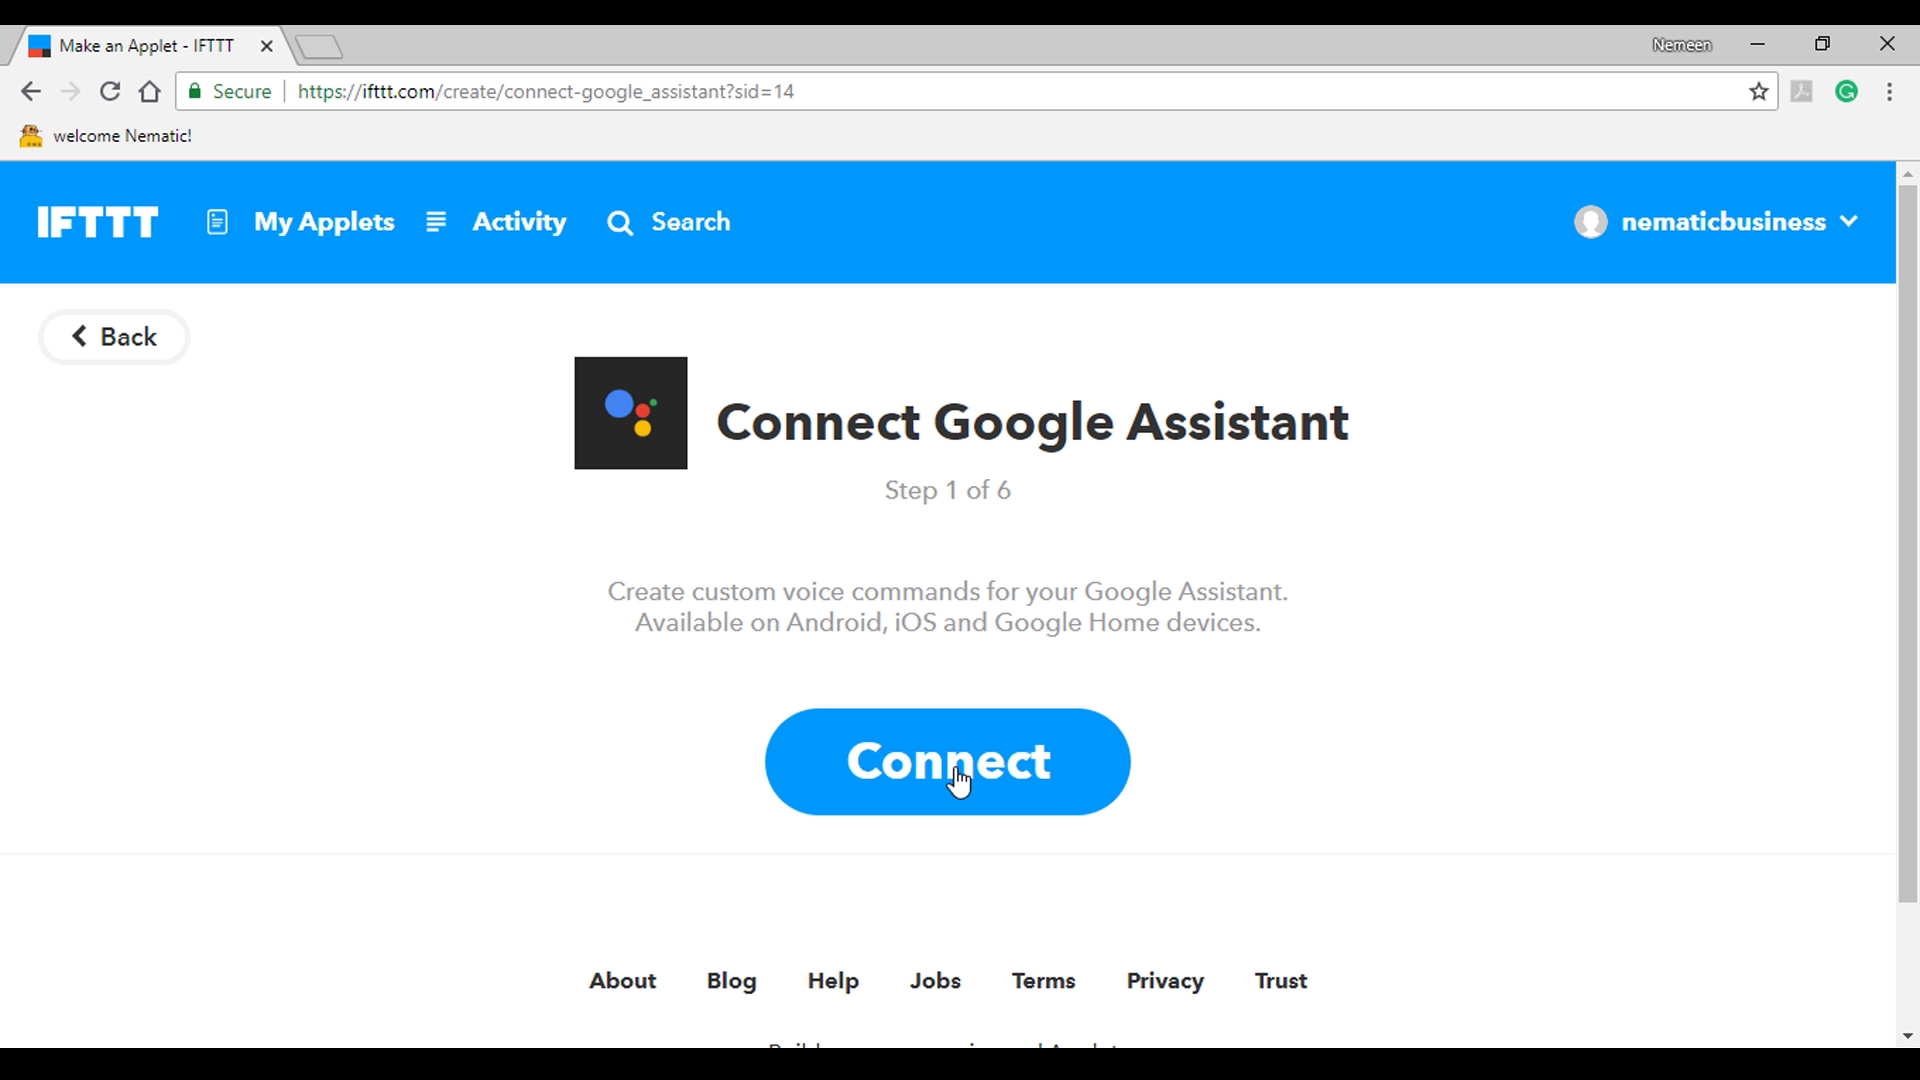
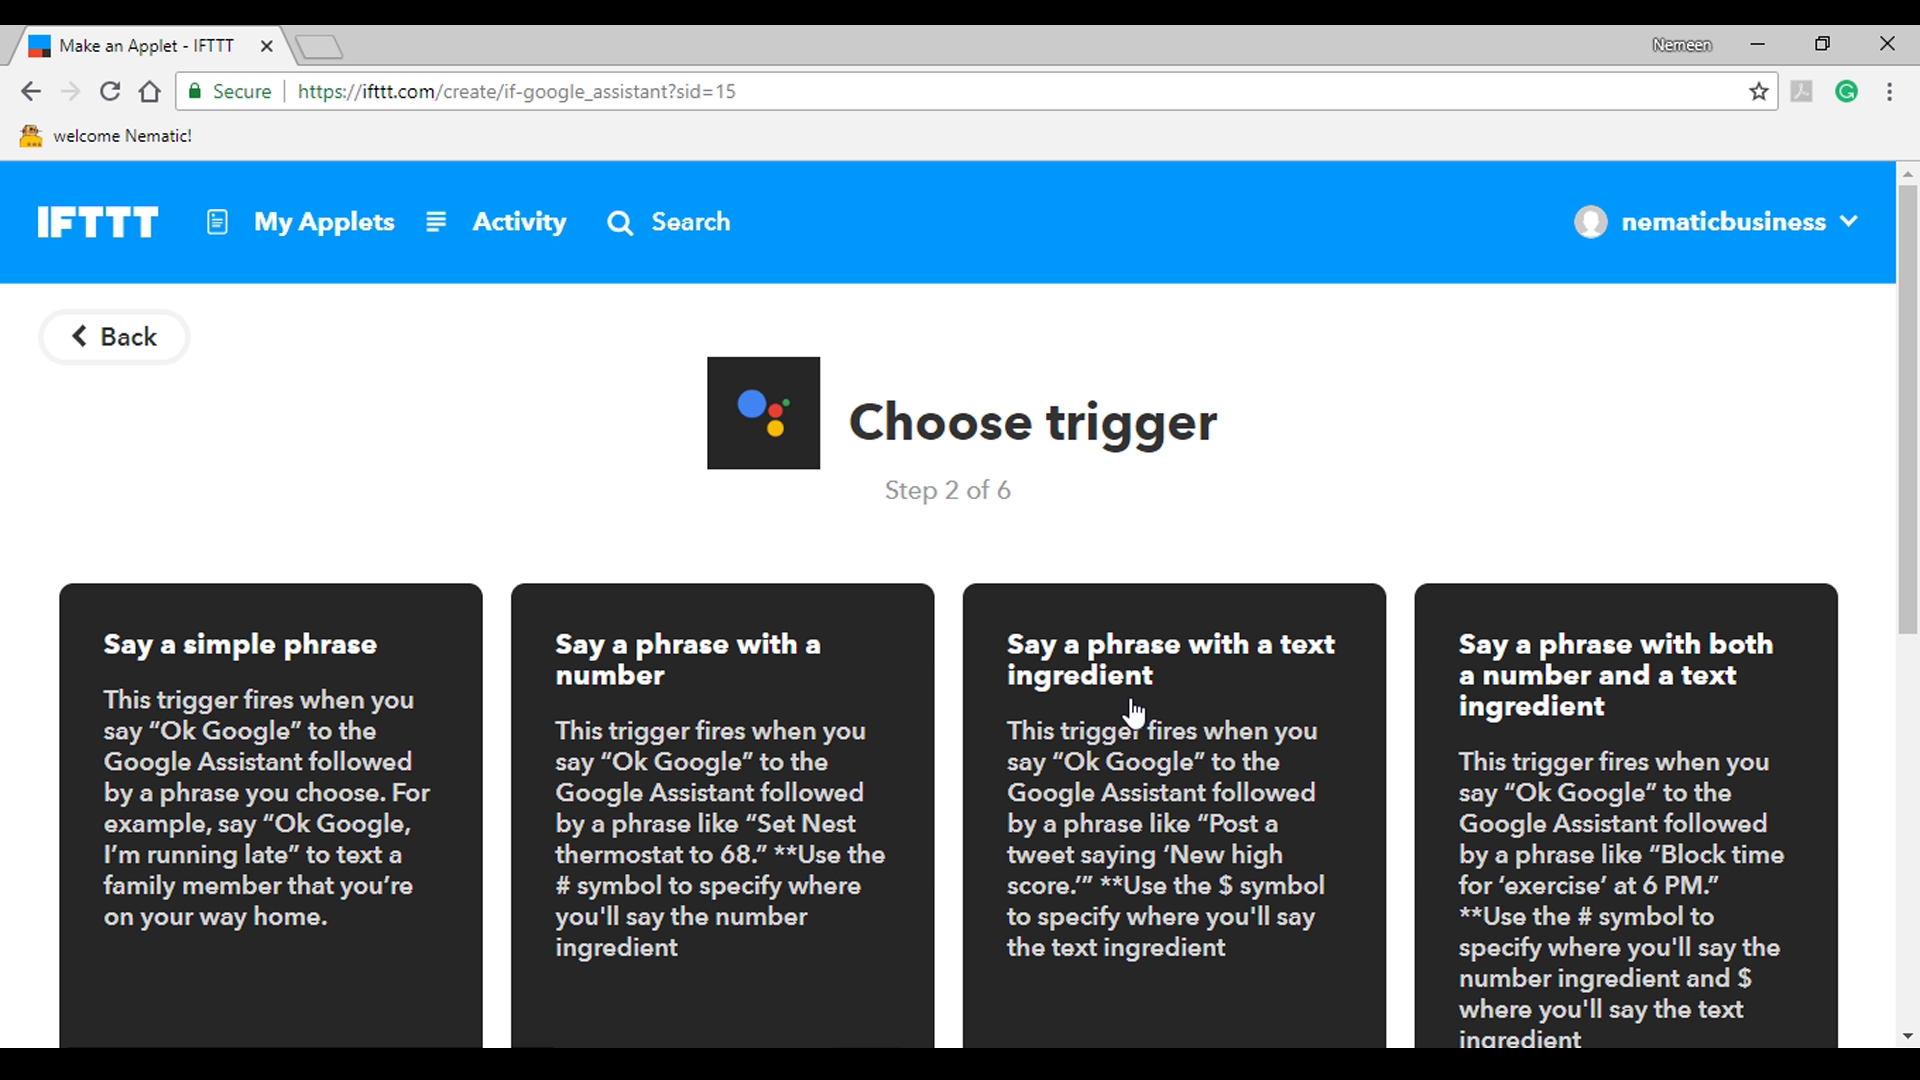
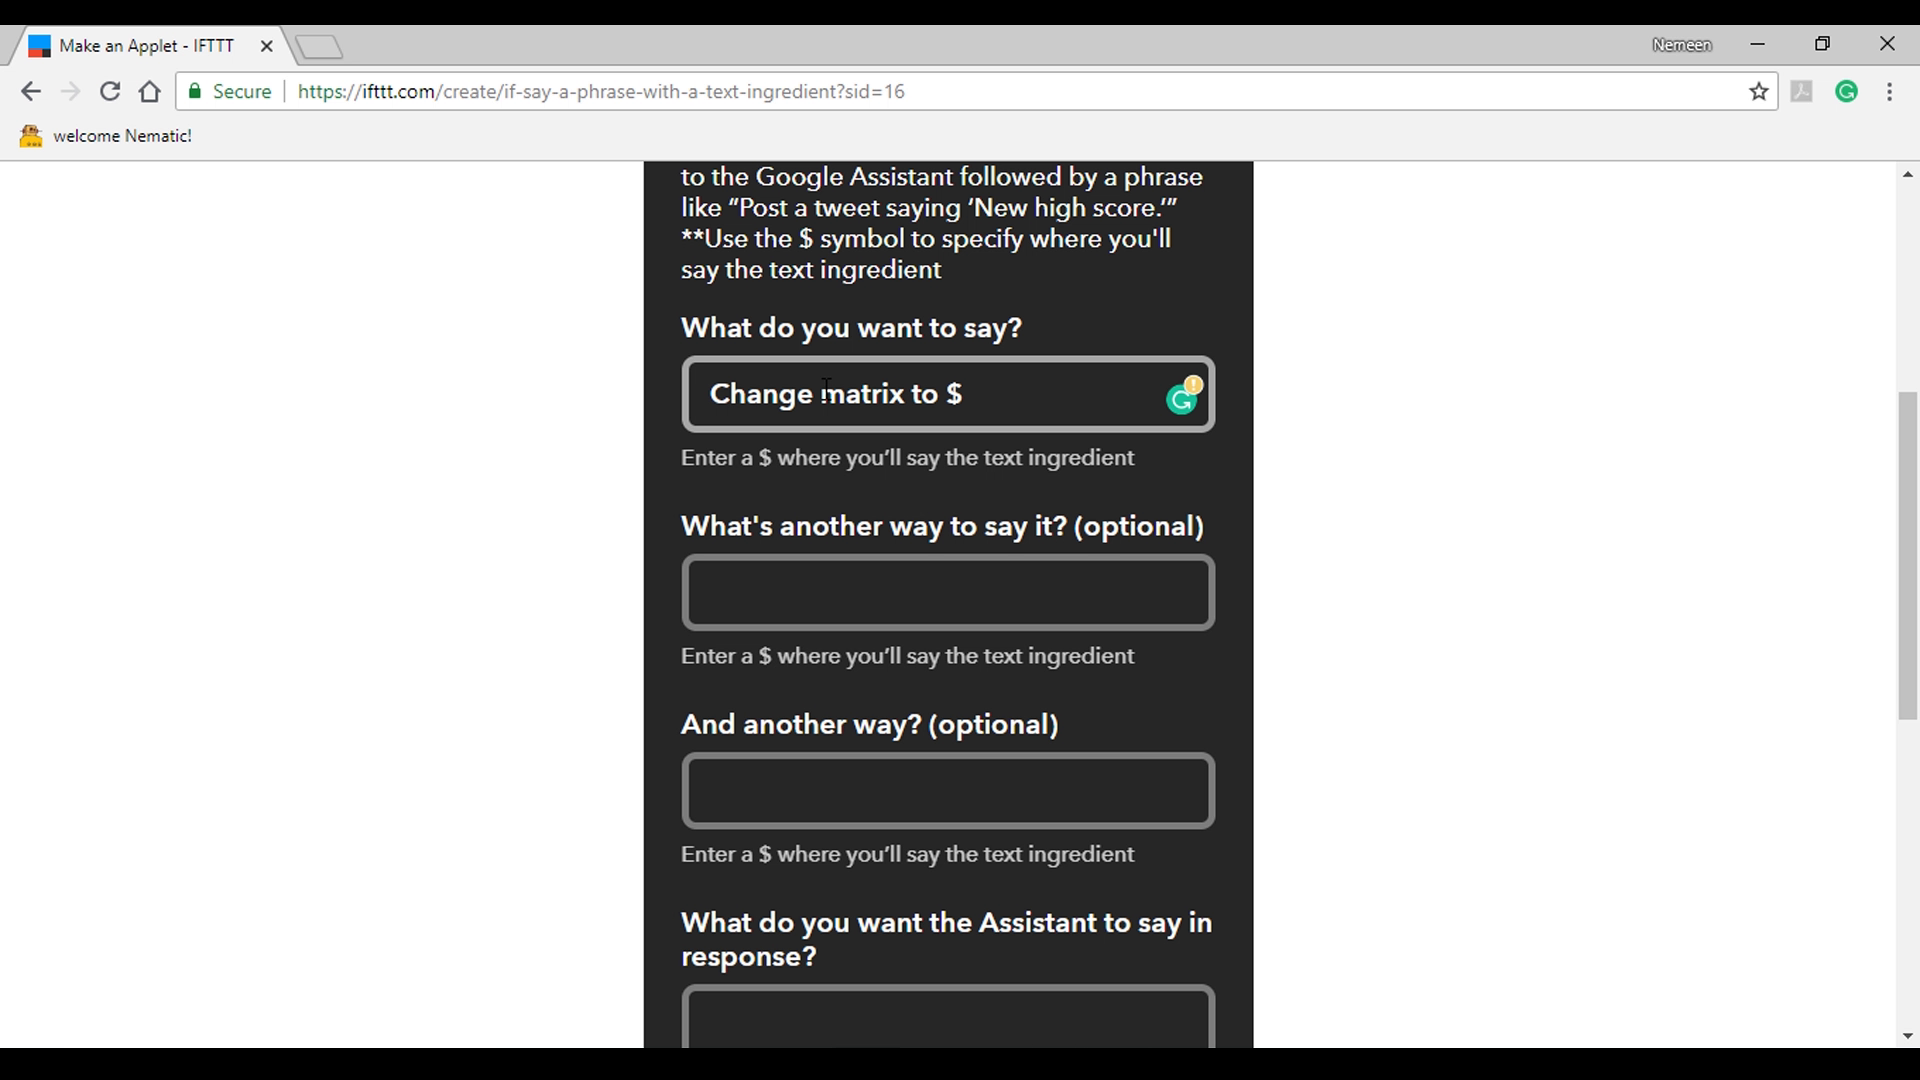
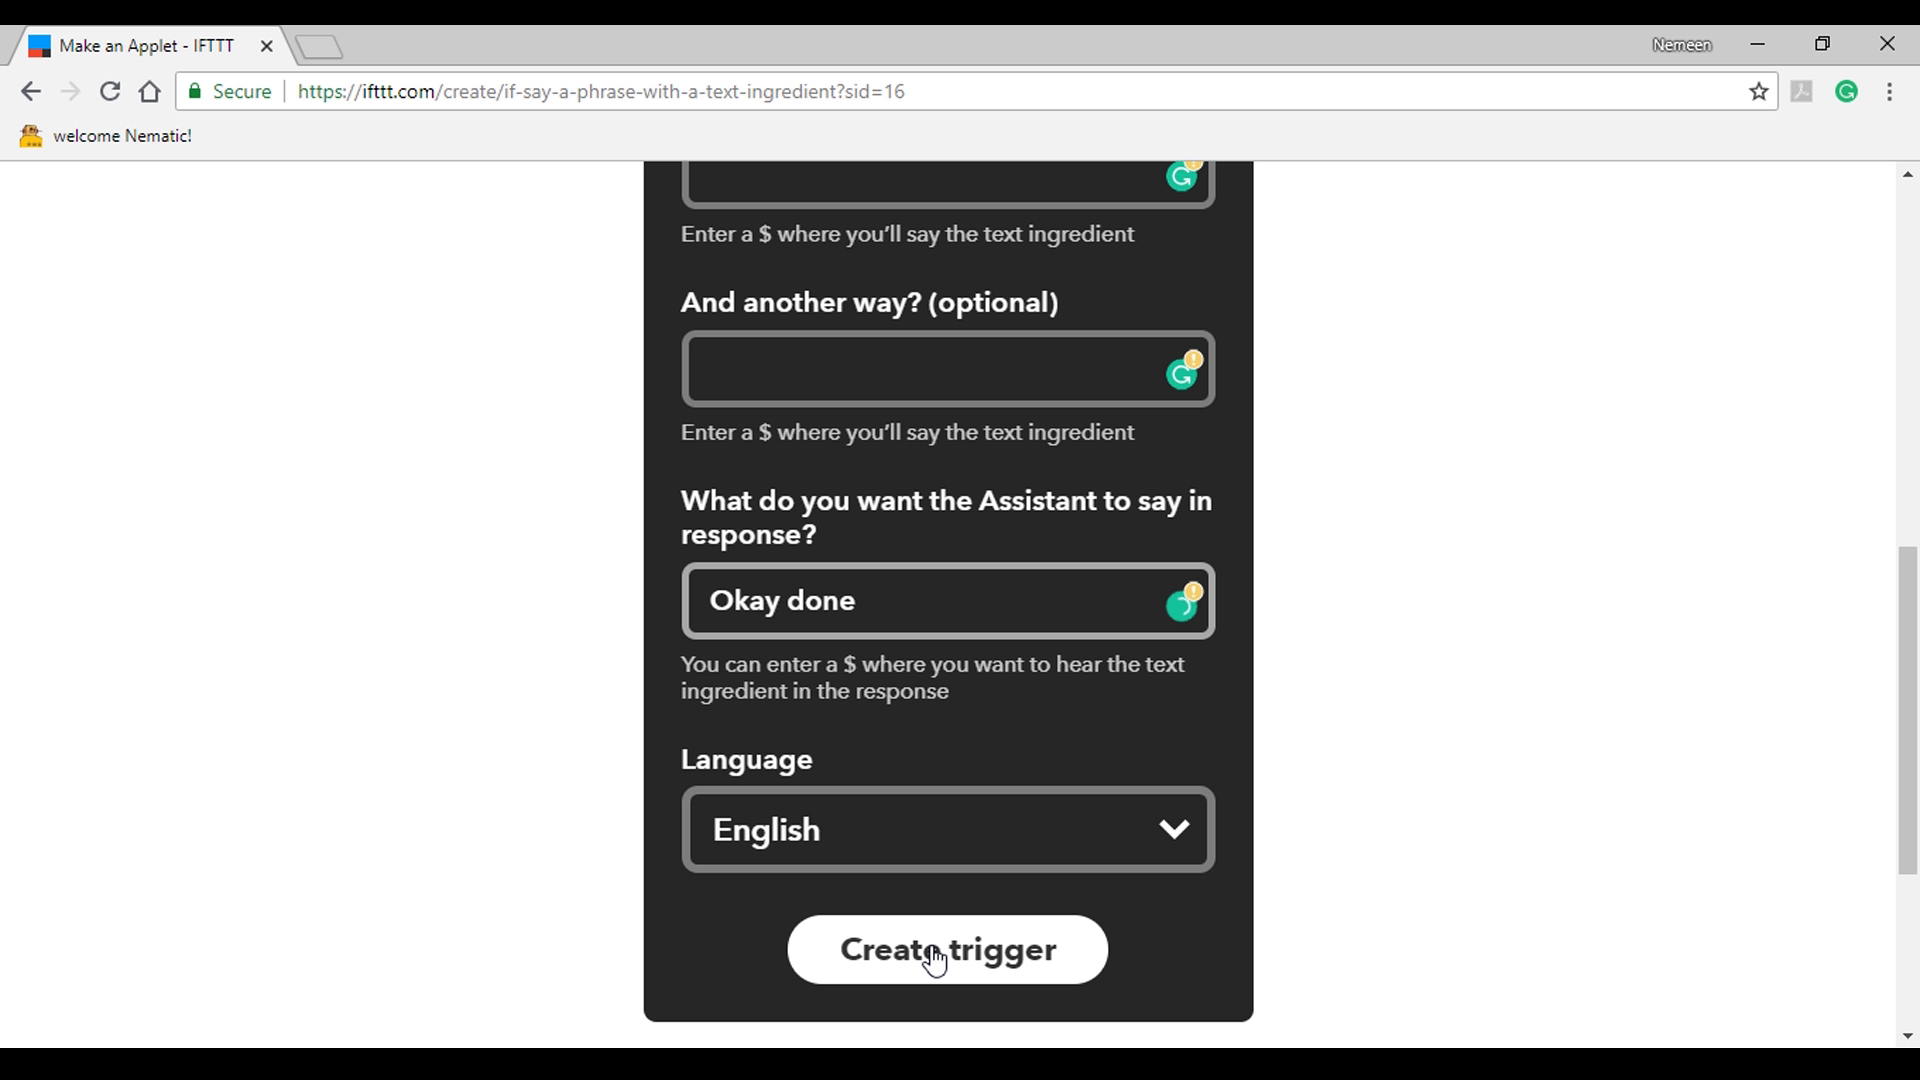
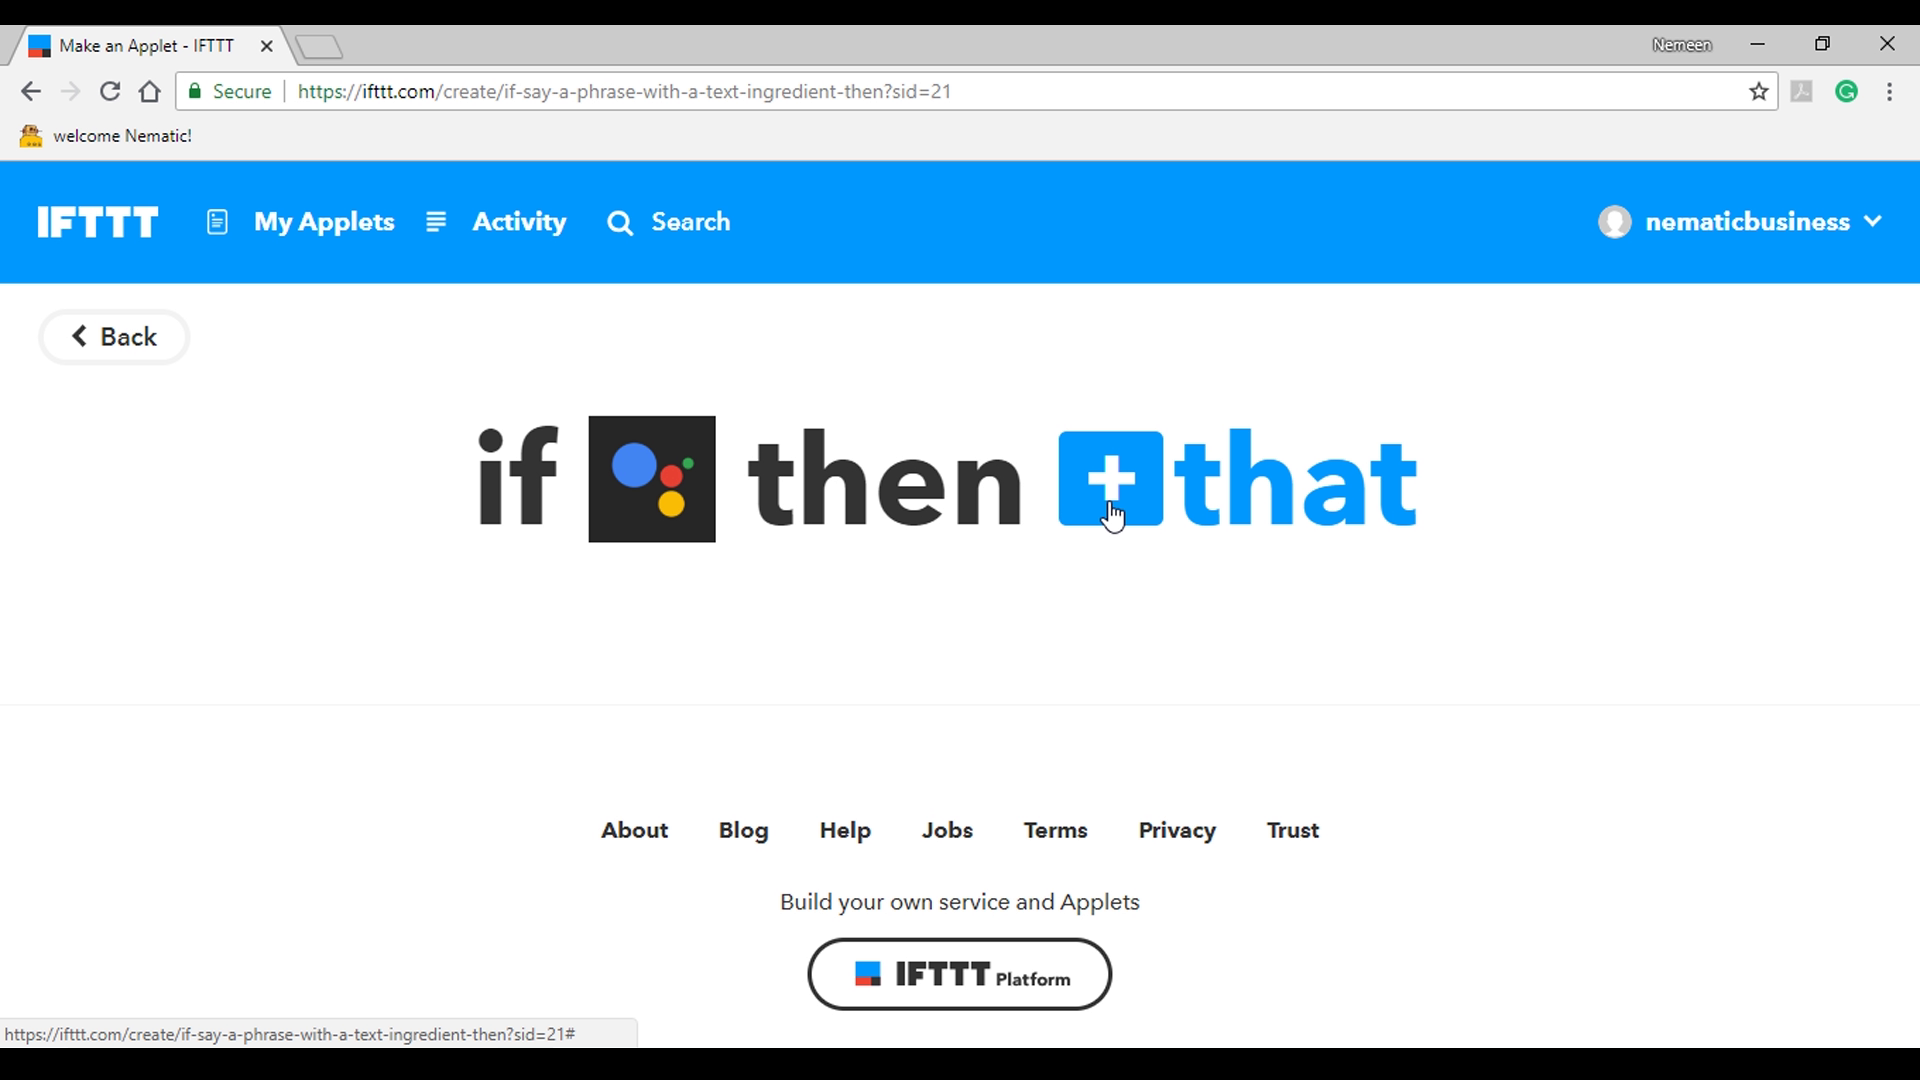
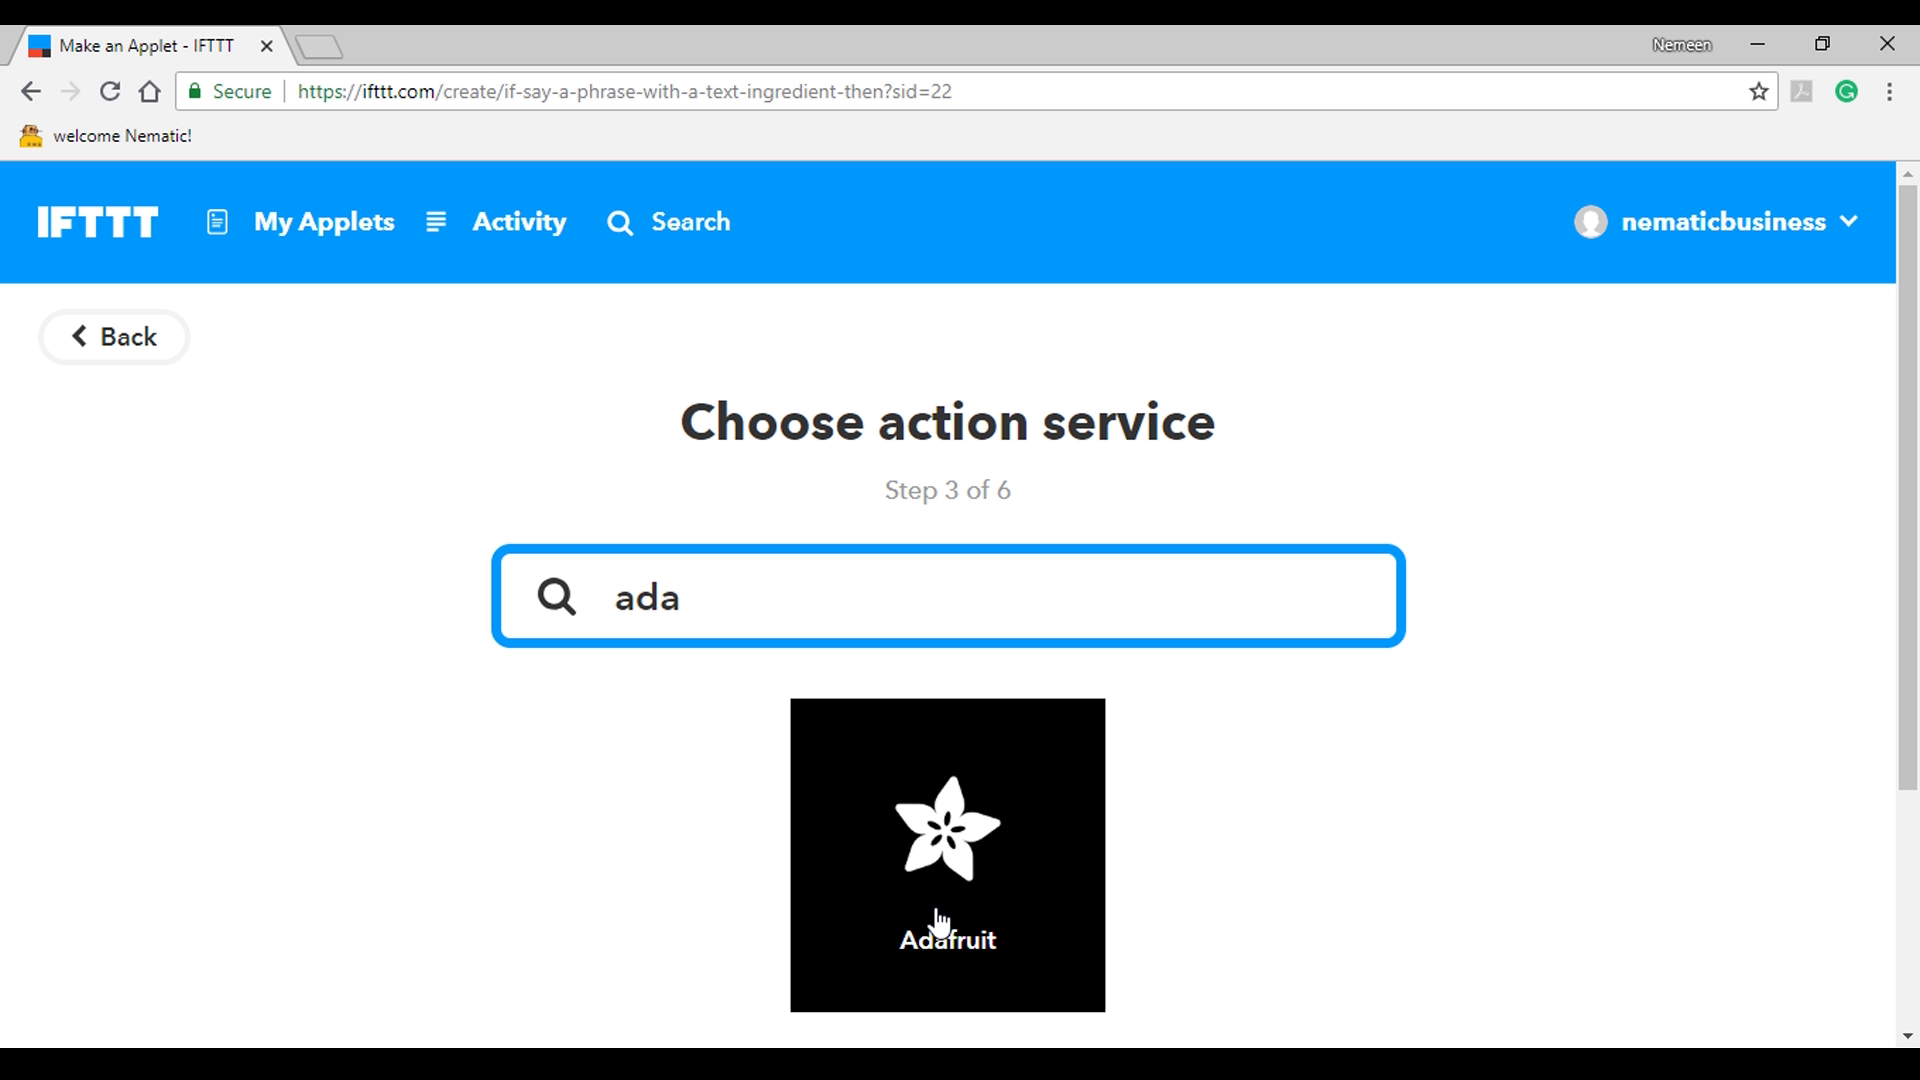
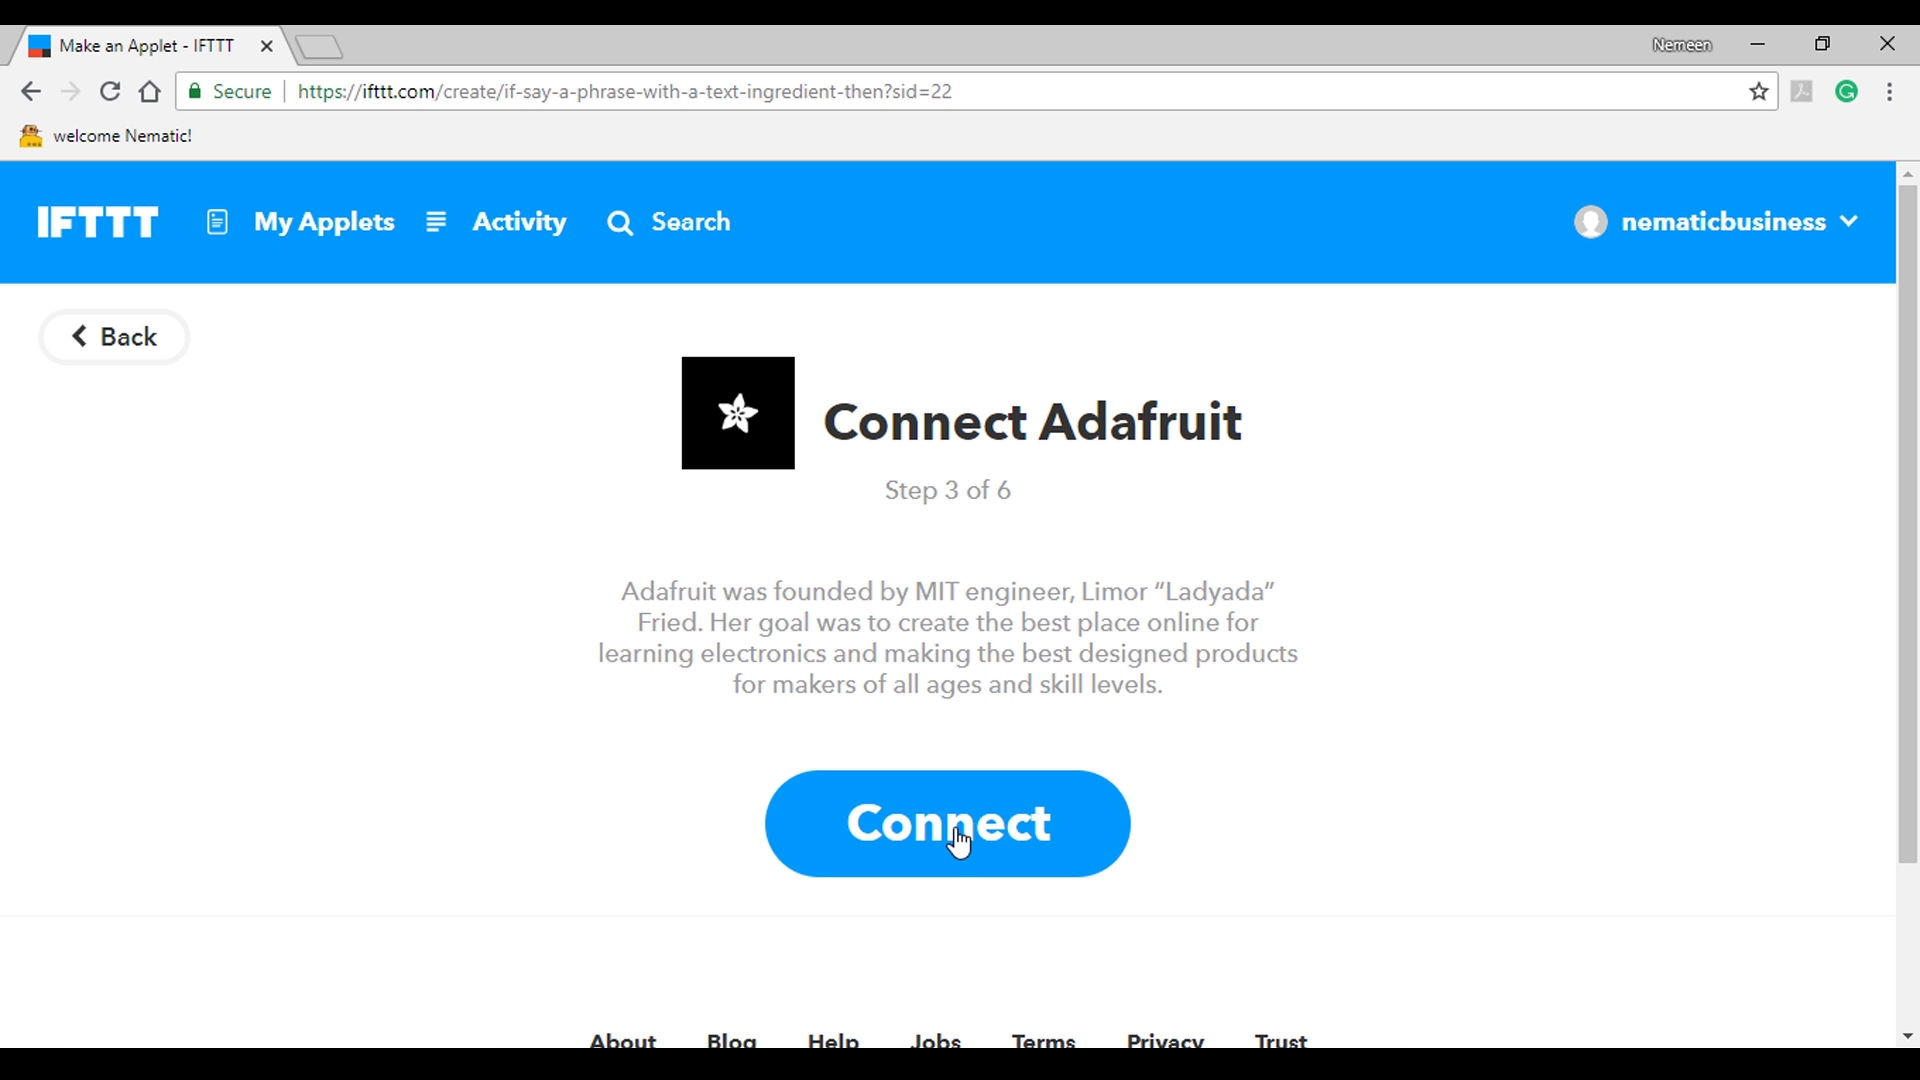
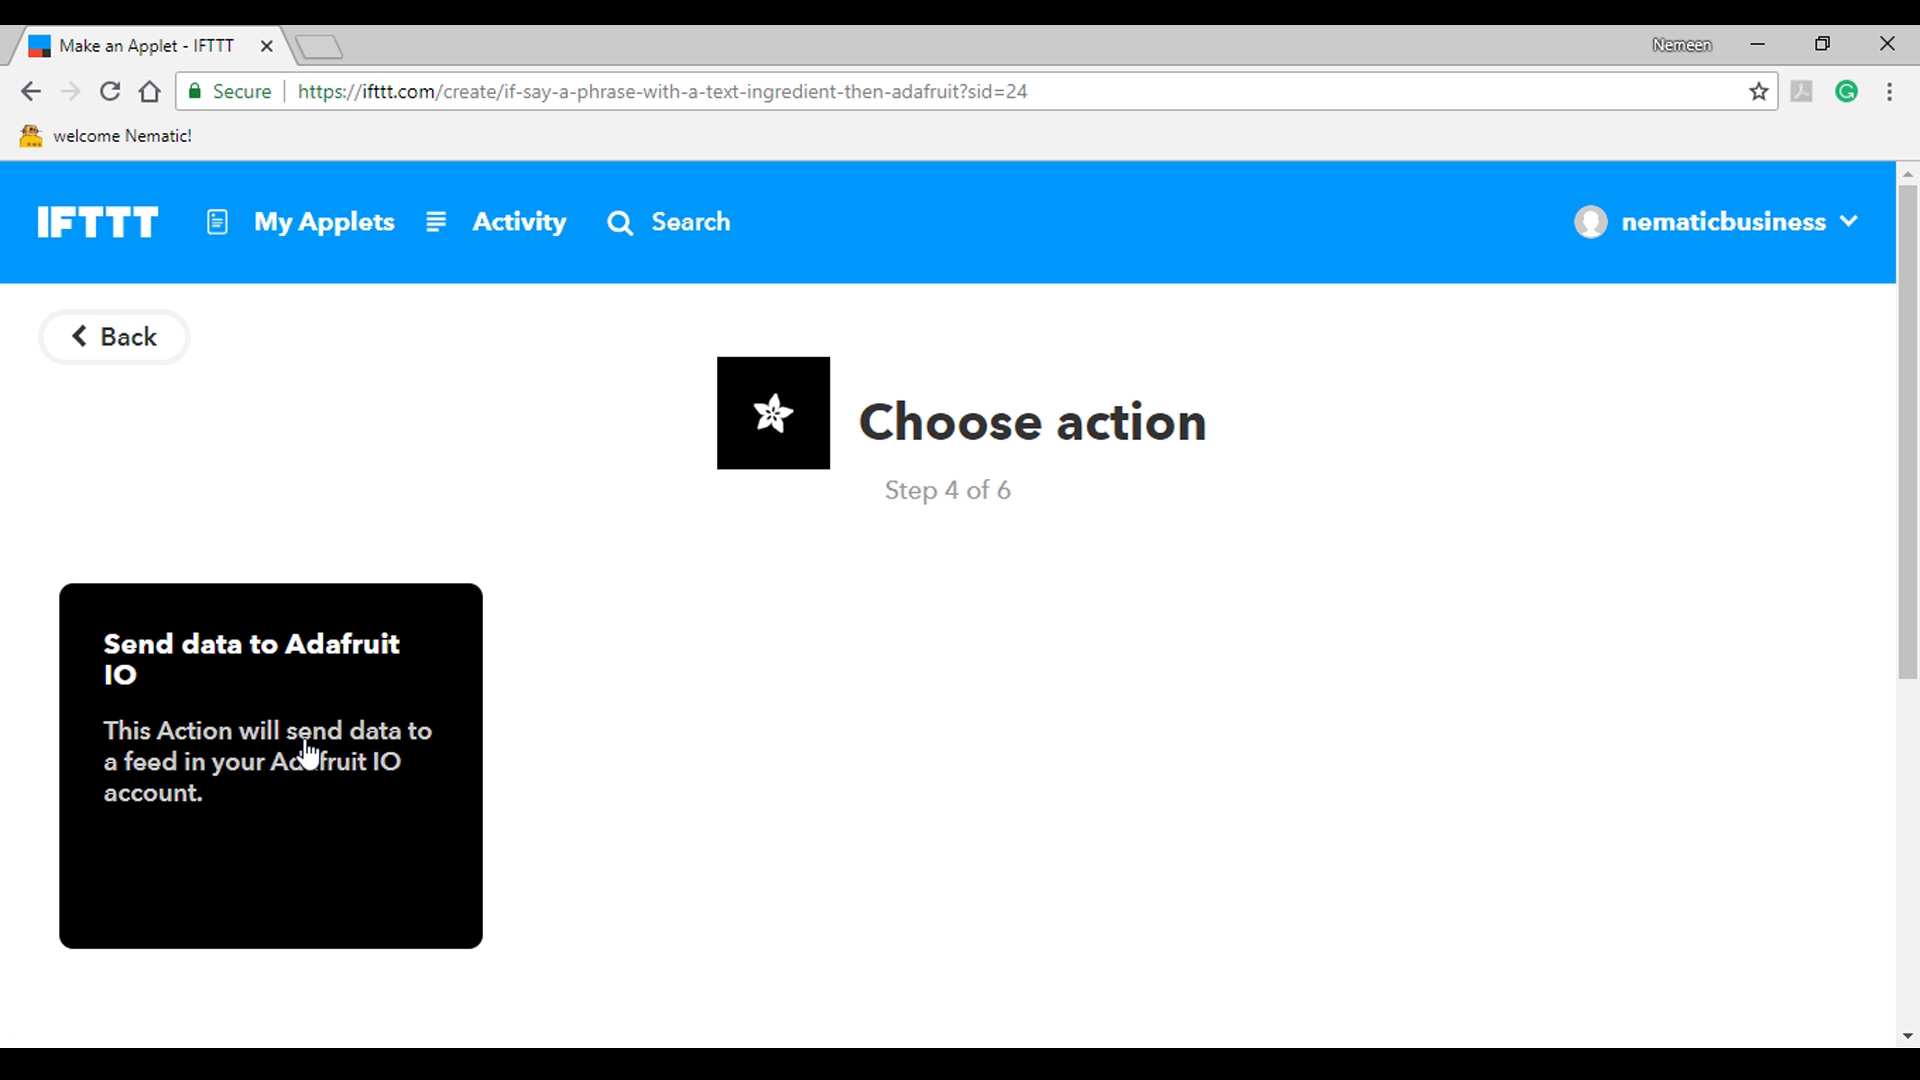
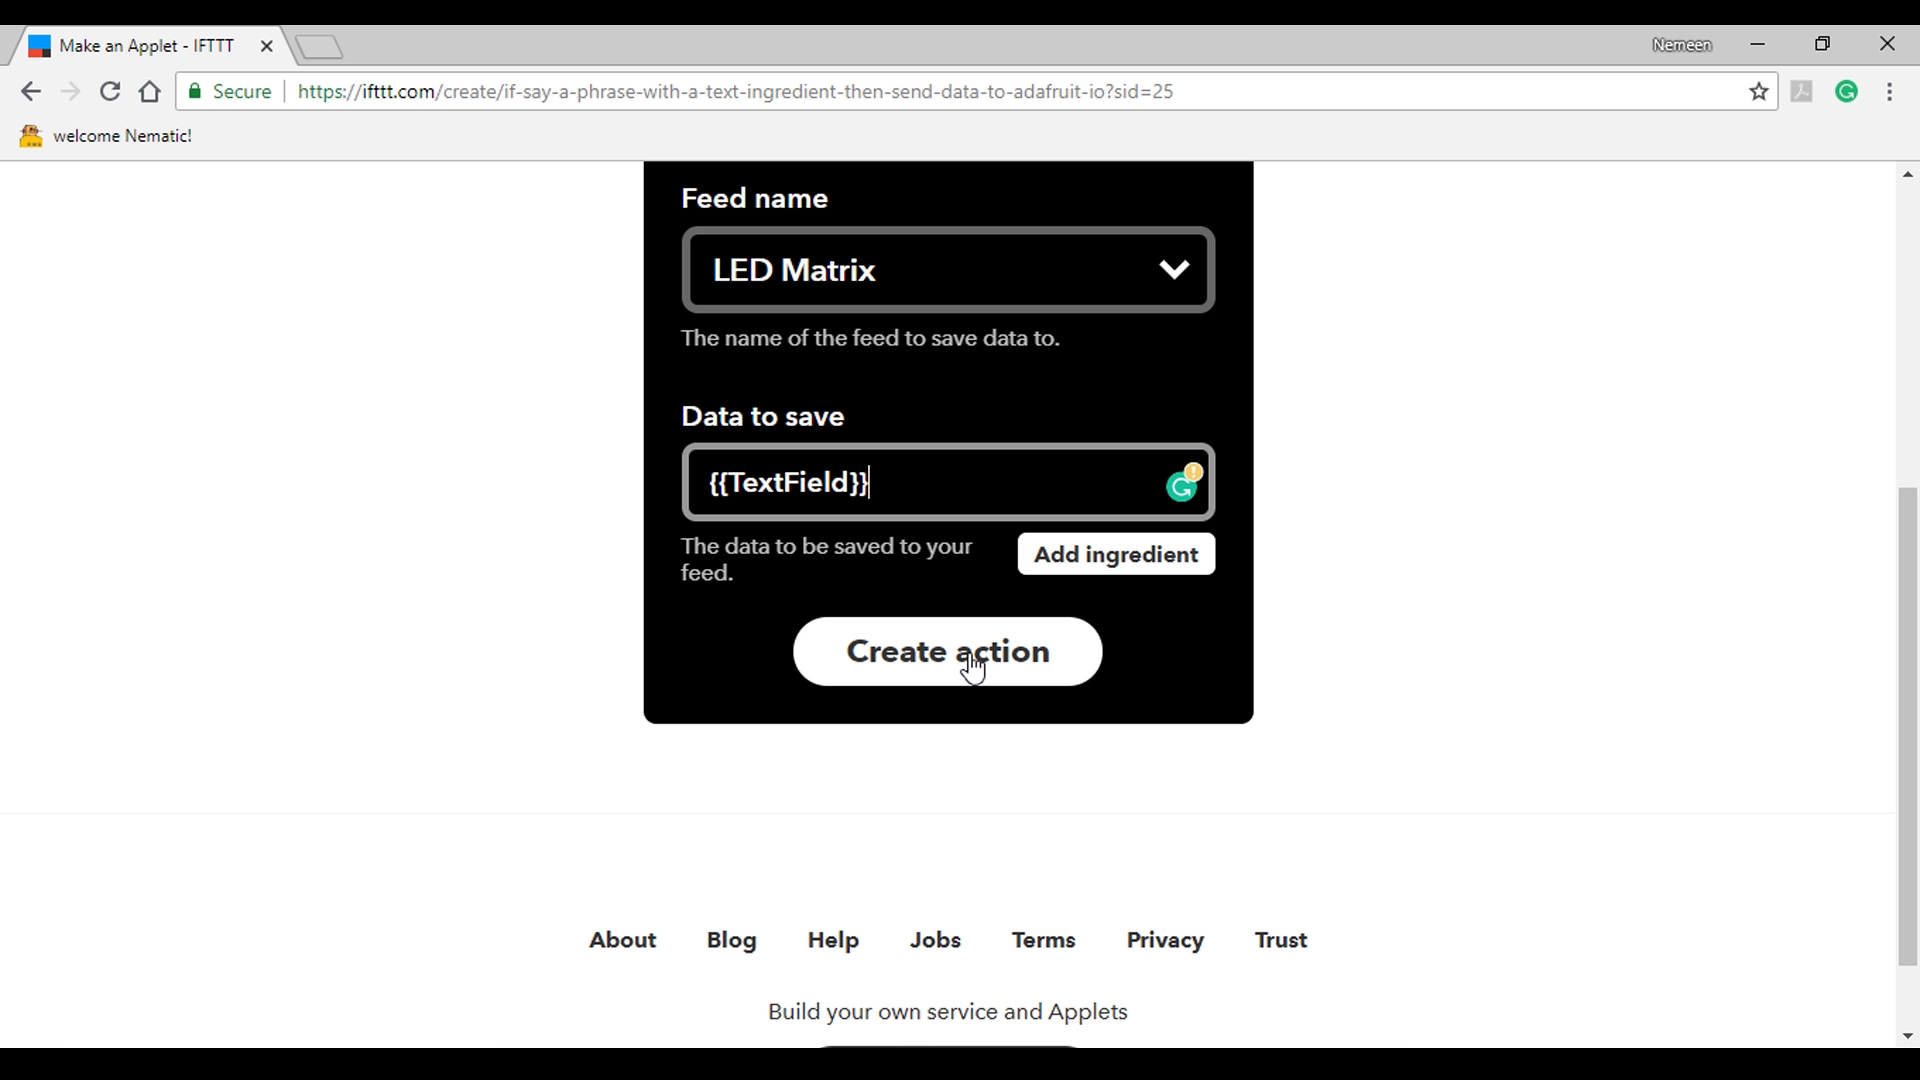
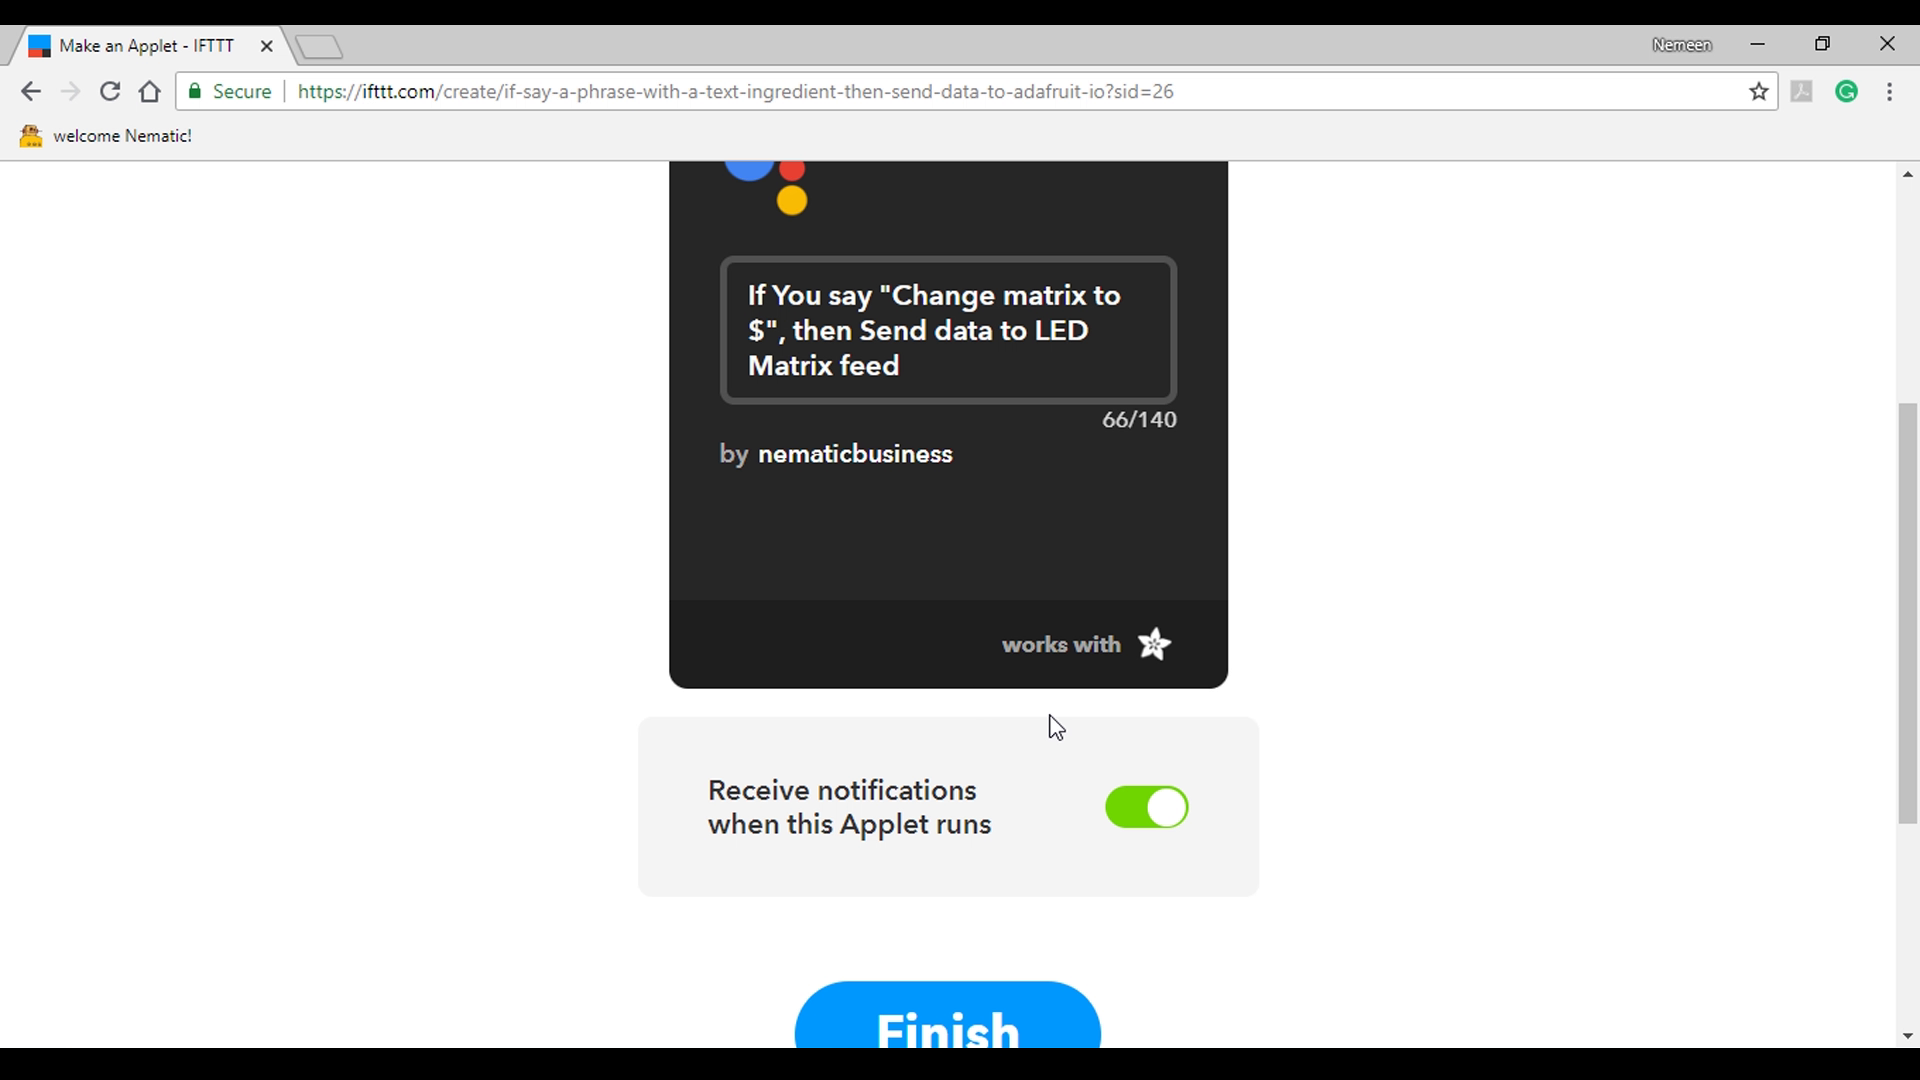
Now we need to setup Google Assistant so we can control it to change the text on Matrix.
So head over to IFTTT.com,
Once you login select My Applets then New Applet, click on This and search Google Assistant and select it then click Connect select account and allow it
Then select Say a Phrase with Text Ingredient and here type "change matrix to $" so whenever you will say change matrix to and whatever will be after to(i.e in place of $ symbol), will be displayed.
You can select multiple triggers like that and also select what assistant will reply. Then select Create Trigger. Now click on That and search Adafruit click Connect and authorize it
Then select Send Data to Adafruit IO, select the feed name which we created earlier then click on Add Ingredient and select Text Field and hit Create Action.
That's it!
Put Everything Together !
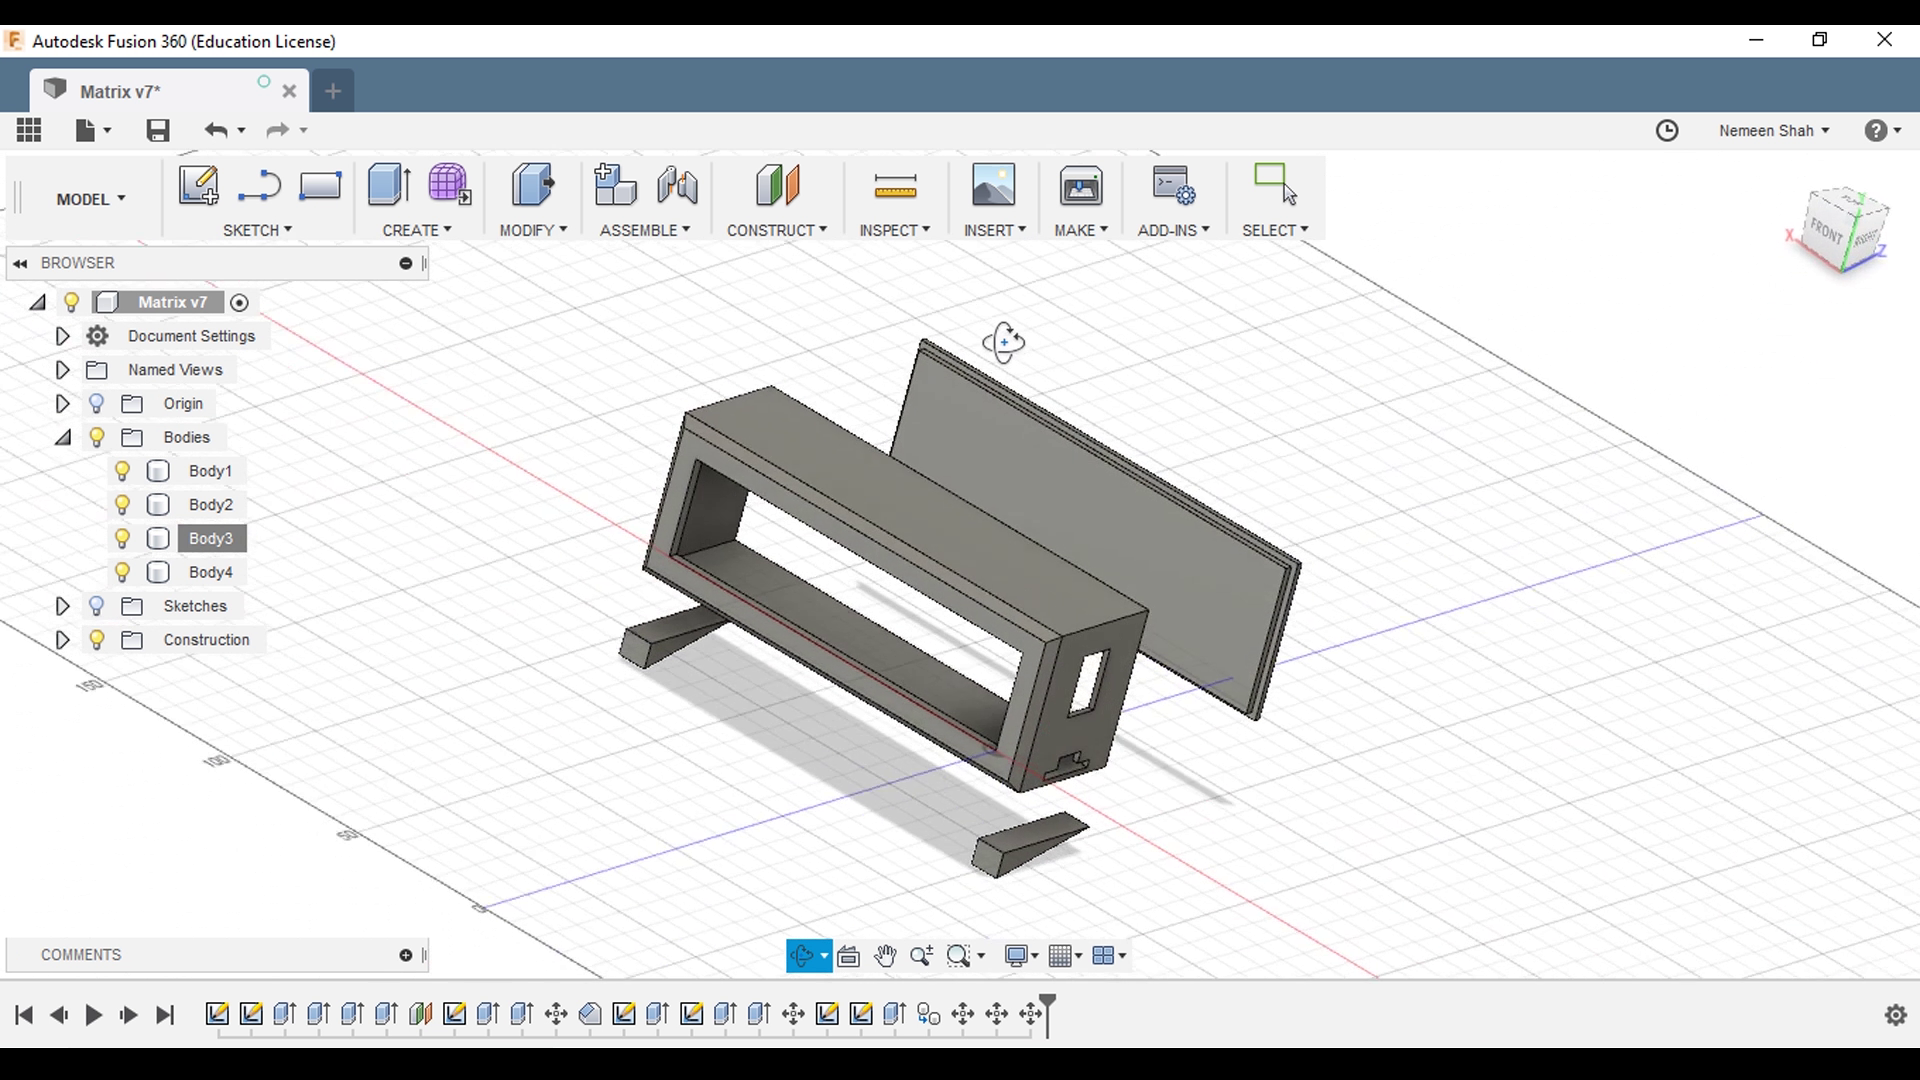
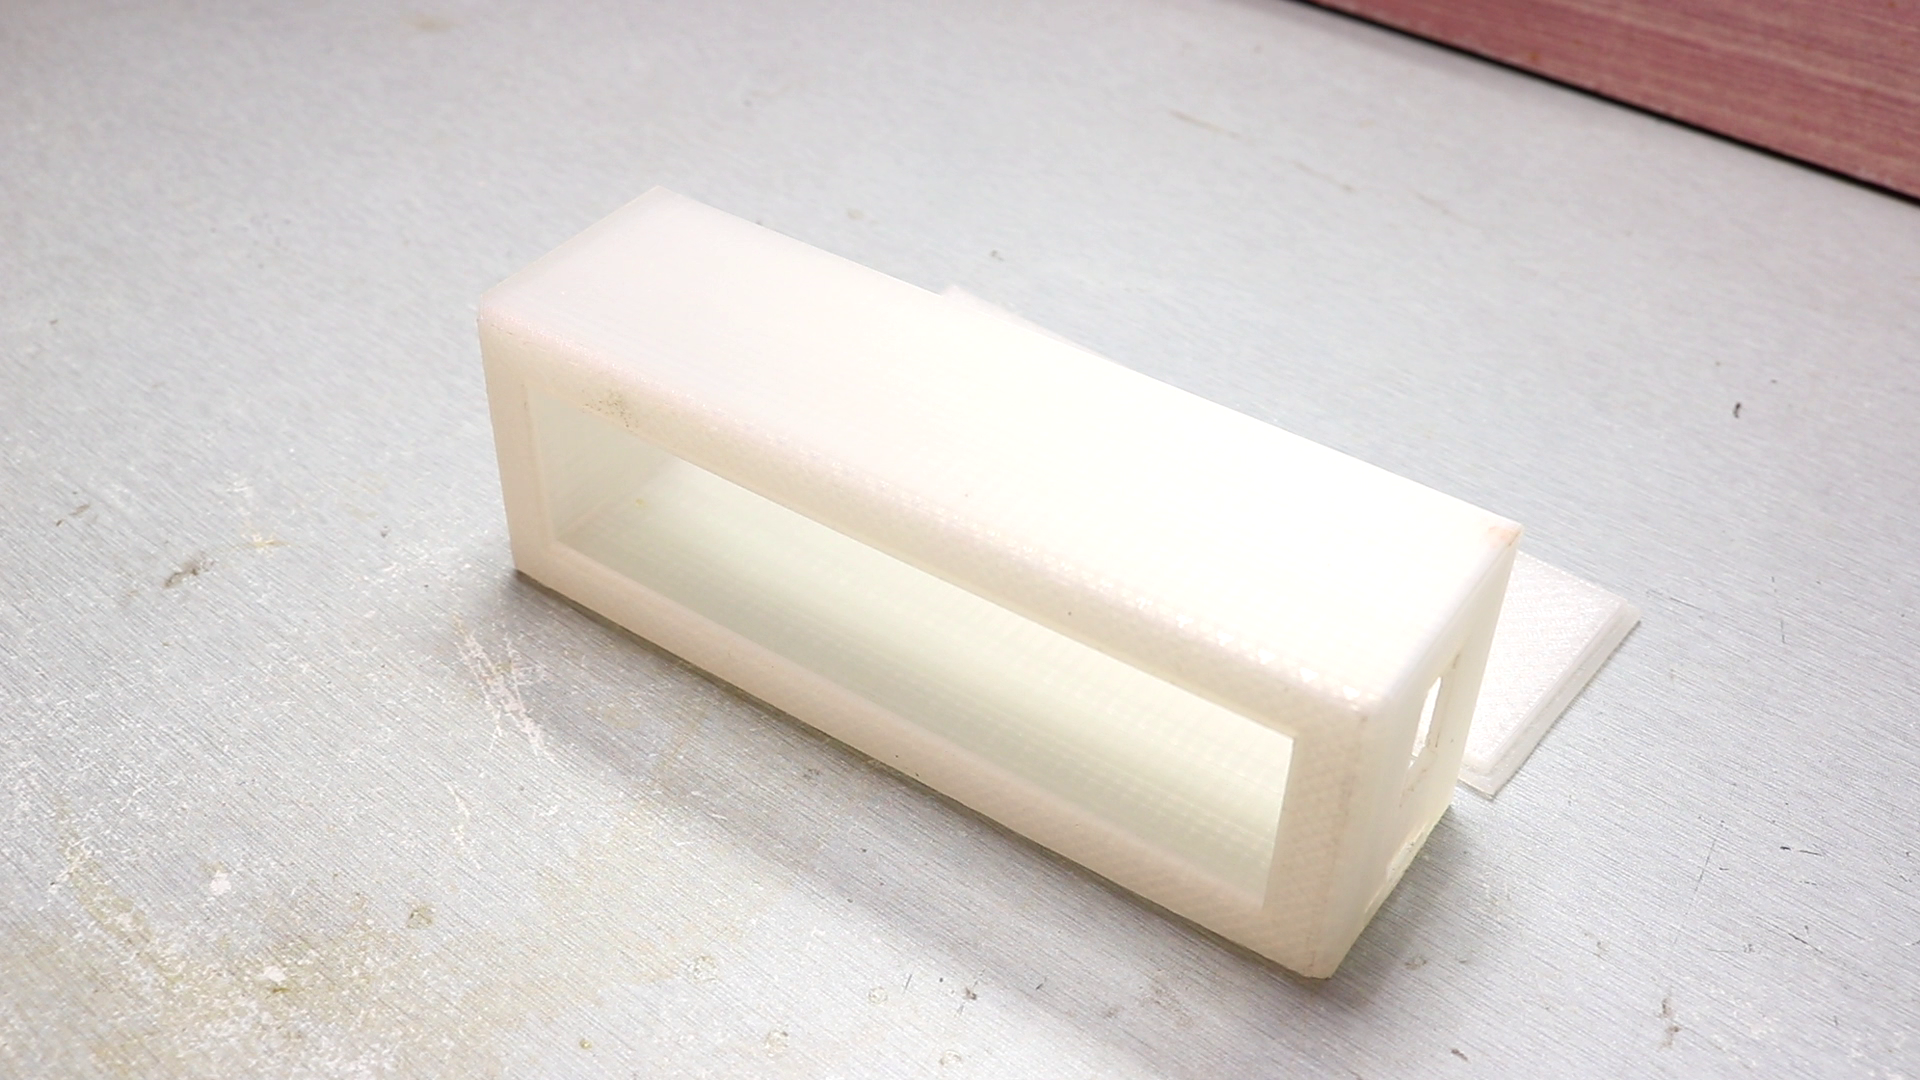
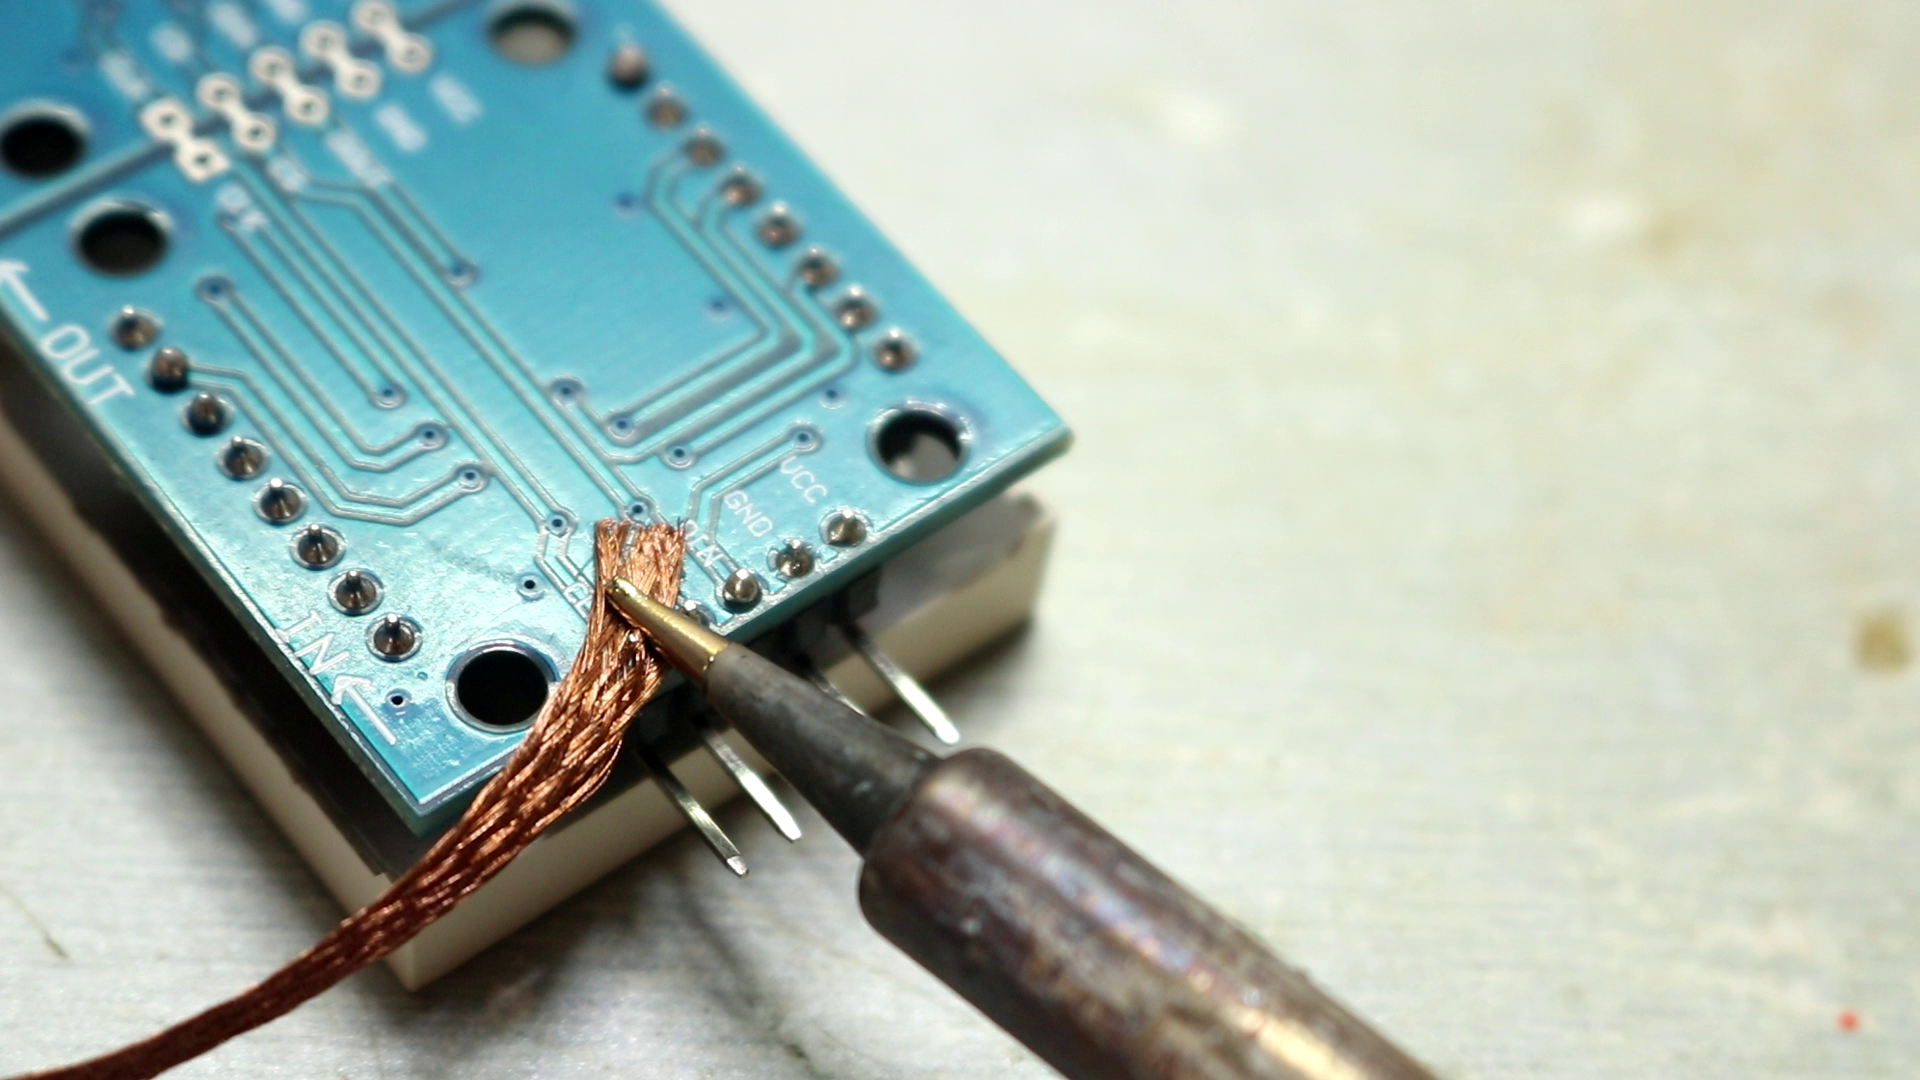
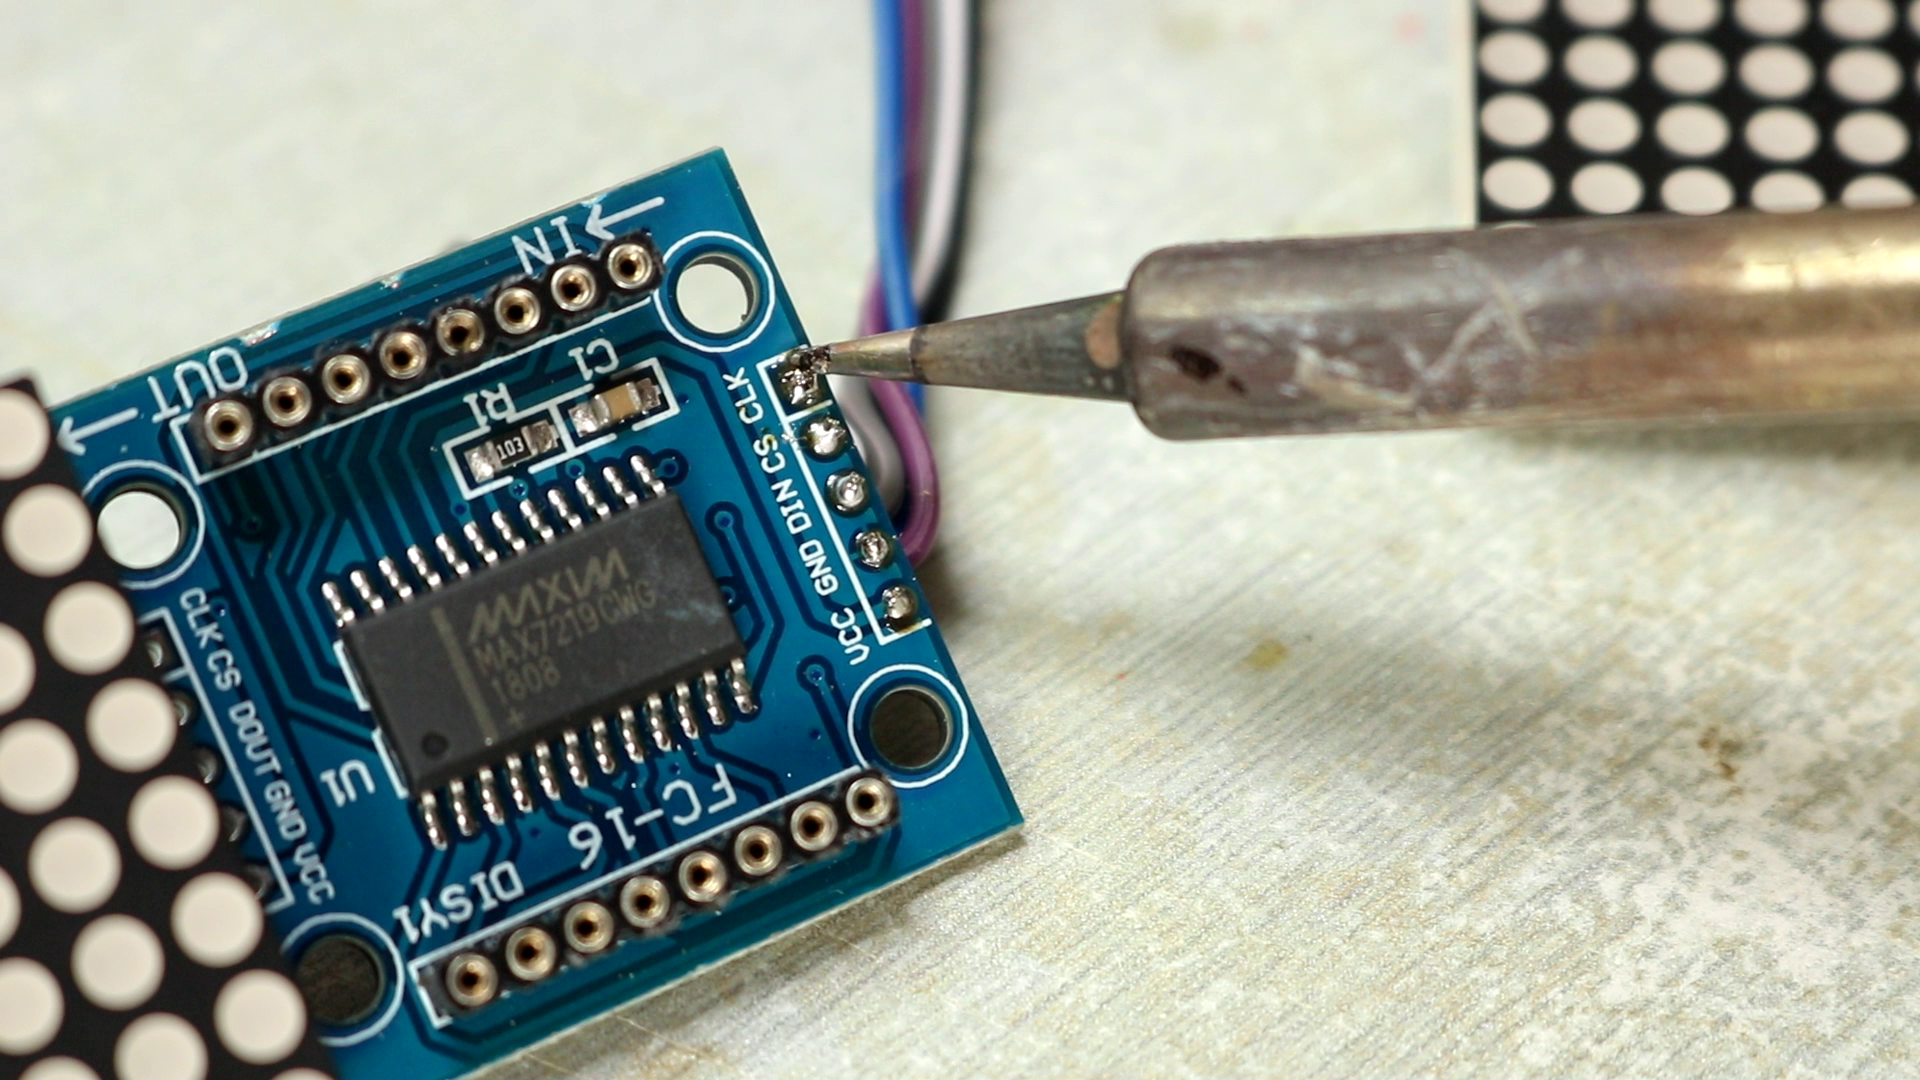
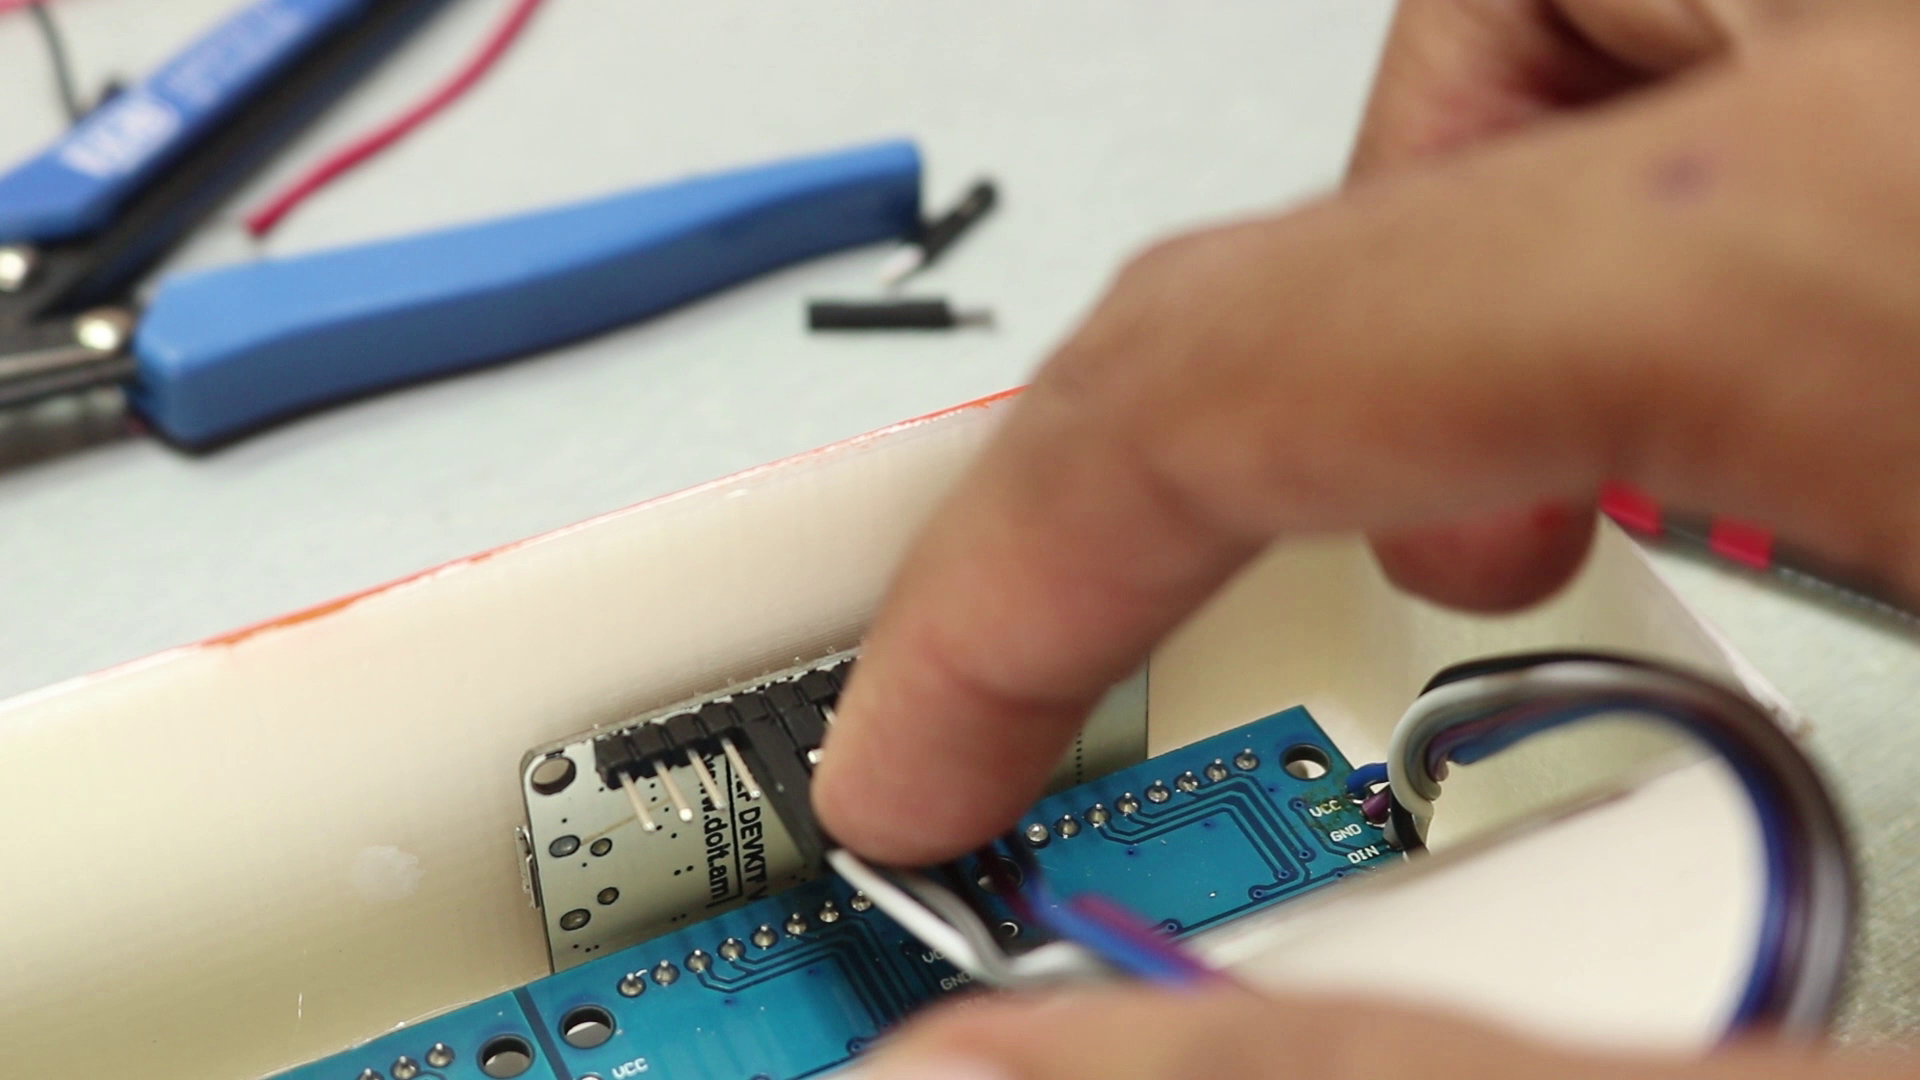
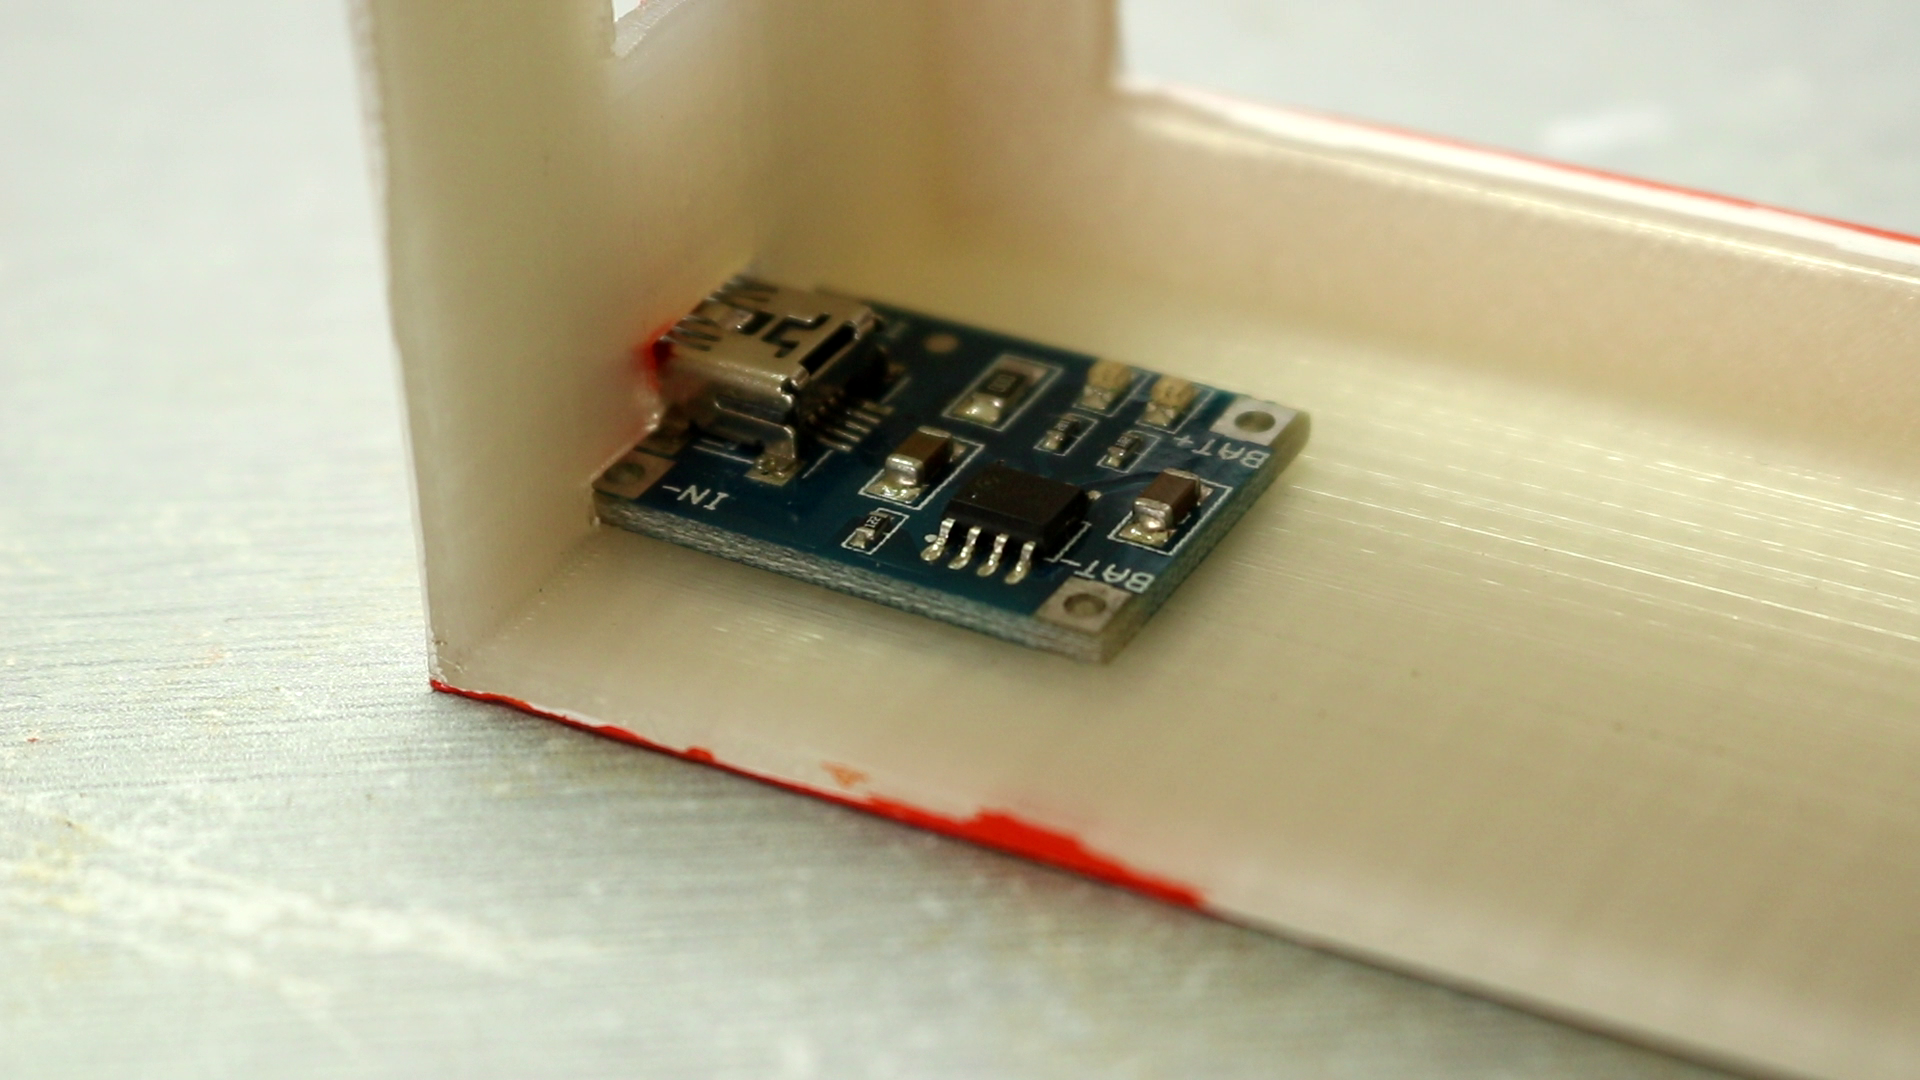
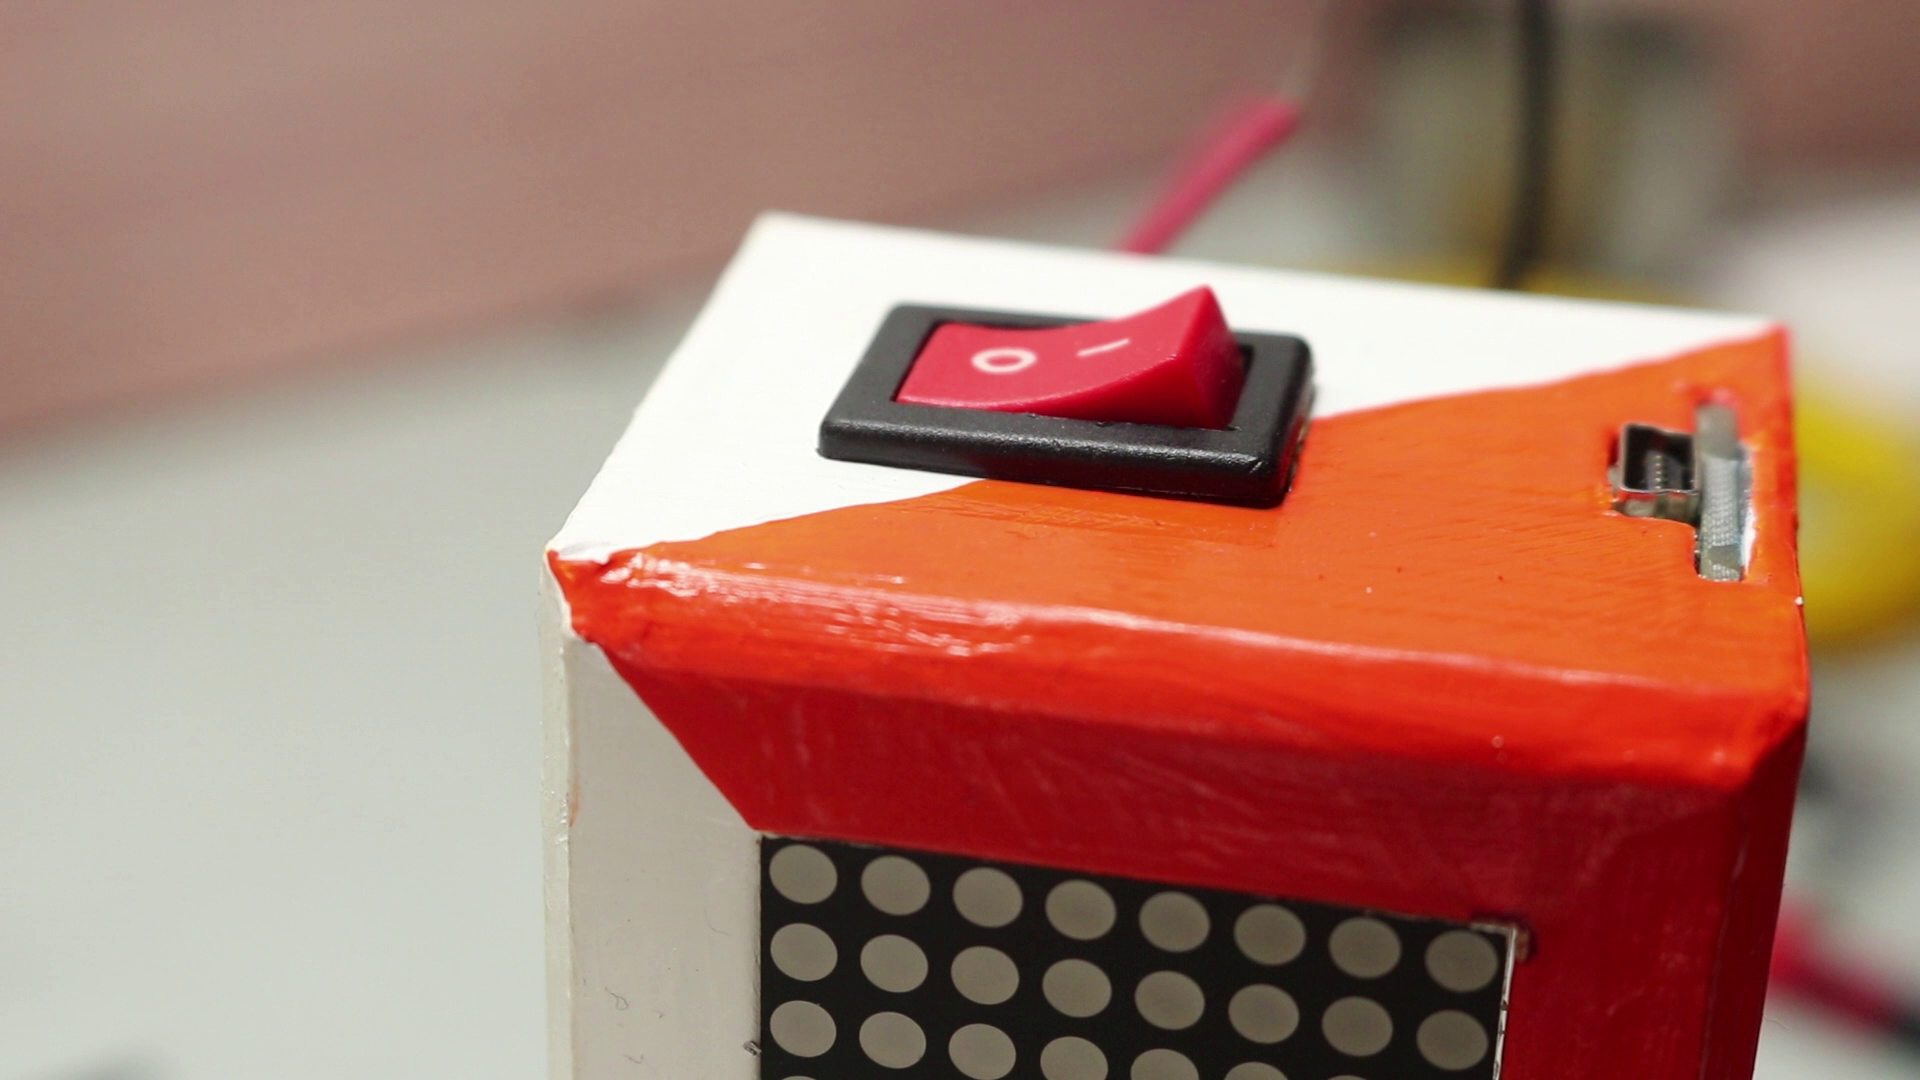
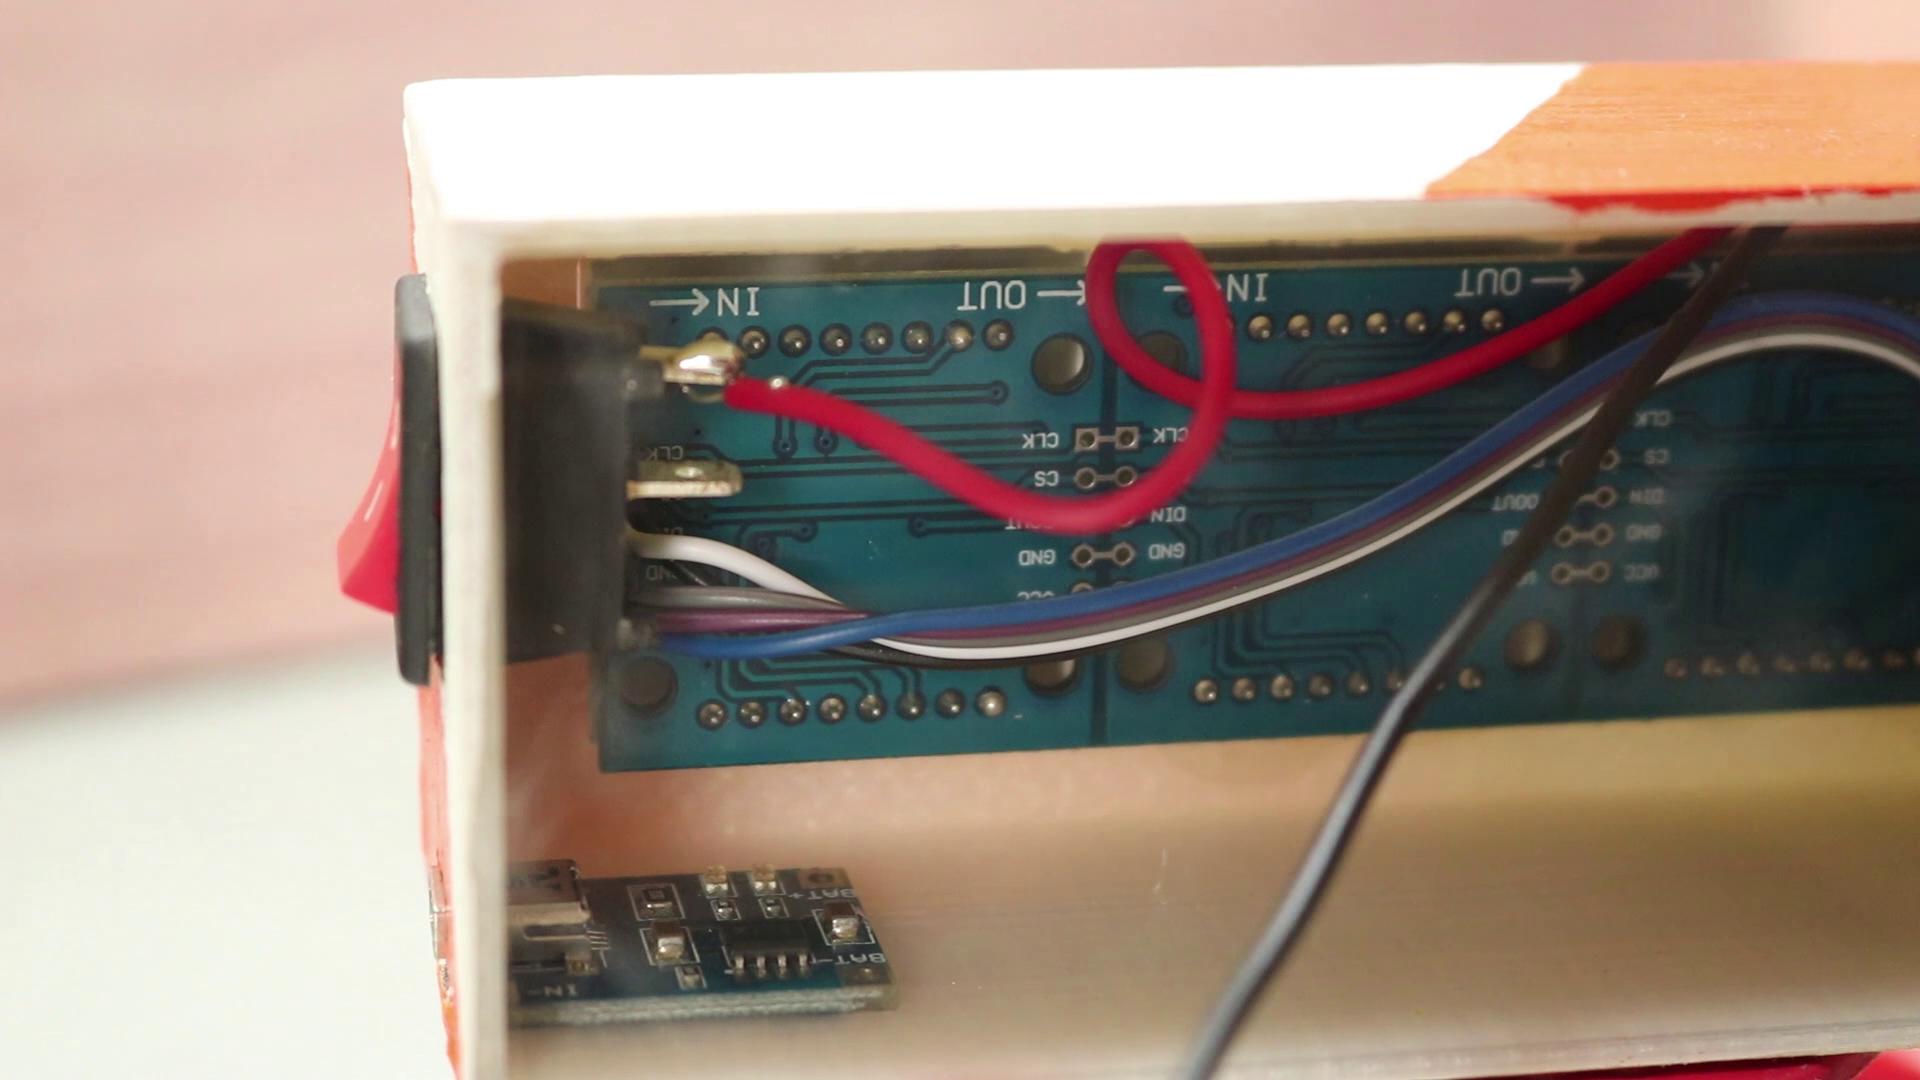
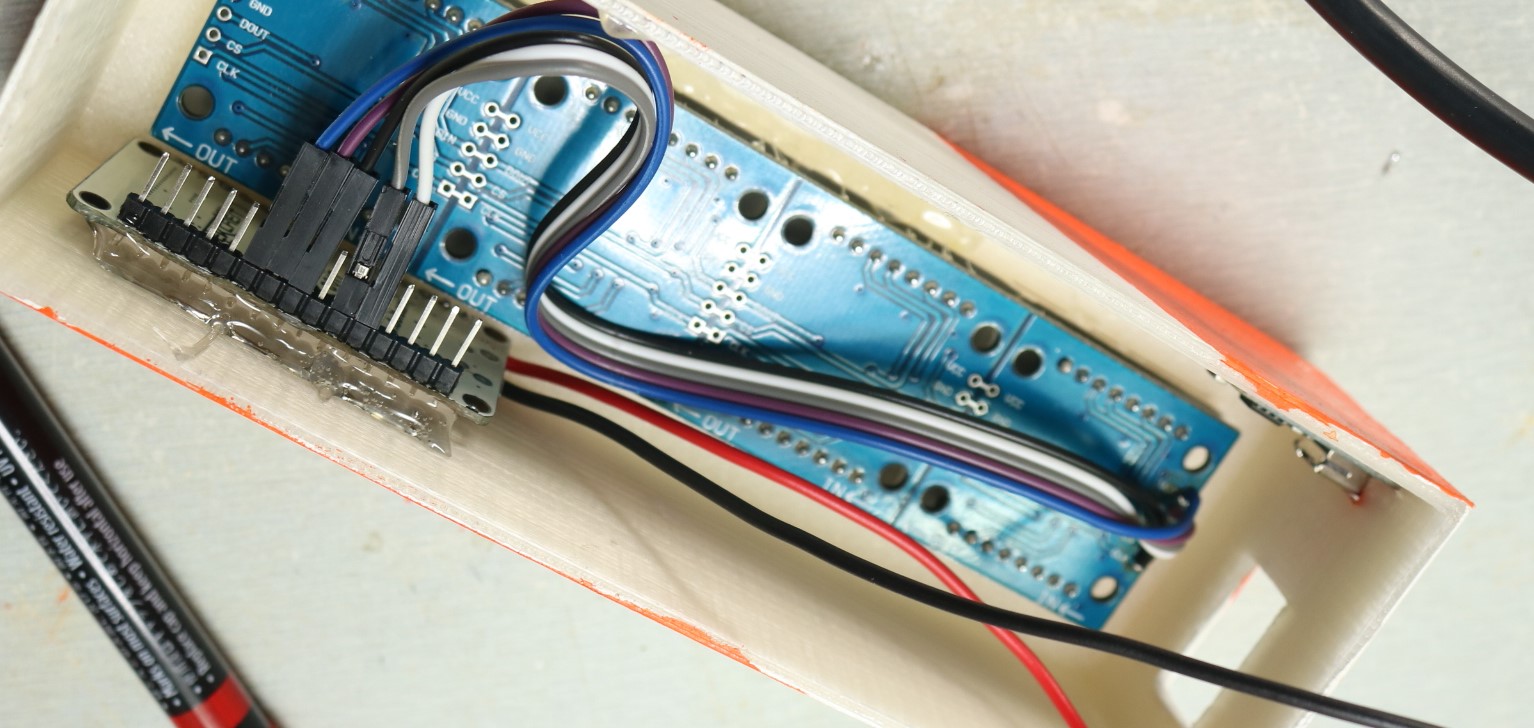
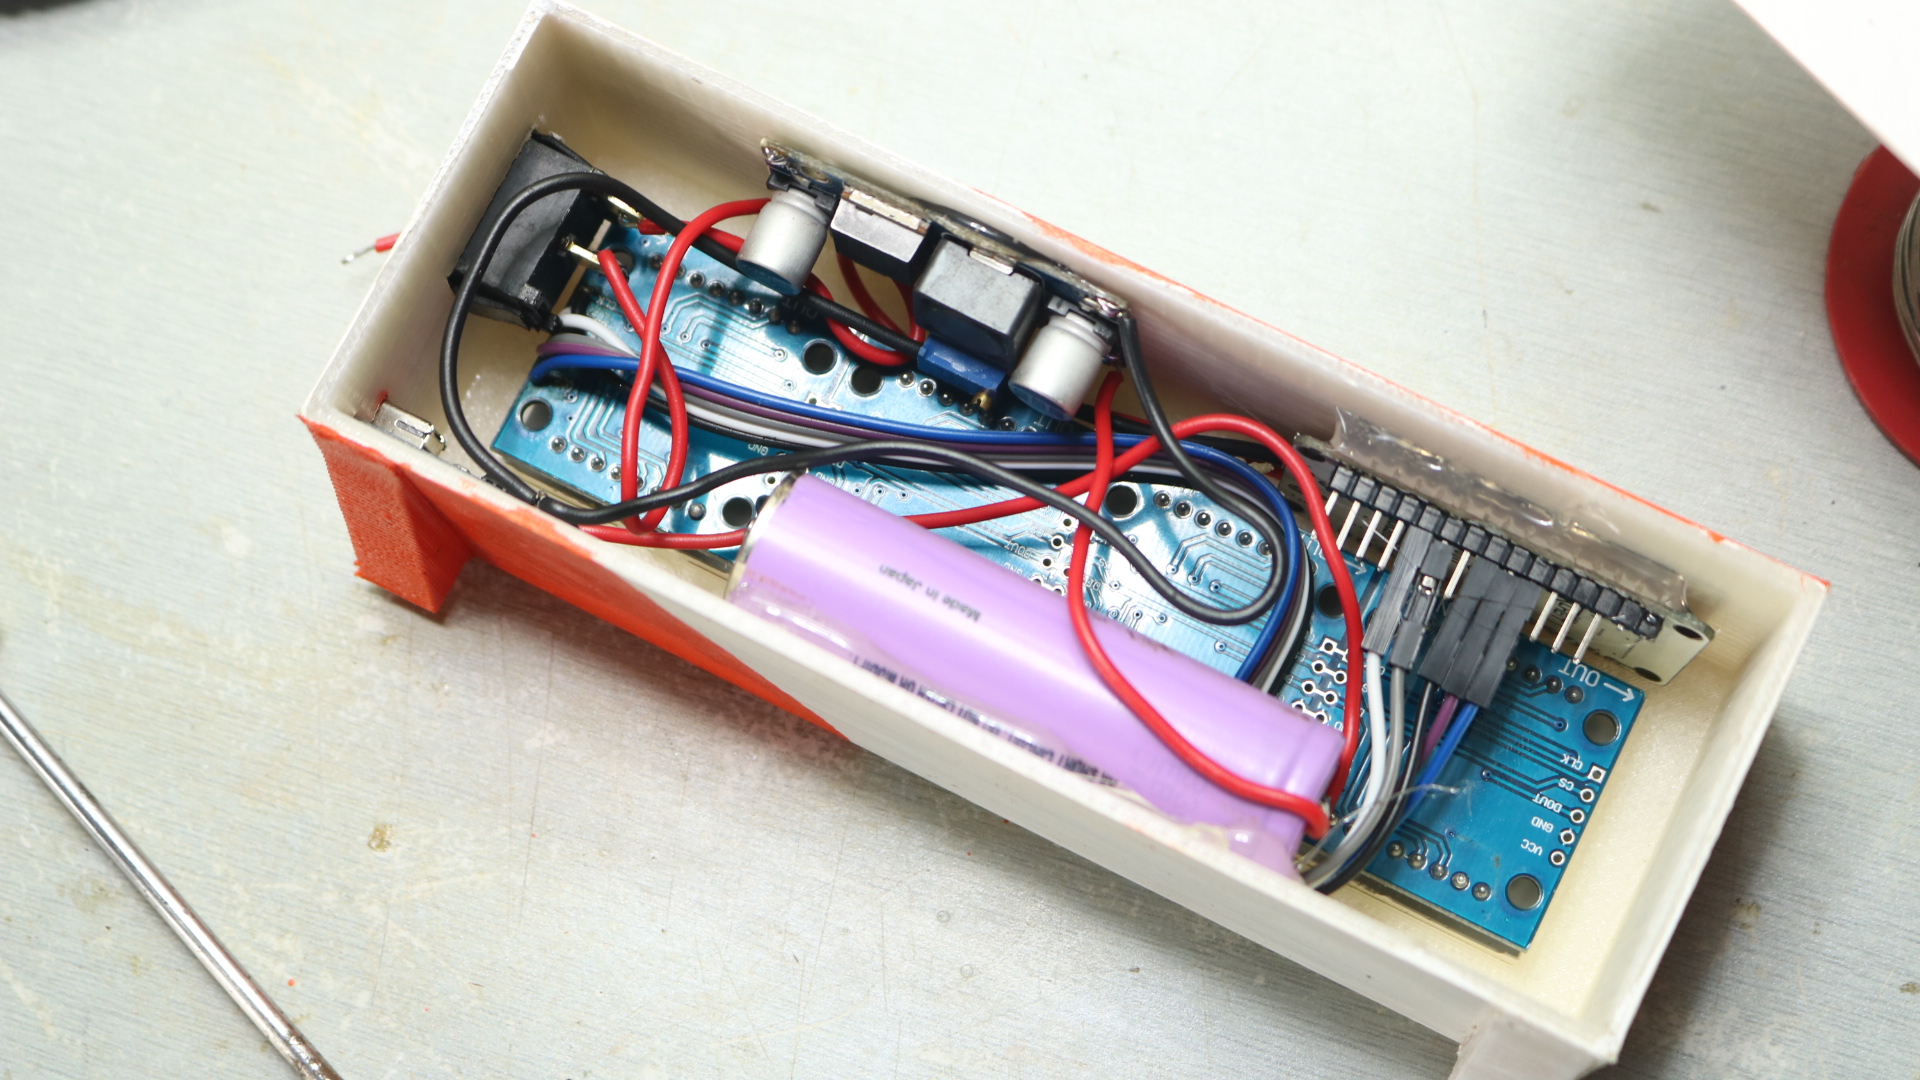
And last but now the least I designed case in Fusion 360 and 3D printed it on my 3D printer.
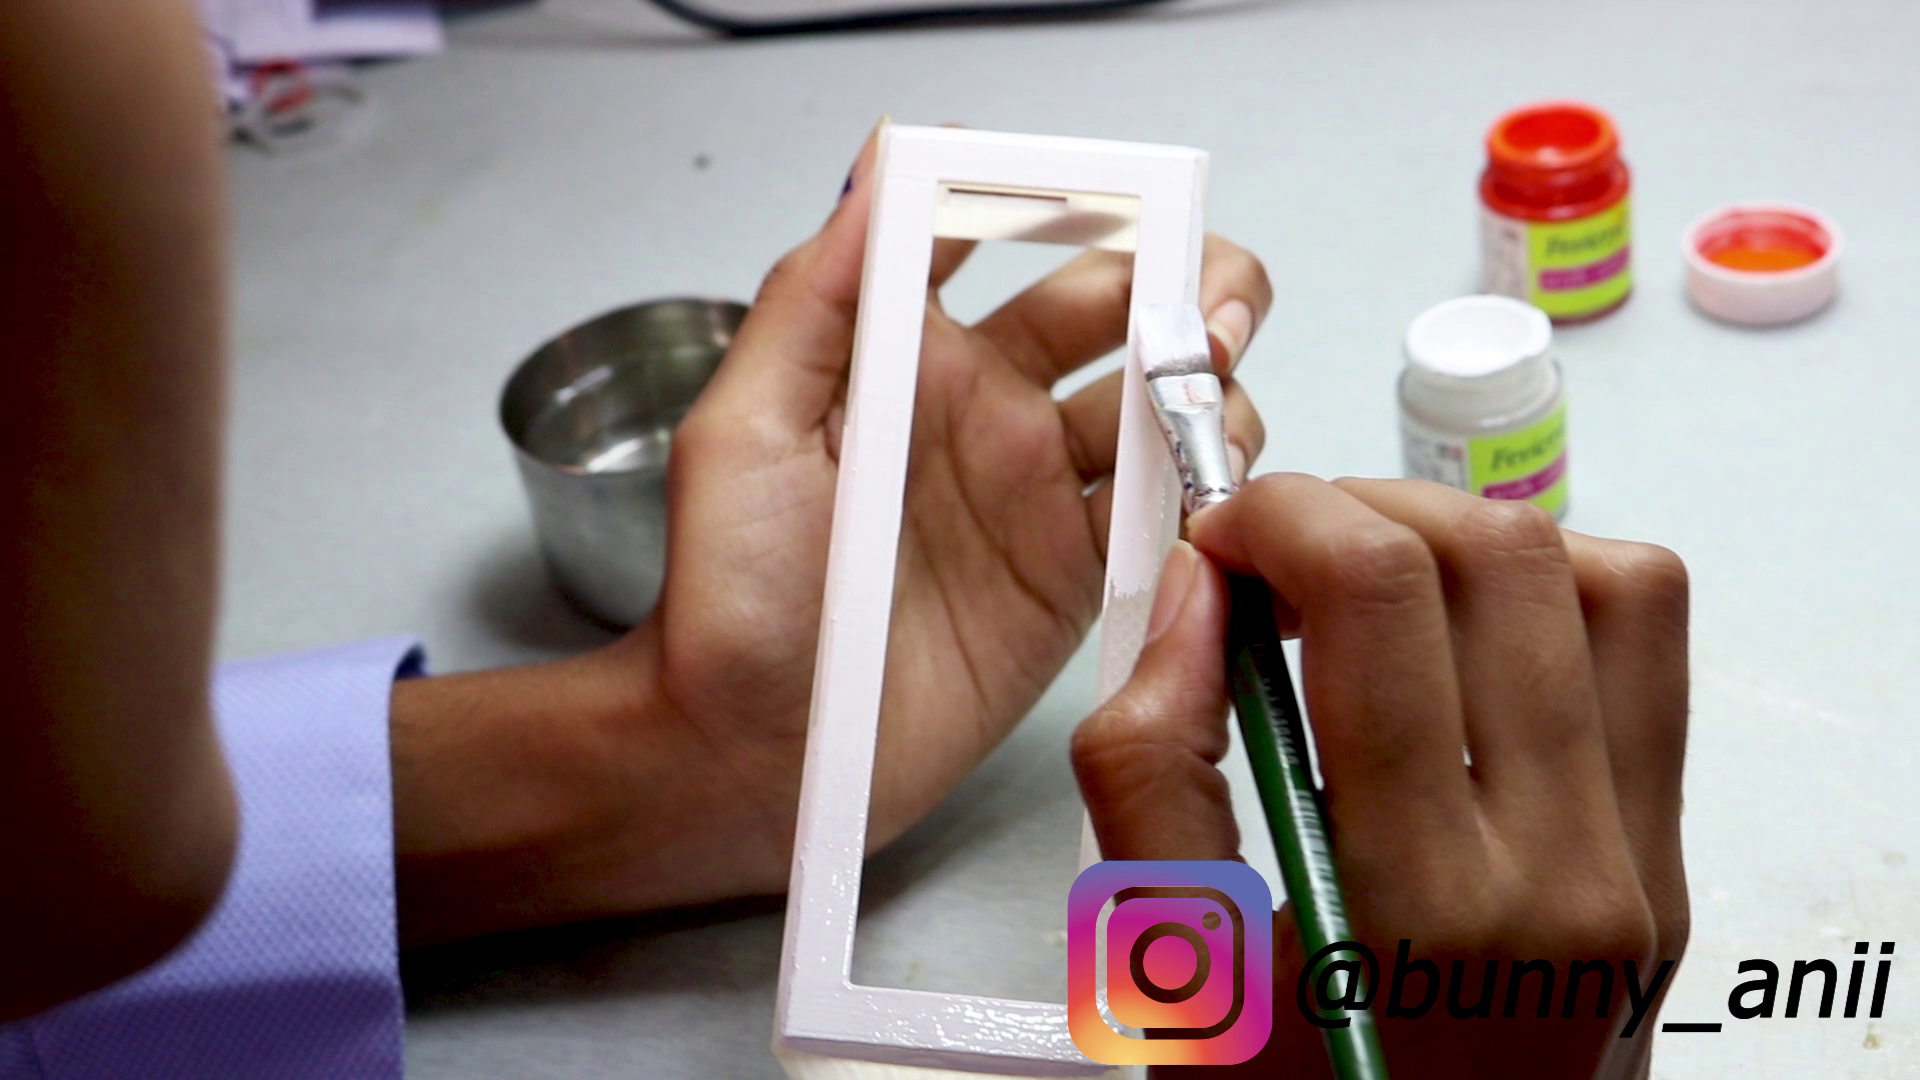
Print turned out to be great but I was not happy with the color so I decided to paint it. And because I am such a great artist I asked my friend to paint it you can follow her on Instagram
link to her account - https://www.instagram.com/bunny_anii/
Then I gathered all the complementary component soldered it secured everything together with Hot Glue and this Project was Complete!
Thank You !
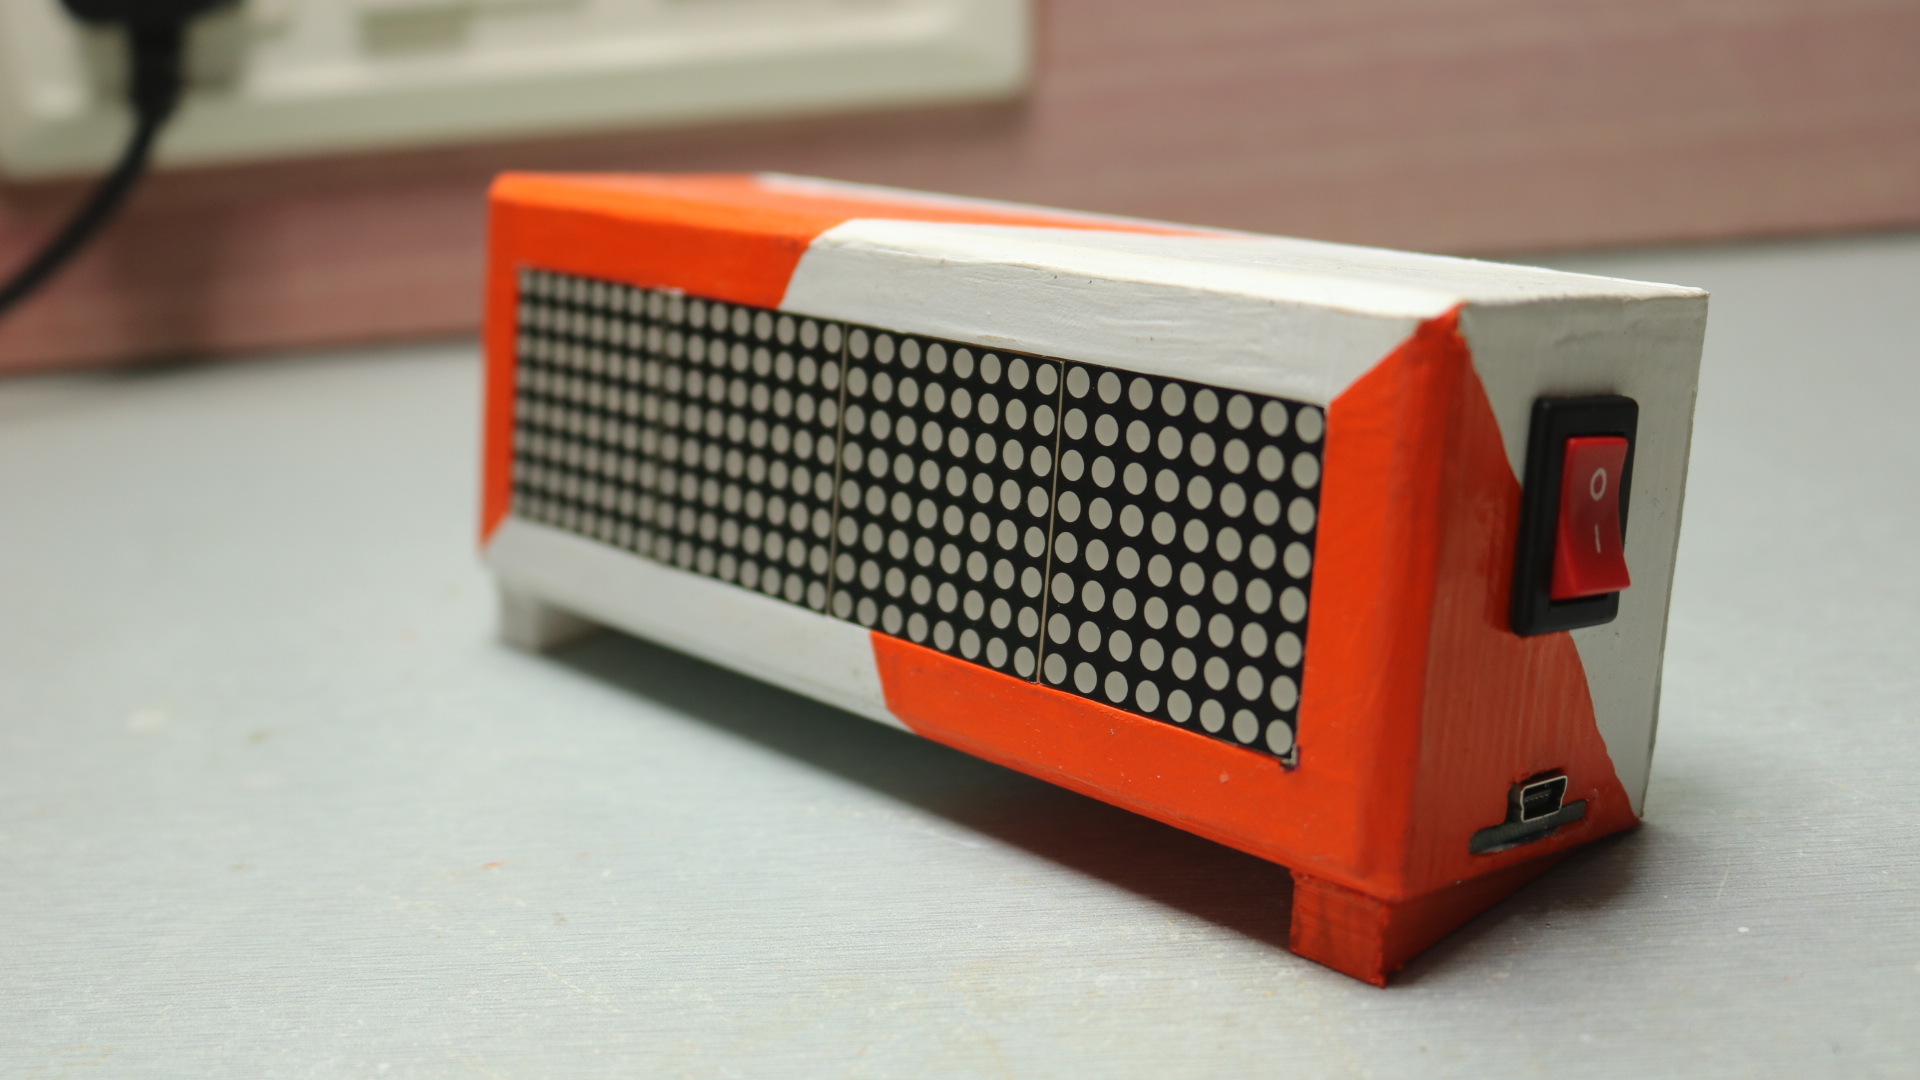
Sucess! I hope you have learned something new and found this project interesting
If you like my work
Feel free to check out my YouTube channel for more awesome stuff: https://www.youtube.com/c/Nematics_lab
You can also follow me on Facebook, Twitter etc for upcoming projects
https://www.facebook.com/NematicsLab/