Google Assistant Based LED Control Using Raspberry Pi
by Disha Bhagwat in Circuits > Raspberry Pi
1239 Views, 4 Favorites, 0 Comments
Google Assistant Based LED Control Using Raspberry Pi
Hey!
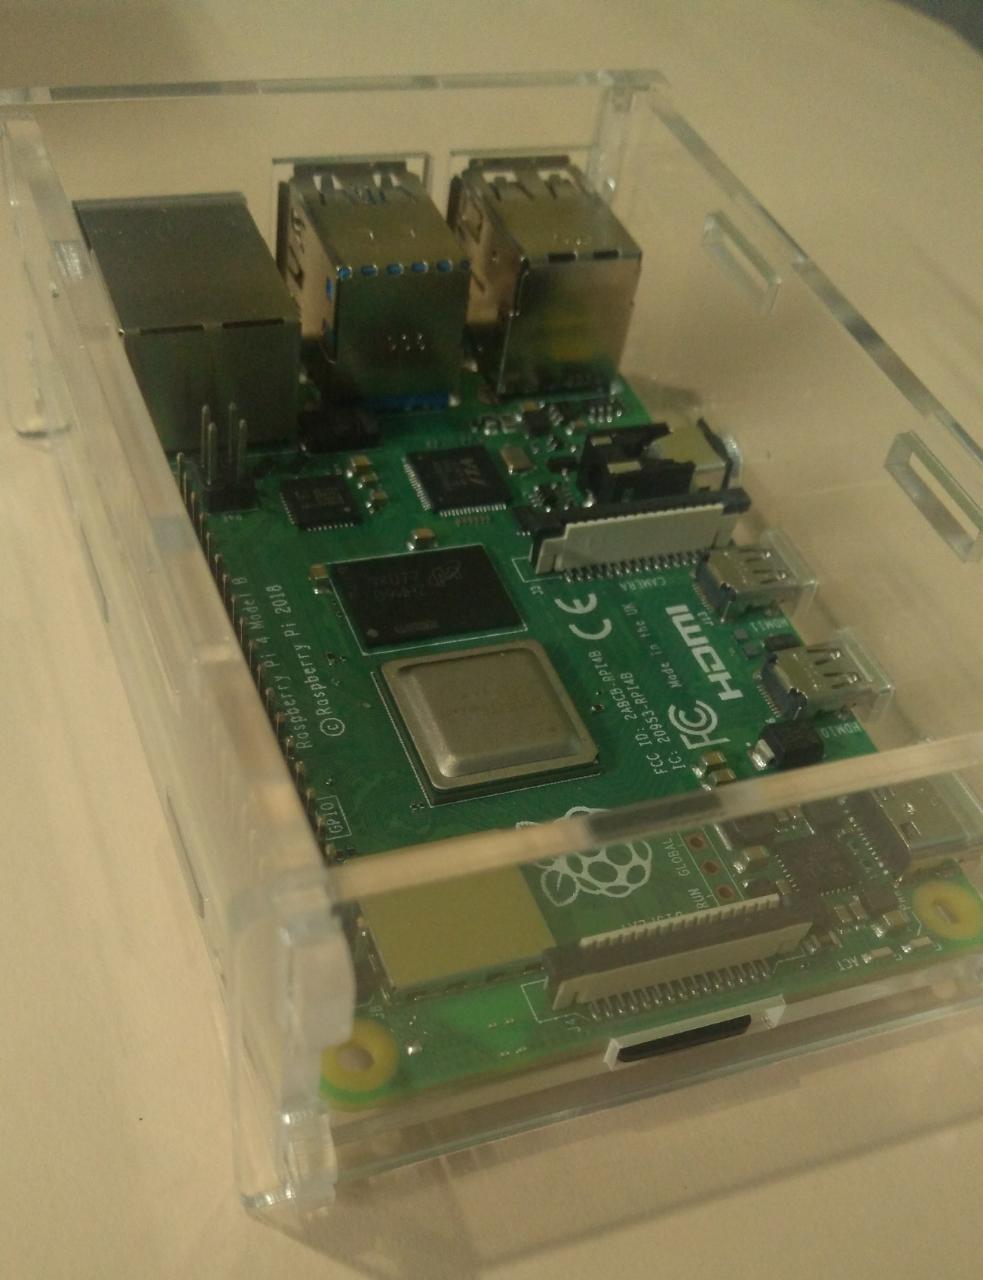
In this project, we will implement Google Assistant based control of the LED using Raspberry Pi 4 using HTTP in Python. You can replace the LED with a light bulb (obviously not literally, you'll need a relay module in between) or any other home appliance so that this project can be further implemented for home automation purposes.
Supplies
What you will need for this project:
1. Raspberry Pi
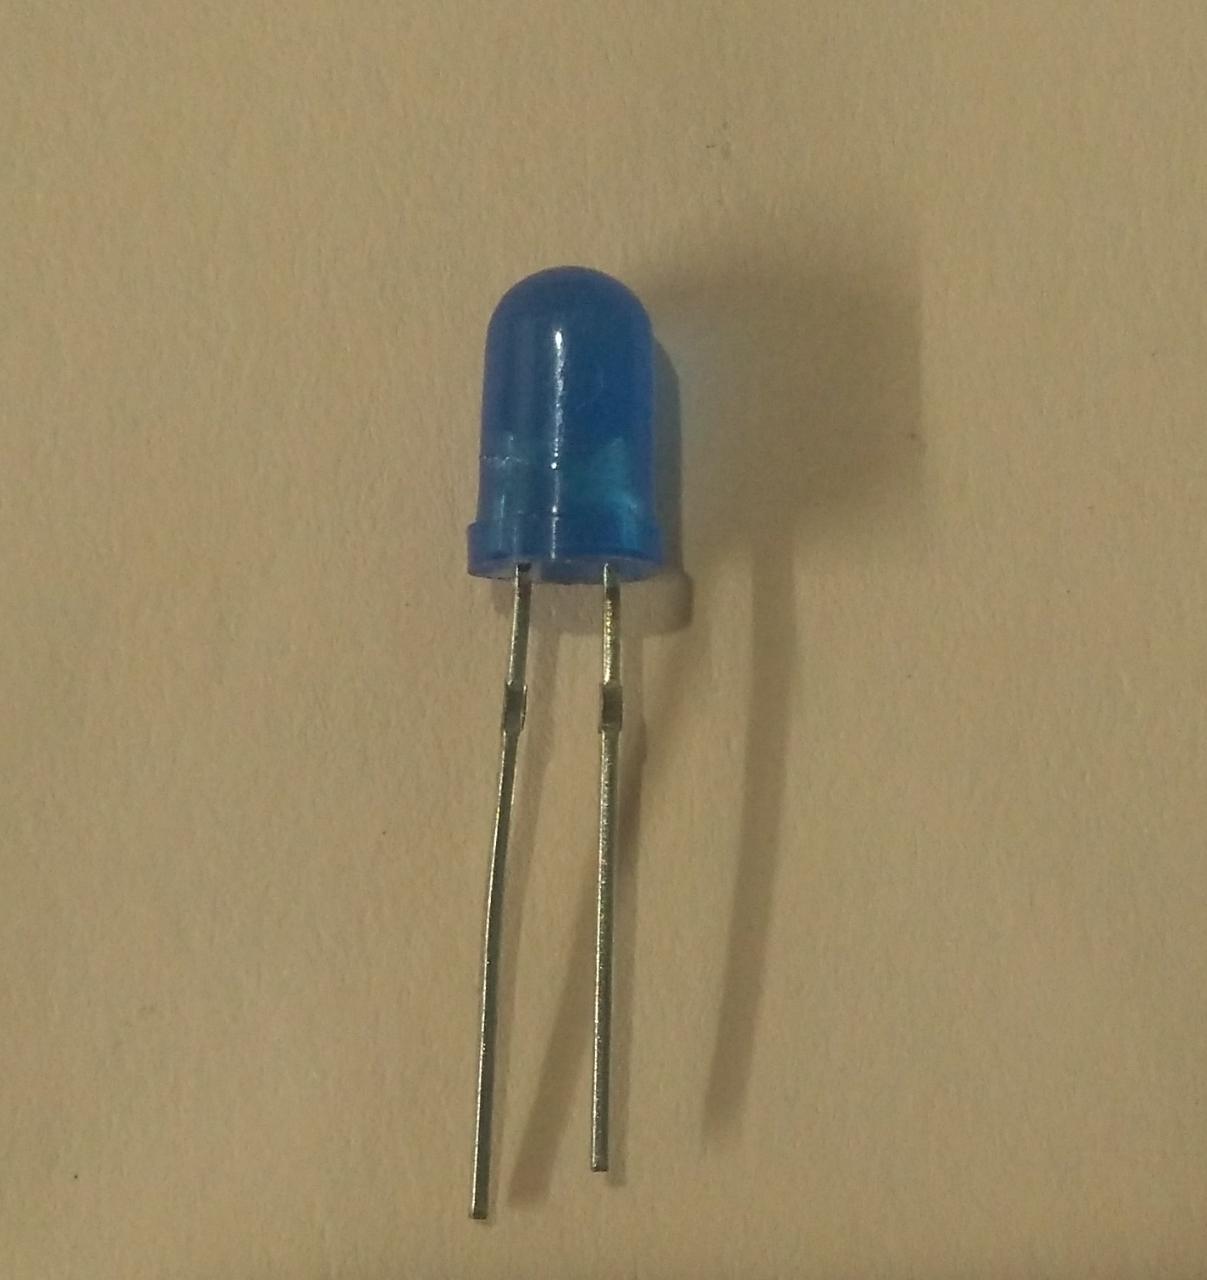
2. LED
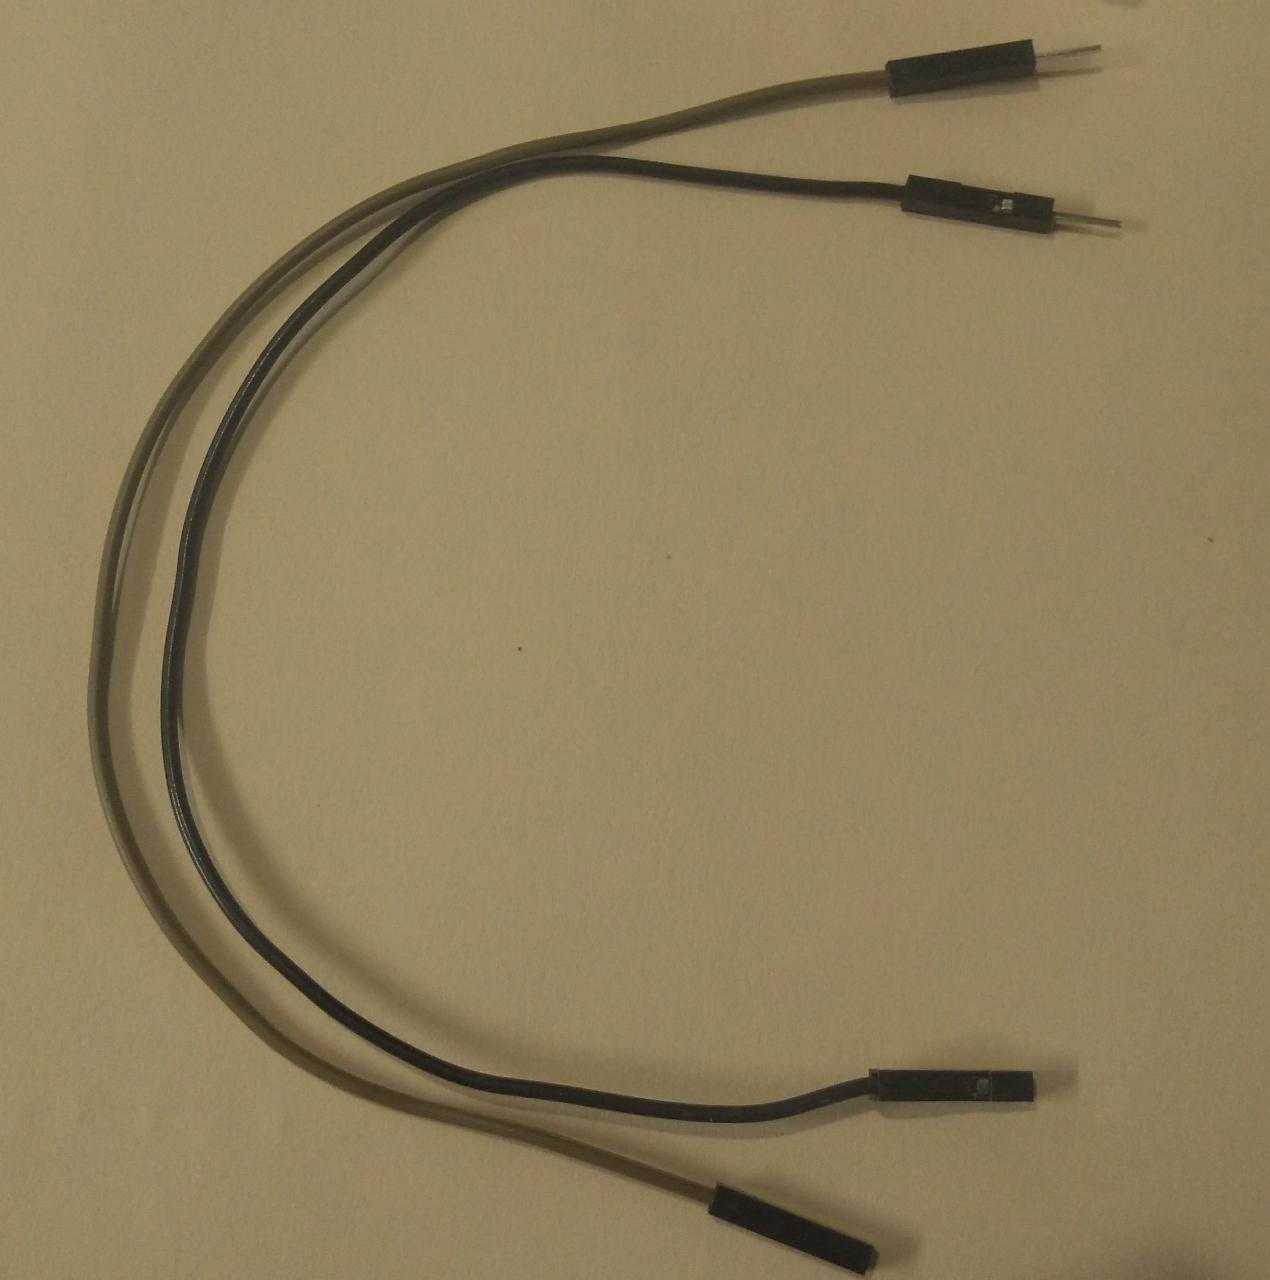
3. Jumper wires-2 (male to female)
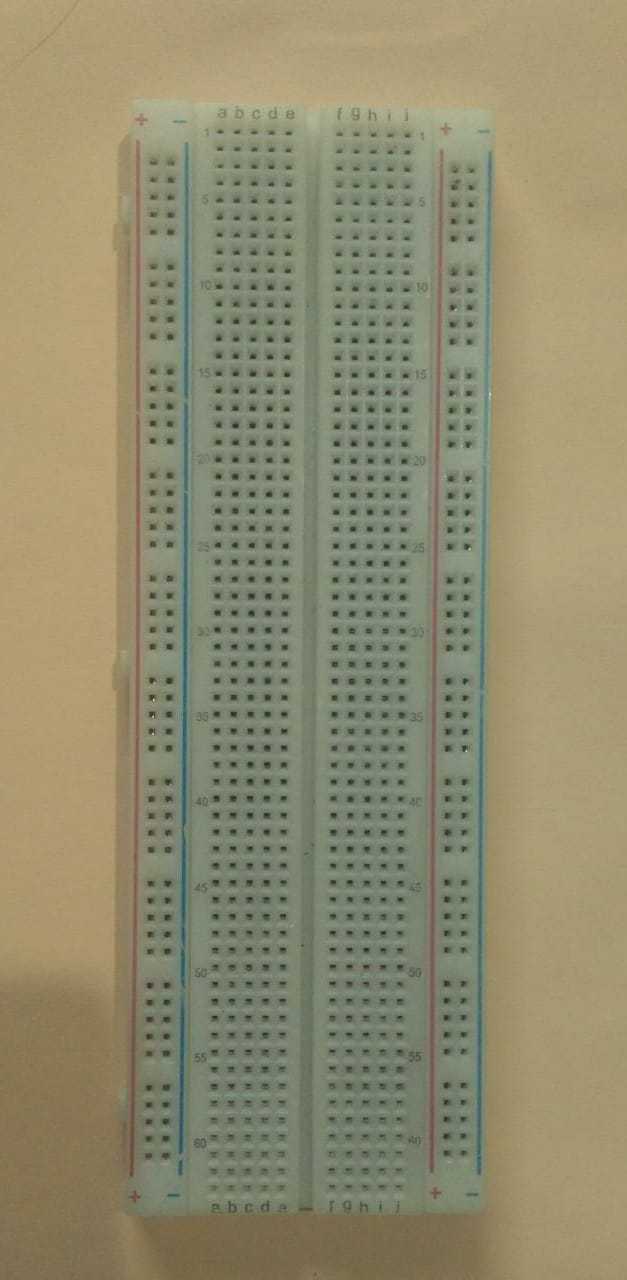
4. Breadboard
5. IFTTT app (https://play.google.com/store/apps/details?id=com.ifttt.ifttt&hl=en_IN)
6. Thingspeak account (https://thingspeak.com/)
Some prerequisites:
1. Networking basics-HTTP
2. Python to access the web data
Creating a Thingspeak Channel

If you are new to Thingspeak and have never used it before, follow the below steps:
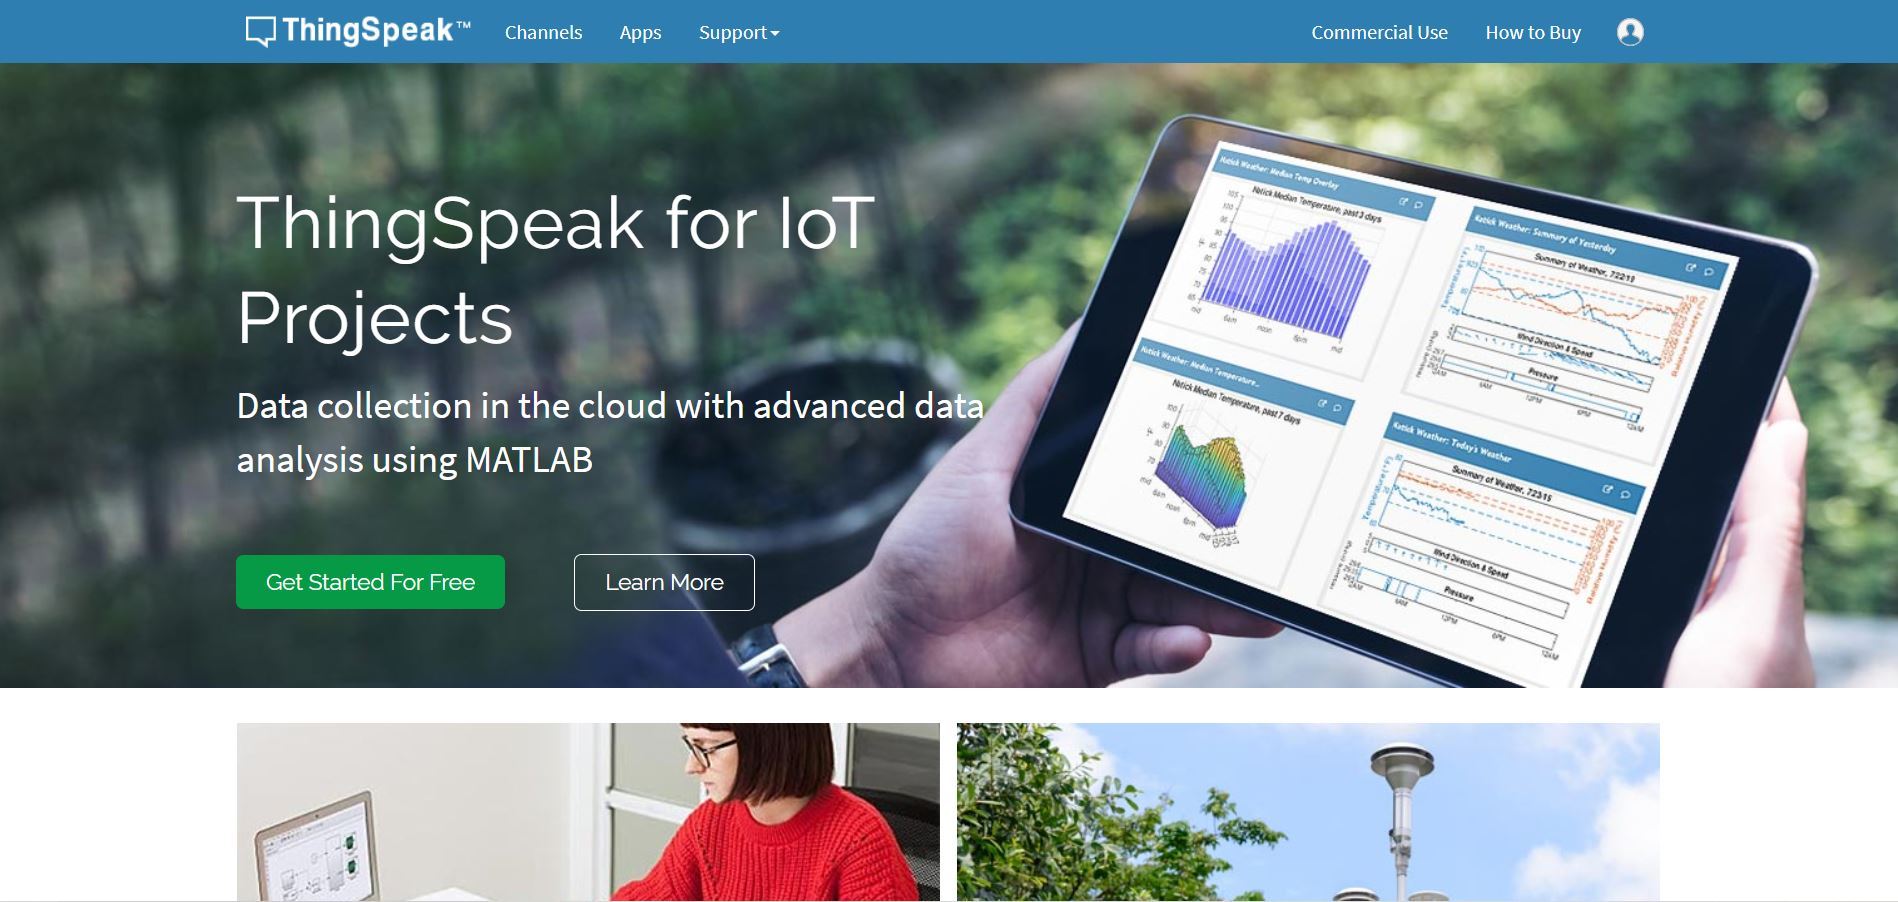
Go to https://thingspeak.com/
You will have to sign up before you start using Thingspeak
After signing up, go to the Channels section
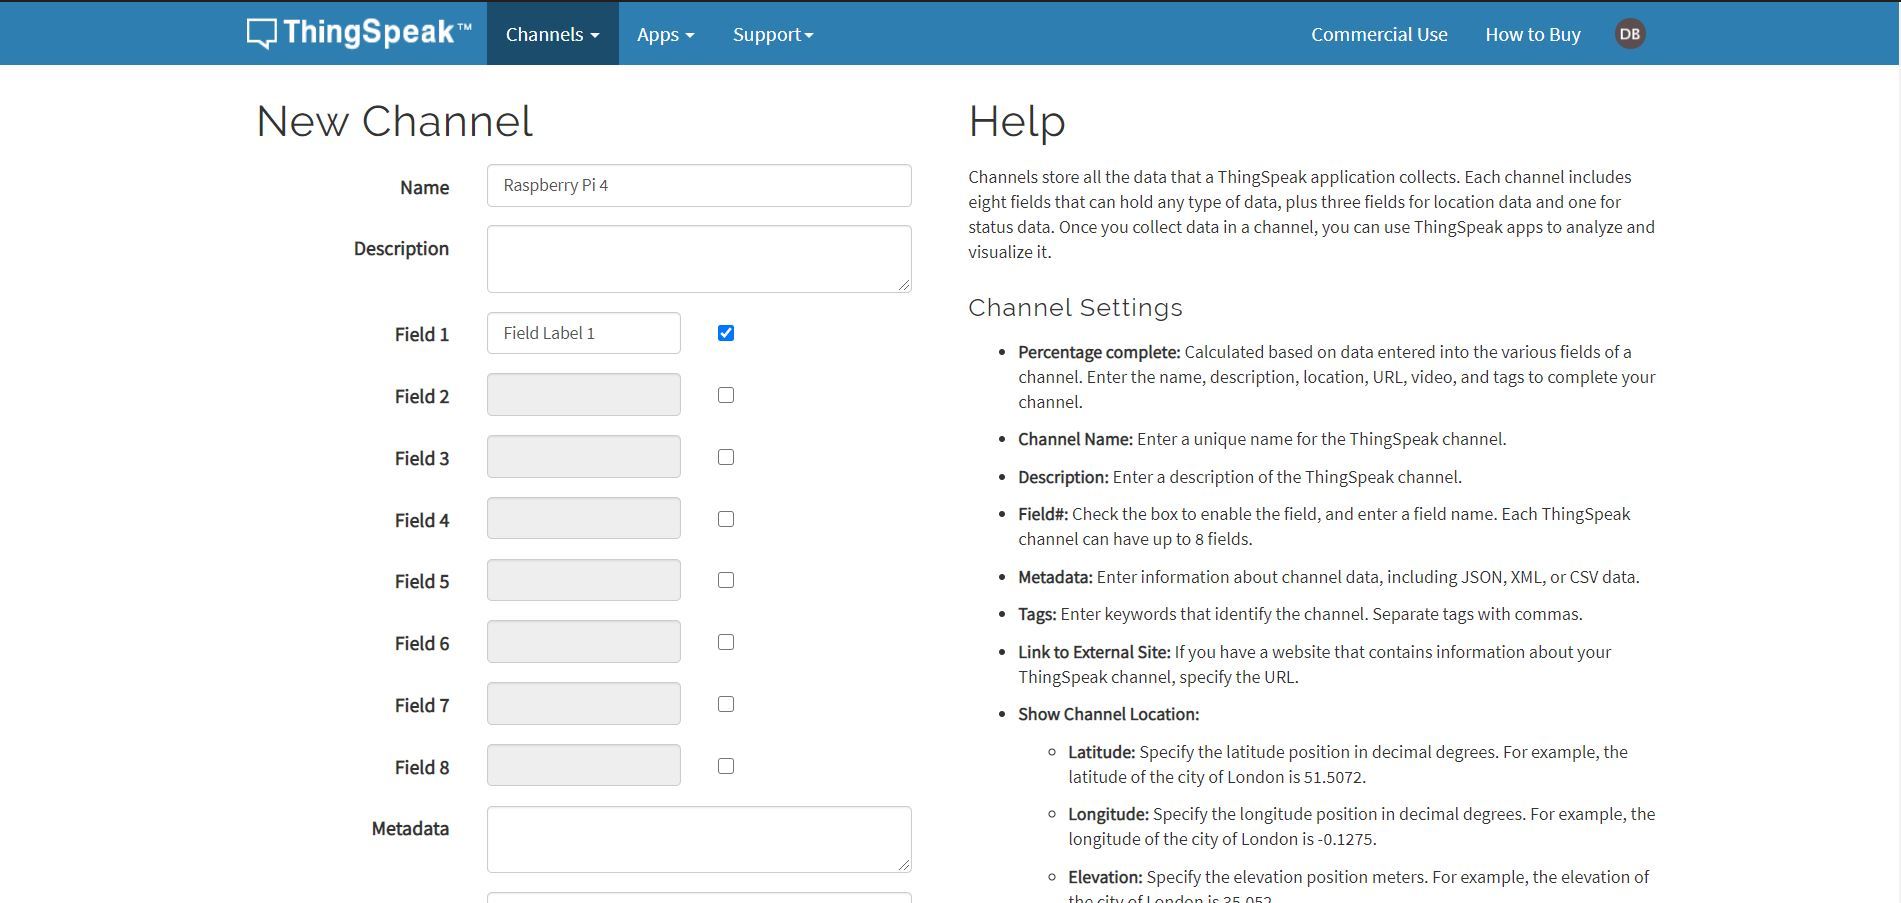
Under Channels, select New Channel (see image for reference)
In New Channel, you will see different information boxes. You just have to fill in the Name box. You can name your channel whatever you want. I have attached an image where I have named my channel as Raspberry Pi 4. Leave the rest of the boxes as it is.
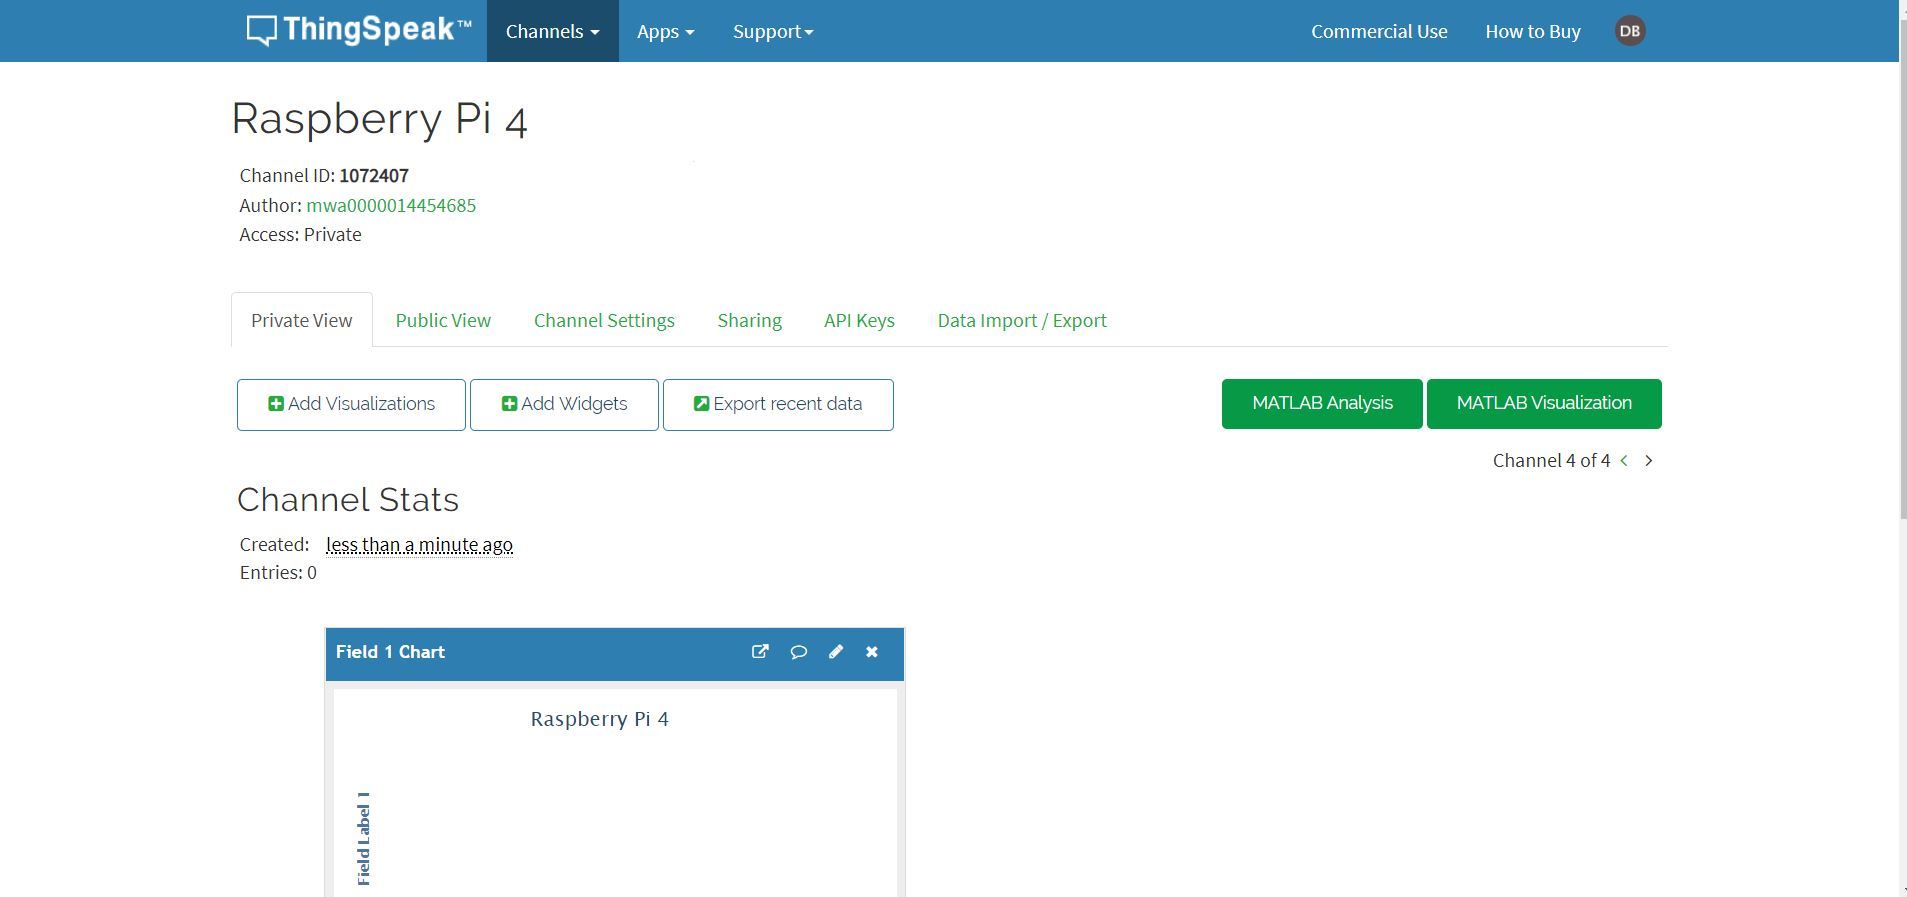
Congratulations! You have successfully created a channel for your IoT project. (see the attached image where you can see my channel named Raspberry Pi 4 successfully created)
Using IFTTT App
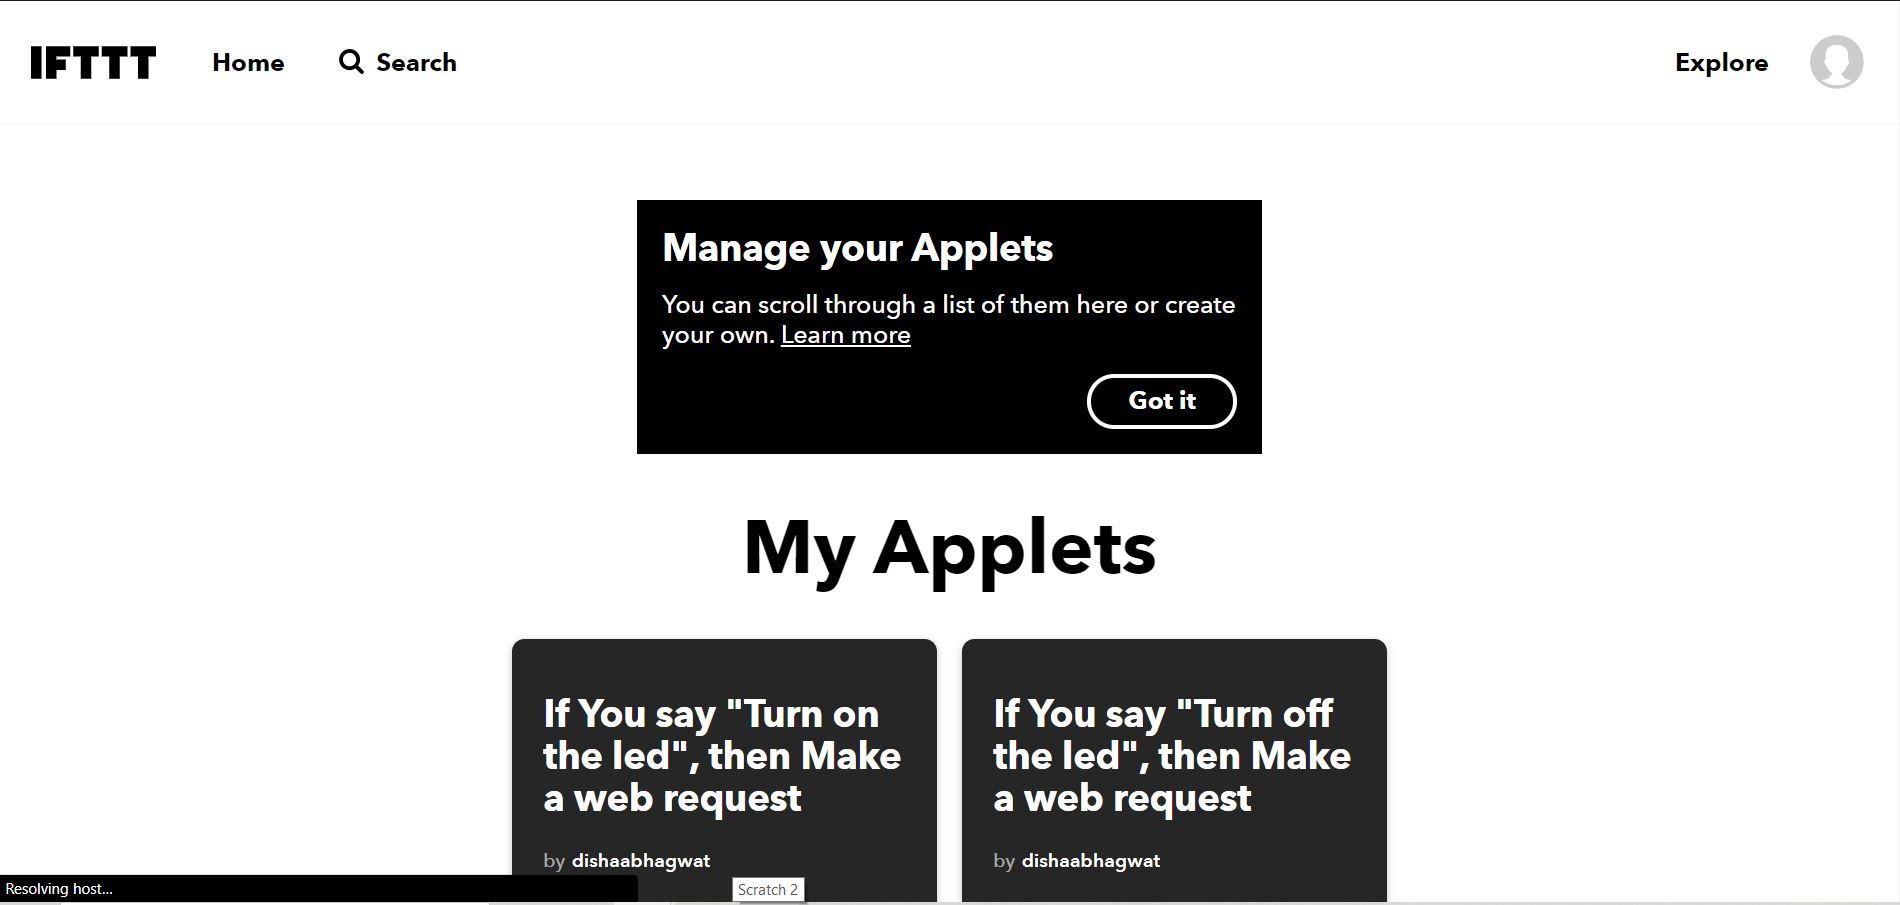

We have to use this app for triggering a GET request for posting data on your created Thingspeak channel using Google Assistant. Think of this app as an interface between Google Assistant and your Thingspeak channel.
Next, we create GET requests on the IFTTT app.
Download the IFTTT app from https://play.google.com/store/apps/details?id=com....
Create your account
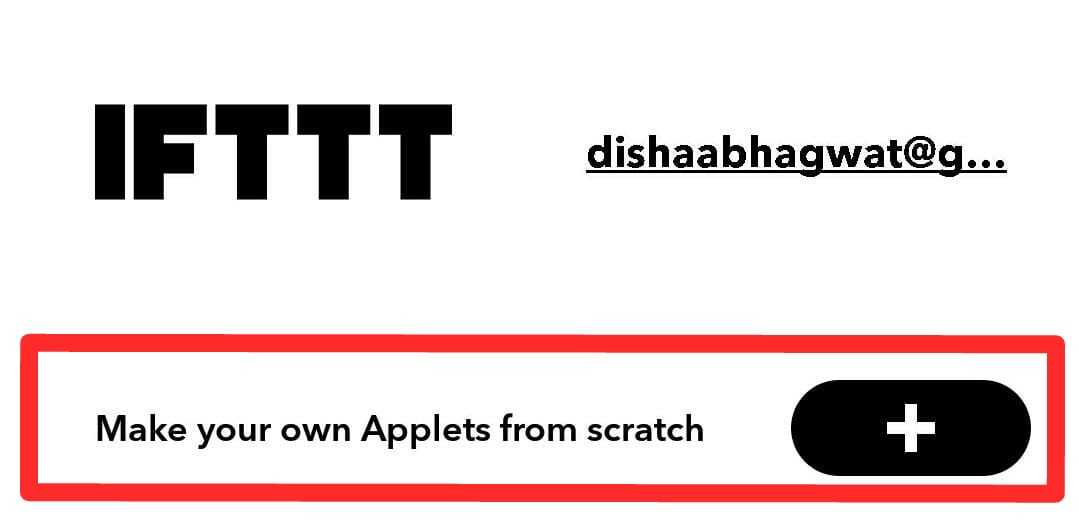
Go to Make your own Applets from scratch
Tap on If This option
Select trigger service as Google Assistant
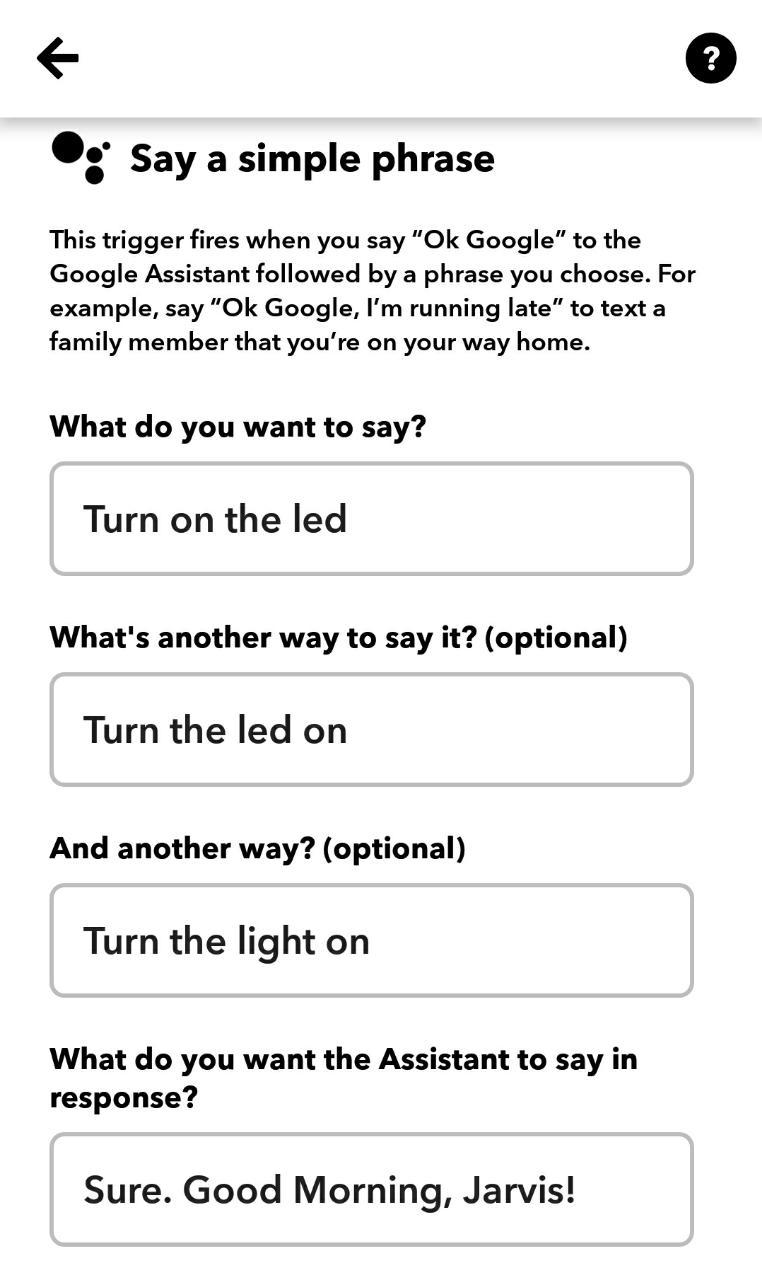
In that, select Say a simple phrase
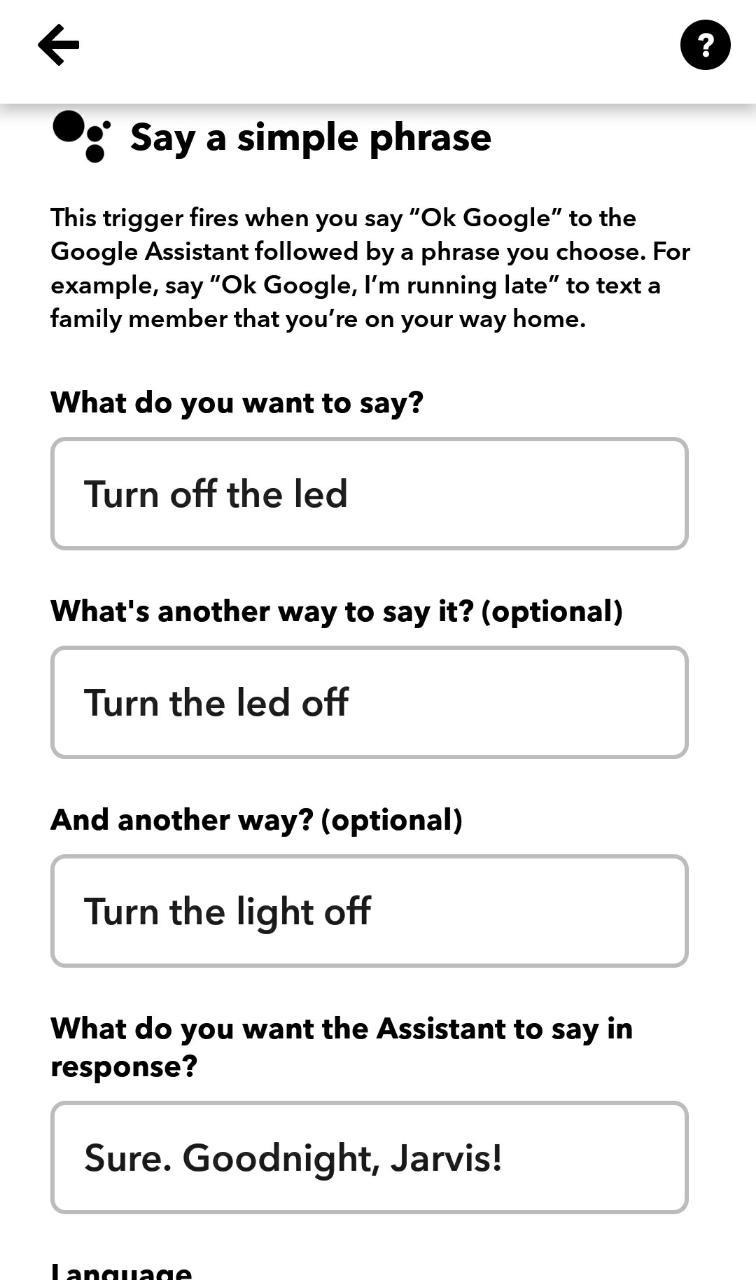
Under that option, some information boxes will appear. For that, refer to the images and fill in the details accordingly! (there are two images for this purpose: 1. To turn the LED on 2. To turn the LED off)
We have completed the If This part which is Google Assistant. Now we select Then That option which is Webhooks.
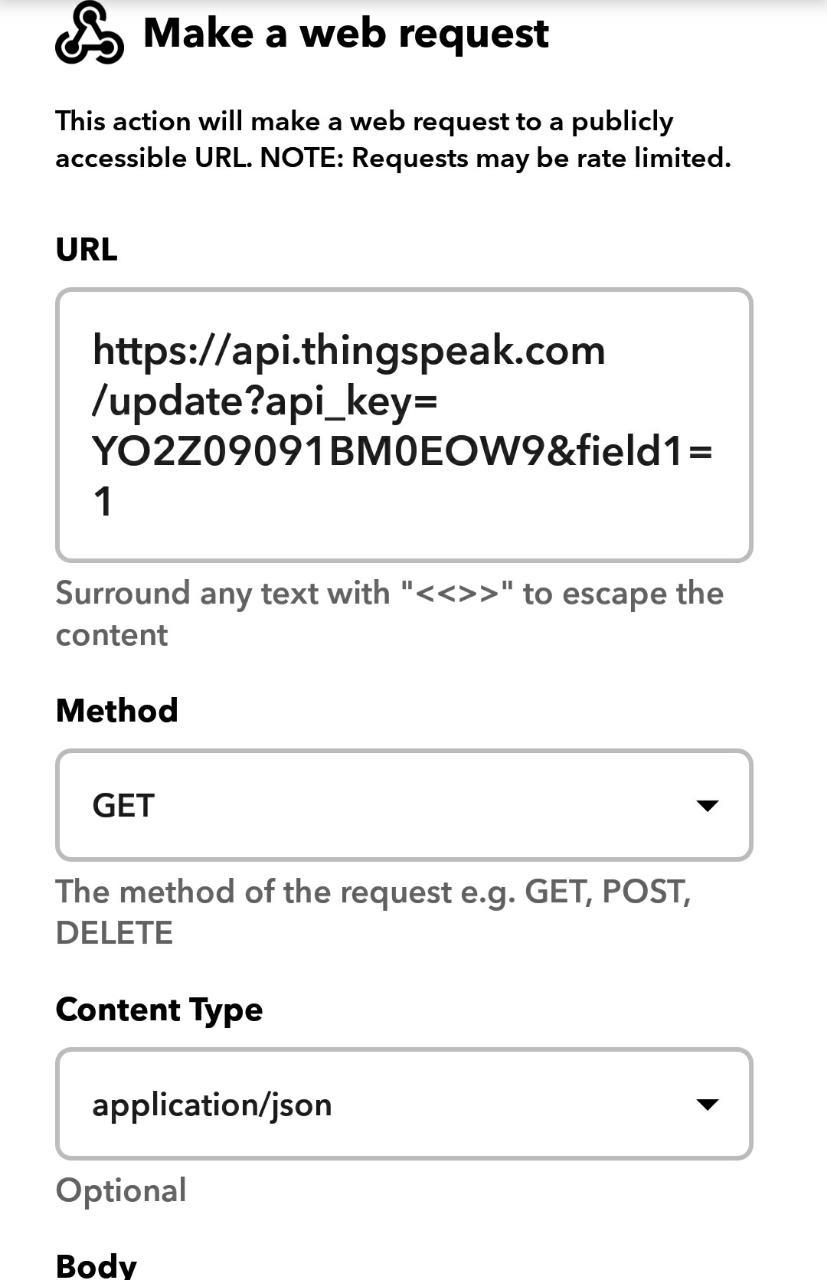
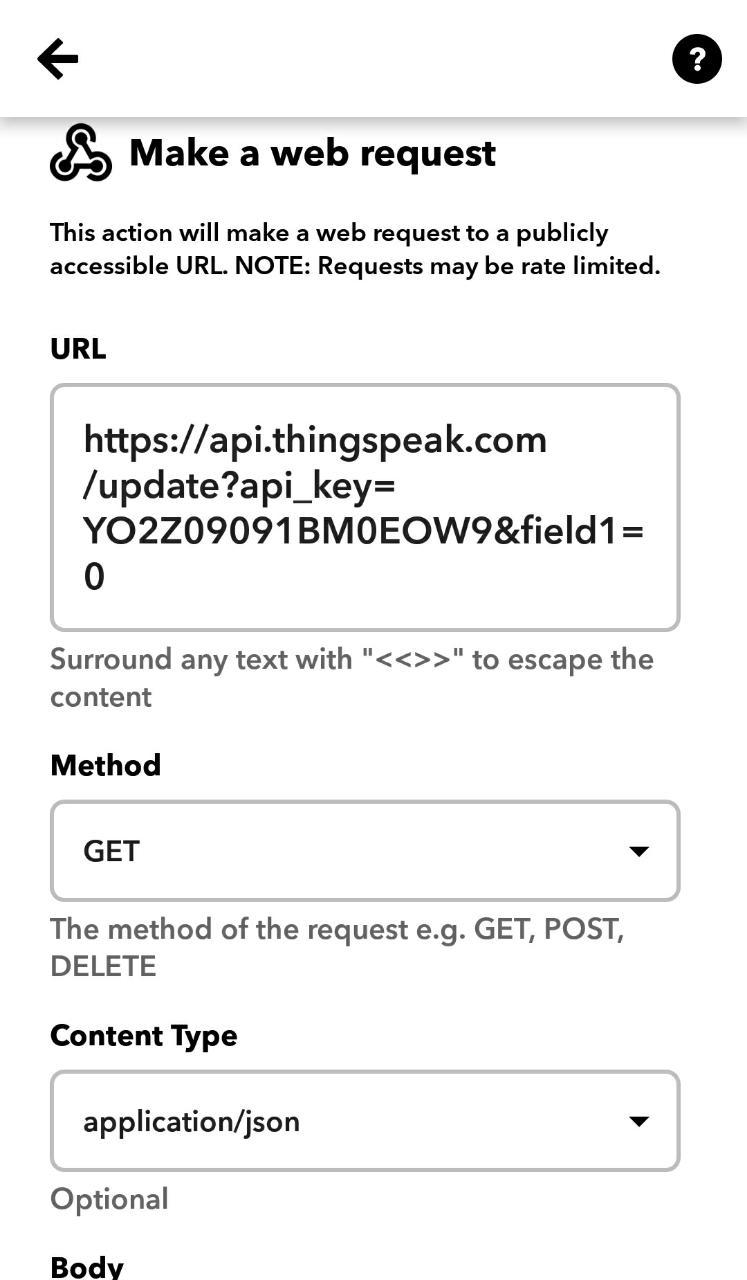
Under that, select Make a web request
Refer the image for the information that has to be filled in the boxes. Refer this URL https://api.thingspeak.com/update?api_key=INSERT YOUR WRITE API KEY&field1=1
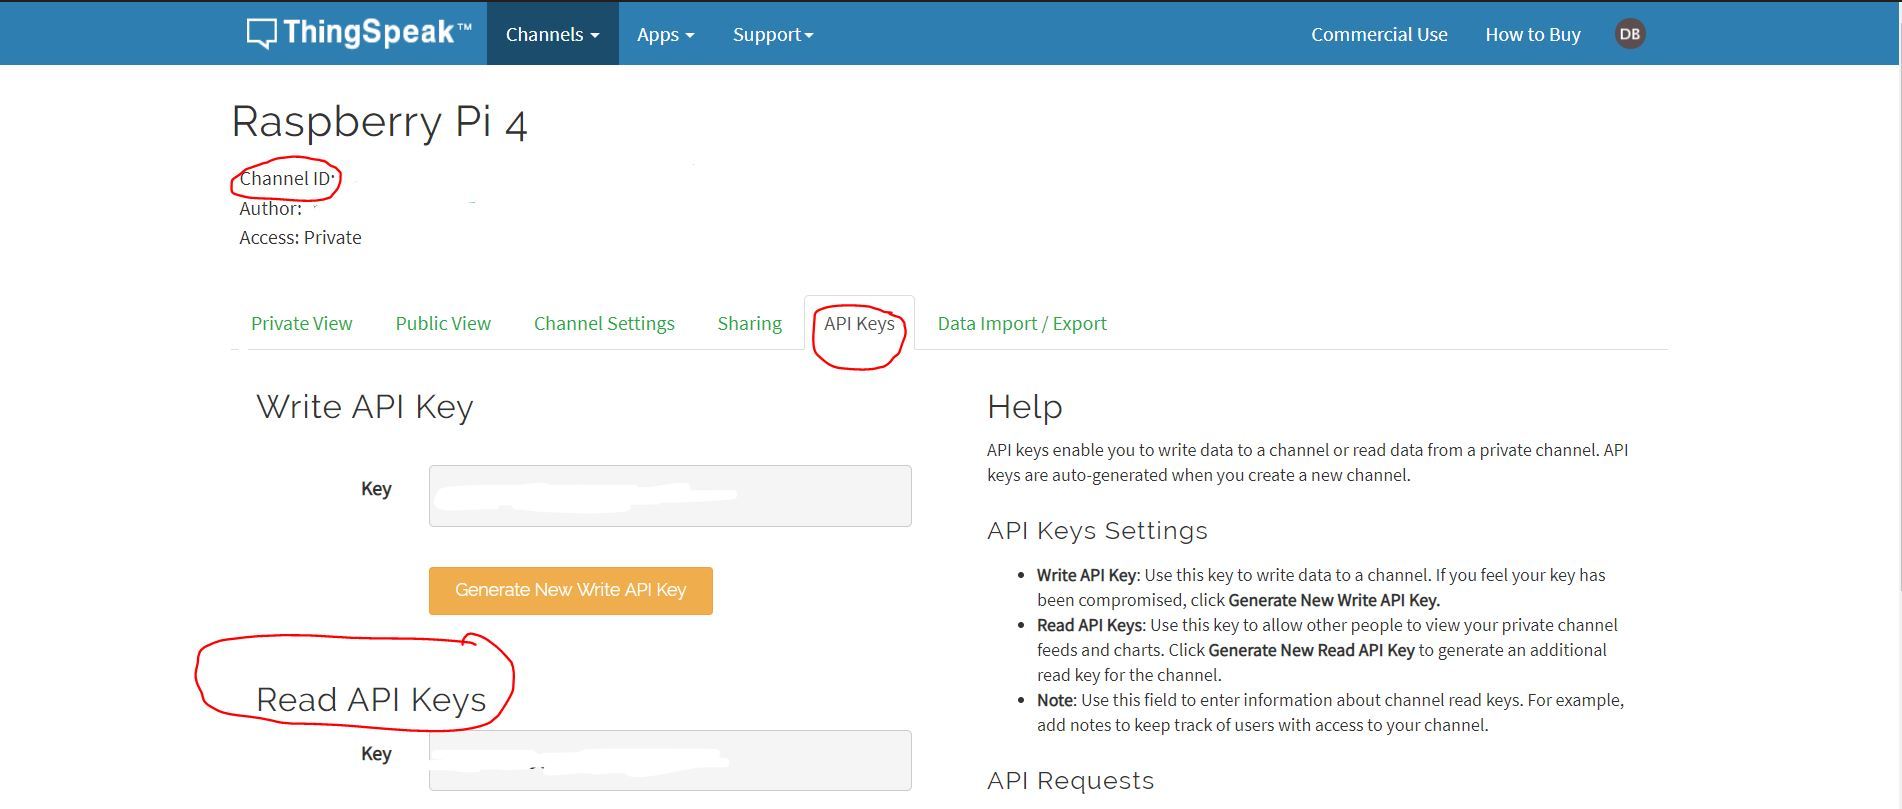
In the above URL, you'll notice that I have mentioned about INSERT YOUR WRITE API KEY. This is the API key that is an identity of the channel that you created on Thingspeak (see image). Write API key will help you to write a particular data to your channel and similarly Read API key will help you to obtain data from the channel.
Apart from your Write API key, the rest of the information from the boxes remains the same.
So here you have created a trigger where when you say to your Google Assistant, "Turn the LED on" it will send a "1" to your Thingspeak channel.
Now, in a similar fashion, you have to create a new Applet on the IFTTT app for turning the LED off. I have attached images if you're confused about the same. Otherwise, the procedure for turning the LED off is the same as that of what you did above apart from some minor changes.
Finally Starting to Code
I will explain the main objective of the Python code. We have to fetch the data from the Thingspeak channel which will be either a "1" or a "0" based on what you say to your Google Assistant. We have to turn the LED on or off based on this. If the uploaded value on the Thingspeak channel is "1", then we turn the LED on, and if it's a "0", we turn it off.
In the code, you will need two things: 1. Your Read API key 2. Your Channel ID (refer the images for the same)
Here's the code (assuming you know the prerequisites of HTTP and Python):
import urllib
import requests
import json
import time
import RPi.GPIO as GPIO
GPIO.setmode(GPIO.BOARD)
GPIO.setup(7, GPIO.OUT)
try:
while(1):
URL='https://api.thingspeak.com/channels/INSER YOUR CHANNEL ID/fields/1.json?api_key=' KEY='INSERT YOUR READ API KEY'
HEADER='&results=2'
NEW_URL=URL+KEY+HEADER
#print(NEW_URL)
get_data=requests.get(NEW_URL).json()
#print(get_data)
feild_1=get_data['feeds']
#print("Field:",feild_1)
t=[]
for x in feild_1:
t.append(x['field1'])
print(t[1])
if int(t[1])==1:
GPIO.output(7, 1)
elif int(t[1])==0:
GPIO.output(7, 0)
except KeyboardInterrupt:
GPIO.cleanup()