Good Luck! - Multi-level Puzzle
by akgraphicamente in Workshop > 3D Printing
581 Views, 5 Favorites, 0 Comments
Good Luck! - Multi-level Puzzle
.jpg)
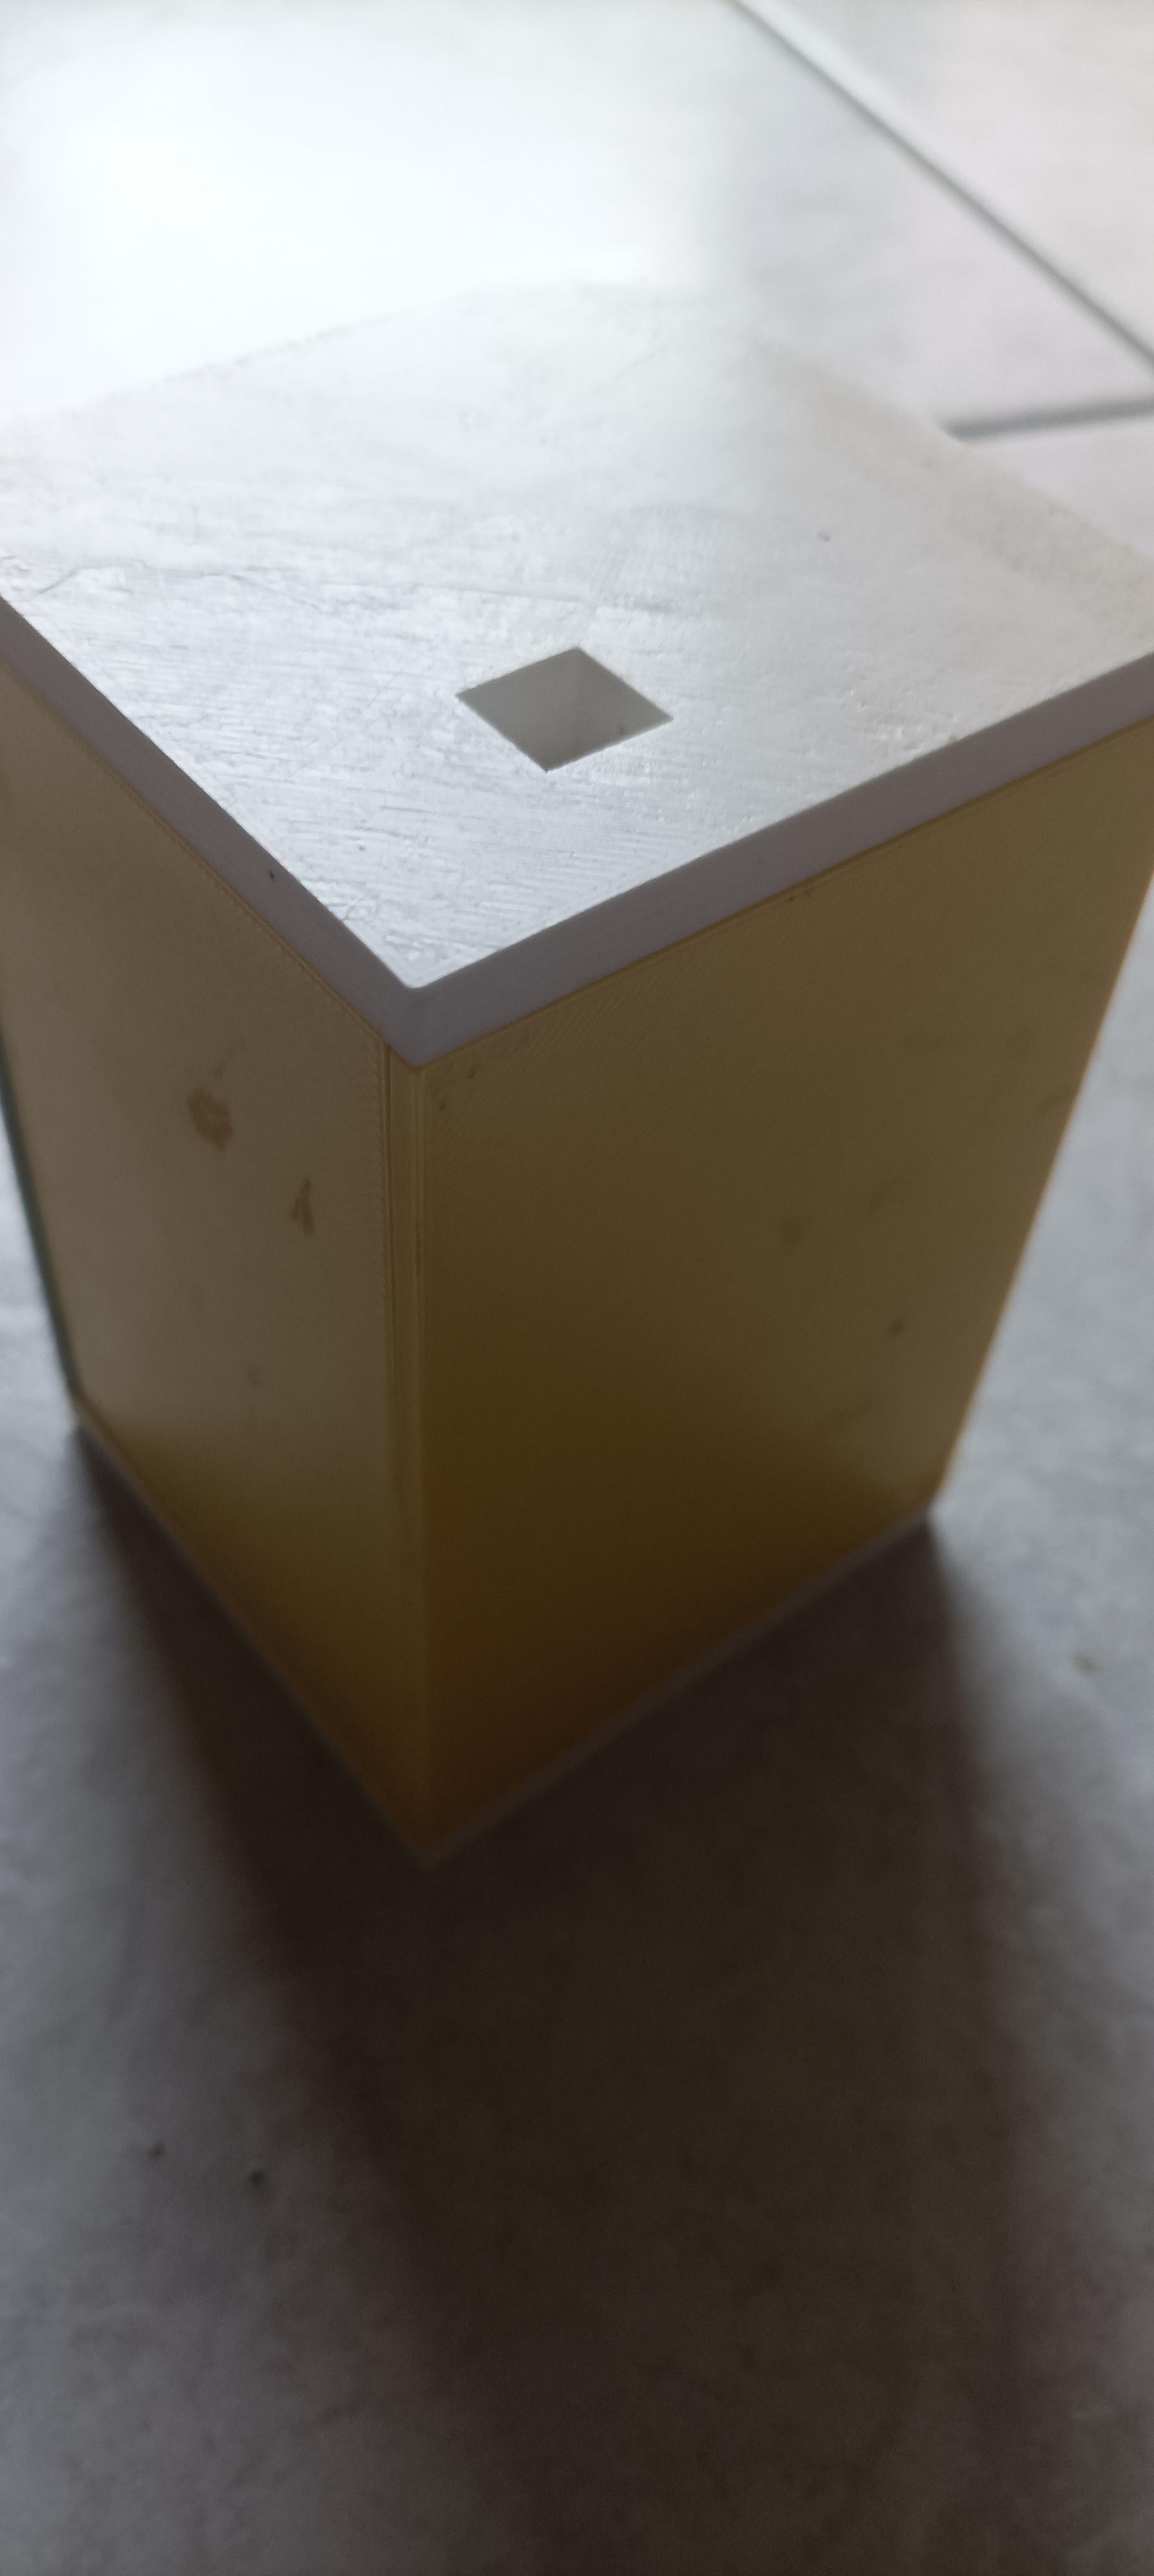
It's a multi-level puzzle. The objective is to make the ball fall into the lower floor until it comes out of the box. You cannot see where the ball is, you have to rely only on the sound of the ball. If you cannot solve the puzzle, you can open the box and star again. Good luck!
Supplies
- Fusion 360
- A 3D printer
- PLA filament
- Computer
- Glue
- 5mm diameter metal ball
Print 3d Files
Below you will find the .stl files to print out for your multi-level puzzle. The .stl files called "side piece 1" and "side piece 2" must be printed twice because they are the side pieces of the case.
1. Download the slt files
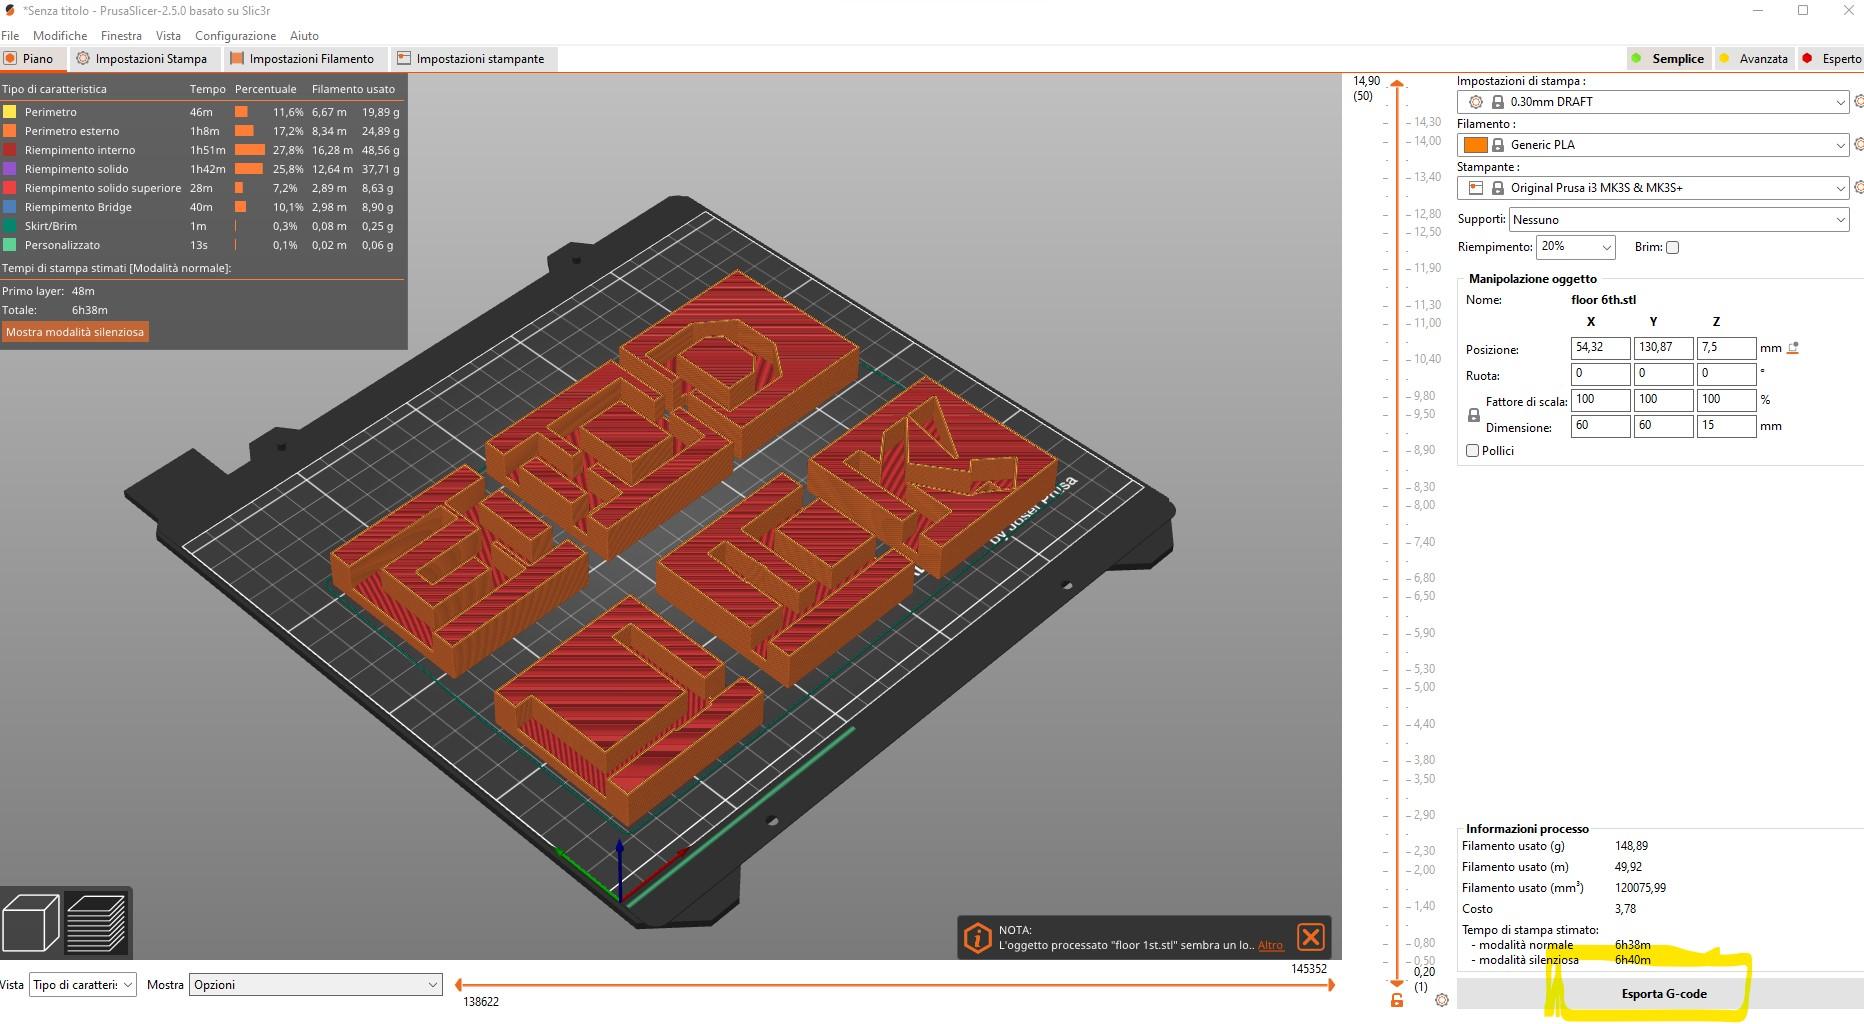
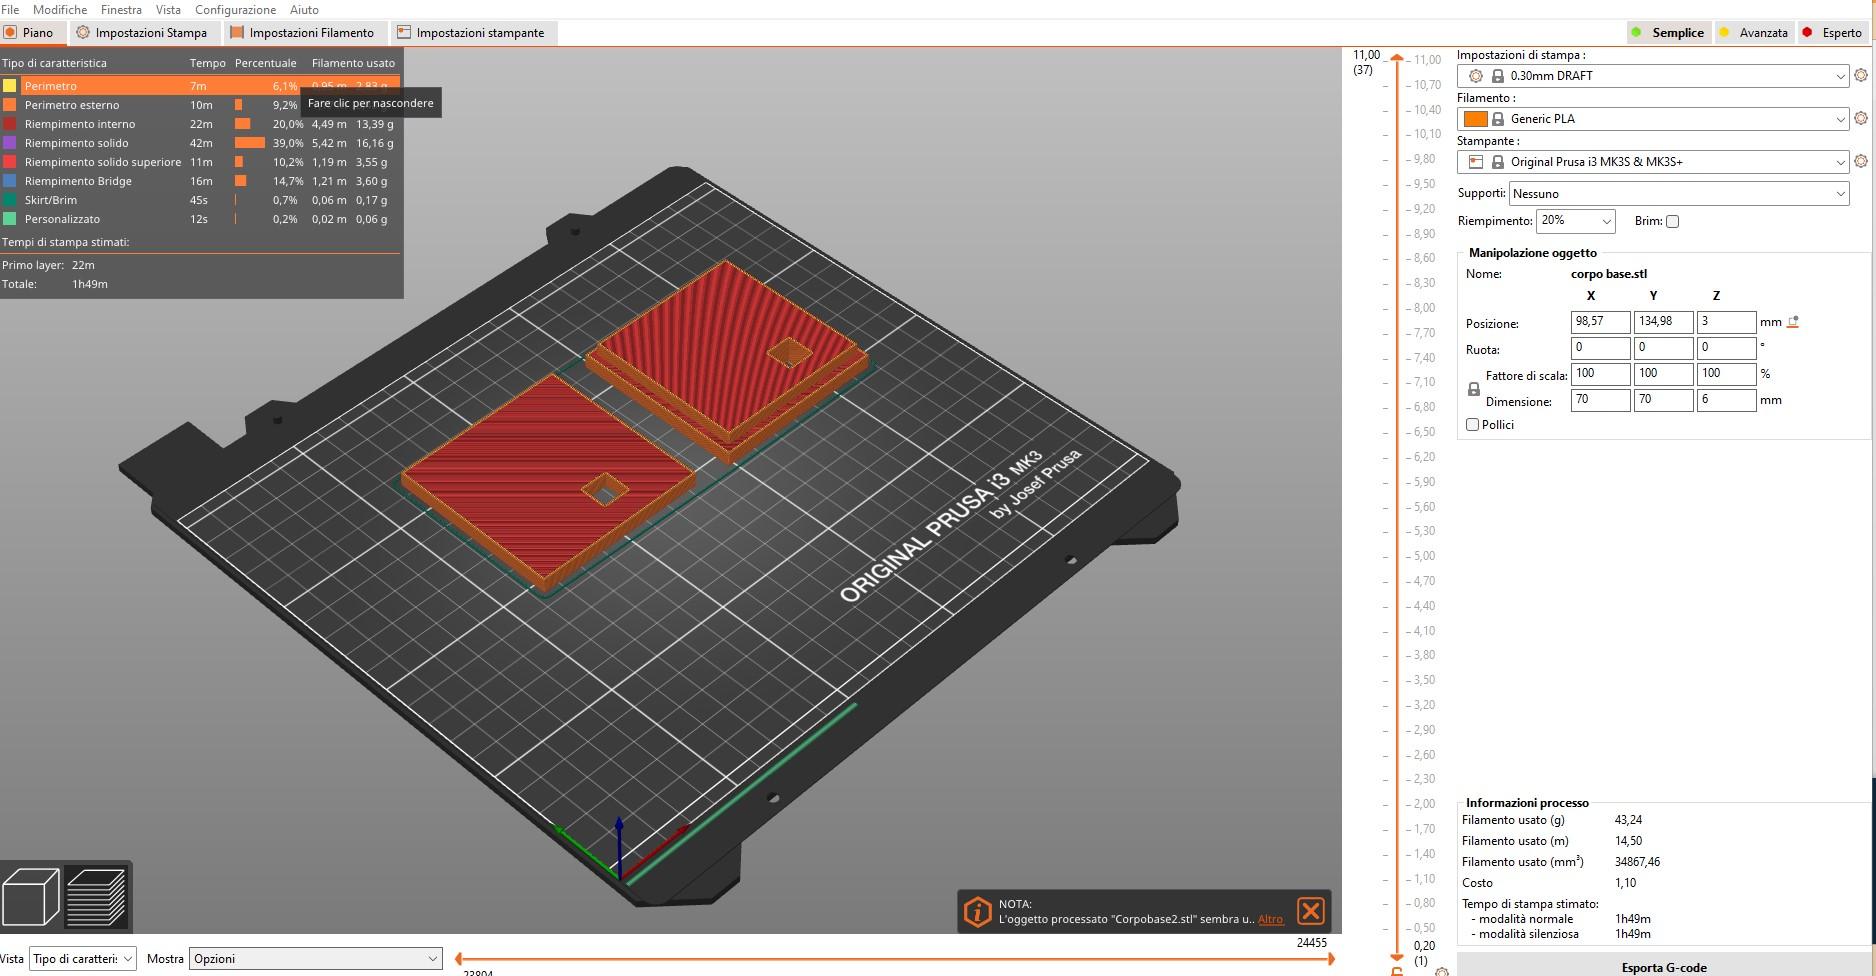
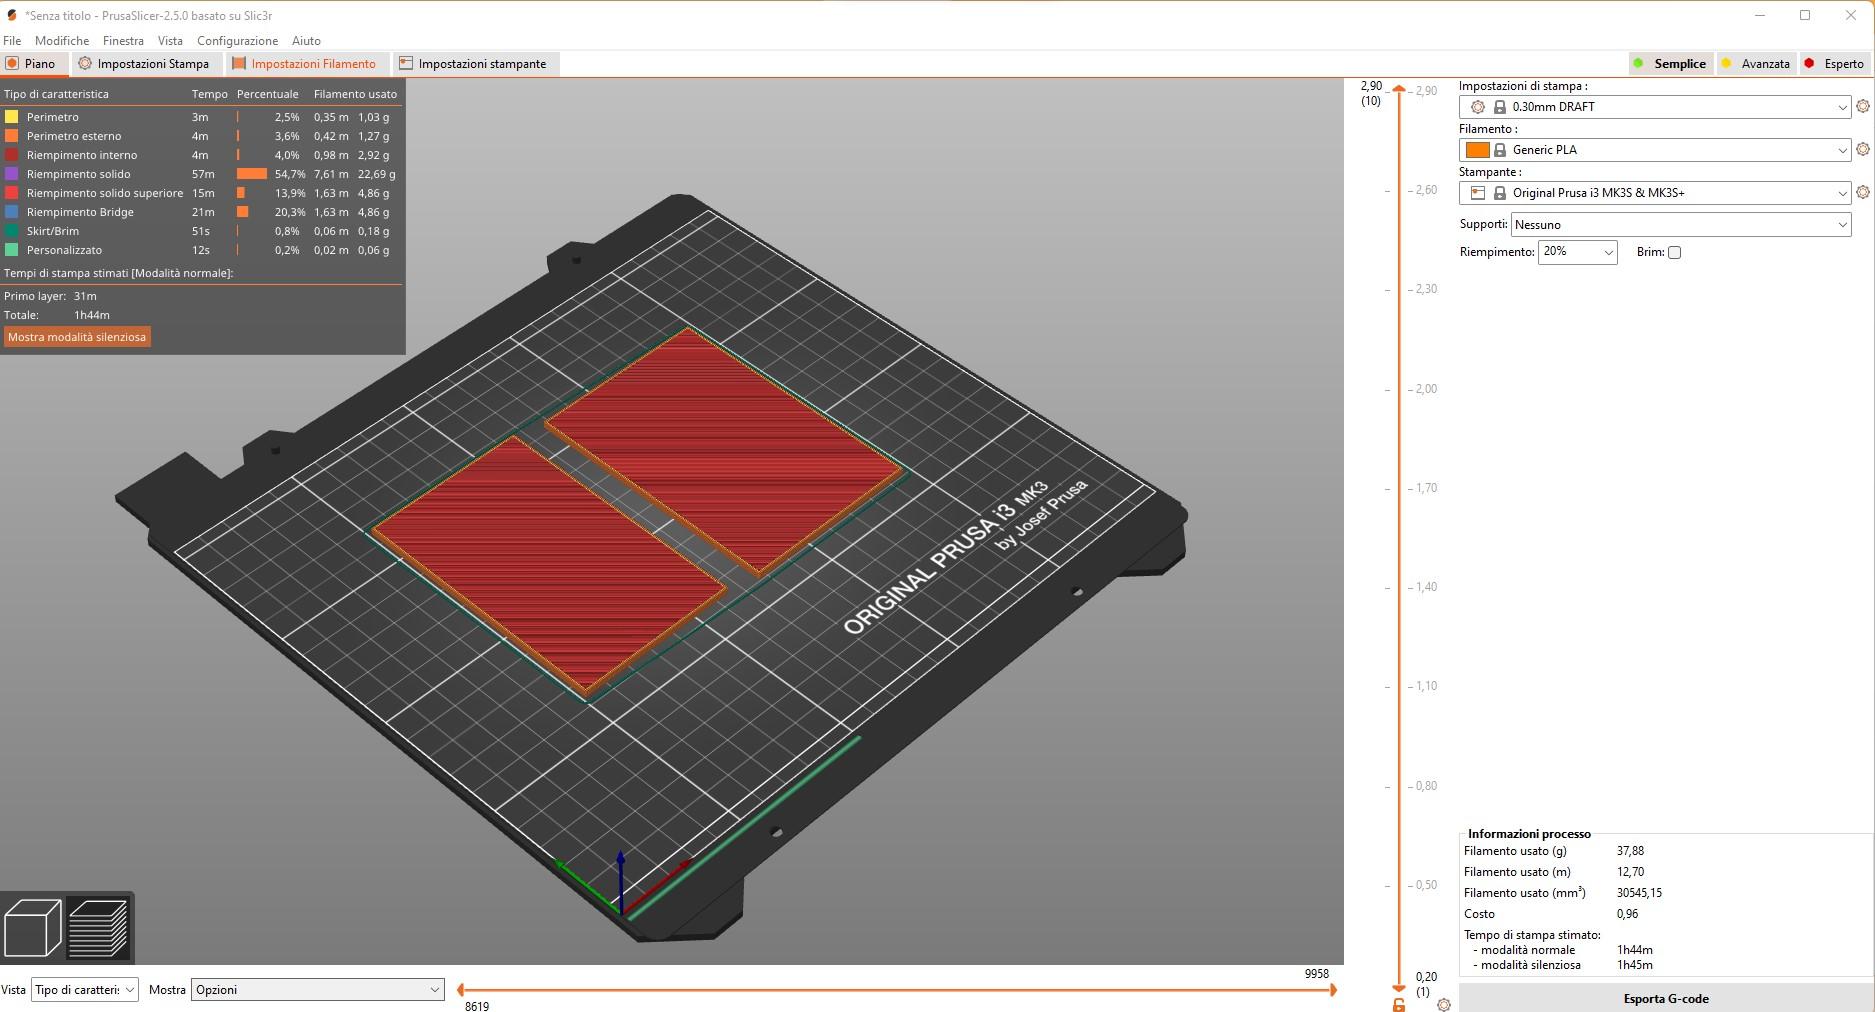
2. Import the slt files into PrusaSlicer 2.5 (I used this).
3. Export all slt files to G-code
4. Upload the G-codes to the sd of your 3D printer
5. Print them!
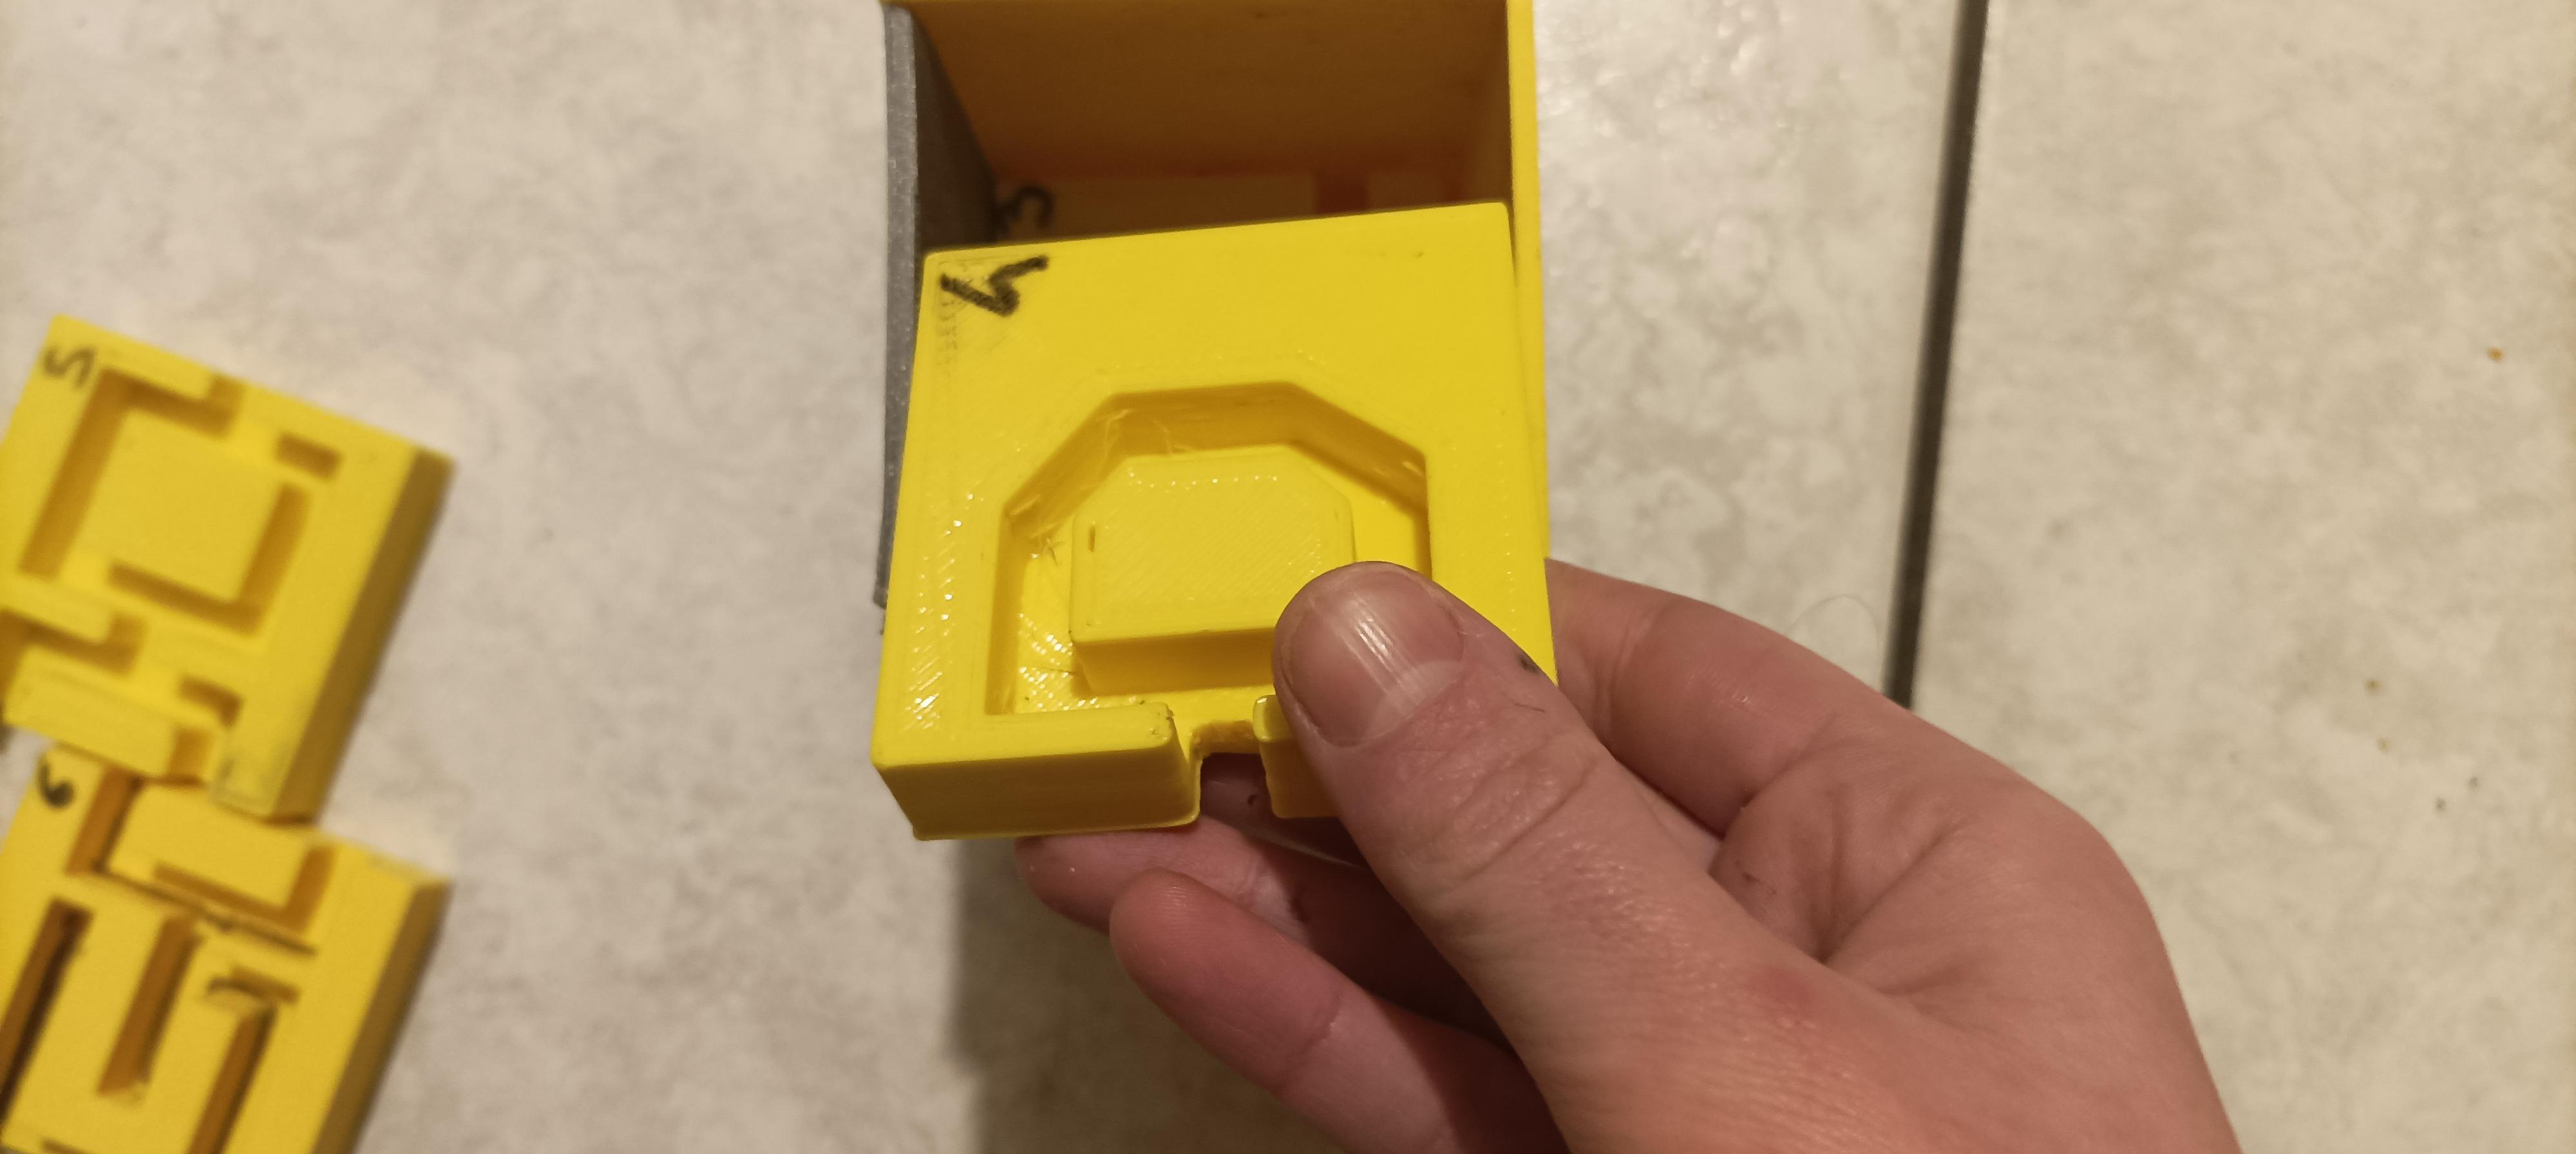
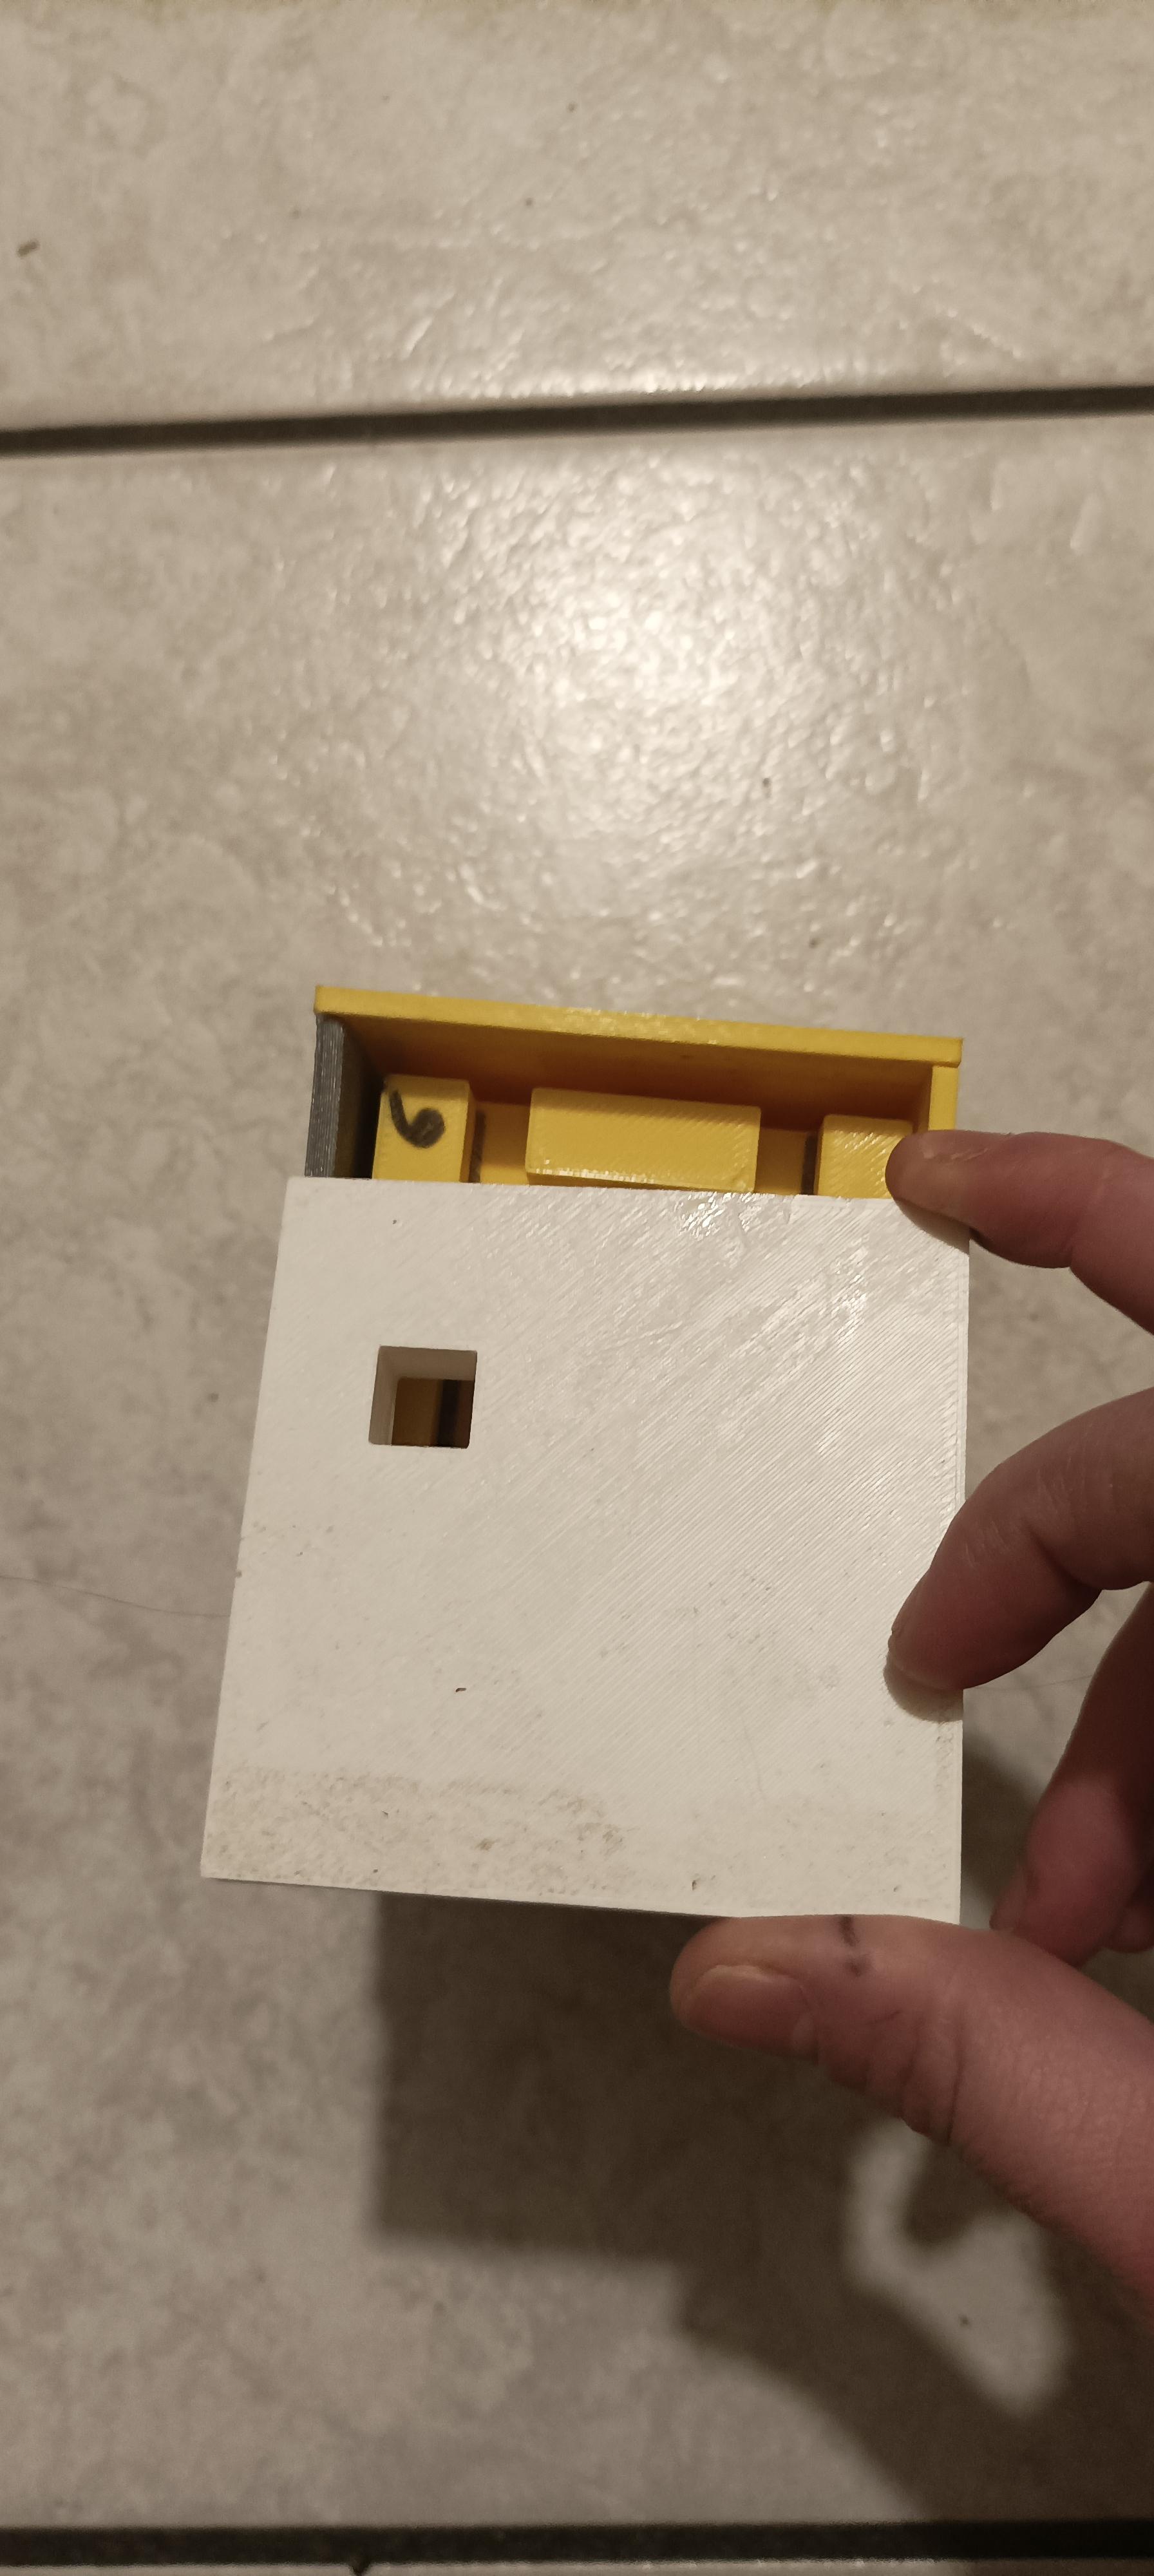
Mount the Case
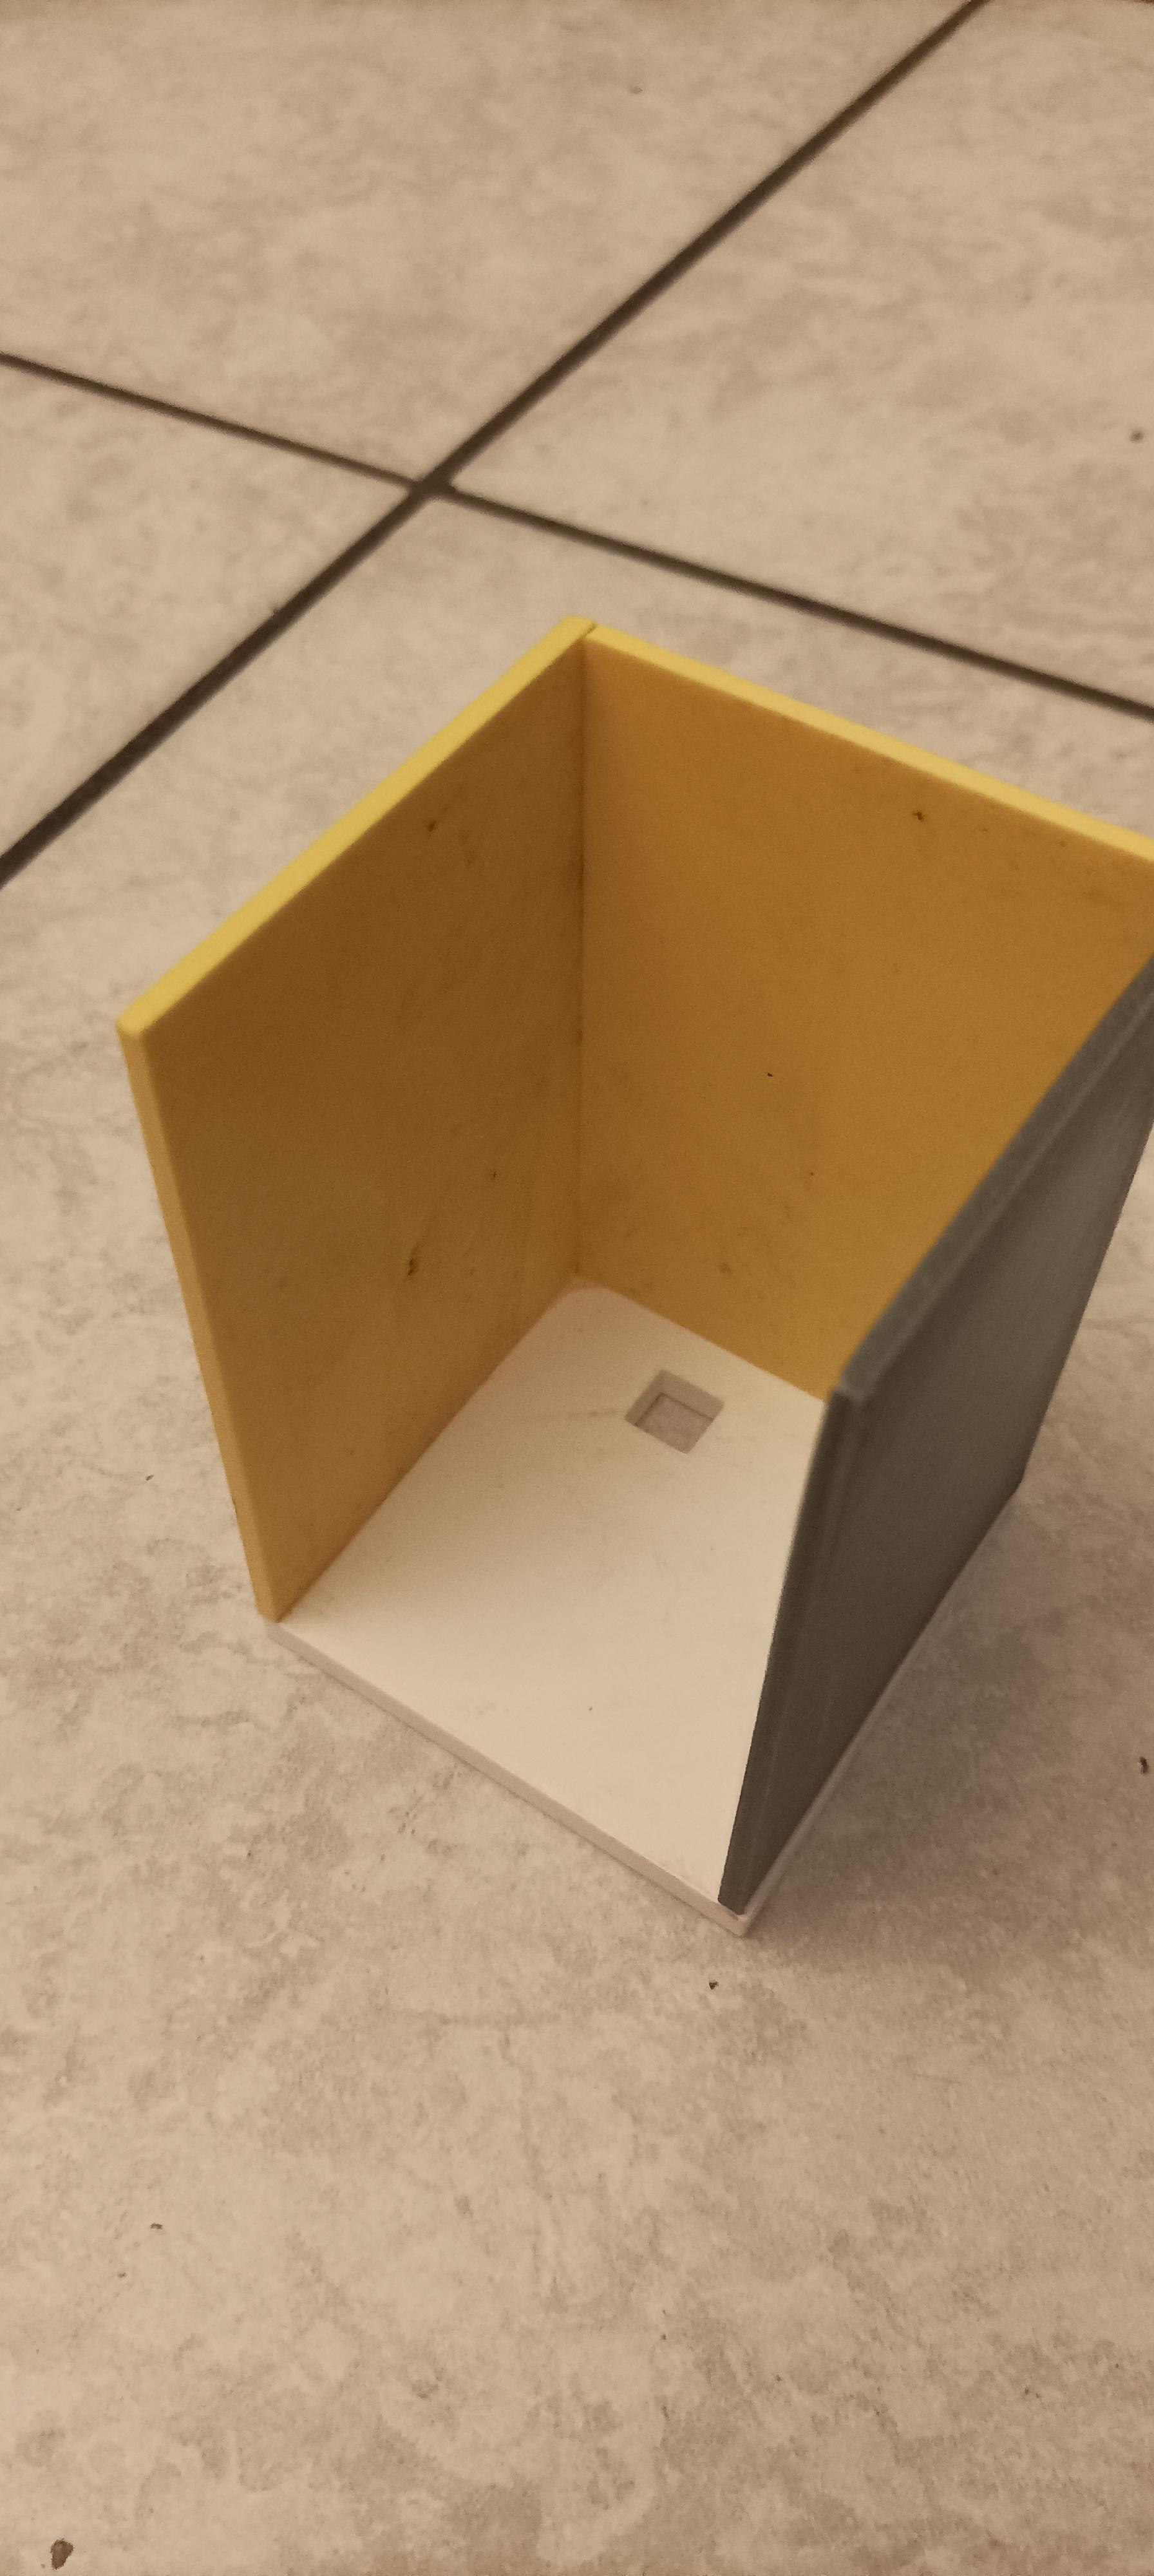
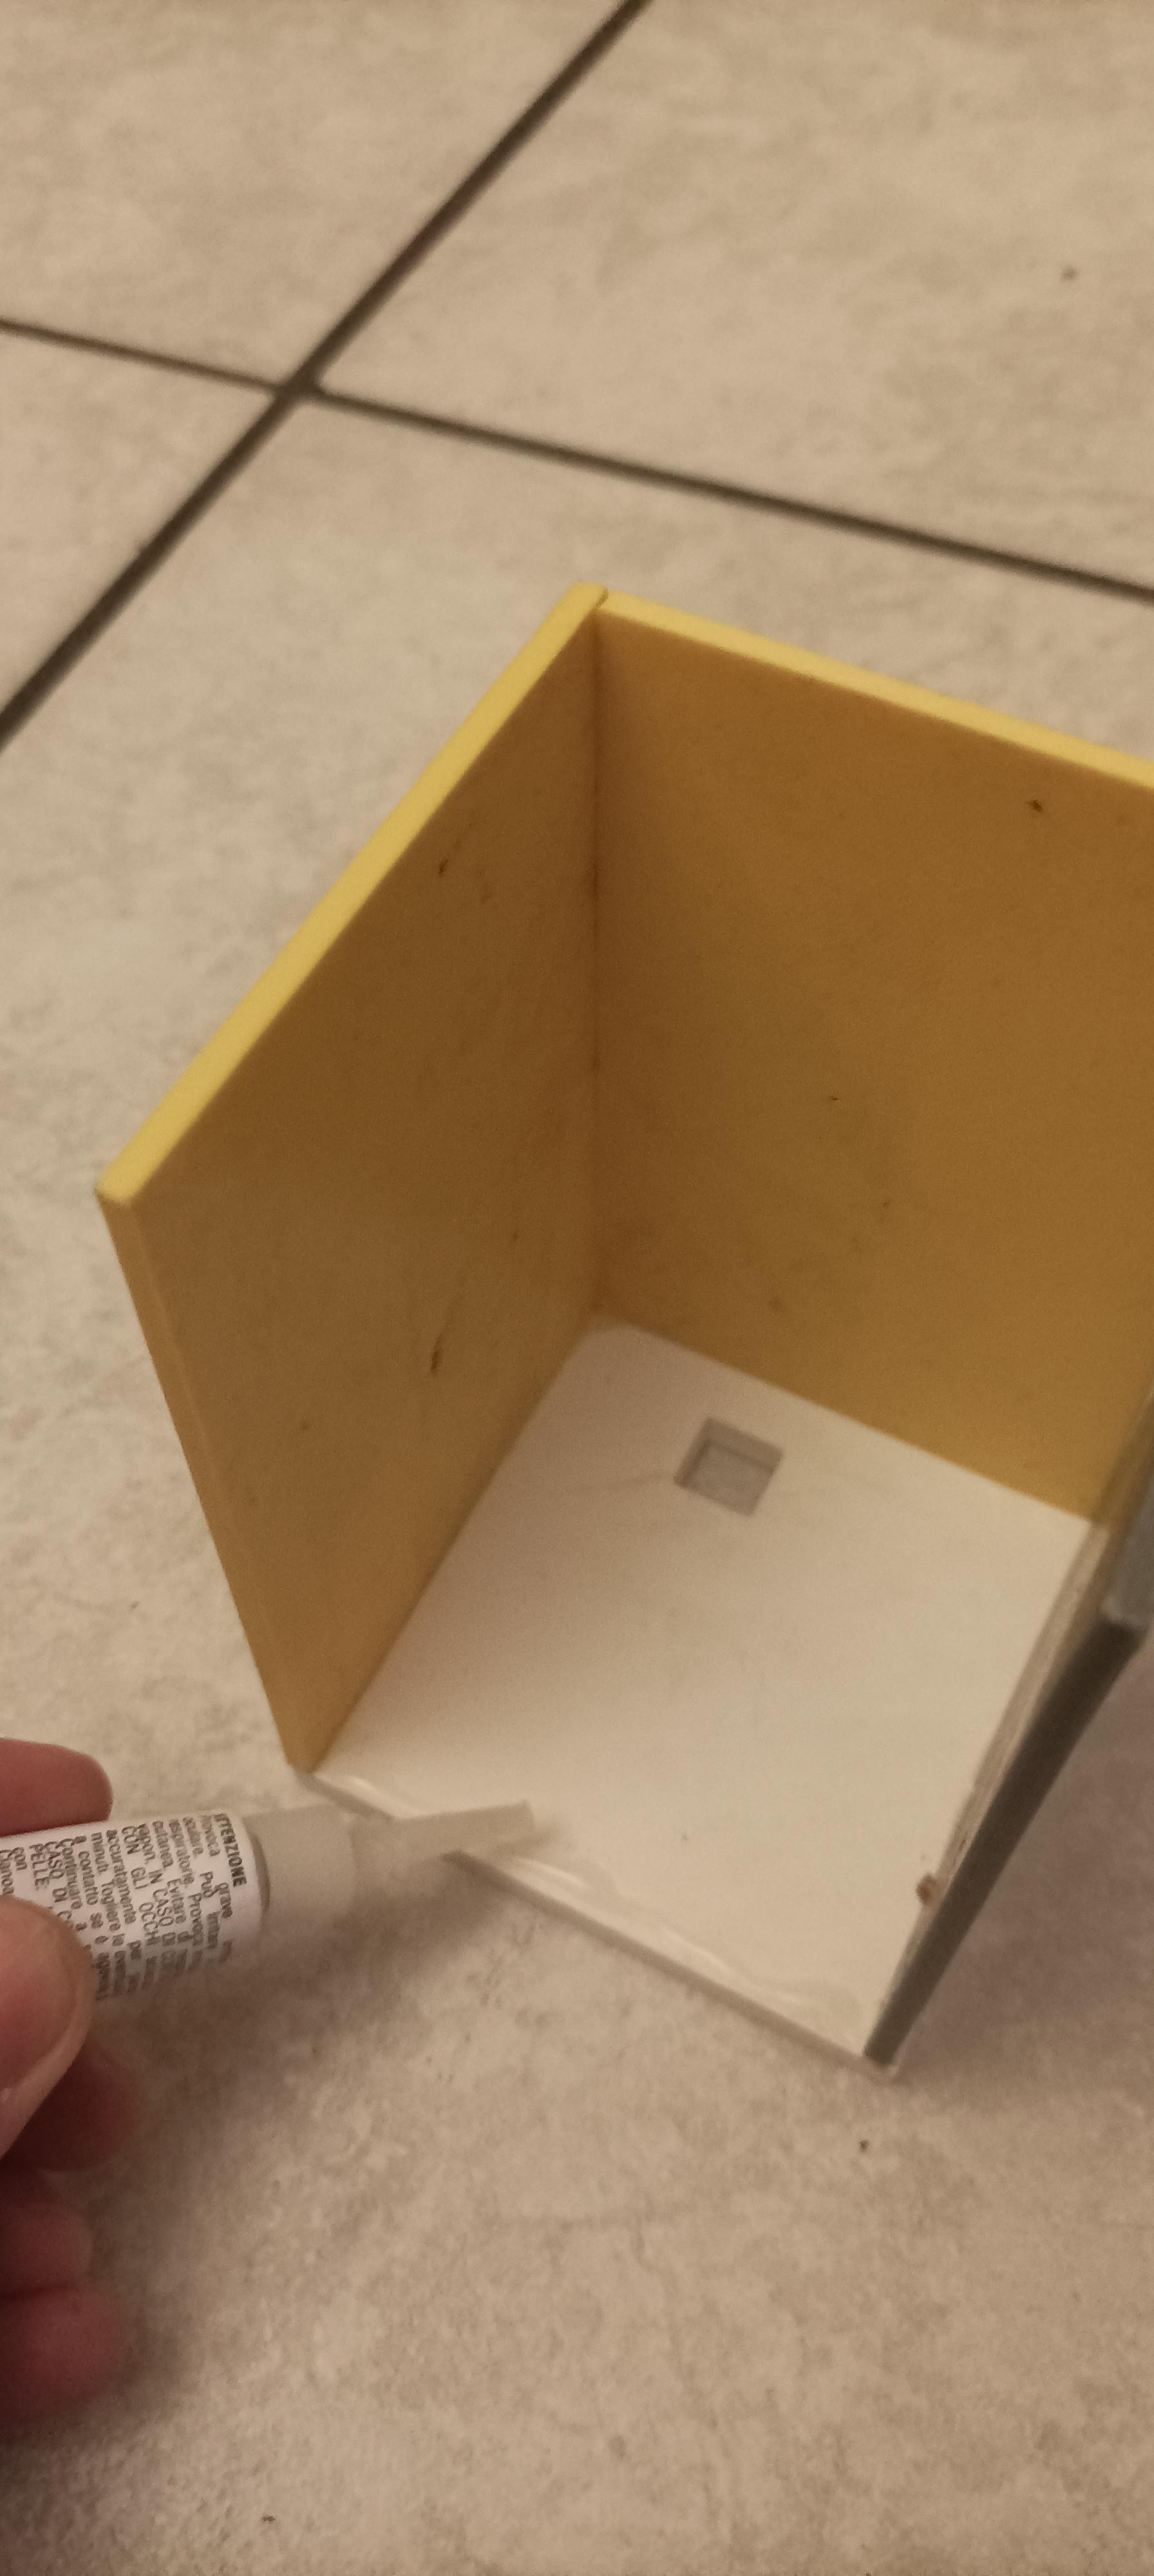
To get your multi-level puzzle, you still have to take one more step: mounting the case. You will need glue to mount it. I used Super Attack. Glue only needs to be put on the three sides of the four 'side pieces', the upper part does not need glue because it will fit with the 'upper part'. Use the lover part as a base and glue the side pieces together to form a parallelepiped.
Put 'floors' Pieces Inside the Case
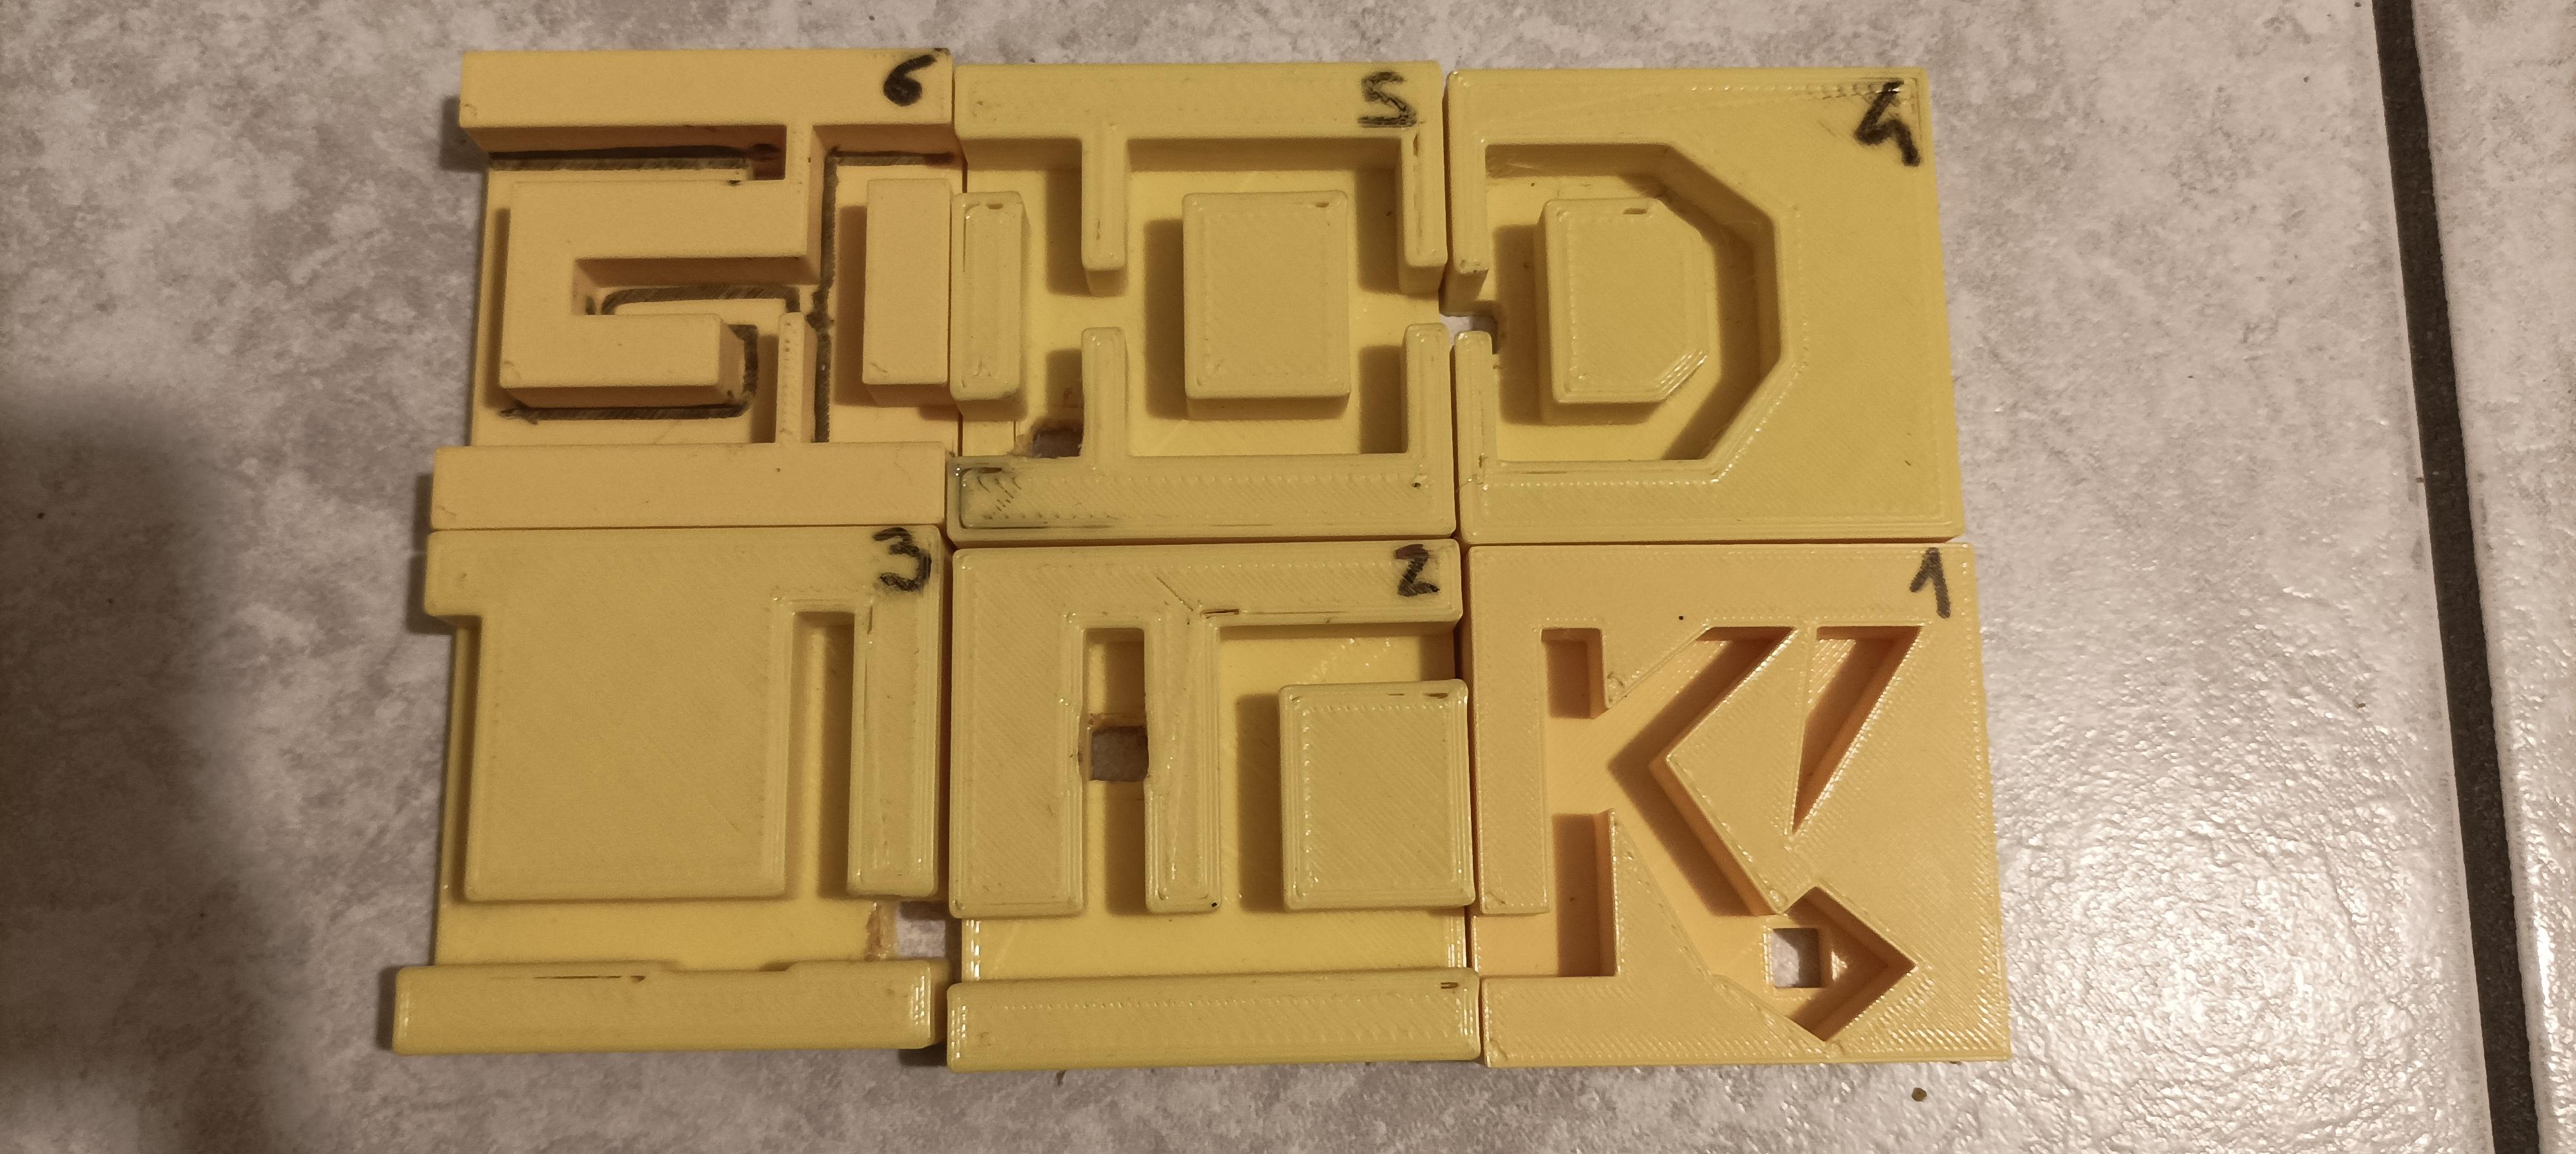
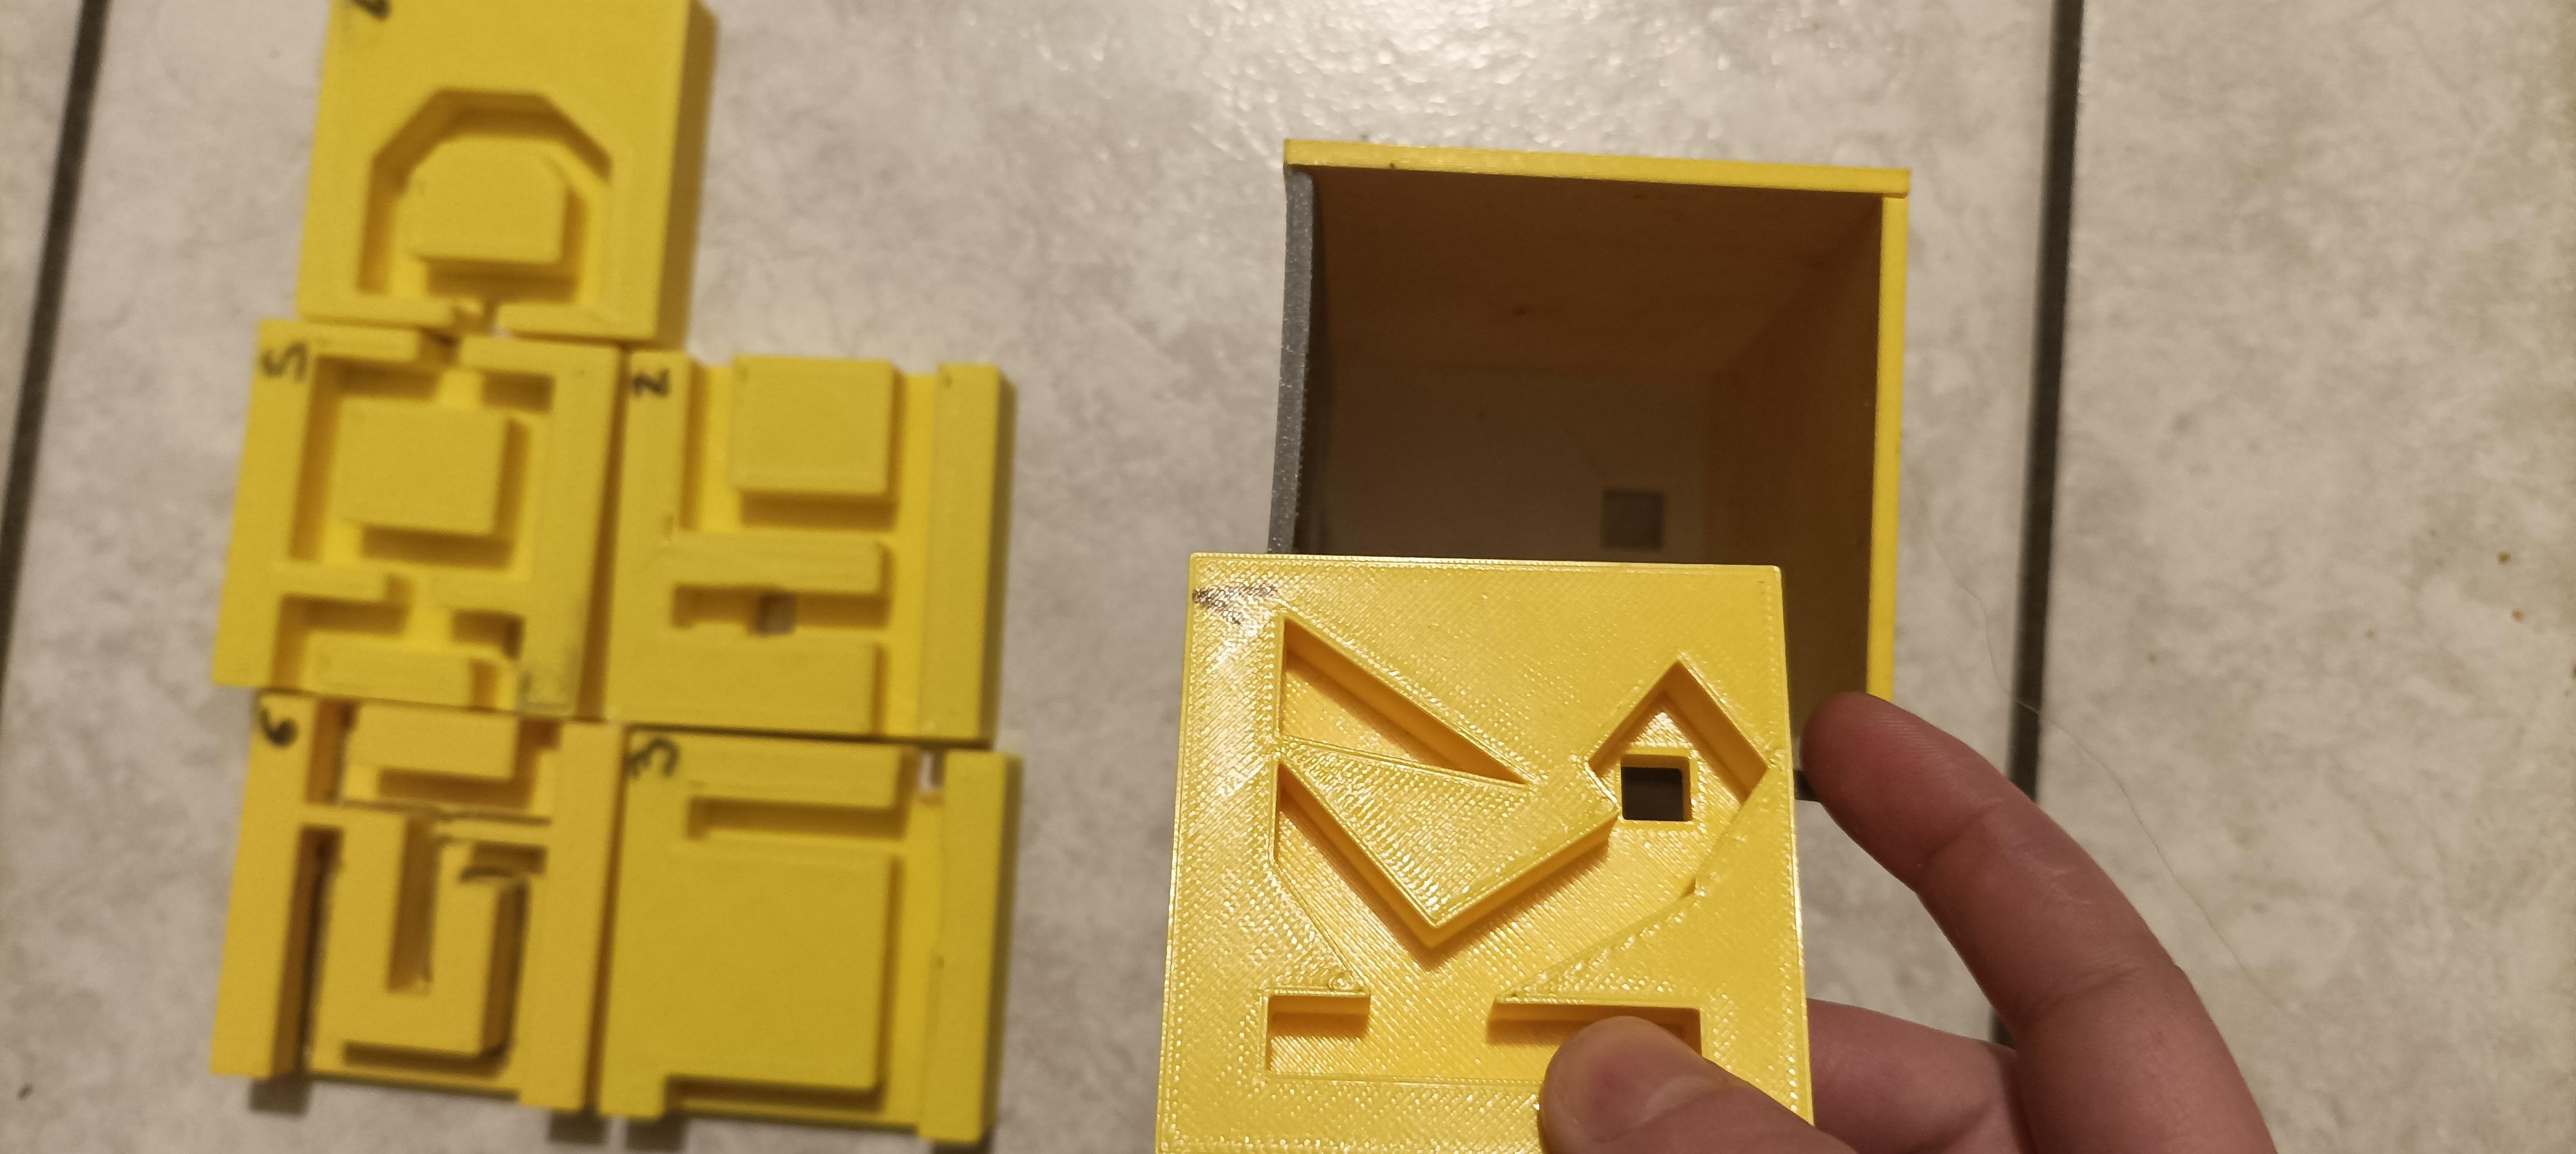
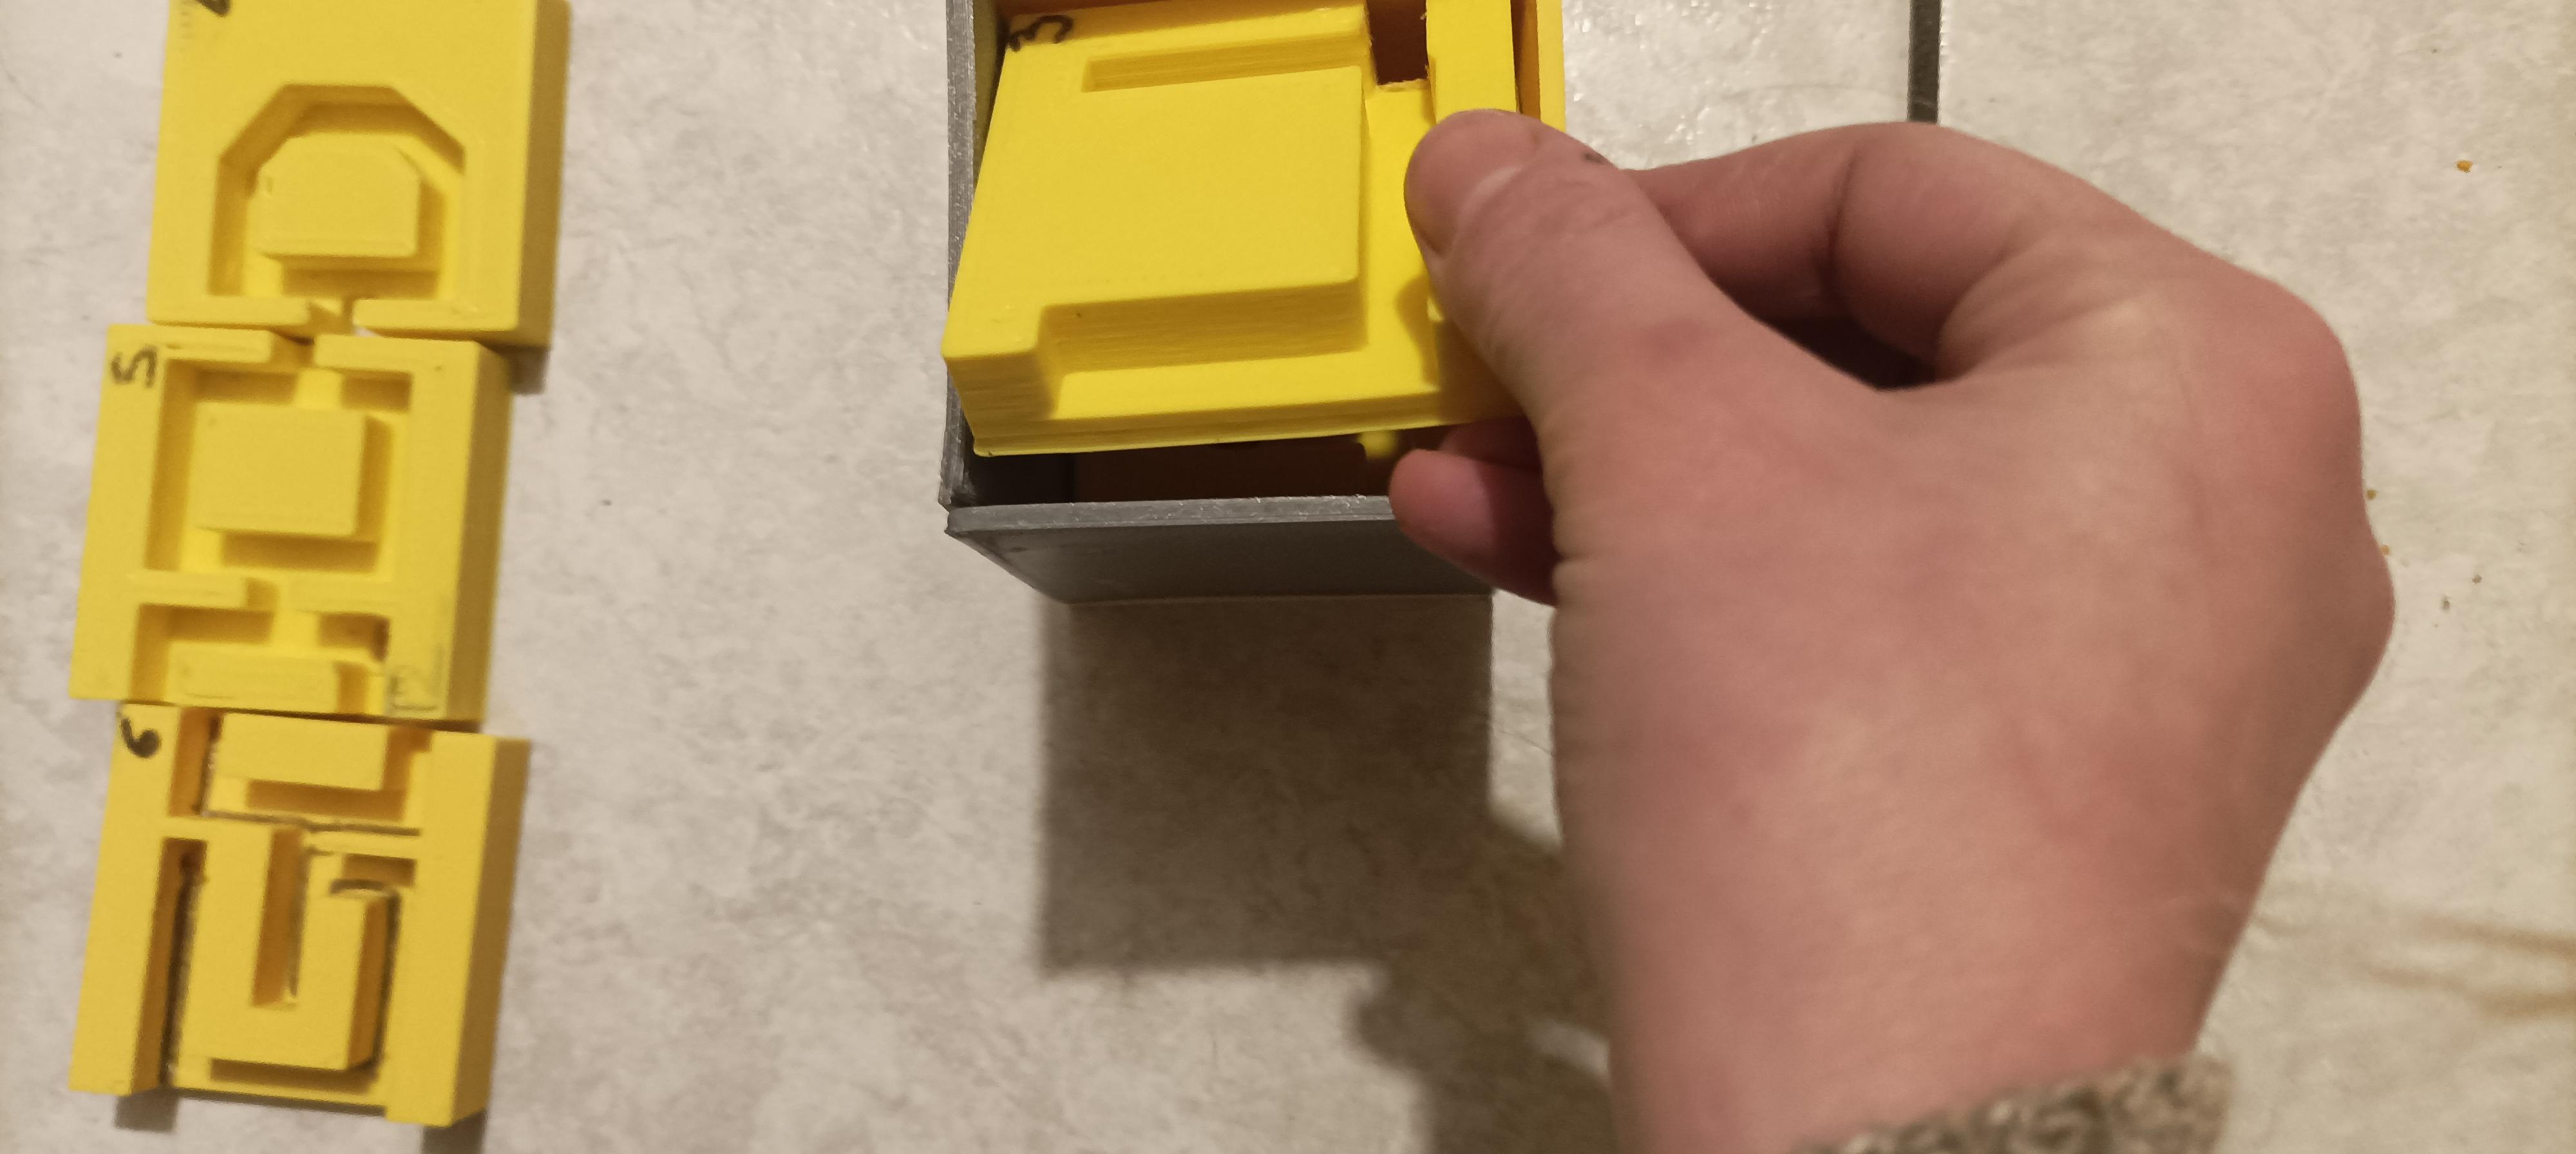
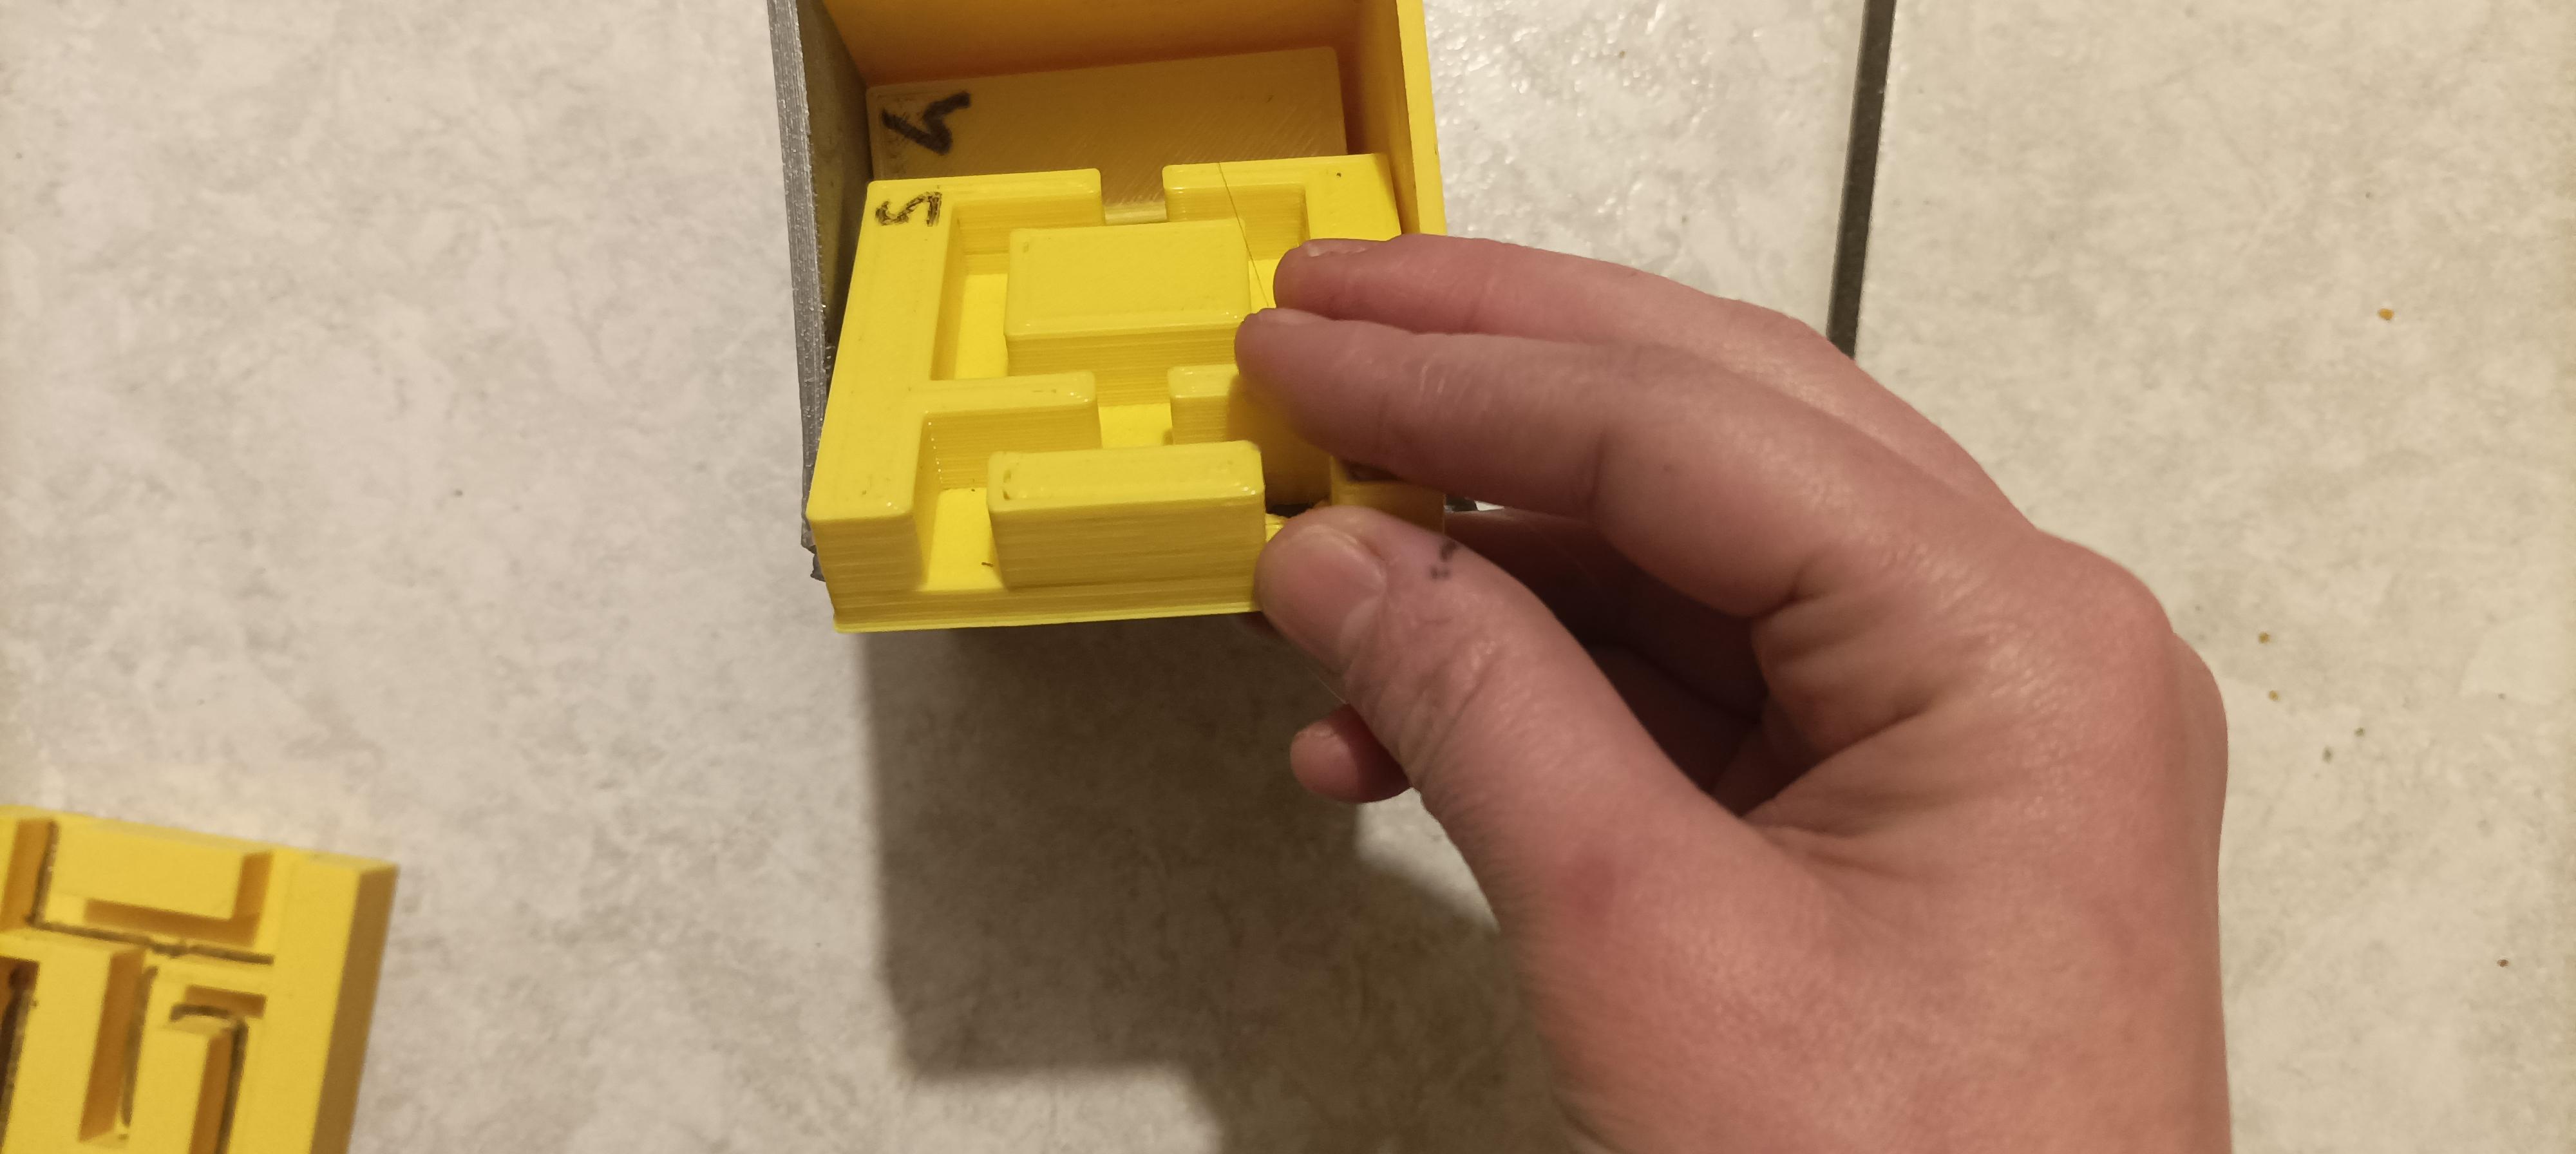
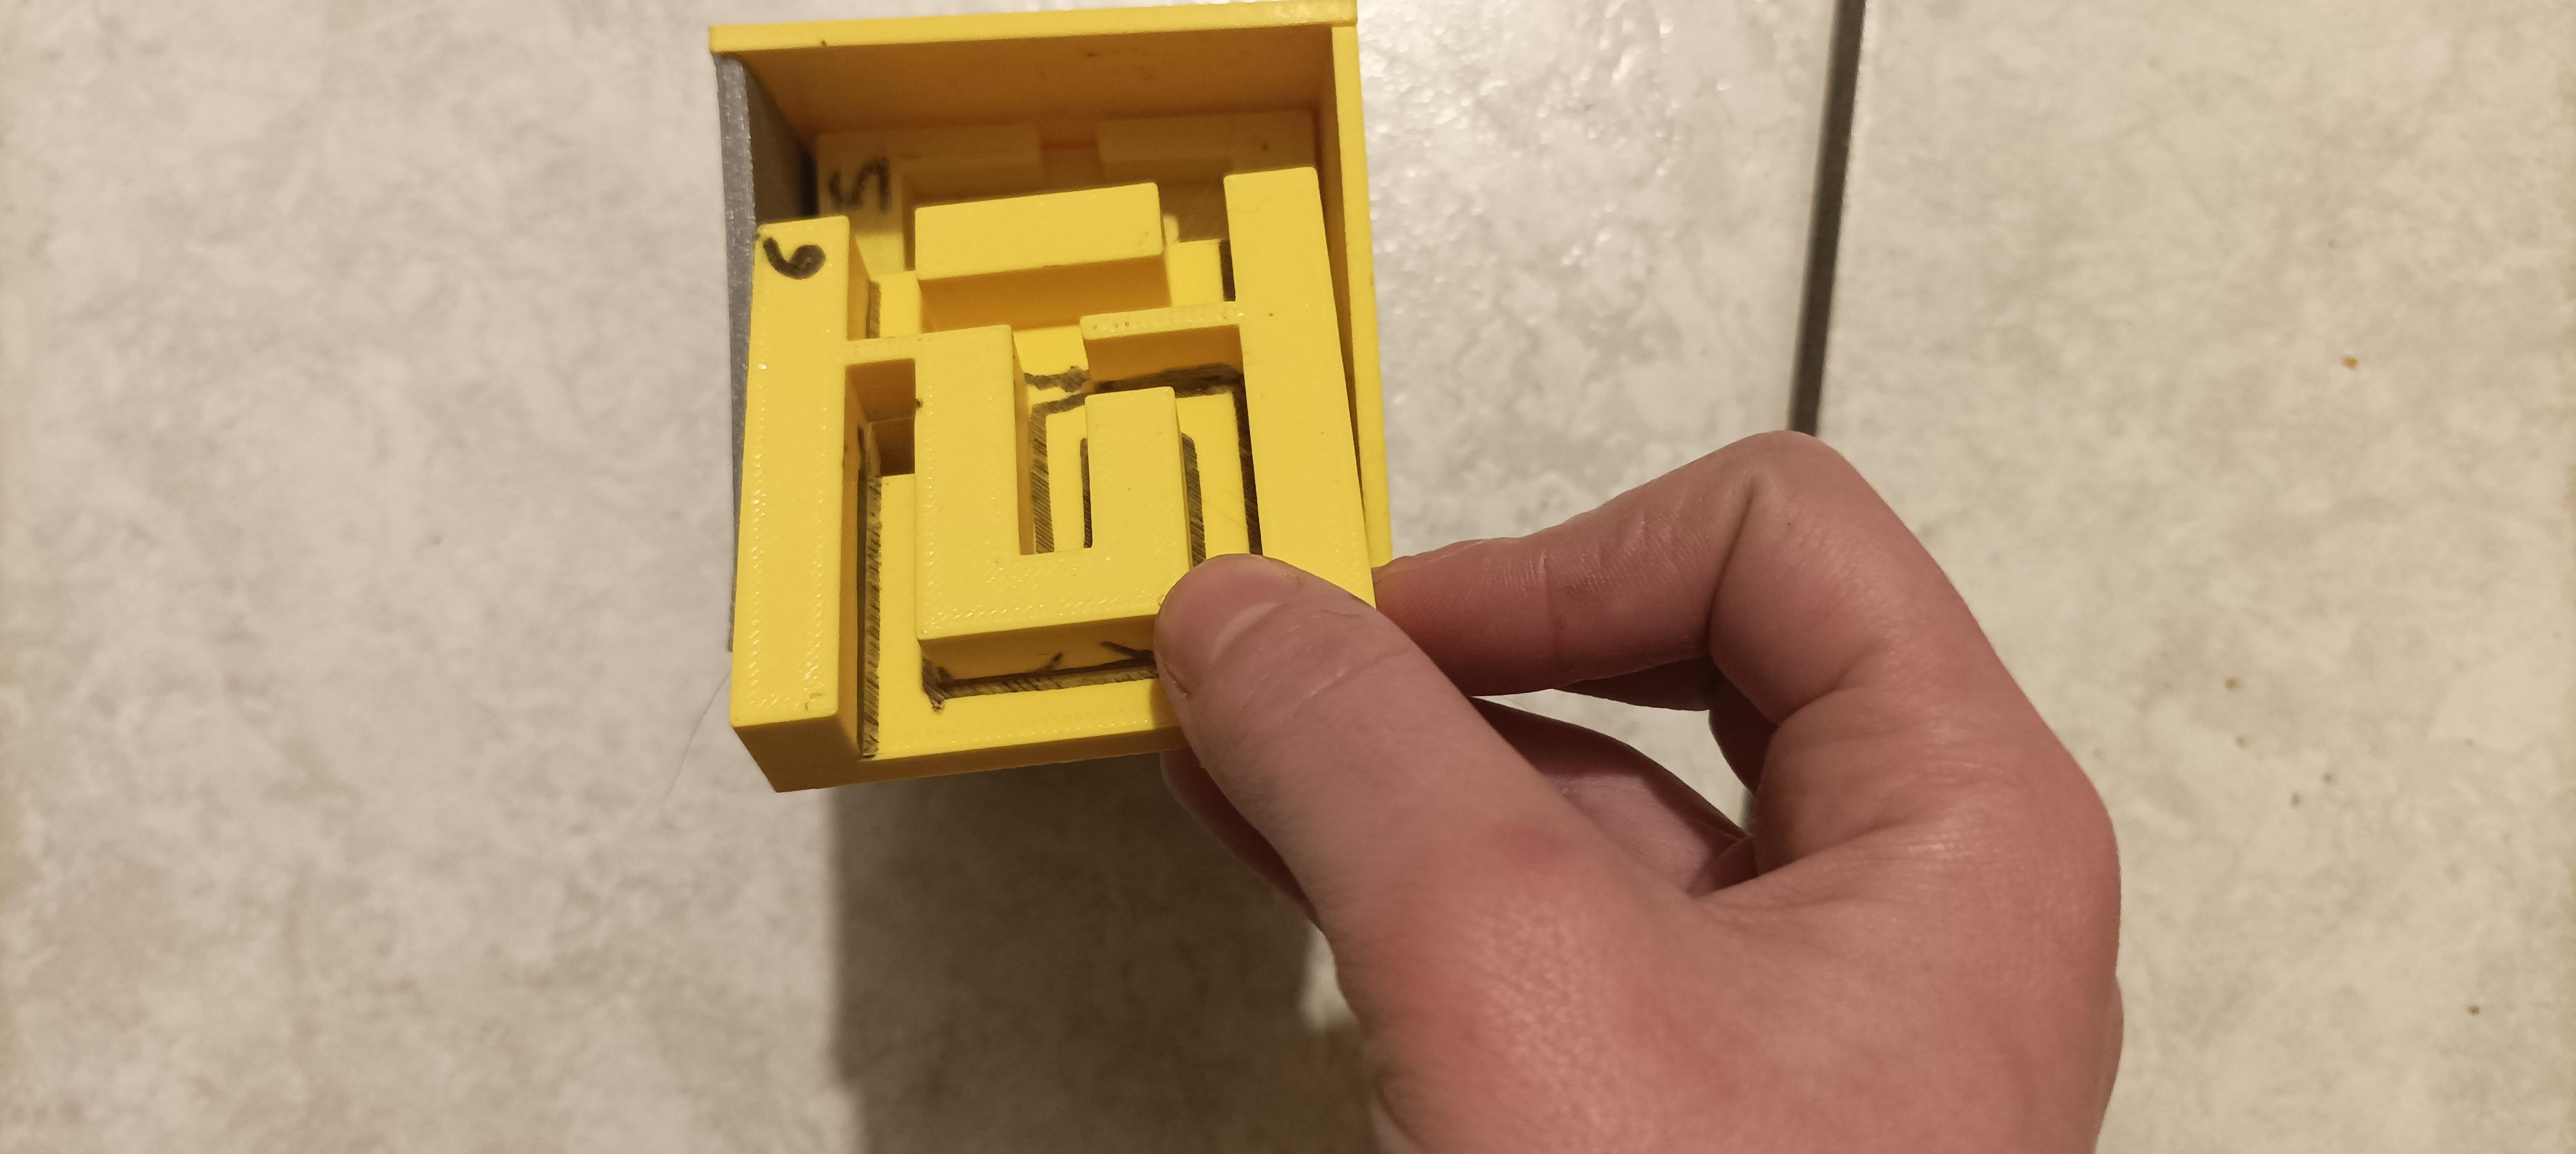

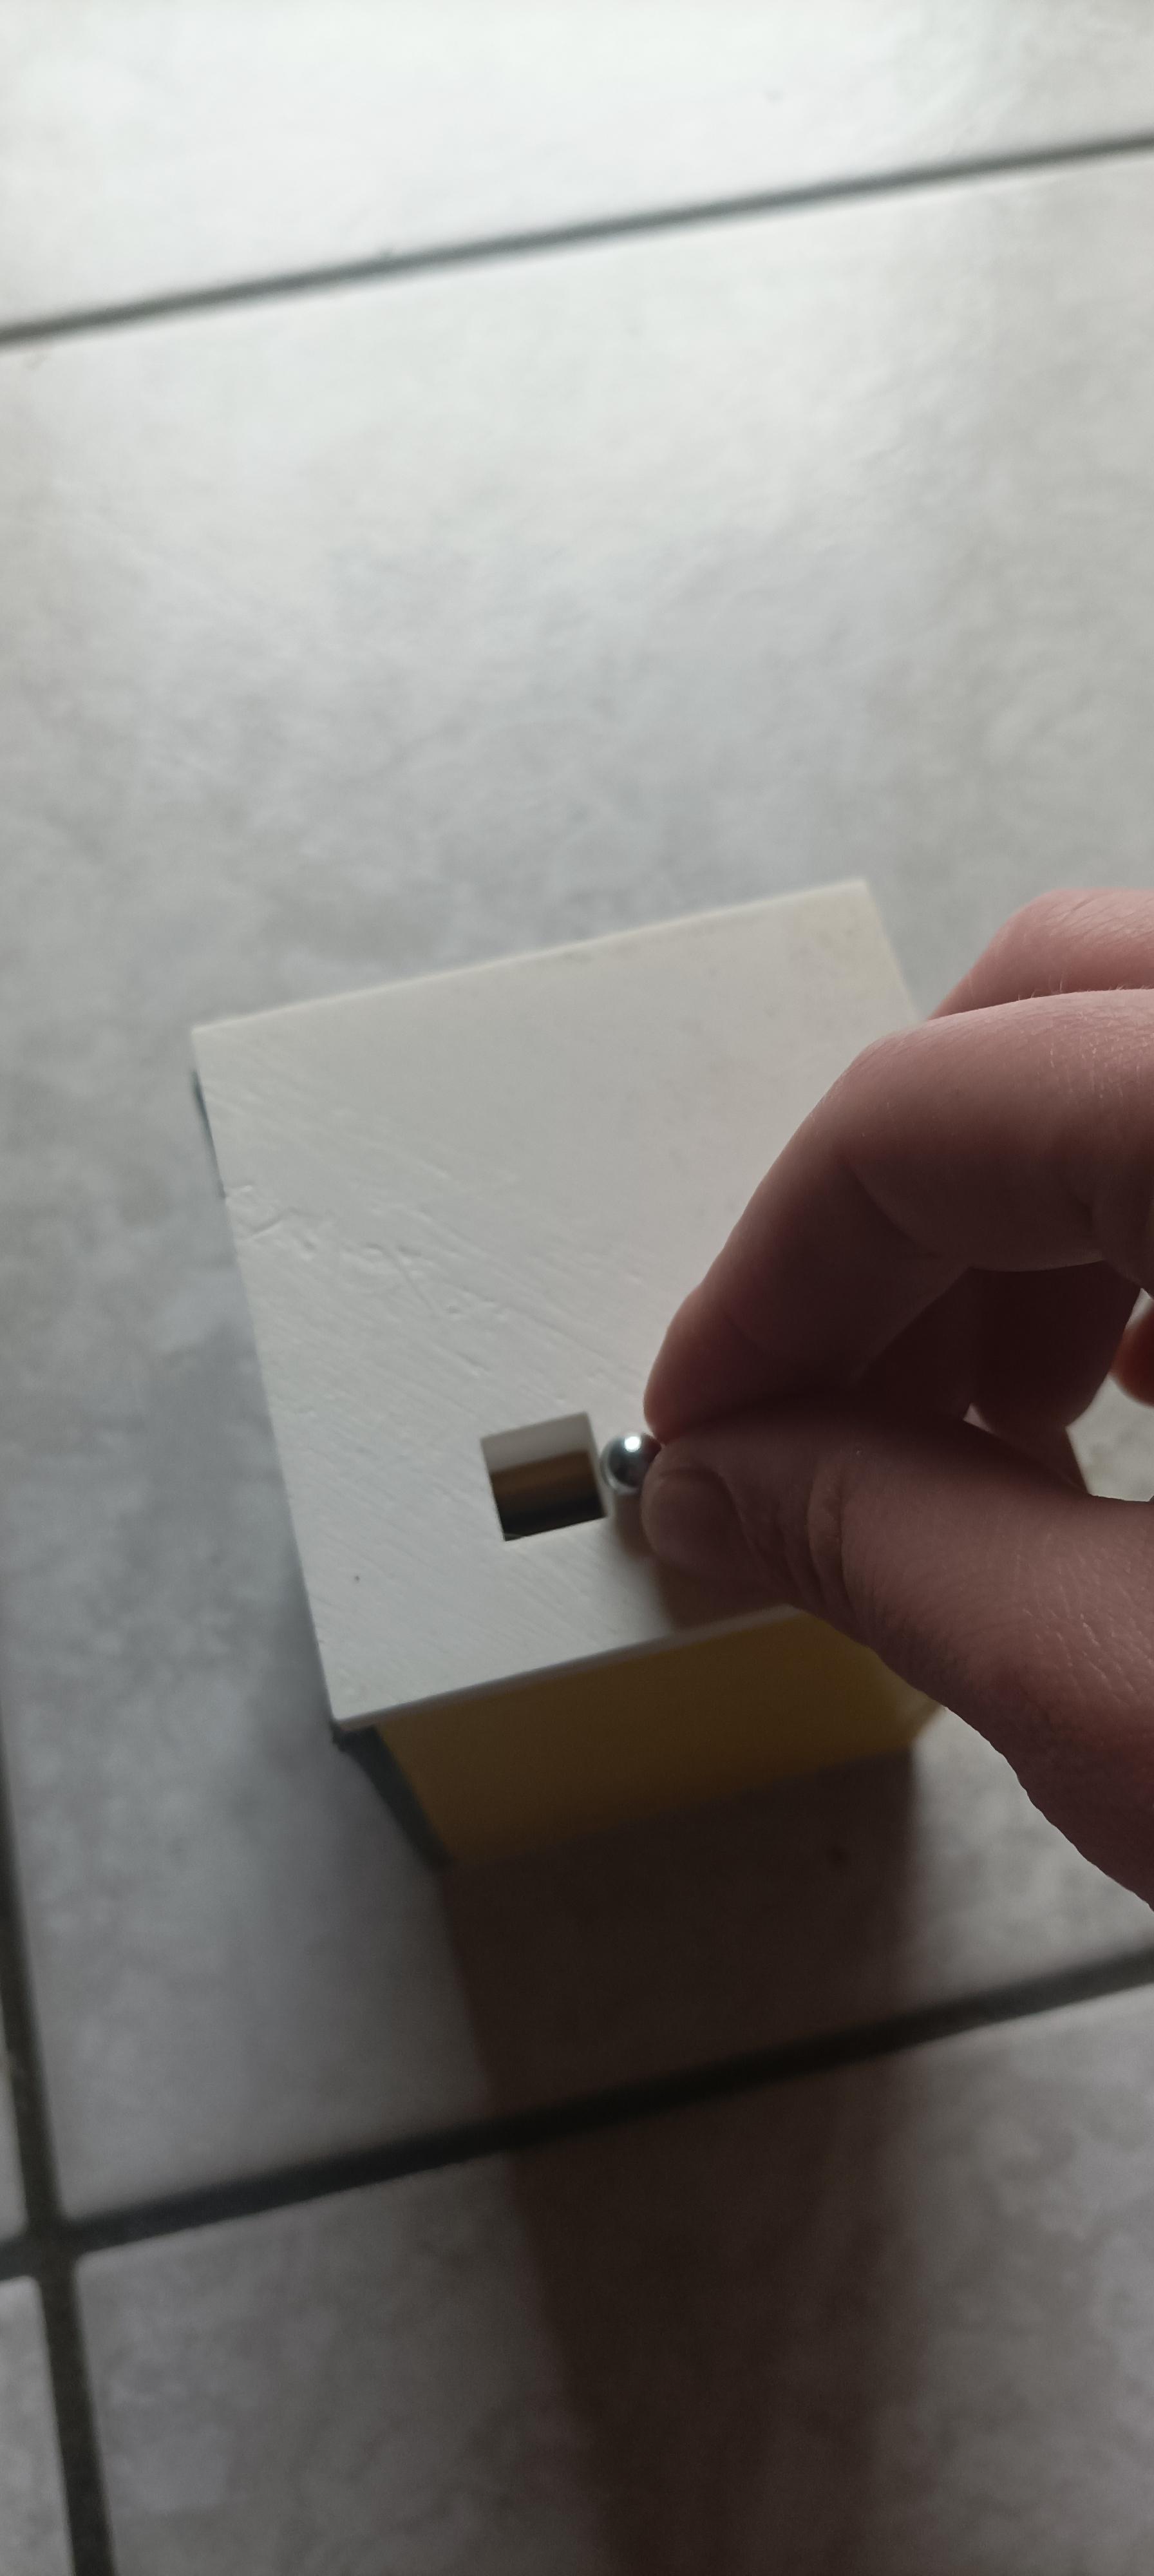
First, put the "floor" pieces in order. I recommend numbering them so it will be easier in the future. Insert the "1st floor" so that the hole coincides with the "lower part". Put the pieces in order until you reach the last "floor". Now fit the "upper part" (no matter how you put it). Now insert the 5mm diameter metal ball. Now you have your multi-level puzzle!
How to Do It on Fusion 360

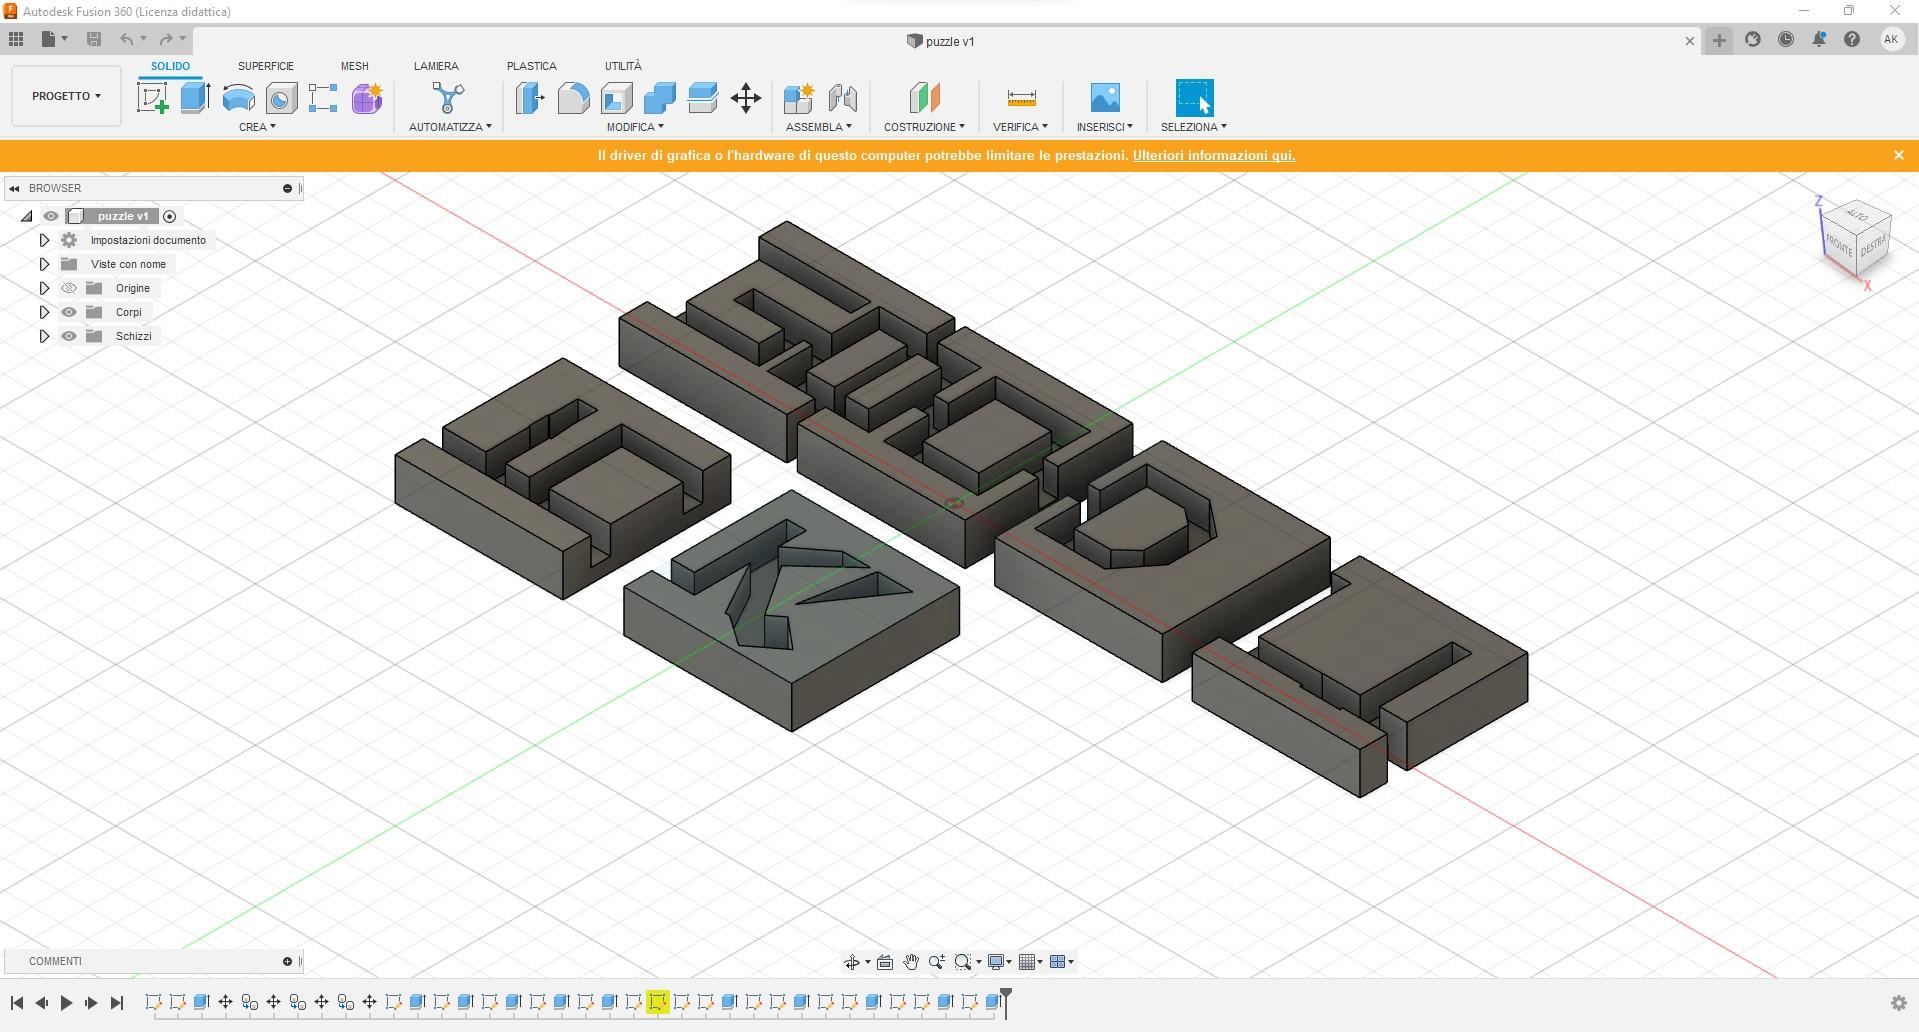
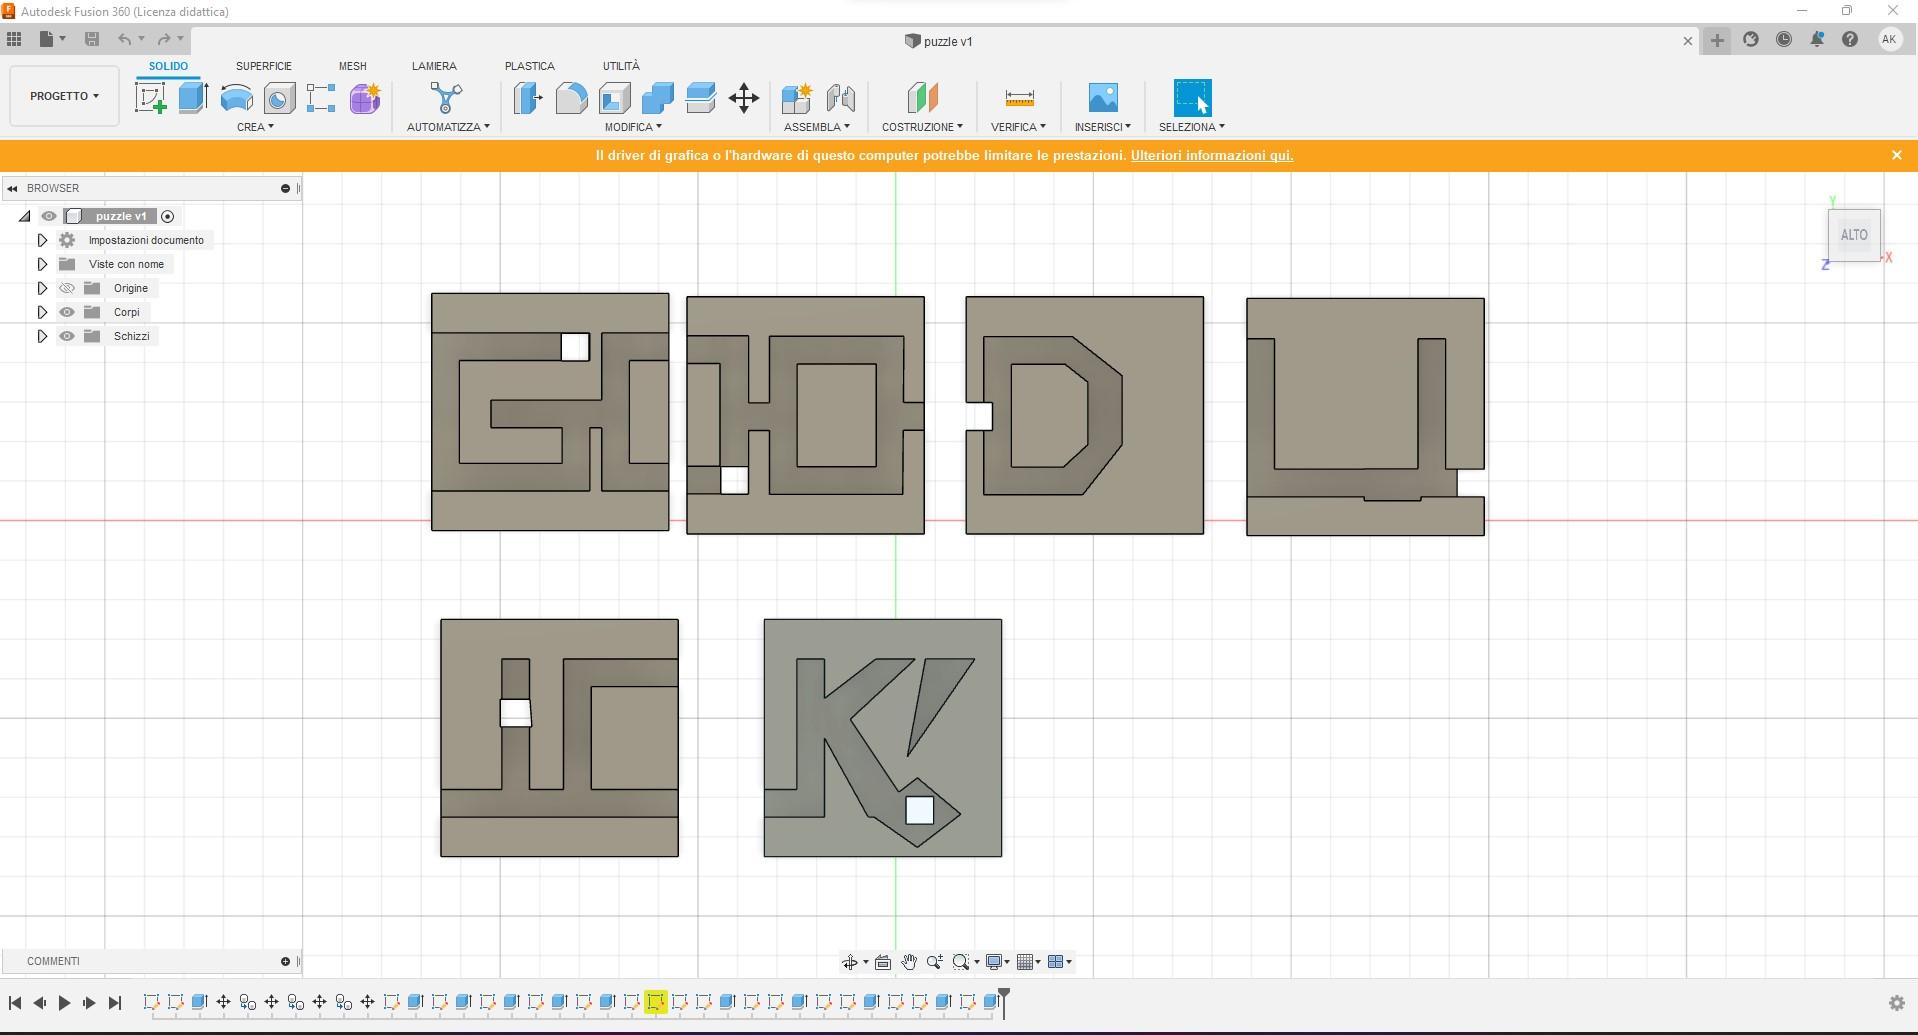
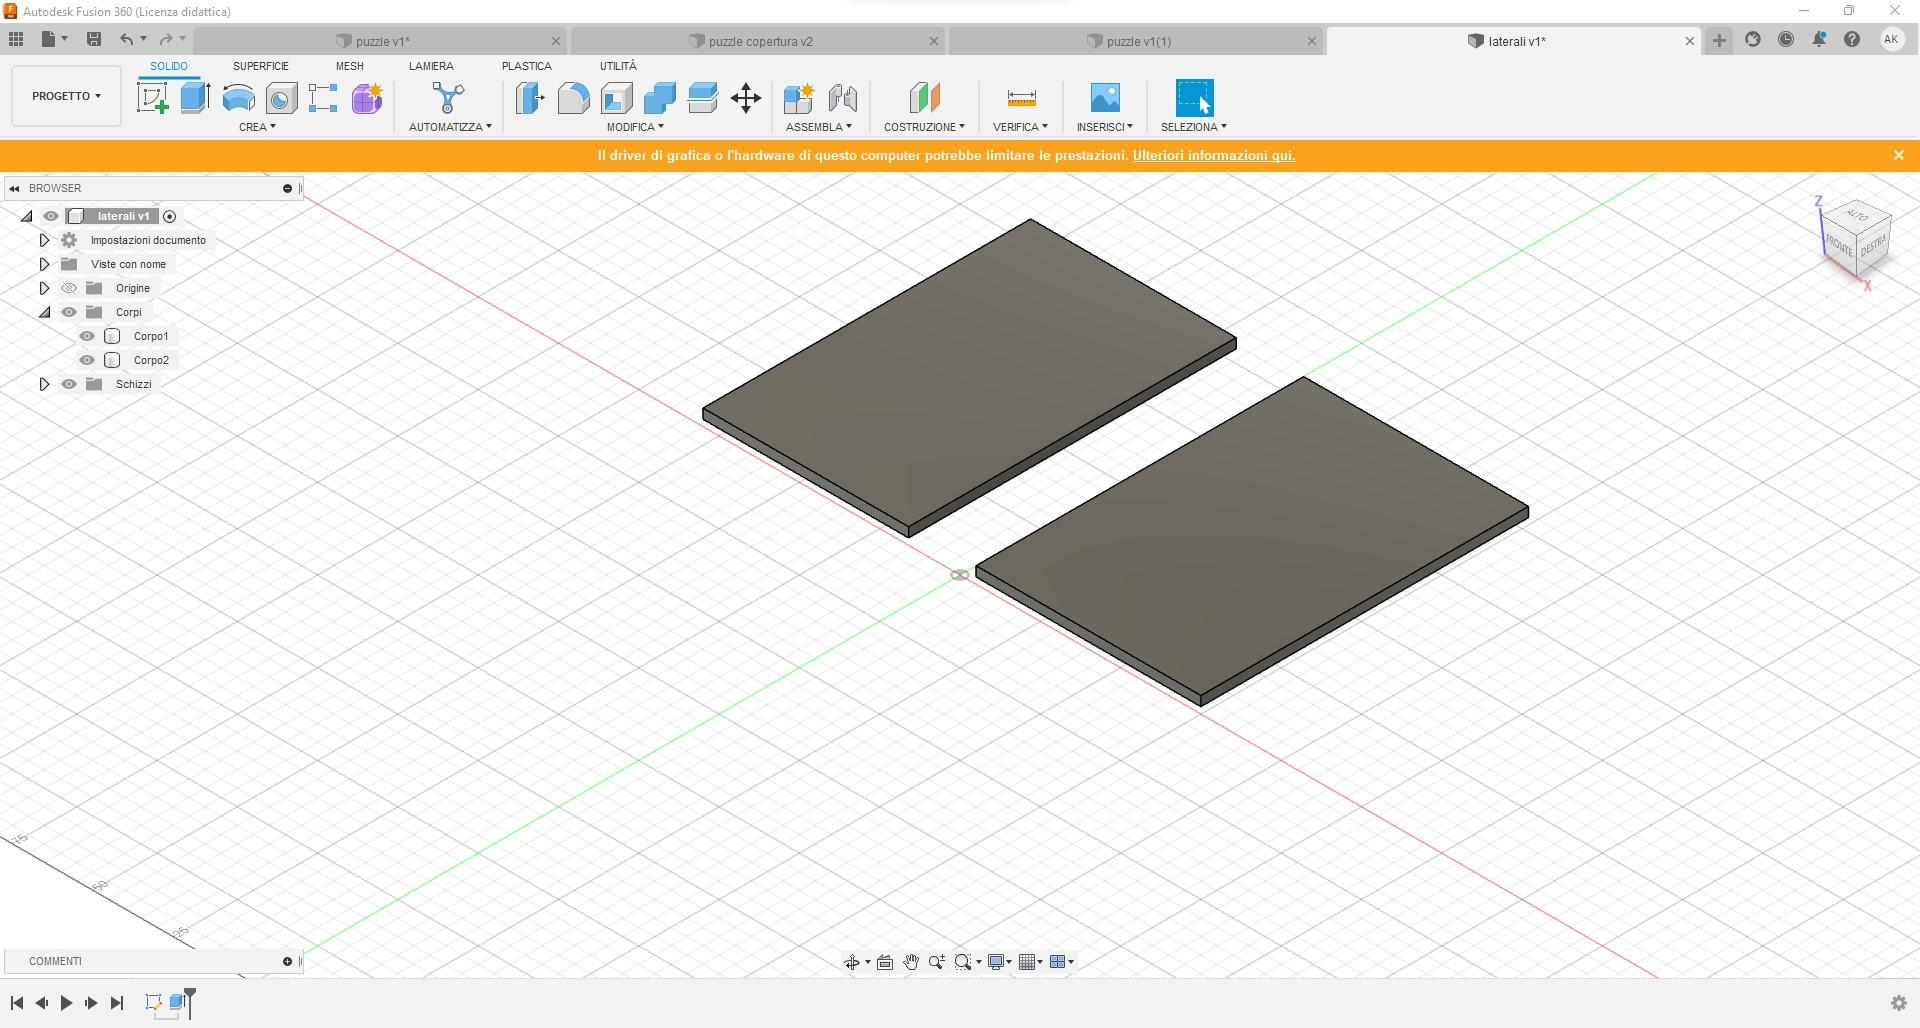
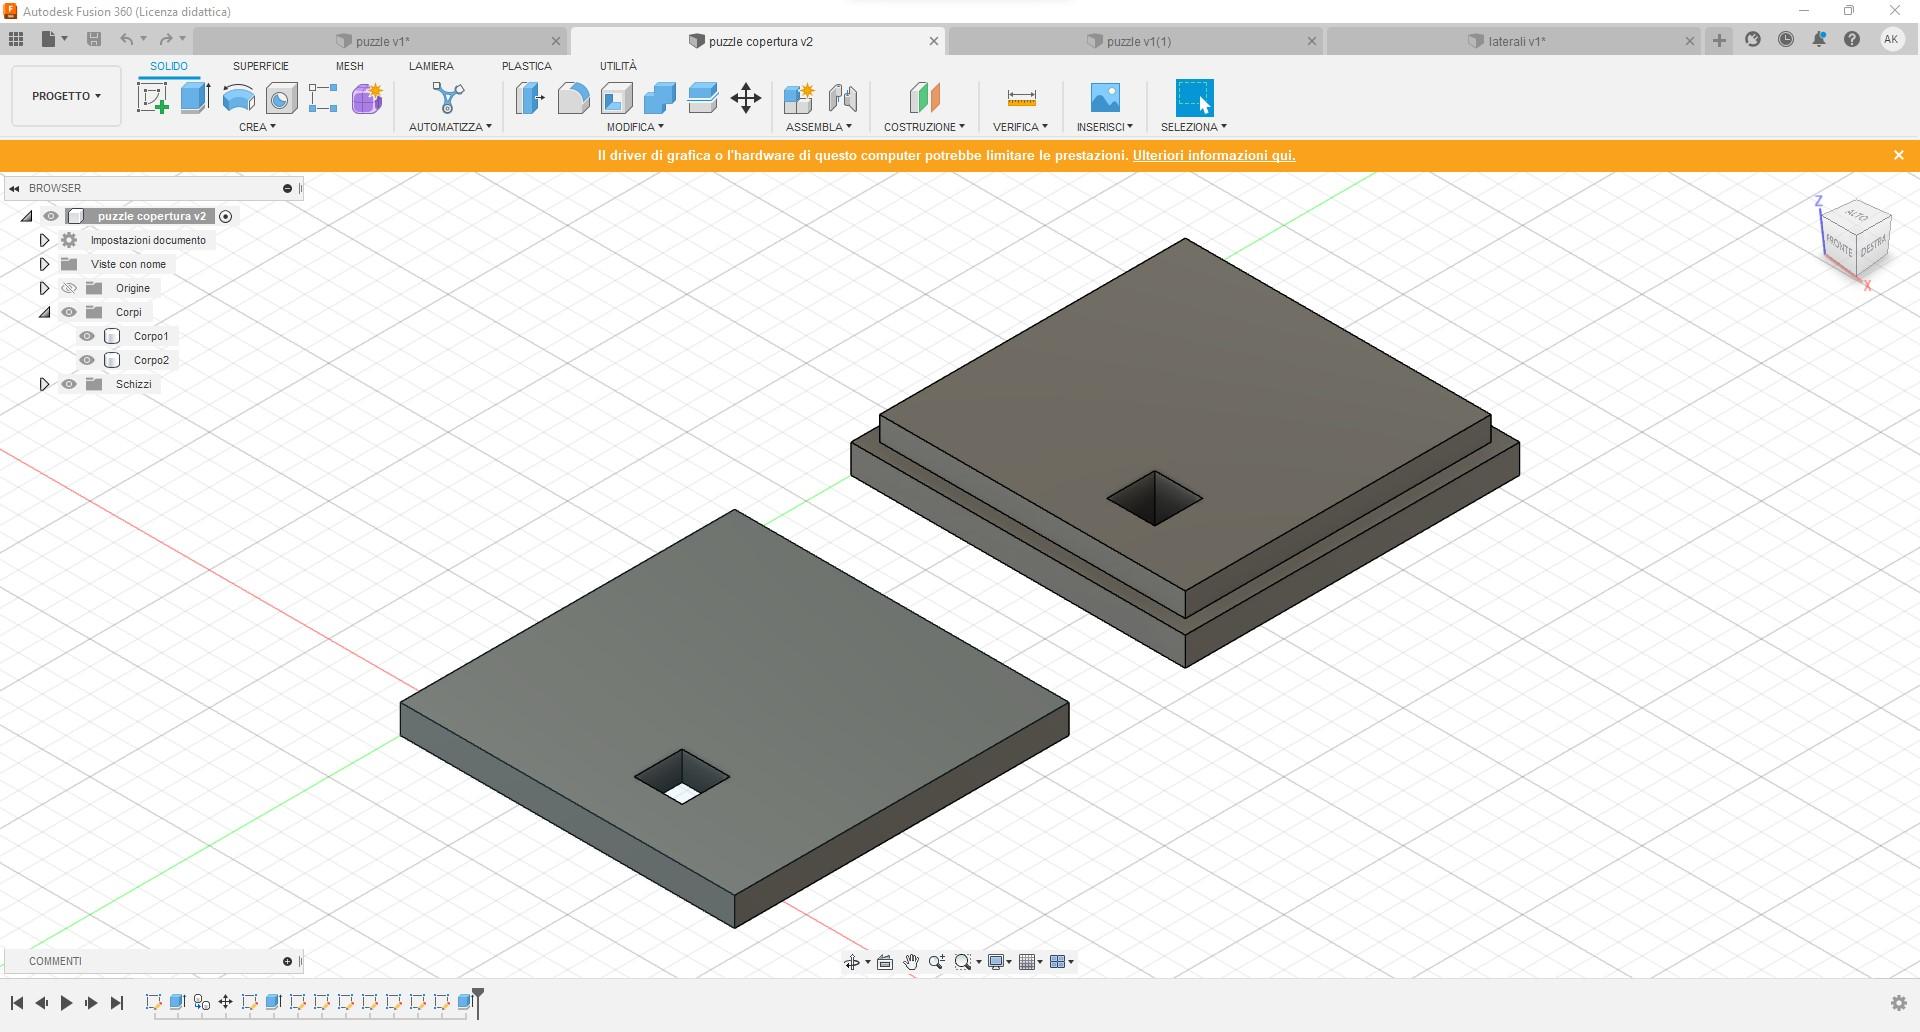
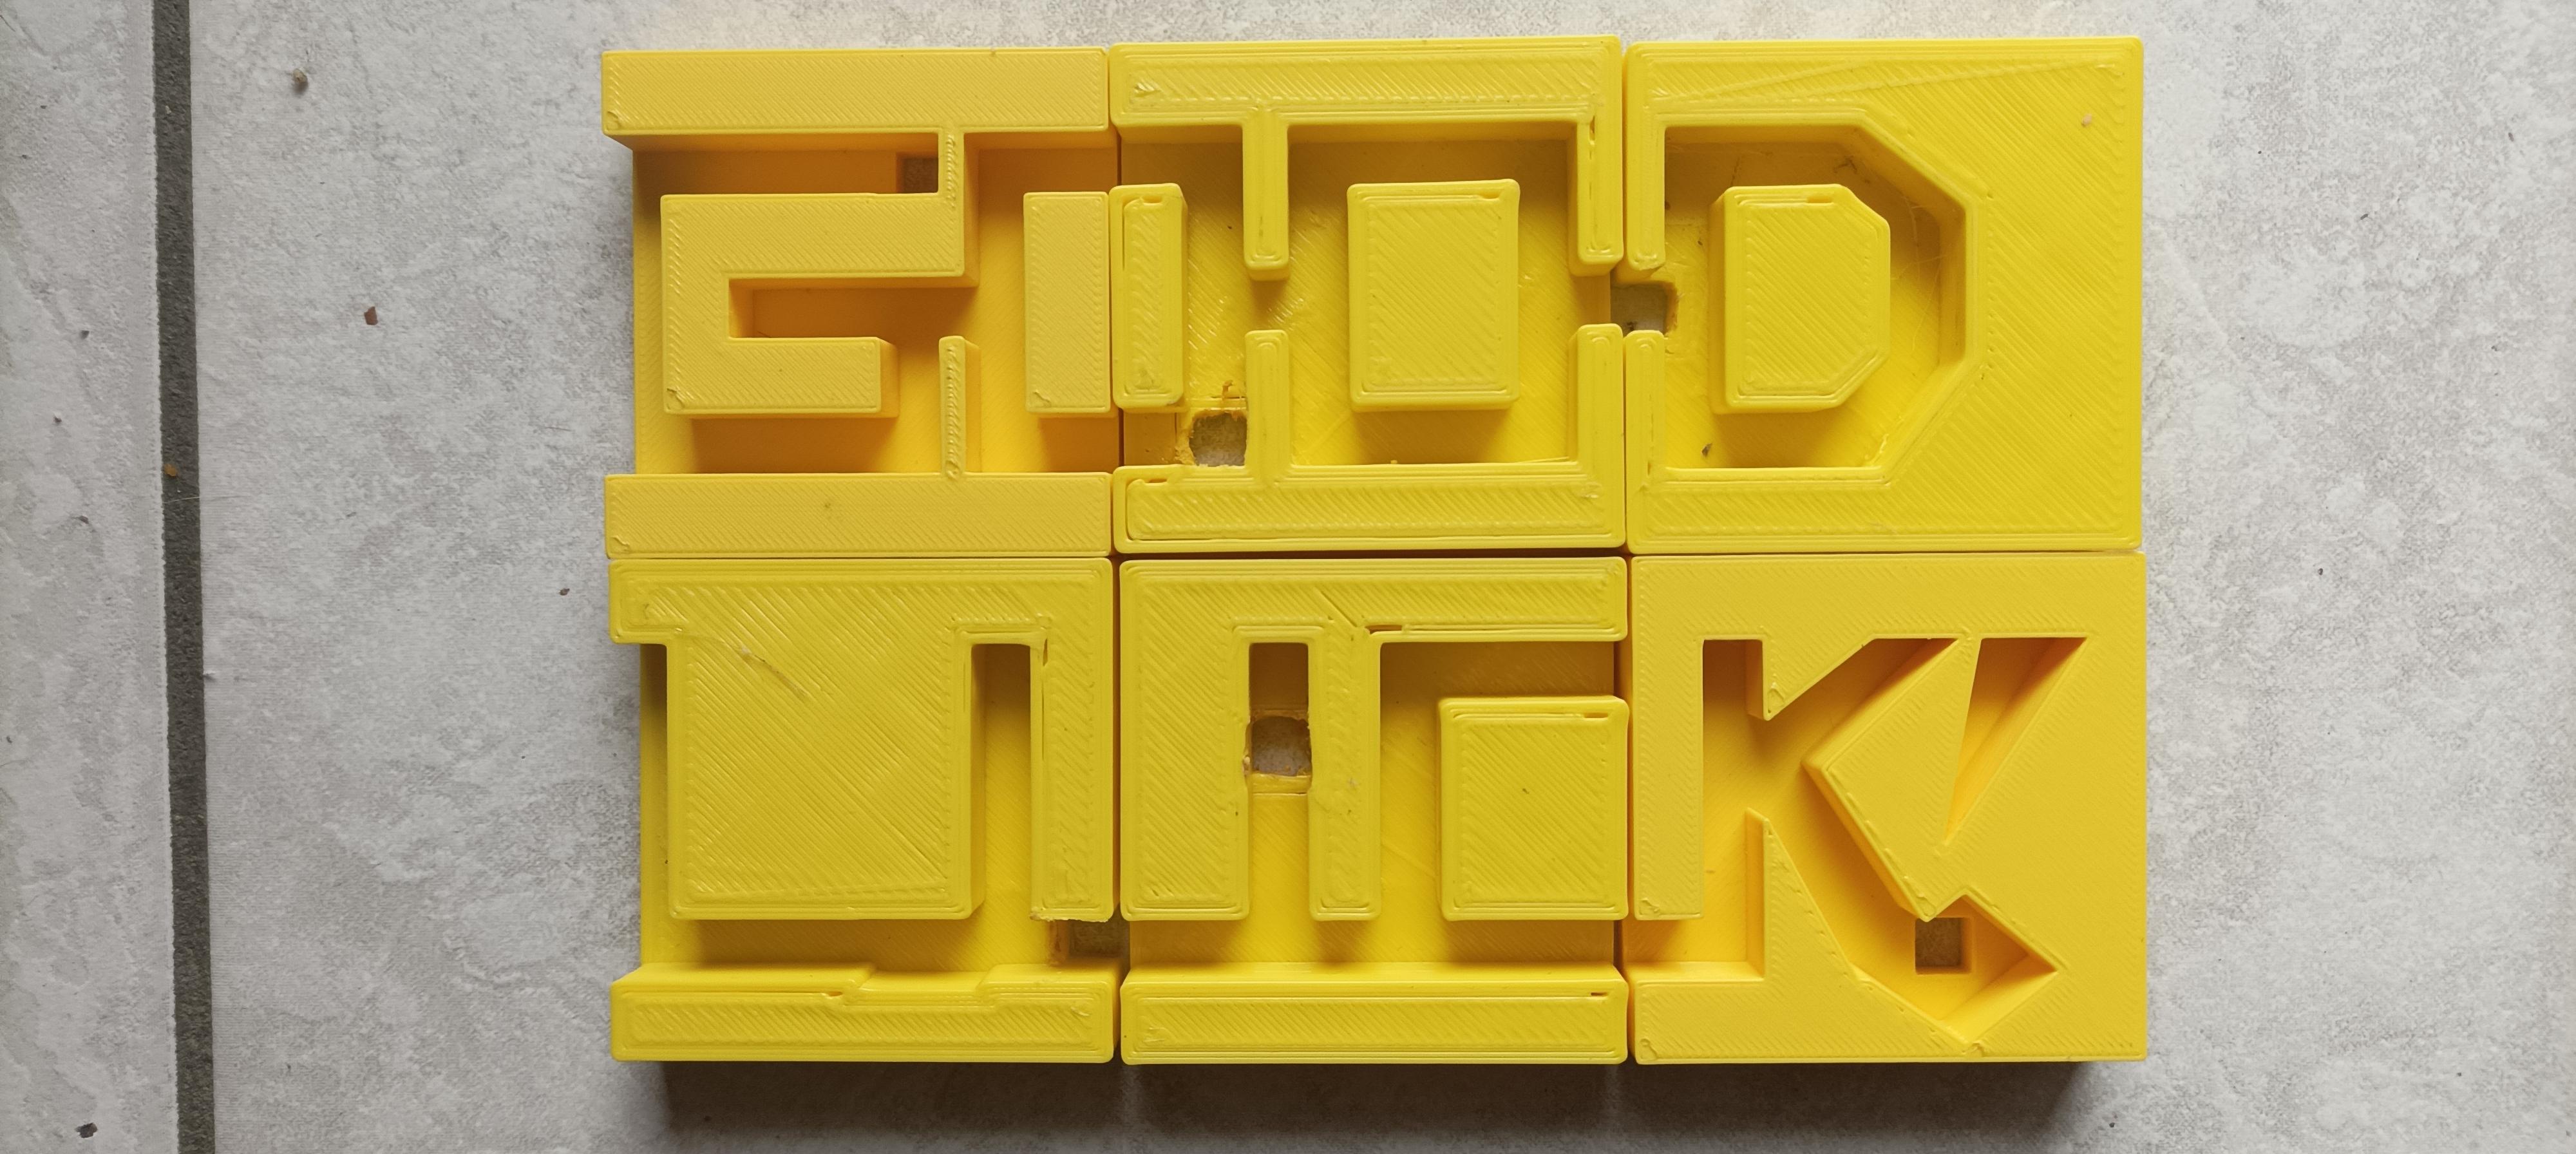
First you have to create six parallelepipeds with a square base of 6 cm and a height of 1.5 cm. Put the parallelepipeds in order to make it easier for you to construct the maze. The floors next to each other will show the sentence : " GOOD LUCK!". The lettering you are going to draw must have a thickness of 7 mm and a height of 4 cm. Once you have made the entire inscription, select the entire inscription and use the tool to extrude 1 cm to create grooves on the parallelepipeds. Now draw the holes that will allow you to pass the ball through. To make the holes, draw 7 mm squares (help yourself to the image I have uploaded) and then extrude them as you did with the lettering, this time the extrusion must be 1.5 cm. Now you need to make the case. For the side part you need two parallelepipeds: the first with a rectangular base (3mm high and 7cm base) the second with a rectangular base (3mm high and 6.4cm base), once you have created the rectangles extrude them by 10.2cm. Now the case bases are missing. The lower base is a parallelepiped with a square base 6 cm and a height of 5 mm. Now you have to create the hole with a 1 cm square to extrude as you did with the other holes. The hole must be 1 cm from the base of the square to be drilled and 2.2 cm from the height. Now the upper part of the case is missing. Create a parallelepiped with a 7 cm square base and a height of 5 mm, then create another parallelepiped with the same centre with a 6.4 cm square base and a height of 5 mm. Pierce the two parallelepipeds with a 1 cm square that is 1.7 cm and 1.1 cm away from the larger of the two parallelepipeds.