Golden Ratio Grid

By definition, the Golden ratio is a special number that you get, when you divide a line into two parts such that the first part divided by the second part is equal to the sum of the two parts divided by the first part.
To make this a bit more clear, lets assume a line that has been divided into two parts – A and B.
Now, if we are to put these into the relationship mentioned above, we get :- A/B = ( A+B ) / A = 1.6180339…
This number has been used by artists and architects all through history for many of their projects simply because this number presented the perfect proportions for their design.
Popular examples of this golden ratio in action include The Great Pyramids, The Parthenon, the Fibonacci series, The Last Supper and many more.
Even today, the golden ratio comes handy when we have to make visually appealing web pages, brochures, or even logos for your company or a client. In this tutorial, we will take a look at how to create your own golden ratio grid using Adobe Illustrator, and in the posts that follow, we will walk you through how you can use this grid to create some stunning art.
Disclaimer – The version of Illustrator we have on hand is Adobe Illustrator CS6, so if you are using a version that is higher, a few features may look a bit different. Do bear with us.
So lets get started –
Setting Up the Document
First up, we will set up the document.
To do this, head to FILE — NEW.
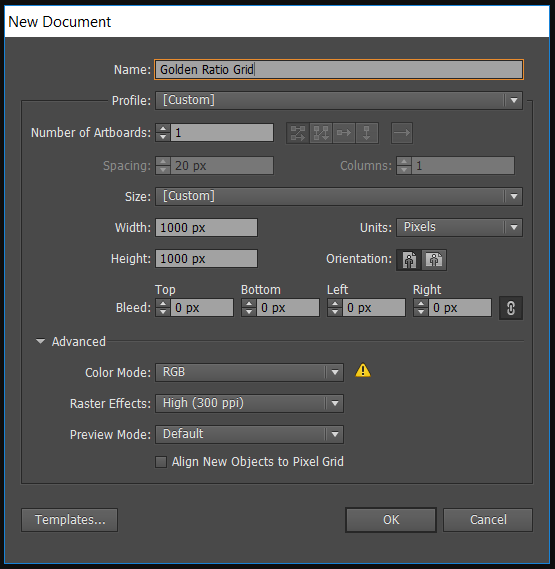
You will be greeted by a document setup page.
Name the document as you wish. We decided to go with “Golden Ratio Grid“.
Enter the Width and Height as 1000 px.
Colour Mode is set to RGB.
Click OK when you’re done.
You should now be looking at an empty workspace.
Grid Construction ( Step 1 )
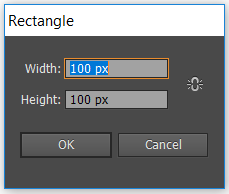
With our workspace created, lets start making the grid. To start off, we will create a rectangle with the following specifications :
Width : 100 px
Height : 100 px
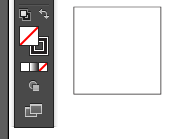
Remove the Fill.
You should be looking at a result like this.
Grid Construction ( Step 2 )
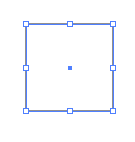
Next, select the square using the Selection tool ( V ).
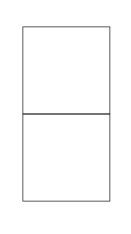
Now hold down the ALT key on your keyboard, select the center of the square and drag downwards to create a copy.
Align this copy such that the two squares are exactly one below the other.
Grid Construction ( Step 3 )
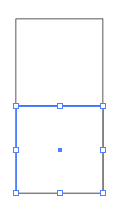
Now, select the newly created square using the Selection tool ( V ).
Hold down the ALT key , select the center of the square and create a copy such that the newly created square sits exactly next to the previous square.
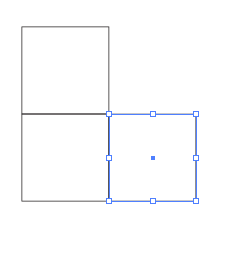
Grid Construction ( Step 4 )
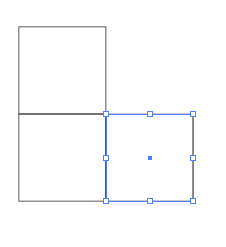
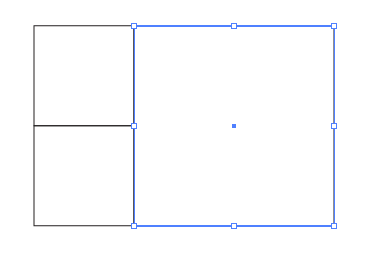
Next, select this new square that has been created using the Selection tool ( V ), and holding the SHIFT key, scale this square such that it spans the two squares created above.
Grid Construction ( Step 5 )
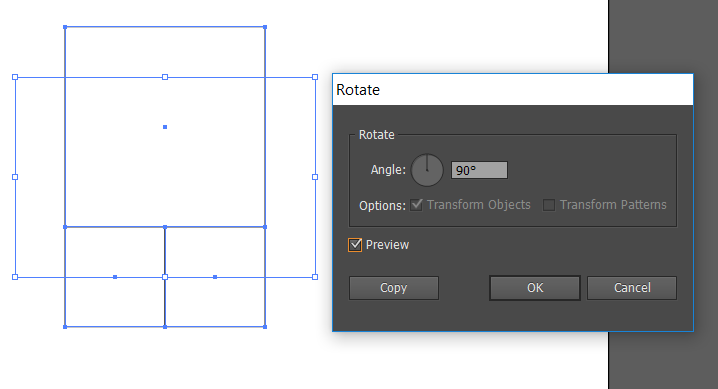
Now select all the three squares using the Selection Tool ( V ), and rotate them by 90 degrees anticlockwise.
You can do this by using going to OBJECT — TRANSFORM — ROTATE.
Alternately, you can hover near the corner of the selected squares and when you see the rotate arrow, you can move the figure as desired.
Grid Construction ( Step 6 )

Now, create another square that spans the height of the setup. Select the whole shape and Rotate is again by 90 degrees in the anticlockwise direction.
Grid Construction ( Step 7 )
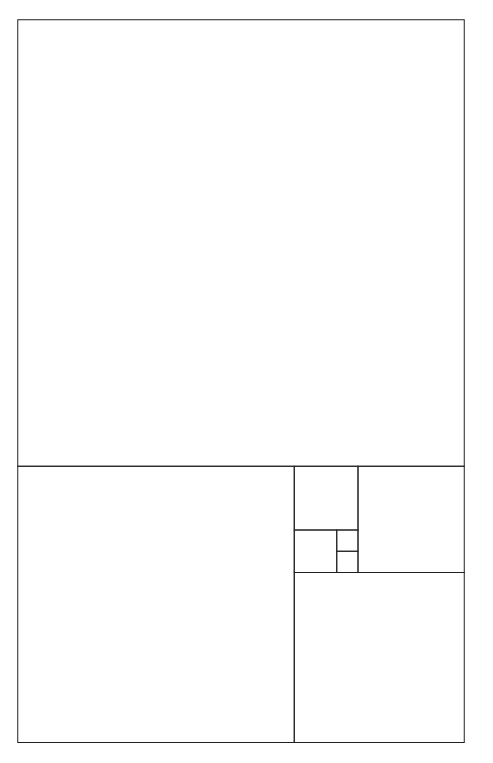
Repeat the previous step multiple times until you are satisfied.
If, during the process, you see that the grid is overshooting the canvas, then select the whole grid, and scale it down in proportion by holding ALT + SHIFT.
Once you have resized it in proportion, resume the process. We repeated the step three more times and the basic grid we got is as given.
Final Step !!
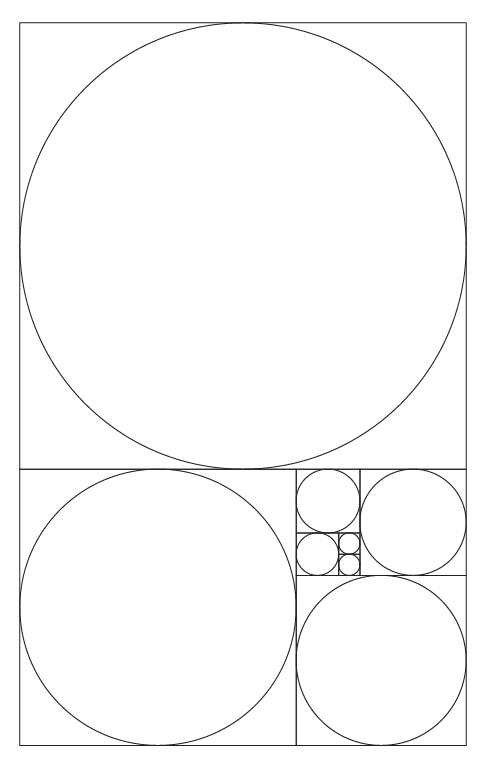
Finally, we need to create the Golden Ratio Circles within the grid.
To do this select the Ellipse tool.
Holding down ALT+SHIFT, create circles that inscribe within each square perfectly.
The end result should look like this.
Conclusion
There you have it ! Your very own Golden Ratio Grid, ready for use.
Save this file in the .ai format since it will be useful for us in the future tutorials.
You can use the elements in this grid to create logos, web page layouts and much more.
See you all in the next Tutorial !