Gmail Buddy - Smarter Email Notifications
by shivamgautam in Circuits > Arduino
8226 Views, 148 Favorites, 0 Comments
Gmail Buddy - Smarter Email Notifications
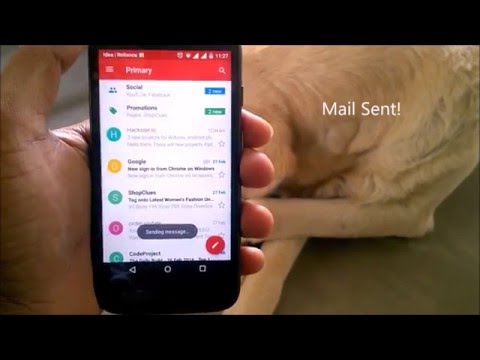
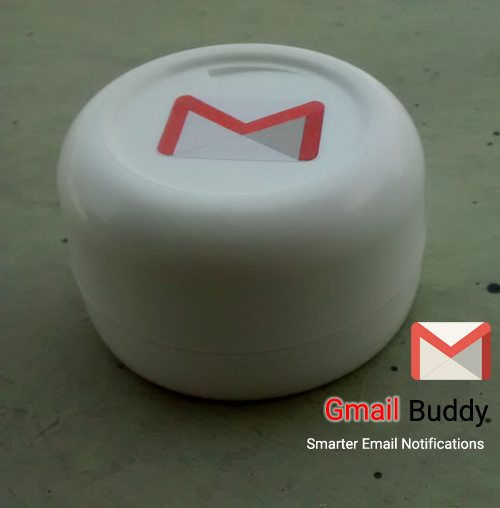
What is Gmail Buddy?
It is a companion device which never lets you miss any important emails. It checks your inbox (Every 15 seconds) for new mails and notifies you using a sweet glow (Red Color). When you've checked you new mail, The light automatically goes OFF and a Yellow status LED (Yellow) goes ON. We'd be building this IoT device in very detailed step-by-step manner. Have Fun!
Its Features:-
- Smarter Email Notifications. Never Miss an Email.
- Power Efficient - powered by power efficient CC3200 based WiFi Micro Kit. ~ 30 Days battery Life!
- A Cute Ergonomic Body Design.
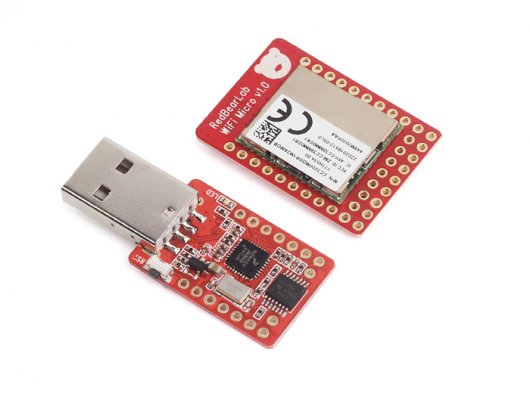
Materials Required
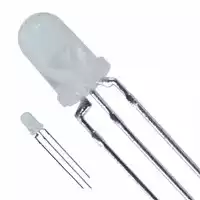
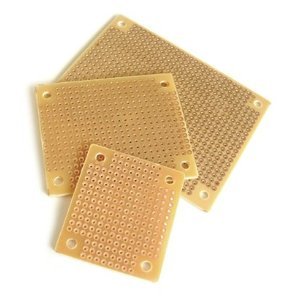
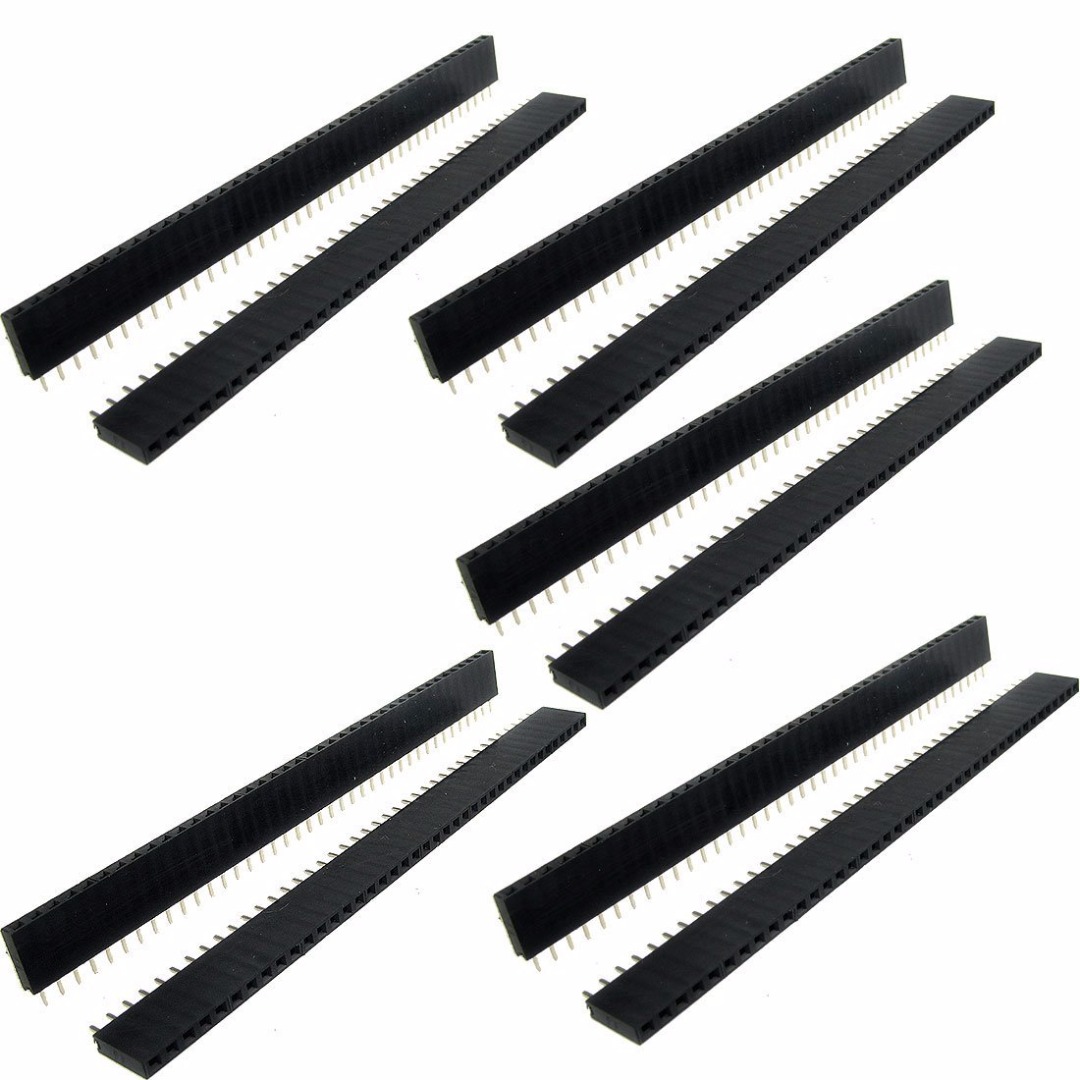
Building the Shield
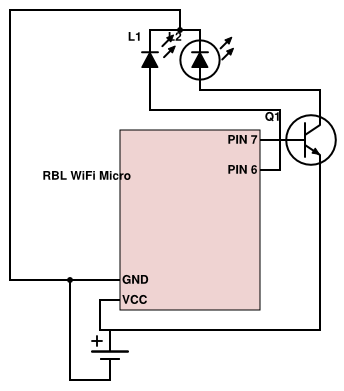
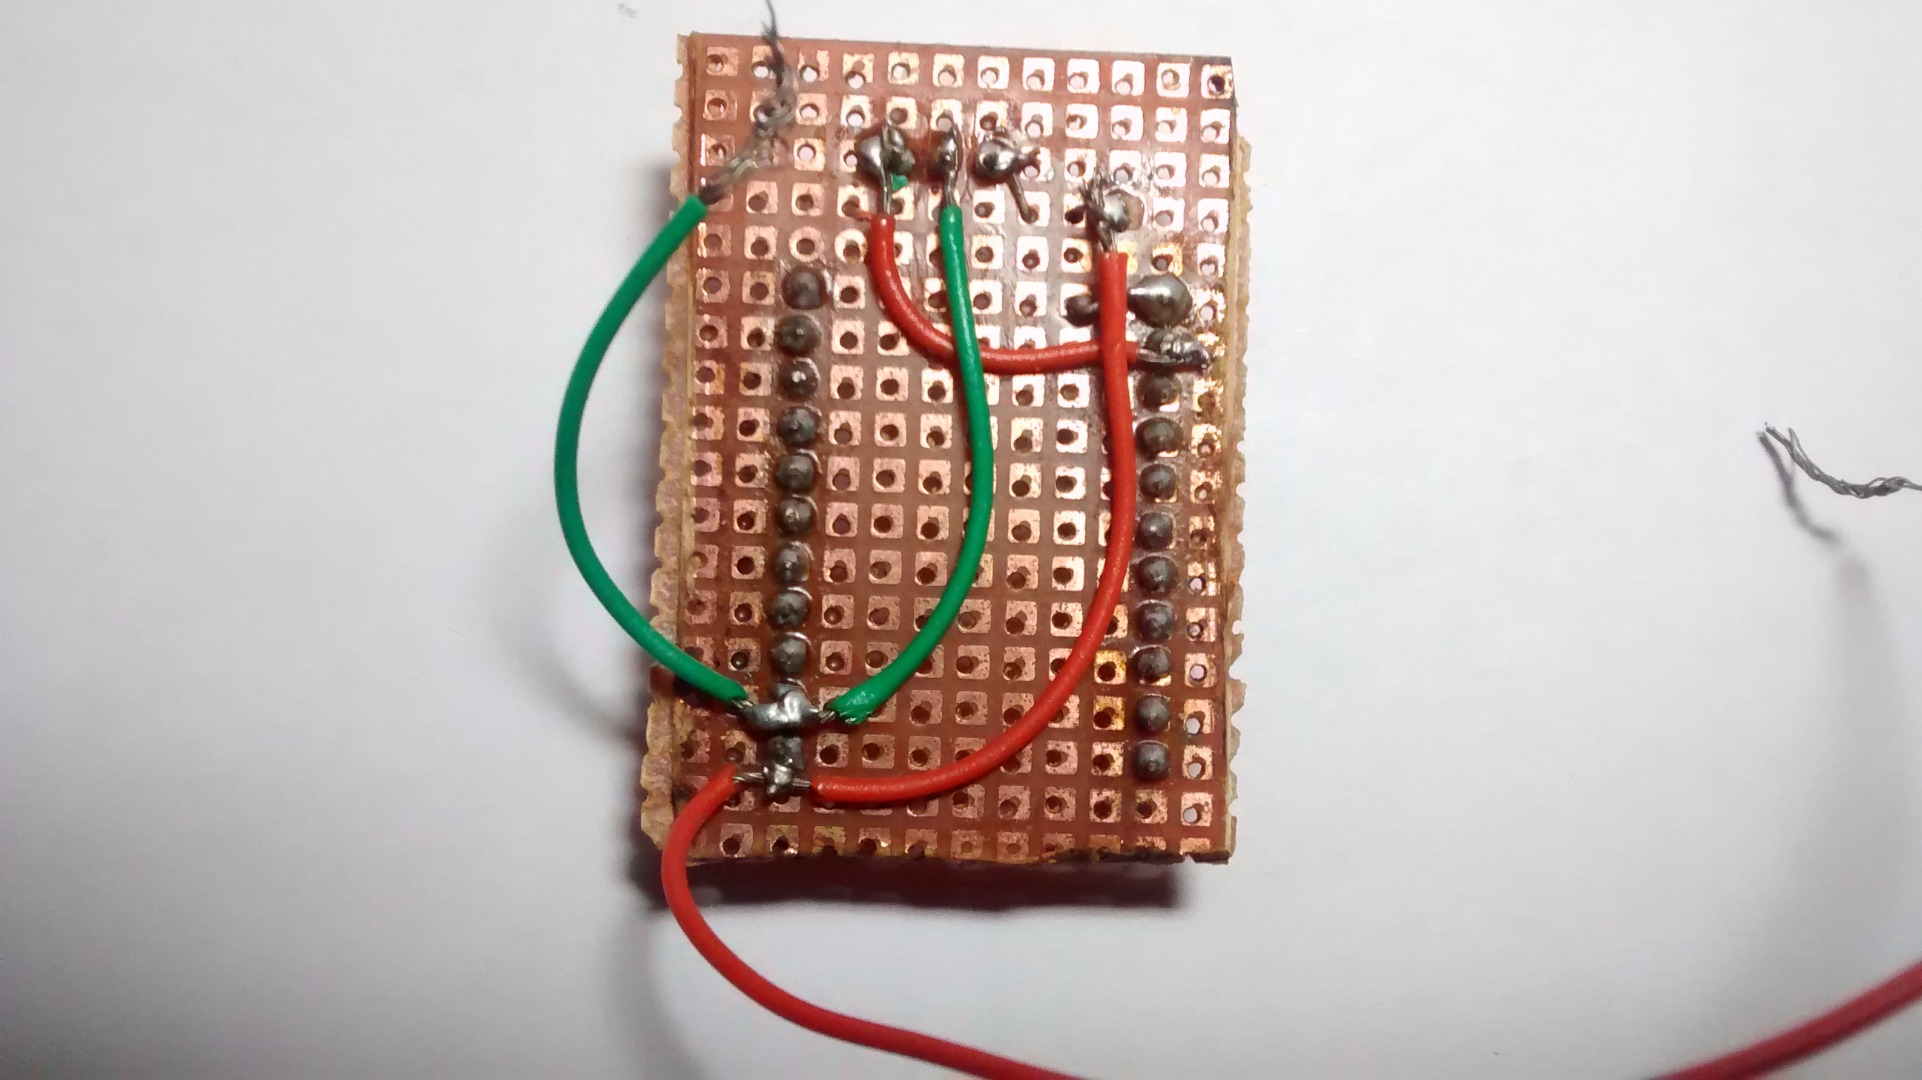
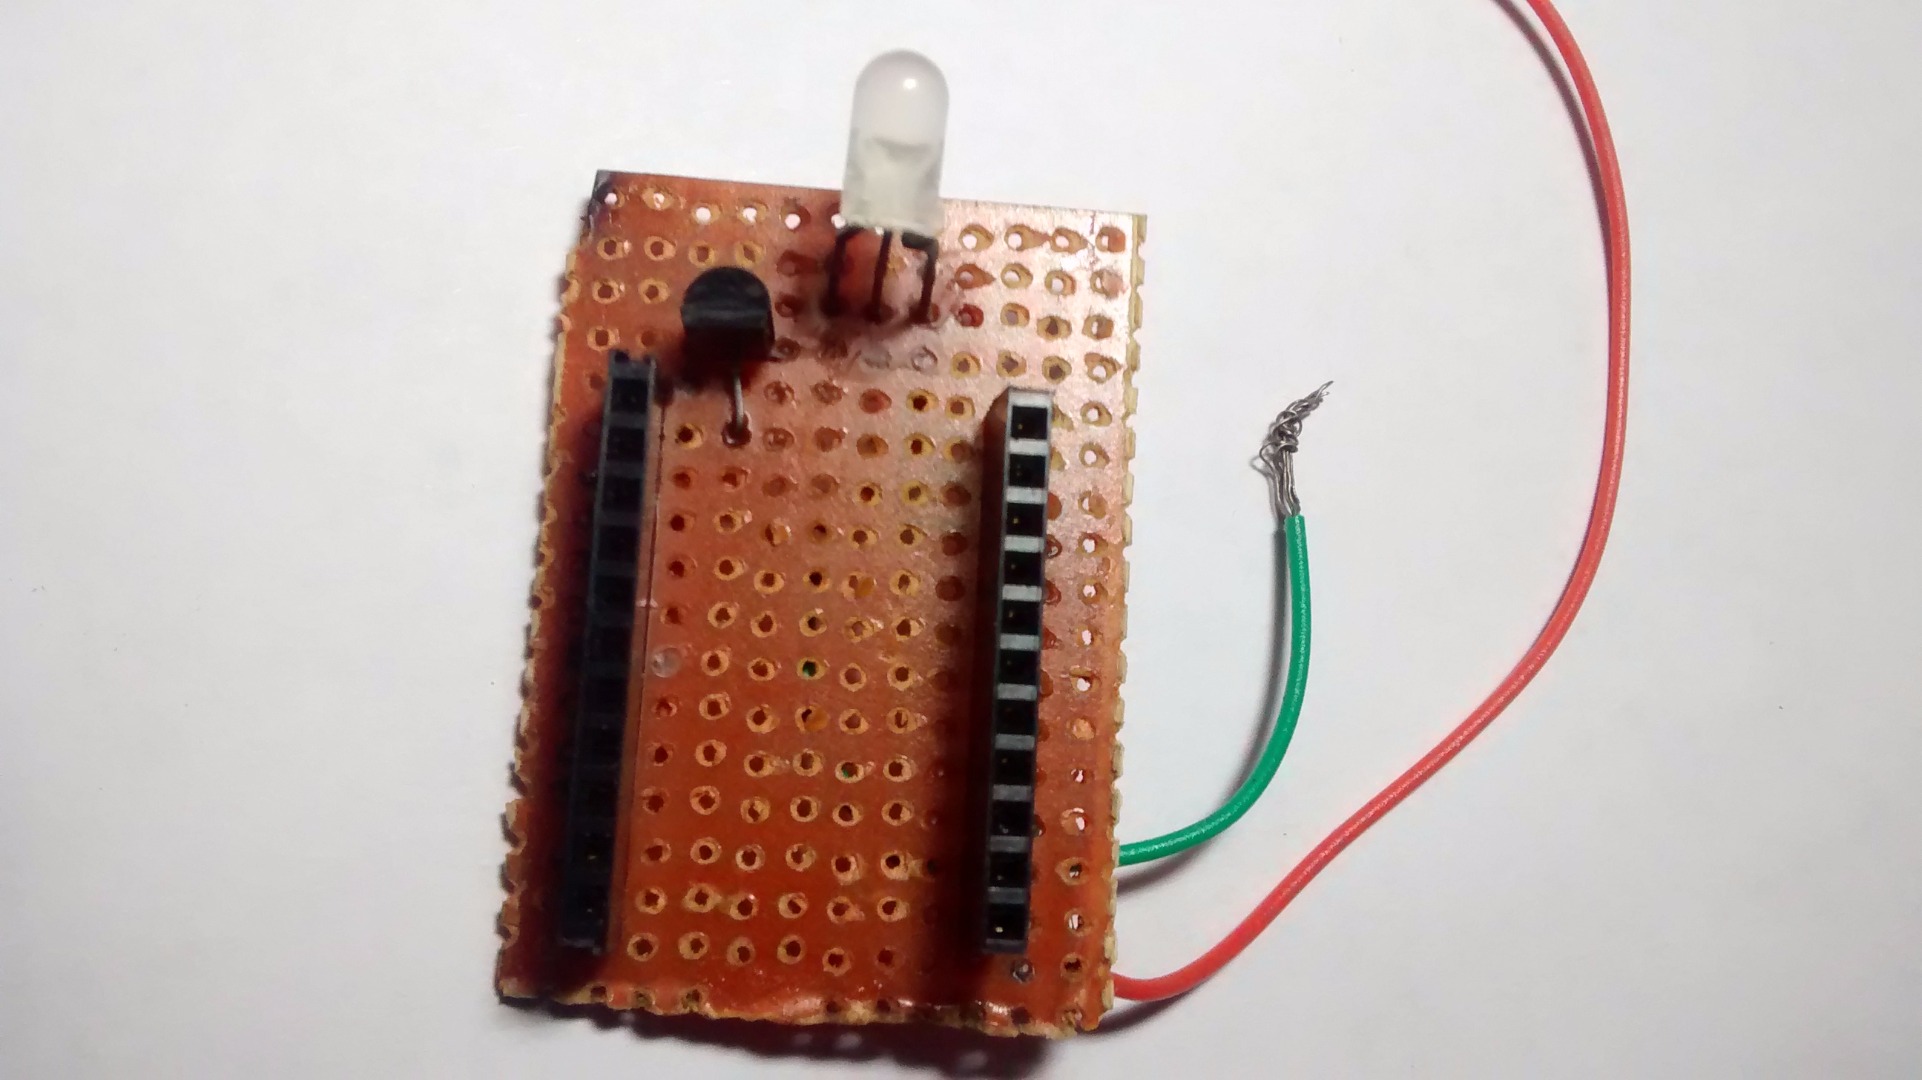
First we need to build a shield to plugin our RedBear Labs WiFi Micro. This Shield will serve the power to the board, It will run our LED as a signal is generated by the board.
Build the circuit as shown in the schematics (1st image). We are making the following connections.
- We are connecting Yellow pin of the Bi-Color LED to Pin 6 on RBL WiFi Micro
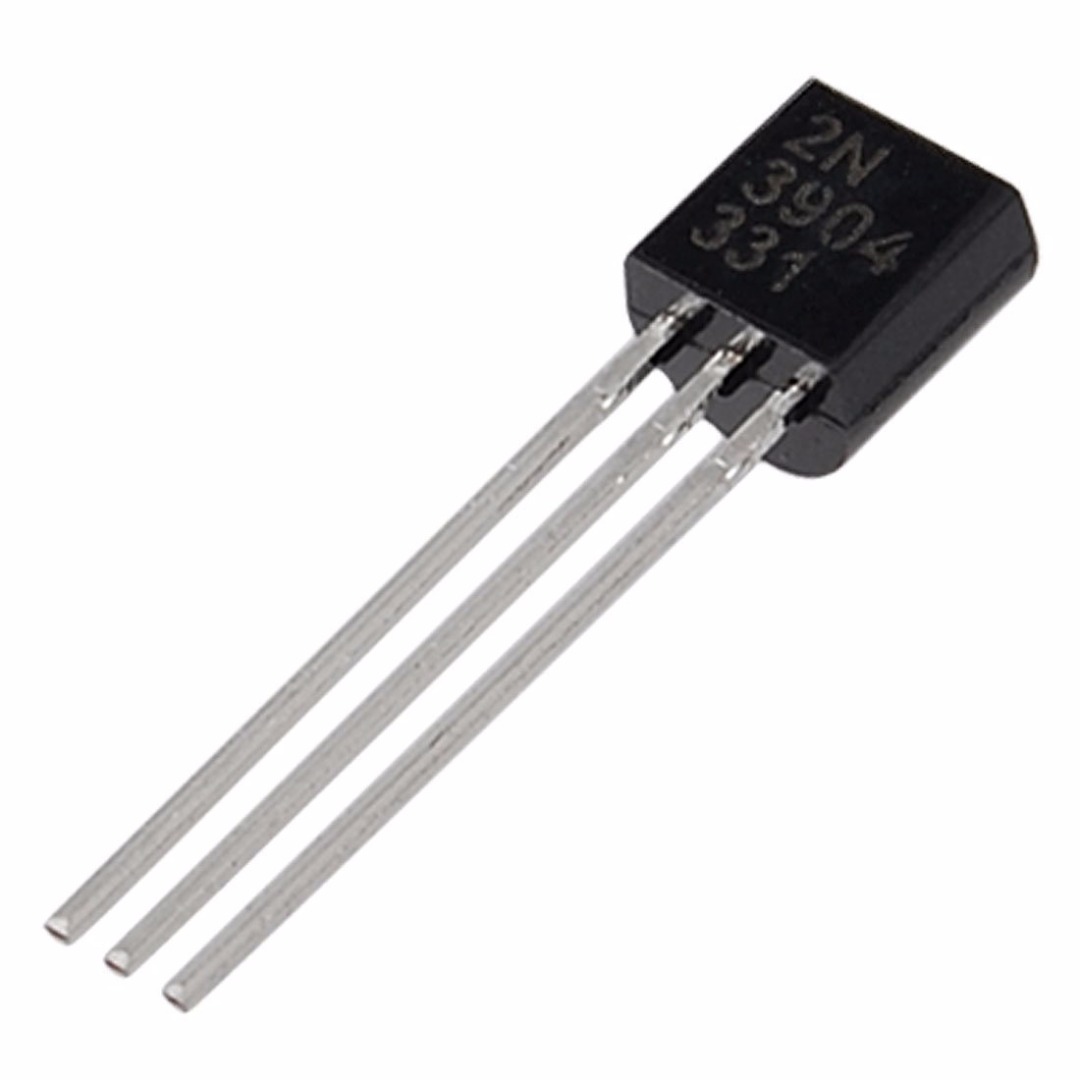
- Red pin of Bi-Color LED to pin 7 by amplifying through 2n3904 transistor.
- The cathode pin of our LED to the GND on RBL WiFi Micro
- Connecting Vcc & Gnd leads to connect to our battery later.
Building the Power Supply
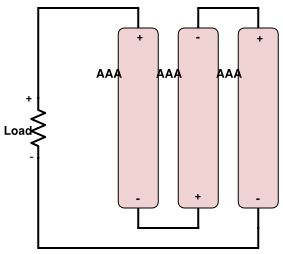
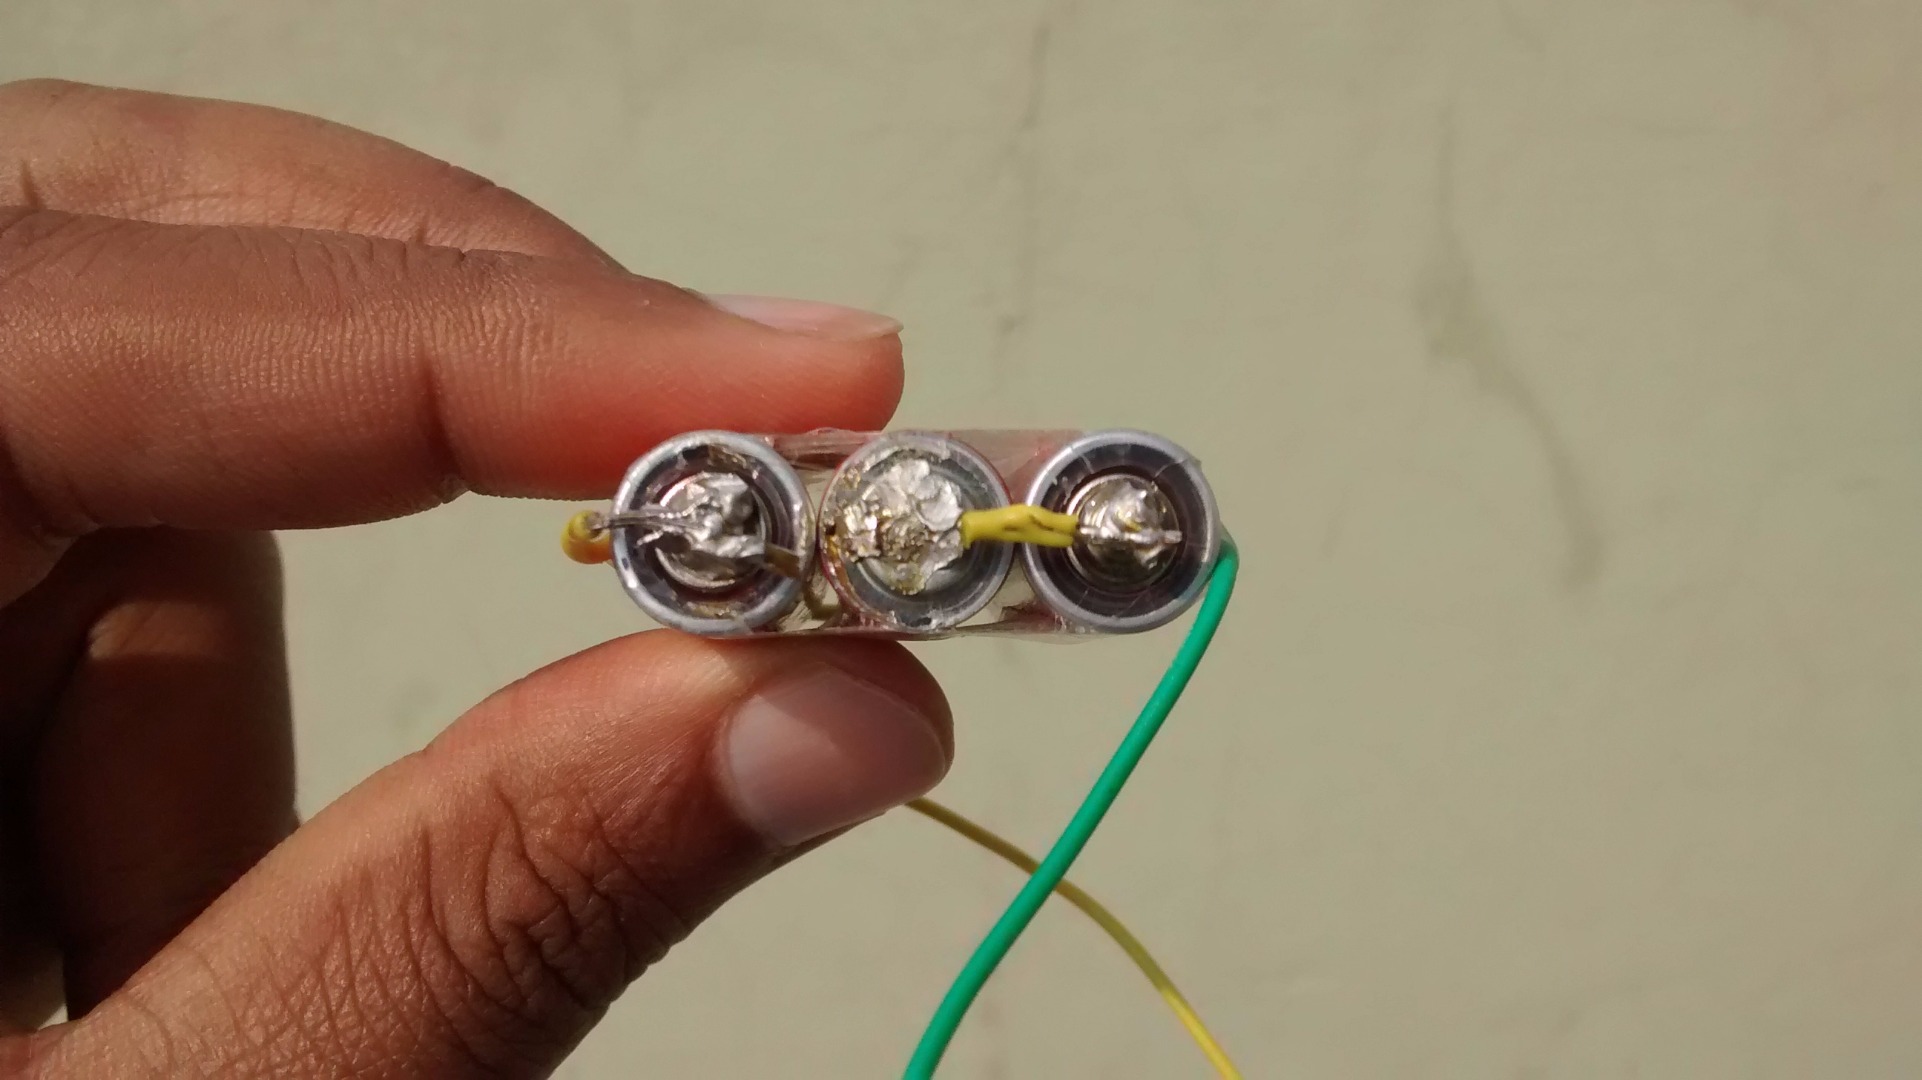
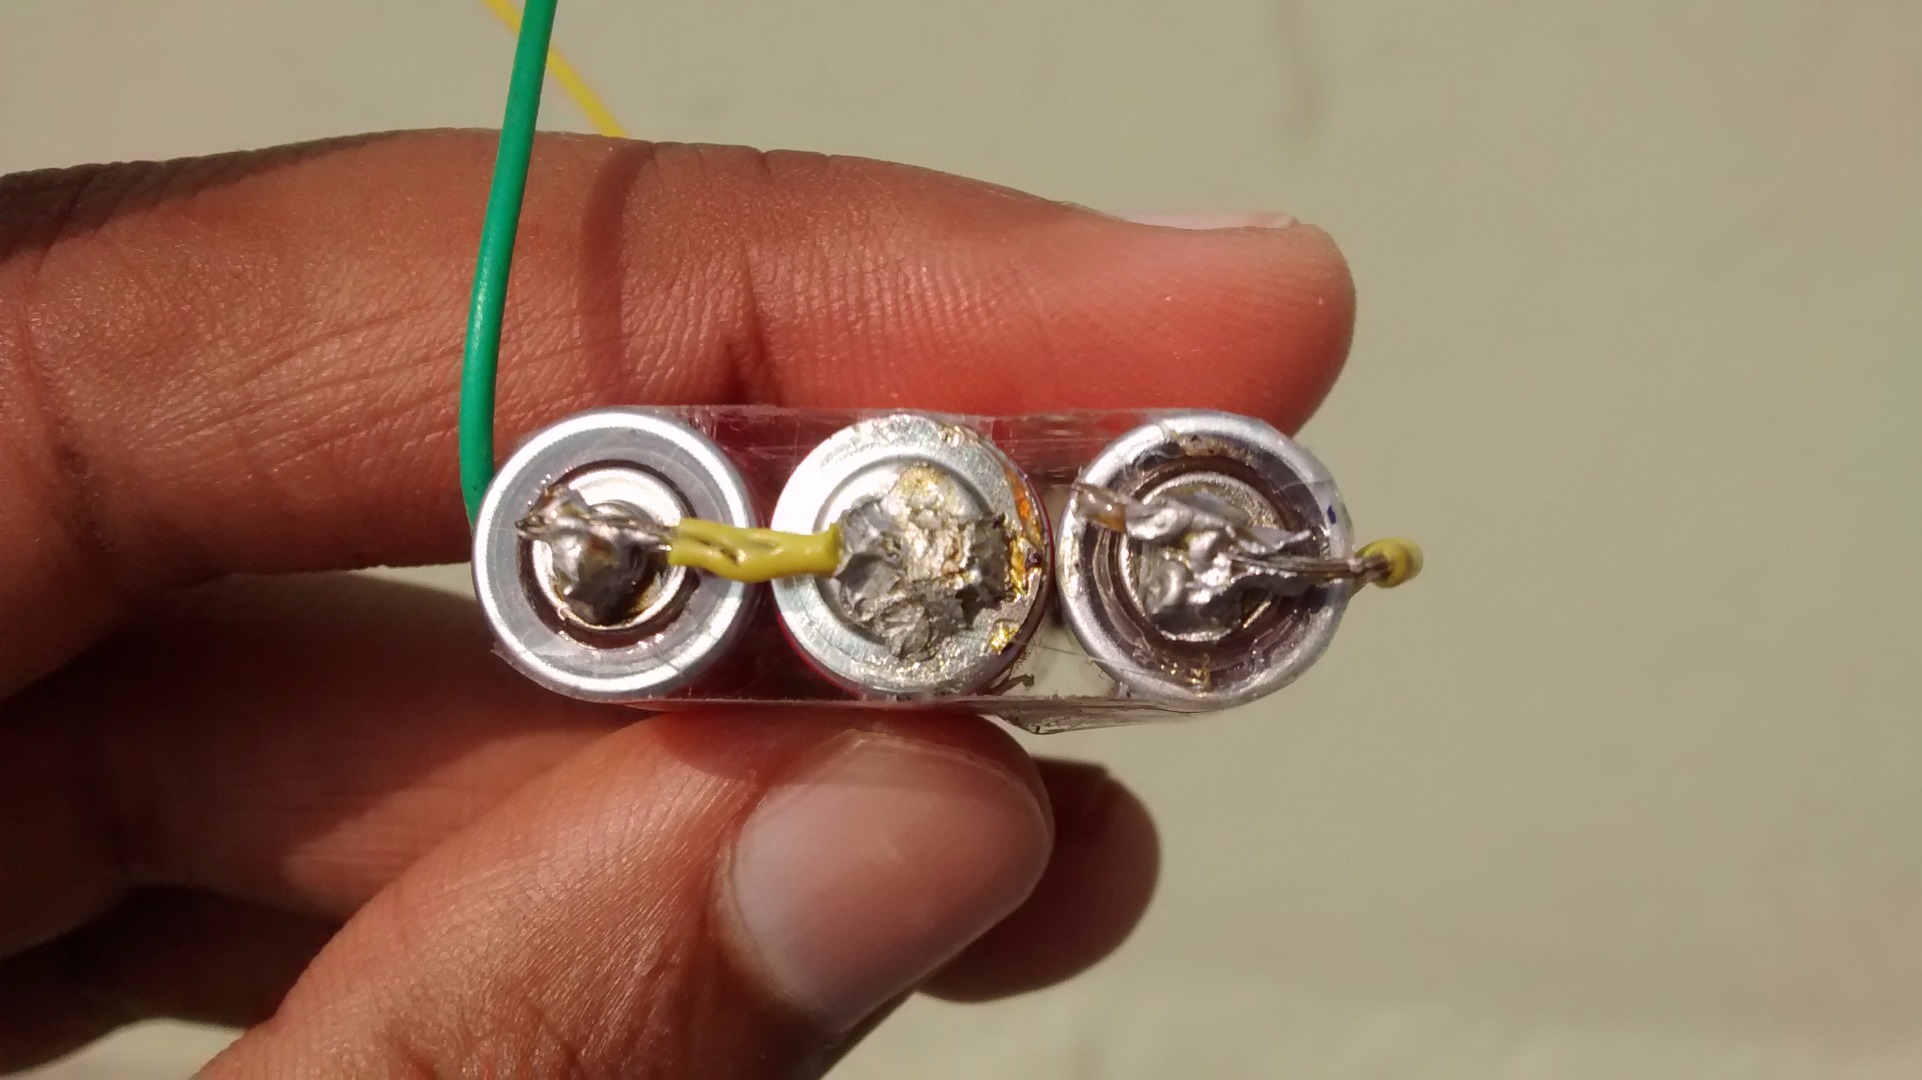
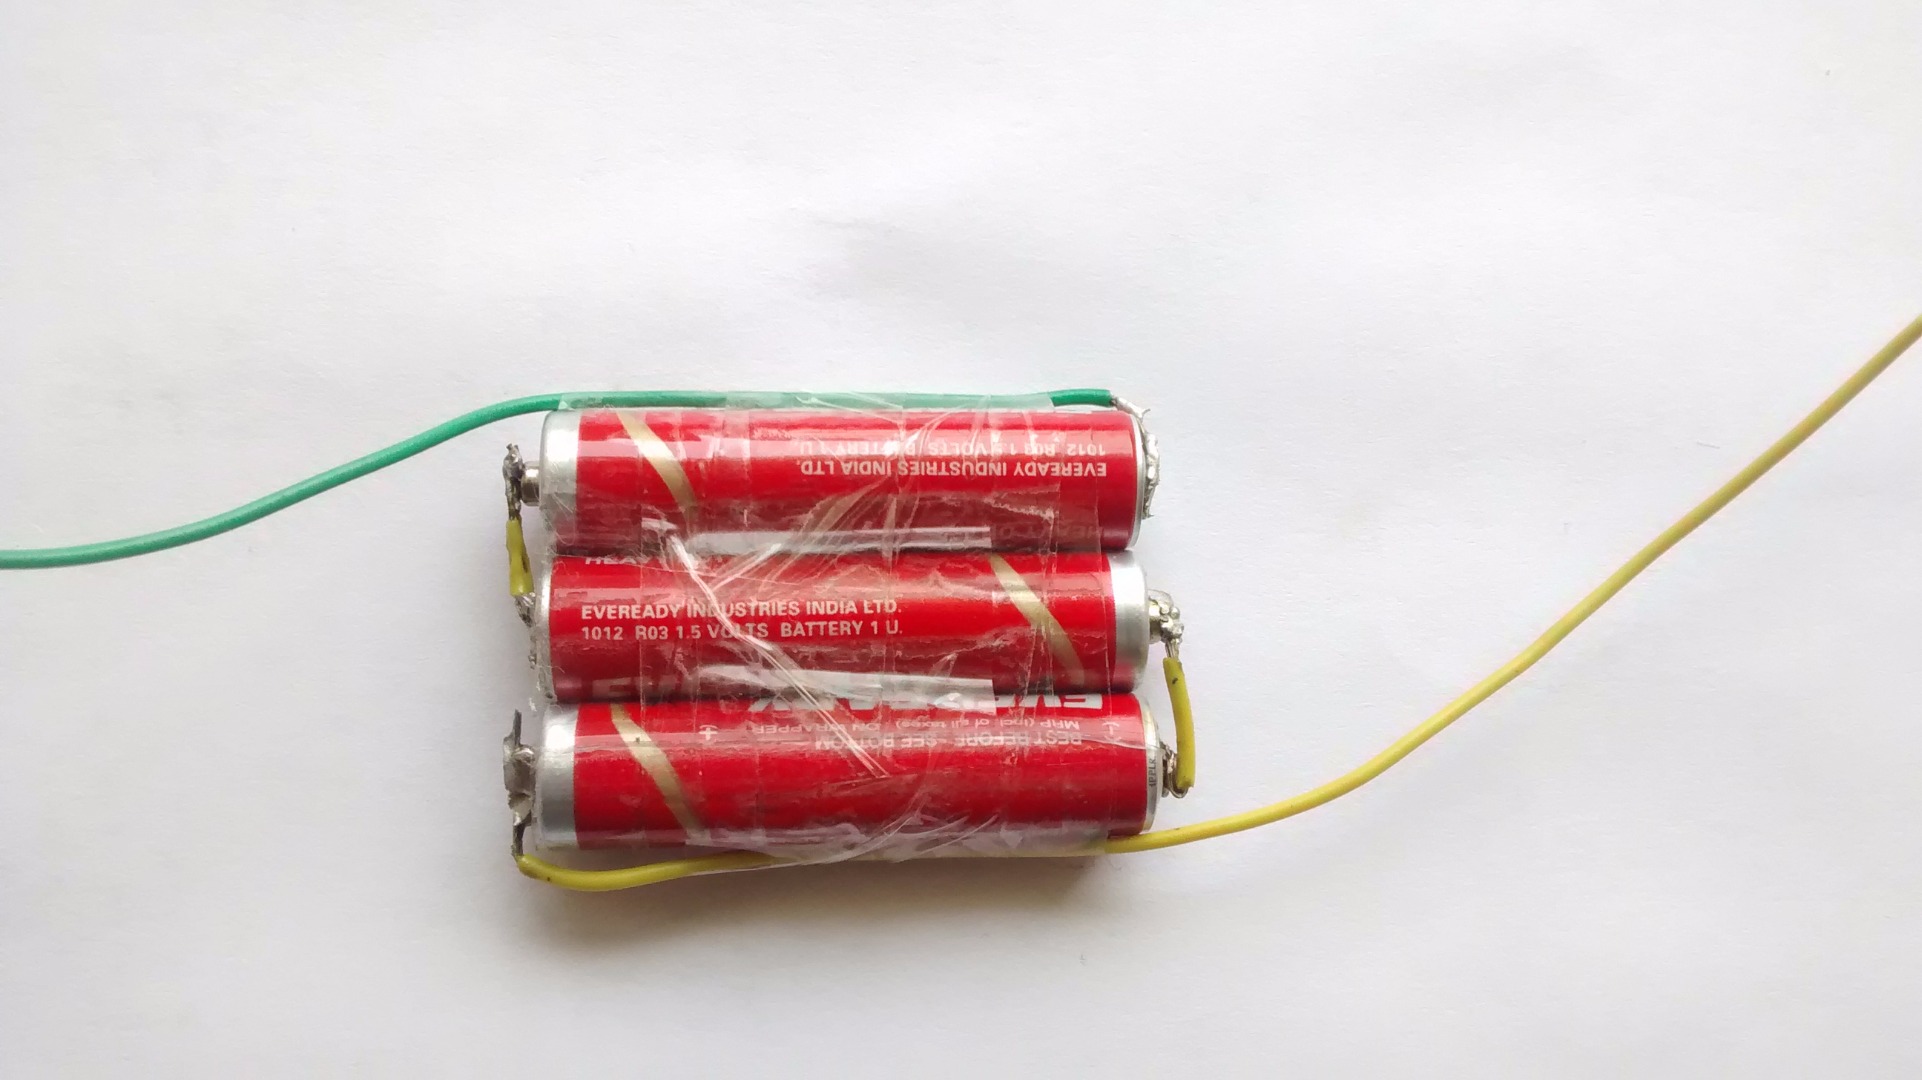
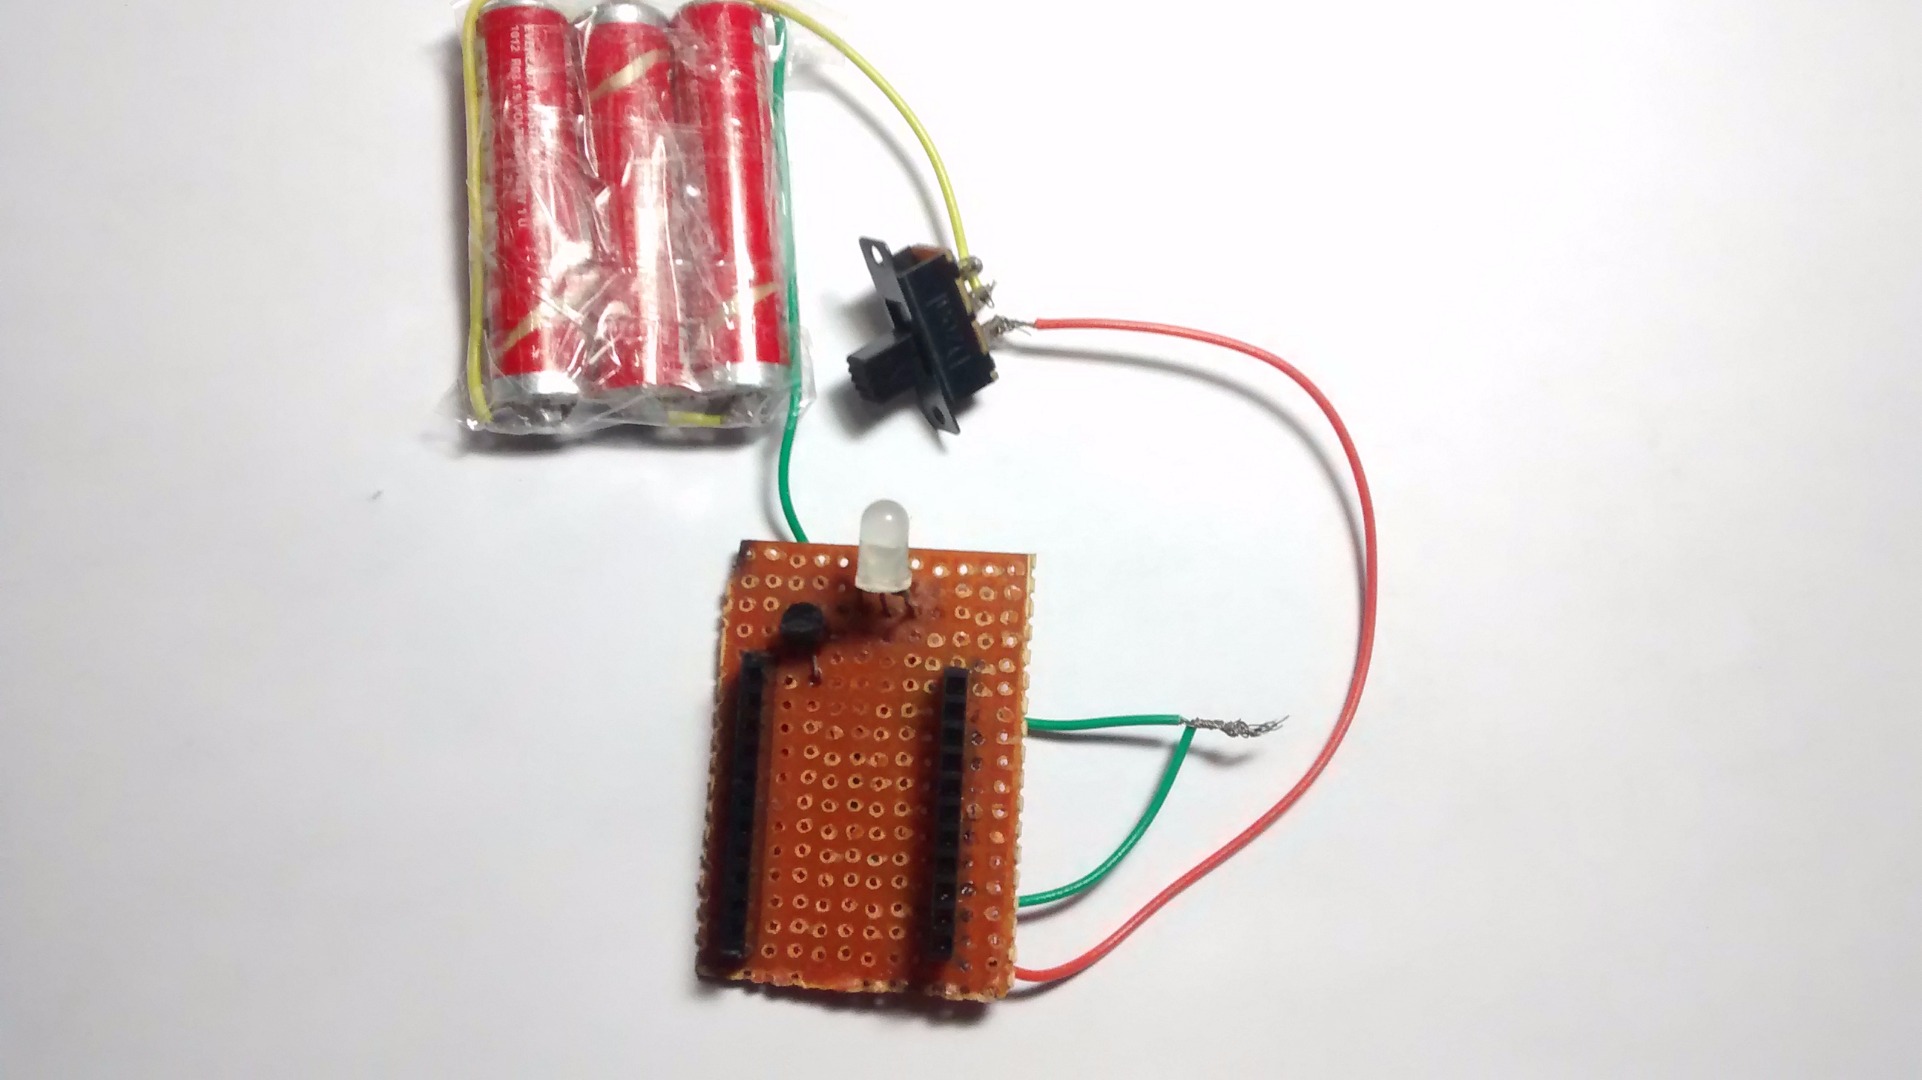
Build a battery pack by connecting 3 AAA batteries in series as shown in the schematics. The Output voltage should be nearly around (1.5 x 3) 4.5 volts. If the batteries are new, The voltage might be higher ~ 4.8V. However the voltage is ideal to be connected to our RBL WiFi Micro Shield we've built in previous step.
Making Connections-
Connect the Vcc lead from the shield to + end through a switch and Gnd to the - end. Don't worry about the 3.3v I/P voltage of CC3200. The board have a linear voltage regulator which steps down our 4.5v supply to 3.3v to be used by the CC3200 module.
Setting Up Temboo & Google Developer Console
.png)
.png)
We would be using Temboo to do all the heavy lifting for us. For those who don't know about Temboo- It is a IoT web service which takes care of all the API's in the backend & allow the developers to generate easy to use (If this than that) code.
Signup for Temboo here Its easy:)
Setting up Google Dev Console:-
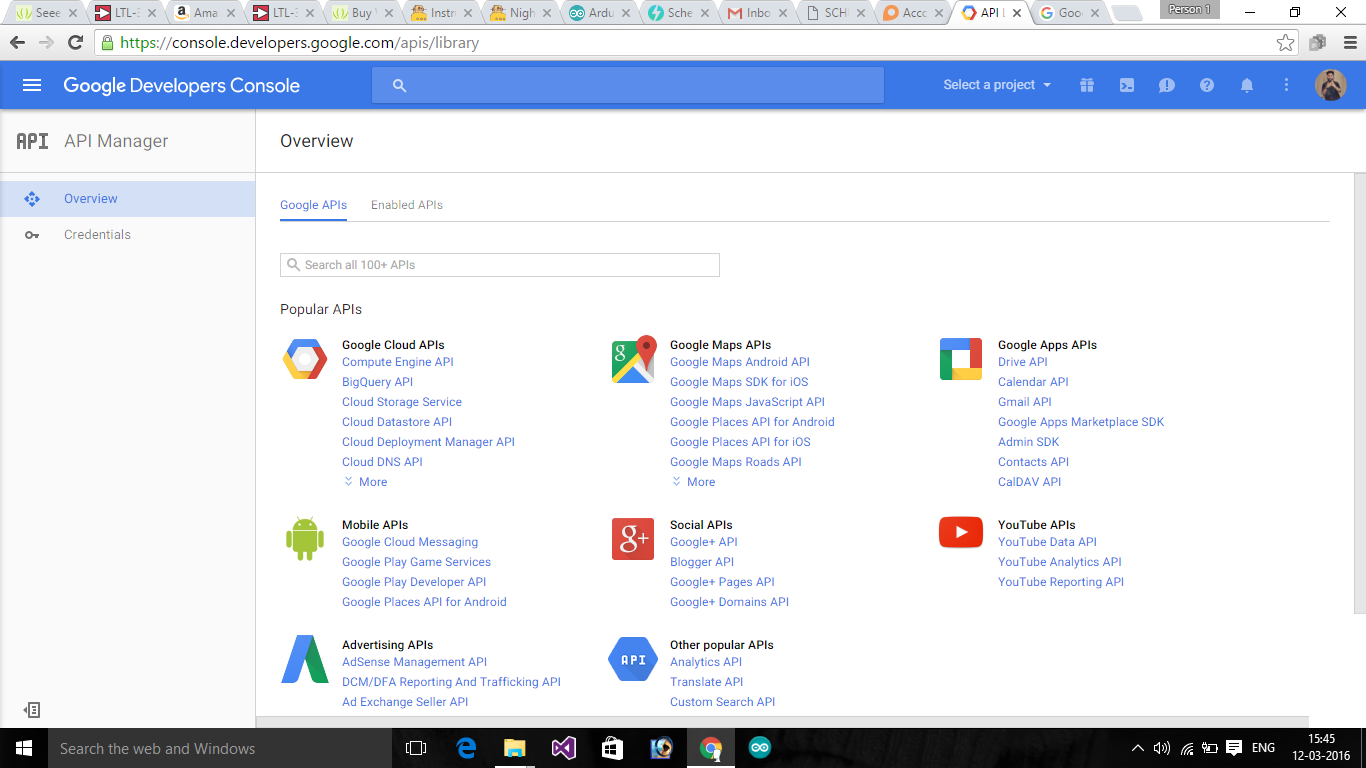
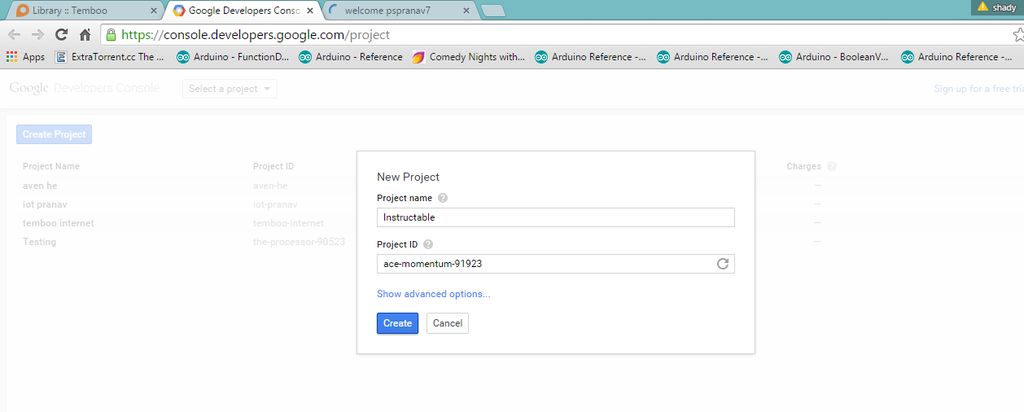
To work with Gmail, we also need to signup at Google developer console, Signup & setup a project:-
- Name your project (anything you like:)
- Click on API & Auth. and enable Gmail API.
- Click on credentials and Create a new Client ID, Select WEB APPLICATIONS as the " Application Type " and hit Configure Consent Screen.
- Fill up all the required information and Save it.
- Now you will get some important credentials i.e ClientID & ClientSecret.
- Click edit settings and Edit Authorized redirect URIs and copy this
(https://{Your Temboo Account Name}.temboolive.com/callback/google
Enter your Temboo Acc name you've selected during signup.
Click Update
- Go to Temboo Homepage and click on Library
- Expand Google choreo.
- Click on "OAuth" and then "InitialAuth"
Now we will Initialize our App and Here we will Also mention The services we will be using in the Scope block.
Select board as Texas instruments Launchpad and select TI CC3200 Launchpad (WiFi) as "How is it connected"
HERE we have two Blocks to Fill info in
1) Client ID – Goto to the Google Developer Page where we had just Created an APP and Copy the Client ID provided there
2) SCOPE – On the InitialAuth page Scroll Down there you will find VariousScopes , these Scopes are Basically the Services provided , you can choose the Service you want, just Copy that above in the Scope Block, use Spaces in between for more than one Scope we will be using the Gmail Inbox Feed scope used to read an Email on your Gmail Account.
Save your Profile by clicking SAVE PROFILE this will save your time by Auto-Filling the Info next time you use it. Copy and paste the scope Above and Hit " RUN "
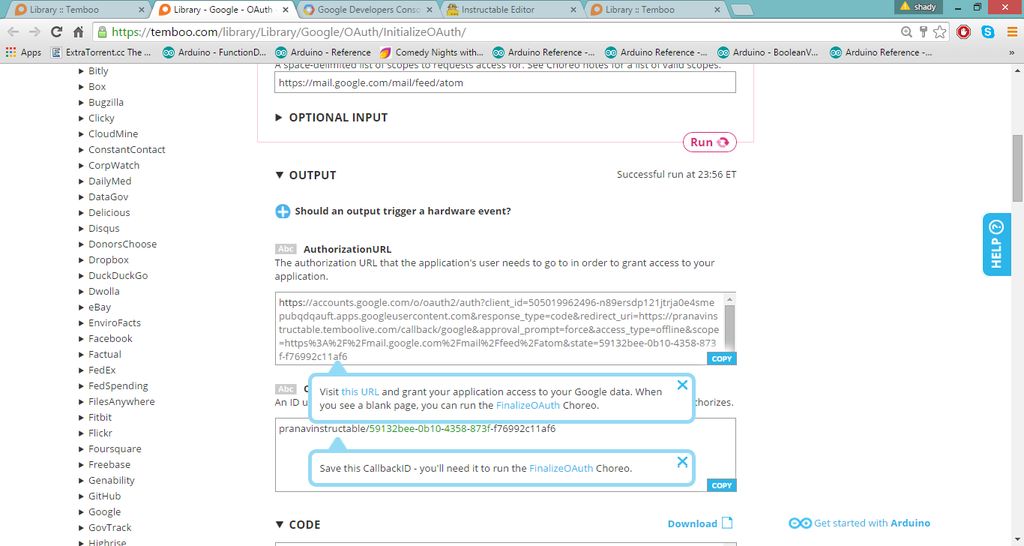
This will generate two things
1) AuthorizationURL
2) CallBackID
Granting Access To temboo of your Google Application and Generating an Access Token
- Follow the Instructions Generated in the Output, and Open that Link in a new TAB
- Now Google will Ask for your permission, Click on ACCEPT.
Now if a Blank Page Shows Up, than it means Everything is Fine till Now and Temboo Have the rights to Read your Emails through your Created APP.
Output from the InitialAuth as Shown in the Image , will be used in FinalAuth Page
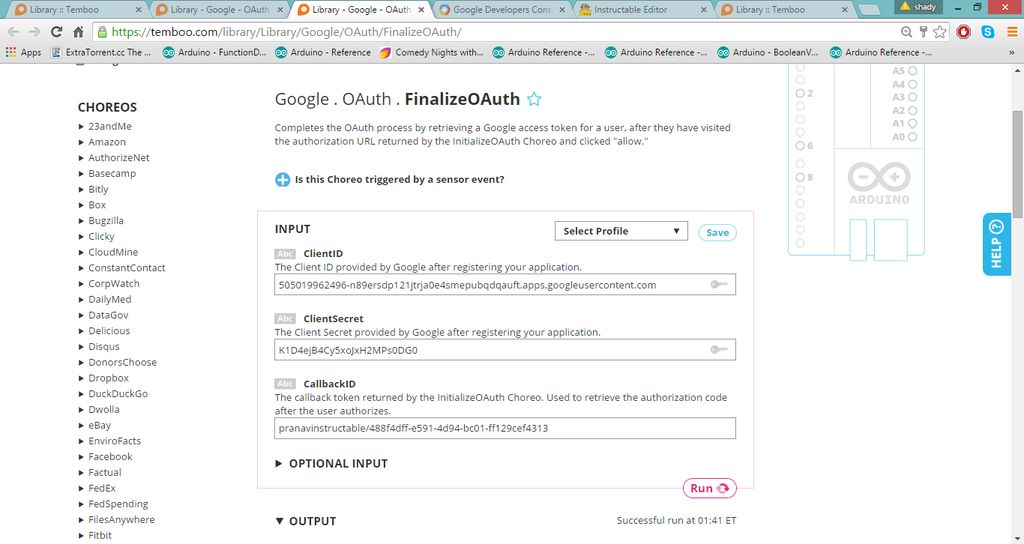
Goto FinalizeAuth page by clicking on the Link in the Output, there you will find 3 blocks to fill
- Client ID ---- Provided on The Google’s App Developer page
- Client Secret ---- Also on the Google’s App Developer page
CallBackID ---- Copy it from the InitialAuth page
Now Click on "Run". It will Generate an Access Token which we'll be using in our code.
Uploading the Code
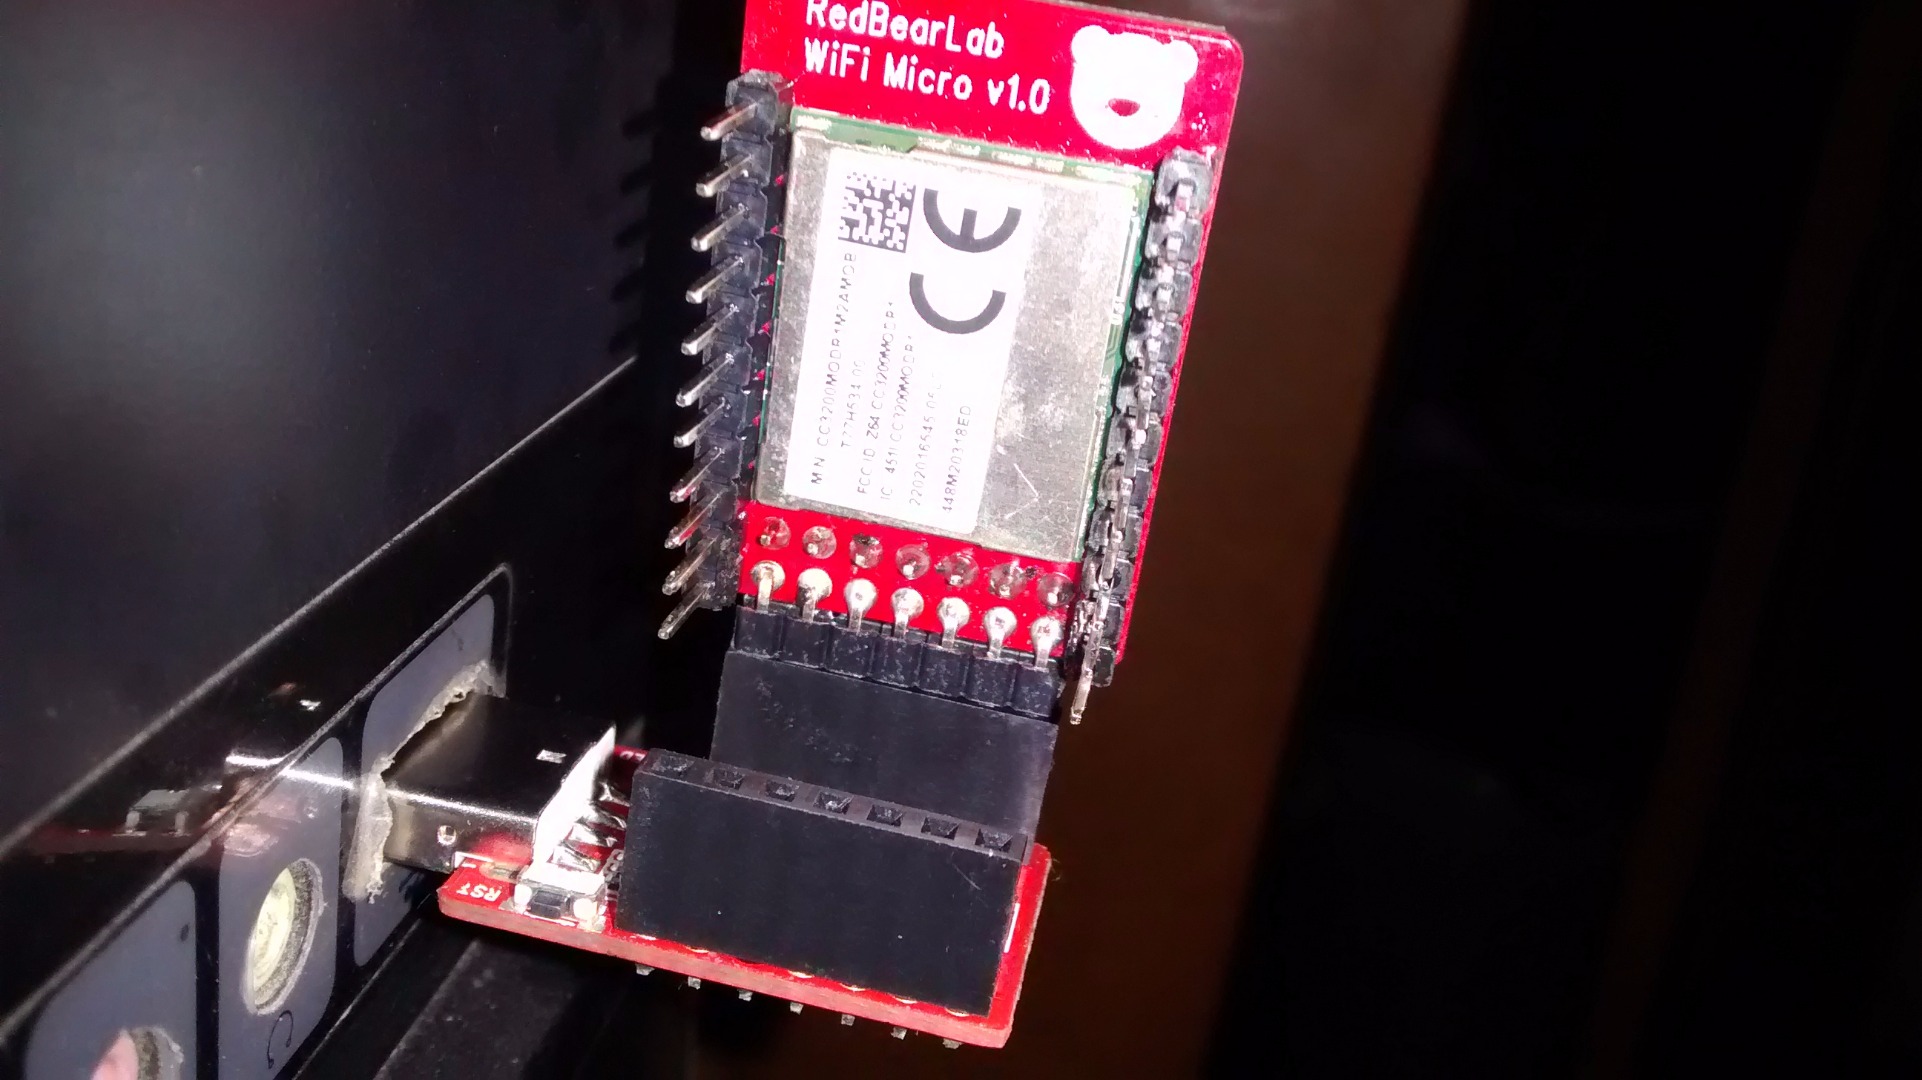
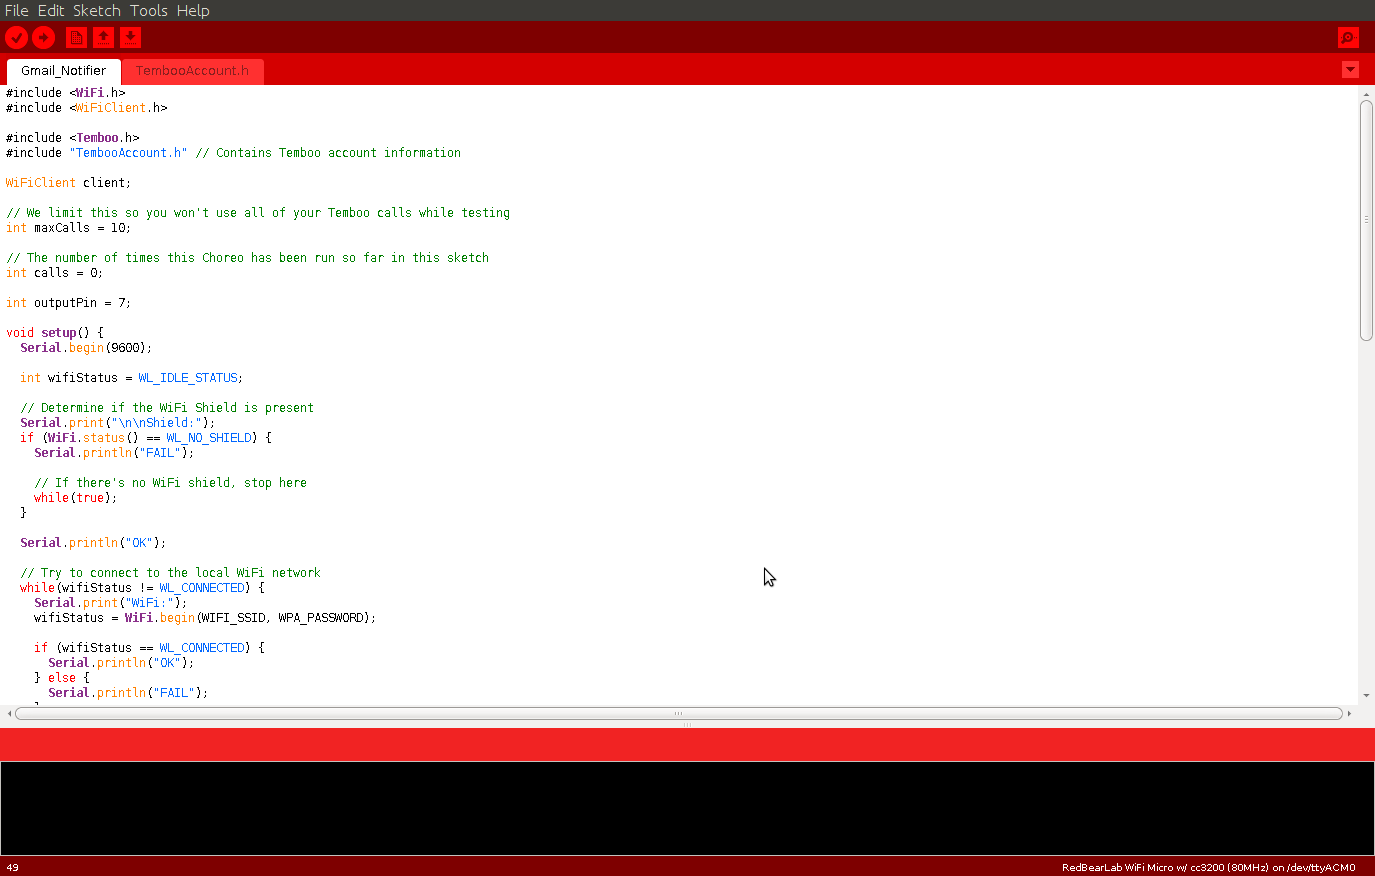
Now, It's the time to upload code to our WiFi Micro board. Download the attached code sketches.
- Gmail_buddy.ino
#include <WiFi.h>
#include <WiFiClient.h>
#include <Temboo.h>
#include "TembooAccount.h" // Contains Temboo account information
WiFiClient client;
// We limit this so you won't use all of your Temboo calls while testing int maxCalls = 50;
// The number of times this Choreo has been run so far in this sketch int calls = 0;
int outputPin = 7;
void setup() { Serial.begin(9600); int wifiStatus = WL_IDLE_STATUS;
// Determine if the WiFi Shield is present Serial.print("\n\nShield:"); if (WiFi.status() == WL_NO_SHIELD) { Serial.println("FAIL");
// If there's no WiFi shield, stop here while(true); }
Serial.println("OK");
// Try to connect to the local WiFi network while(wifiStatus != WL_CONNECTED) { Serial.print("WiFi:"); wifiStatus = WiFi.begin(WIFI_SSID, WPA_PASSWORD);
if (wifiStatus == WL_CONNECTED) { Serial.println("OK"); } else { Serial.println("FAIL"); } delay(5000); }
// Initialize pins pinMode(outputPin, OUTPUT);
Serial.println("Setup complete.\n"); }
void loop() { if (calls < maxCalls) { Serial.println("Calling GetUnreadMail Choreo..."); runGetUnreadMail(); calls++; } else { Serial.println("Skipping to save Temboo calls. Adjust maxCalls as required."); } delay(60000); }
void runGetUnreadMail() { TembooChoreo GetUnreadMailChoreo(client);
// Set Temboo account credentials GetUnreadMailChoreo.setAccountName(TEMBOO_ACCOUNT); GetUnreadMailChoreo.setAppKeyName(TEMBOO_APP_KEY_NAME); GetUnreadMailChoreo.setAppKey(TEMBOO_APP_KEY);
// Set profile to use for execution GetUnreadMailChoreo.setProfile("GmailProfile"); // Identify the Choreo to run GetUnreadMailChoreo.setChoreo("/Library/Google/Gmail/GetUnreadMail");
// Run the Choreo unsigned int returnCode = GetUnreadMailChoreo.run();
// A return code of zero means everything worked if (returnCode == 0) { while (GetUnreadMailChoreo.available()) { String name = GetUnreadMailChoreo.readStringUntil('\x1F'); name.trim();
String data = GetUnreadMailChoreo.readStringUntil('\x1E'); data.trim();
if (name == "FullCount") { if (data.toInt() >= 1) { digitalWrite(outputPin, HIGH); } else{ digitalWrite(outputPin, LOW); } } } }
GetUnreadMailChoreo.close(); }
2. TembooAccount.h
/*
IMPORTANT NOTE about TembooAccount.hTembooAccount.h contains your Temboo account information and must be included alongside your sketch. To do so, make a new tab in Energia, call it TembooAccount.h, and copy this content into it. */
#define TEMBOO_ACCOUNT "YourAcountNameHere" // Your Temboo account name #define TEMBOO_APP_KEY_NAME "YourAppNameHere" // Your Temboo app name #define TEMBOO_APP_KEY "YourAppKeyHere" // Your Temboo app key
#define WIFI_SSID "YourWiFiName" #define WPA_PASSWORD "YourWiFiPassword"
/* The same TembooAccount.h file settings can be used for all Temboo sketches.
Keeping your account information in a separate file means you can share the main .ino file without worrying that you forgot to delete your credentials. */
Change the credentials in the TembooAccount.h like your Temboo Account Name, Temboo App Name and the App Key we've generated in previous step.
Upload the code to your RBL WiFi Micro by plugging it into the MK20 USB dongle bundled with the kit.
Finalize
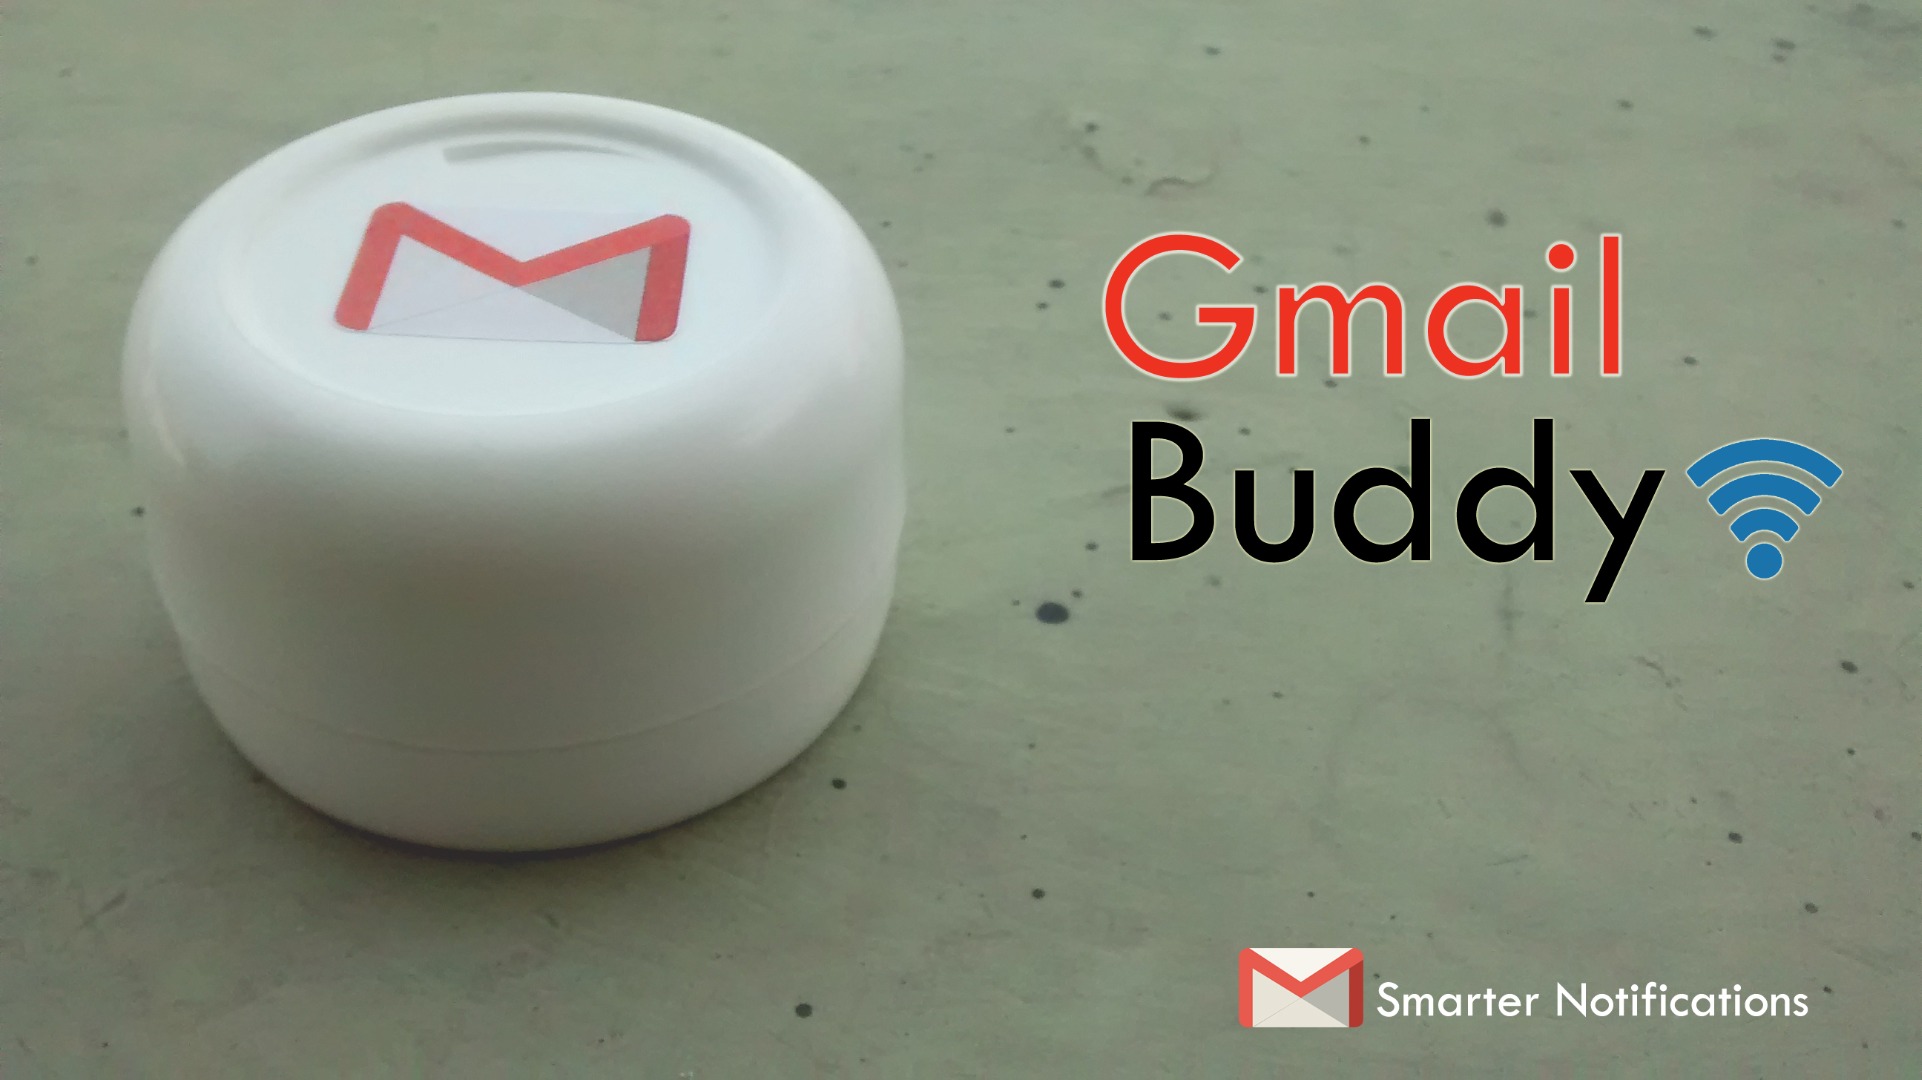
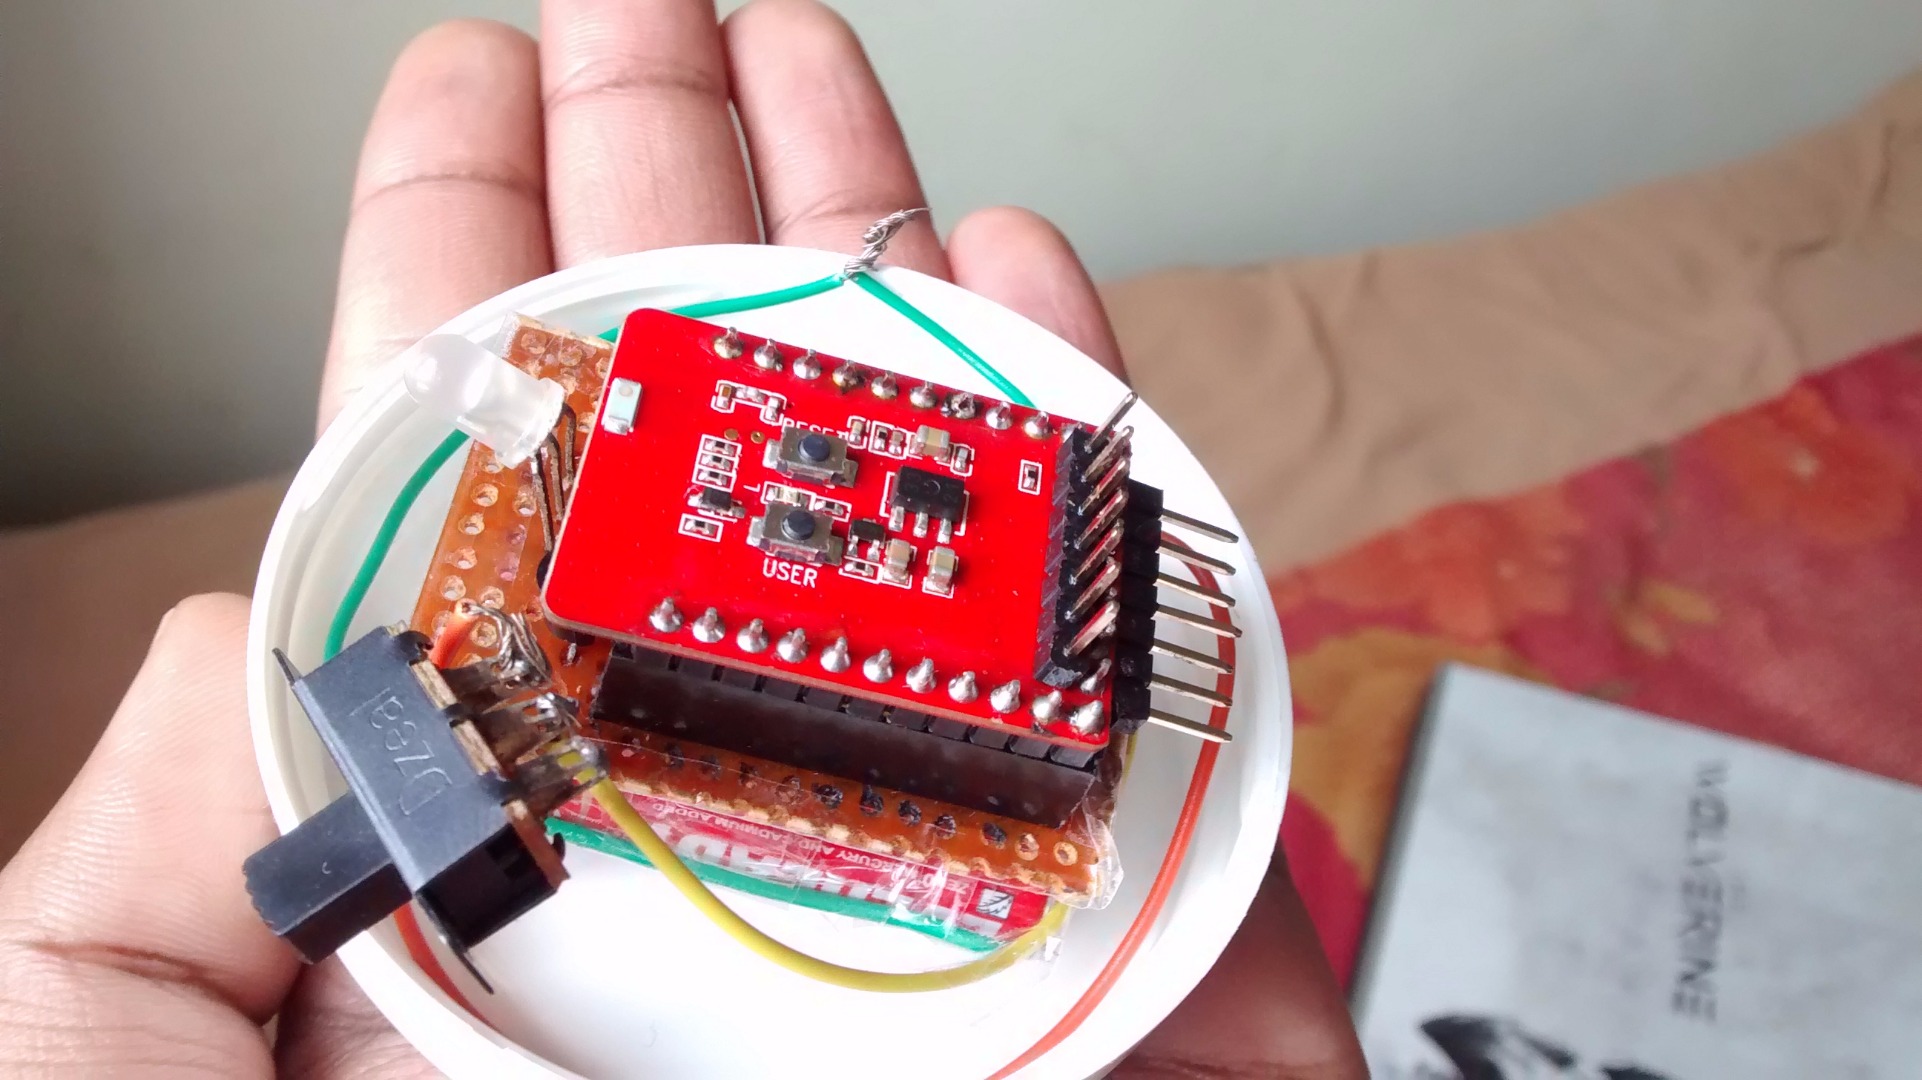
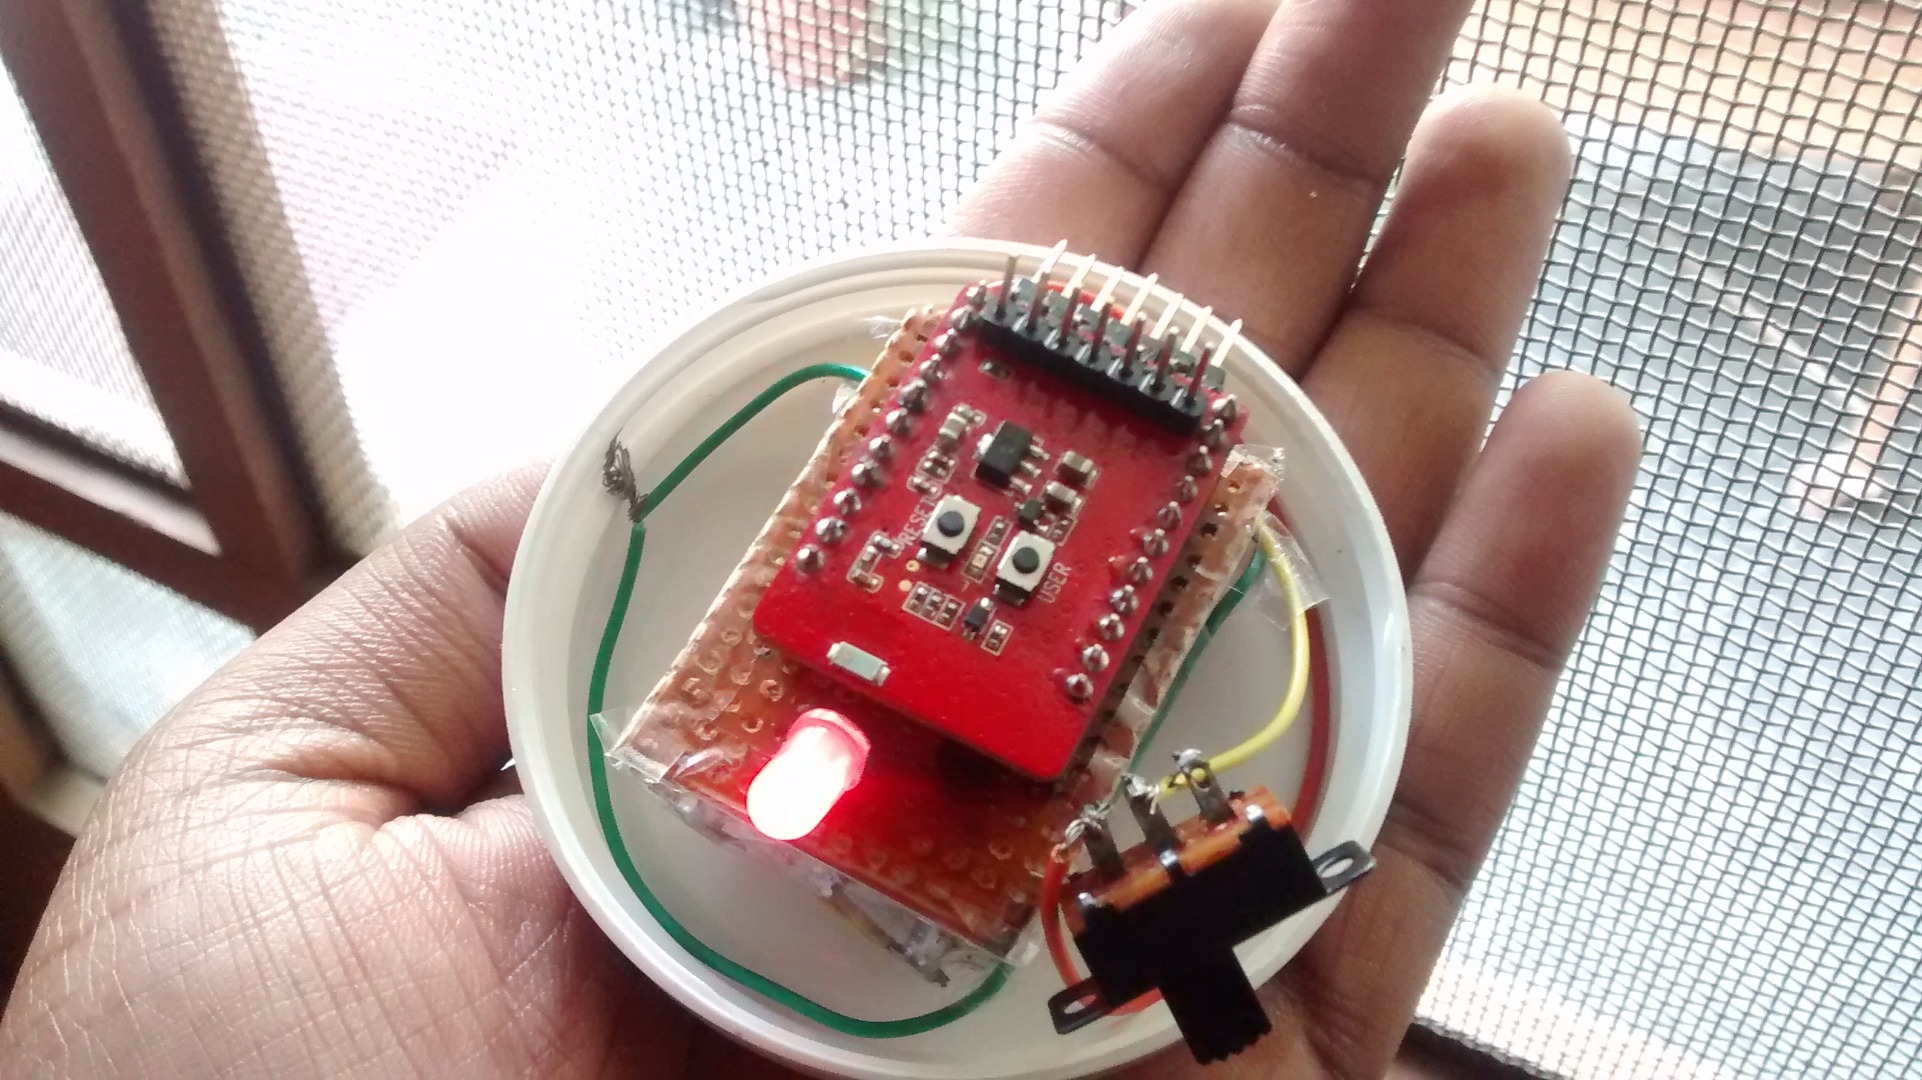
Now we've built our shield, Set up Temboo, Google Dev Console, Uploaded the code. It's time to finalize our Gmail Buddy.
- Plugin the RBL WiFi board into the shield we've built.
- Stack the shield on the battery pack using double sided tape
- Place the whole circuit into a sweet plastic box.
- Switch ON the power supply and close the box.
Your First IoT Device is ready to roll!
It will notify you every time a mail hits your inbox. Feel free to ask for any help. Give suggestions. It's my very first instructable. I've tried to be as brief as possible. If you like it please vote this instructable.