Glowing Christmas Tree Hack
by Bare Conductive in Circuits > Sensors
2993 Views, 33 Favorites, 0 Comments
Glowing Christmas Tree Hack
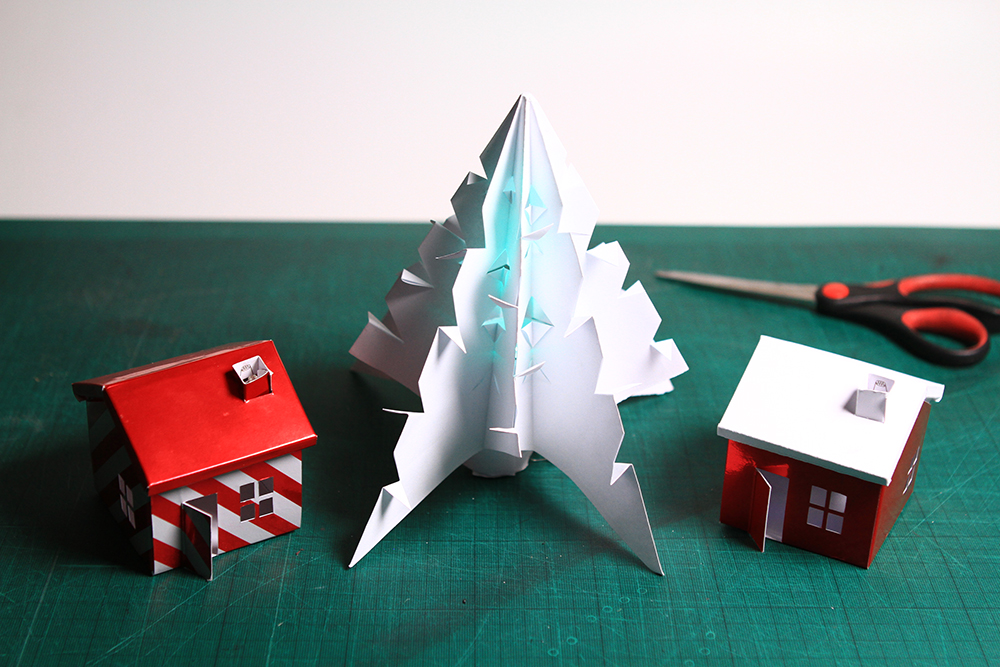
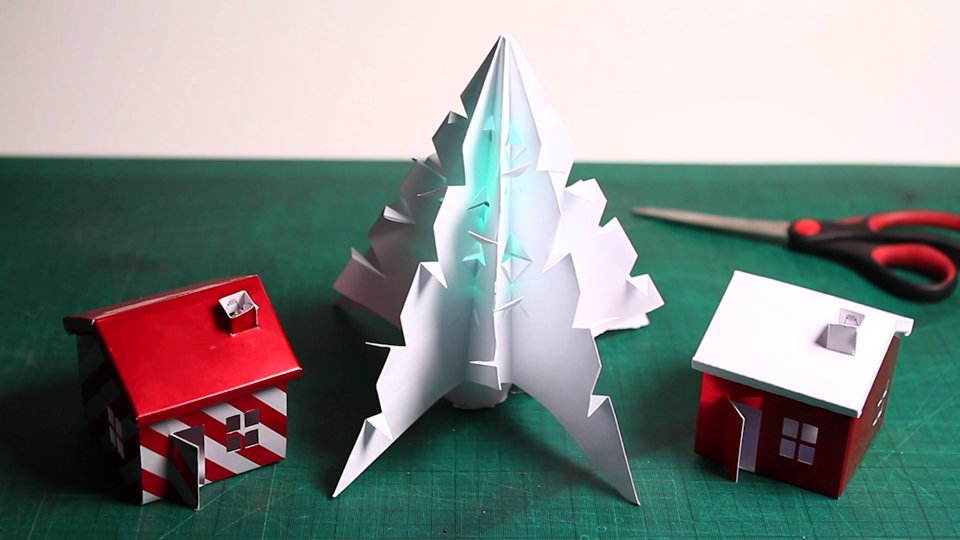
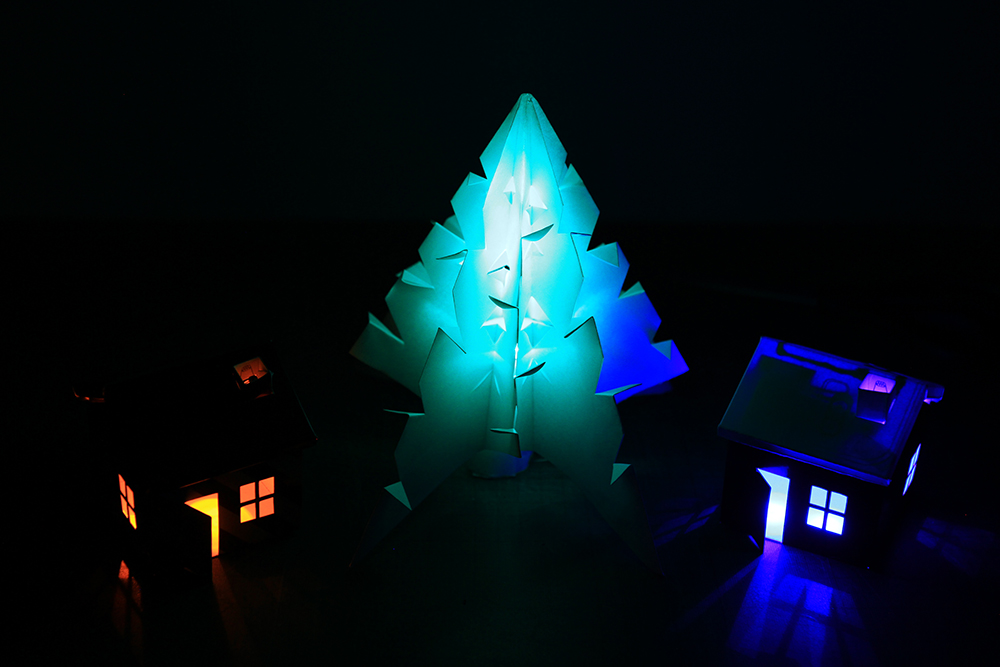
In this quick tutorial we show you how you can make a glowing paper Christmas tree using Electric Paint and some easy origami folds.
To Begin You Will Need:
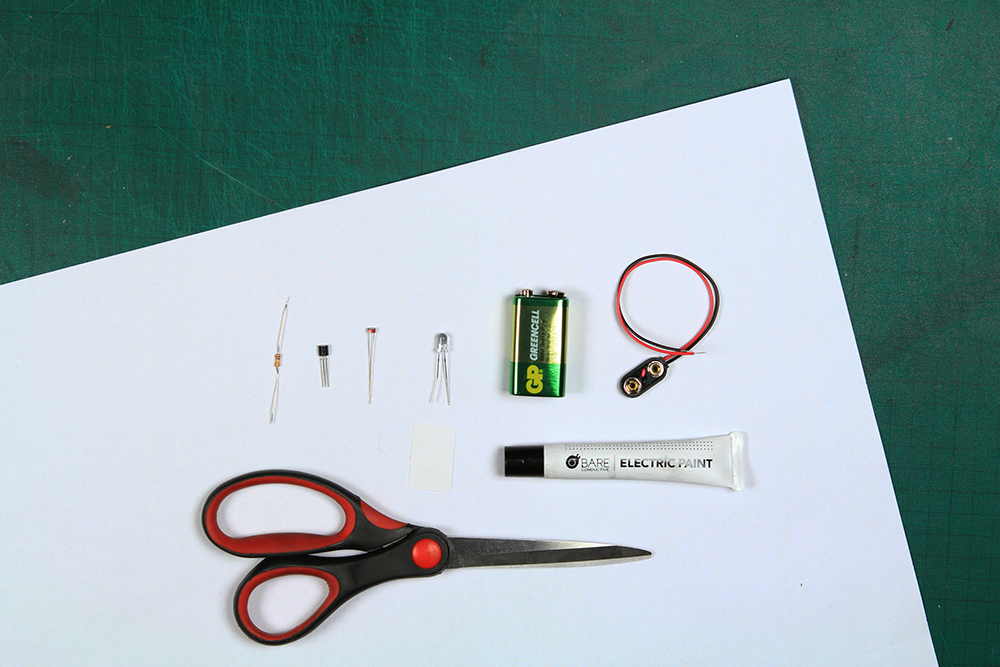
1 x Electric Paint Pen
1 x LED
1 x 100K Resistors
1 x LDR 202403
1 x Transistor BC548
1 x 9V Battery Clip
1 x 9V Battery
3 x Stickers
1 x scissors
1 x A3 paper
Cut Your A3
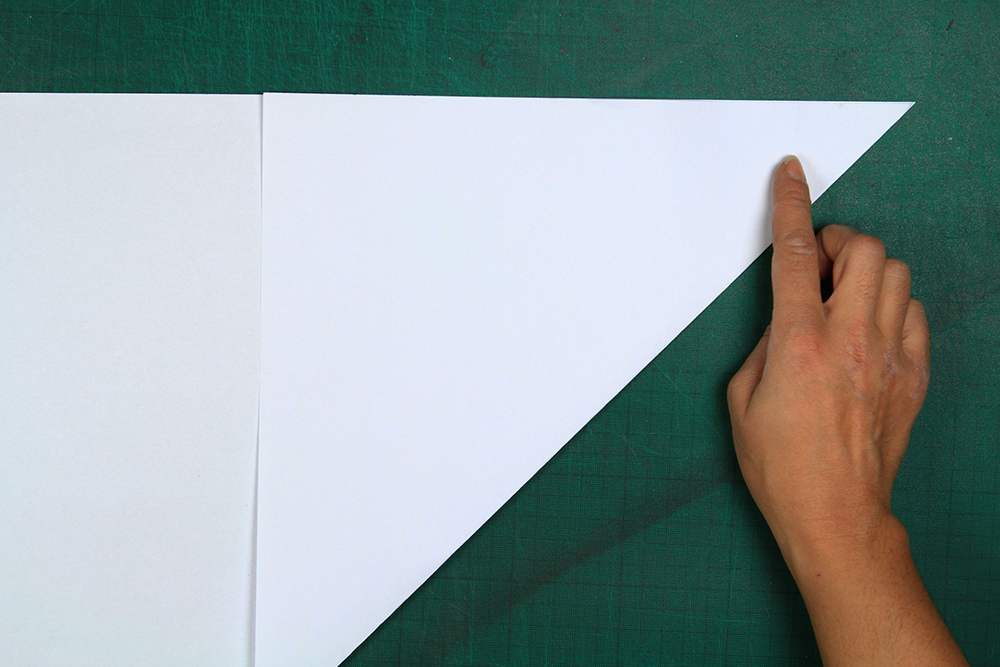
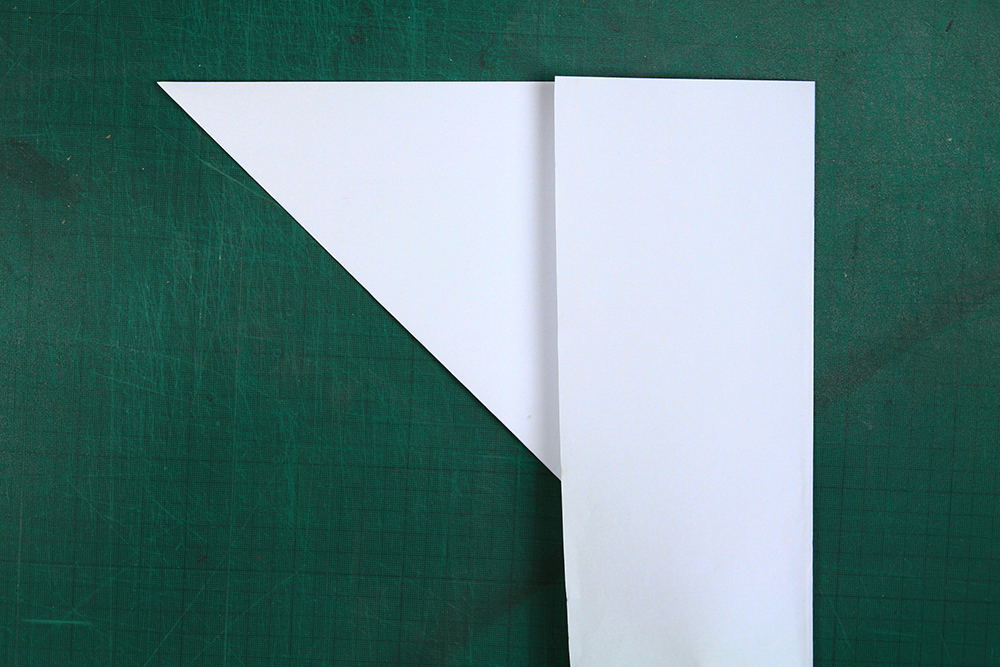

Before we begin, you'll need to cut your sheet of A3 into two parts. We need a square piece to make our tree so you can fold one corner of the paper diagonally and cut off the excess so that you are left with two pieces as shown below.
Once you've cut it you should have a square and rectangular piece. We'll be using both pieces so don't throw them away!
Cut in Half



Take your rectangular sheet and cut it in half. You will only need to use one of the two so you can toss the other one.
Insert LDR

Measure 3cm from the edge of the rectangle, and then make two small holes near the top of the sheet.
Insert your LDR so that the two legs go through the holes and the head of the LDR peeks out above the paper.
Flip and Attach
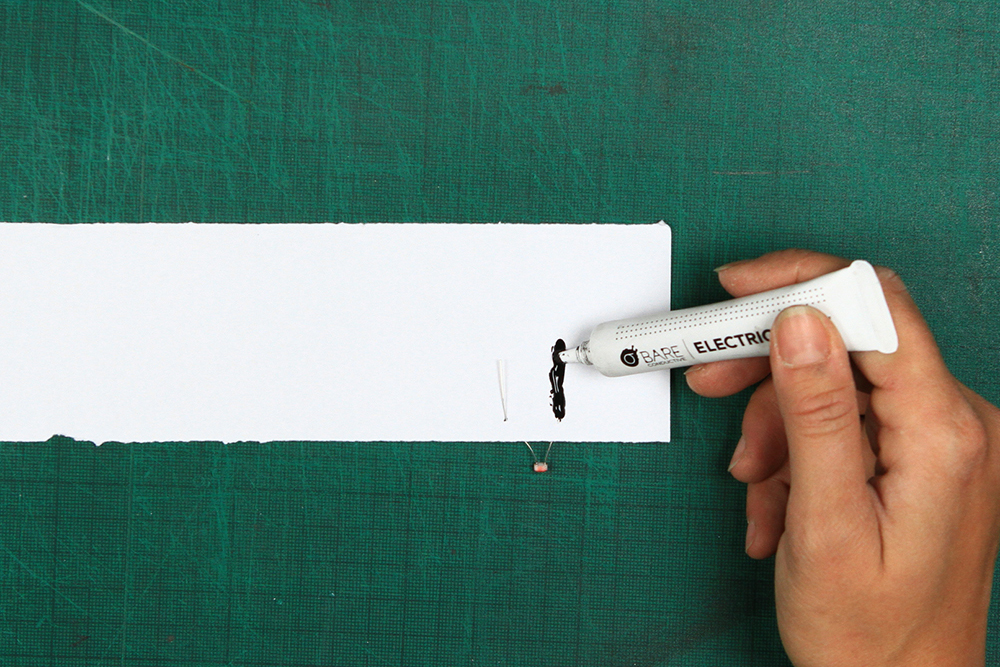
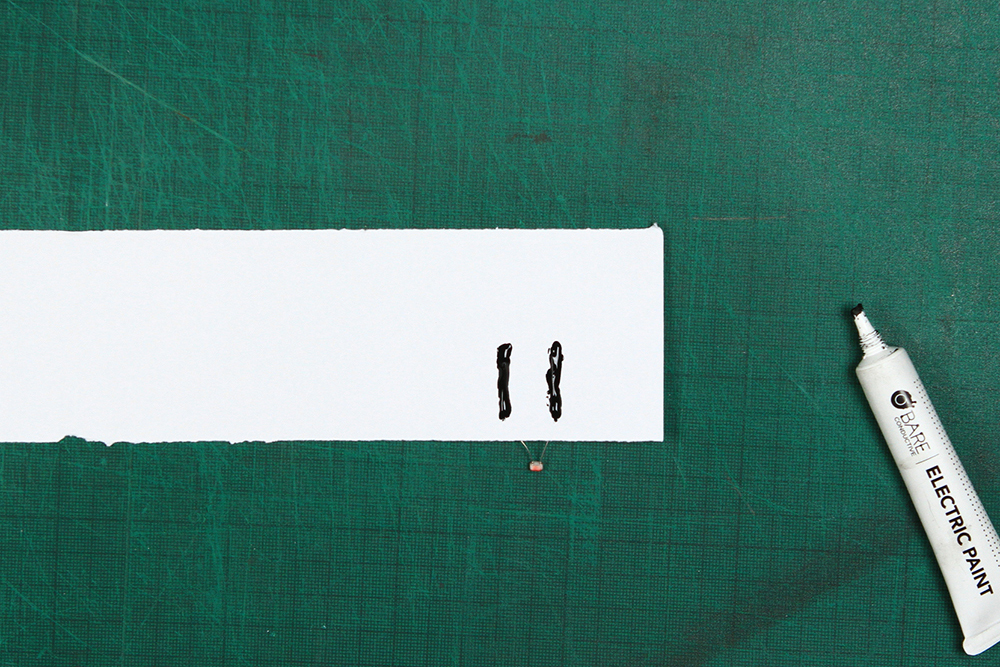
Once your LDR is secure, flip your sheet over and using your Electric Paint pen, paint over the two legs of the LDR to secure.
Resistor, Transistor & LED
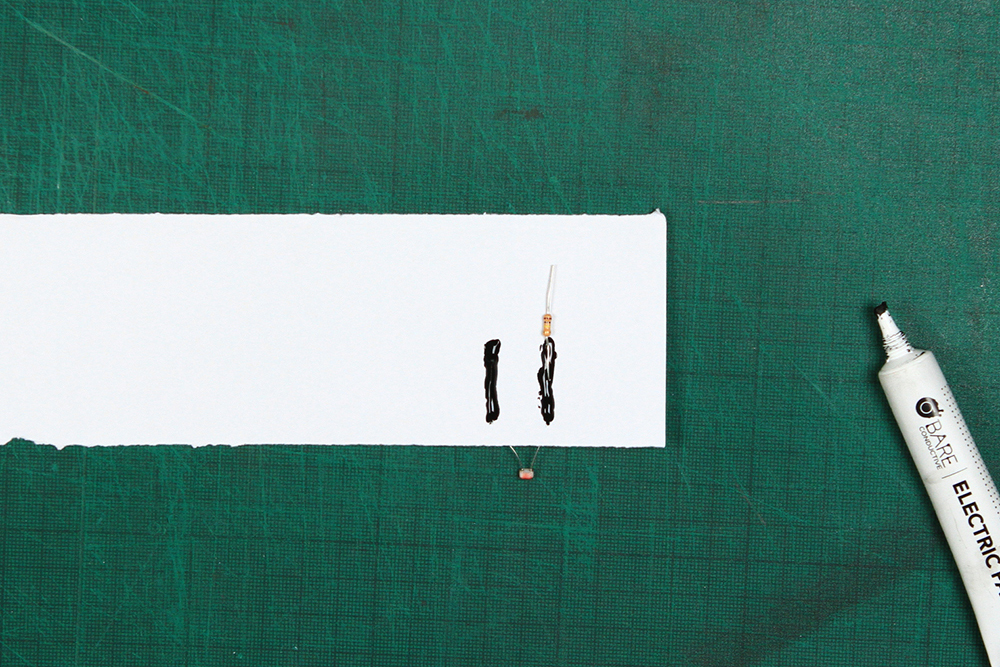
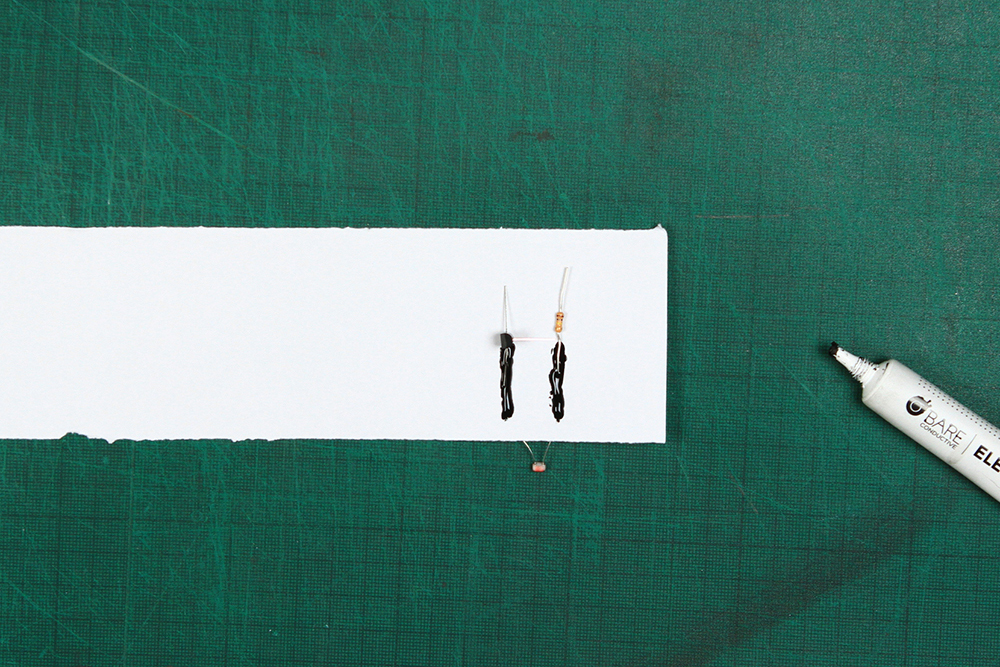
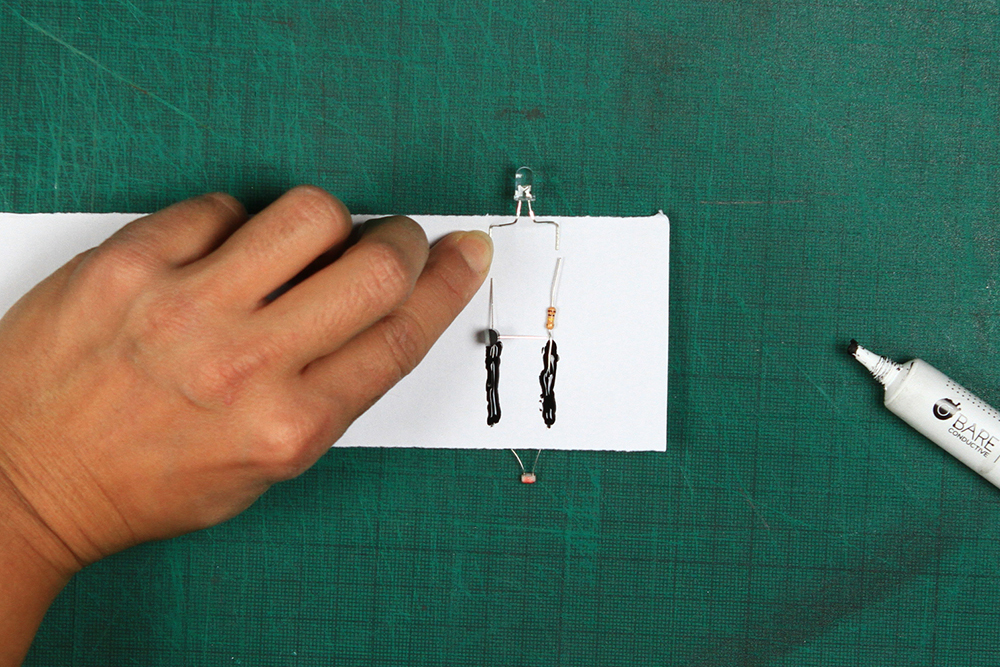
Next, place the resistor, transistor, and LED as shown in the images on the right.
We are replicating the circuit of the Glowing House Set but making it smaller so that it has a smaller footprint.
Draw Your Circuit

Using your Electric Paint Pen, connect the components as shown below. Make sure to follow the image exactly so that your circuit works.
Battery Clip
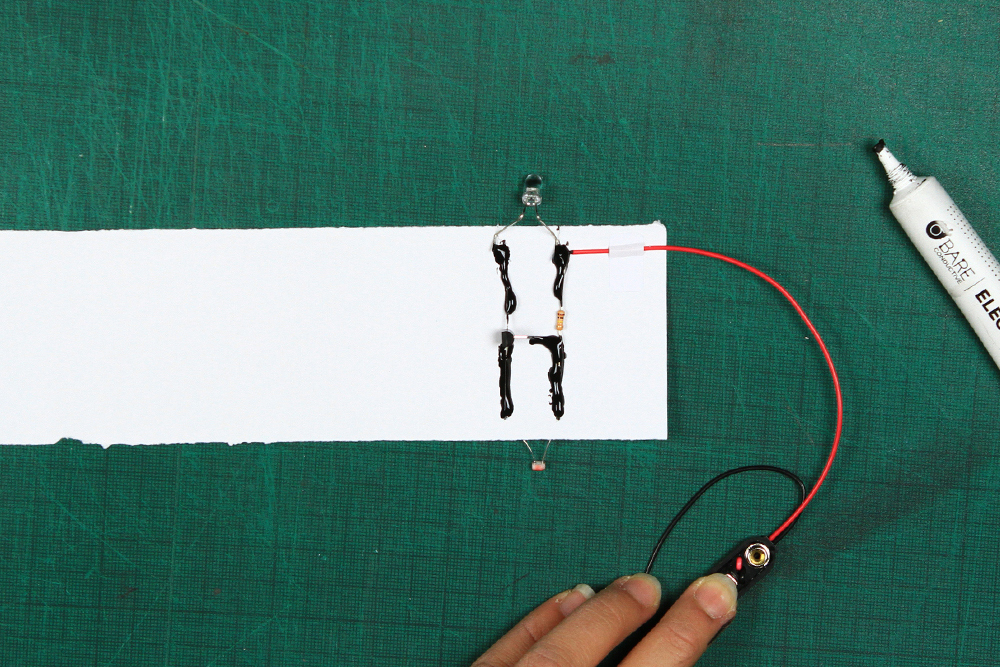
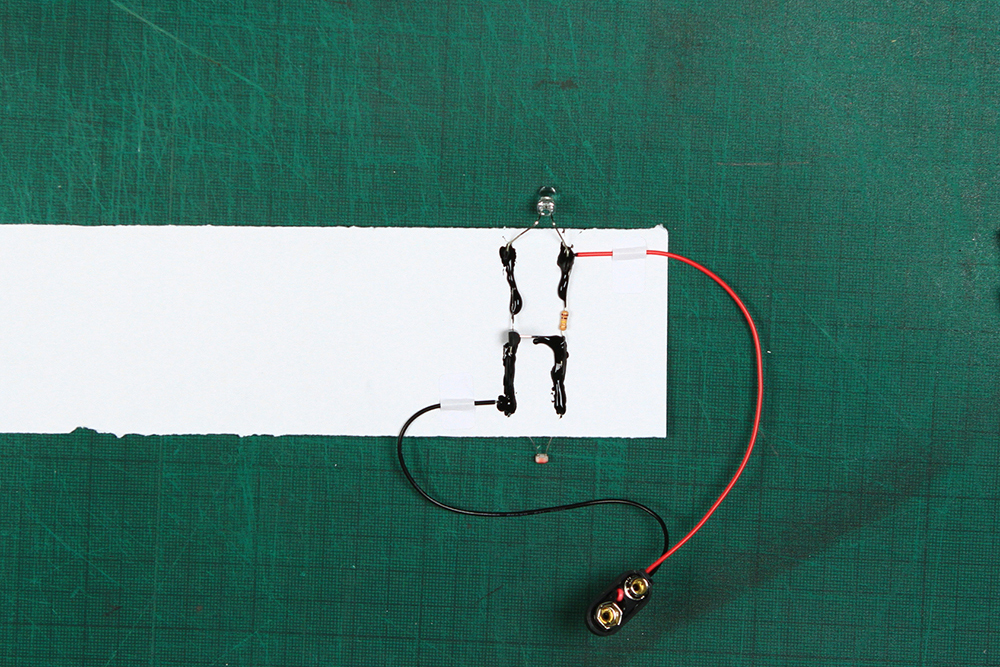
Next, you'll need to add the battery clip to your circuit.Cold solder the + (red) wire by the right leg of the LED.
Cold solder the - (black) wire by the left leg of your LDR.
You can use masking tape or small stickers to secure the wires in place.
Once your circuit is complete, put it aside to dry. This should take between 10-15 minutes.
Go on to Step 8 while you wait for this to dry.
Square Sheet
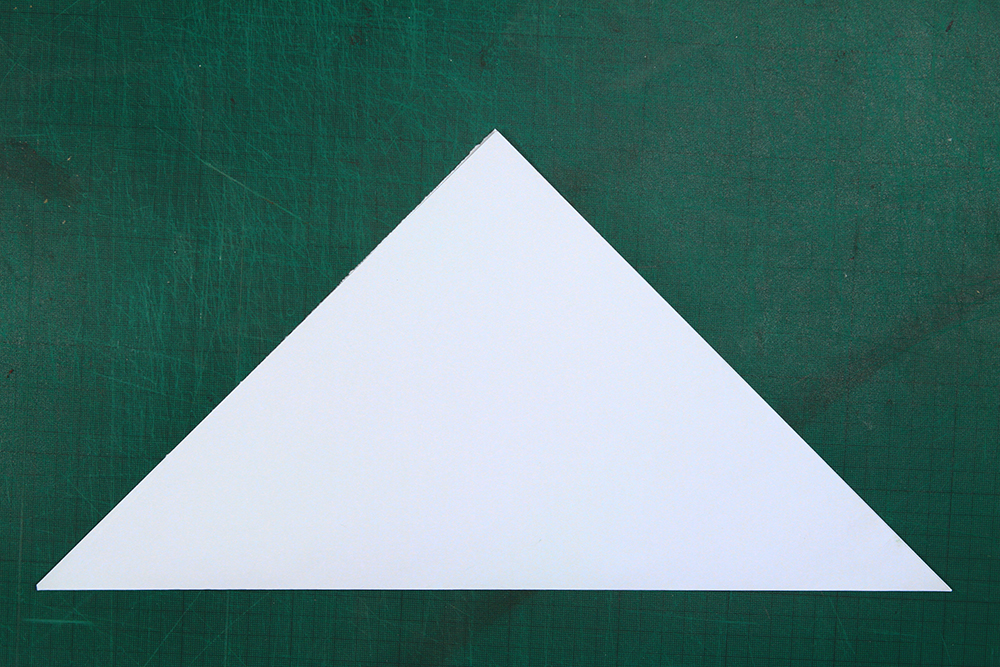


Take the square piece of paper that you put aside in Step 1.
You will need to make four folds on this sheet.
Fold your sheet into a triangle and crease the edge.
Do this again for the other corner.
Fold your sheet into a rectangle and crease the edge.
Do this again for the other edge.
When you're done your square should look like the bottom image on the right.
Flip and Fold


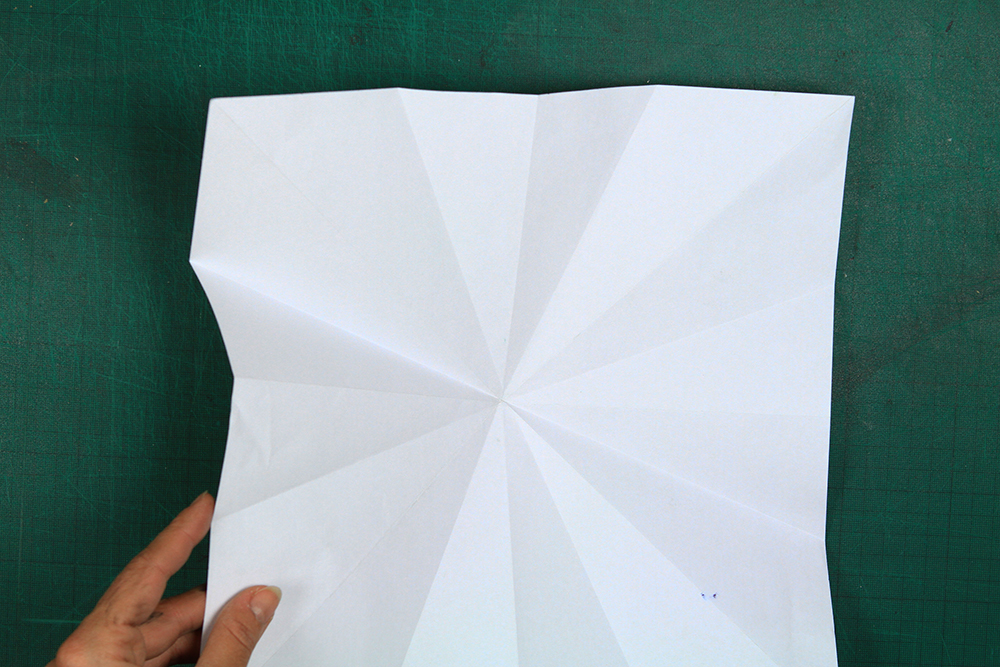
Now, reverse your square so that your folds are now in the opposite direction.
You will fold your square four times again, however this time you are folding the spaces between the scores you made previously. Look at the two images on the right to see how to align your fold.
Do this four times so that your paper then looks like the third image below.
Flip and Flold


Turn your square back around so that you can fold the four long corners of your square into a mountain fold as seen here.
Now flatten all the mountain folds so that your square becomes vertical. You should start to see the christmas tree shape emerge.
Cut Slits



Next, making sure not to cut through several layers, cut 1cm long diagonal slits into each of the mountain folds.
You can do around three per fold as seen below.
Flip and Cut


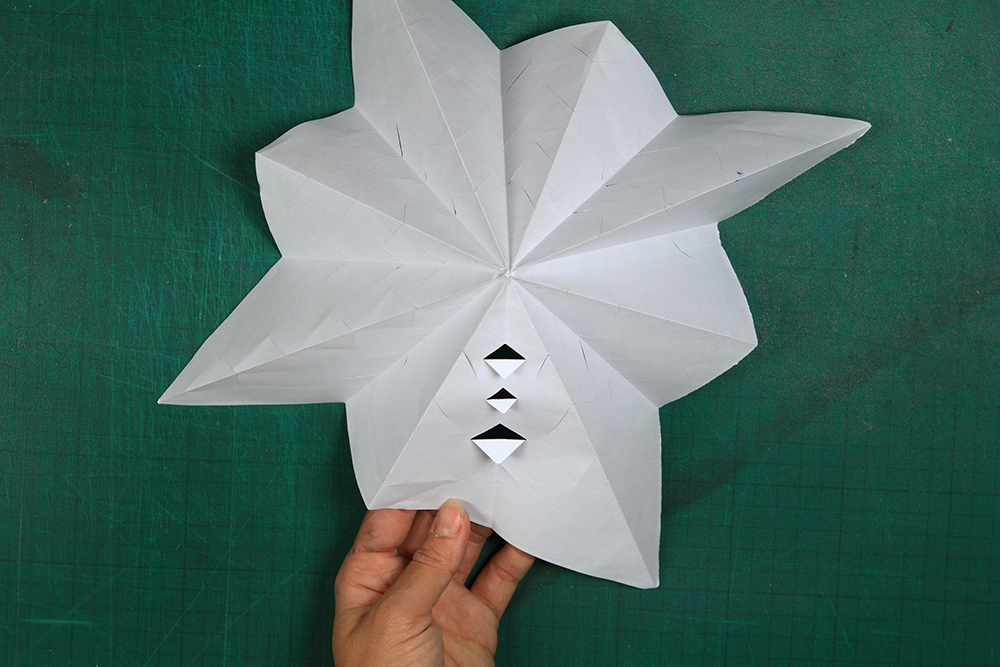
Now flip your cone around so that he inner folds become mountain folds.
Repeat the step above, cutting 1cm diagonal slits into each side of the tree.
Make sure not to cut through to the previous cuts or you will lose the material!
Once finished, fold these tips downwards so you expose a triangular space within each cut as seen in the third image on the right.
Flip and Fold



Flip your cone around again so that your mountain folds with the holes are now valley folds.
Your longer corners should be mountain folds again.
Now you can take each of the slit you cut in Step 11 and fold them sideways as seen in the second image on the right.
Alternate each side for every other slit.
Done Folding

When you're finished your tree should hold its shape and look like this when viewed from above!
Roll and Tape
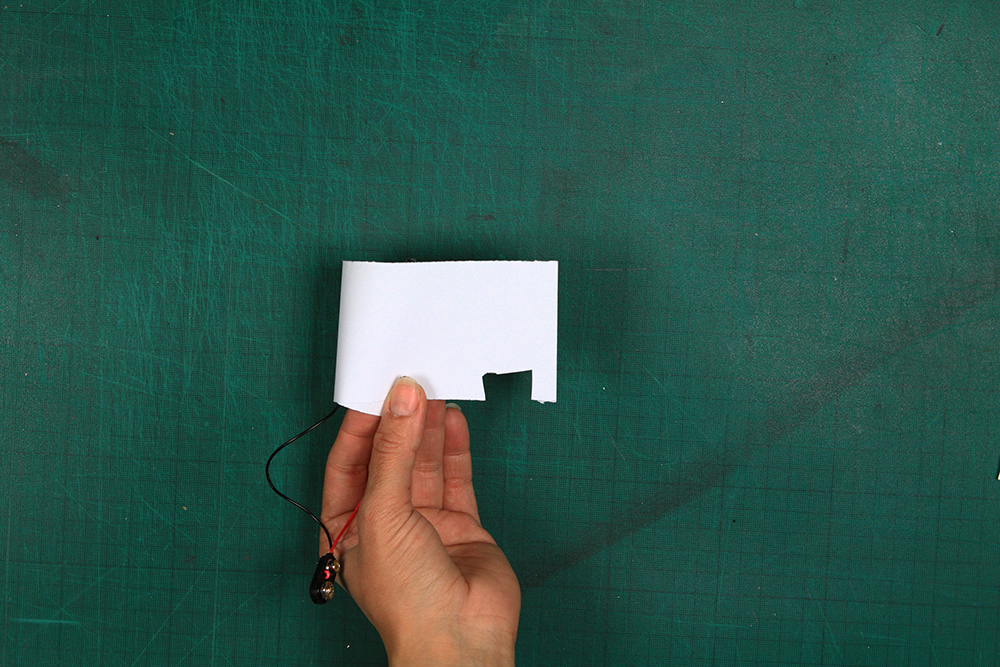
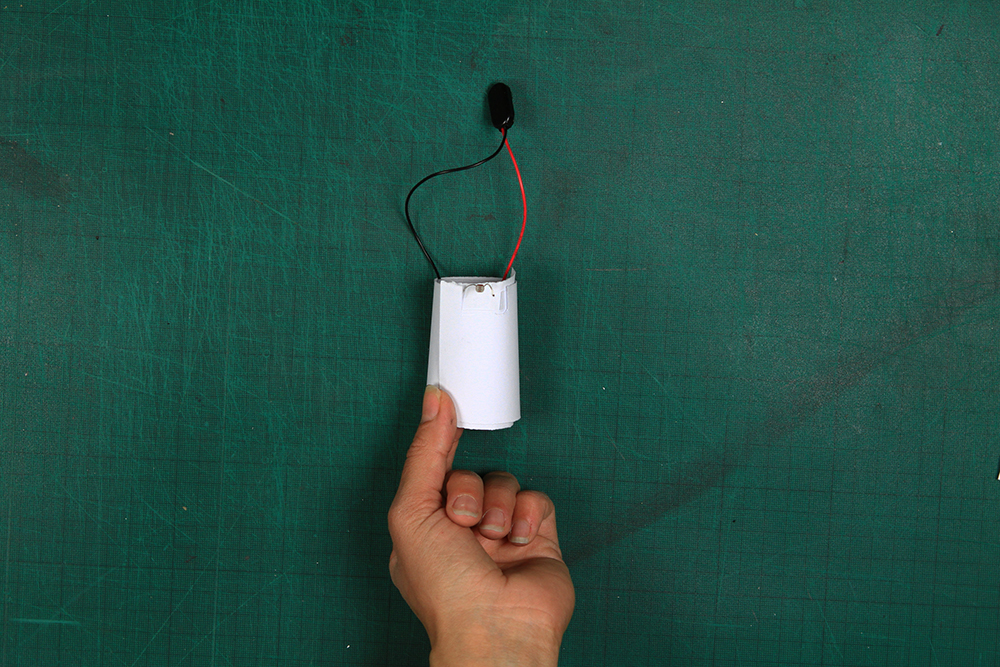
Go back to your paper circuit. Check if it has dry by gently tapping the paint. If dry it should no longer be tacky to the touch.
Roll your paper into a tube, and cut a small square where your LDR pops out from the side of the cylinder.
Use another piece of tape or sticker to hold the tube in place.
Attach Battery
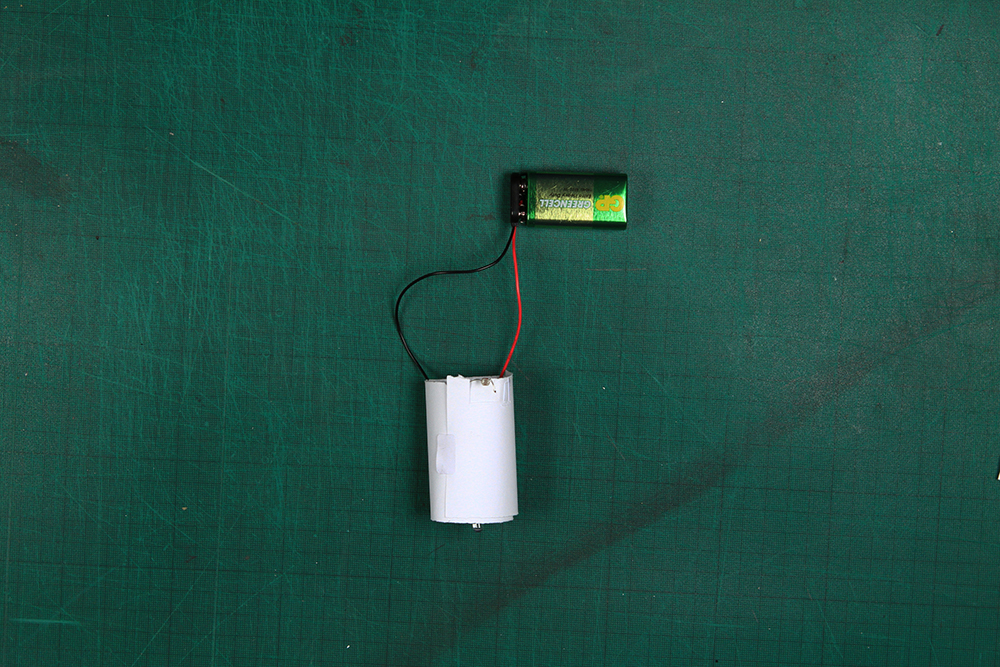
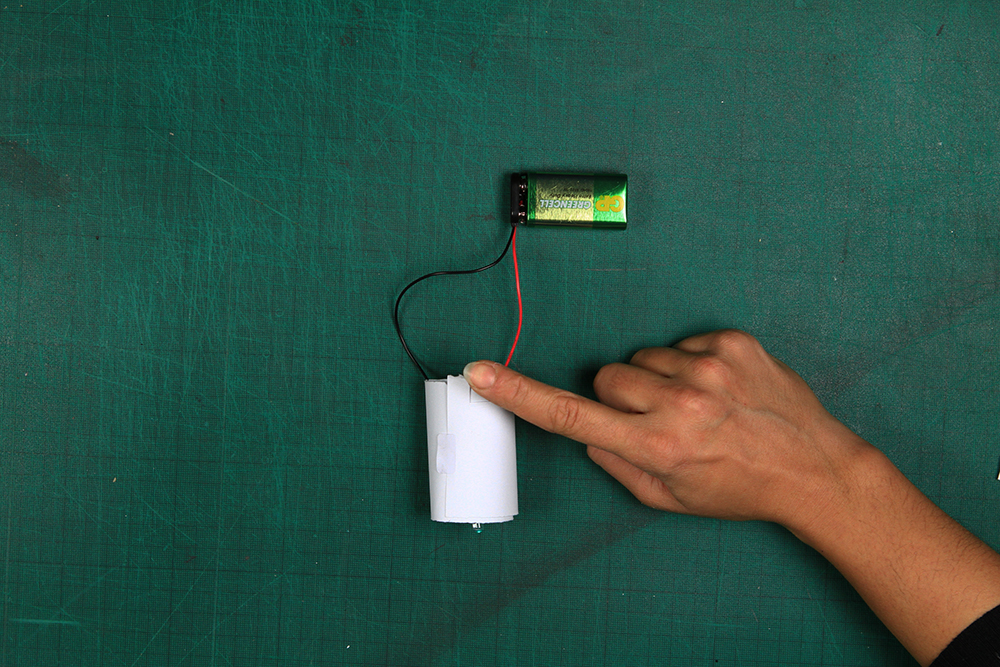
Now you can attach your 9V battery to the battery clip.
Once you've done this, check whether your circuit is working. You can do this by covering the LDR with your finger. LDR stands for Light Dependent Resistor.
This means it is a light sensor. In this circuit, when it gets dark the LED should light up.
Does it work? If not, go back and ensure your circuit is dry, and that you've attached all the components correctly as seen on Step 7.
Hide Battery
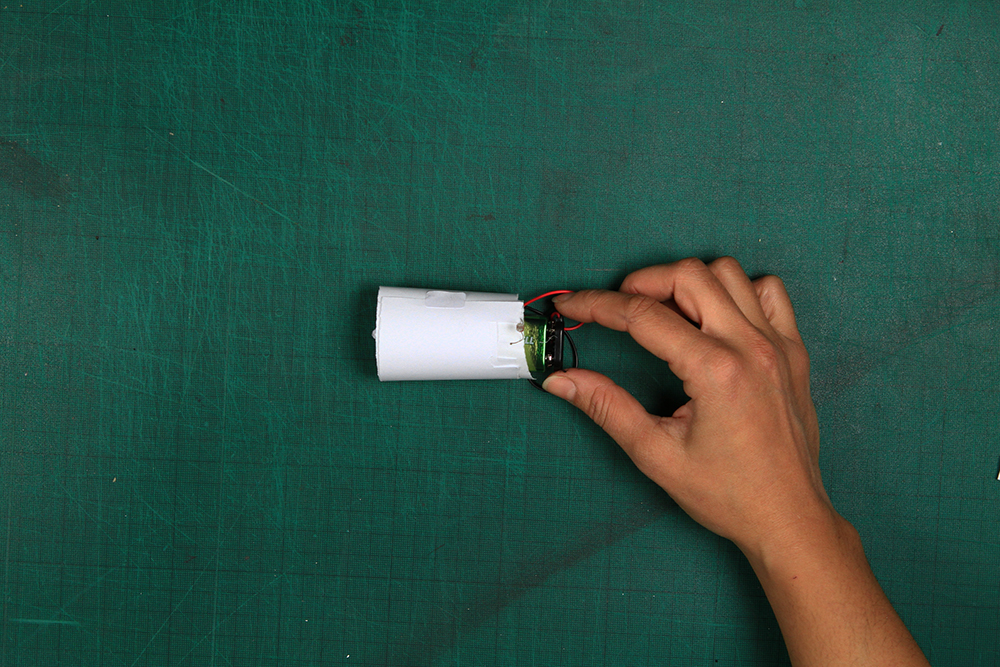
Insert your battery into the paper cylinder.
Stand and Test

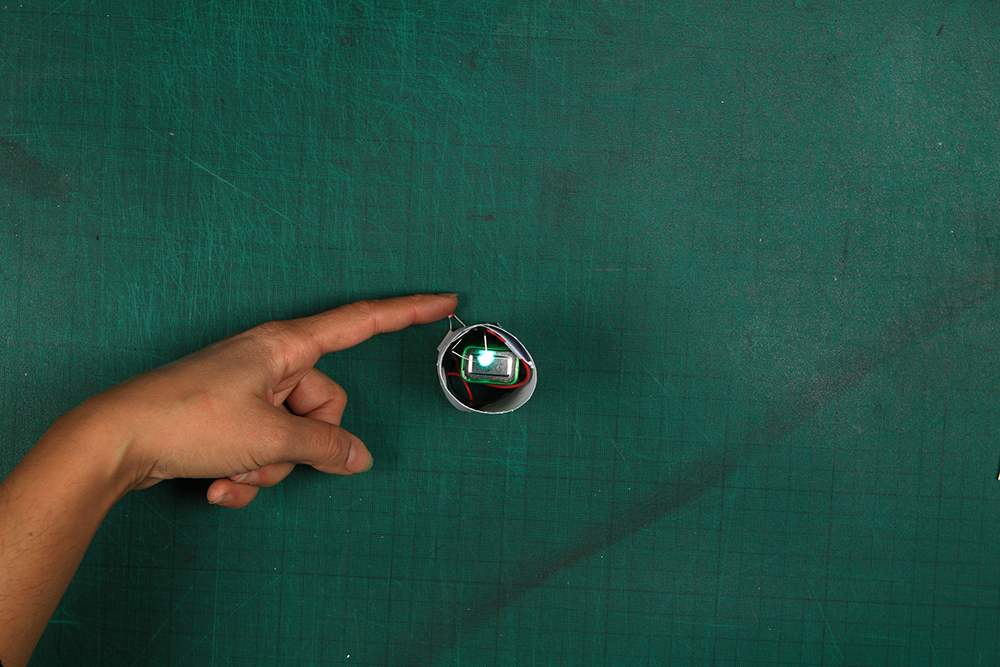
You can now stand your cylinder vertically. Check it still works by covering the LDR with your finger.
The LED should light up.
Done!


Now for the finishing touch.
Cover your cylinder (trunk) with your christmas tree.
Turn Off the Lights

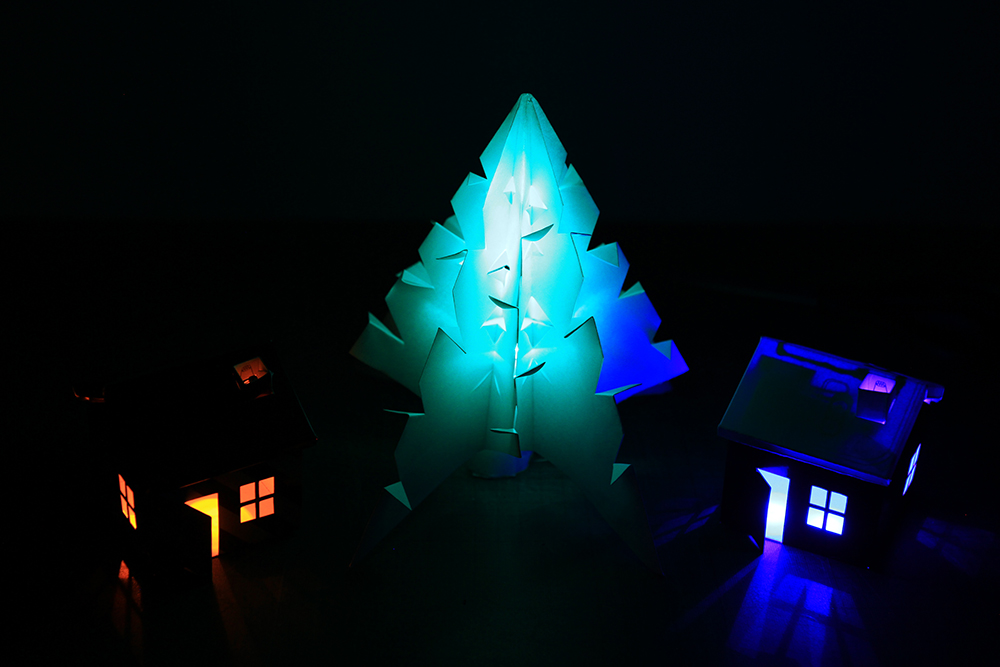
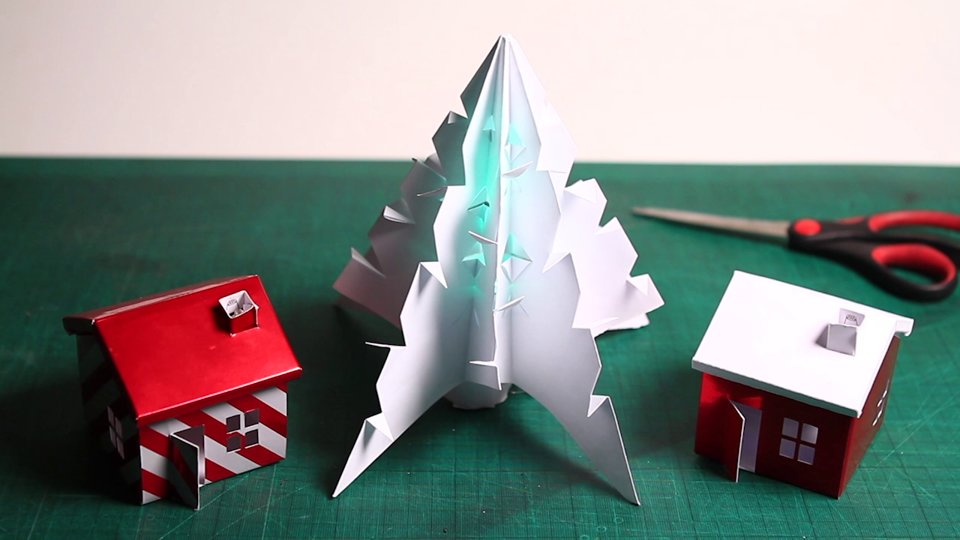
Watch your tree glow! Turn down the lights and see your christmas tree come to life! If you still have one of your paper houses you can make a miniature christmas scene.