Glass Etching Tricks "make Your Own Etching Mask" Universal Laser
by mjcervantez in Workshop > Laser Cutting
3303 Views, 10 Favorites, 0 Comments
Glass Etching Tricks "make Your Own Etching Mask" Universal Laser

I did this tutorial at the Chandler TechShop to find out more information about TechShop visit www.techshop.ws.
This tutorial will cover two etching tricks that will help you when using the Universal laser and rotary attachment at the Chandler TechShop.
Materials needed:
16 ounce glasses. (I got mine from amazon I believe it was 24 glasses for about $25.00)
Windex
Inkjet paper
Tools:
Universal Laser
Rotary Attachment
Torpedo Level
Calipers
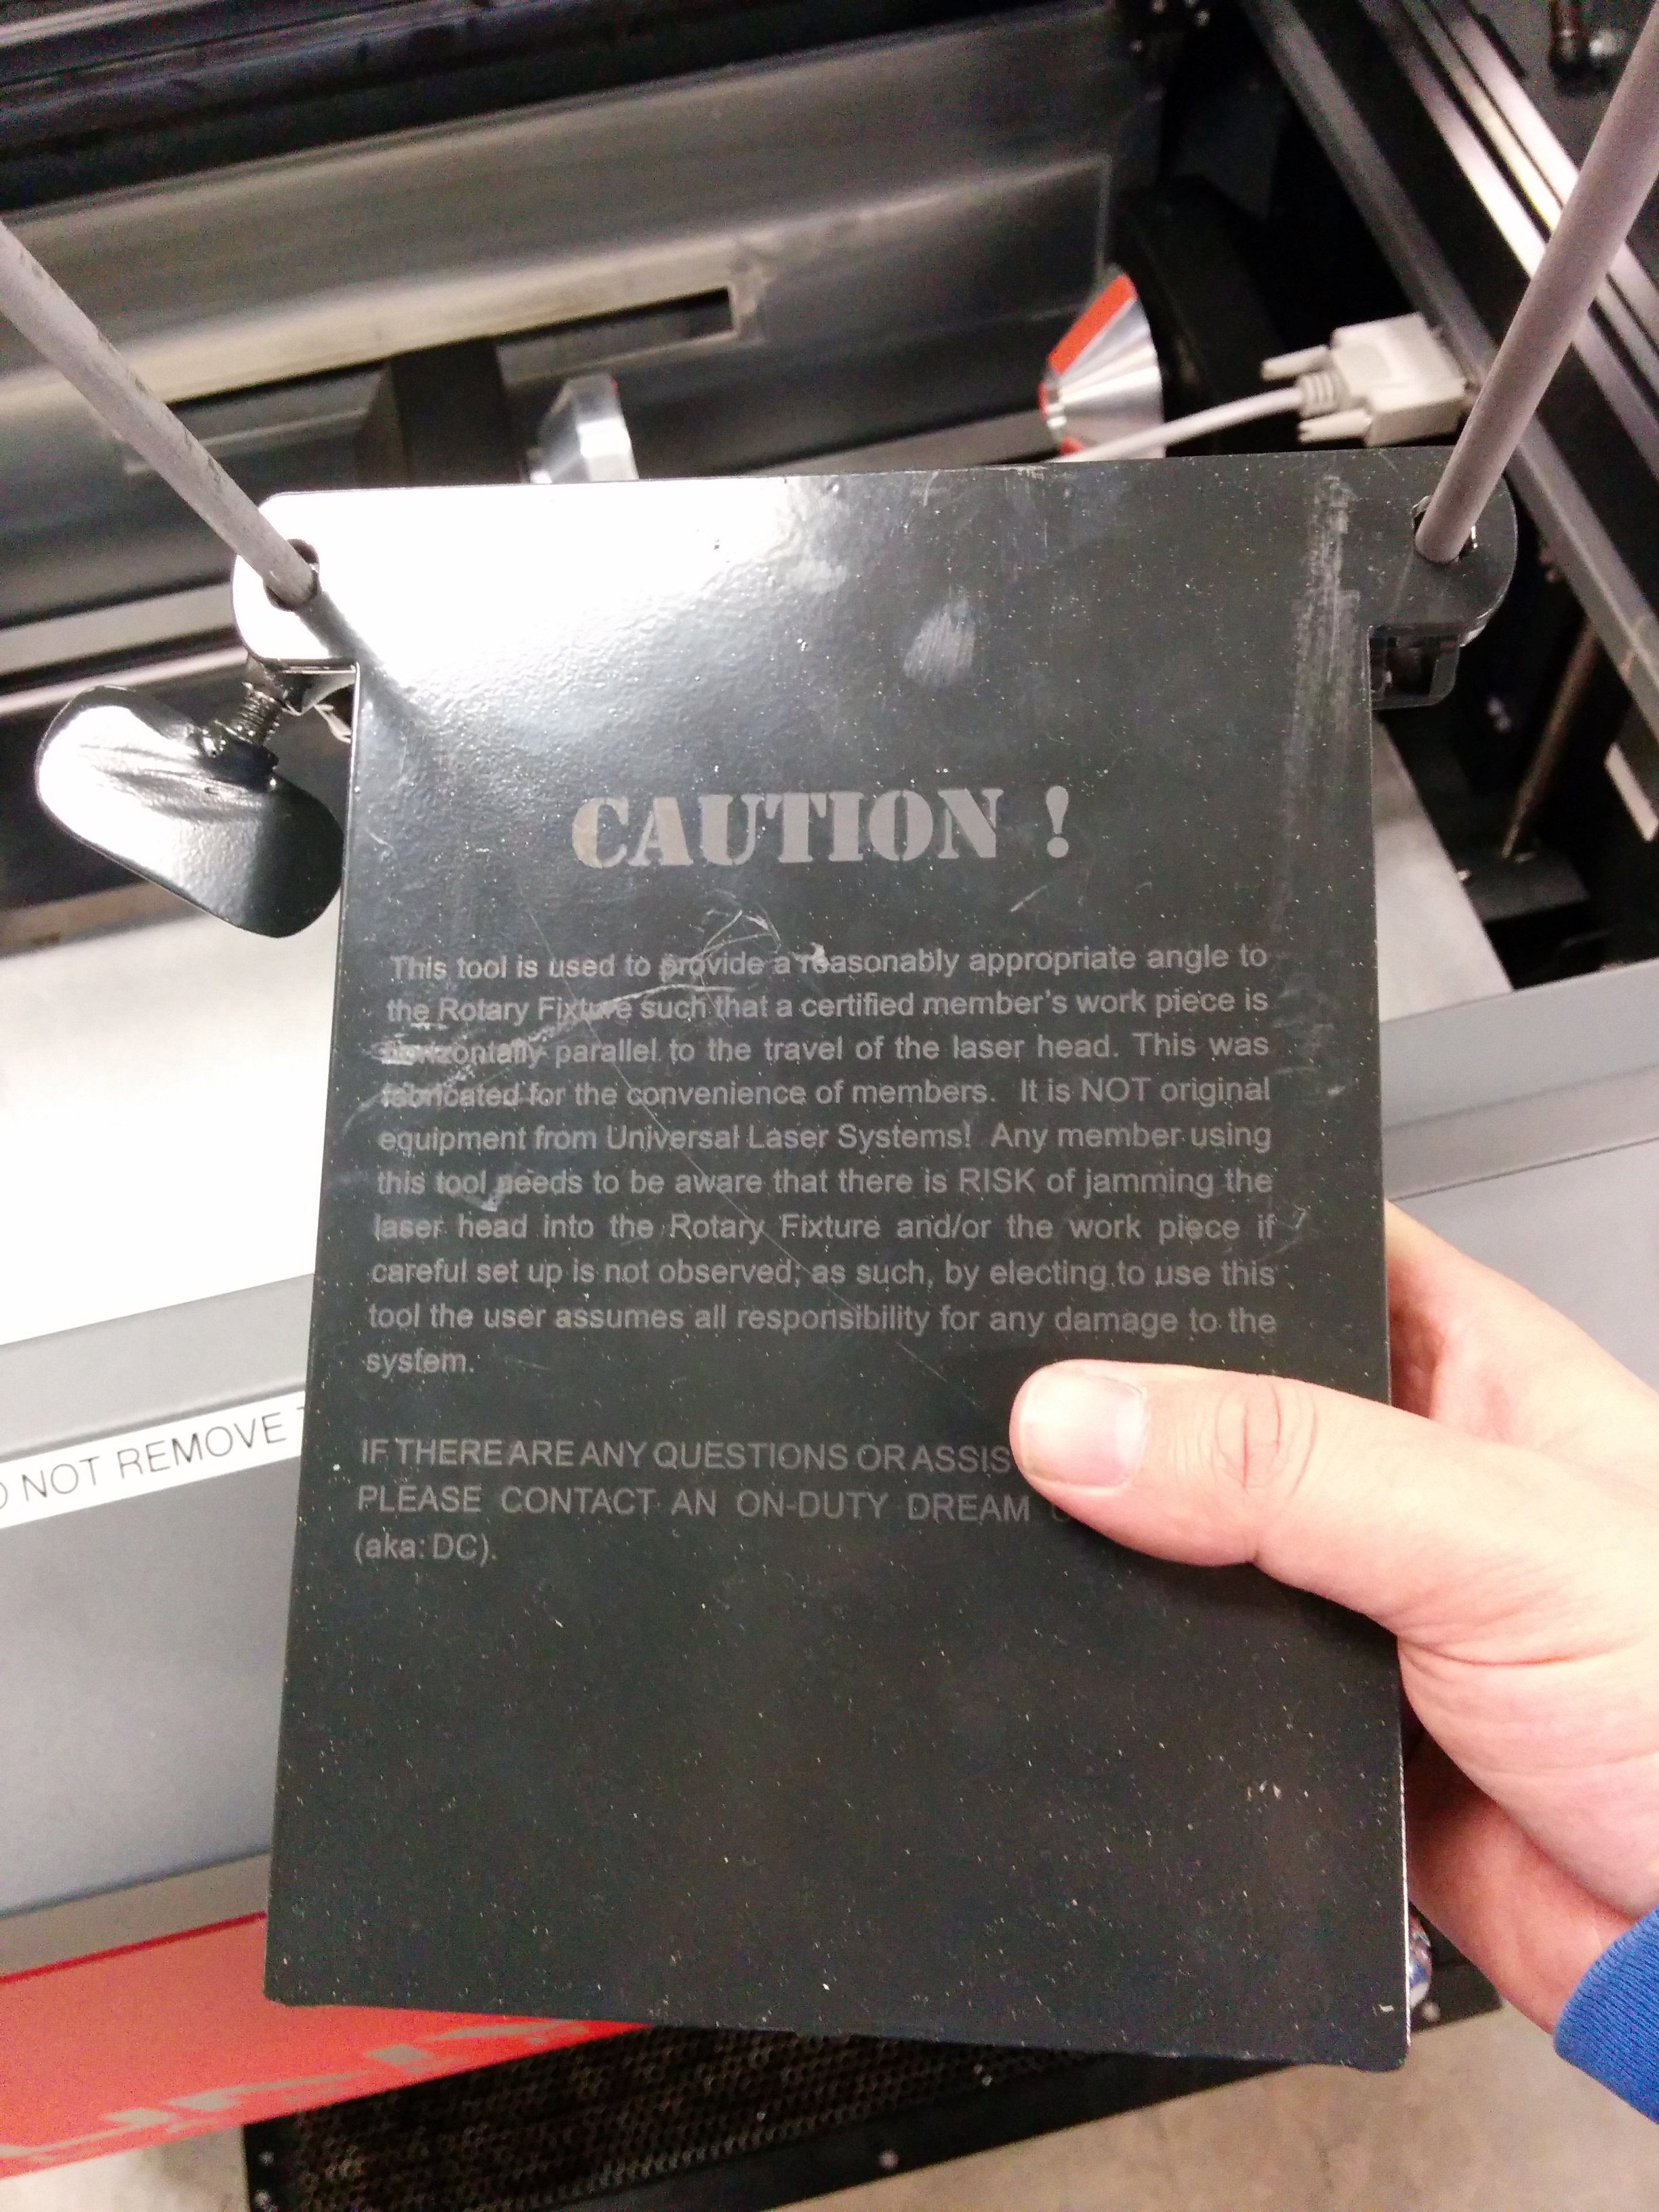
Leveling jig
Trick 1.
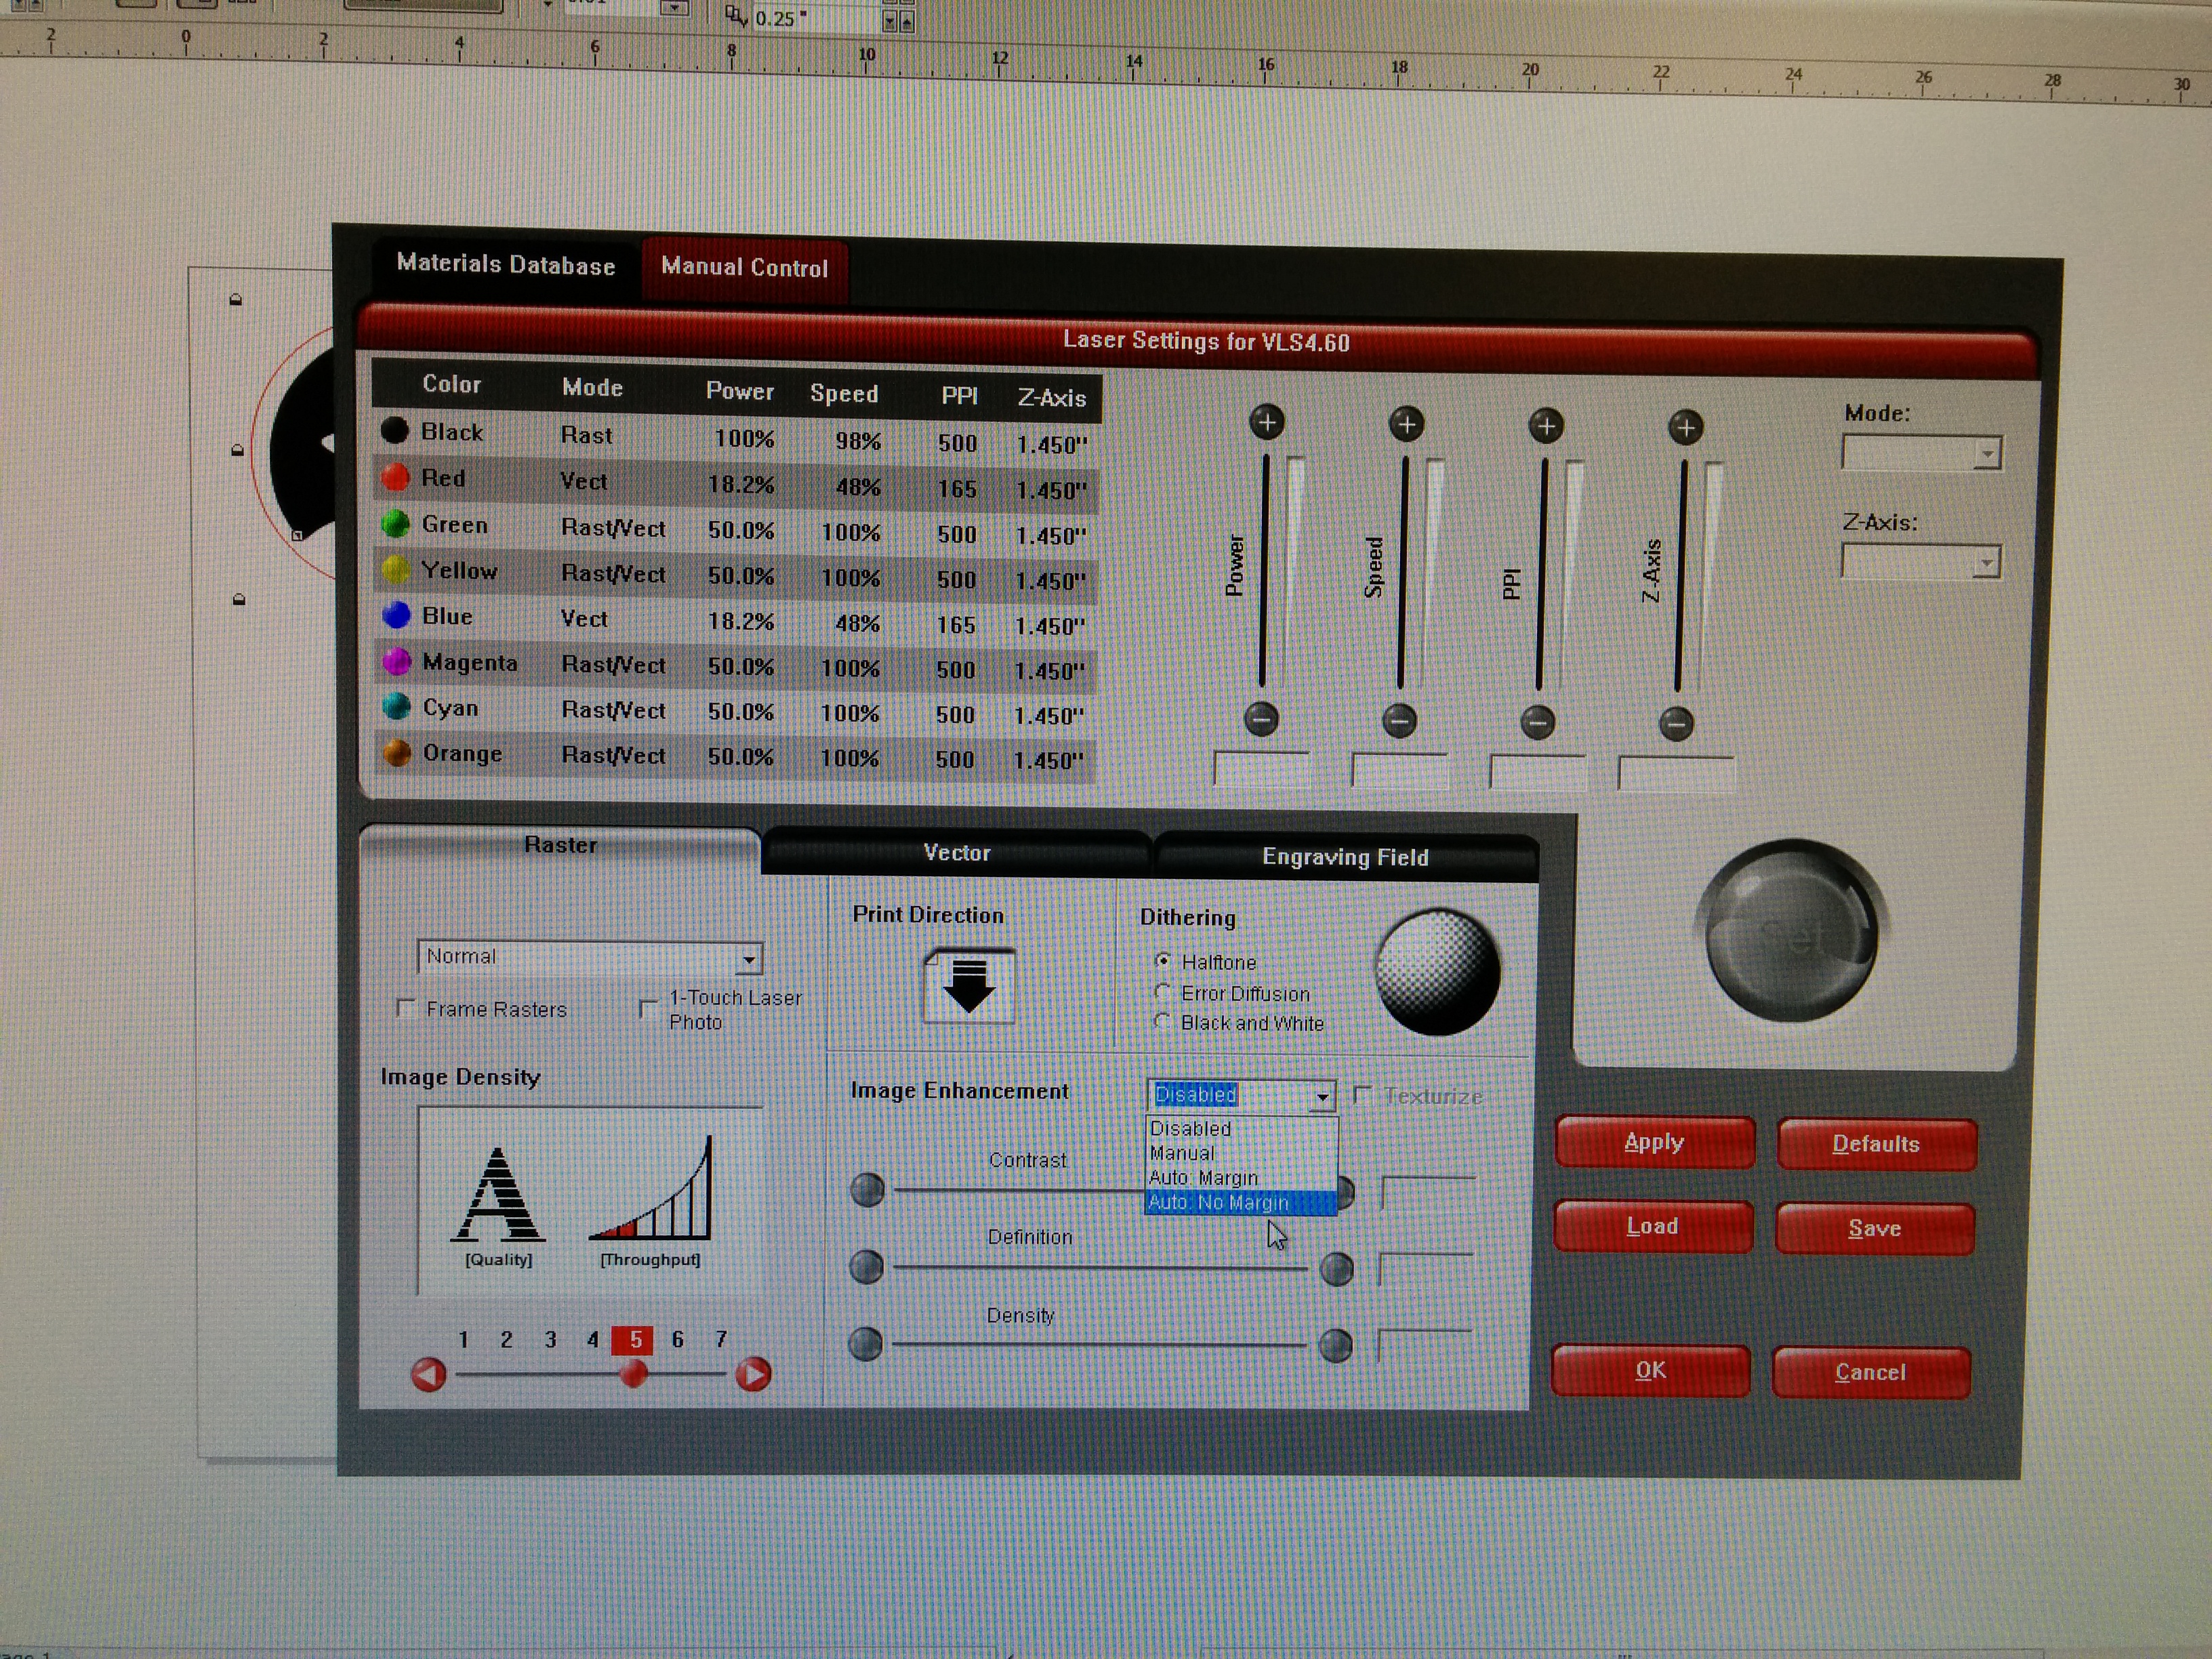
First trick is when you are etching and you run with the default settings the laser head will over shoot the area you are etching. If you are doing a large etch this could potentially run the laser head into the rotary tool. A method for avoiding this is to change under the manual control tab select Auto: No margins from the Image enhancement drop down menu (picture included).
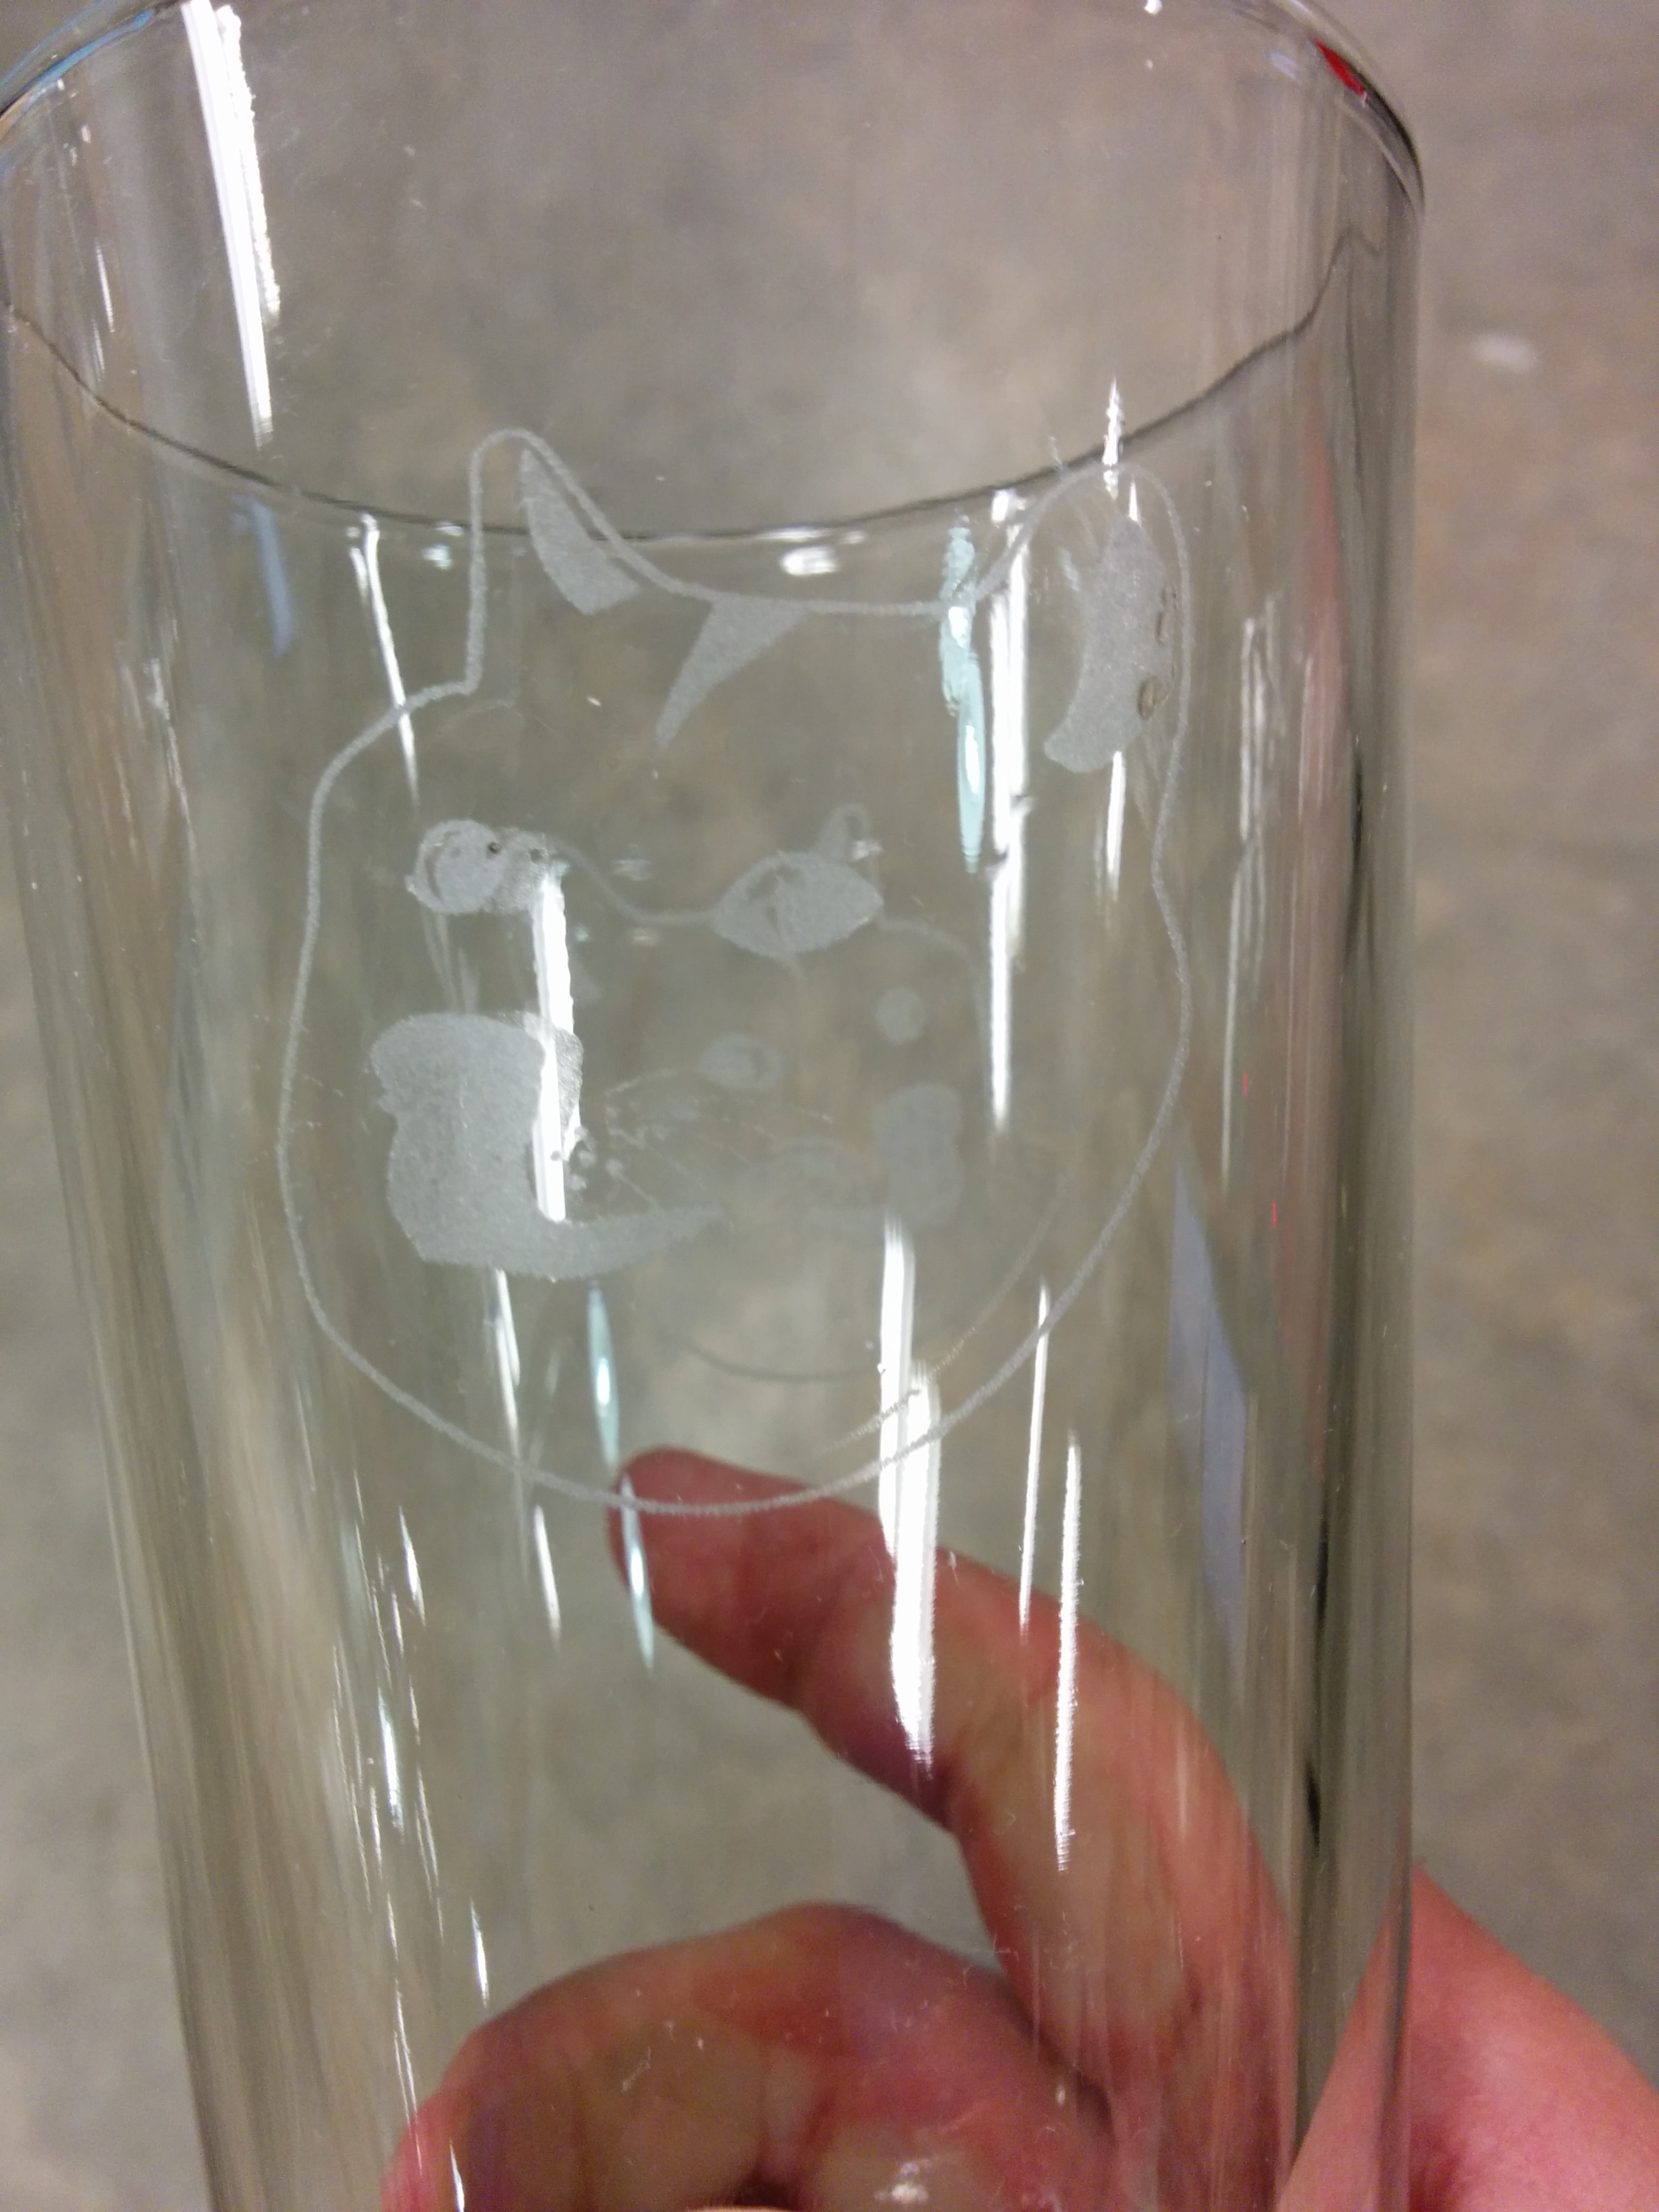
Trick 2. How to improve the quality of your glass etch
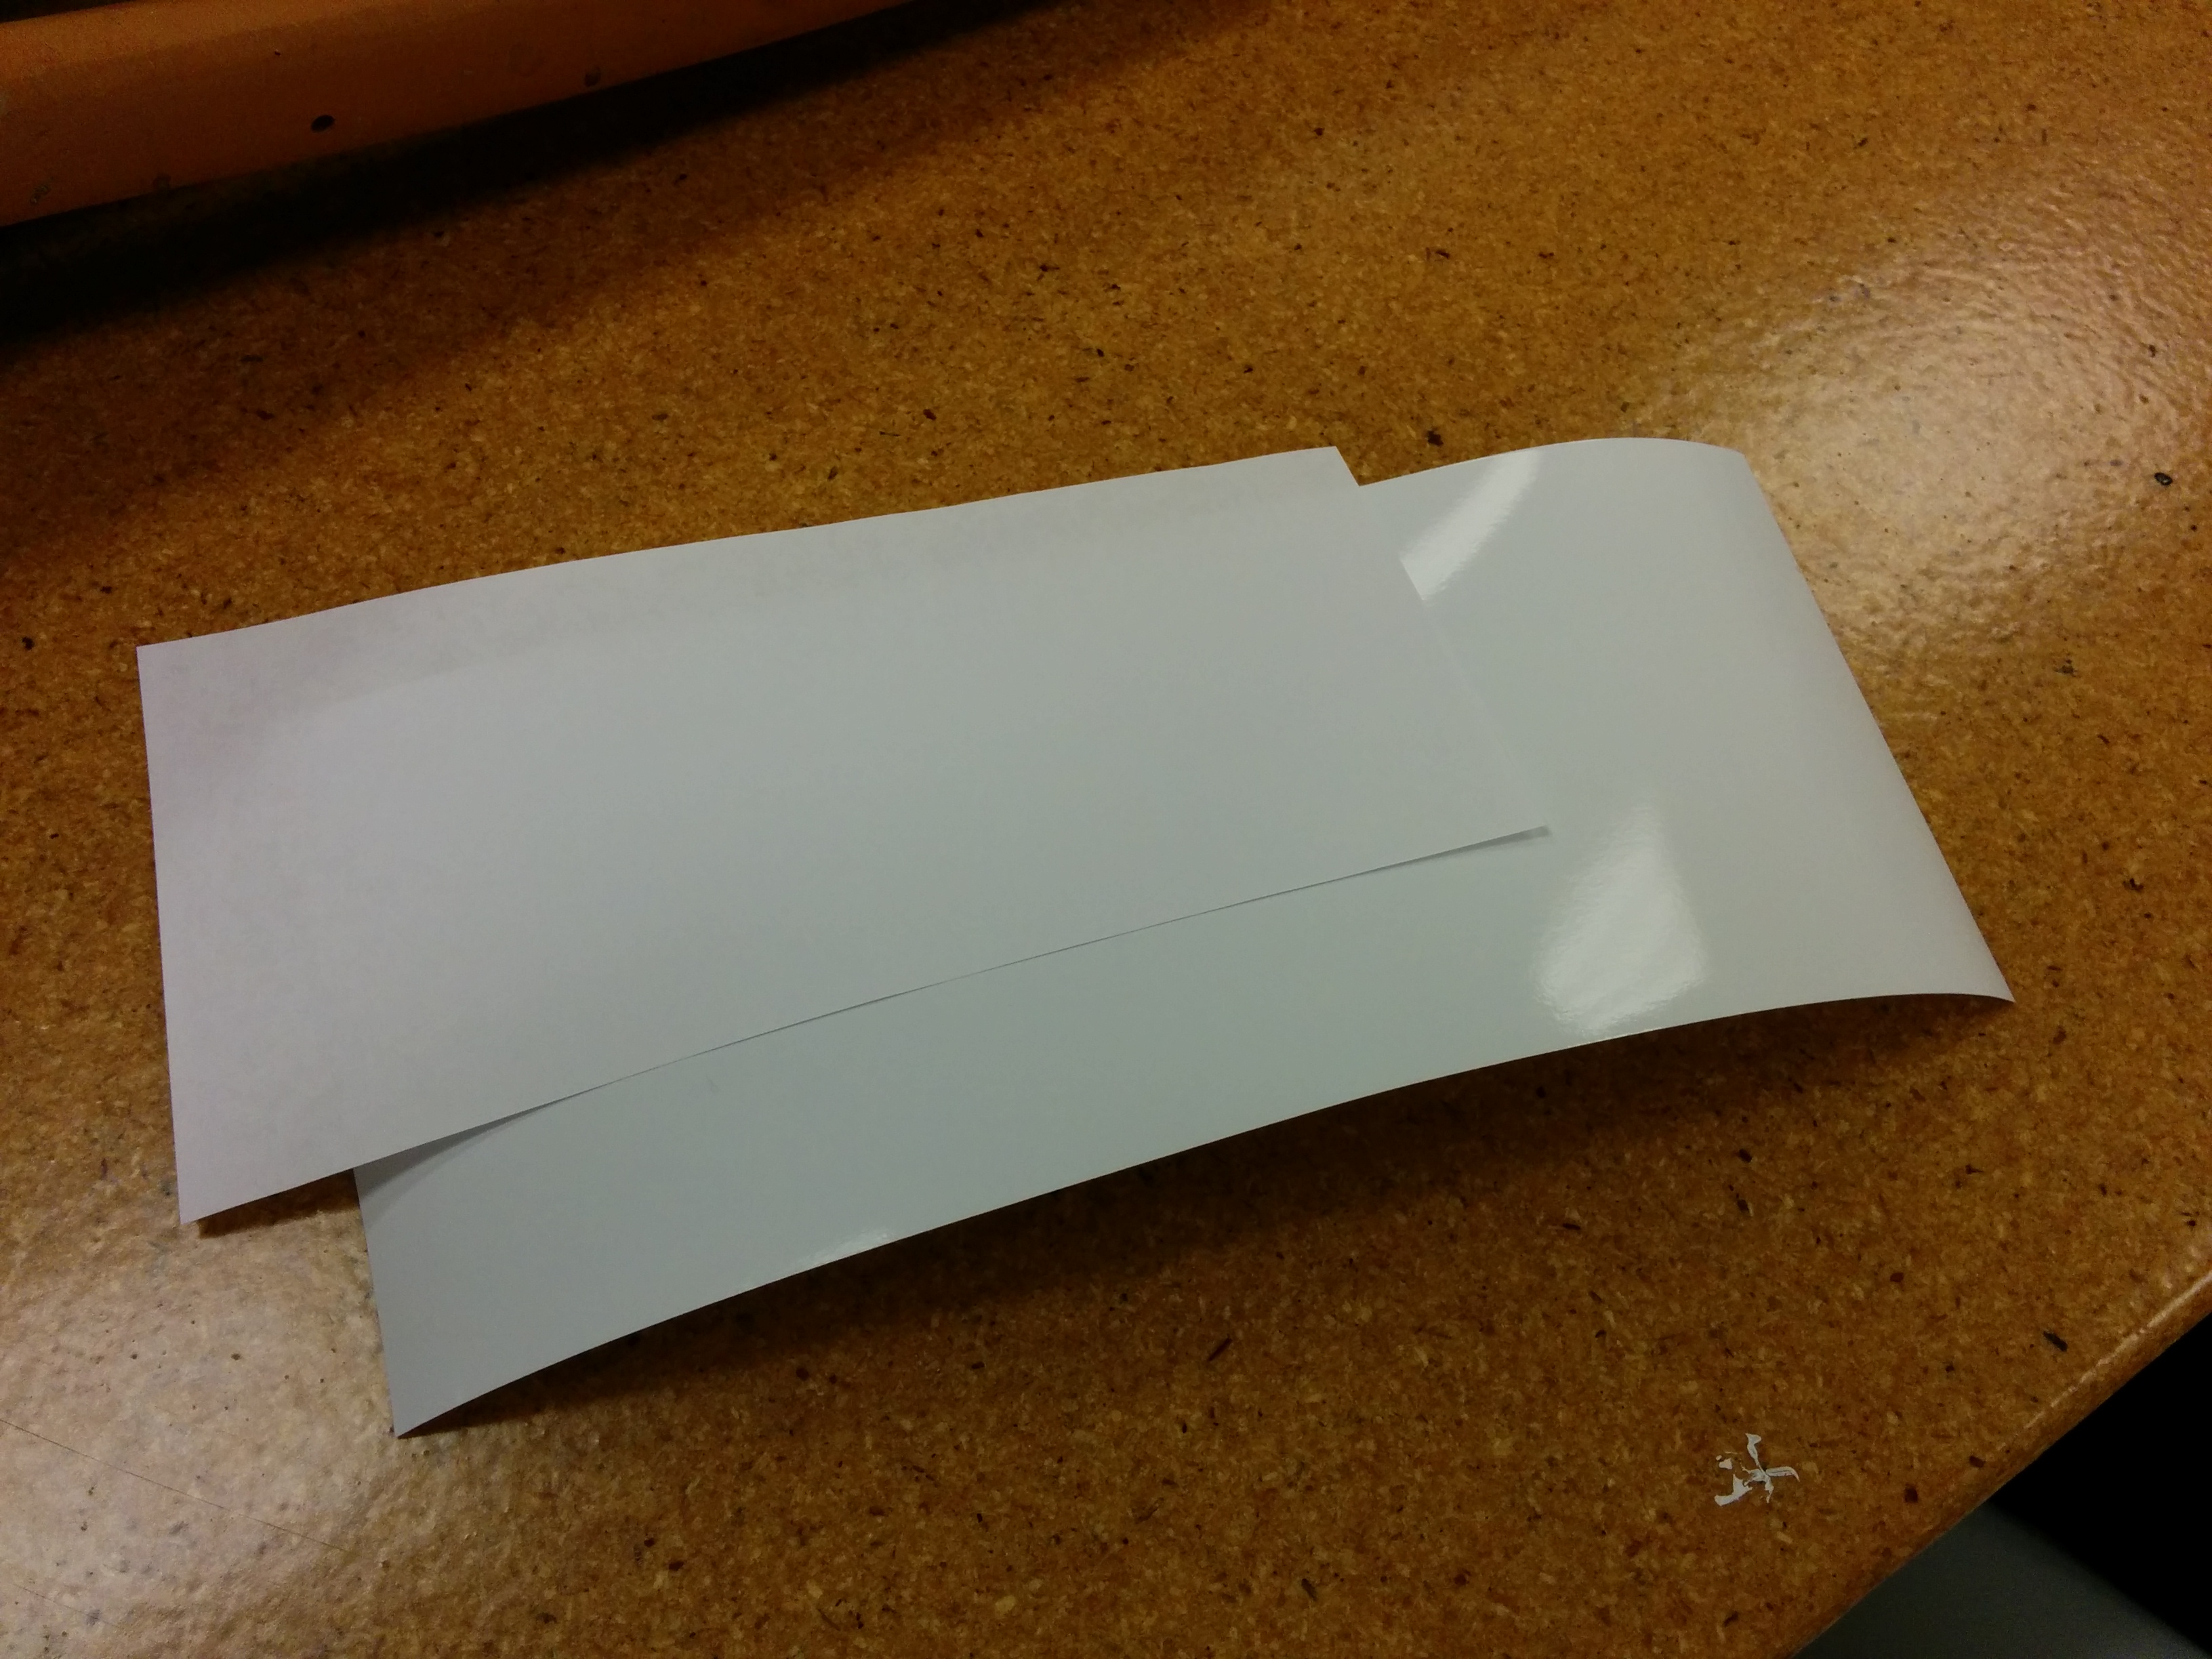
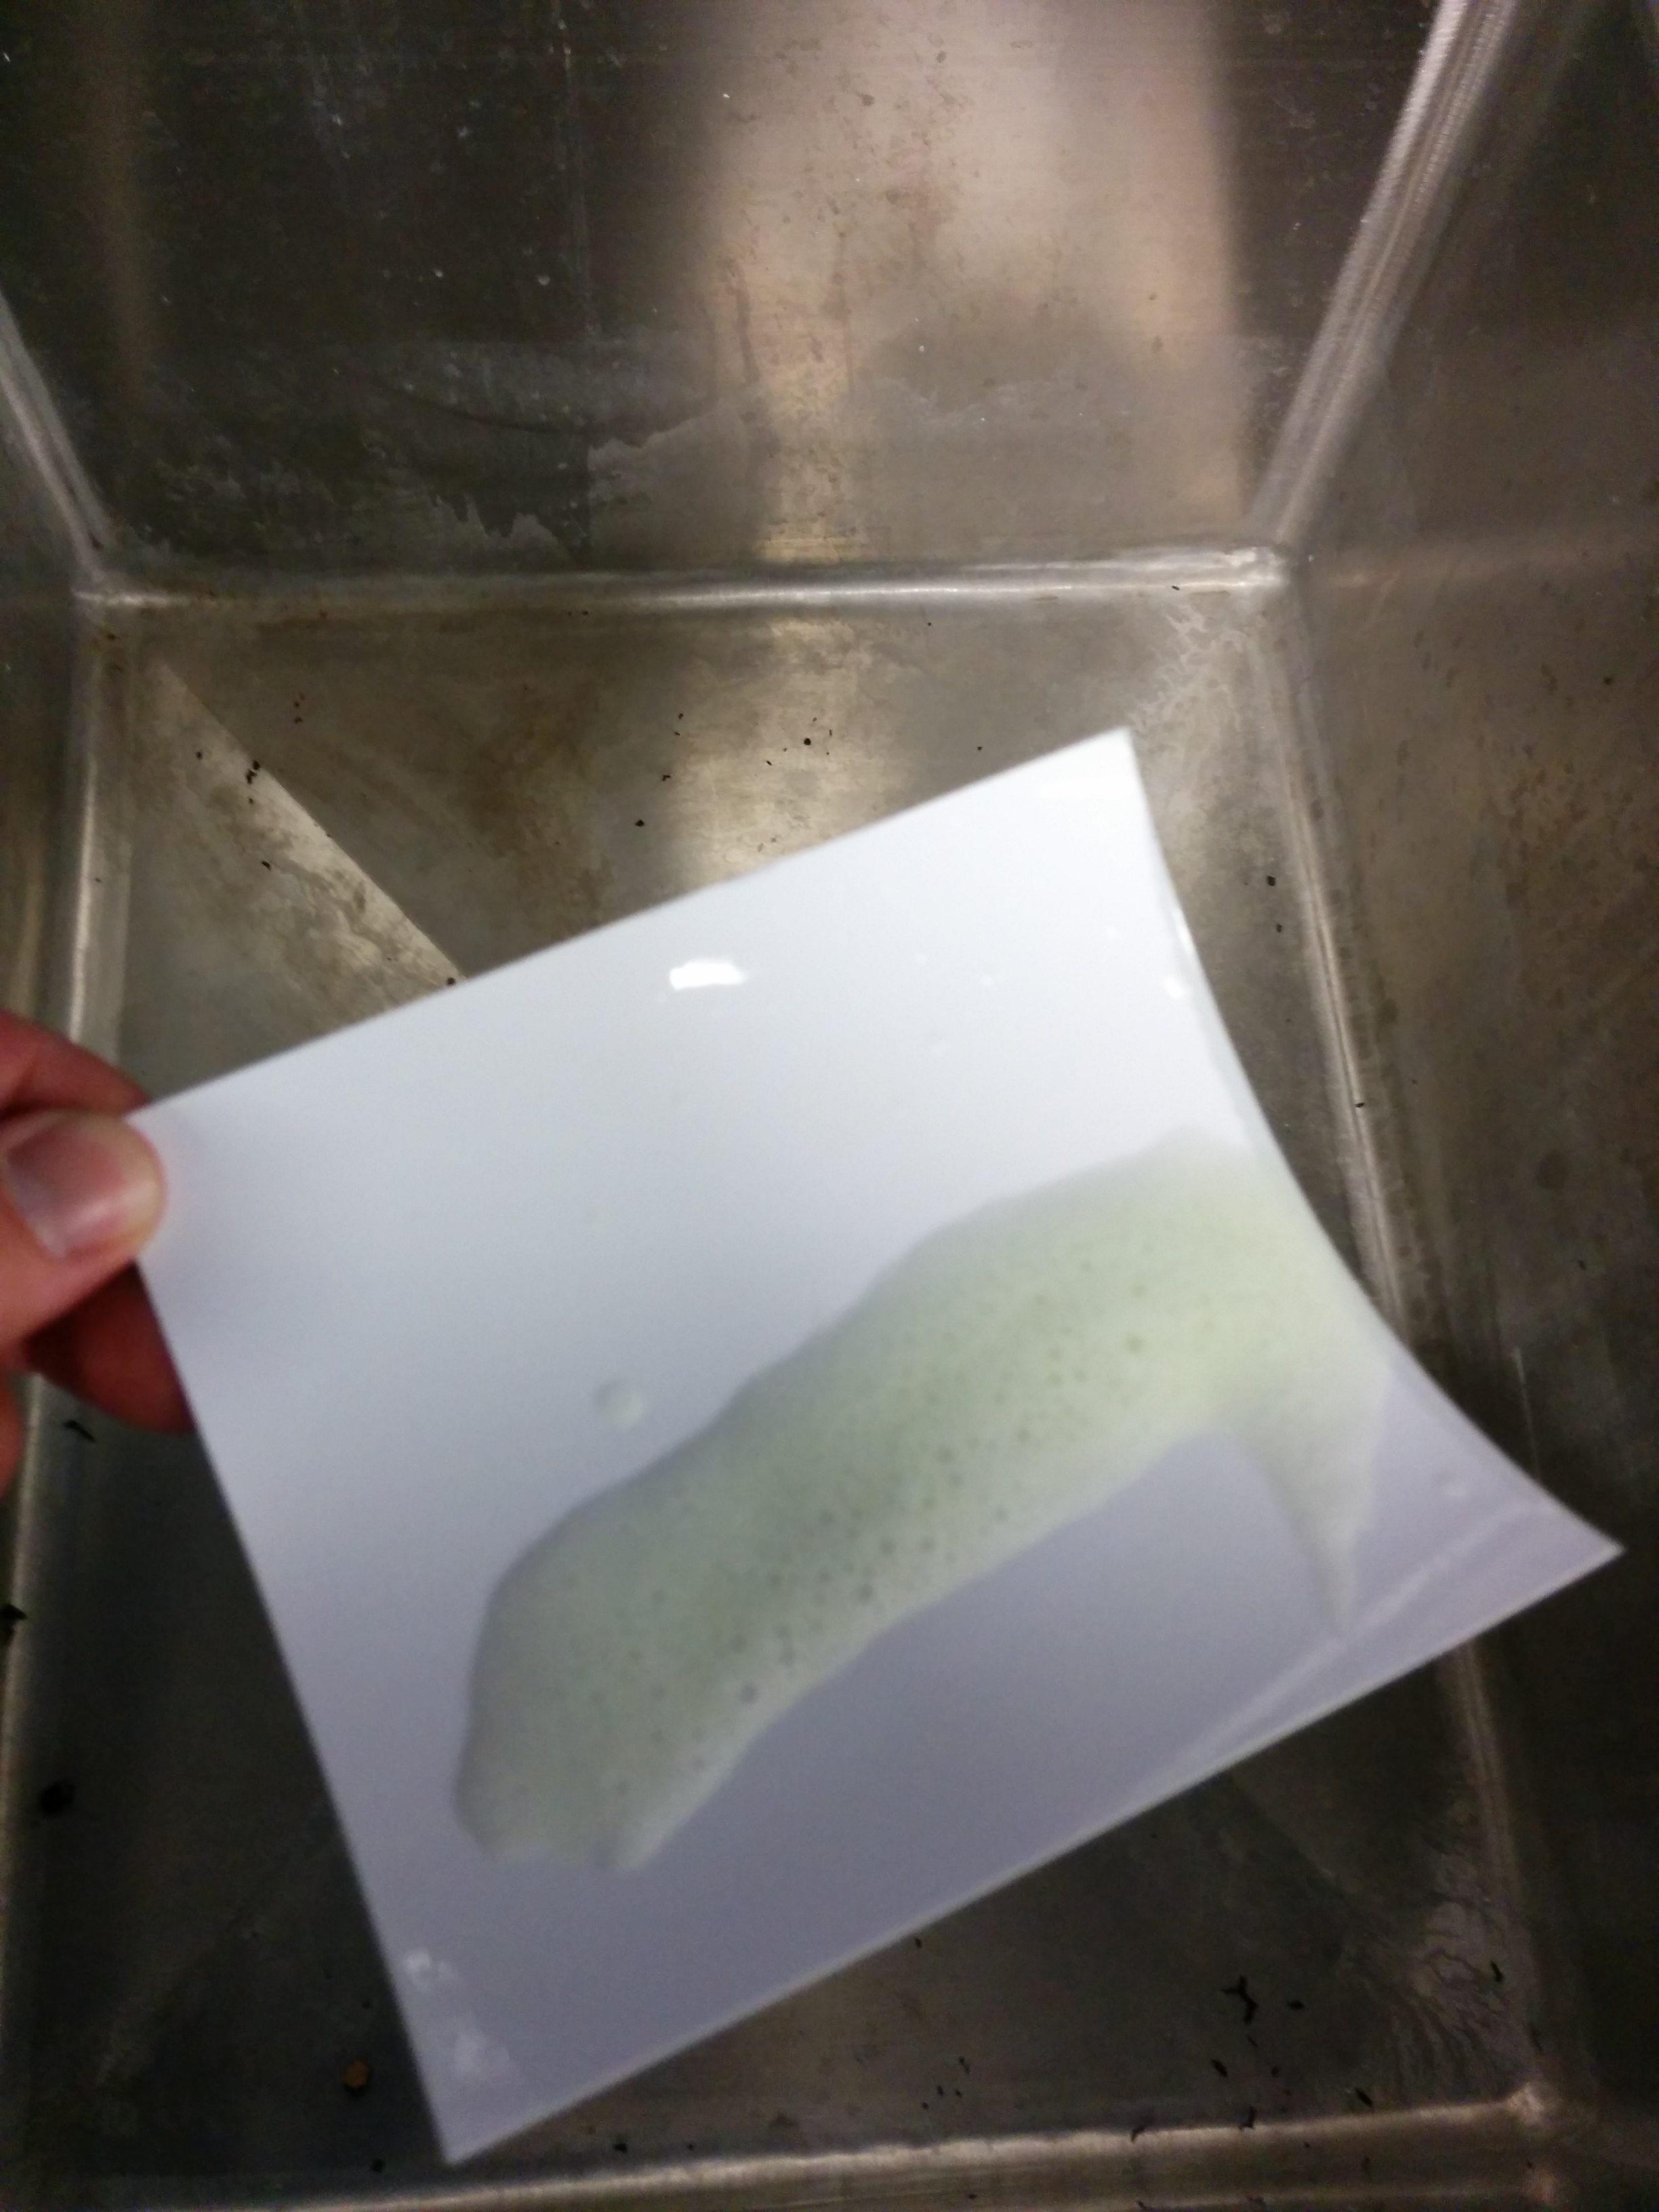
Sometimes the laser will etch the glass in a way that the etching will come out looking to rough. A method to reduce this is to wet a piece of inkjet paper with windex for a bit and then apply it to the glass where you will be etching you can then use painter tape on the side to hold the paper in place on the glass.
So the order of operations for the universal laser system is as follows:
Step 1. Measure in the upper and lower diameter of the glass where you will be etching the image on. Then take the average of the two diameters for the Universal laser program.
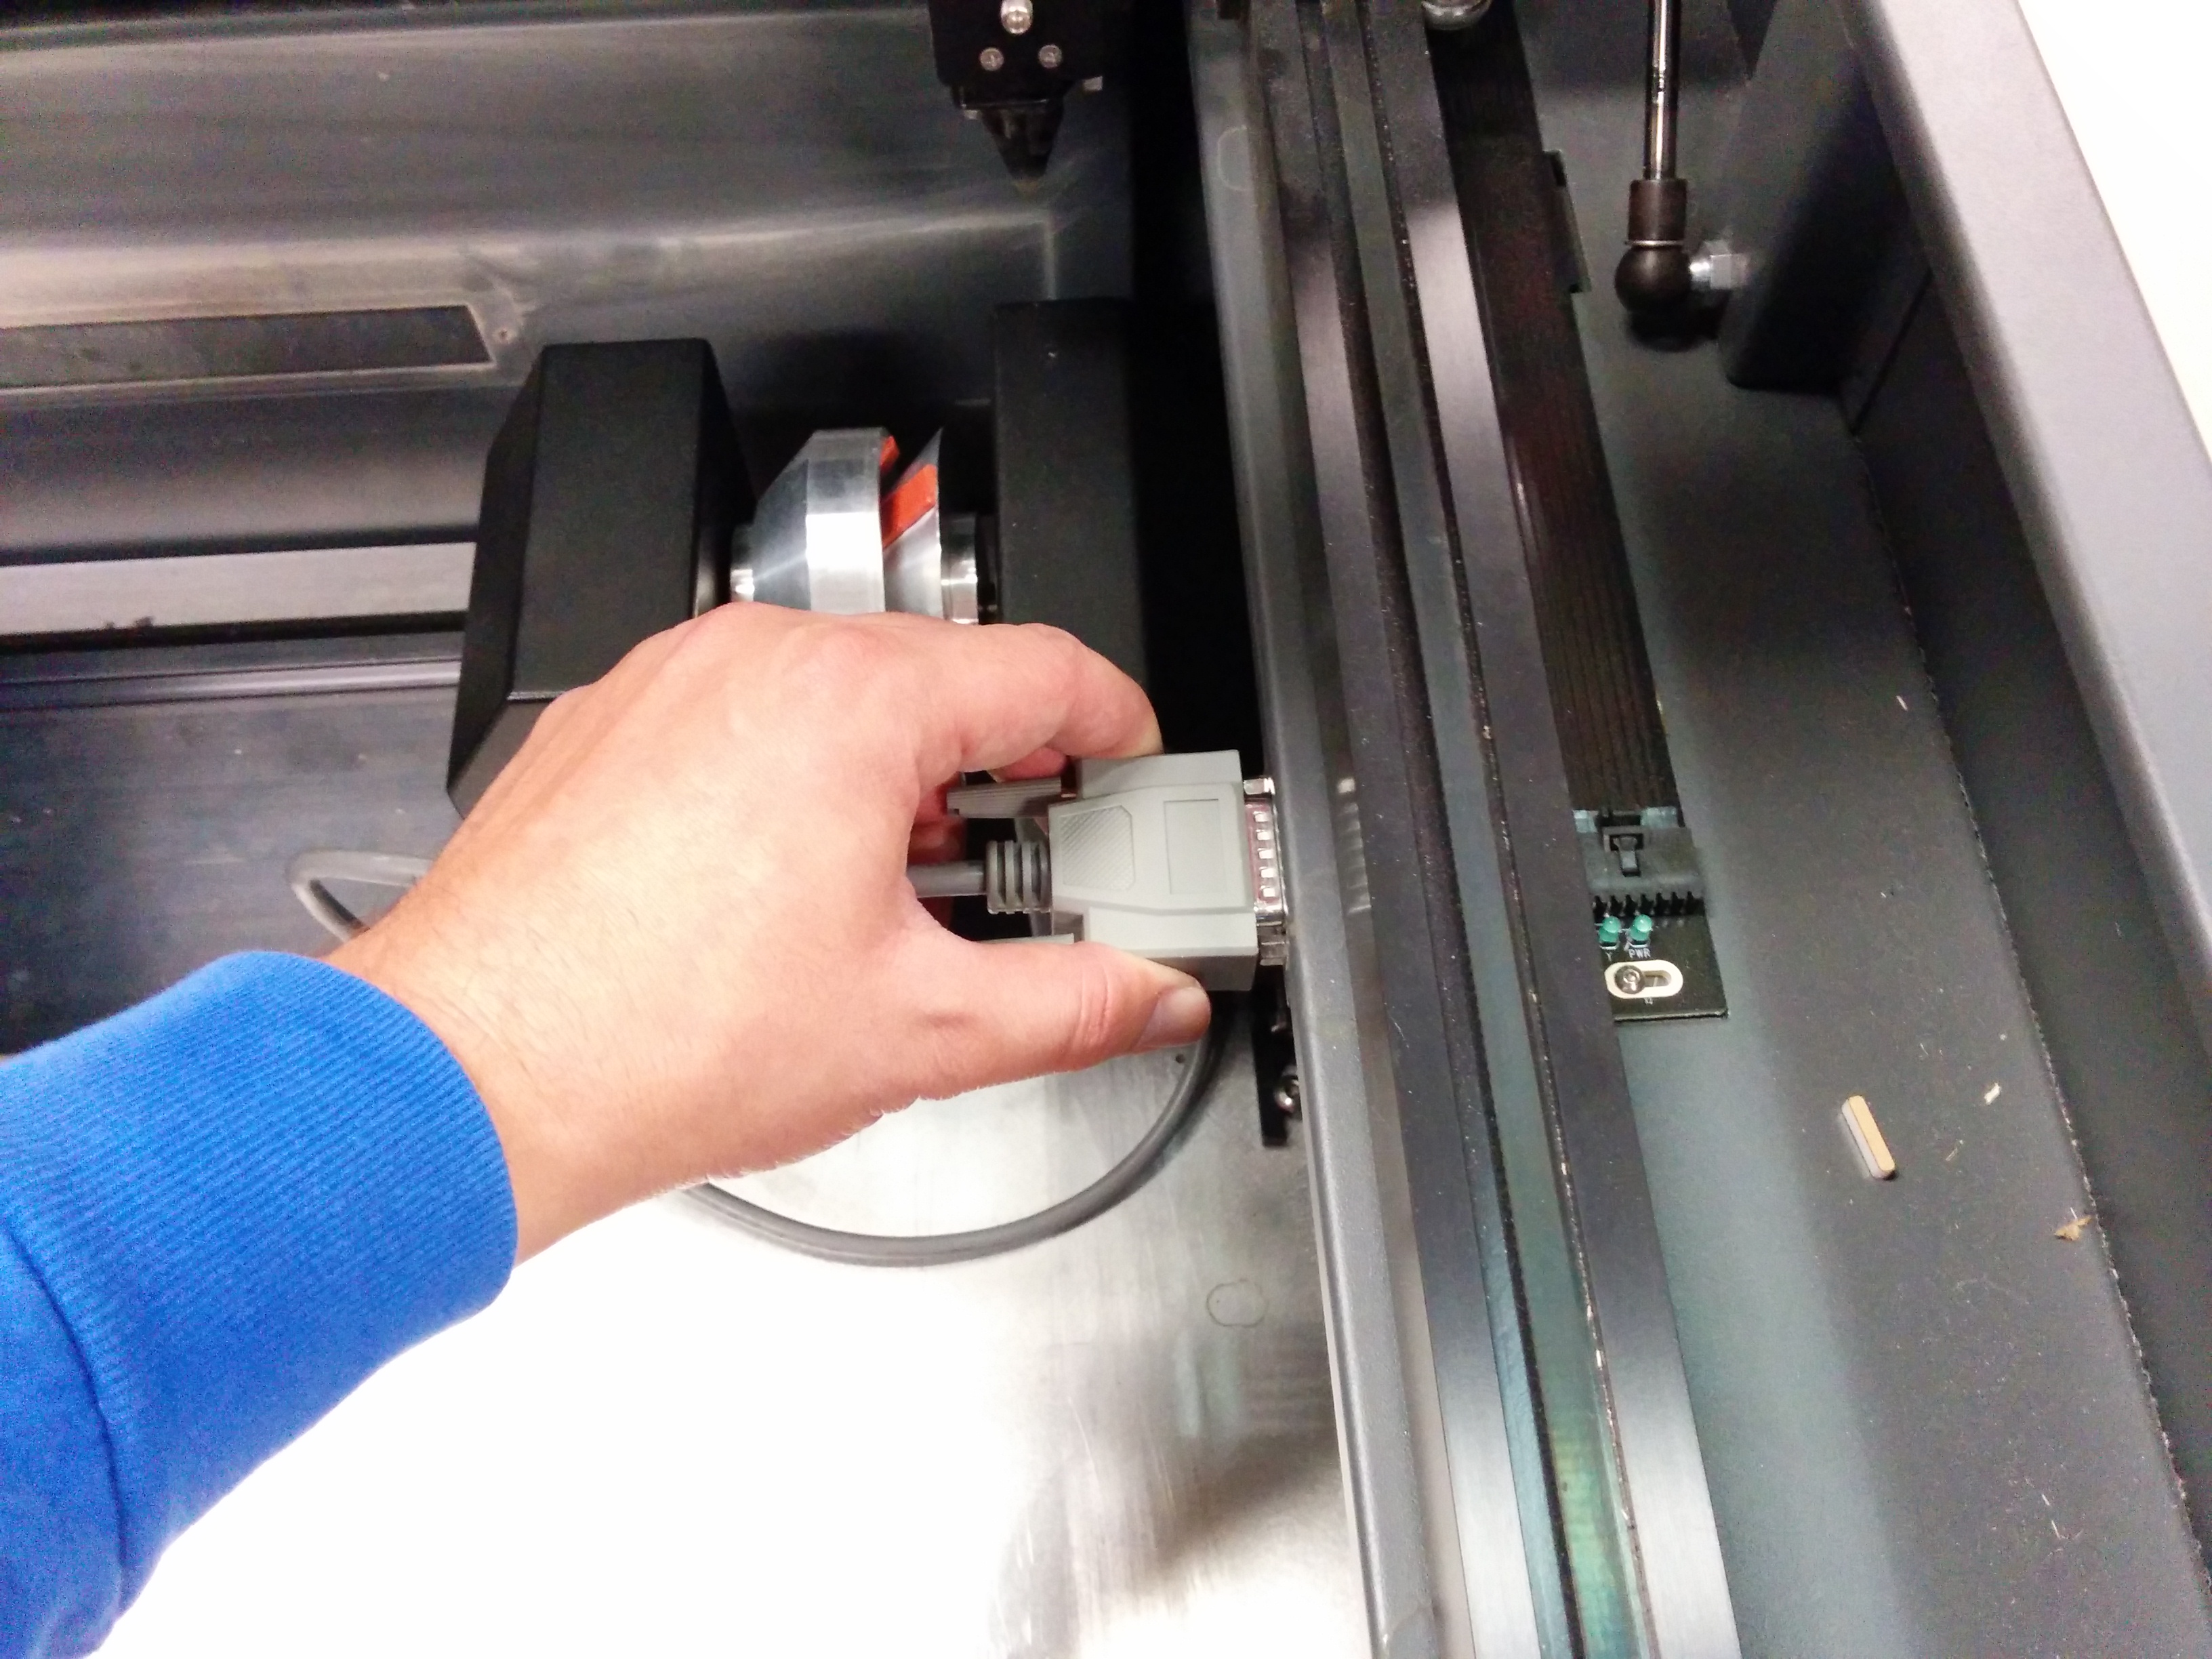
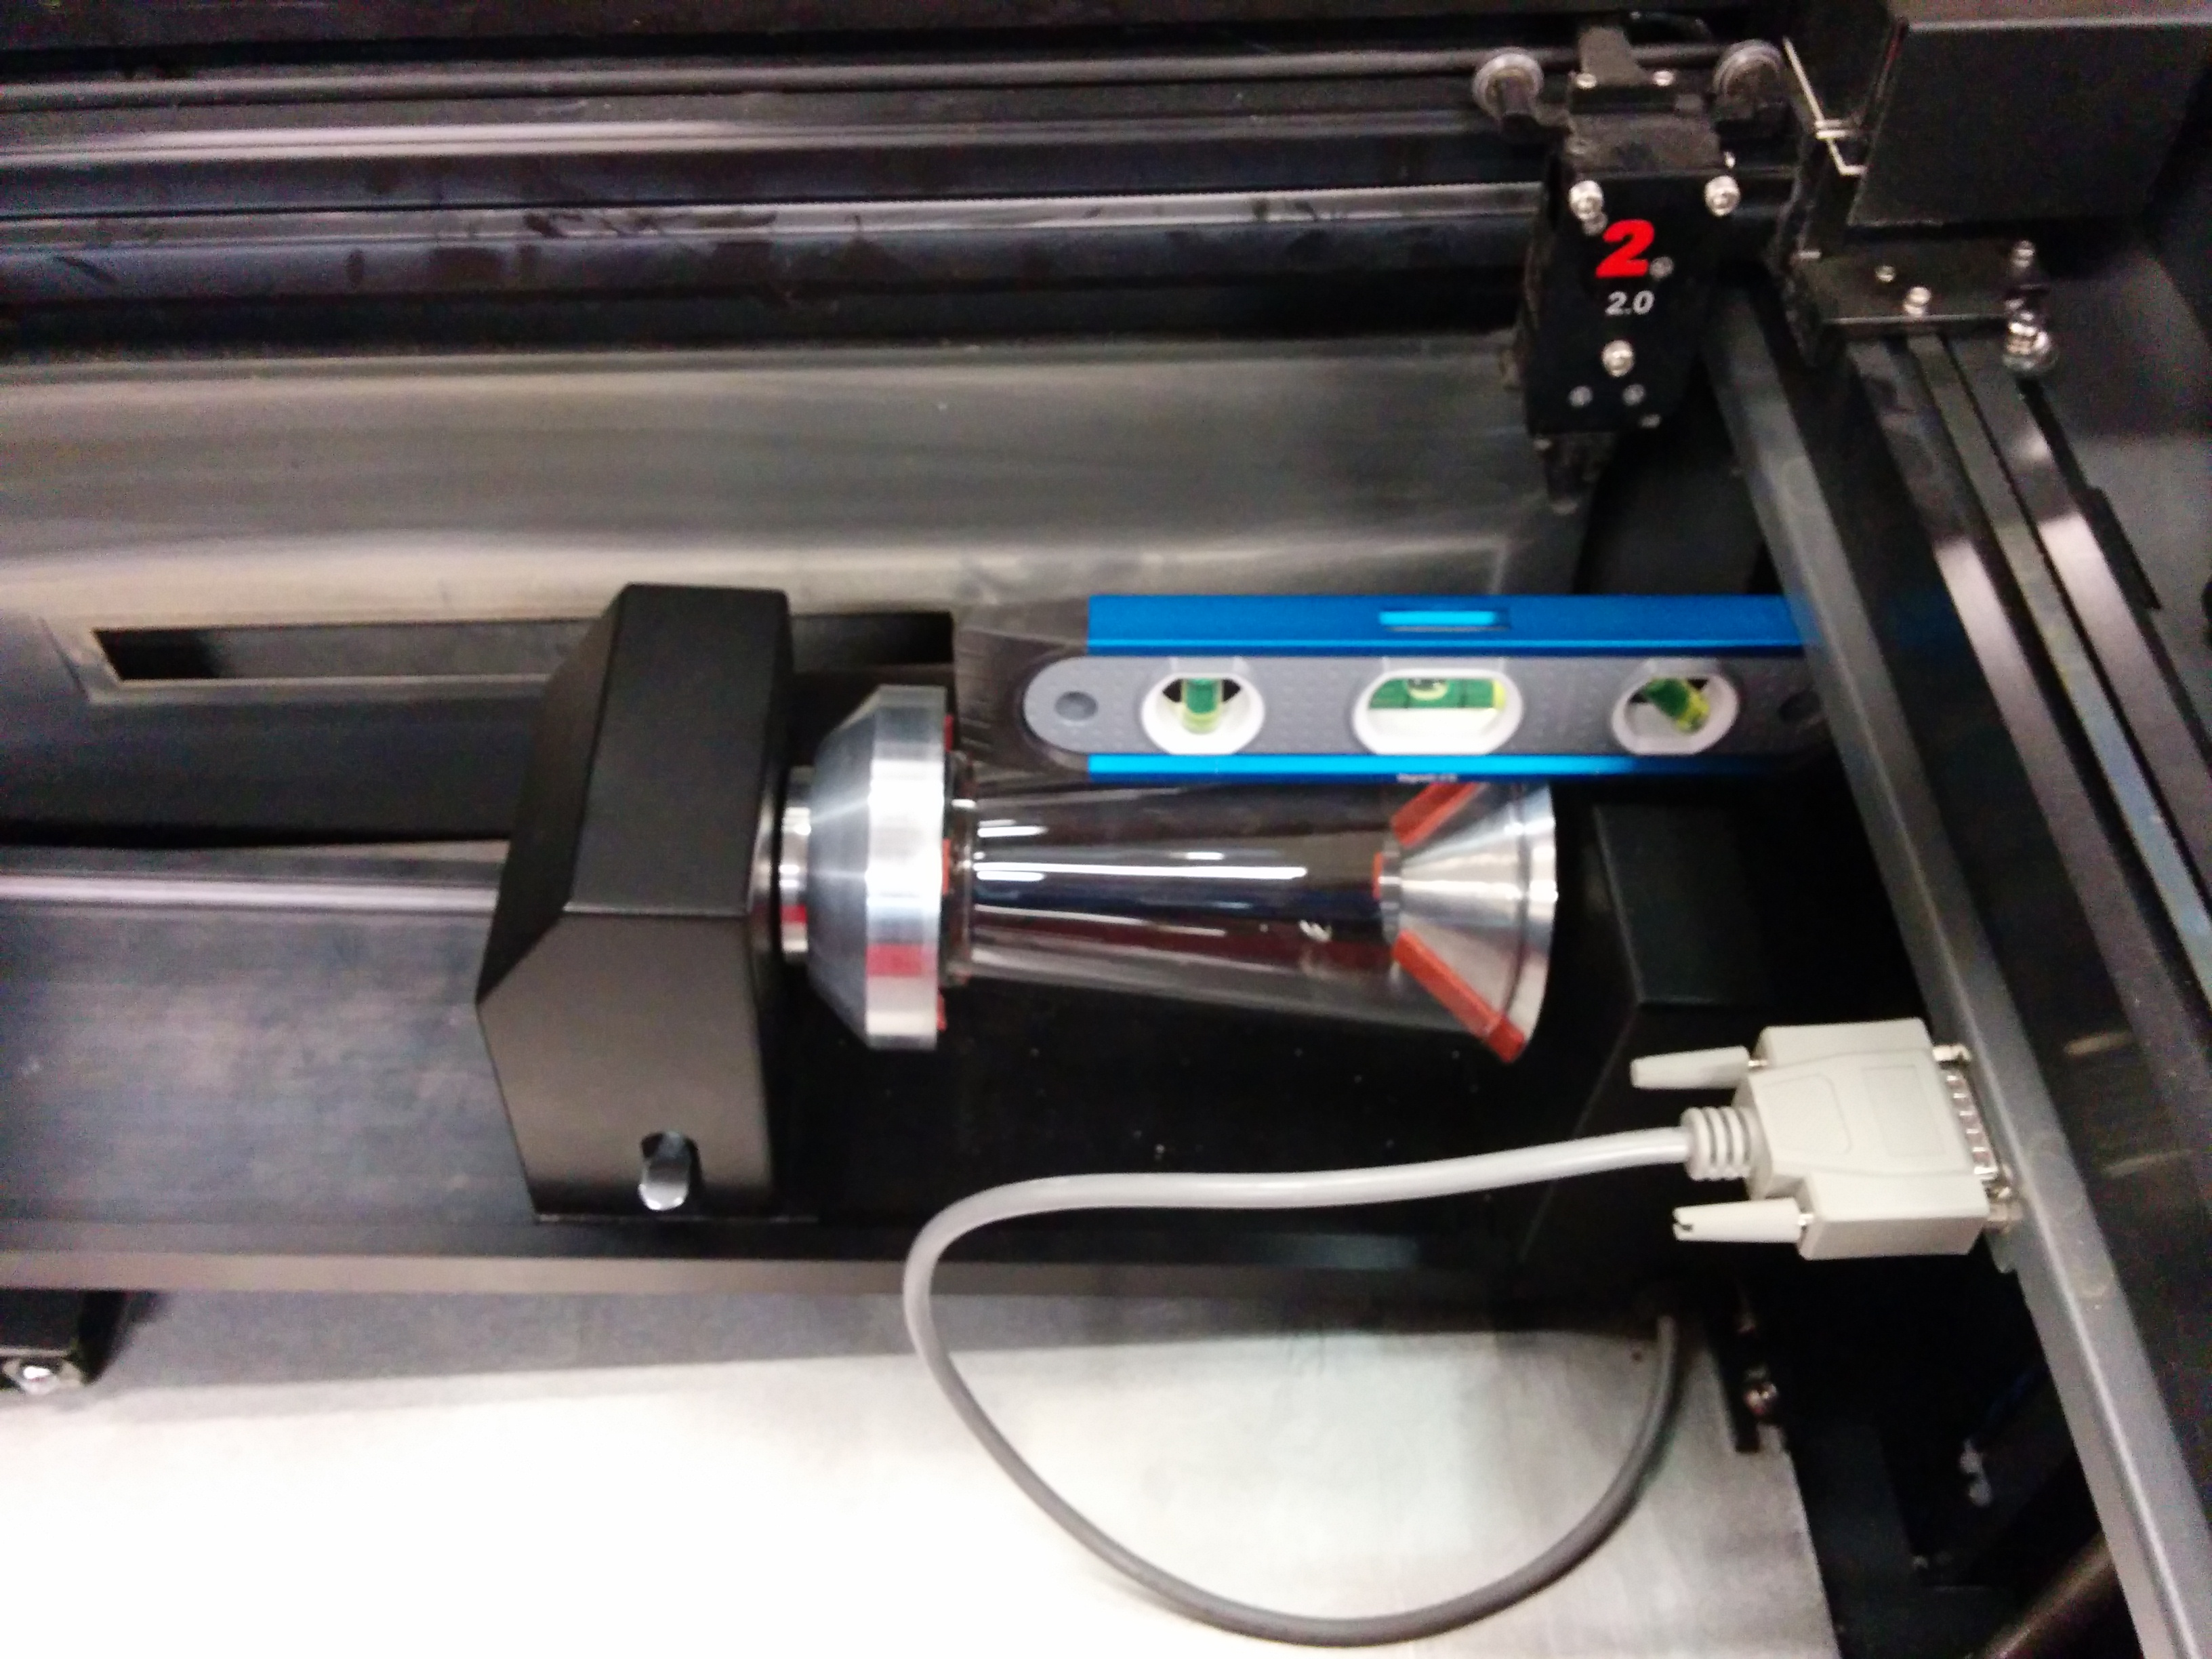
Step 2. Attach the rotary attachment to the universal laser while it is powered off.
Step 3. Level the rotrary attachment using the rotary jig with the cup mounted using a level.
Step 4. Manually bring the laser into focus with the glass. You should use the dream consultant for this.
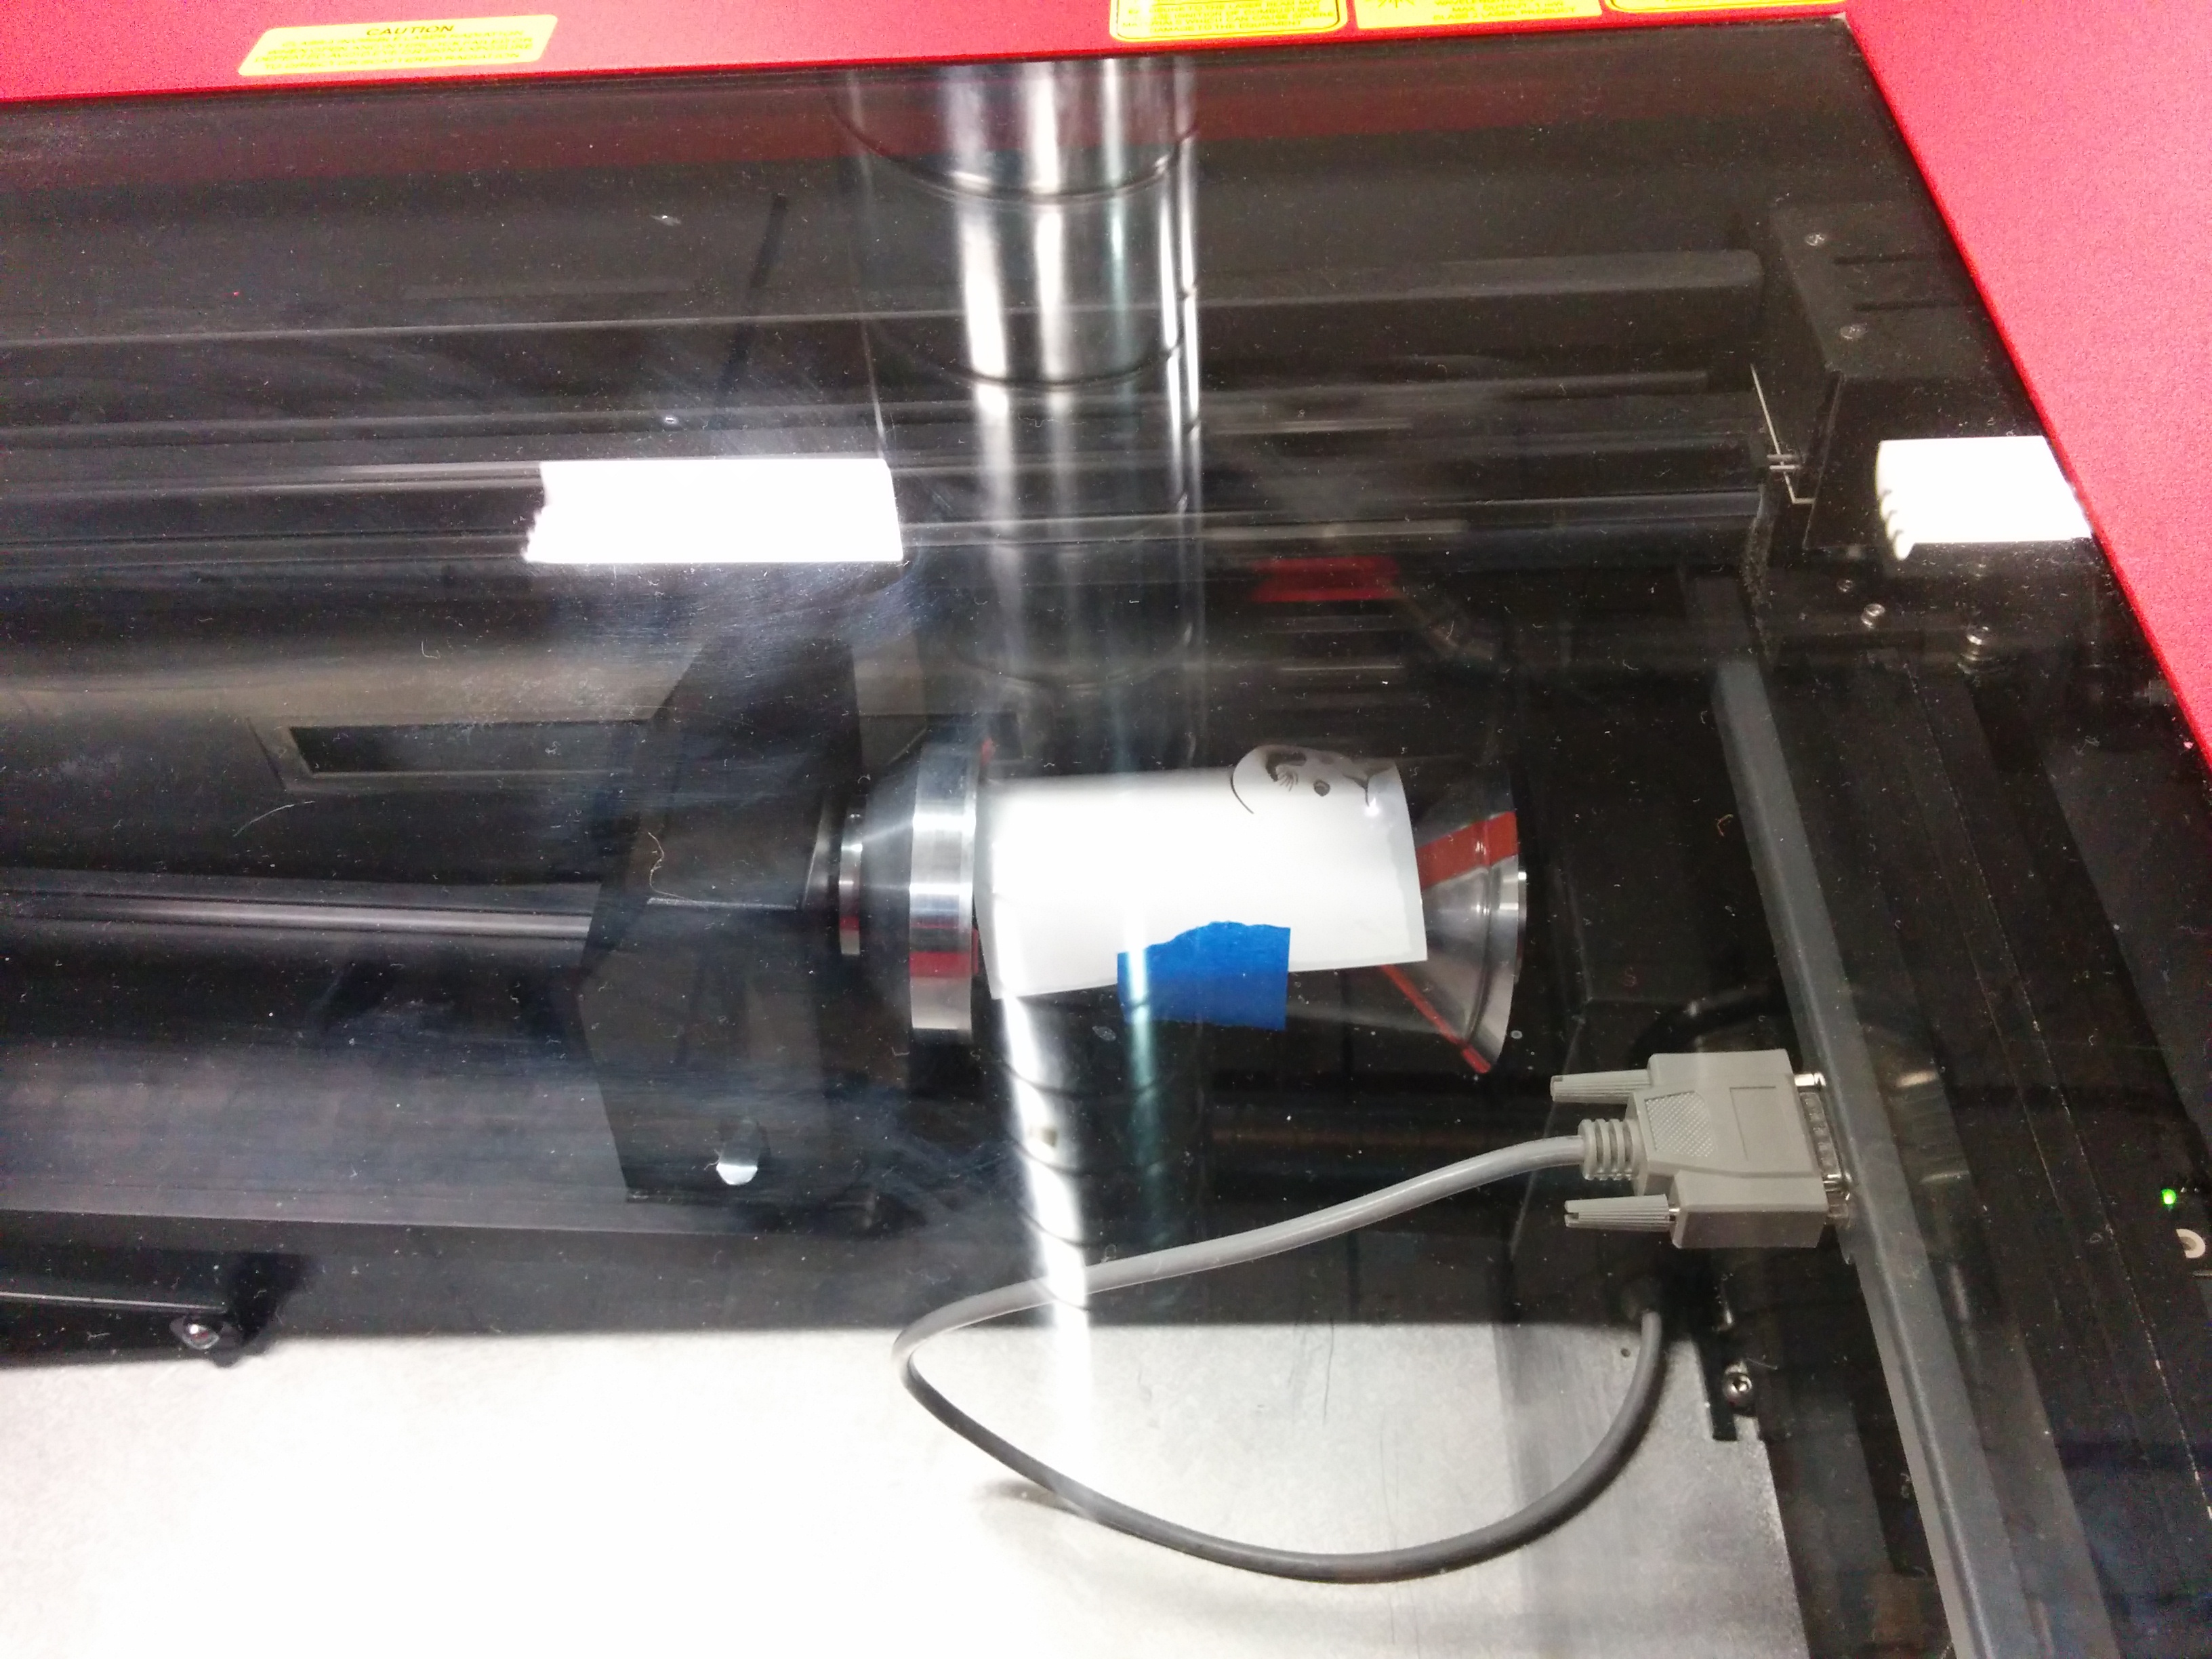
Step 5. Remove the cup and apply the paper that has windex to the cup and secure the paper with painters tape to the cup.
Step 6. Re insert the cup and check again the cup again to make sure it is level in the rotary attachment.
Step 7. Start the etching process.
Step 8. Remove cup and paper and then wash in the sink and enjoy :)
This tutorial will cover two etching tricks that will help you when using the Universal laser and rotary attachment at the Chandler TechShop.
Materials needed:
16 ounce glasses. (I got mine from amazon I believe it was 24 glasses for about $25.00)
Windex
Inkjet paper
Tools:
Universal Laser
Rotary Attachment
Torpedo Level
Calipers
Leveling jig
Trick 1.
First trick is when you are etching and you run with the default settings the laser head will over shoot the area you are etching. If you are doing a large etch this could potentially run the laser head into the rotary tool. A method for avoiding this is to change under the manual control tab select Auto: No margins from the Image enhancement drop down menu (picture included).
Trick 2. How to improve the quality of your glass etch
Sometimes the laser will etch the glass in a way that the etching will come out looking to rough. A method to reduce this is to wet a piece of inkjet paper with windex for a bit and then apply it to the glass where you will be etching you can then use painter tape on the side to hold the paper in place on the glass.
So the order of operations for the universal laser system is as follows:
Step 1. Measure in the upper and lower diameter of the glass where you will be etching the image on. Then take the average of the two diameters for the Universal laser program.
Step 2. Attach the rotary attachment to the universal laser while it is powered off.
Step 3. Level the rotrary attachment using the rotary jig with the cup mounted using a level.
Step 4. Manually bring the laser into focus with the glass. You should use the dream consultant for this.
Step 5. Remove the cup and apply the paper that has windex to the cup and secure the paper with painters tape to the cup.
Step 6. Re insert the cup and check again the cup again to make sure it is level in the rotary attachment.
Step 7. Start the etching process.
Step 8. Remove cup and paper and then wash in the sink and enjoy :)