Glass Tumbler: Customized Lasercut Glasses Using Lasercut Rotary Tool
by emilyshore in Design > Art
19021 Views, 33 Favorites, 0 Comments
Glass Tumbler: Customized Lasercut Glasses Using Lasercut Rotary Tool
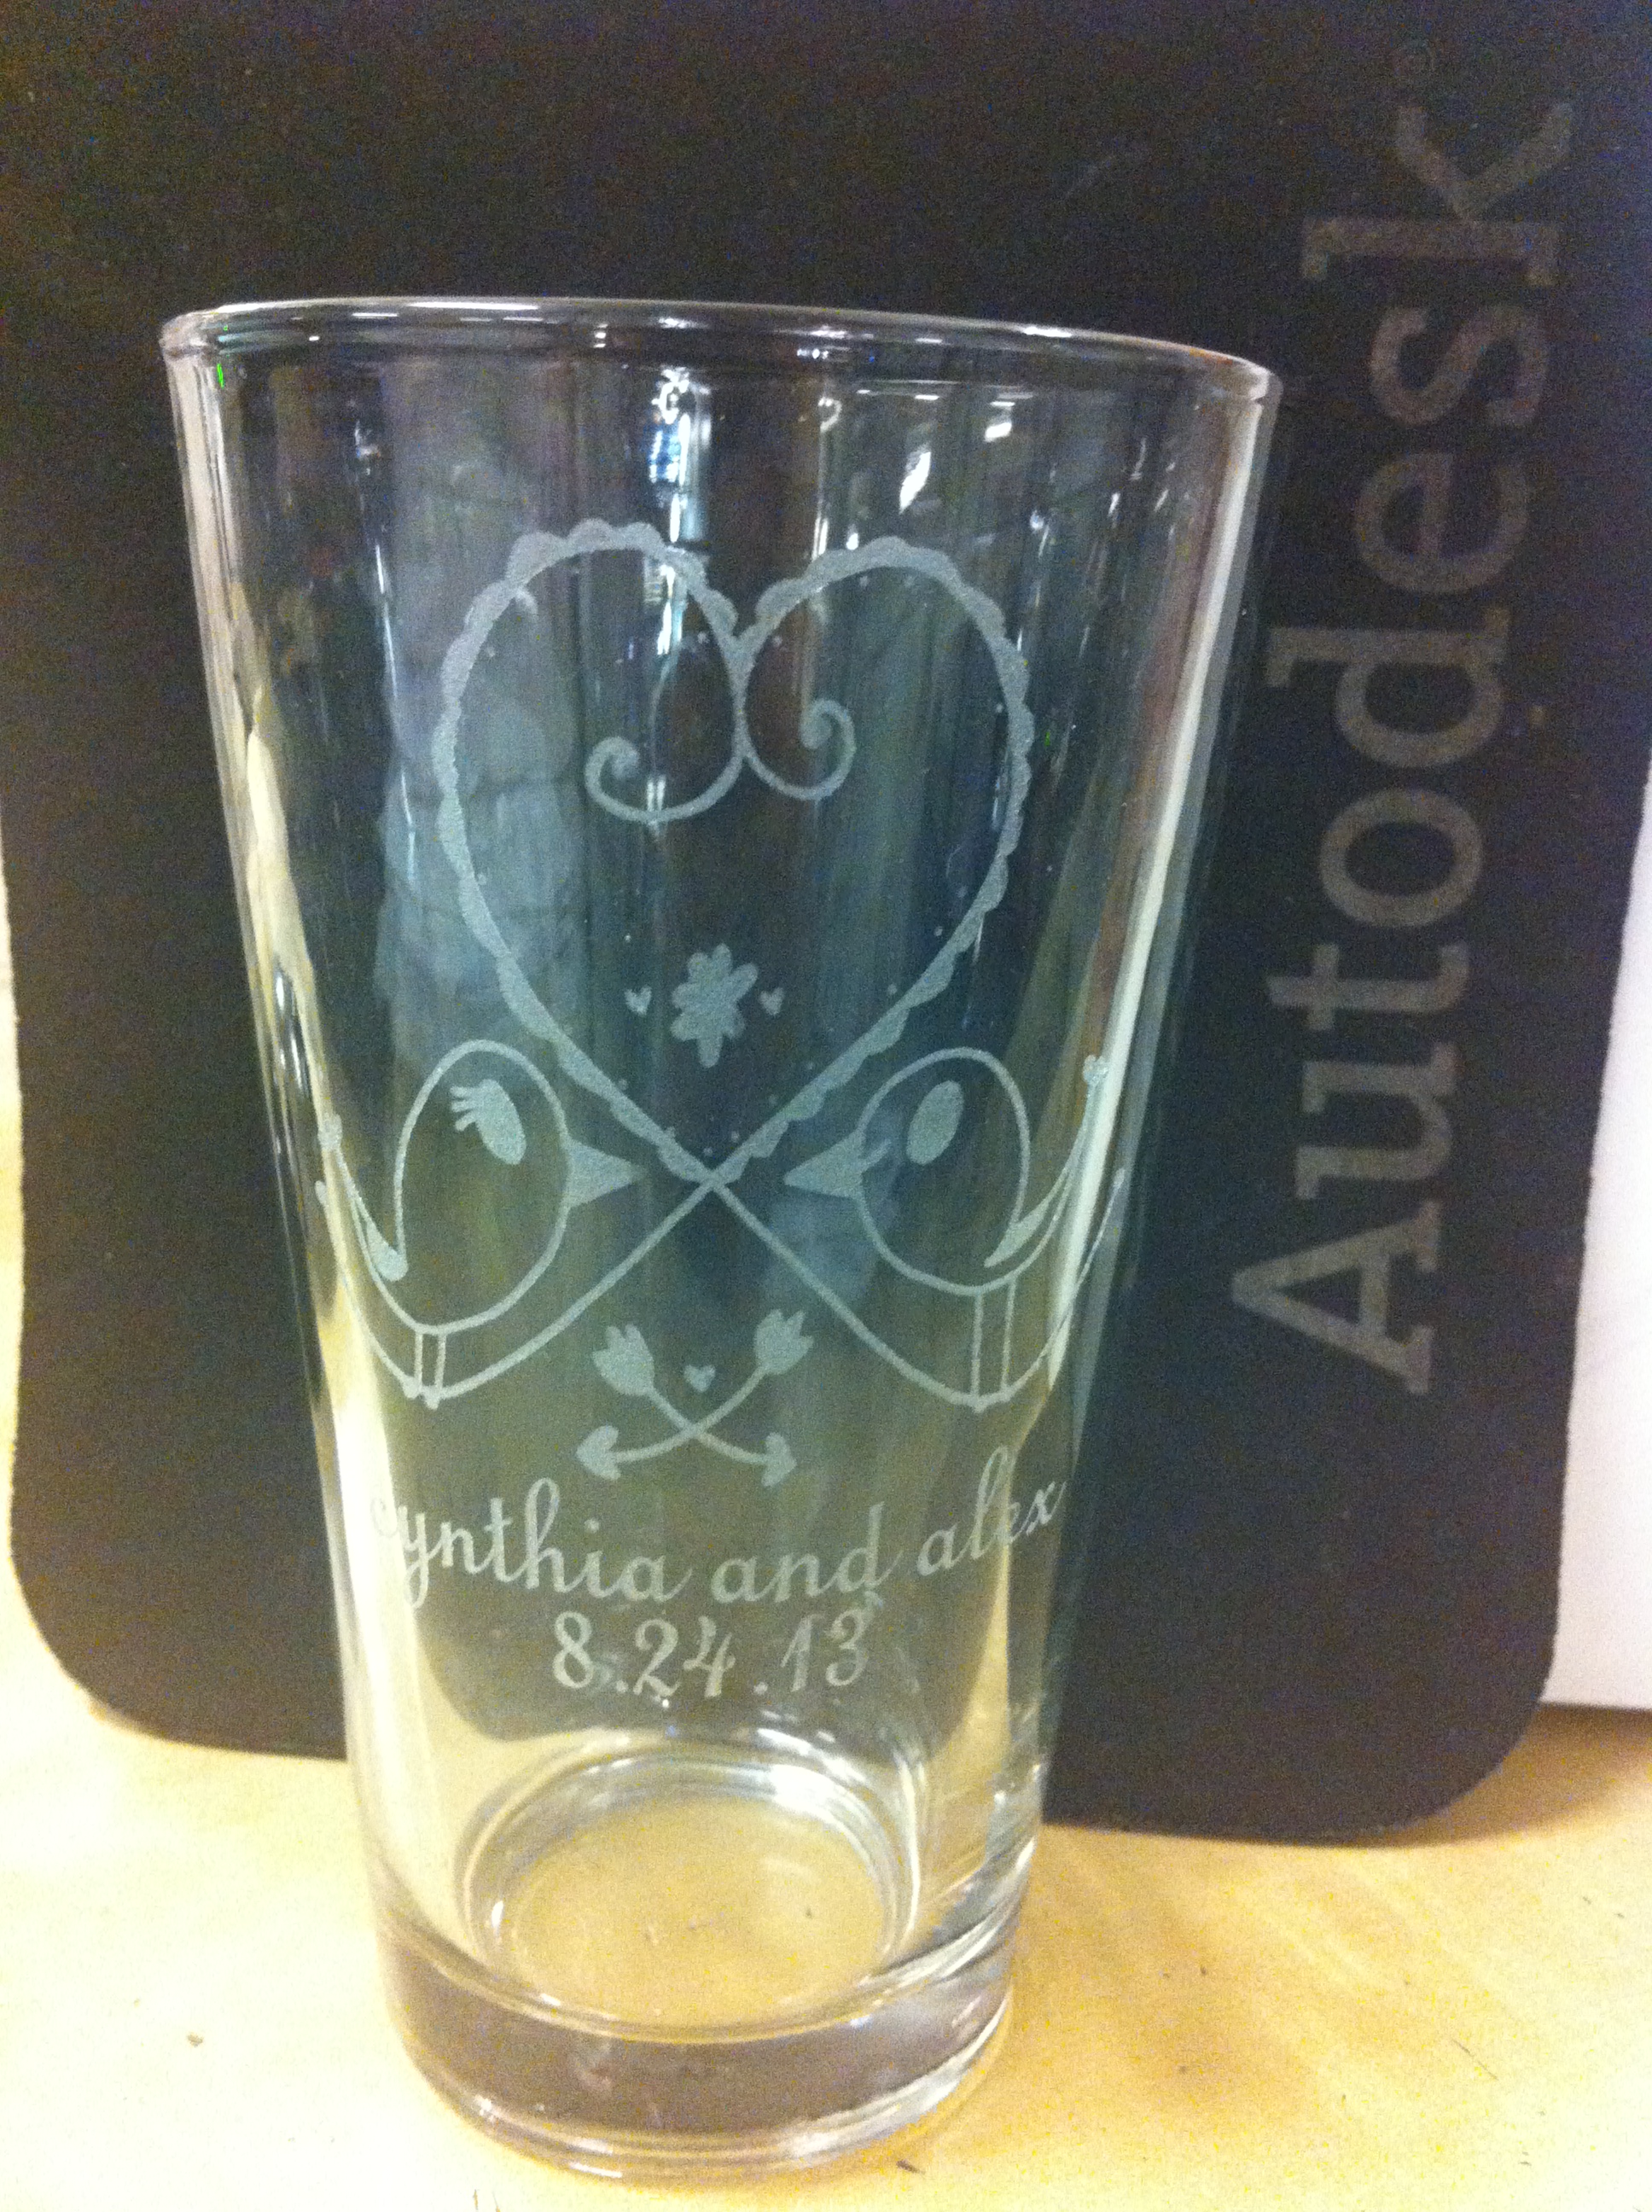
Turn a line drawing your friend made on a piece of paper into a customized tumbler.
Materials:
1. A dozen glass tumblers ($10 at Bed Bath and Beyond)
2. Art work (My friend texted me a line drawing me she made, and I cleaned it up in photoshop and illustrator)
3. Lasercutting machine with Rotary Attachment (which requires a special class at Techshop)
This video gives you a quick overview of what you'll be doing.
I made it at SF Techshop!
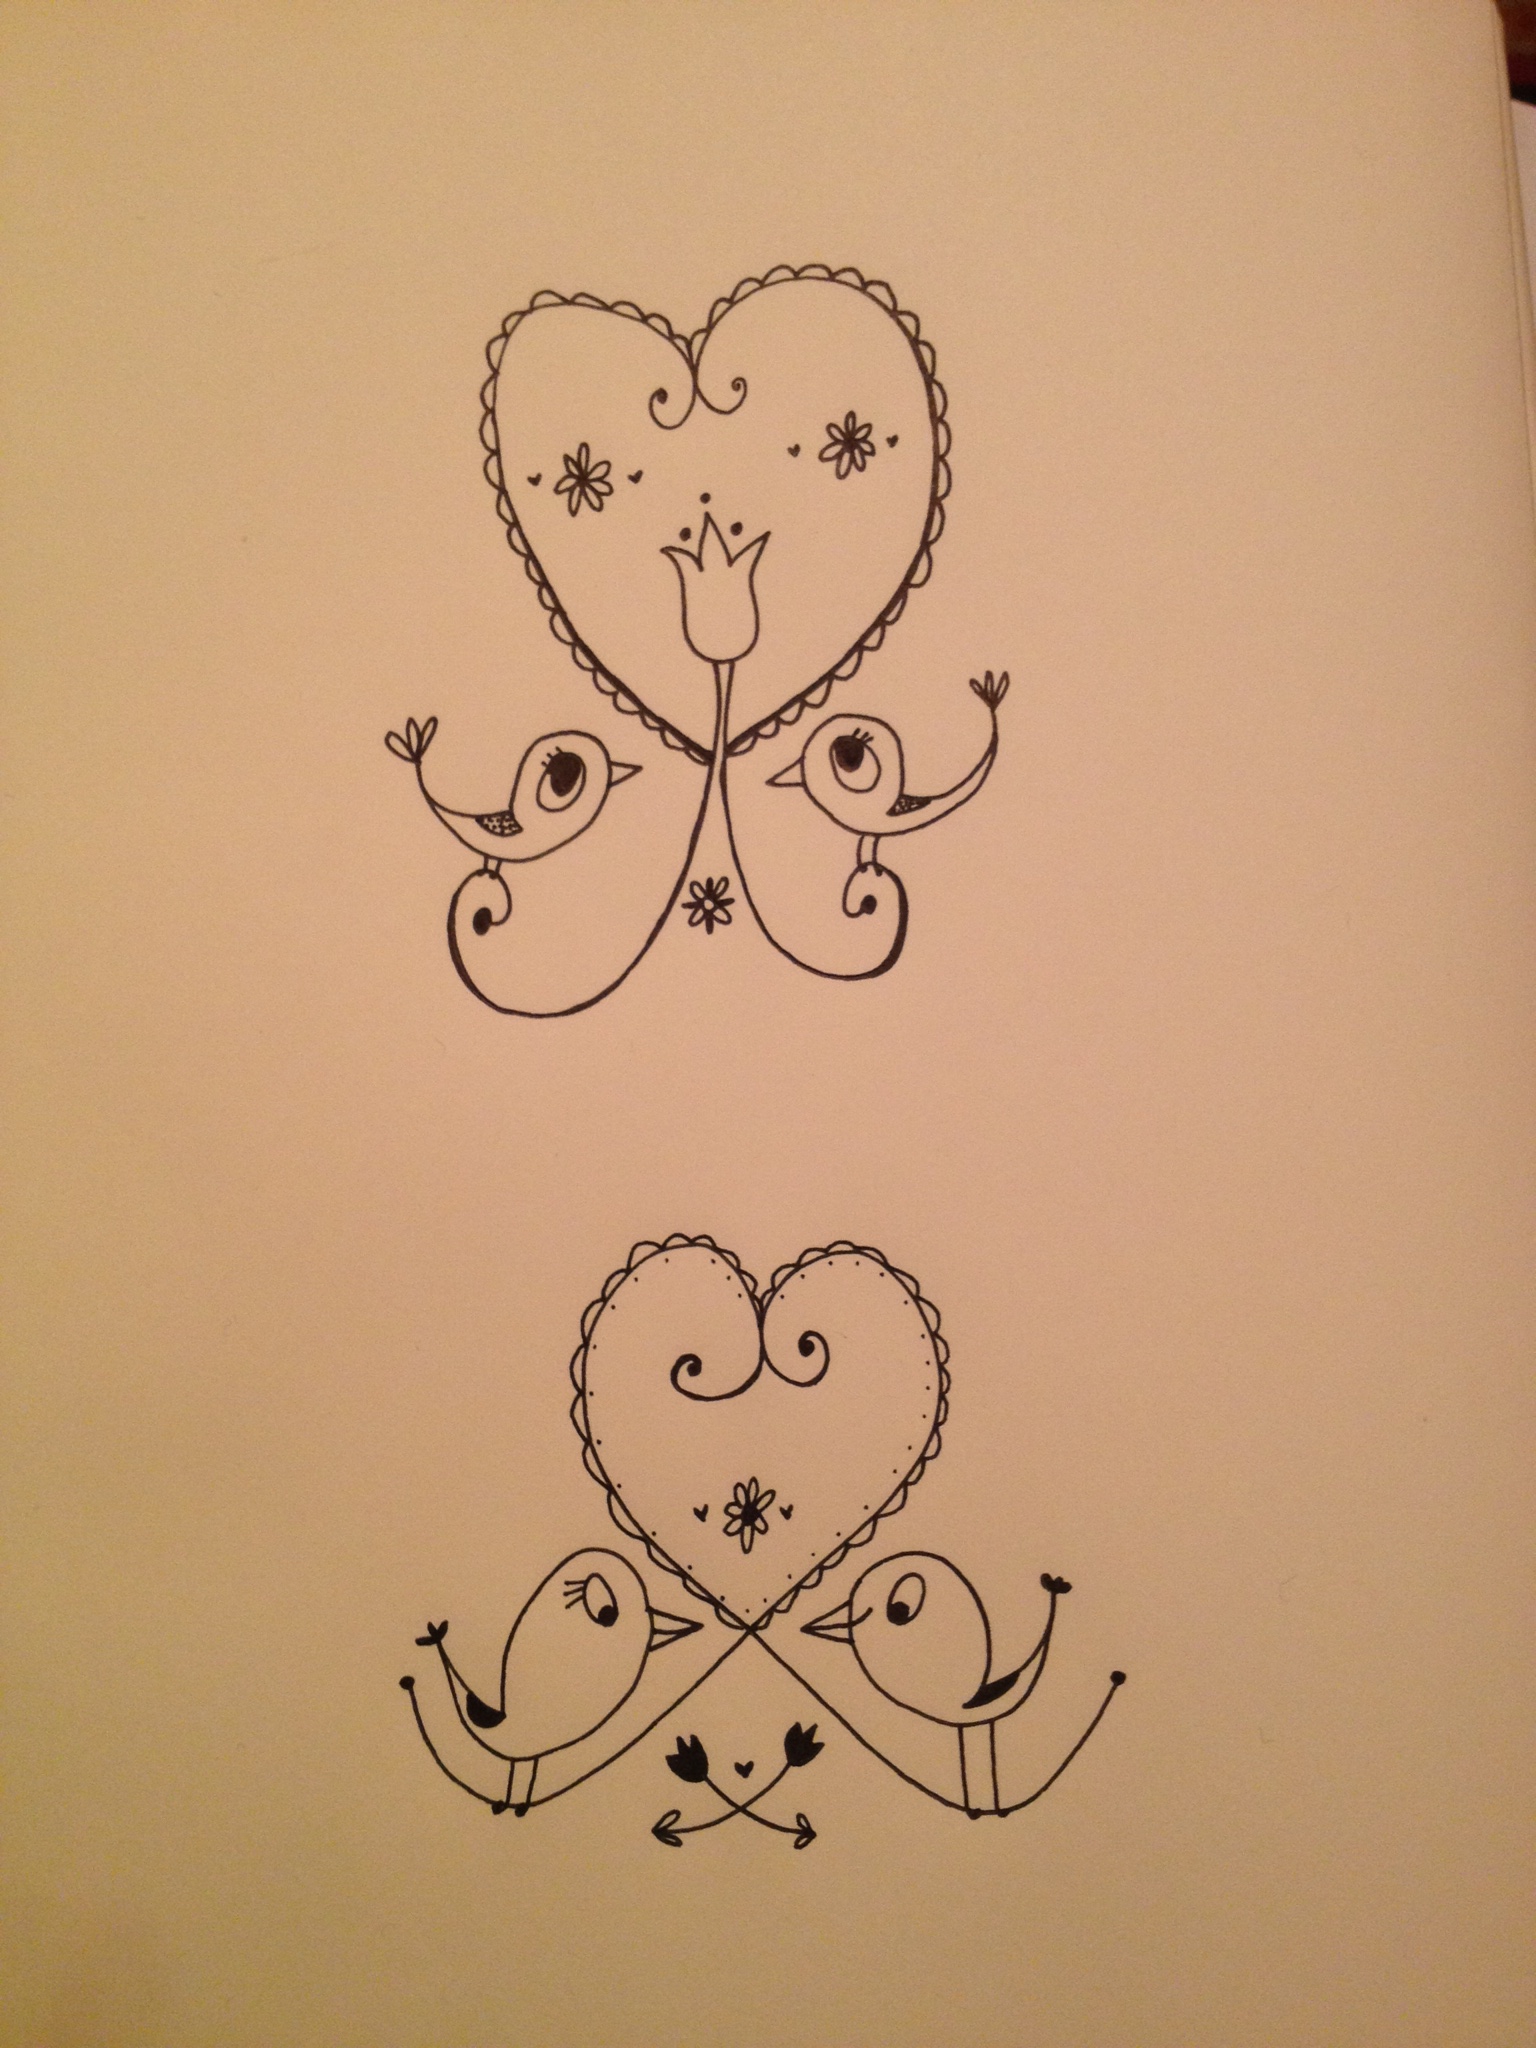
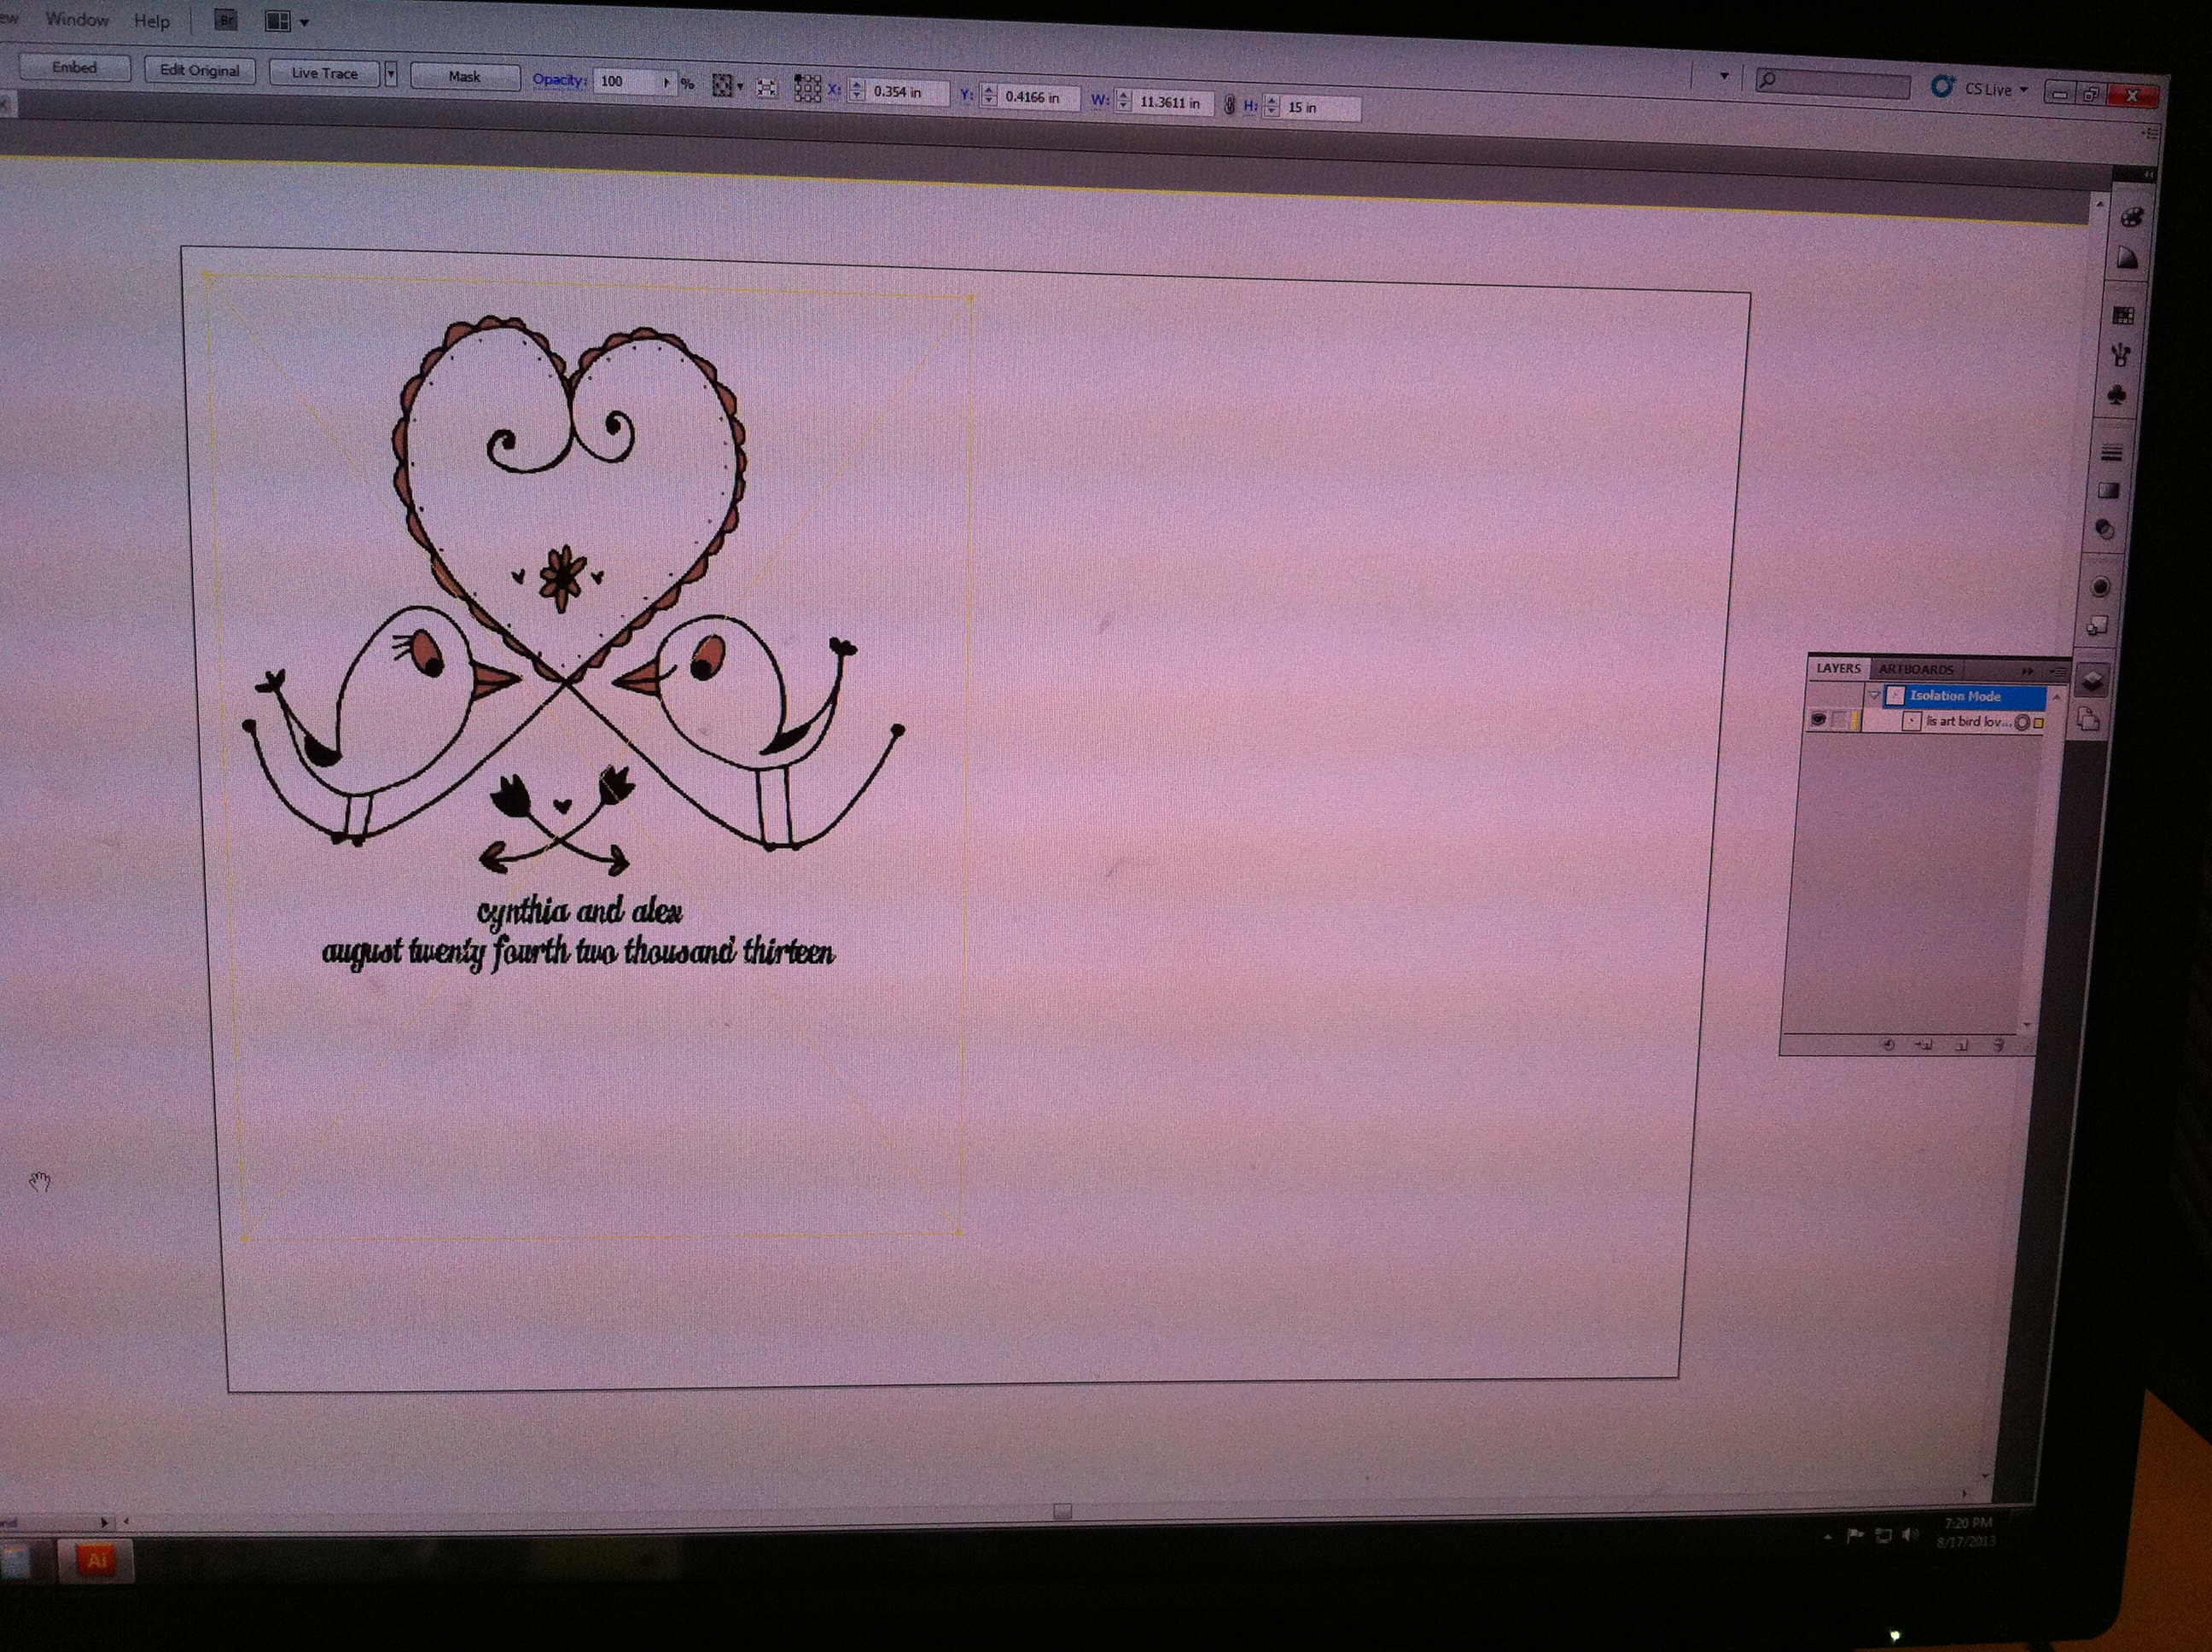
The nice thing about etching on a glass is that you can pretty much use any high contrast pixel image. You don't have to turn any line into a vector.
Cleanup In Photoshop
Cleanup In Photoshop
So basically, I imported my (low resolution) image that my friend texted me from her Iphone into Photoshop.
I opened it in Photoshop, used the magic wand tool to remove the tan background, zoomed into clean up the edges with the erase tool.
I opened it in Photoshop, used the magic wand tool to remove the tan background, zoomed into clean up the edges with the erase tool.
Import the image into Illustrator
I imported the image into Illustrator. When you open illustrator you want to make the canvas size the same as the surface area of your glass. I'll talk about that in the next step.
I imported the image into Illustrator. When you open illustrator you want to make the canvas size the same as the surface area of your glass. I'll talk about that in the next step.
Sideways in Illustrator
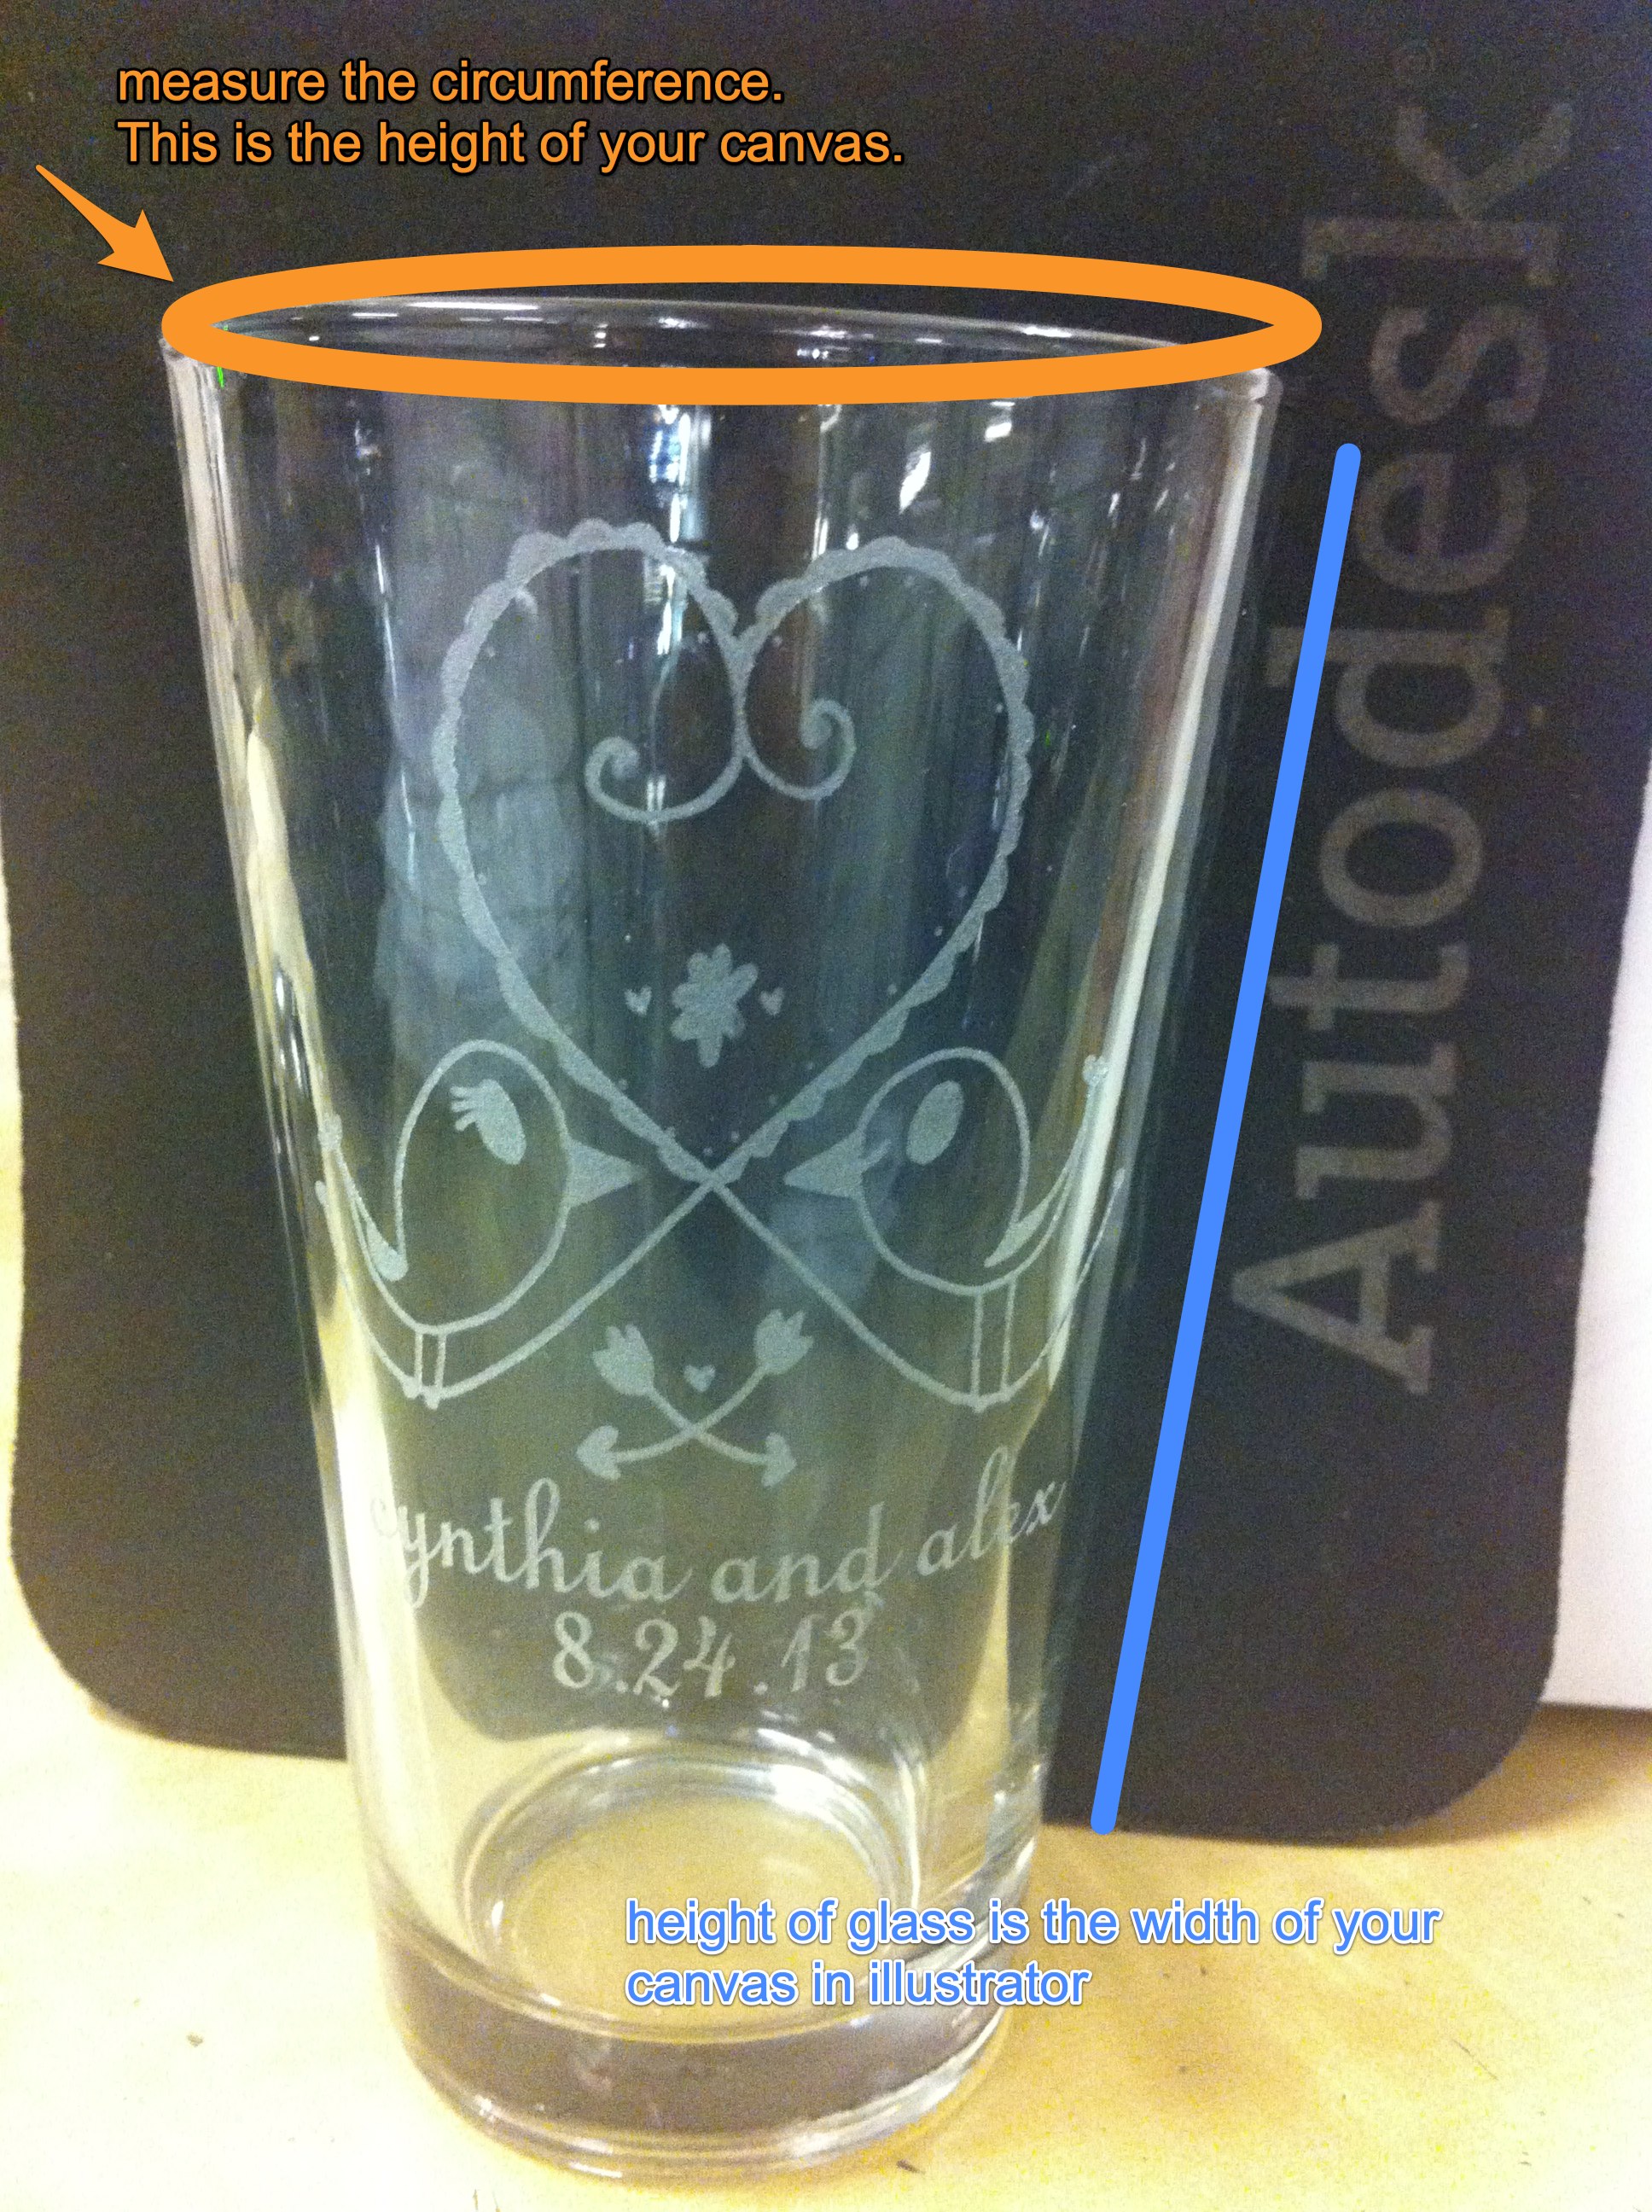
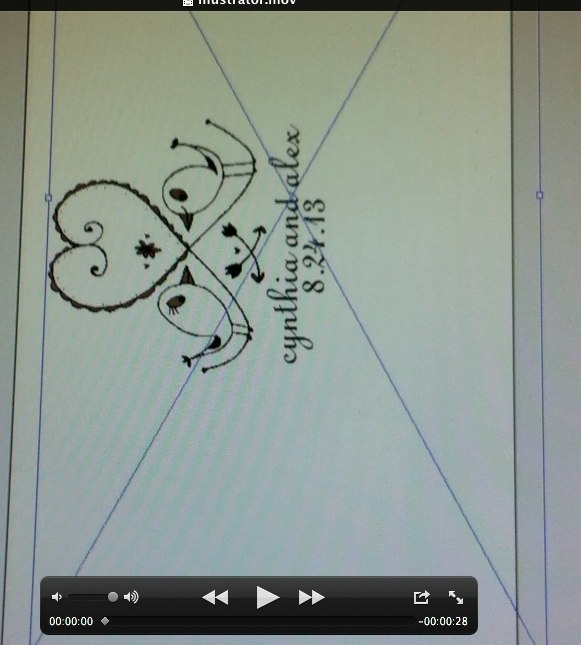
Sideways Orientation
The key thing to understand is this; the artwork prints sideways.
Watch this video to see what I mean....
In other words, once you're in illustrator, you want to orient your artwork like my second image.
Normally when I lasercut on plywood I leave my "canvas size" set at 24" x 18" (the maximum size of the lasercutting bed. But I was told that for the rotary tool you definitely want to make the canvas size match the approximate size of your material.
Distortion
Note: There is some distortion that happens as the tumbler slopes in and therefore a rectangle for artwork isn't totally accurate.
I found that by using thinner fonts (as opposed to chunky ones) that the distortion was less noticable and I didn't have to distort my text to make it legible. I ruined a few glasses trying to use a chunky vintage font.
The Rotary Attachment
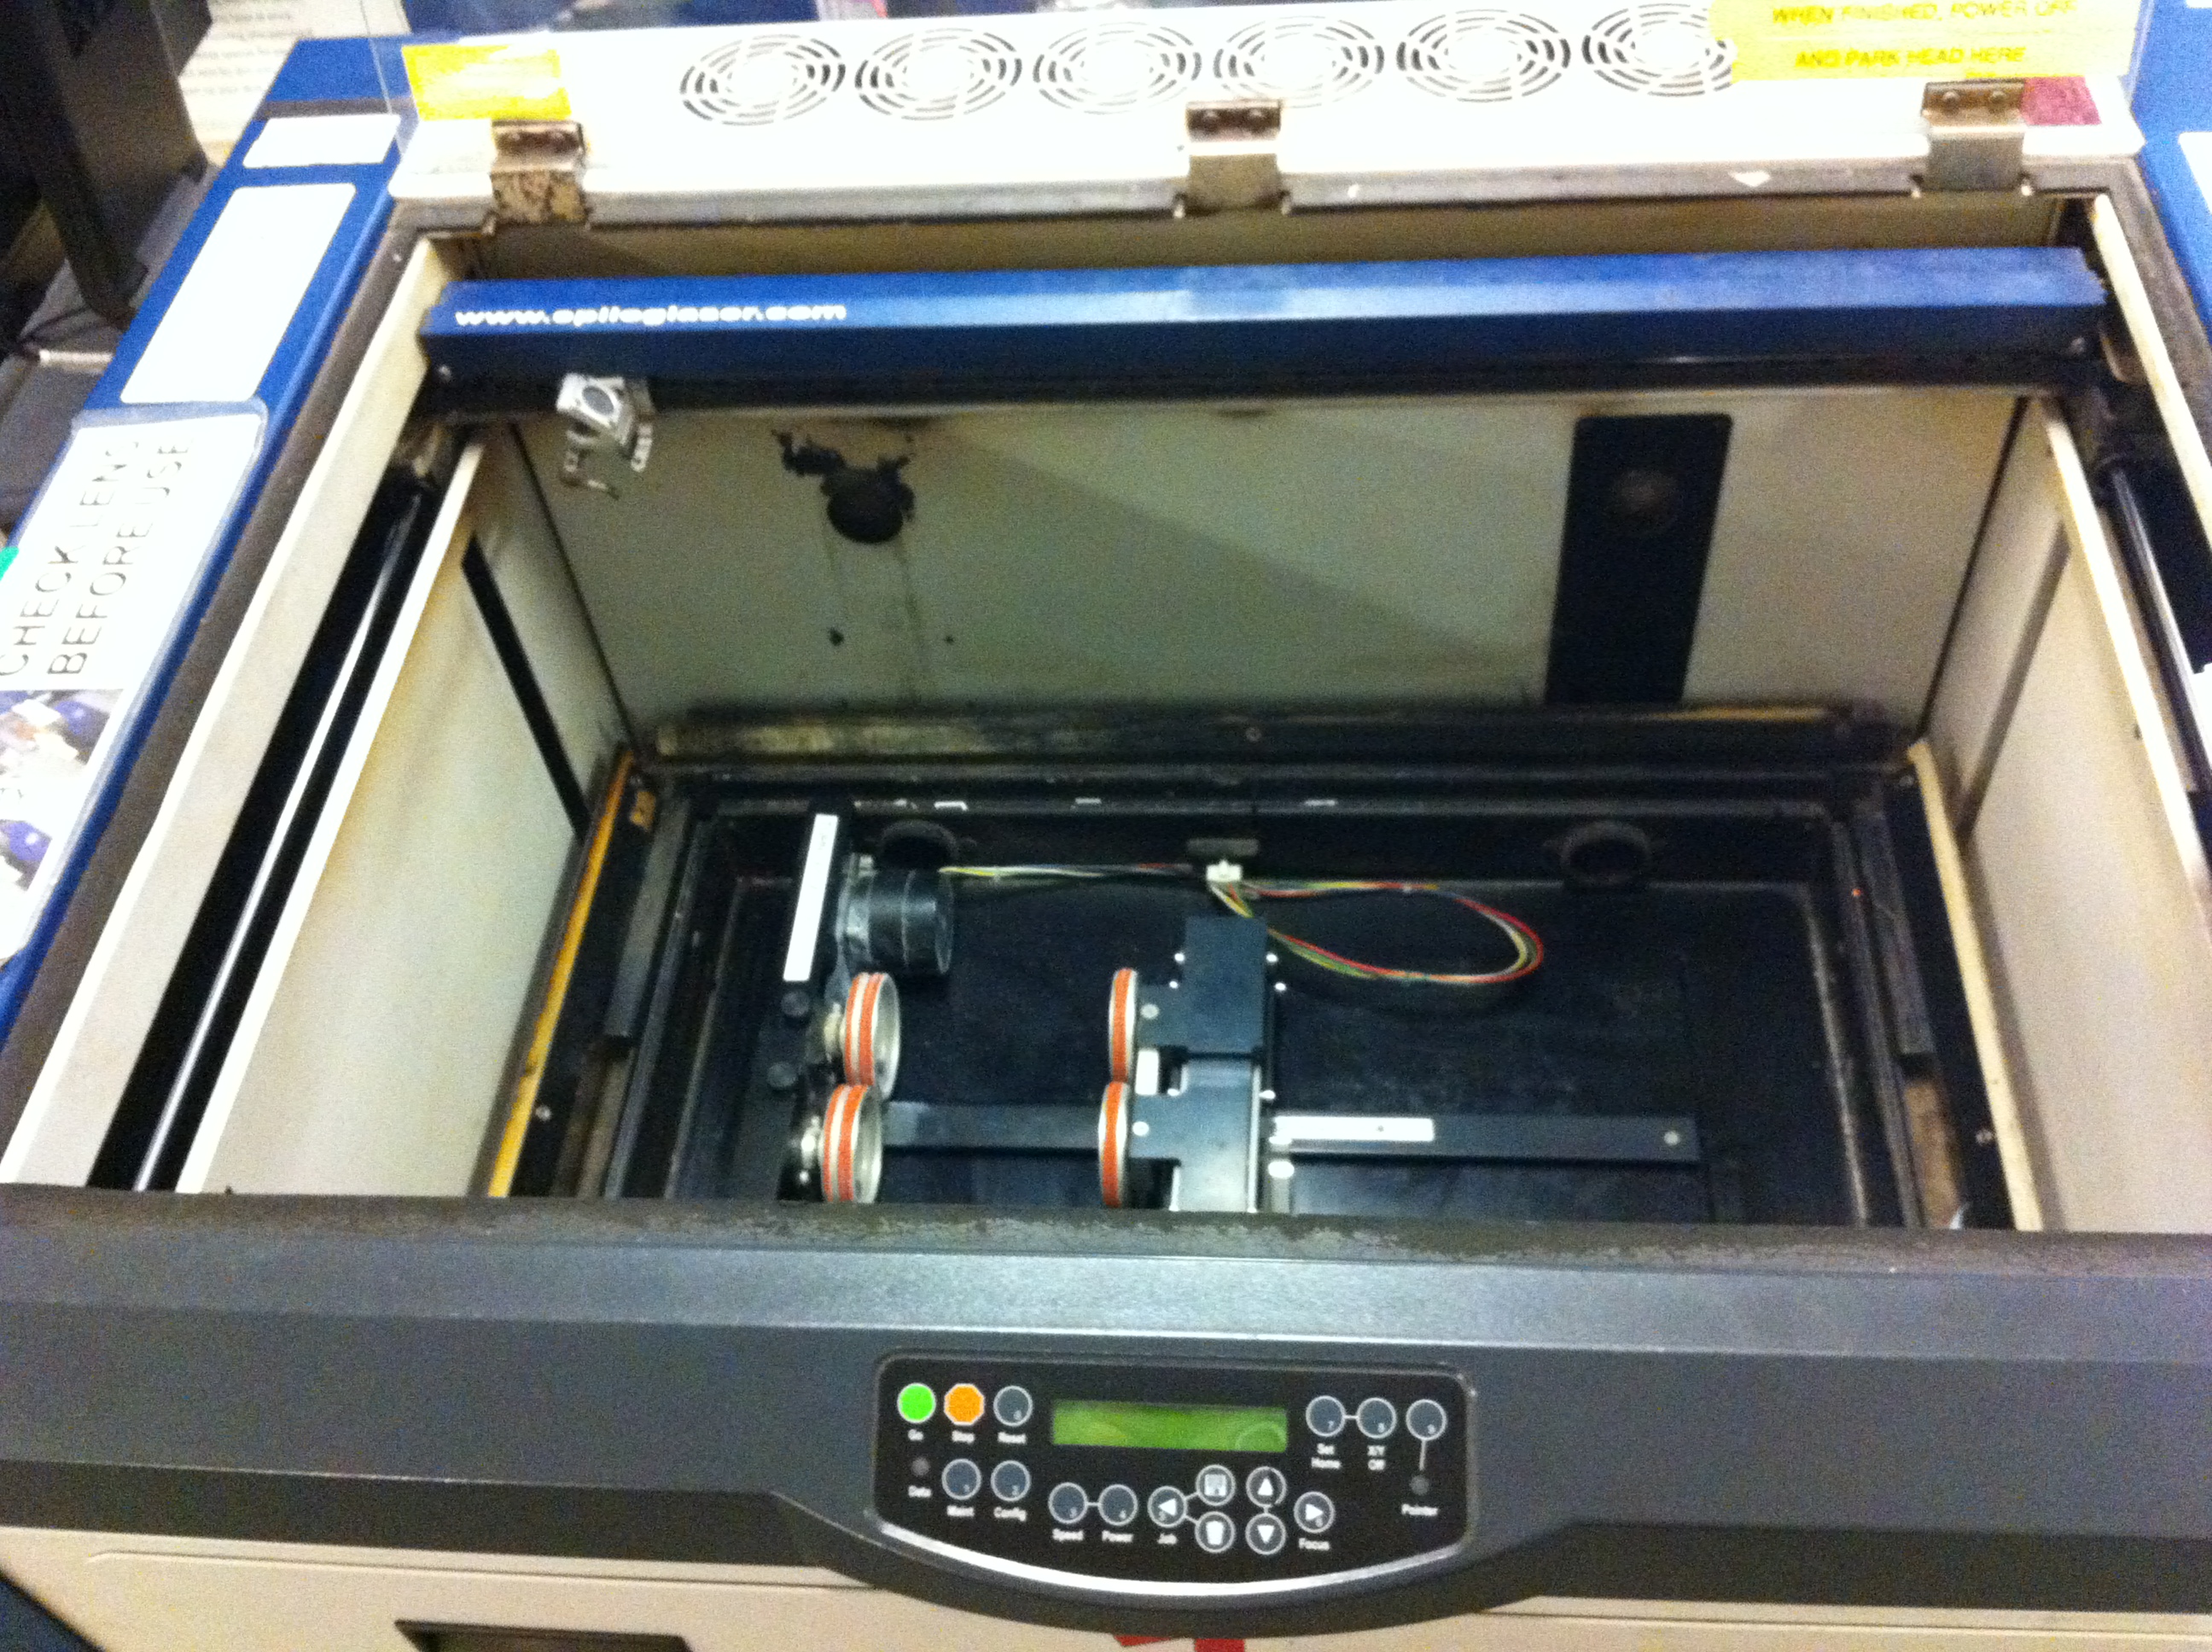
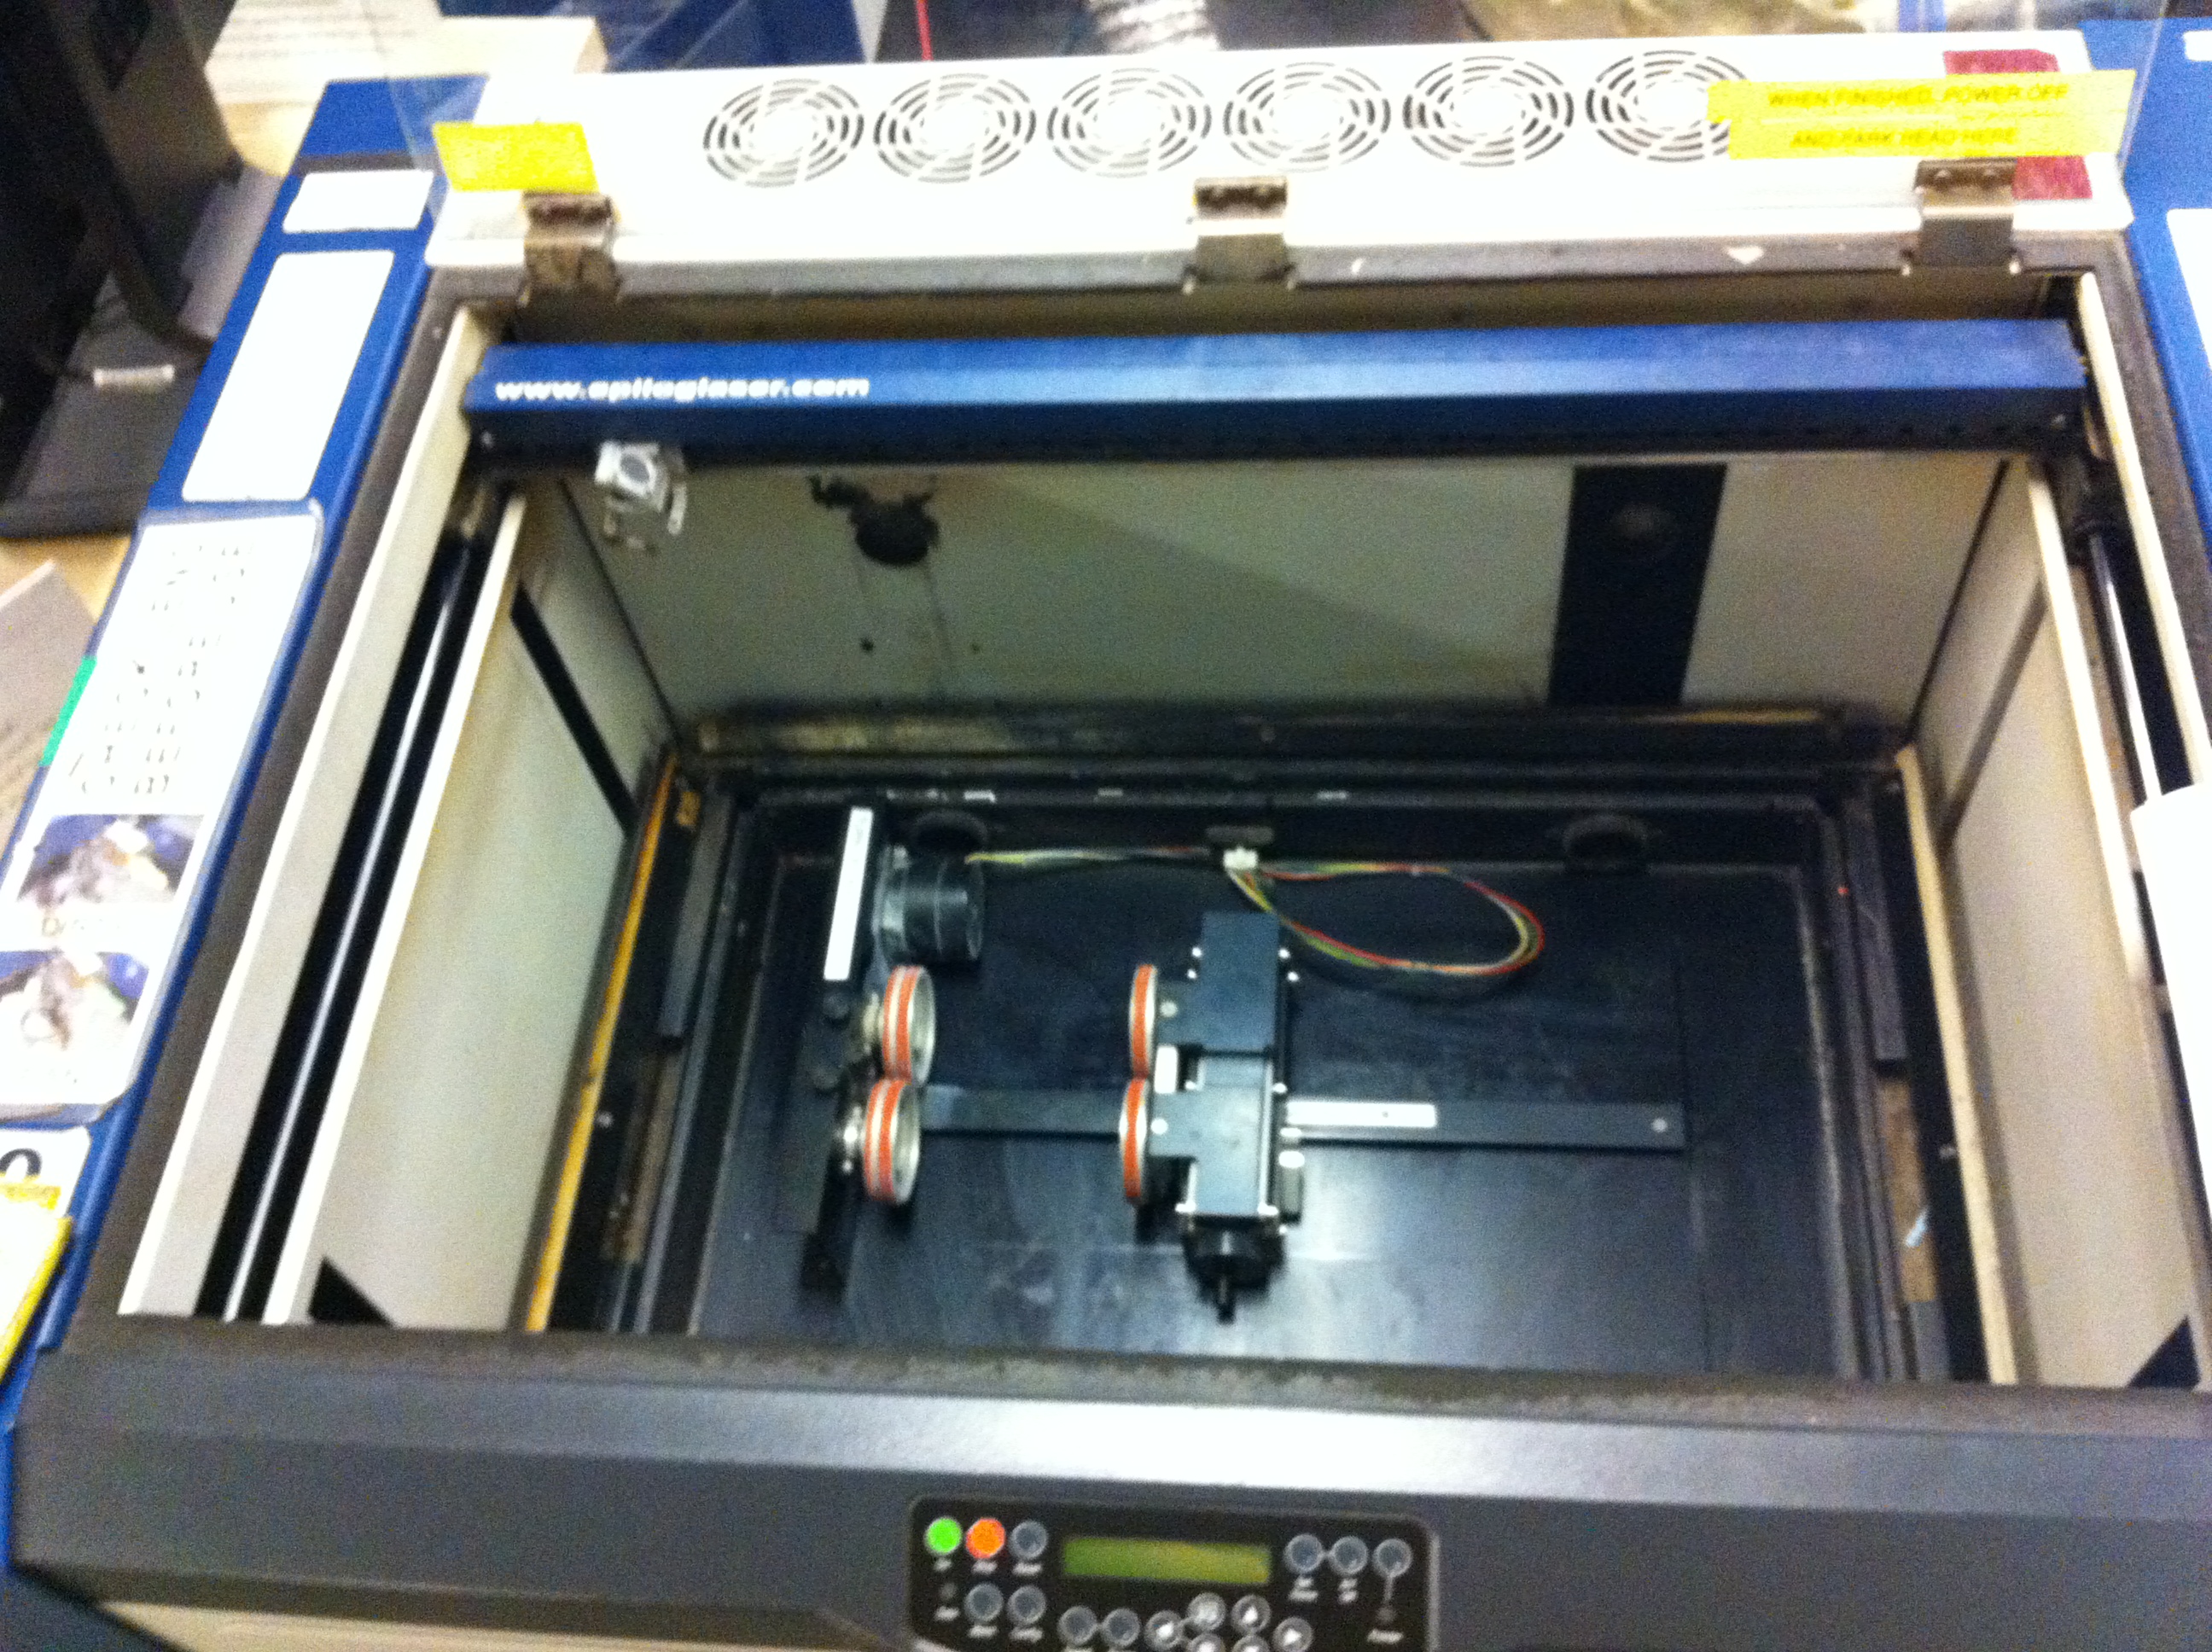
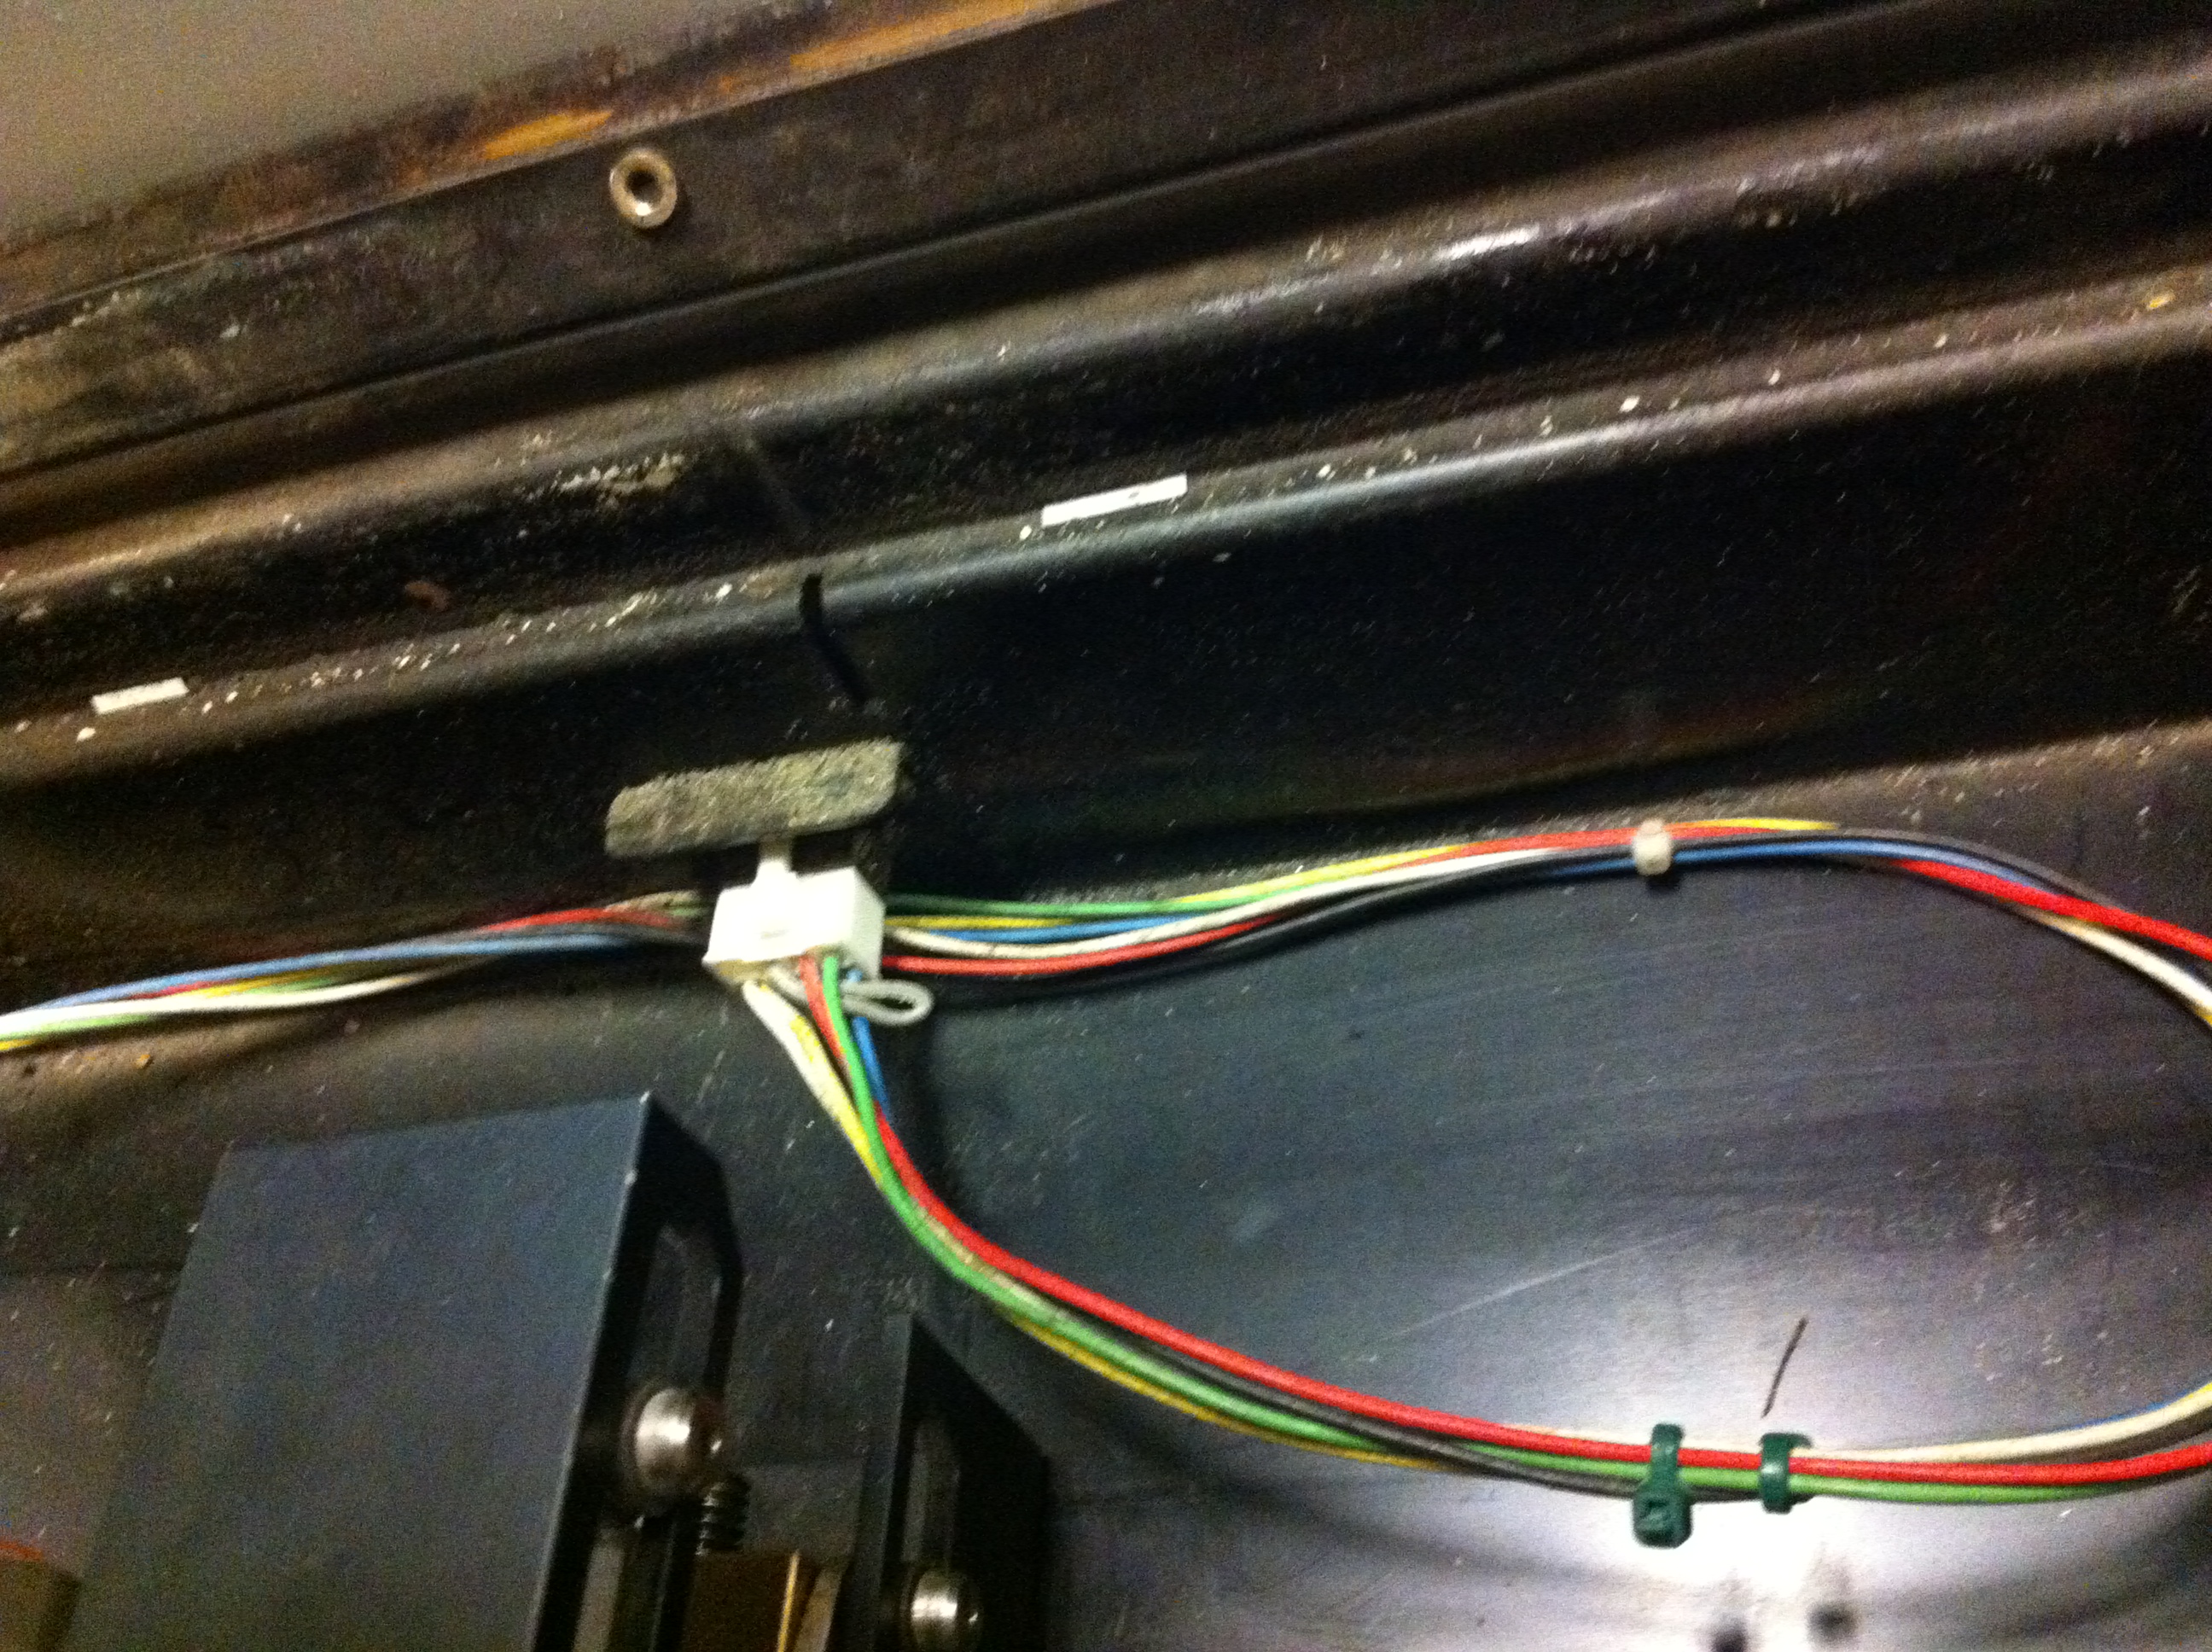
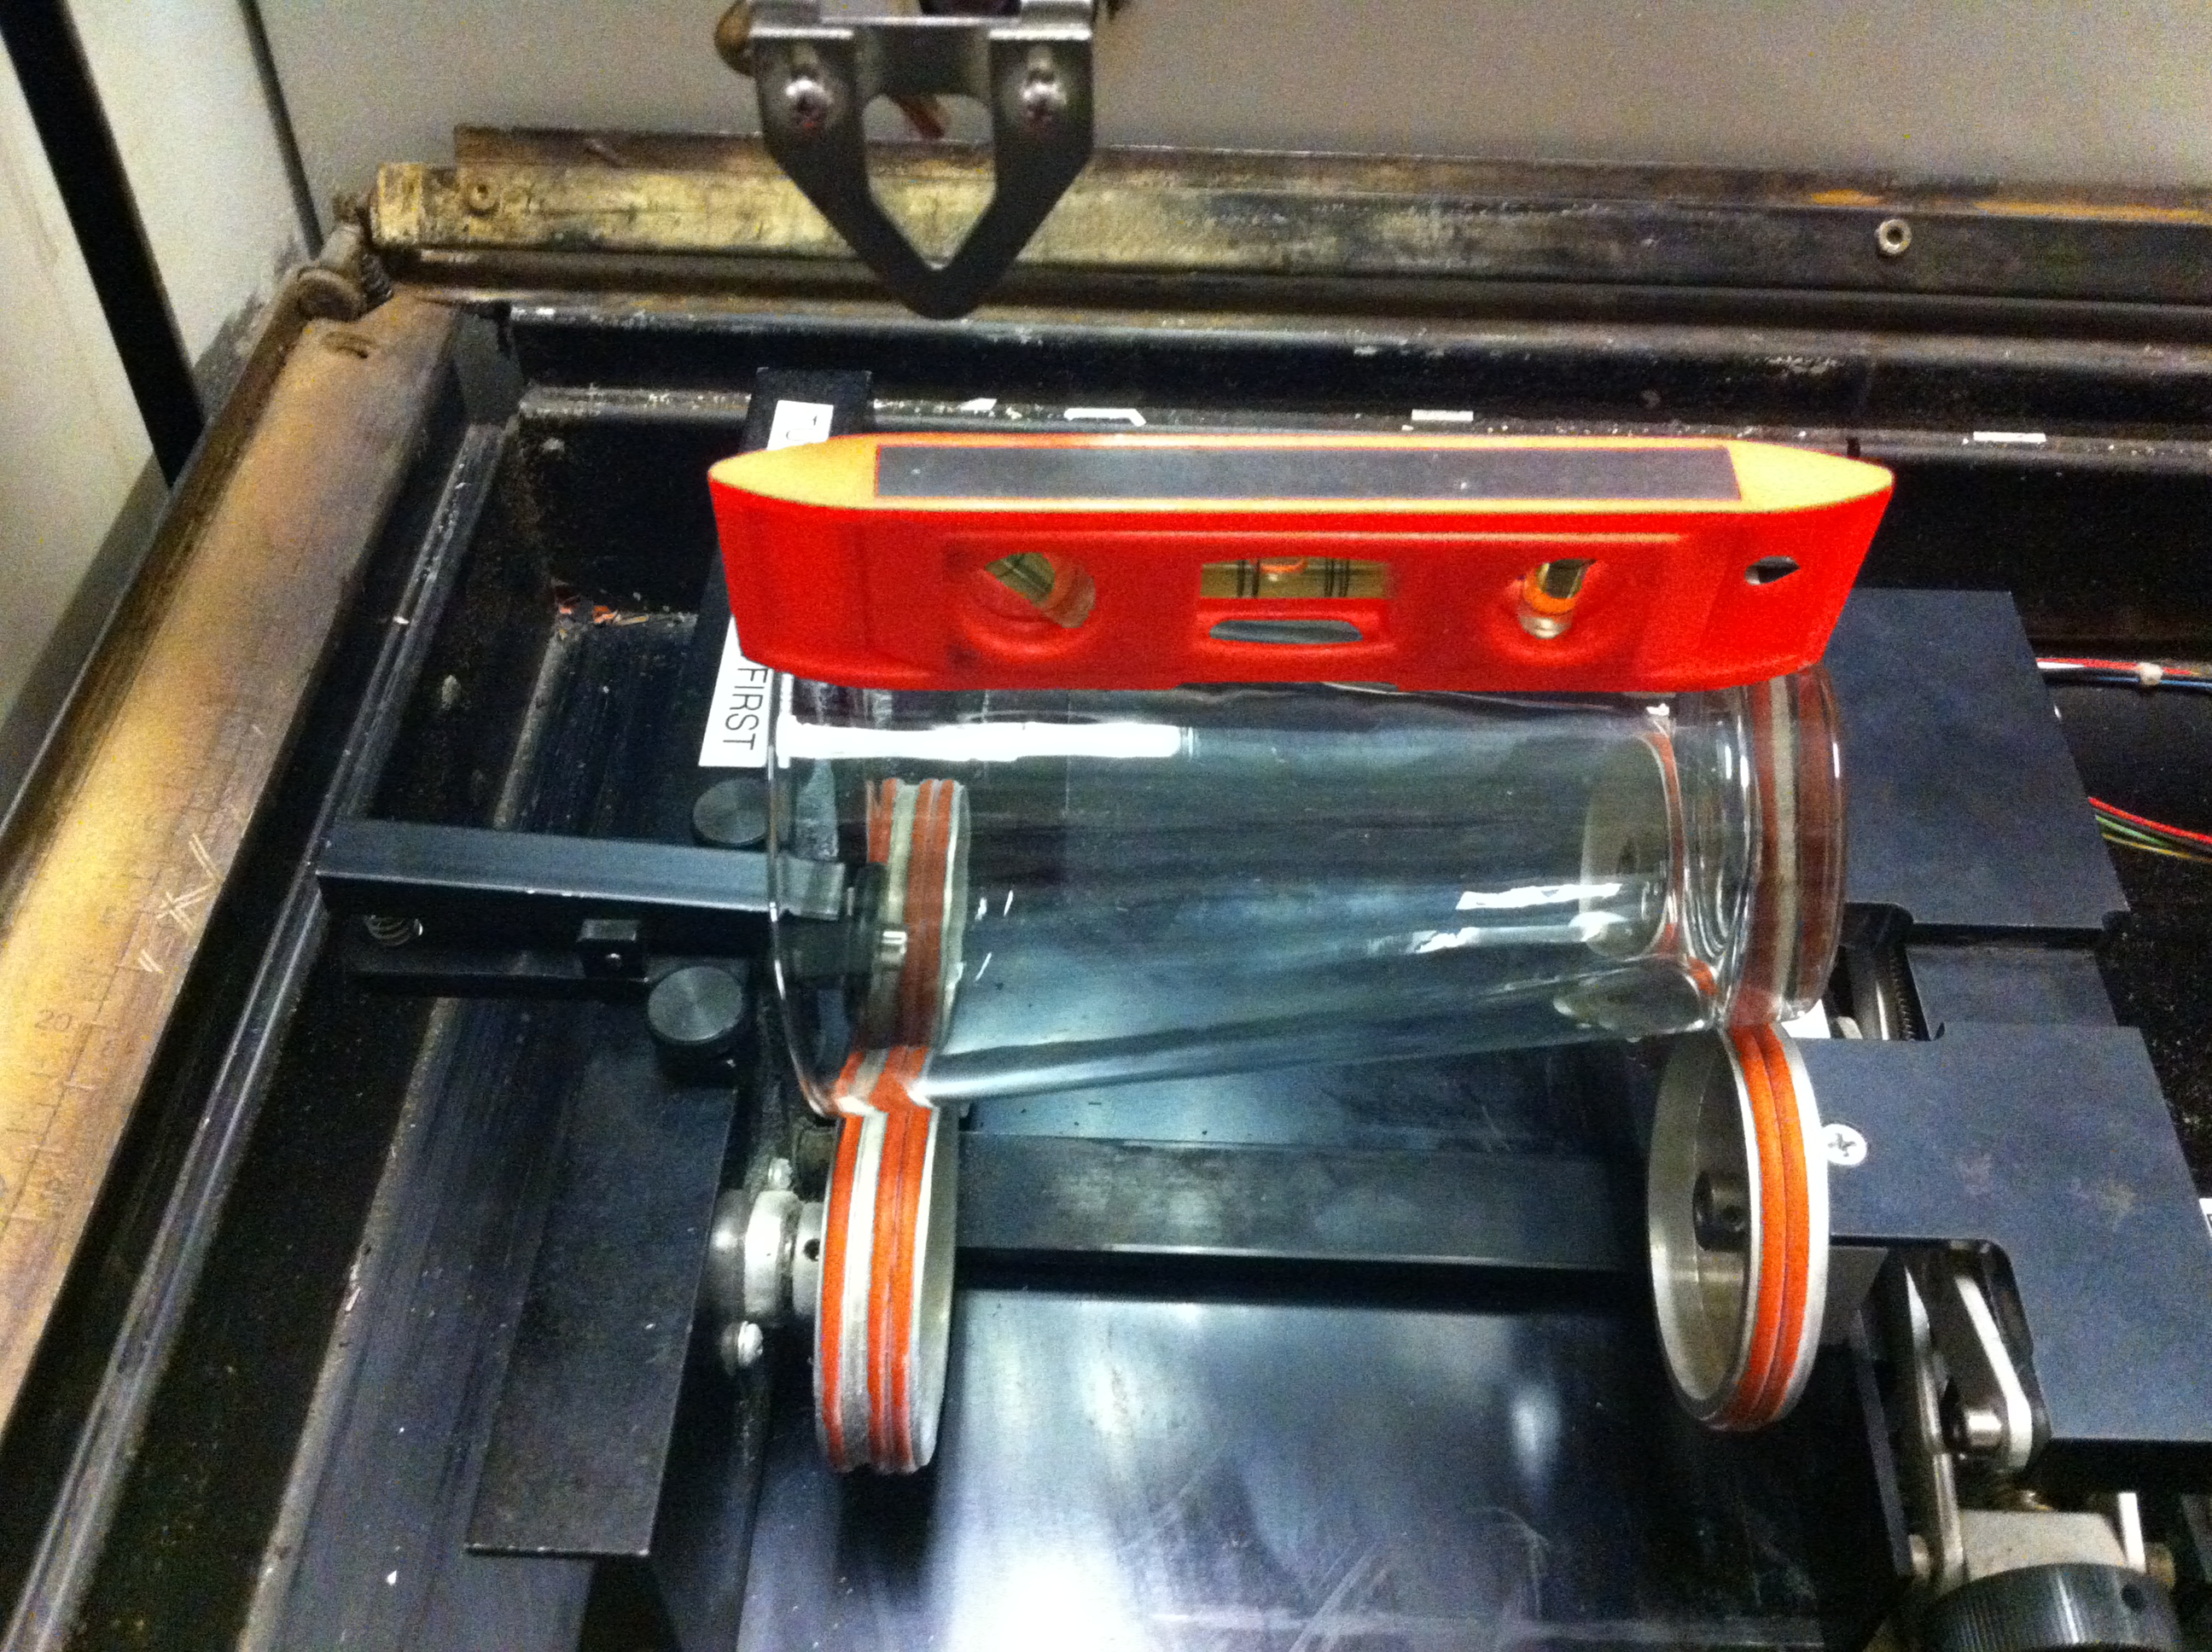
Remove all the bottom trays, lower tray to bottom.
Turn the Laser Machine power OFF.
Load in the rotary attachment.
Plug the rotary attachment into the wall of the laser machine.
Place your glass on the wheels. Use the leveler to make it flat.
Turn the laser machine back on! You're ready!
Turn the Laser Machine power OFF.
Load in the rotary attachment.
Plug the rotary attachment into the wall of the laser machine.
Place your glass on the wheels. Use the leveler to make it flat.
Turn the laser machine back on! You're ready!
Printing Menu
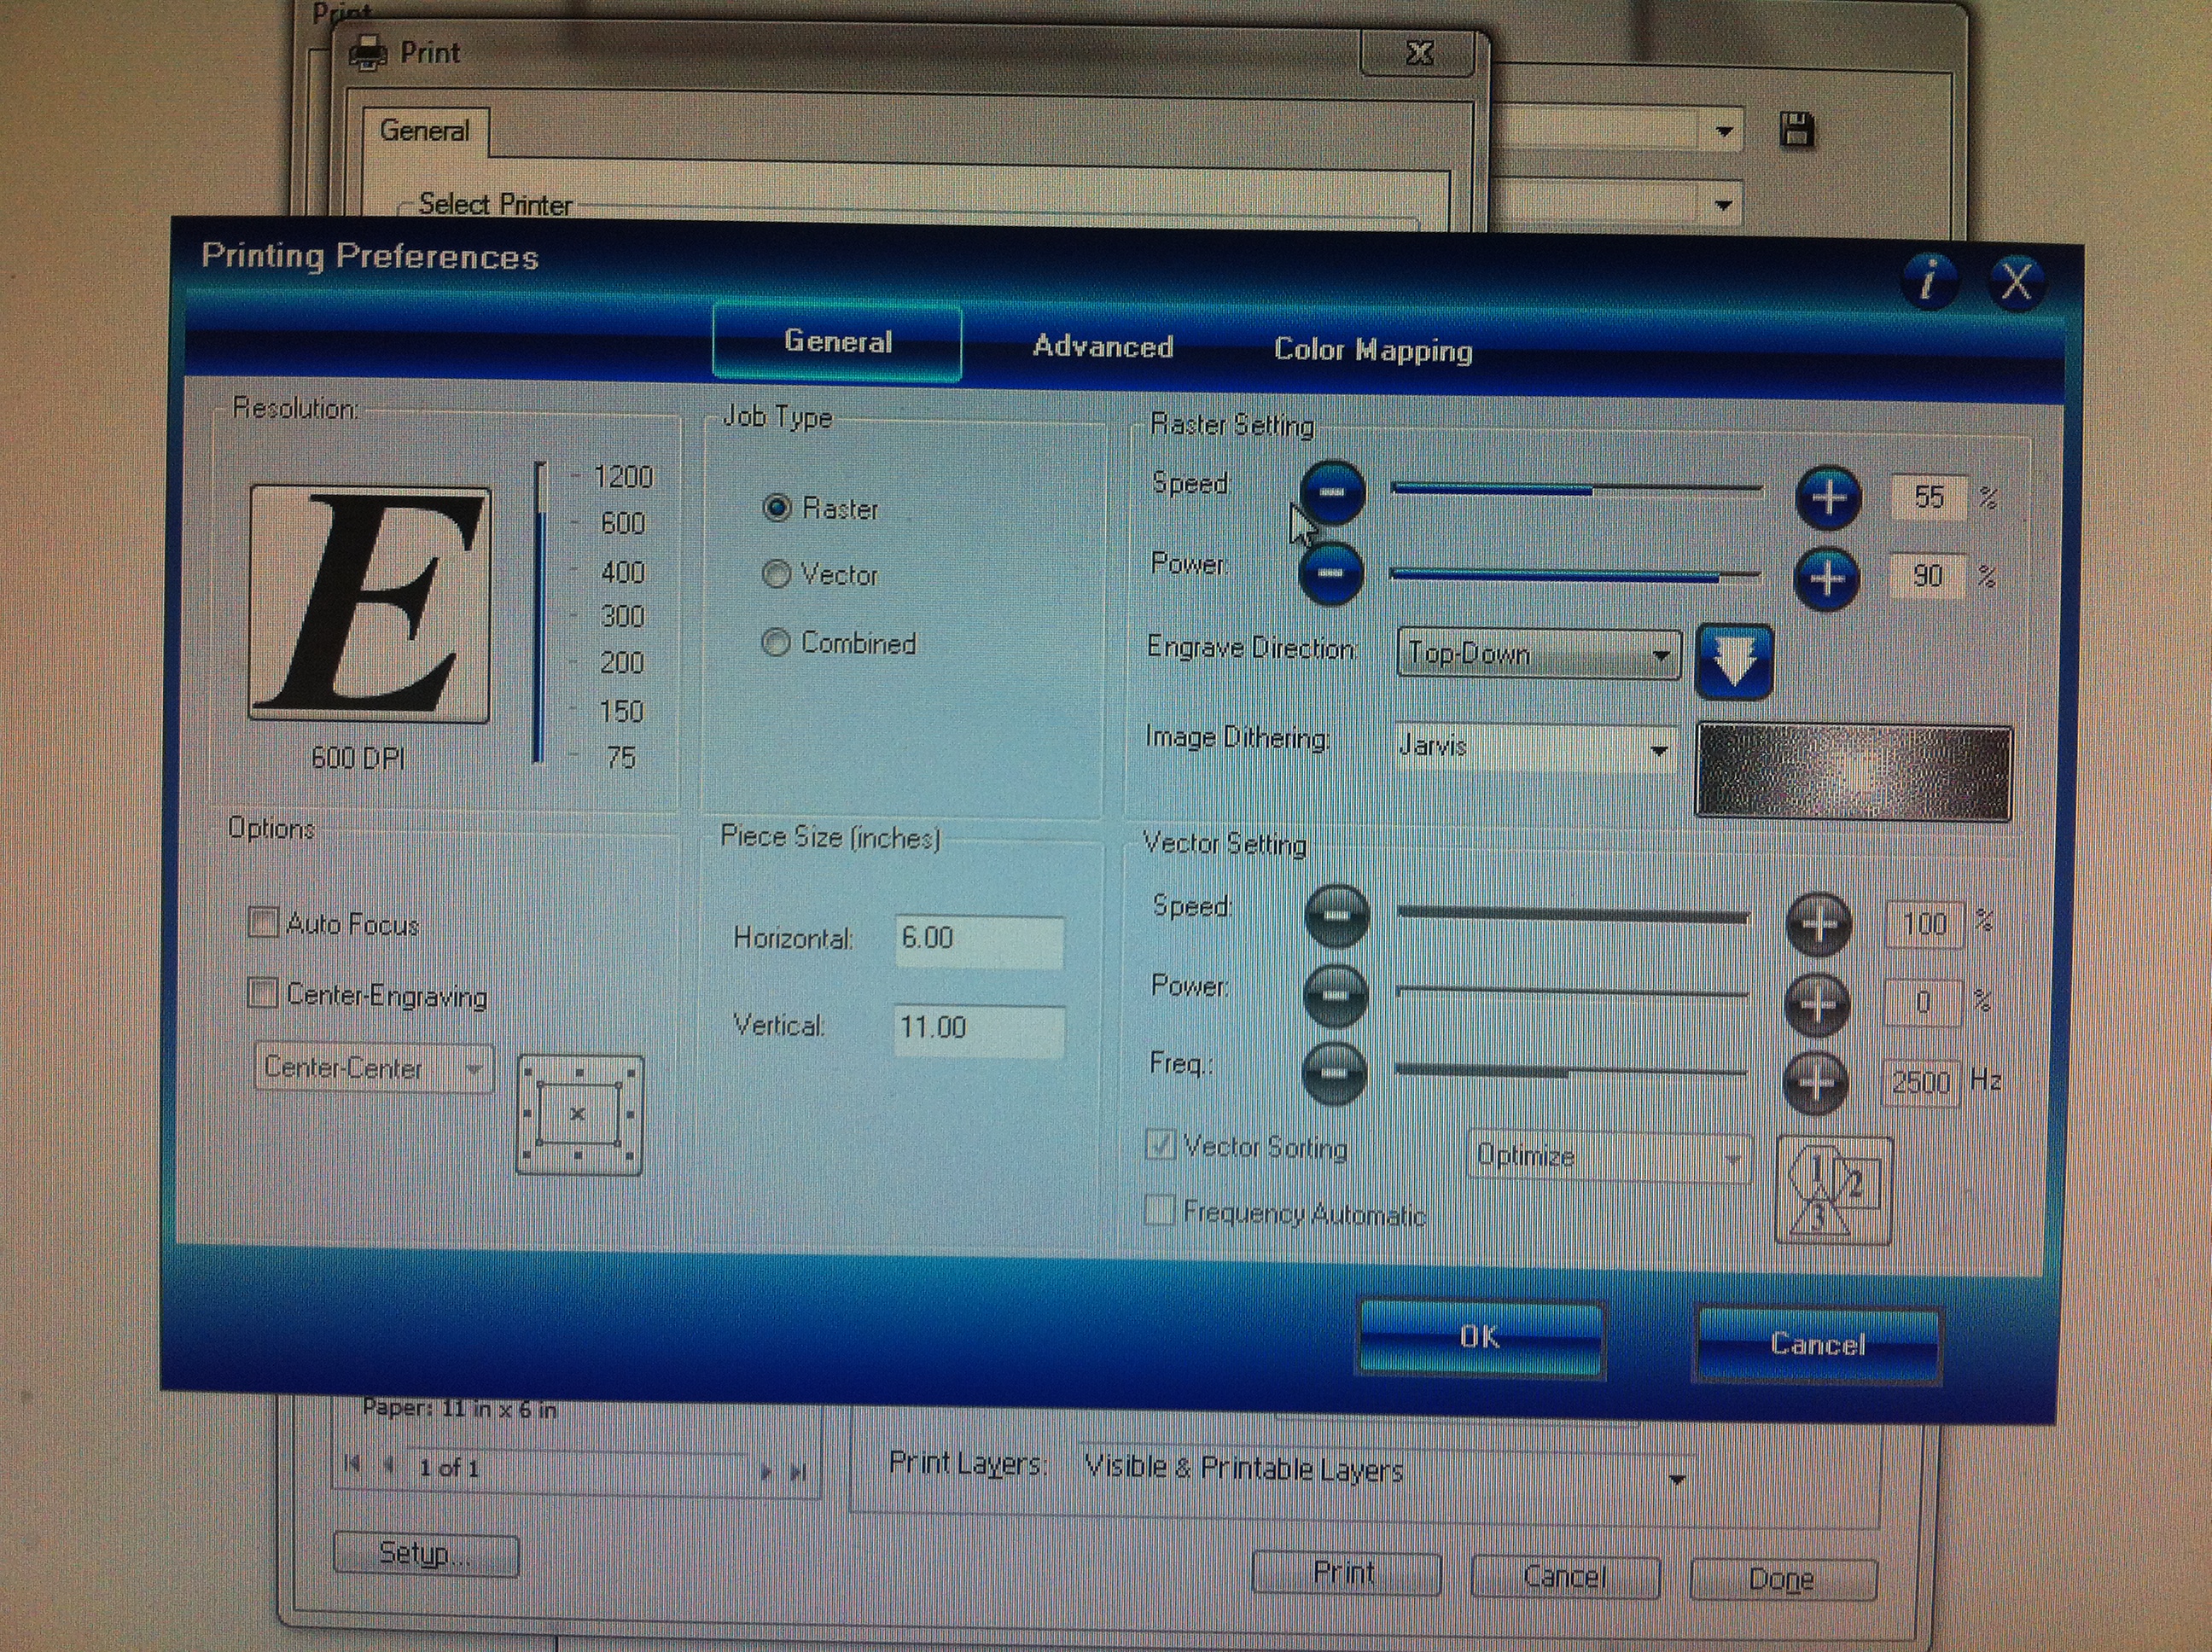
This is the menu for printing.
Remember that printing at too high of a speed or power can damage the machine so always follow the instructions so you stay below dangerous settings.
Remember that printing at too high of a speed or power can damage the machine so always follow the instructions so you stay below dangerous settings.