Photo Manipulation / Glass Spider in Photoshop (with Pictures and Video)
by zelle_des in Design > Digital Graphics
1130 Views, 0 Favorites, 0 Comments
Photo Manipulation / Glass Spider in Photoshop (with Pictures and Video)

Fun tutorial on how to add glass (crystal, ice) effect on practically anything. I'm using Adobe Photoshop 2020, but any photoshop version suits.
Create New Document
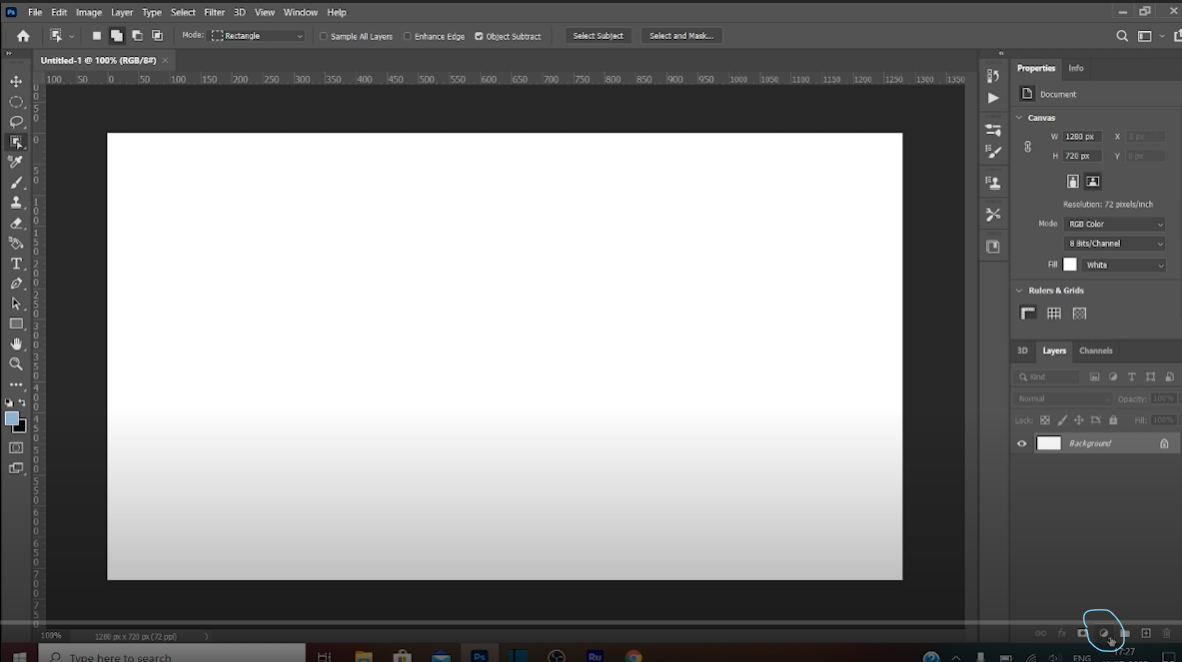
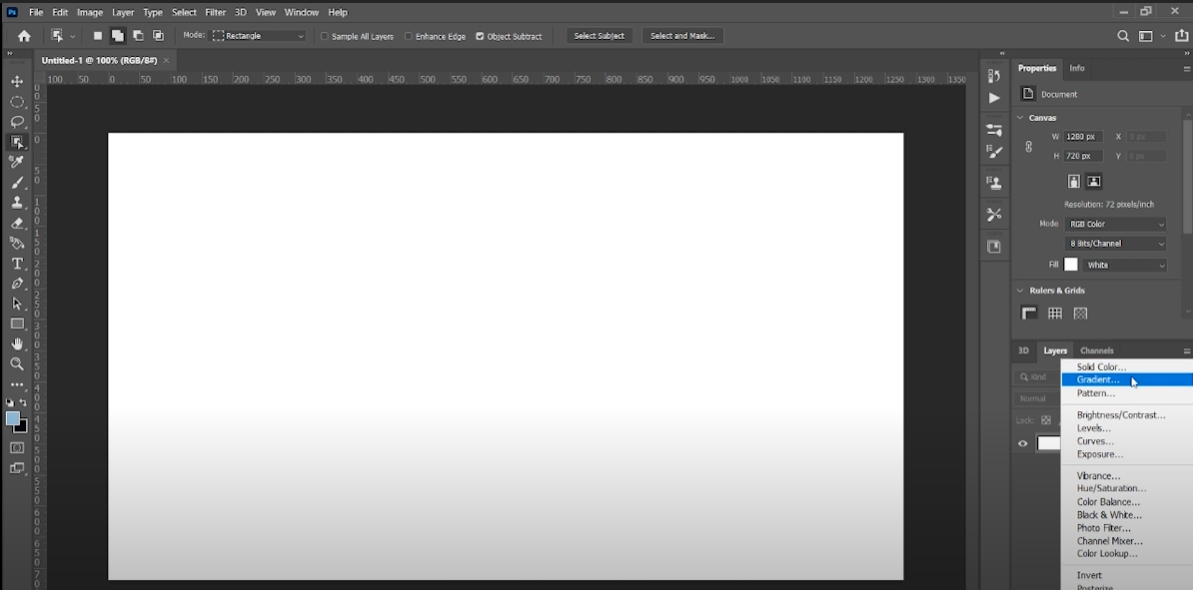
Create new document in Photoshop (what is essentially a blank canvas). Then once we've created the the document, click the New Adjustment Layer button at the bottom of the Layers panel, and choose Gradient.
Select Background Color
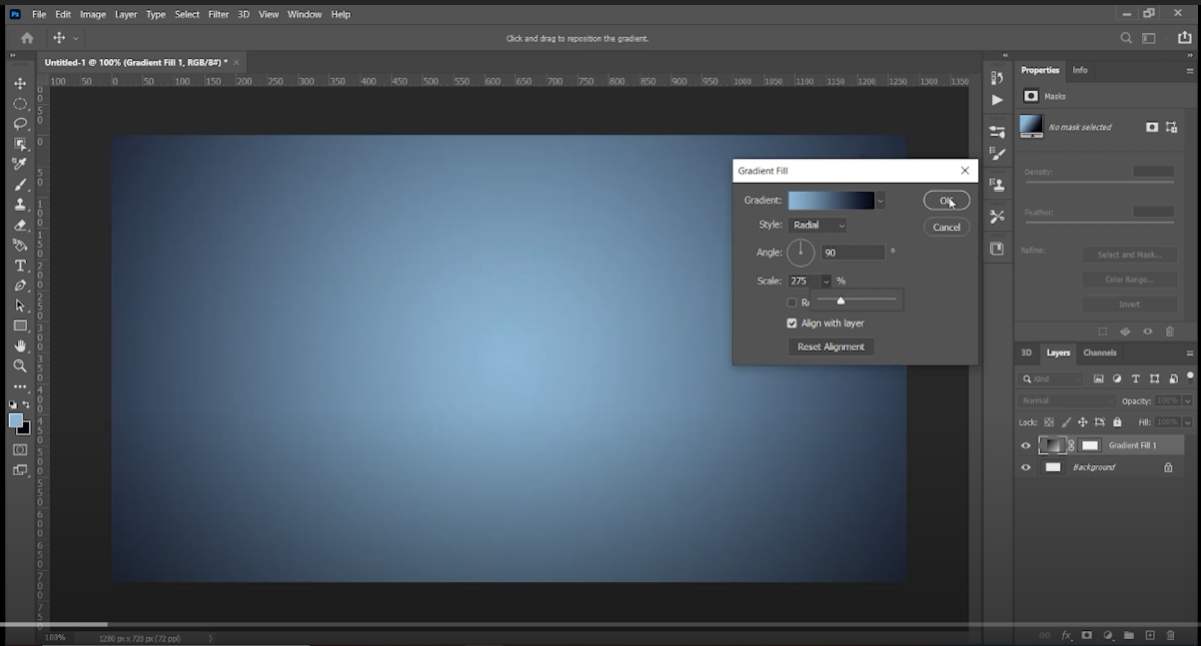
Select gradient for the background, pick the color and style you prefer. It also can be changed at the later stage. I selected blueish gradient and style radial.
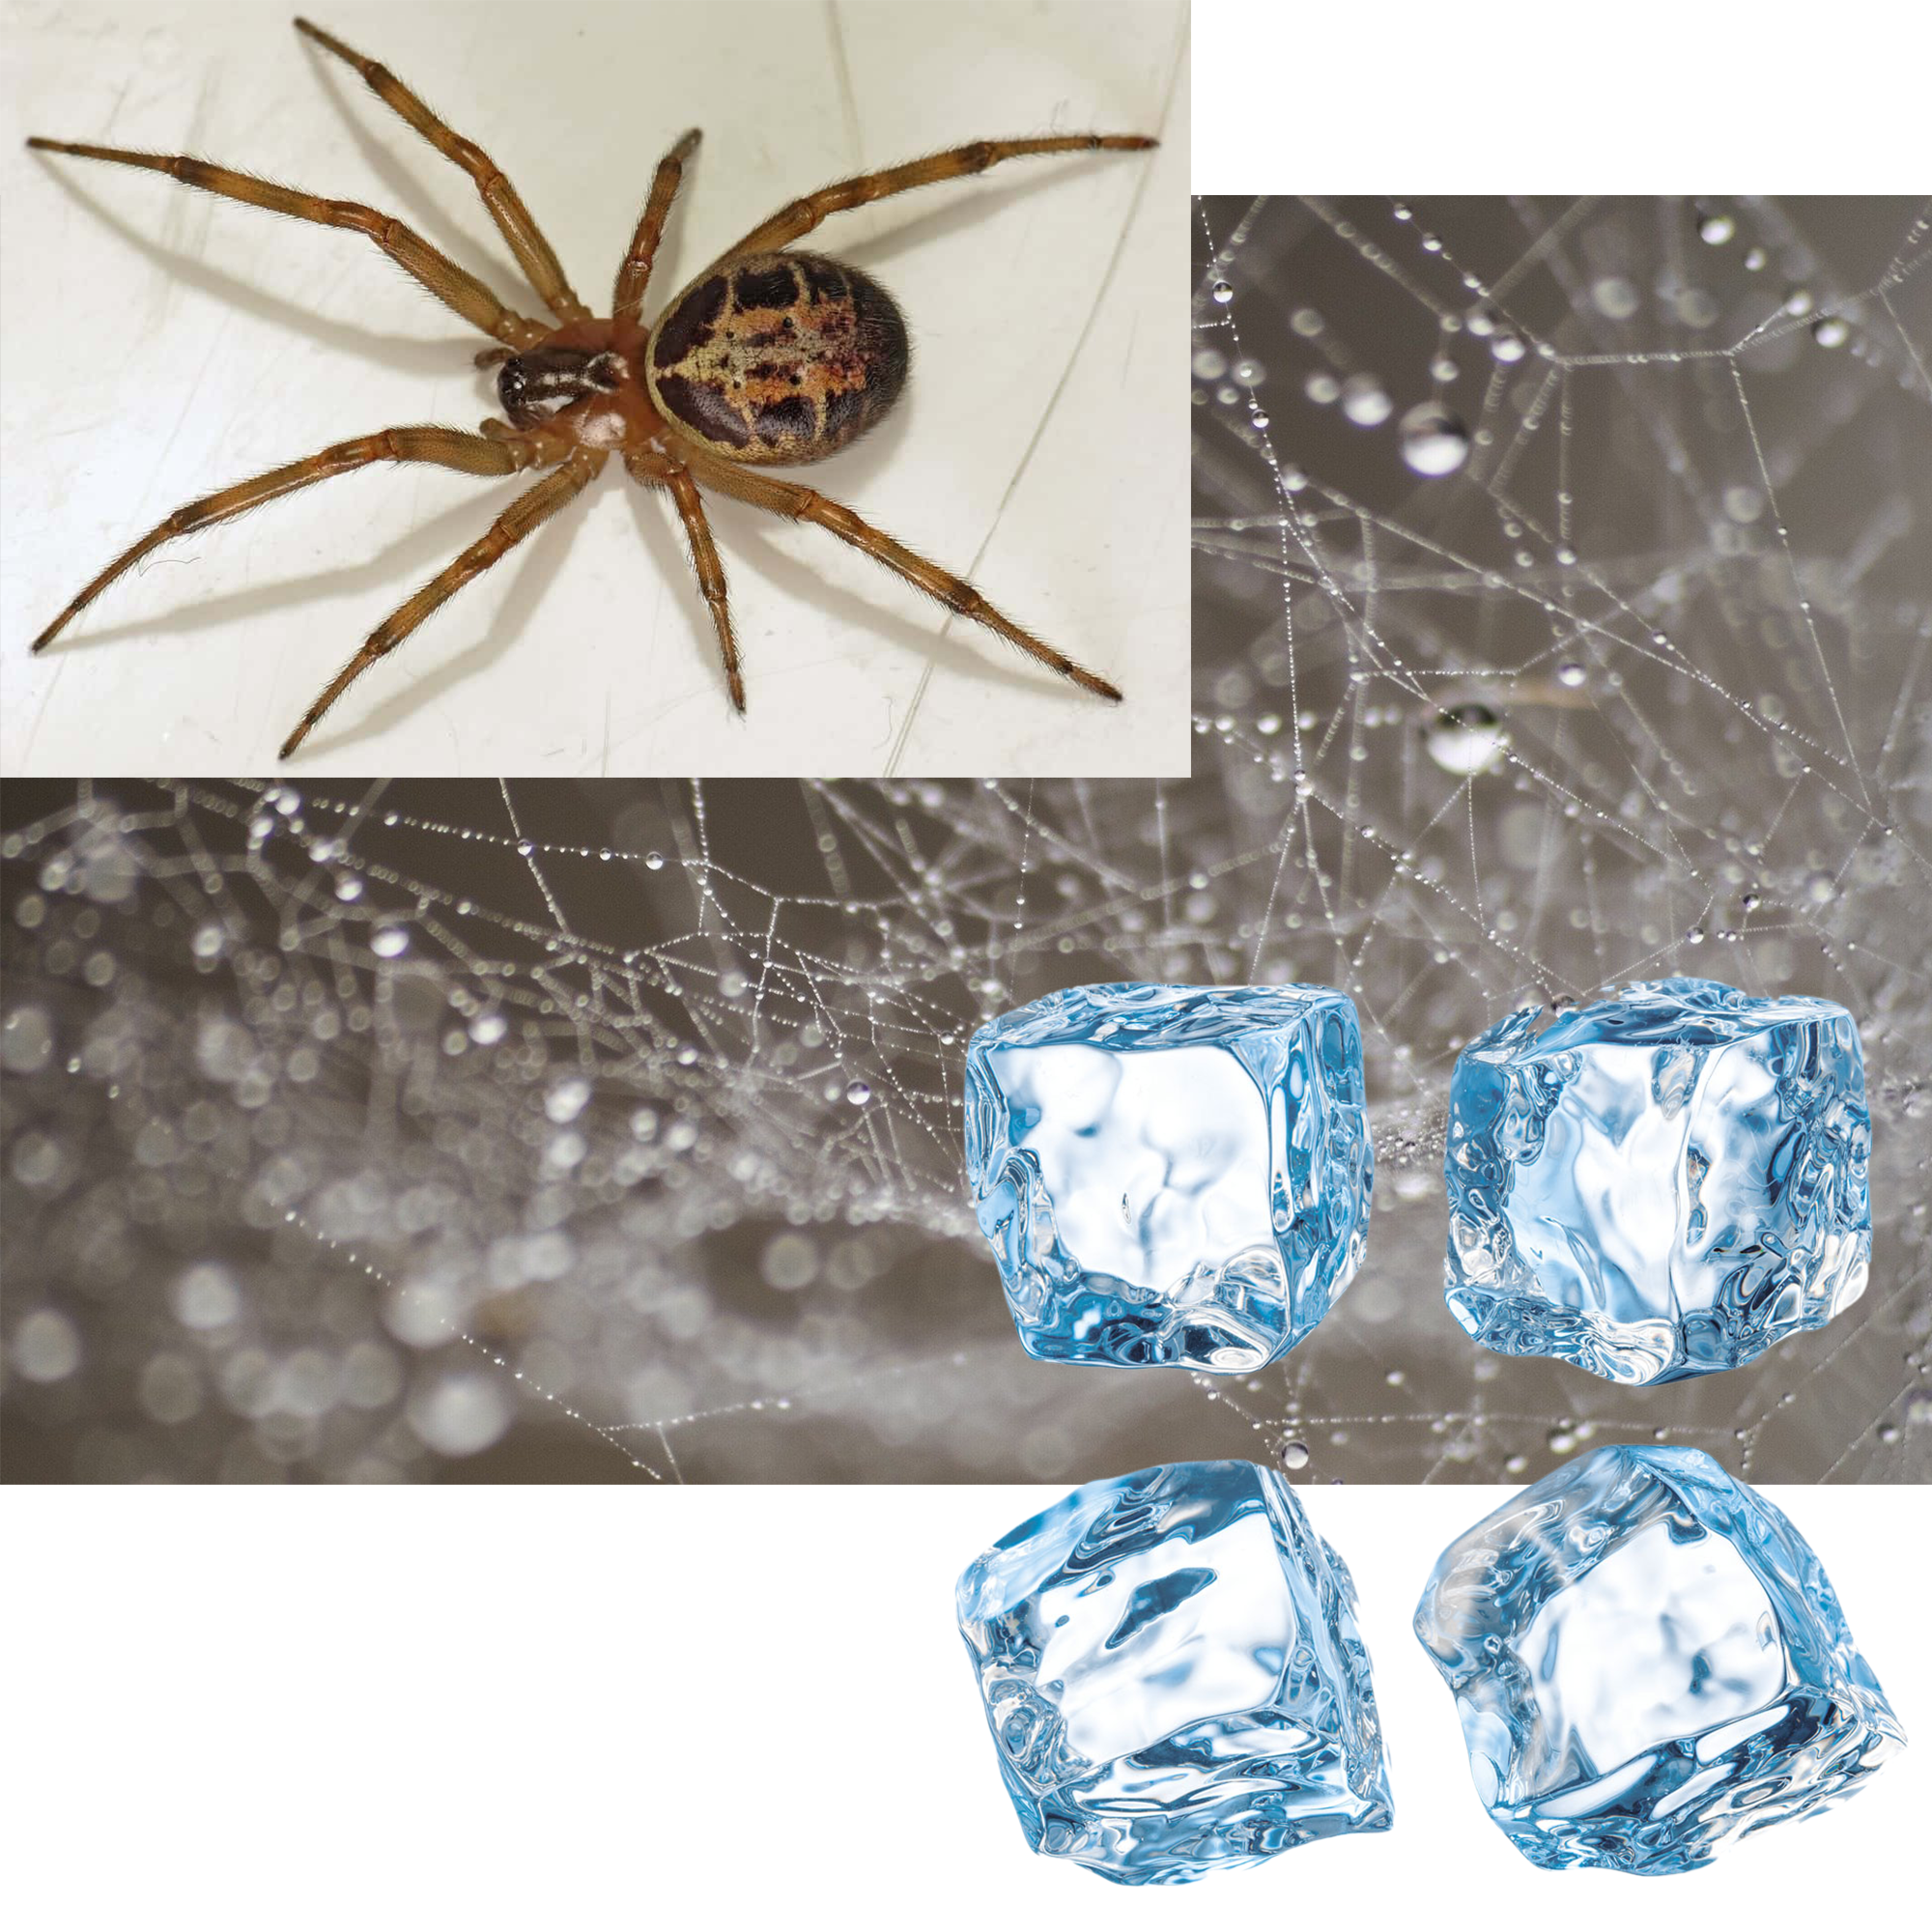
Import Image
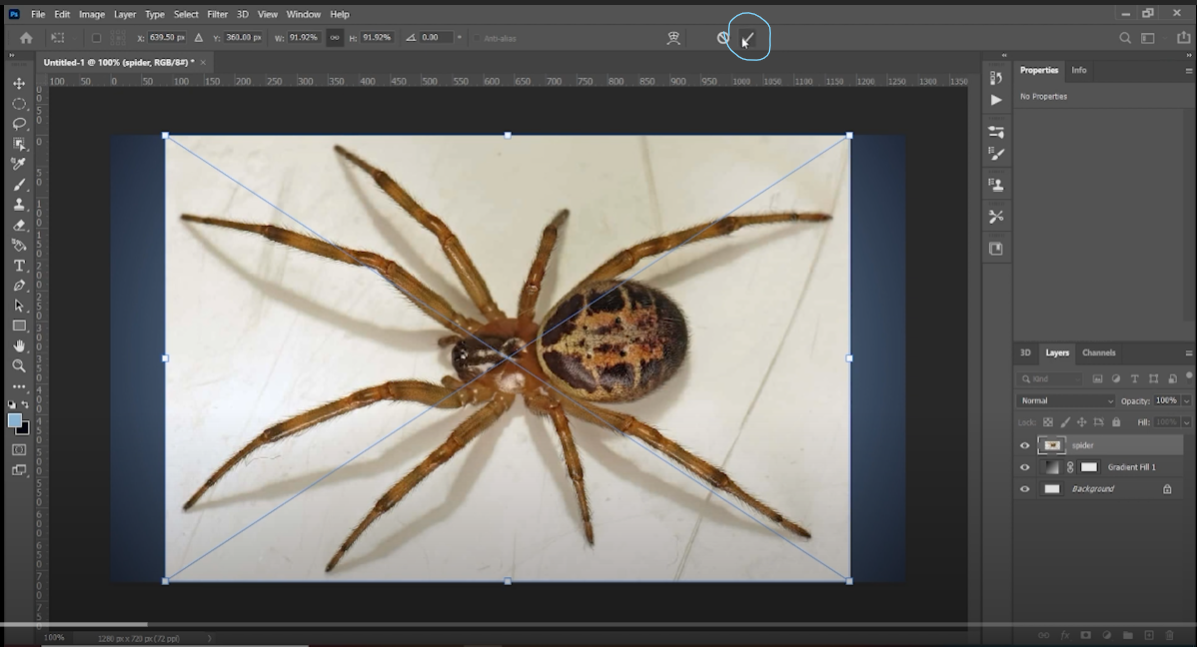
Navigate to file > place embedded > select your image > place.
Resize and position spider, press enter or click 'check' to confirm.
Make a Selection
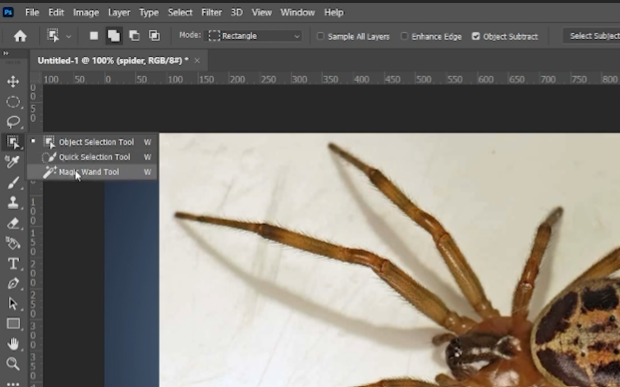
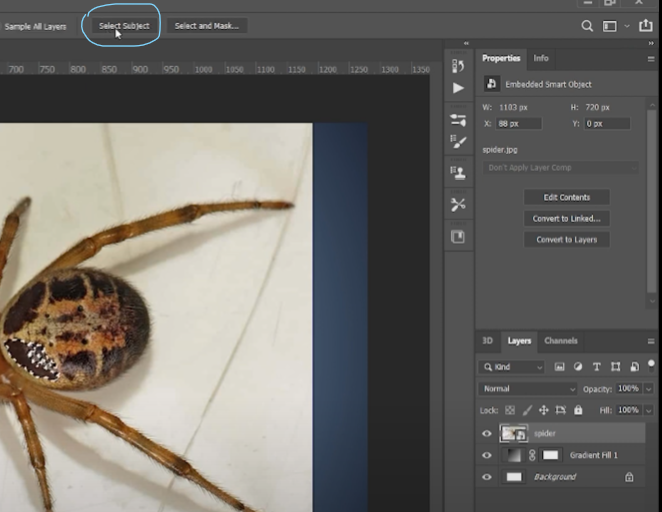
Make a selection of the spider using any selection tool, I'm using magic wand tool.
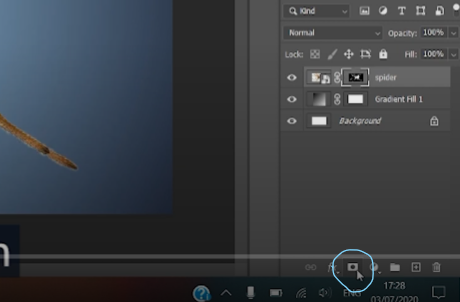
Click the Add layer mask button at the bottom of the Layers panel.
Refine the Mask Edge in the Select and Mask Workspace
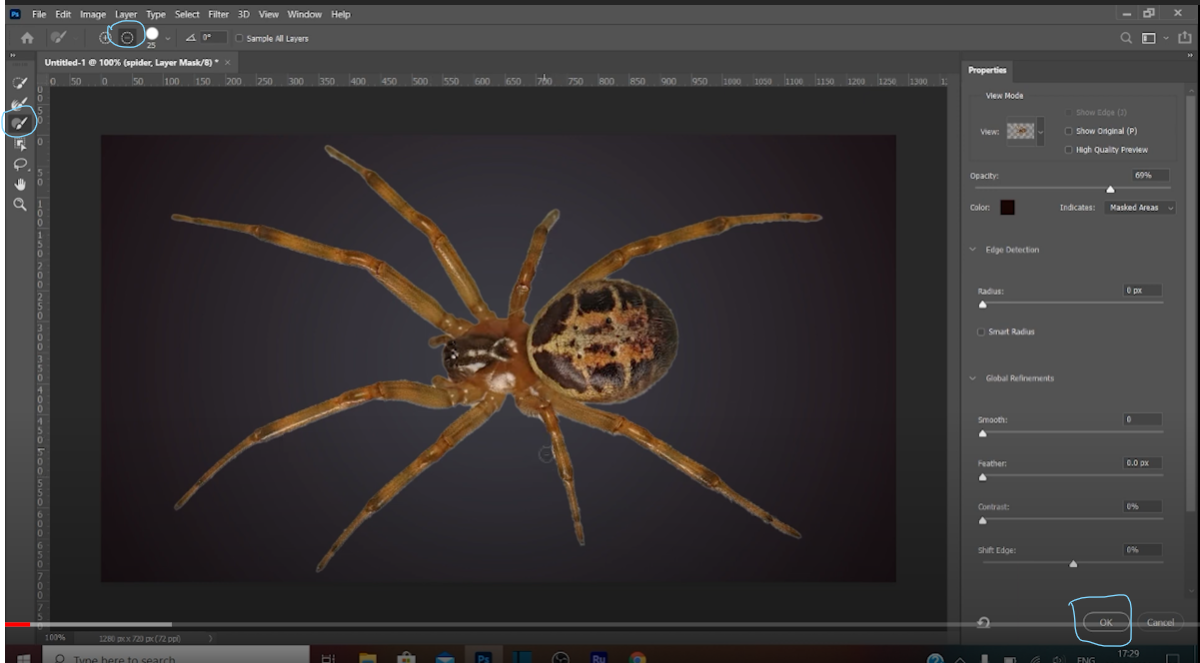
Double-click the spider layer mask (the one we just created) in the Layers panel. The Select and Mask workspace will appear. Select the Refine Edge Brush tool on the left side of the workspace. Then drag over the edge of the spider to clean up any parts left from the background. Press OK to save changes you made.
Import Ice Cubes
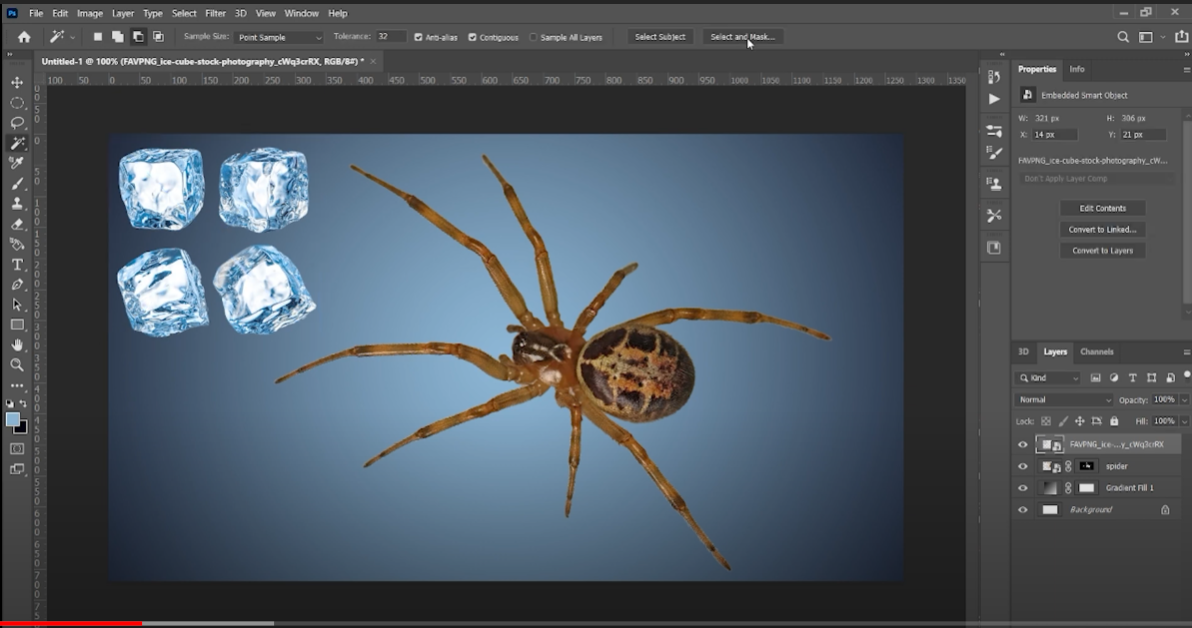
Import ice cubes, places them anywhere on the canvas so its easy to to work with them. They will be deleted at the end.
Cutting the Ice
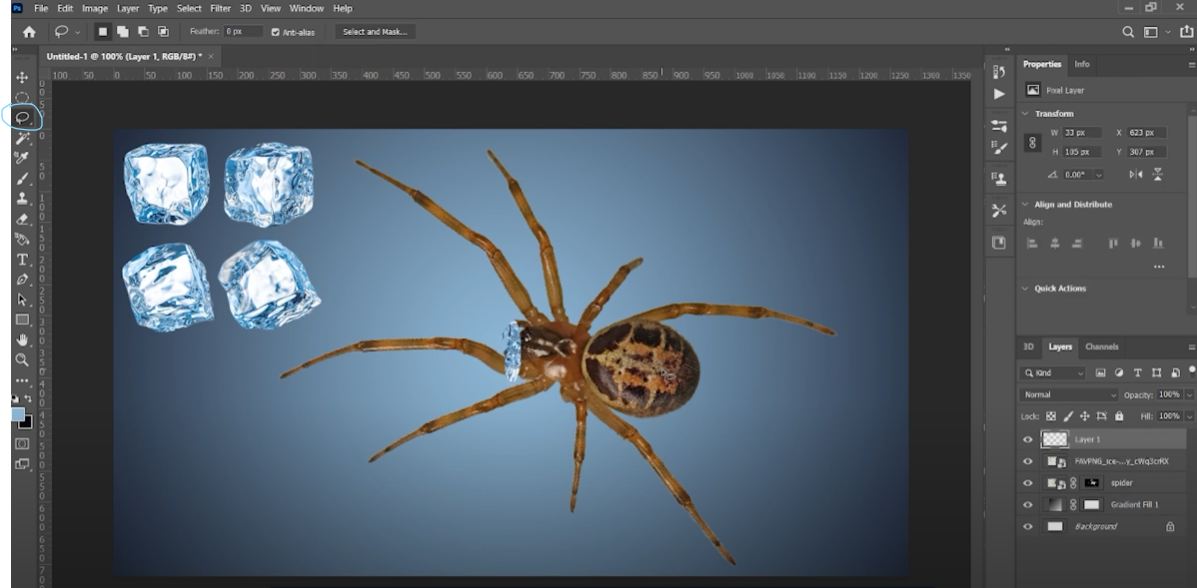
Select lasso tool from toolbar and select part of ice cube. Then press Ctrl + C > Ctrl + V and drag the selection on top of the spider.
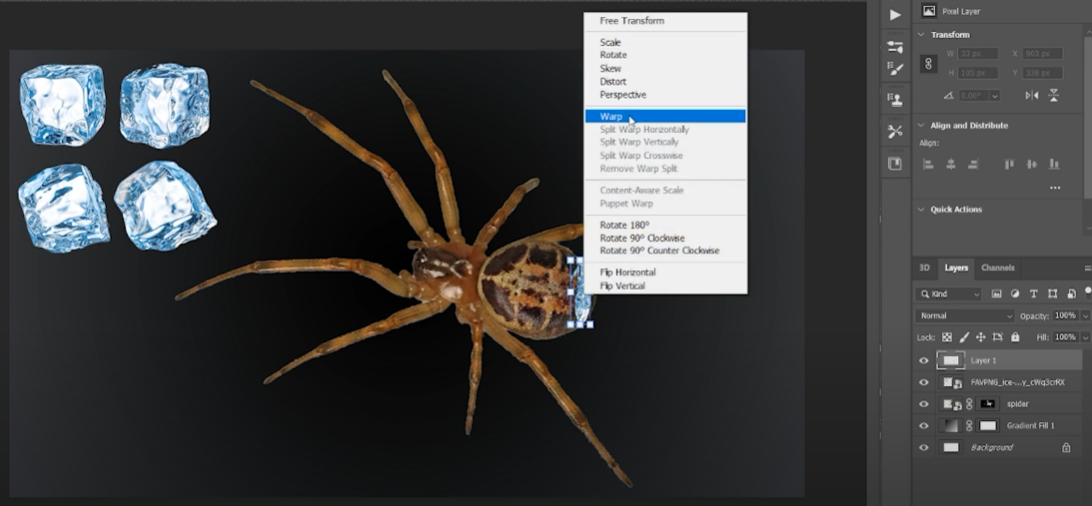
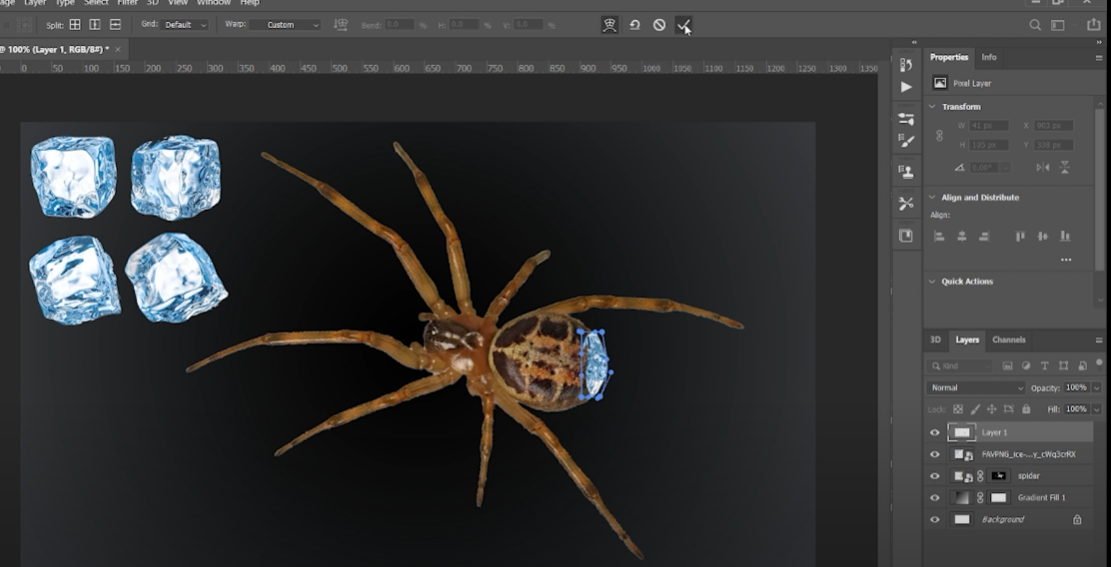
Right-click > select Warp. The Warp command lets you drag control points to manipulate the shape of image. To manipulate the shape, drag the control points.
Press enter or click 'check'.
Repeat Previous Step
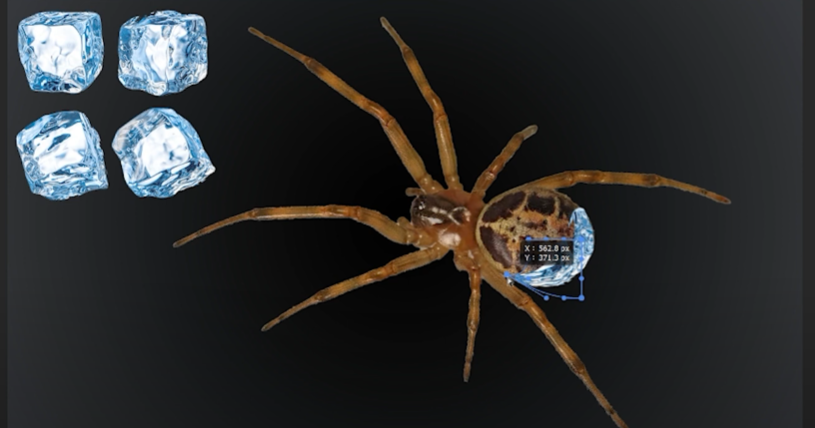
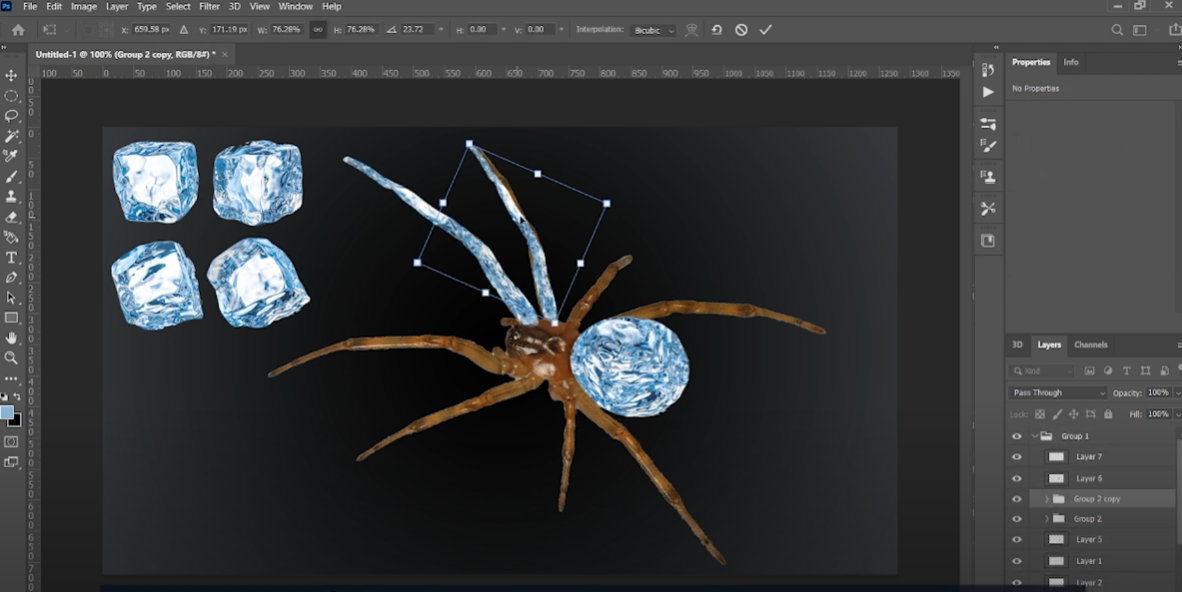
Repeat the same process multiple times until the spider is completely covered. To save the time, once the bigger circle of the spider (I mean its bottom) is done, group those layers, then copy the group, drag the new group on the spider's head and resize and distort it so it matches the shape of head. The same goes for legs. Once you've have completed the first leg, group those layers, then just copy (7 times) the group, reposition and readjust.
Delete or Make Invisible Original Images
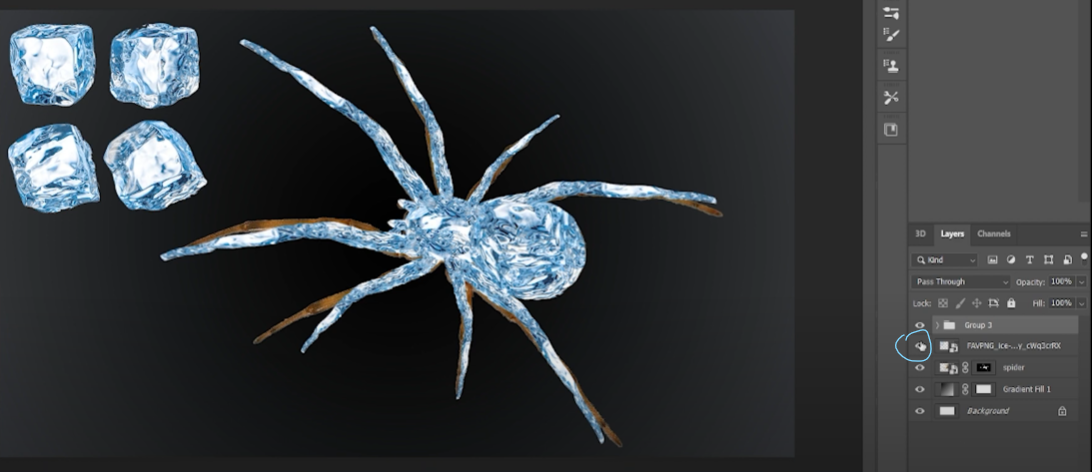
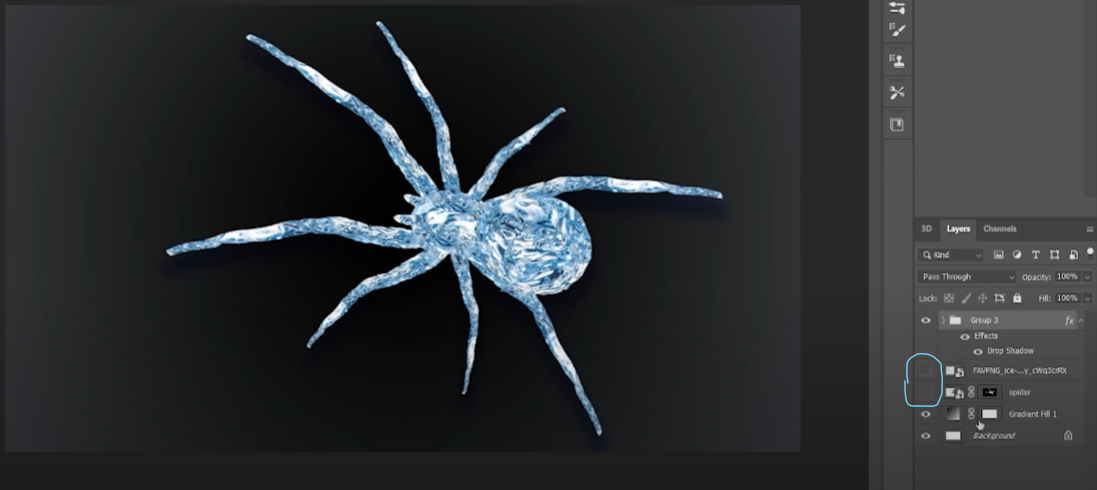
At this stage we can delete or make invisible (click 'eye') the original spider and ice cubes.
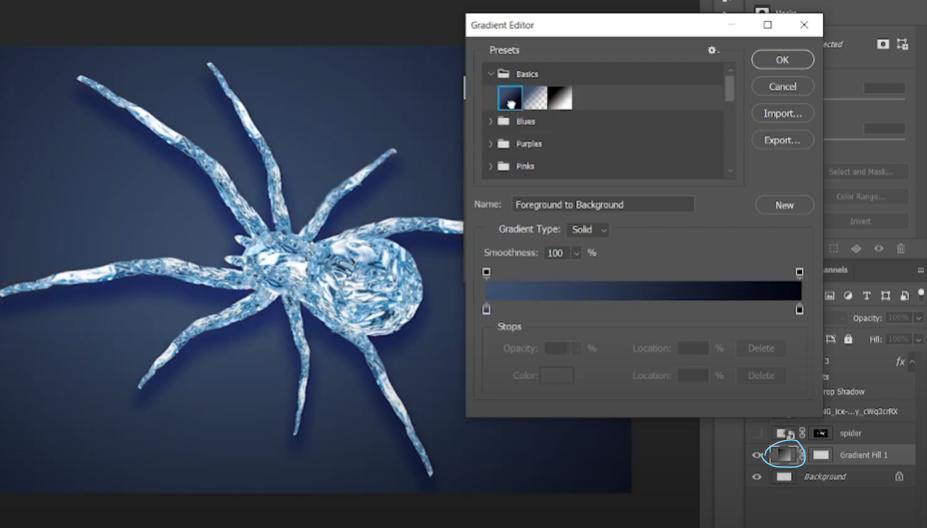
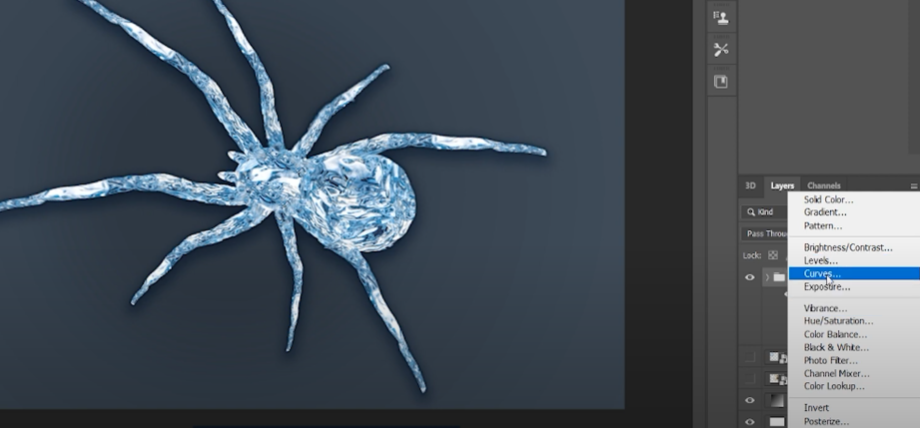
Double-click gradient thumbnail and select gradient. Skip this step if you already have done it.
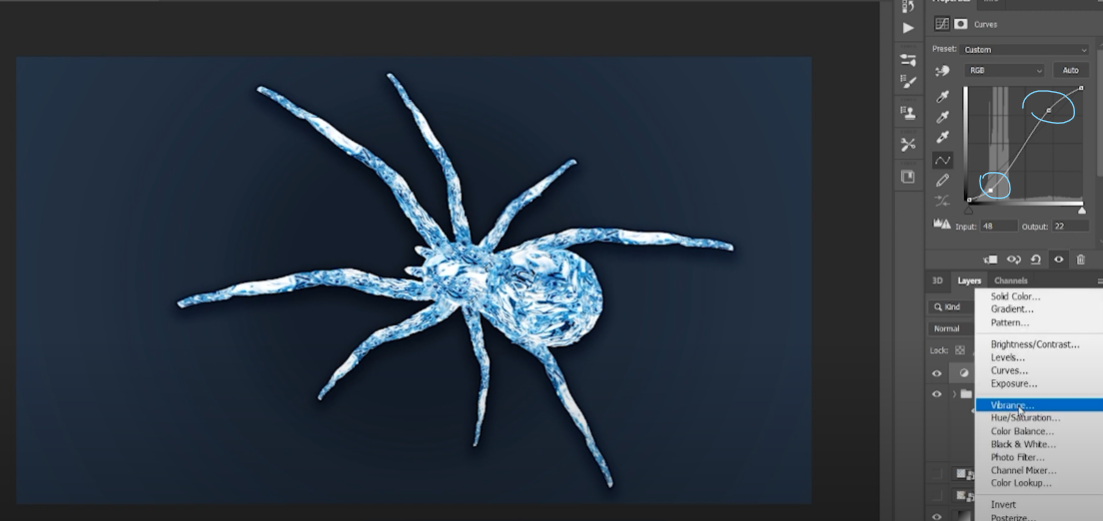
Select Curves: click the Create New Fill or Adjustment Layer button at the bottom of the Layers panel and select Curves.
In the Properties panel, click directly on the curve line and then drag the control point to adjust a tonal area. Moving a point in the top portion of the curve adjusts the highlights. Moving a point in the center of the curve adjusts the midtones, and moving a point in the bottom section of the curve adjusts the shadows.
Select Vibrance: click the Create New Fill or Adjustment Layer button at the bottom of the Layers panel and select Vibrance.
Vibrance
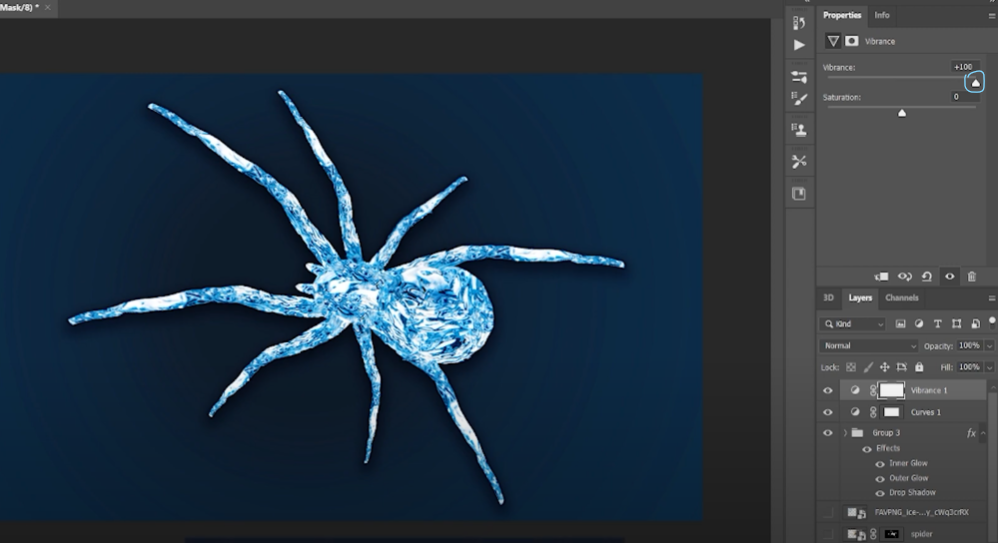
Experiment by adjusting the sliders. The Vibrance slider affects the intensity of colors.
Add Spider Mesh
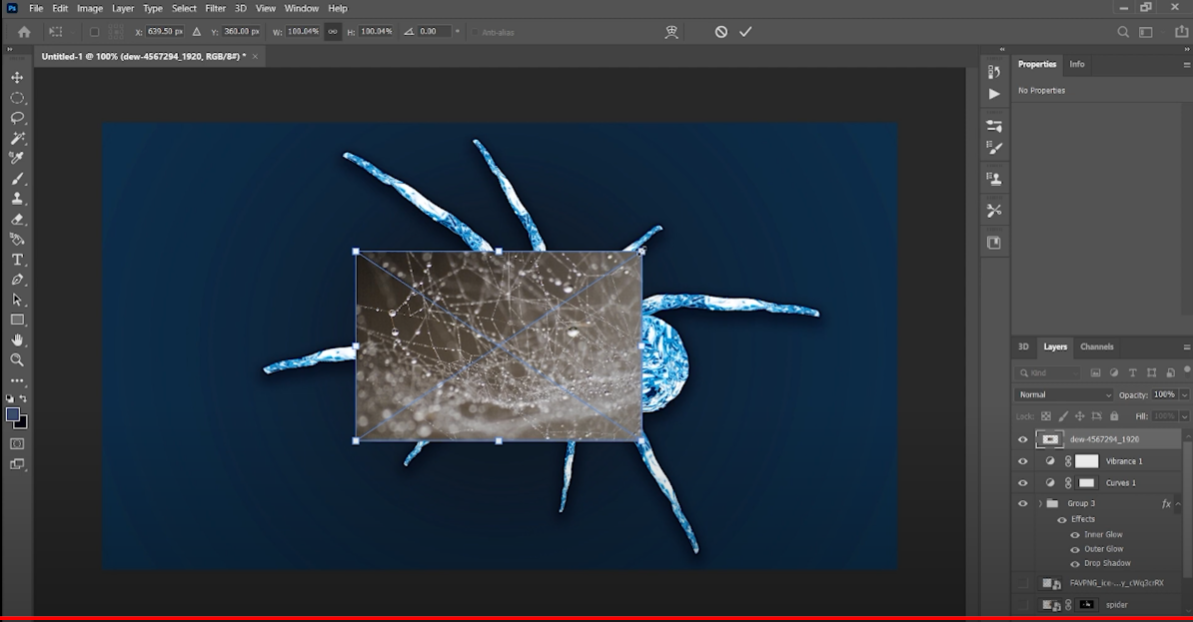
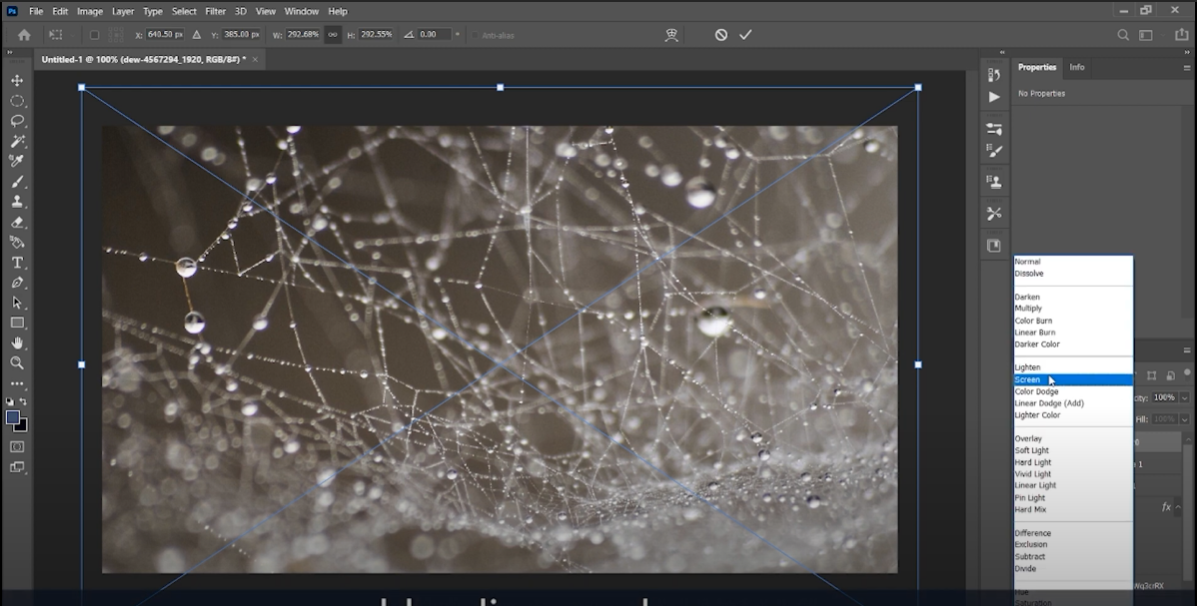
Import spider mesh, resize and position so it covers the canvas.
In the Blend Mode pop-up menu, scroll over different options to see how they look on your image. Photoshop displays a live preview of blend modes on the canvas. I selected screen, but you might've different blending mode picked as every image is unique.
Opacity
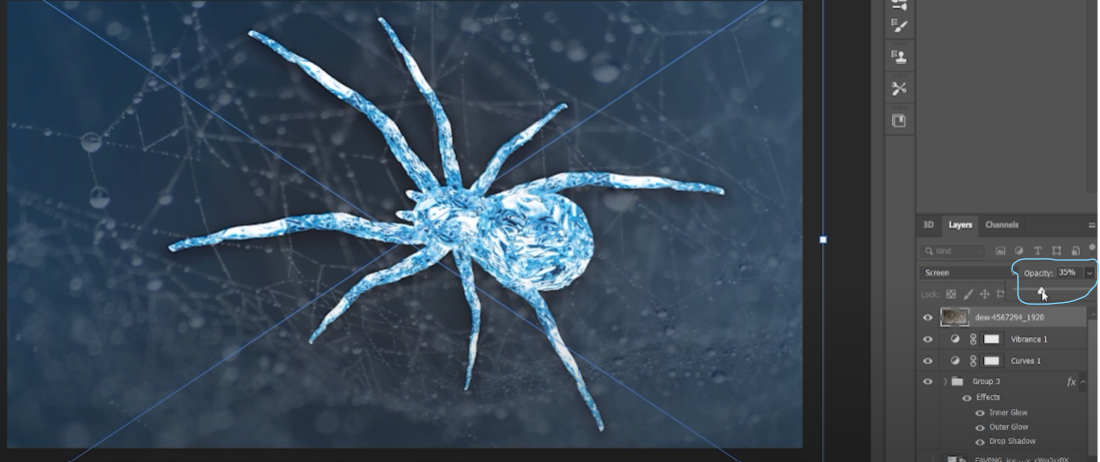
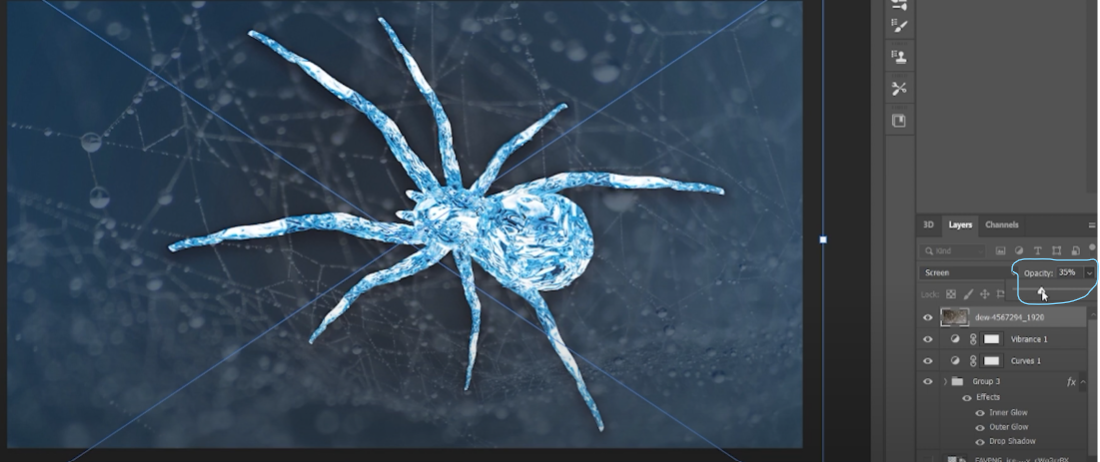
Make sure the mesh layer is still selected, then click the Opacity drop-down arrow at the top of the Layers panel. Click and drag the slider to adjust the opacity. You can also skip this step and leave opacity as it is (100 %).
Result
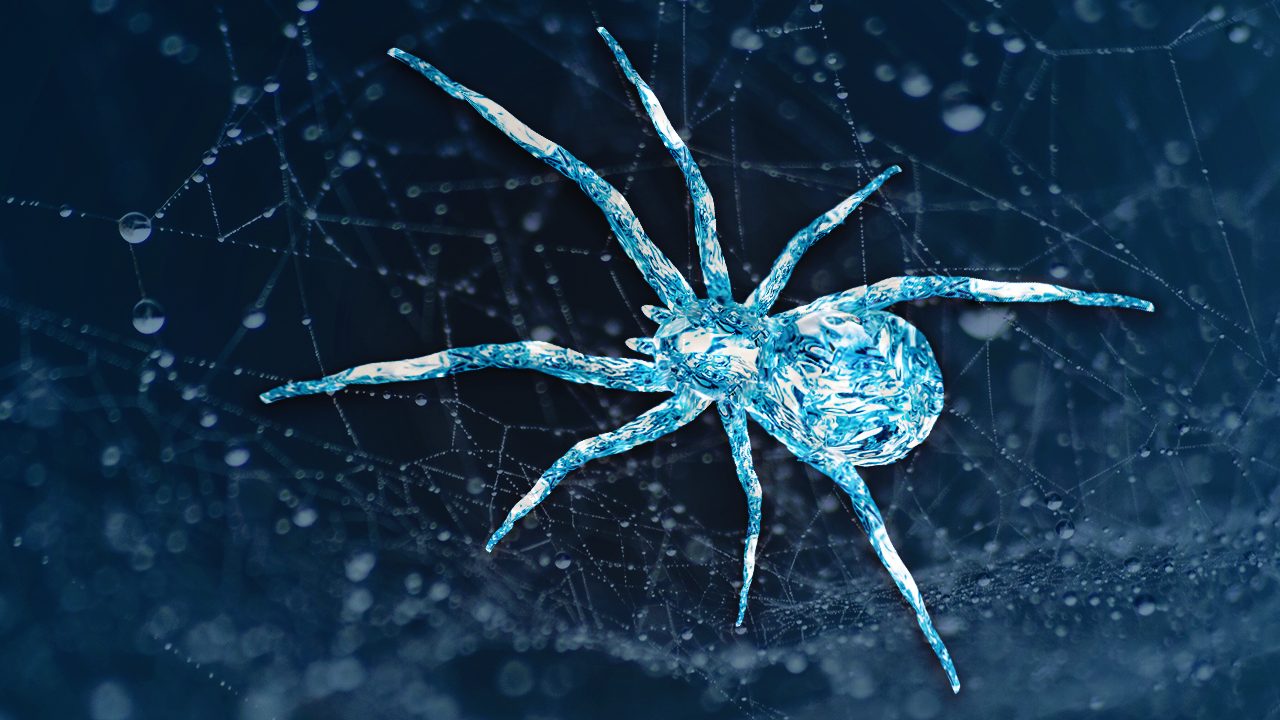
Before and after