Glados Bookmark
I made a Glados bookmark for the Books & Bookshelves Contest to get more comfortable with Autodesk Fusion 360. I hope that you all like it! :3
Supplies
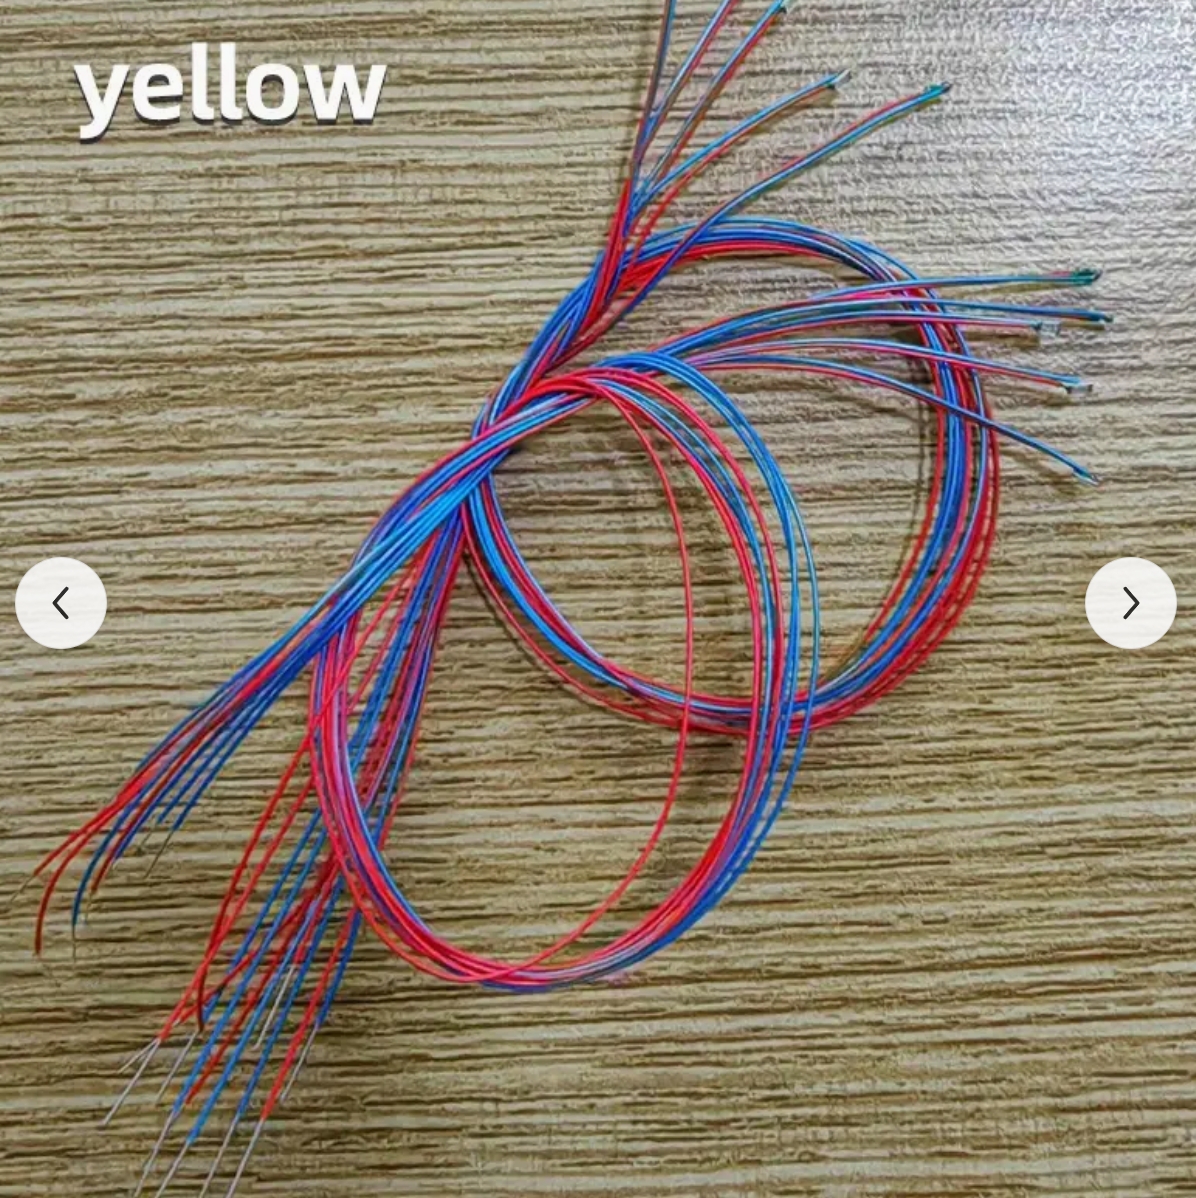
1) Yellow Pre-Wired 0402 SMD LED Pre-soldered Micro 0.1mm Copper Wired HO & N
https://www.temu.com/goods.html?_bg_fs=1&goods_id=601099517473197&_x_sessn_id=7czmbyi34w&refer_page_name=bgt_order_detail&refer_page_id=10045_1713059180176_e1s8sgpa27&refer_page_sn=10045
2) Black Filament
3) White Filament
4) 3D Printer
5) Autodesk Fusion 360 (or any other design software)
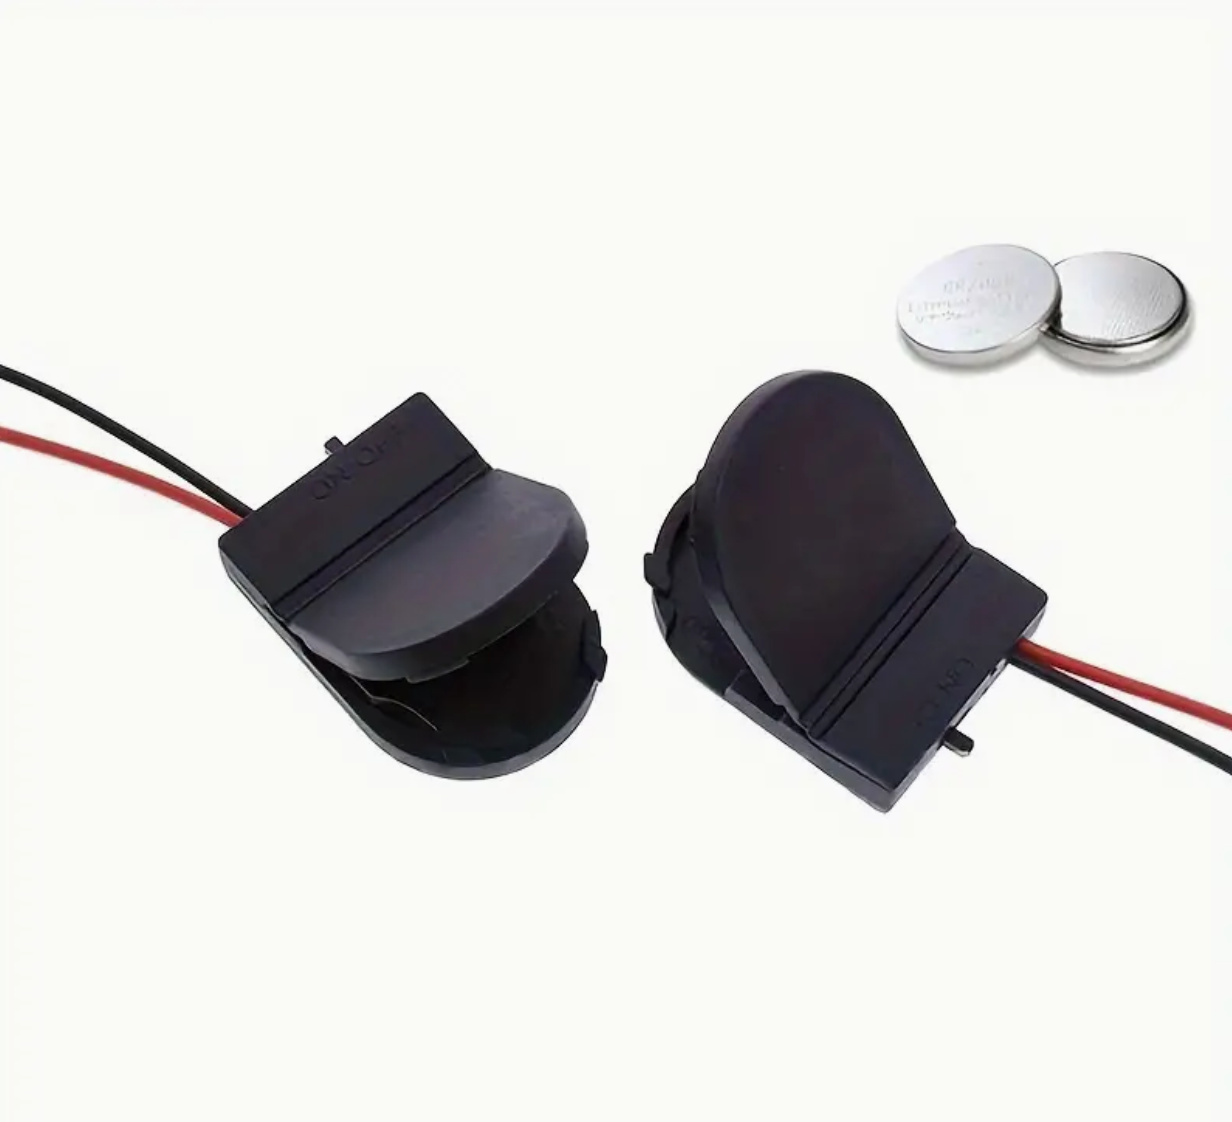
6) CR2032 Button Coin Cell Battery Socket Holder Case
https://www.temu.com/goods.html?_bg_fs=1&goods_id=601099533943881&_x_sessn_id=s54bo9n2tf&refer_page_name=bgt_order_detail&refer_page_id=10045_1713063906929_dxlcasojme&refer_page_sn=10045&no_cache_id=4wt03
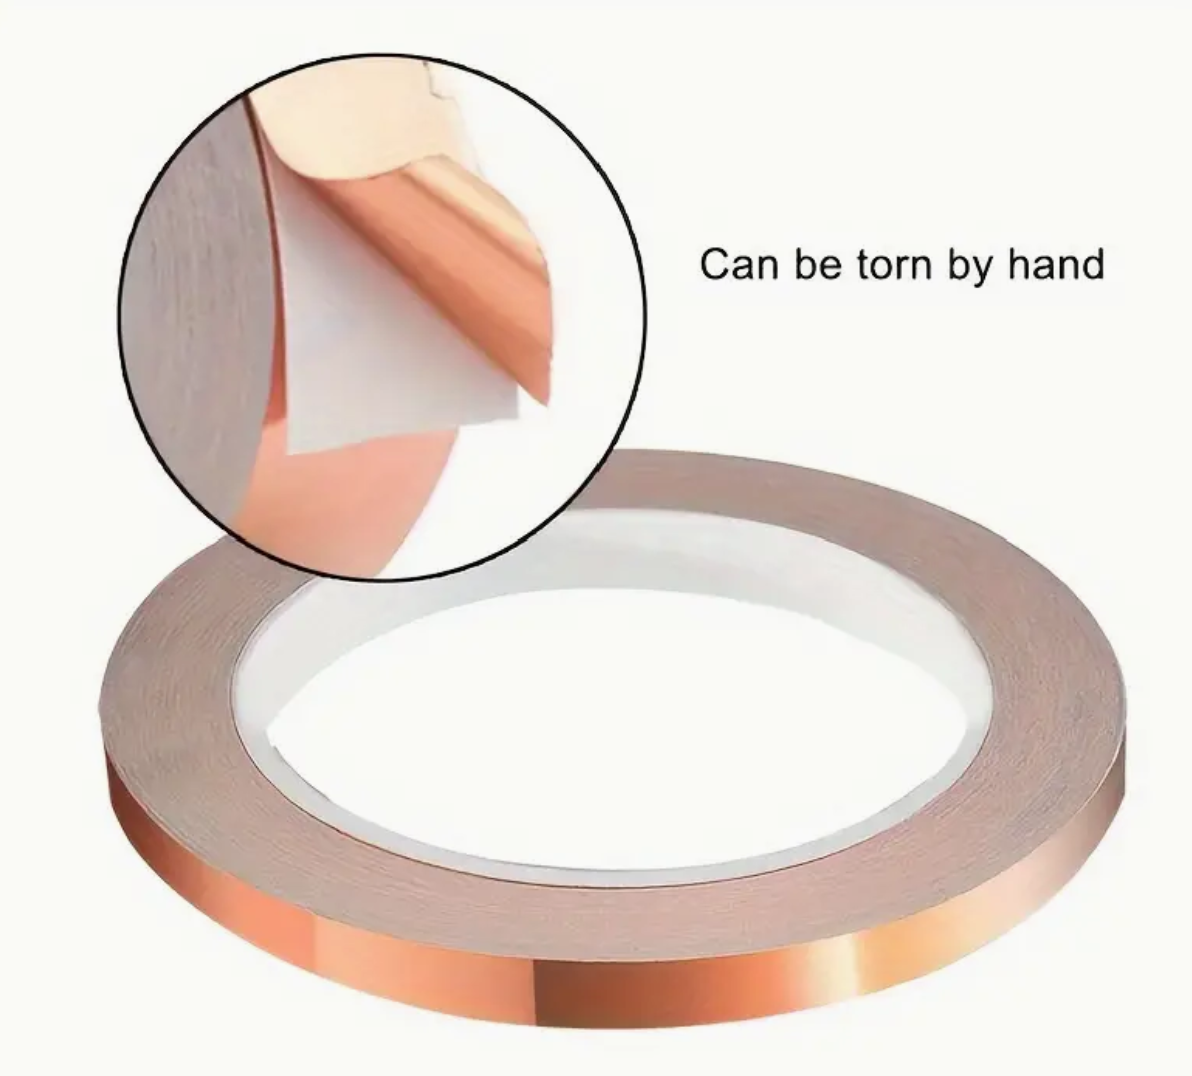
7) Tape or Copper Foil Tape
https://www.temu.com/goods.html?_bg_fs=1&goods_id=601099535561097&_x_sessn_id=s54bo9n2tf&refer_page_name=bgt_order_detail&refer_page_id=10045_1713068523400_q2k9vc3rmc&refer_page_sn=10045
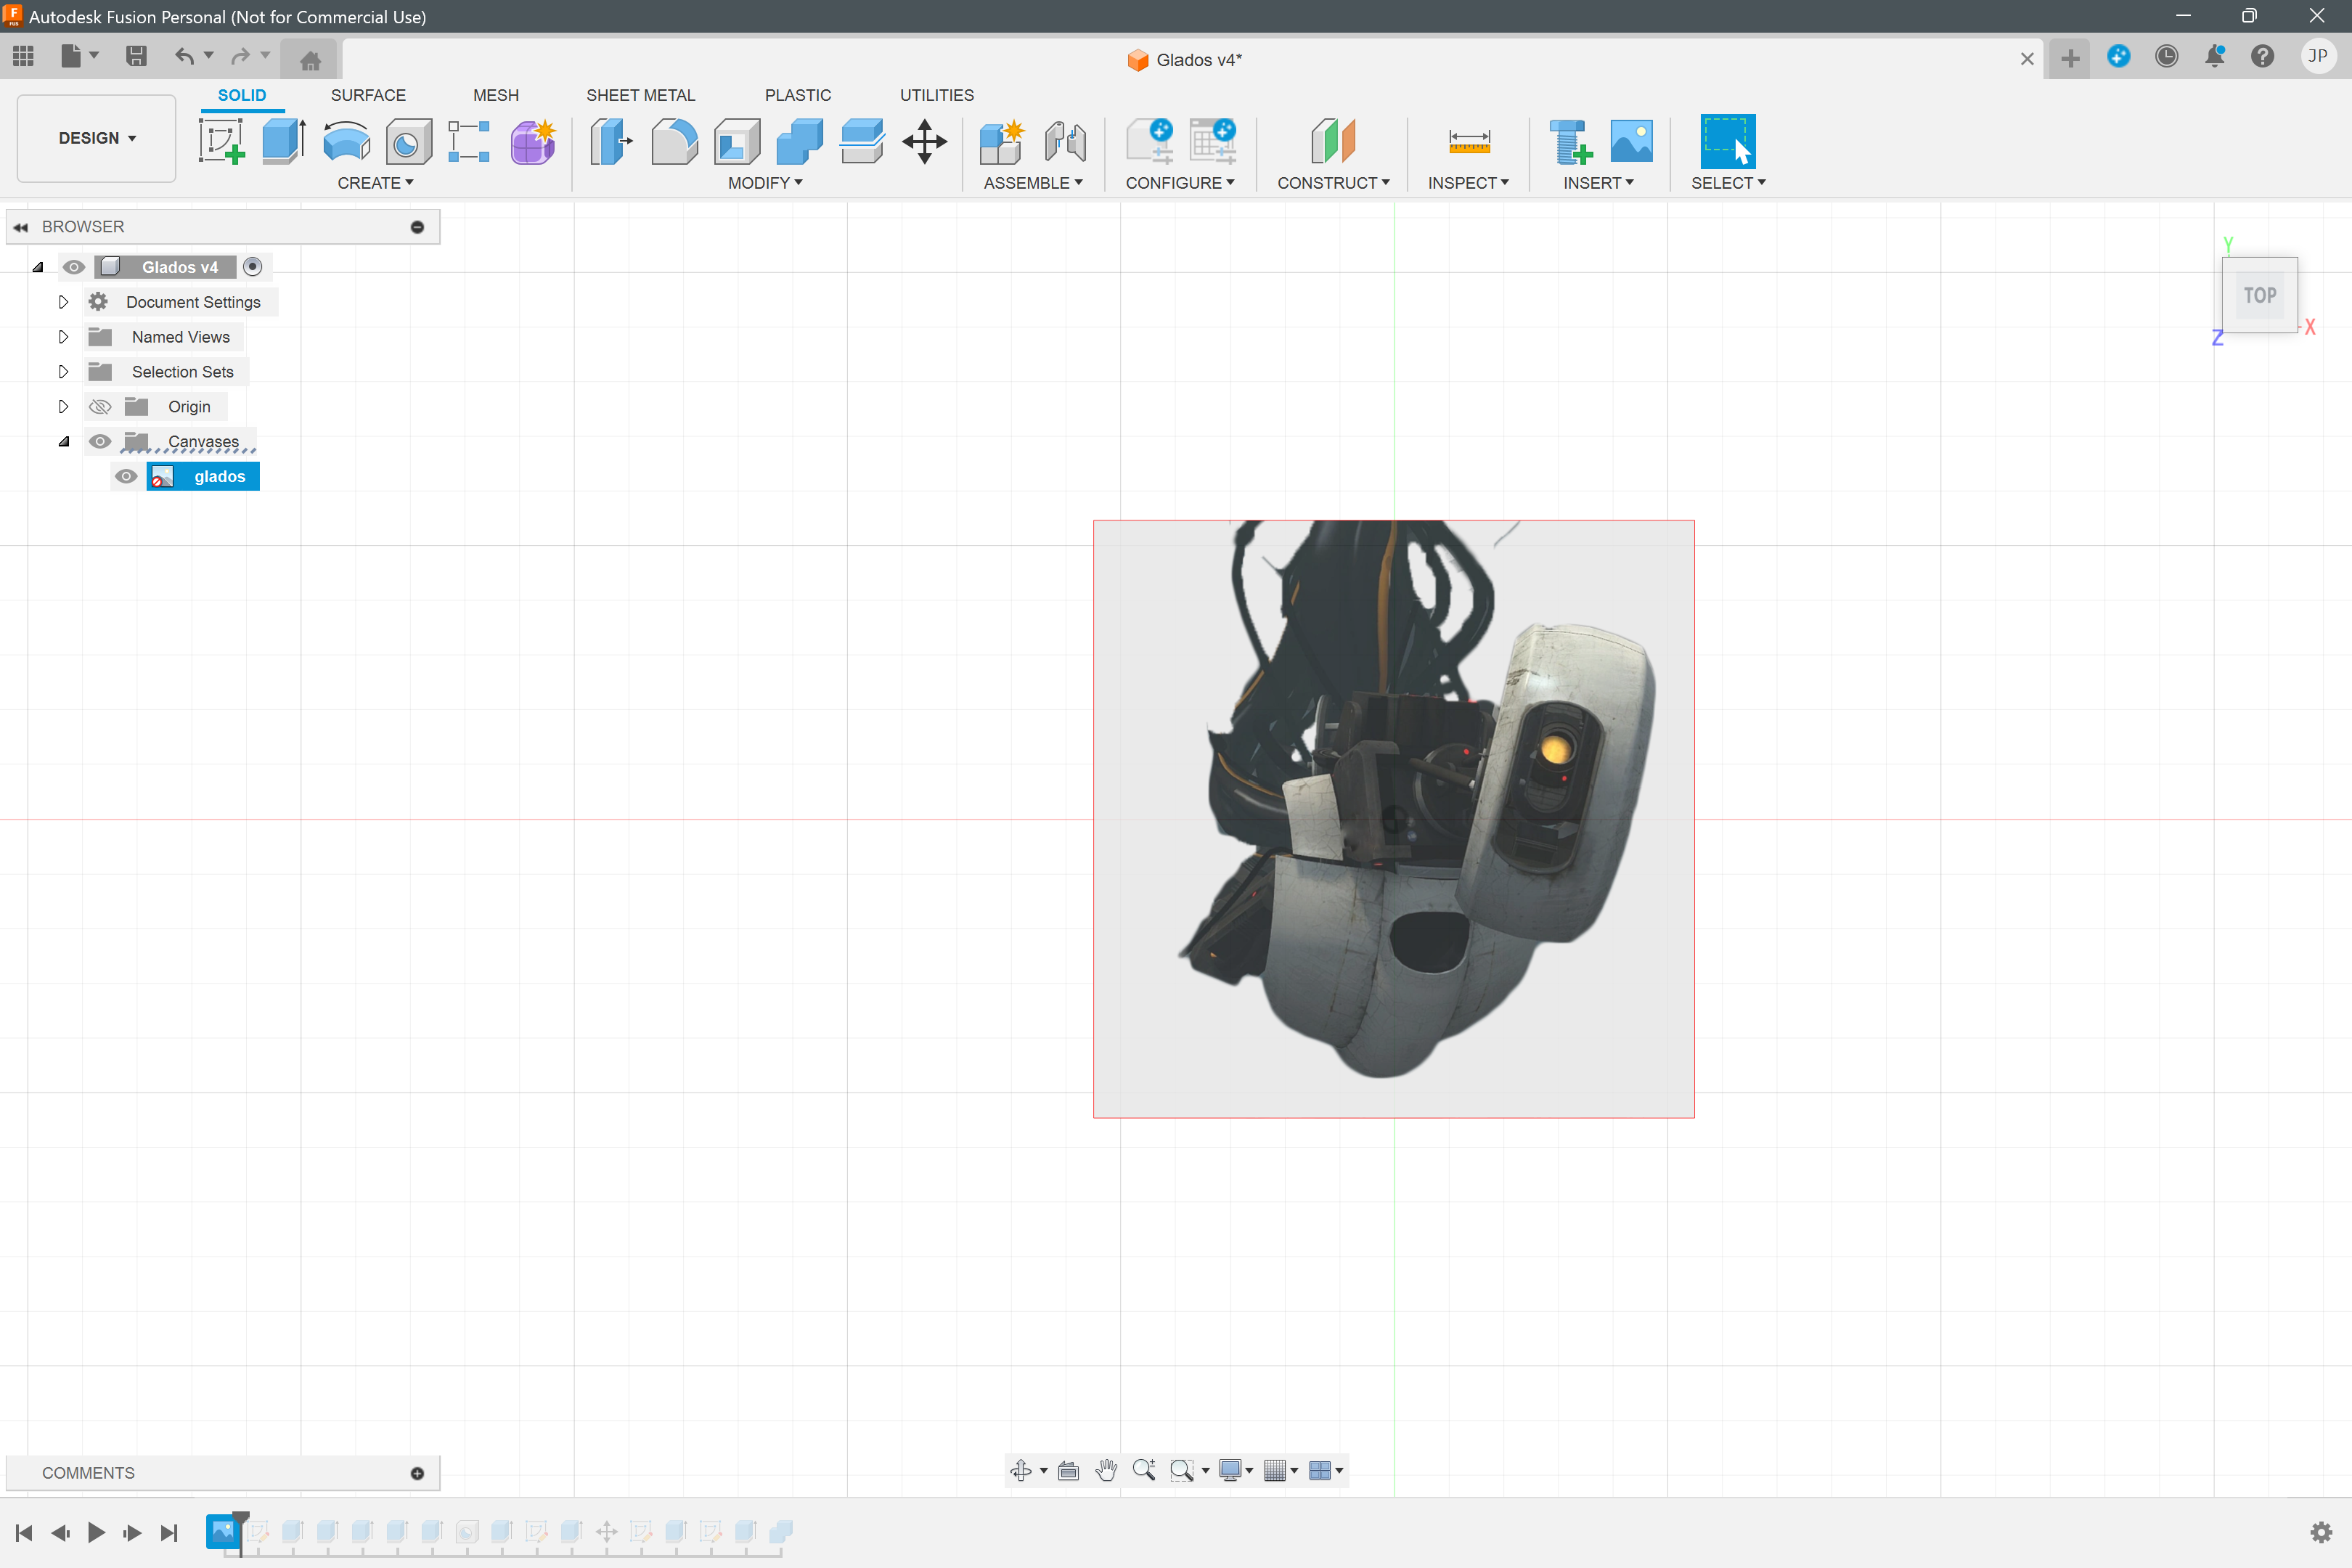
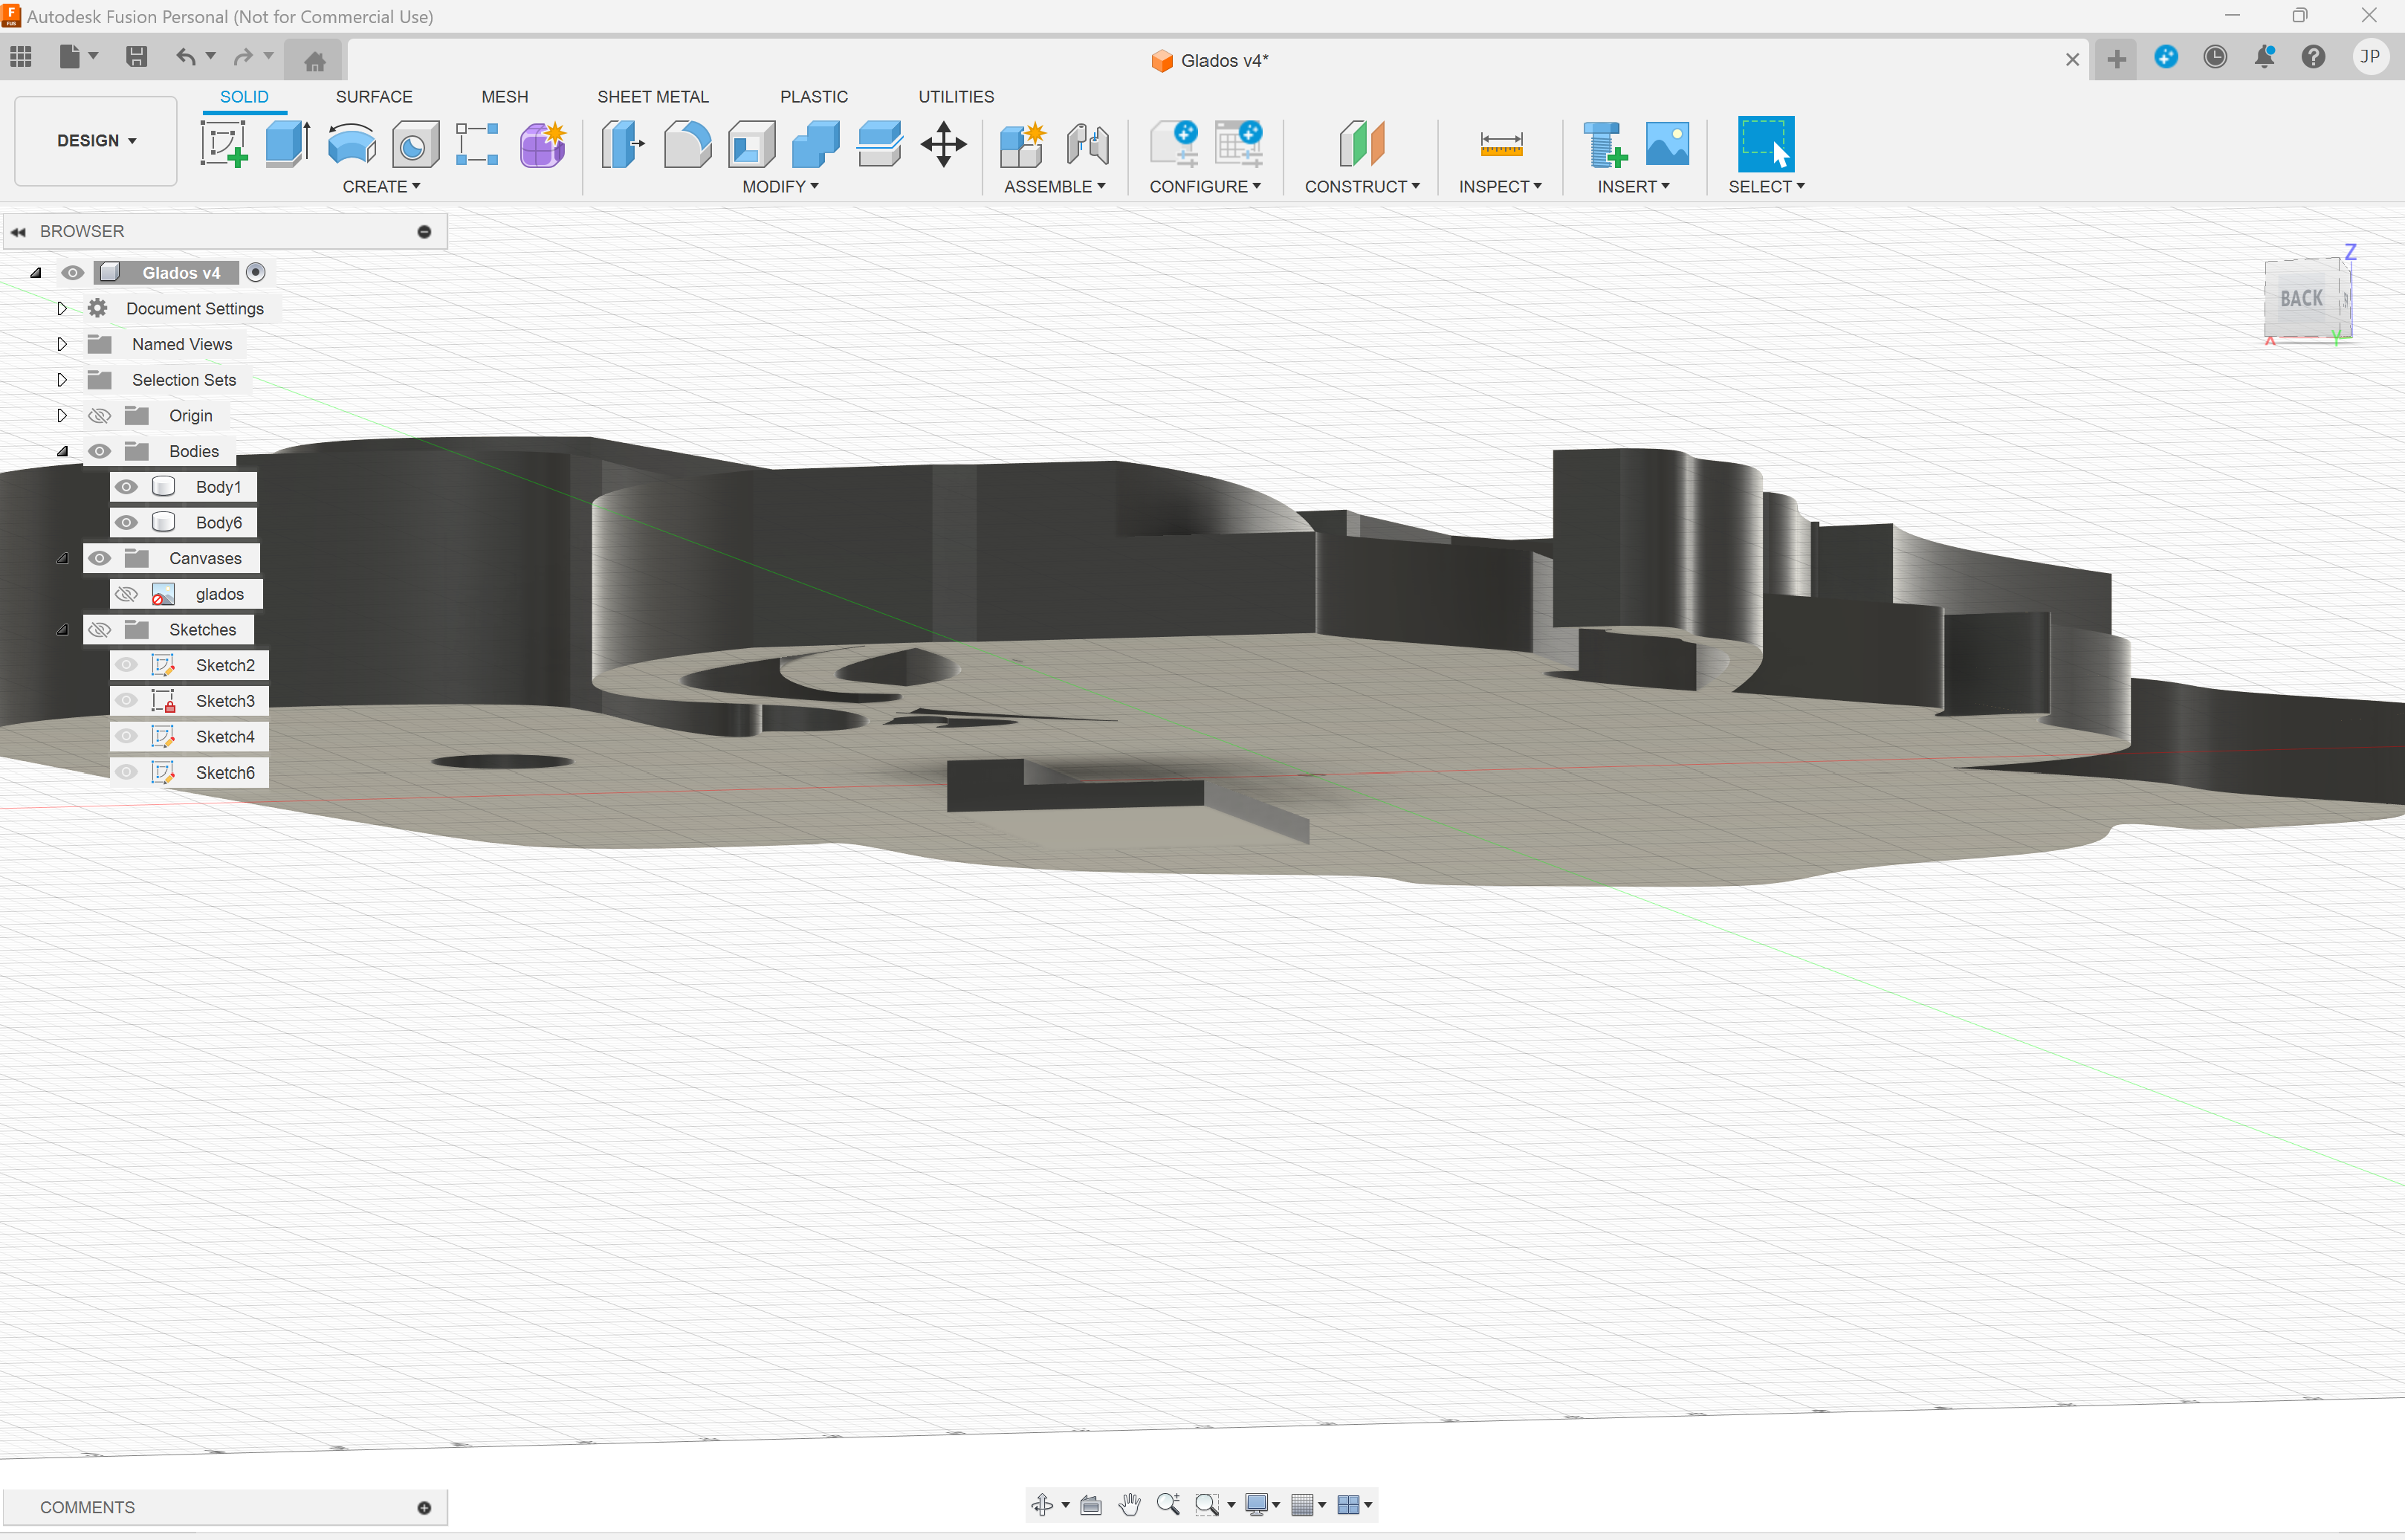
Go to canvas to open Glados image.
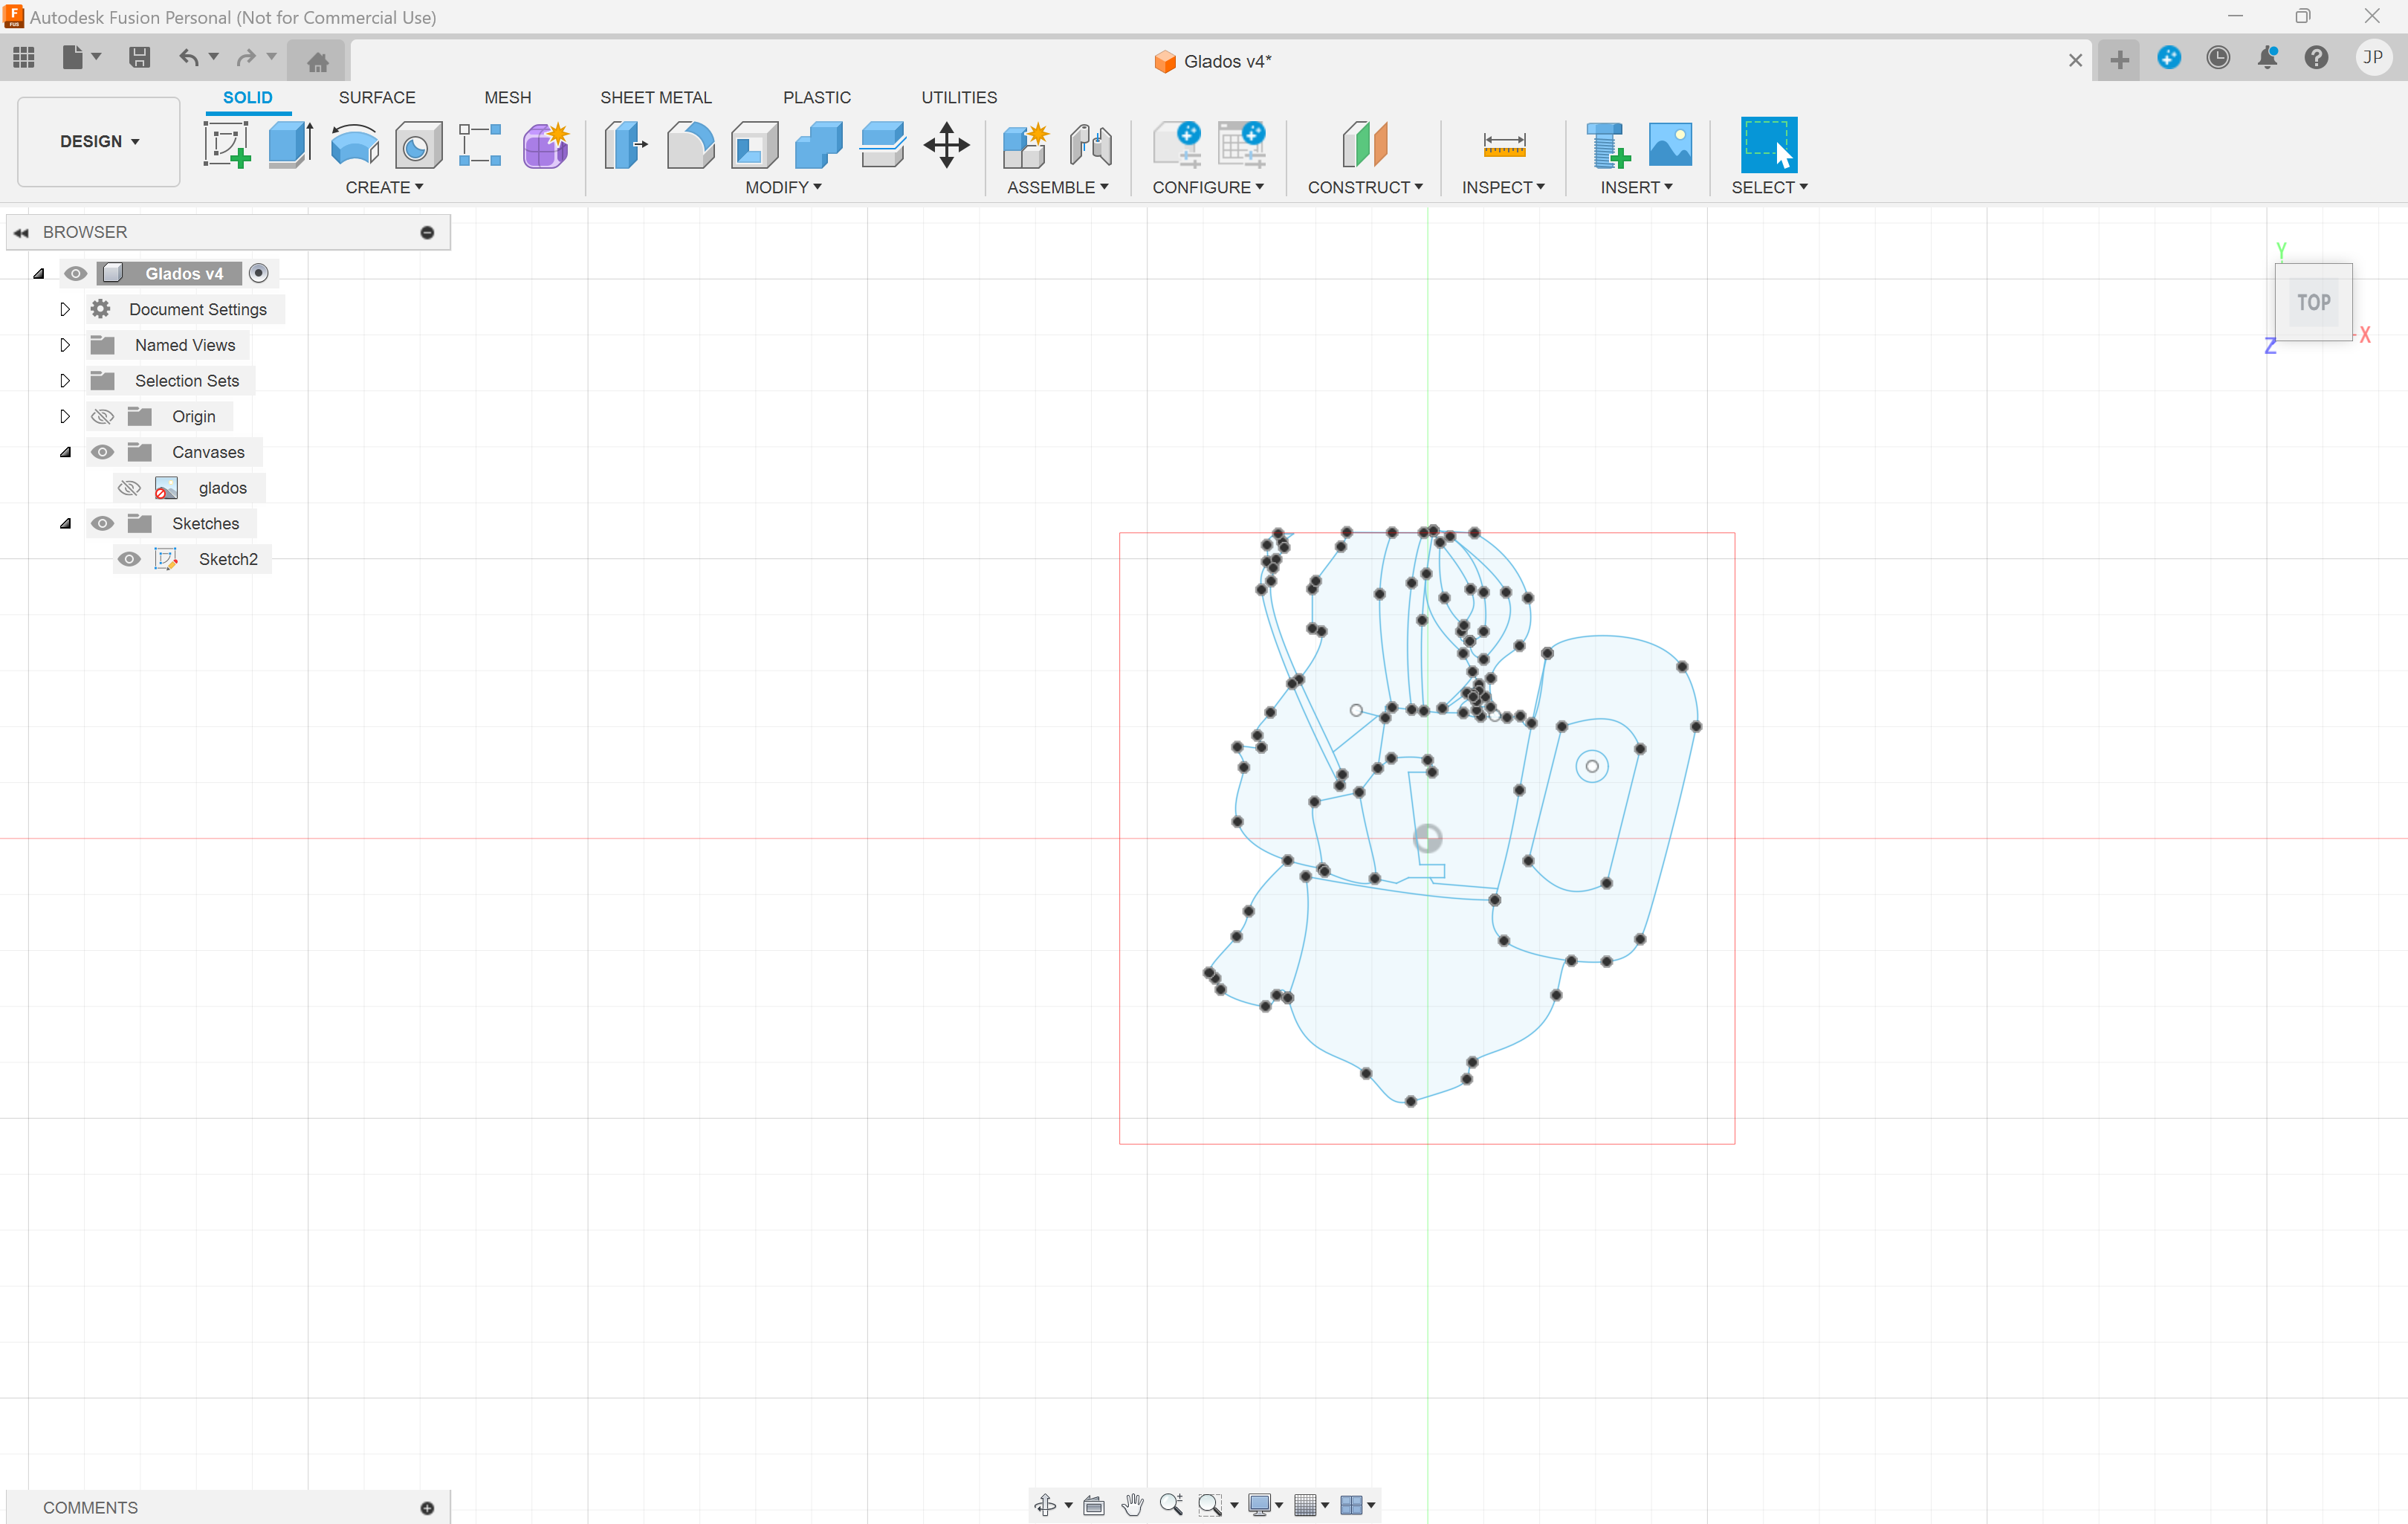
Trace Glados by using line and fit point spline tools in sketch.
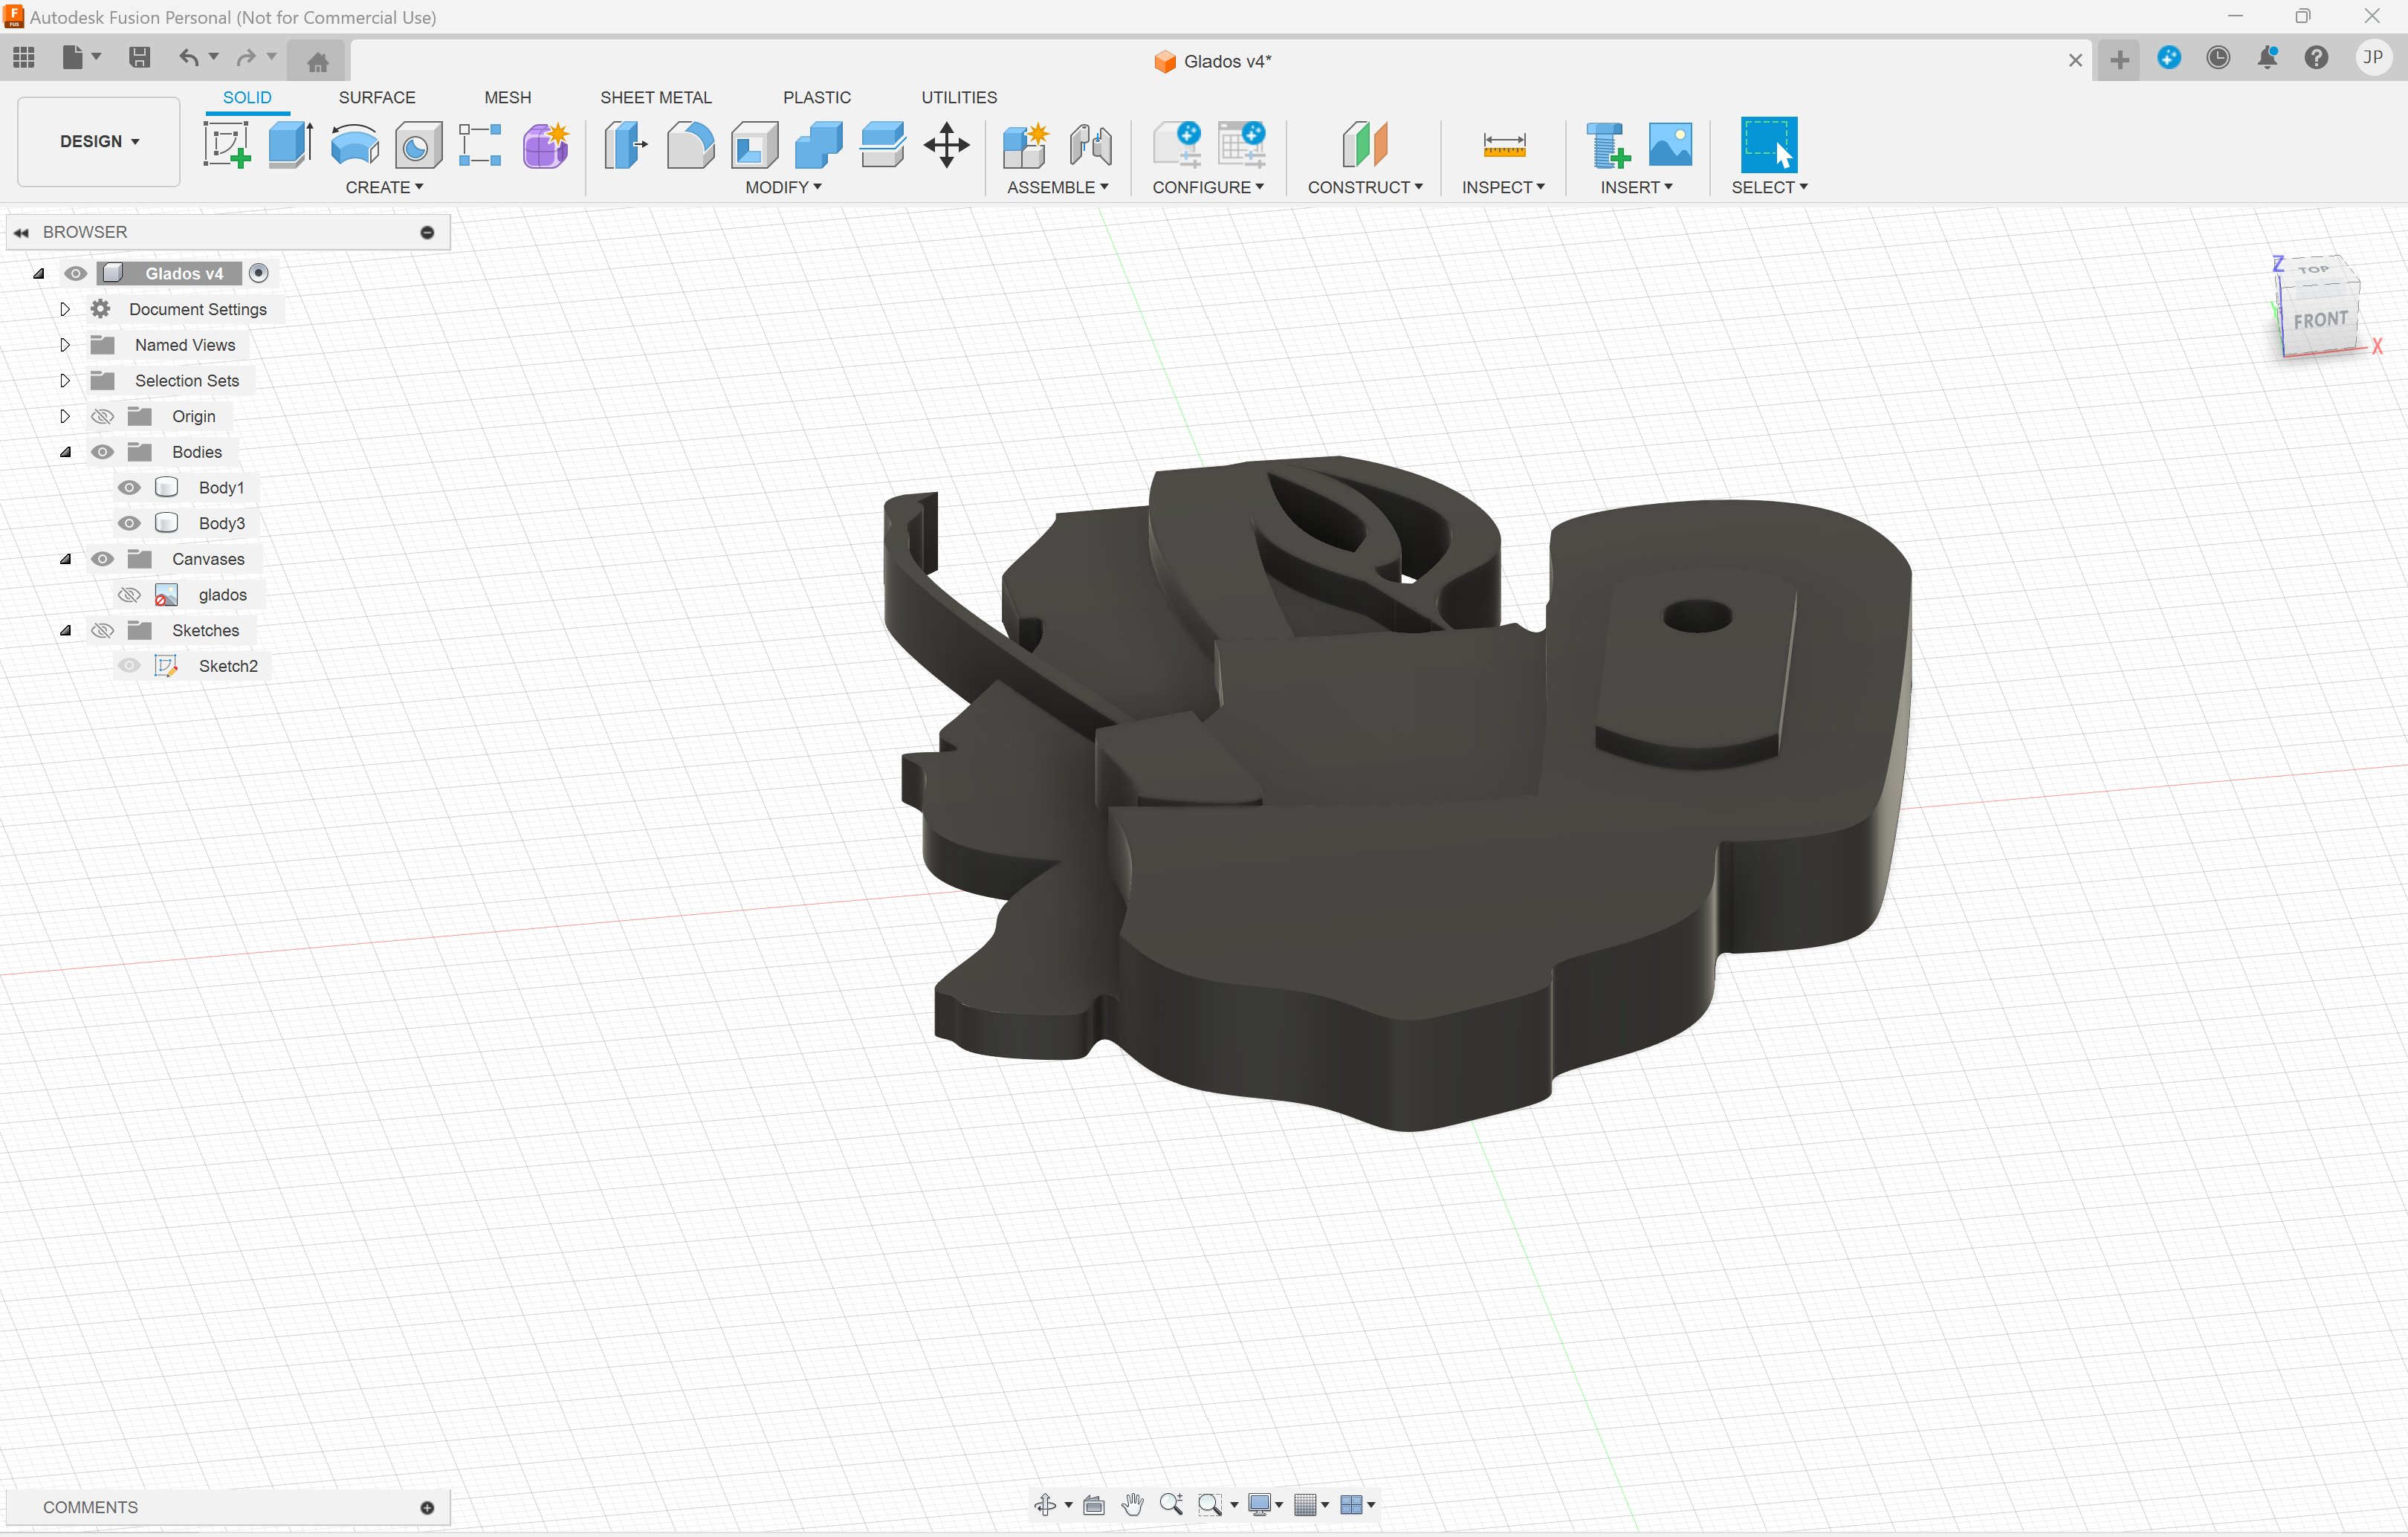
In solid, extrude parts individually to a different height, then add a hole for the eye.
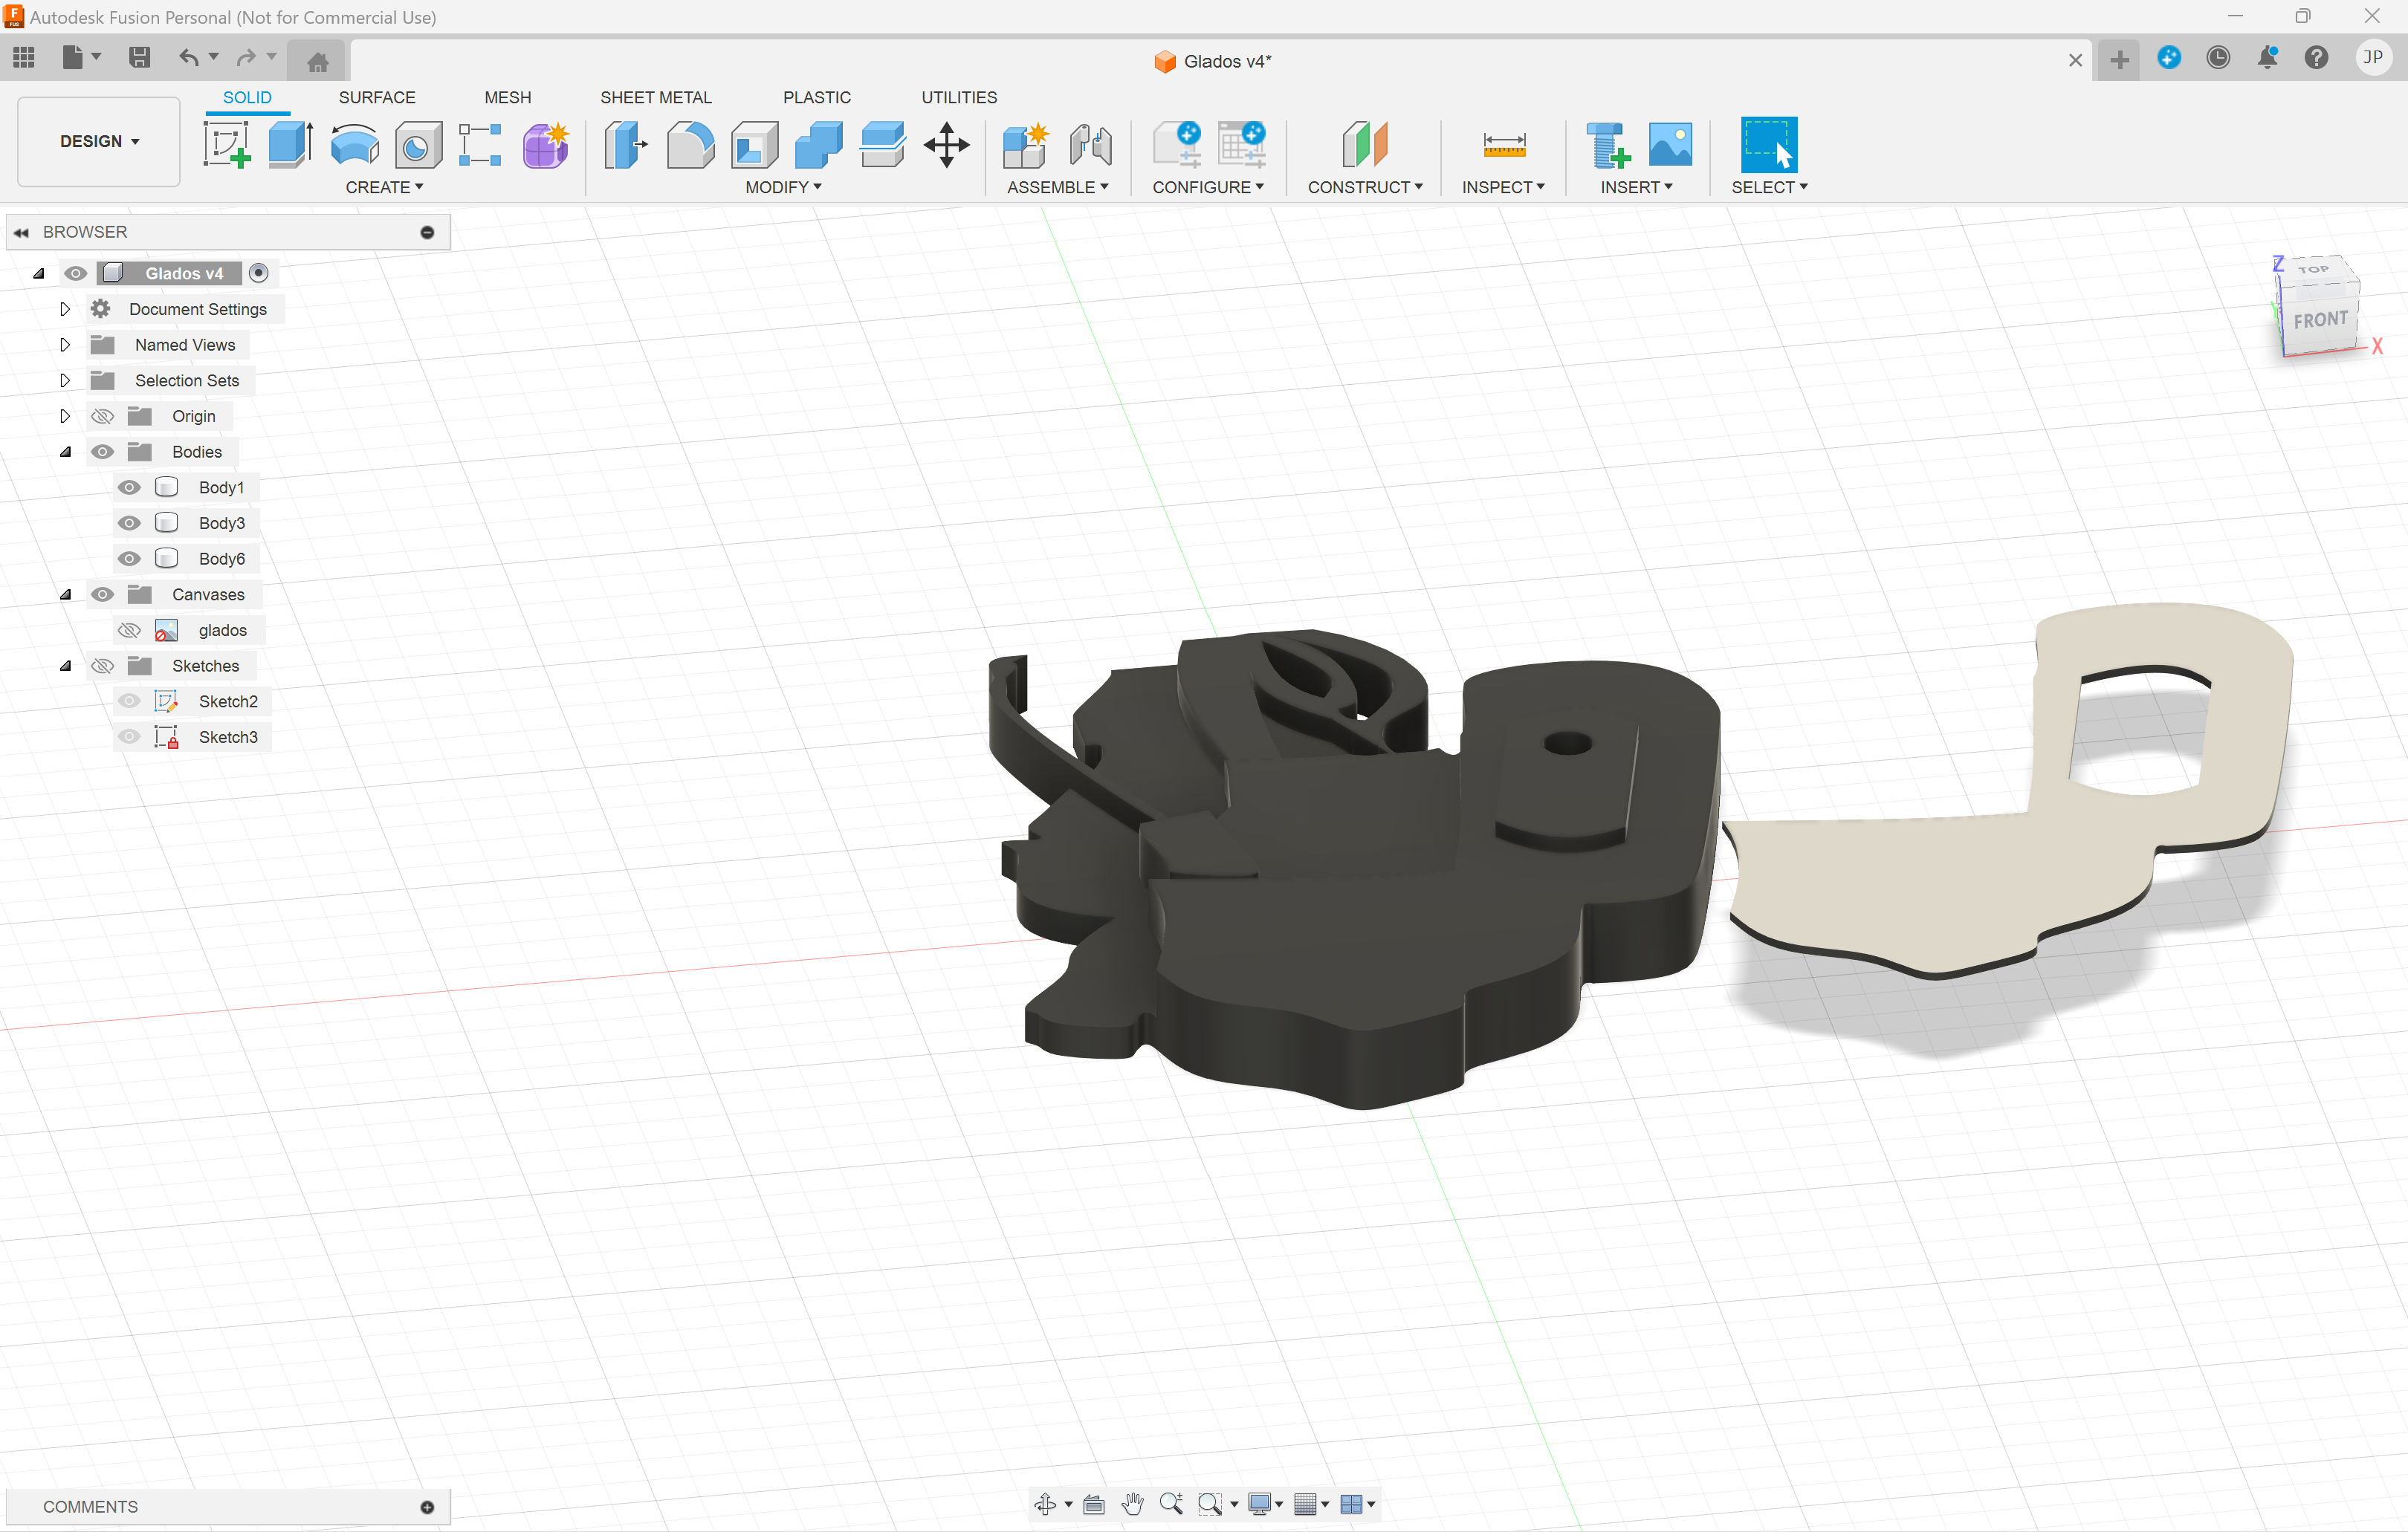
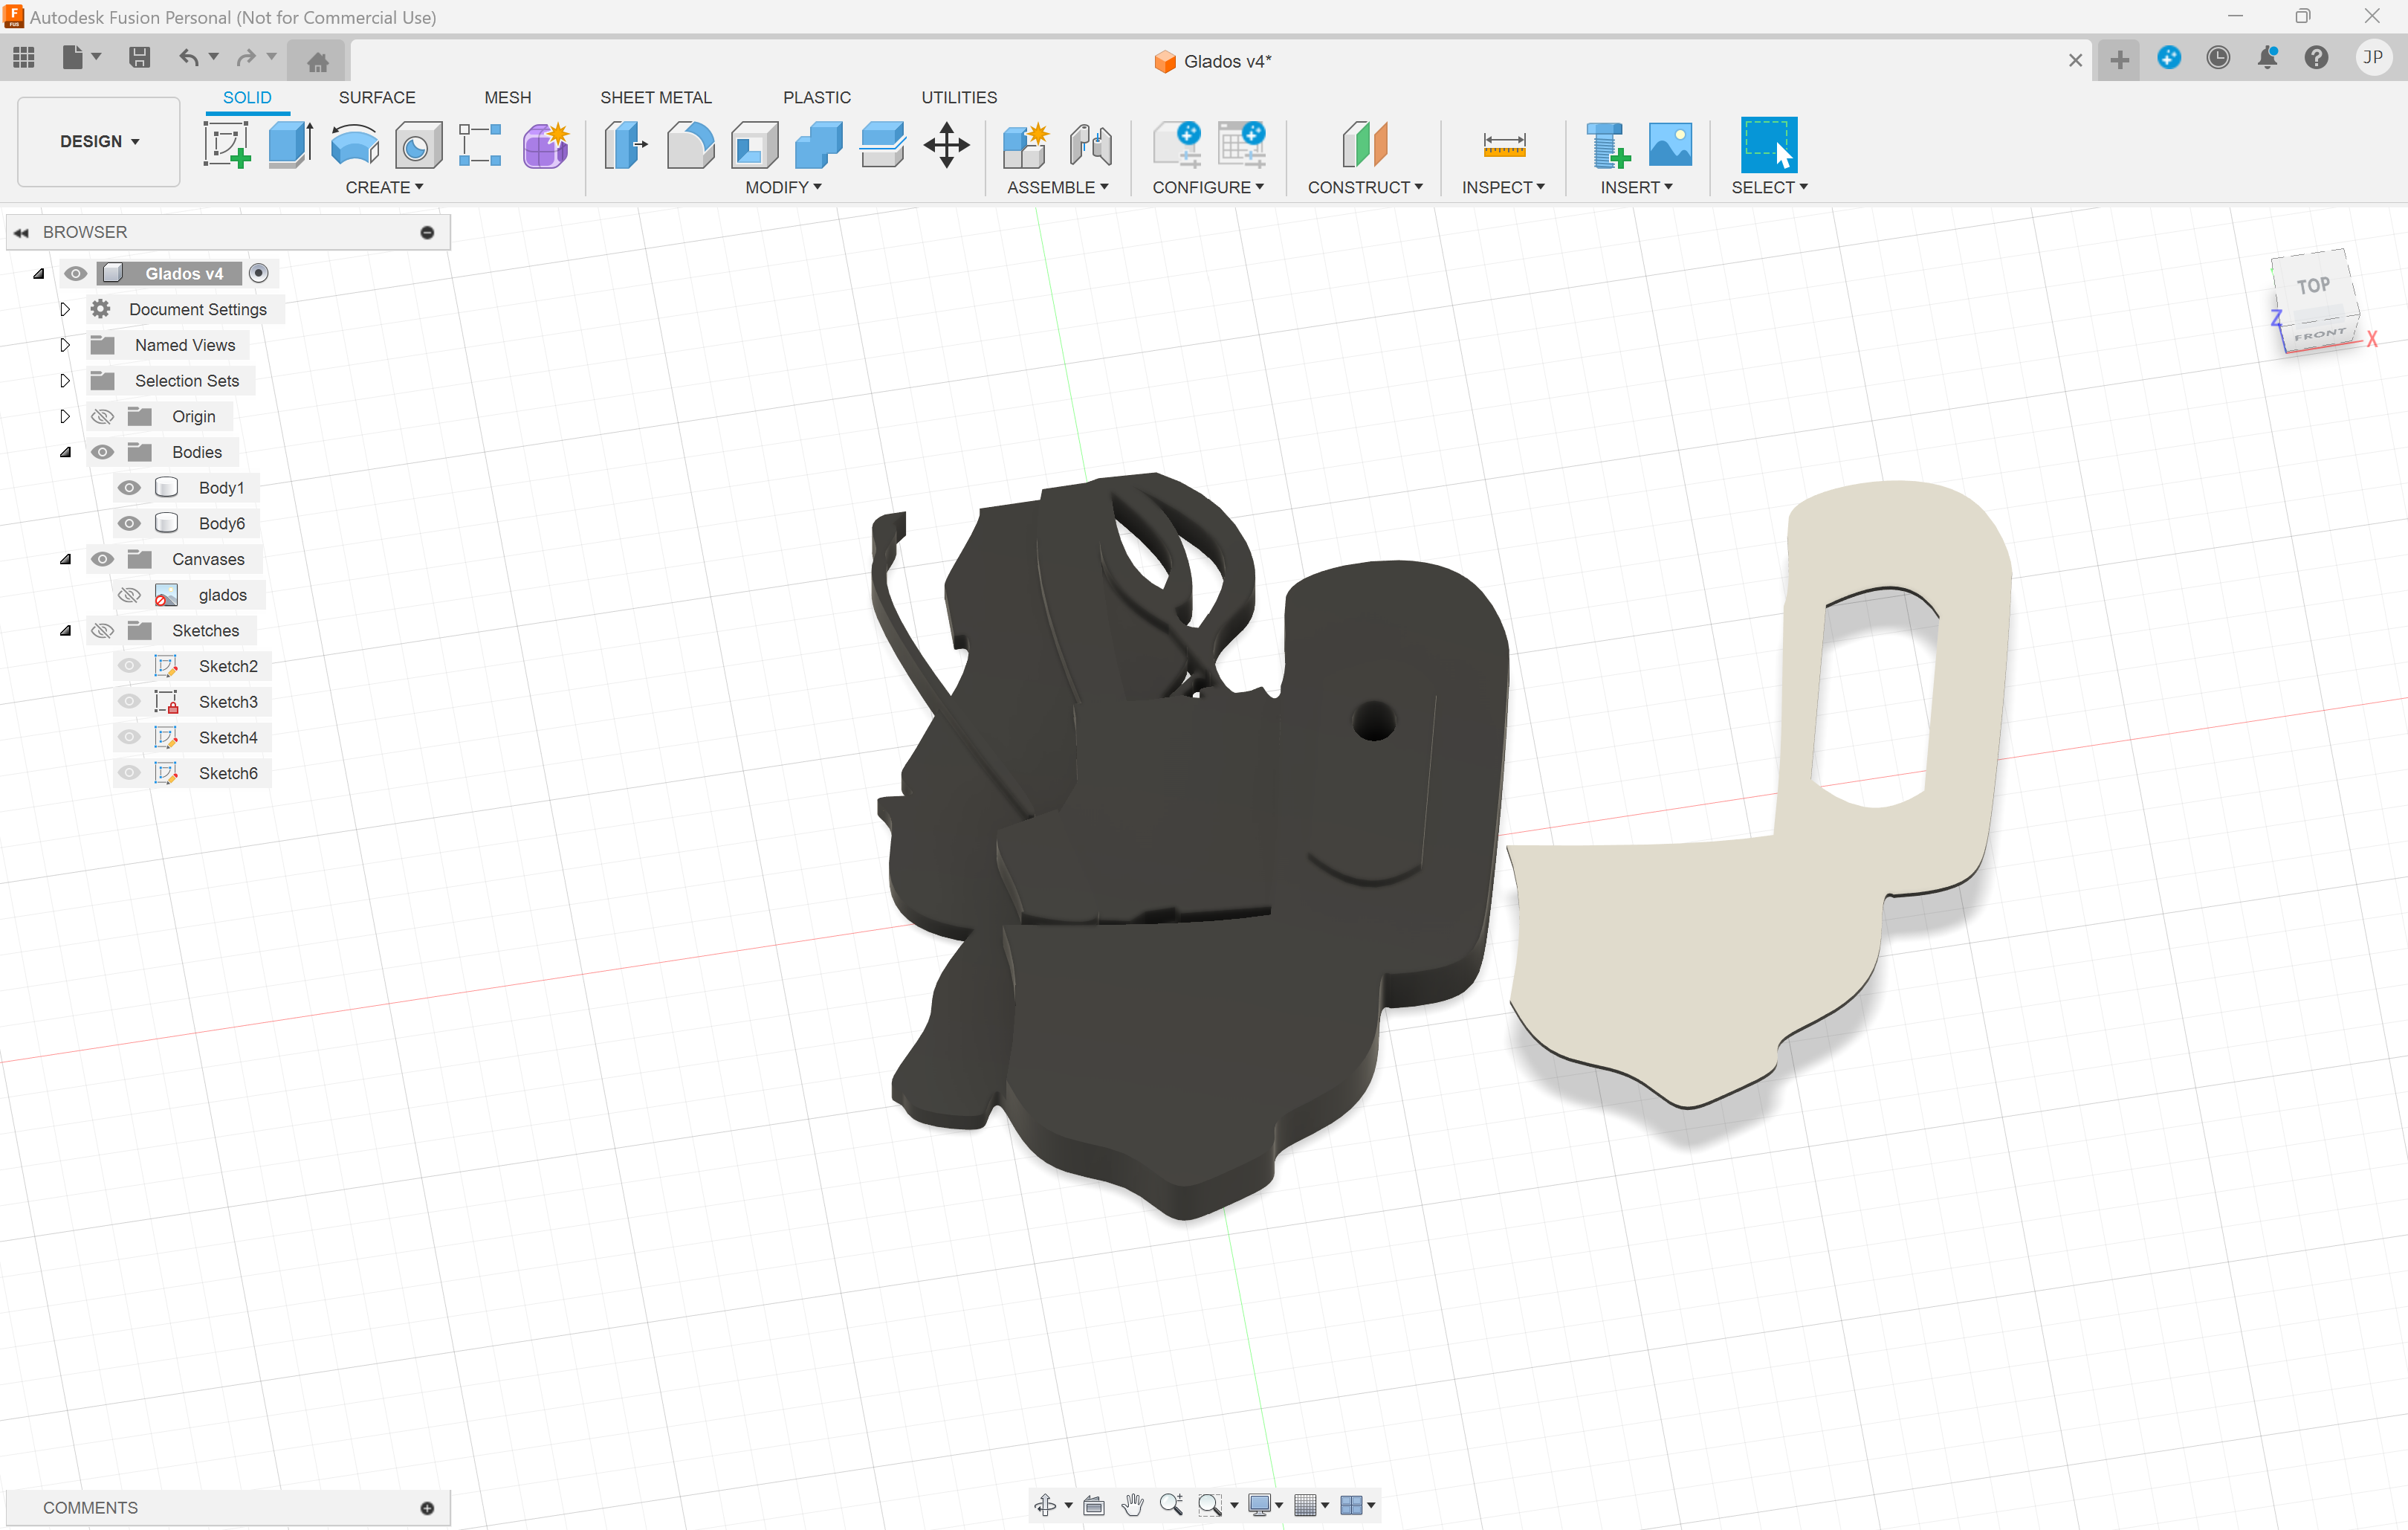
Make a sketch onto of Glados's face and trace.
Then, extrude and drag the part to the side.
Go to the bottom to create a sketch and extrude to 1mm.
Create a sketch on top of the extruded part and extrude to 1mm.
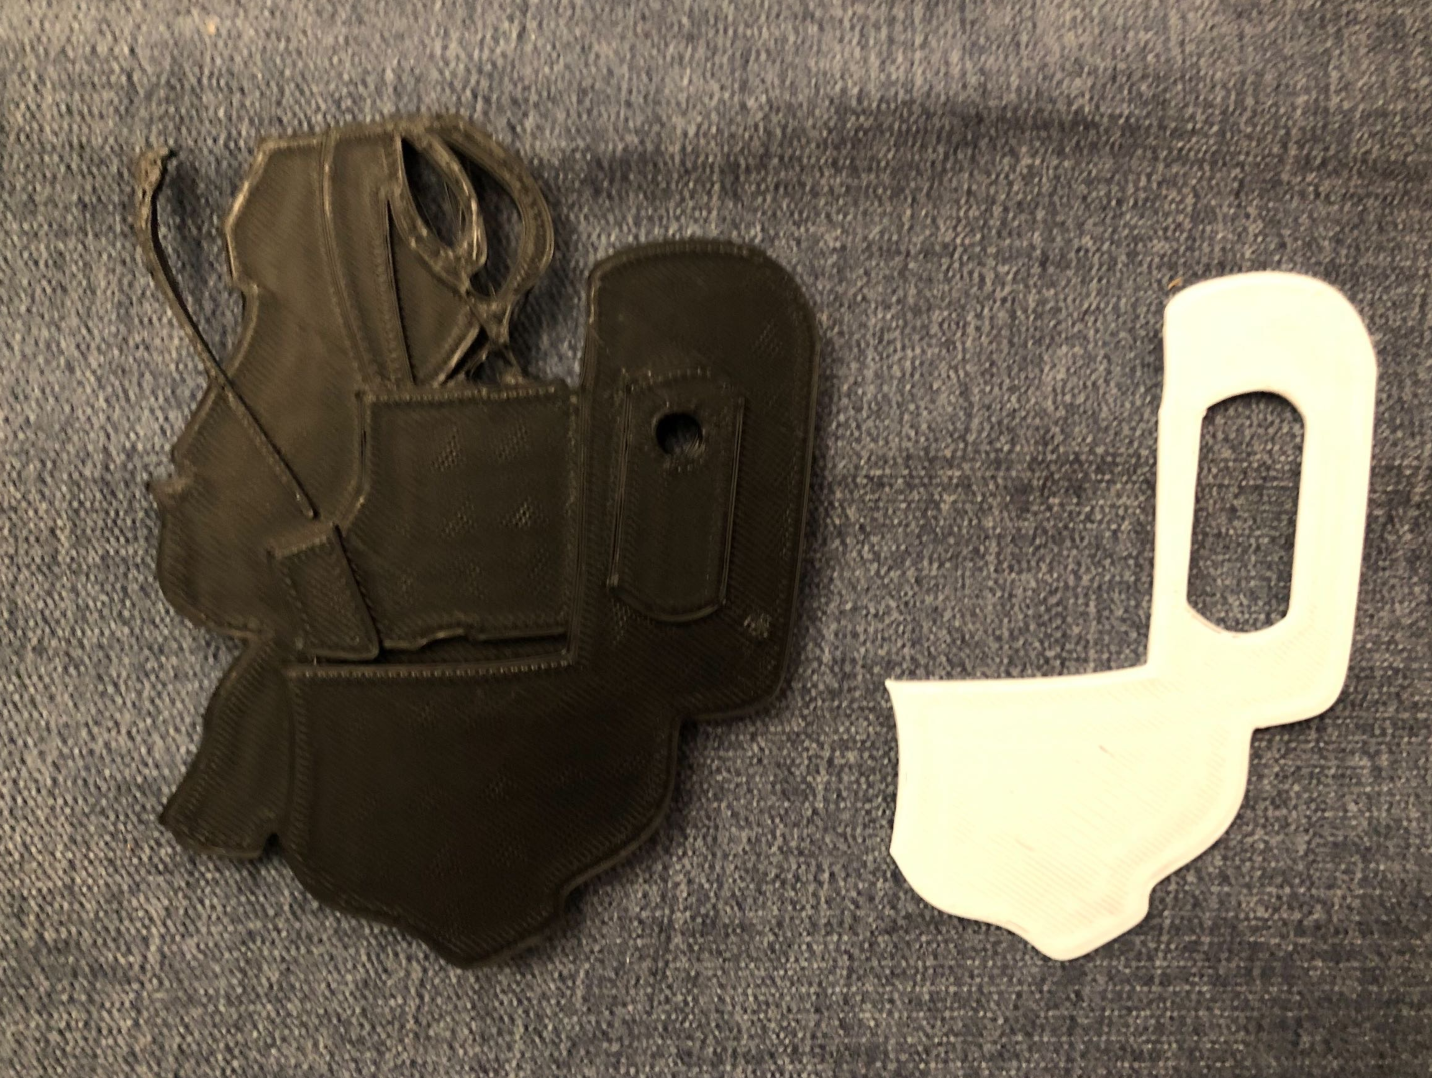
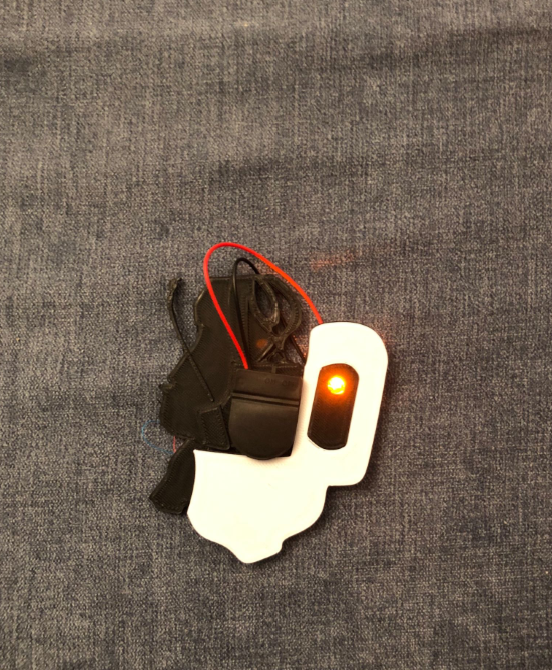
3D print parts individually.
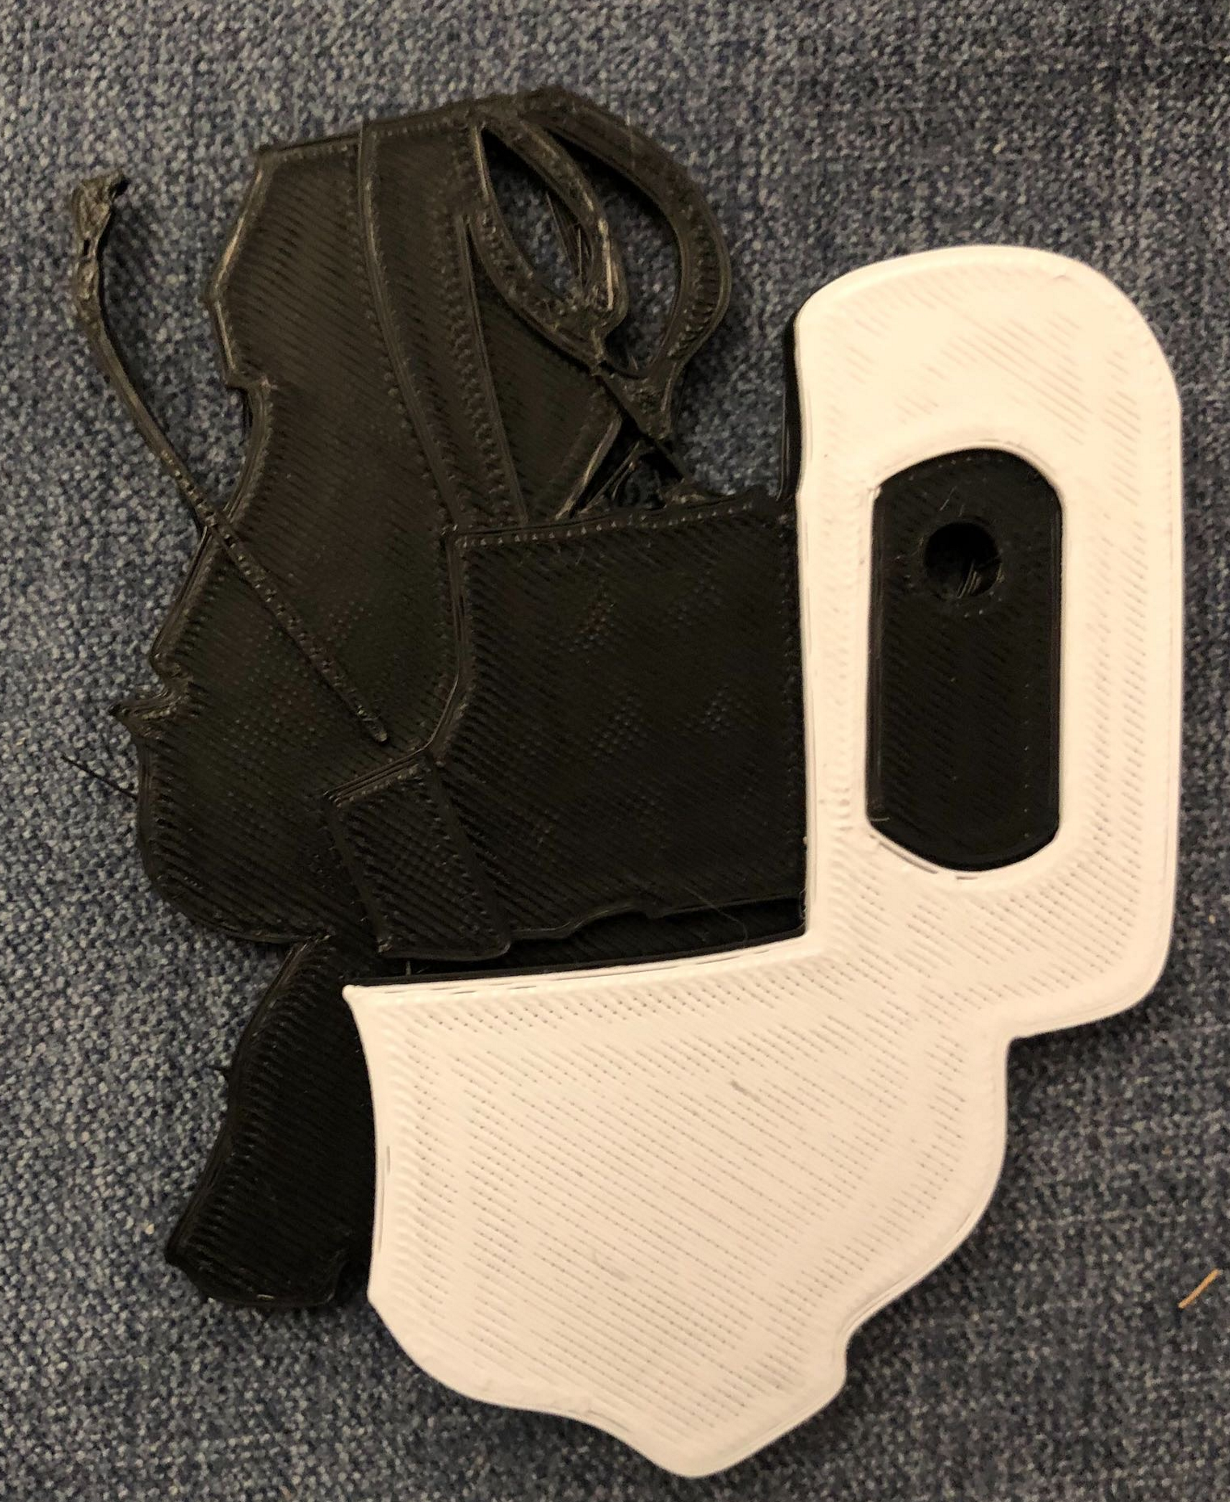
Put the two parts together.
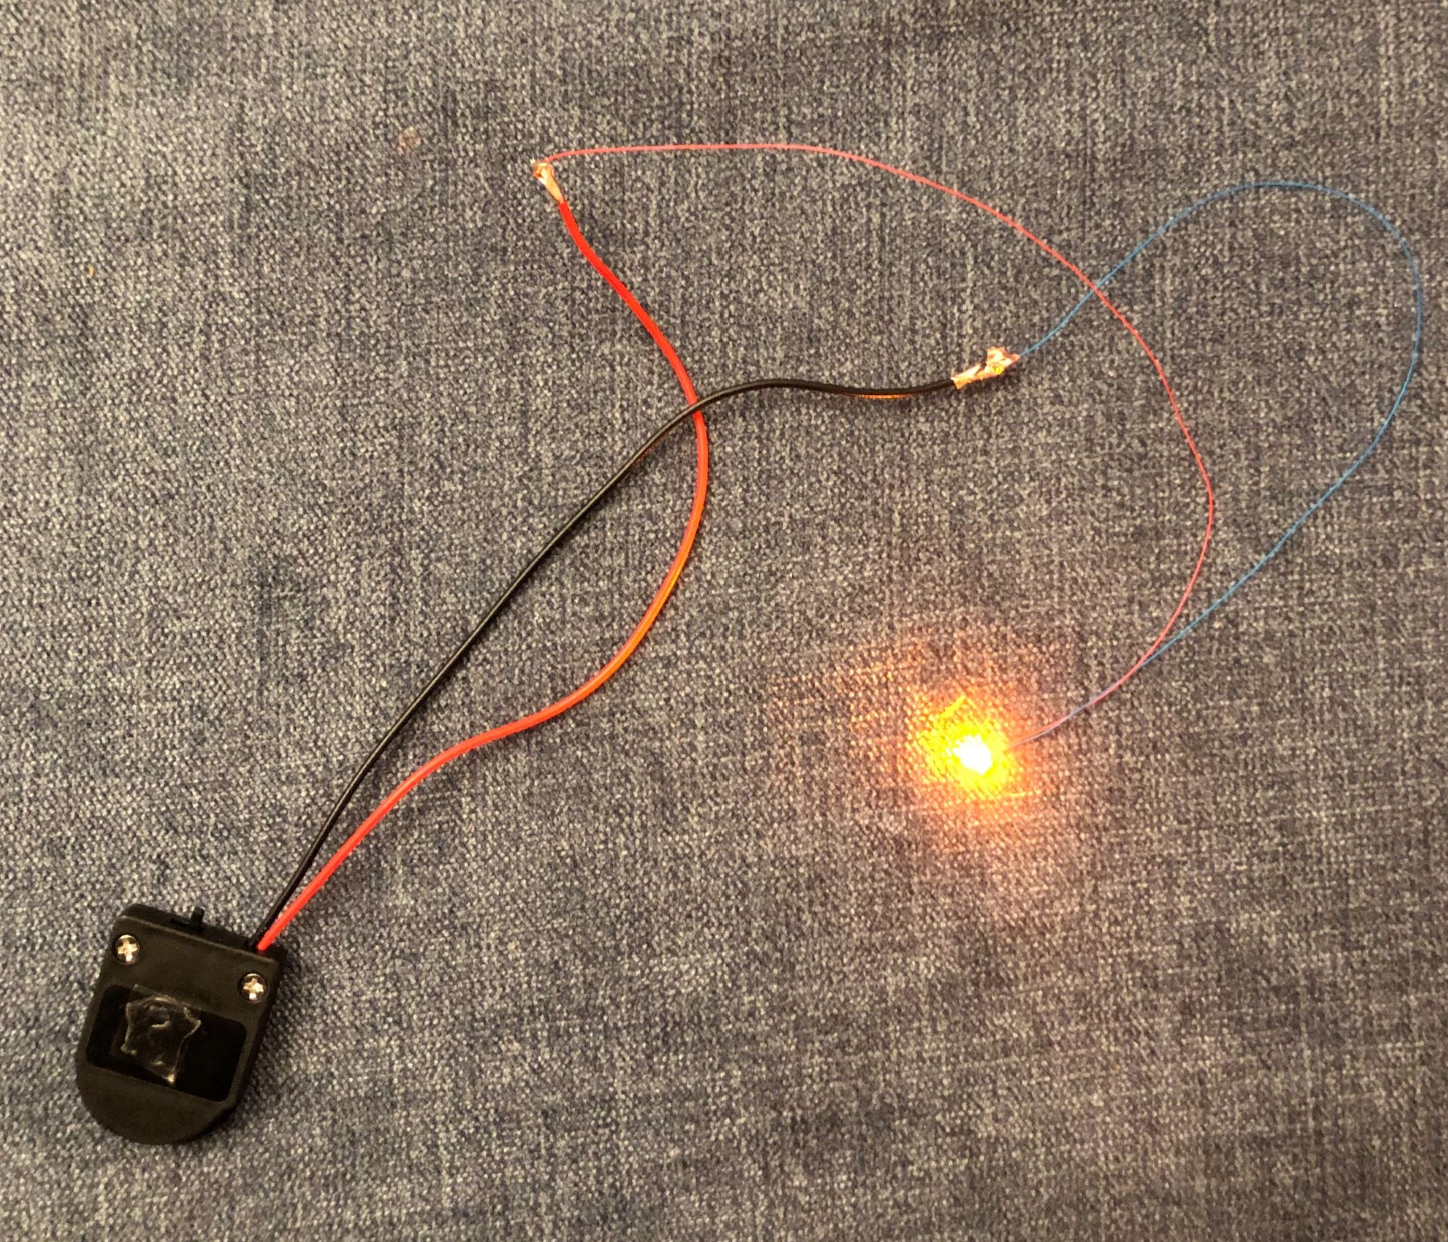
You can cut the wires short to fit onto the bookmark.
Attach the wires to the correct color with tape.
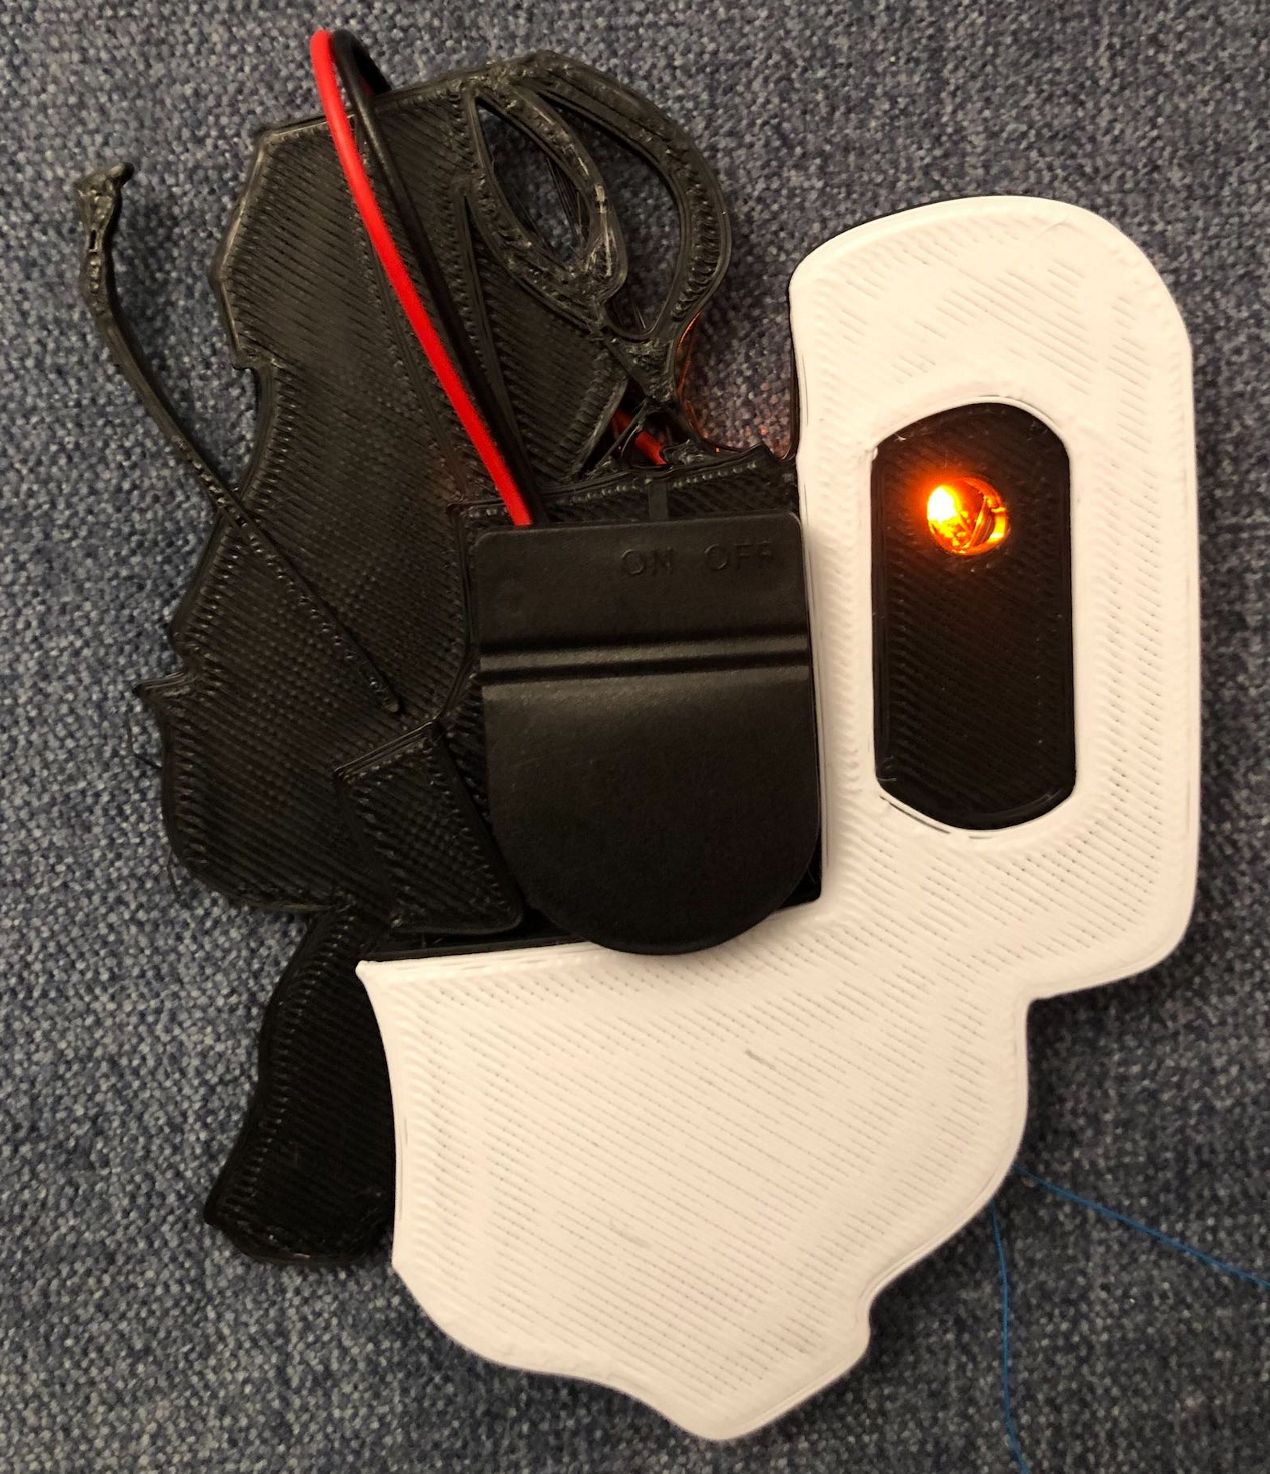
Et voilà!