Giant Bats- How to Integrate Two Photos Using Pixlr
by Attmos in Design > Photo Editing
20829 Views, 3 Favorites, 0 Comments
Giant Bats- How to Integrate Two Photos Using Pixlr


Up in the Flat Tops on the western slope of the Rocky Mountains, I came across this sign on the road I was exploring. It said, "FOR PROTECTION OF BATS, CAVES AND MINES ARE CLOSED TO HUMAN ENTRY".
'I thought this was peculiar because it was in the wide open of a large valley, no mines or caves for miles! It stuck with me as I drove and suddenly I realized, "My god, I'M IN BAT COUNTRY!" My friend in the passenger seat kept looking up and waving his hands in the air frantically."' (reference: Fear and Loathing in Las Vegas)
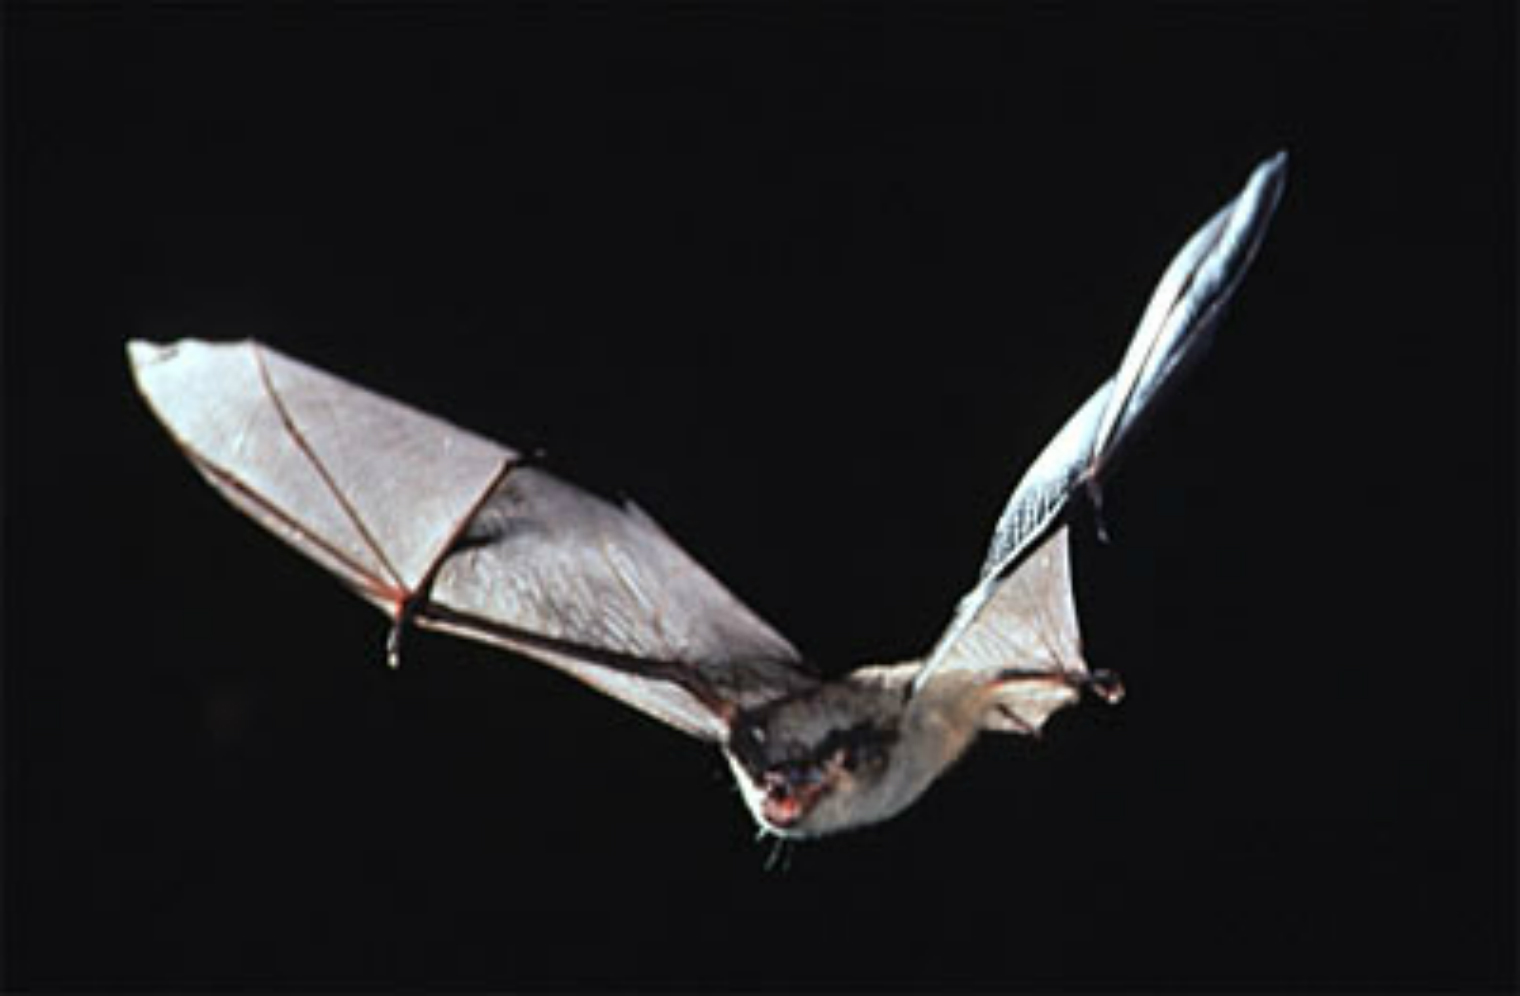
Anyway, lol, I thought since we didn't see any bats, I'd add one to the picture. How fitting for Halloween.
Starting Pictures


I may have done this the hard way, but I'm still learning. I've kind of fallen in love with this program.
First find the two pictures you want to combine.
Integration


Open the picture you want in the background first in the Advanced Editor of Pixlr. Then go to the Layers option and click the Open As Layer, and choose your second picture. It will open on top of your first picture.
Next click the Lasso option on the left, and carefully draw around your object as close to the edges as possible. Try to draw just outside of the edges. Make a complete loop around your object.
Then click on the Move Object option, it looks like a little mouse pointer. Put the pointer on your object and pull it out of the background it was in and move it to one side.
When its outside of the original background, pull that excess background to the opposite side and out of site completely. Your object will move with it so make sure to keep it completely in view. Now you should be left with just your object and the background picture.
Position your object where you want it and save everything. Then close the window.
Erase Any Residue


Re-open your saved picture again. When you lasso and move your object, you maybe left with some irritating residue lines somewhere in your picture. No problem. Go to the bottom right corner and click on the color palette. Now, when you move the pointer onto the picture again, it will look like a little Eye Dropper.
Move the Eye Dropper to the area right next to the residue line and click. This will take a sample of the color at that point in your picture. A bubble will pop up and ask if this is the color you want, click OK.
Now you will have just the right color to replace the residue lines with. Draw over the residue lines with this, it's kind of like erasing. You may have to sample a few times if the color of the background changes.
Save your picture and close the window.
Redraw the Background


Now that you have a little experience with sampling colors and applying them, it's time to clean up the edges of your object. Re-open your picture and magnify it as large as it will get. Find a starting point on one of the edges of your object. Choose the brush and then make it a small size. You can do this at the top of the window. It will start out at 50, I found that a size 9 does very well.
With the small brush, go again to the color palette and sample the background surrounding your object. Use this color to draw around your object, this will eliminate any of the original background that came with your object. Again, you will have to sample many times to match your new background. Depending on how much color chang there is, and how detailed you want your new picture, this may take a while.
When you're finally done to your satisfaction, save you picture and close the window.
NOTE: I found that it helps to de-magnify your picture on occasion to check your progress.
Soften the Edges

Re-open your picture.
In my first few pictures, it bothered me that it still looked like my object was from another picture. I needed to blend my object into the new background. In order to do this, I used the Blur option. Magnify your picture again as large as you can get it, and the click the Blur option. And again, make it a size 9 or what ever size you are comfortable with. Hold down the left click and run the Blur pointer over your object edges, You have to re-click every pass you make. This will soften the edges of your object and magically blend it in with the surrounding background.
When you're finished to your satisfaction, save your picture and close the window.
Shadows


I found that another way to further blend in your object, and make it look as if it belongs, is to add some shadowing.
First look at your background and determine where the light is coming from, and which direction the shadows are cast. Observe the length of the shadows and how dark they are on the scenery.
When you've determined where they come from, click the Brush option. Sample the surface color where you will add shadows. Instead of just clicking OK, Move the color circle towards the black end of the color diamond. this will give you a darker version of the surface color. Choose a suitable brush size. Then right next to the brush size option, dial down the opaque value to about 20% to start with.
Now add your shadows as you see fit. You will have to make many passes to achive the correct darkness. Don't be afraid to undo anything you've done if it doesn't look right.
Add Effects


Now your picture may or may not be finished. Pixlr has many effects you can add to your picture to give it the feel that you want. This is totally up to you, but it's fun to play around.
So that's it, I hope you have as much fun as I have.
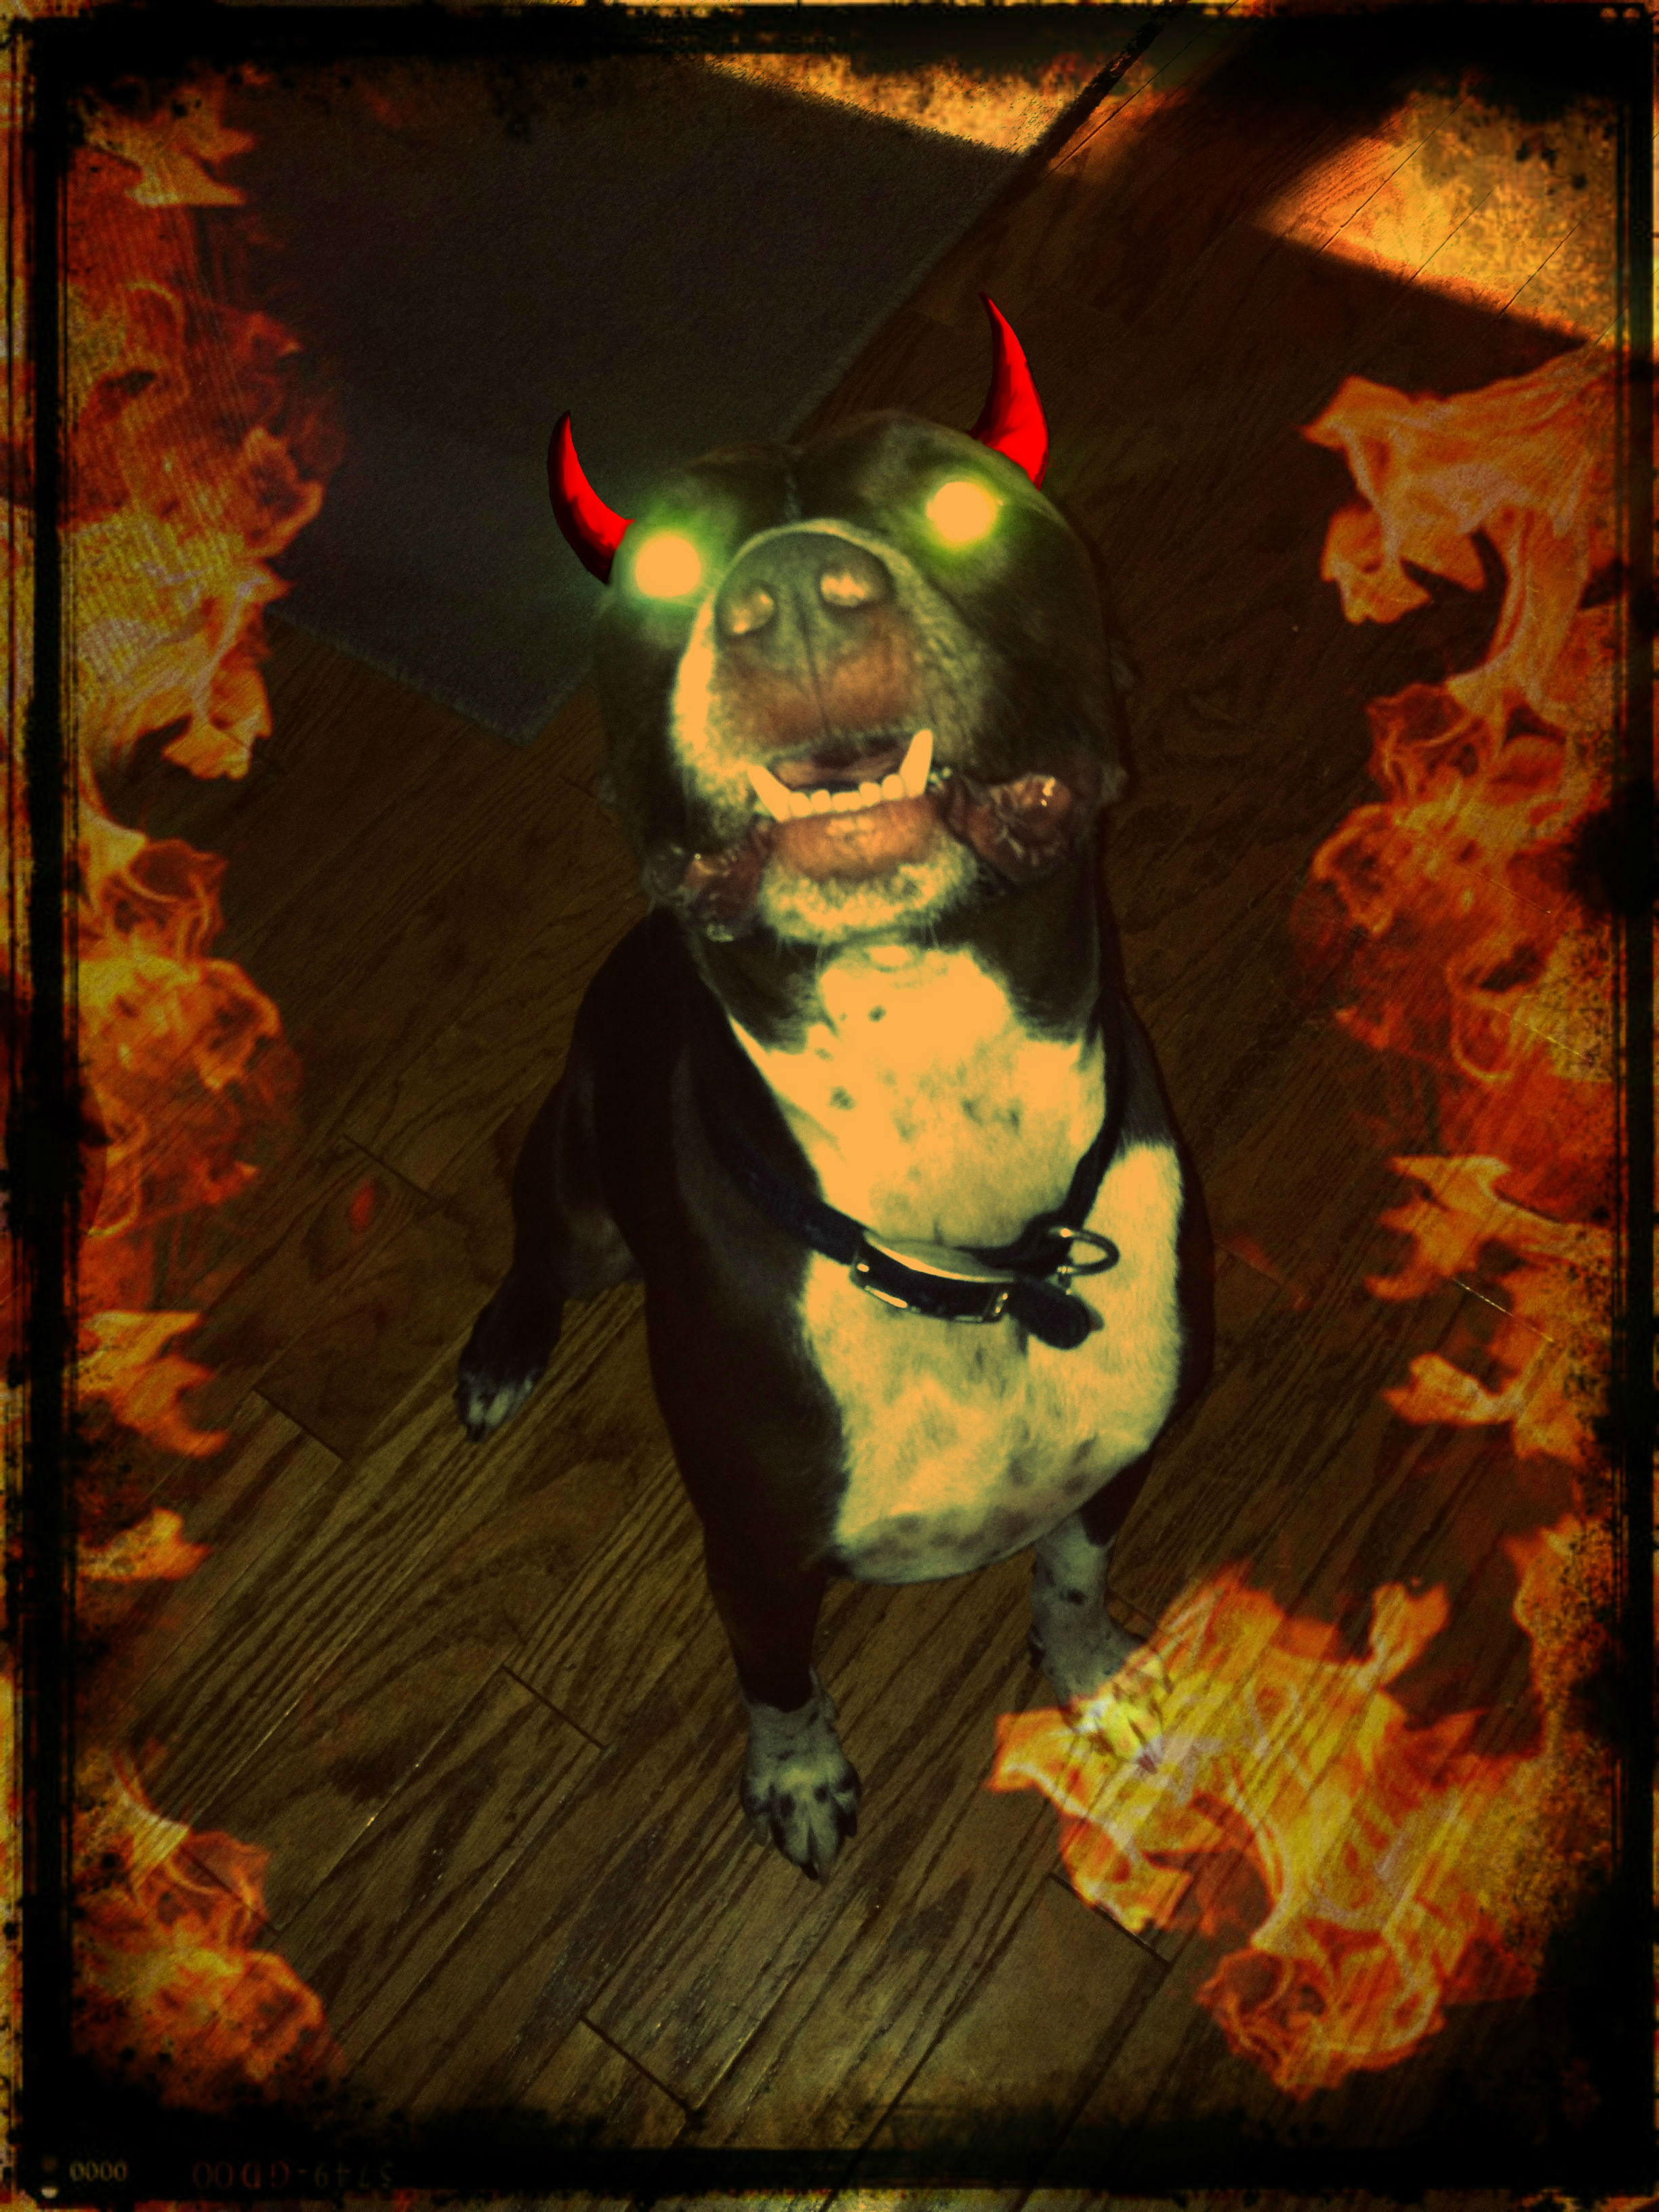
Here's a few more that I've done too.