Ghost Airship Photo Manipulation in GIMP
by steampirate in Design > Digital Graphics
3062 Views, 3 Favorites, 0 Comments
Ghost Airship Photo Manipulation in GIMP
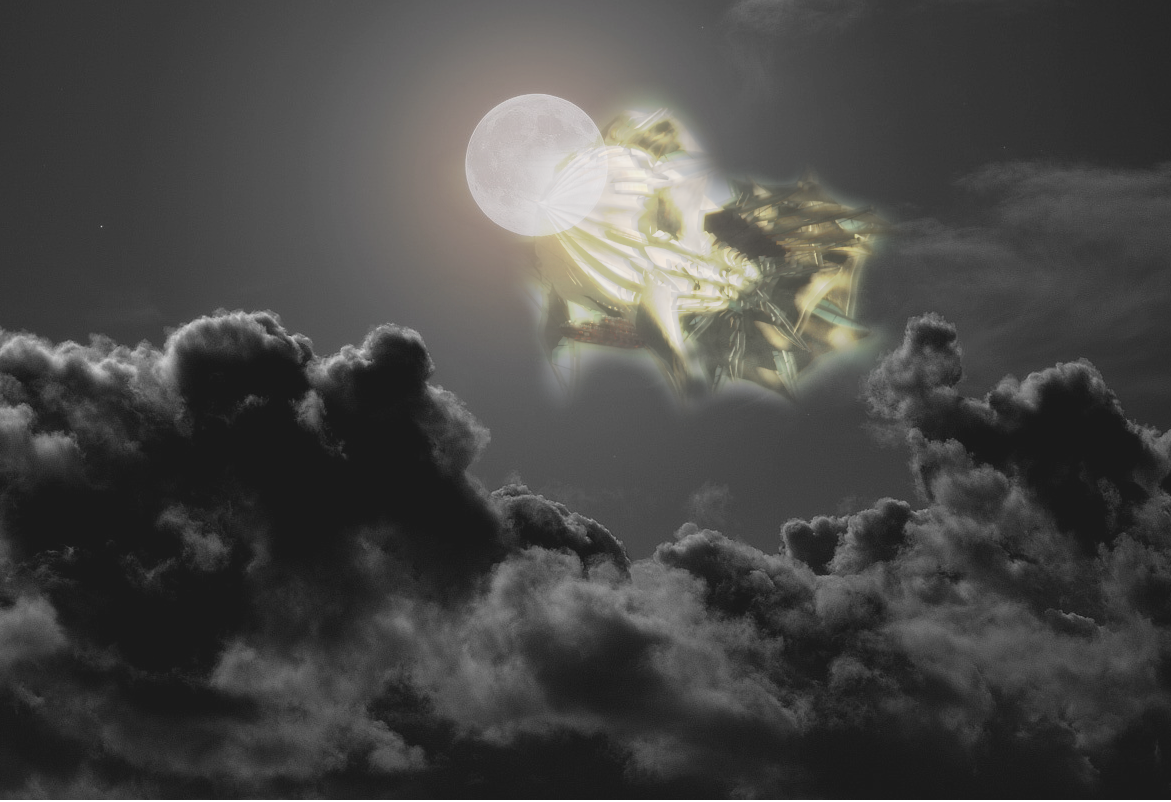
In this tutorial I will be showing you some basic photo manipulation techniques in the GIMP which can be applied to not only this project but any number of other projects as well. The results can look pretty cool. Take a look!
I am creating this tutorial with the assumption that you have some basic knowledge about GIMP and can navigate your way around to some degree. If you need anything clarified, definitely leave a comment and I'll try to help as best as I can.
another thing to note is that I am using a modified GIMP. therefore the window is different from the stock version and things may be in different places than you are used to. Hopefully this won't be a problem.
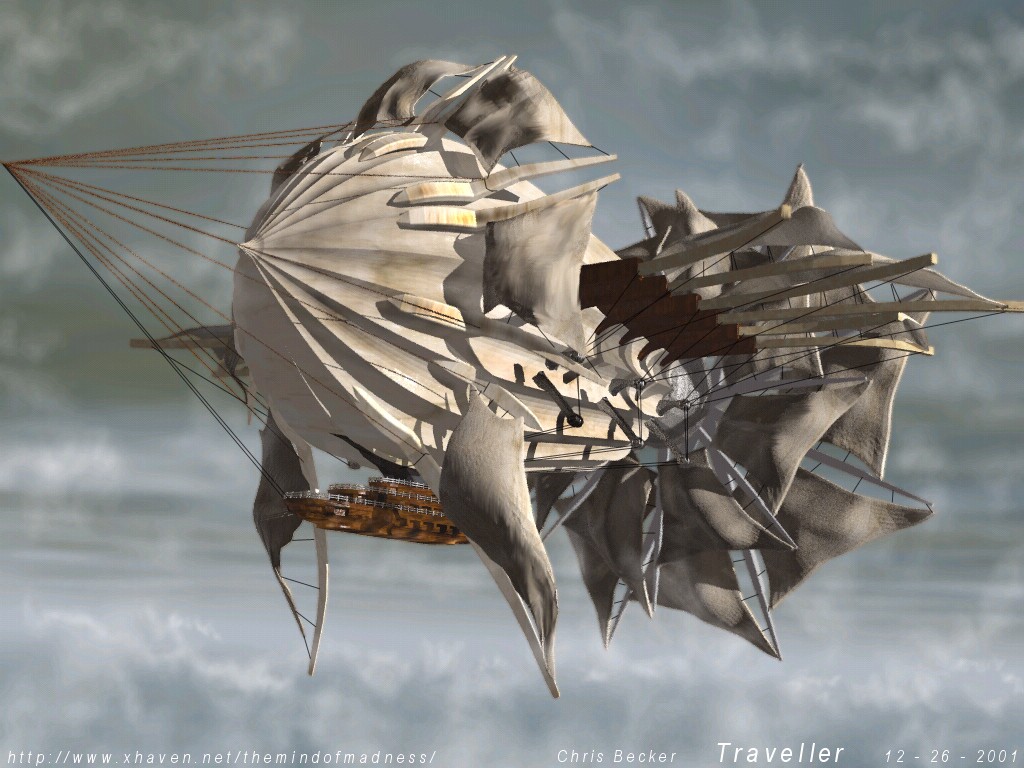
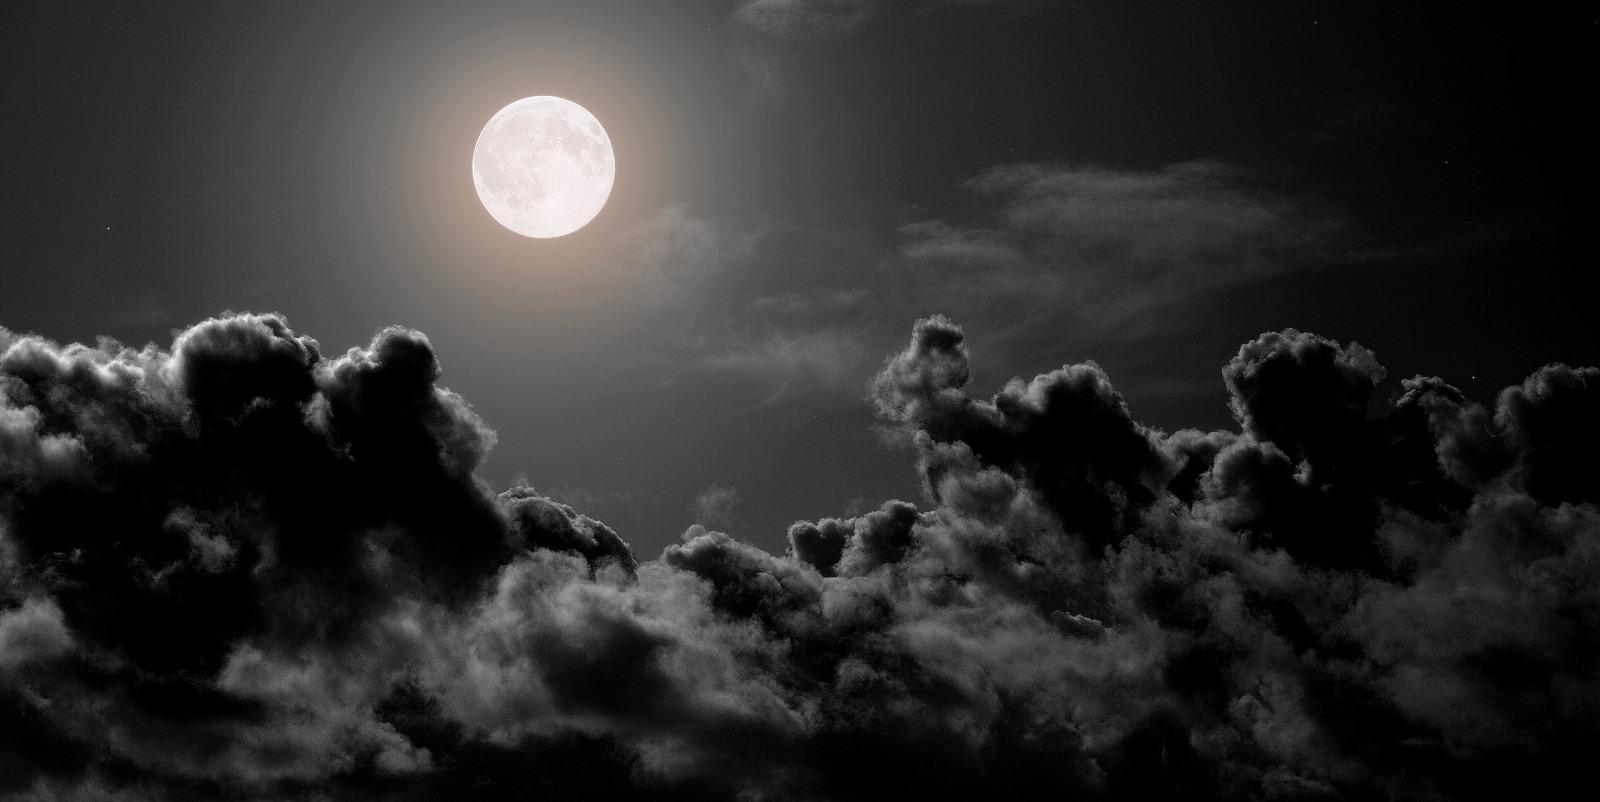
The two images I used can be found here:
http://2.bp.blogspot.com/-UUy2IrWp8Fs/ToN815haCzI/AAAAAAAAAOk/Pe-nnaioqH0/s1600/full-moon-night.jpg
http://www.clockworkhare.com/wp-content/uploads/2010/11/44AirShipView2a.jpg
Adding Images/isolation
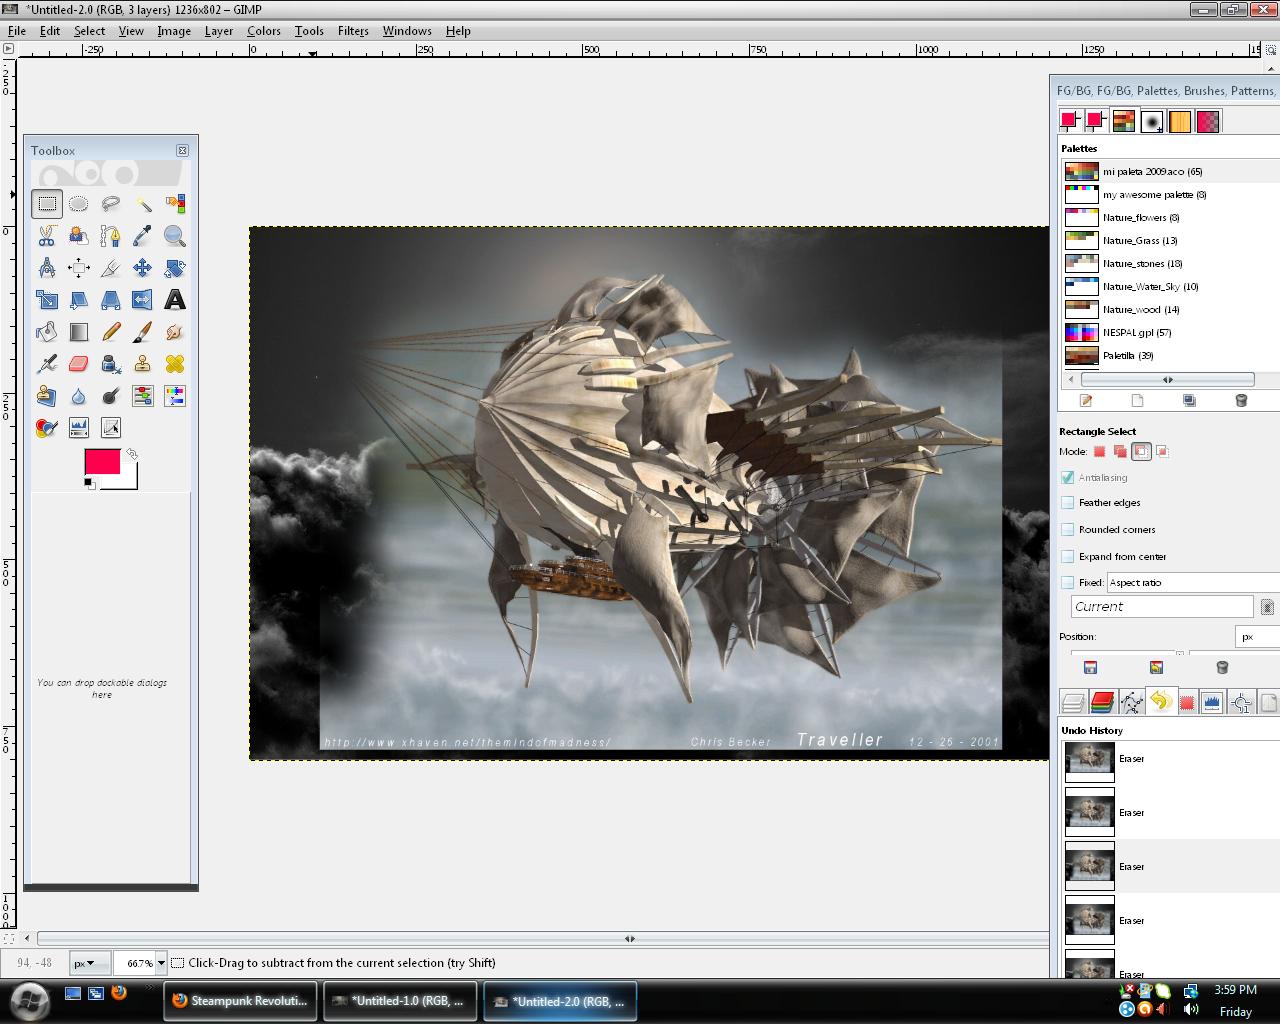
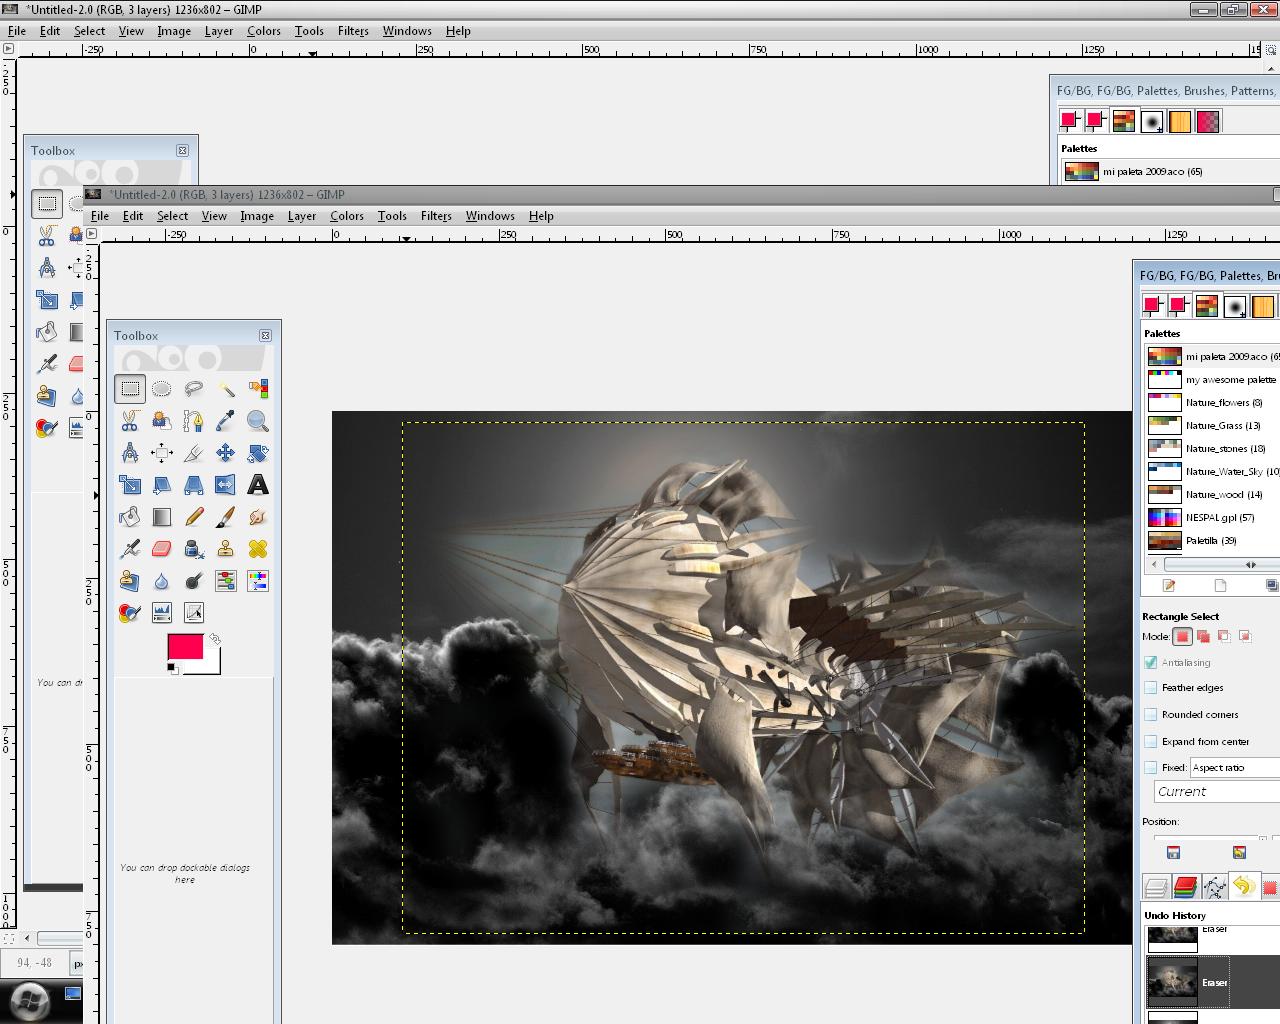
Begin by dragging the image of the background into a blank GIMP window. This should automatically create a new layer with the image in it. This will be the base of your image. The next step is to drag the picture of the airship into the GIMP window. This should add the airship on another layer. if for whatever reason you can see the layer in the layer browser, but not in your image, be sure to check that the layer is ABOVE the background layer. Now, select the eraser tool and select a soft brush. Begin to remove the sky in the airship image. If you aren't able to get all of it, it's fine. Since it's a ghost ship a little extra haze is just fine.
Also note that a feather brush is very useful in a lot of cases when you need to isolate something because the soft edge blends better with the rest of the scene.
Also note that a feather brush is very useful in a lot of cases when you need to isolate something because the soft edge blends better with the rest of the scene.
Scale and Move
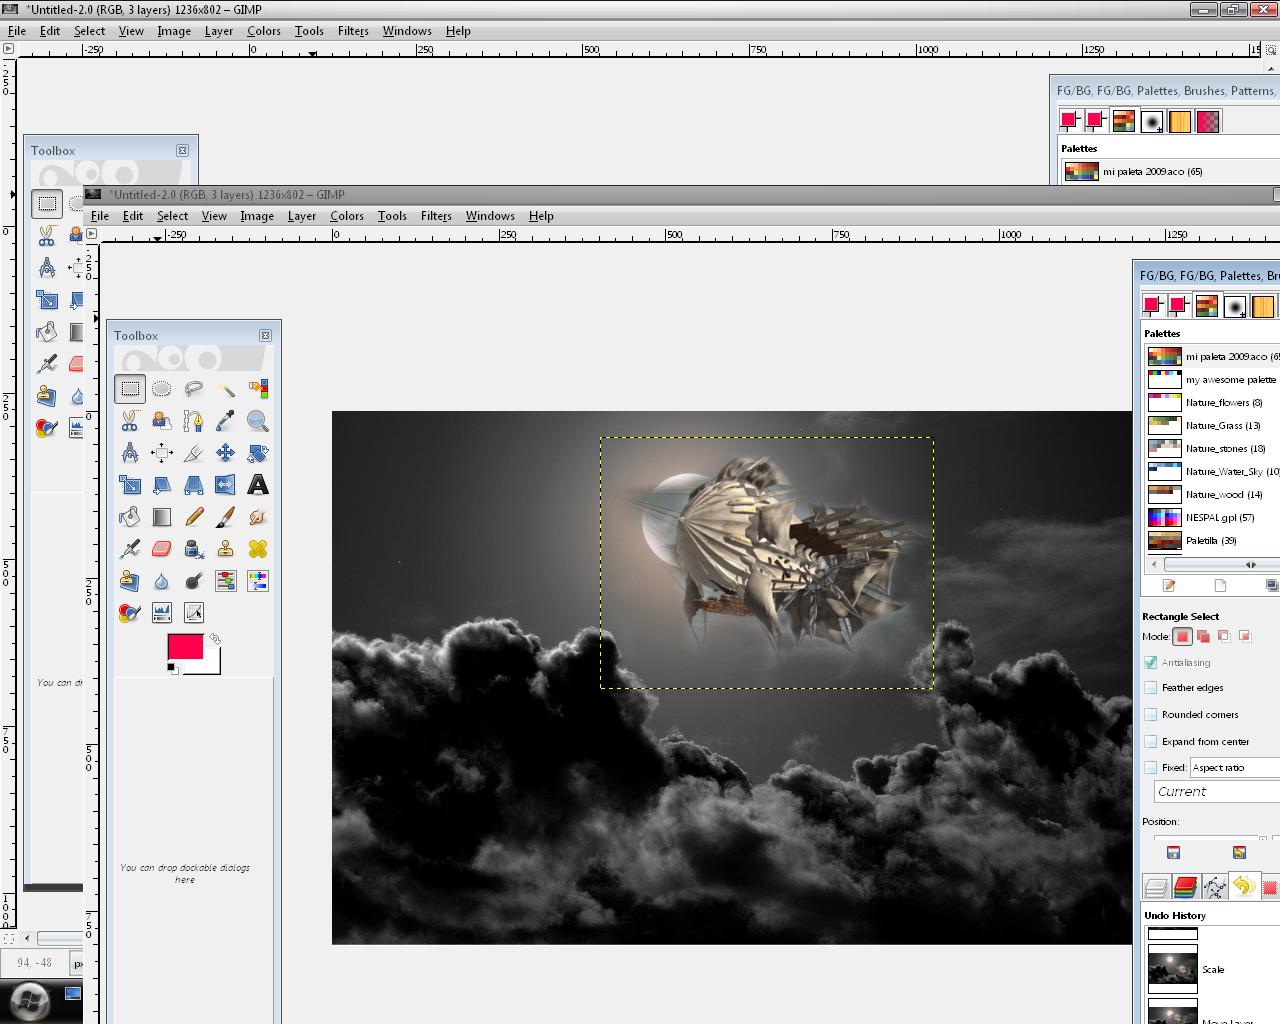
The title says it all. Select your newly isolated airship and click on the scale tool. On my window, it's the first icon on the 4th row. Now scale the layer to the size you want. This step is entirely up to your aesthetic preferences. Now select the move tool. (4th from the left on the third row in my window.) Move the airship layer wherever you want it in the scene.
Making It Ethereal
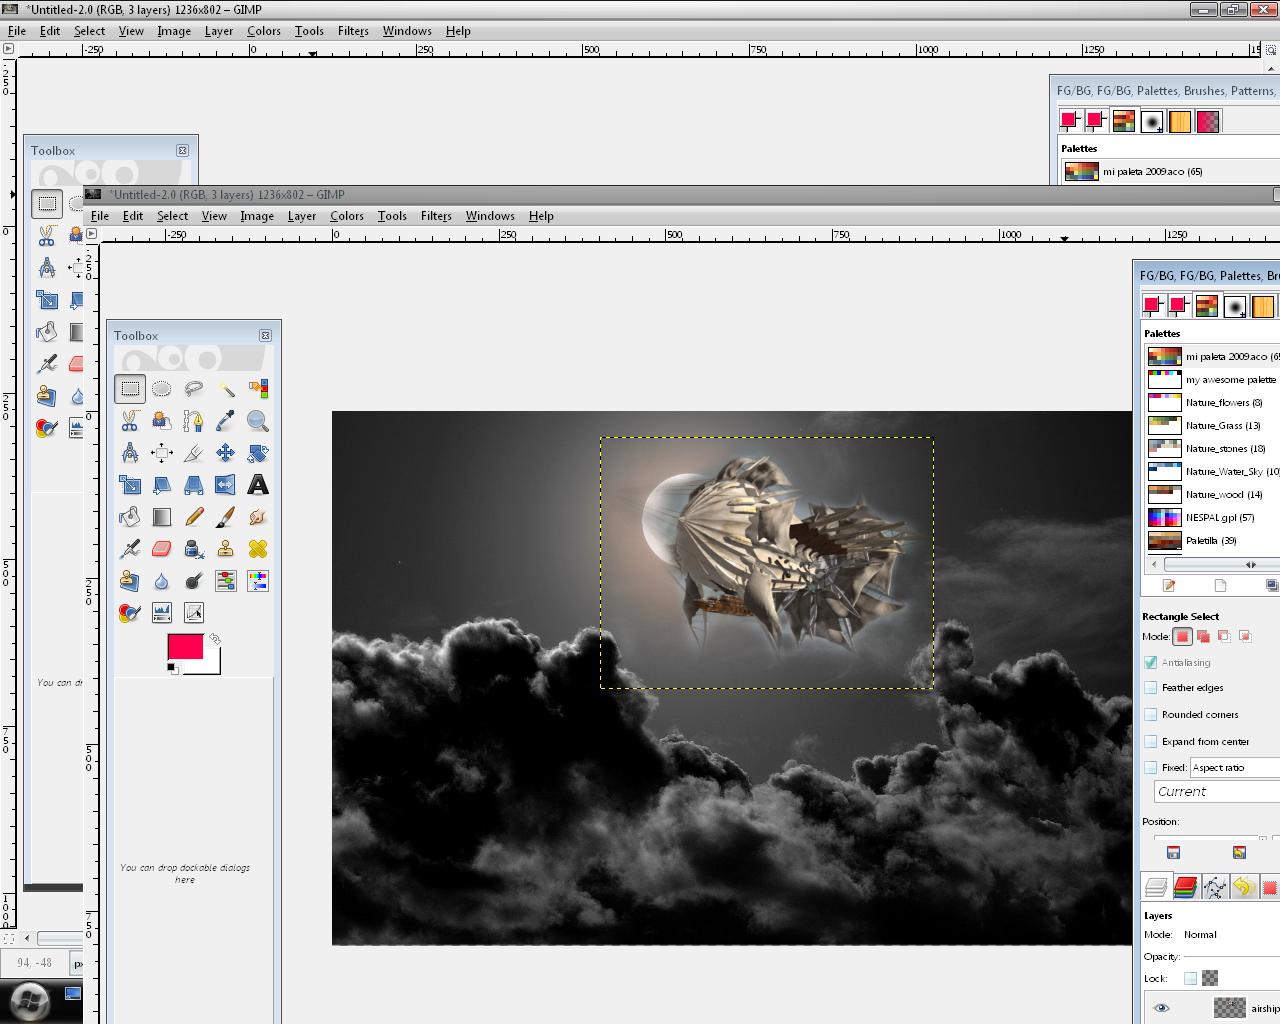
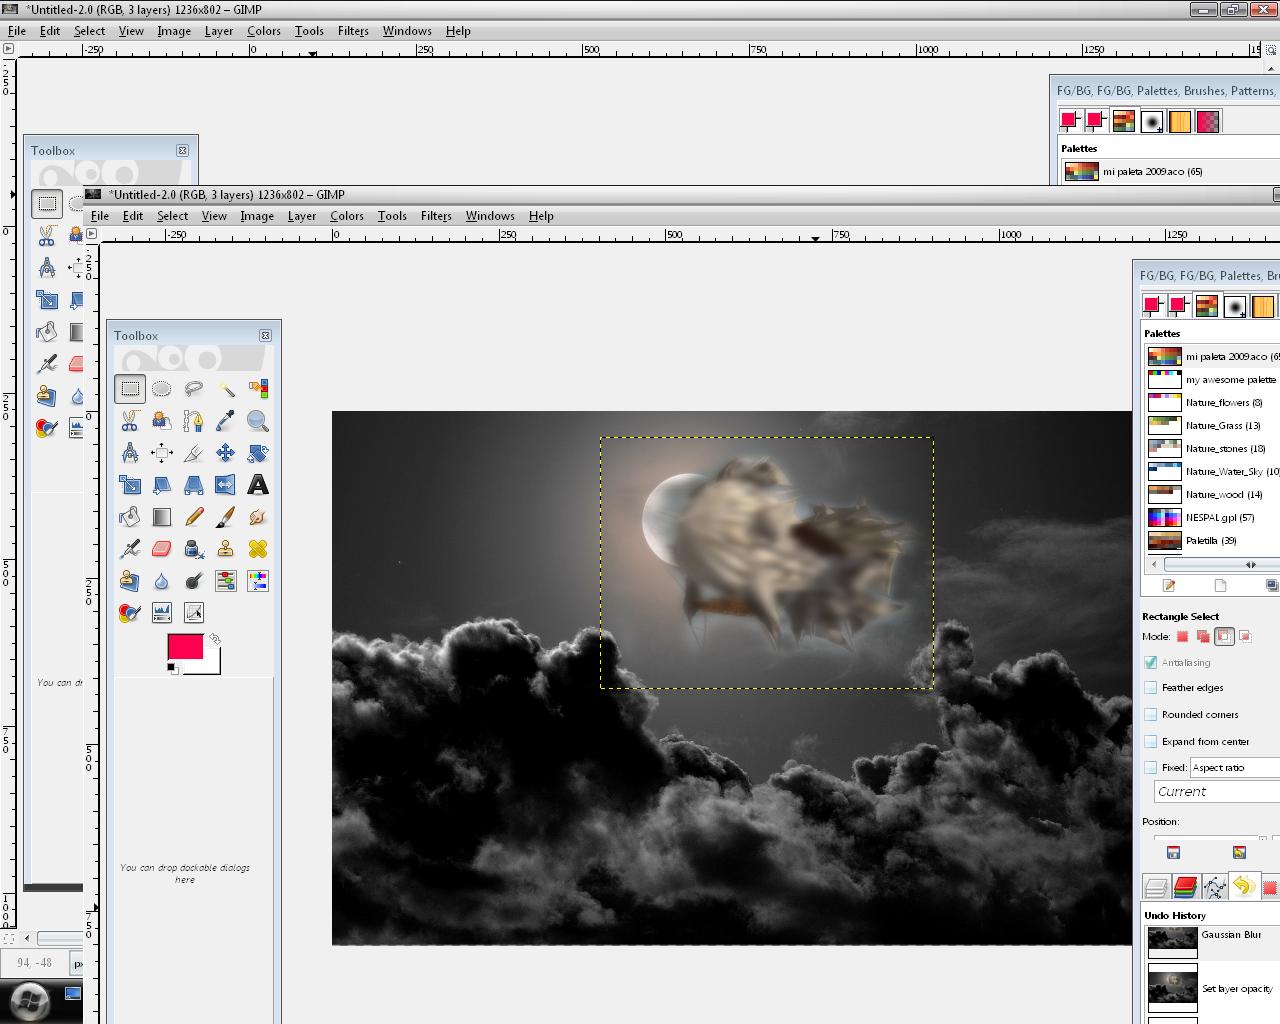
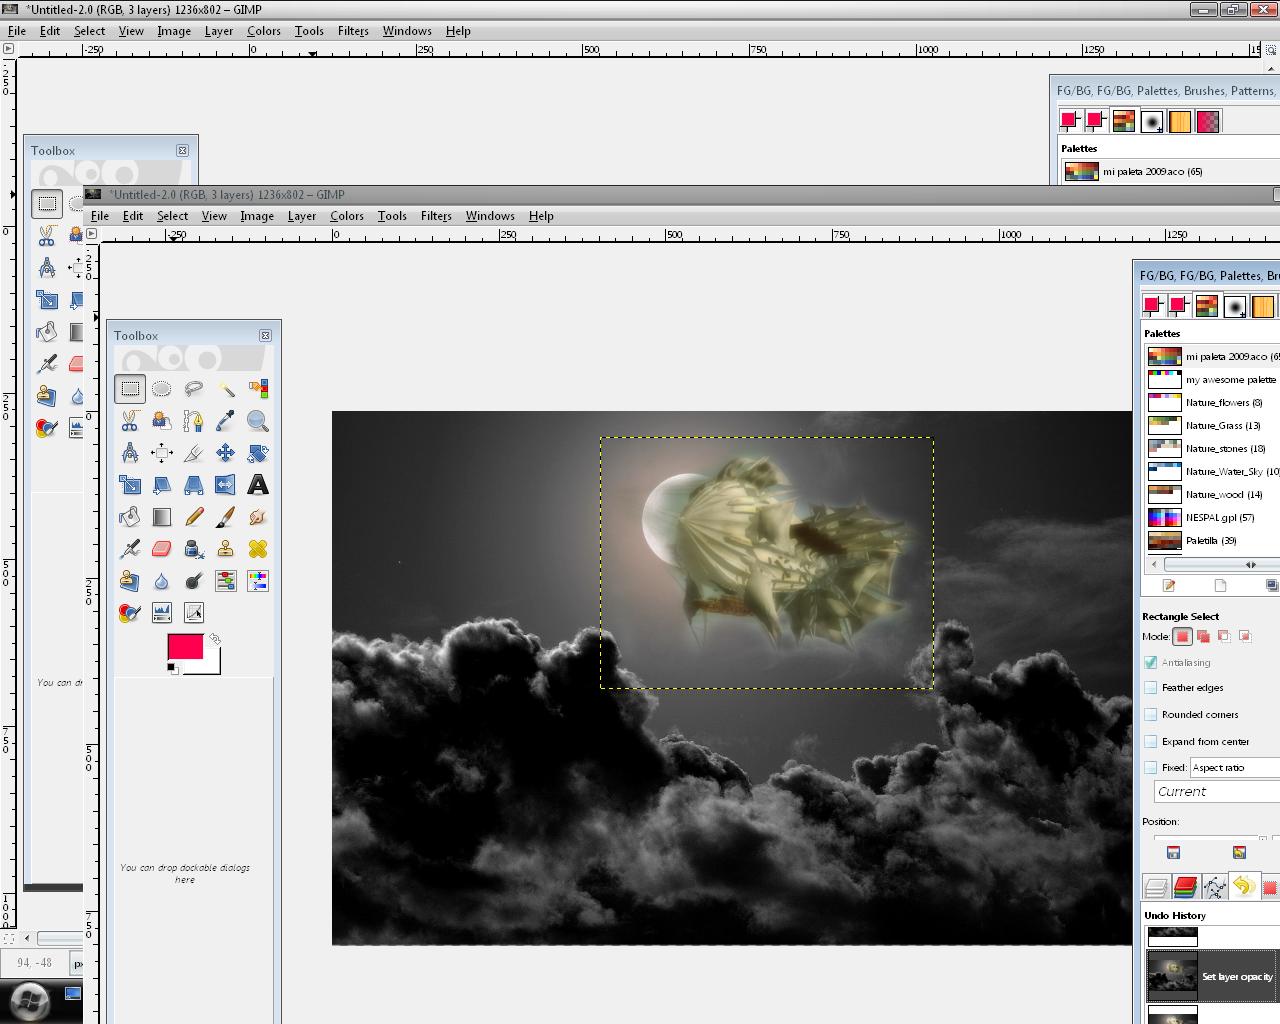
Now it's time to make our airship ghostly. The first thing to do is to right click on the airship layer. Now in the menu that has opened click on duplicate layer. This will make an exact duplicate of our airship.
Next, in the top bar third from the right is a button called filters. Click on this. In this drop down menu is a button that says blur. hover your mouse over this and then when the next menu pops up click on Gaussian blur. In the window that appears make sure the link of chain next to the two input areas is connected rather than broken and that the units are in pixels. Now in one of the input fields type in something close to 20 pixels depending on how much of an outline you want. Click OK and let it process this.
Now make sure your new airship layer is selected and at the top of the layer browser look for the box called mode. (next to it it will say normal.) Click on this and in the drop down menu select dodge.
Now, with the blurred airship layer still selected, go to the top bar again and click on the button called colors. It should be five places from the right. Now click on Color Balance. In the window move the bottom slider towards the yellow, and the middle slider towards the green until you like the hue. Now go back to where you selected the layer mode and slide the layer opacity slider down until you like the effect.
Two New Layers
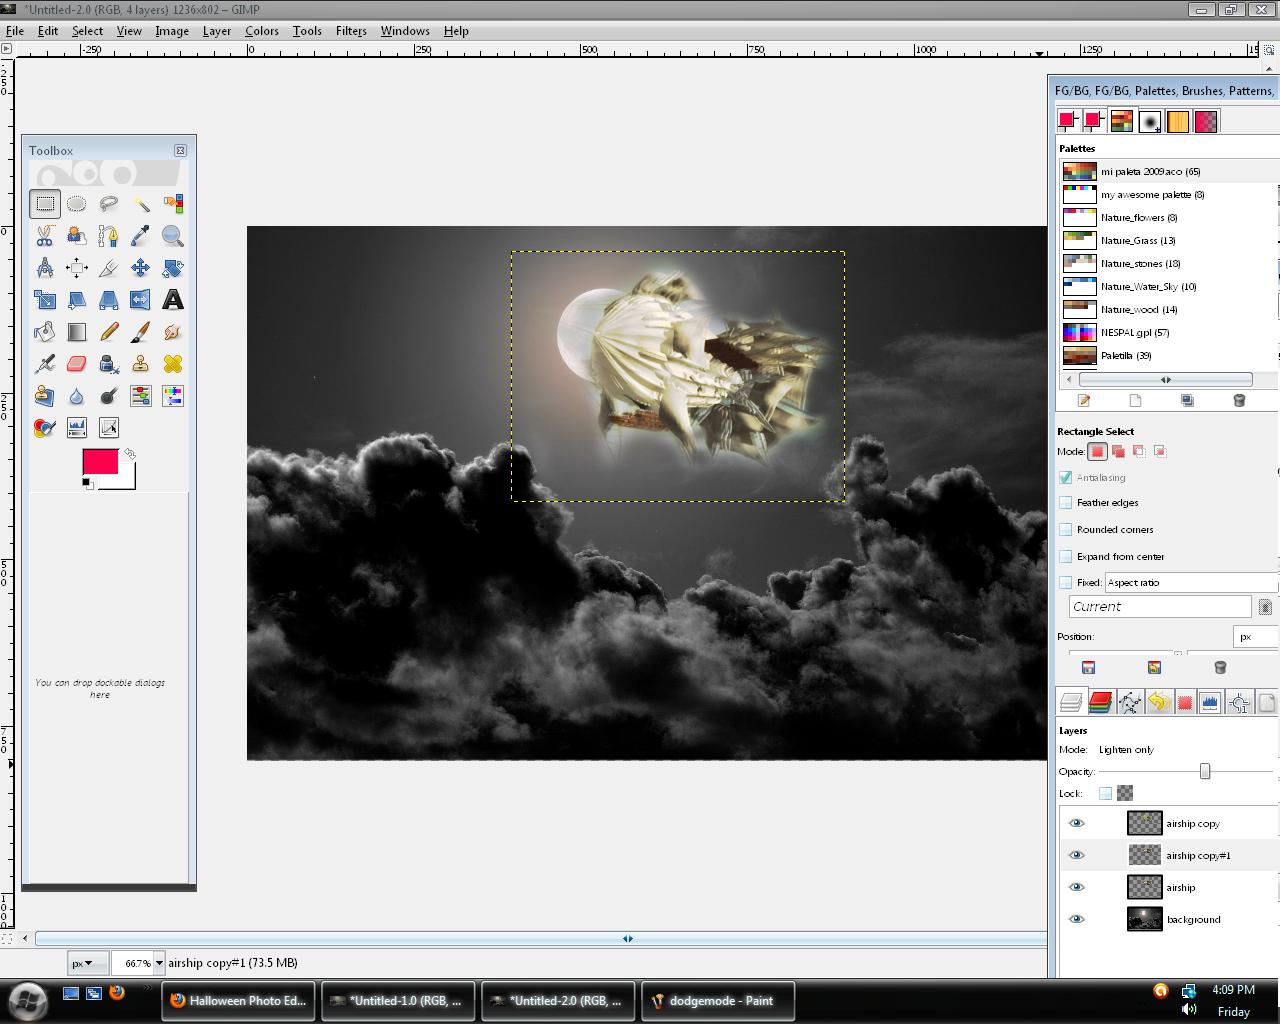
Now we will work a little more on the airship. Duplicate the original airship layer once. Then set the mode to lighten only and the opacity to whatever you think looks good. Again color correct in the same way as you did in the last step. Now, using the move tool, click on the layer you've just created and, using the arrow keys, move the layer just slightly up and to the left.
Now duplicate this new layer and repeat the process, moving the layer down and to the right. Then adjust the layer opacity again as necessary.
Now duplicate this new layer and repeat the process, moving the layer down and to the right. Then adjust the layer opacity again as necessary.
Final Touches
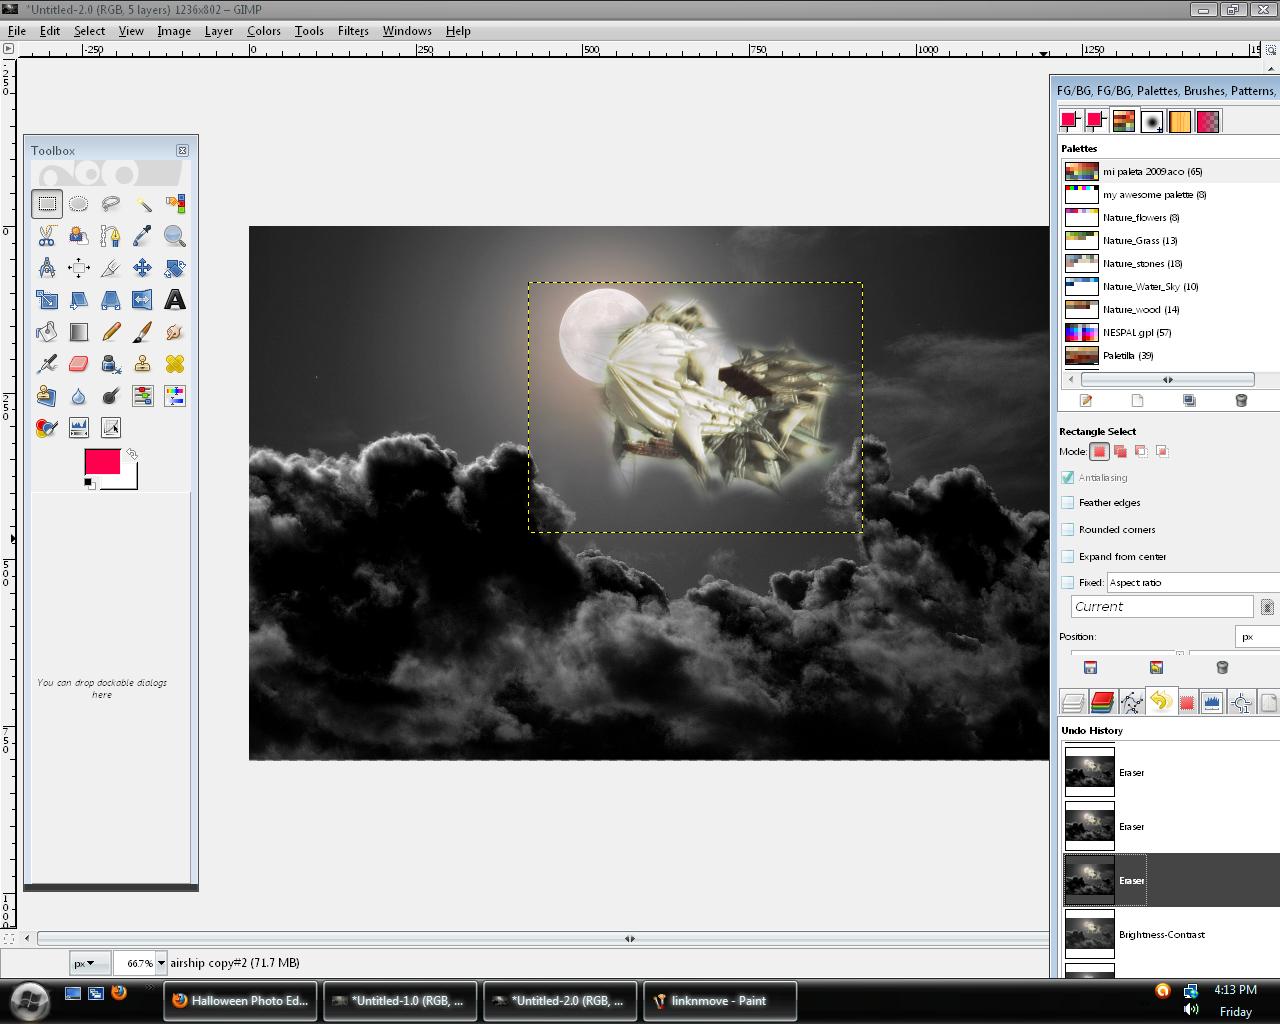
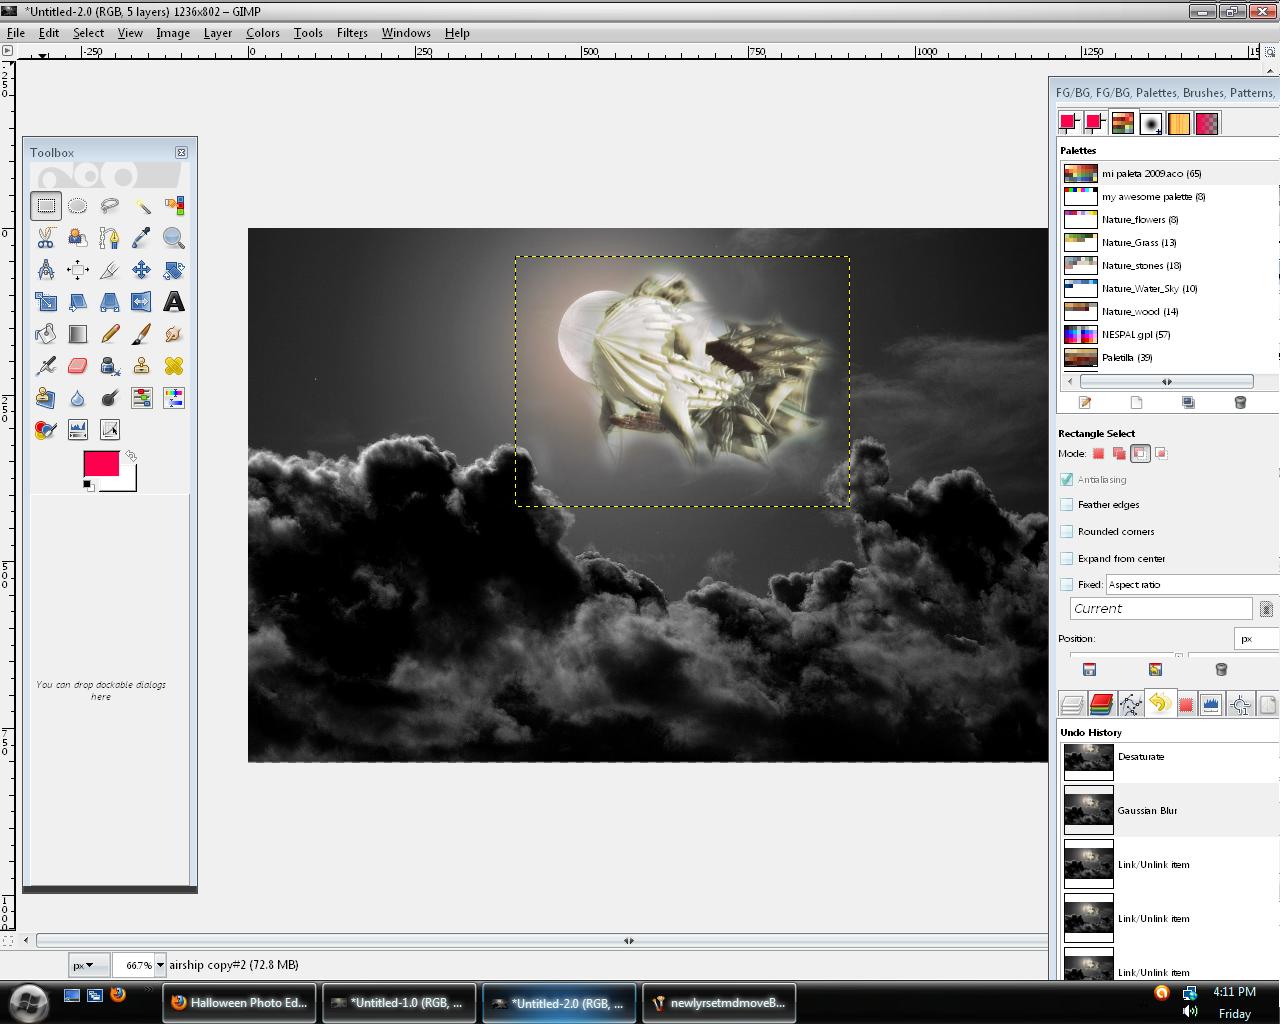

The first thing to do is to go through your airship layers and clean up anything you might have missed while isolating with the eraser tool. Now select the original airship layer and move the opacity down to a level that looks good. If you think that your airship would look better somewhere else, go to the layer browser and click on the box next to the eye on all of the airship layers. A chain should appear in the box you just clicked. Now if you move one of the layers, all other layers move with it. To unlink a layer, just click the chain again.
Now for the background. This is purely a personal choice but I didn't like how dark the background was. So I selected the background layer and clicked on the colors tab again at the top of the page. Then I clicked on brightness and contrast and lowered the contrast a bit to take the edge off the clouds. And that's it! you're done! Now just click on File>save as and then name your file whatever you want. Make sure that after the name you put a file extension. (for instance, .jpg or .png) now click save and okay to any messages that pop up.
Now for the background. This is purely a personal choice but I didn't like how dark the background was. So I selected the background layer and clicked on the colors tab again at the top of the page. Then I clicked on brightness and contrast and lowered the contrast a bit to take the edge off the clouds. And that's it! you're done! Now just click on File>save as and then name your file whatever you want. Make sure that after the name you put a file extension. (for instance, .jpg or .png) now click save and okay to any messages that pop up.