Ghetto Pixels - Building an Open Source BlinkM
by jimthree in Circuits > LEDs
31126 Views, 100 Favorites, 0 Comments
Ghetto Pixels - Building an Open Source BlinkM
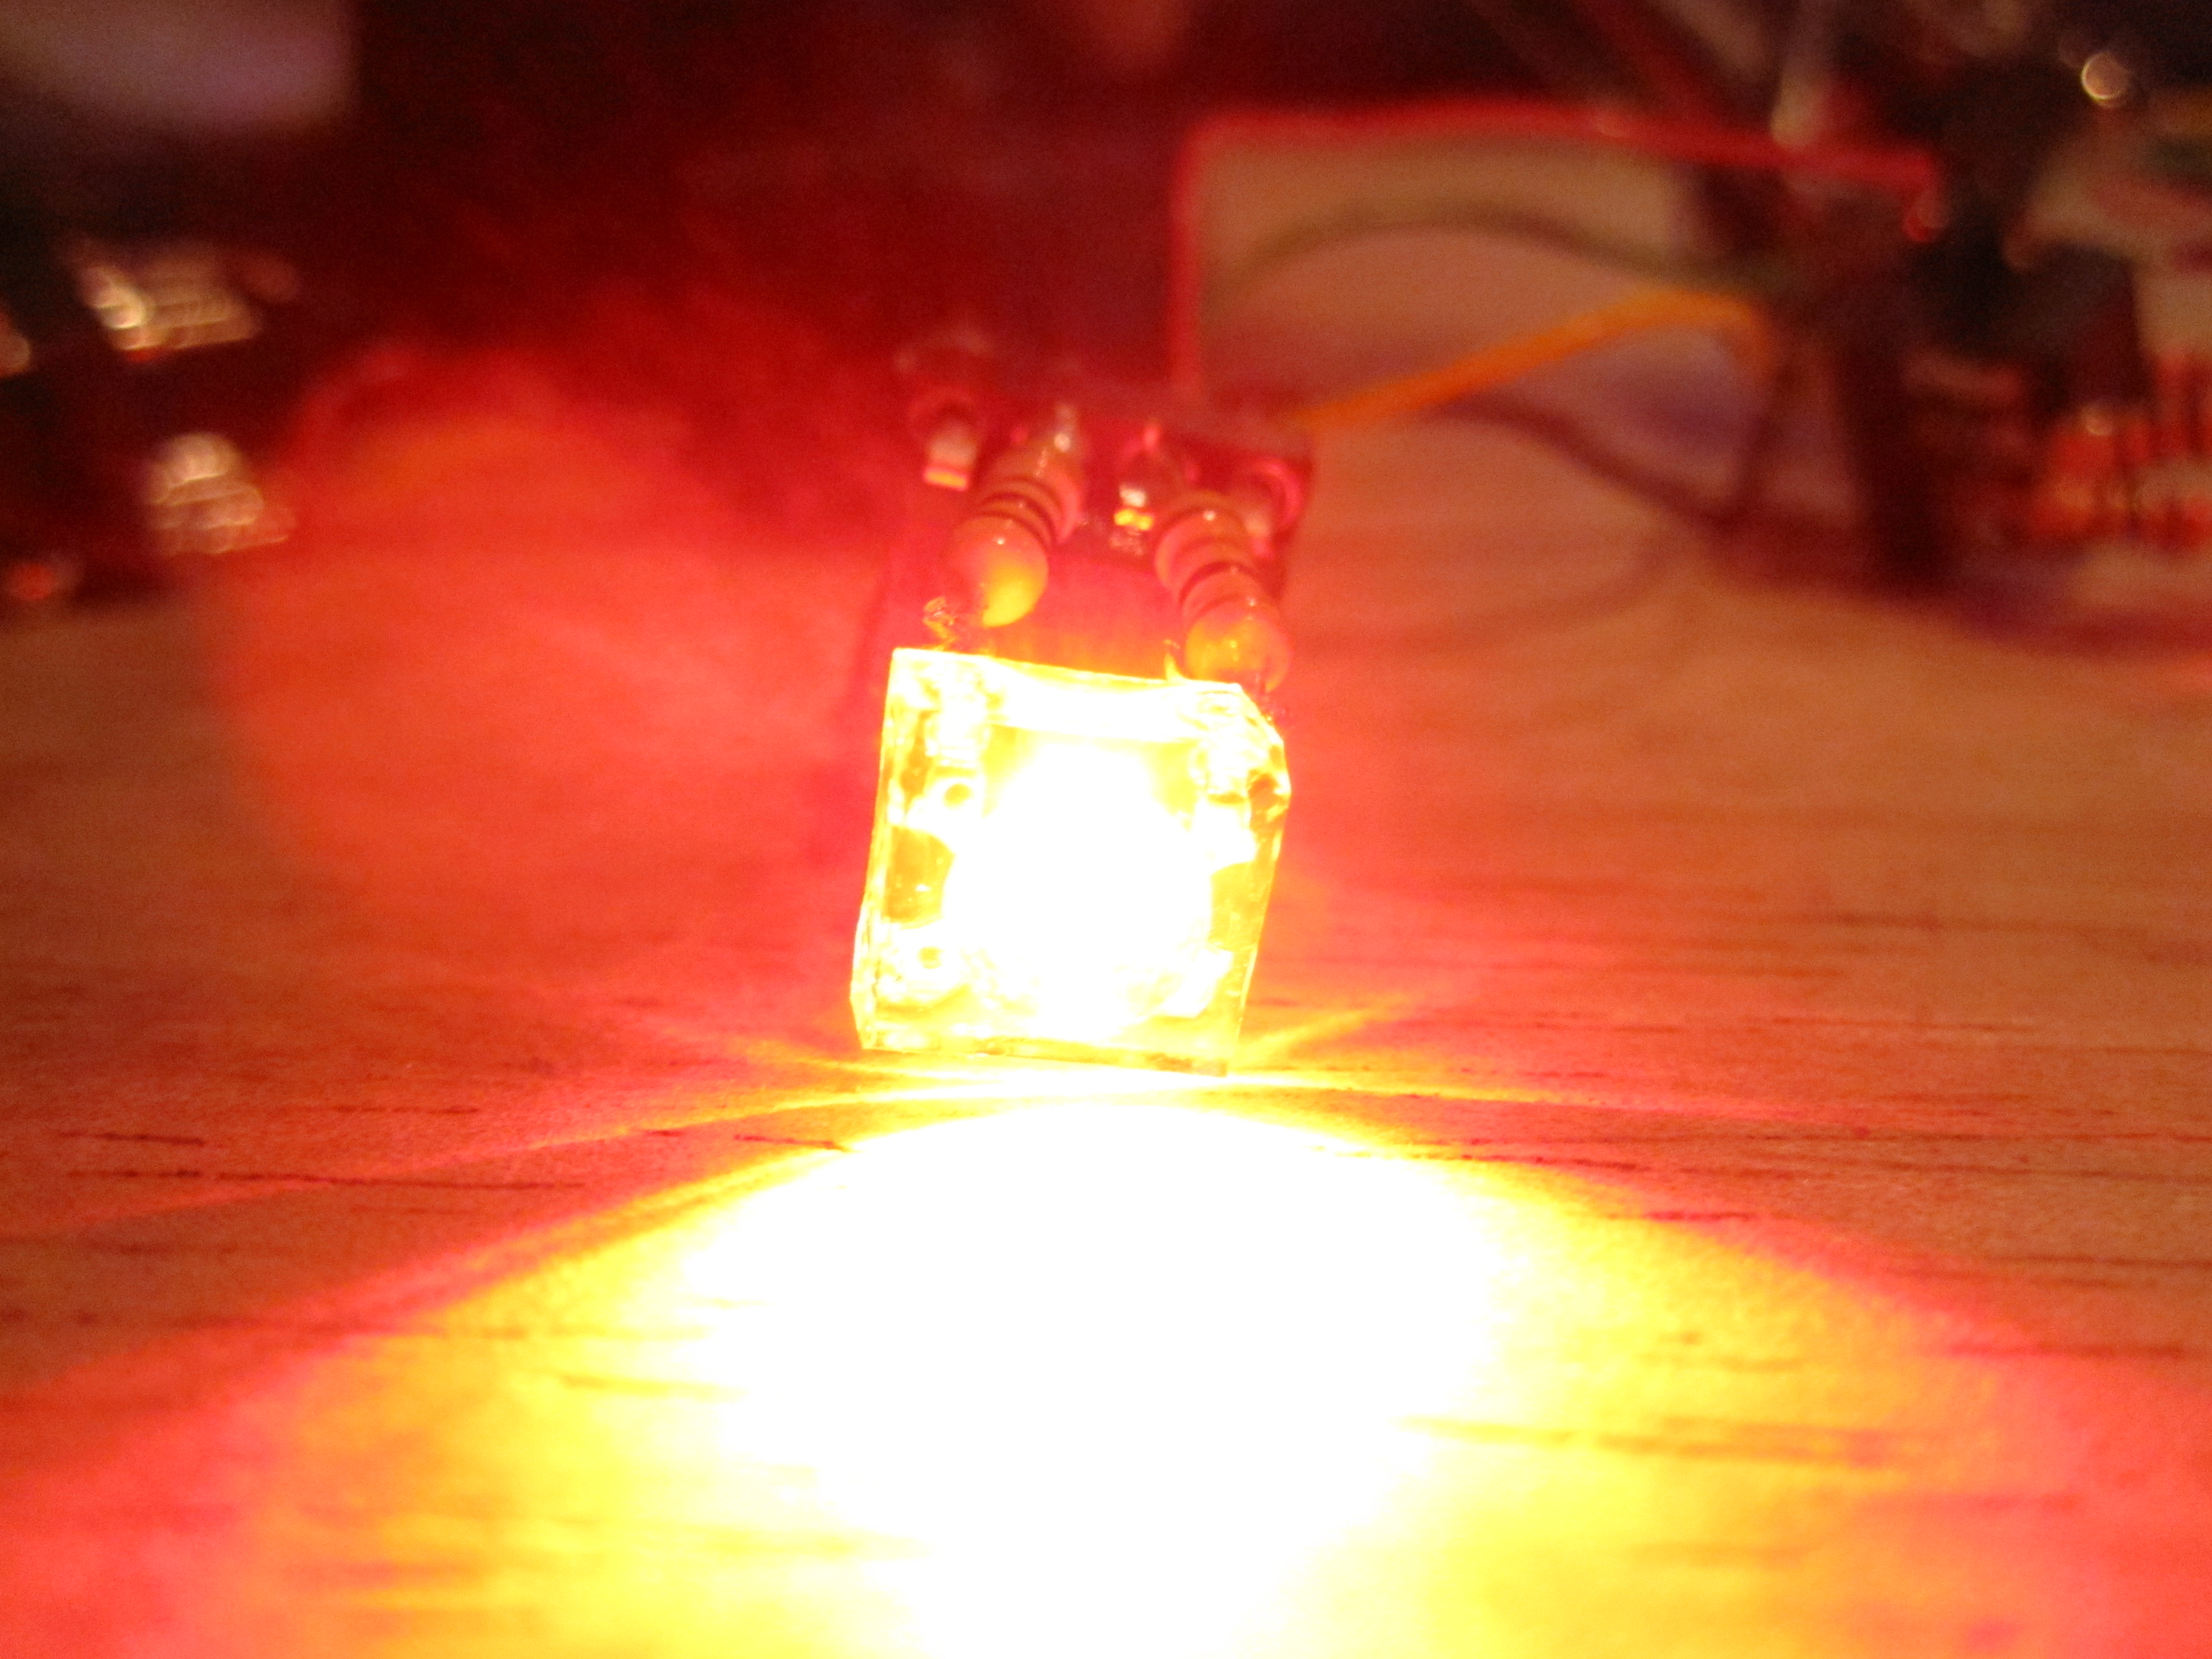


Right now, I'd like to give out mad props to ThingM and todbot, without whom there would be no BlinkM, and the world (or at least youtube) would be a much less colourful place. The aim of this instructable is not to take business away from ThingM, in almost all cases I would encourage you to buy a blinkM or two if you need them in your project, but there are some reasons why it's good to have alternatives and these are the ones I'm thinking of:
- You need a lot of BlinkM's and can't afford to buy as many as you might need
- You have all the bits needed lying around, and loads of free time and solder to make them
- You like a bit of a challenge.
- The form factor of the BlinkM doesn't meet your projects requirements (ThingM also do a variant called the MinM)
- You are _really_ hung up about open source and want to stick it to the man.
So, The aims of this instructable will be to:
- Introduce the reader to CYZ_RGB, an open source RGB Pixel firmware based on BlinkM
- Show how to program the firmware onto a suitable Microcontroler
- Suggest a way for building the pixel, that doesn't use Proto or PCB boards
- Show how to use the Pixel.
Lets get started, gather your stuff.
What You Are Going to Need...

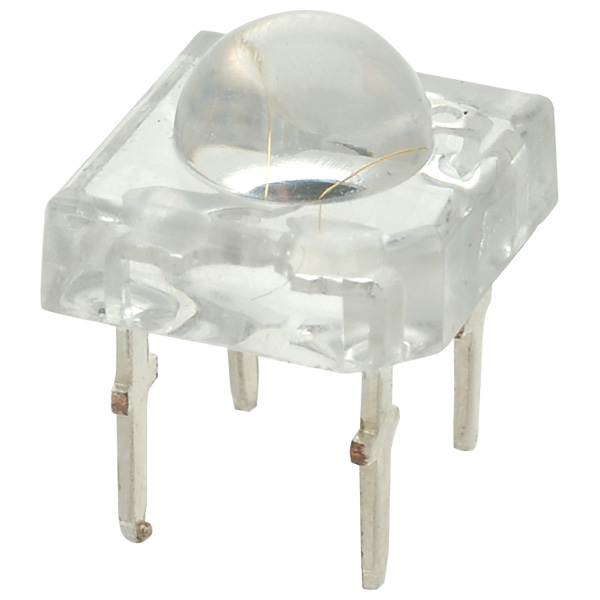

The parts list (BoM) for one Ghetto pixel looks like:
- 1x RGB LED (RapidOnline or ebay)
- 1x Atmel ATTiny45 (or tiny 44 or 85, ) (RapidOnline or ebay )
- 3x Resistors as per specifications of your LED data sheet (RadioShack / Maplin / Rapid / or similar to these [ebay]) probably 1/2 watt or less if you can find them. SMD if you are PRO ;)
- Some wire to connect the Pixel to your controller, and to string pixels together if you have more than one
Notes on the parts:
LED
I would recommend getting an RGB led in a single plastic housing. It would be possible to do this with three separate LEDs, but it would be more of a challenge to mix the colours well. You must avoid the RGB led's that you buy on ebay that are described as 'Slow Flash', 'Fast Flash', or 'Fade' as these have there own uC's built in, and while pretty, allow us no control over the colour. You can get 'manual control' RGB LED's that look like traditional 5mm domed LEDS, but with 4 or 6 legs, but these don't tend to be very bright. I would recommend getting LED's that are labled 'SuperFlux' or 'Piranha'. These are small square RGB LED's with four pins, and can be surprisingly bright for their size.
You also have a choice to make on Common Anode, or Common Cathode variants. All four pin RGB LEDs are made up of three individual 'dies' all in the same plastic housing, each 'die' gives off one colour, either Red, Green or Blue. Each 'die' has a positive (anode) and negative (cathode) supply. A common Anode LED has all three anodes linked together, and the three cathodes are separate. A Common Cathode LED has the opposite configuration, All three Cathode are linked together and the anode's are separate. The firmware that we are going to be using makes use of Common Cathode LED's, and it's probably best that you use those. However, I had a pile of superflux Common Anode LEDs, so I've modified the CYZ_RGB firmware to use common anode. I'll talk about this later, but i've only compiled and tested this modification on a ATTiny45 uC, so if you are planning on using any other uC I'd push you towards common Cathode LEDs.
Phew! Are you still with me?
Microcontroler (uC)
The uC is the brains behind the Pixel. We tell it what colour we want, and it controls the LED. For this project, I'm going to suggest you use the Atmel ATTiny45, because that's what I used, and it's fairly easy to get hold of. The CYZ_RGB project also supports the ATTiny 44 and 85, and other 4k+ uC's in the ATTiny range might work, It depends on how much time you want to put in modifying the code. I was lucky, I found the ATtiny45 on sale at Rapid Electronics (in the UK) for 90p each (about $1.50 US) so snapped up 10.
Resistors
The resistors are used to limit the current that passes through each 'die' of the RGB LED. When you buy the LED's you should get a datasheet that shows various details on the electrical characteristics of the LED, such as the forward voltage and current for each colour. You will need to put these into a LED resistor calculator along with the supply voltage (I would recommend 5v, but it depends on your application). The results will probably end up around the 100 Ohm region, with the value for the red LED being a bit higher. At this point I'd like everyone who knows anything at all about electronics to move onto the next section while I talk for a second about how I do things. Please don't shoot me for what i'm about to say.
LEDs and uC's are cheep. You are going to blowup/melt/fry a few of them. So buy extra. I've never been SuperMathsMan and I don't have a lot of patience when it comes to numbers, I tend to design circuits by trial and error. A current limiting resistor on an LED is there to stop the LED sucking so much current that it melts itself and/or the pin of the uC it's connected to. But it's a balancing act, if you use a resistor that is too high in value, your LED is going to be dimmer than it could be, because you are preventing enough current getting to it and If you use a resistor that is too low in value, your LED might be really bright, but it will burn it's self out and probably take the uC with it. Start of with what ever the LED calculator tells you to use, and then see if using a slightly less resistive resistor makes the LED brighter. leave the LED on for a while with the lower value resistor in, and touch the uC with the back of your hand or the top of a finger to see if it's getting hot, if it is, use a higher value resistor. If stuff melts or you let the smoke out, then smile and recognise that you've found the lower limits of the resistor you can use. It's all part of the fun.
Well done for making it this far, but unfortunately, it's not quite over, there are some tools you are going to need.
- Breadboard and breadboard wire
- Arduino - See note below.
- (Optional) Programmer for flashing hex files onto the uC (I use this one from Adafruit)
- Soldering Iron (a good one), Solder, tip cleaner, solder sucker, wick etc...
- Helping hands, or desk clamp thingy
- Good Lighting
You are going to need an Arduino for a couple of different things. It's main job will be to control the chain of pixels you are going to build (why stop building at one?) but it can now also be used to flash firmware onto the chips using ArduinoISP, replacing the need for a dedicated chip programmer. I don't use ArduinoISP, and it does sound like it's got a few issues it needs to work out before it's allowed to wear the awesome badge. I don't think it works yet with the Arduino Uno, and if you have an arduino that uses a Mega328 chip, you need to use a resistor to change the auto reset function. However it's a good option if you don't have a programmer.
Lets move on.. It's time to program some chips!
The Code - Project CYZ_RGB (no, I Don't Know What It Means Either)
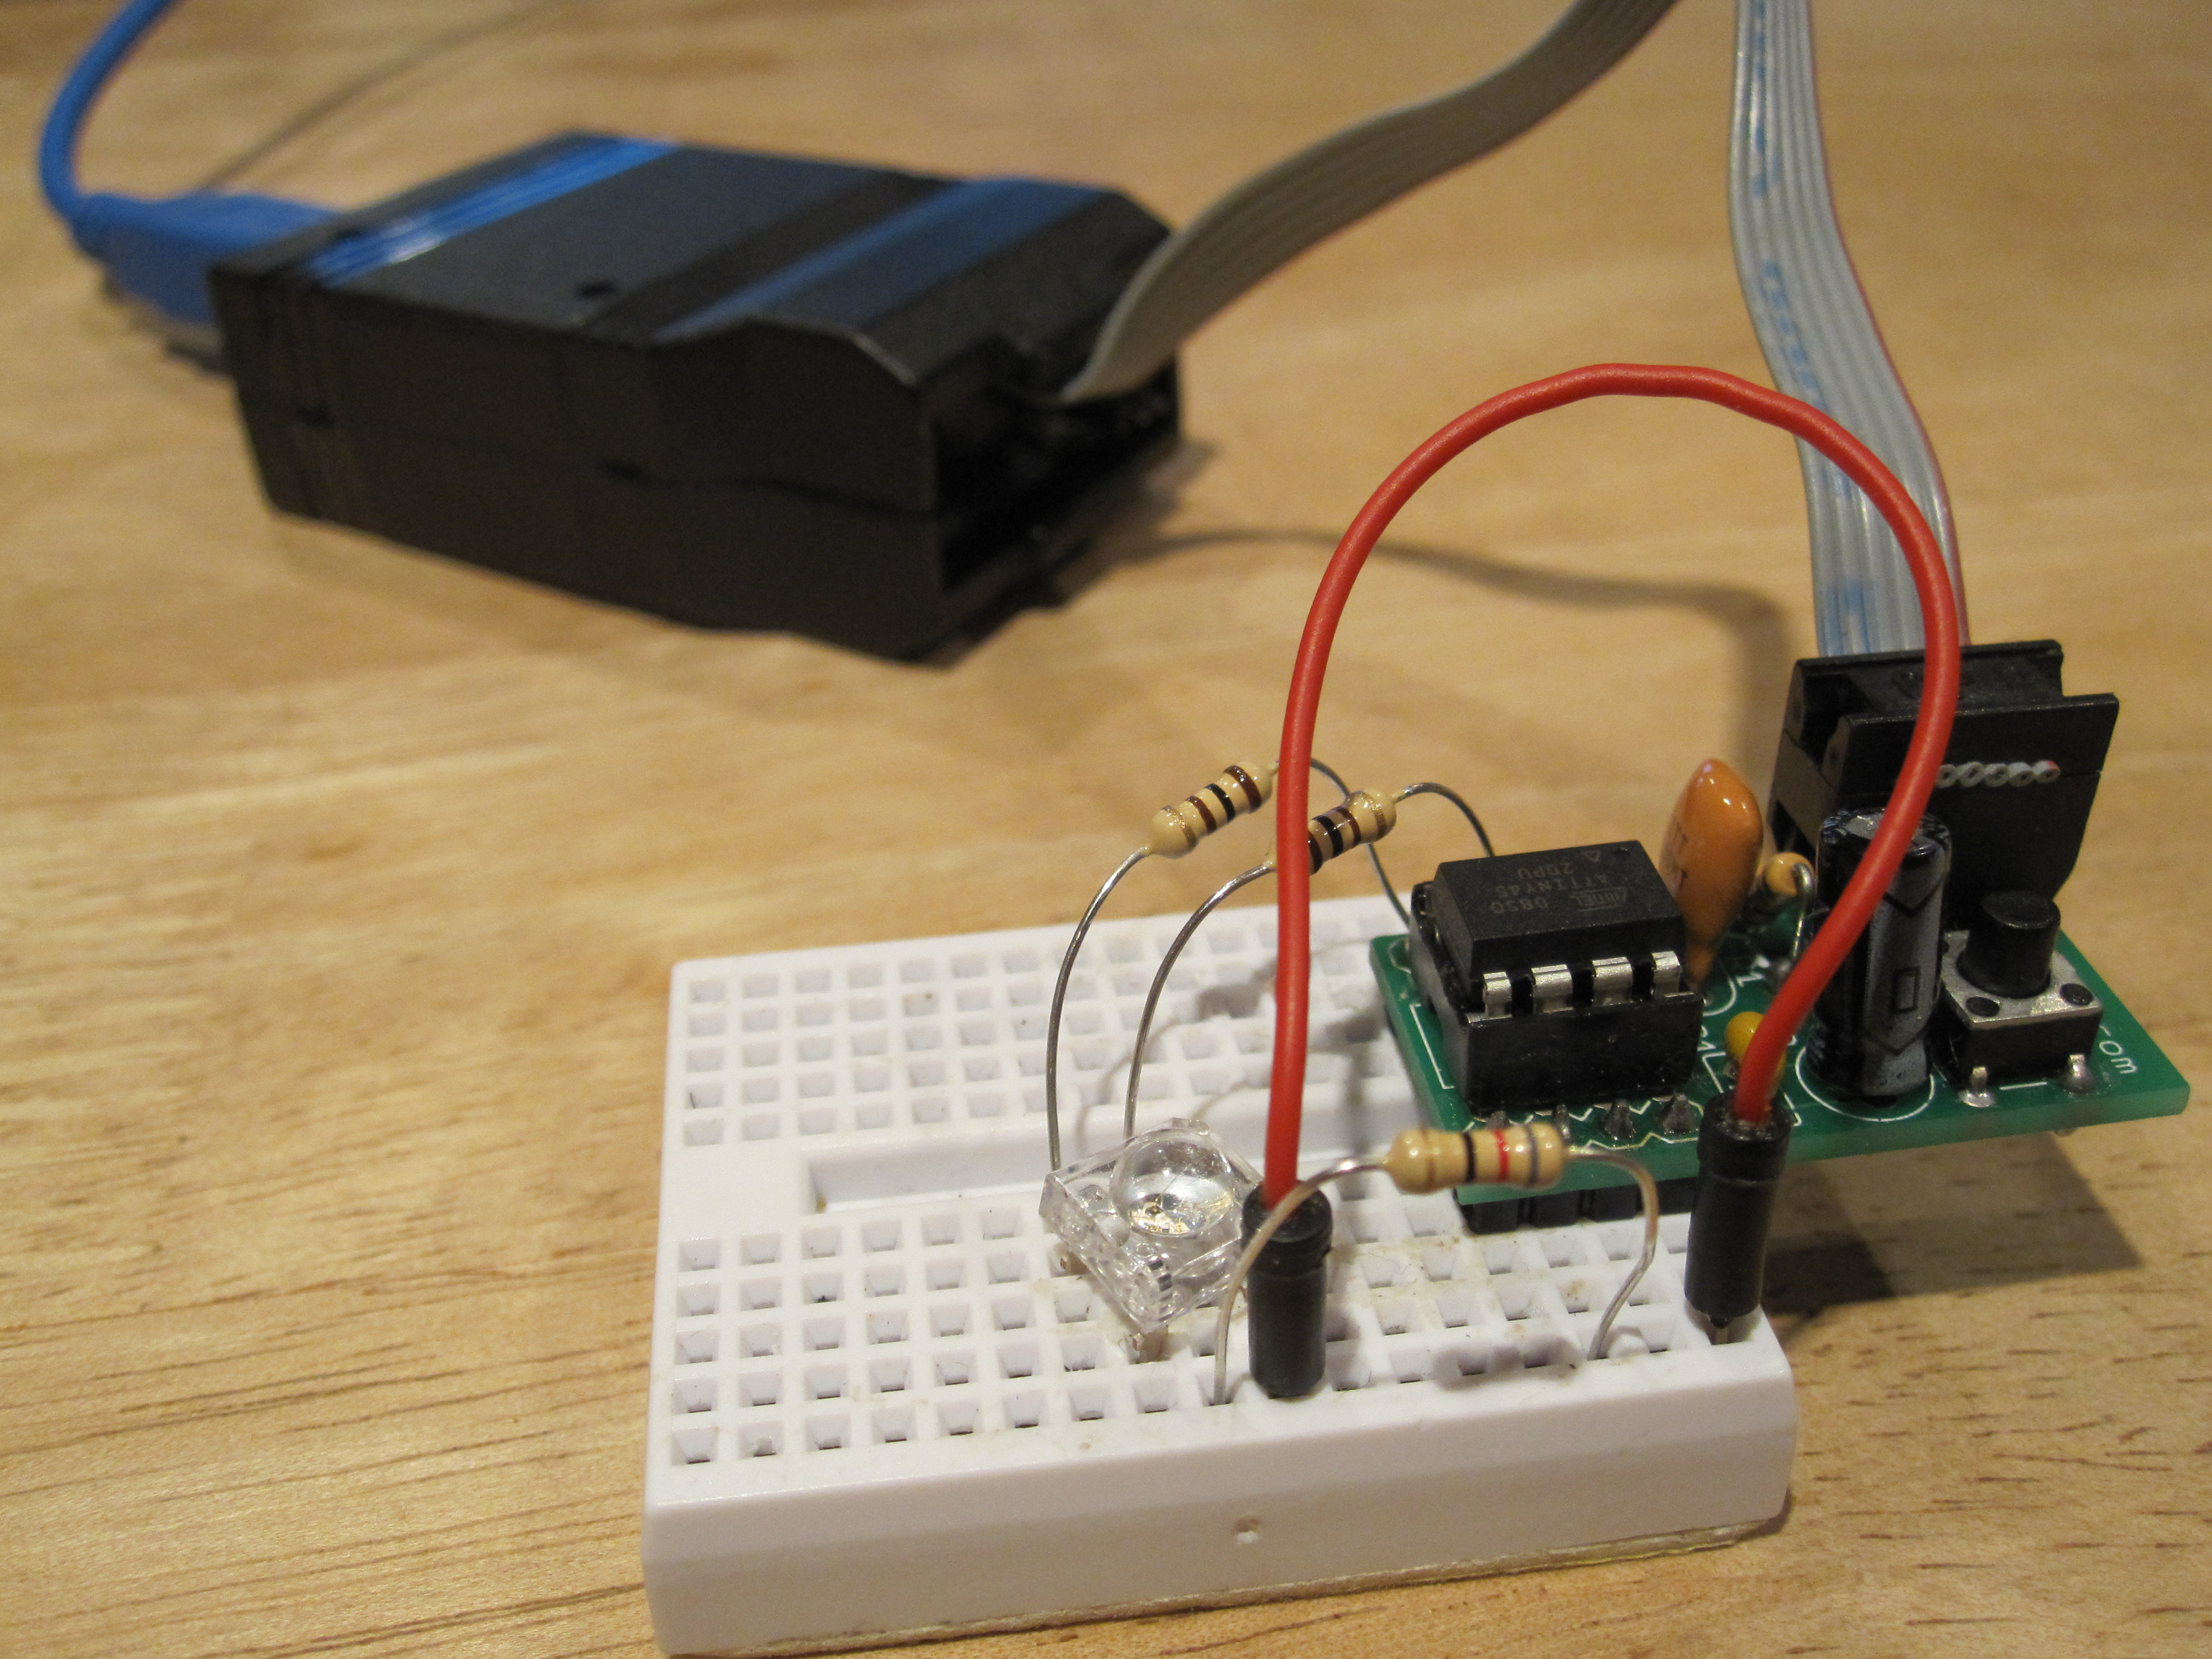
If you head over to the CYZ_RGB google code page, you'll be able to download the firmware from the project. There are two different configurations, Master and Slave, I'm not even sure if Master works, or what it does, I use the slave builds which are fine for my needs, with one exception!
I think it is assumed that you will be running CYZ_RGB on the official BlinkM hardware, or some kind of direct clone of it, and therefore the code is written to support Common Cathode RGB LEDs (which BlinkM's use). I have a surplus of Common Anode RGB LEDs, so I had to make a small change to the code to support this.
If you care: in the cyz/io.h file, where the bits are set to turn on, or off specific ports, I've swapped the bit assignment. When a colour comes on in the code, the pin goes low, so that it can sink current from the common anode.
I've included my common anode Hex file below, in case it's useful. Other than the change above, it's identical to the latest build of the slave config on the google code page.Now you have the .hex file that you are going to burn onto your uC, so lets talk about programmers and programming. There are many great instructables on the subject, but my favourite and the one that got me started with AVR's is this one, The Ghetto Development Environment. I use the same programmer, the USBtinyISP from Adafruit, and it's awesome. I started out with a home made target board (cradle) but have now bought a tiny25/45/85 programmer board from TinkerStore, which is just made of awesome. You would be fine with a home made cradle, or just programming in a breadboard.
Follow the instructions on the Ghetto Development Environment for loading code onto the chips, but note that you are using an ATtiny45, so your avrdude command needs to reflect that part (t45). Obviously, you also specify the name of the CYZ_RGB .hex file that you are using too.
You should also be aware of fuses. These are settings in the chips that change how they behave. I use a piece of (windows) software called Burn-O-Mat from AVR8 to check my fuse settings (you can also use it as a GUI for avrdude). It seems that from the factory, my Tiny45's have the "Clock Divide by Eight" fuse already set, this needs to be unset for the chip to run fast enough for smooth fades. One chip i was using also had the ability to store data in EEPROM disabled, so I had to toggle that fuse to (you probably won't need to do that)
Now you've read the GDE instructable, the following line...
avrdude -c usbtiny -p t45-U flash:w:cyzrgb_slave_CA.hex
...shouldn't freak you out. If you are a real keenie, you've probably all ready done it, If not, go ahead and program your chip now.Assuming there are no errors in the output, you should be good to go.
While we are in the programming mood, you should grab your Arduino as we've got to load a sketch onto that too. The Arduino is going to be used to control the Ghetto Pixels, and forms a bridge between them and your computer. To start with, we can use the BlinkM communicator sketch for testing, but in time you'll probably want to write your own more suited to your application. The BlinkM communicator sketch is here, and you should load it onto your Arduino now. While you are on the BlinkM site, download the multitrack sequencer, you'll need that for testing too.
With your freshly programmed Chip and your Arduino by your side, it's time to get it on with Das Blinkenlights!...
Downloads
Bread and Butter
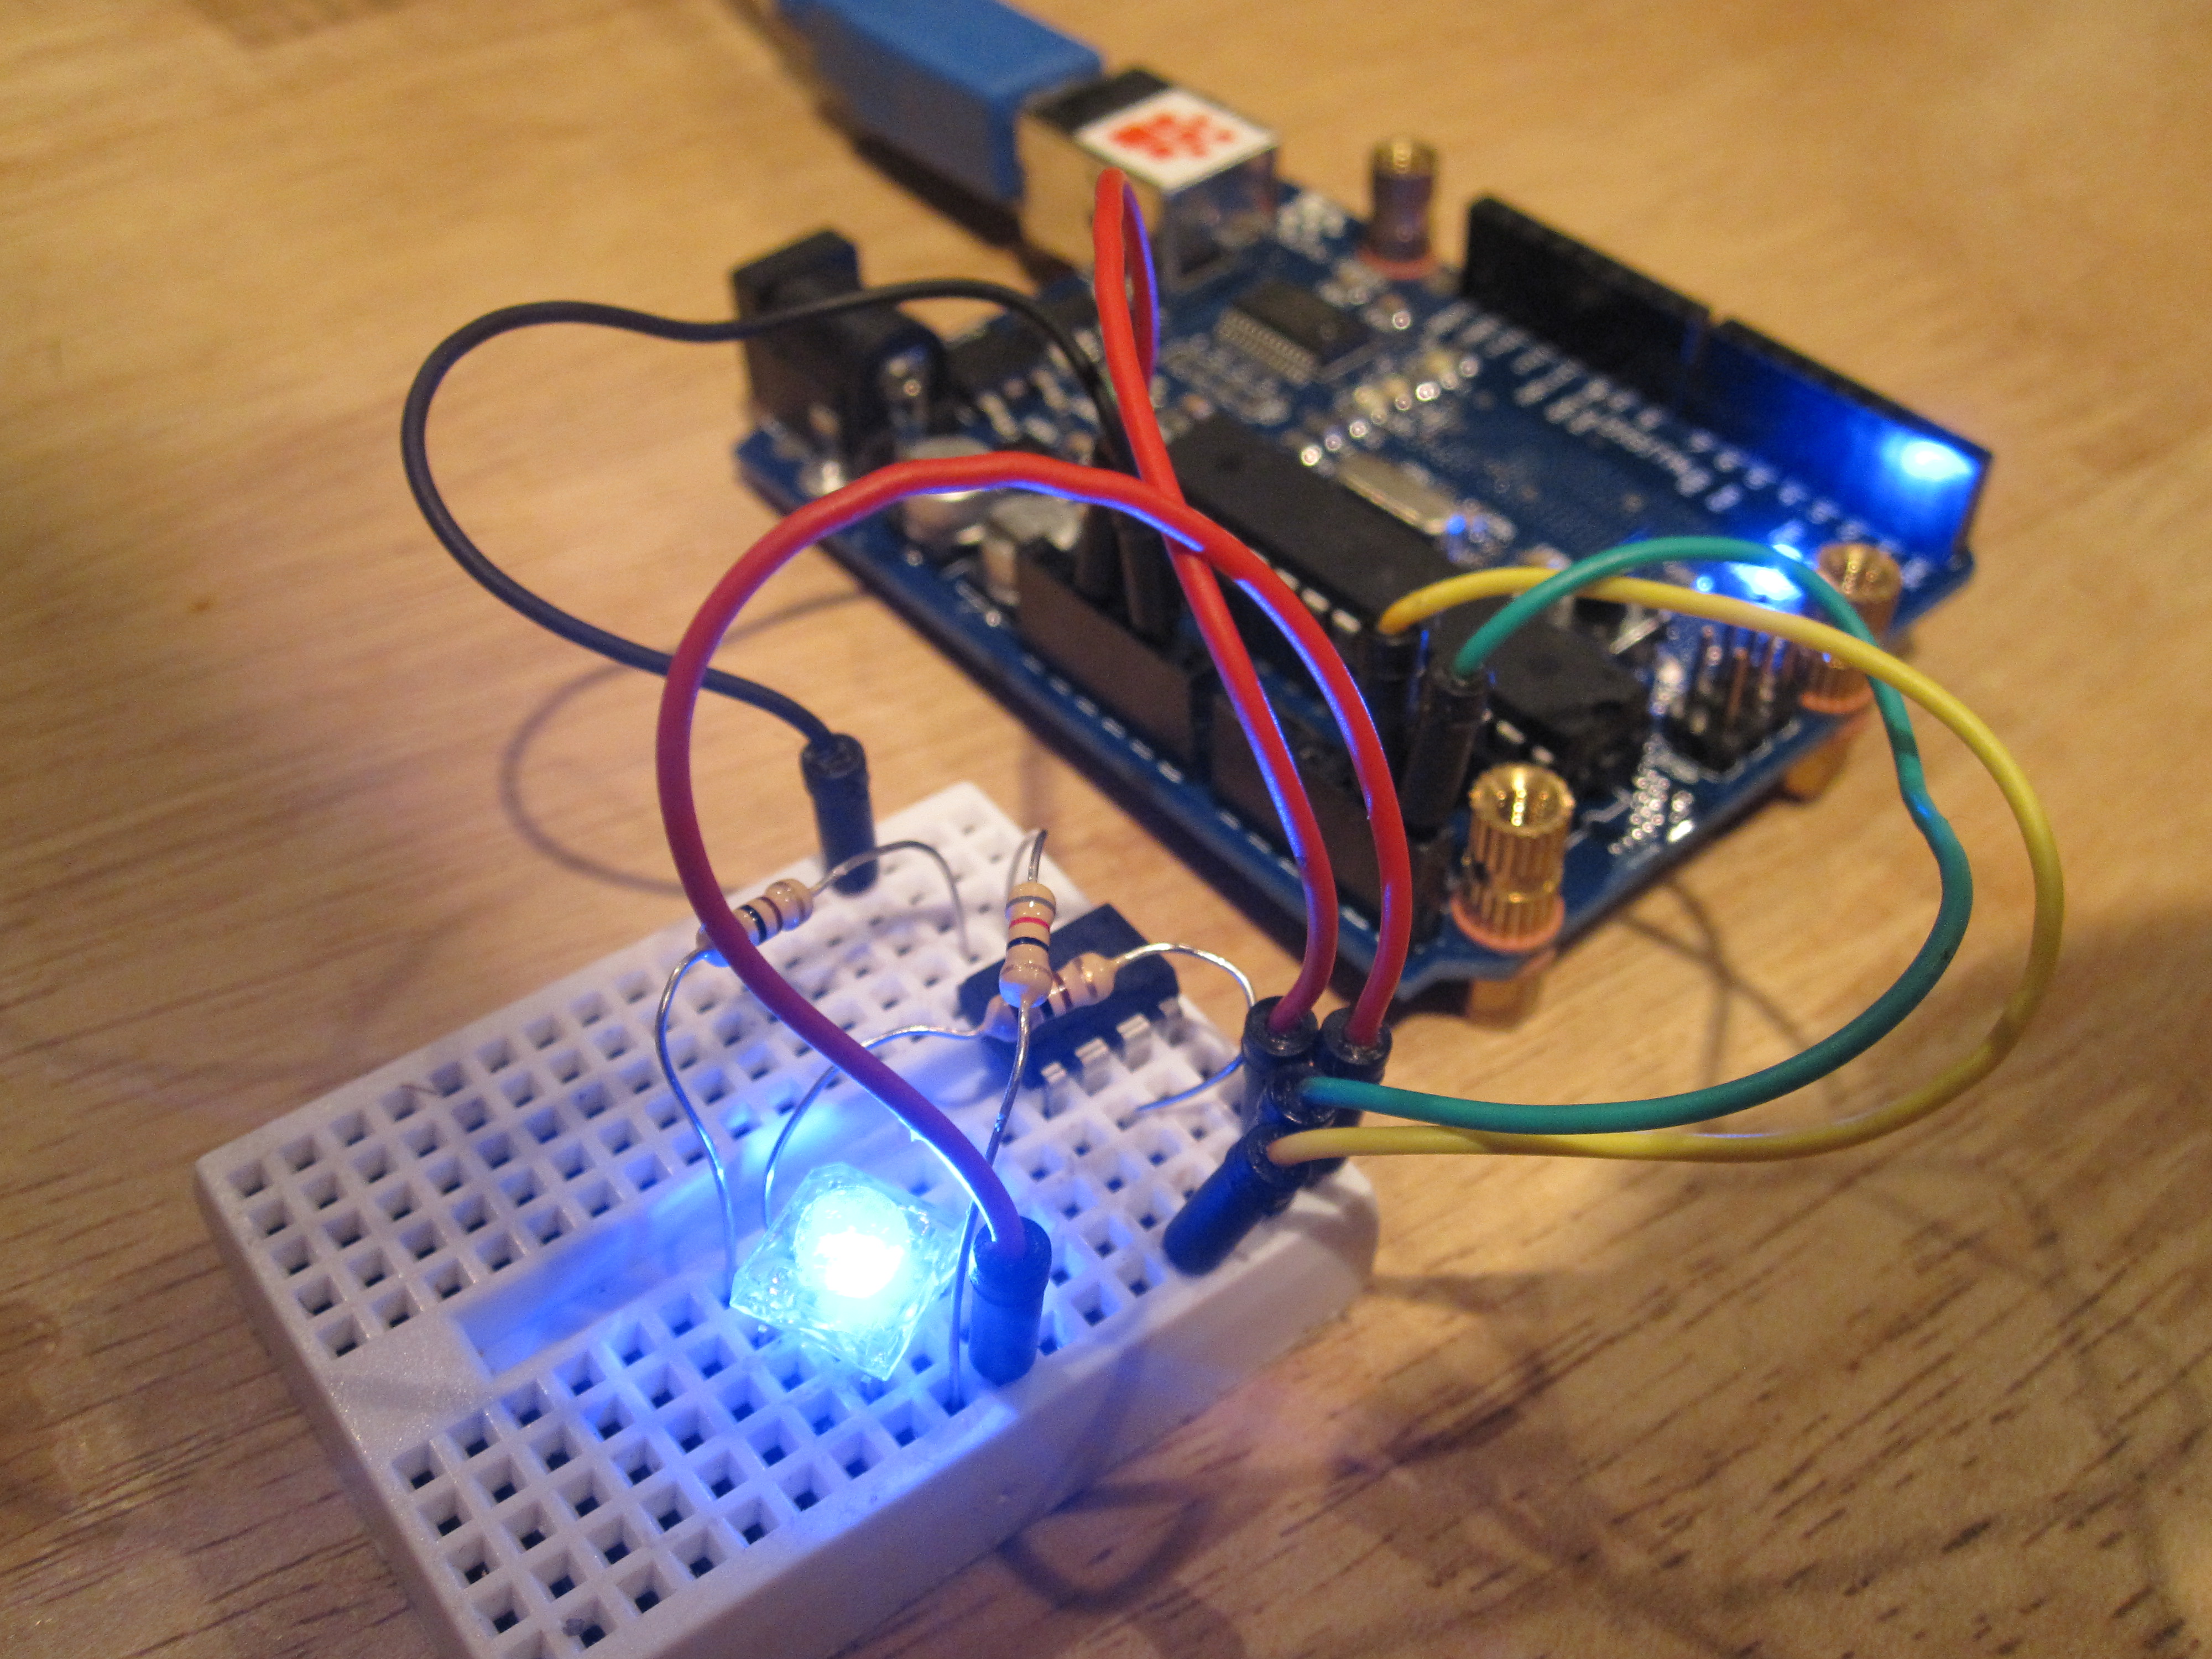
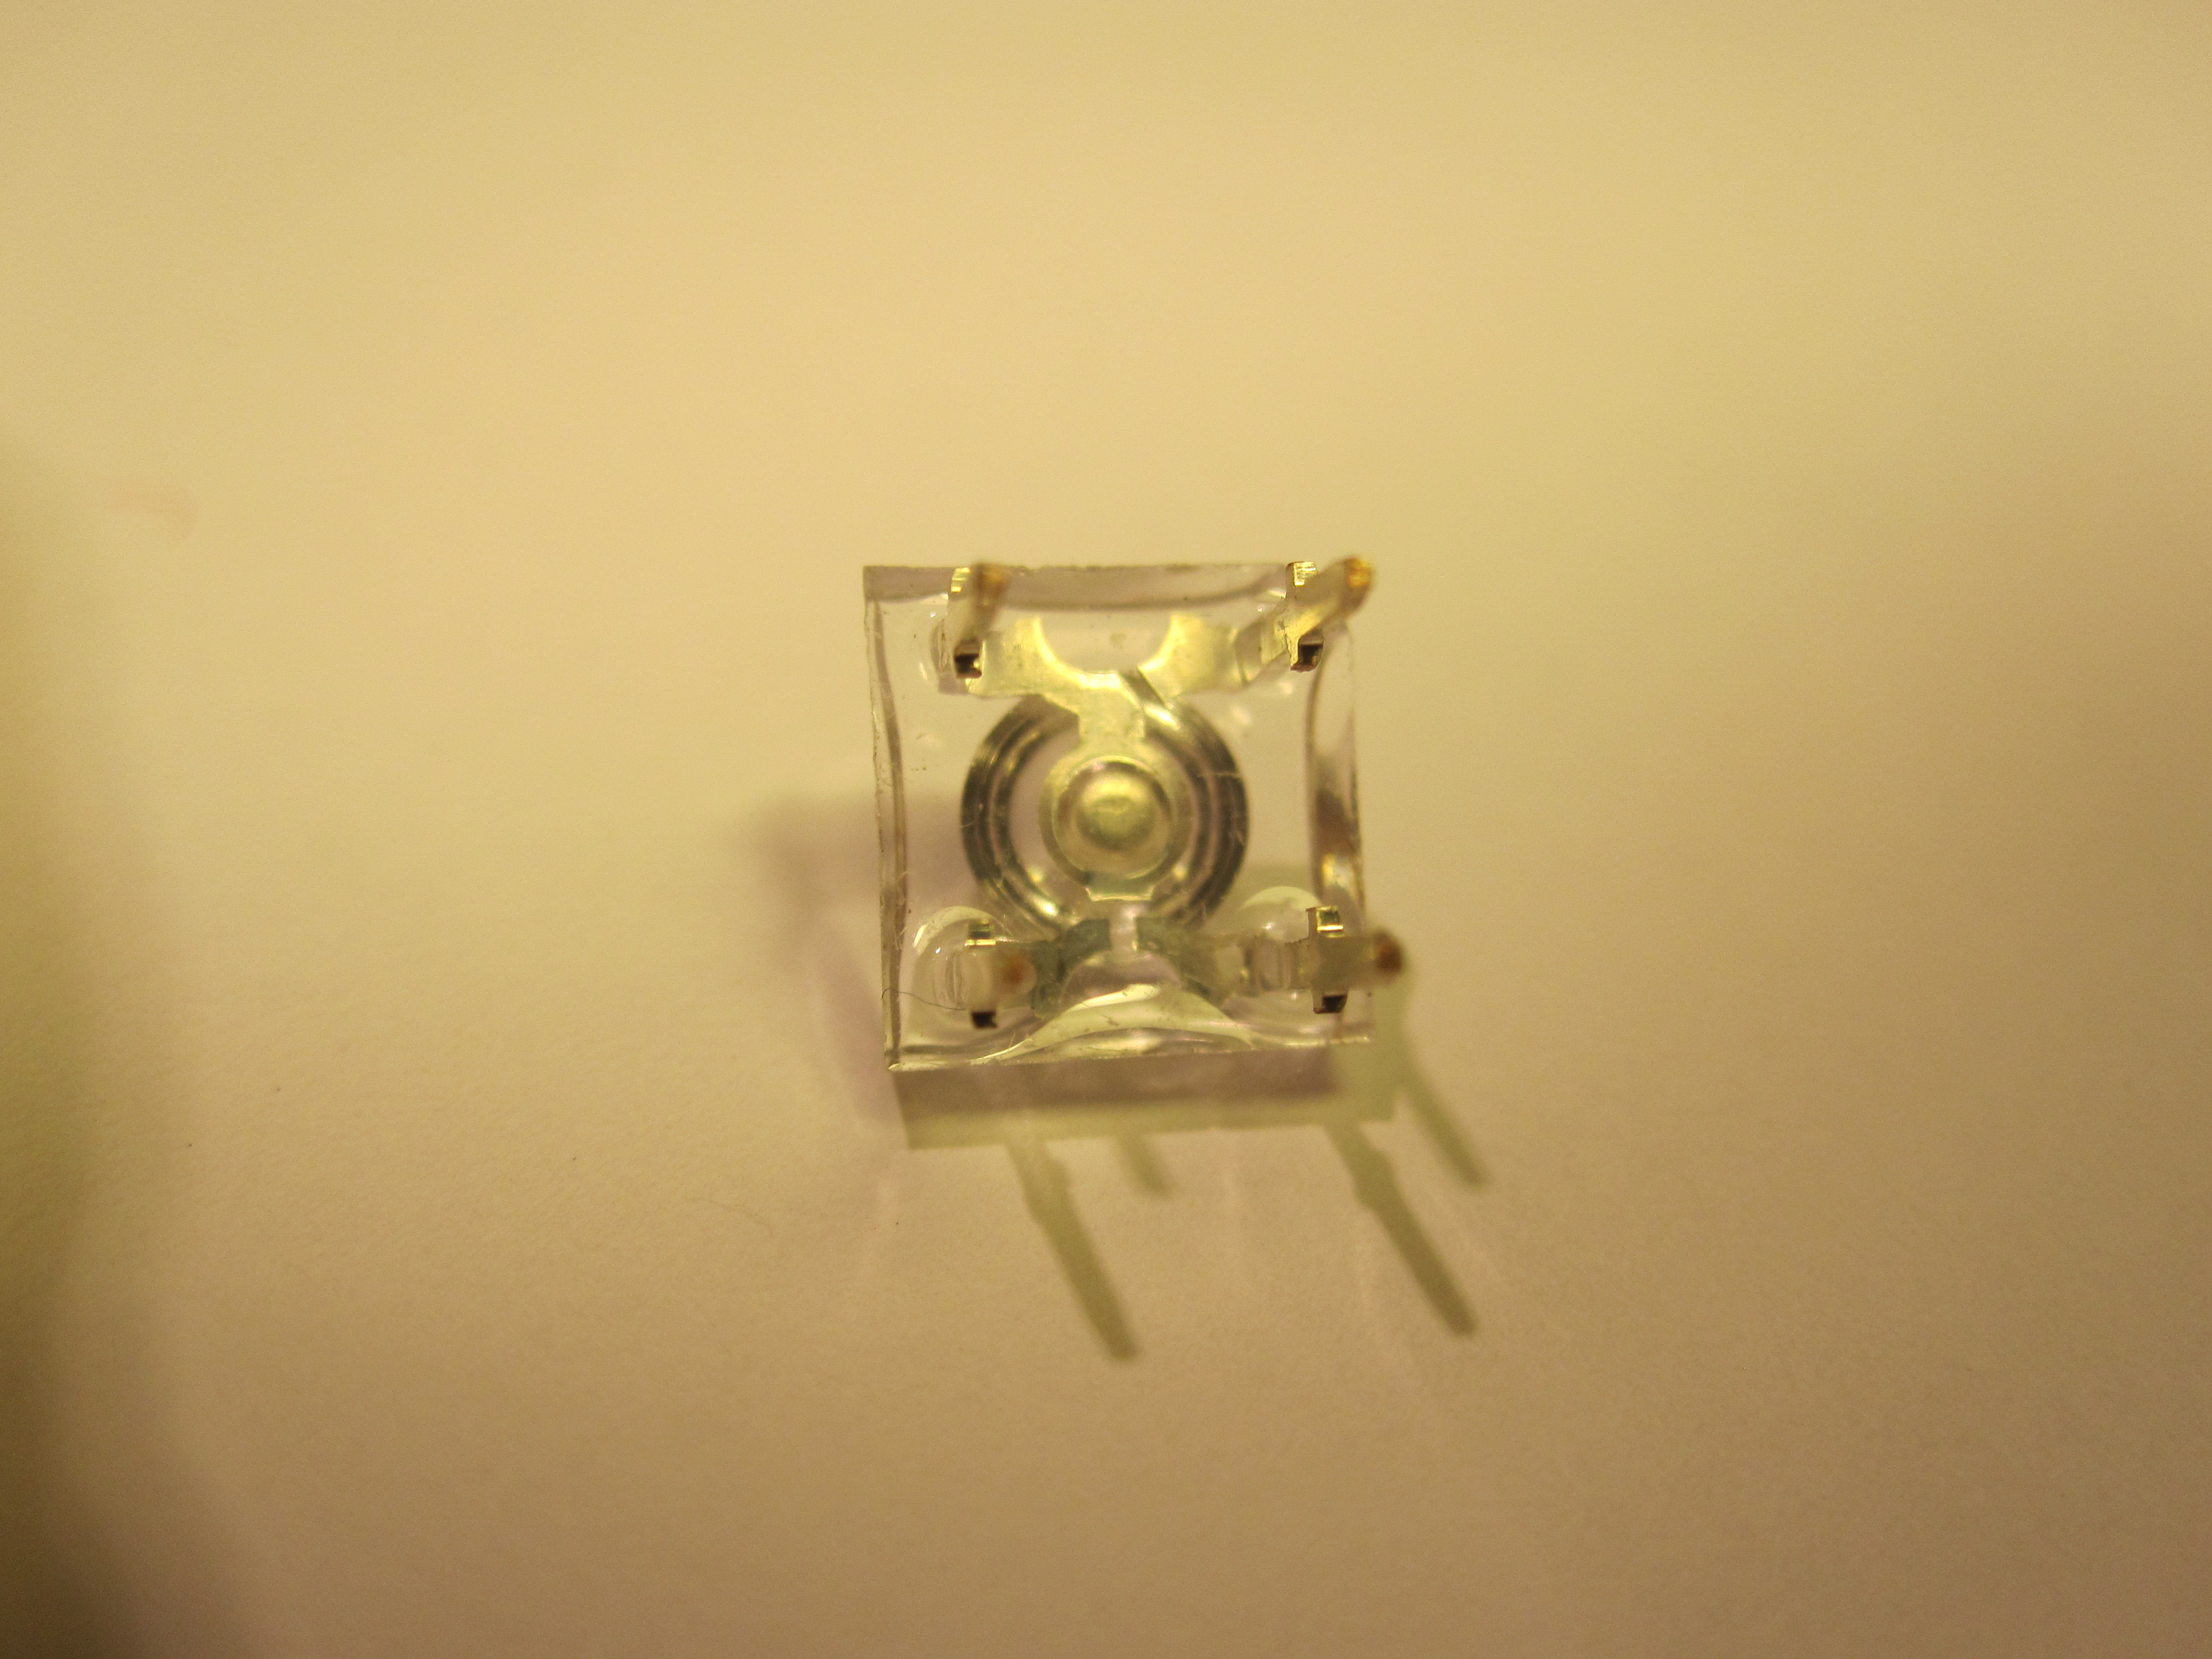


Next, get your LED and give it's underside a good close looking at, with a magnifying glass if you need to. Inside the clear plastic, one of the four pins is wired up differently to the other three. (see the photo) This is your common pin (i'm assuming, like me, you are using common anode LEDs). Make a note of this pin, don't loose it. Push the LED into the bread board, at an angle of about 45 degrees, this allows each pin of the LED to sit in a different track on the bread board. Now remove the LED again, because you've forgotten which pin is the common, find it, and push it back in again.
Grab the Tiny45 datasheet, or specifically this image, and with a bit of wire, connect the Common Anode pin to the same track of the breadboard that the t45's Vcc pin is sitting in.
Next, use the your resistors to connect the other three pins of the LED to ports PB1, PB3 and PB4 of the chip.
Now Grab your Arduino, and connect the 5V and Gnd to the chip's Vcc and Gnd tracks. This provides power for your Pixels. Next, connect PB0 on the chip to the Arduino's Analogue port 4, and PB2 to the Arduino's Analogue port 5. This is the I2C connections, the data bus down which instructions are sent to the pixels
Use the photos I've included as reference.
Now that everything is wired up, you should connect the arduino to a USB supply, and let the power flow! If it all goes well, you should see... er... nothing. perhaps a little flash from the LED as you power it up, but otherwise nothing at all. Don't panic, we should be all right.
Load up the BlinkM sequencer you downloaded in the last step, and in the file menu, select "connect to arduino". It will ask you what COM port, and you should enter whatever the arduino is on (help!). When the status text in the very bottom right of the sequencer window tells you it's connected, hit any colour on the swatch panel. Bask in the light of your own creation, as the LED glows forth. Or not. If it doesn't ( and it should) there is something wrong. Check these things:
- You have the I2C lines plugged in the right way round.
- Check the Fuses on the ATtiny45.
- Reflash the BlinkM communicator Sketch onto the arduino and then connect the sequencer to the arduino again.
- You are using the right code for the right kind of LED? (Common Cathode, or Anode?)
- Check all your cables.
I'm going to assume that you've just spent five minutes cursing, quietly, and then suddenly low and behold the light shines on!
Awesomeness in the supreme! You have built a Ghetto Pixel!
Next up, lets look at making this a bit more permanent, grab your iron, we're going a solderin'...
In Which We Try Not to Burn Our Fingers. Again.


I knew from the start that what I really wanted to do was to mount the LED right on top of the Chip, but there are two problems with this. First, the legs of the LED don't line up with the Legs on the chip when you sit the LED on top, and Secondly, You need to put the resistors somewhere. Adding the resitors in, sort of solves the first problem because they can be used to extend the legs of the LED to reach the pins you need to connect too on the chip. However, I had to be a bit careful with this, as I didn't want the LED 2cm above the chip, I wanted a close as I could get to make the whole package as small as it could be.
This meant some tight soldering, directly onto the legs of the Chip and the LED *gulp* these things don't like lots of heat! and what is worse, some heavy duty clipping of wires and legs so that only the barest amount of metal was left exposed. If I had smaller resistors to hand, I would have used them, but I didn't and had to use some 1/2 watt whoppers.
You can sort of see the build process in the photos on this step. I started with the LED in a "helping hands" croc clip. I bent one of the resistor's legs to 90o and soldered it as high as I could onto the LED leg, with the body of the resistor sticking out from the LED, not down. Once cooled, I clipped the leg of the LED off leaving only as much as I dared to in order to give the resistor enough mechanical strength to then be bent down so it can touch the pin of the uC.
This process was important because if the leg of the LED was left on, there is a chance that it could touch one of the pins of the uC, therefore bypassing the resistor. Bad times. Clipping the legs off the LED was scary, but meant there was no risk of shorts. Good times.
I found that there wasn't any really handy way of doing the resistor soldering, I had to hold the resistor in my fingers. Ouch, that sucker gets hot real quick. It's a constant reminder that no matter how hot your fingers are getting, the LED or uC is getting hotter, and you should use your Iron carefully and sparingly.
Once you have the 3 resistors soldered to the LED, and the LED pins have been shortened, put the Chip in the jaws of your vice and find the correct uC pins to solder the resistors onto. Do this carefully and more than once, you need to be VERY sure you are soldering the right LED leg to the right uC pin. Not taking enough care makes this into a very big and hot mess of solder and swearing.
Again, you should bend the legs of the resistors up and out (away) from the uC leg, so that they only just touch right at the base of the resistor and the top of the uC pin. YOU DO NOT WANT TO GET _ANY_ SOLDER ON THE THIN PART OF THE uC LEG (otherwise you won't get it to fit in a bread board or DIP socket again).
Get your pruning sheers out, and cut off the excess leg of the resistors so they are as trimmed as it is possible to be.
Save one clipping of resistor leg, as you can use it to connect the common pin of the LED to the Vcc (or ground if you are rocking a common cathode) of the uC.
stick your fingers in a cold glass of water. You are all done!
Stick the assembled Ghetto pixel back into the bread board, making sure you got it the right way round, and fire up the arduino, and sequencer, and let that lil'pixel glow.
If it doesn't work, then make sure:
- You don't have any shorts, i.e. bits of metal touching other bits of metal that they shouldn't be.
- You don't have any bad joints, i.e. bits of metal not touching bits of metal that they should be.
- It's actually sitting in the breadboard properly. Now it has some solder on it, it's pretty difficult for it to actually make contact with the tracks inside the board.
I'll (again) assume that you've got it working, I'm an optimist like that.
We could call it a day there, but I've got a couple of other things to show you. Let's build it out!....
A Joyous Multitude of Blinkenlights!


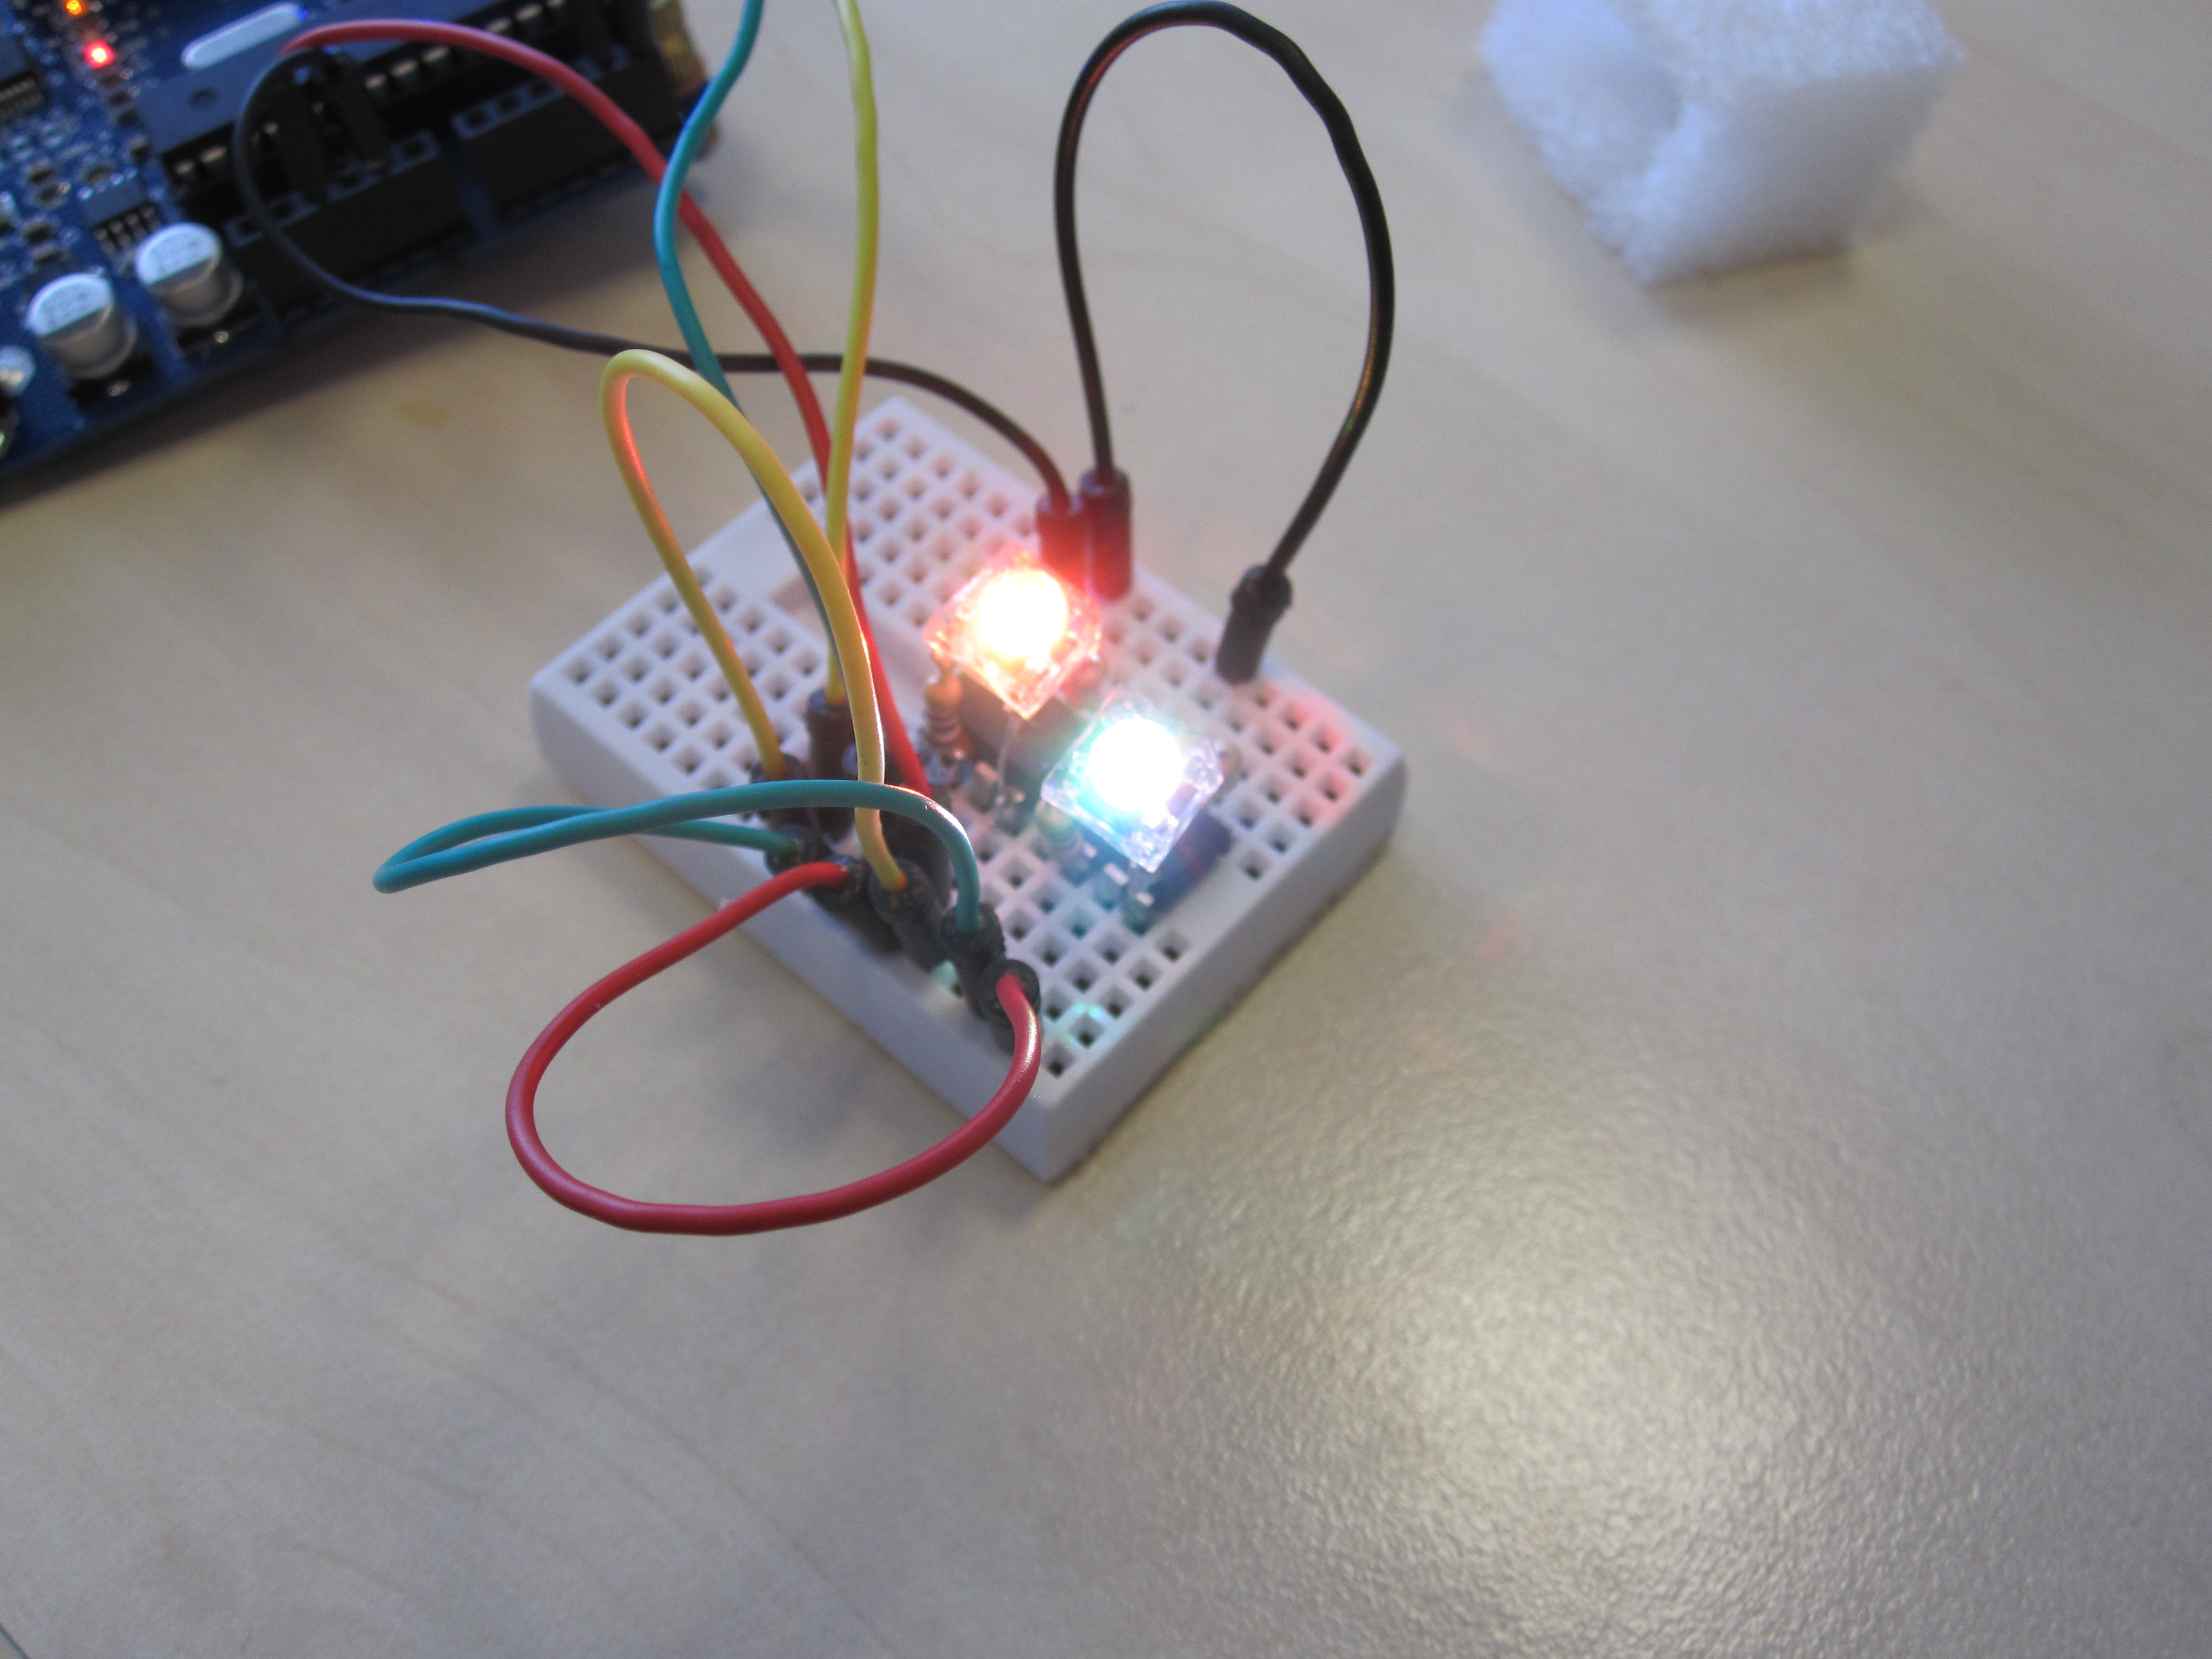


Of course, you don't need to limit yourself to only one Ghetto Pixel. The whole point of them is that you can sting a whole bunch of them together. I have built four so far and would have built more, had this instructable not taken so much time to write!
You should still build and test each one in isolation, once you have as many as you need, then you can start playing with them all together.
First off, If you are still using the BlinkM communicator sketch on the arduino, you will need to comment out the line that resets the pixel's address every time the sketch is run. The line is commented, and it's in the setup routine.
You need to change the address of the pixel away from it's default value of 0x09, and you can do this in the sequencer. Plug the first pixel in and set it's address to 0x01, then take it out and plug in the second, give that 0x02, etc. Give each pixel you've made it's own address.
Now you can begin to wire them all up together. This requires nothing but wire, you simply connect up all the pins of the same type among all the pixels. I built a harness with DIP sockets to do this, although you could solder directly onto the pins of the uC, or put them all in perfboard... whatever, it's up to you.
Once linked, you can change the channel number on the left of the BlinkM sequence display for each track to control your pixels individually. Of course, you can code your own programs to send either serial to the communicator sketch or a new sketch entirely that addresses the individual pixels. (If you want to spend all your time playing with the cool BlinkM software tools, then you should be buying real blinkMs!)
I'm going to stop writing now and go and build more pixels. I've got four so far and need another three. I'm building an multichannel extreme feedback device that illuminates a set of seven clear gem dice. After that I plan to build some more, try and get them solar powered, and string them up in the trees in my garden. I hope you all share your projects too!
Happy making, and Shine on!
Jim