Getting Started With EasyMSP
by MattTheGeek in Circuits > Microcontrollers
10865 Views, 17 Favorites, 0 Comments
Getting Started With EasyMSP
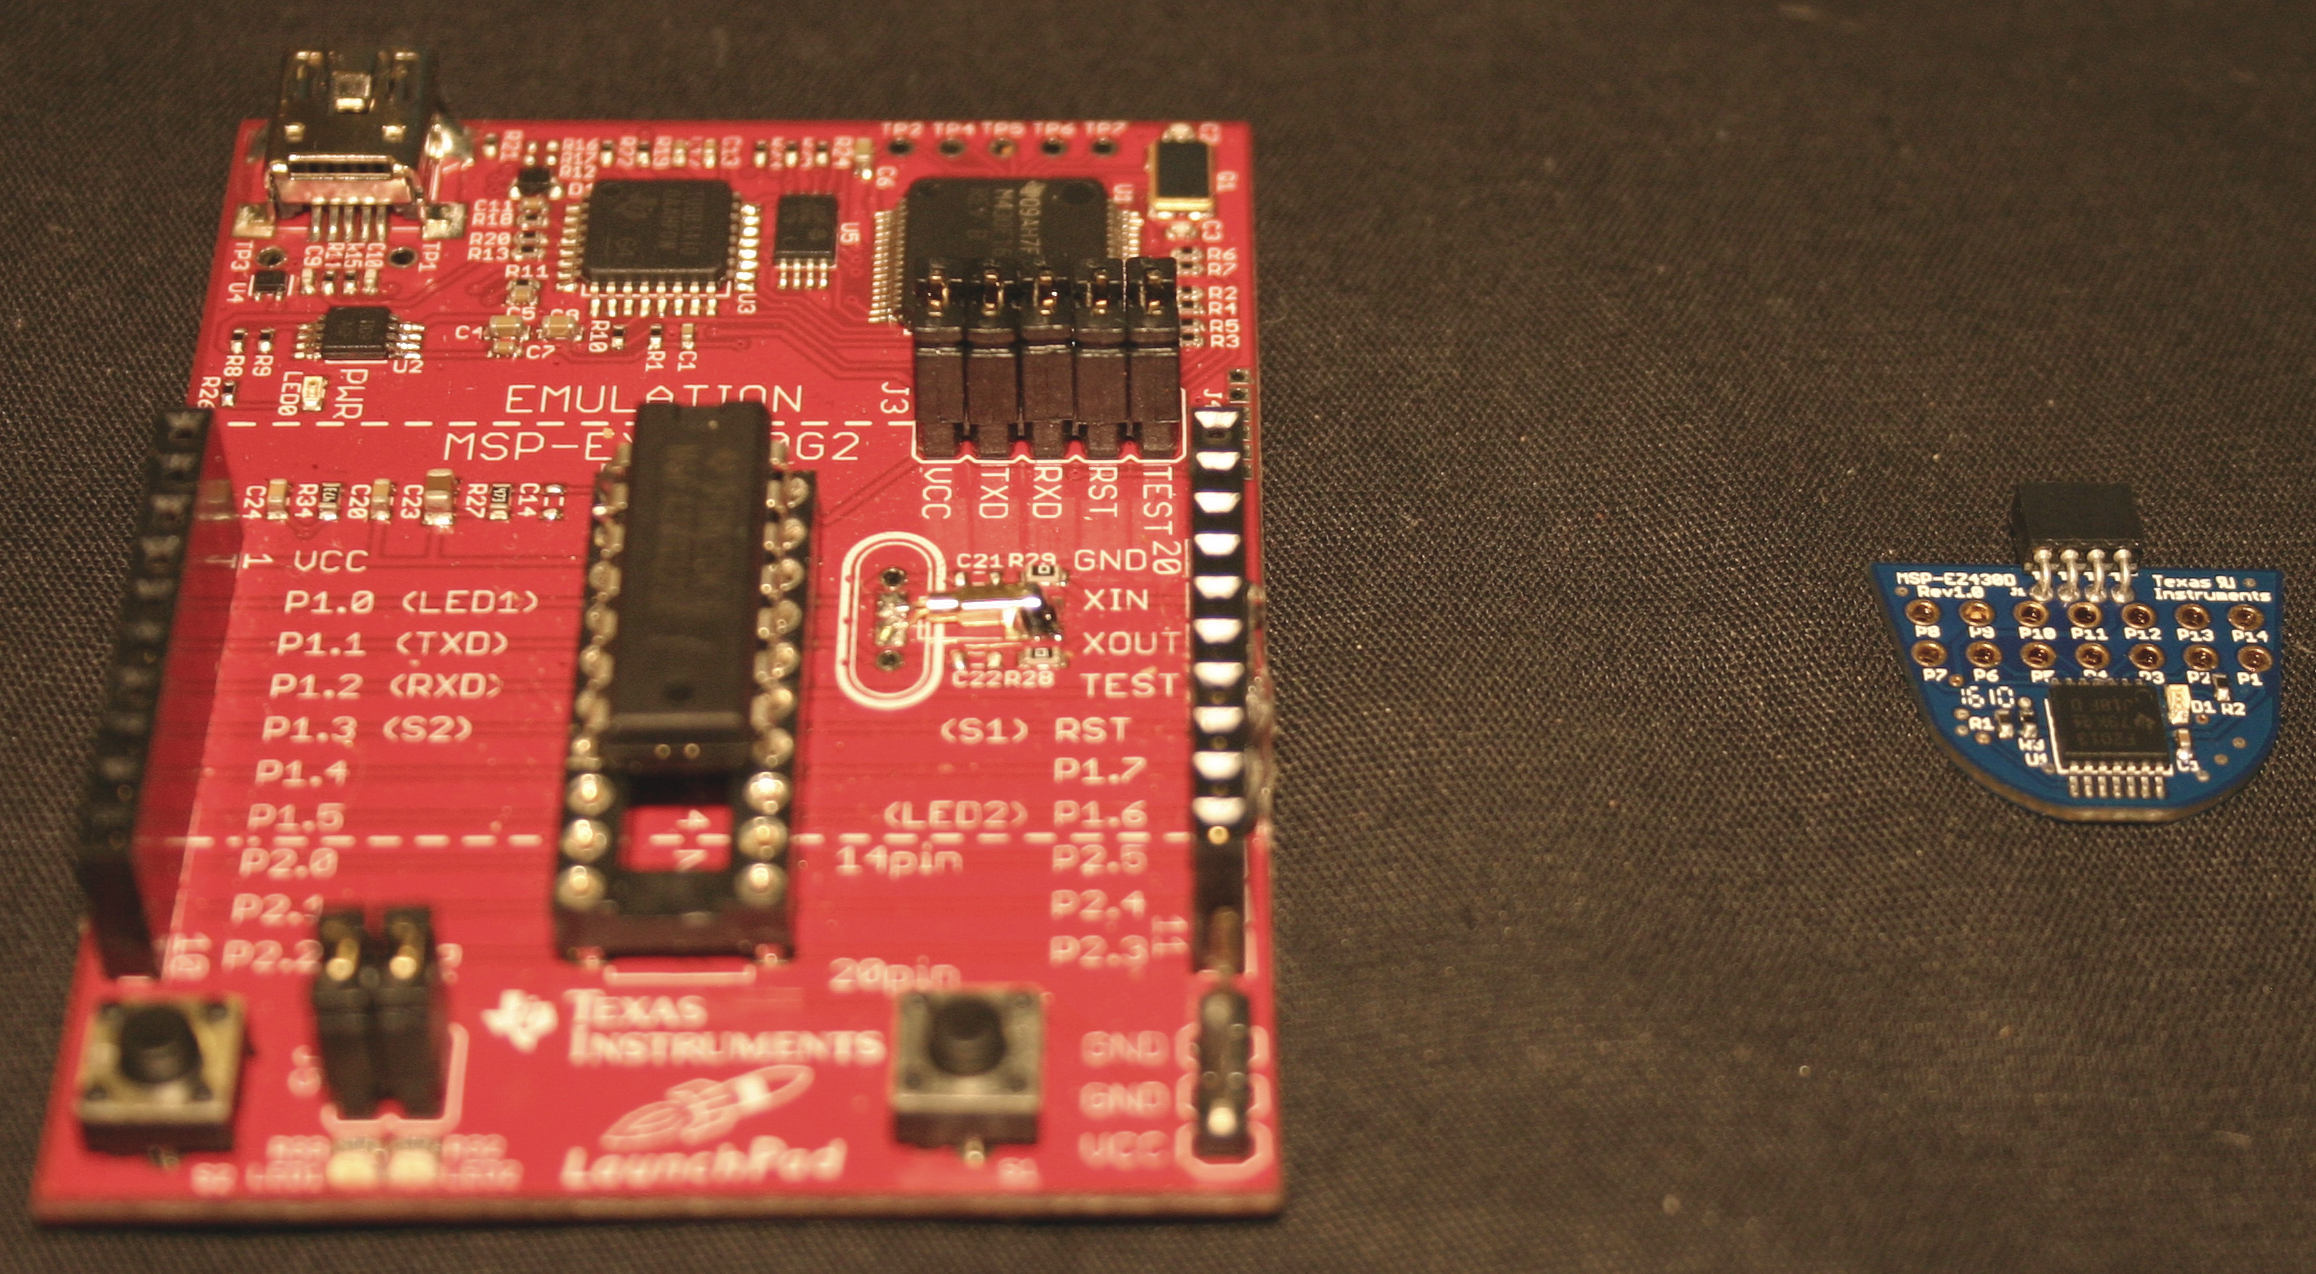
EasyMSP is a open source hardware and software system to make development on MSP430 controllers easier. To get started, read on...
Install Code Composer Studio
First, you will need to download Code Composer Studio or CCS for short. You can find it here . Once CCS Core Edition is finished downloading, Install Code Composer Studio. Now you need to download EasyMSP, which can be found here ...
EasyMSP now has a self-installer, So just open and install!
Now open up CCS. It will ask you where you want your workspace. If you wish you can change the workspace location. (The Workspace holds you files that you work on)
To create a new project, go to File -> New -> New CCS Project , A window should open shortly. Name the project whatever you want it to be named, then click next . Click next again, these options aren't useful right now. Yet Again, Click next .
Under device variant, Select your device that you want this project to run on and click finish
Start Coding
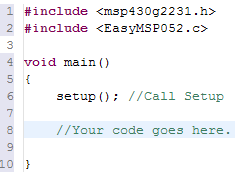
To begin coding, you will need add a new C source file, to do this you will need to go to your project's folder and then click New -> New Source File , a window should show up. once that happens, name the source file (It can be whatever you like, but i normally name it main)
Then add the minimal amount of code required shown above.
Note: EasyMSP Has been updated, so change the 2 second line to #include <EasyMSP053.c>
Note 2: Also, Line 1 is your device variant, so enter the device name you are using
Then add the minimal amount of code required shown above.
Note: EasyMSP Has been updated, so change the 2 second line to #include <EasyMSP053.c>
Note 2: Also, Line 1 is your device variant, so enter the device name you are using
Plug in Your Device
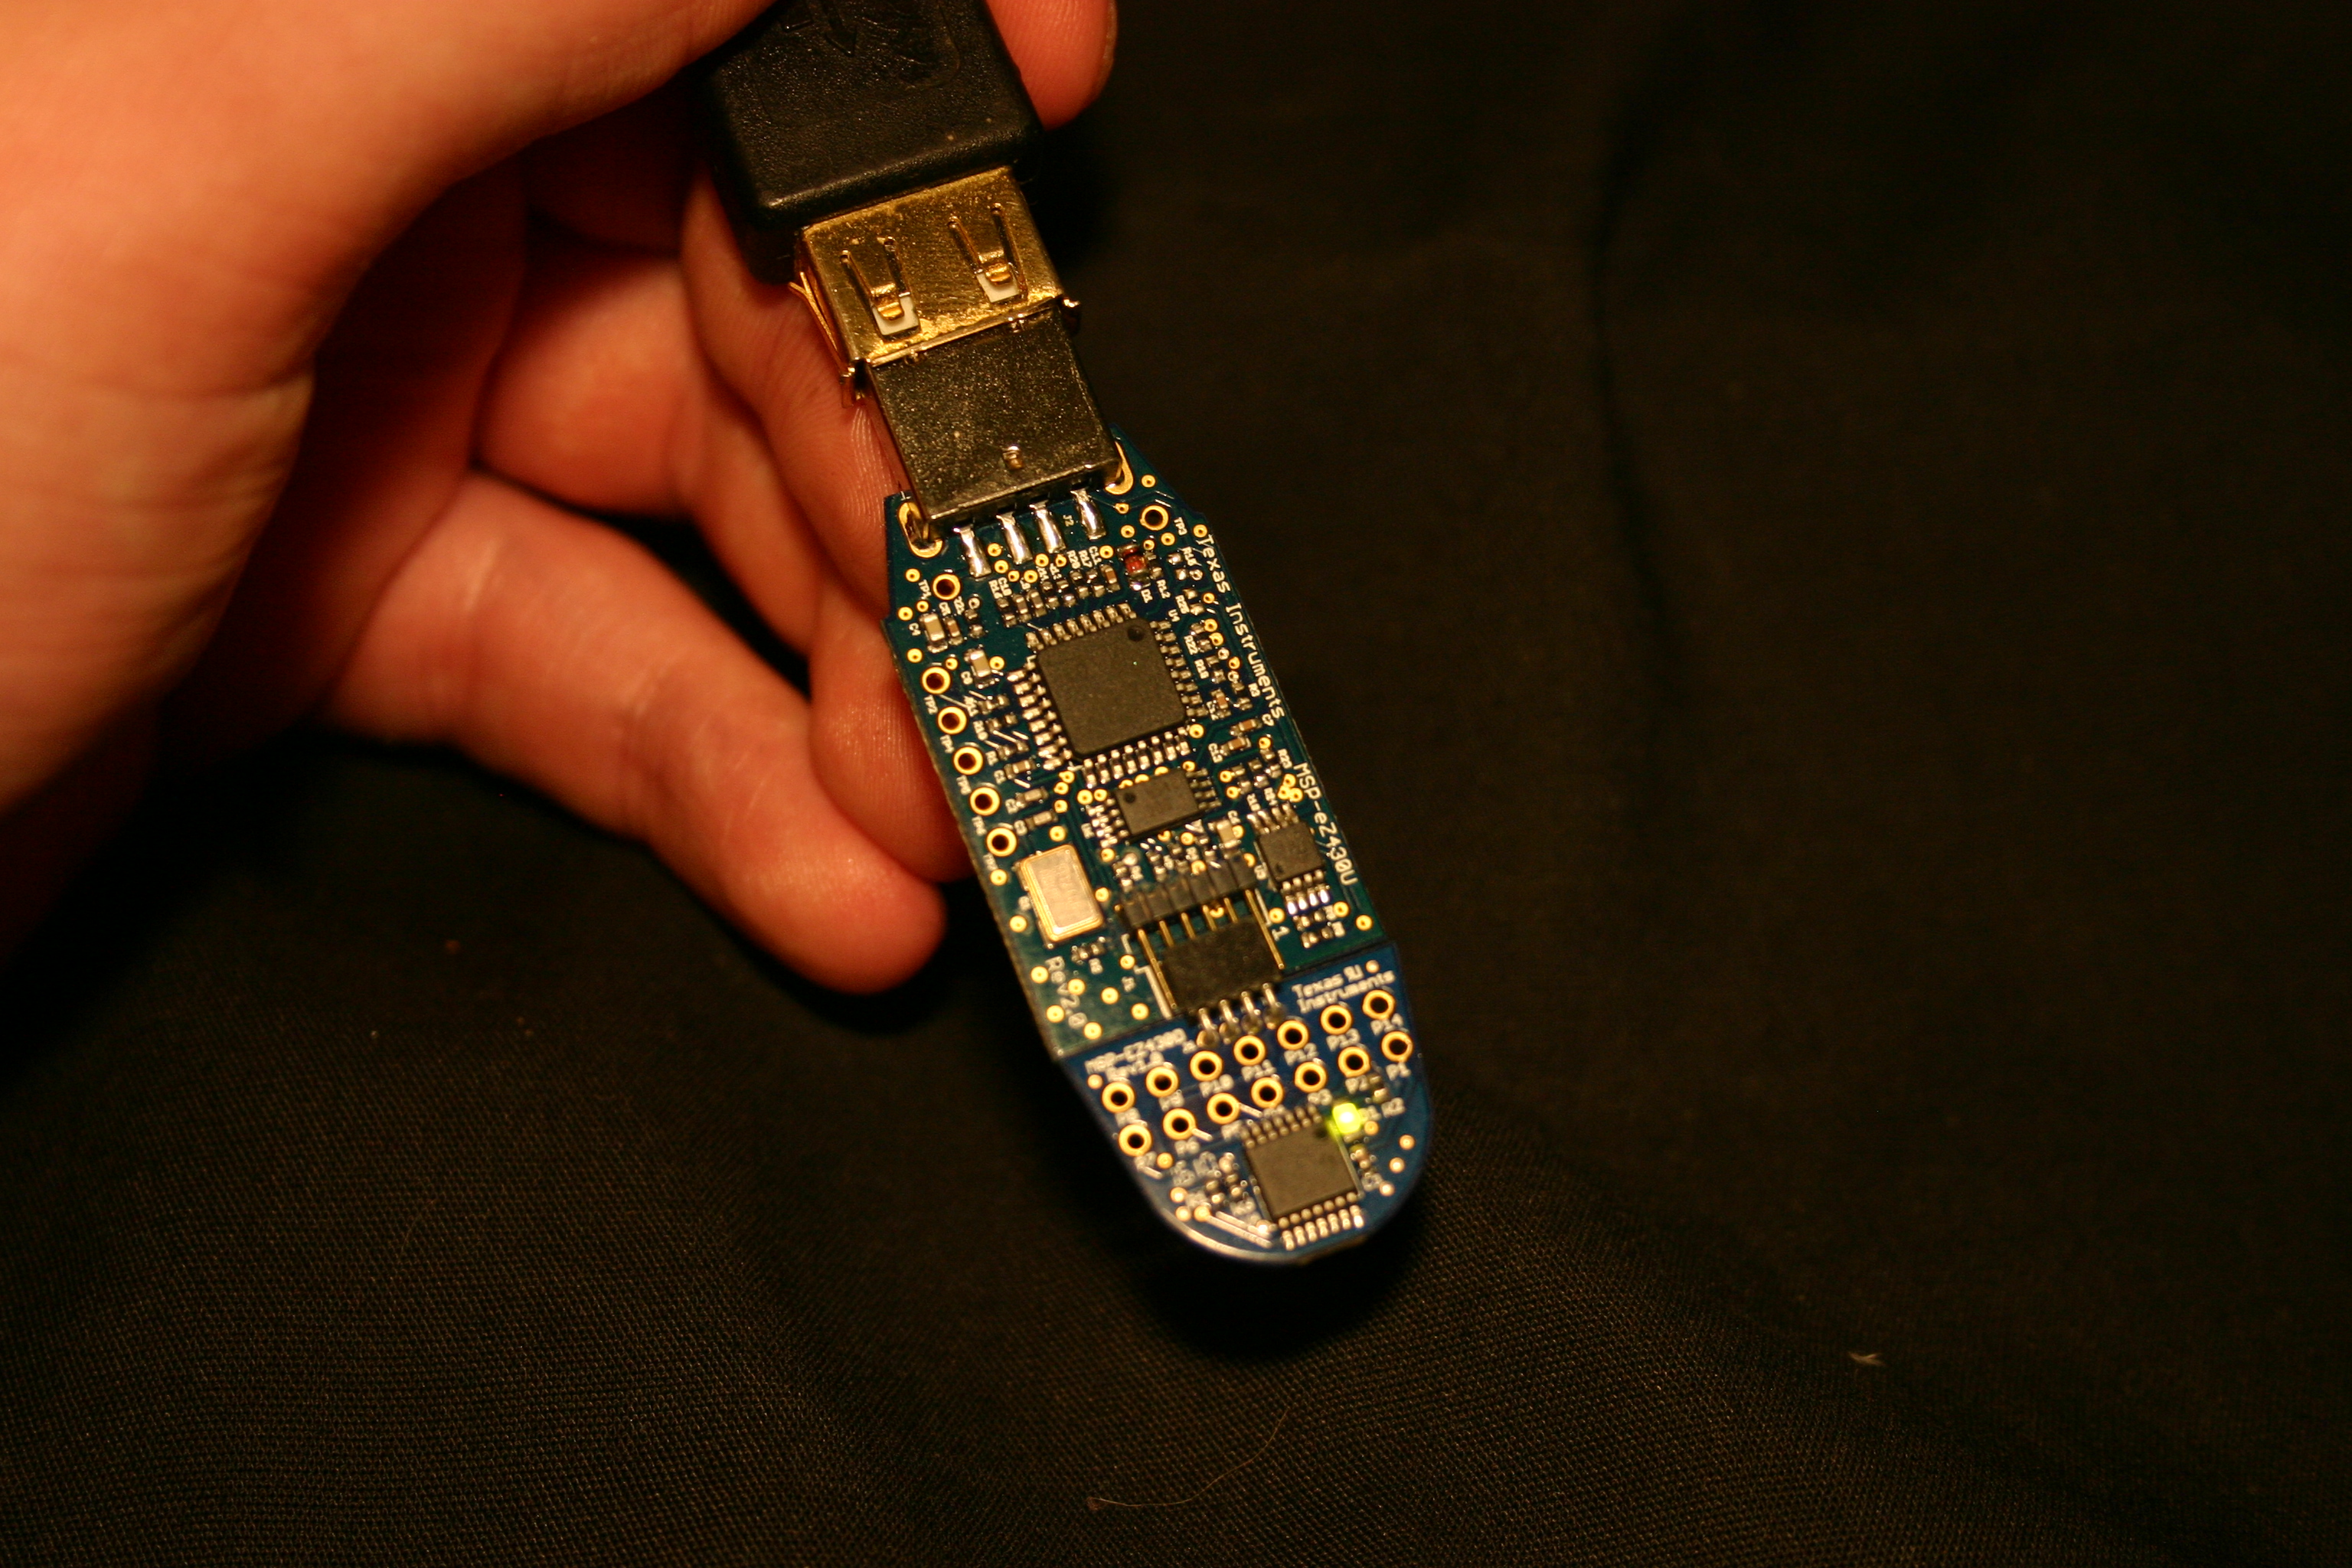
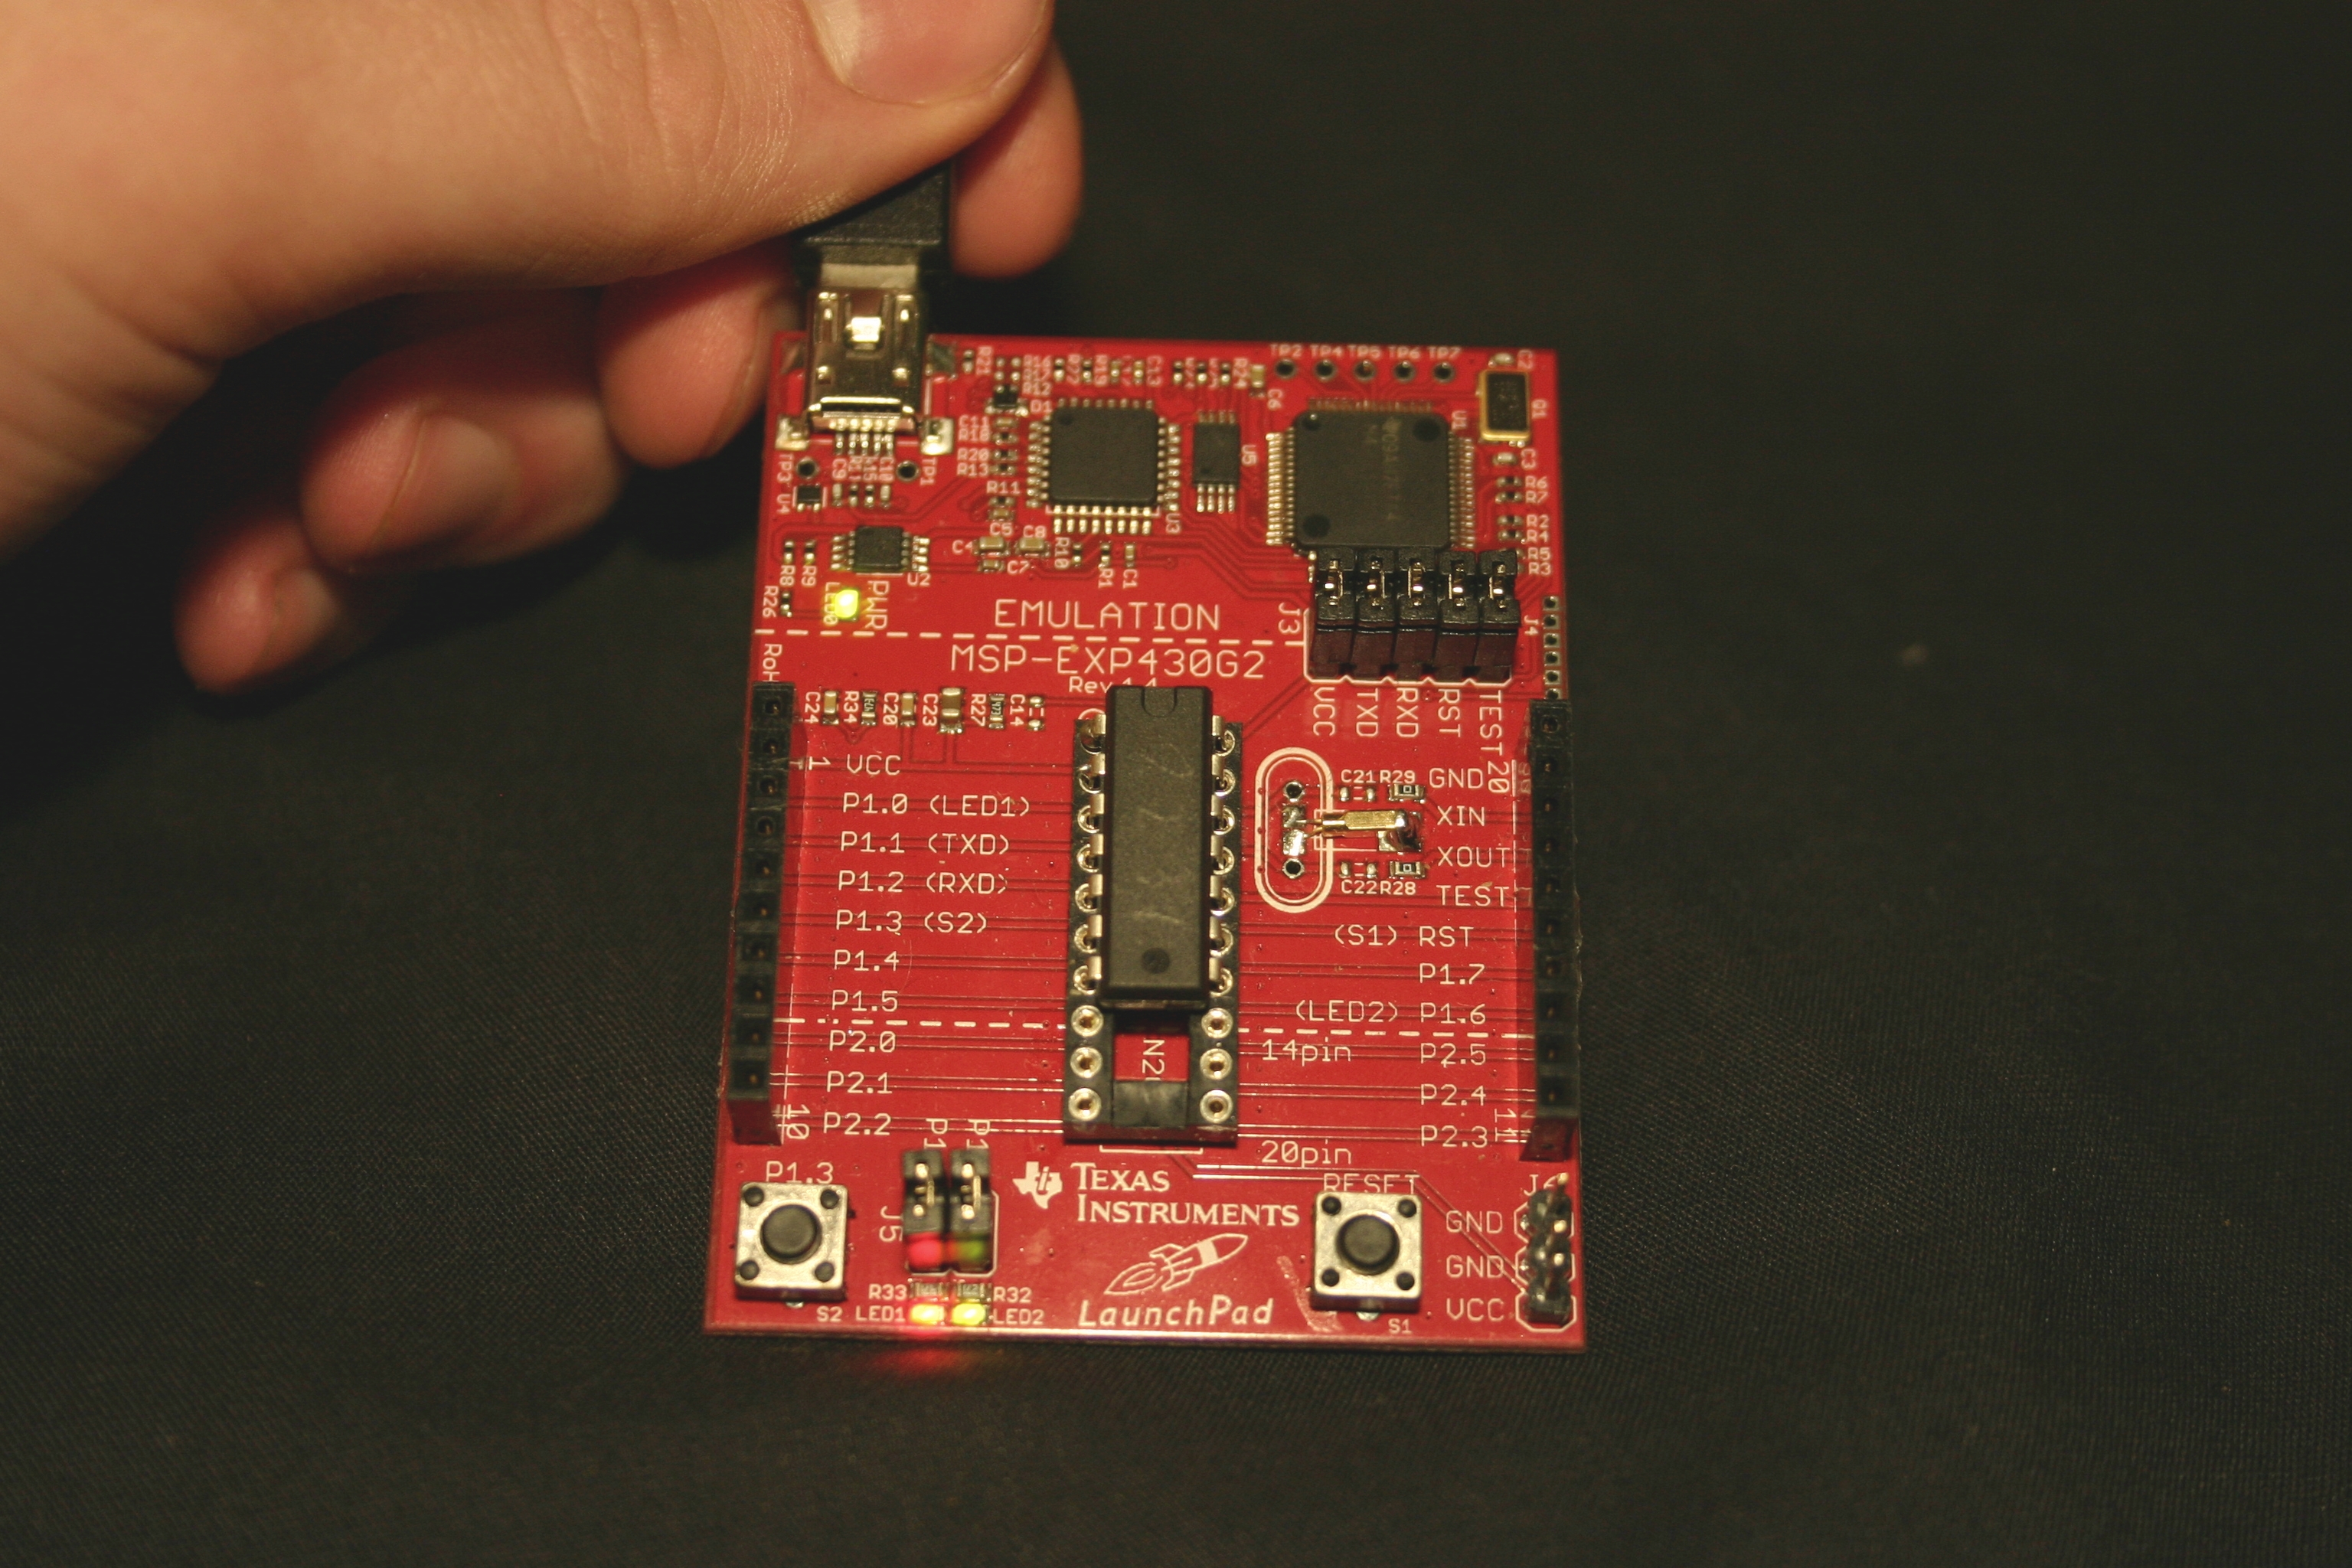
If you haven't already done so, you should plug in your MSP430 device.
Add Your Code.
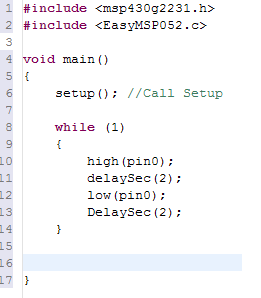
Thats it! you have successfully setup your project to use EasyMSP. If you want, you can start coding or you can use the example code shown below.
Once you have finished coding, you can debug it by clicking the green debug button.
Note: EasyMSP Has been updated, so change the 2 second line to #include <EasyMSP053.c>
Note 2: Also, Line 1 is your device variant, so enter the device name you are using
Once you have finished coding, you can debug it by clicking the green debug button.
Note: EasyMSP Has been updated, so change the 2 second line to #include <EasyMSP053.c>
Note 2: Also, Line 1 is your device variant, so enter the device name you are using