How to Control a Arduino Controlled Robotic Arm of Dobot Team
by maker_studio in Circuits > Robots
20458 Views, 87 Favorites, 0 Comments
How to Control a Arduino Controlled Robotic Arm of Dobot Team
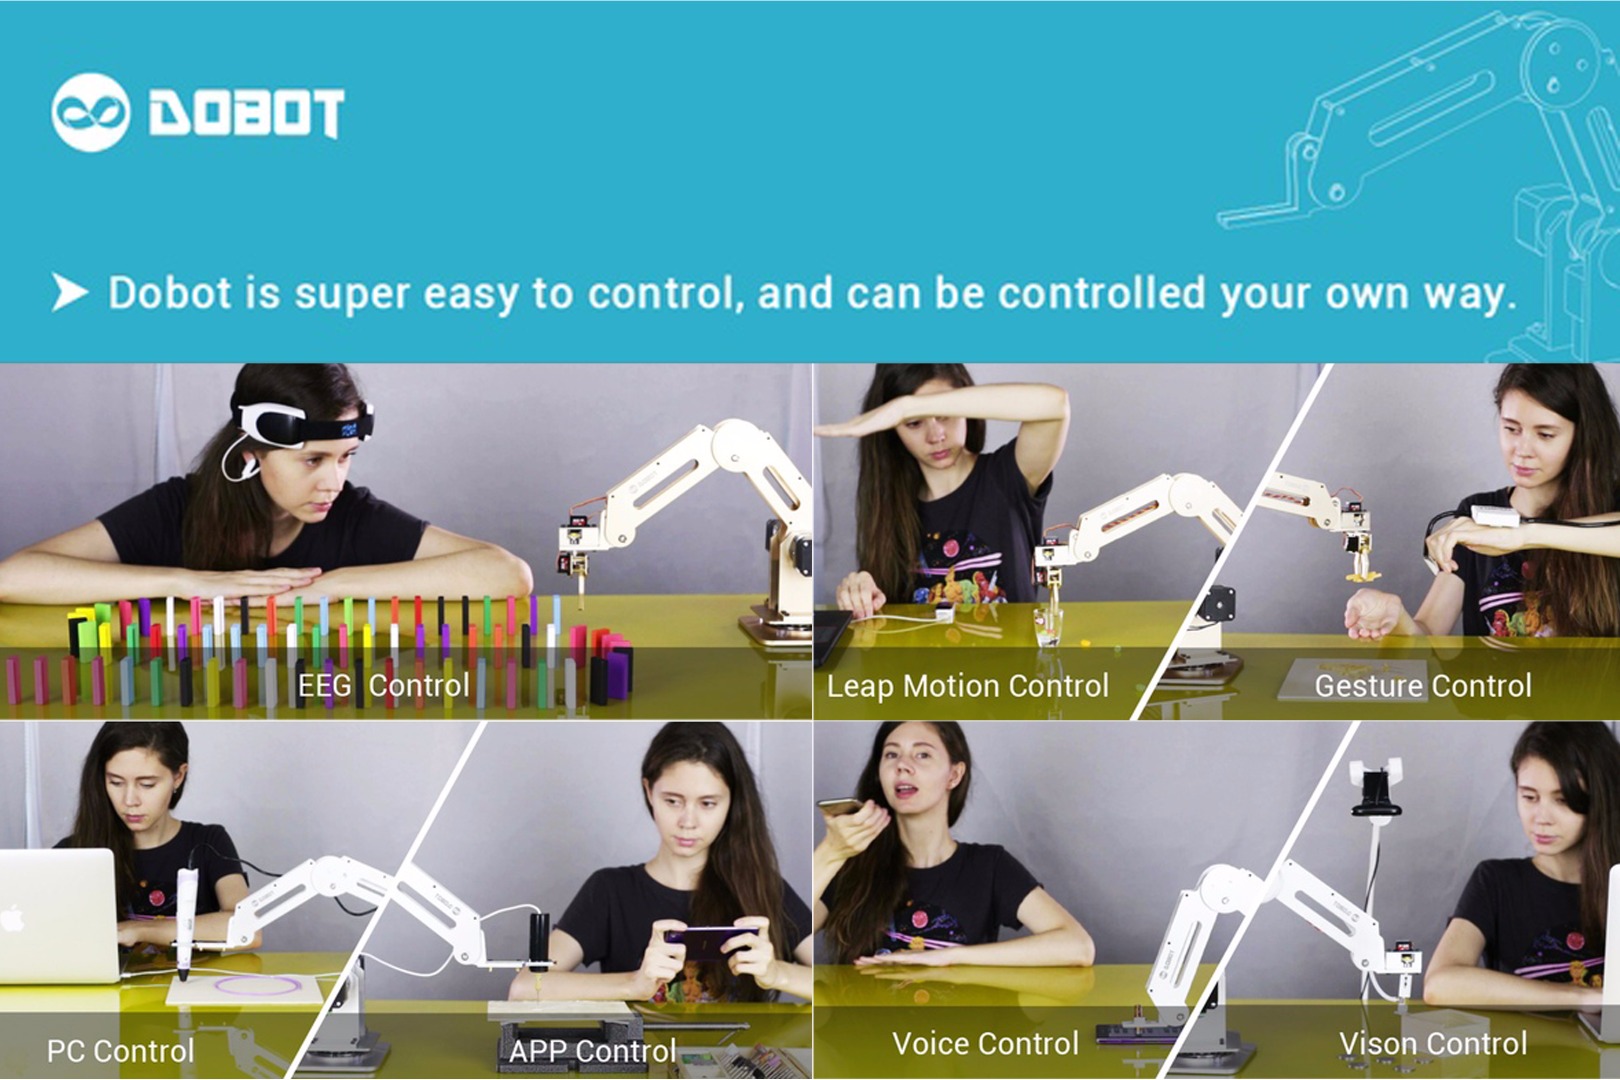
We always say, Dobot is a high precision, multiple control desktop robotic arm.In last instructables, we have shown you the high precision and the desktop feature by building a laser cut and soldering Dobot arm. In this instructable, we will try to show you the multiple control and arduino-based robot arm feature by controlling our Dobot arm in multiple methods. If you don't know what is Dobot arm, you can go to this page for more informations, Dobot is up on kickstarter now, their goal is to bring the industrial robot to daily life, let everyone get fun with it, it gives a lot of thoughts on users without technical backgrounds, even 5-years-old kids can control Dobot in ease! If you're interested in it, you can kindly give them a support.
Dobot can be control for many ways including PC, mobile app, EEG, voice, vision, gesture and mind, whichever suits your purpose the best. Dobot can be a multi-functional desktop high precision Robot arm by changing its end effector on the arm head. It can Writing, Drawing, Grabbing, Playing with smart phone and even Laser cutting and Soldering and 3D printing recently!
If developing a Dobot PC terminal interest you, I have uploaded the communication protocol on the files and if you have already developed a great Dobot PC terminal just contact us with dobotinfo@gmail.com.
Dobot is compatible with everyone's desktop:
Do dangerous experiment with app control:
Laser cut a tap or anything you want with Dobot.exe:
Dobot move correctly as your voice commend:
Pull down domino with EEG control robotic arm:
Gesture controled robot arm:
Downloads
Download Arduino IDE
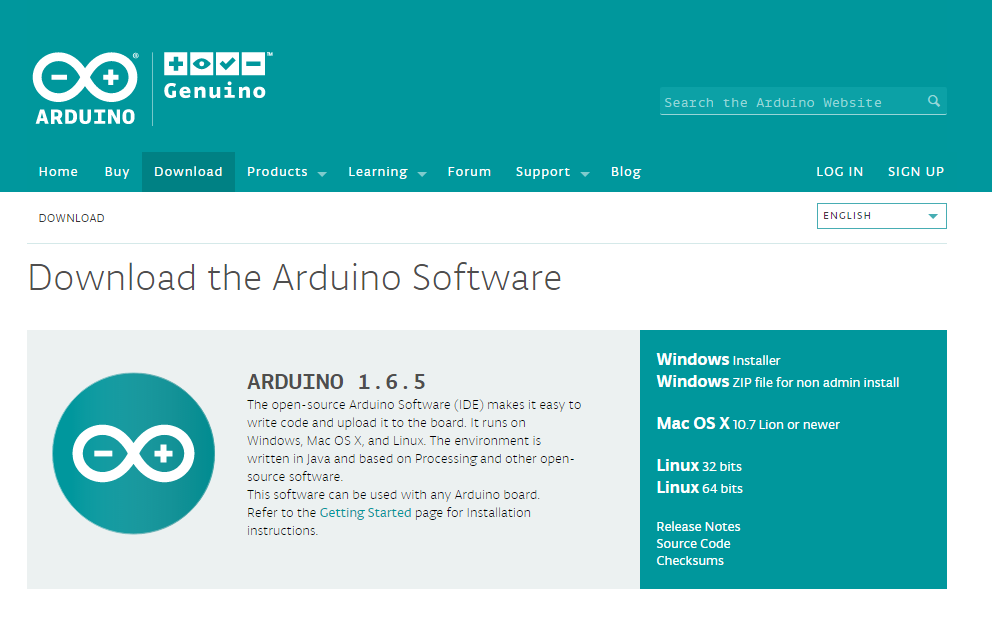
Download the right type of Arduino IDE on www.arduino.cc and install it on you computer.
Upload the Dobot's Ino Files Into Your Mega2560
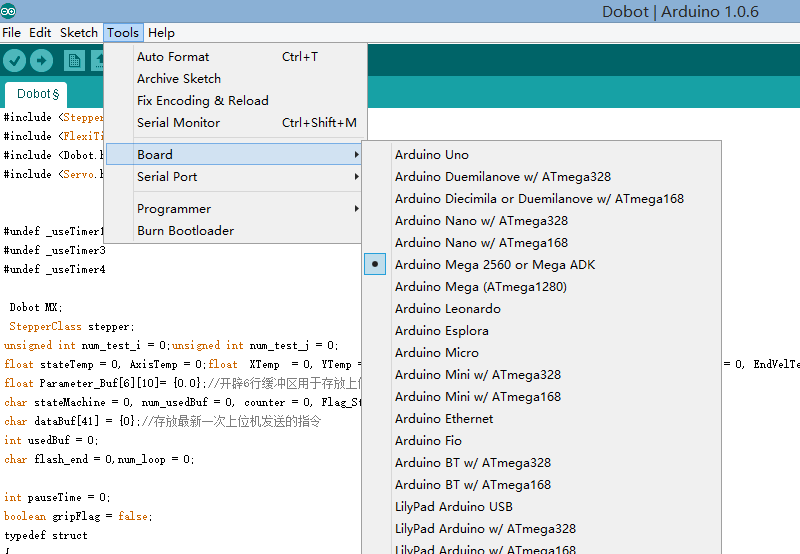
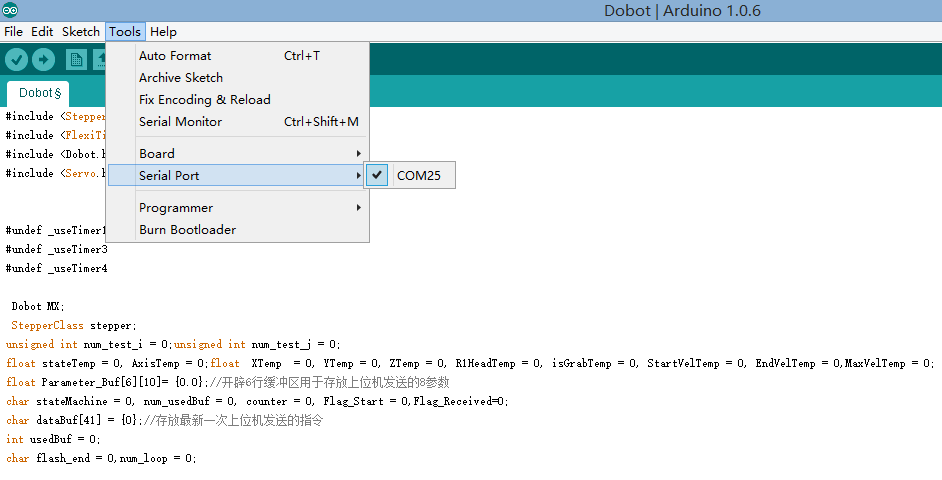
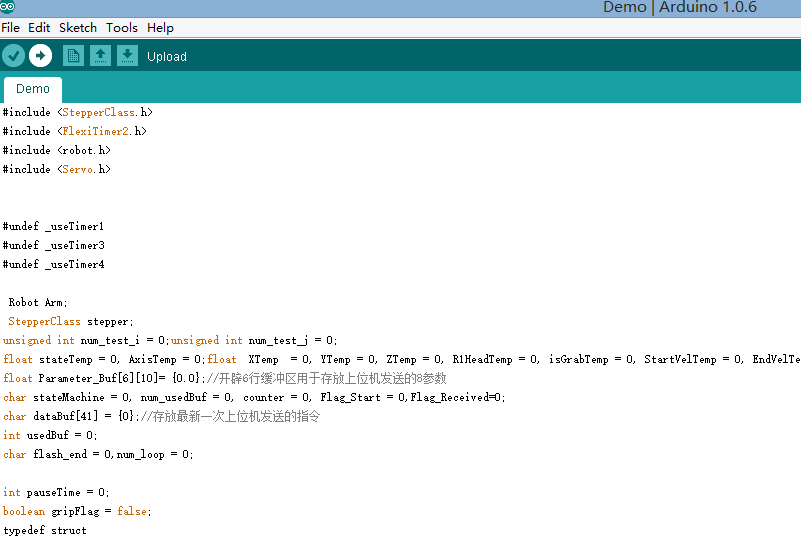
Connect the Mega 2560 with your computer.Before uploading the .ino file into mega2560, you should put the Arduino library of Dobot arm to your arduino library folder and then reopen your arduino IDE. Open the Dobot.ino with Arduino IDE. Choose the Mega2560 of the Board on the Tools column and the right Serial port on the Serial tap. Now, you can upload the dobot.ino into your mega2560 board.
Drag and Scratch Dobot Arm With Processing.
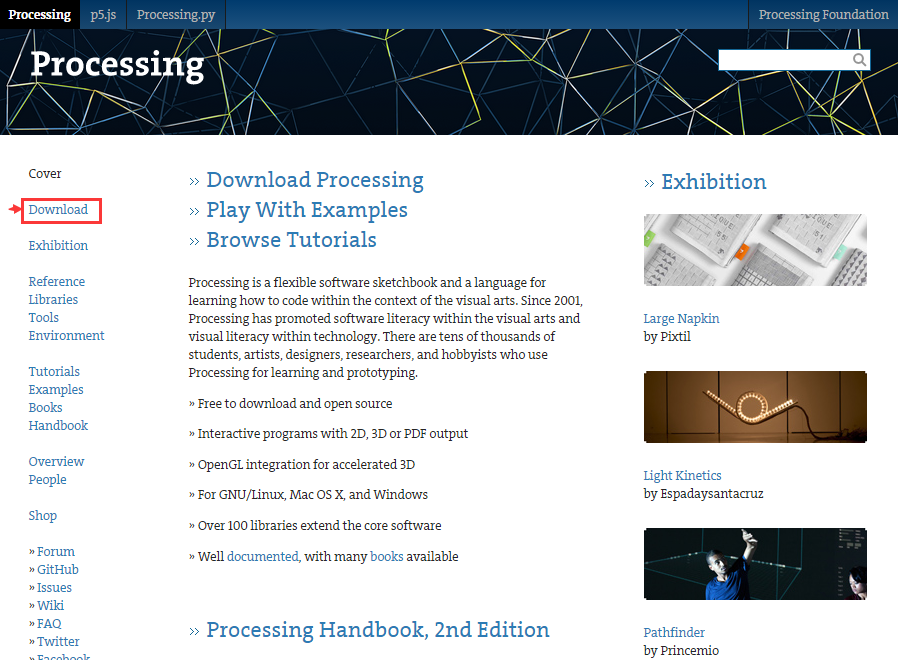
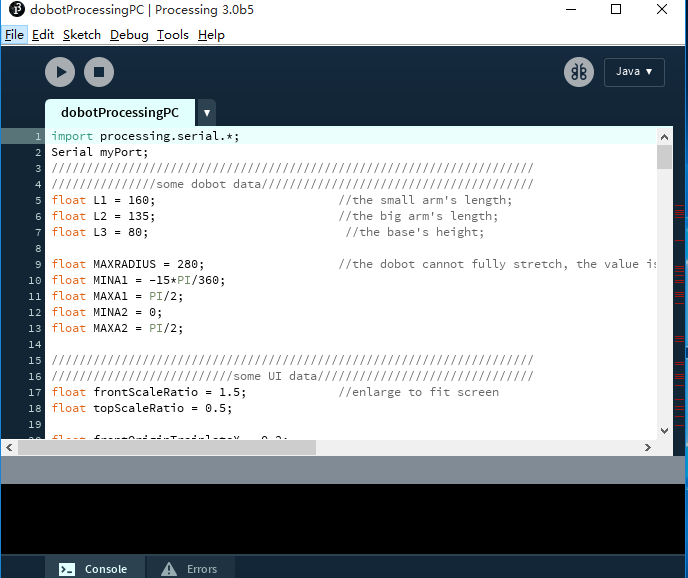
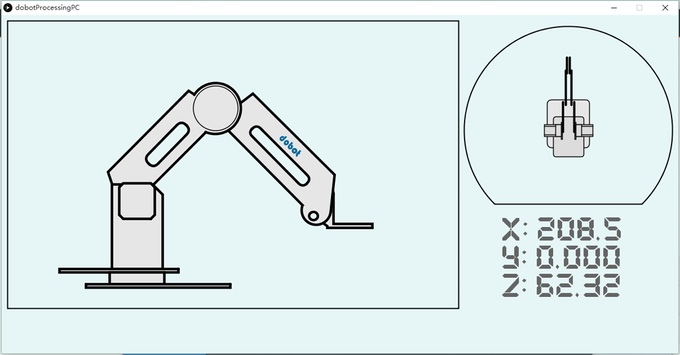
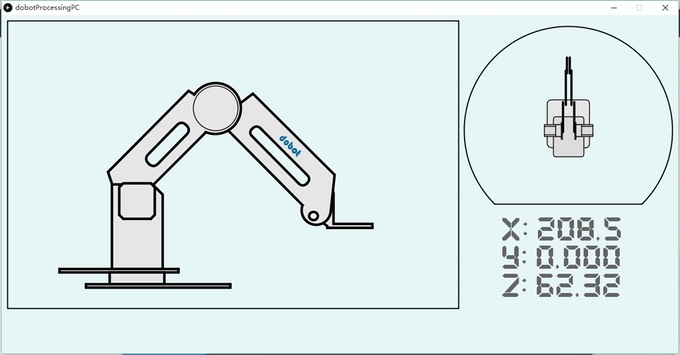
The most ease way to control Dobot arm is by Processing which makes as young as five years old kids able to use Dobot in ease! It makes you can get started with Dobot soon! First, you need to download the Processing IDE on Processing.org. Our Dobot arm's processing is compatible with the processing IDE of 2.x and 3.x so you can download the processing 2.x or the 3.x are all good. Maybe you also need to download the Java environment into your computer and install it. Second, download the Dobot arm's processing on Github and run dobotProcessingPC.exe on your computer. Now you can control your Dobot arm in such an easy way!
Play With Dobot Control by Your Phone.
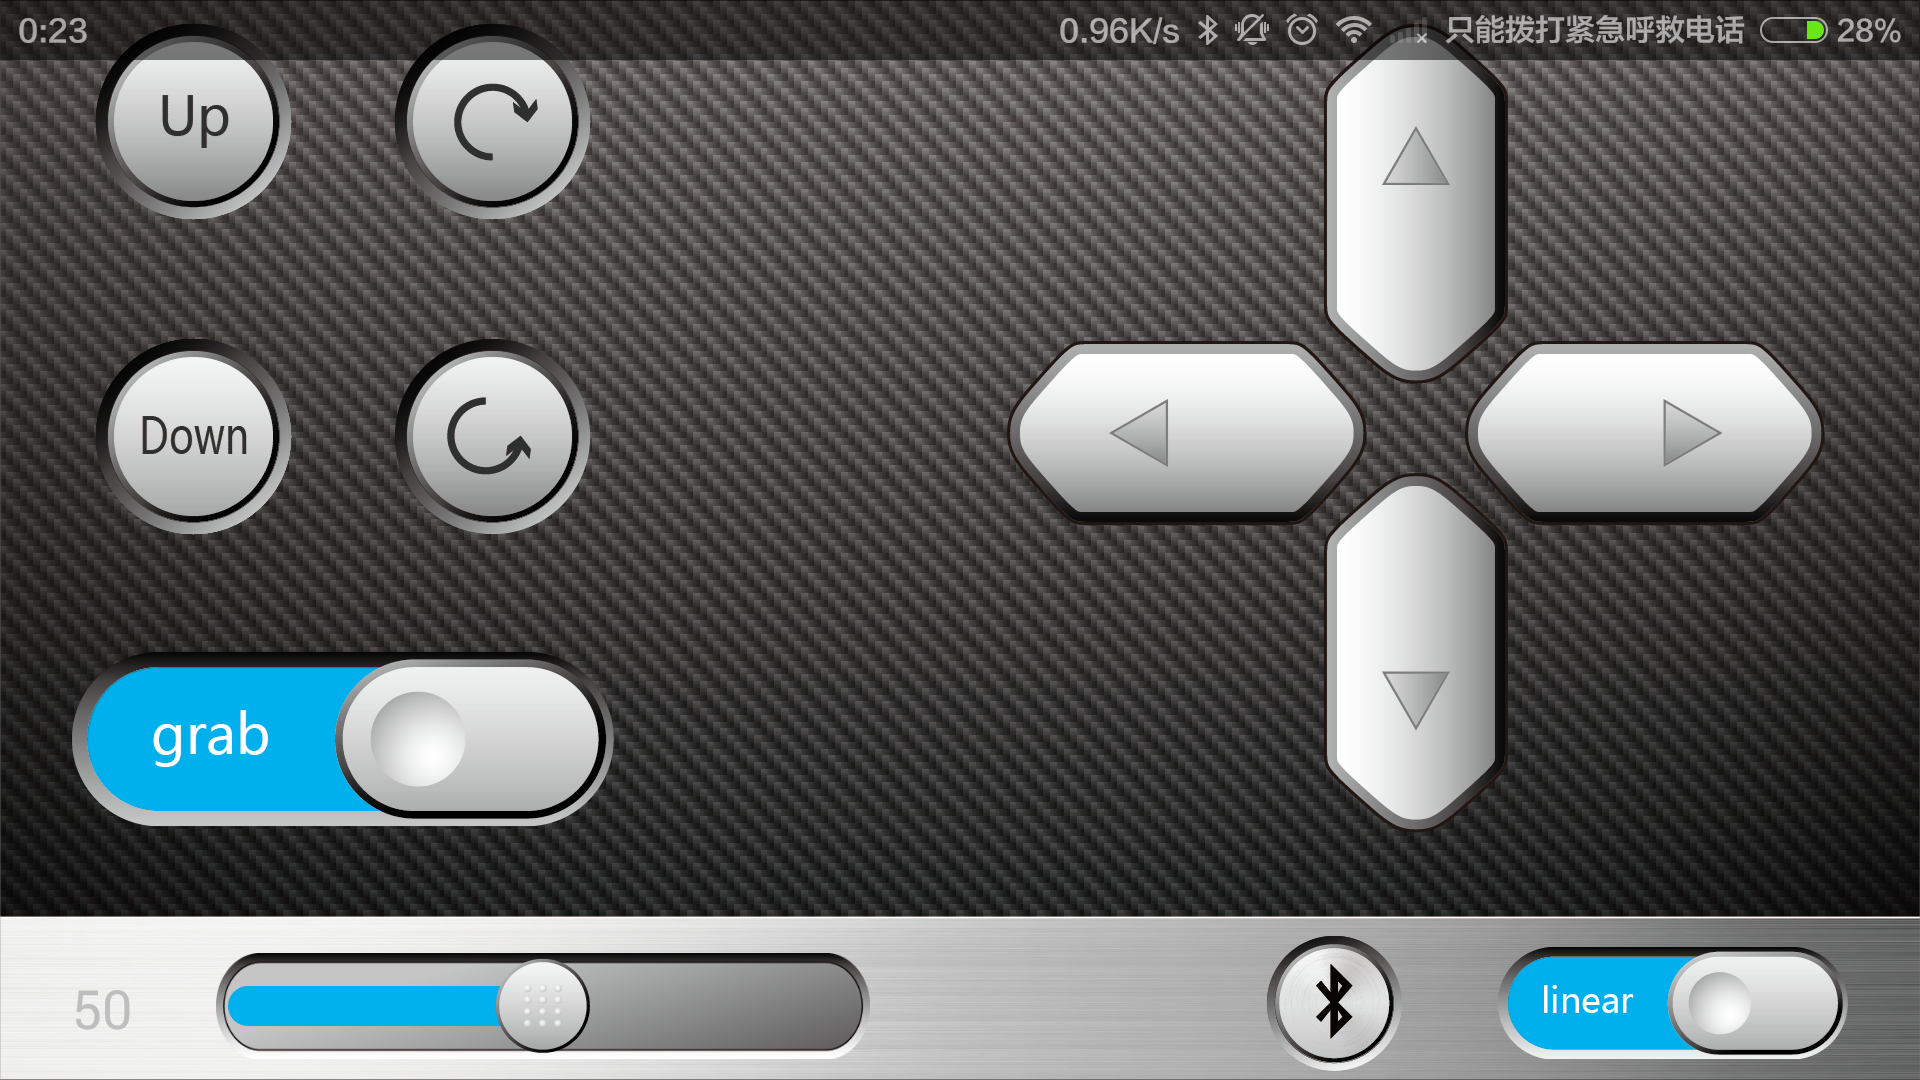
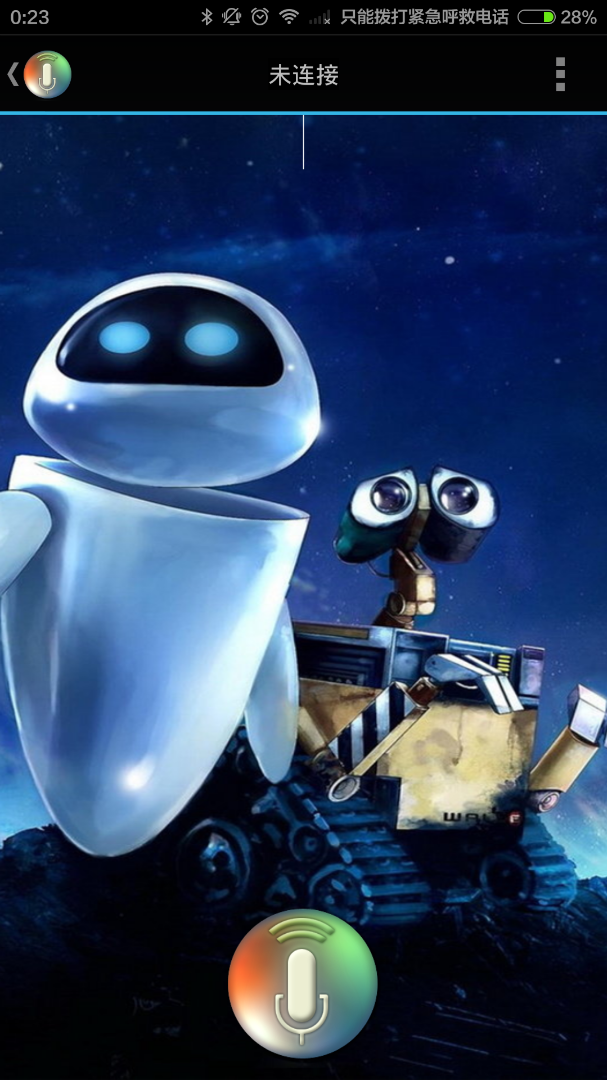

With you phone you can control Dobot arm by voice or by the Dobot's app. You can ask Dobot do some repetitive work like stir solutions when doing experiment and do some cool jobs like doing dangerous experiment with control your Dobot remotely.You also can ask Dobot to turn left or right as your commend correctly and send a text or unlock your phone.
What you need to do is insert the bluetooth module to the right pins of Dobot control pad and open these two apps to connect with Dobot. We will put them on our official website :www.dobot.cc then you can download after crowdfunding on kickstarter.
How to make experiment remotely: you need to connect Dobot with your phone and fix the test tube with your Dobot. Then keep away from Dobot and control Dobot with app remotely.
A Higher Level Dobot Control: Dobot.exe
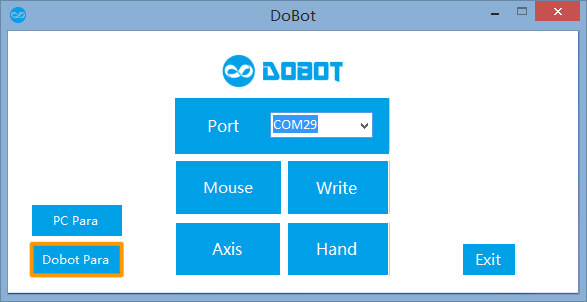
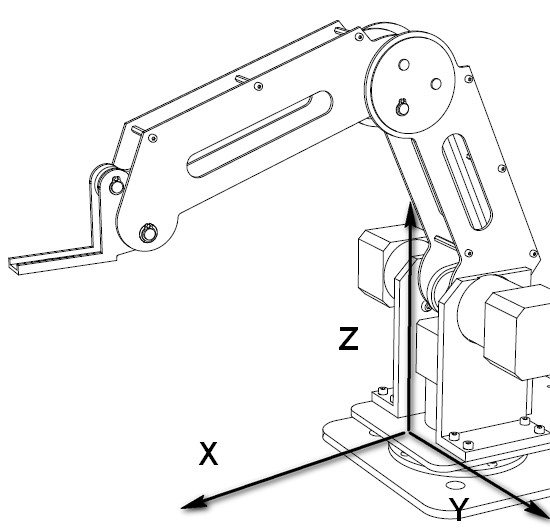
With Dobot.exe, you can control Dobot by mouse and Leap motion. You also can write and draw and even LASER CUT with Dobot.exe. The second picture is how we build the coordinate system on Dobot.
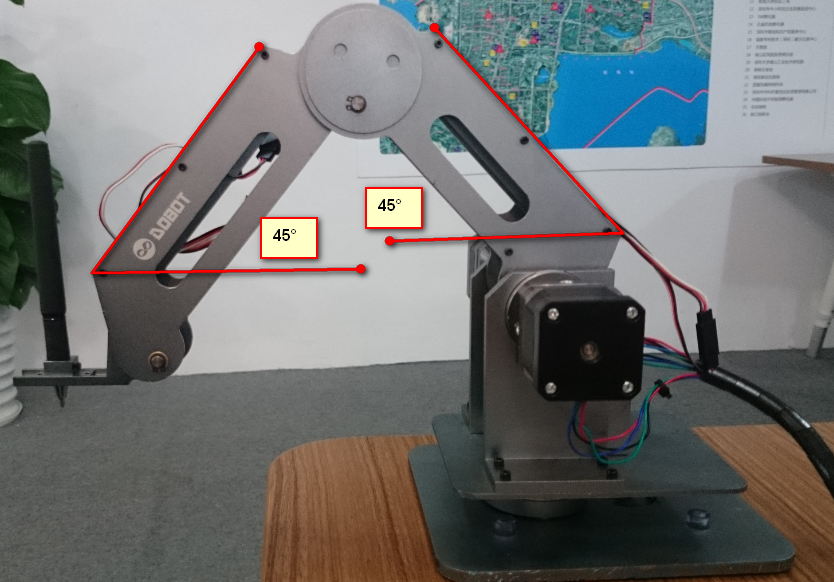
First, before turn on Dobot arm, you need to set the angle of small arm and main arm as showing on the third picture.
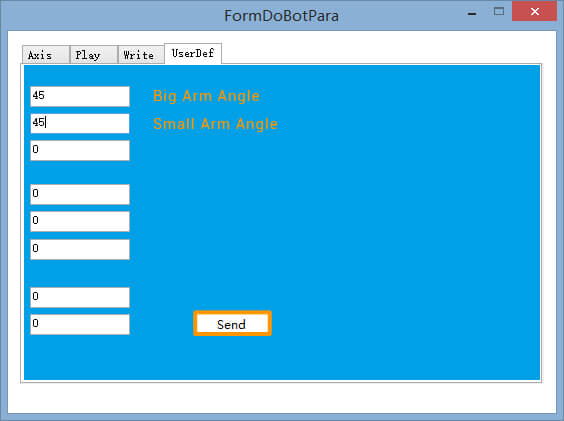
Run the Dobot.exe in Upper computer folder, click Dobot Para to set the beginning angles.
Based on the angle measurements of the robot in the second chapter, type the beginning angle degrees of the big and small arms you measured previously in the UserDef section (By default, the big and small arms will reset its angles to 45 degree every time it restarts). Then click “Send”.
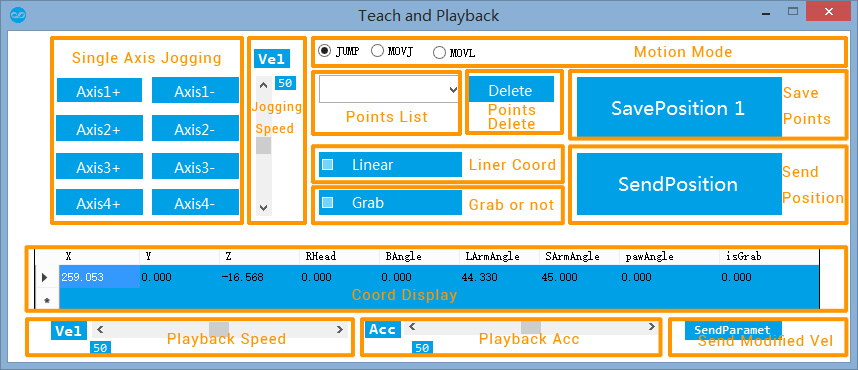
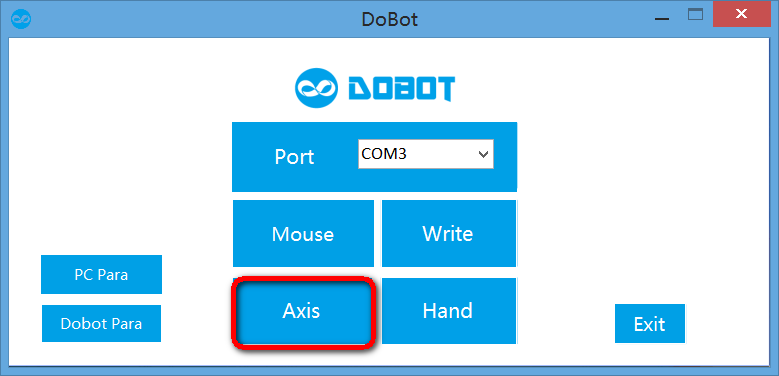
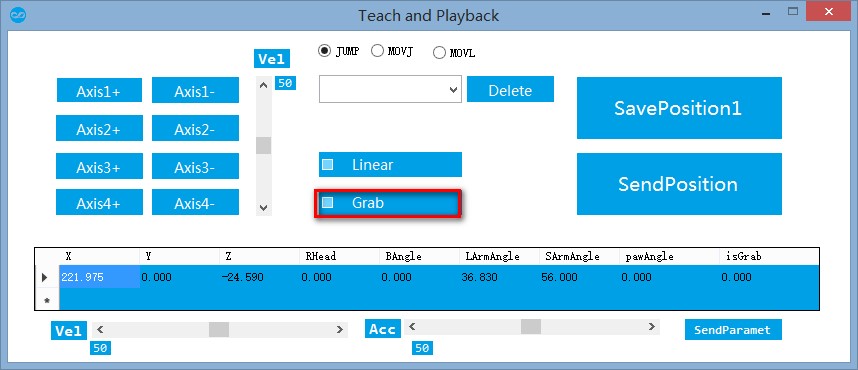
Back to the main window, Click Axis to enter the “Teach and Playback” section.
Click axis1, axis2, axis3 and axis4 to make Dobot move to difference position and save them. You can send these positions to Dobot after you have saved many positions. You also can delete position as you want.
If you want to know more details about getting started with Dobot.exe, just click HERE.
Draw a Baymax and Laser Cut a Kongfu Panda With Dobot.exe
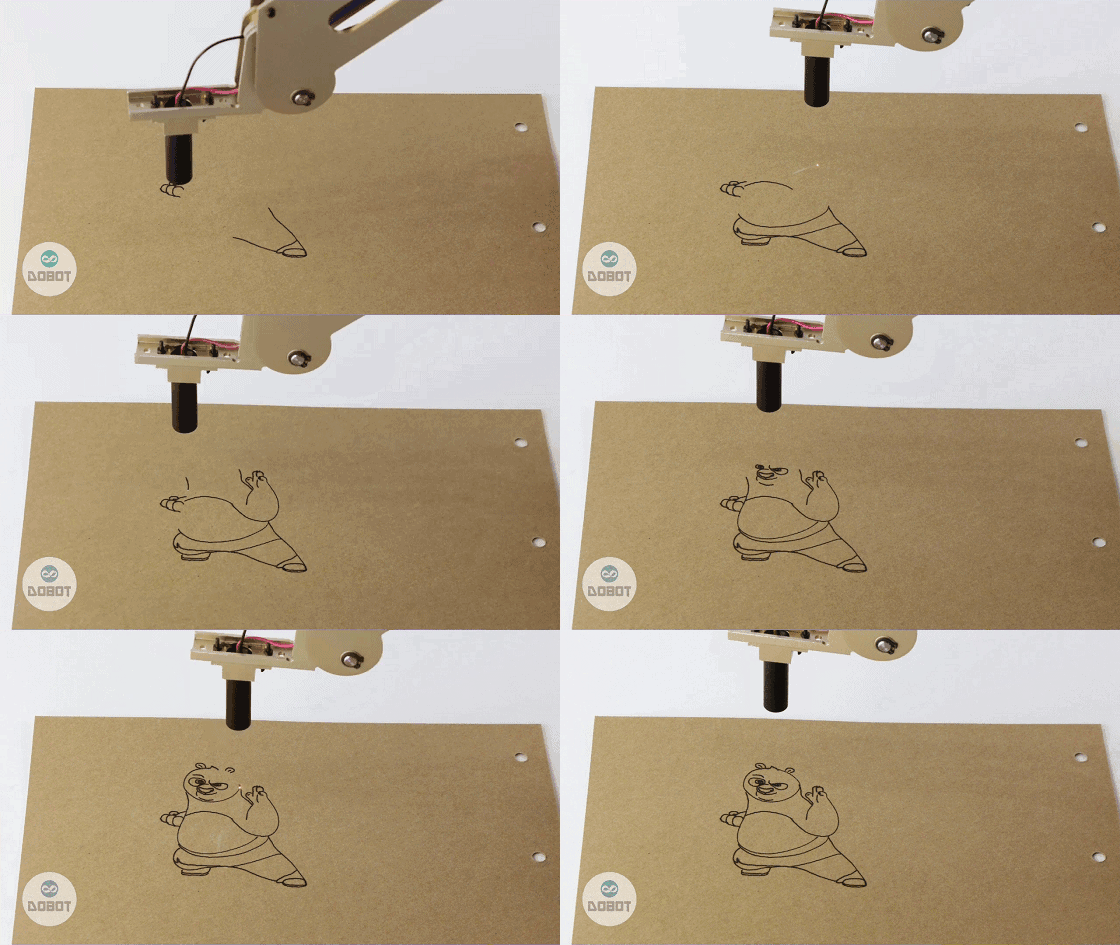
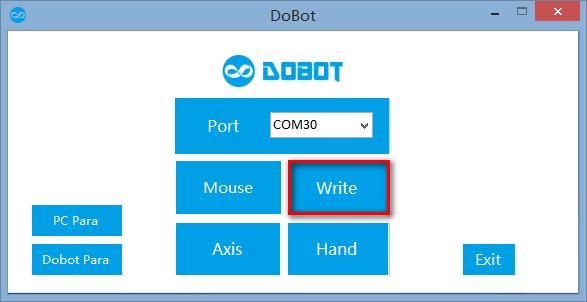
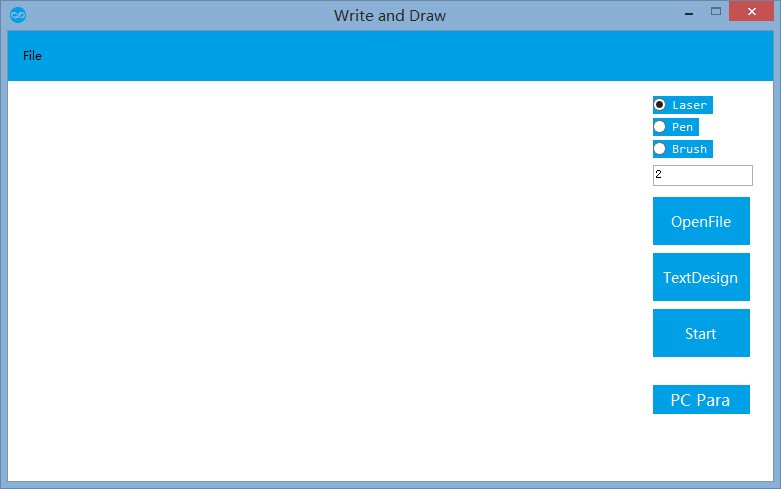
I have shown you how to assemble a LASER CUT arm on my last instructable. Now I will tell you how to control with Dobot.exe.
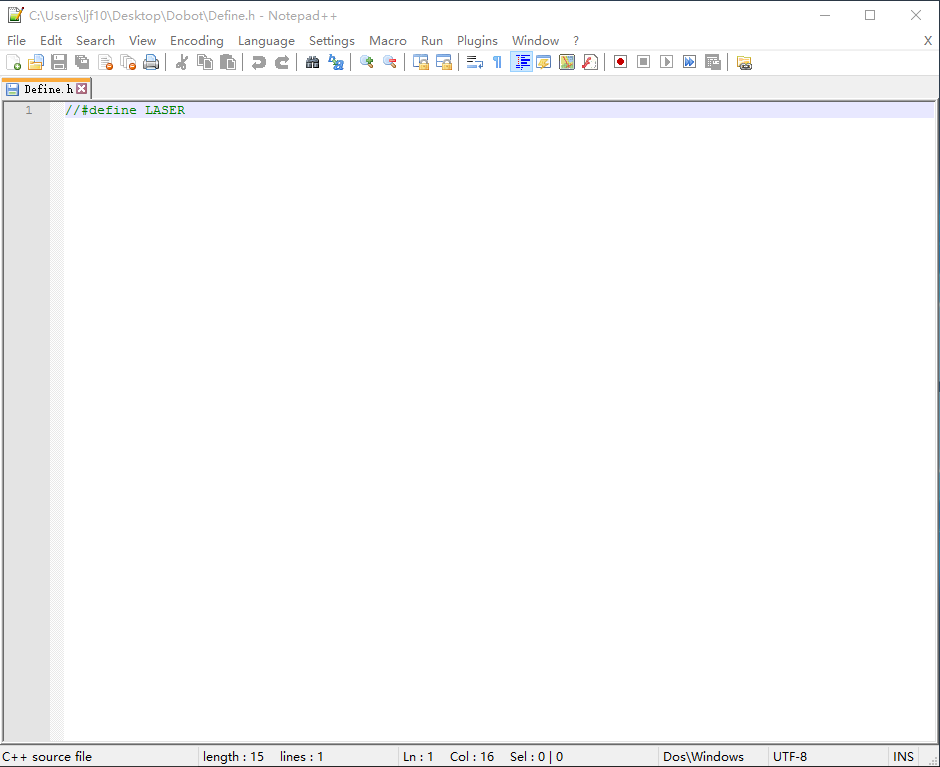
1, open the Dobot's arduino library files: Define.th and search the line "//define LASER" and then delete the comment sign:"//" to turn on the laser cut function.
2,open the Dobot.ino and upload it to Mega2560 again.
3,put the material you want to laser cut below Dobot's laser head and click the Axis bottom on the main interface. Click the grab bottom to turn on laser head and adjust the height of laser head to make laser point to the material is brightest. Then click the grab to turn off the laser head and turn on Dobot on the pad.
4, open the Dobot.exe and set para of the write acceleration as 0.01 because power of laser head is too small that we need to make Dobot move slowly in order to cut through the pad.
5, back to the main interface and click the Write bottom and select the laser bottom.
6,insert your vector picture and click the start bottom and your Dobot will start laser cutting!
Draw a baymax is similar with Laser cut except step 1, 2, 3 .
Leap Motion Control With Dobot.exe
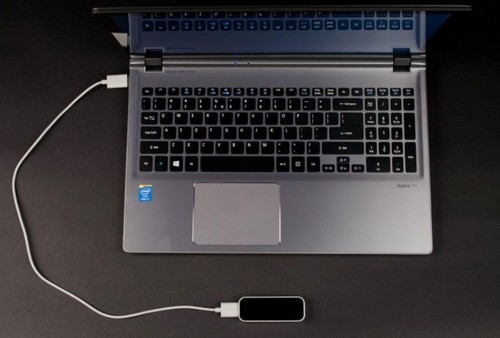

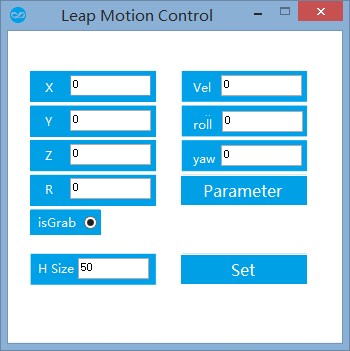
We can control Dobot with Leap motion in not so high precision application like like a candle and grab a big block.
1, install Leap motion drive on https://www.leapmotion.com/setup
2,connect your leap motion with you PC and open Dobot.exe.
3, choose the hand bottom and set the parameter of leap motion control.
Then you can put your hand above the leap motion and try to make a fist to grab something and release something by releasing your hand.
The Highest Control Method: EEG and Gesture Control.
These two control methods are the most two difficult control methods of Dobot.If you don't know how to use a EEG module, you can get a step by step instruction in the instructable two projects below: https://www.instructables.com/id/Adding-Bluetooth-t...
https://www.instructables.com/id/Mindflex-EEG-with-...
This two control part is all communicate with Dobot by bluetooth module so the first job you need to do is insert the bluetooth module on the Dobot pad. And then turn on your EEG module and connect with Dobot.