Making a Creepy Eye in Gimp
by jumpingjakers4 in Design > Photography
5367 Views, 7 Favorites, 0 Comments
Making a Creepy Eye in Gimp
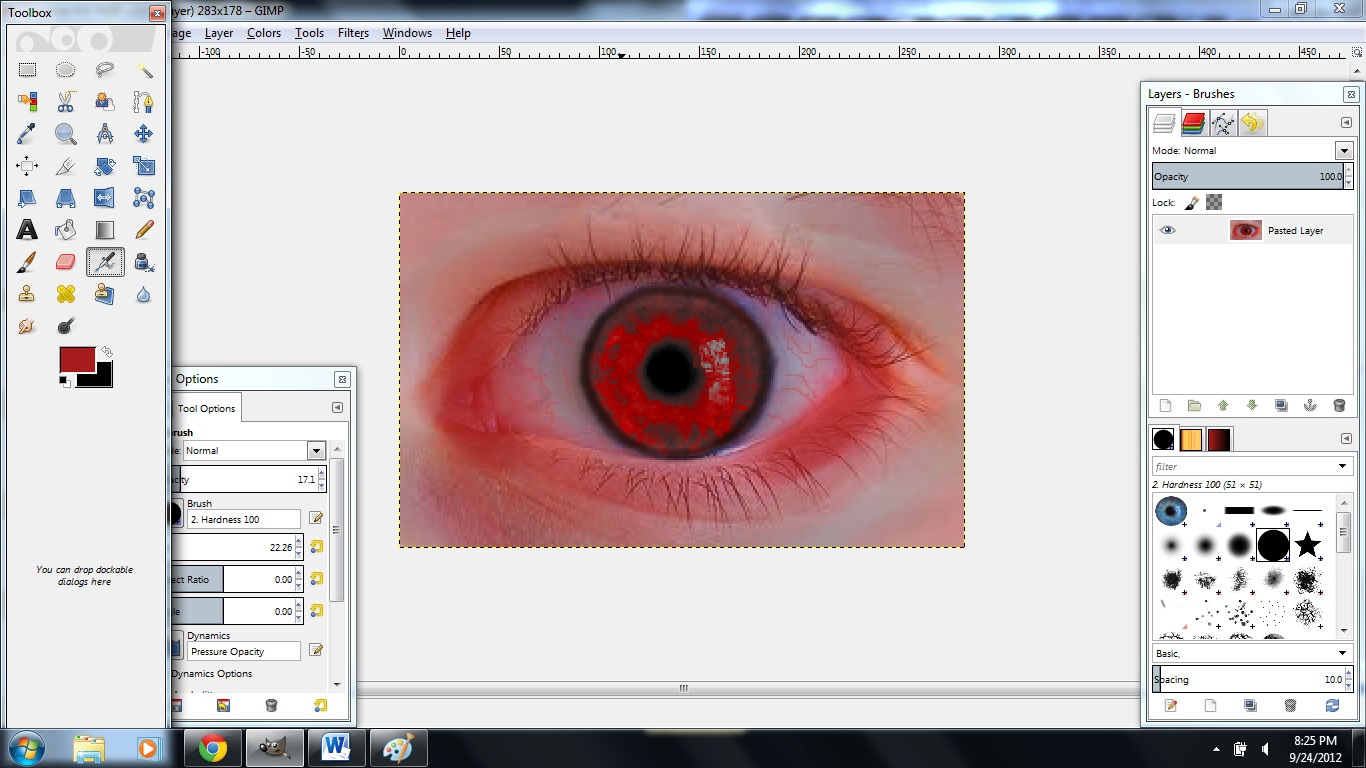
In my first ever instructable I will be teaching you how to make a creepy eye. It is very simple but can have an awesome effect when combined with other spooky features. I am using GIMP but I assume you can do this with any other photo editor.
you will need
- A photo editing software I used GIMP
- Time
- A picture of an eye (http://www.ocweekly.com/)
- basic knowledge of how to use your software
you will need
- A photo editing software I used GIMP
- Time
- A picture of an eye (http://www.ocweekly.com/)
- basic knowledge of how to use your software
First and Most Important Step
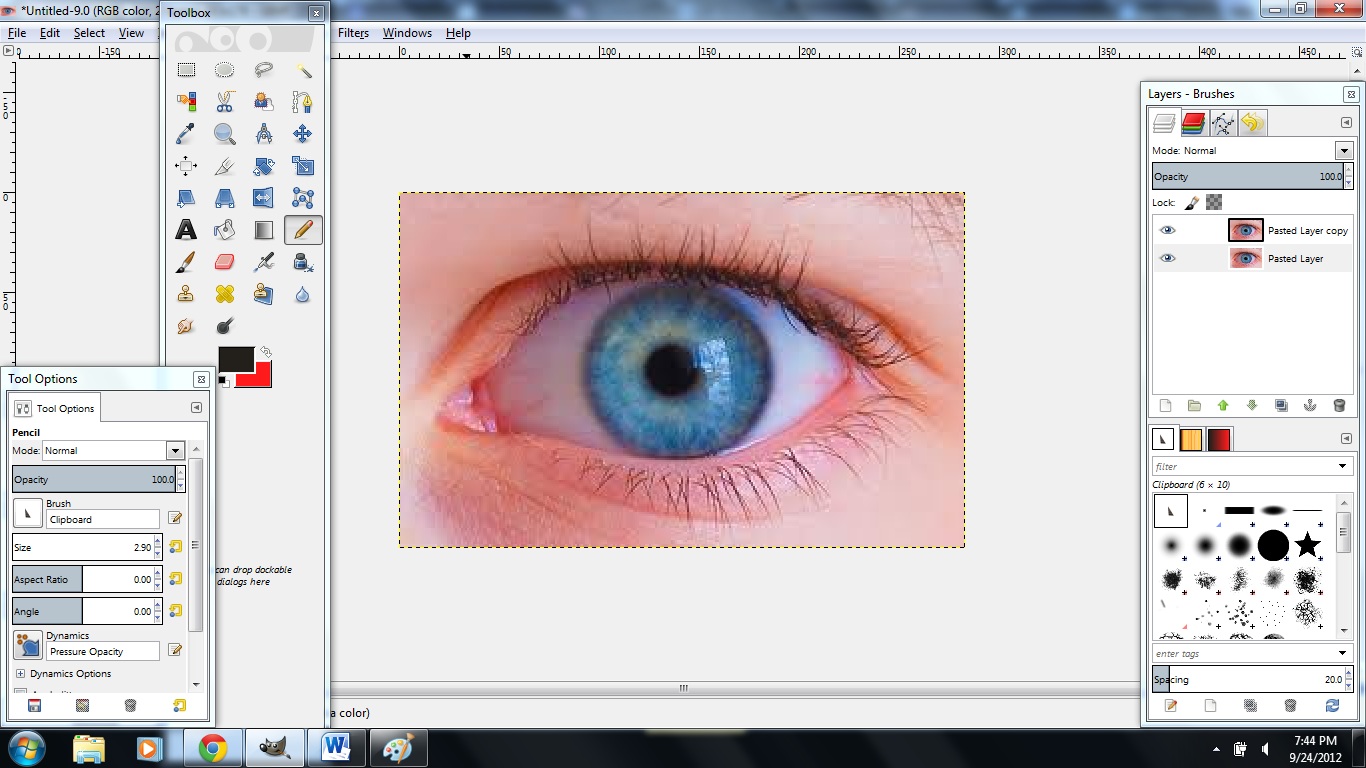
The first step is to Make a duplicate of your layer.
Deleting the Iris
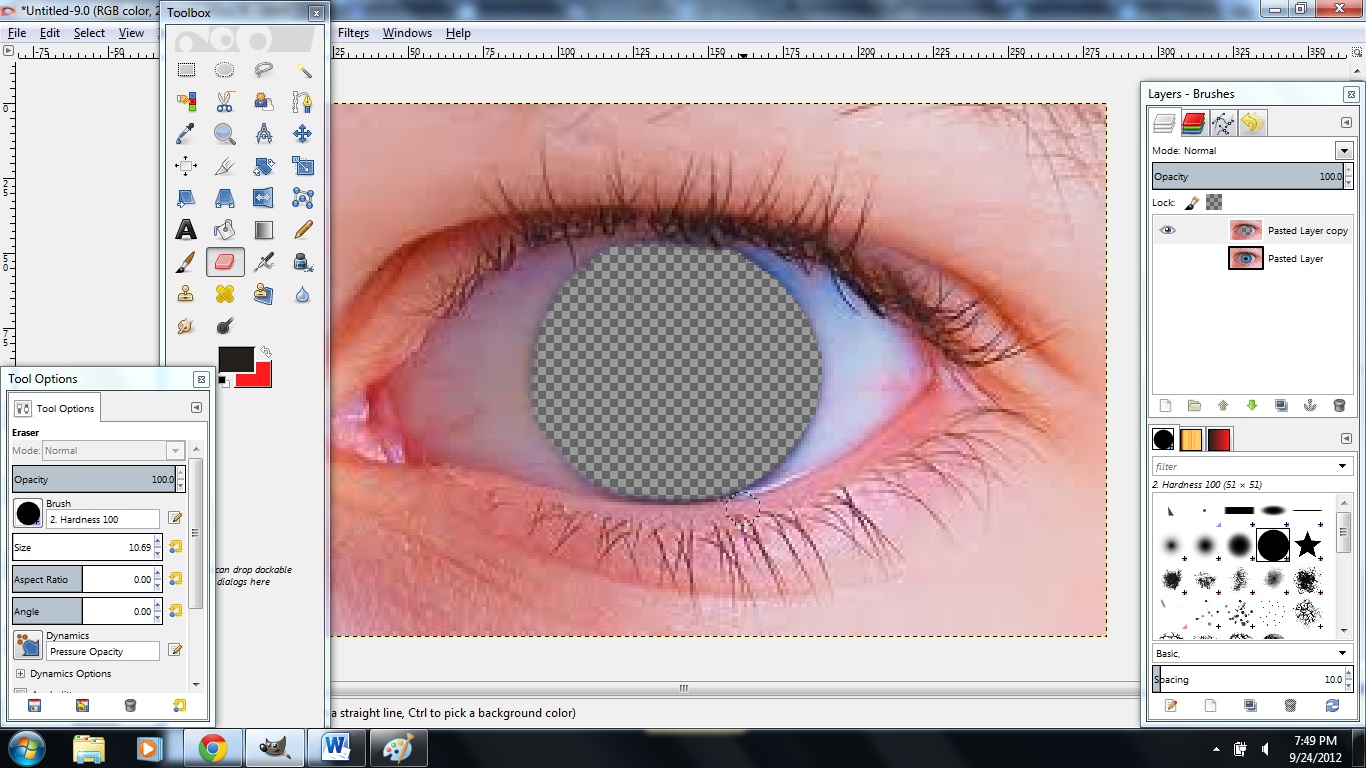
The next step is to erase all of the colored parts of the eye with the erase tool, before you do that you must click the little button next to your layer on the bottom that looks like an eye and select the top layer. This will make sure you are only editing one layer which will be very important in later steps.
Making It Colorful... I Mean *scary*
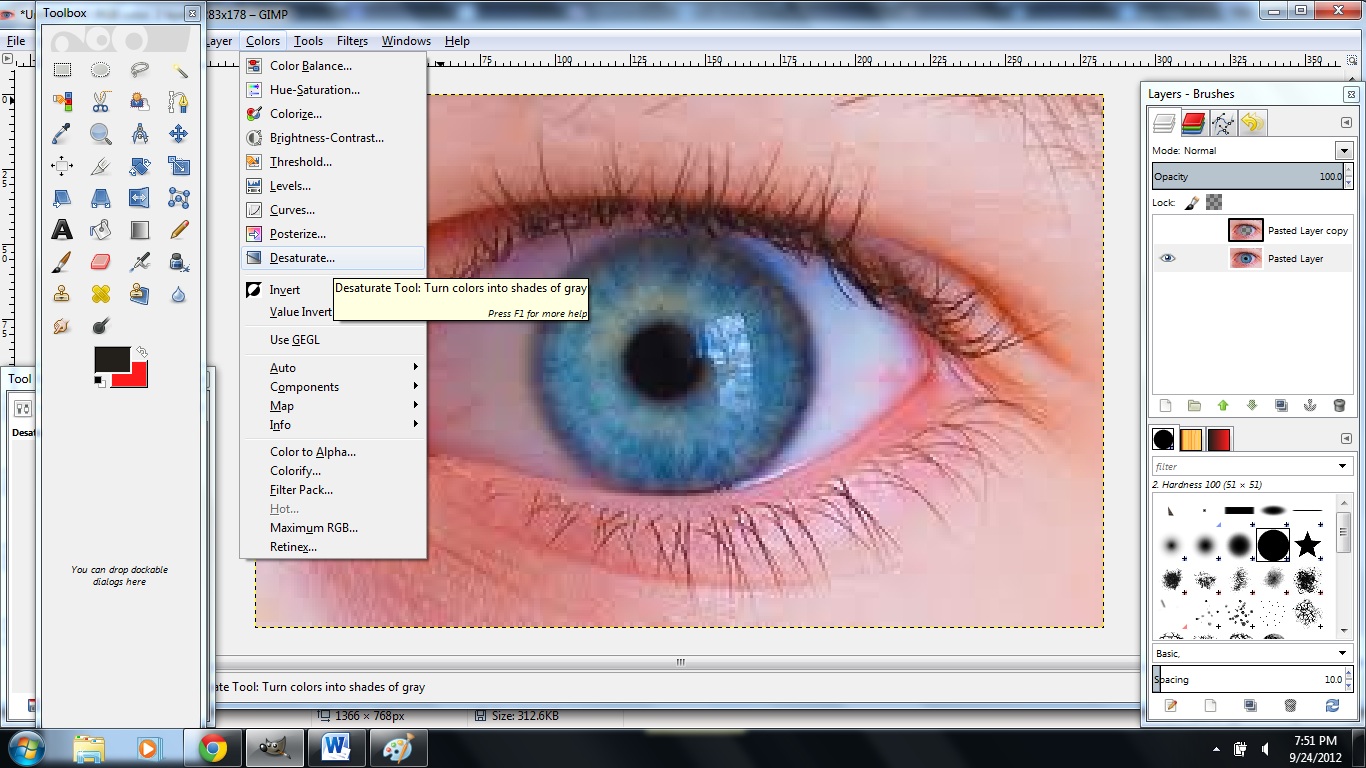
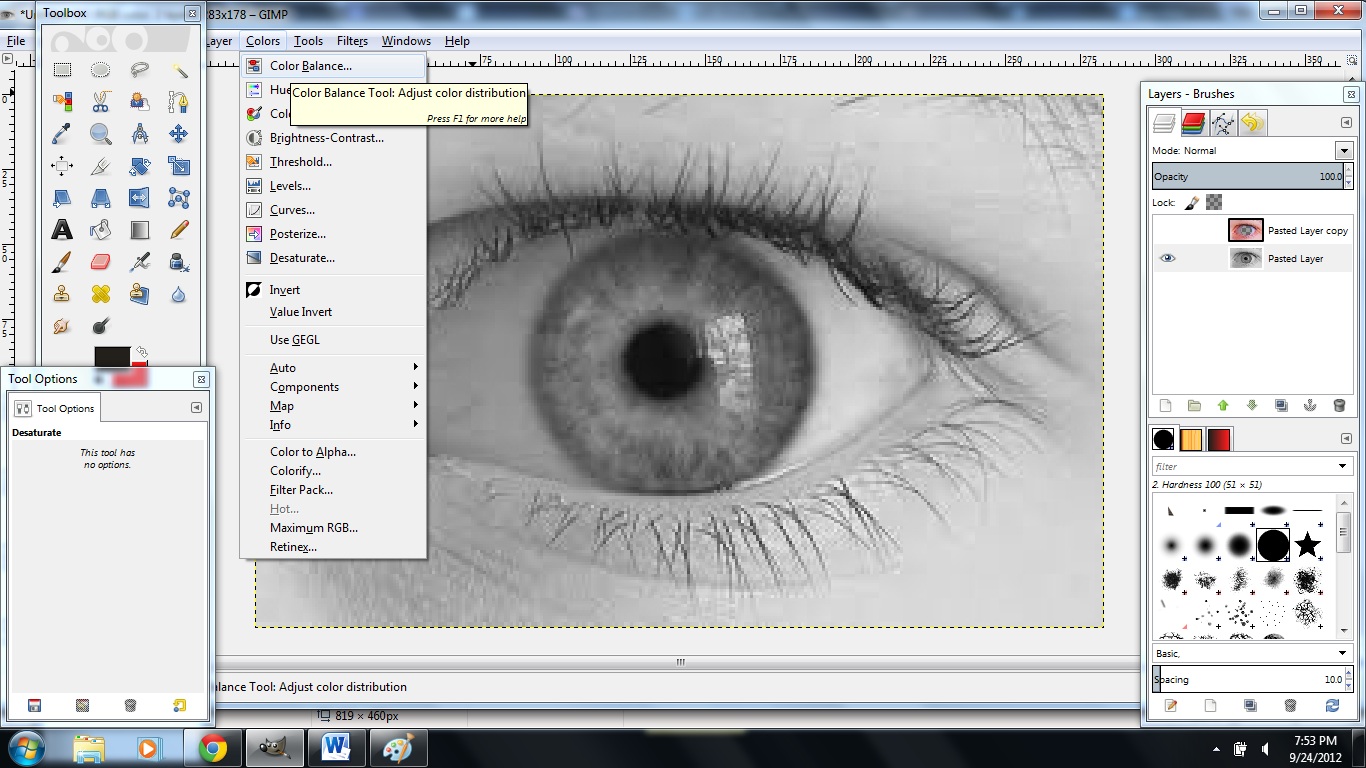
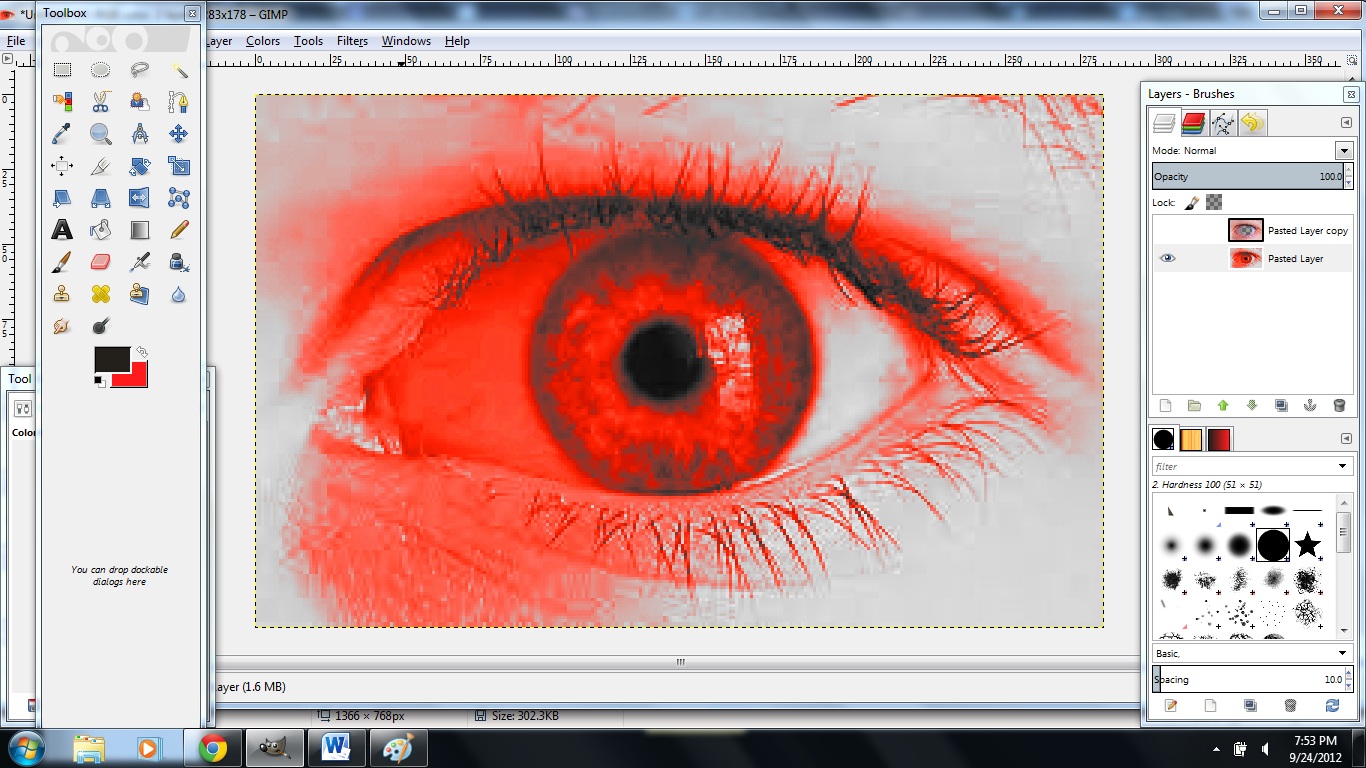
For the third step you need to select the bottom layer and click on where the eye button is, also you need to deselect the top eye button.
you will then go to COLORS>DESATURATE and click ok. This will turn your image black and white (if it does not you must have done it wrong)
u want
Then you go back to COLORS>COLOR BALANCE and move the sliders to achieve the color you want, I went with a red to make it look as creepy as possible.
you will then go to COLORS>DESATURATE and click ok. This will turn your image black and white (if it does not you must have done it wrong)
u want
Then you go back to COLORS>COLOR BALANCE and move the sliders to achieve the color you want, I went with a red to make it look as creepy as possible.
Putting It All Together
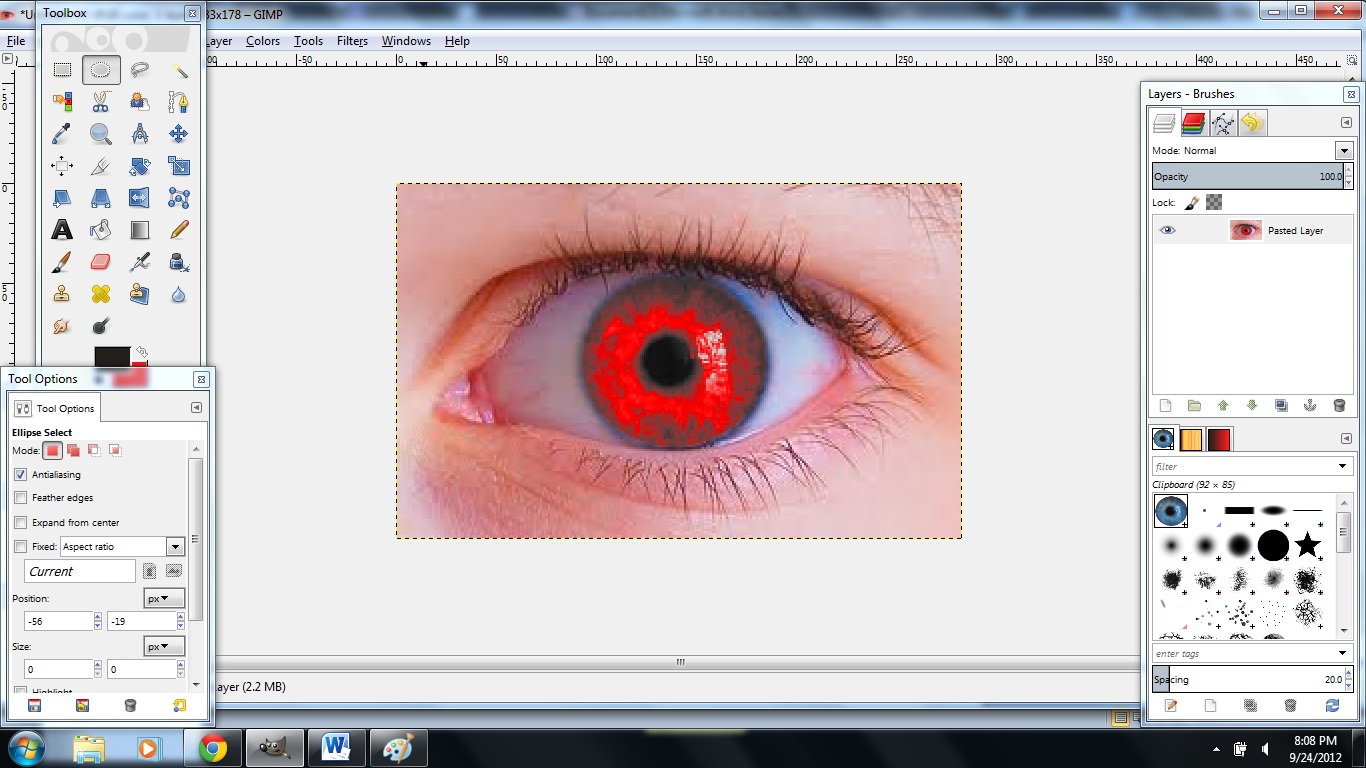
now that you have a layer that is all red and a layer that is missing the colored part of the eye you need to merge them together. to do this you right click on the top layer and there should be an option to MERGE DOWN. When you click on that your picture should have a red, or whatever color you chose, iris (is that what it is called?).
Finishing Touches and Airbrush
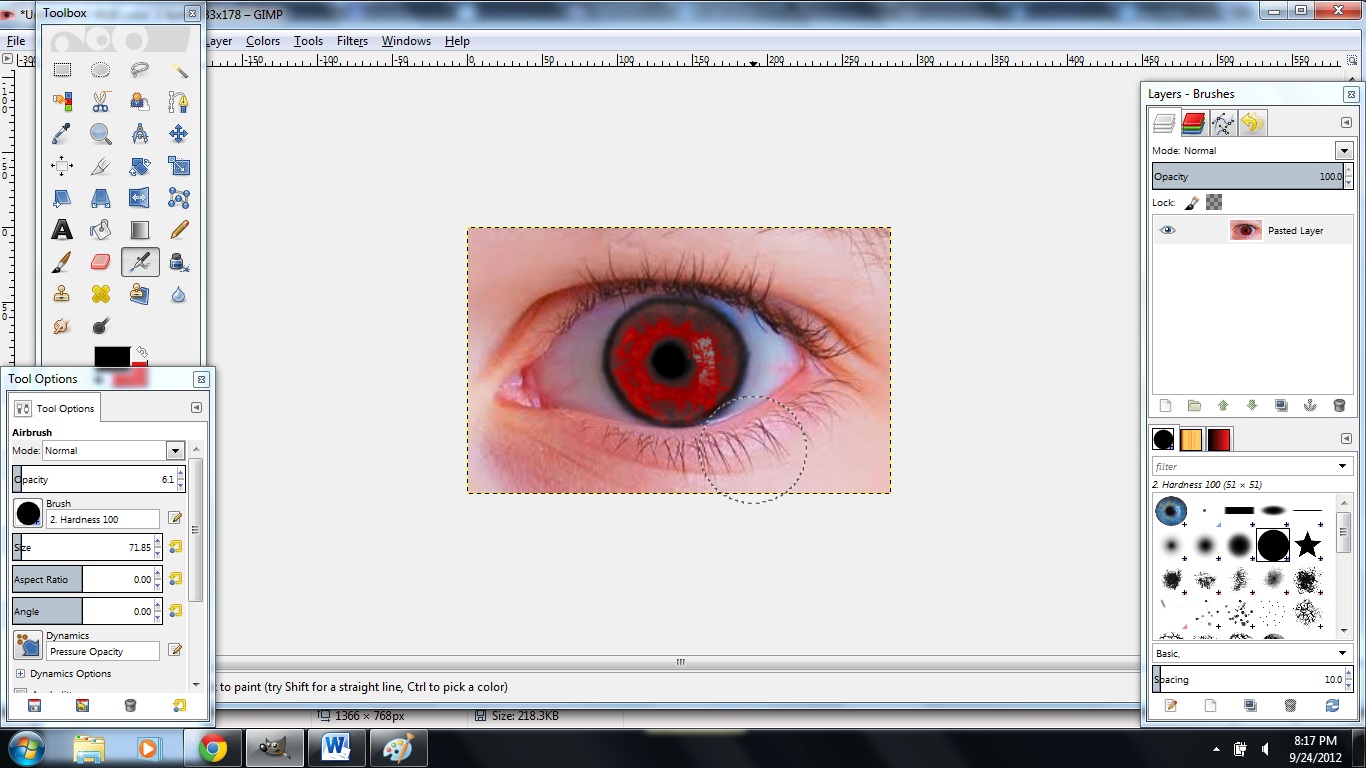

I tried to make it as creepy as possible so I added blood shot eyes and did some work with the airbrush which is totally optional but I think it looks cool that way.
The Finished Product
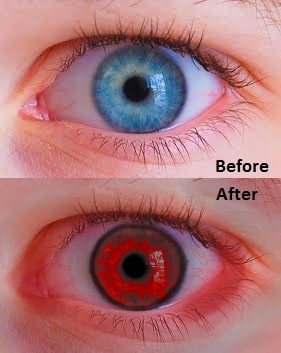
Here is the finished with before and after pictures.
Thanks to GIMP and the place where I got the eye from
http://www.ocweekly.com/ (all rights go to them for the original picture, I own nothing of the original)
Thanks to GIMP and the place where I got the eye from
http://www.ocweekly.com/ (all rights go to them for the original picture, I own nothing of the original)