Getting Started With Scene Kit for IOS
5784 Views, 7 Favorites, 0 Comments
Getting Started With Scene Kit for IOS
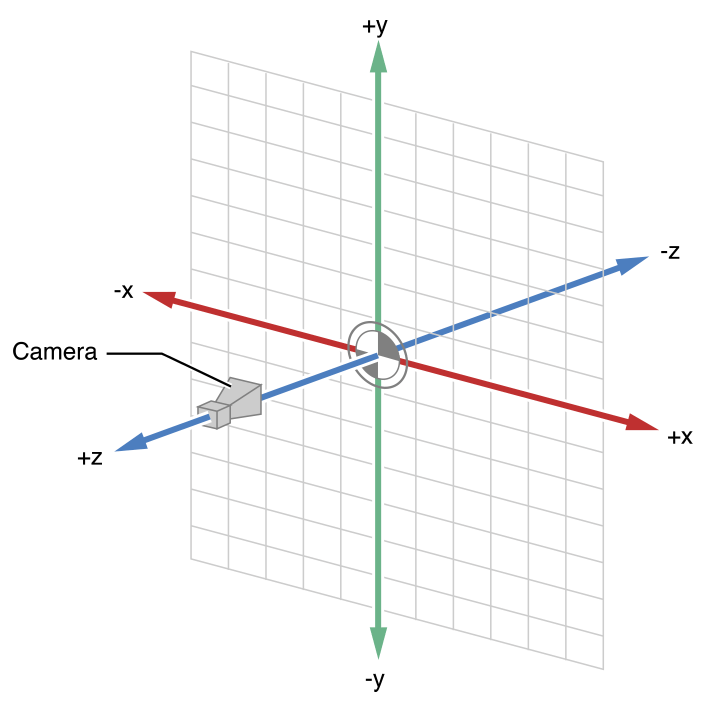
In iOS 8, Scene Kit was released on iOS and gave developers the power to use 3D in their mobile games without knowledge of OpenGL ES or a separate game engine such as Unity 3D or Unreal Engine. It is a great library that you can use in your iOS applications.
Download Xcode
Xcode is Apple's IDE for developing for Apple products. To download Xcode, you must have a mac with OS X Mavericks or higher. I will be using OS X Yosemite and Xcode 6.3. You can find Xcode in the Mac App Store. In this introduction, we will be using Swift, a new language created by Apple.
Create a New Project
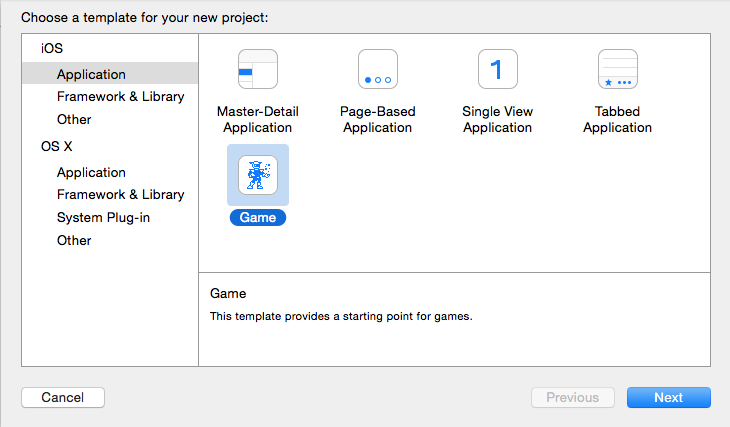

Create a new project and go to iOS -> Application -> Game. When choosing options, make sure yours match the image above.
Set Up the Scene
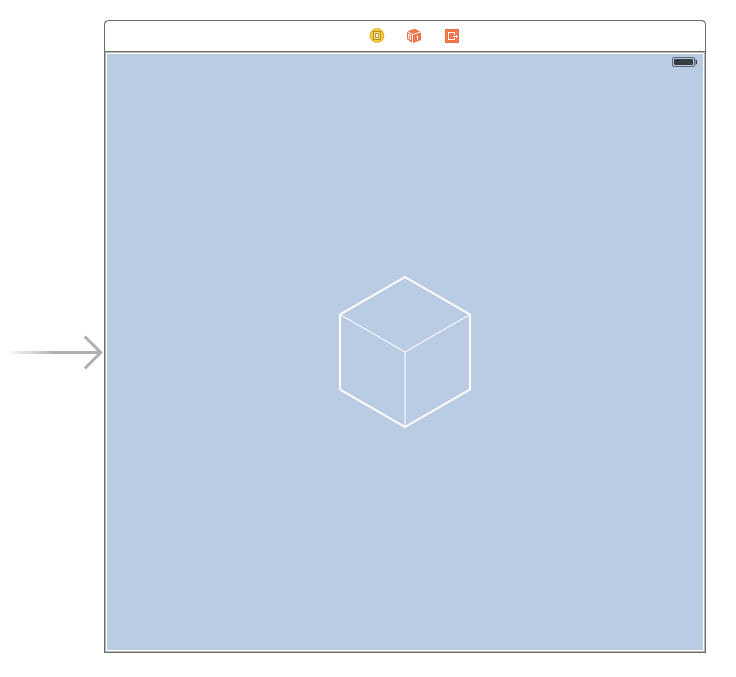
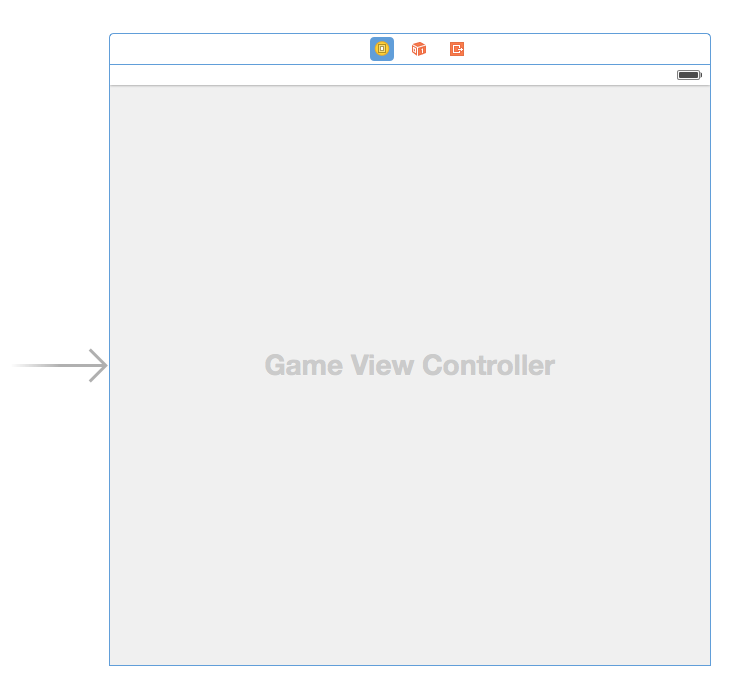
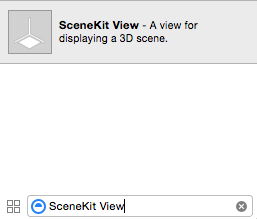
To start, open Main.storyboard. This is a map of all the views in your app. Delete the View in the middle of the screen and search in the bottom corner for a SceneKit View. Drag this into the spot where the old view was.
With the project created, locate GameViewController.swift. When open, there is lot's of code already generated for you. We won't be needing all of this, so replace it with this:
import UIKit
import QuartzCore
import SceneKit

class GameViewController: UIViewController {
    override func viewDidLoad() {
        super.viewDidLoad()


        let view = self.view as! SCNView
        let scene = SCNScene()


    }


override func prefersStatusBarHidden() -> Bool {
        return true
    }
}
The top imports the required libraries. The main lines are:
let view = self.view as! SCNView
let scene = SCNScene()
This finds the view in the storyboard we configured. The second line creates a scene to place objects in.
Create a Sphere
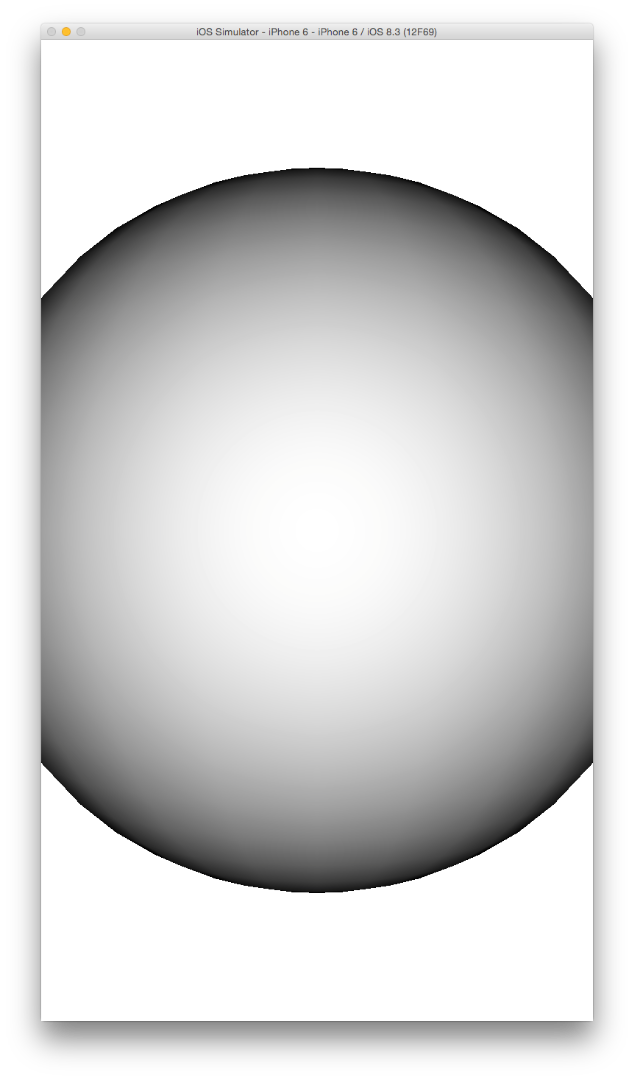
Scene Kit is a node-based system. In the node we are going to make, we will generate a sphere using Apple's build in method. This node will start as geometry and then a node will be created using that data. The geometry holds all of the information about where the vertices of the object are. The node will hold that and other information we will use soon. To start, add these lines below where we created a new scene:
let worldGeometry = SCNSphere(radius: 1.0)
let worldNode = SCNNode(geometry: worldGeometry)
scene.rootNode.addChildNode(worldNode)

view.autoenablesDefaultLighting = true
view.allowsCameraControl = true
view.scene = scene
First, we create geometry in the shape of a sphere using SCNSphere. We also set it's radius. Then, we use that to create a node and then add that node the the root node of the scene. The root node is a single node that contains all the other nodes in the scene. To see the sphere, we allow default lighting and camera control. This is a quick way to set up lights and a camera in a scene. Then we set the view's scene to be the scene we created. If we run this, we can see our sphere in the middle of the screen and can maneuver around the scene.
Set Up the Camera
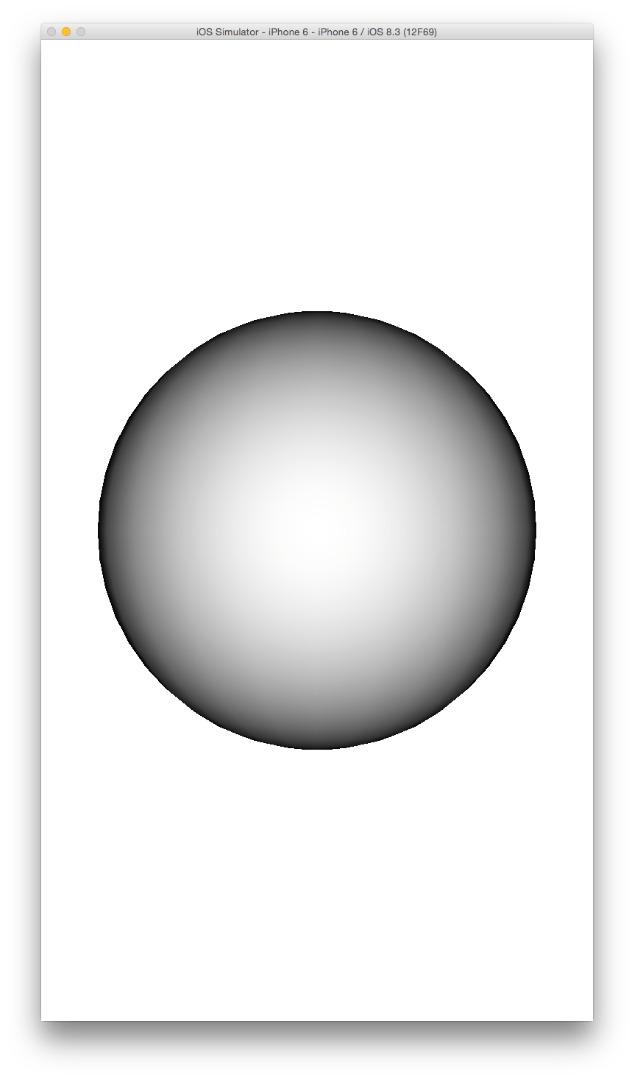
The default camera was good to see our sphere quickly, but it is better to set up our camera ourselves. To do this, place your cursor below this line:
scene.rootNode.addChildNode(worldNode)
Then place these:
let cameraNode = SCNNode()
cameraNode.camera = SCNCamera()
cameraNode.position = SCNVector3(x: 0, y: 0, z: 4)
scene.rootNode.addChildNode(cameraNode)
First, we create a node to represent our camera. Then we set it's camera property to a new SCNCamera. Then we set it's position using a SCNVector3. Finally we add it to our scene. We need to do one more thing. Delete:
view.allowsCameraControl = true
When we run, our sphere is there just like before.
Set Up the Lights
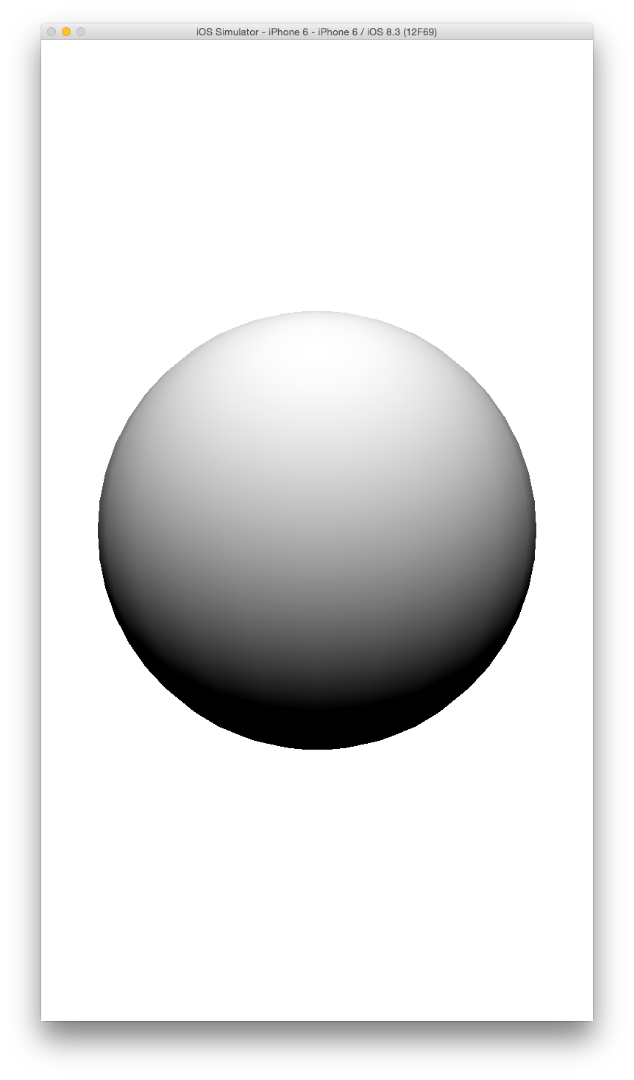
Lights are an important part of the scene. To start, locate this line:
scene.rootNode.addChildNode(cameraNode)
Place these below it:
let omniNode = SCNNode()
omniNode.light = SCNLight()
omniNode.light!.type = SCNLightTypeOmni
omniNode.light!.color = UIColor.whiteColor()
omniNode.position = SCNVector3(x: 0,y: 50,z: 50)
scene.rootNode.addChildNode(omniNode)
We make a node as usual. Then we set it's light property to SCNLight. Since there are multiple types of lights, we have to set it's type to an omnidirectional light. Then we set it's color to white and then it's position. Finally we add it to the scene. Just like the camera, we must delete the default lighting. Remove this line:
view.autoenablesDefaultLighting = true
Now we have a much nicer looking sphere!
Textures
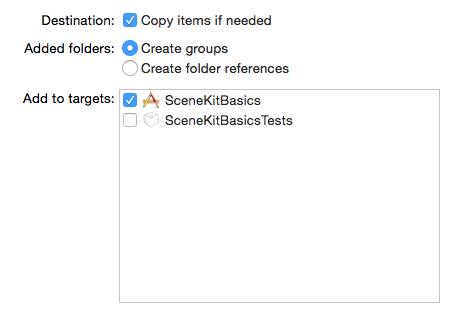
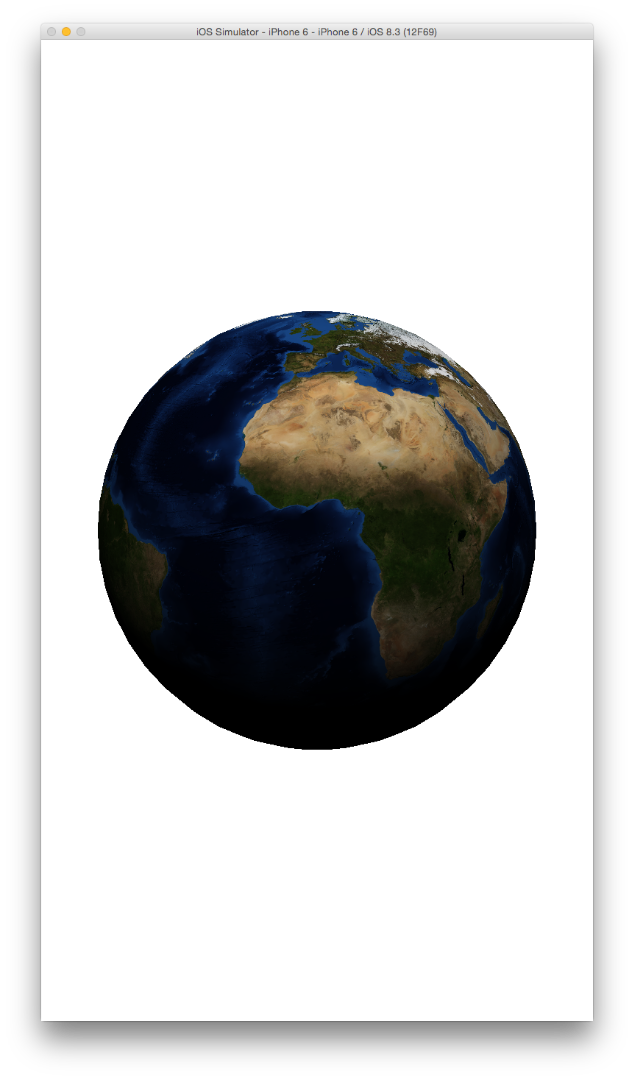
You might be wondering, why is the sphere node called world node. It's because we'll be adding an earth texture to it. I got my texture off of the NASA website. You can get the one I used here. Place it in your project under GameViewController.swift. Your import screen should look like the picture above. You can now add a texture in just one line of code! This line will go between these two:
let worldGeometry = SCNSphere(radius: 1.0)
let worldNode = SCNNode(geometry: worldGeometry)
This is what you should add between them:
worldGeometry.firstMaterial?.diffuse.contents = UIImage(named: "world.topo.bathy.200412.3x5400x2700.png")
This edits the diffuse of the material of the sphere. We just set it's contents to an image. The name of your texture with the extension goes in the parentheses right after it says named. Just like that you have a texture for your sphere and now you know the basics to Scene Kit!
You can find the finished product here.