Getting Started With Electric Imp
by cat-haines in Circuits > Microcontrollers
36987 Views, 150 Favorites, 0 Comments
Getting Started With Electric Imp

Electric Imp makes it easy and fun to bring Internet connectivity to your devices.
This Instructables will guide you through the process of creating an Electric Imp account, and getting your first Imp online.
You will need the following supplies:
This Instructables will guide you through the process of creating an Electric Imp account, and getting your first Imp online.
You will need the following supplies:
- 1 x USB Mini cable
- 1 x April Breakout Board
- 1 x Electric Imp Card
- 1 x Red LED
- 1 x 390Ω resistor
Create an Electric Imp Account
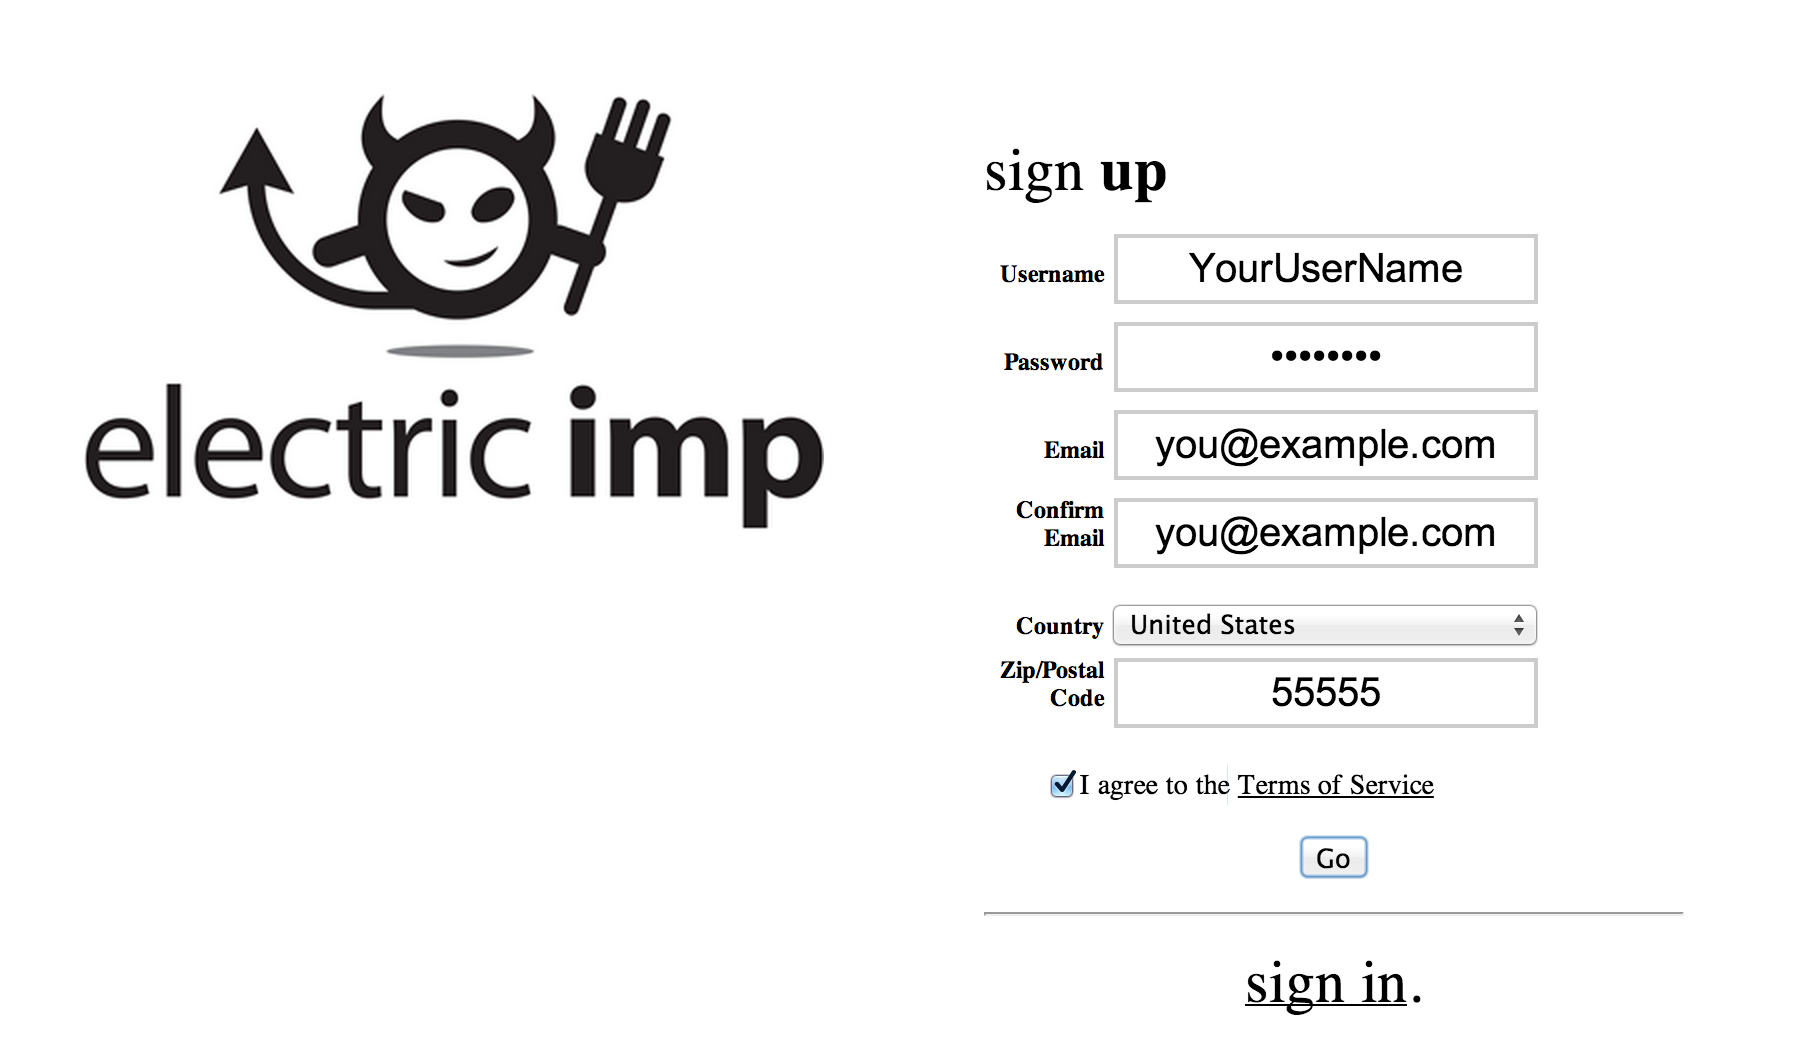
The first thing we need to do is create an Electric Imp account. Your Electric Imp account will be used to communicate with your imp, as well as provide access to the online Electric Imp development environment (IDE).
Here's how you create your account:
Here's how you create your account:
- Browse to the Sign Up Page.
- Enter the required information.
- Click Go.
BlinkUp Your Device
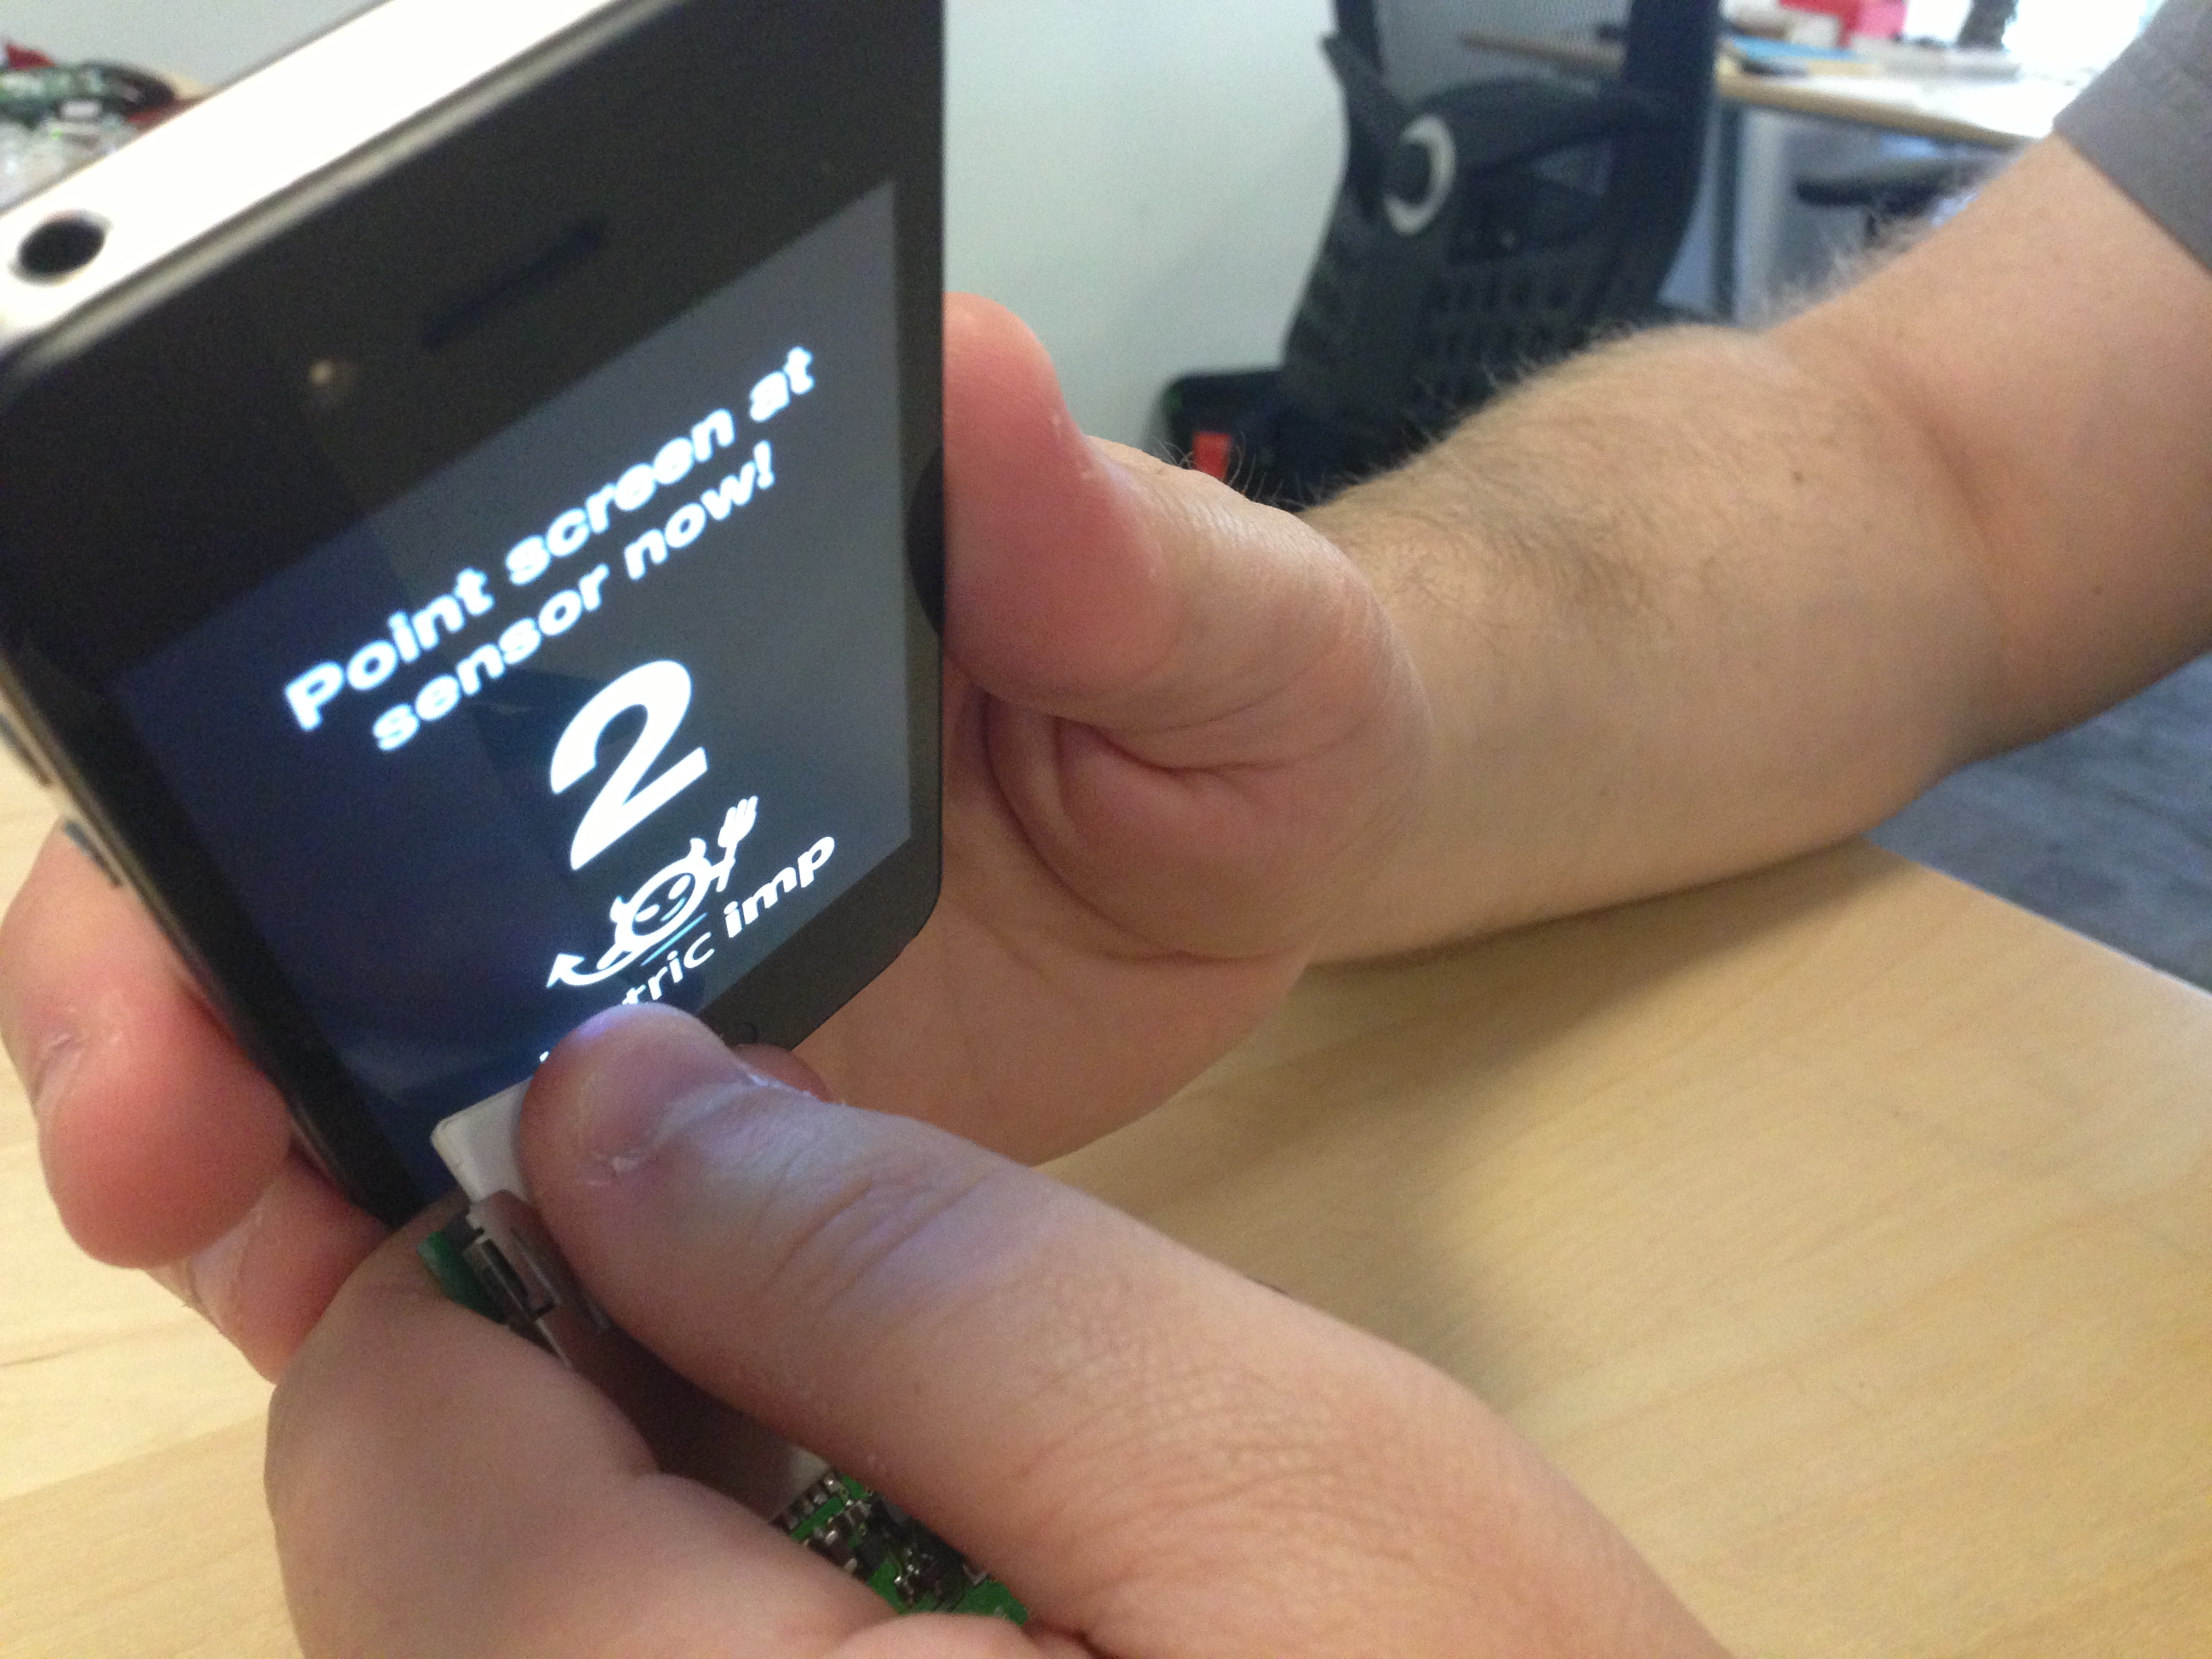
BlinkUp is the process used to transmit your wireless network's SSID (name) and encryption key (password) to your imp so that it can get online.
BlinkUp transmits the information to the imp optically (by blinking the phone's screen). If you are sensitive to blinking lights, or prone to seizures, we recommend looking away while BlinkUp is active (your phone will provide audio cues).
BlinkUp can be accomplished through Electric Imp's official iPhone or Android app. If you do not have an iPhone or Android, it is possible to BlinkUp your device with an unofficial Window application. This application was not created, and is not supported, by Electric Imp.
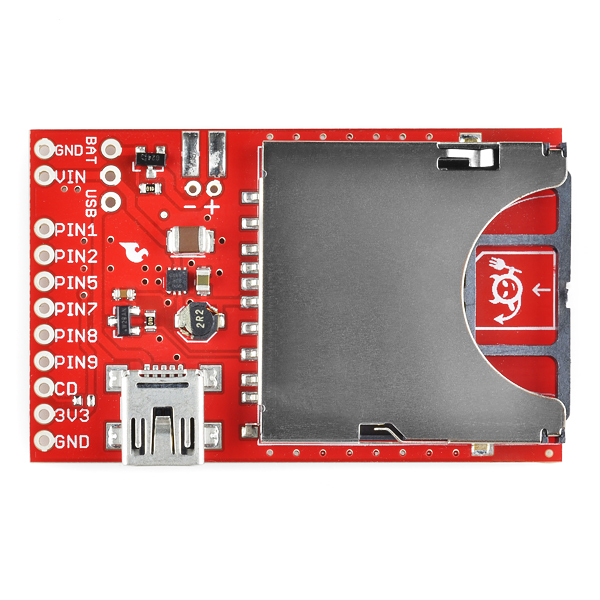
Make sure the power jumper on your April board is populated, and set to USB (see image)
Let's make sure your imp is getting power:
- Insert your imp into the SD slot.
- Plug your USB mini cable into the imp, and your computer.
- Your imp should begin blinking an internal orange LED.
- Remove the imp from the SD socket (blinkup will only work during the first minute the imp has power - we're going to reinsert the imp right before we click BlinkUp in the mobile app).
- Open the mobile application on your iPhone or Android device.
- Enter your account information and click login.
- Select the wifi network you would like to connect your imp to.
- If your wifi network has a password, enter the wifi password.
- Reinsert the imp into the SD socket, and make sure the imp's internal LED is blinking.
- Press the "Send BlinkUp" button in the mobile application.
- Hold the screen of your phone flush against the end of the imp - Try to block out as much ambient light as possible. We recommend covering the exposed bit of the imp with a thumb while blinking up.
Building Out Circuit
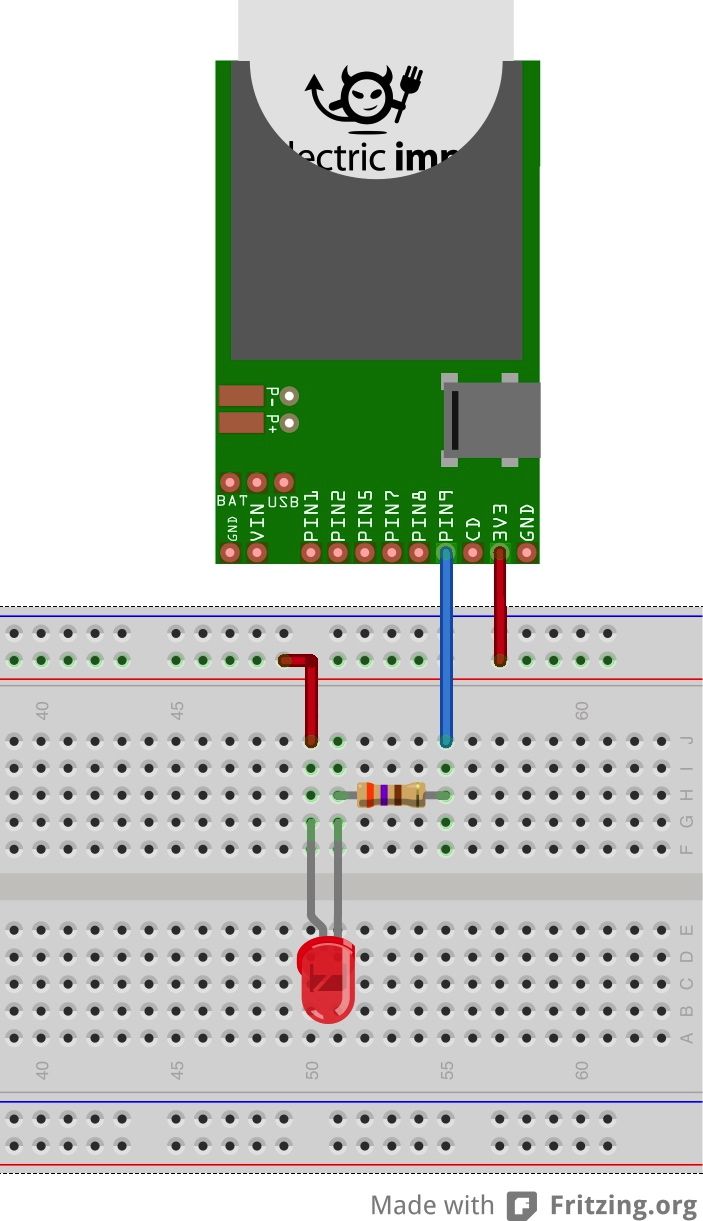
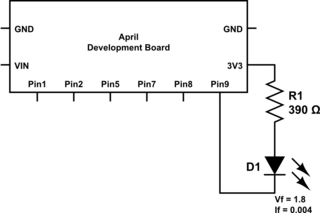
We're going to build a really simple circuit on a breadboard that will allow us to blink an LED (the hello world program of hardware).
Build the circuit shown in the above images. The most common mistake people make is putting the LED in backwards (the long pin should be attached to 3v3).
Build the circuit shown in the above images. The most common mistake people make is putting the LED in backwards (the long pin should be attached to 3v3).
Getting Our IDE Setup
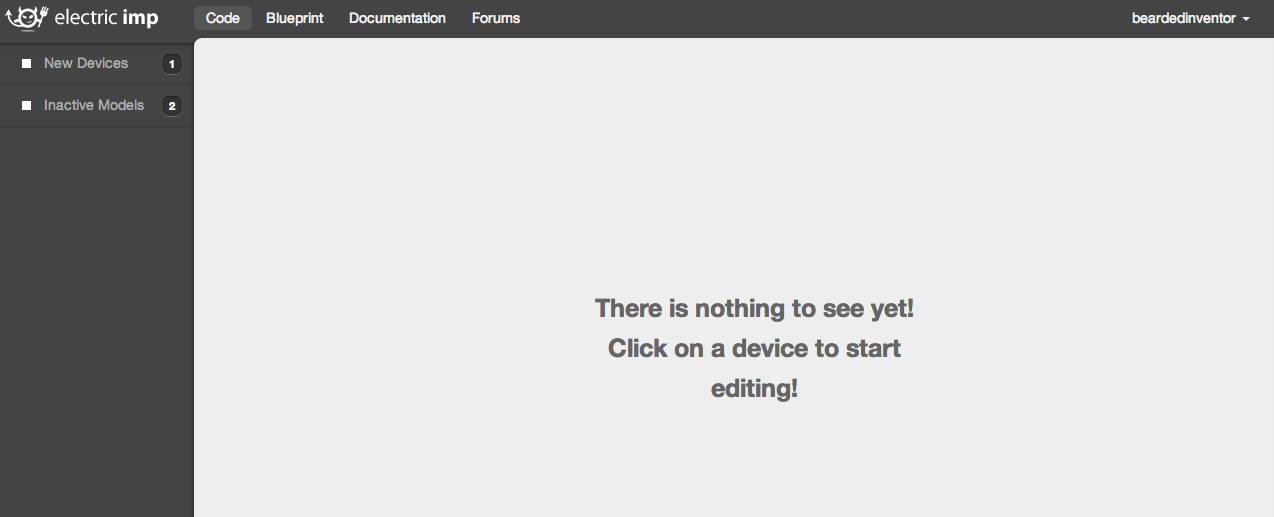
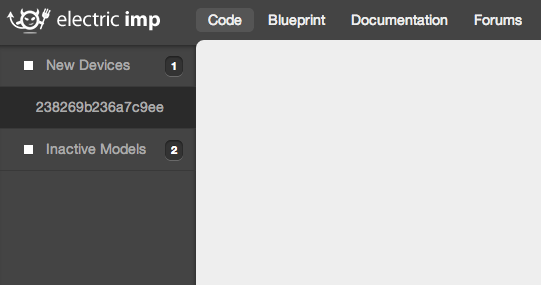
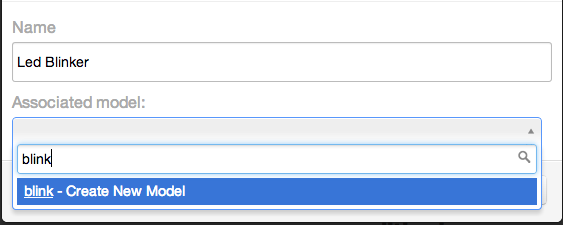
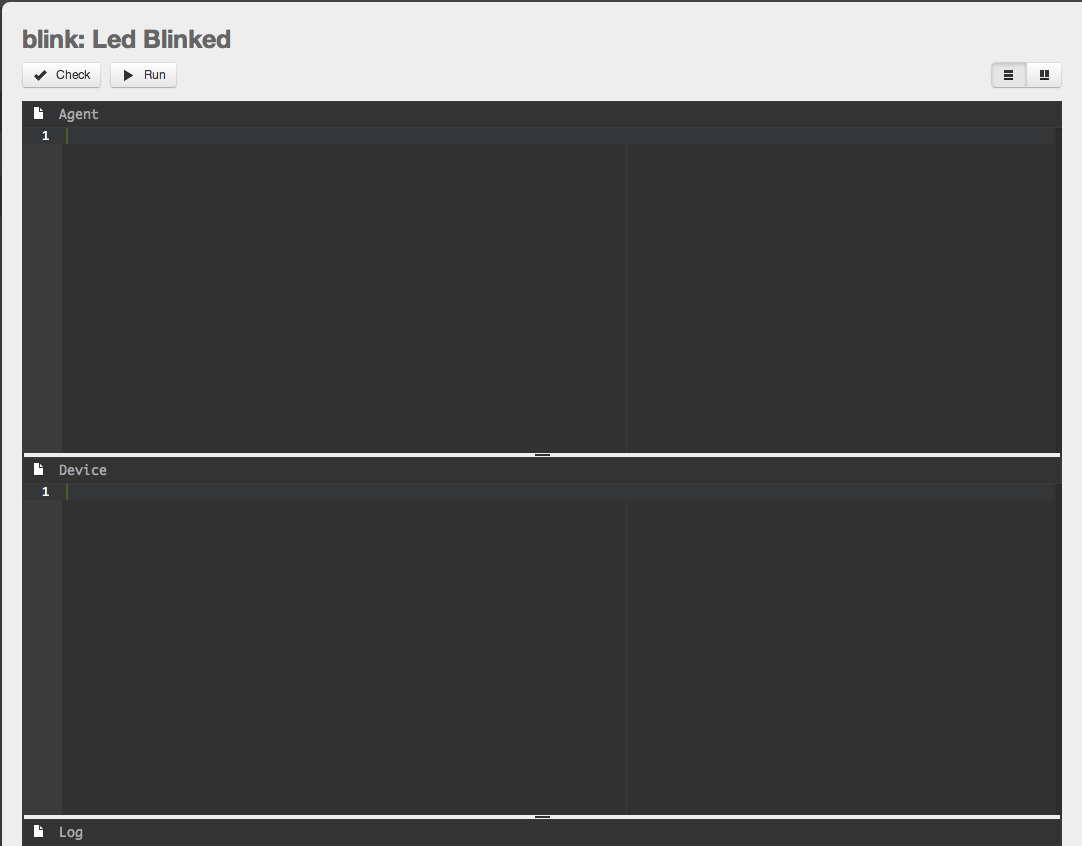
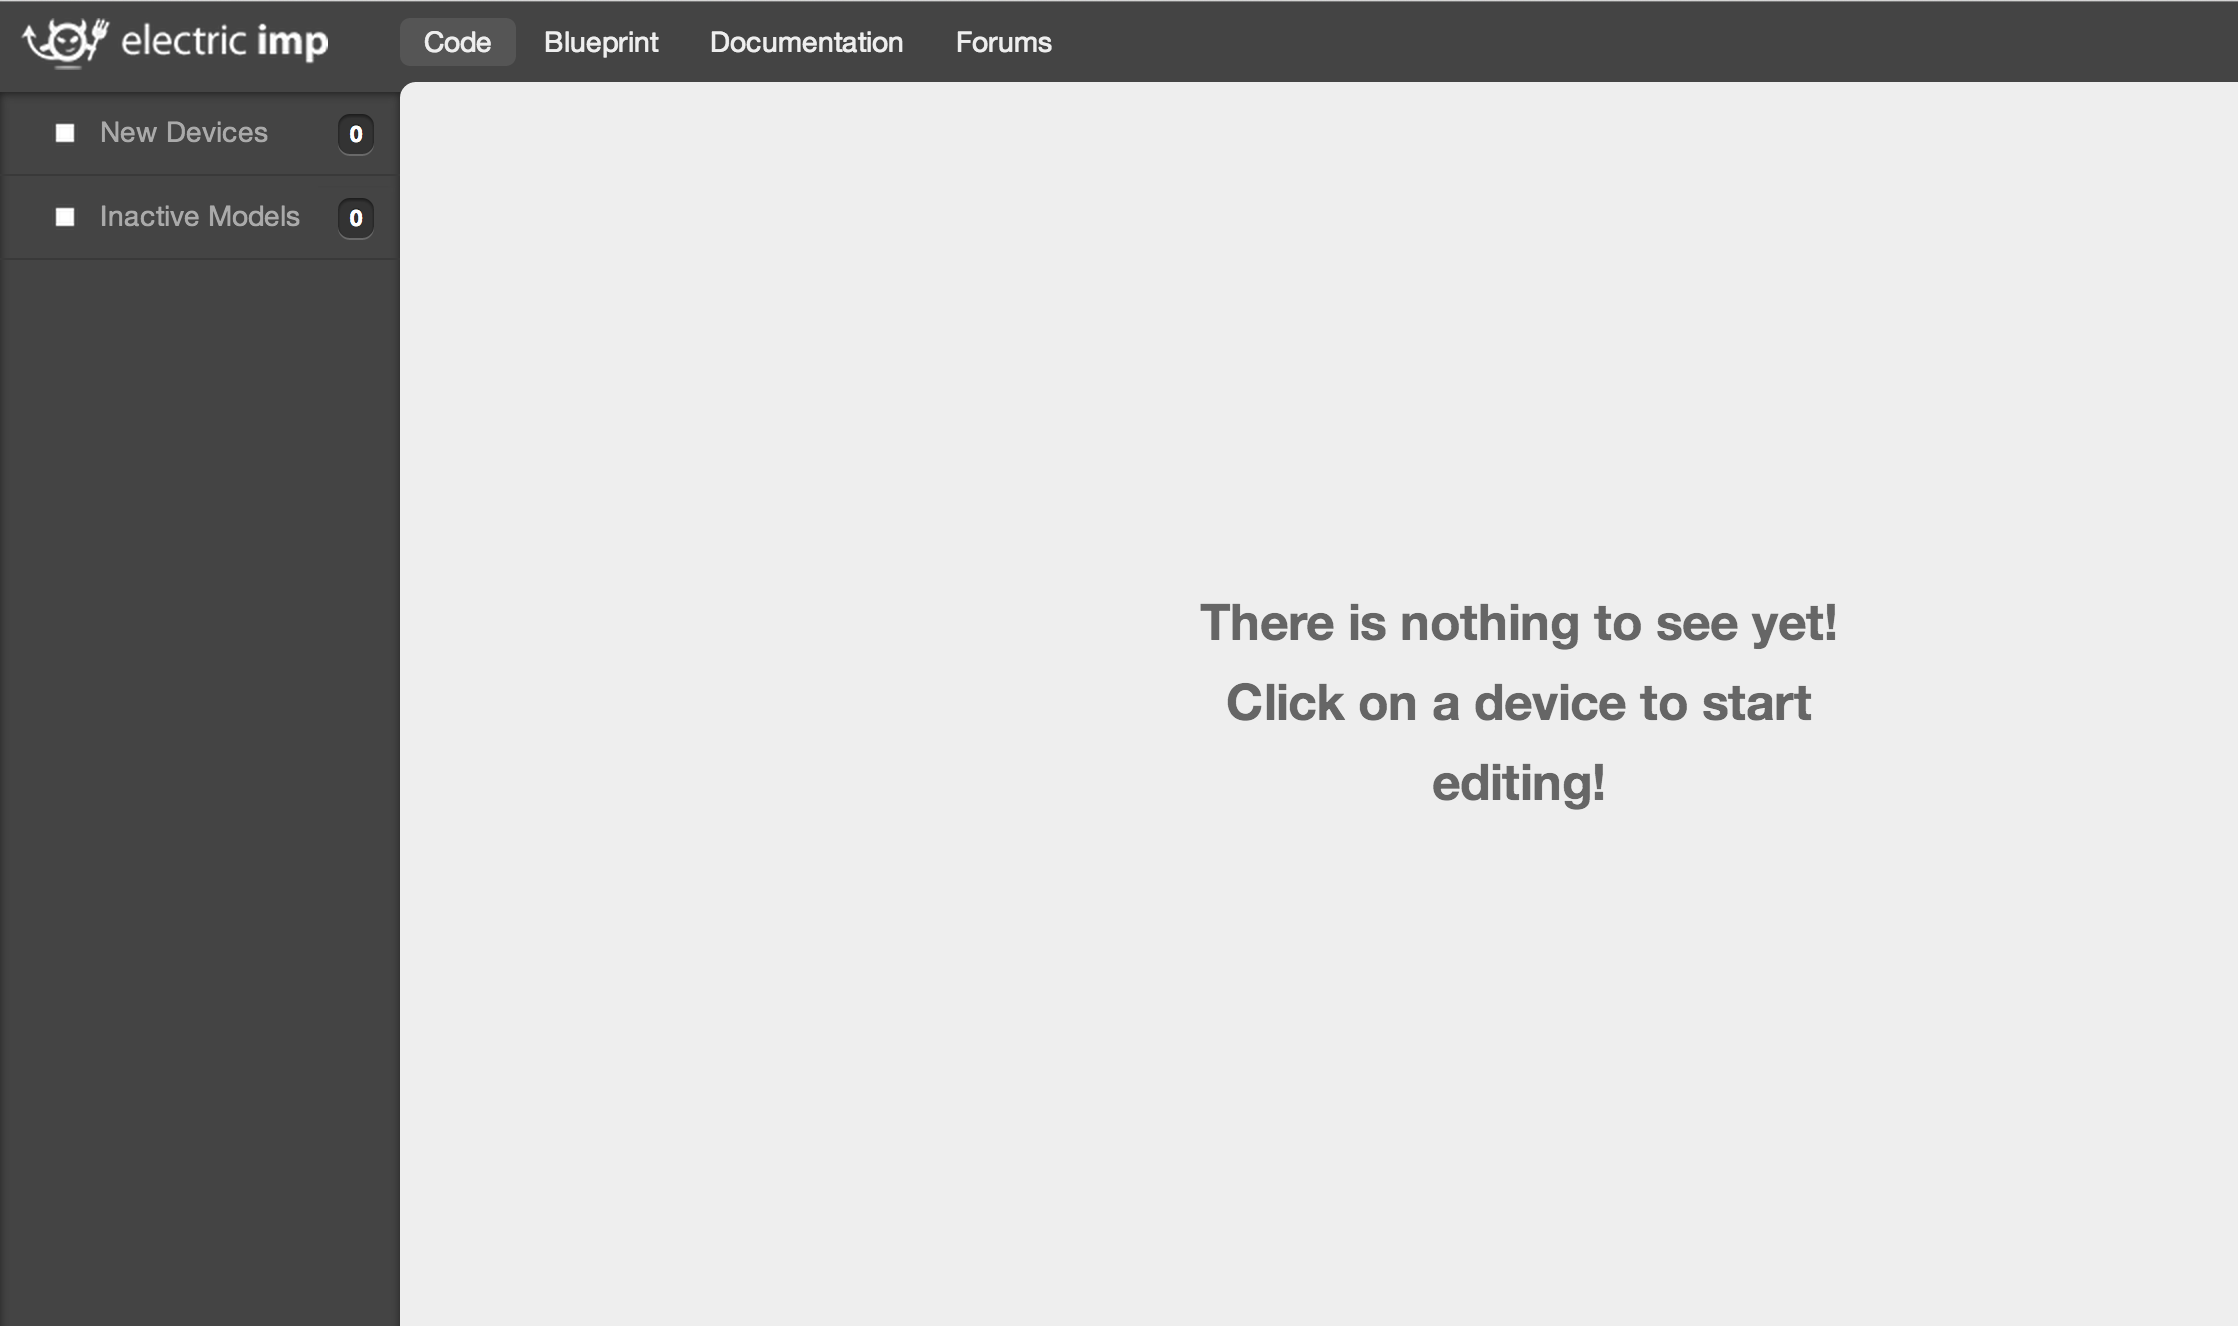
Once your imp is BlinkedUp it should online and associated with your account. When you open Electric Imp's web based development environment (IDE) it should be listed under new devices.
To edit code for your new device:
- Click on "New Devices" to view your un-configured device.
- Hover over your new device, and click the gear icon next to it.
- Enter a name for the device (the board the imp is plugged into).
- Enter a name for the model (the block of code that will execute).
- Click Save Changes.
At this point, you should see 3 windows:
- The Agent window is where you write code that you want to run in the Electric Imp cloud.
- The Device window is where you write code that you want to run on the local device.
- The Log window is where you can view system information (device on/off, connect/disconnect, as well as anything logged with server.log).
Writing the Code
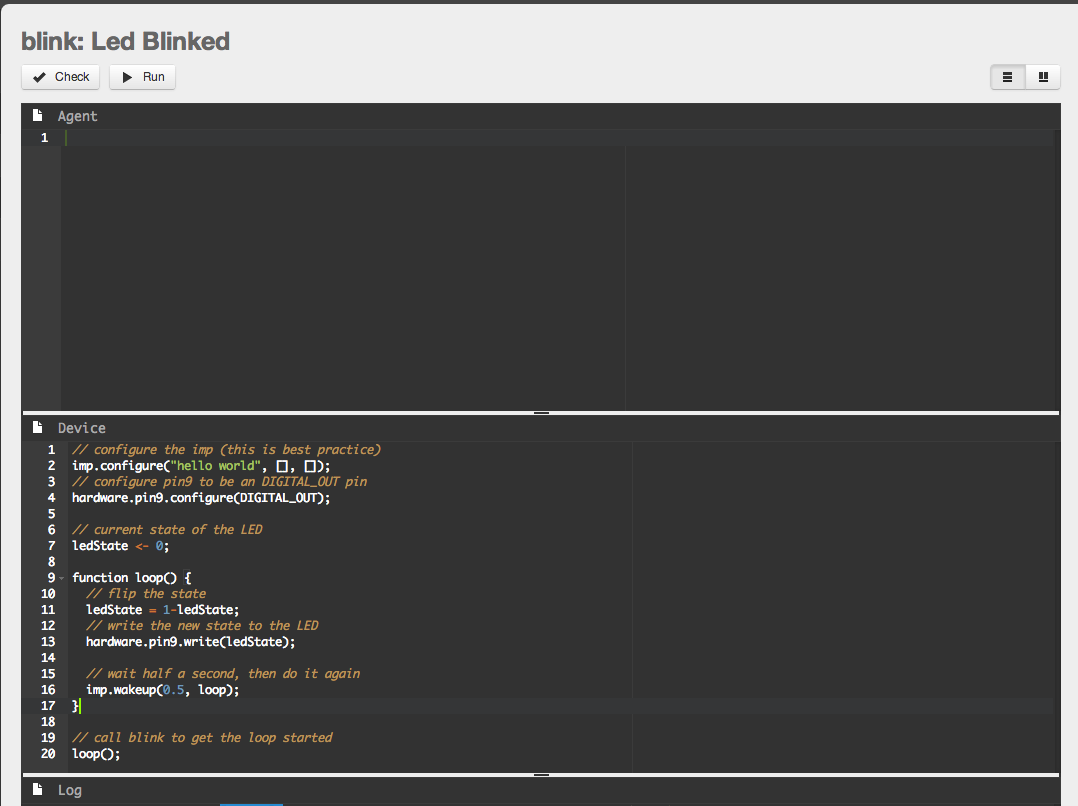
Make the LED blink:
- Copy the code from here into the device window.
- Hit Run.
If everything is hooked up correctly and your imp is online, the LED should start blinking.
Congratulations.