Getting Started With the Brother PE800 Embroidery Machine
by jakemakes in Craft > Embroidery
4461 Views, 10 Favorites, 0 Comments
Getting Started With the Brother PE800 Embroidery Machine
Welcome to this tutorial on using the Brother PE800 embroidery machine! The PE800 is a versatile and user-friendly machine, perfect for both beginners and experienced embroiderers. This guide will walk you through the steps to set up and use your Brother PE800. Each step has numerous photos attached to serve as visual guides. Let's get started!
Supplies
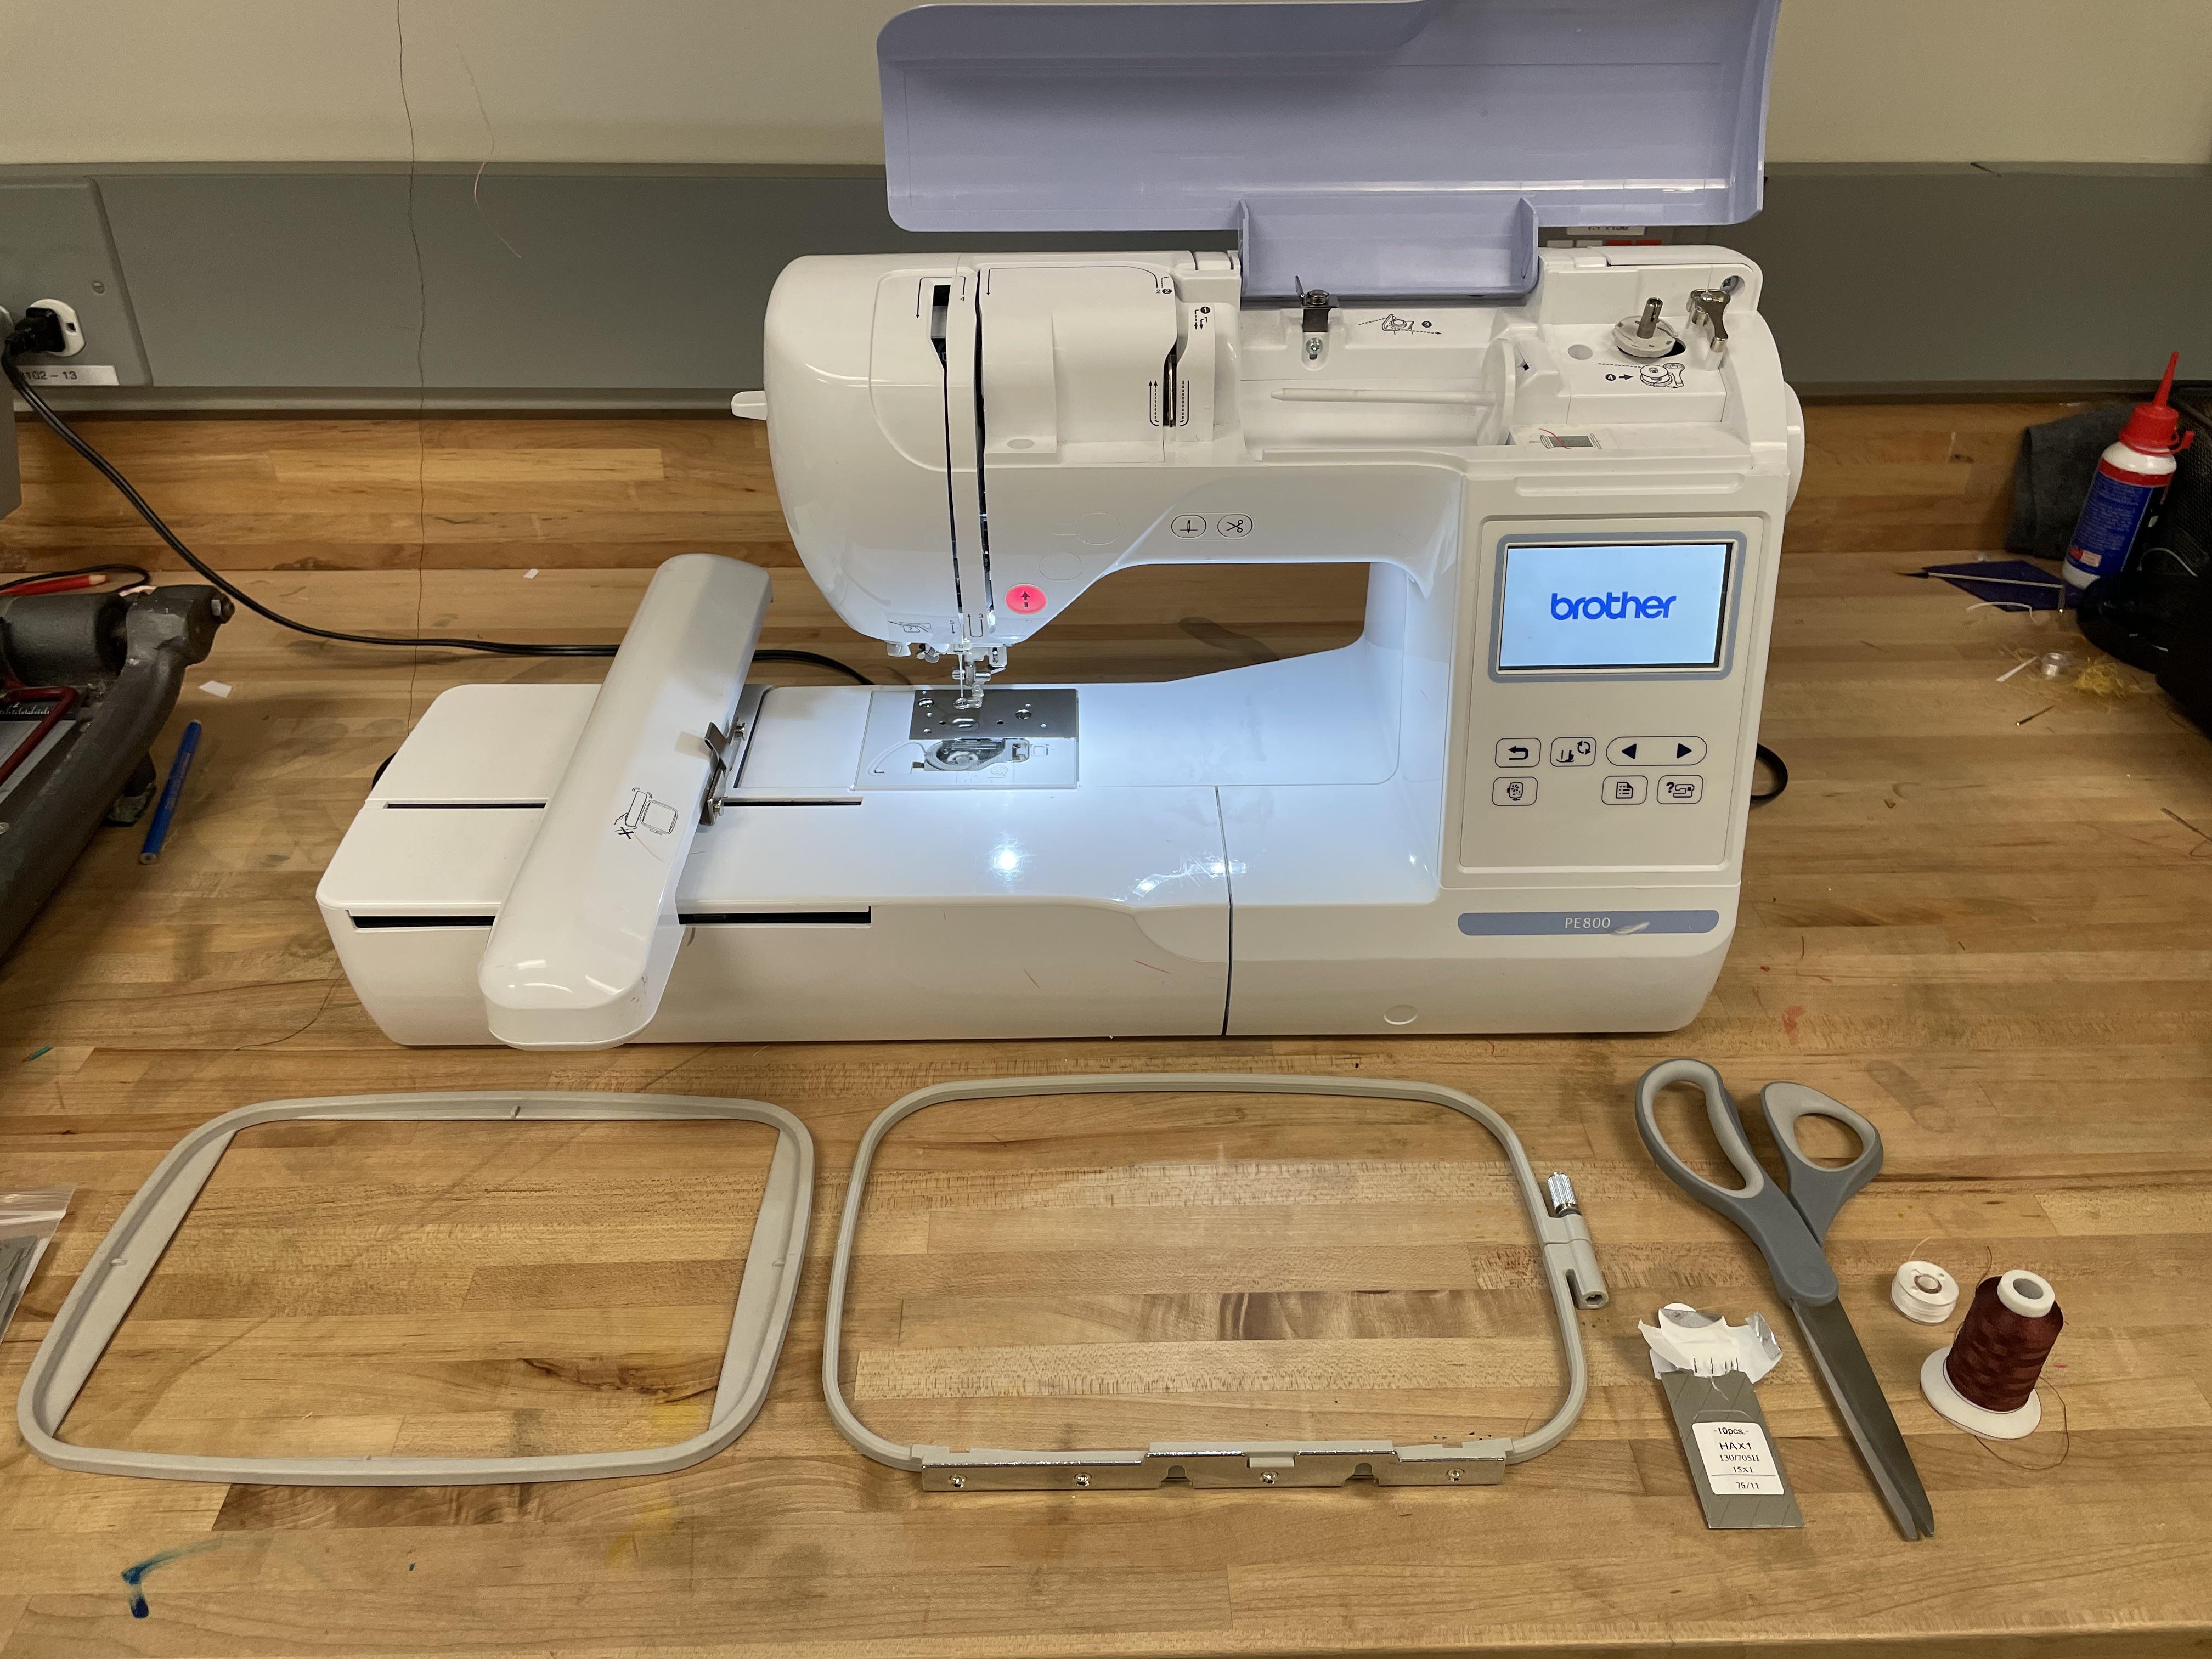
Materials and Tools:
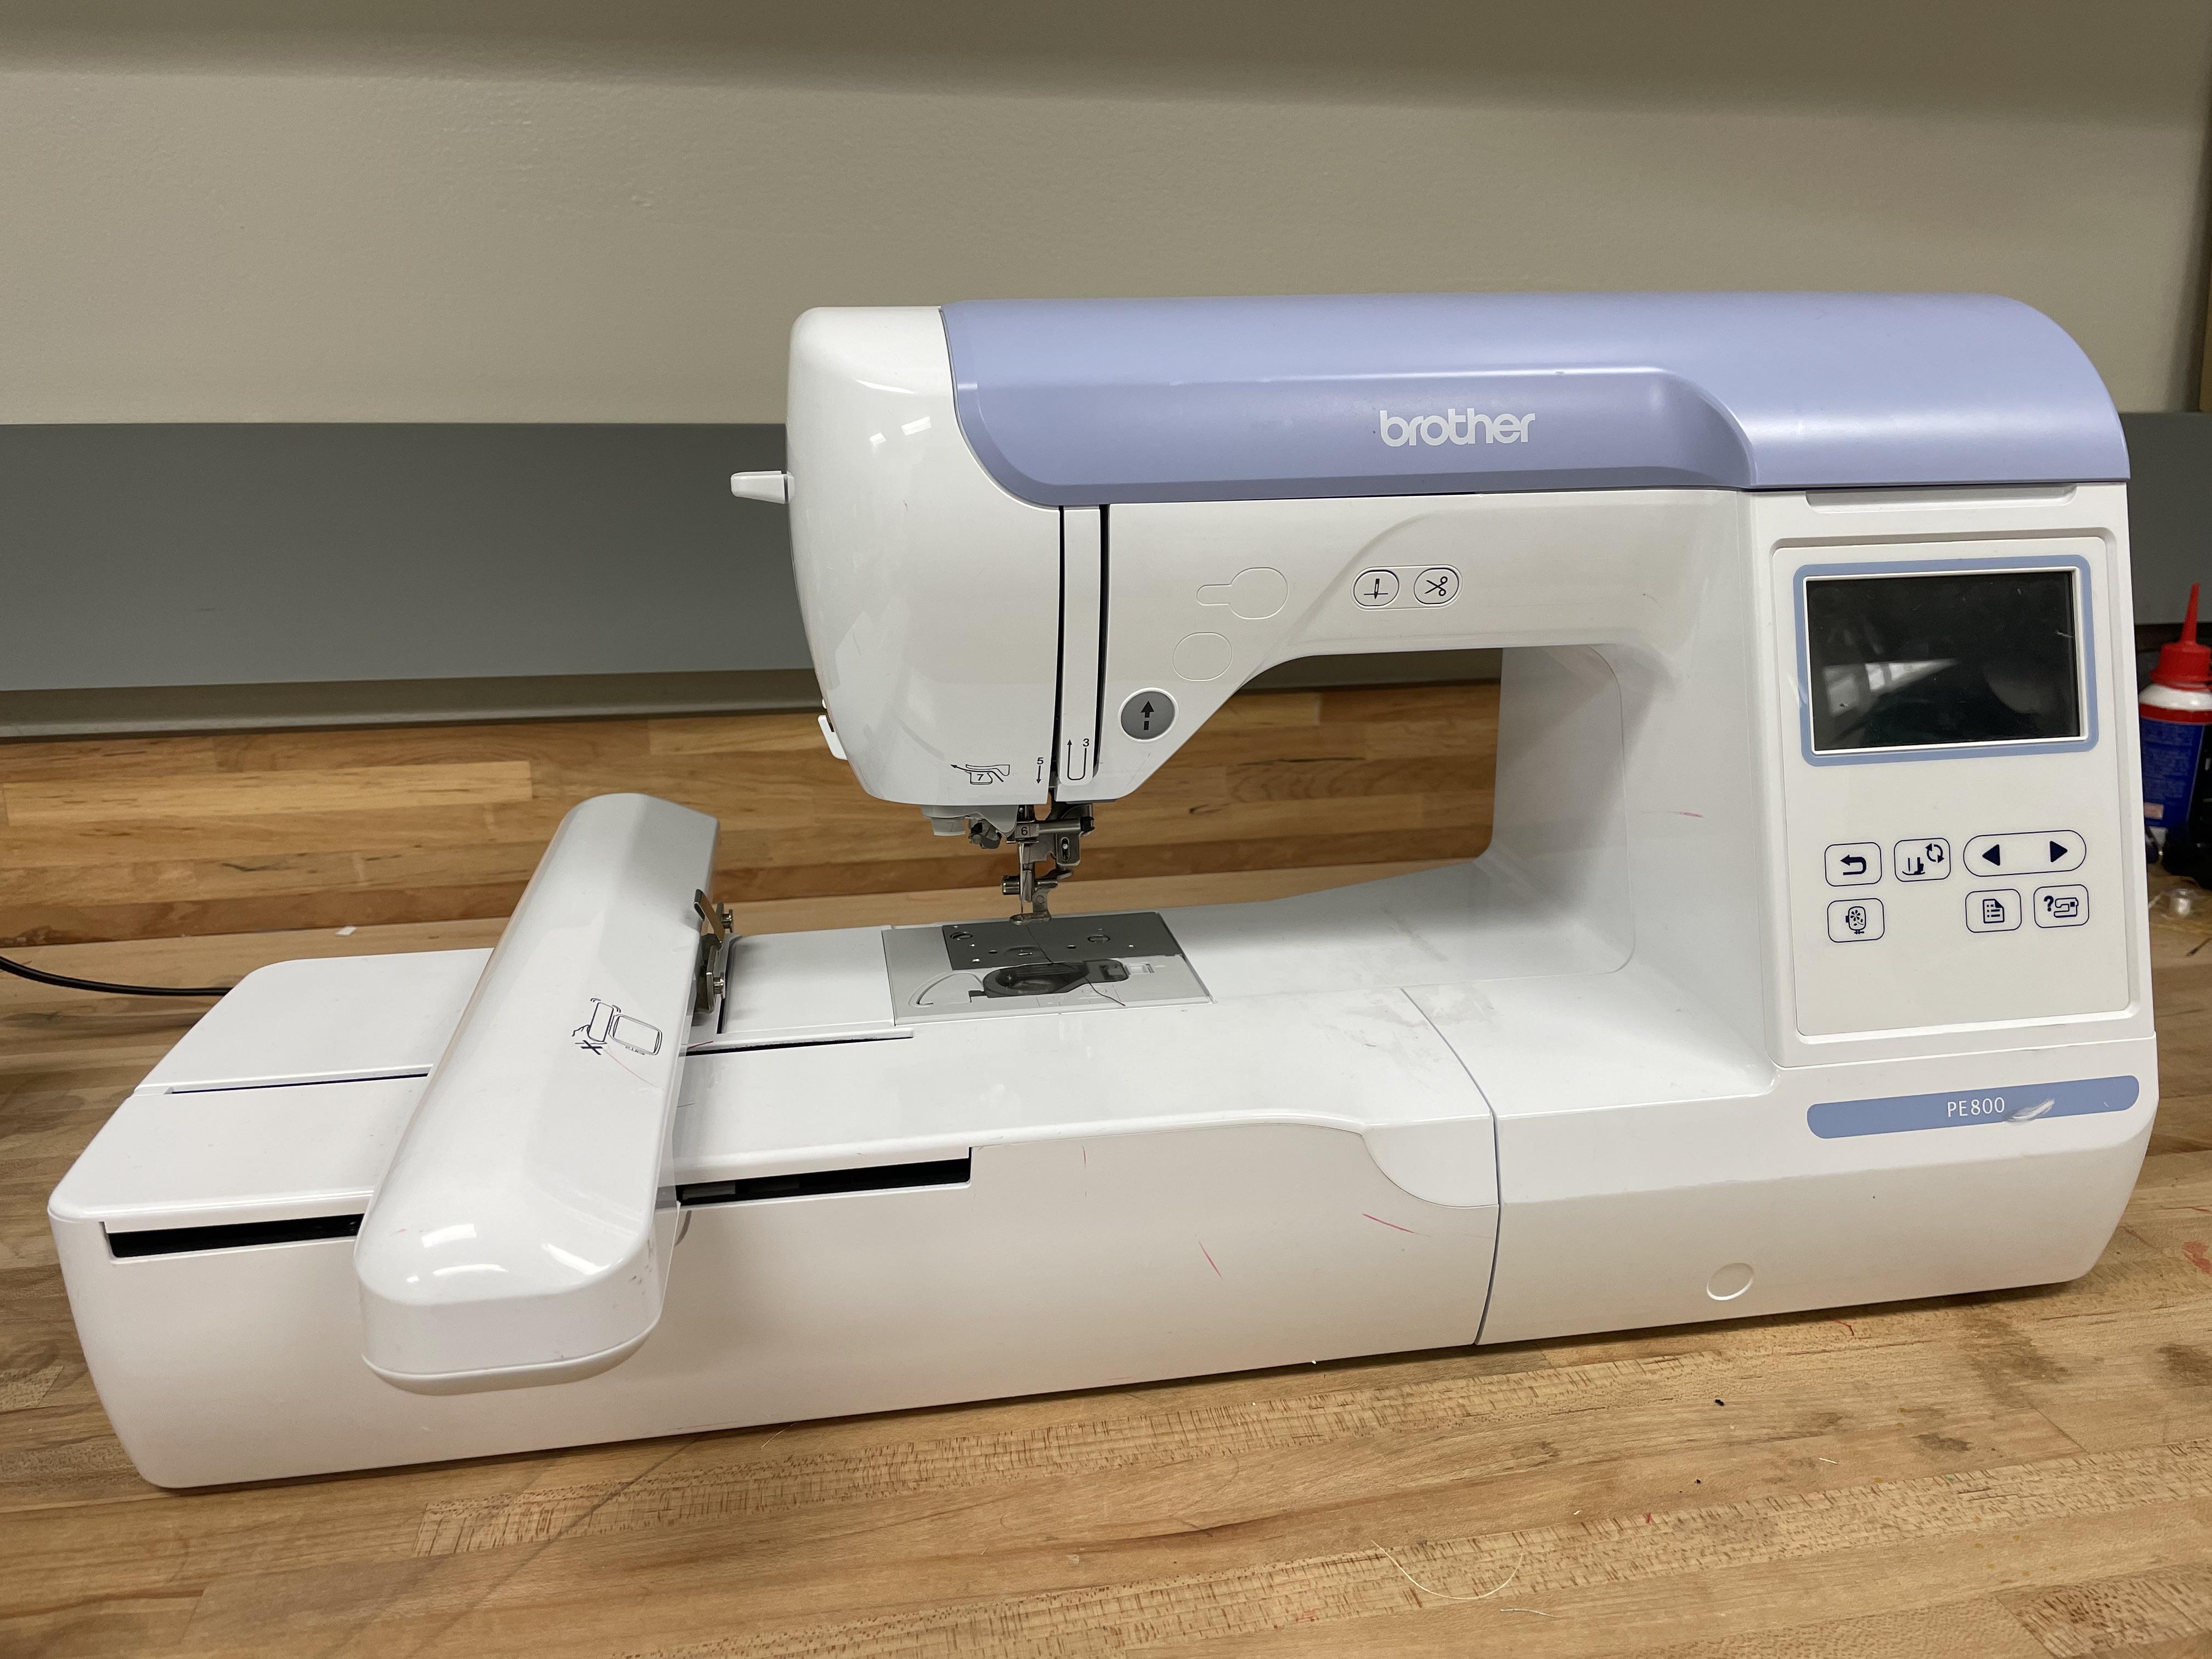
1) Brother PE800 Embroidery Machine
2) Embroidery hoop (included with the machine)
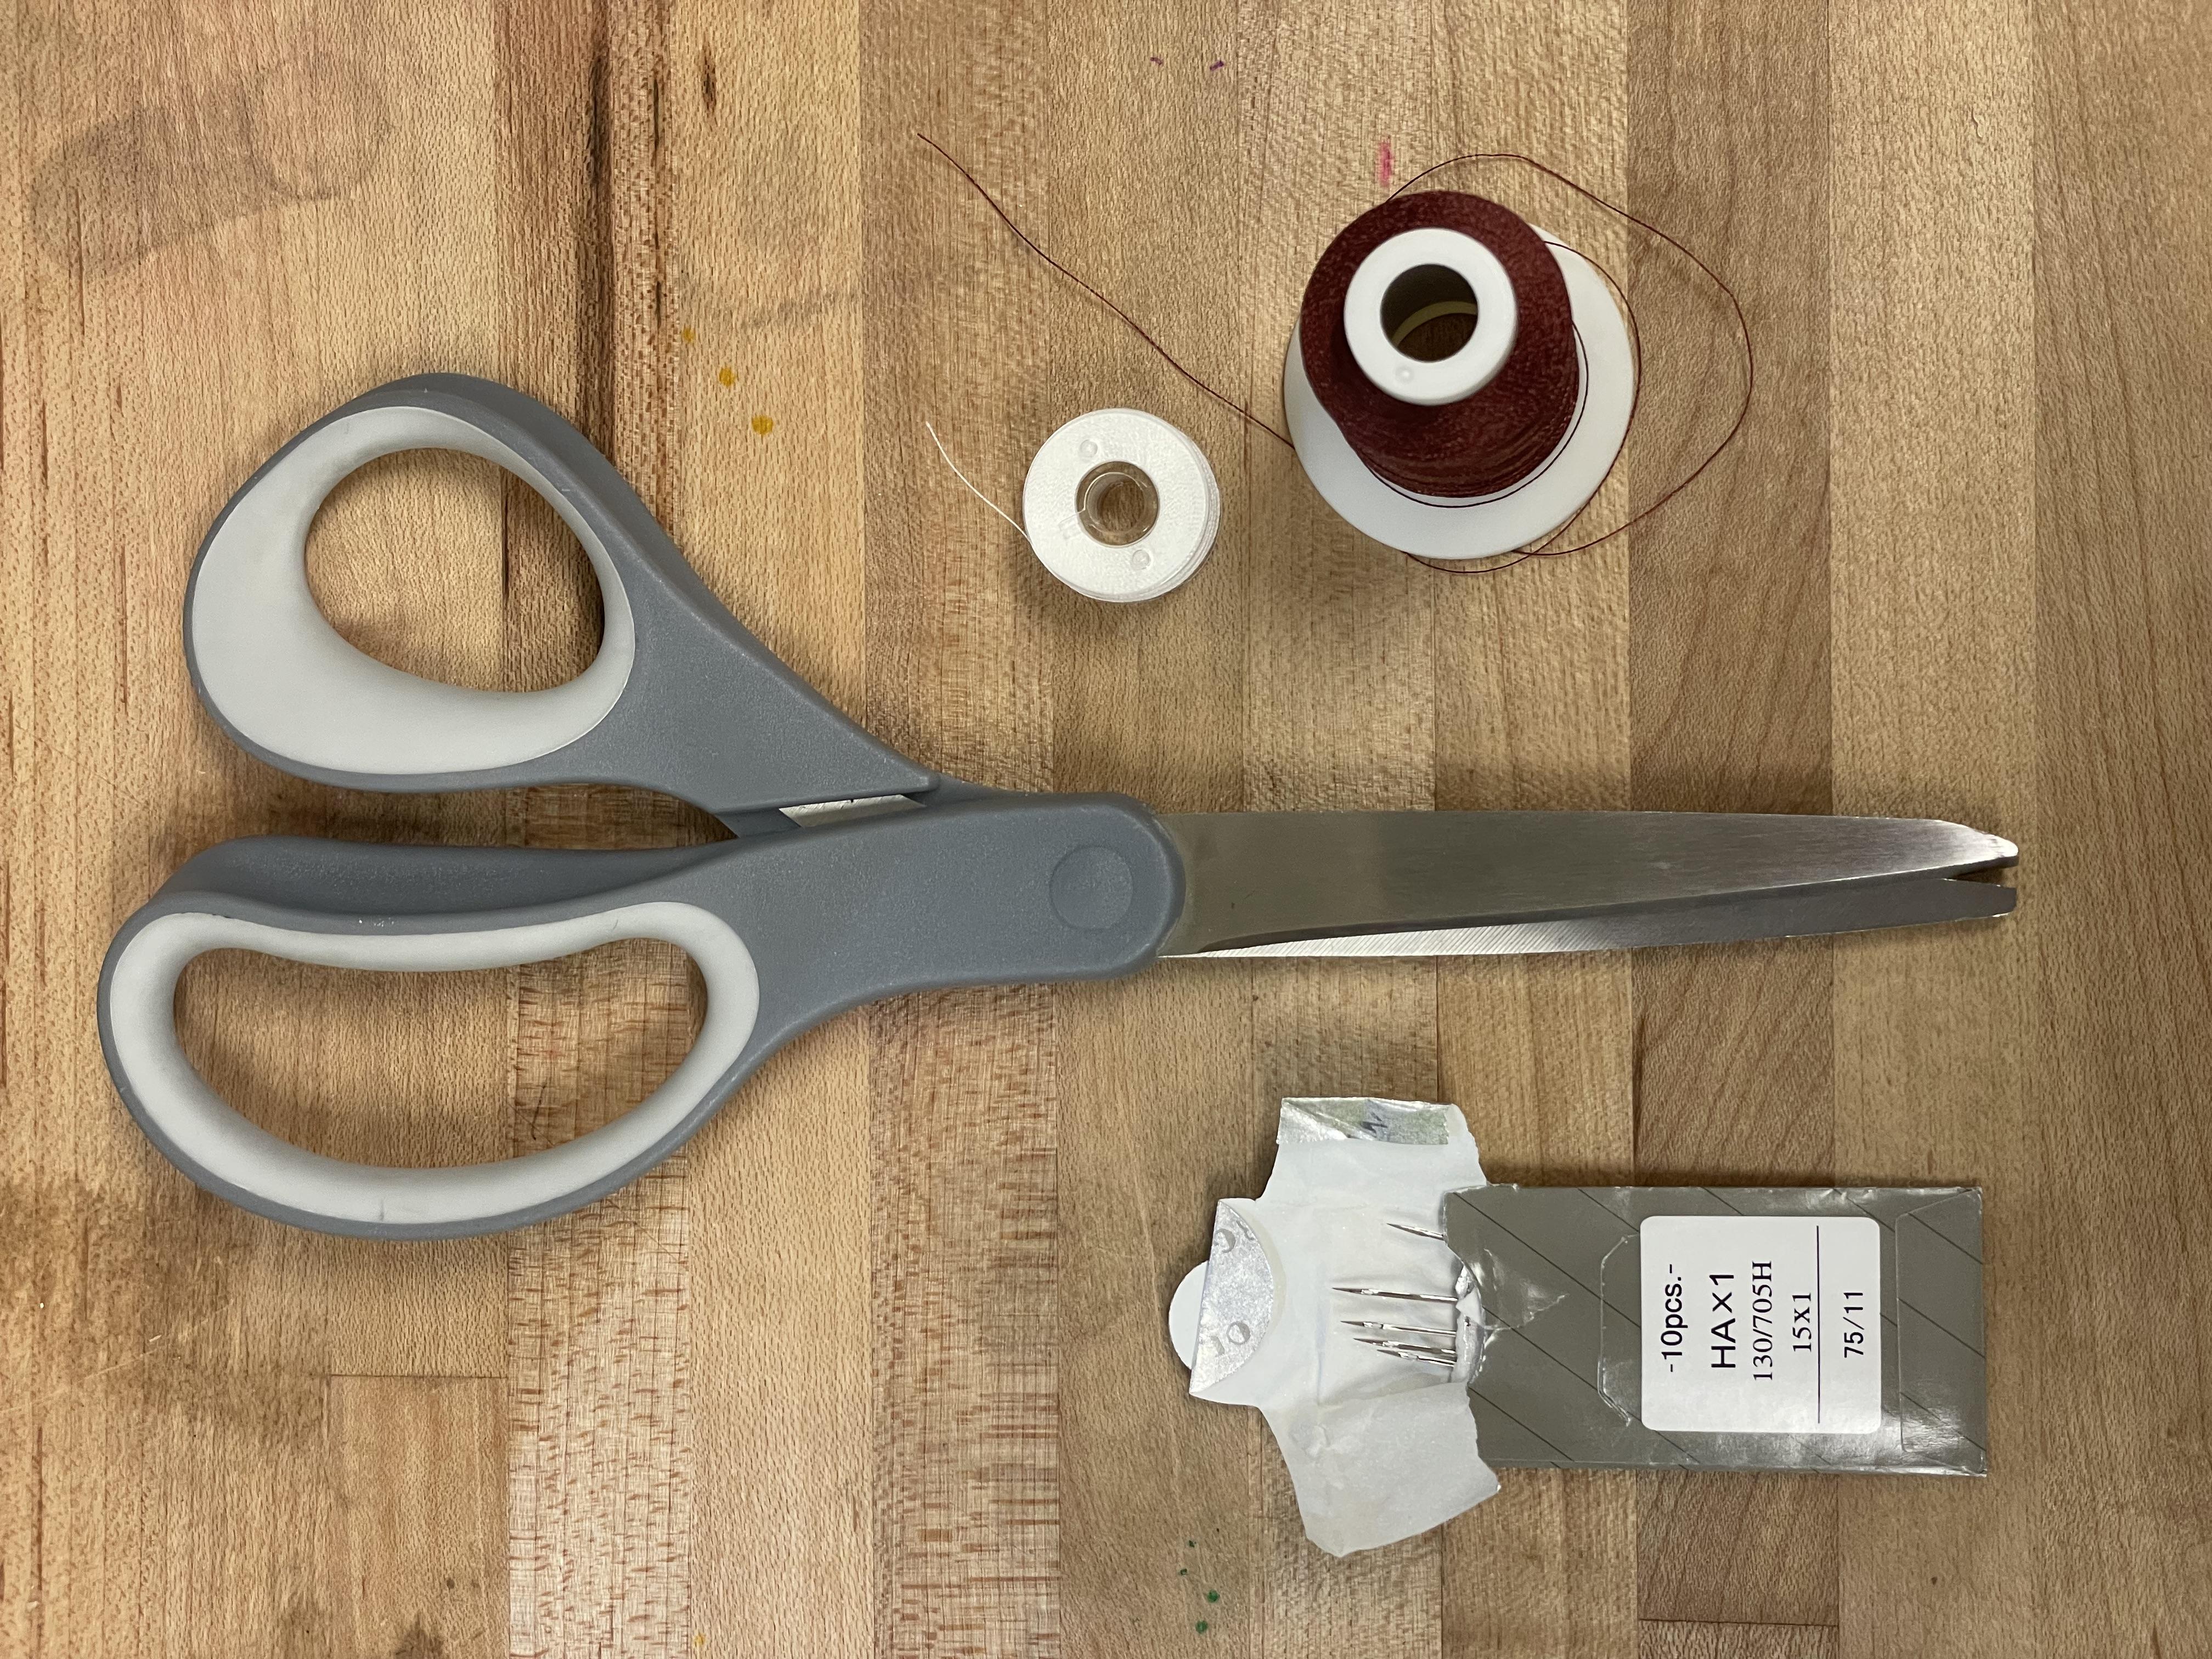
3) Embroidery thread
4) Bobbin thread
5) Scissors
6) USB flash drive (optional for custom designs)
7) Stabilizer (cut-away or tear-away)
8) Fabric
9) Embroidery needle
Setting Up the Machine
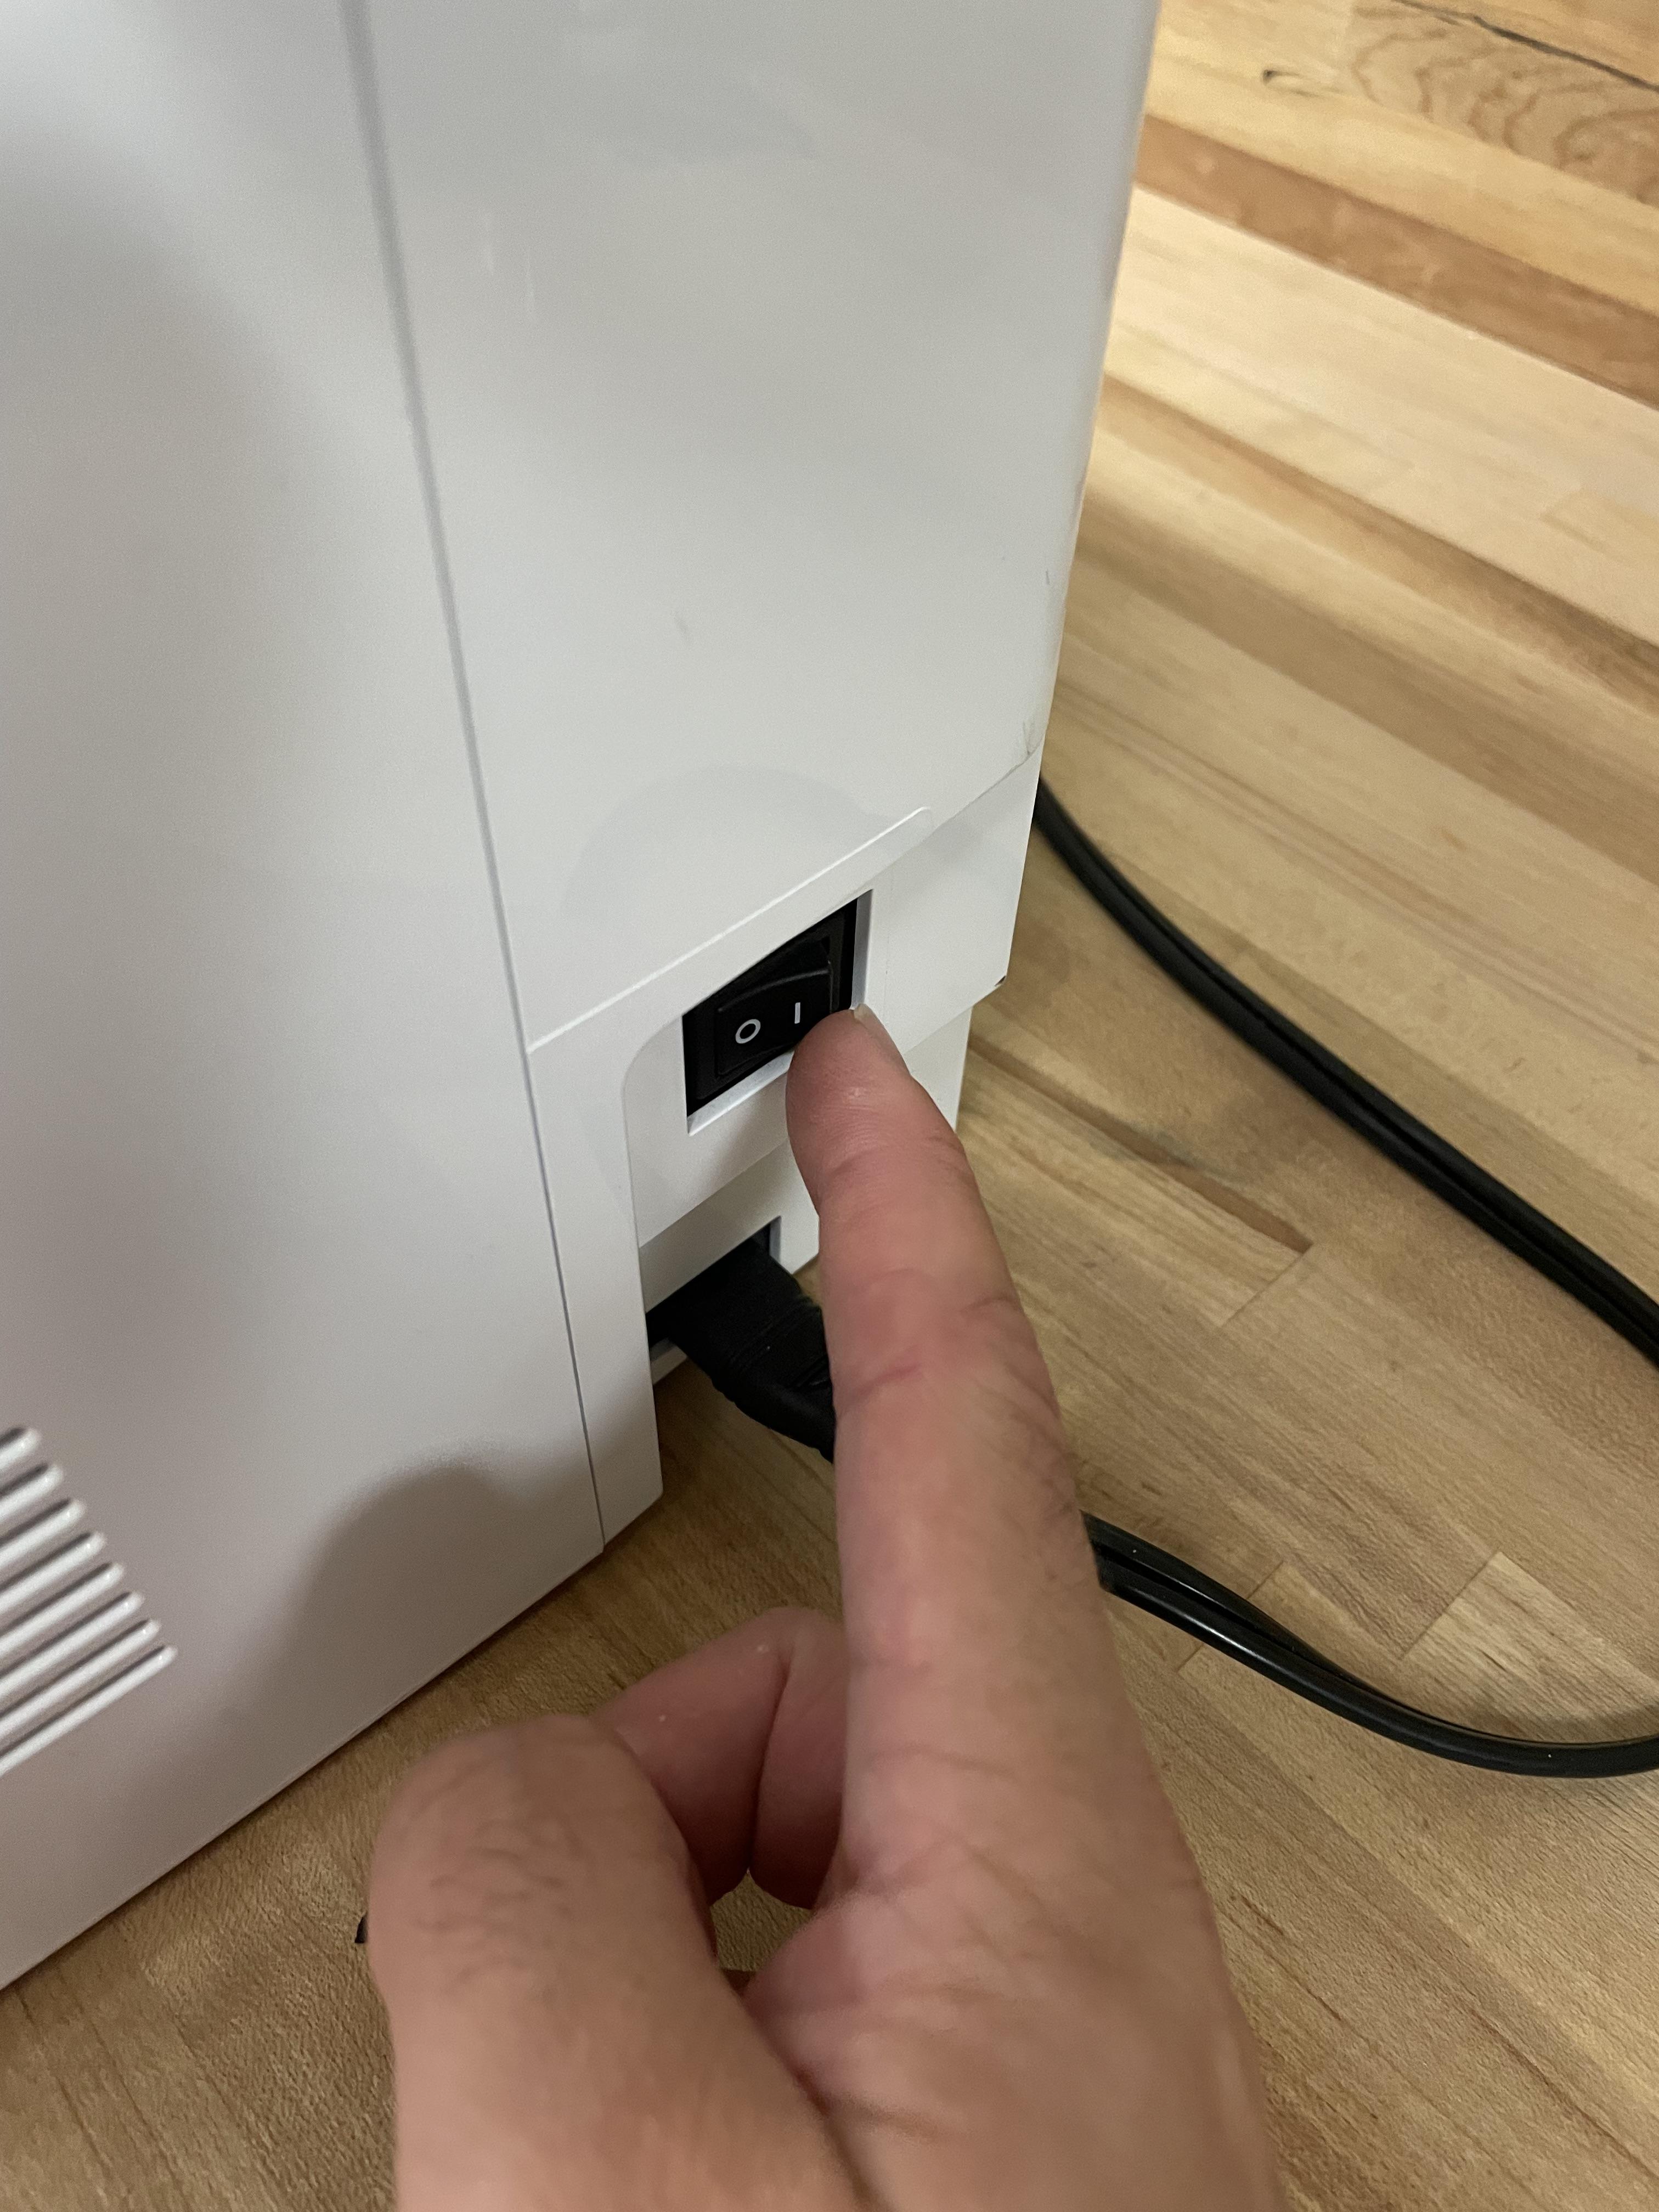
1) Unbox your Brother PE800 and place it on a stable, flat surface.
2) Connect the power cord to the machine and plug it into an electrical outlet.
3) Turn on the machine using the power switch located on the right side.
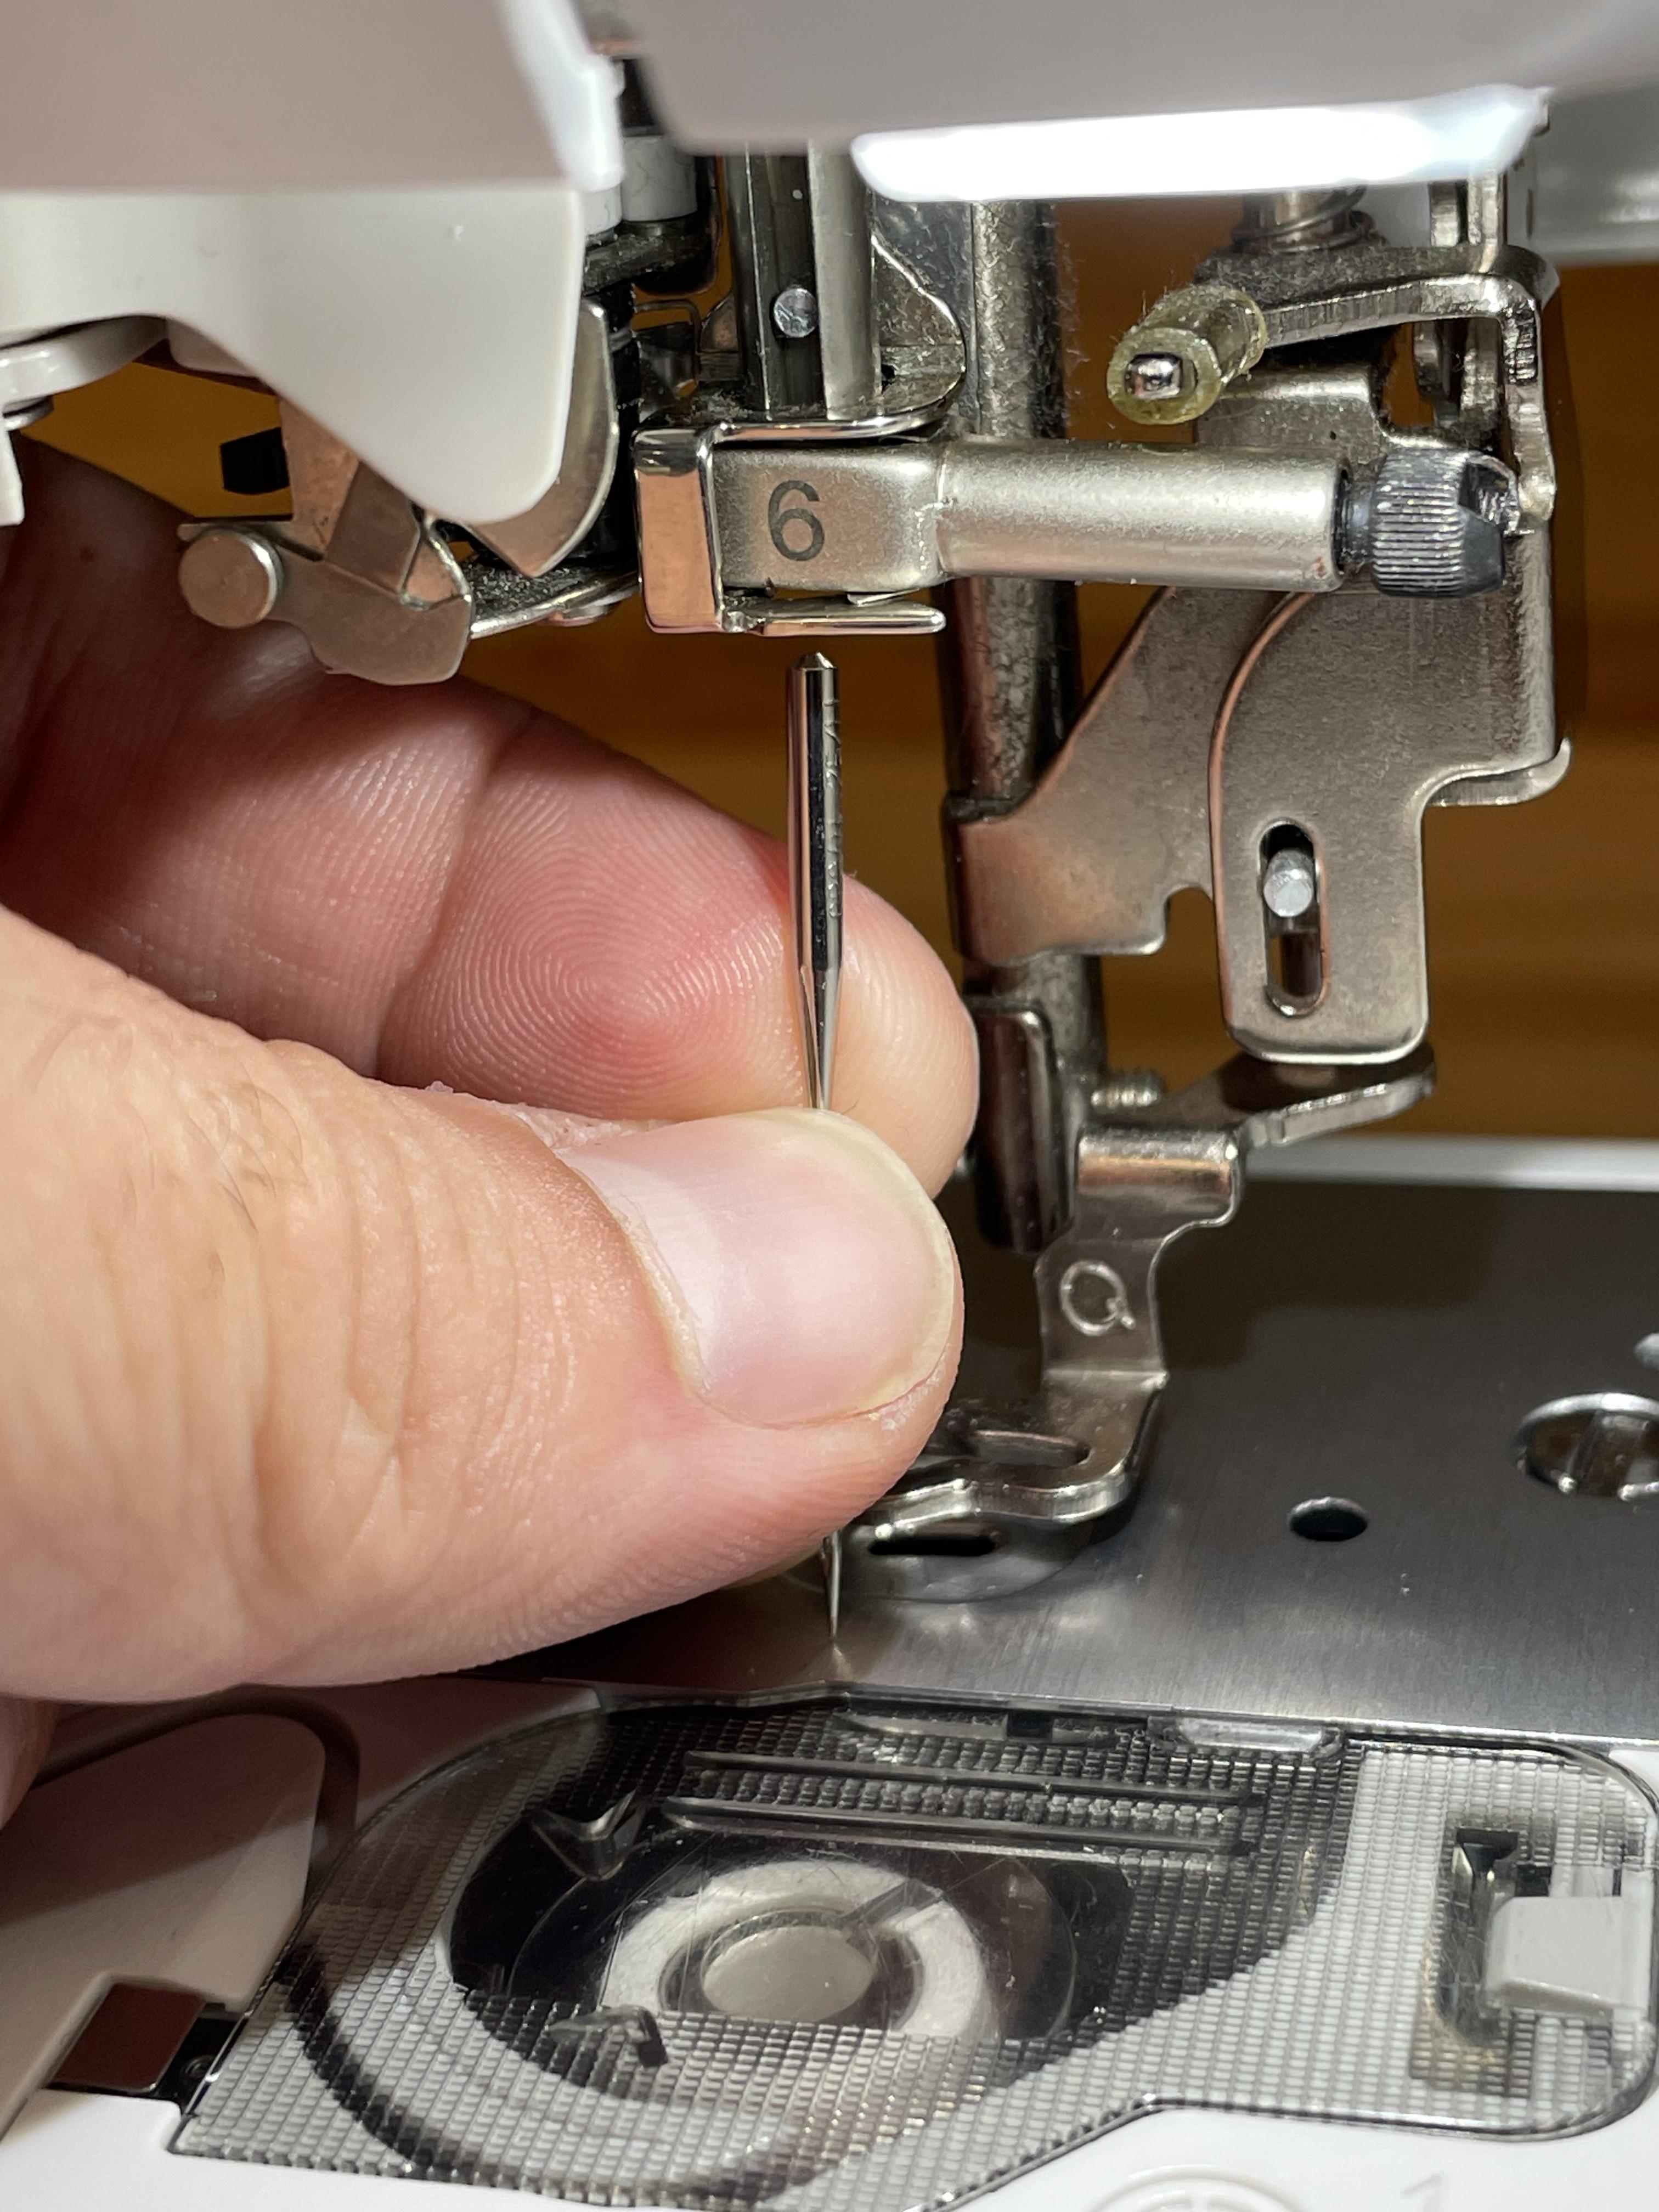
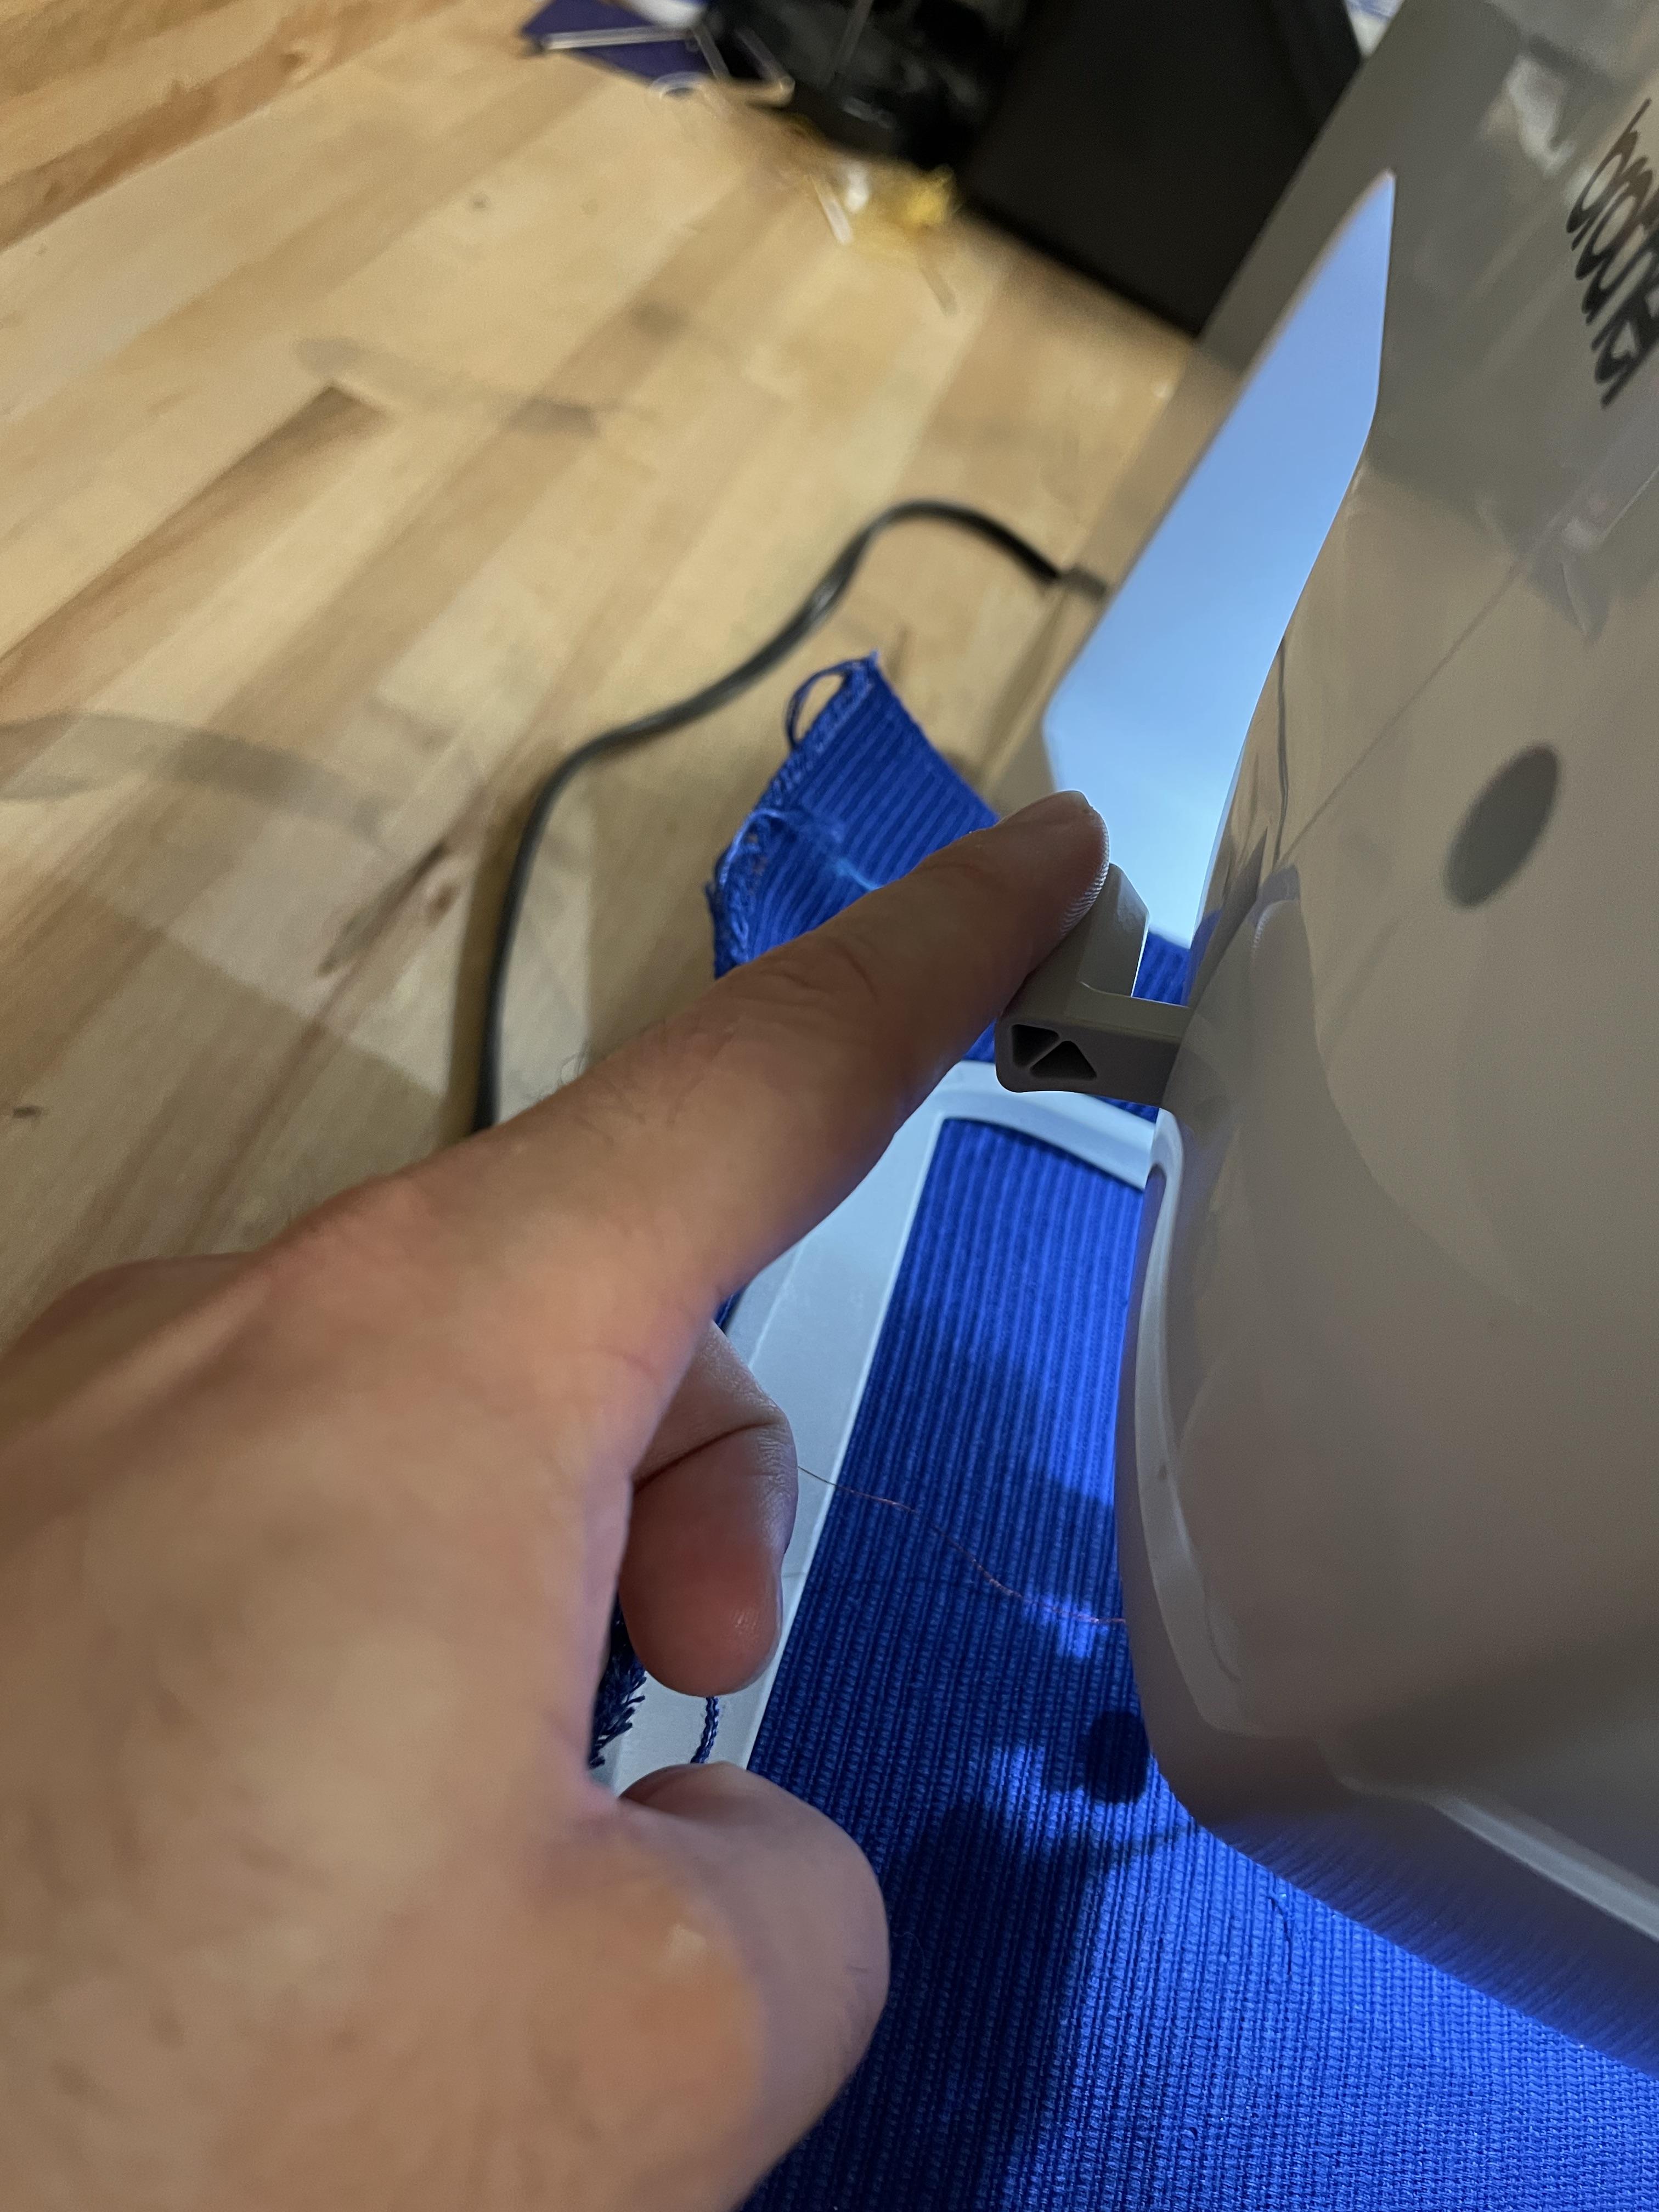
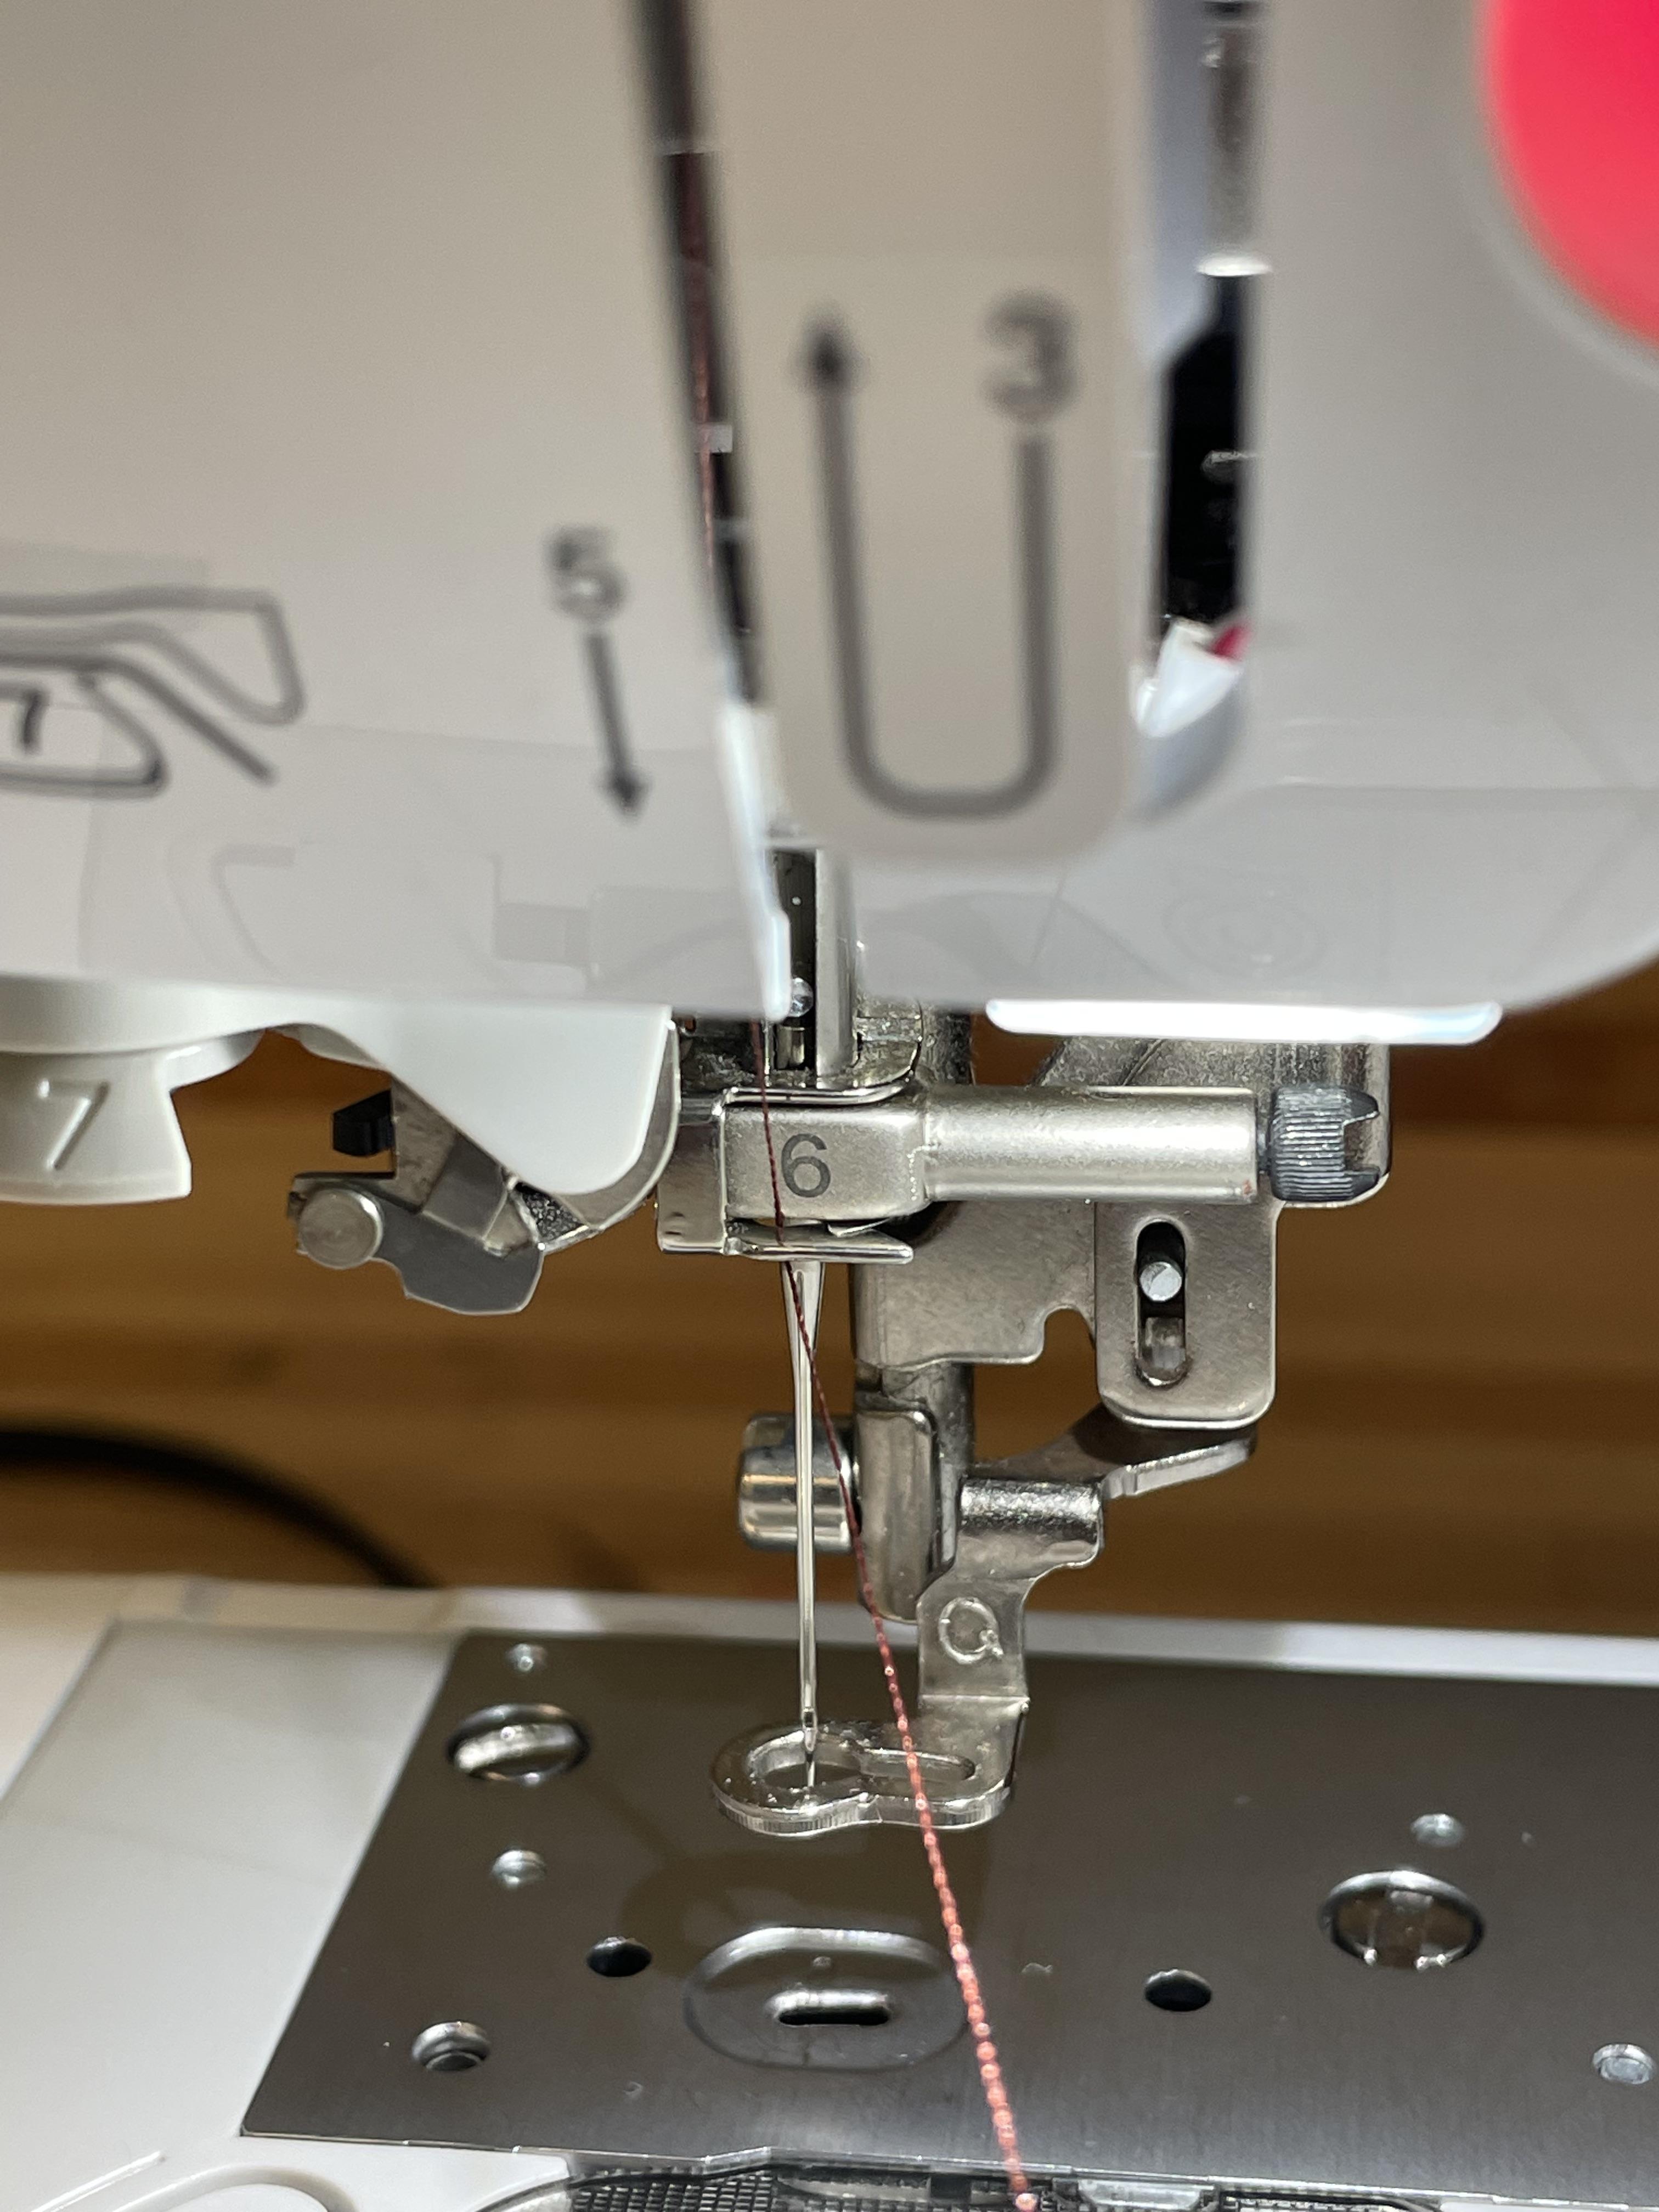
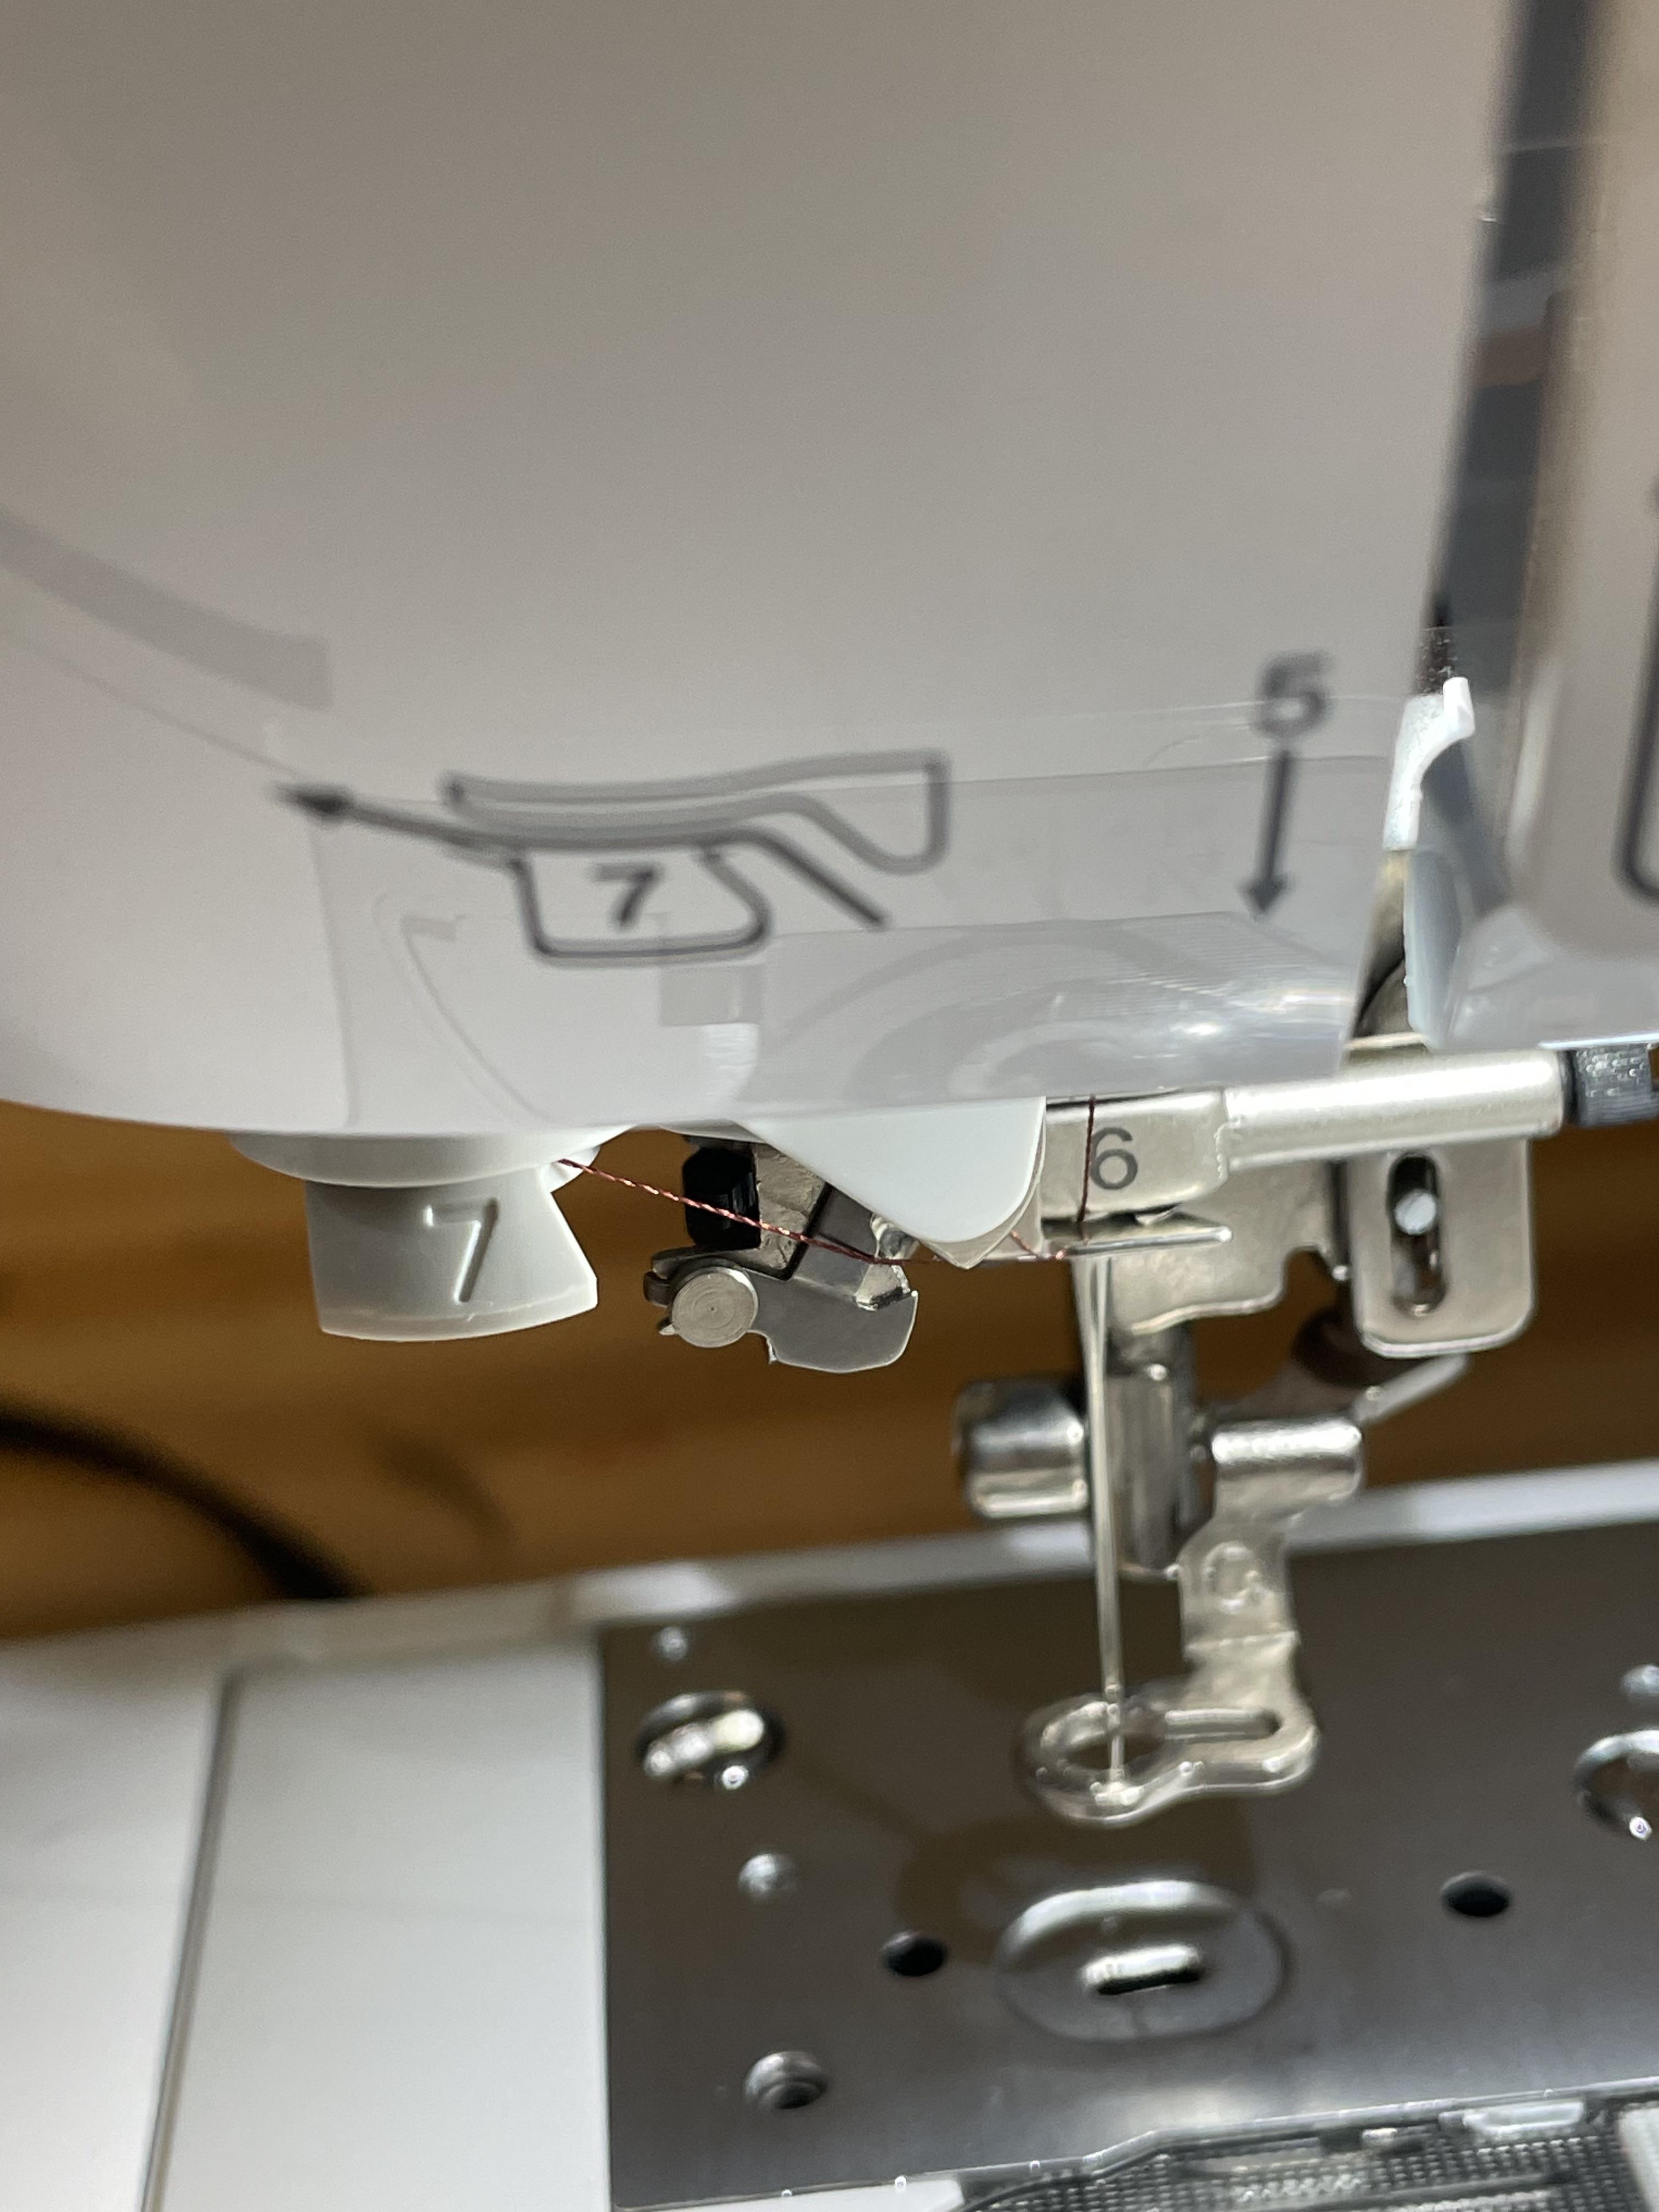
Insert a Needle
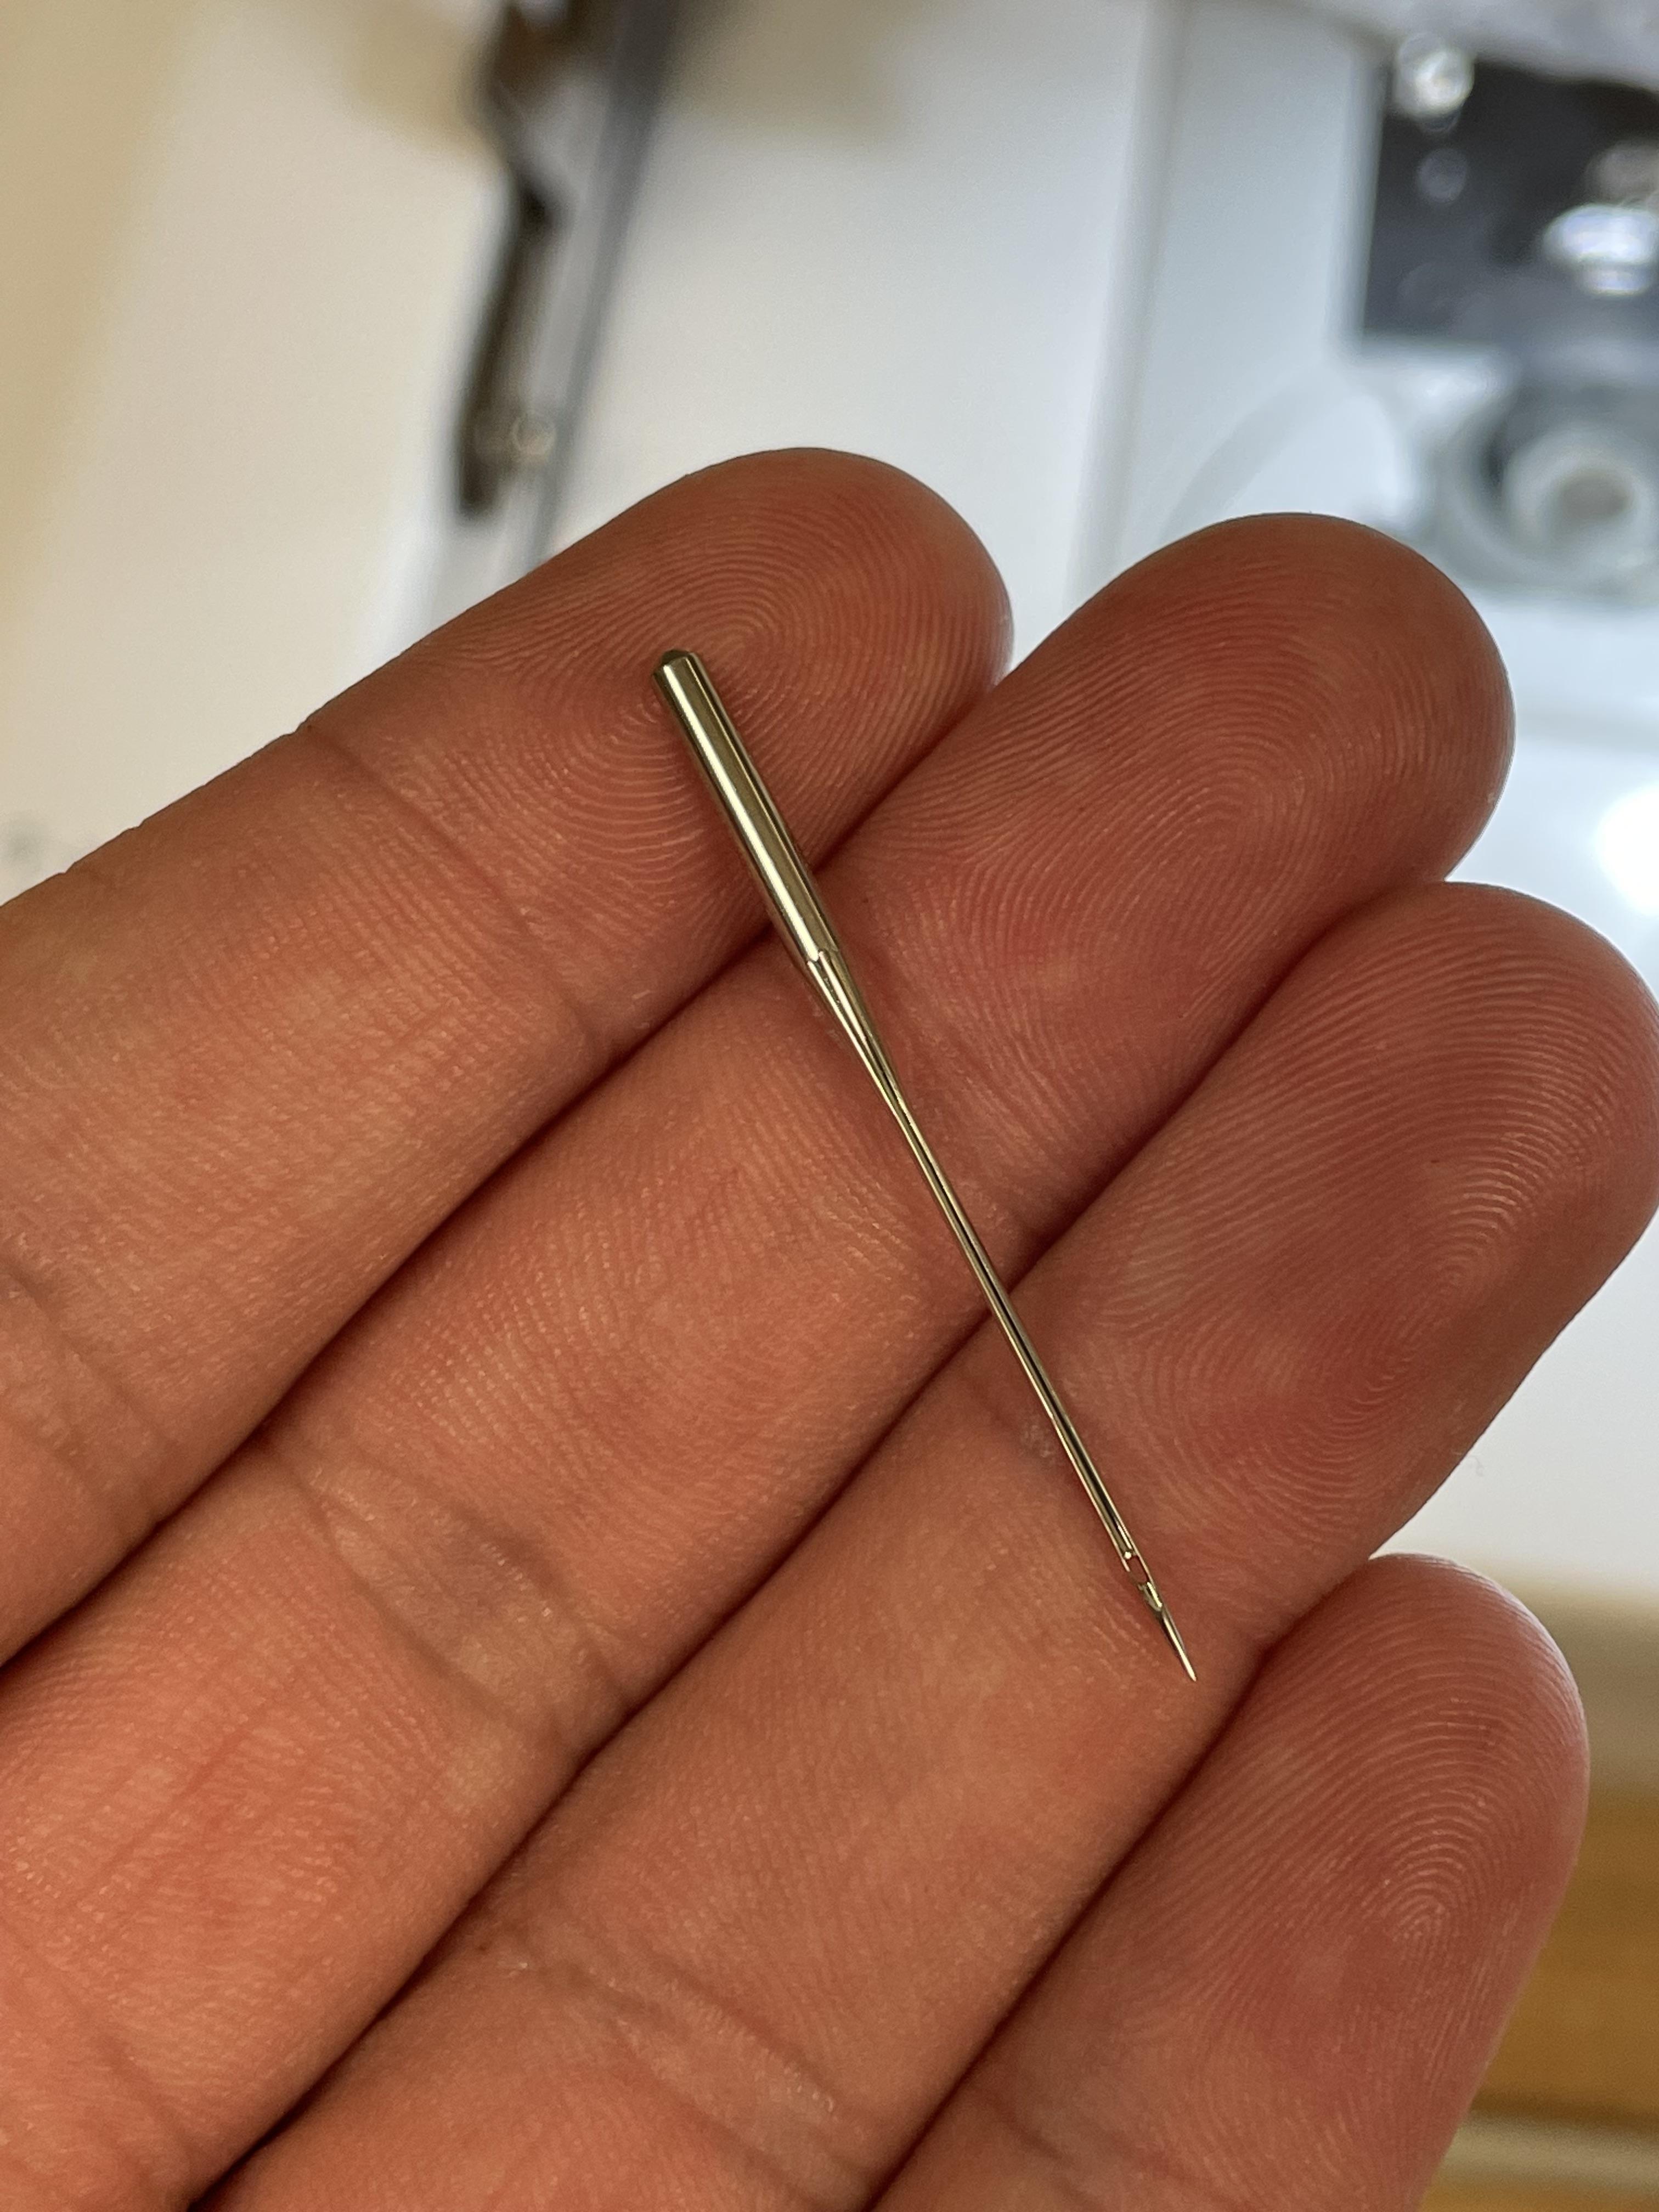
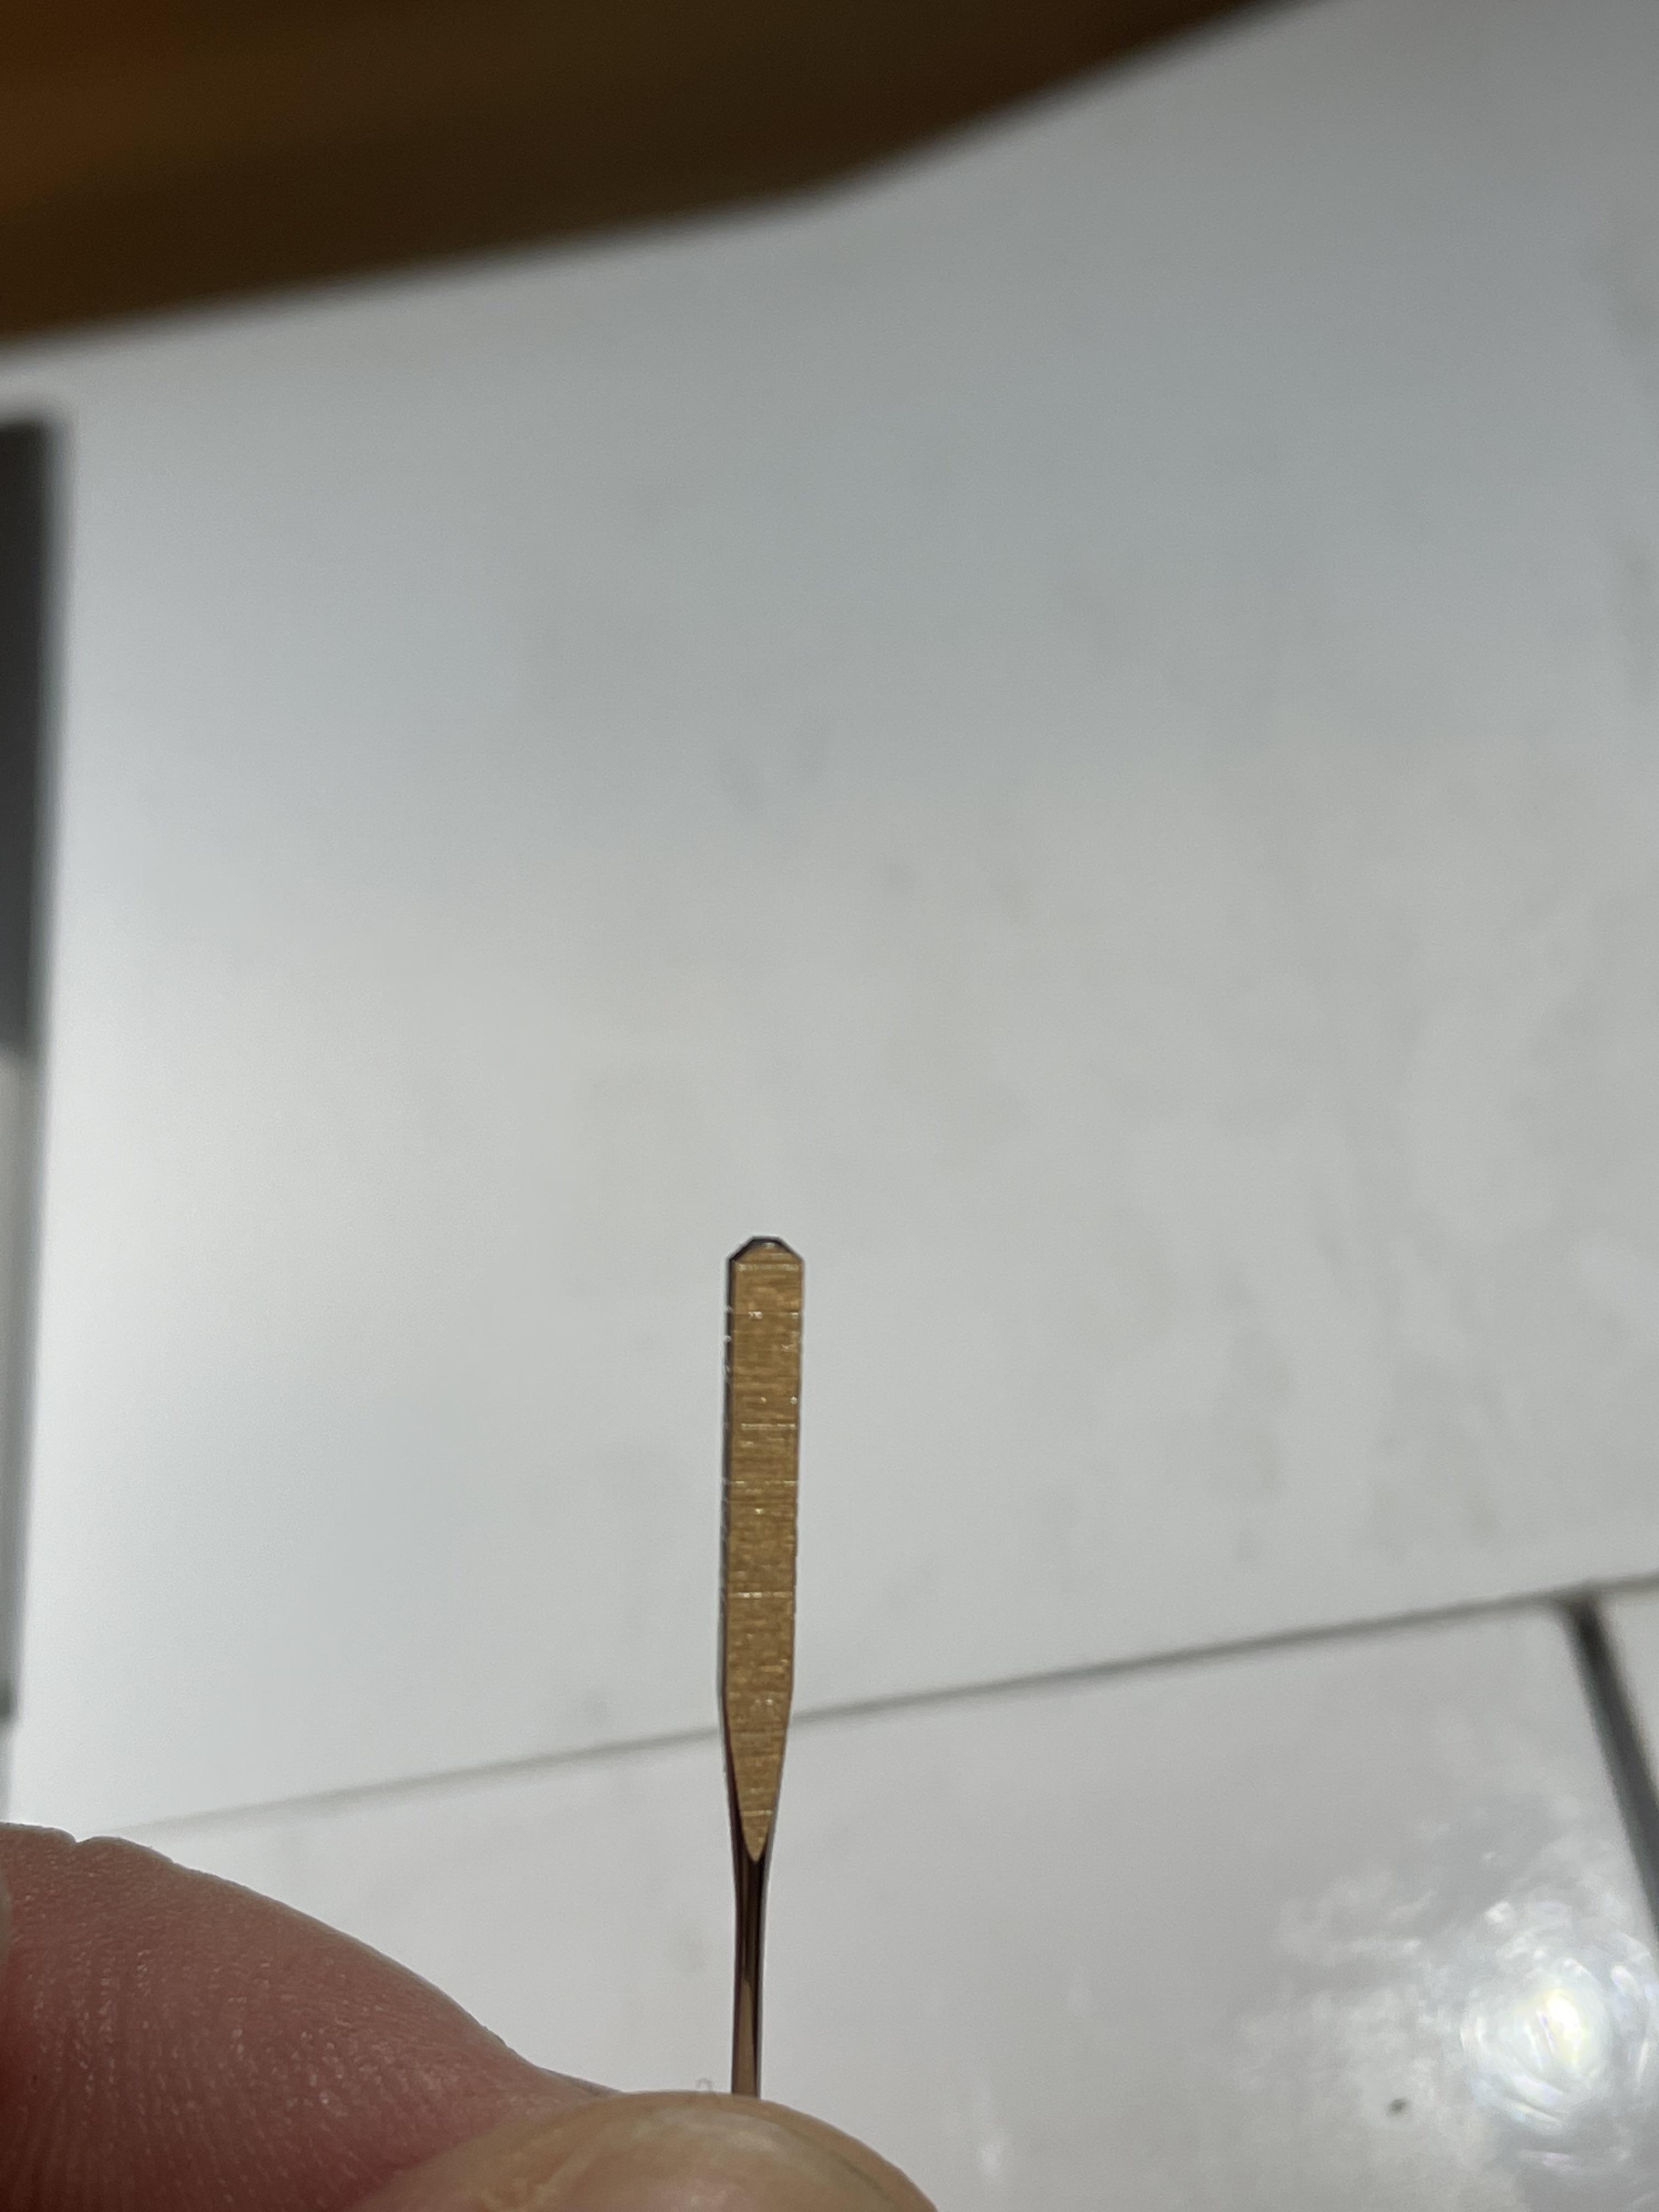
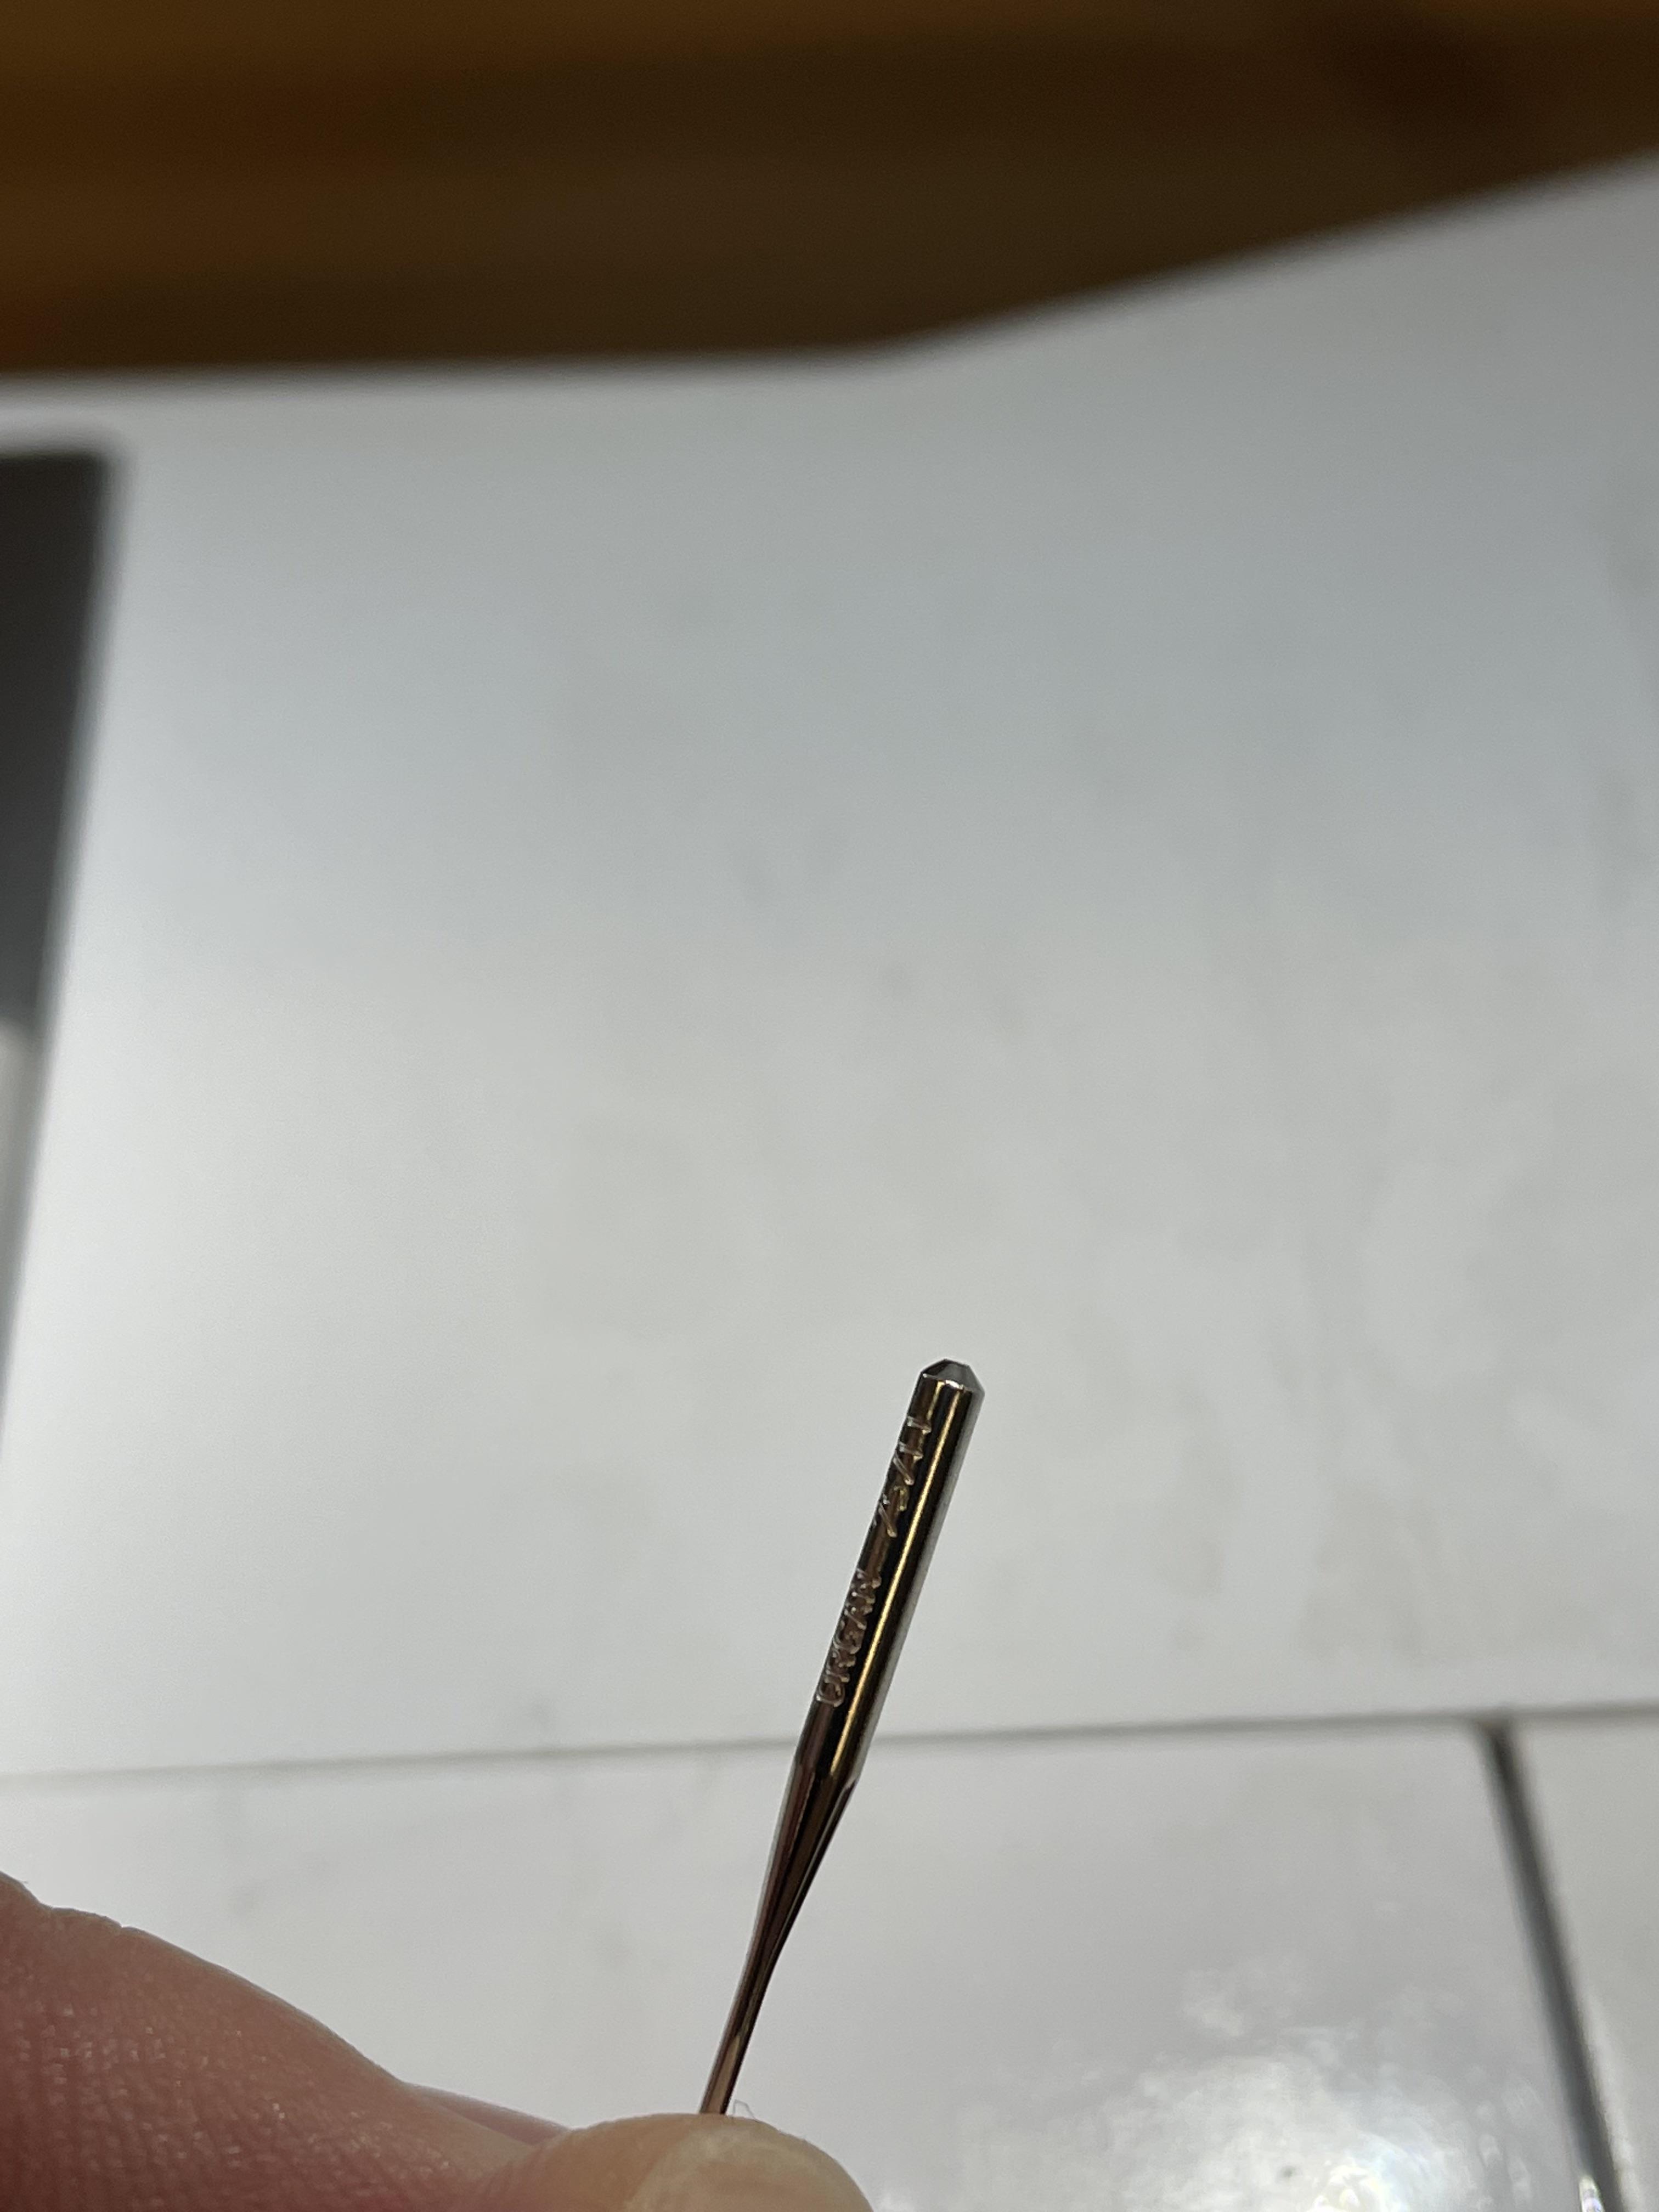

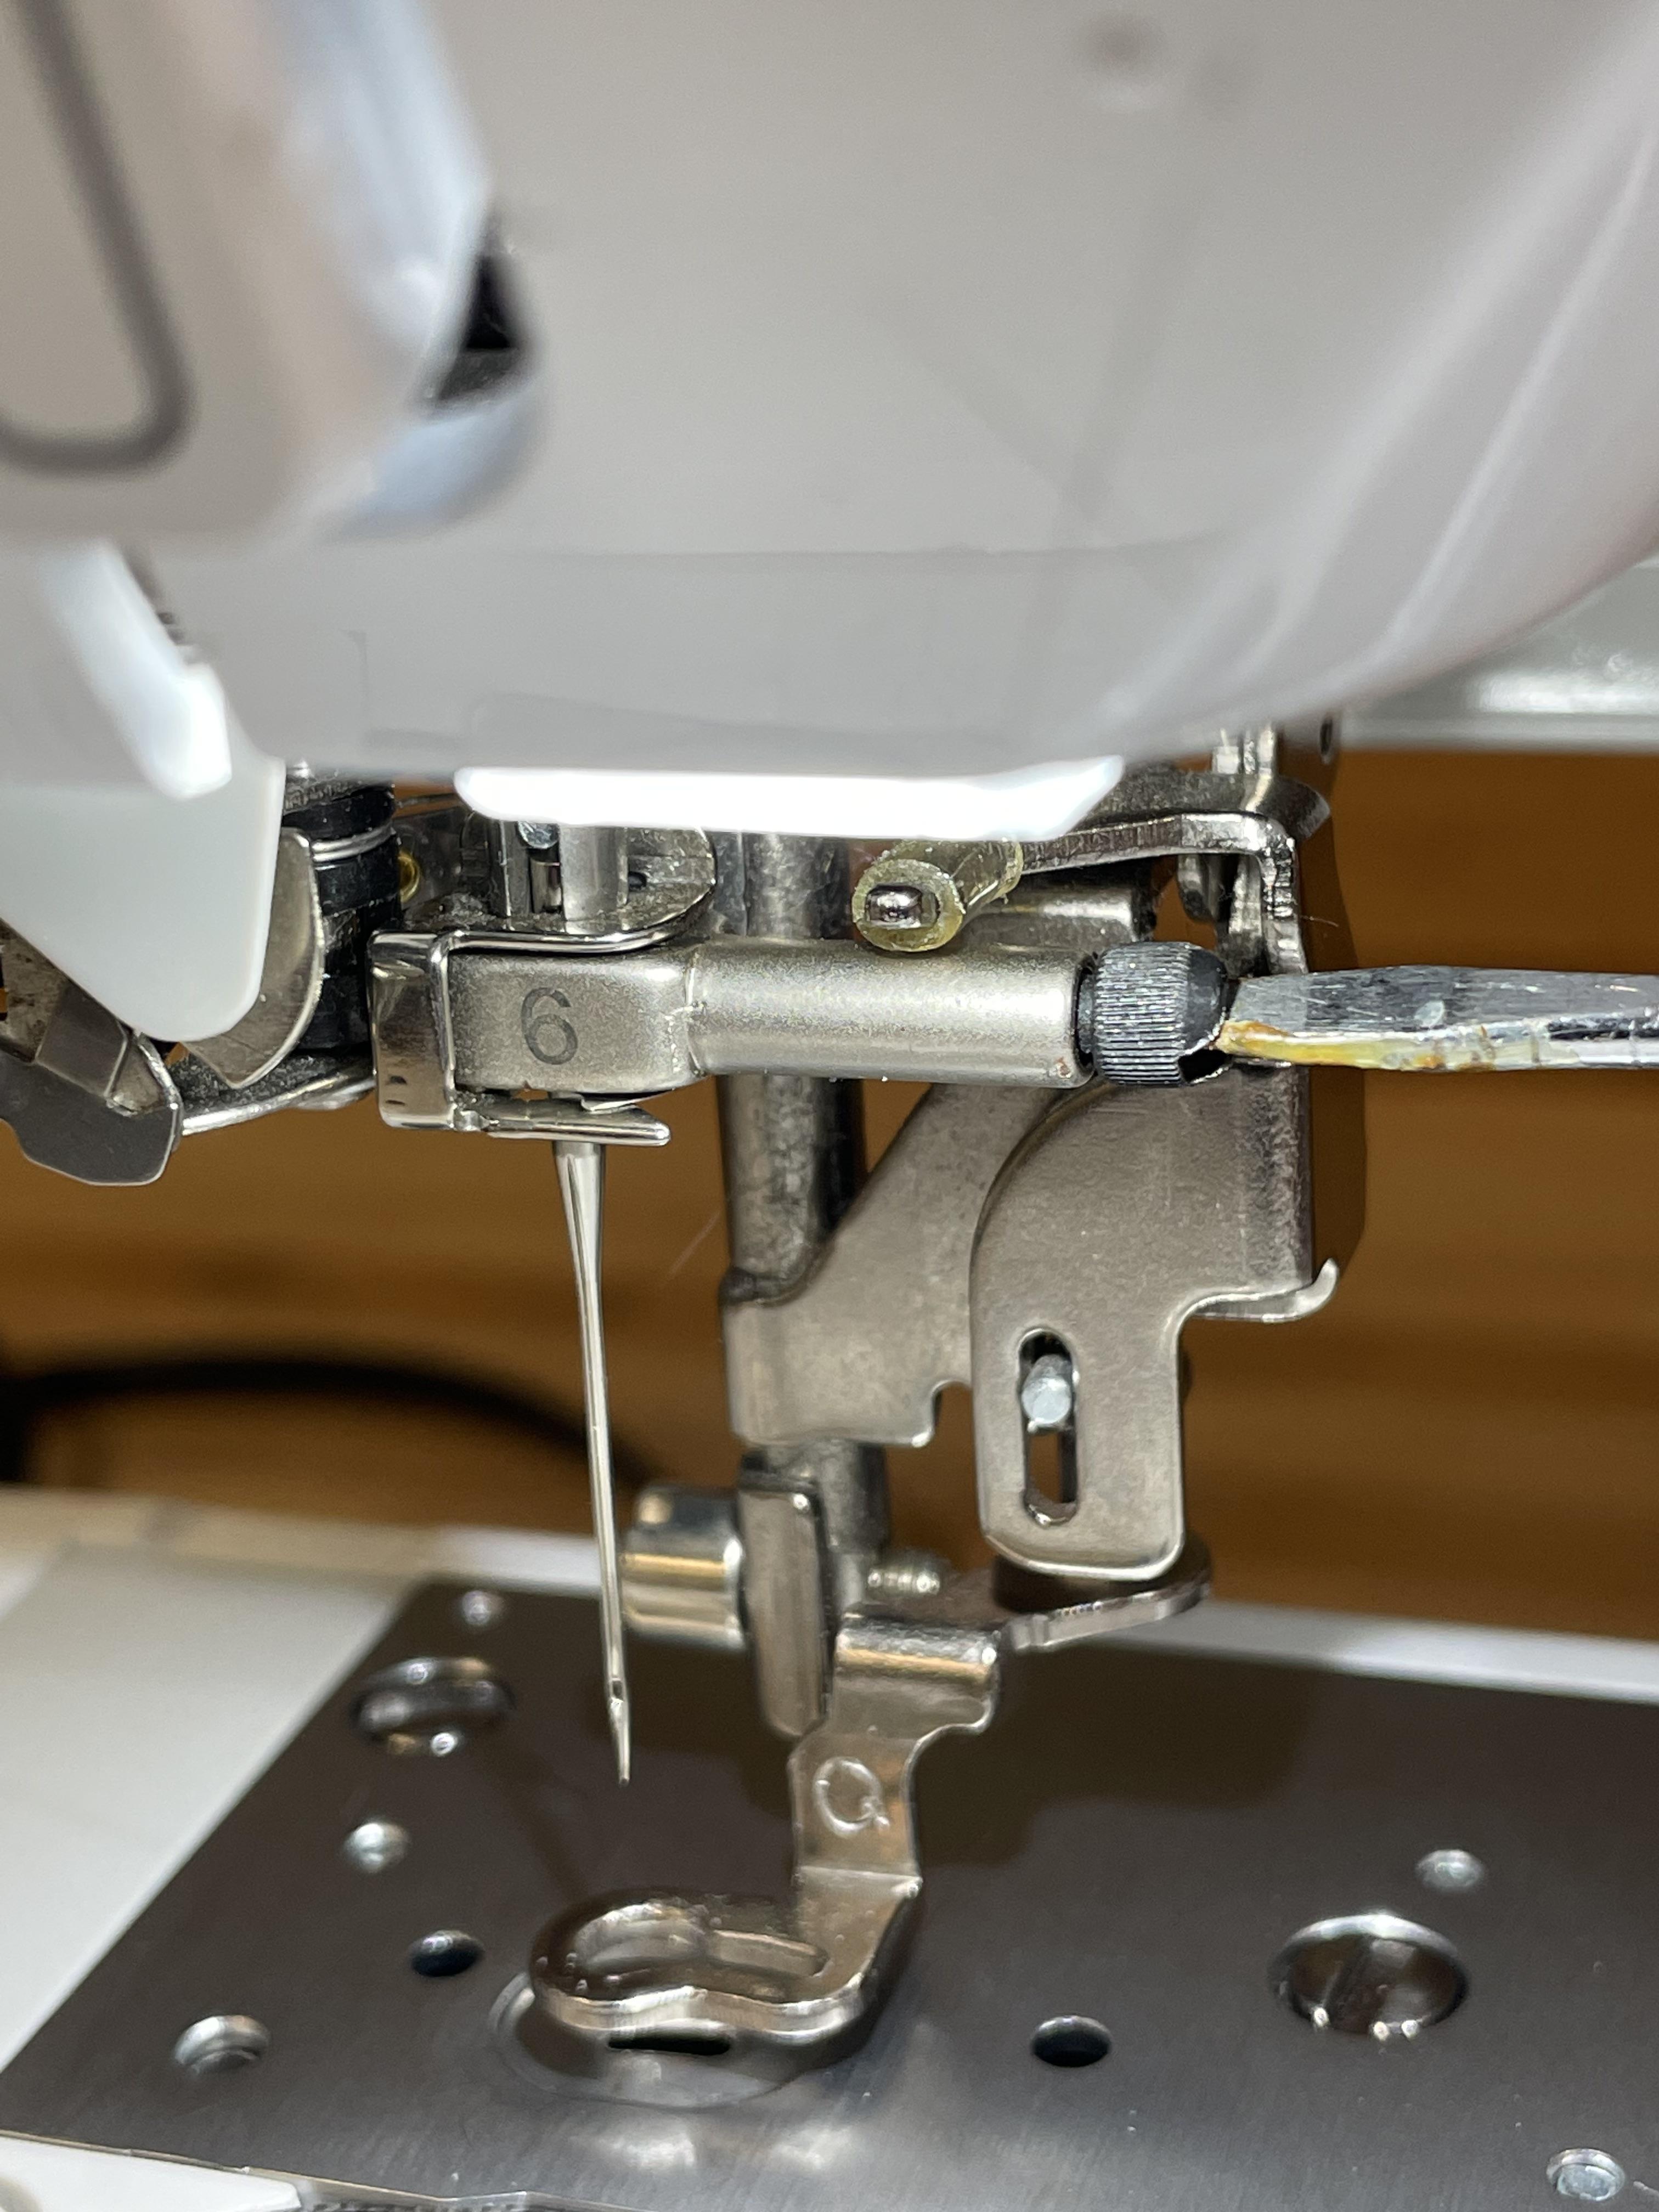
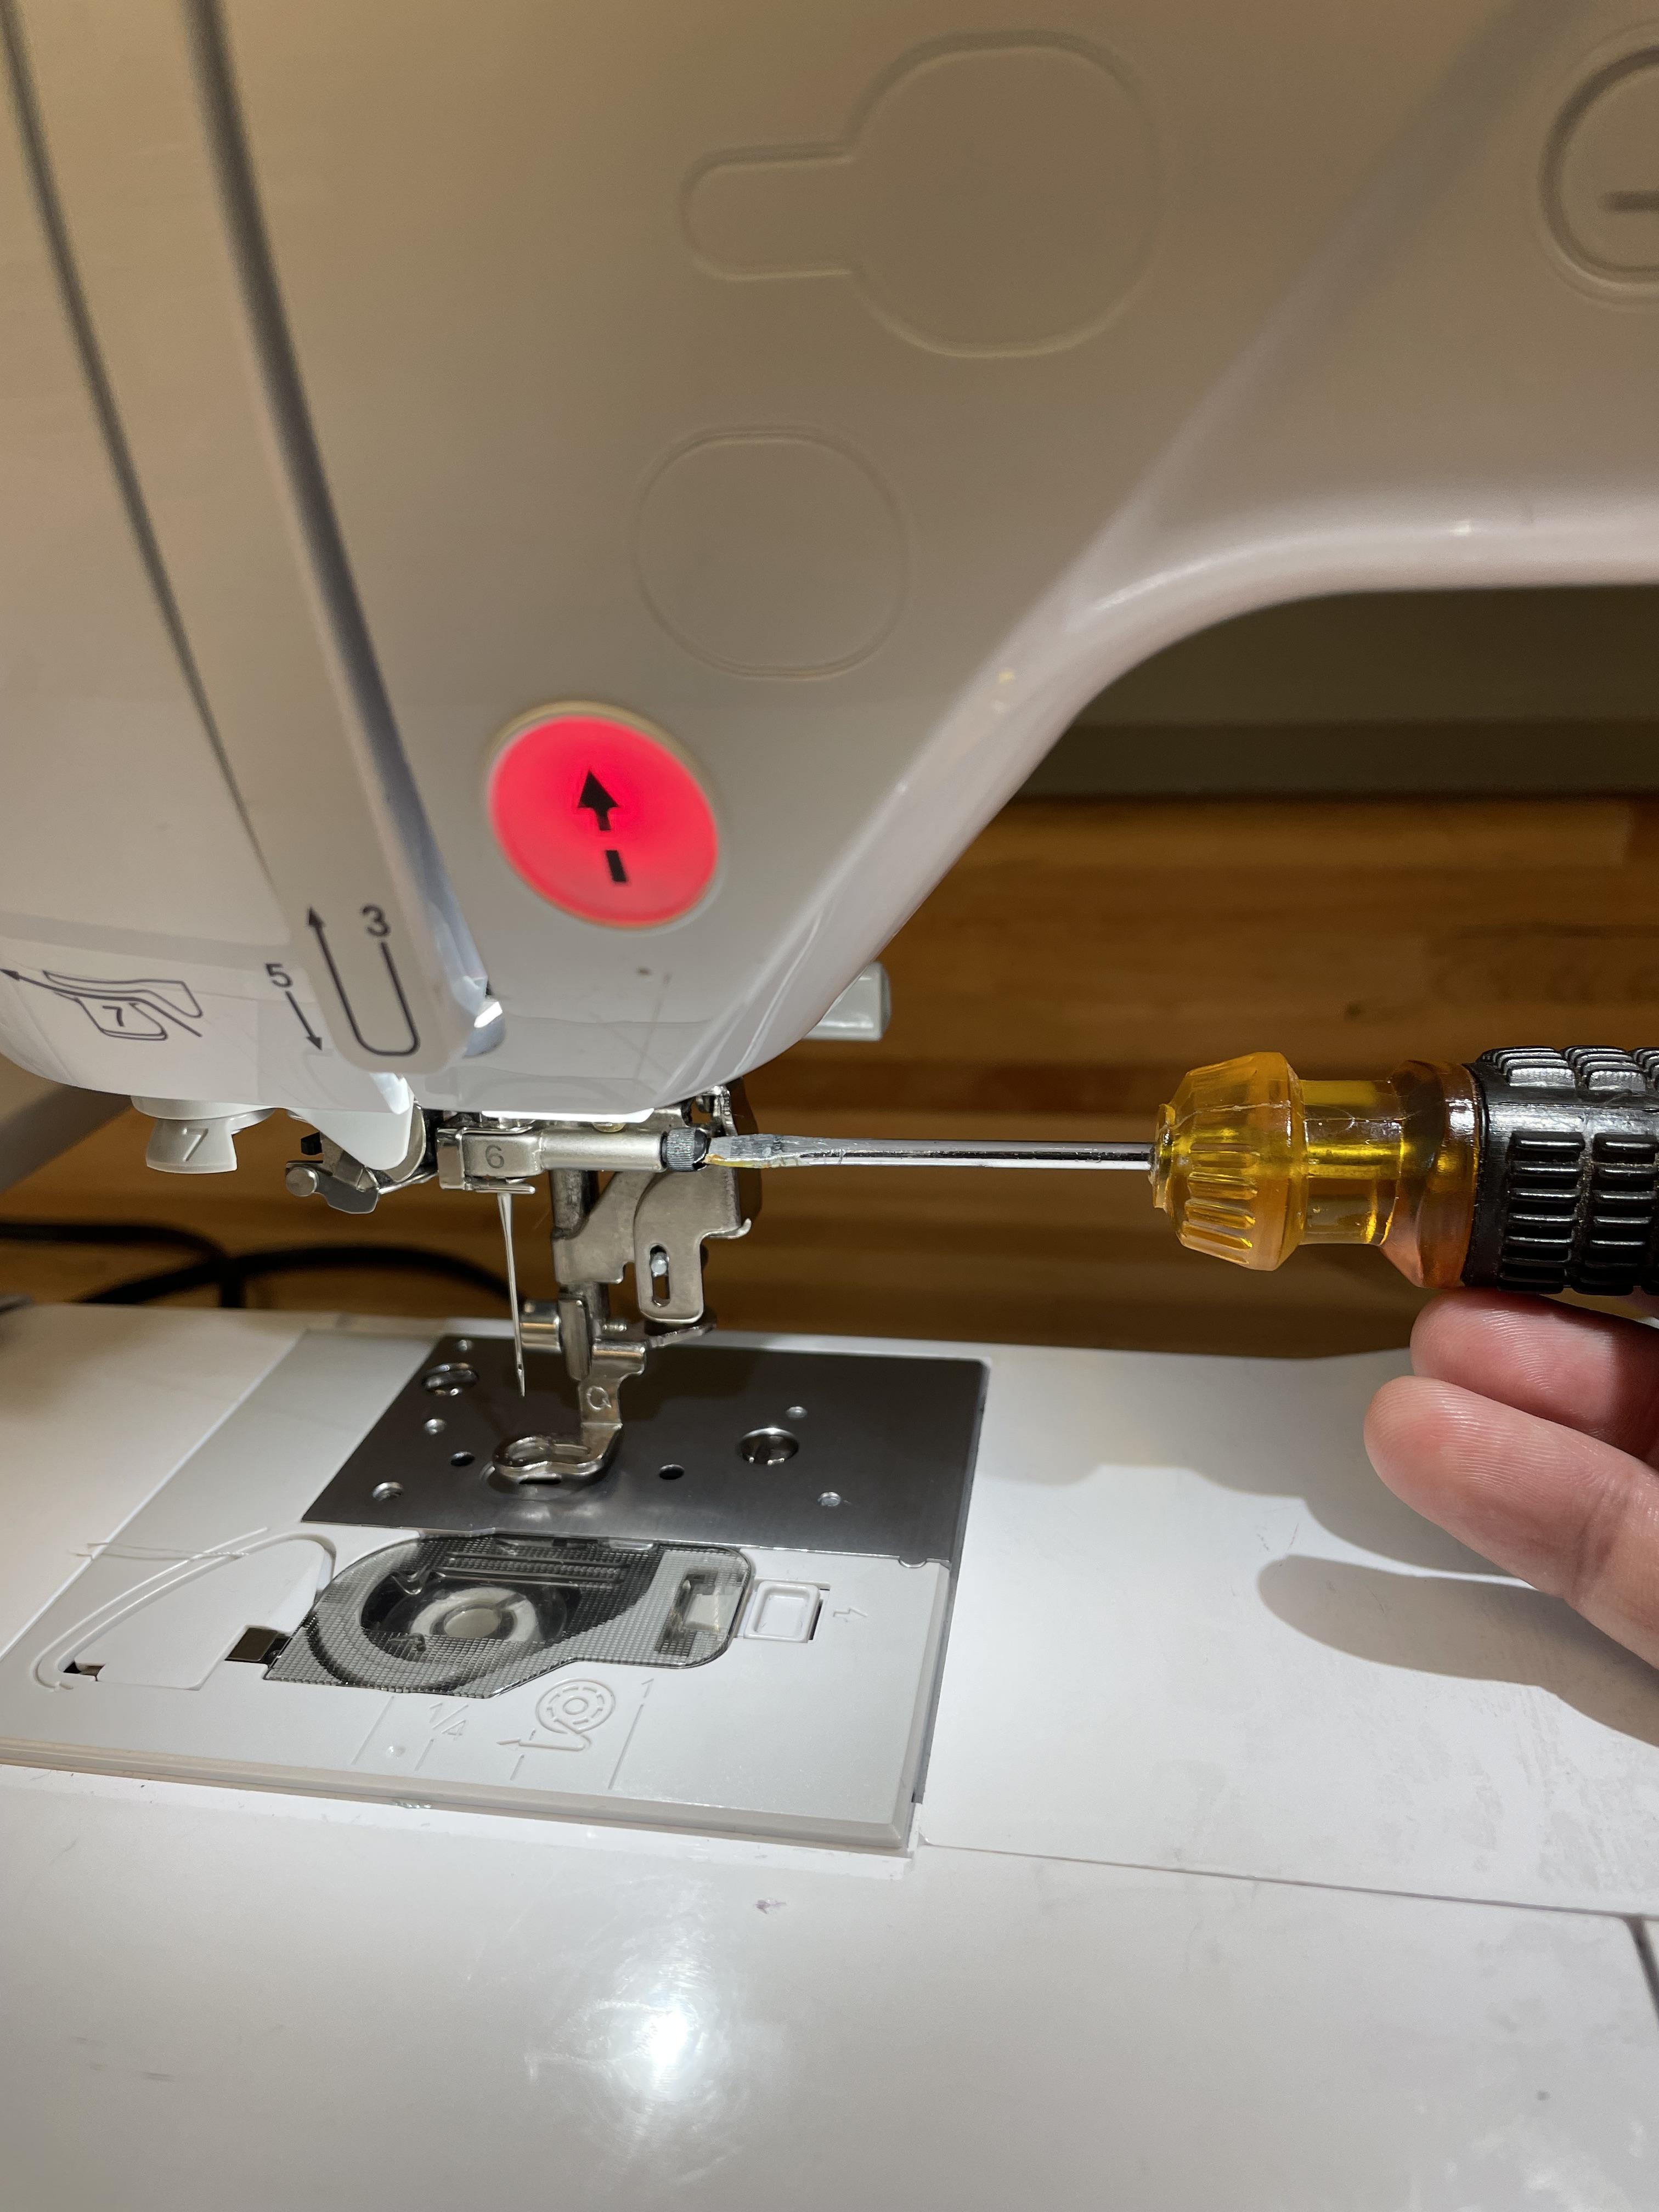
1) Loosen the small screw adjacent to step 6 of the threading guide
2) Grab a needle that is size 75/11
2) Insert the needle into the slot with the flat side facing toward the back of the machine
3) Push the needle up until it hits the small metal circle (see video)
4) Tighten the screw
Prepare Your Fabric and Hoop
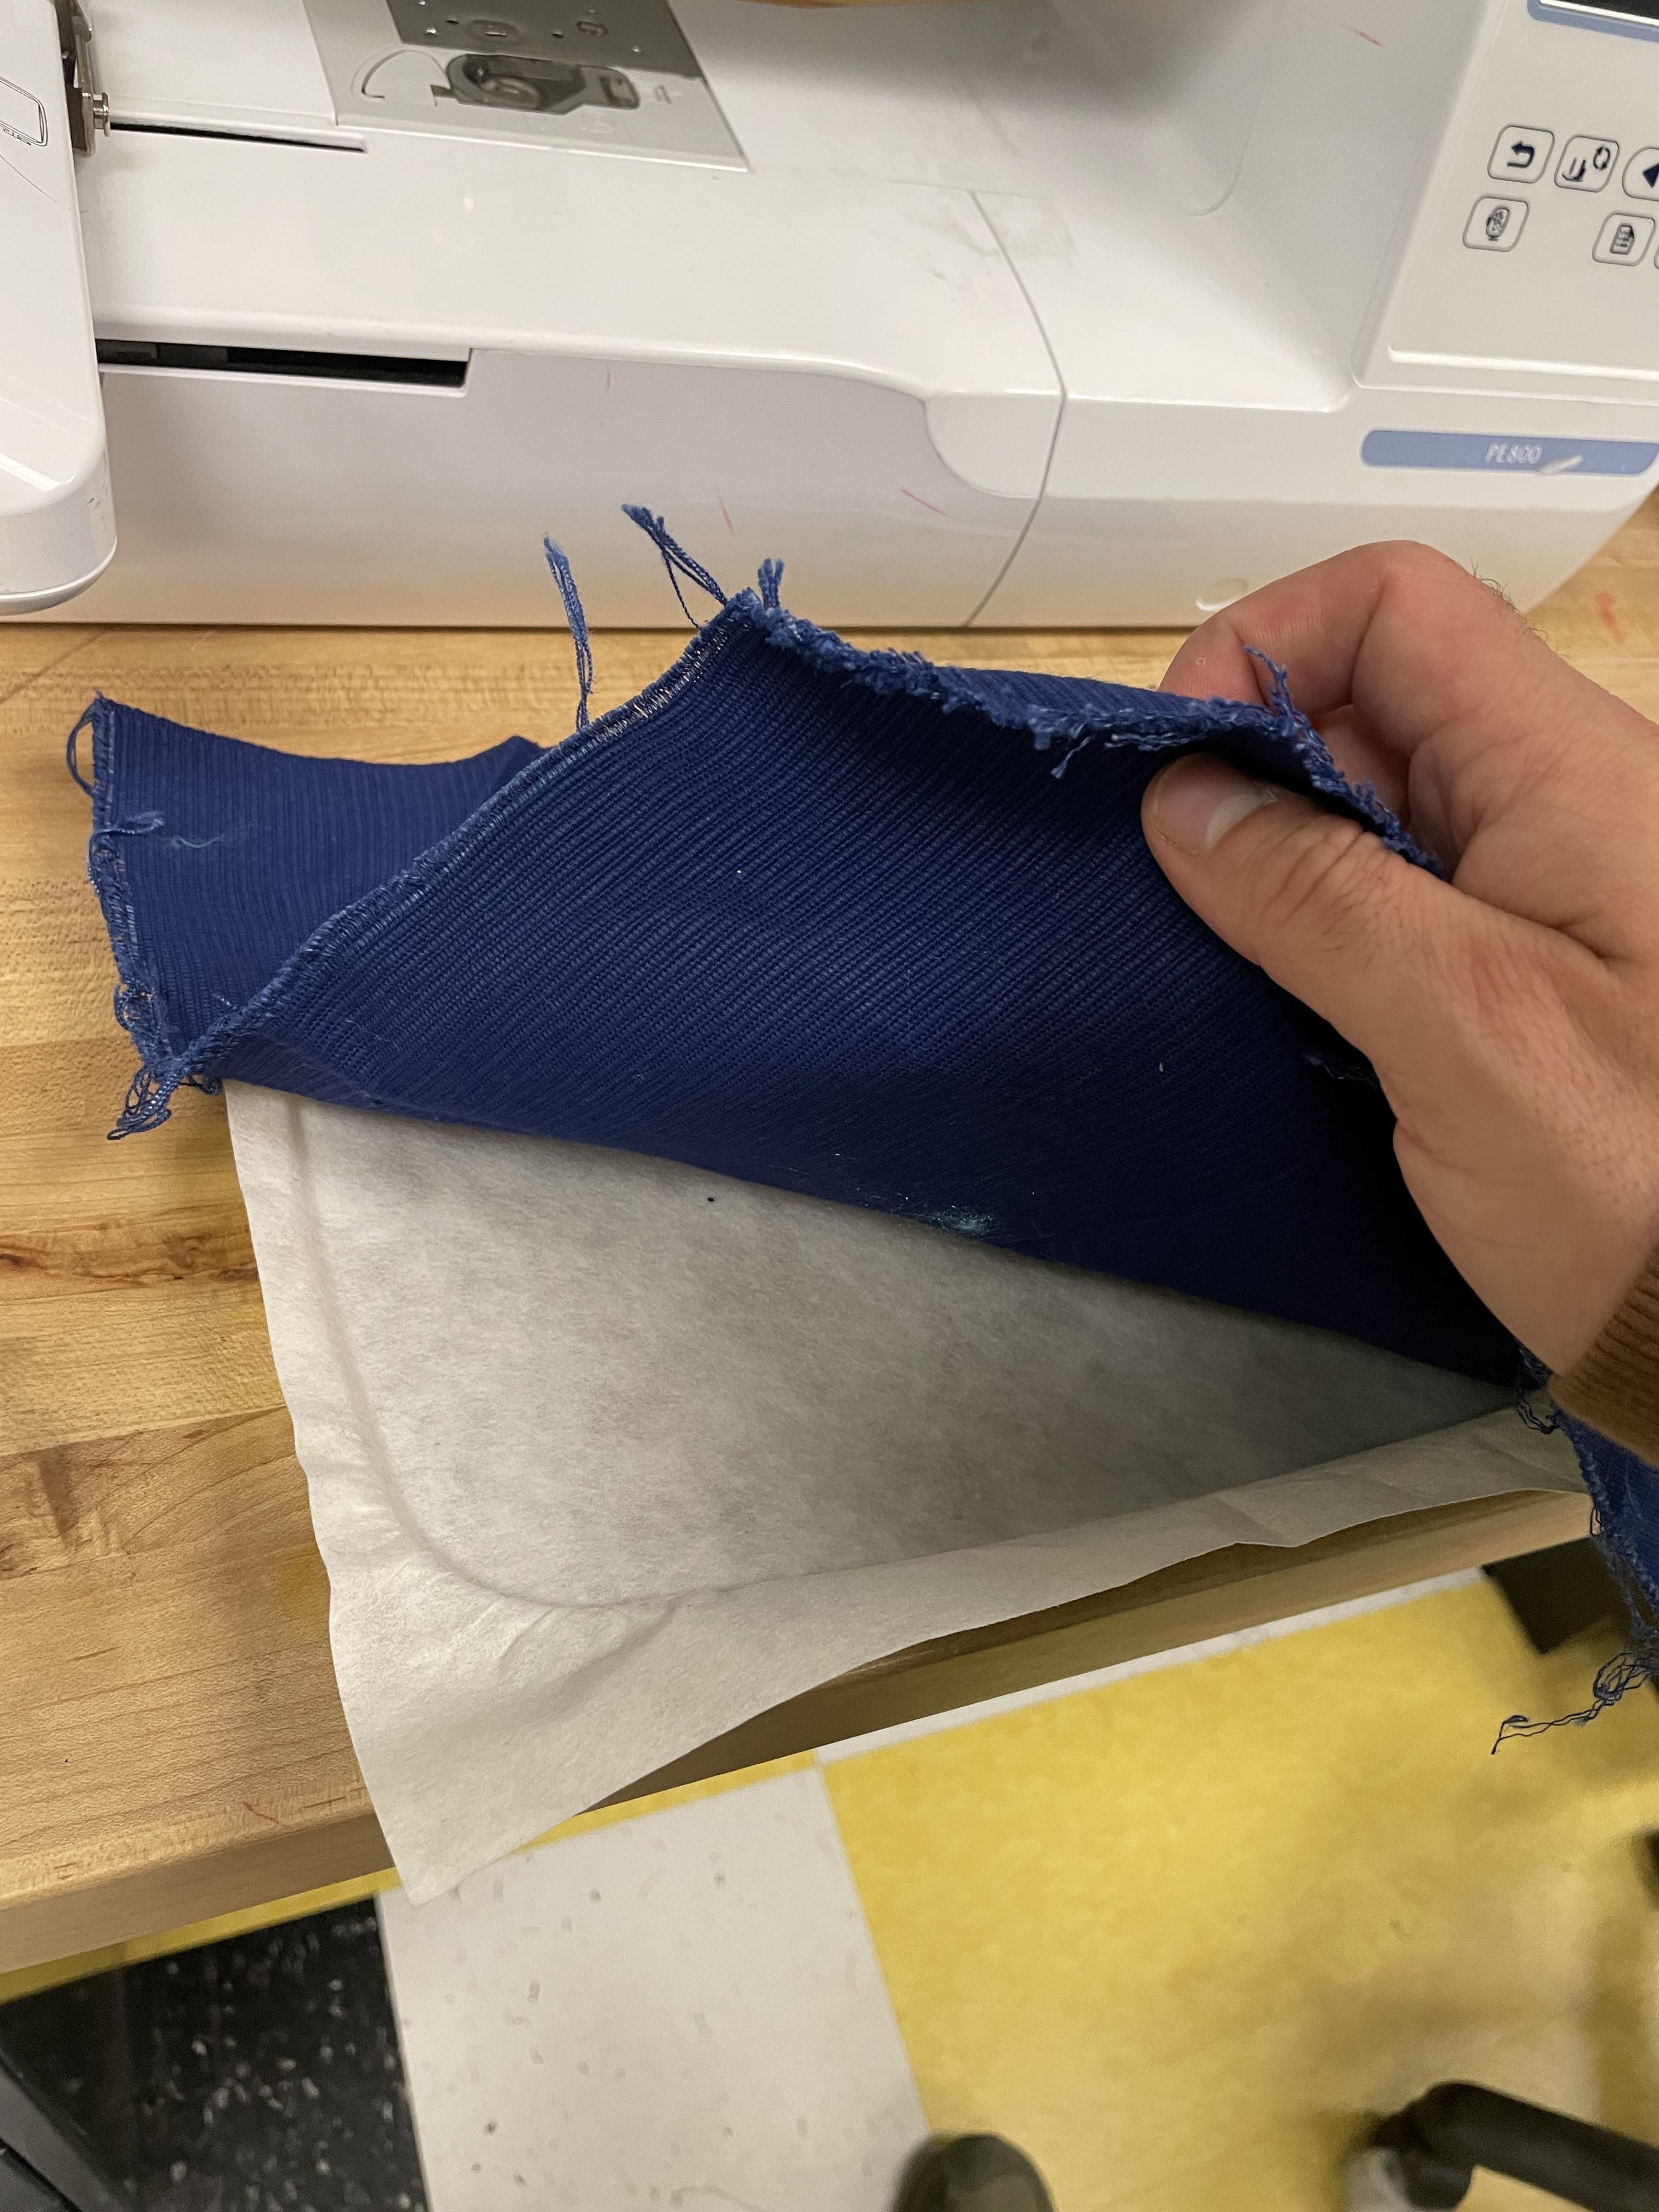
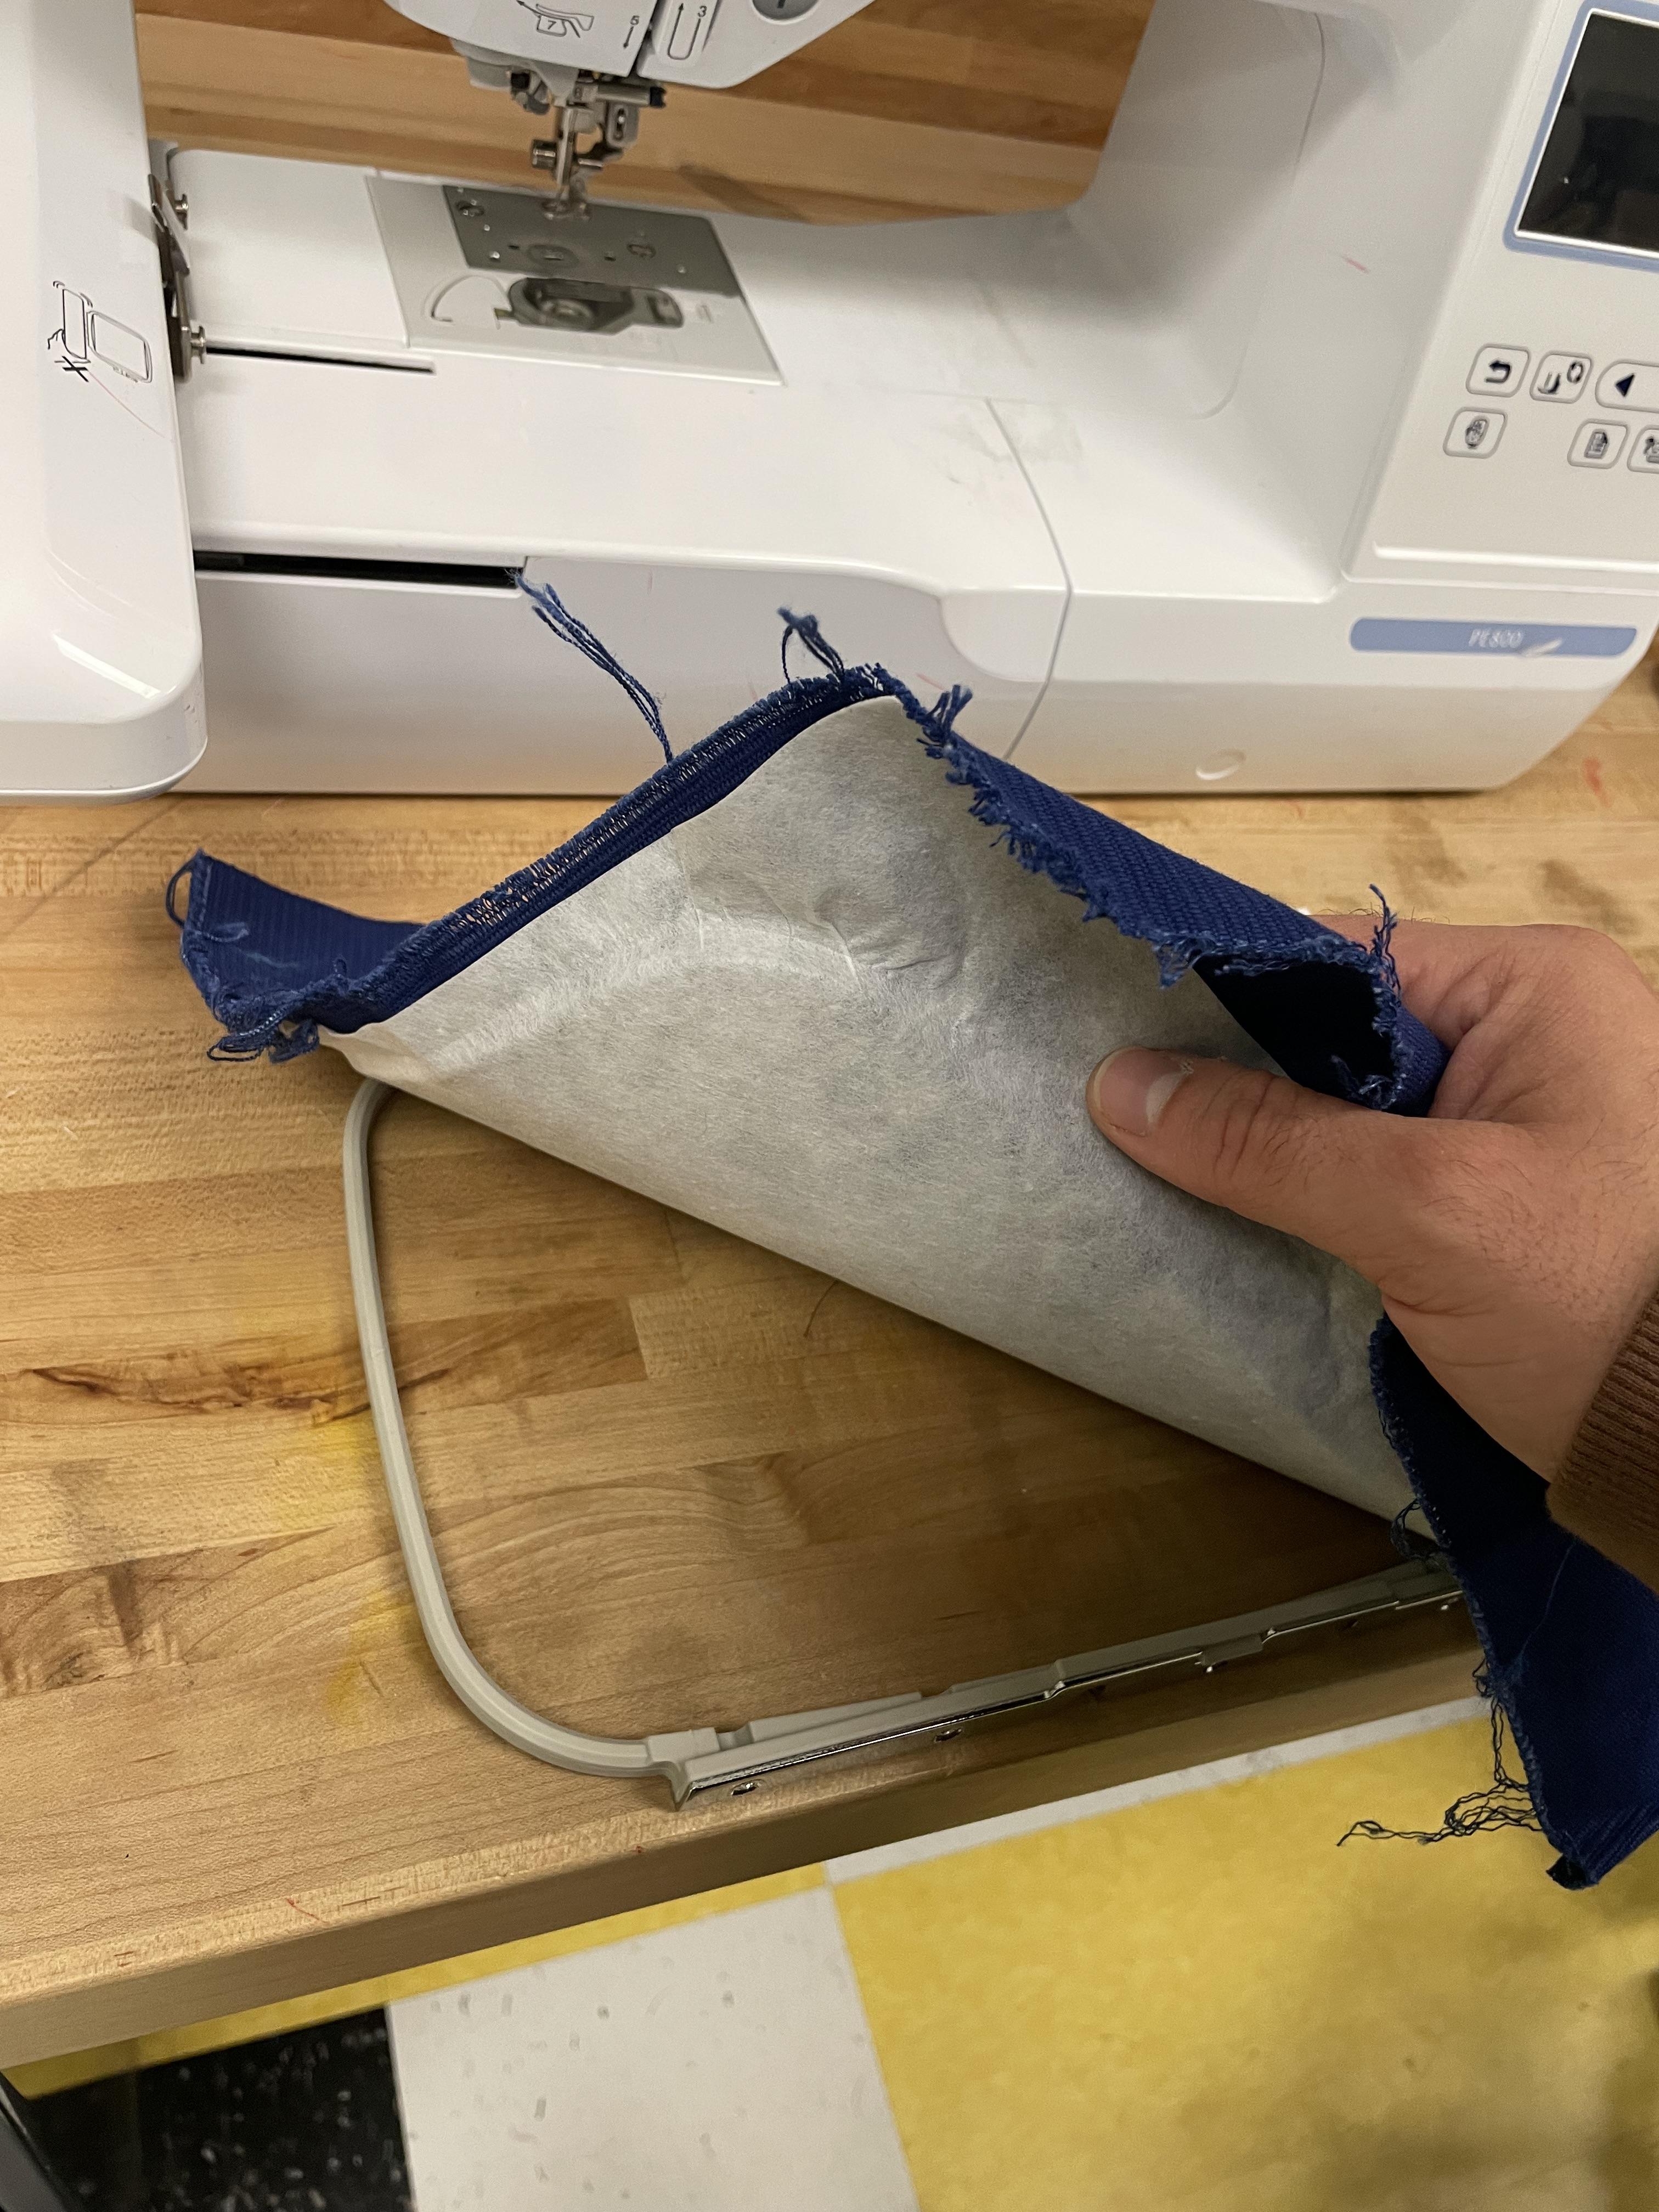
1) Select the fabric you want to embroider.
2) Cut a piece of stabilizer slightly larger than your chosen hoop size.
3) Place the stabilizer on the wrong side (back) of the fabric.
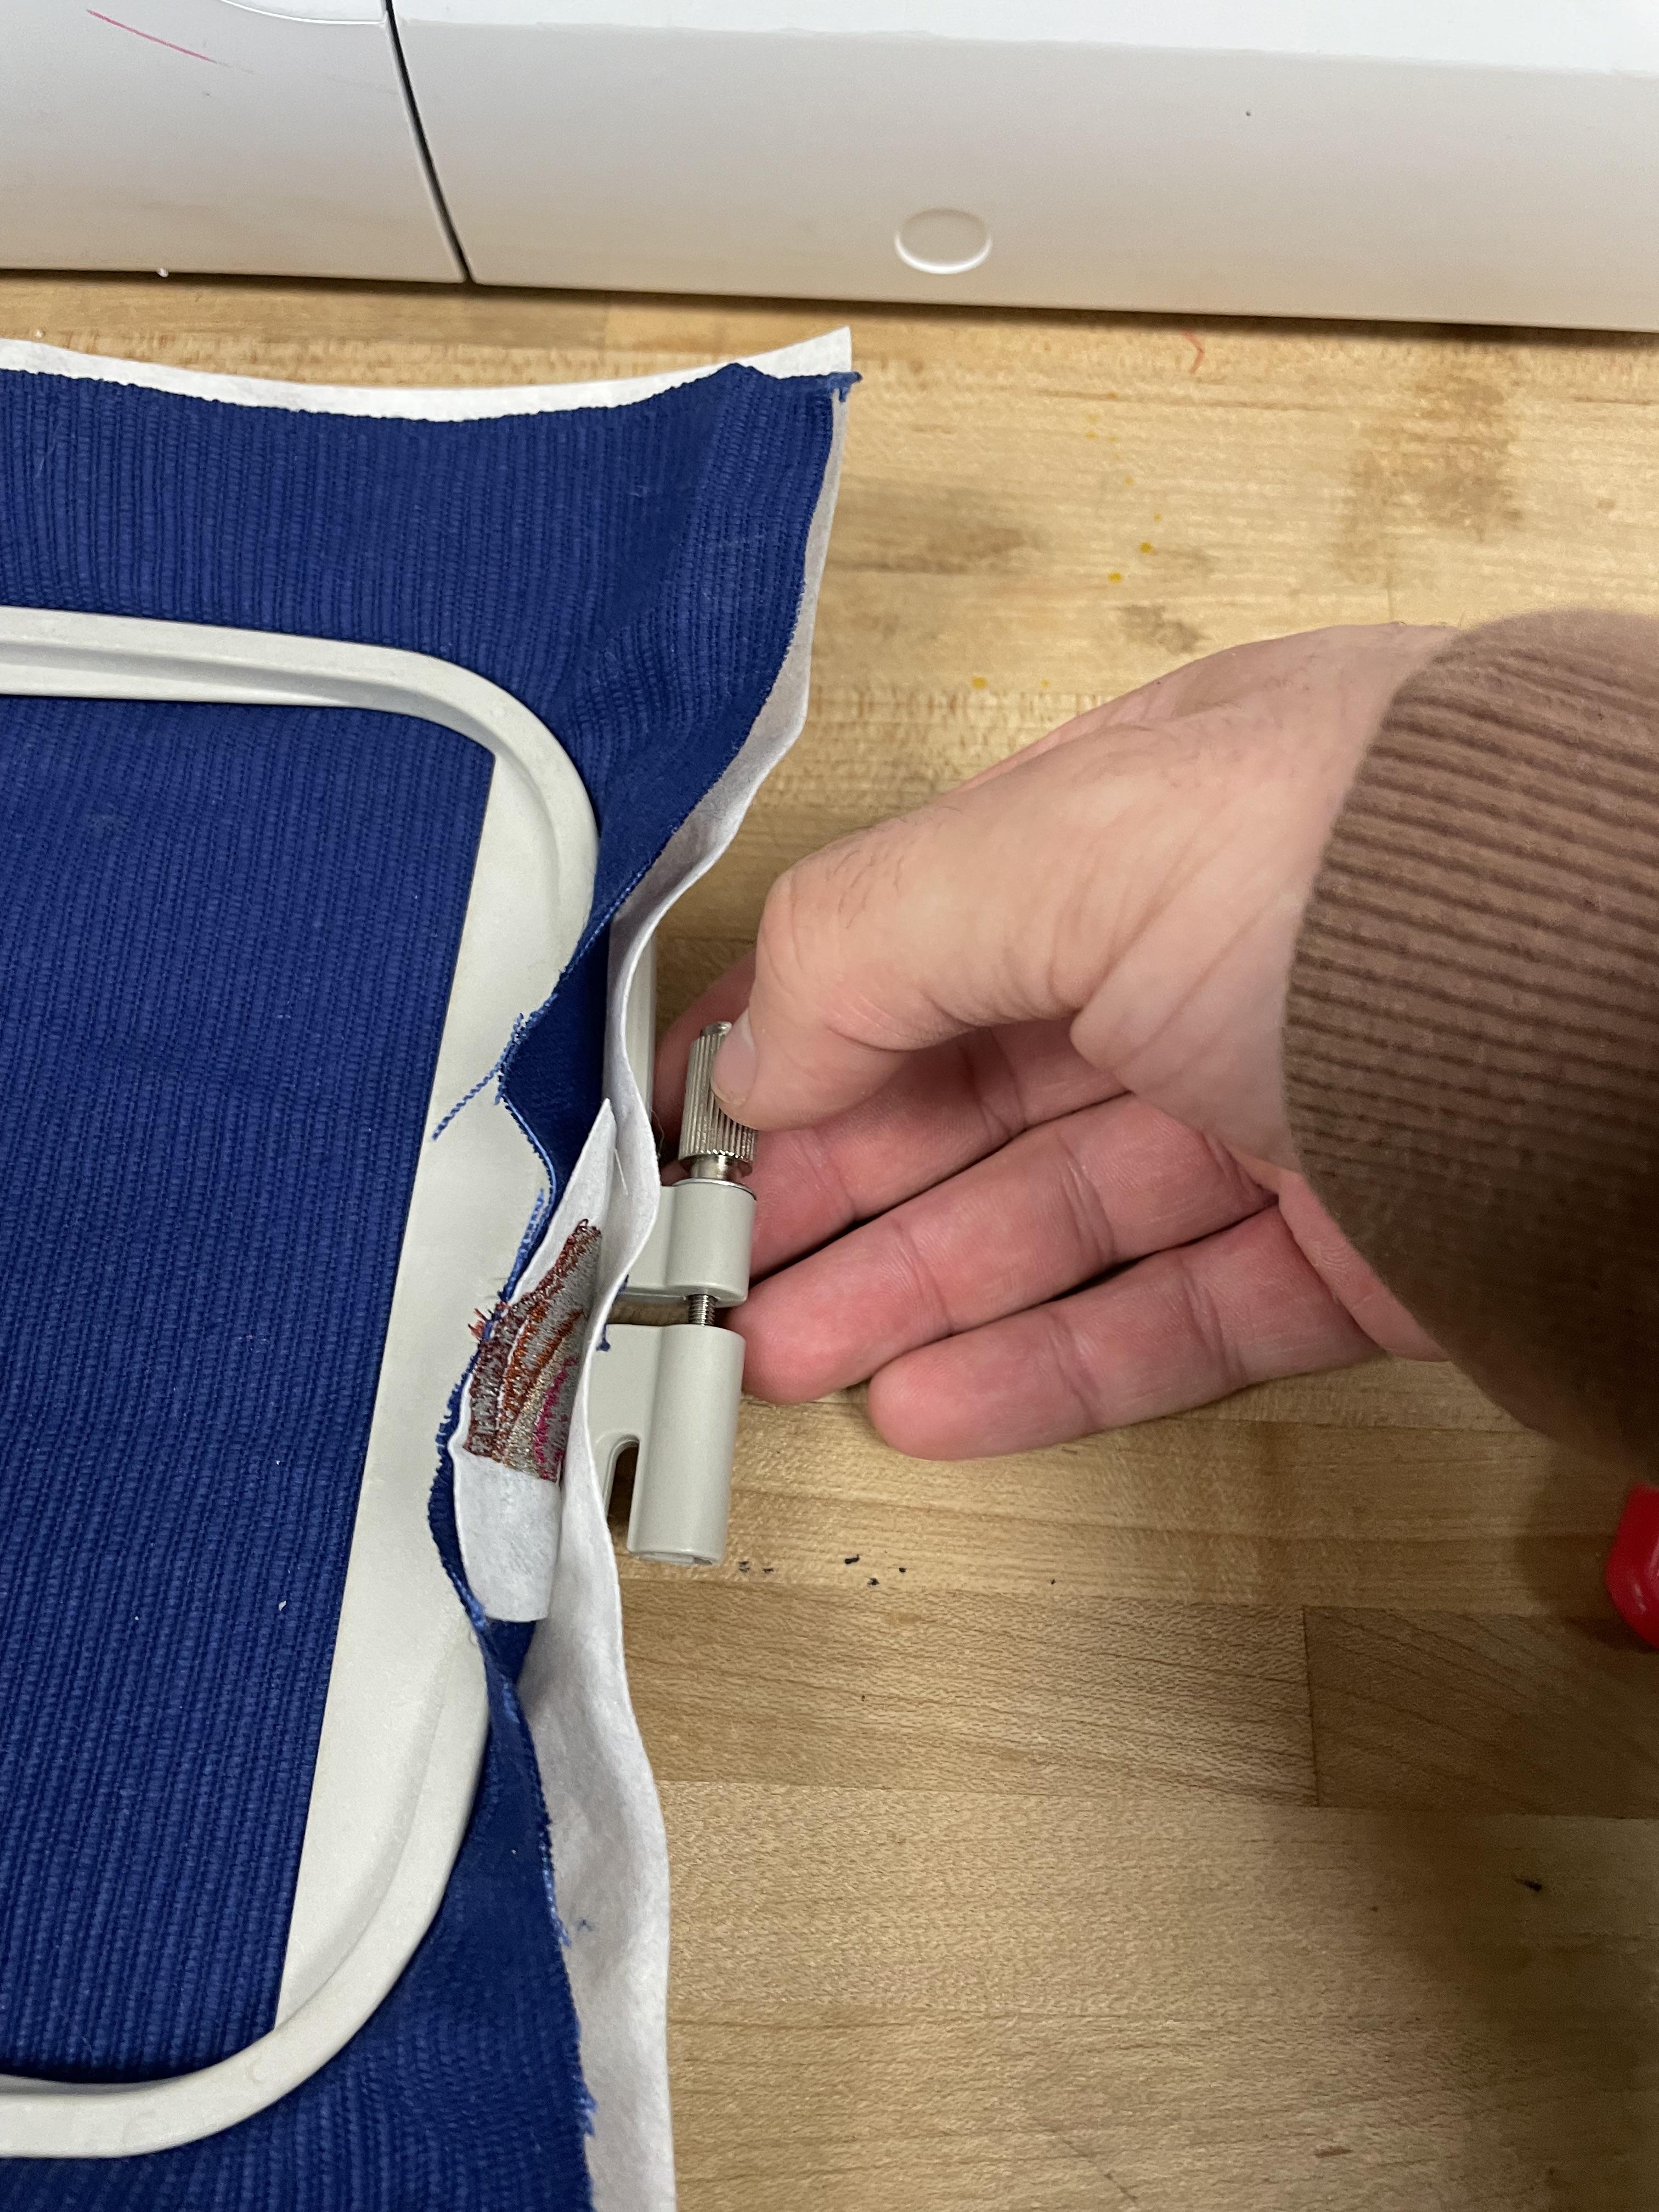
4) Loosen the hoop screw and separate the inner and outer hoops.
5) Lay the outer hoop on a flat surface and place the fabric and stabilizer on top, aligning them with the hoop.
6) Press the inner hoop into the outer hoop, sandwiching the fabric and stabilizer. Ensure the fabric is taut and wrinkle-free.
7) Tighten the hoop screw to secure the fabric and stabilizer in place.
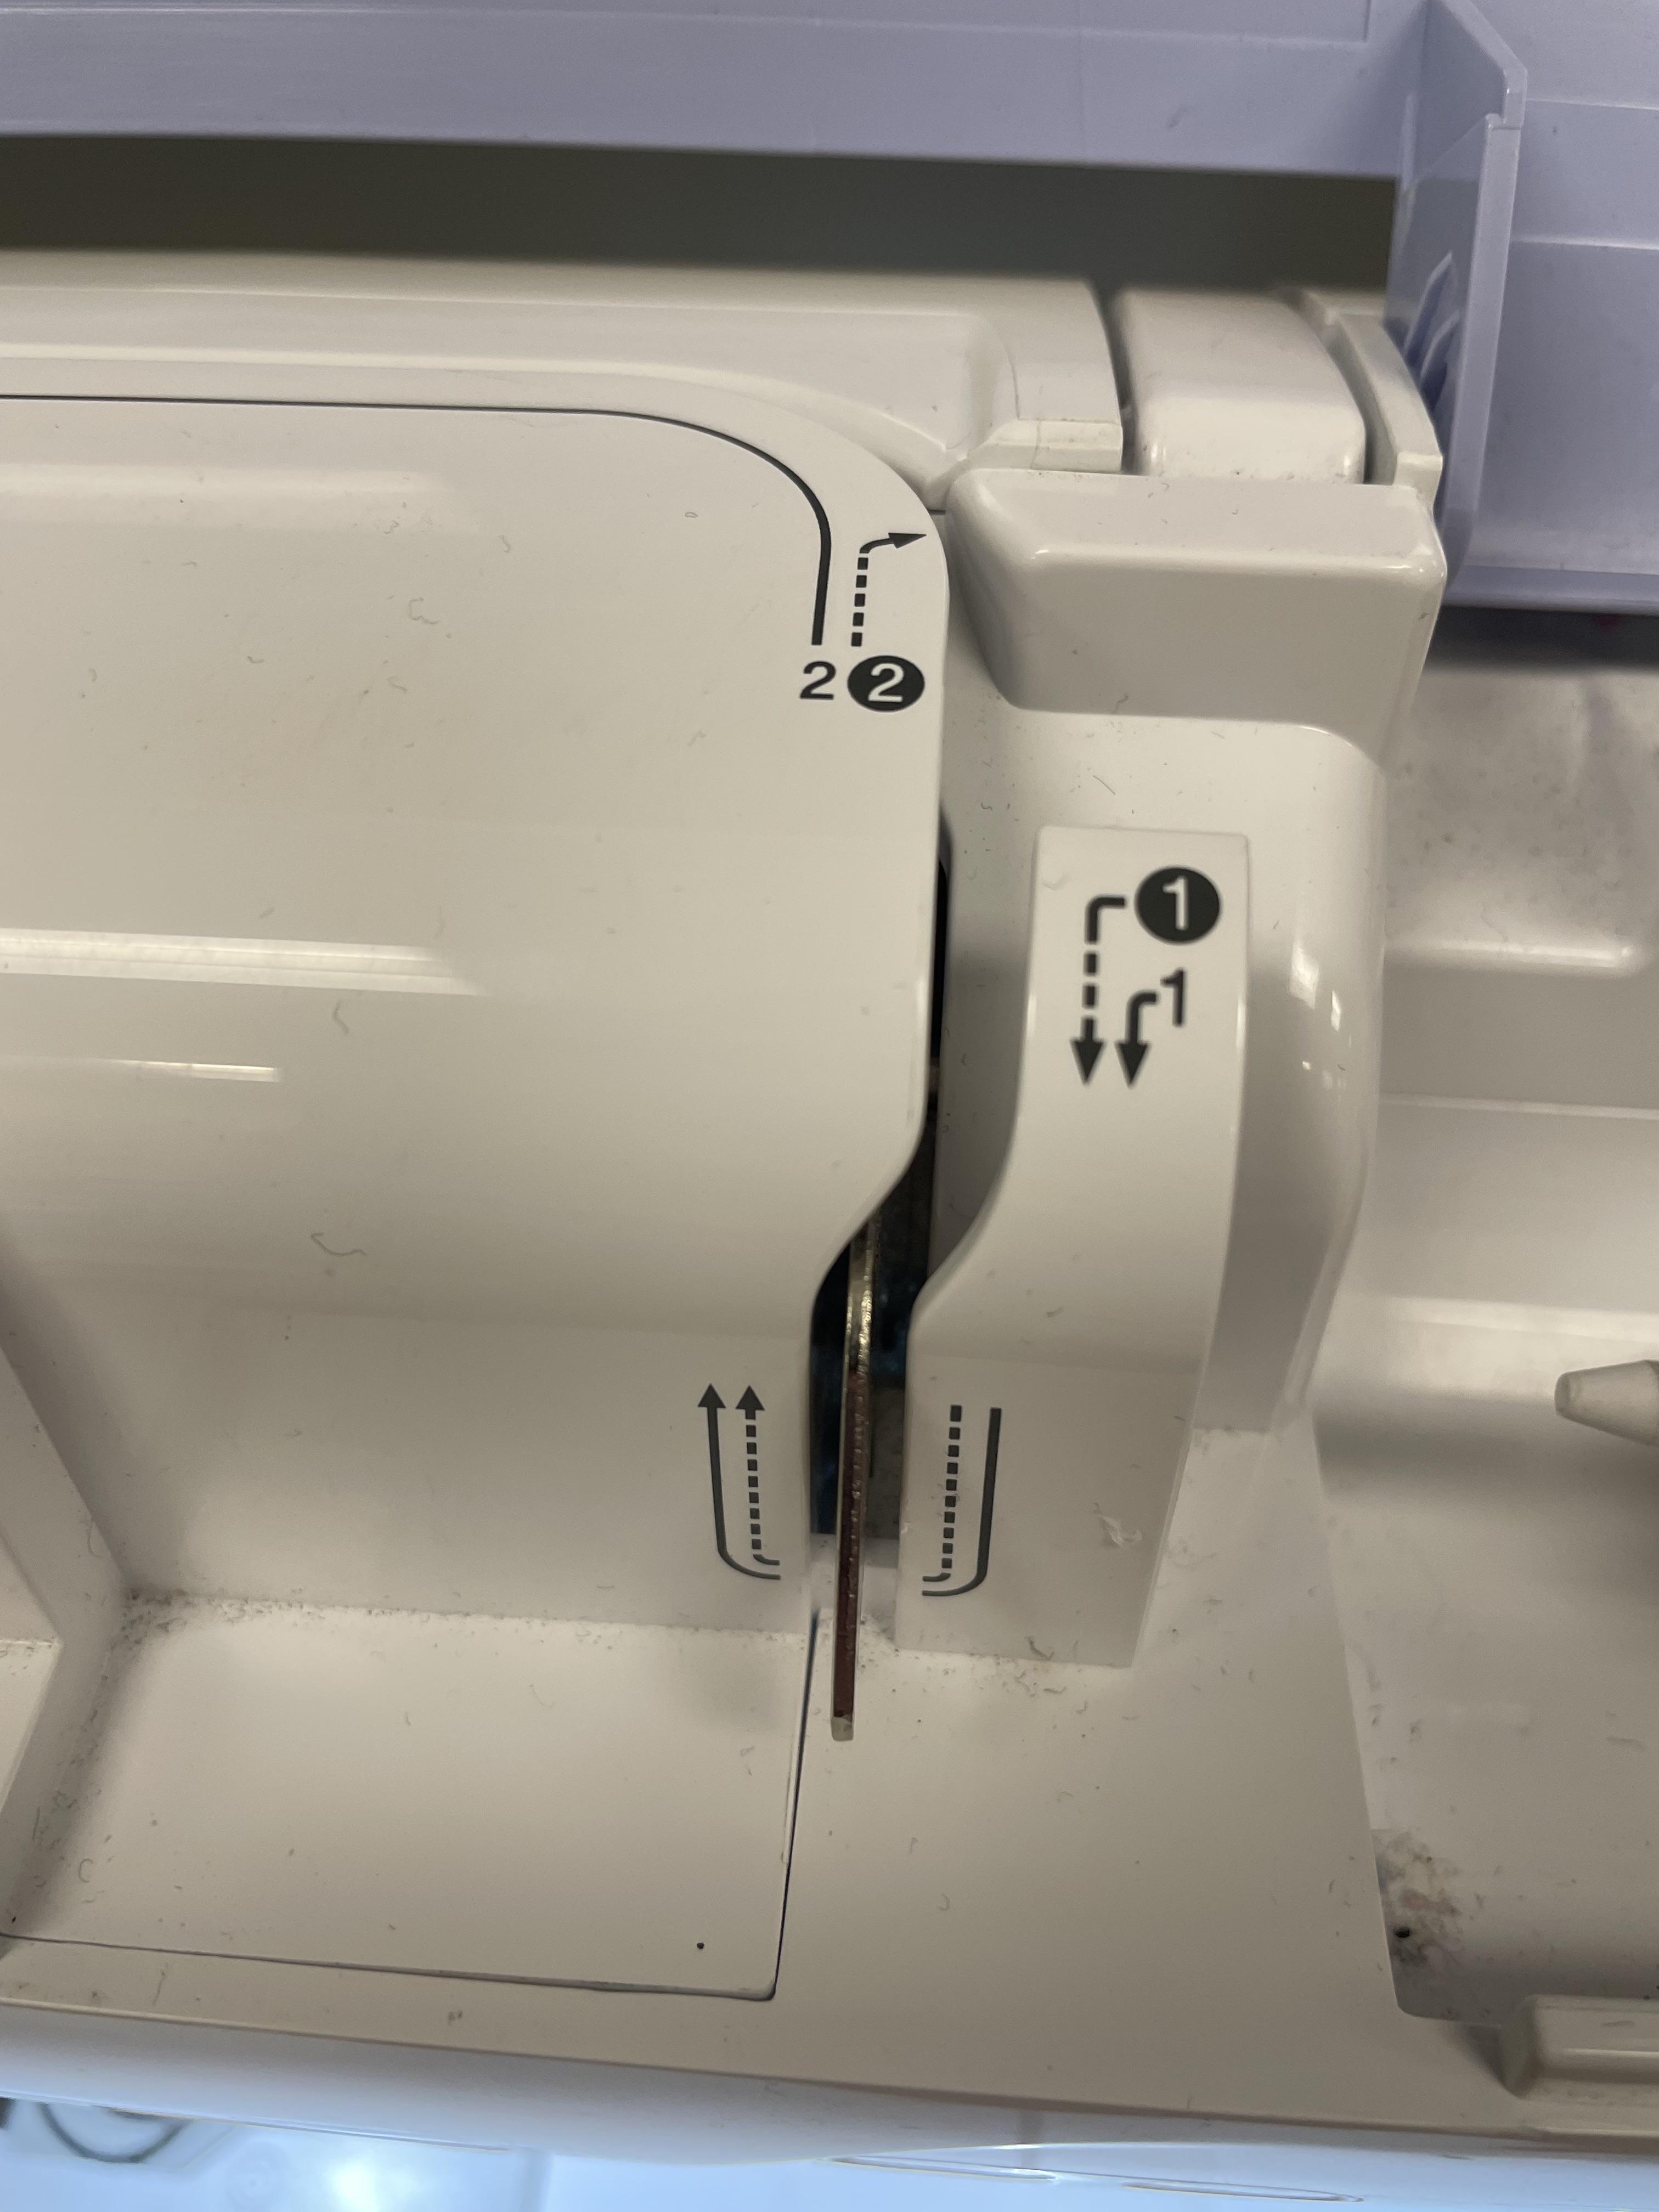
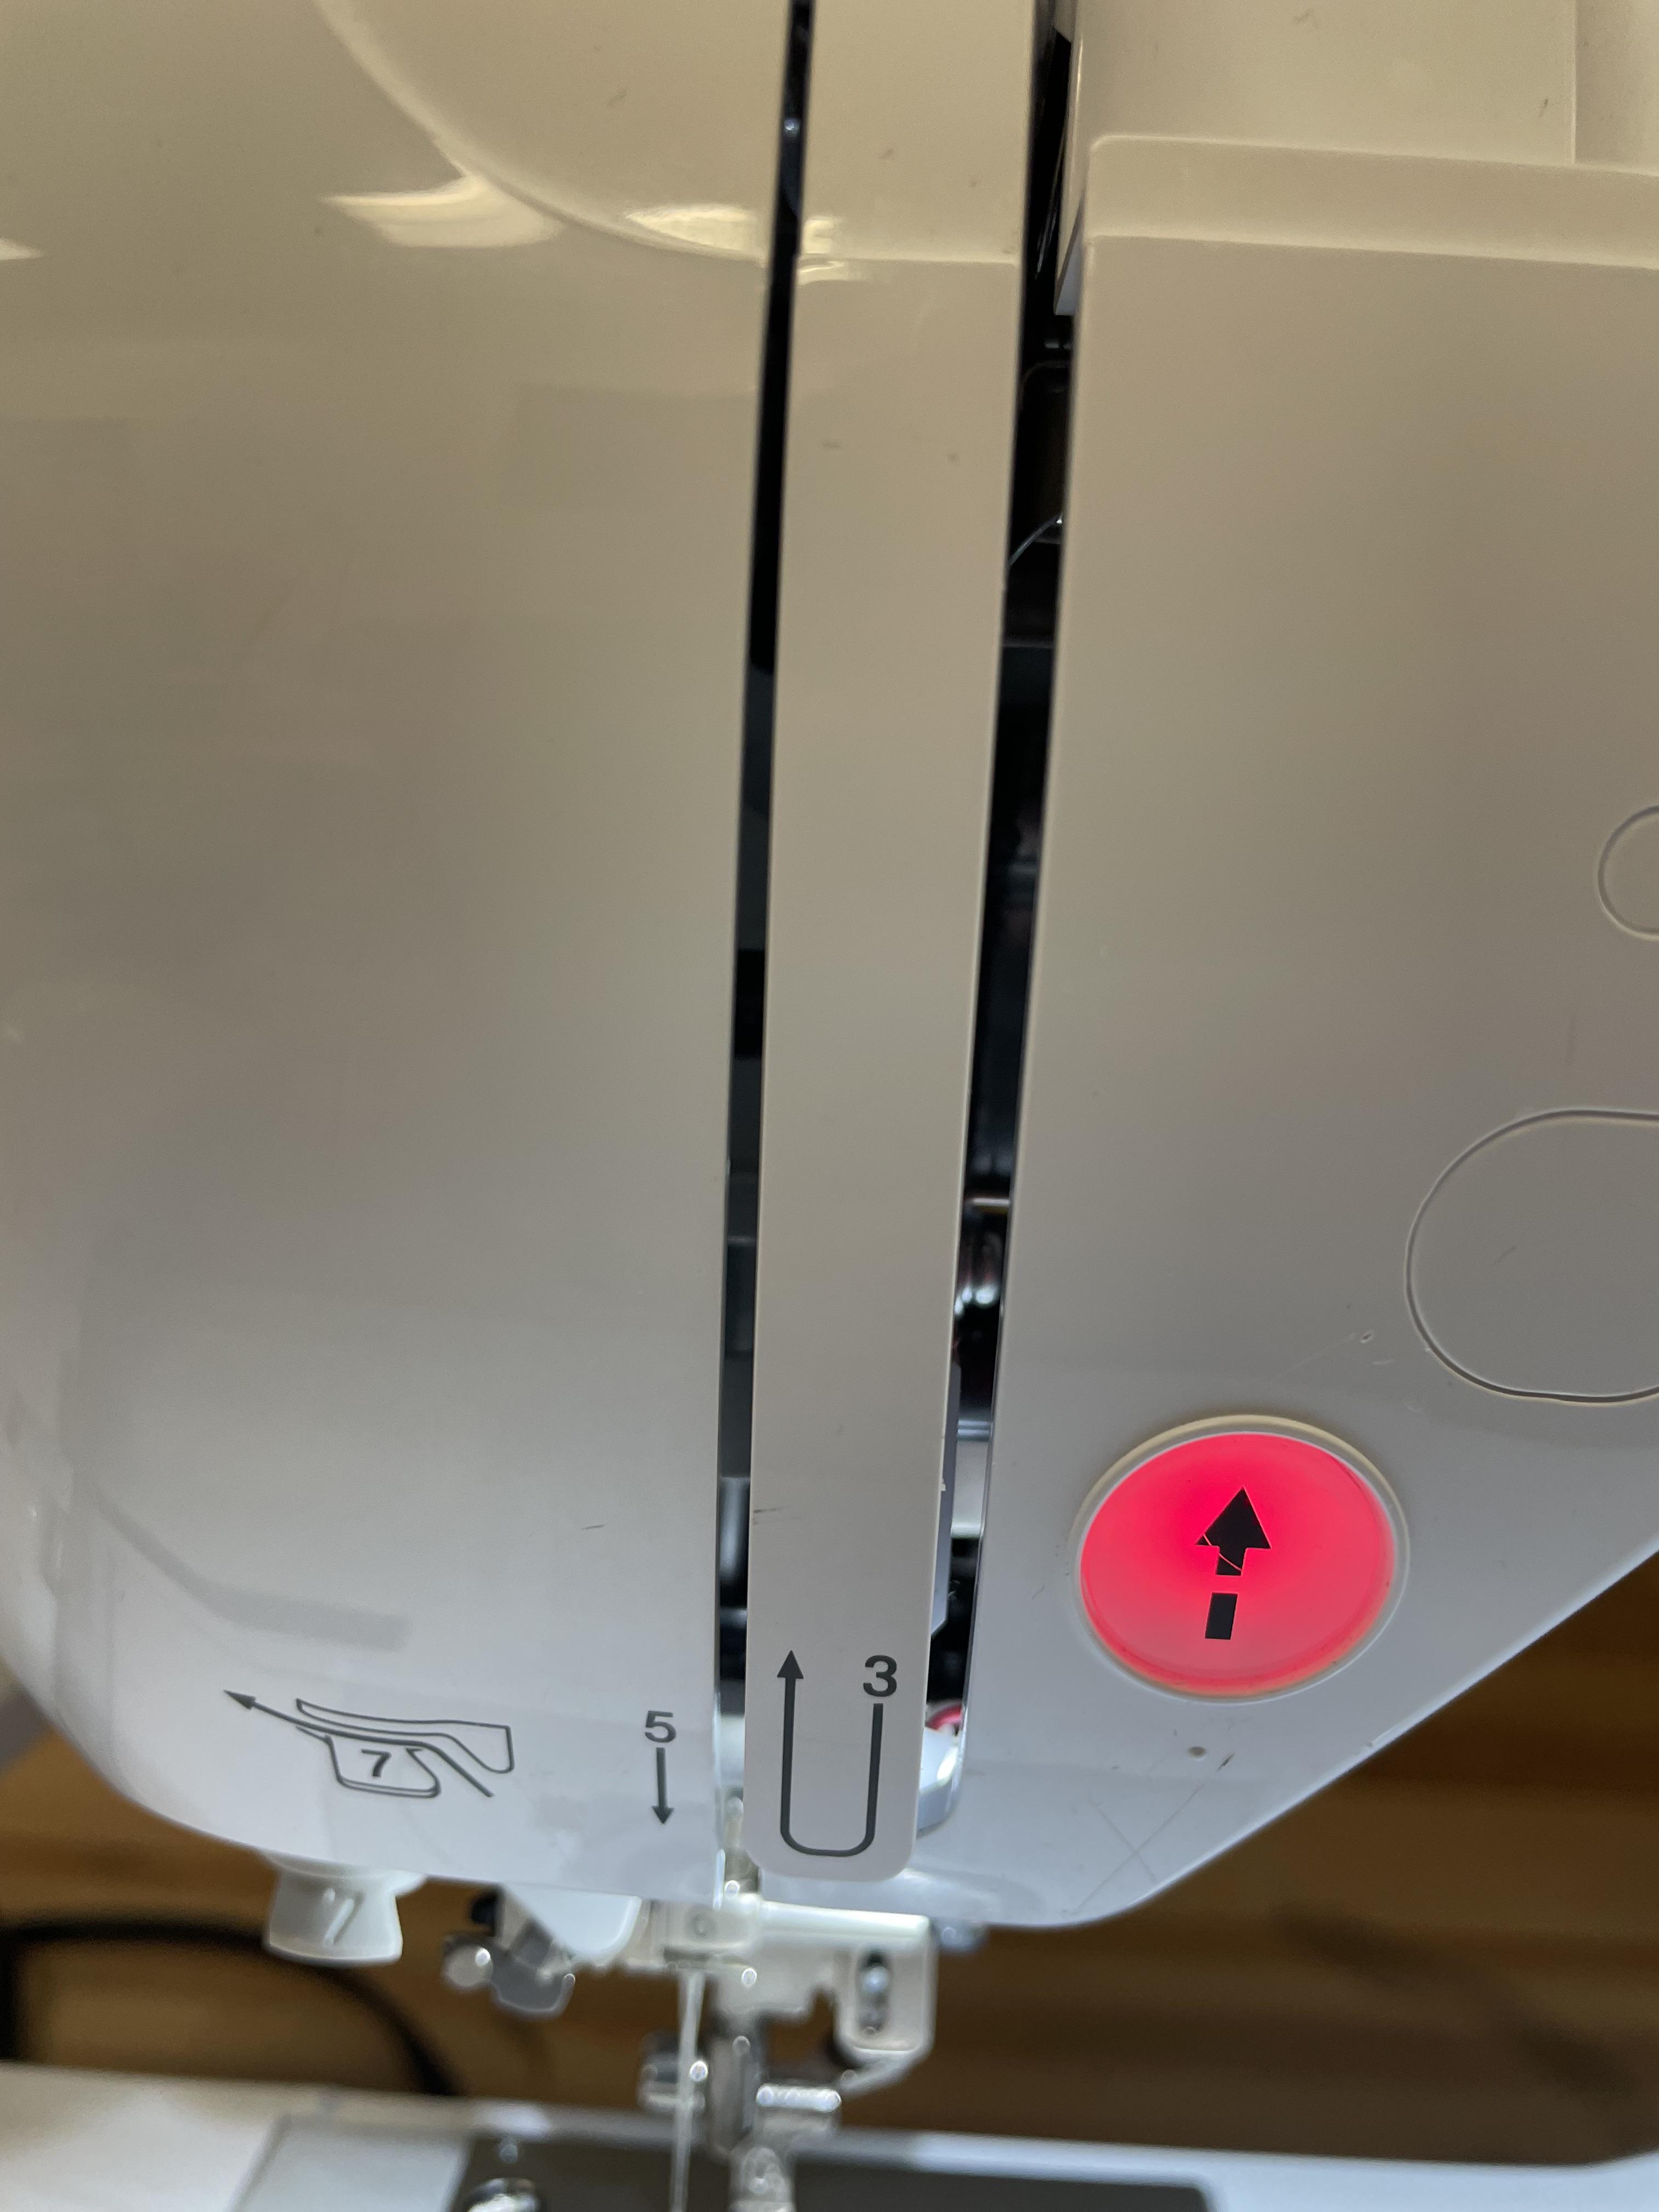
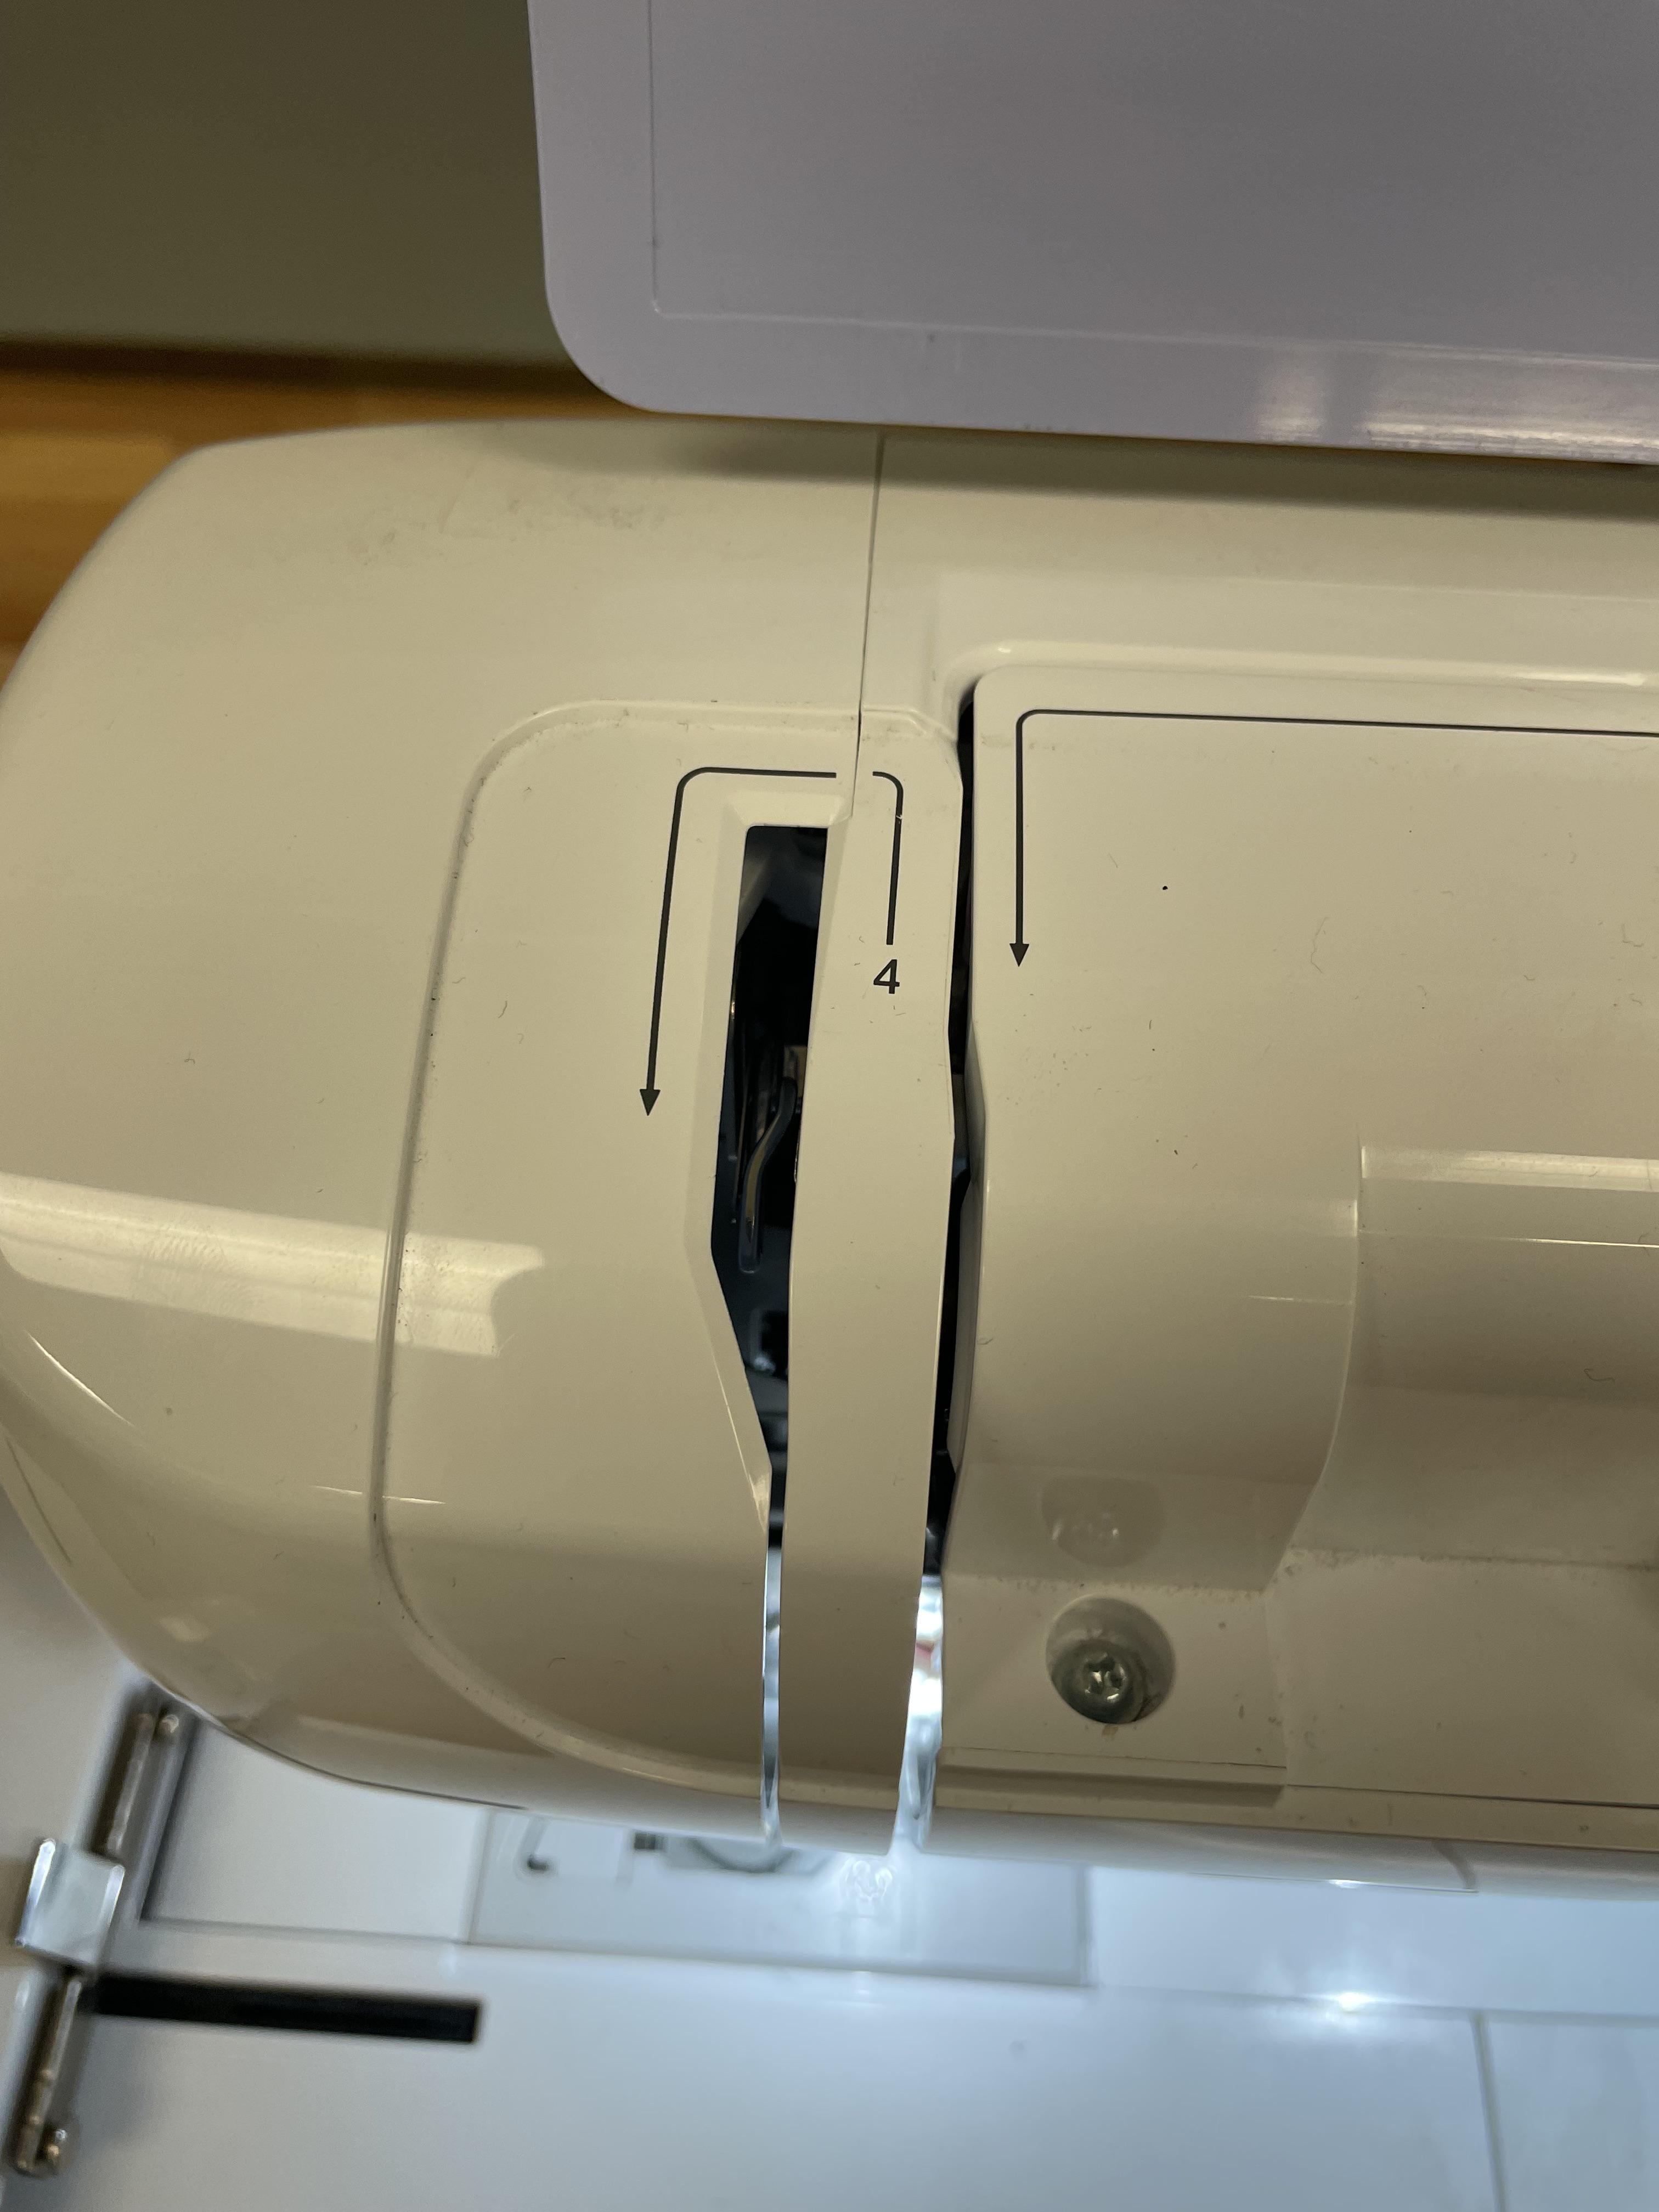
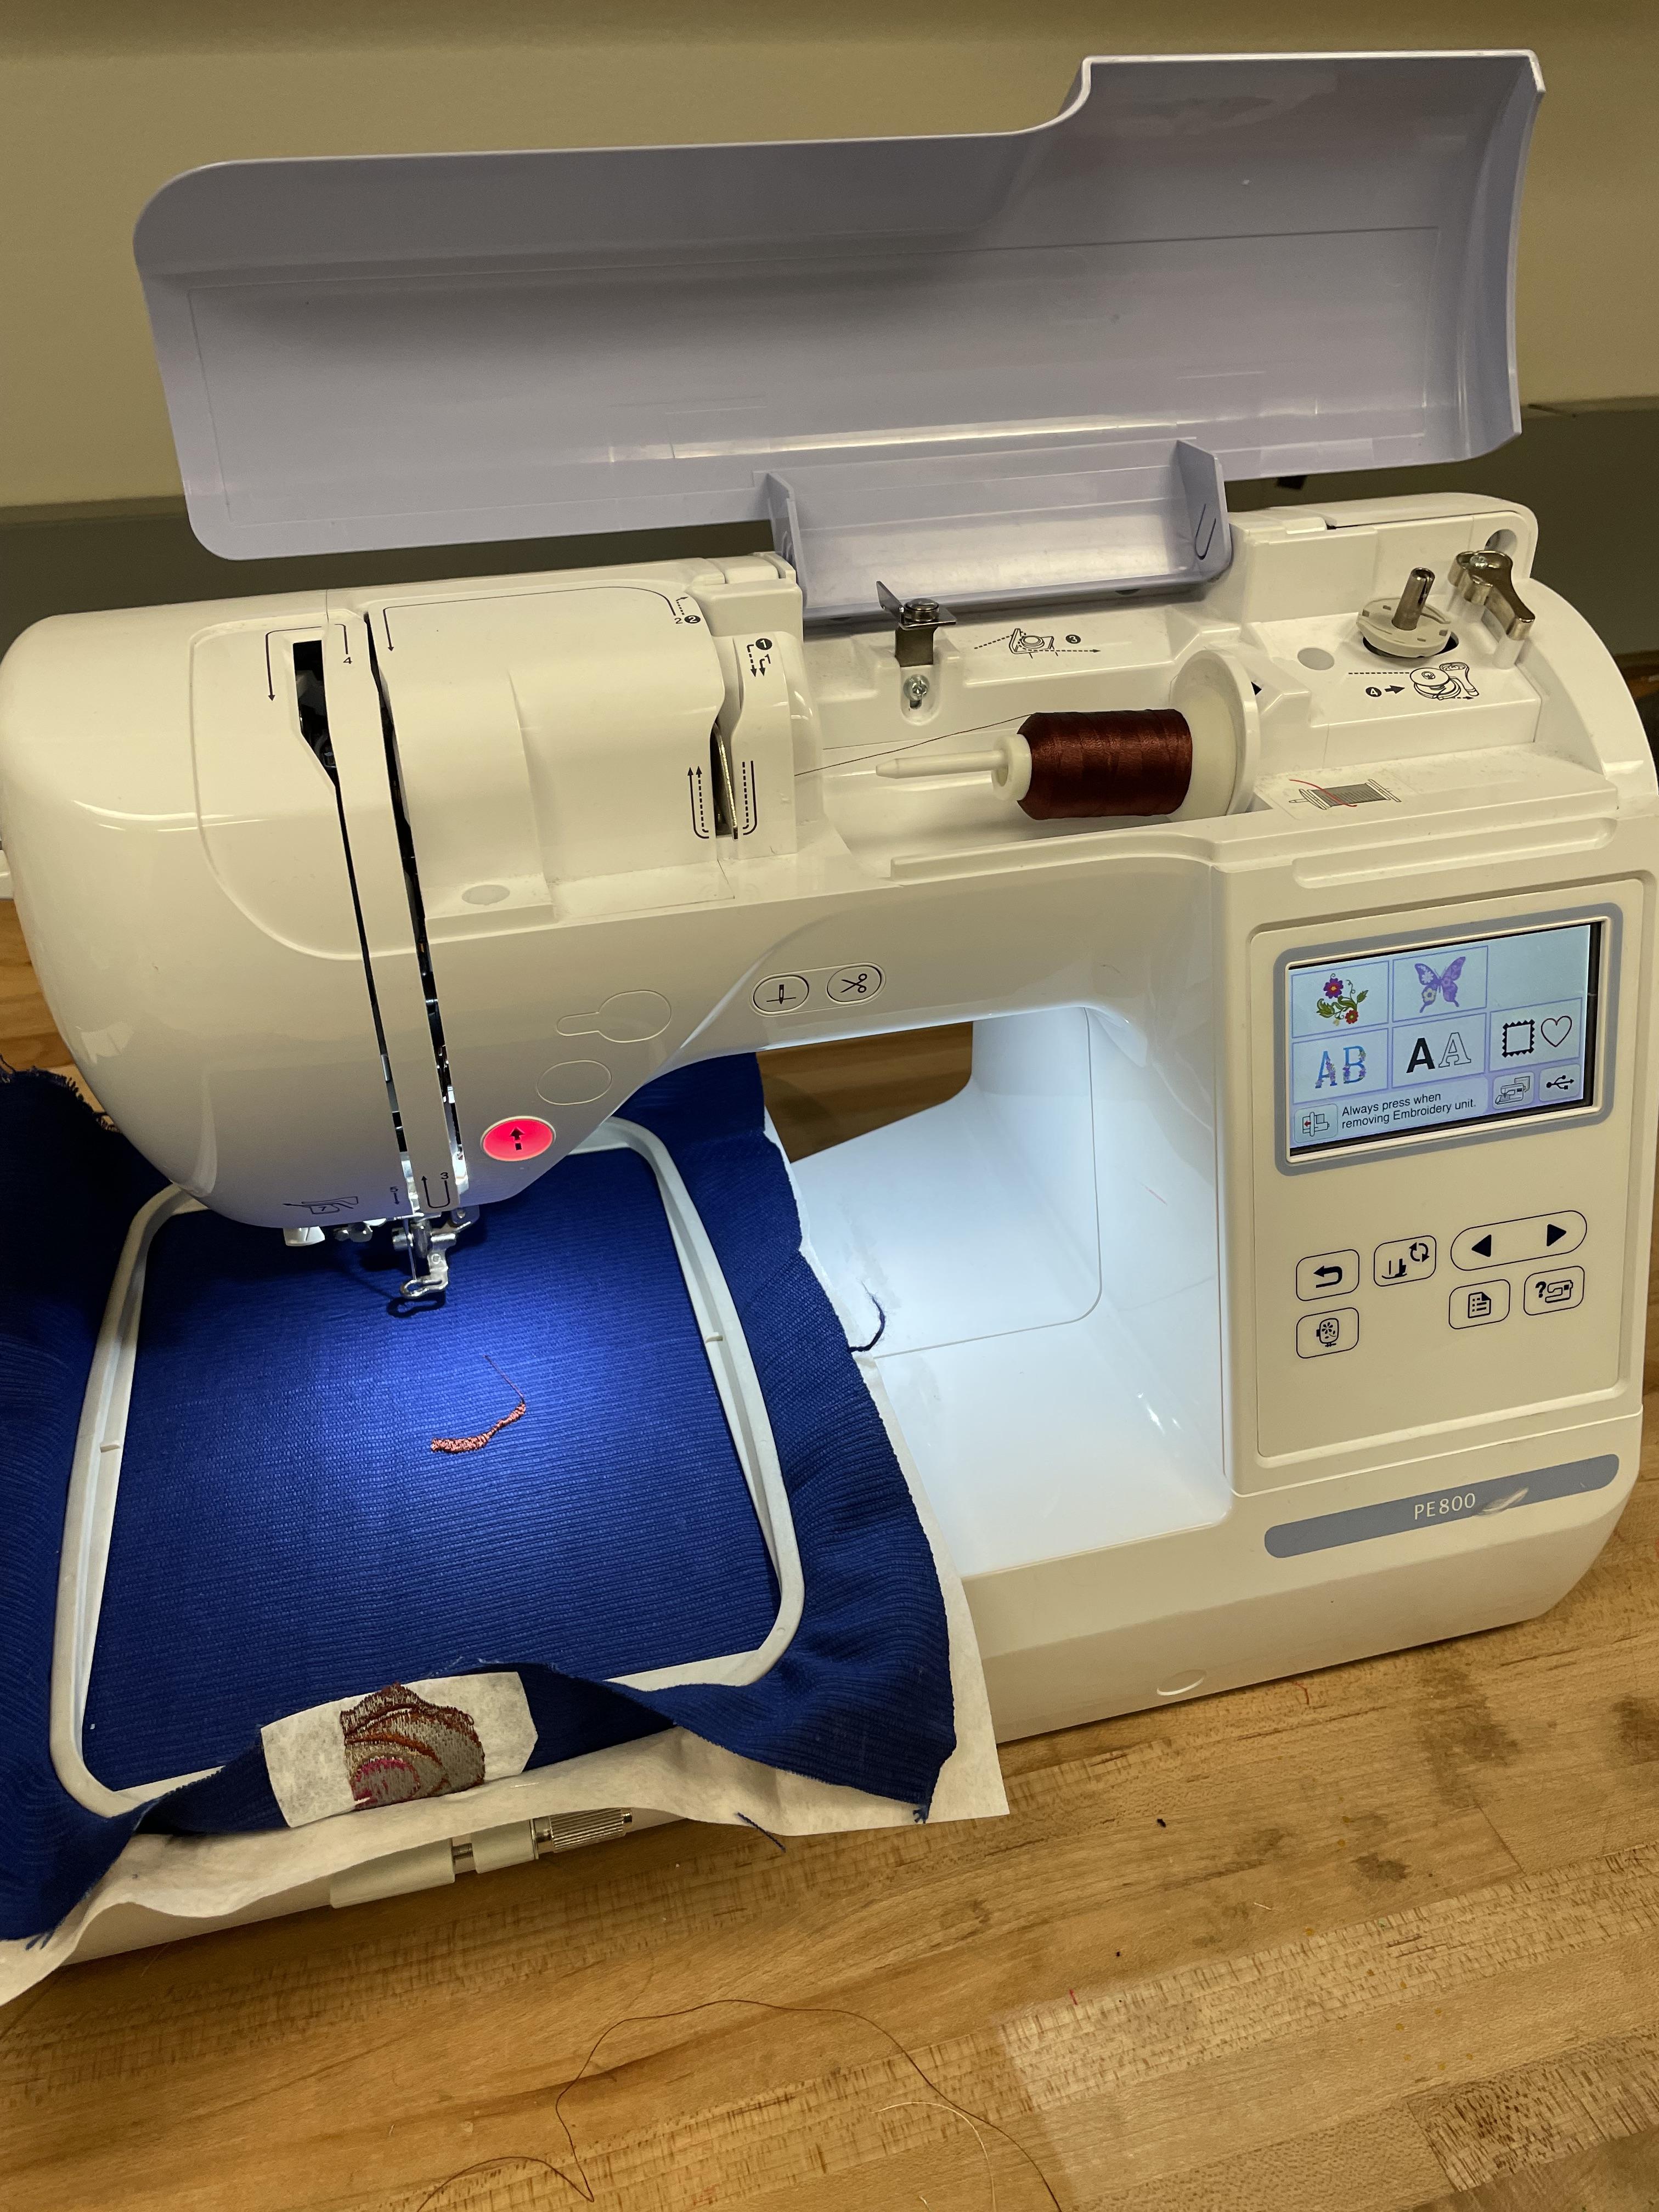
Thread the Machine
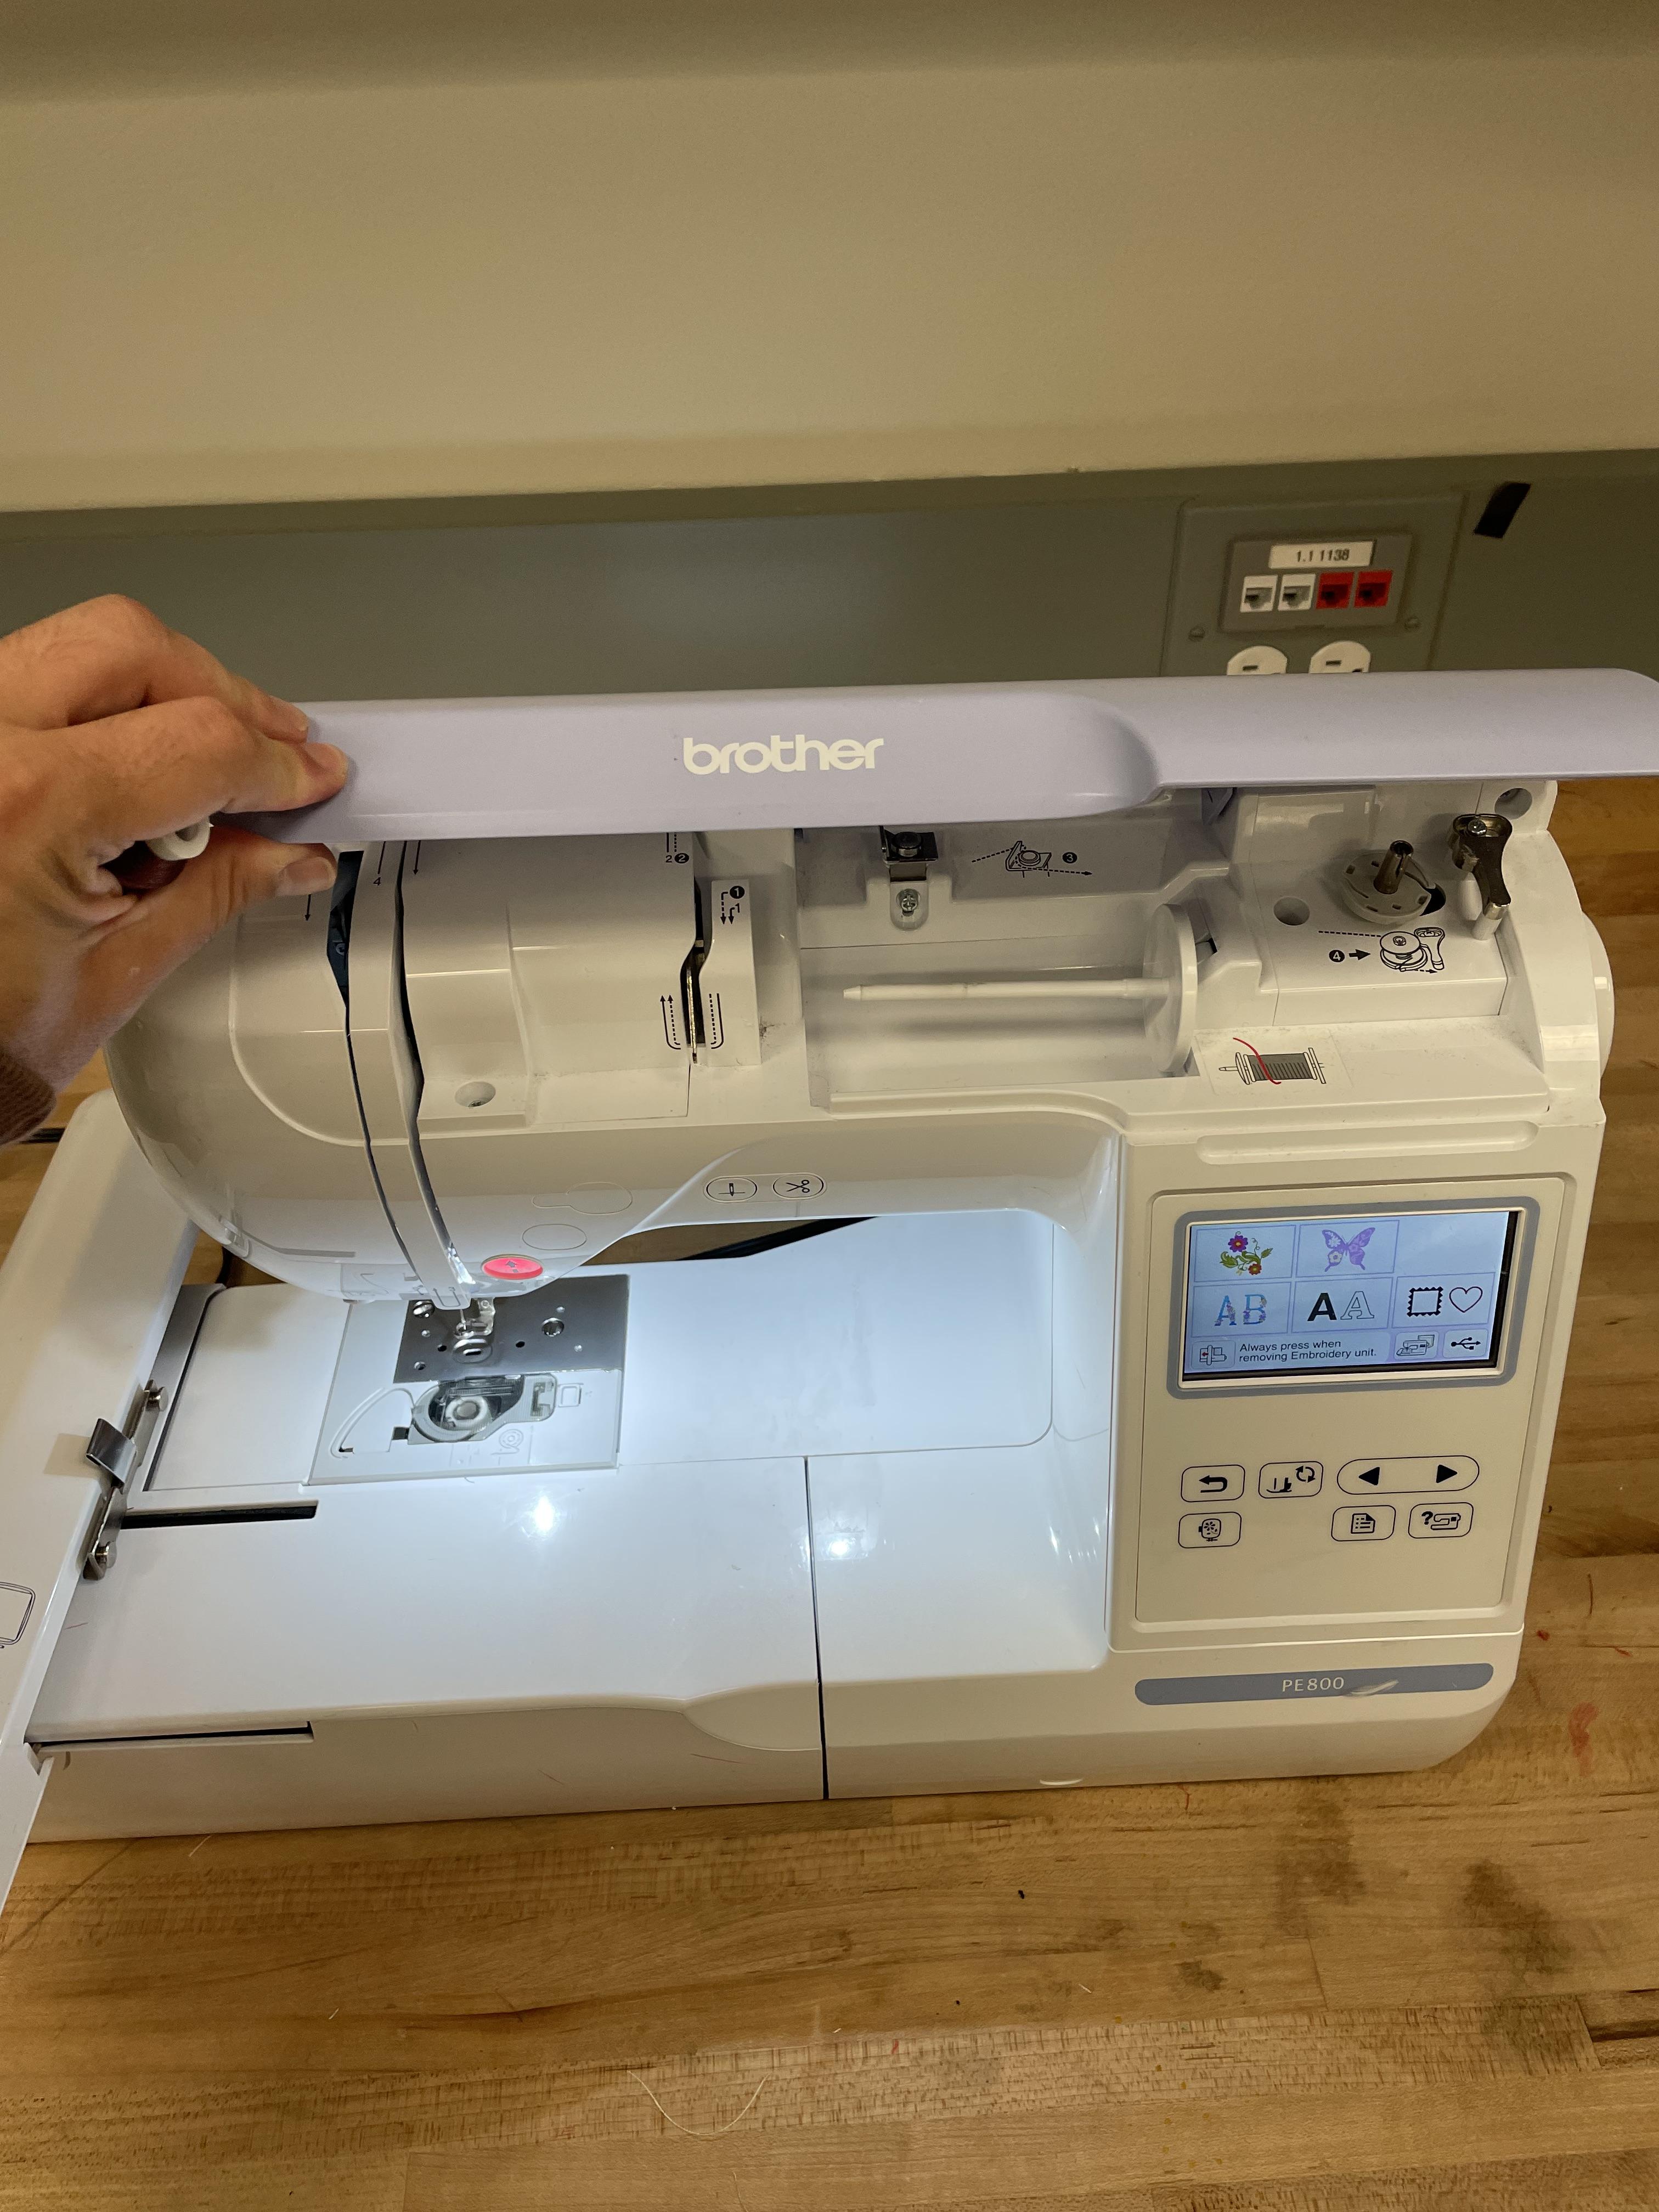
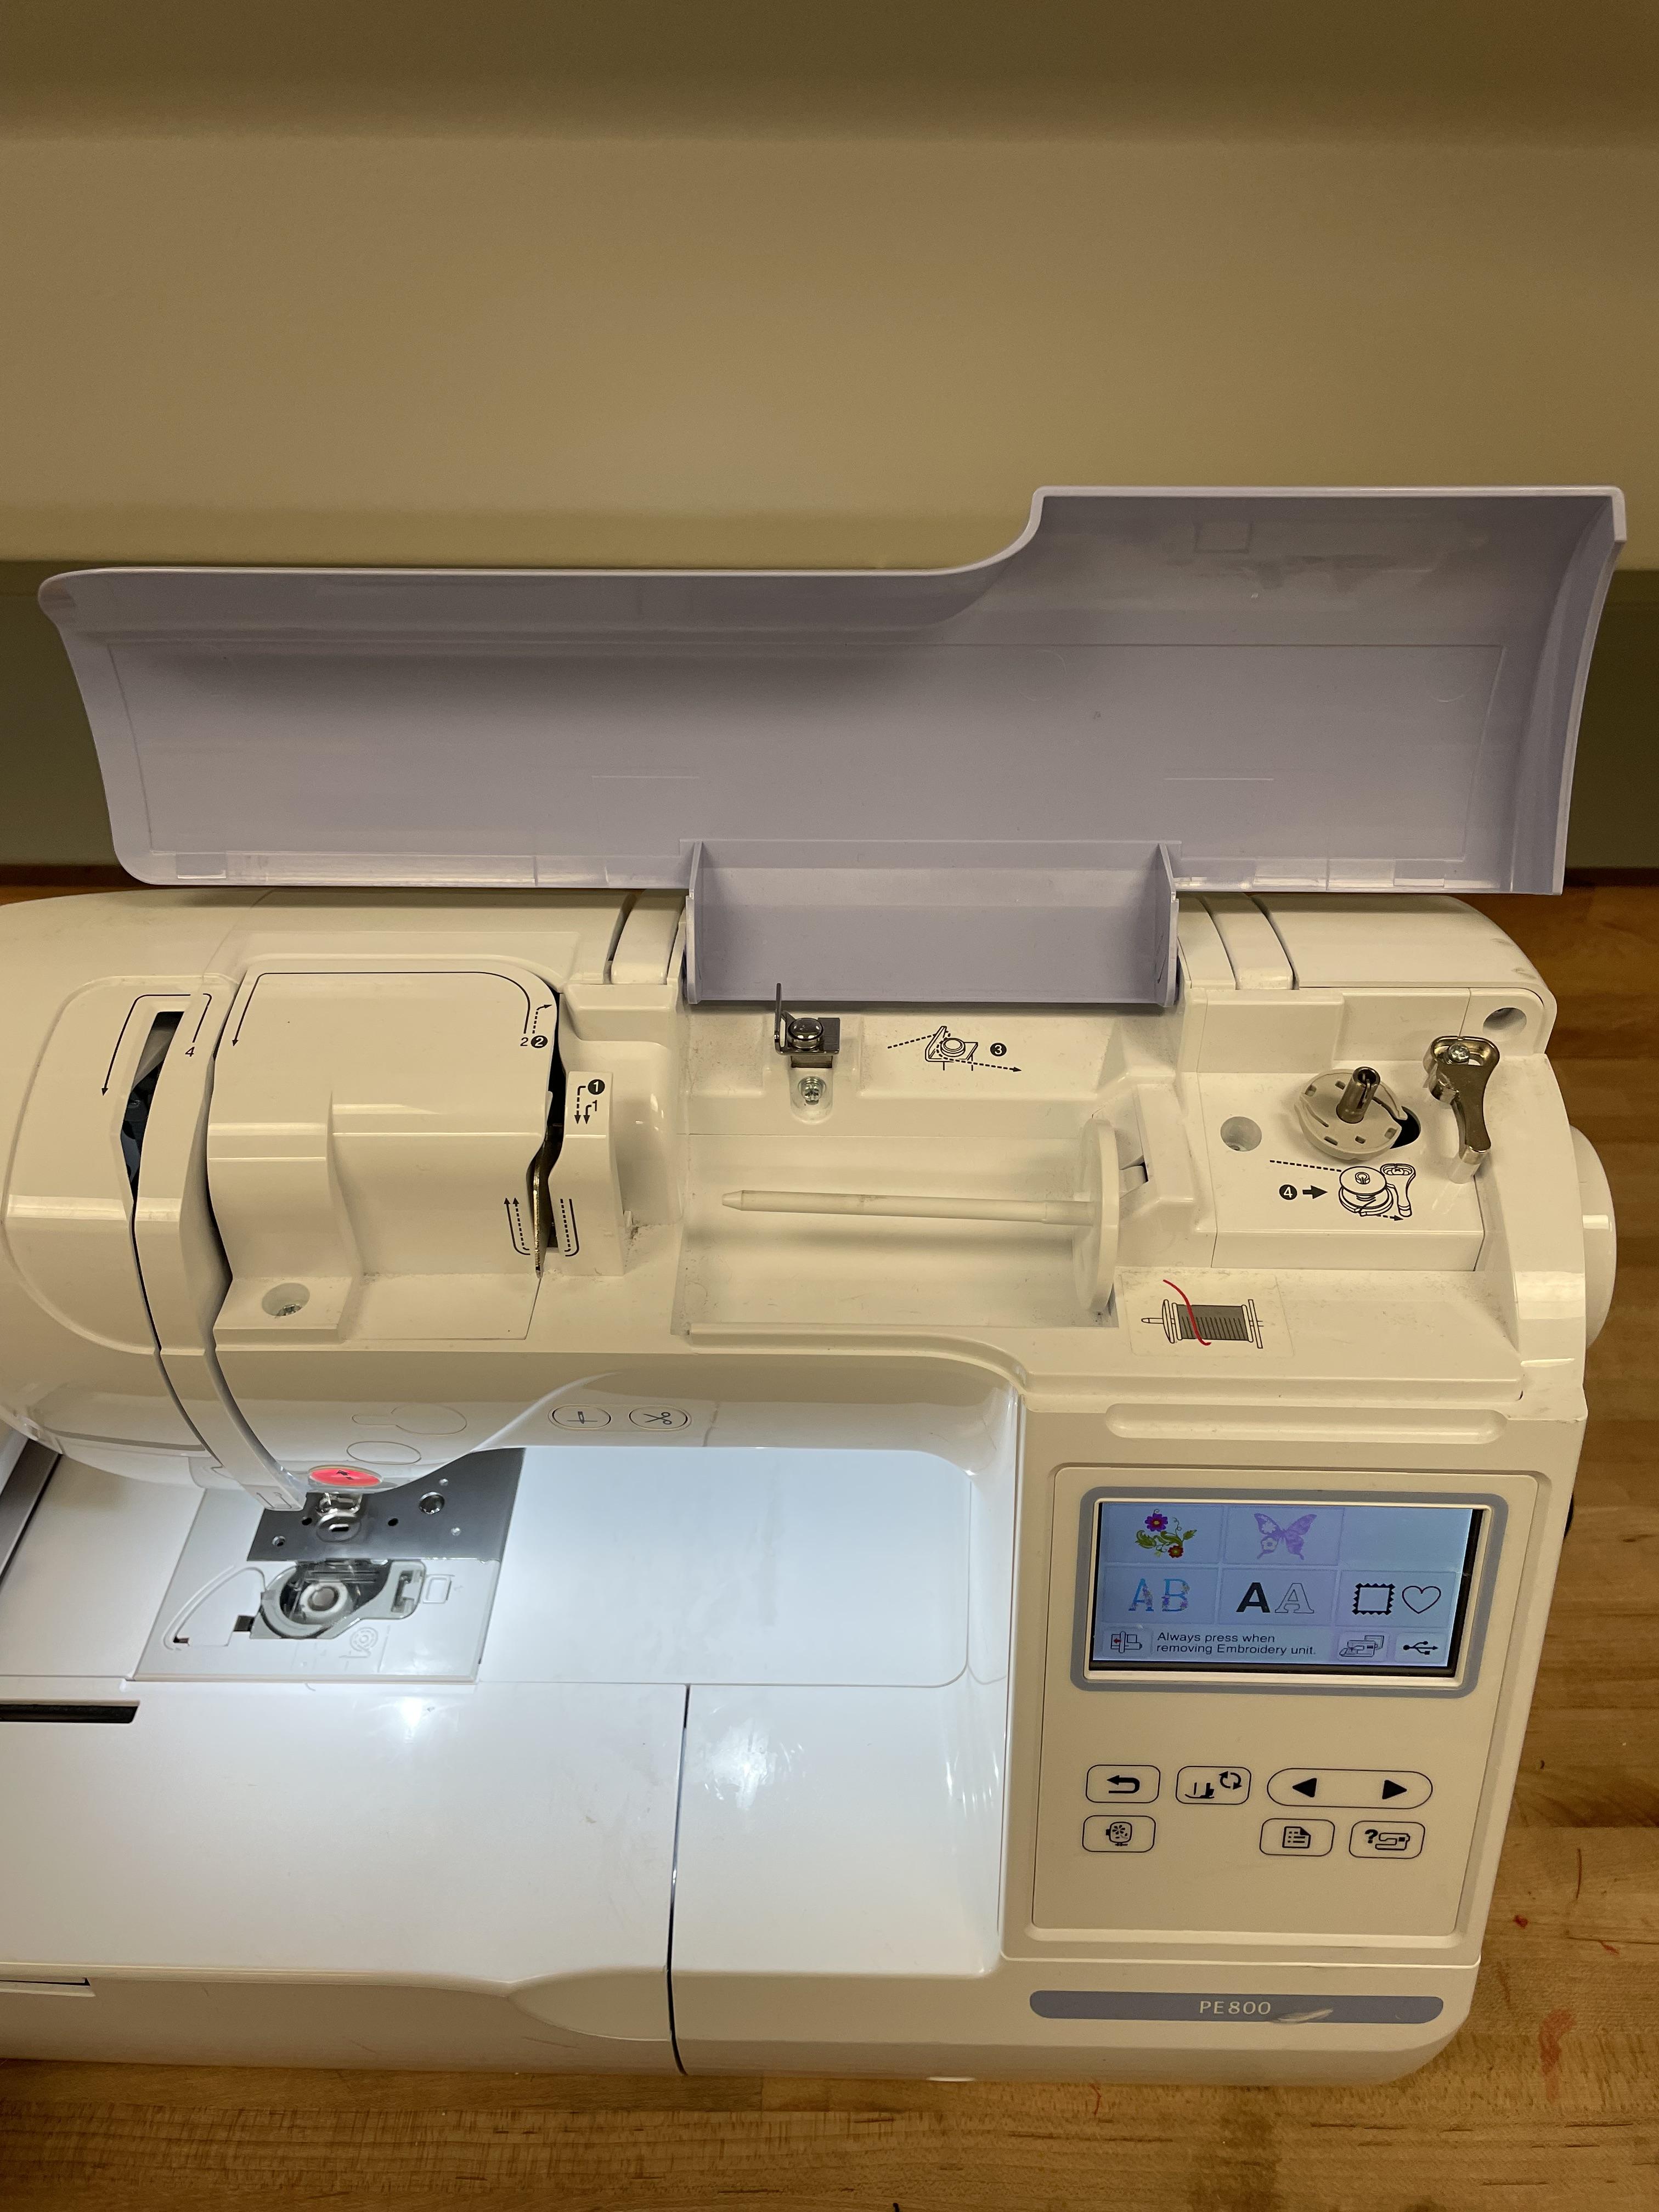
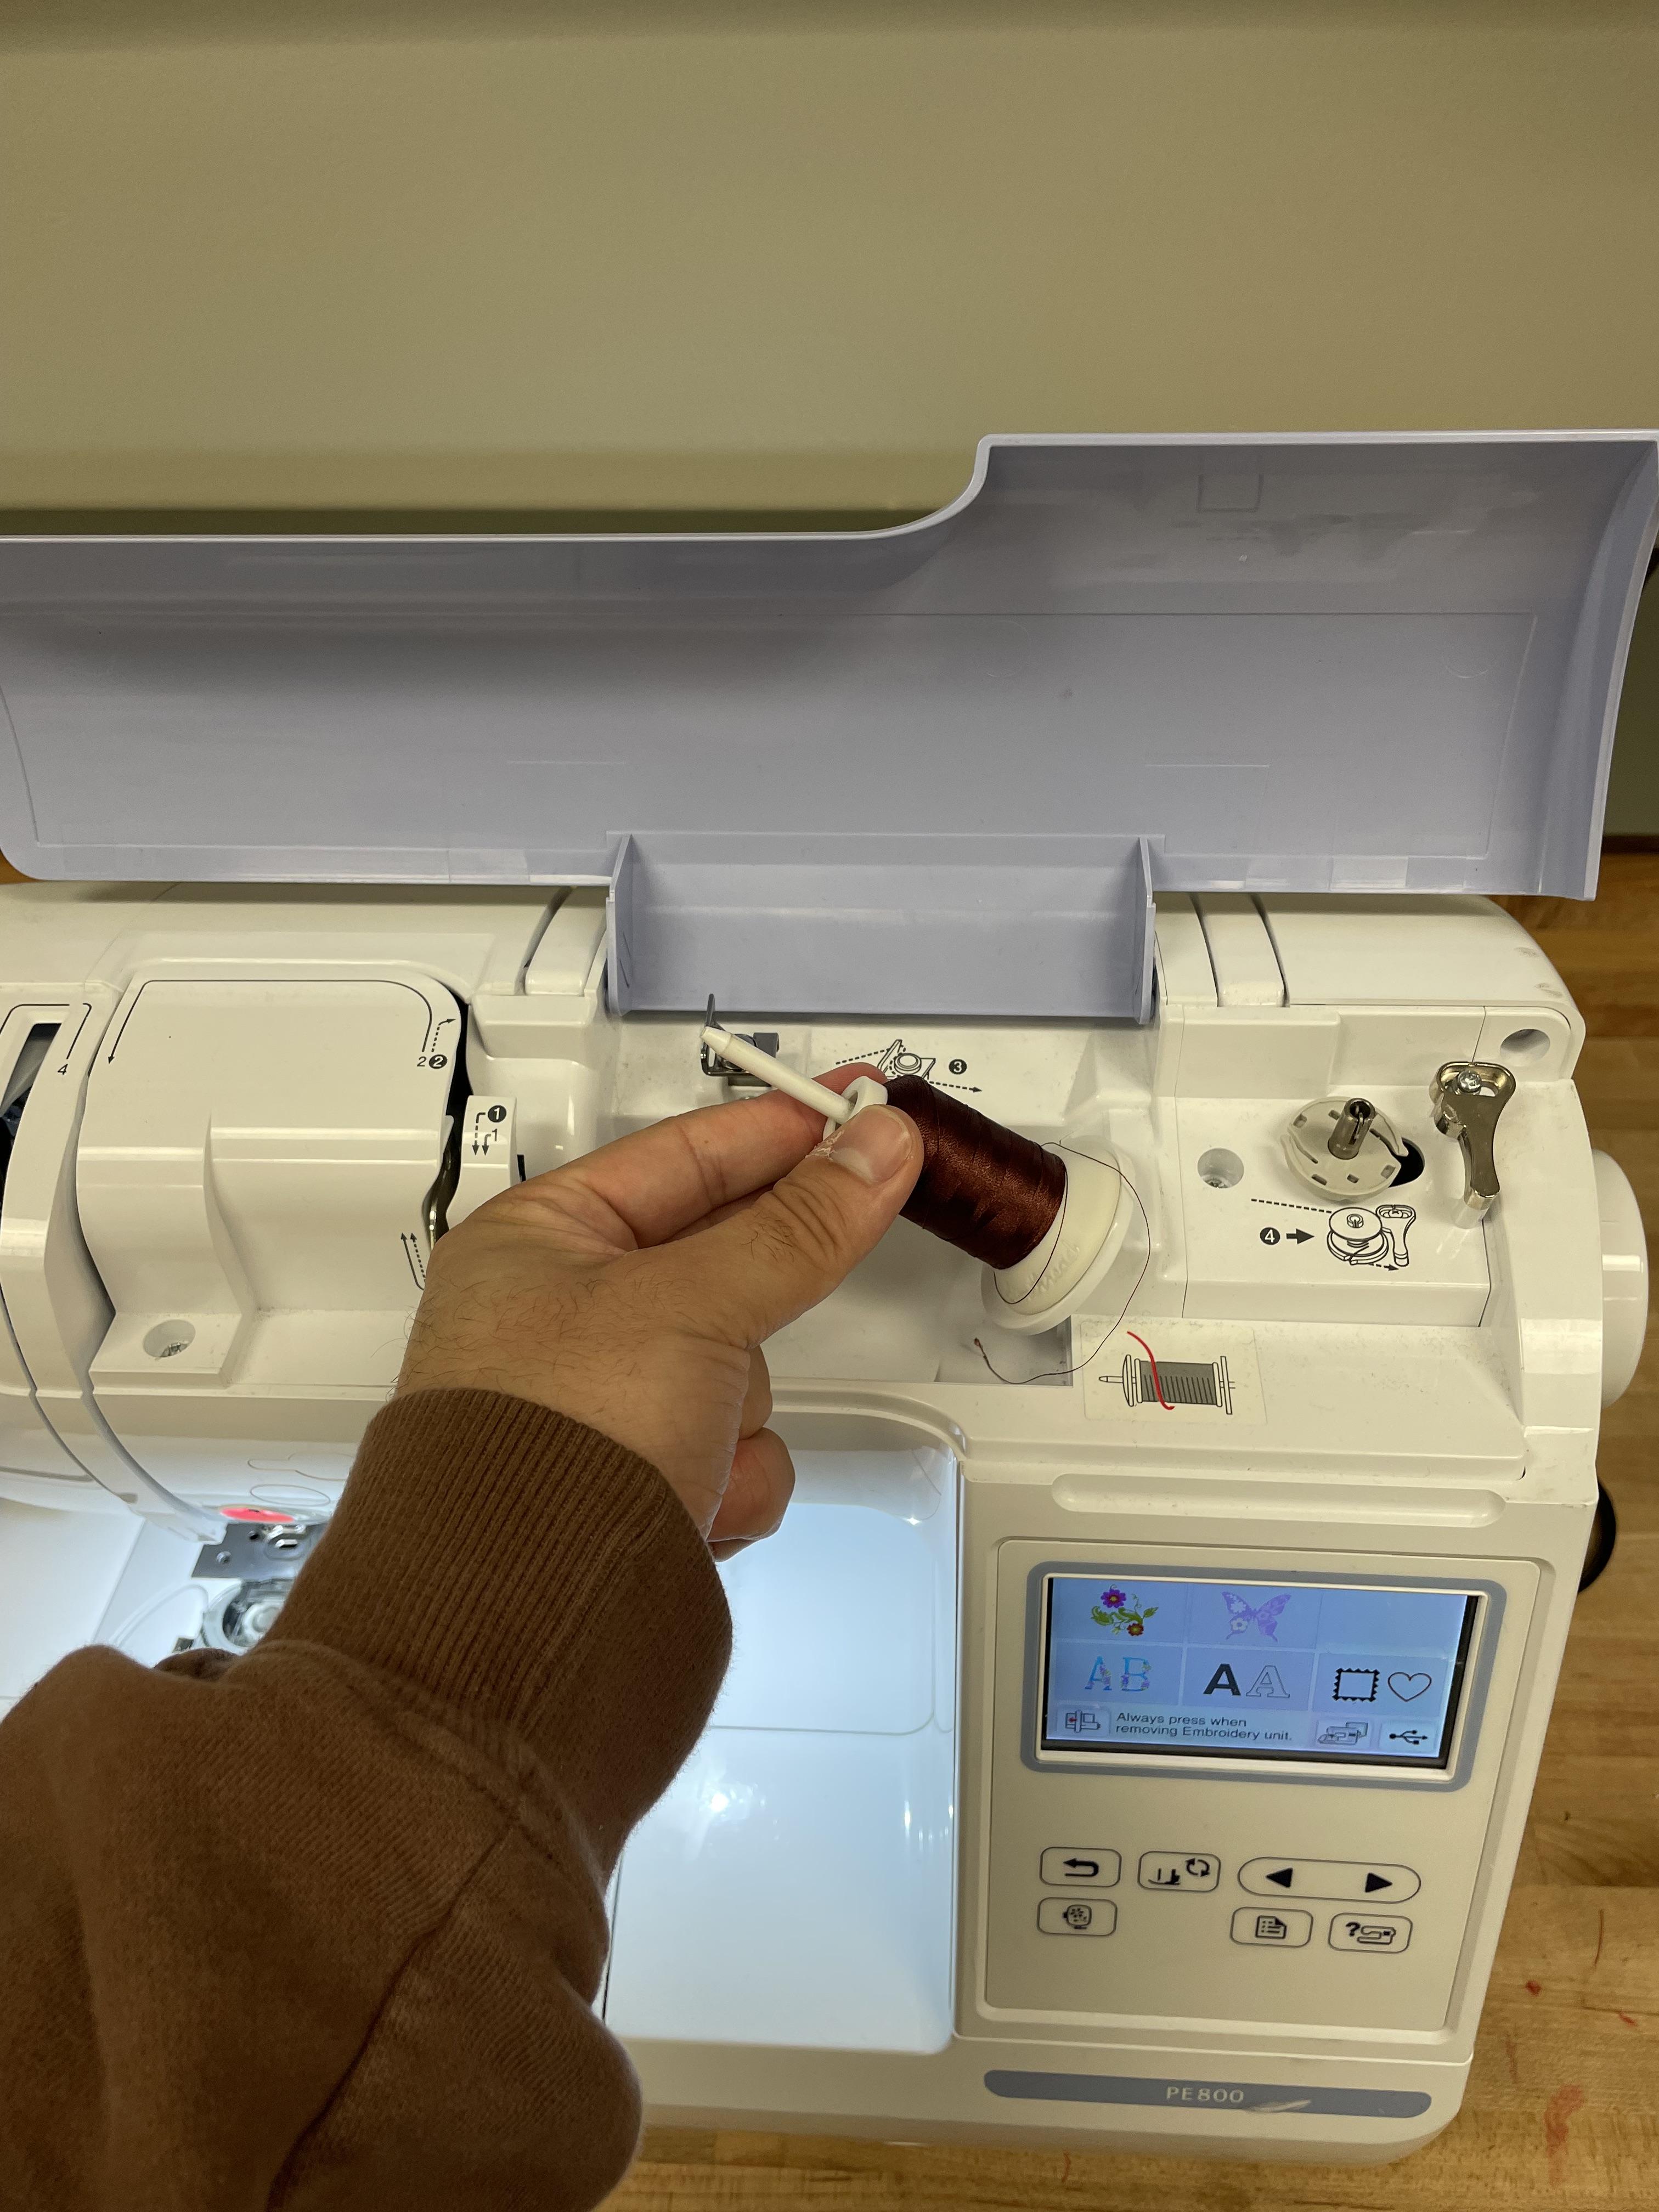


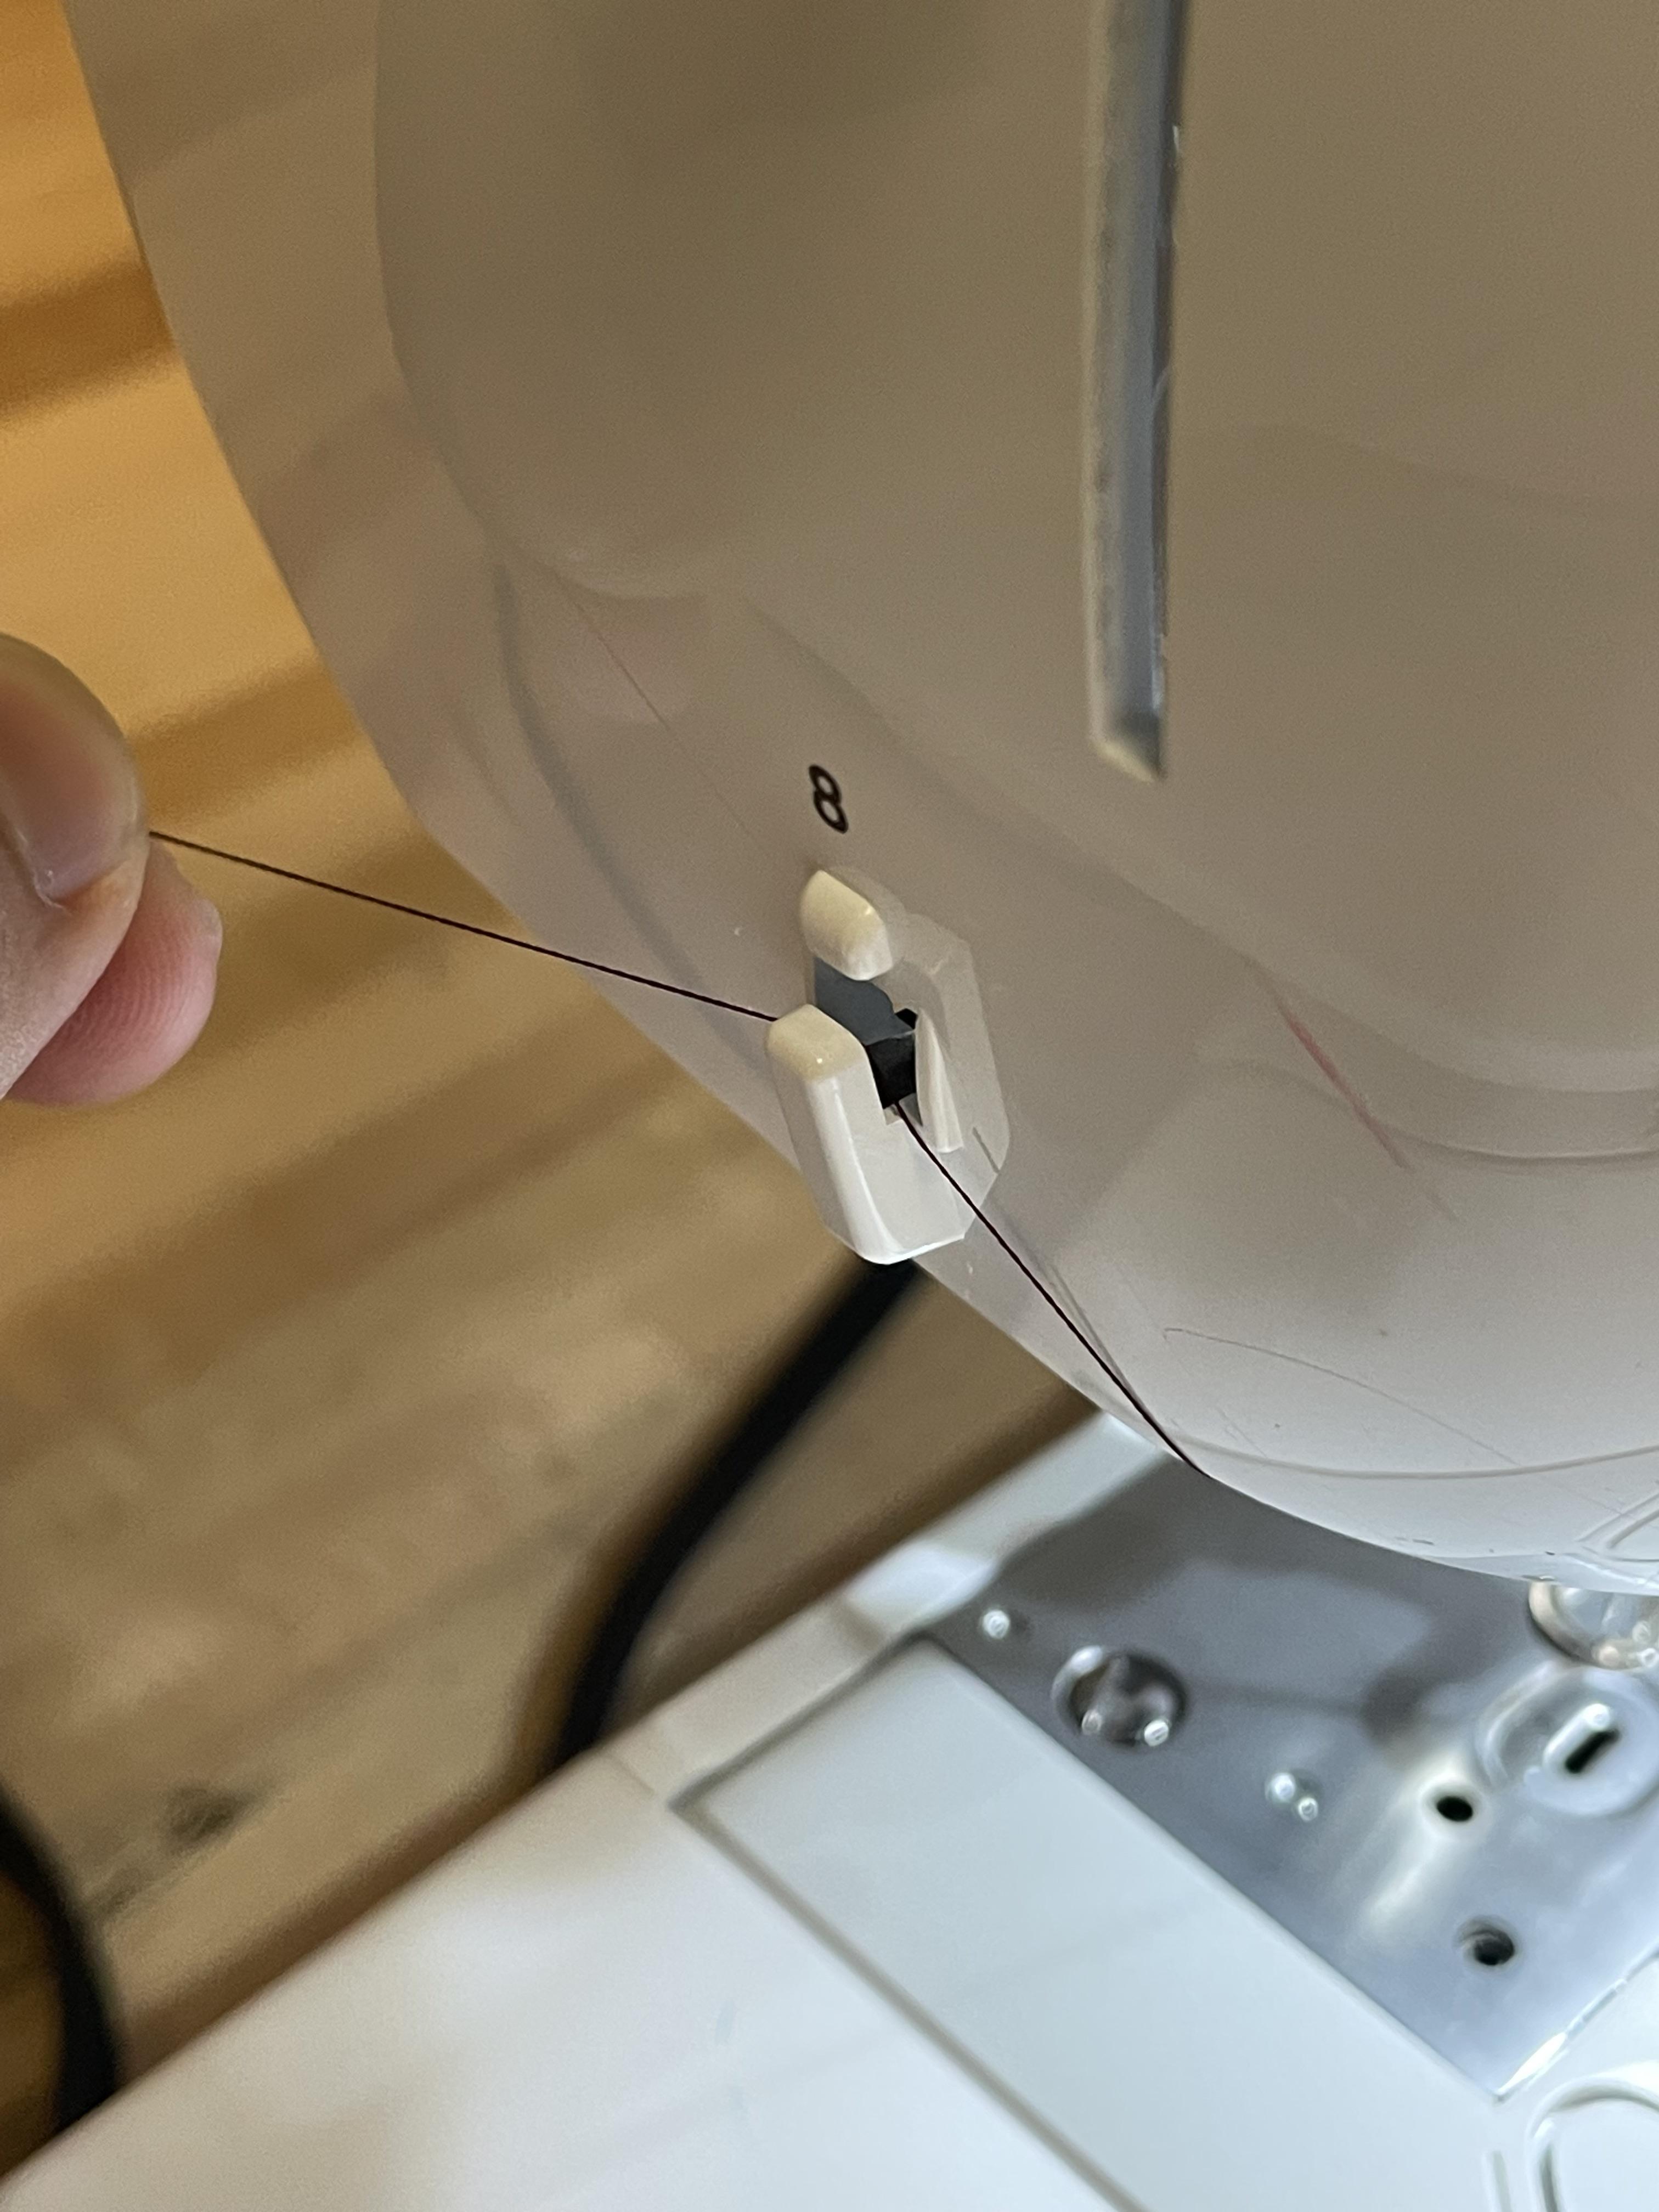
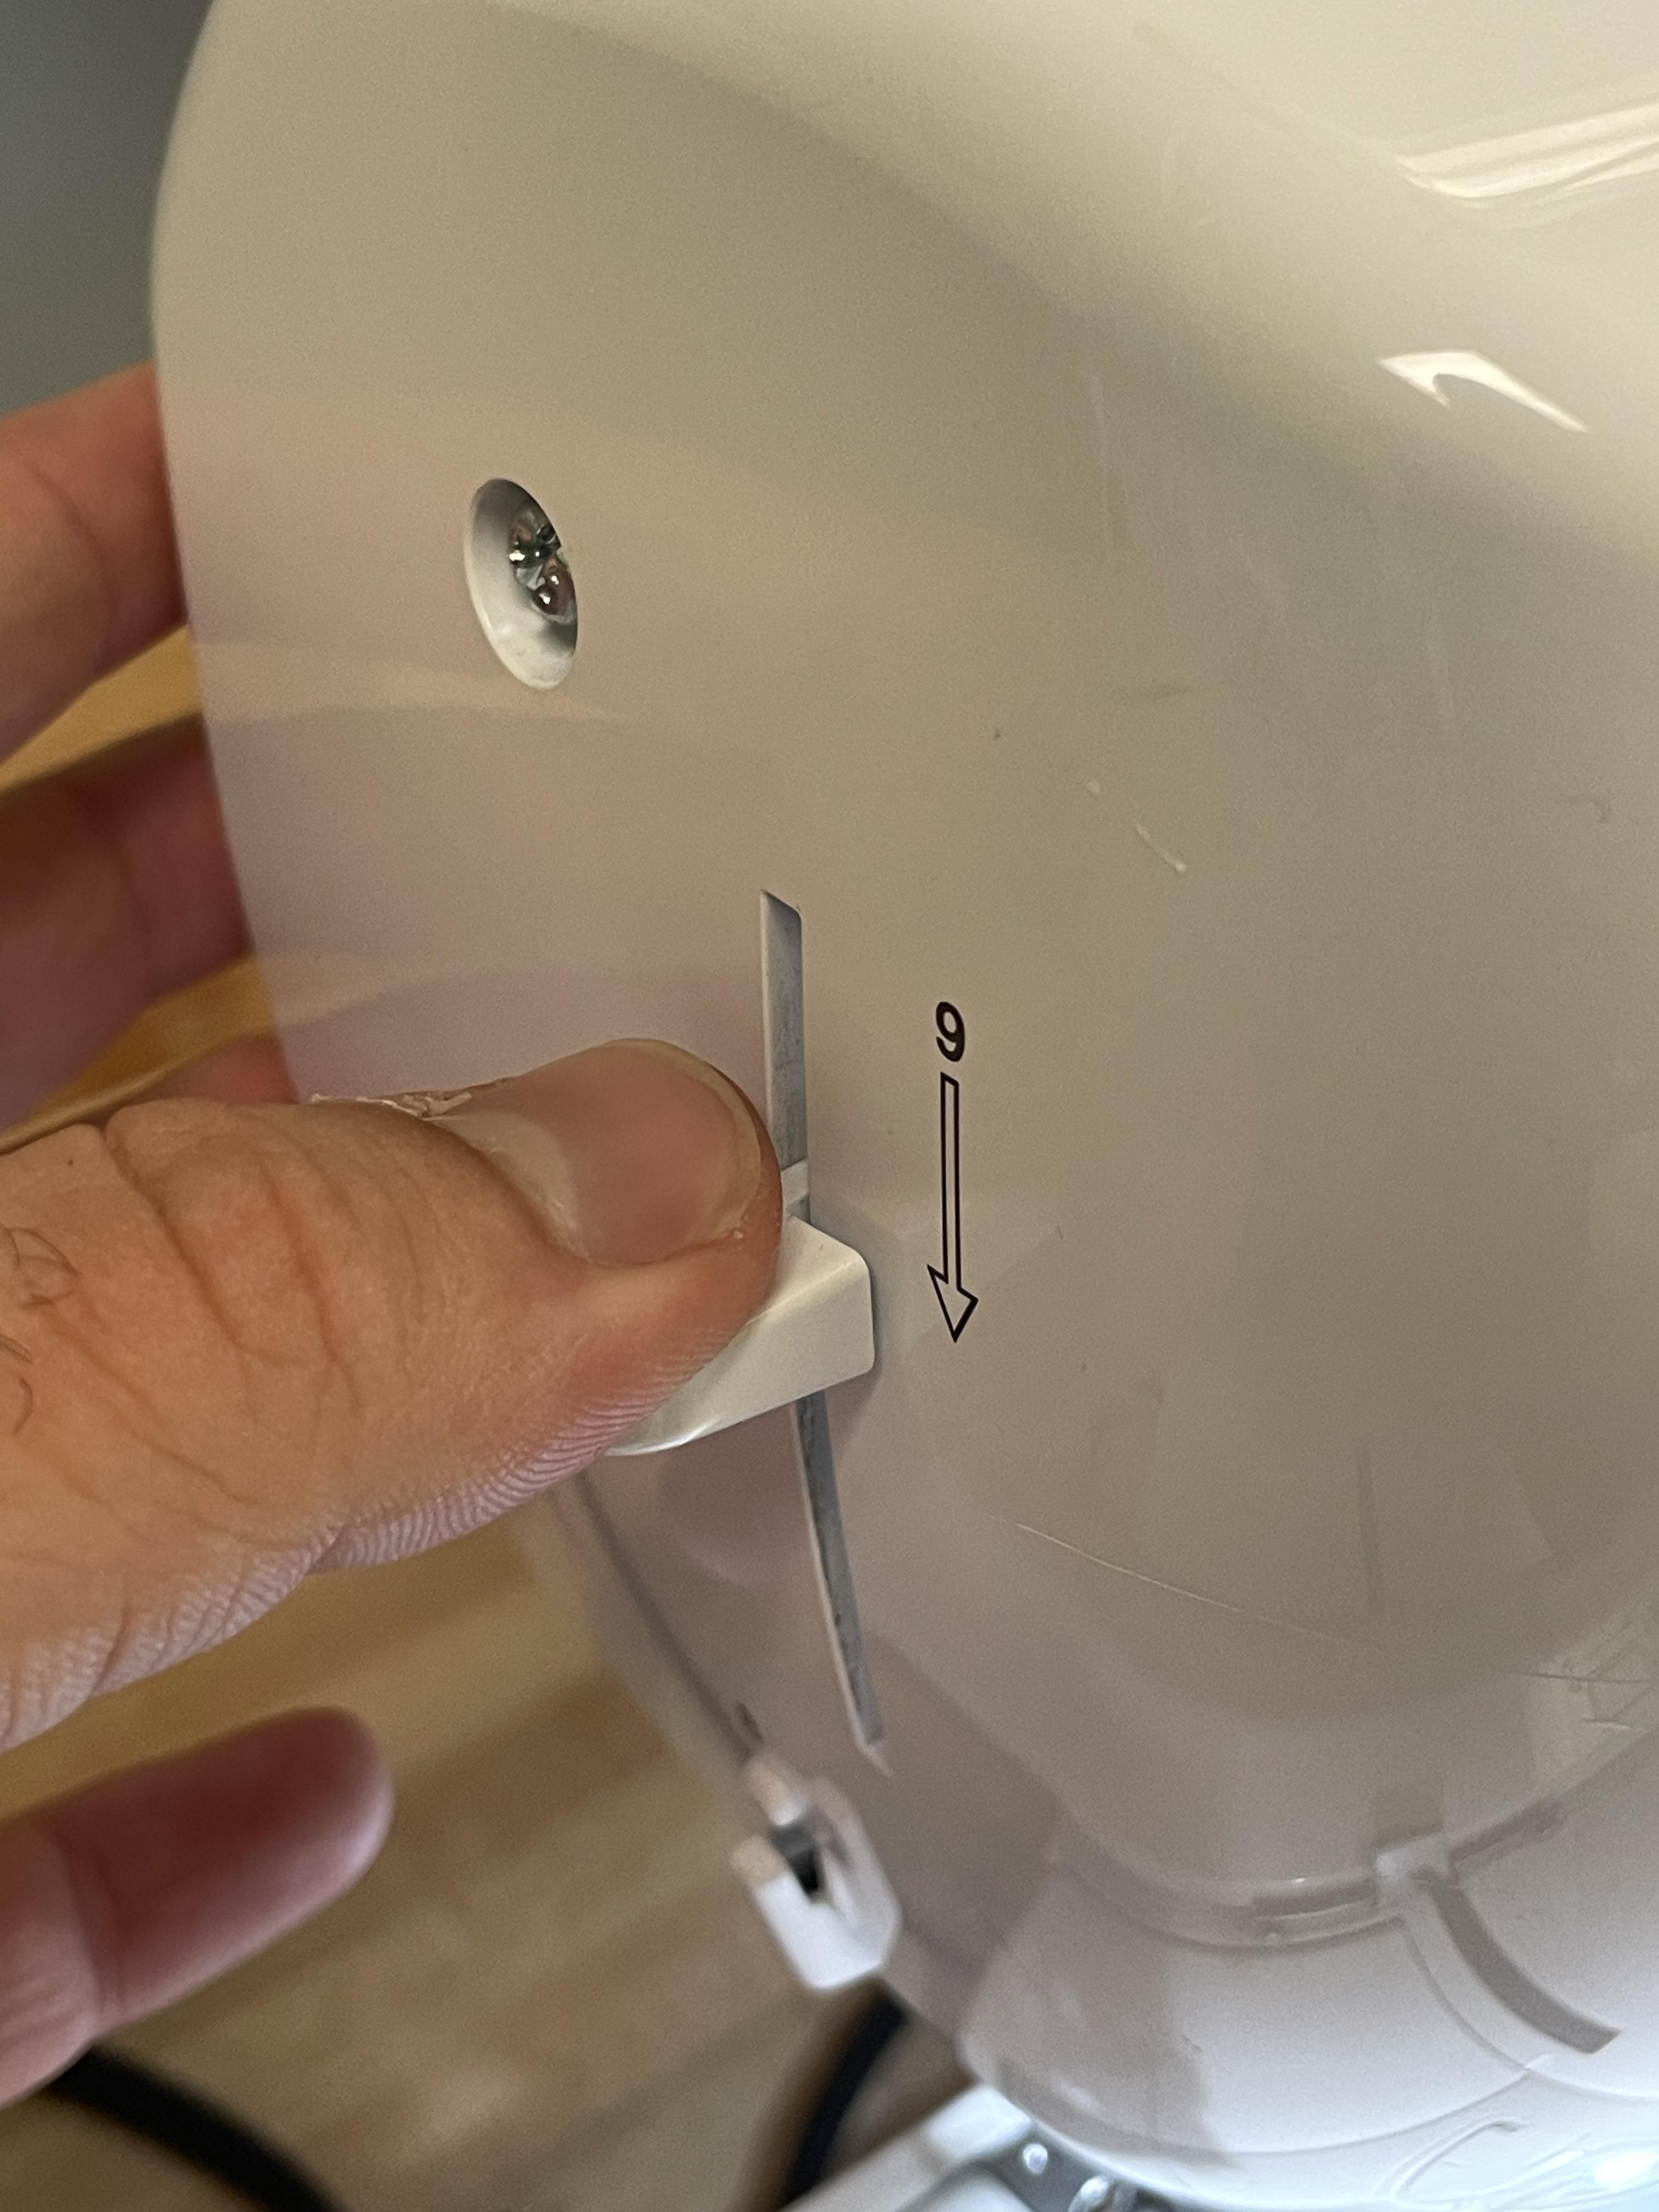
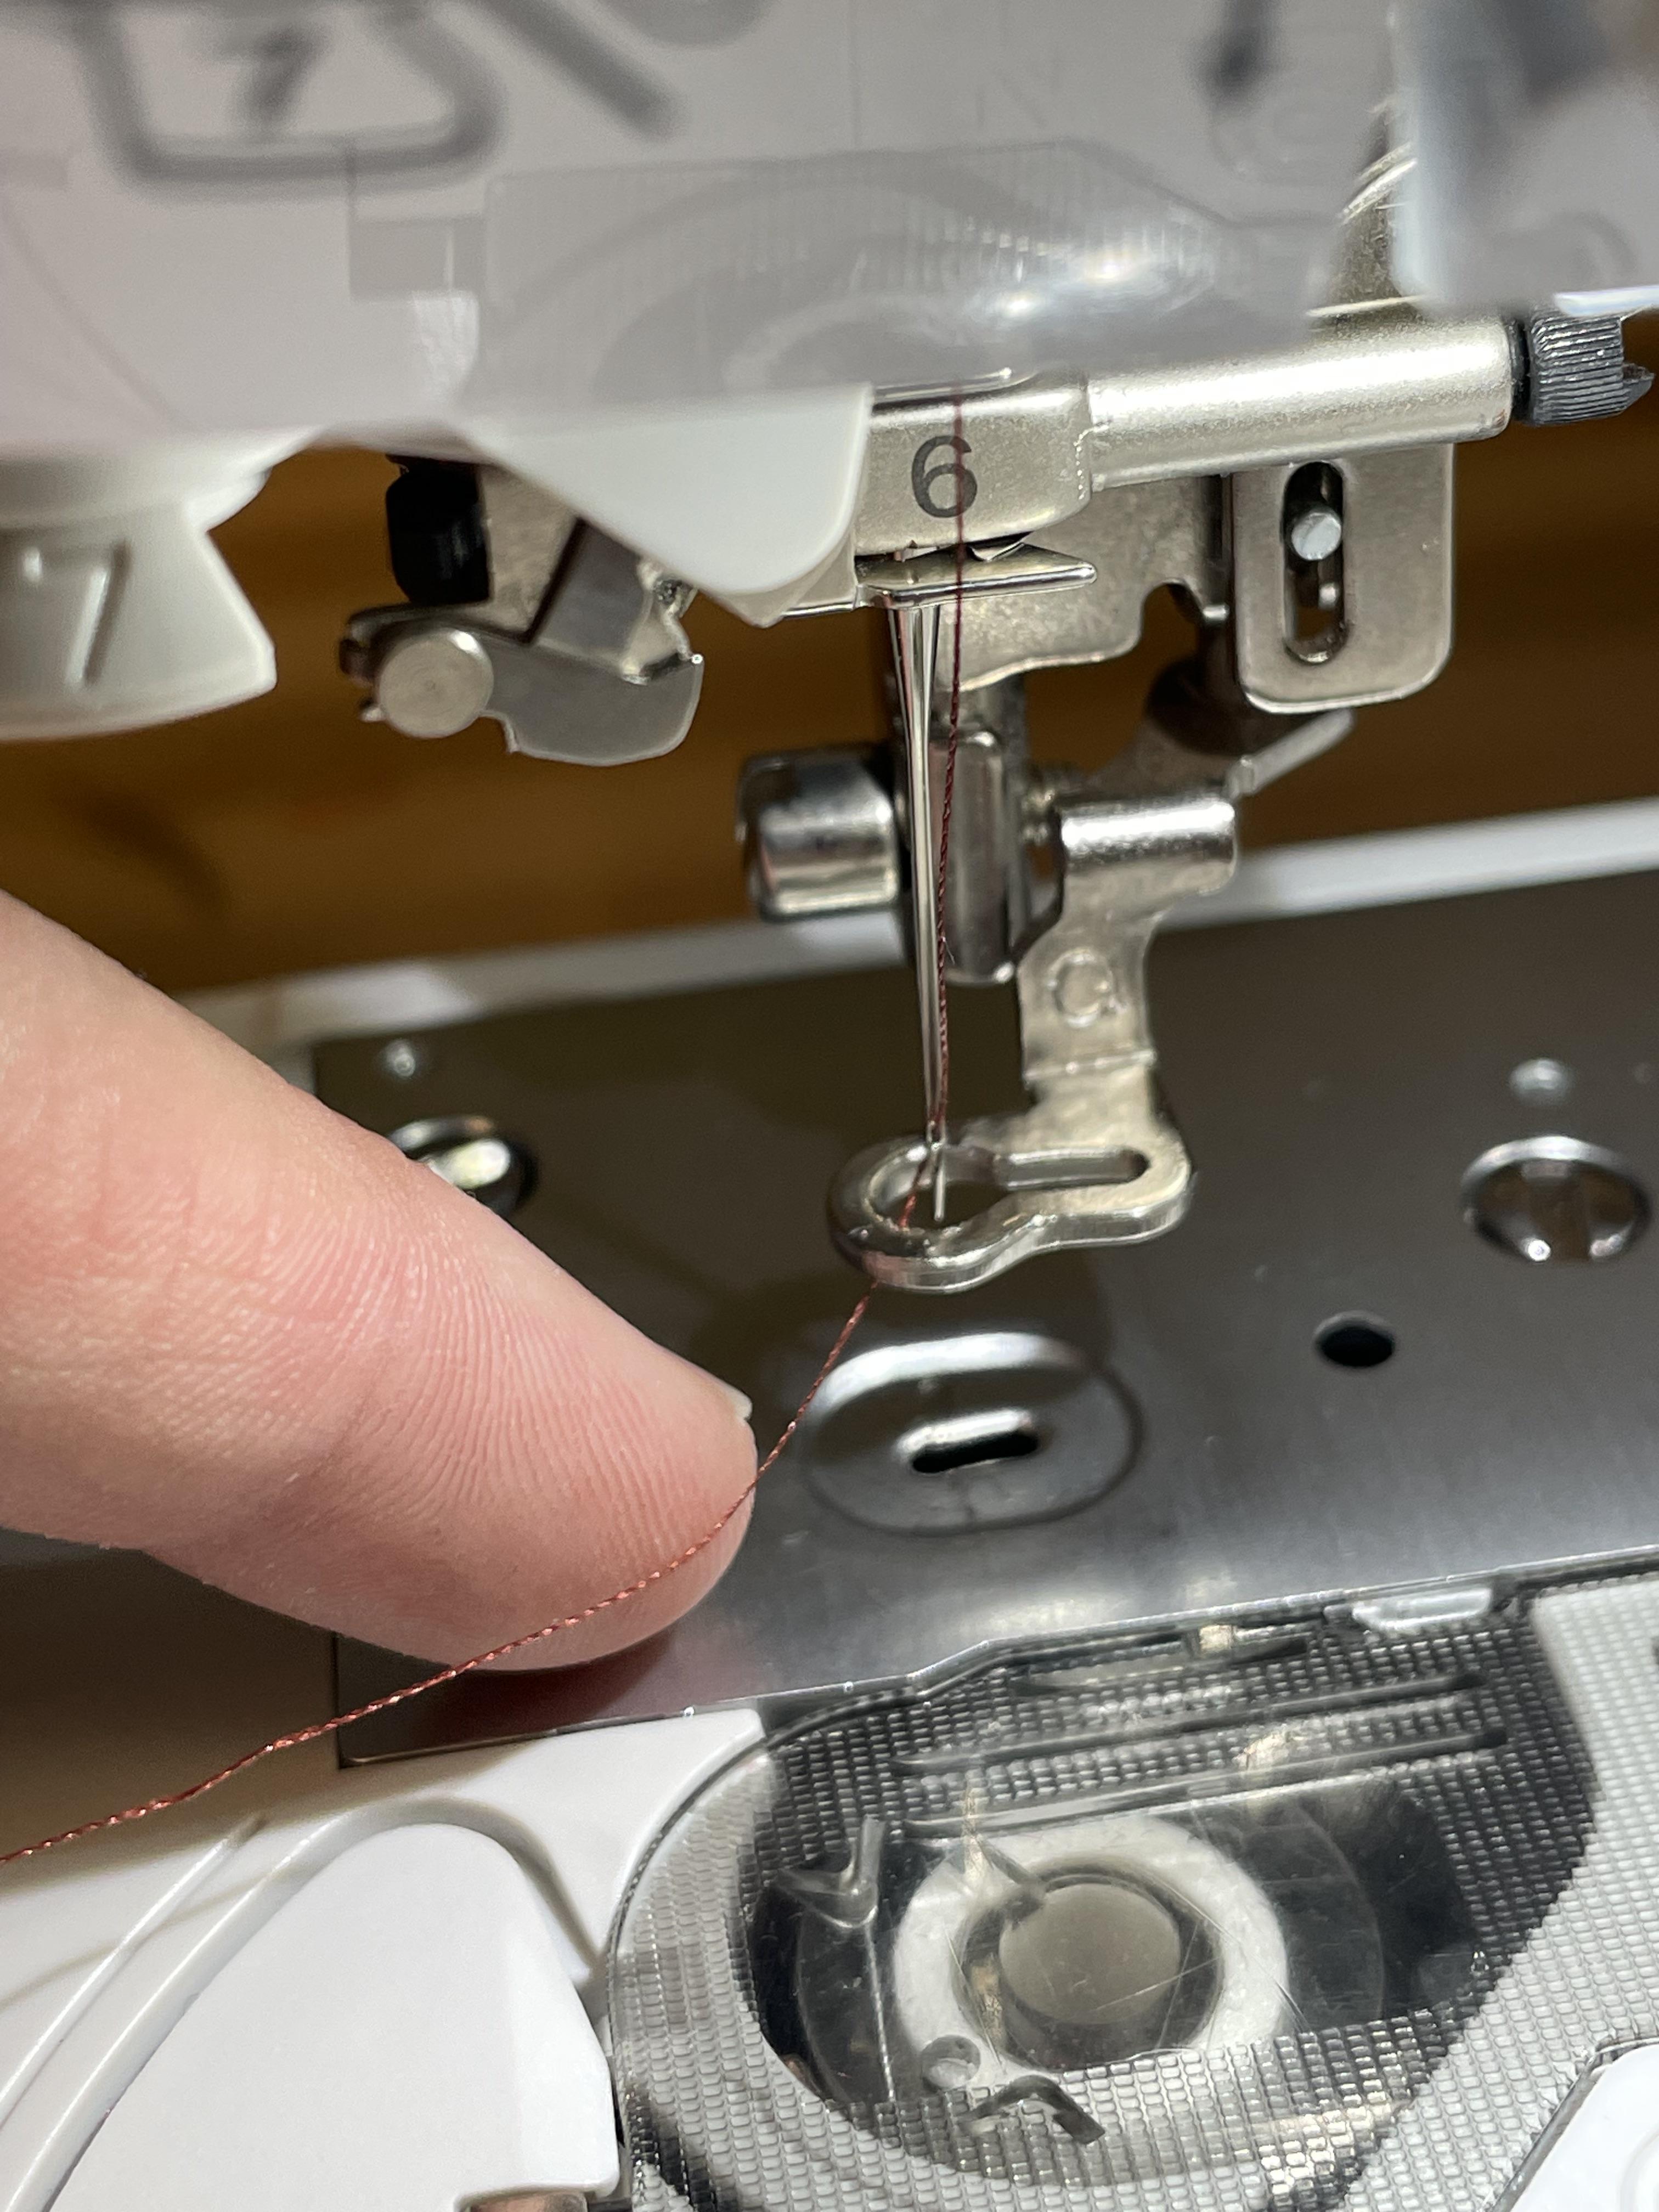
1) Raise the presser foot lever.
2) Load the embroidery thread onto the spool pin.
3) Follow the numbered threading guide printed on the machine to thread the upper thread.
4) Thread the needle either manually or using the automatic needle threader.
Thread the Bobbin
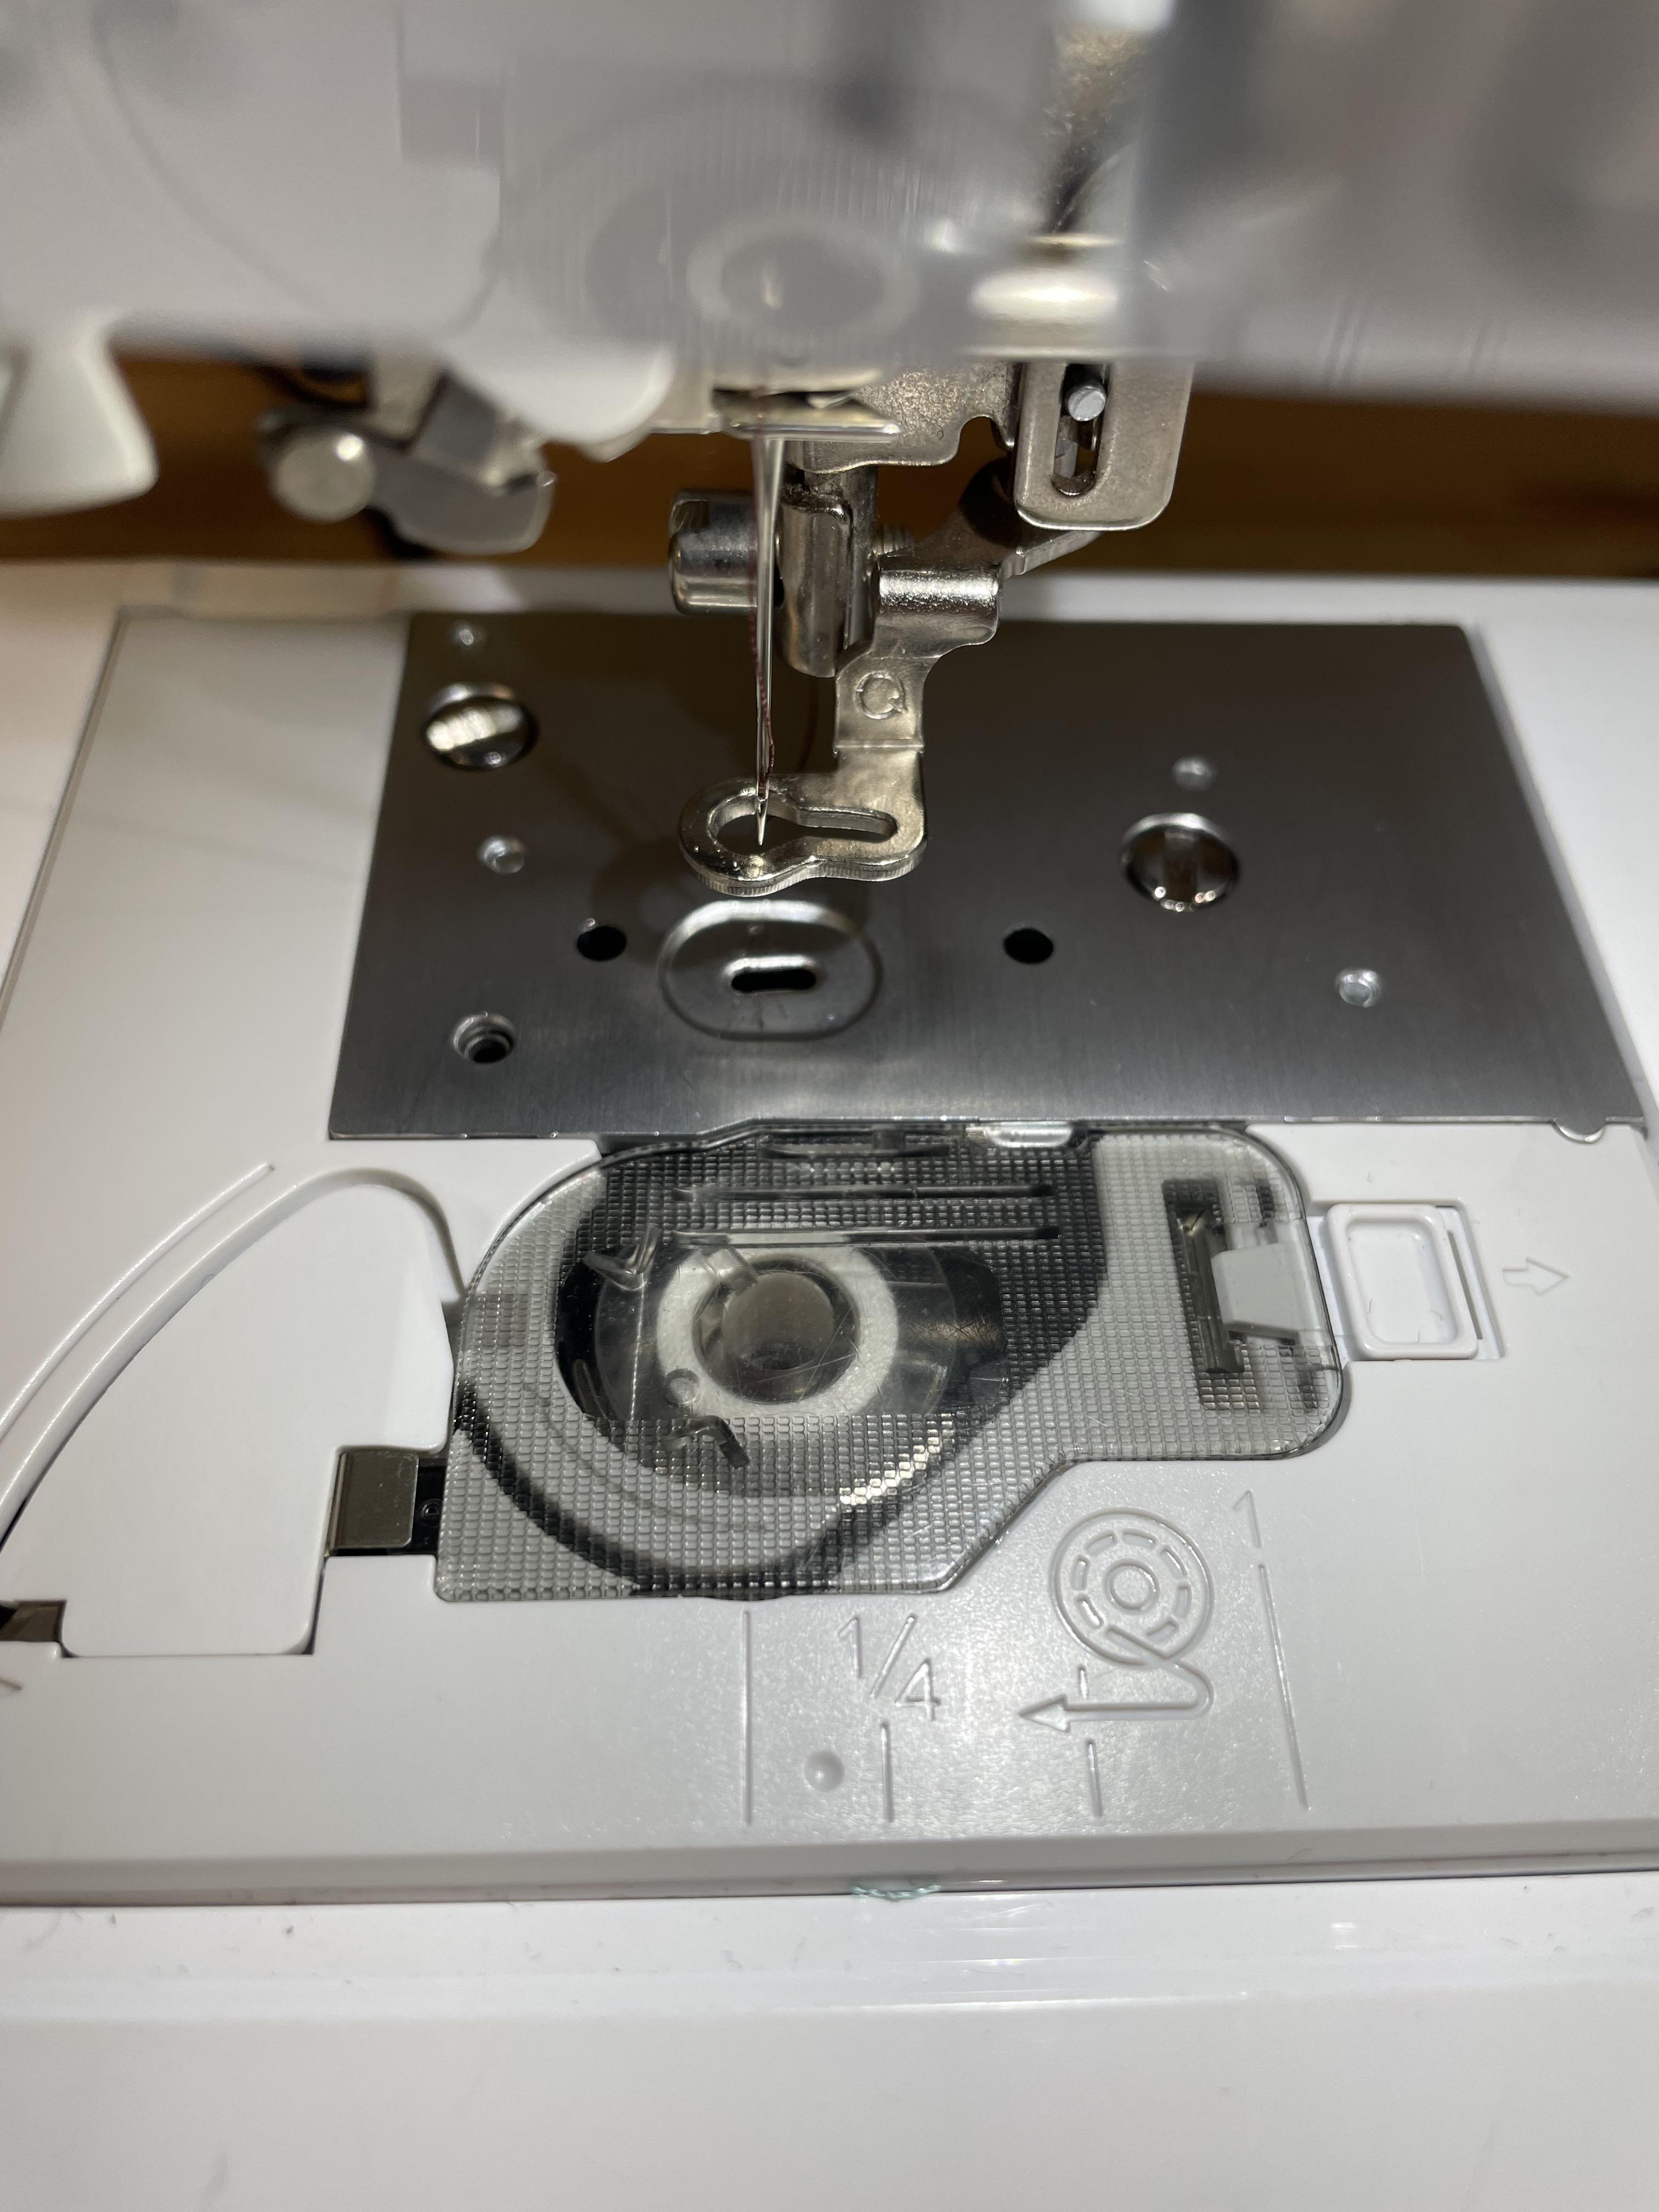
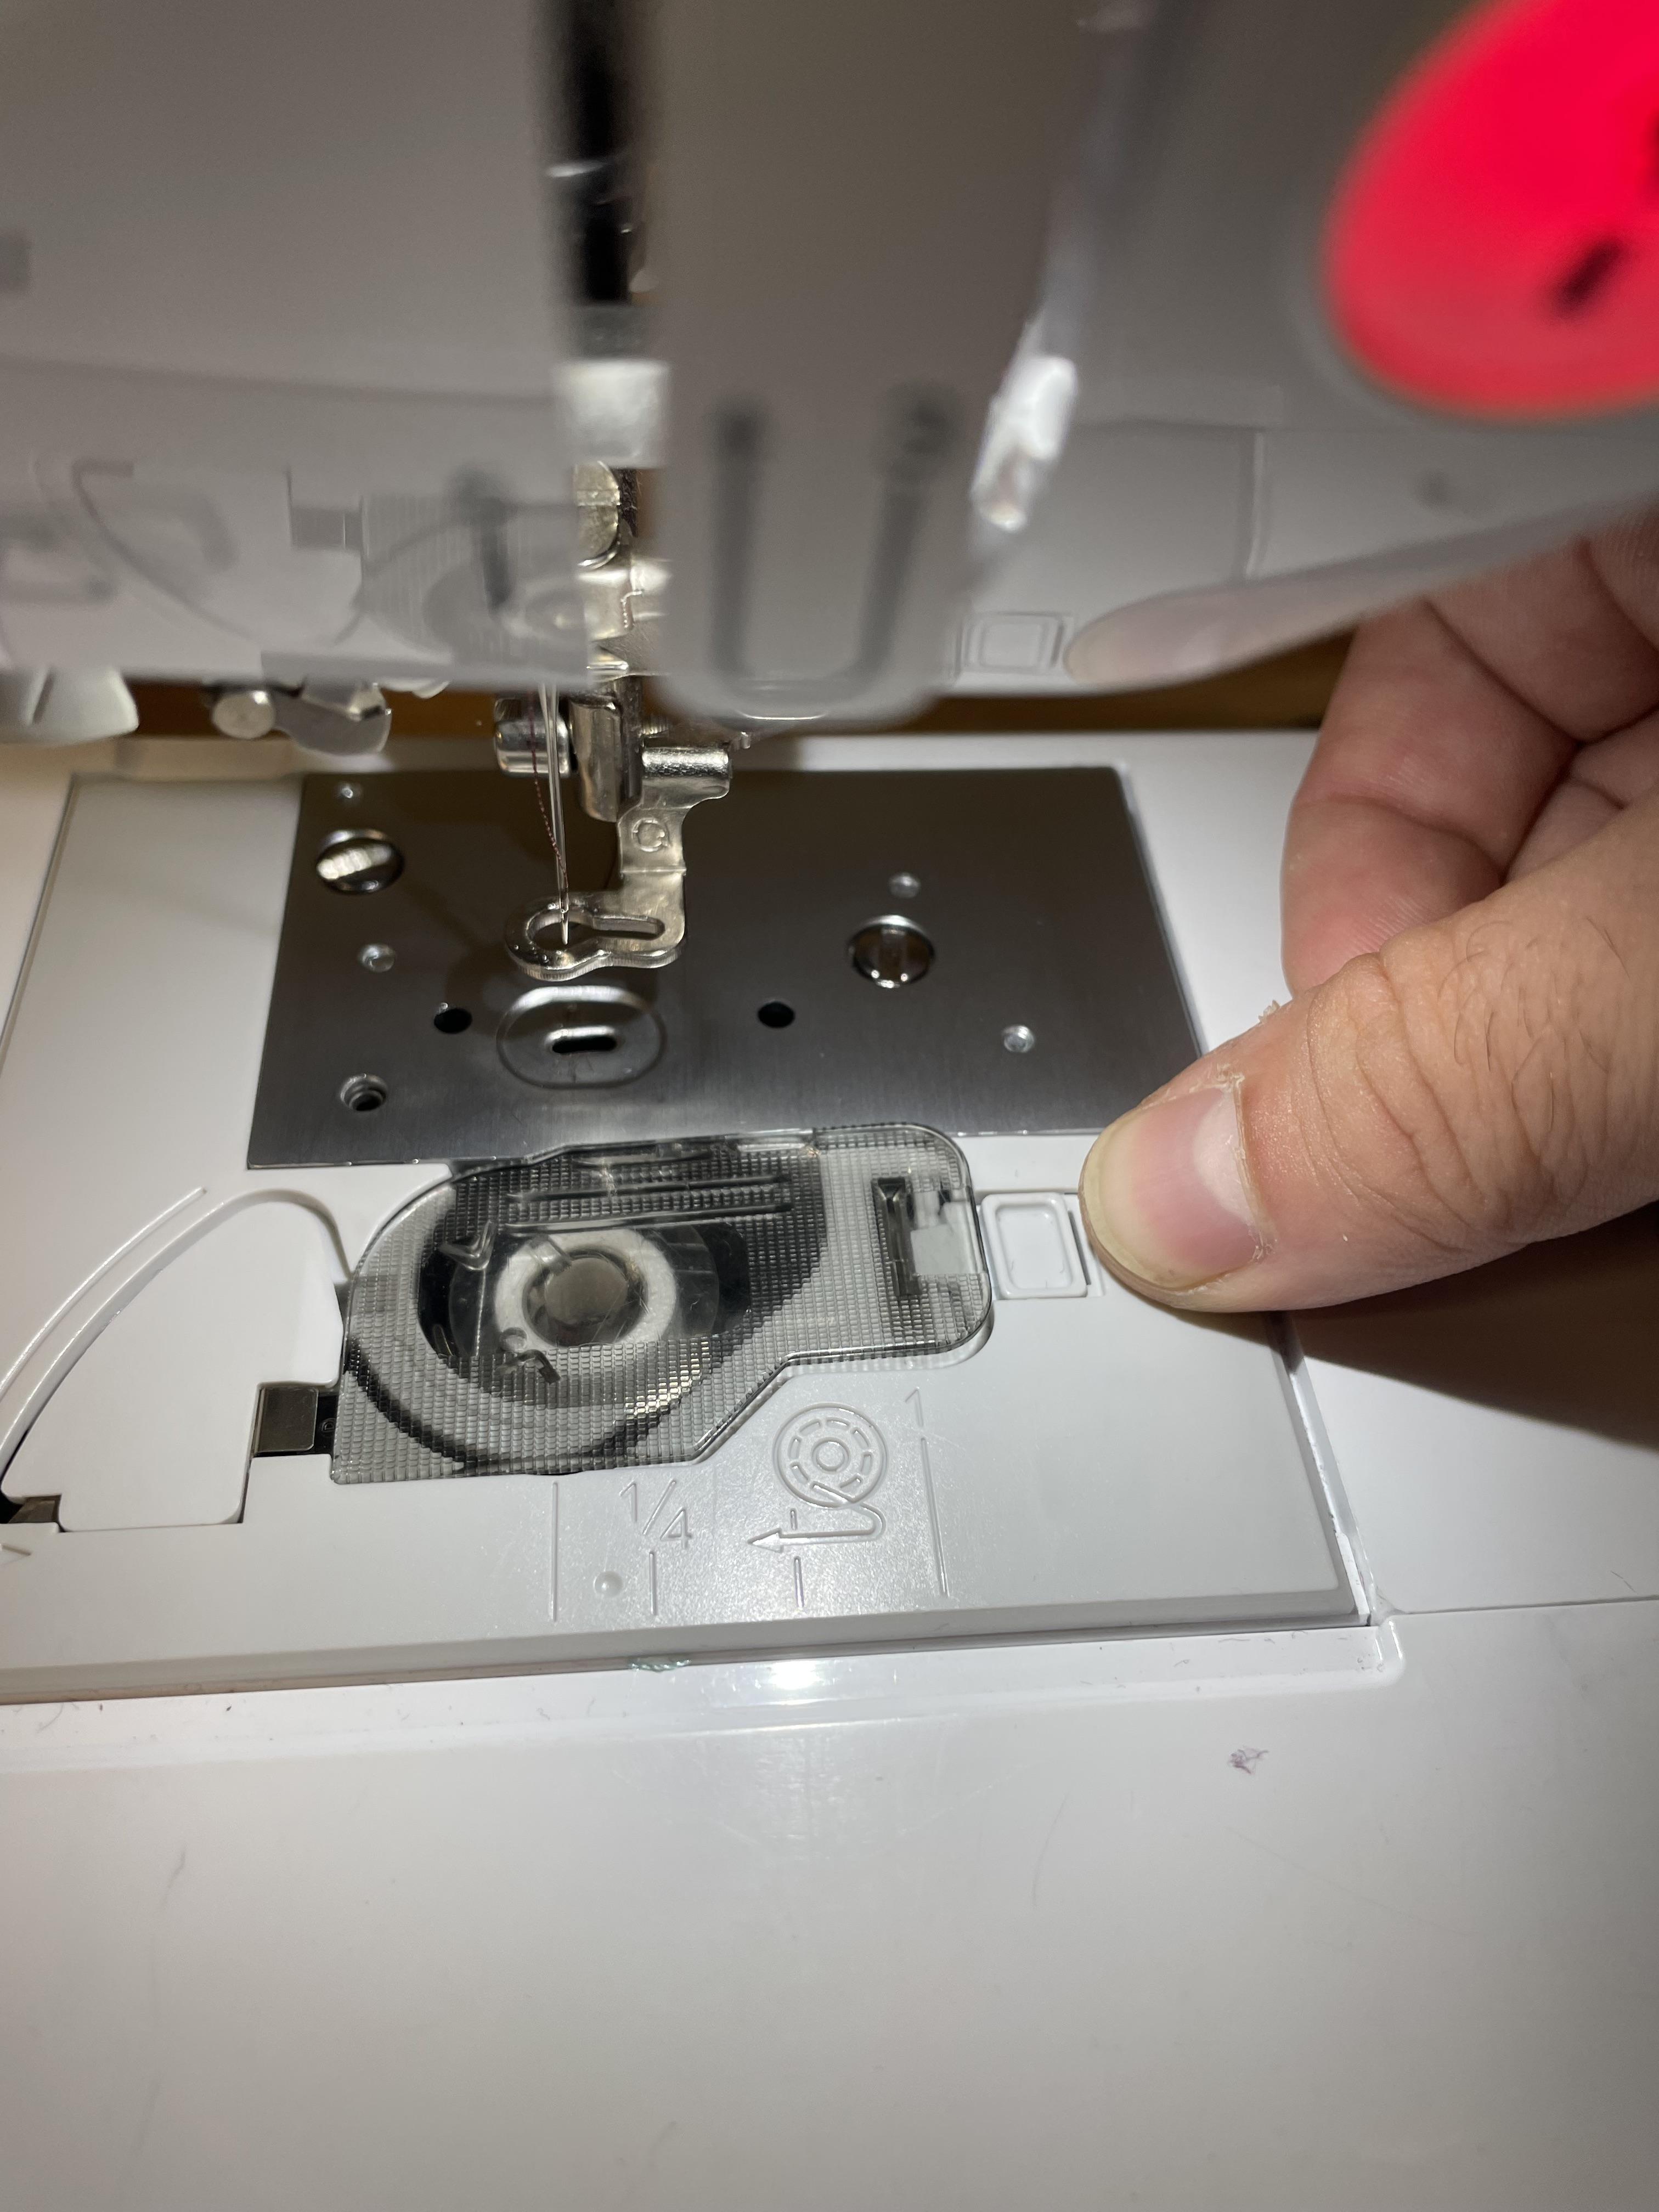
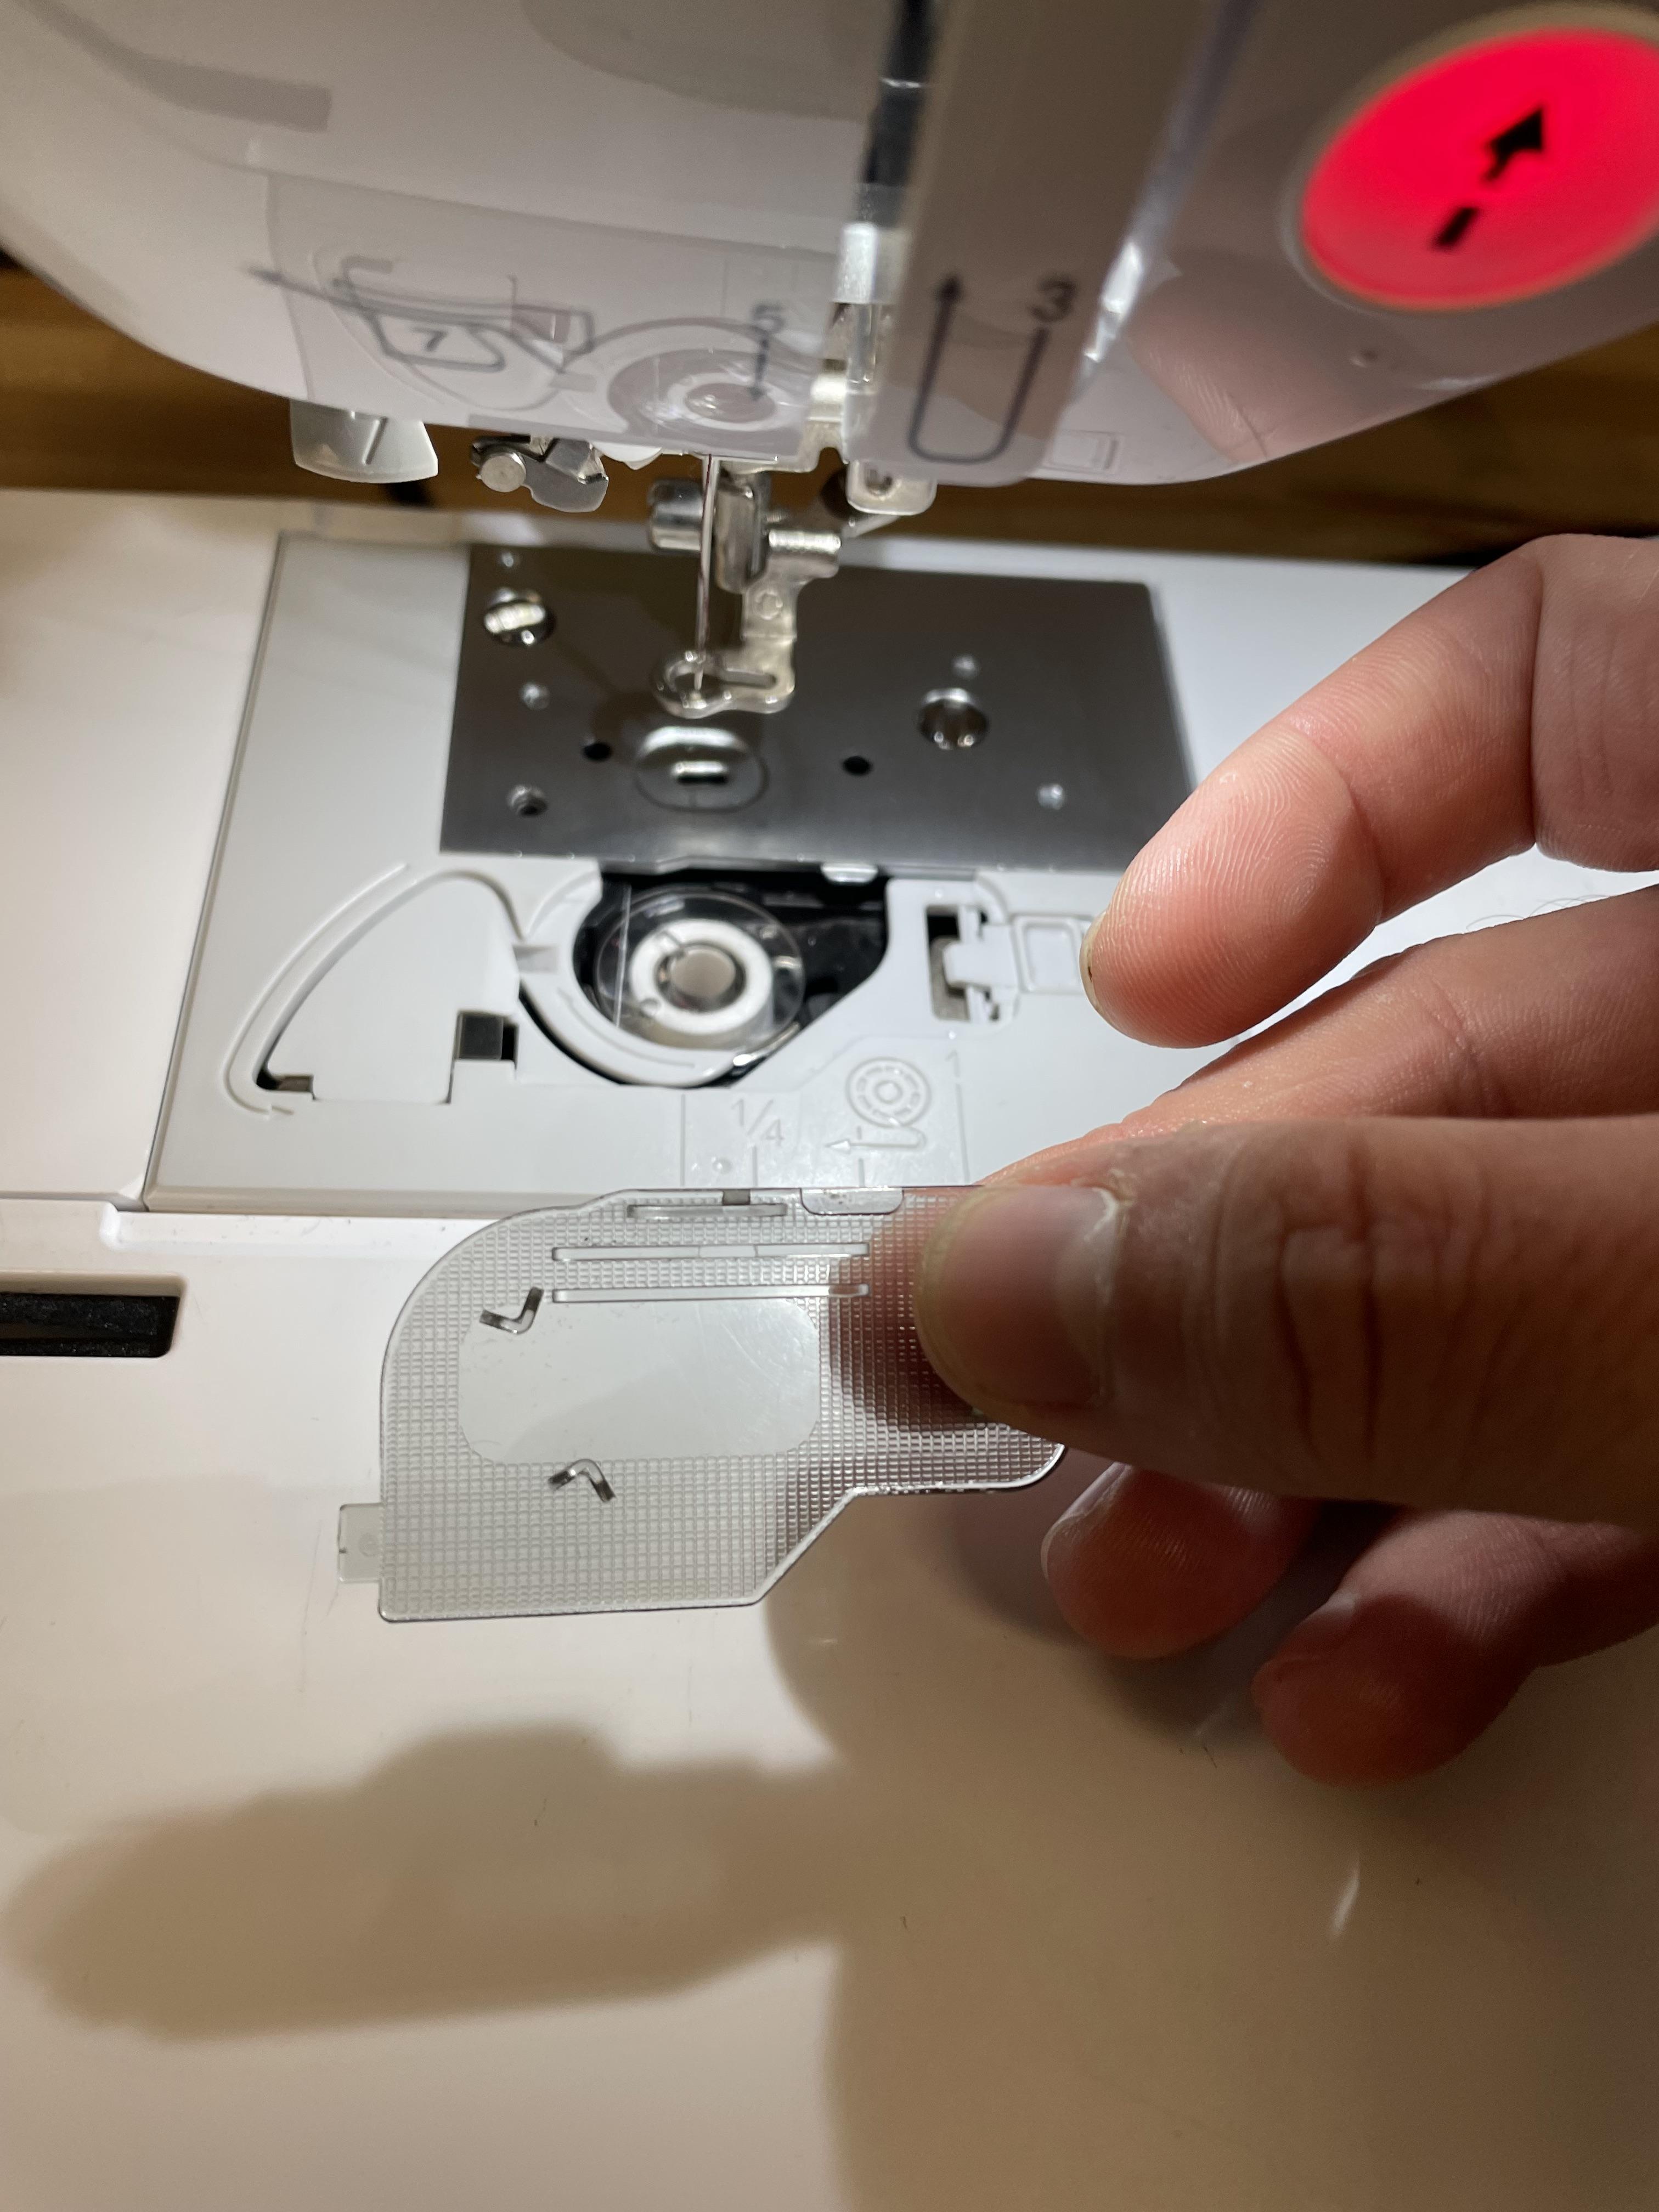
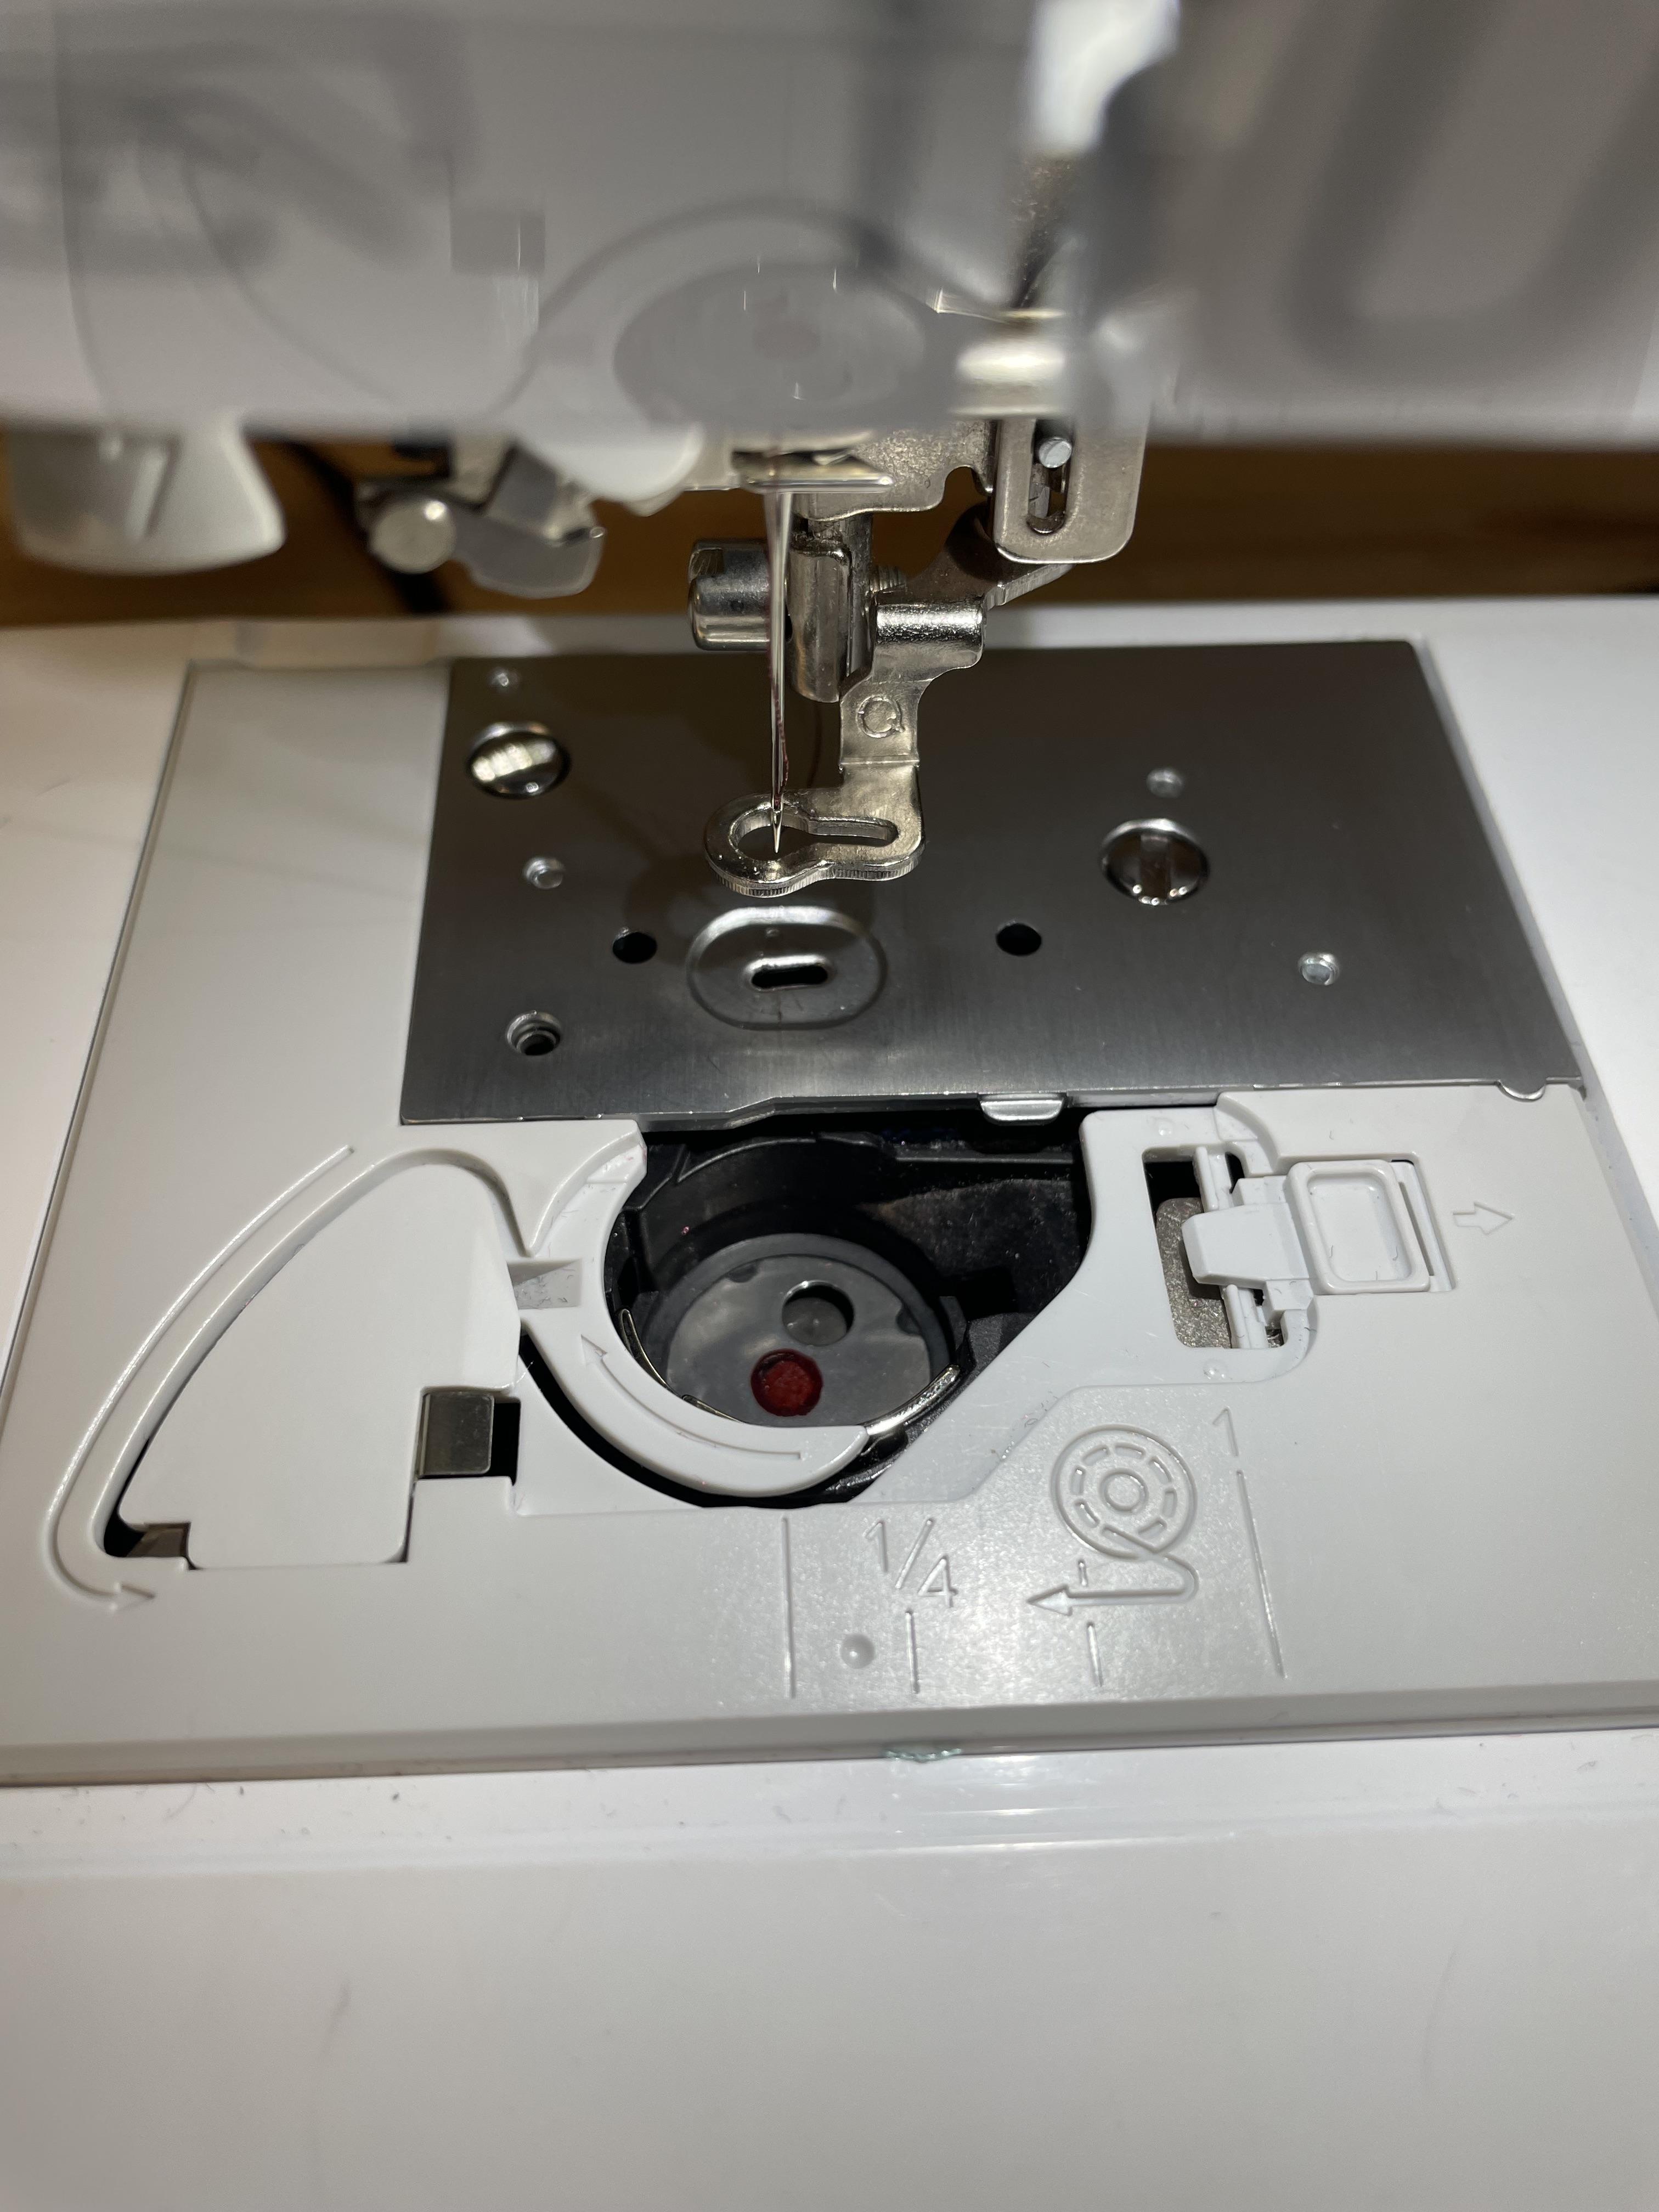
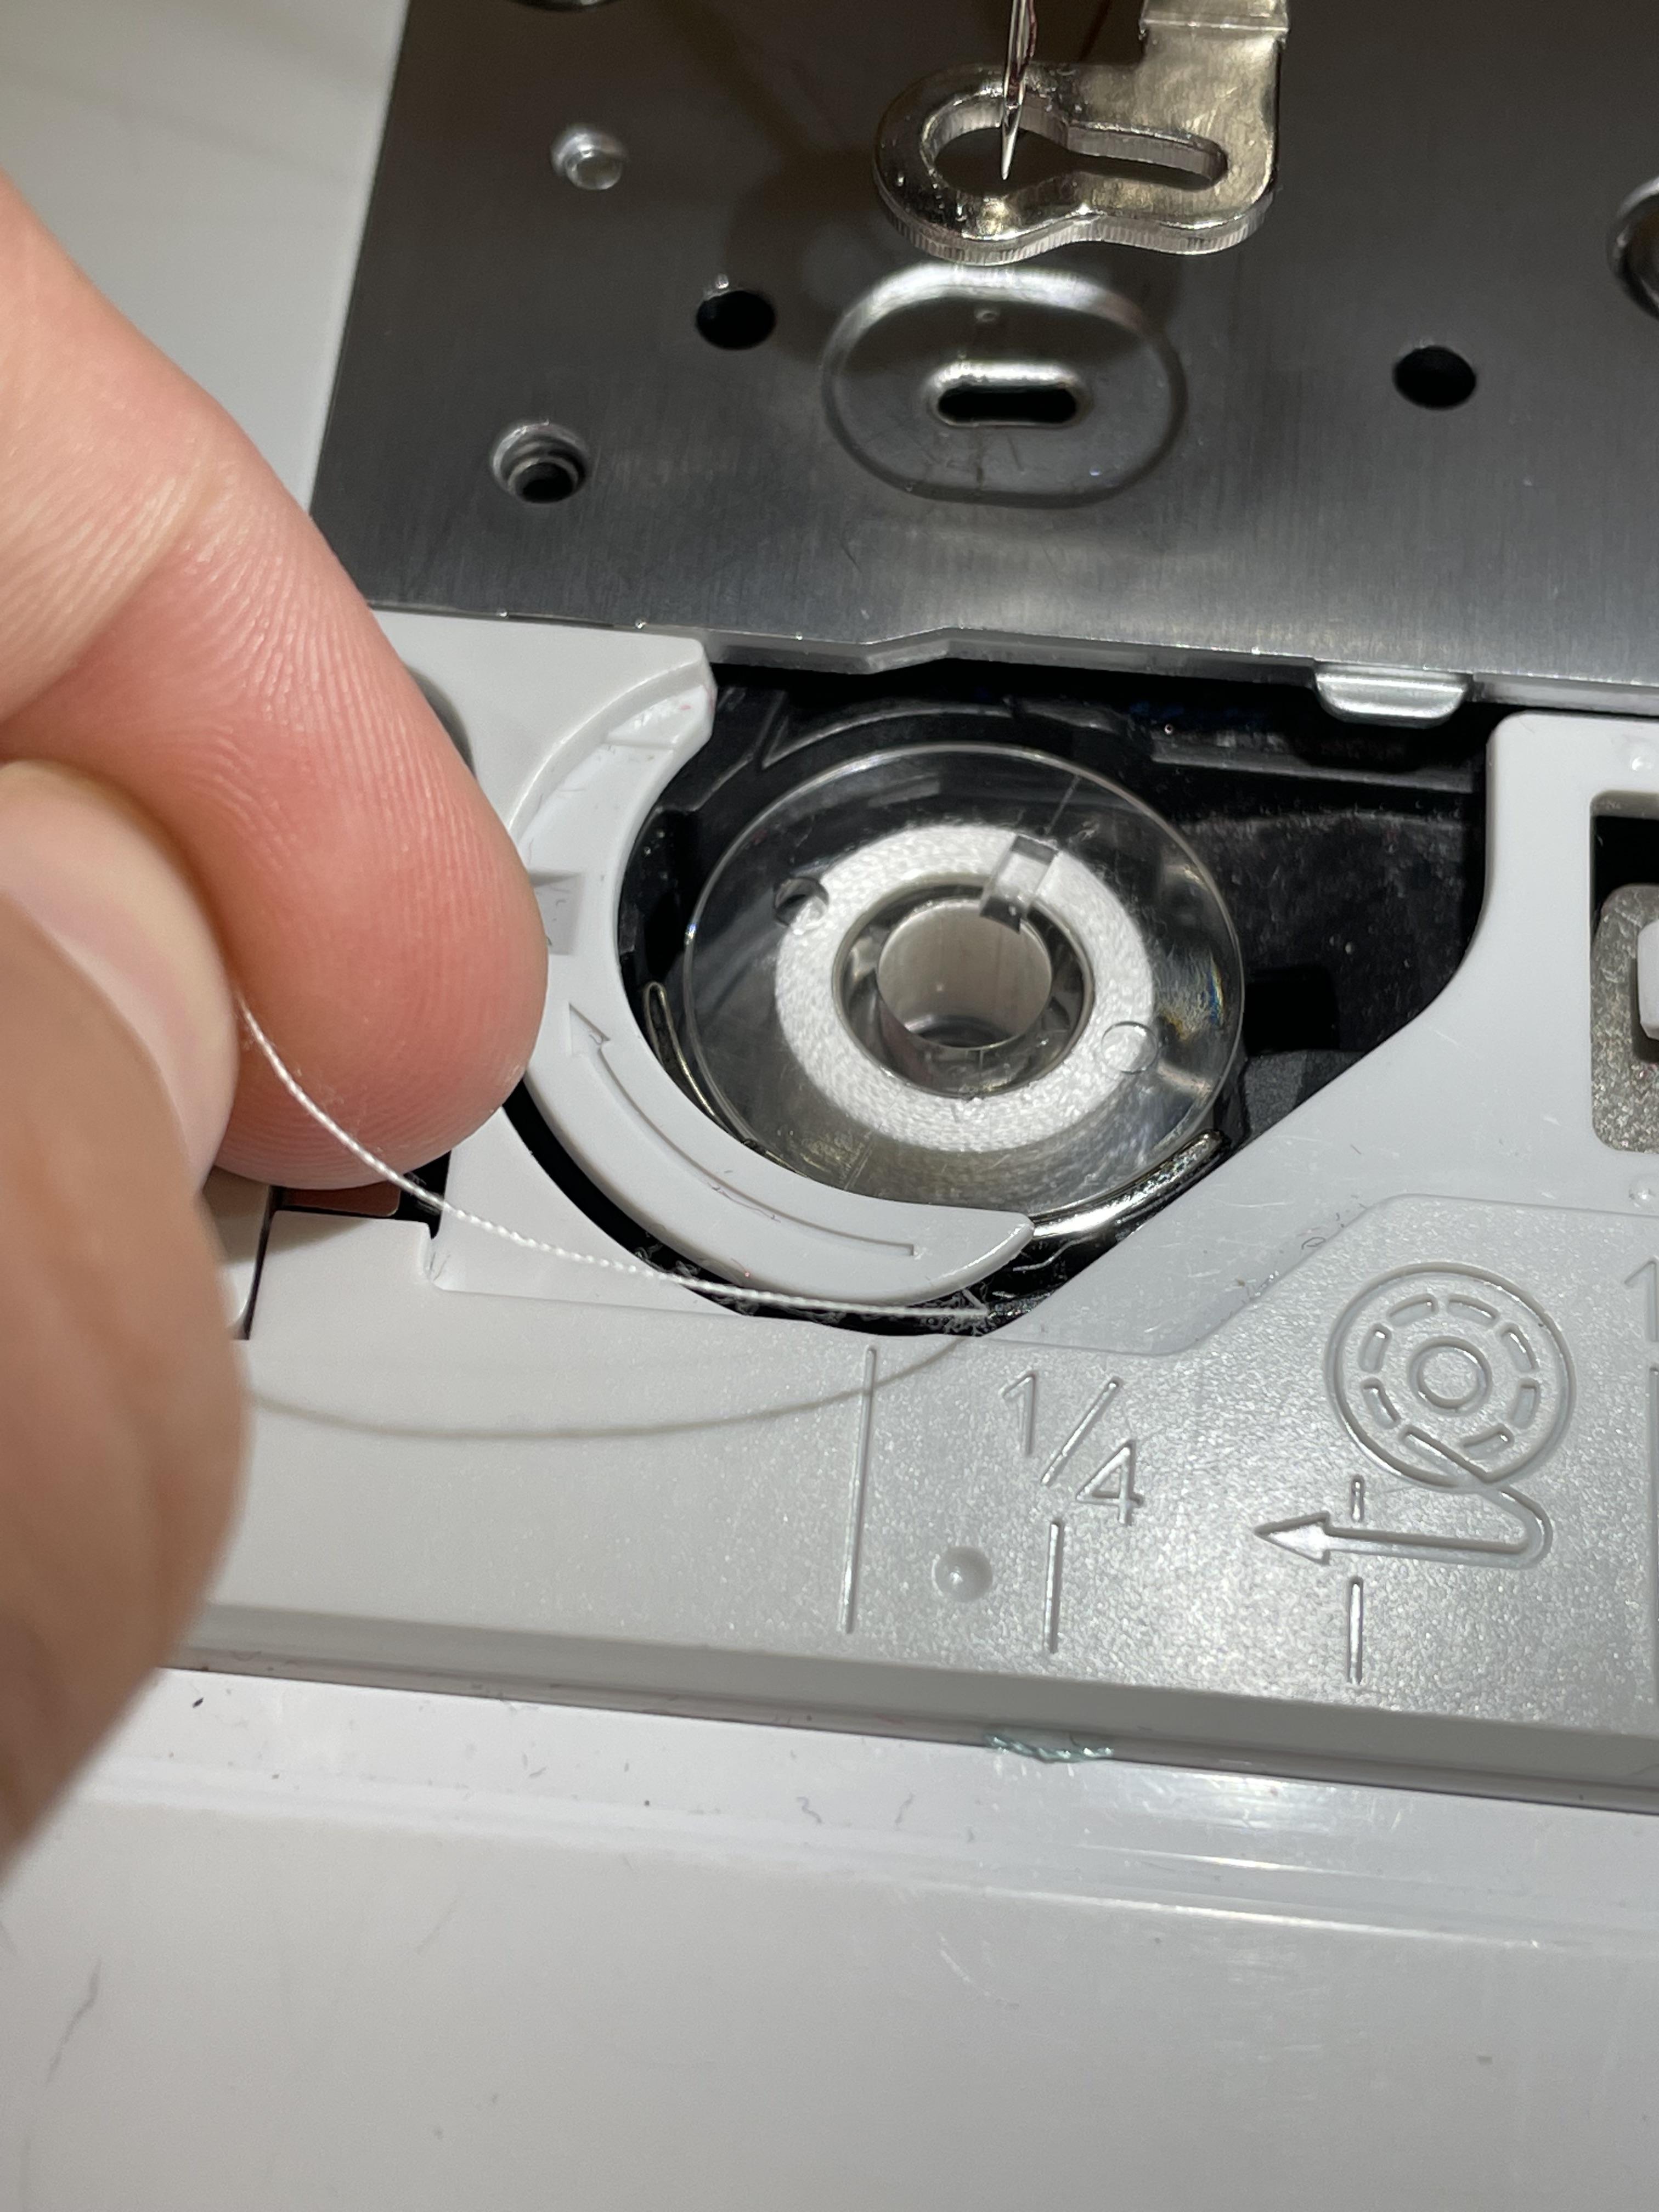
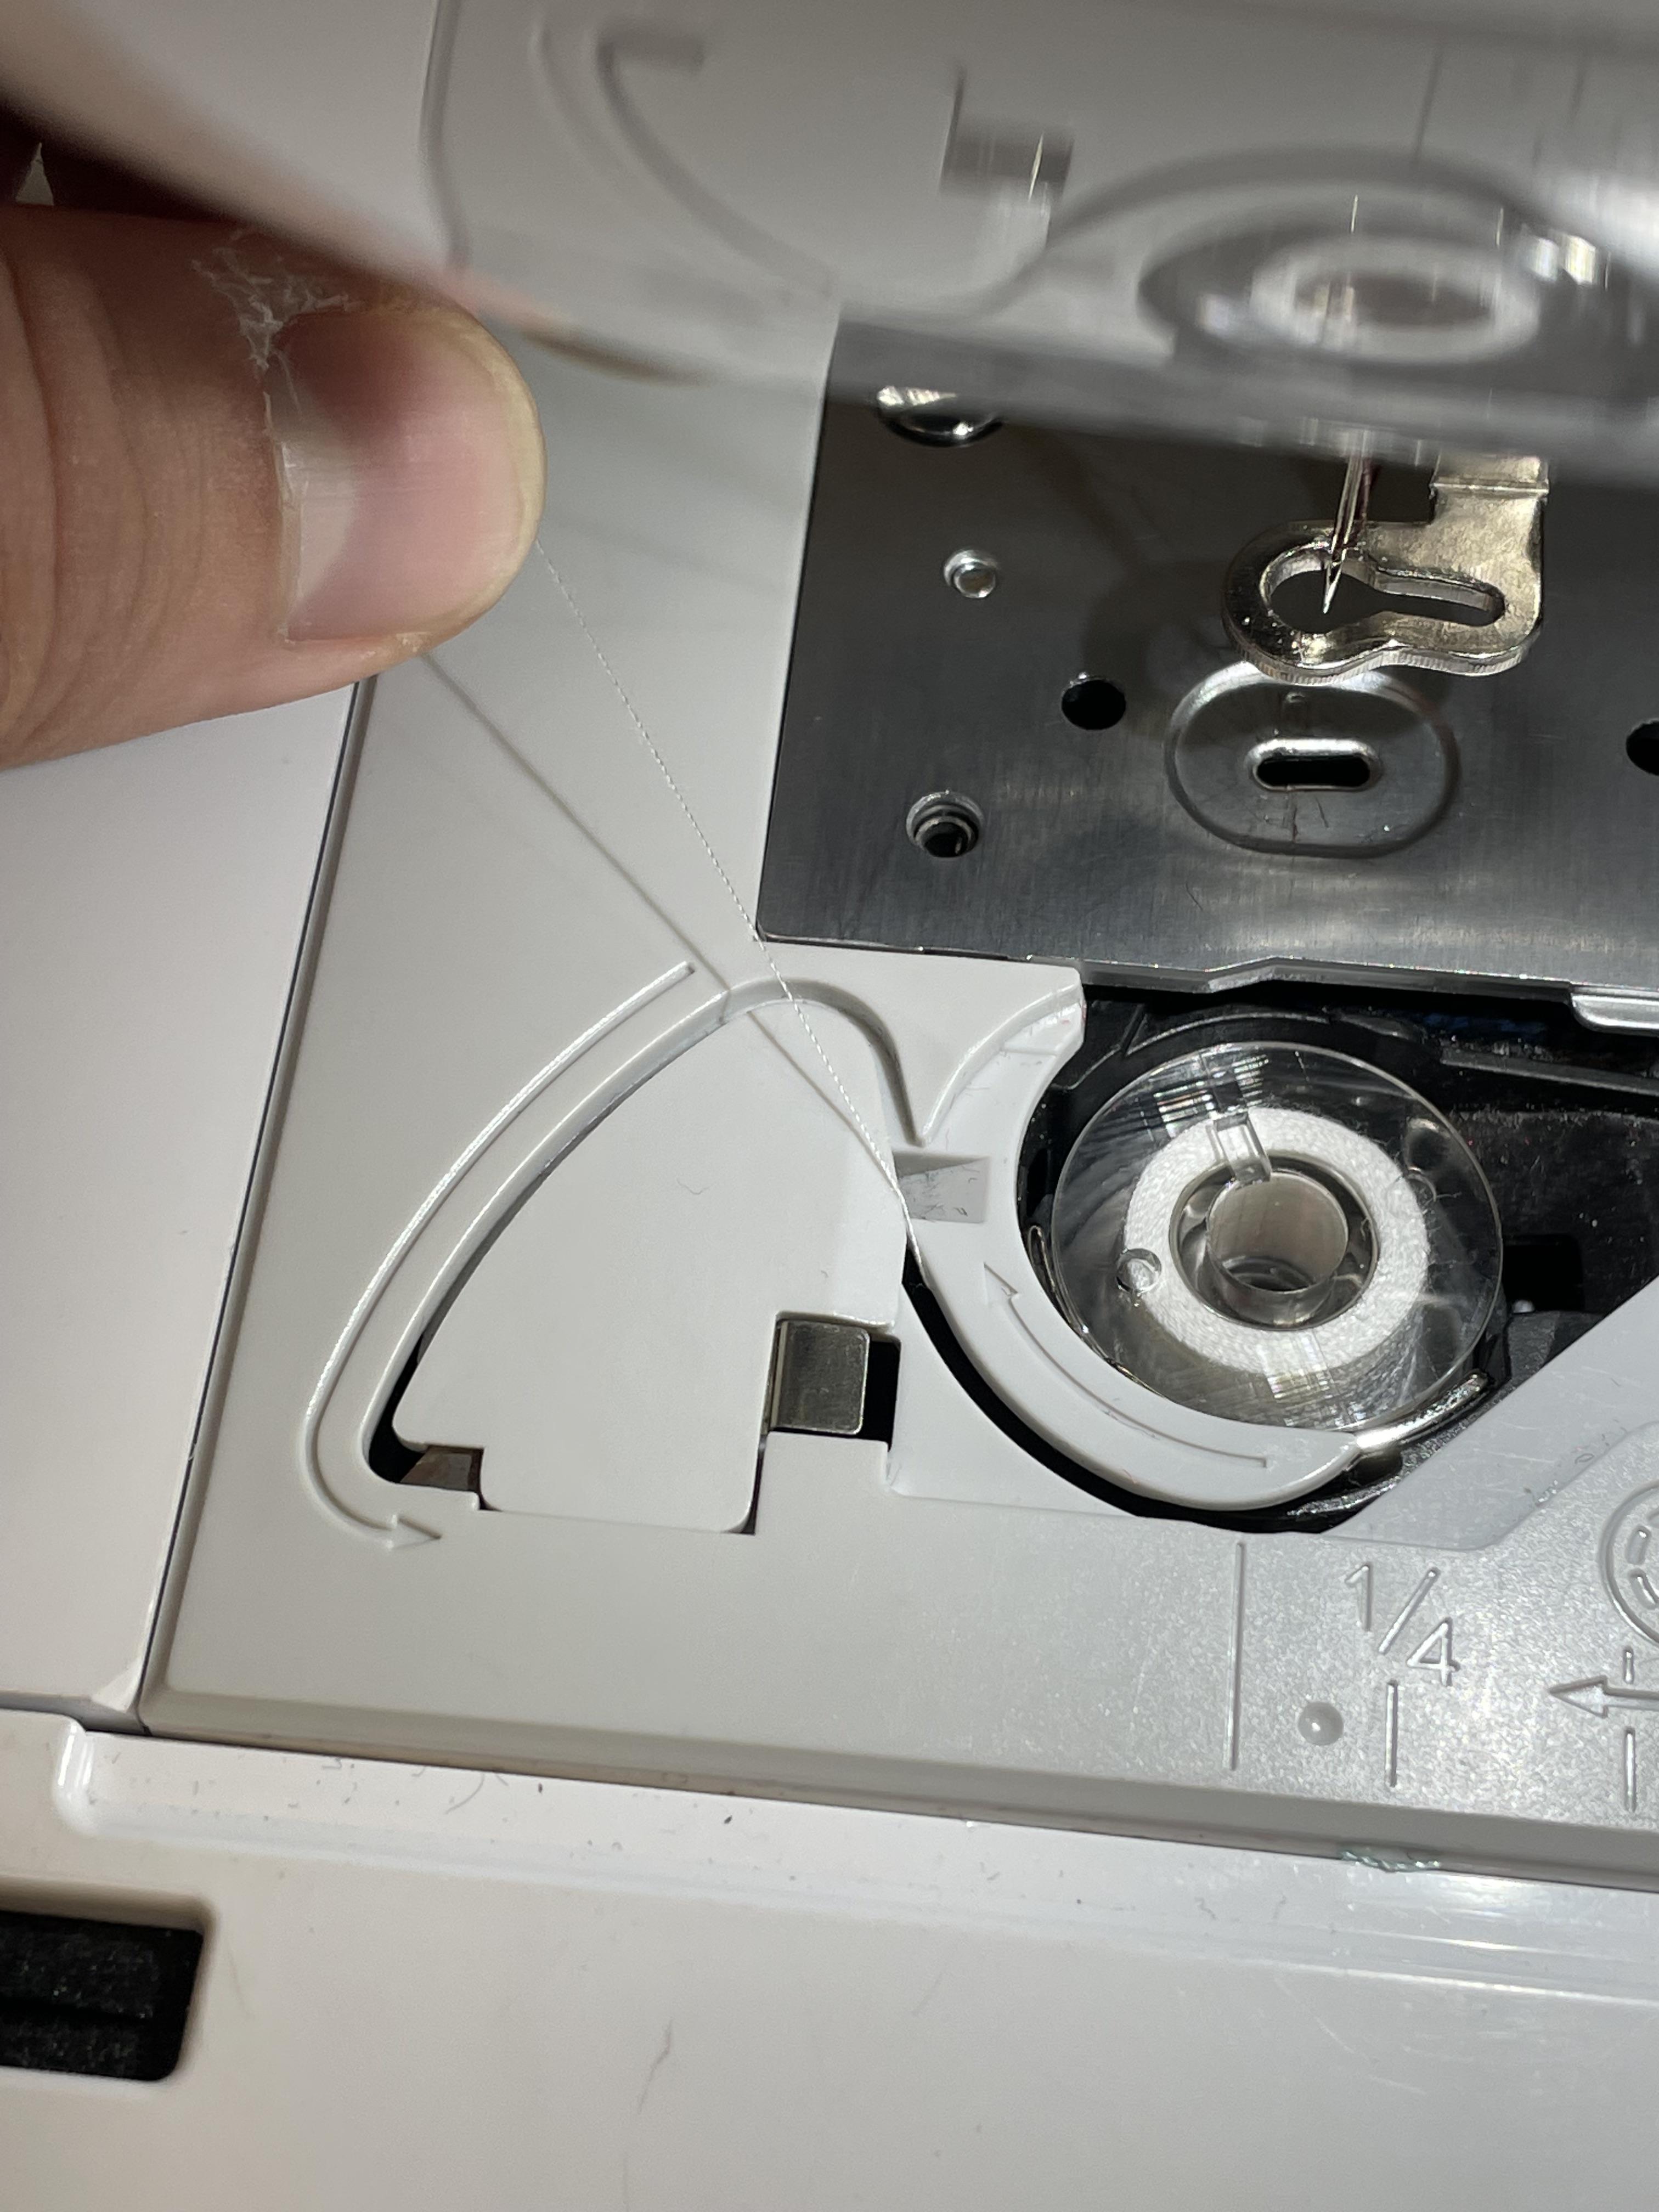
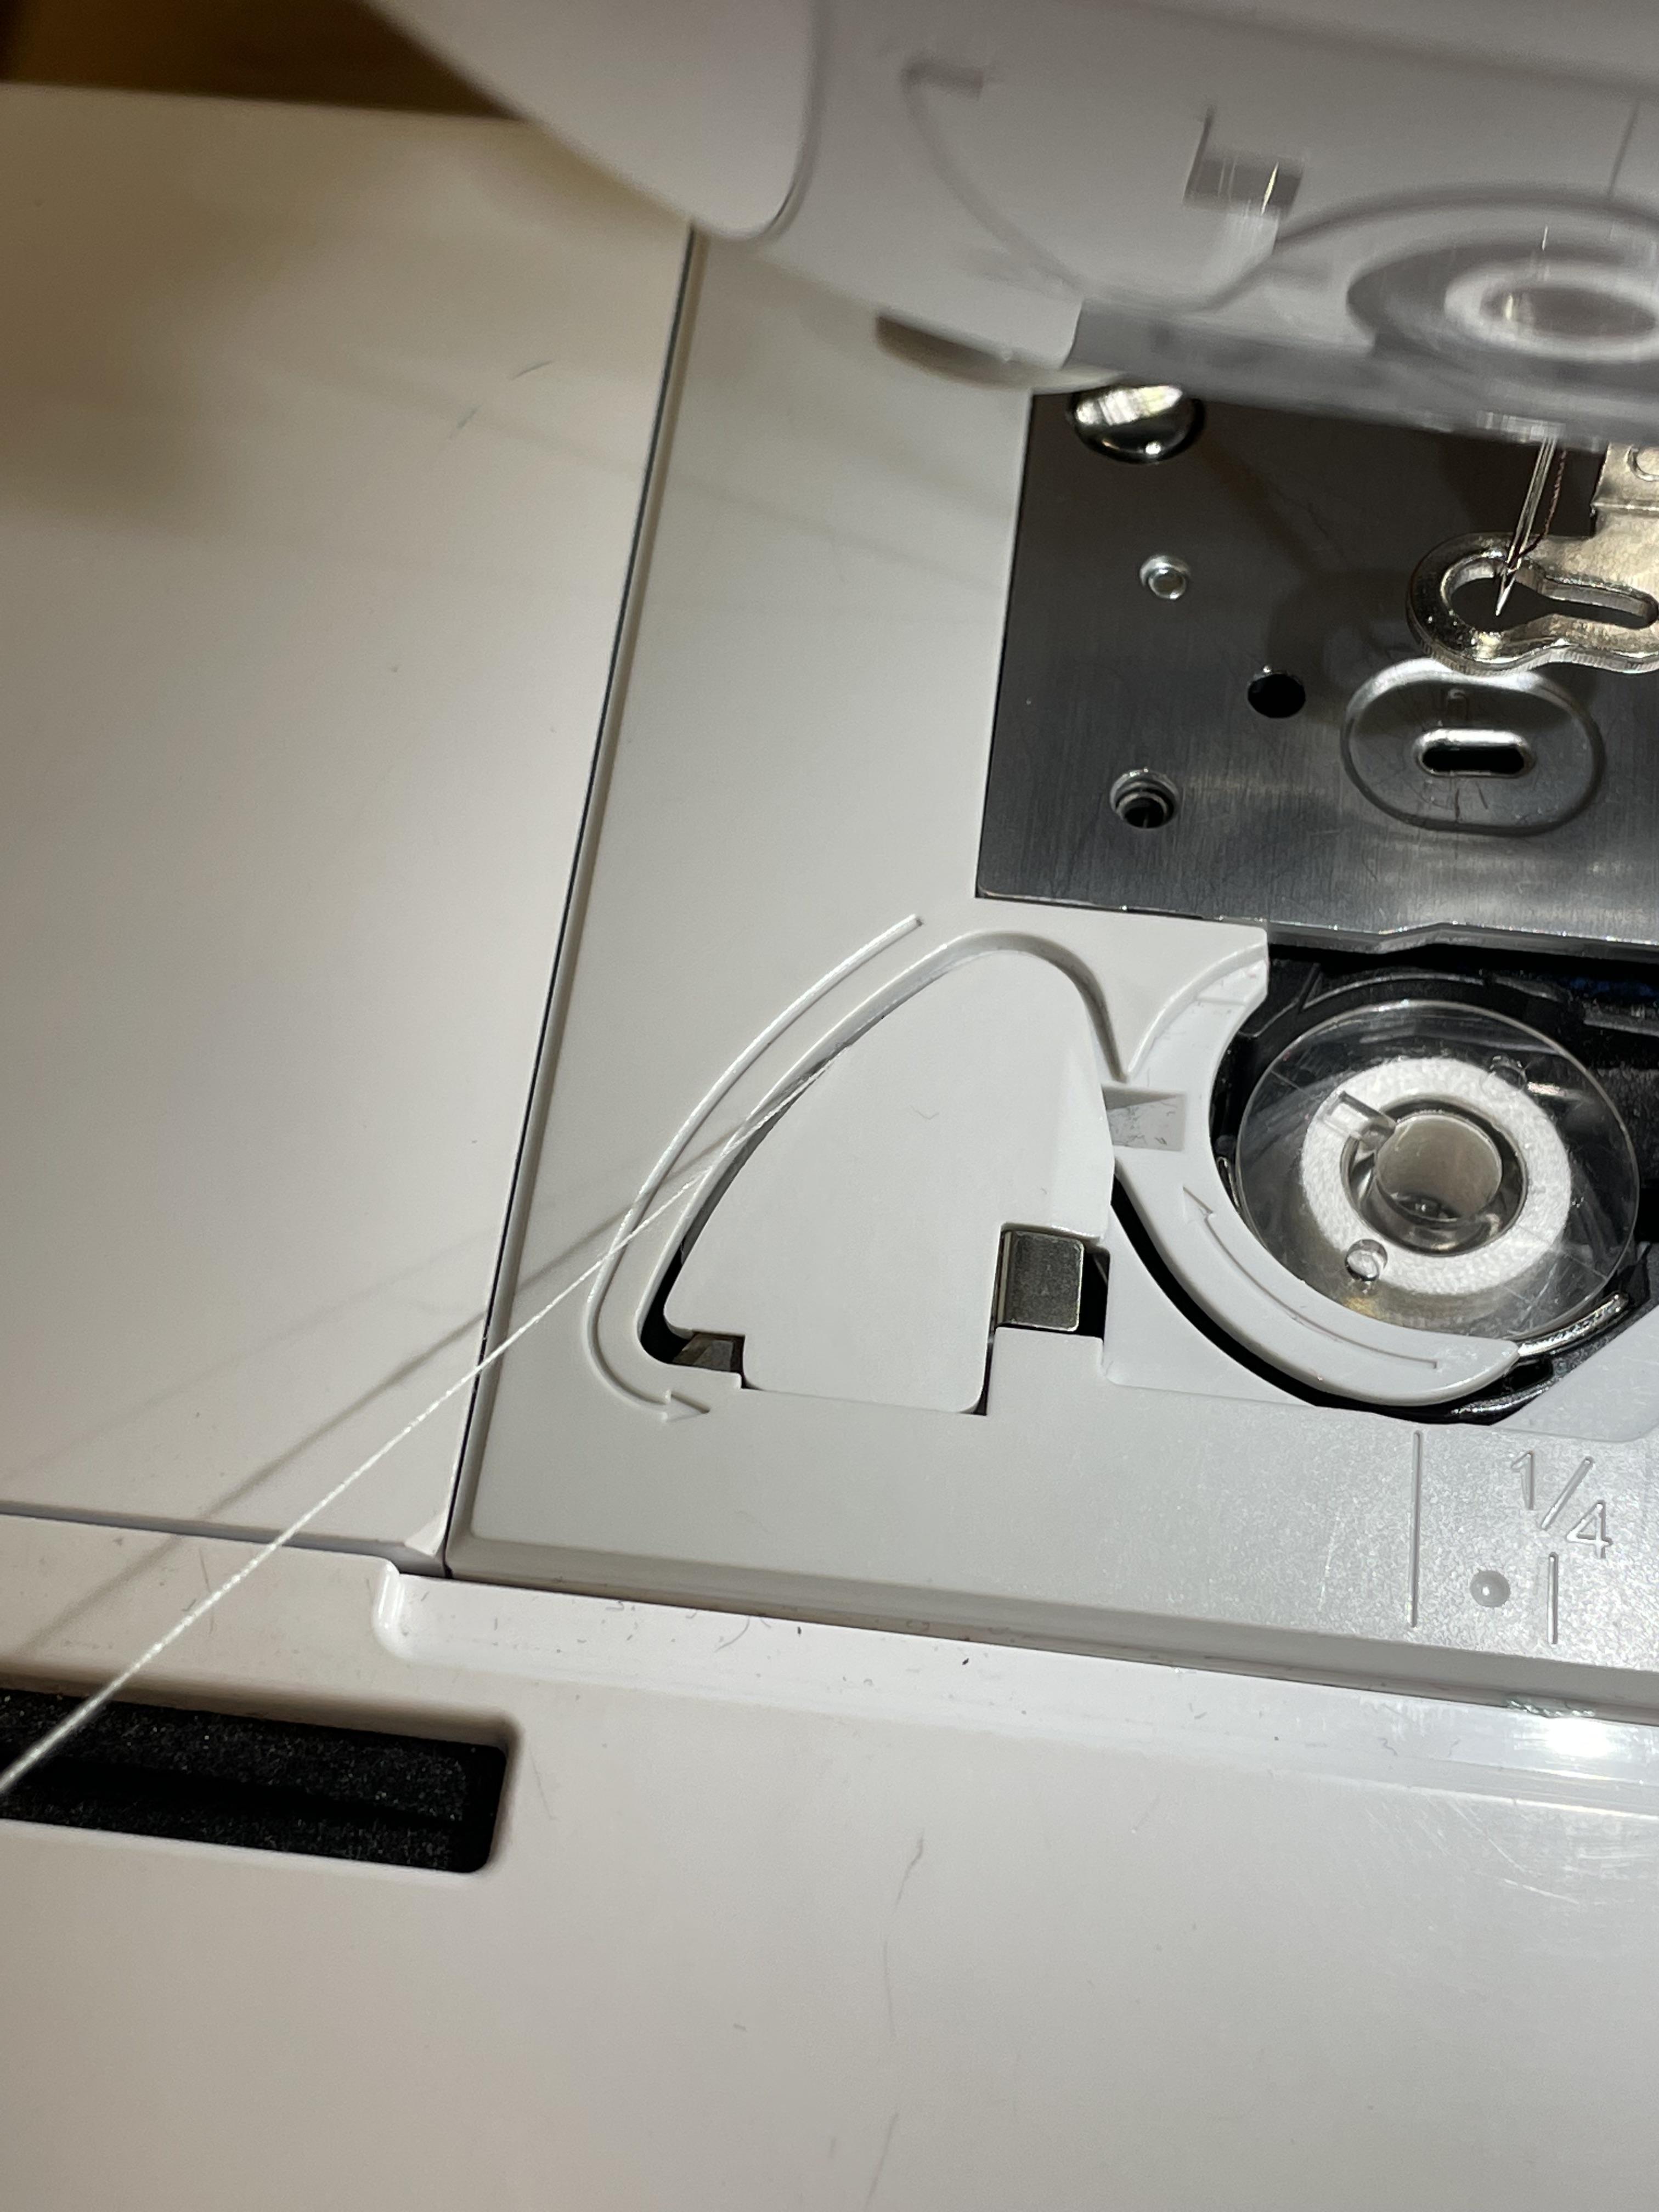
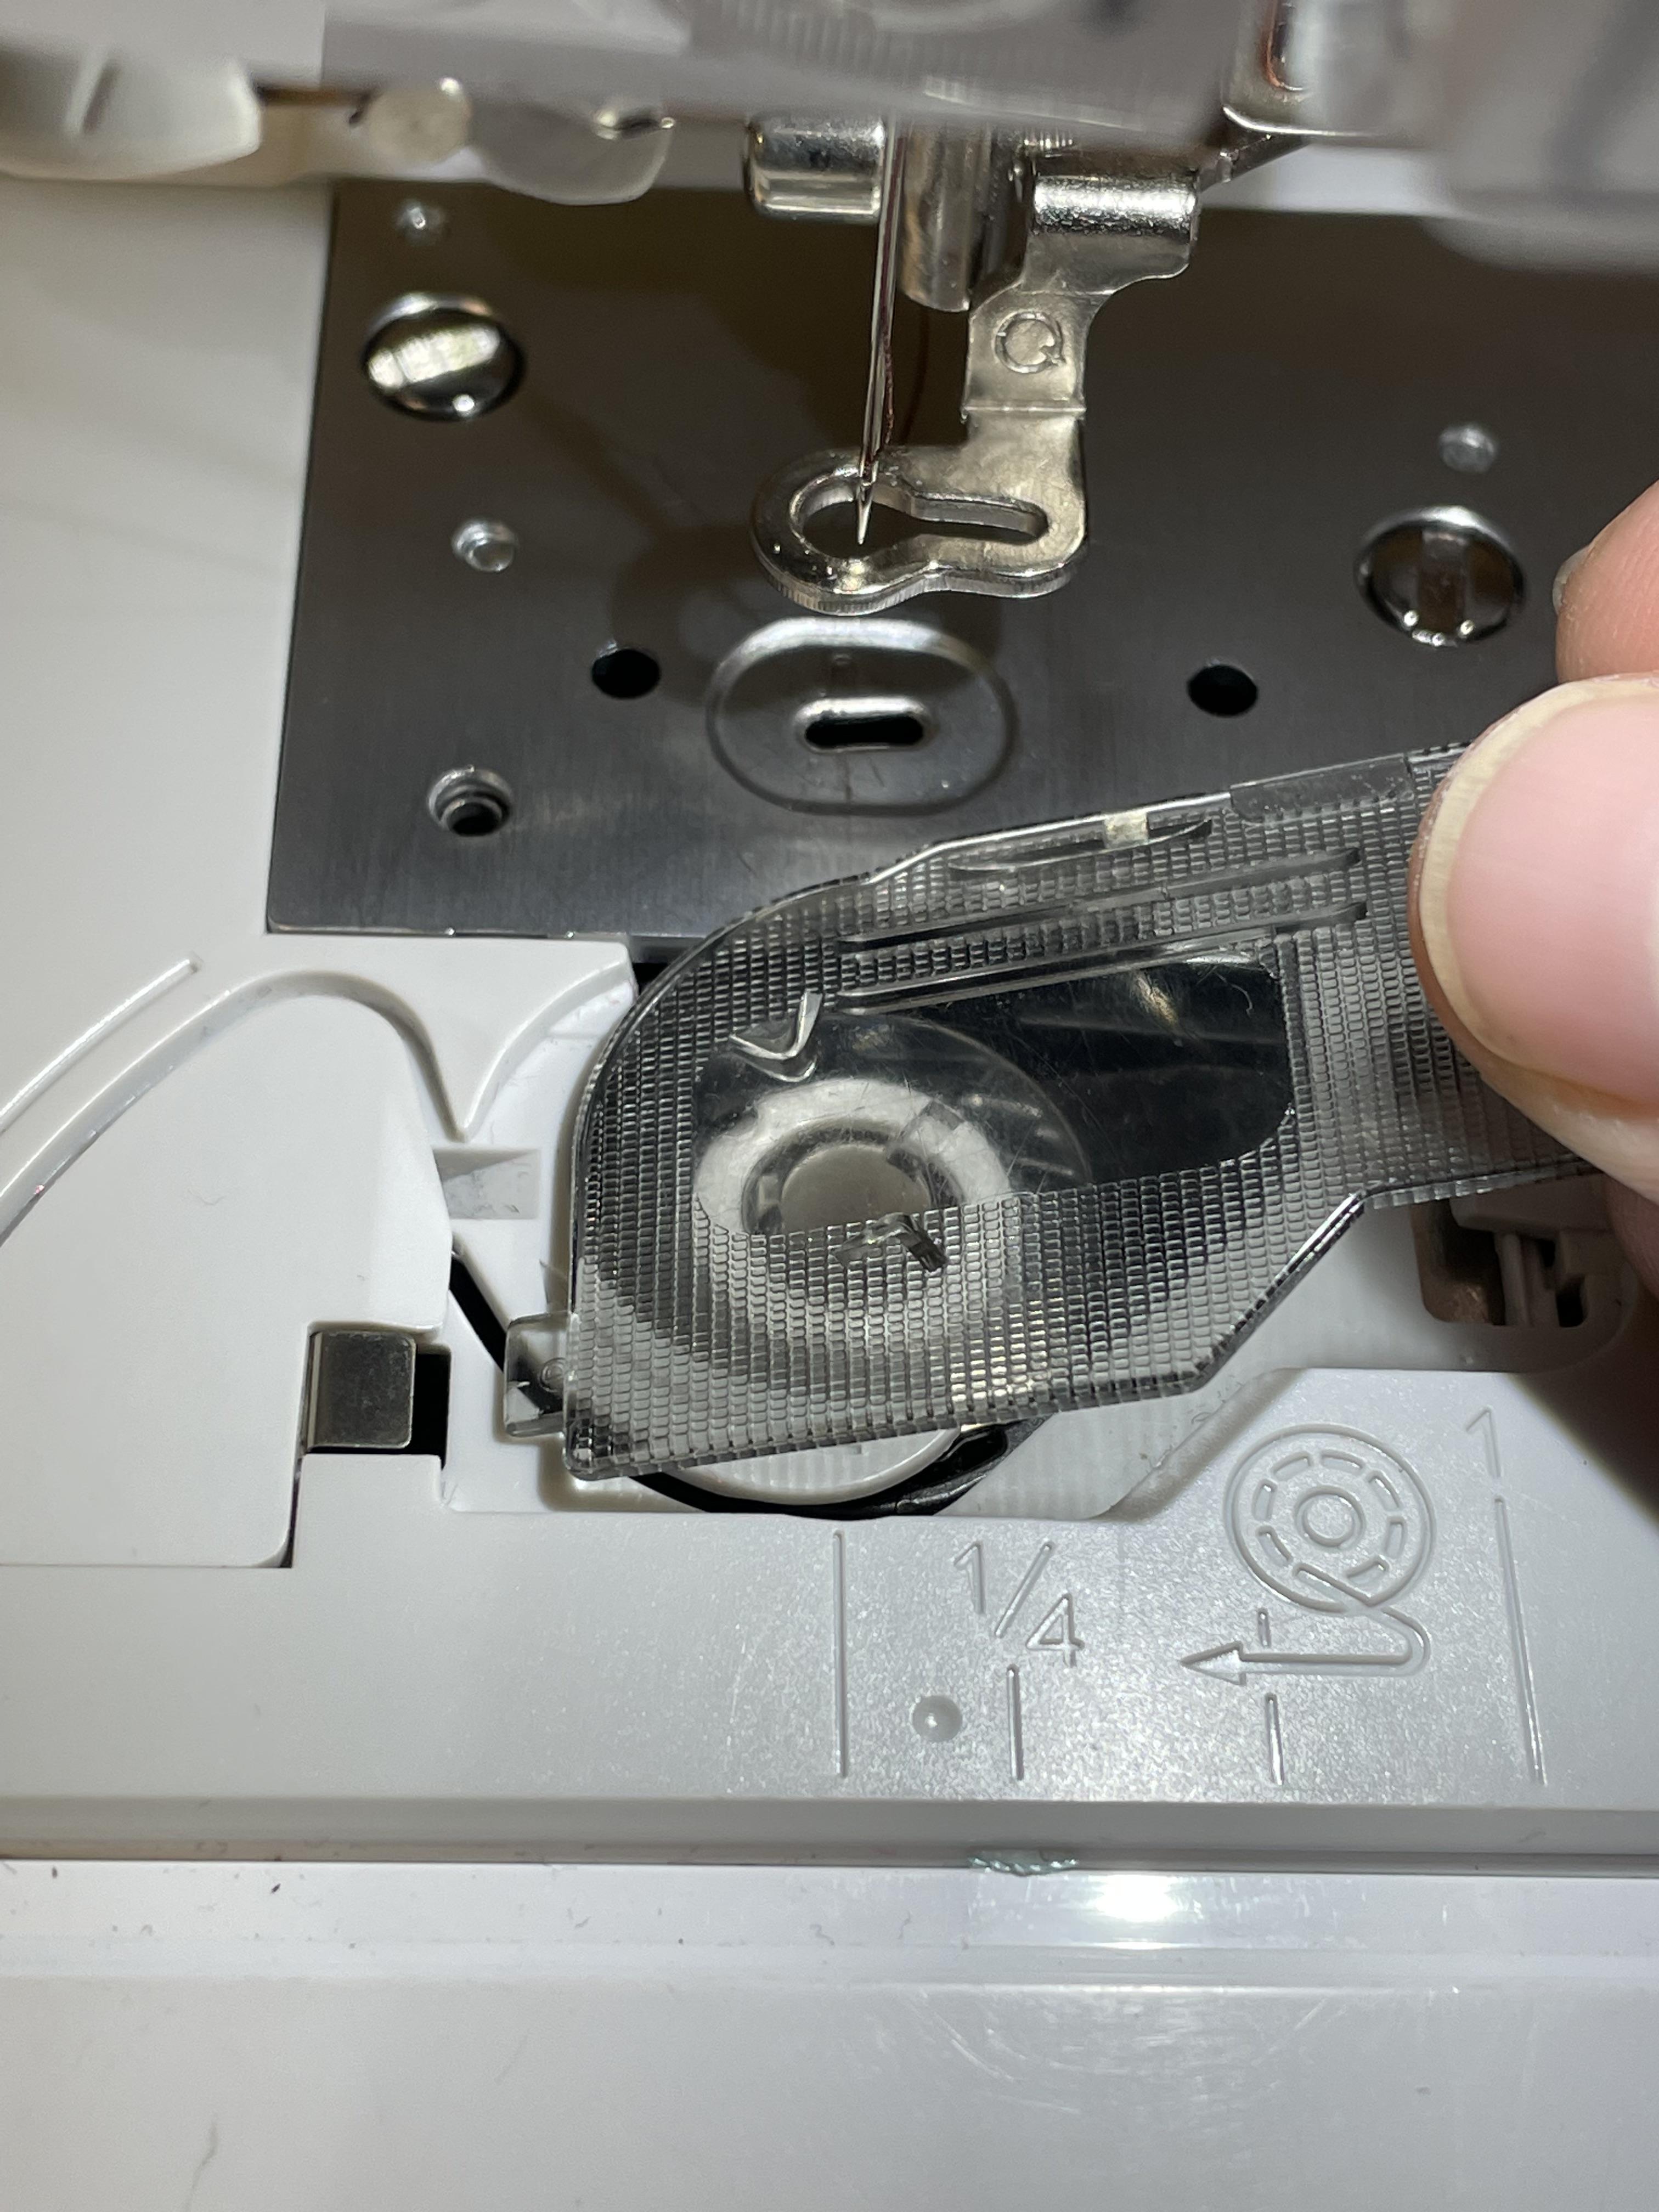
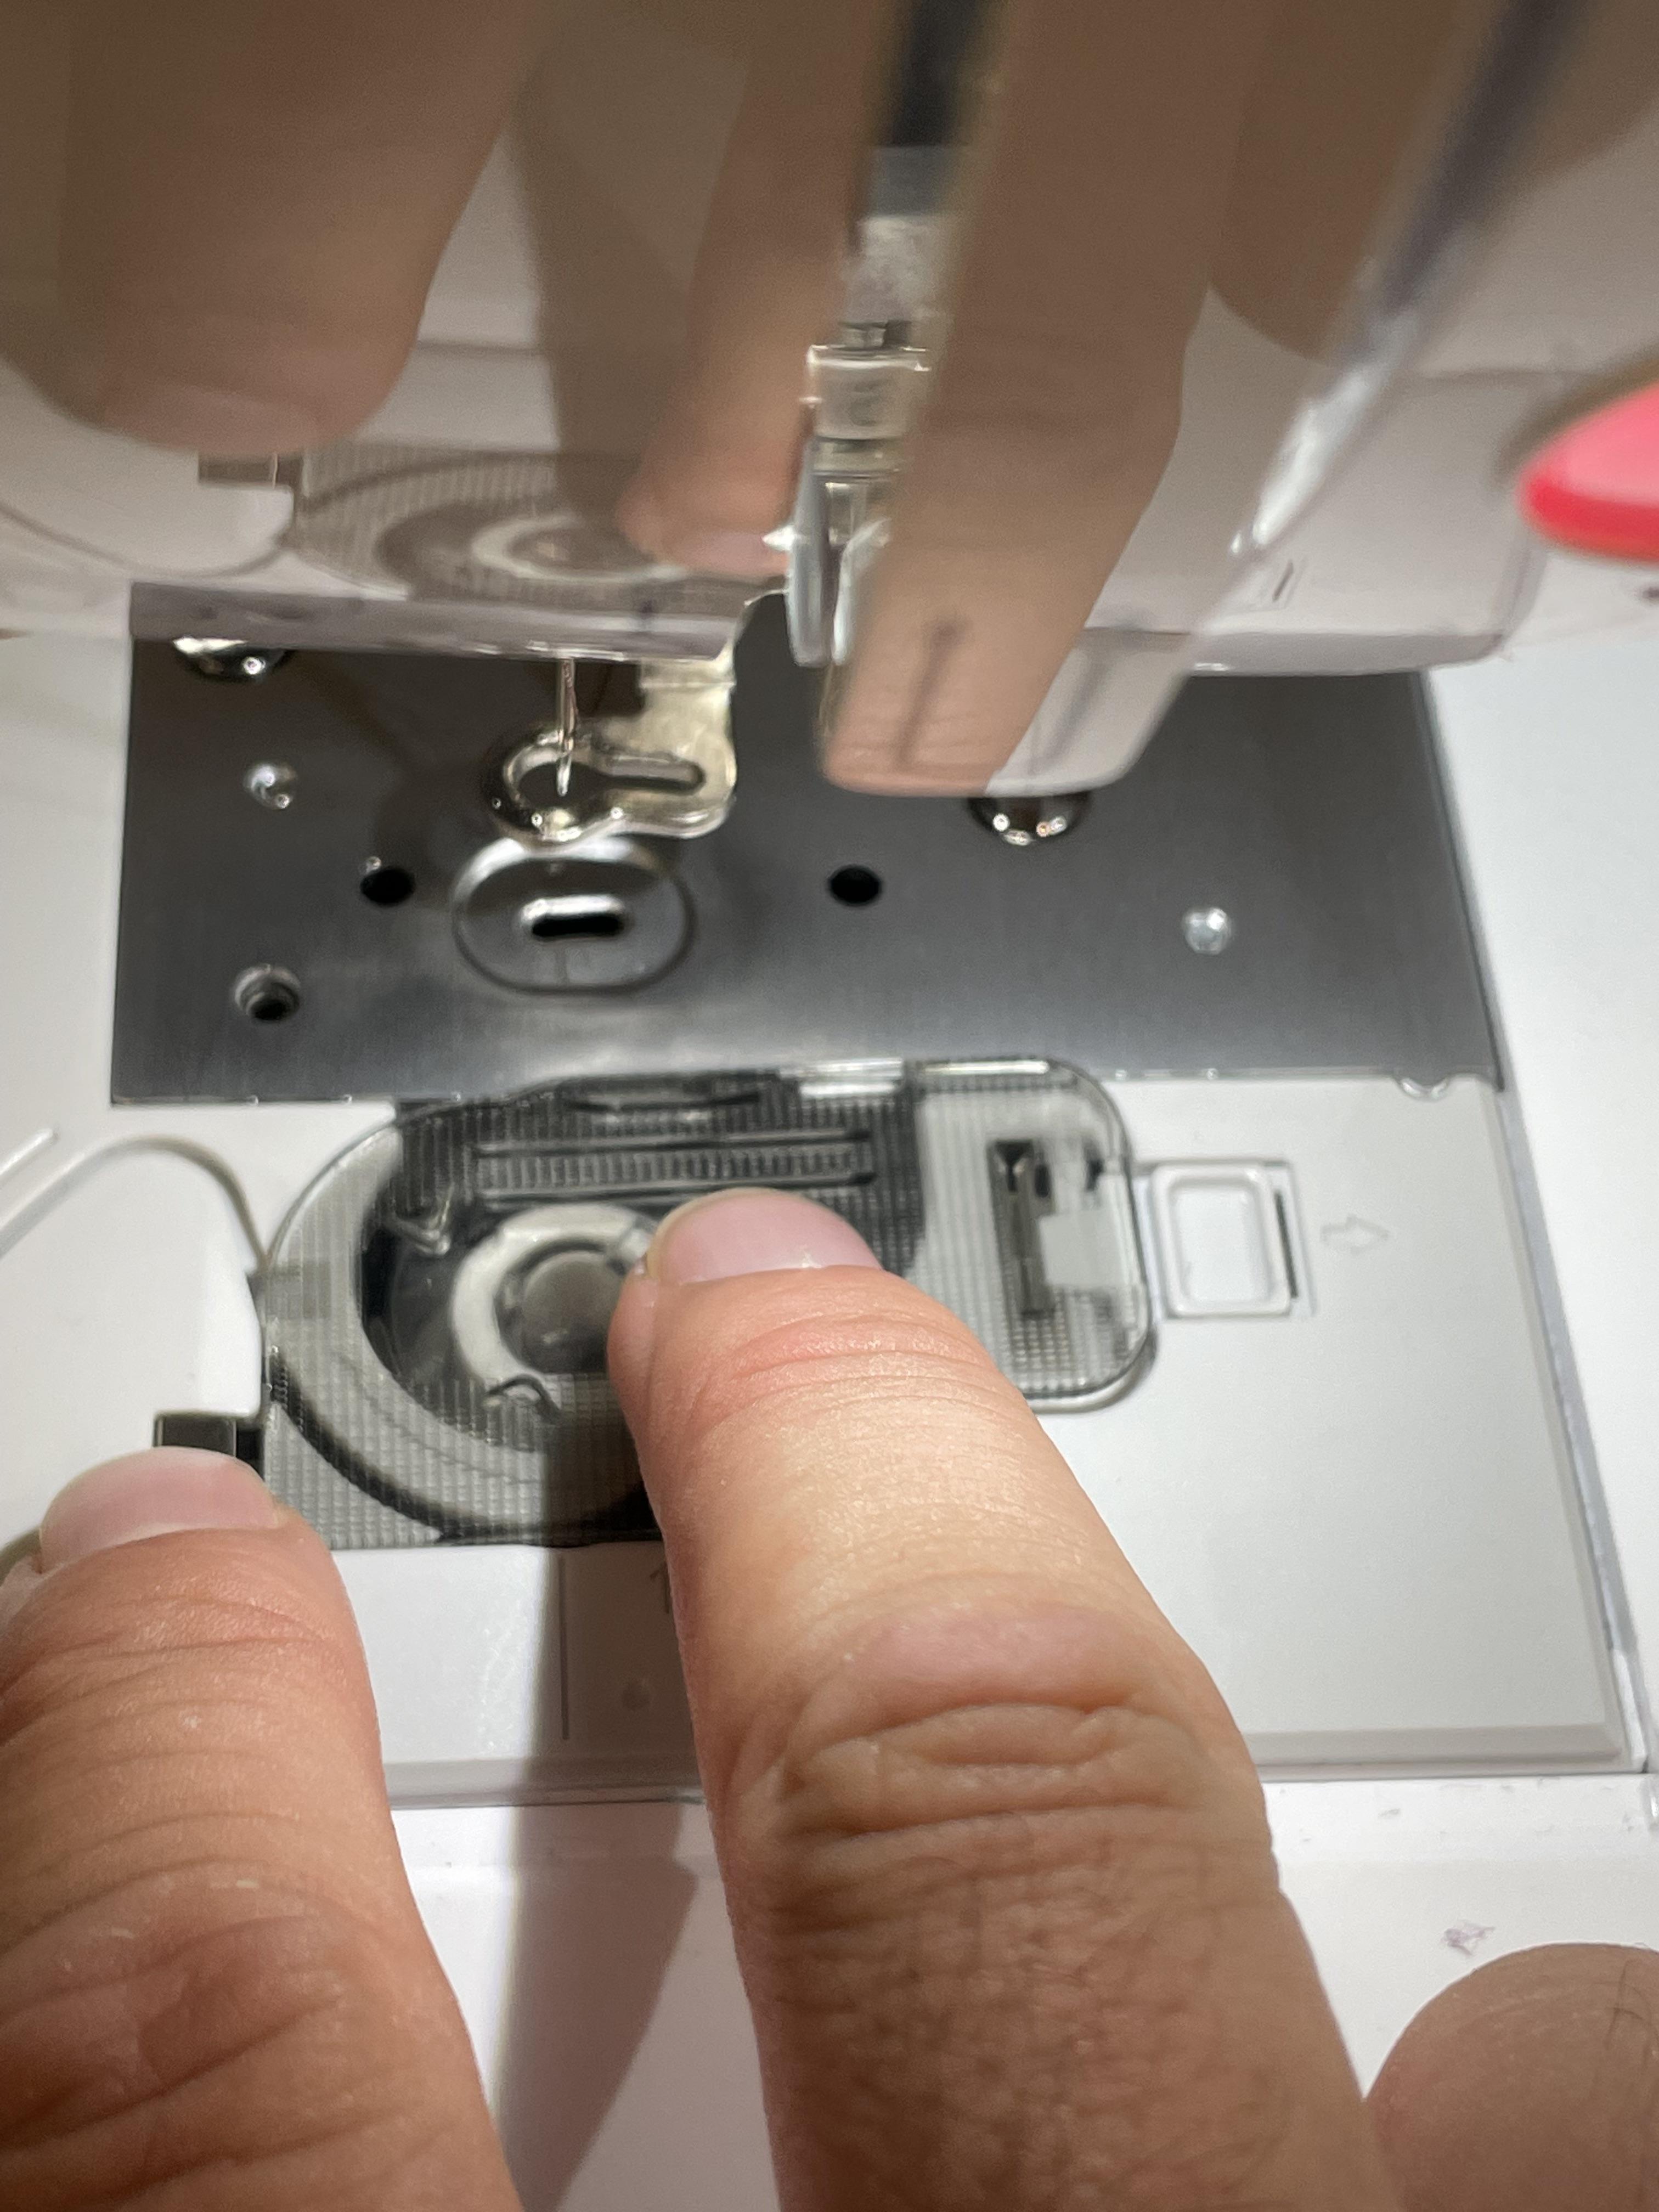
1) Remove the bobbin cover
2) Insert a bobbin and follow the guidelines to thread it into the machine
3) Reattach bobbin cover
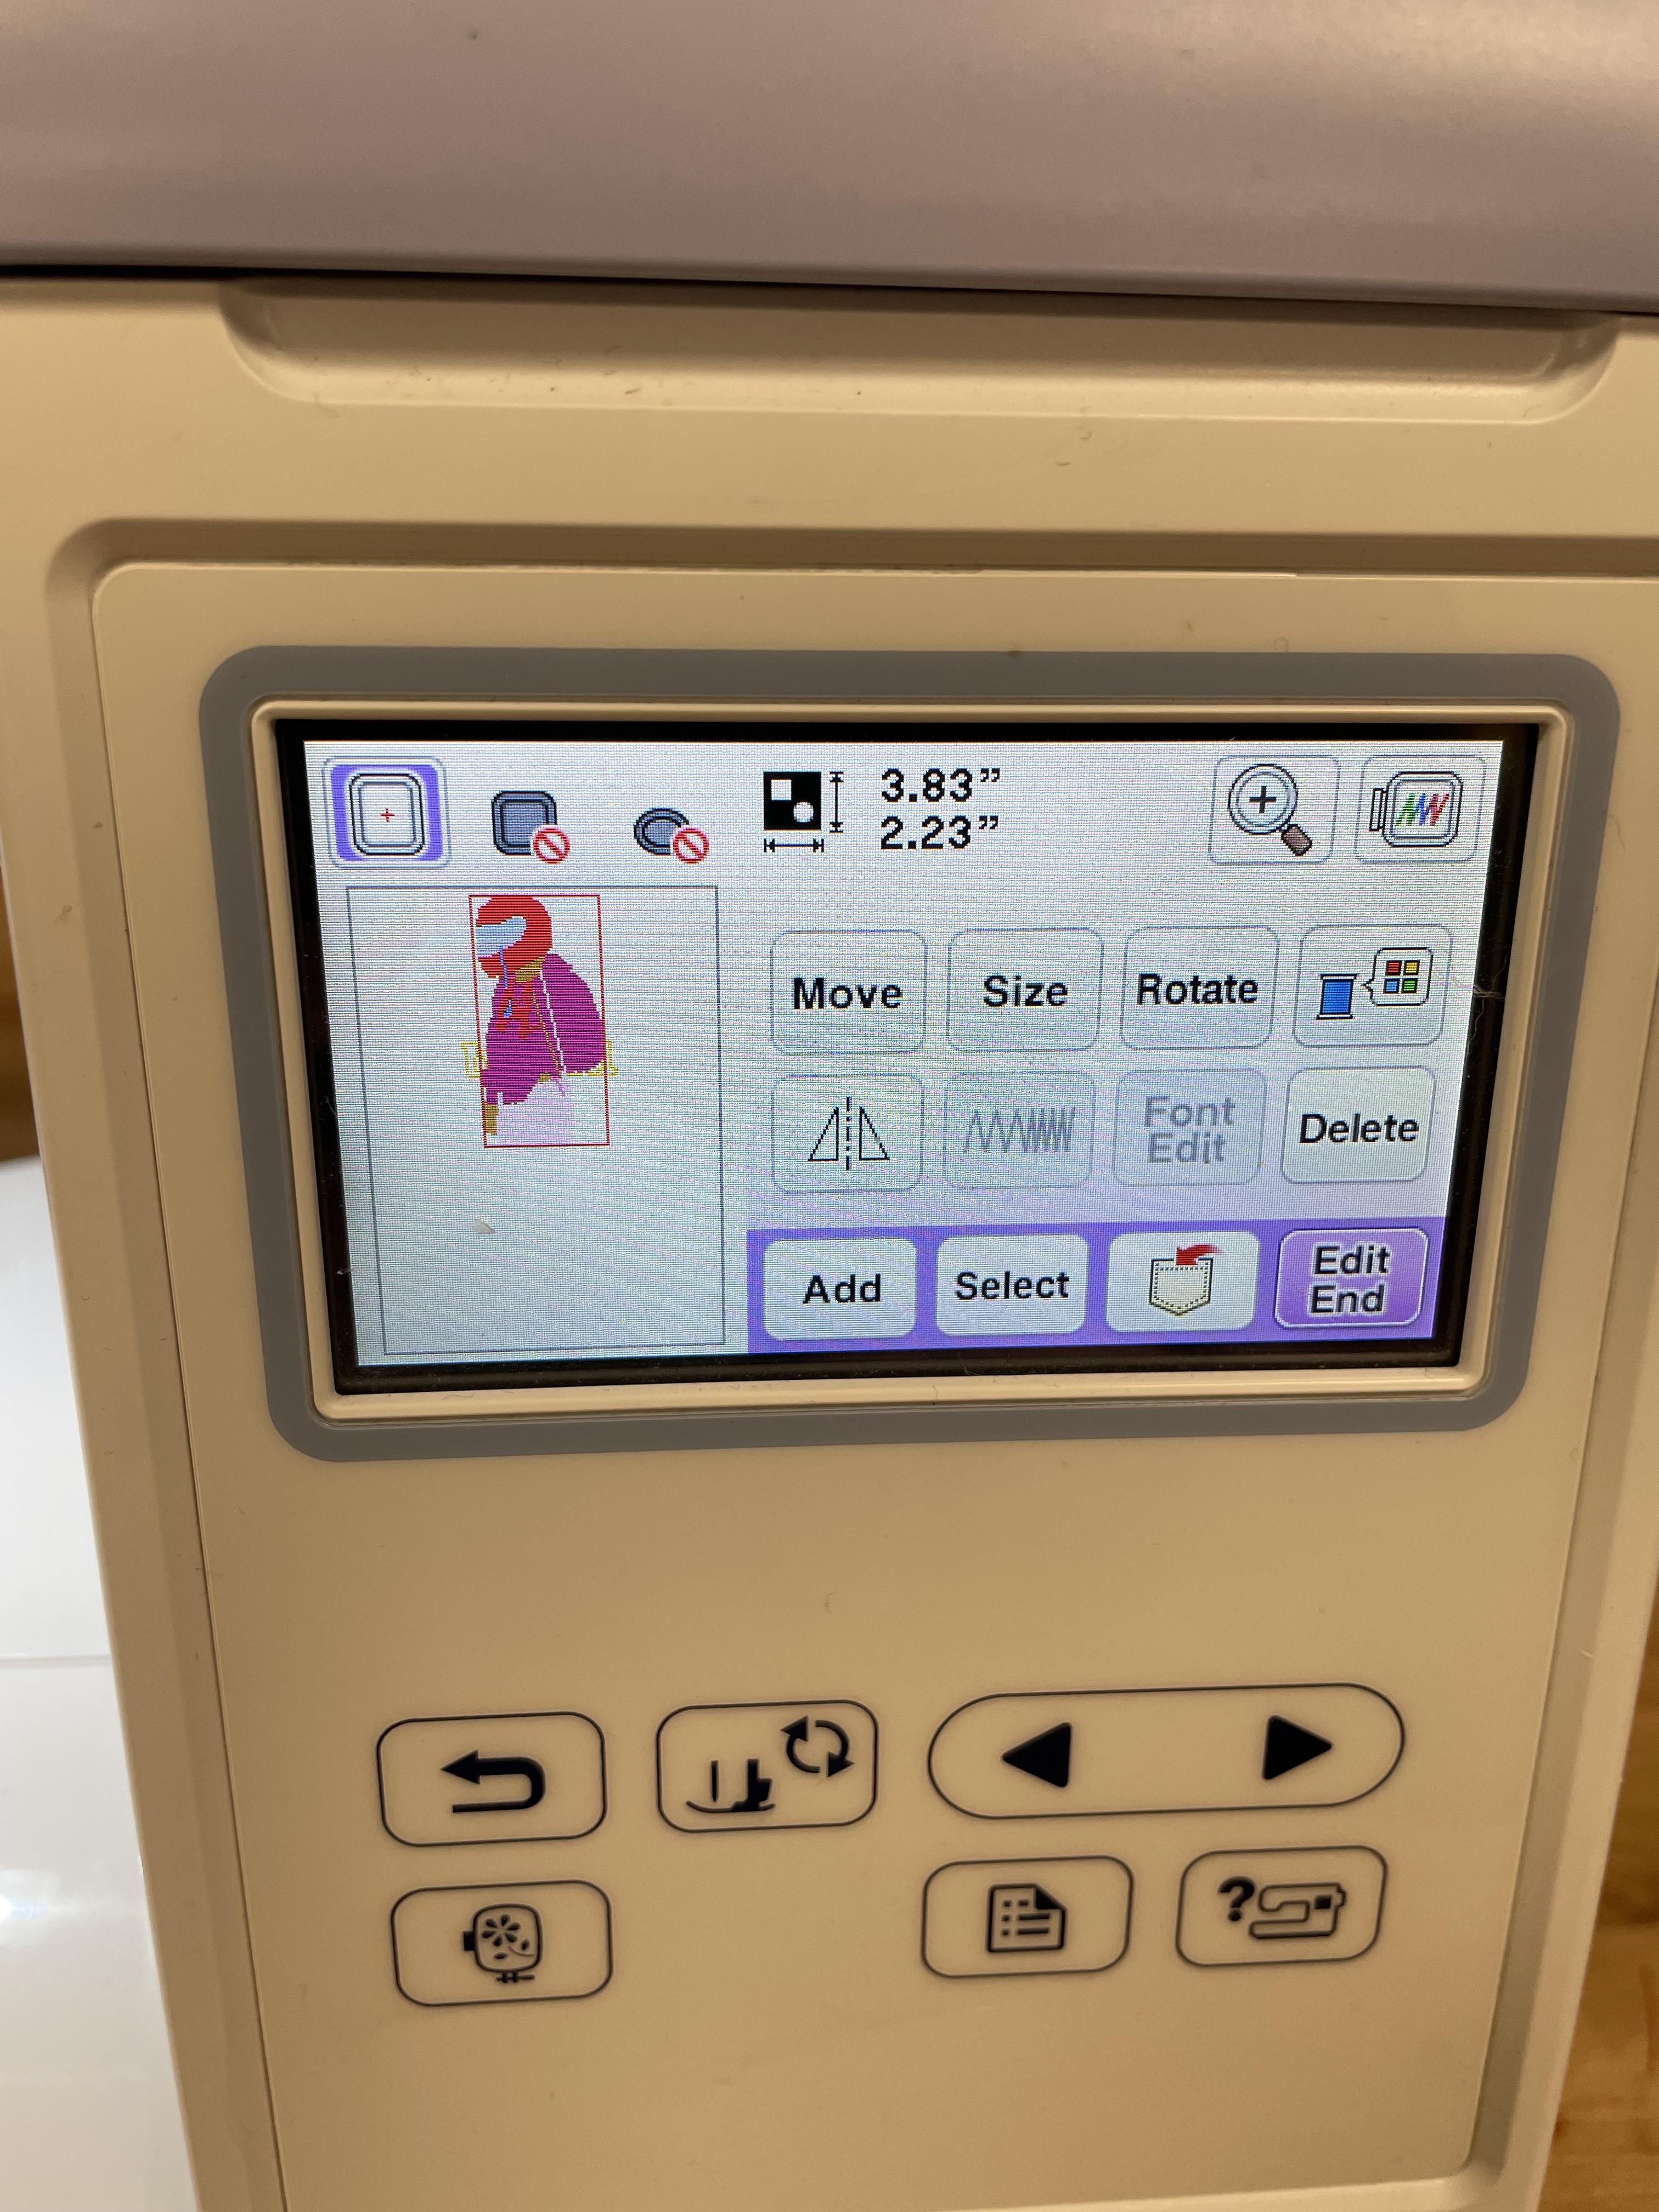
Choose Your Embroidery Design
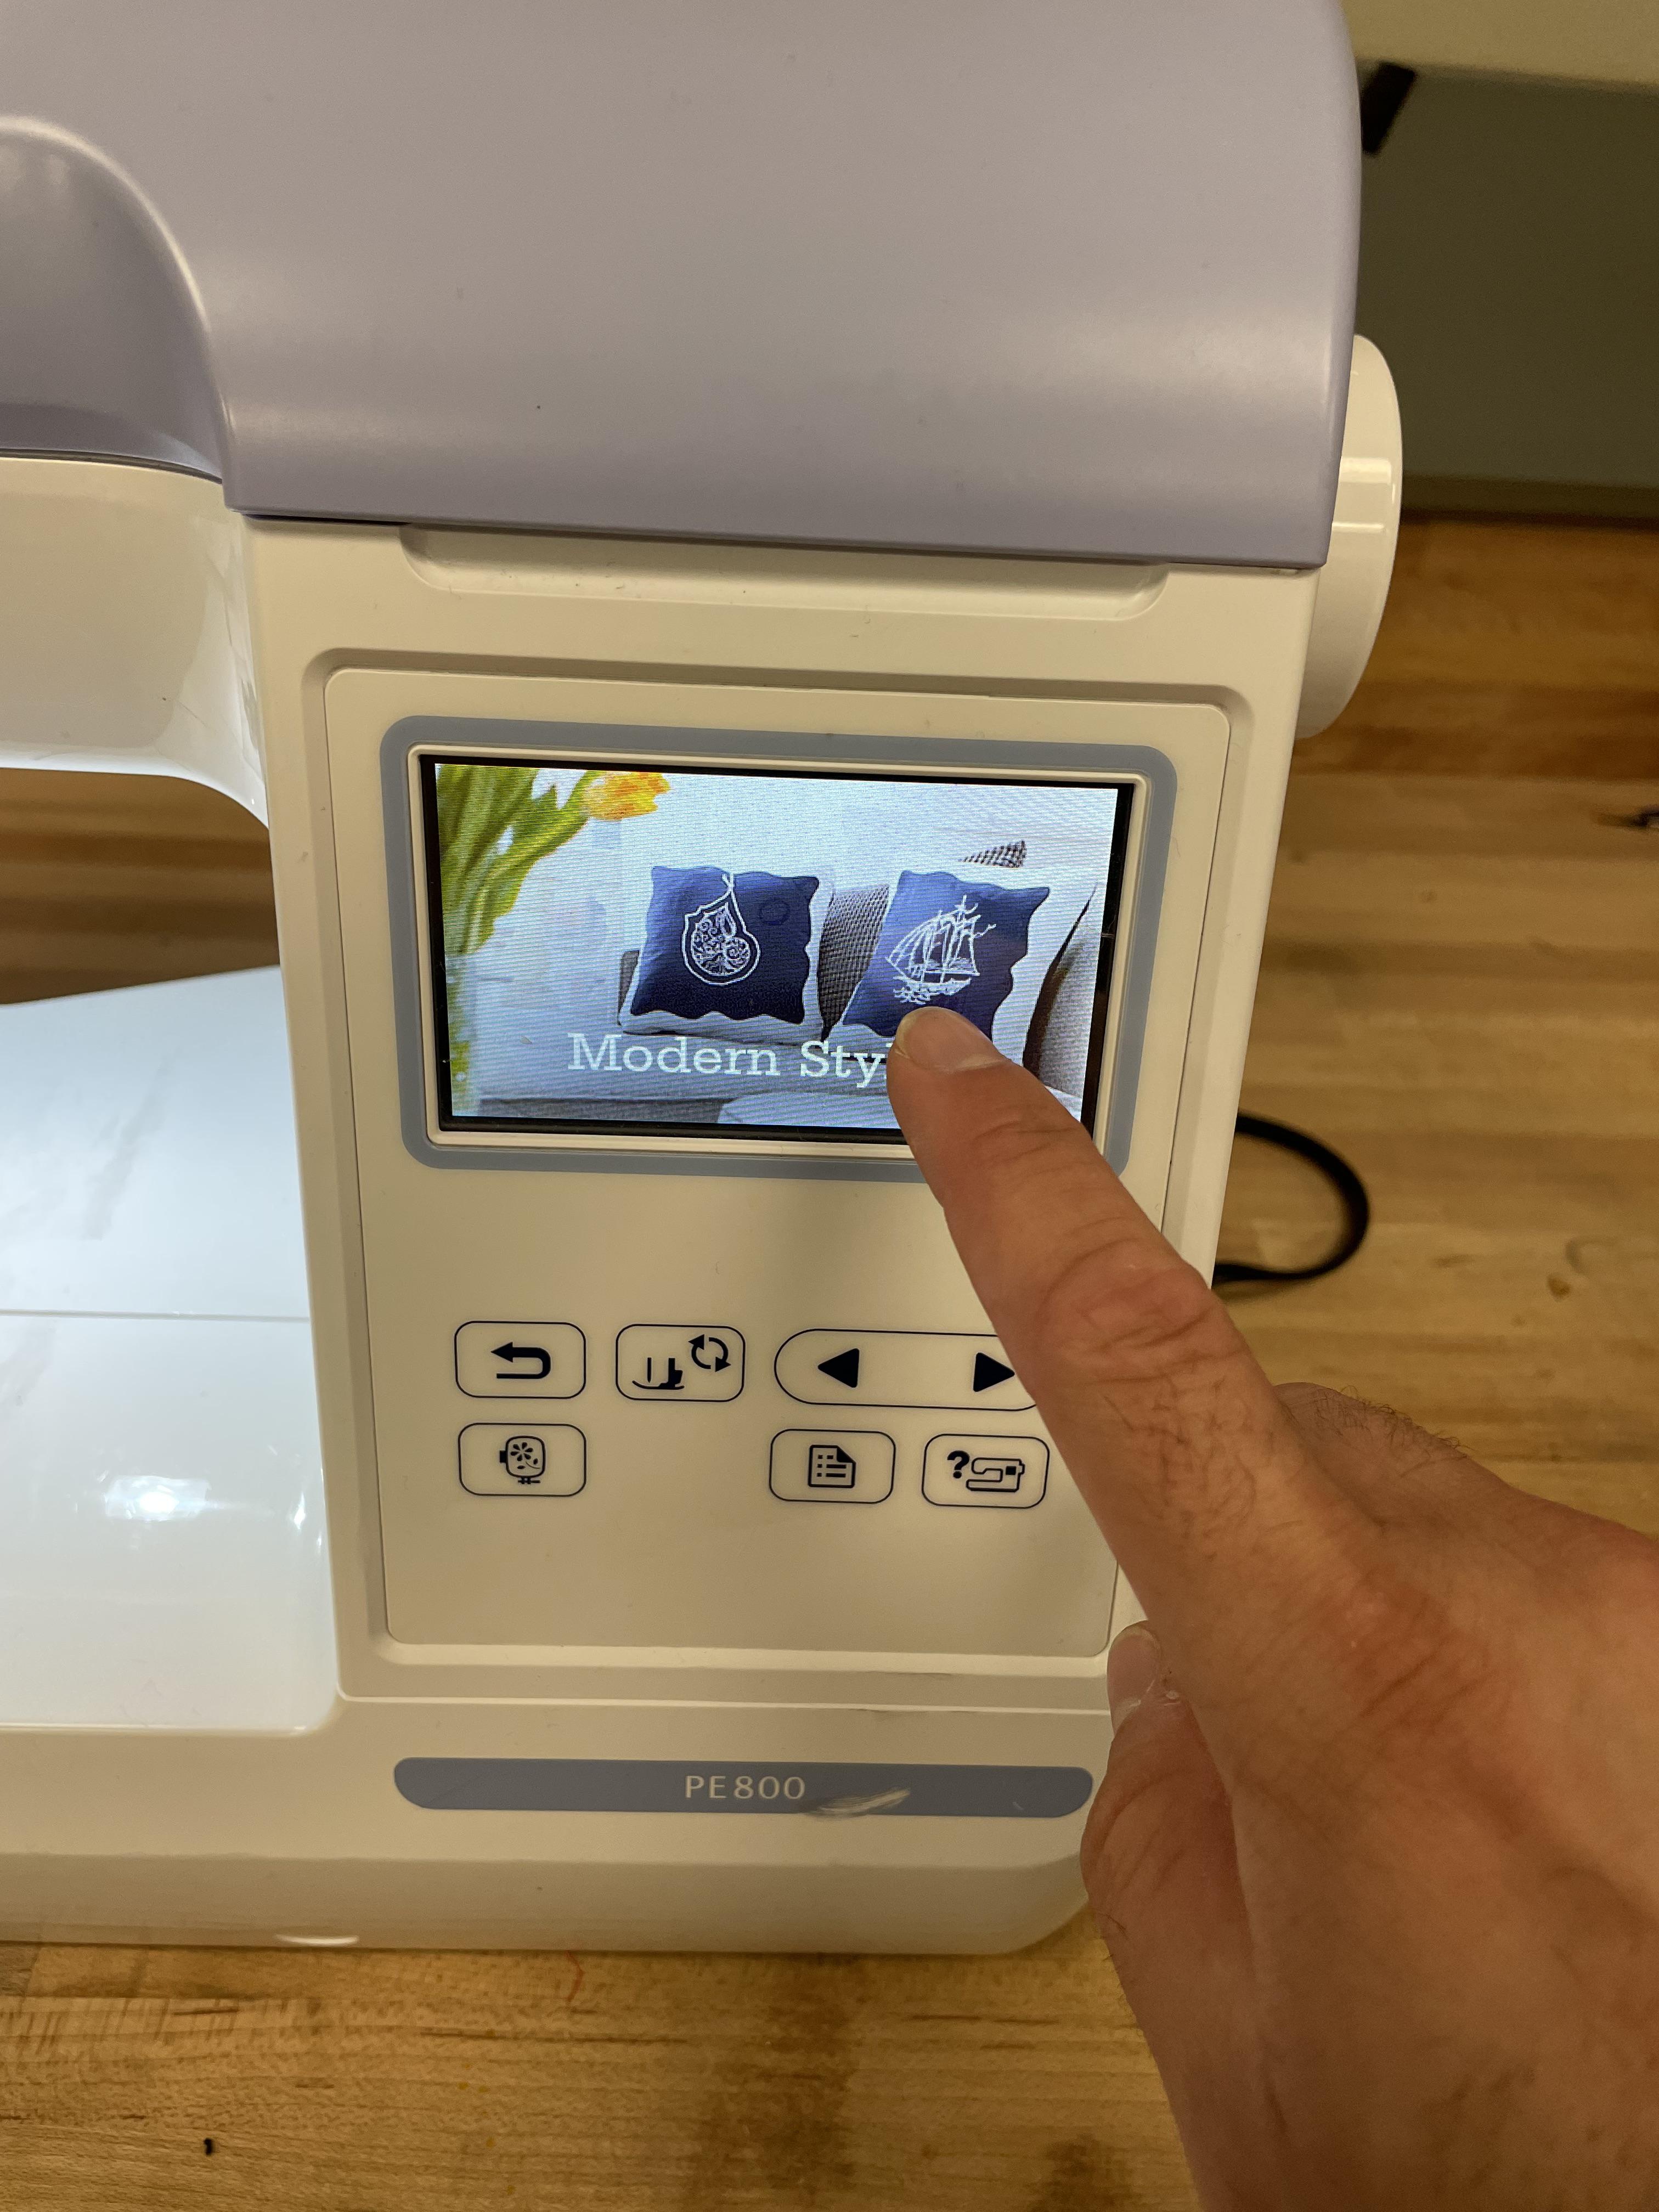
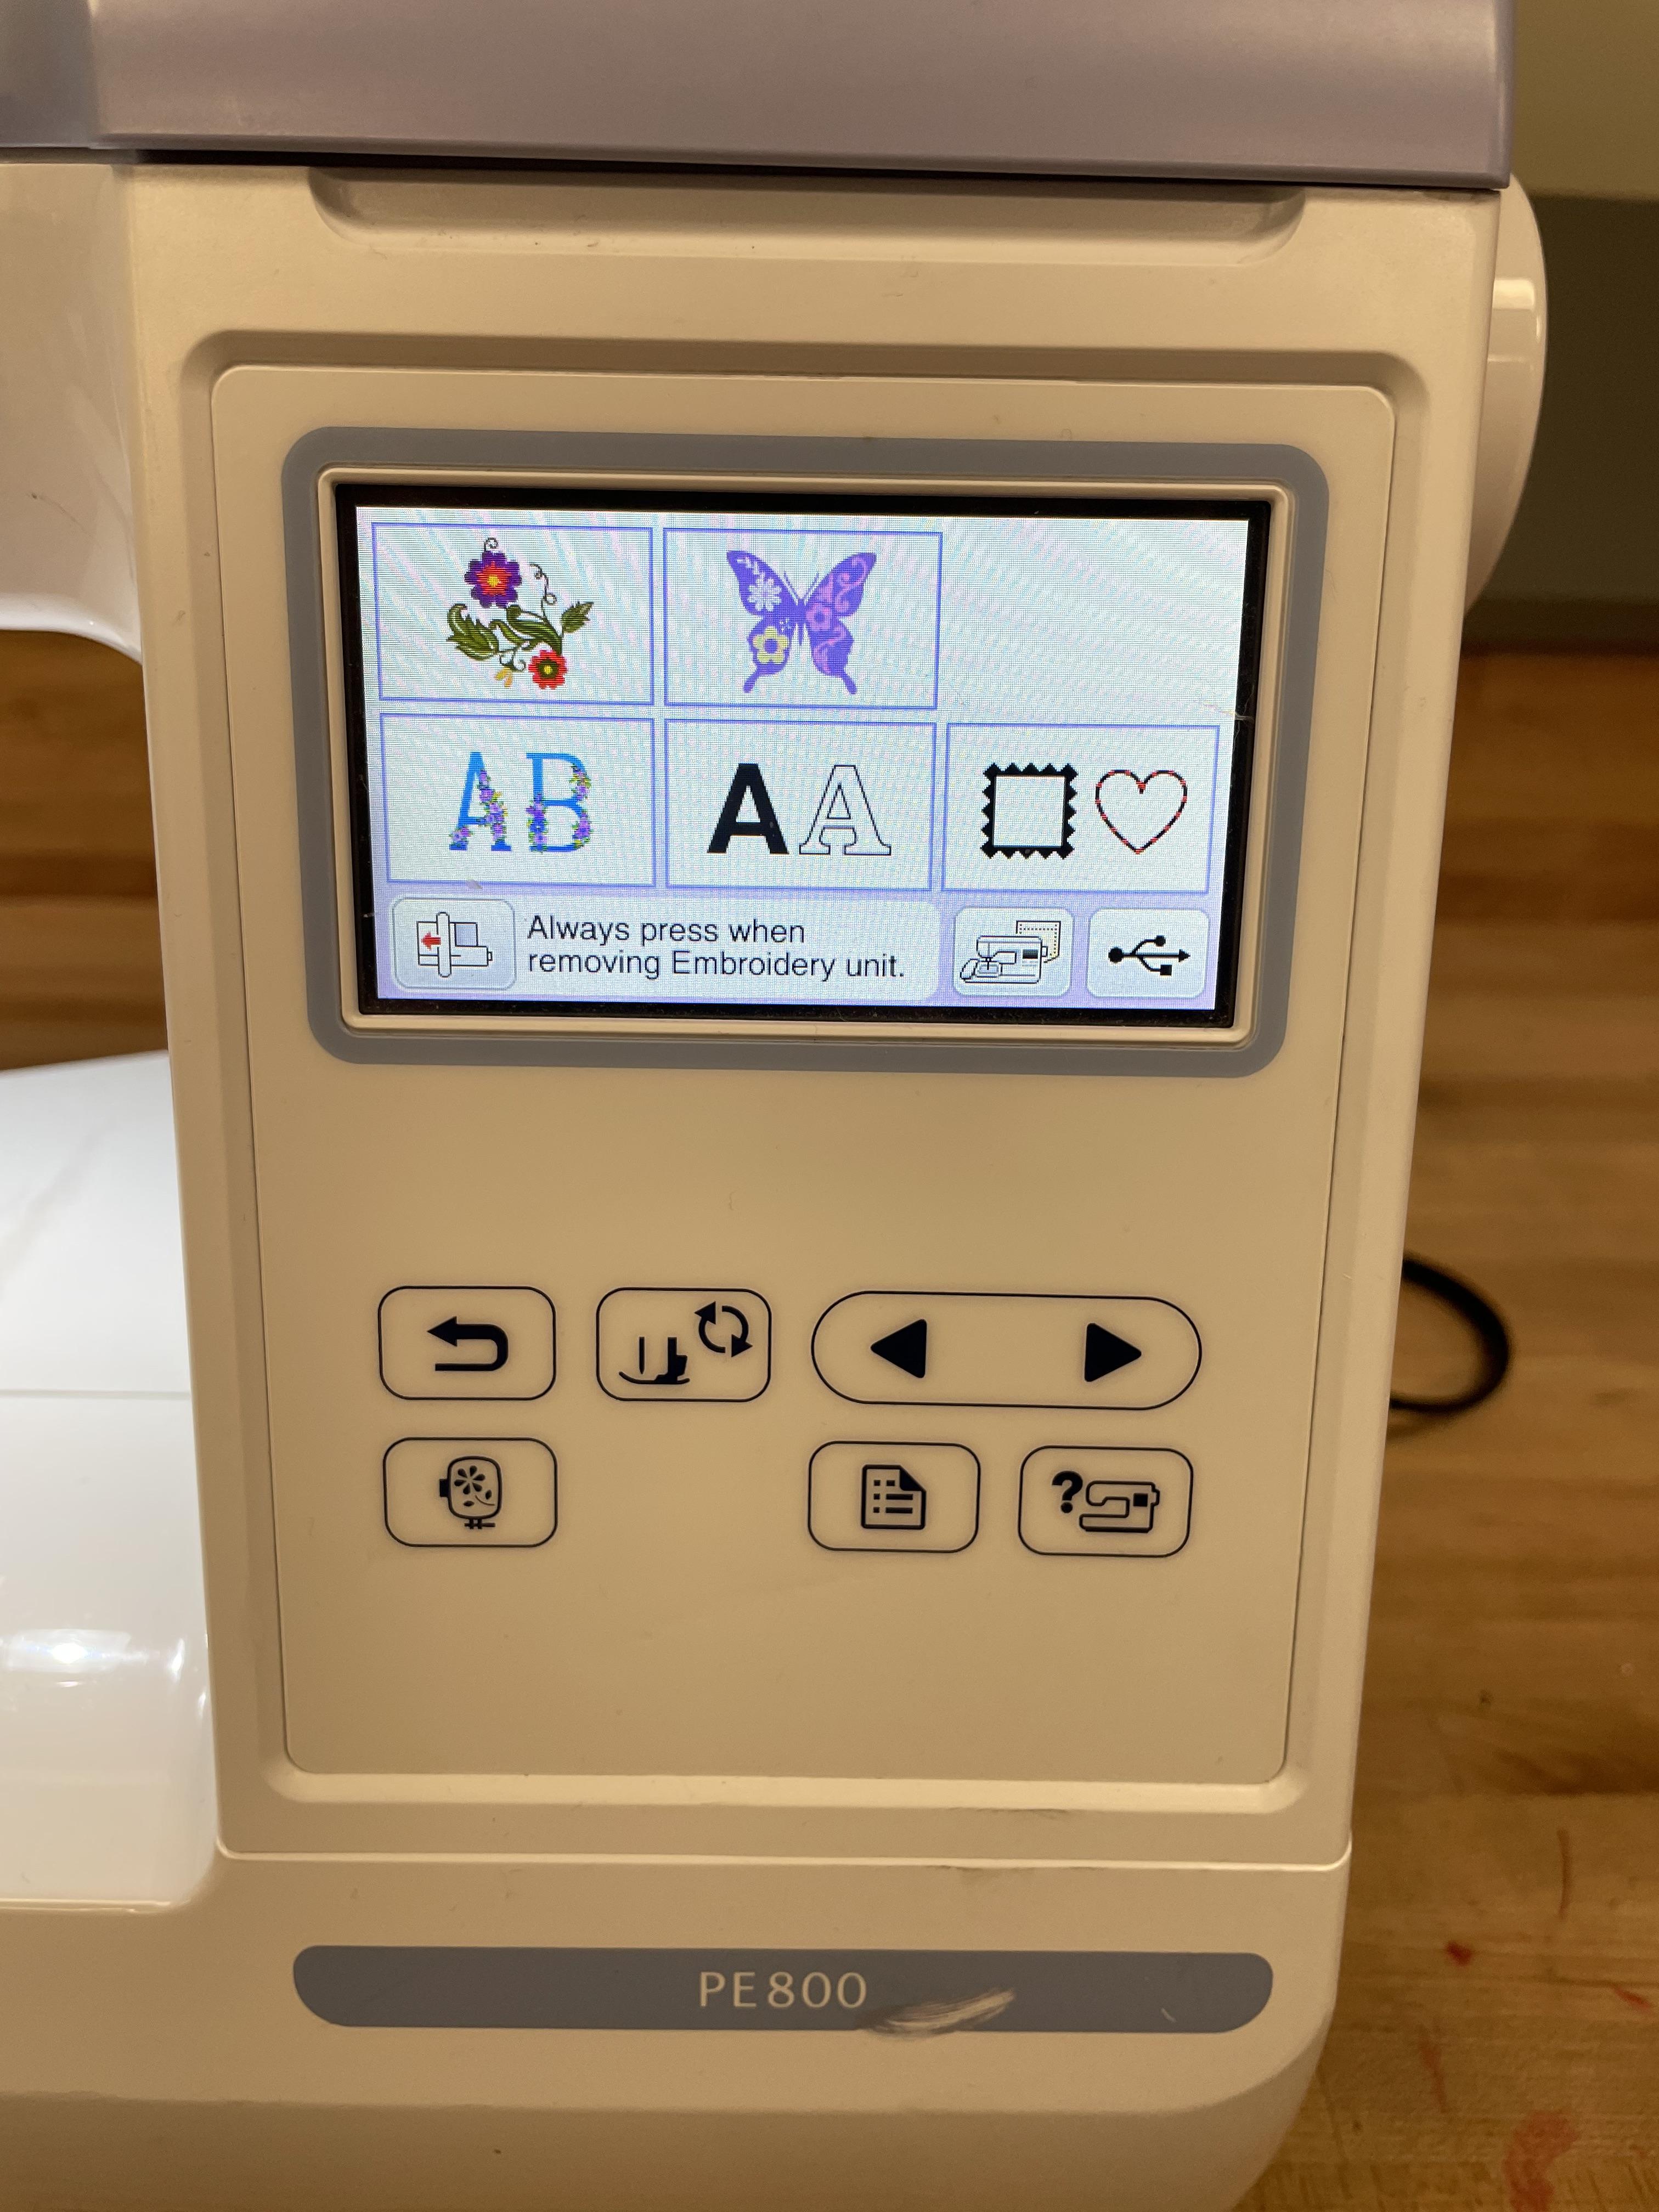
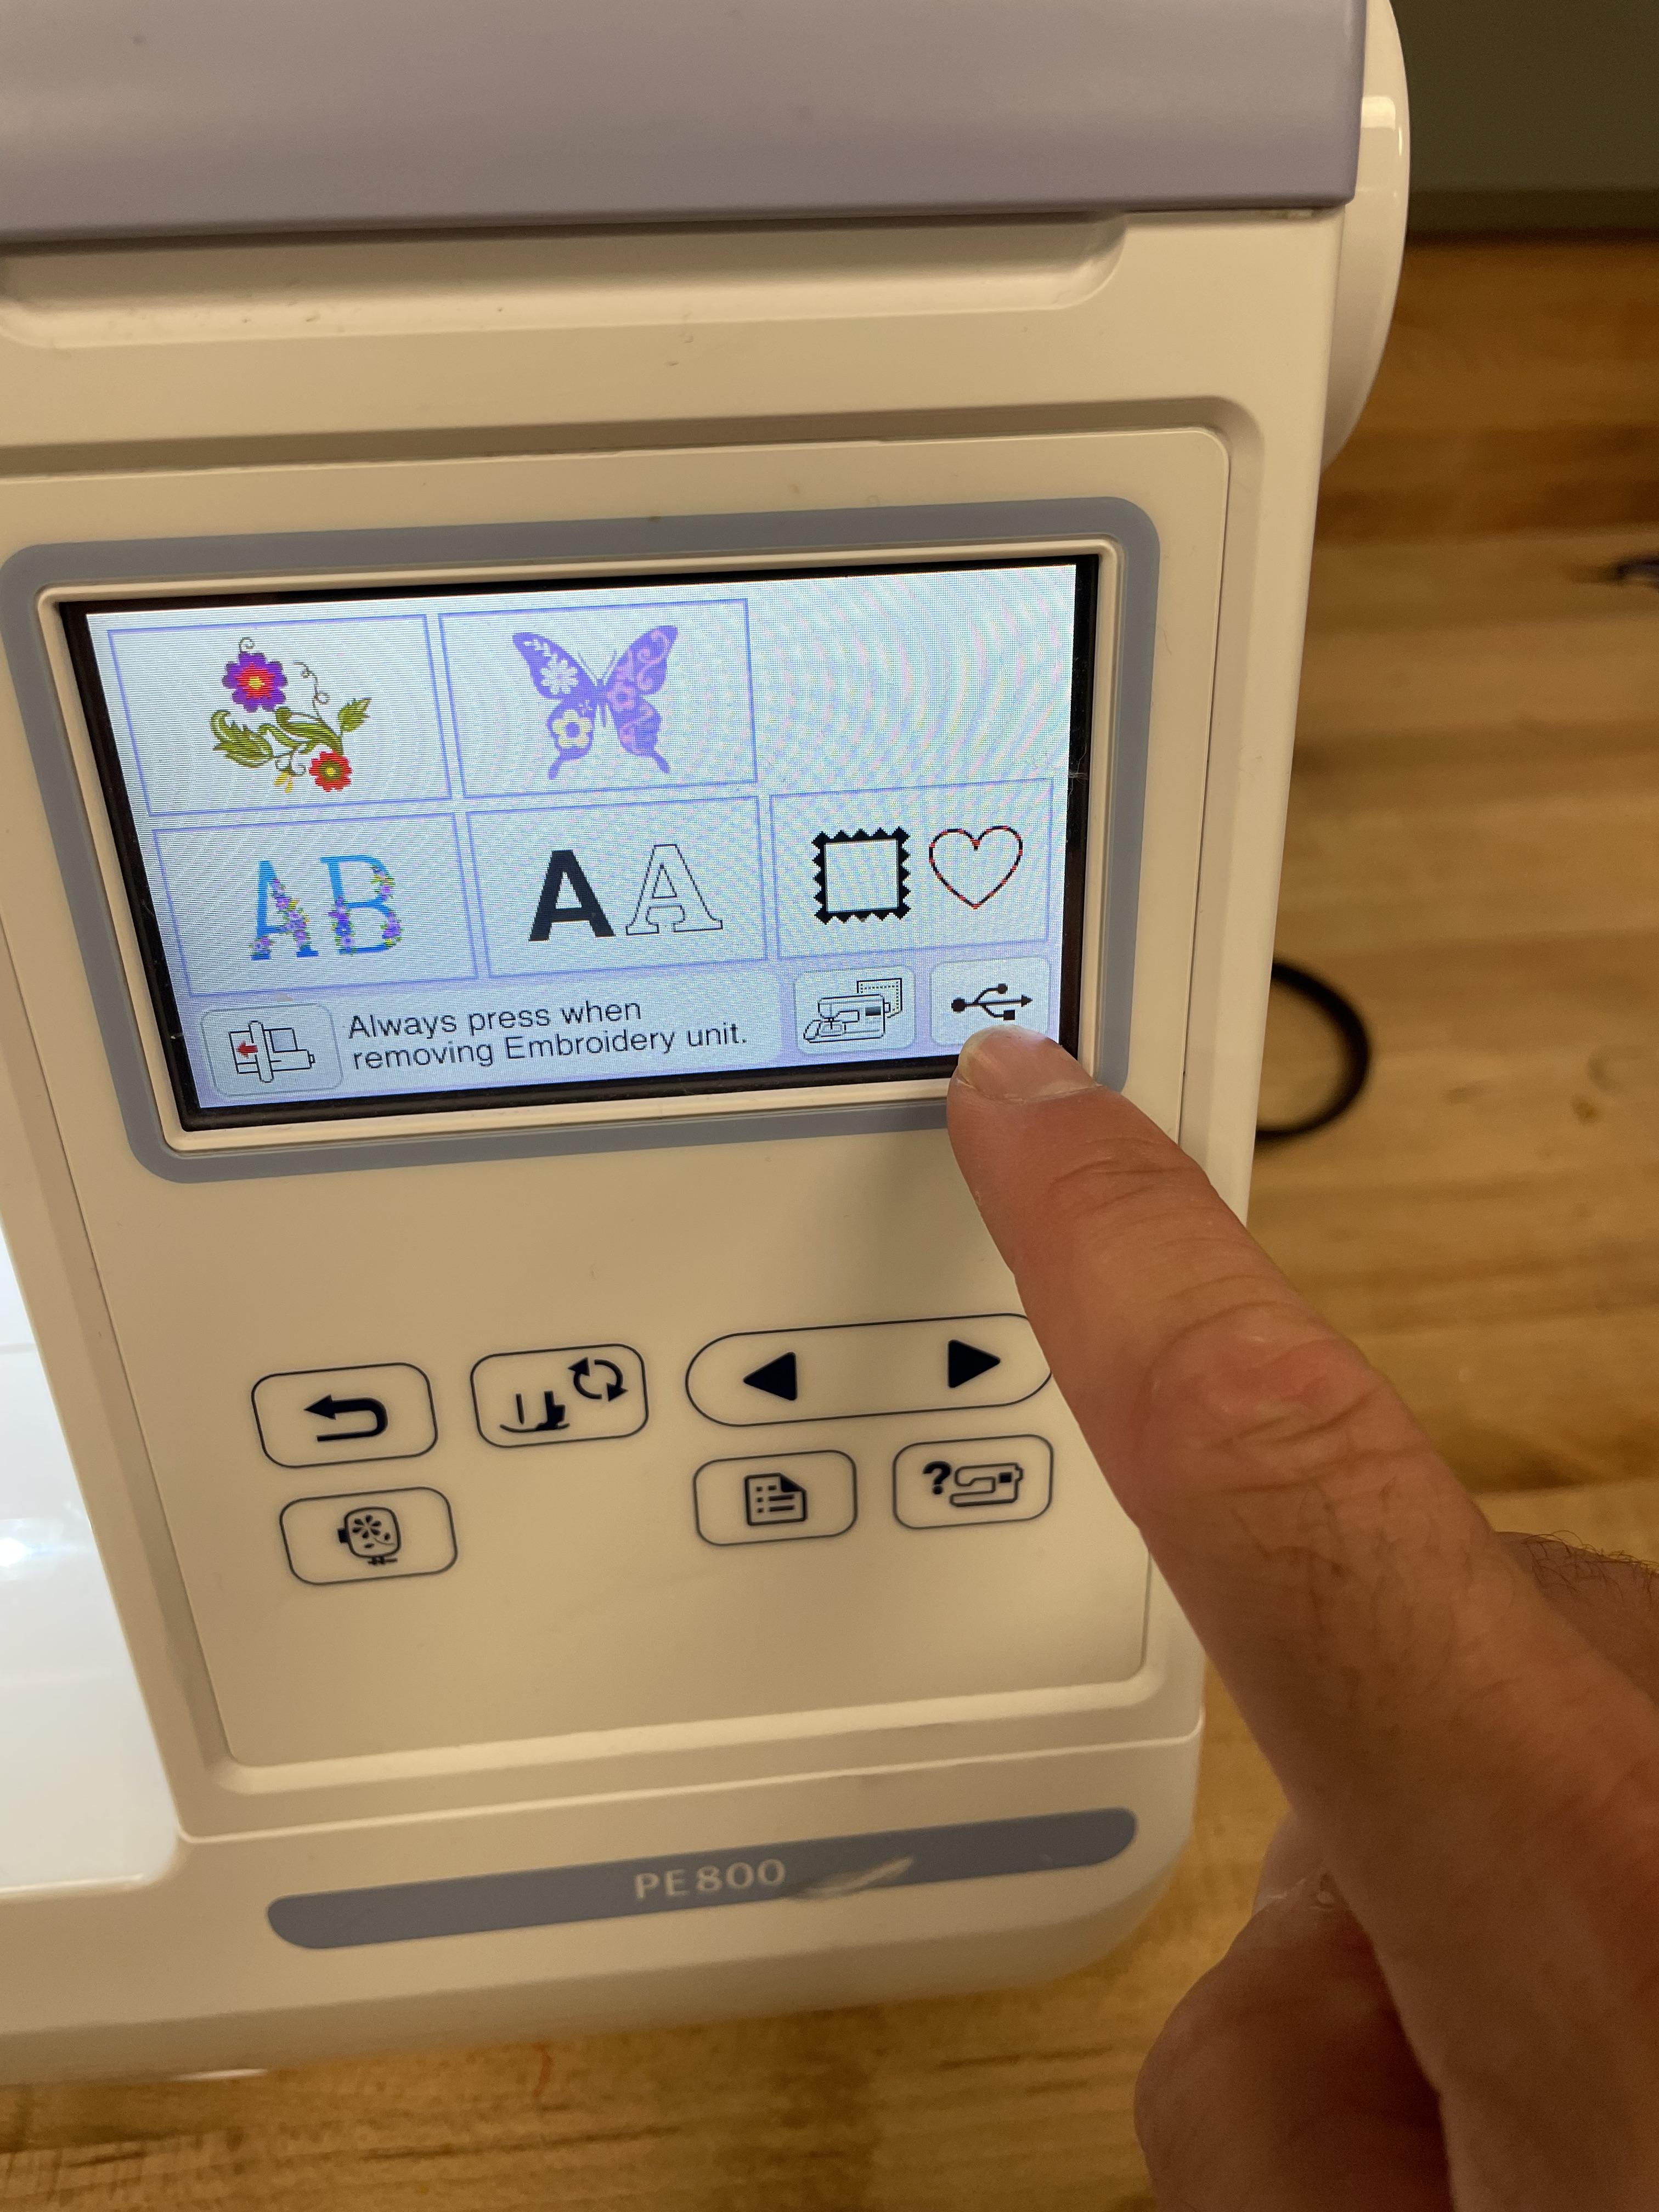
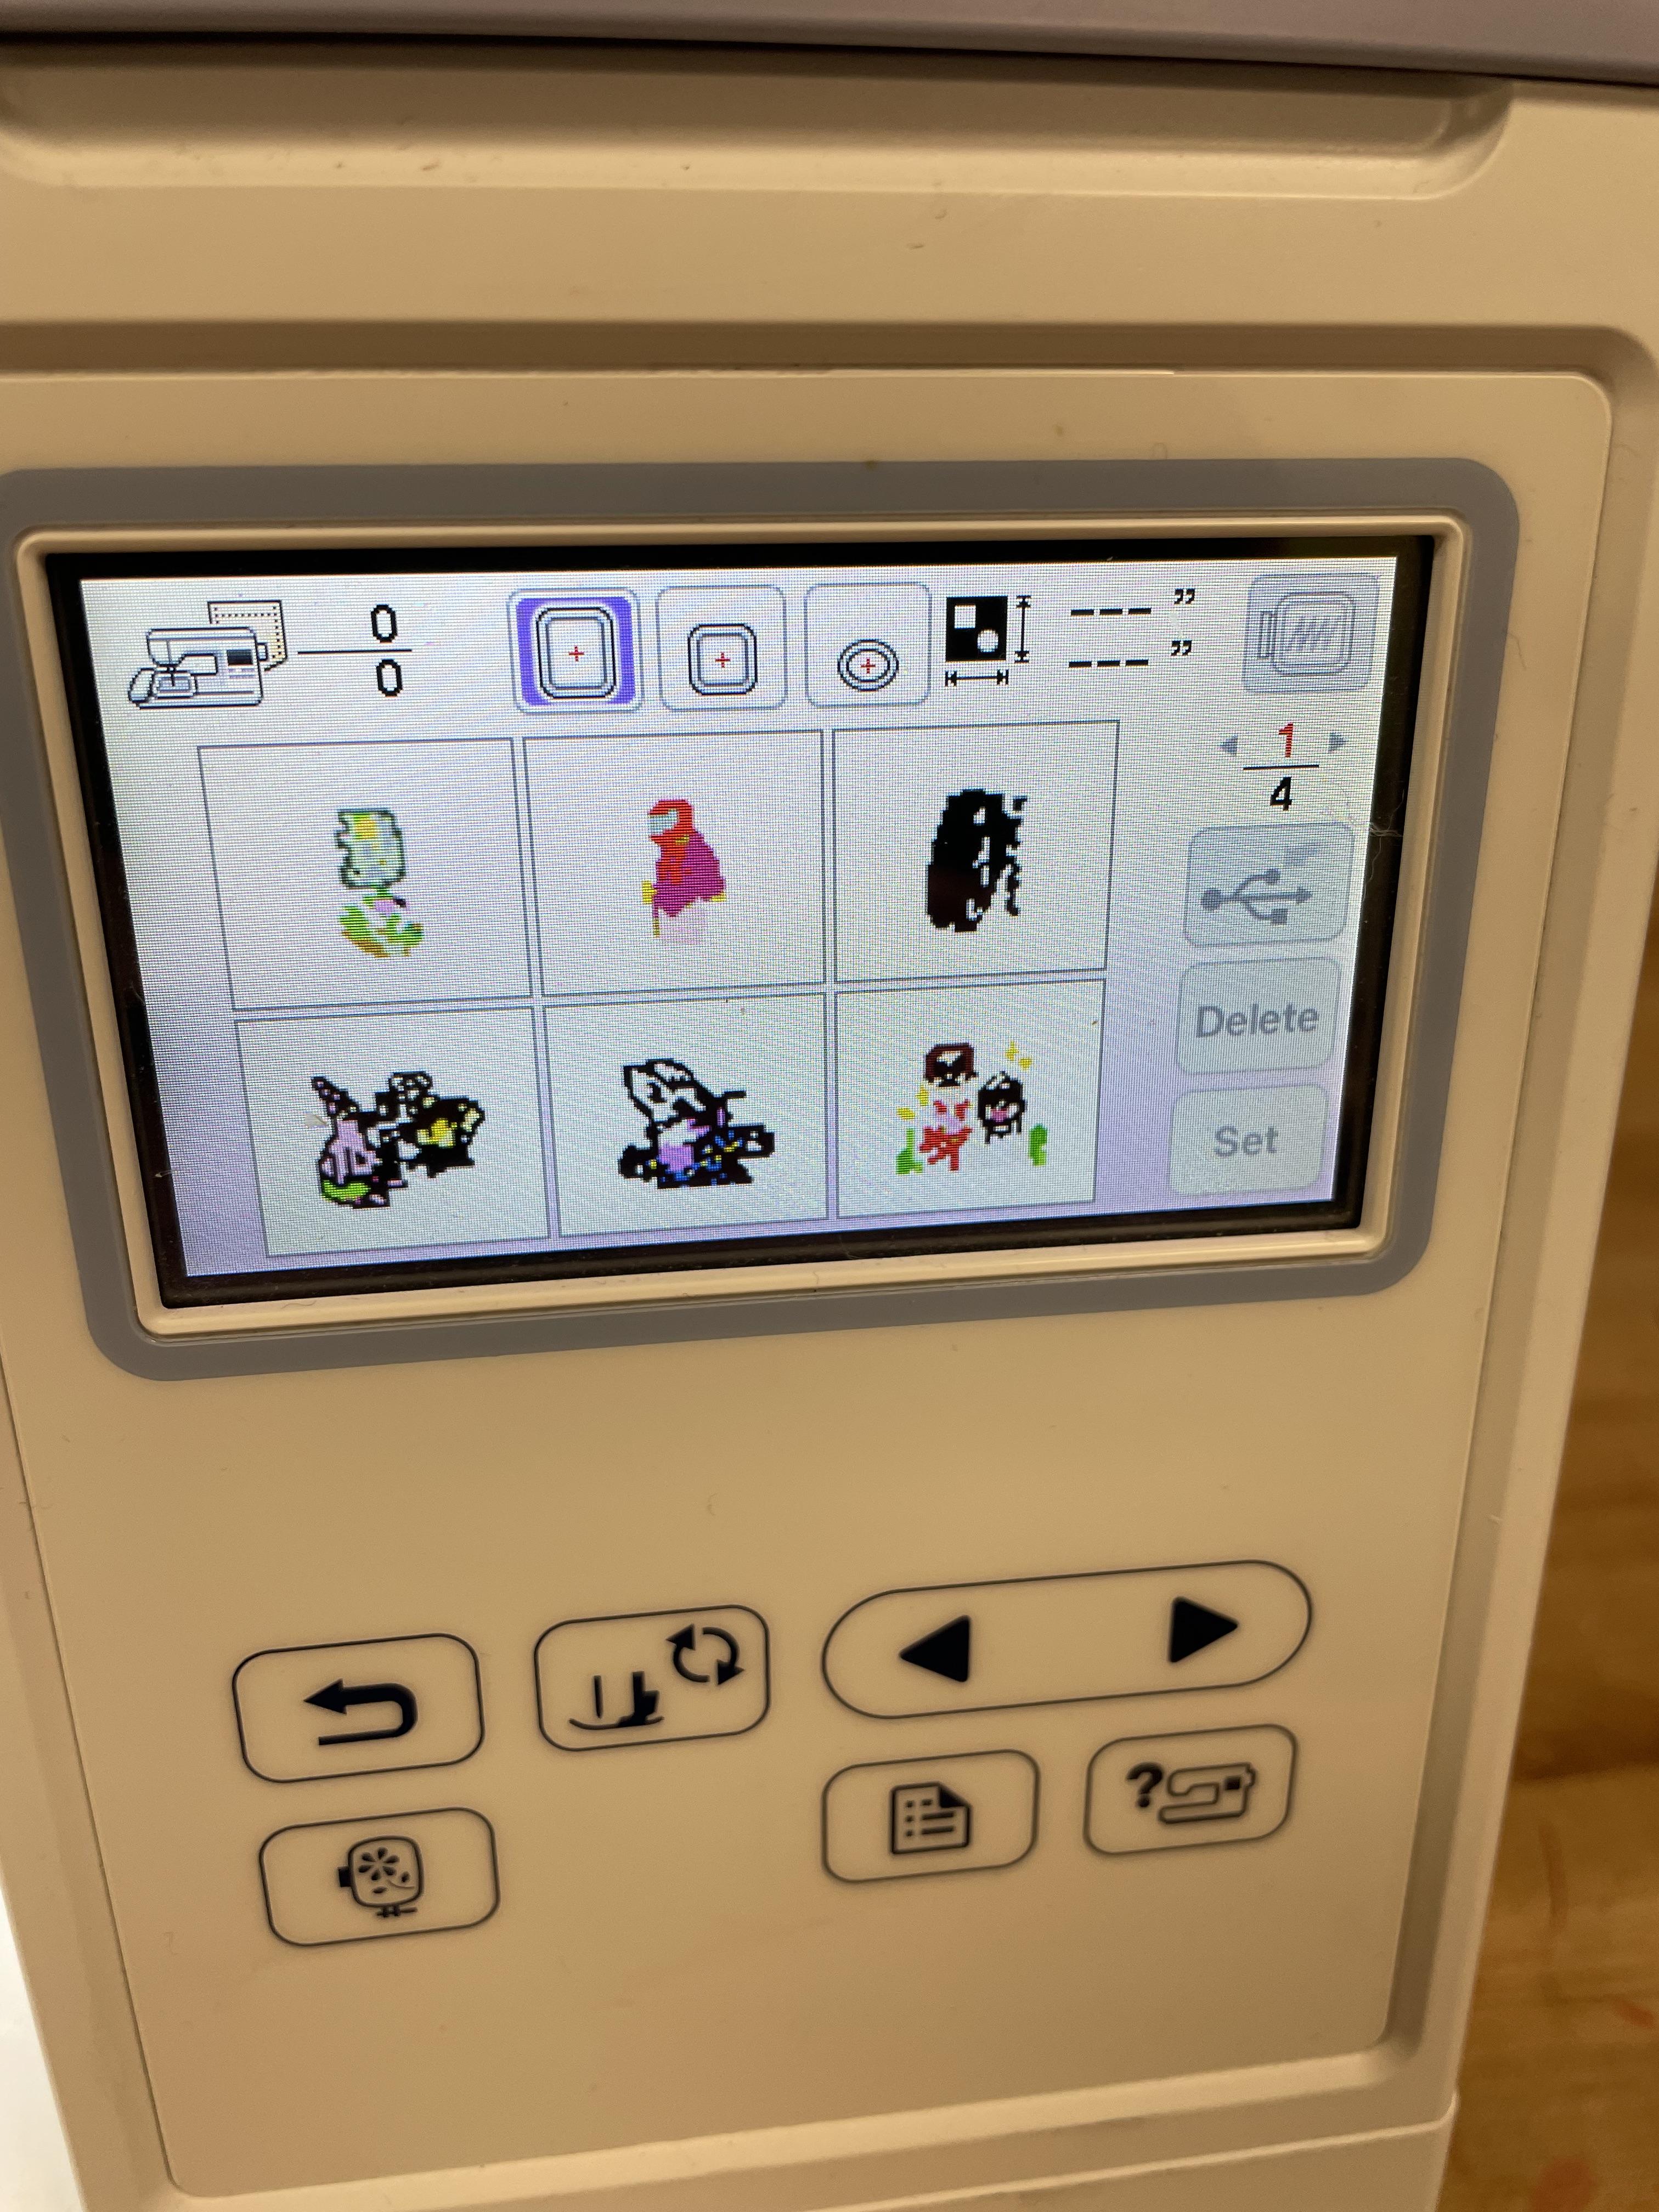
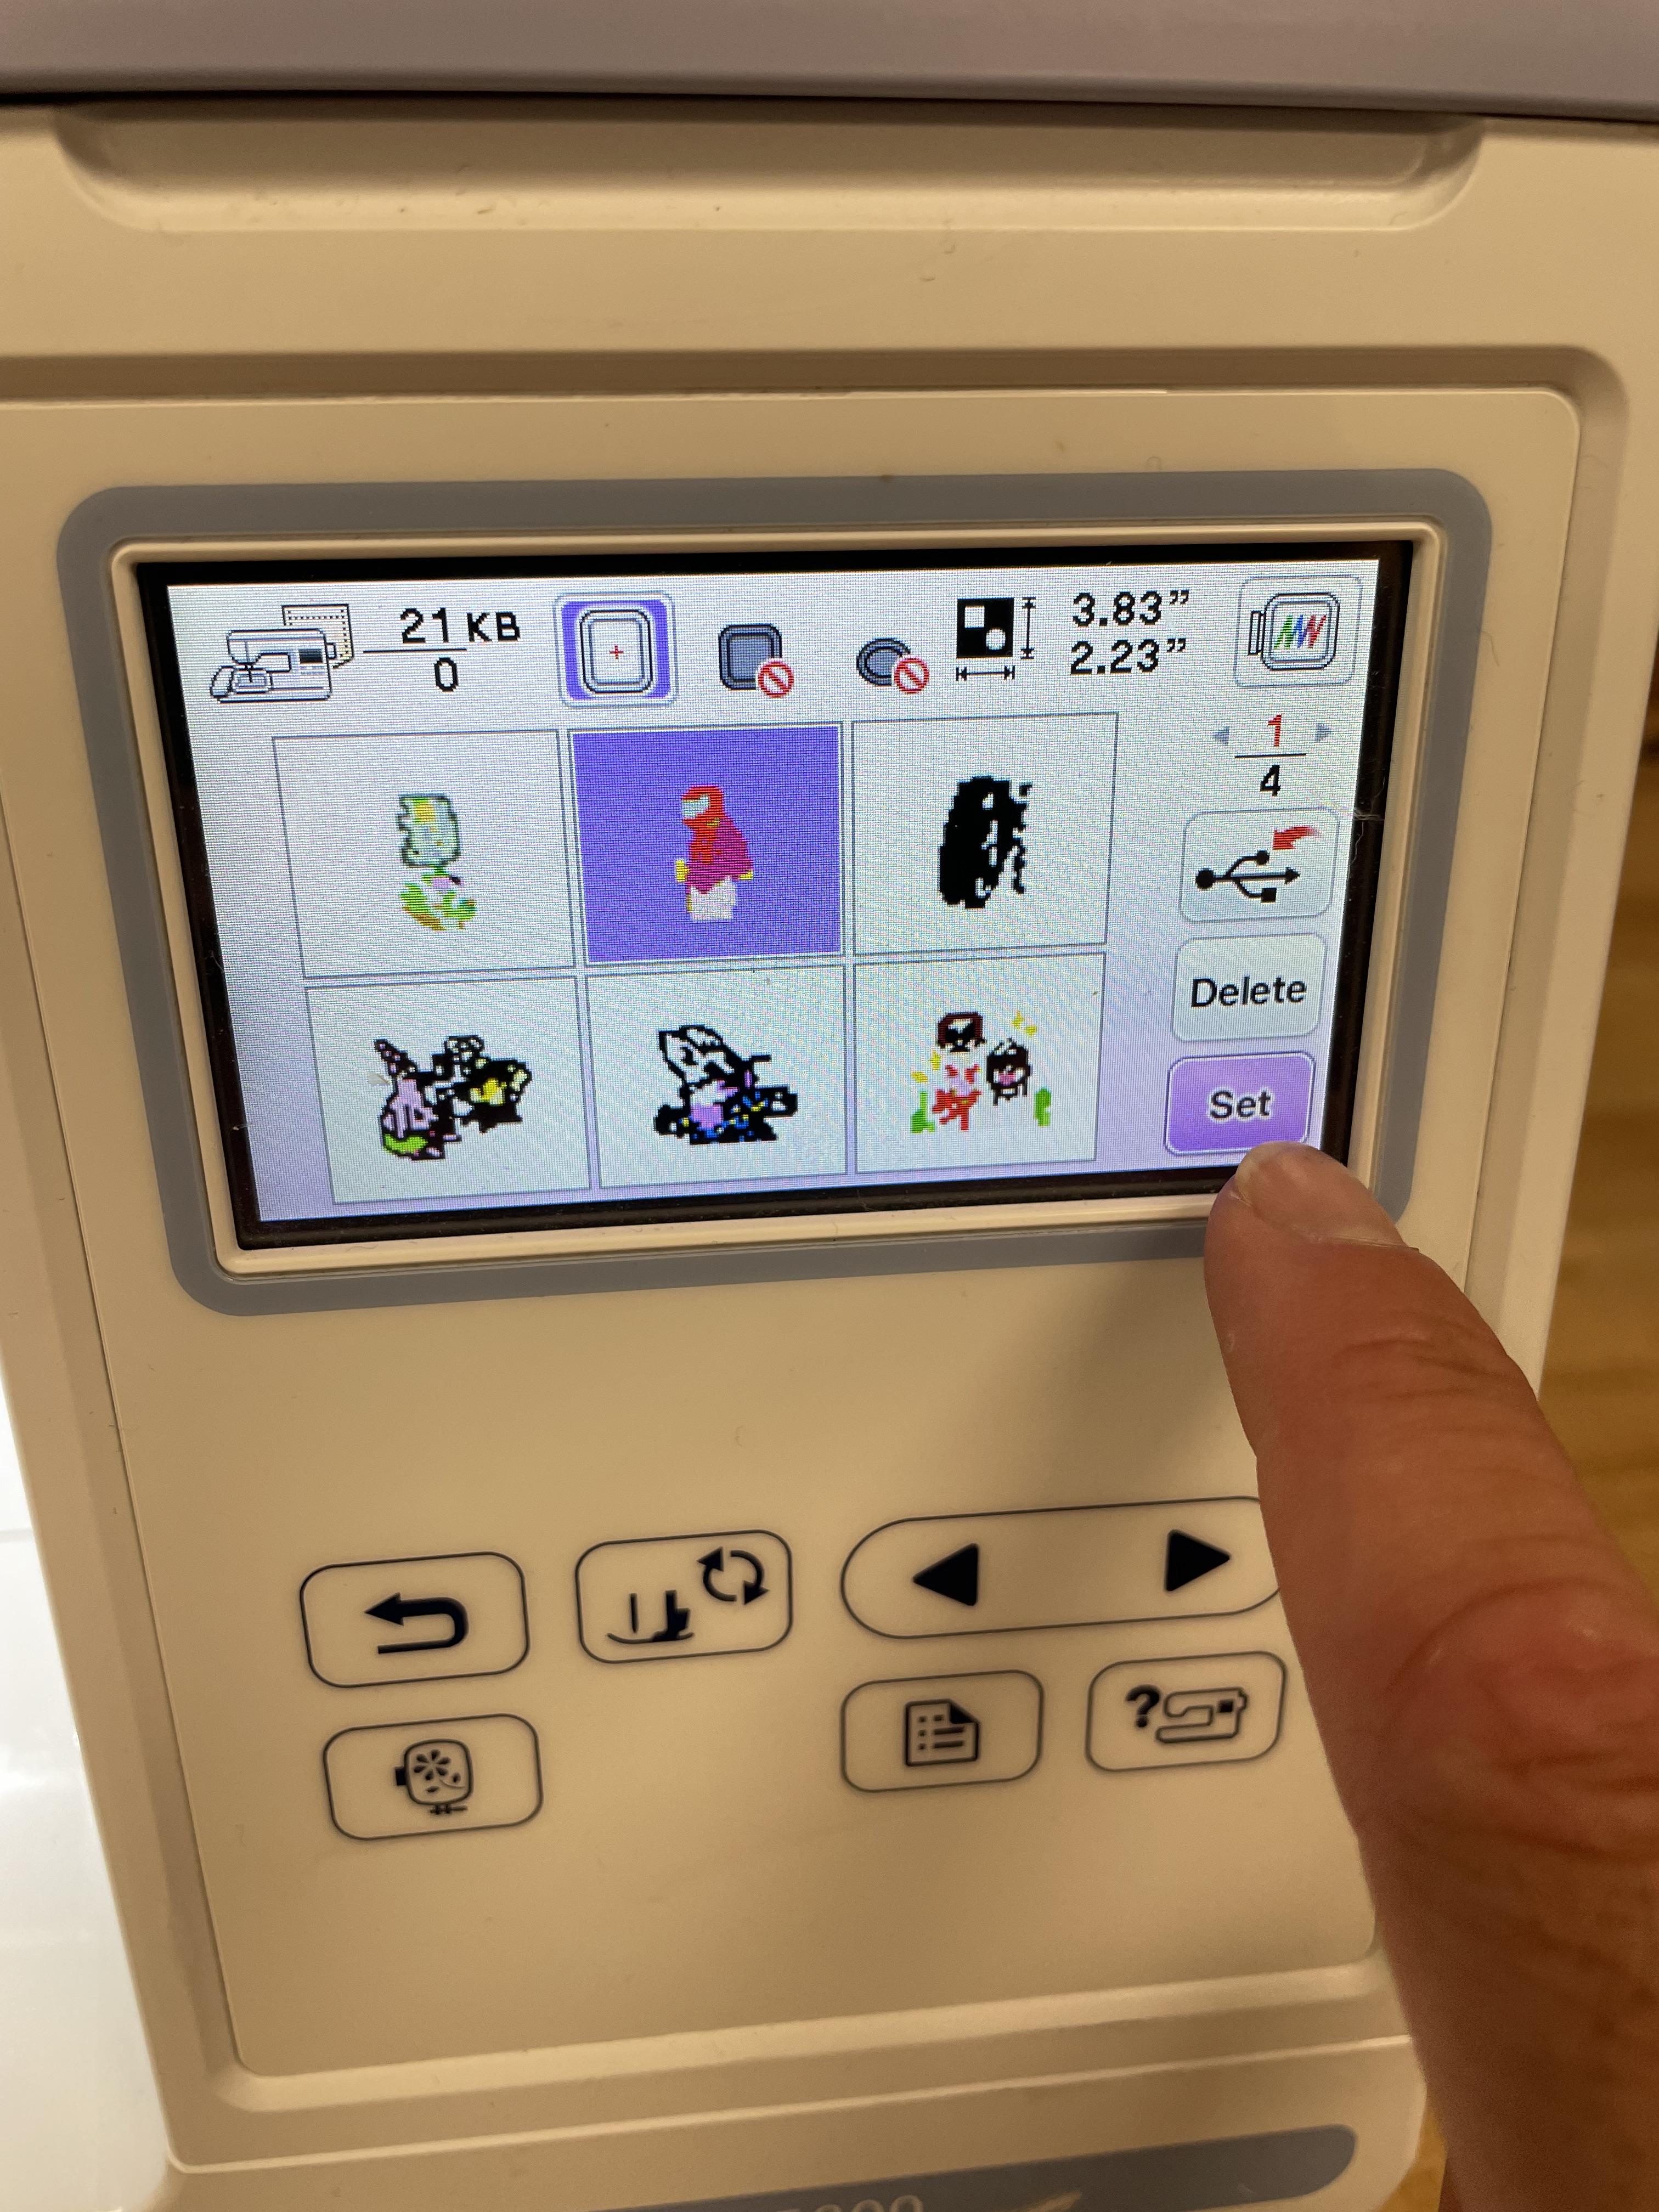

1) On the LCD touch screen, select the desired built-in design or font.
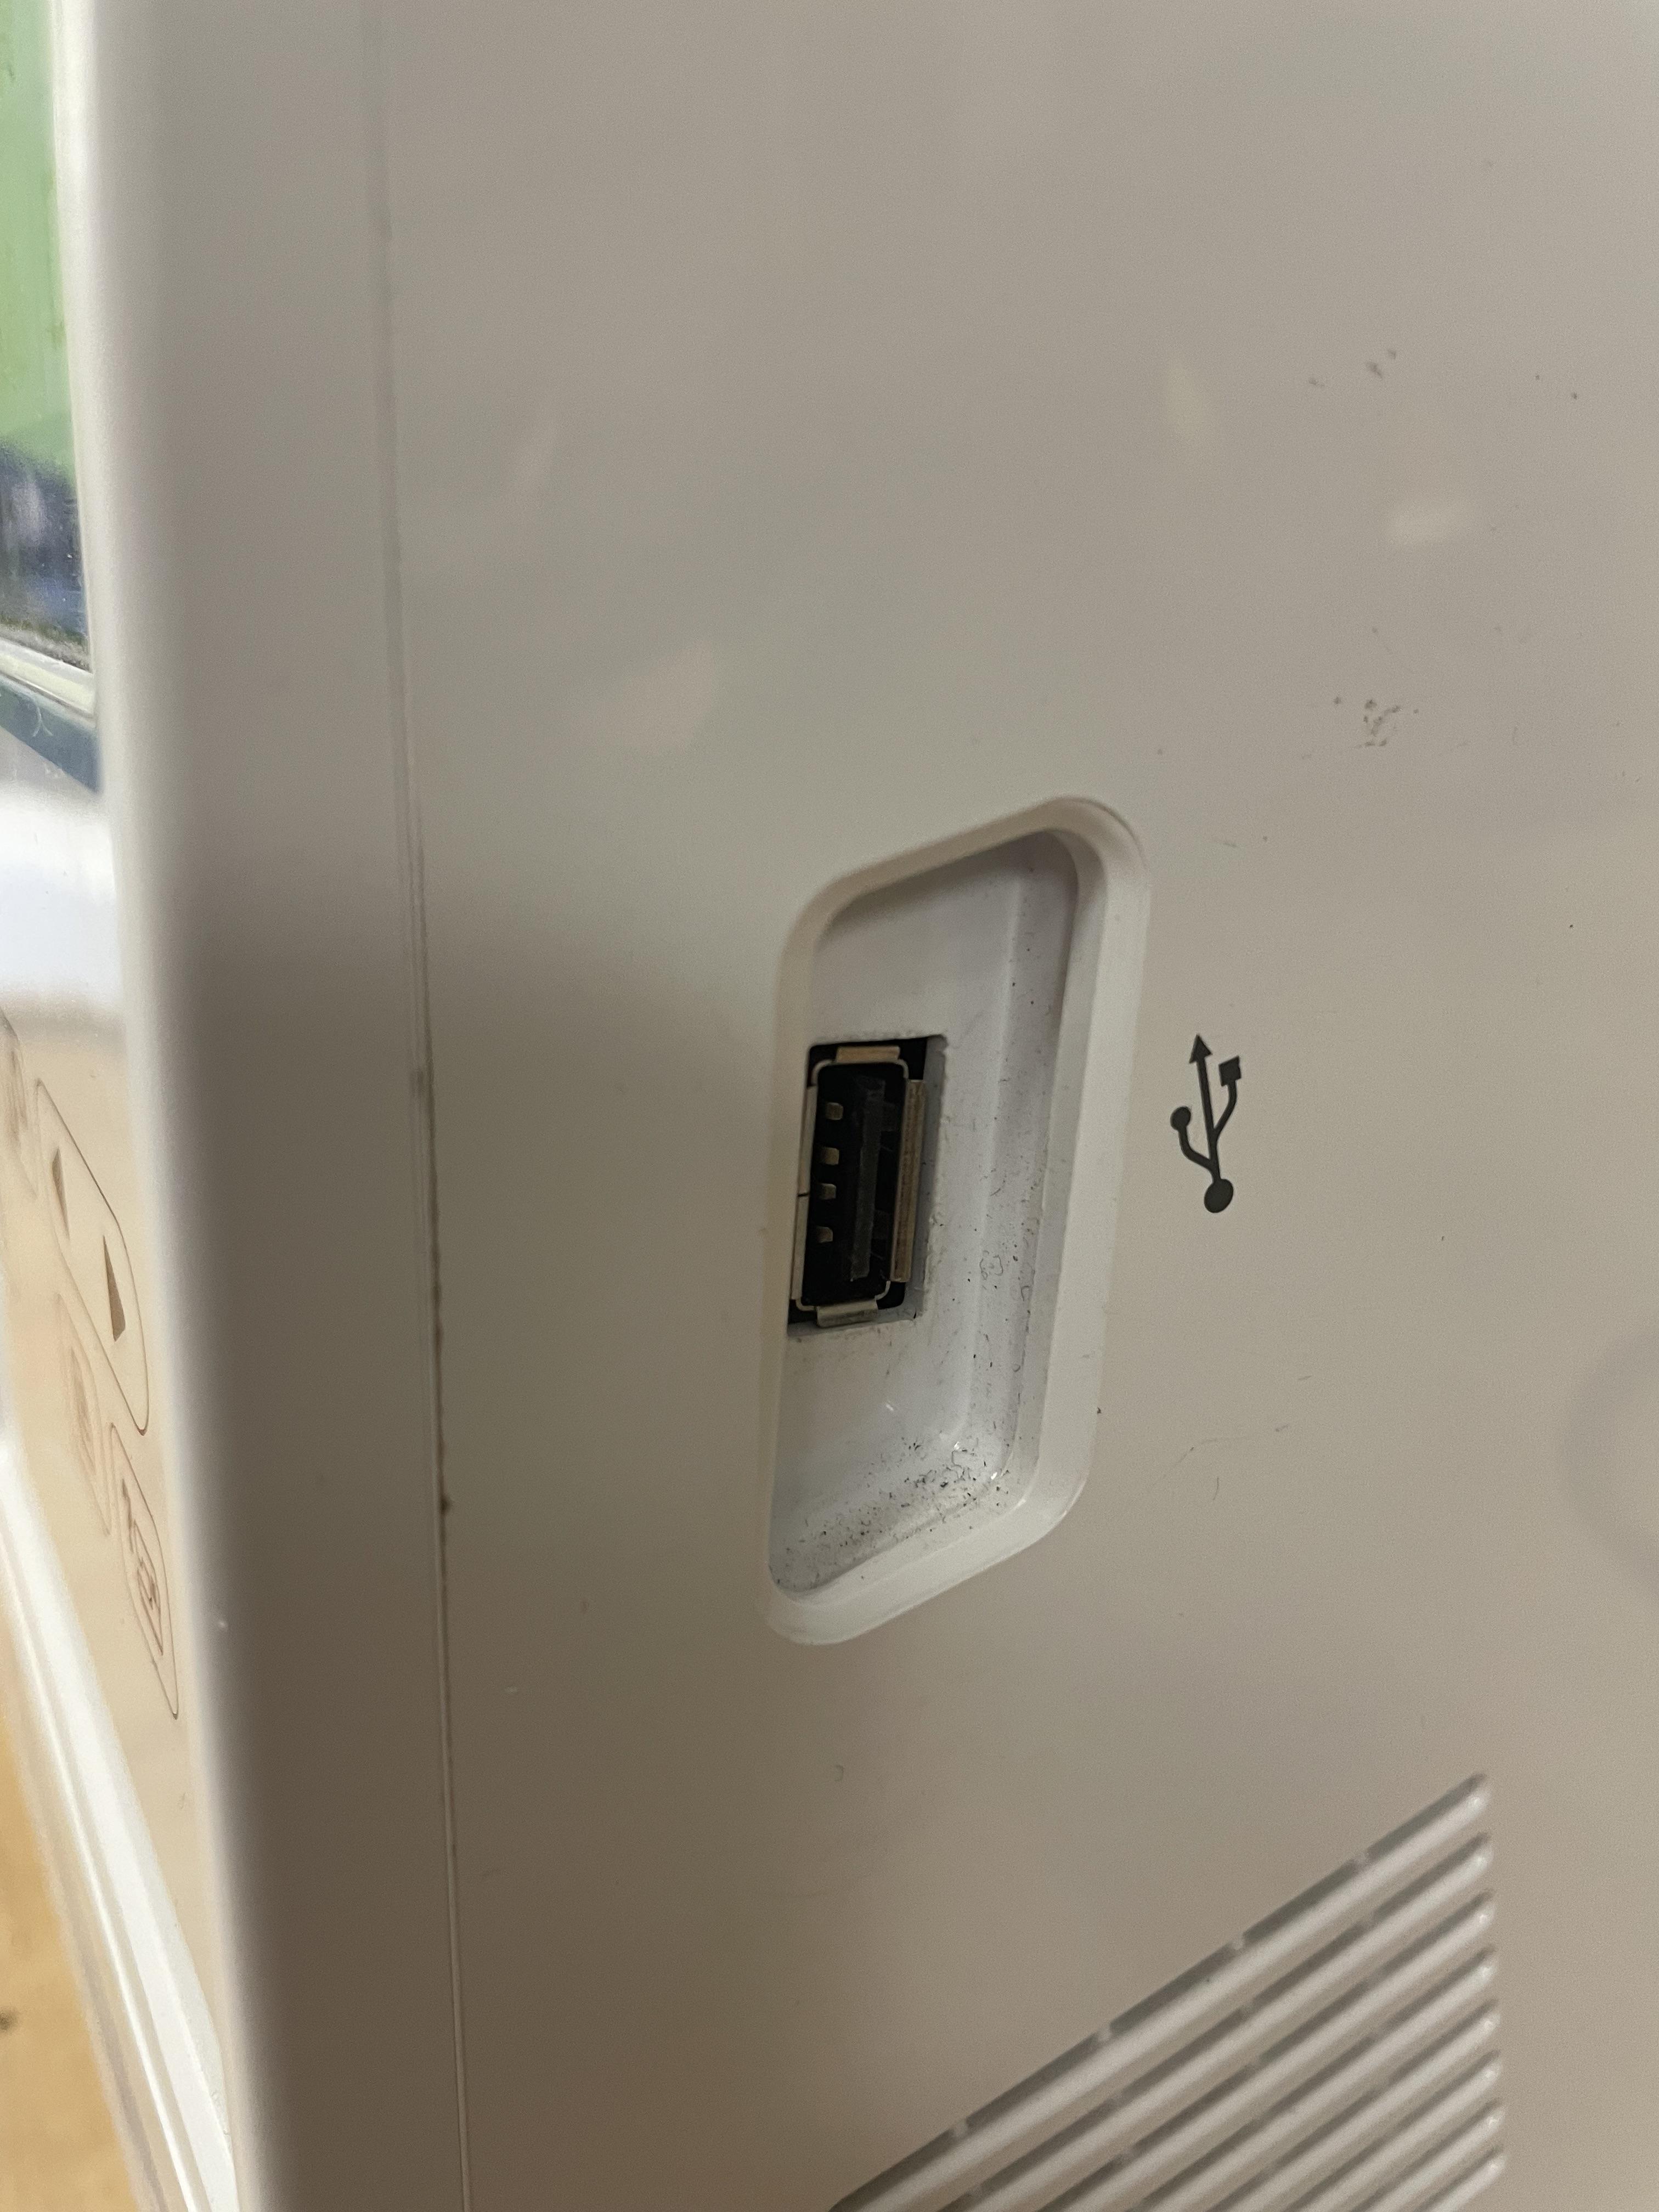
2) If using a custom design, insert the USB flash drive containing the design file (.PES or .DST format) into the machine's USB port. Browse and select your design.
3) Adjust the design's size, position, and orientation if needed.
4) Proceed to the design start screen by selecting "embroidery"
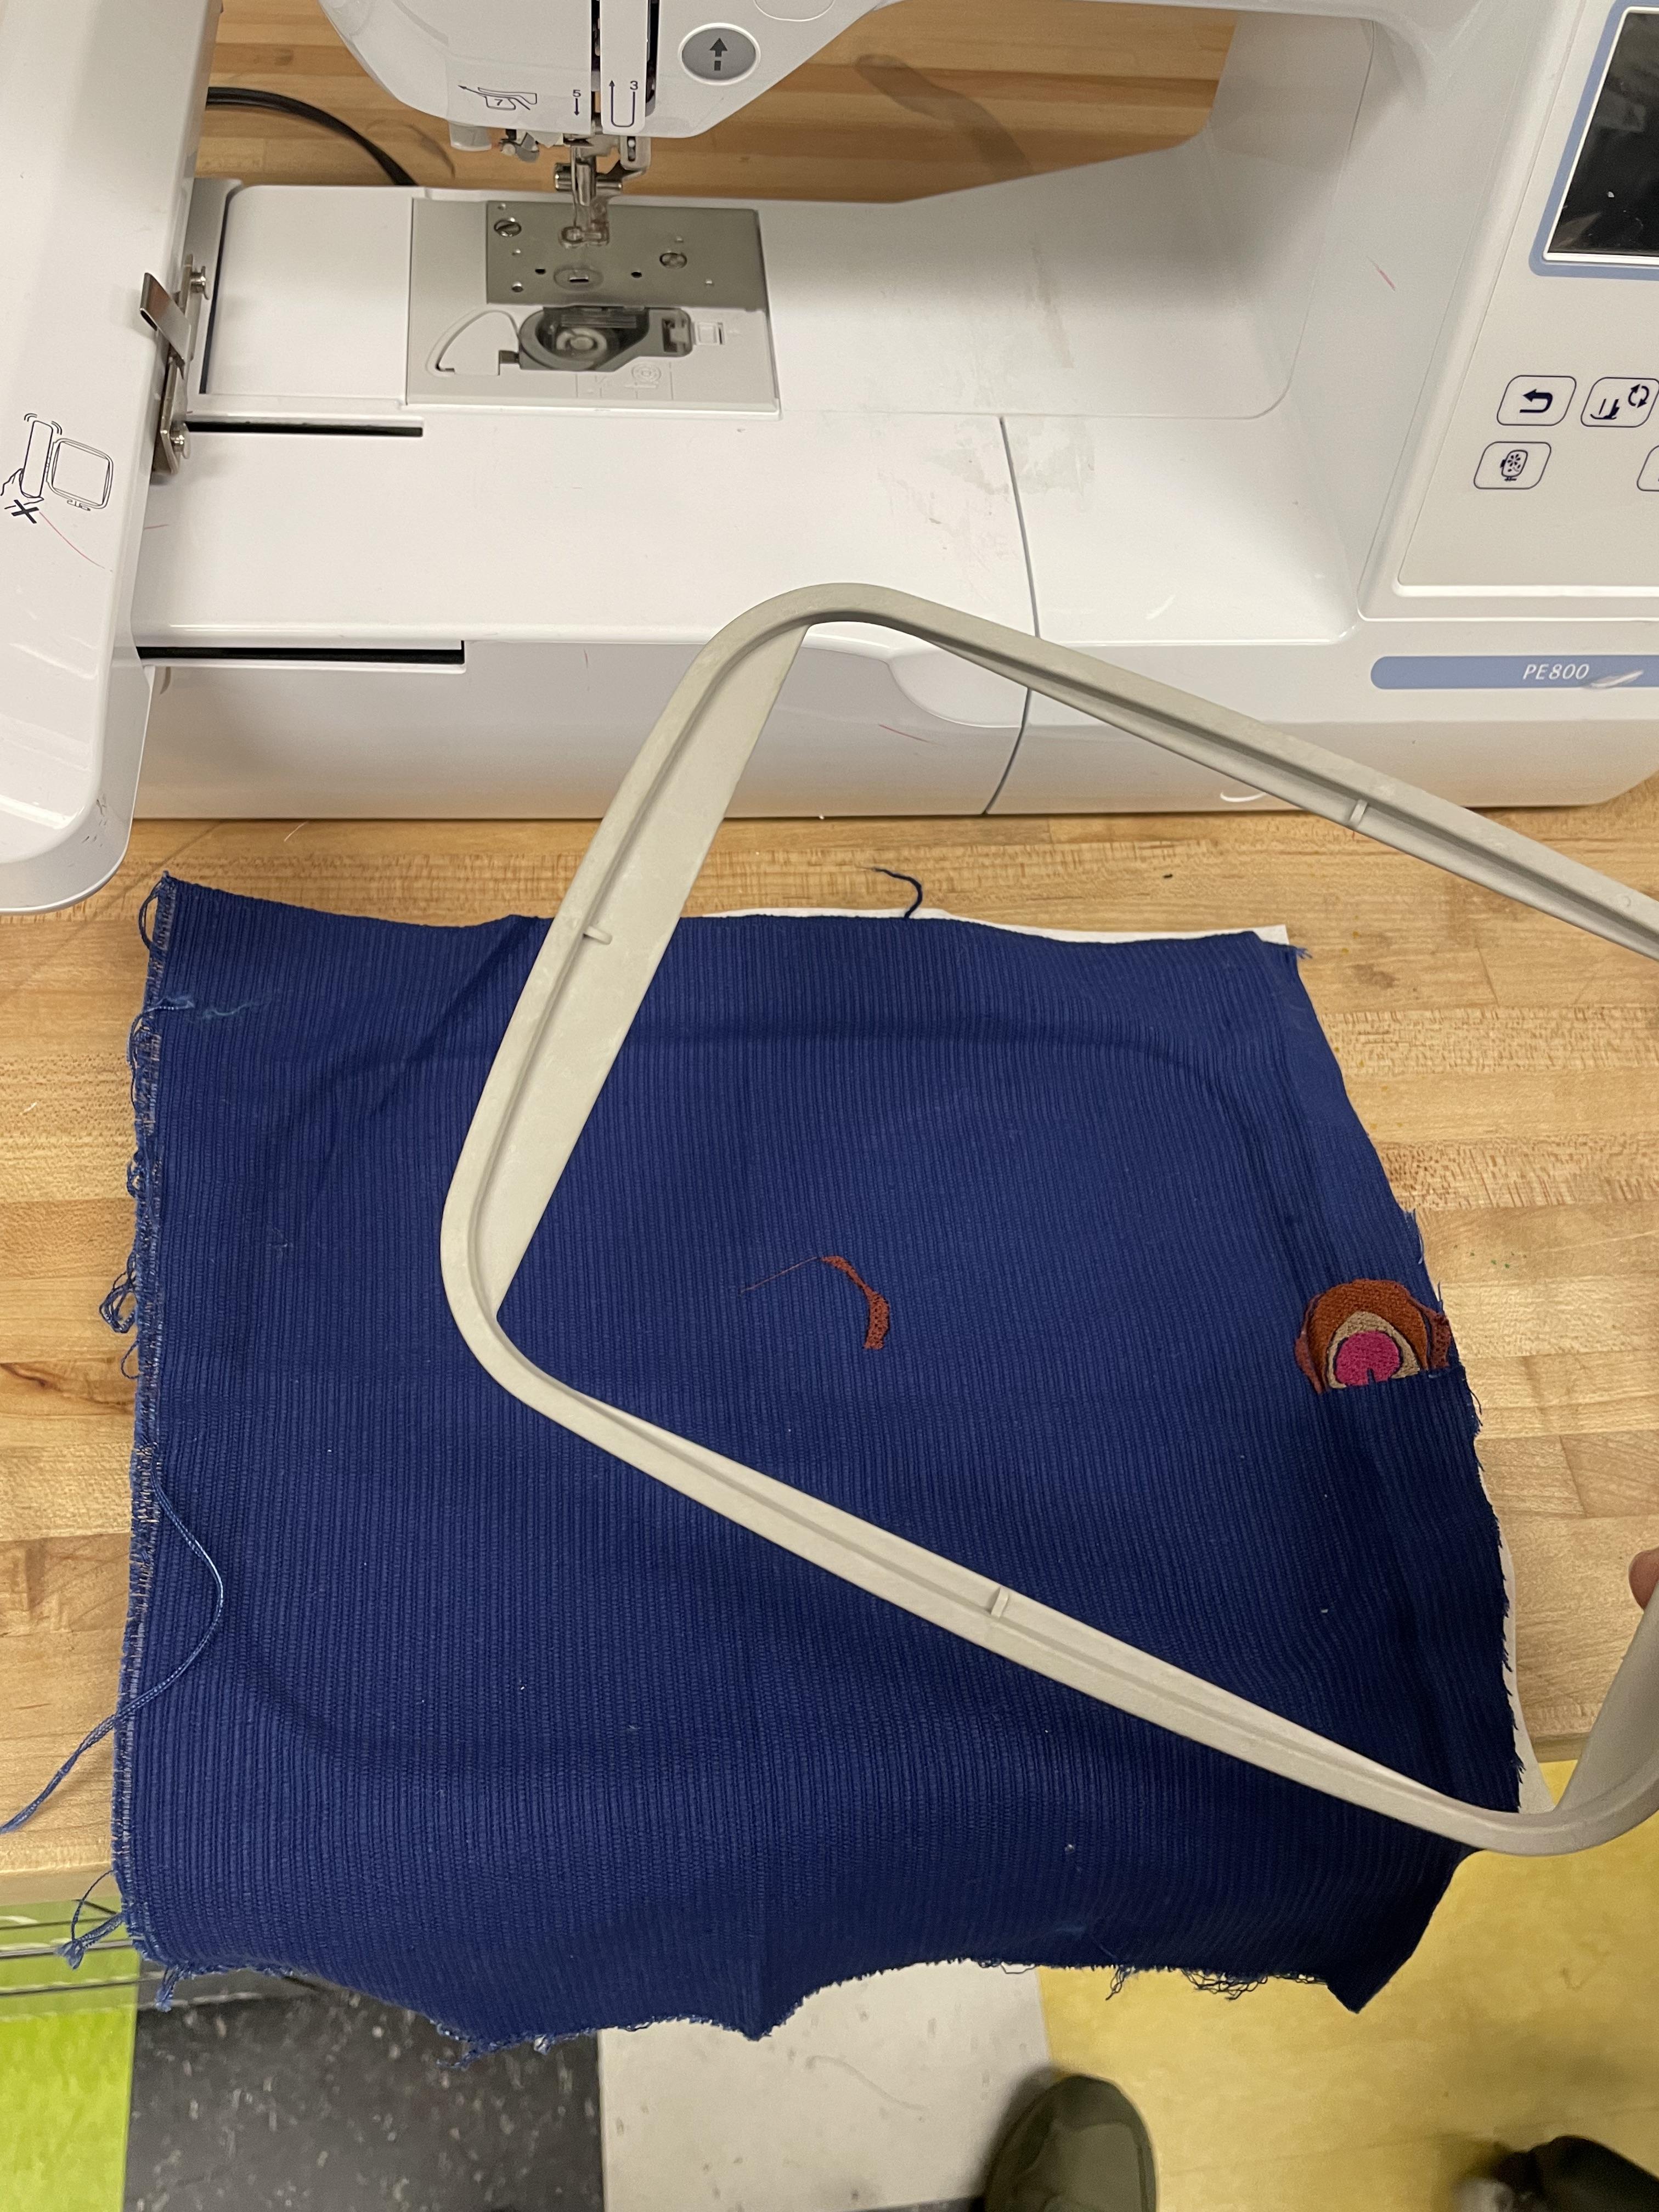
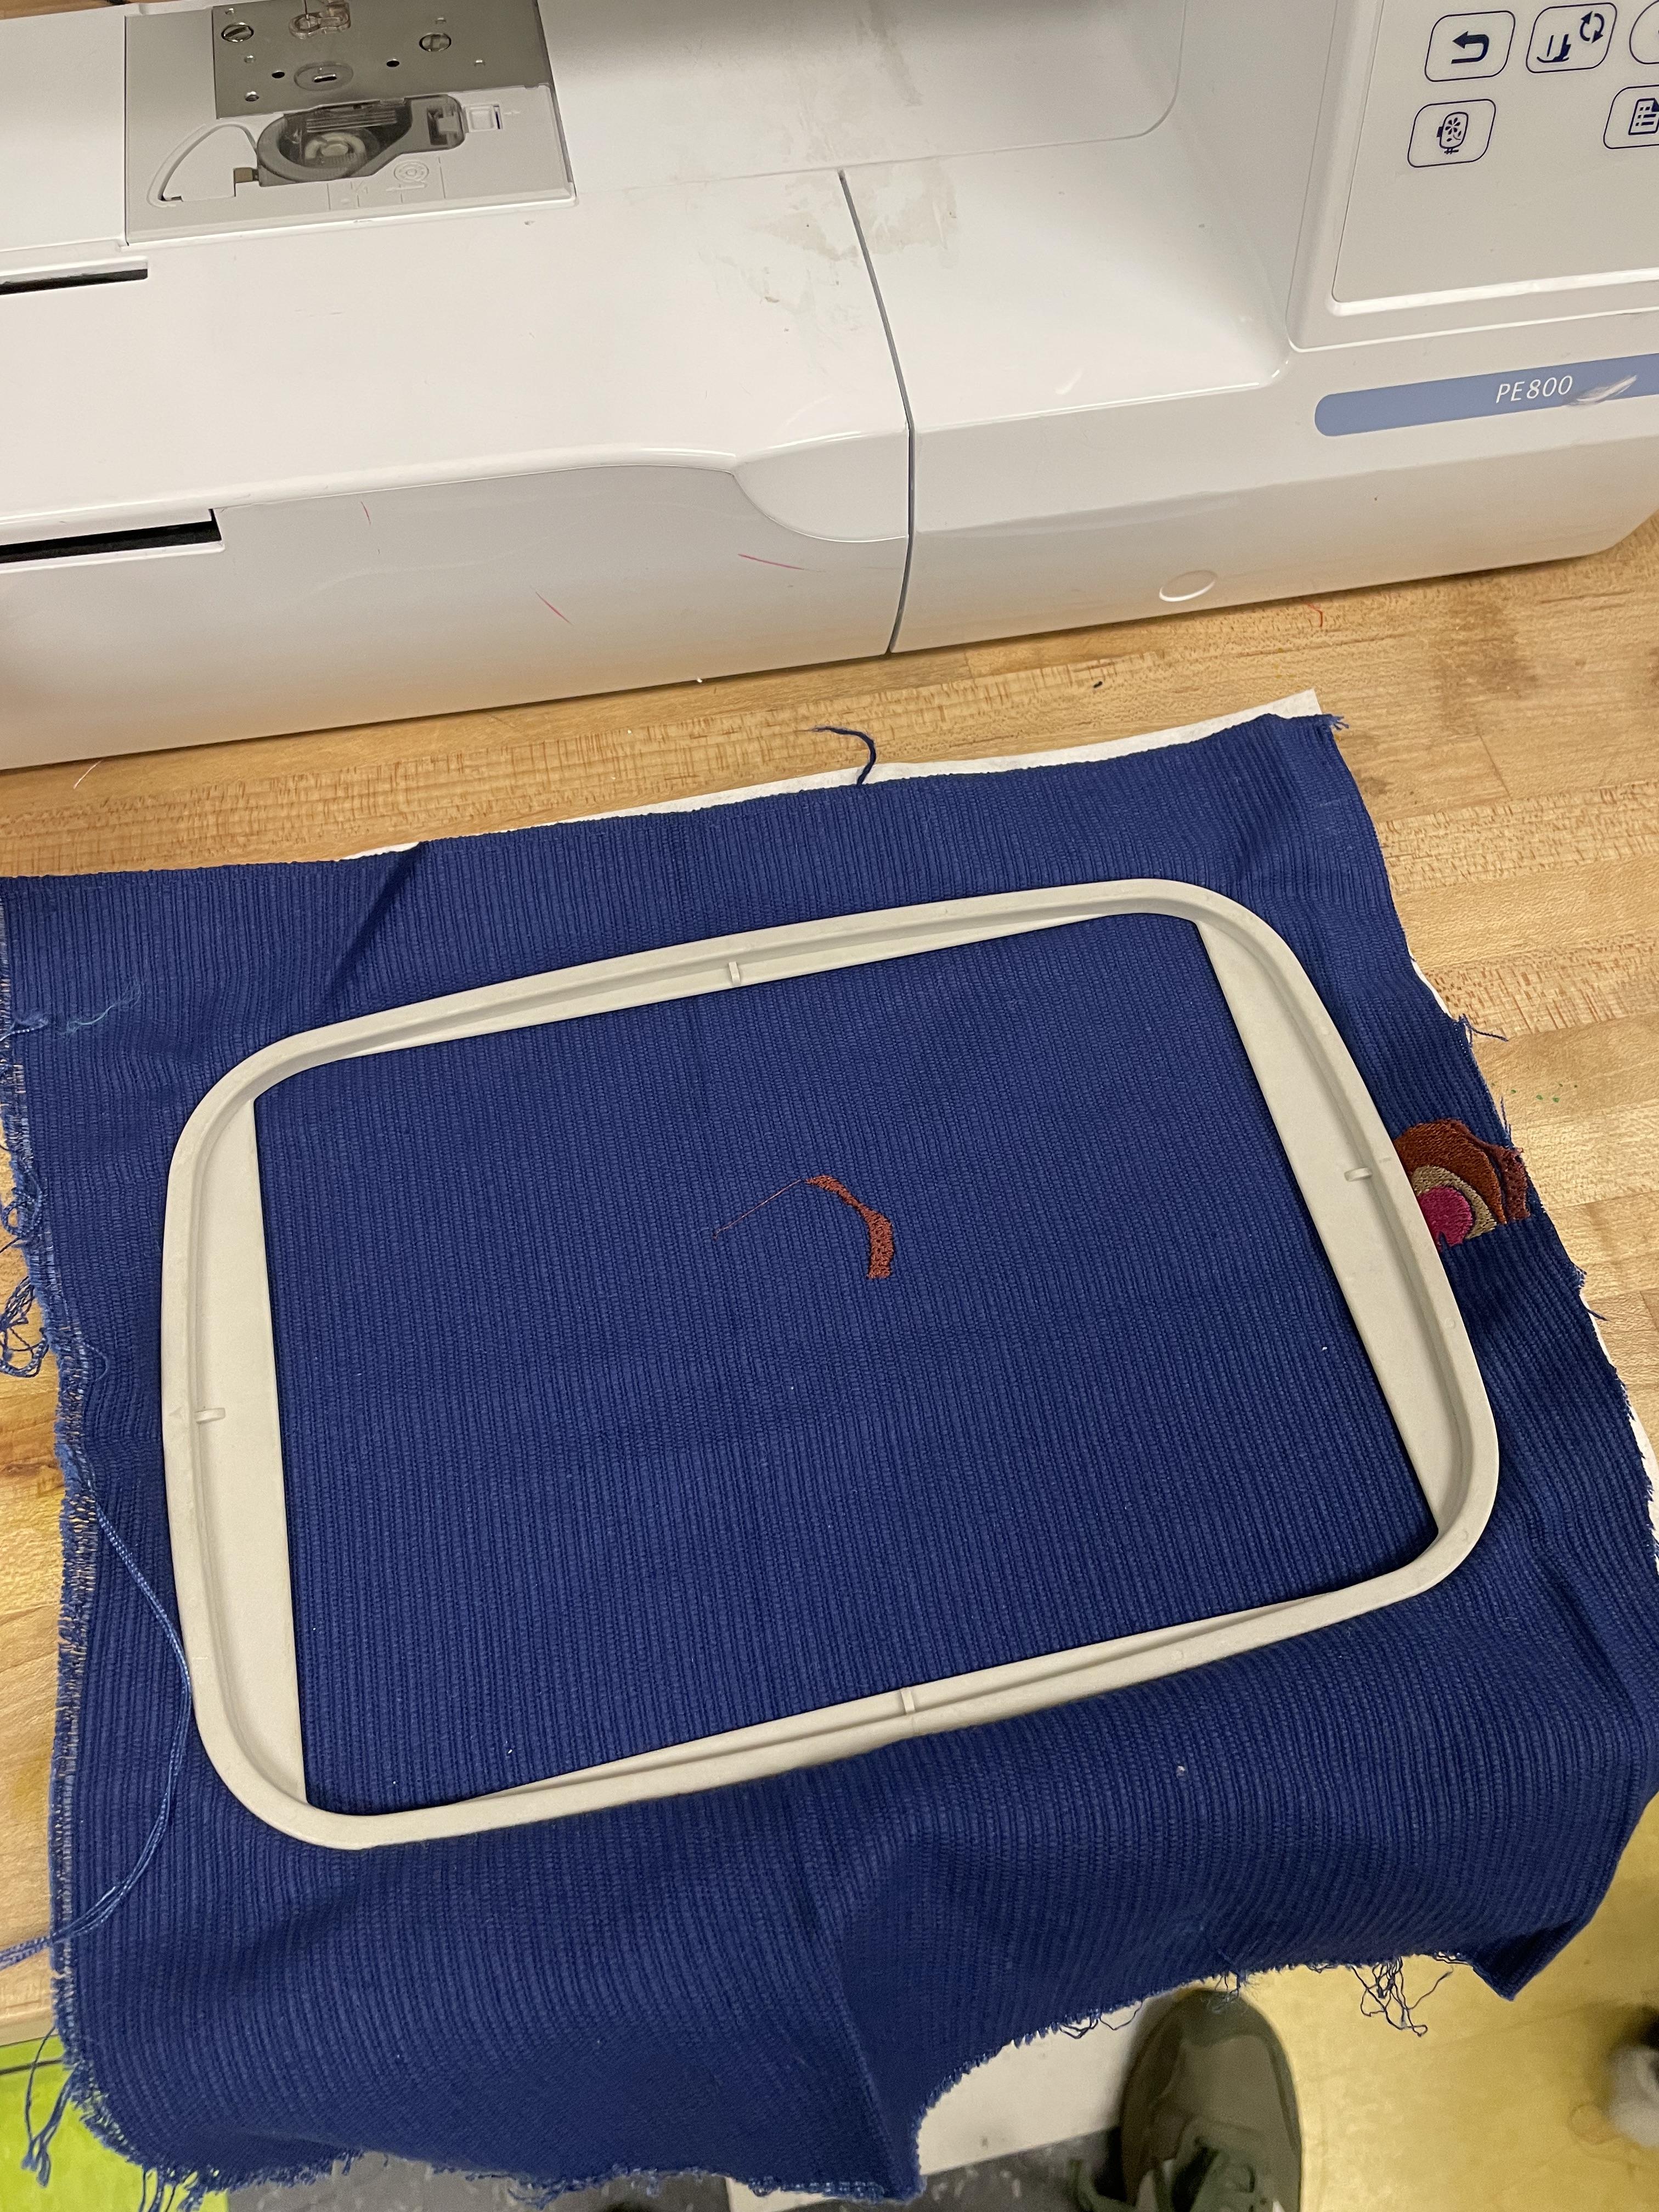
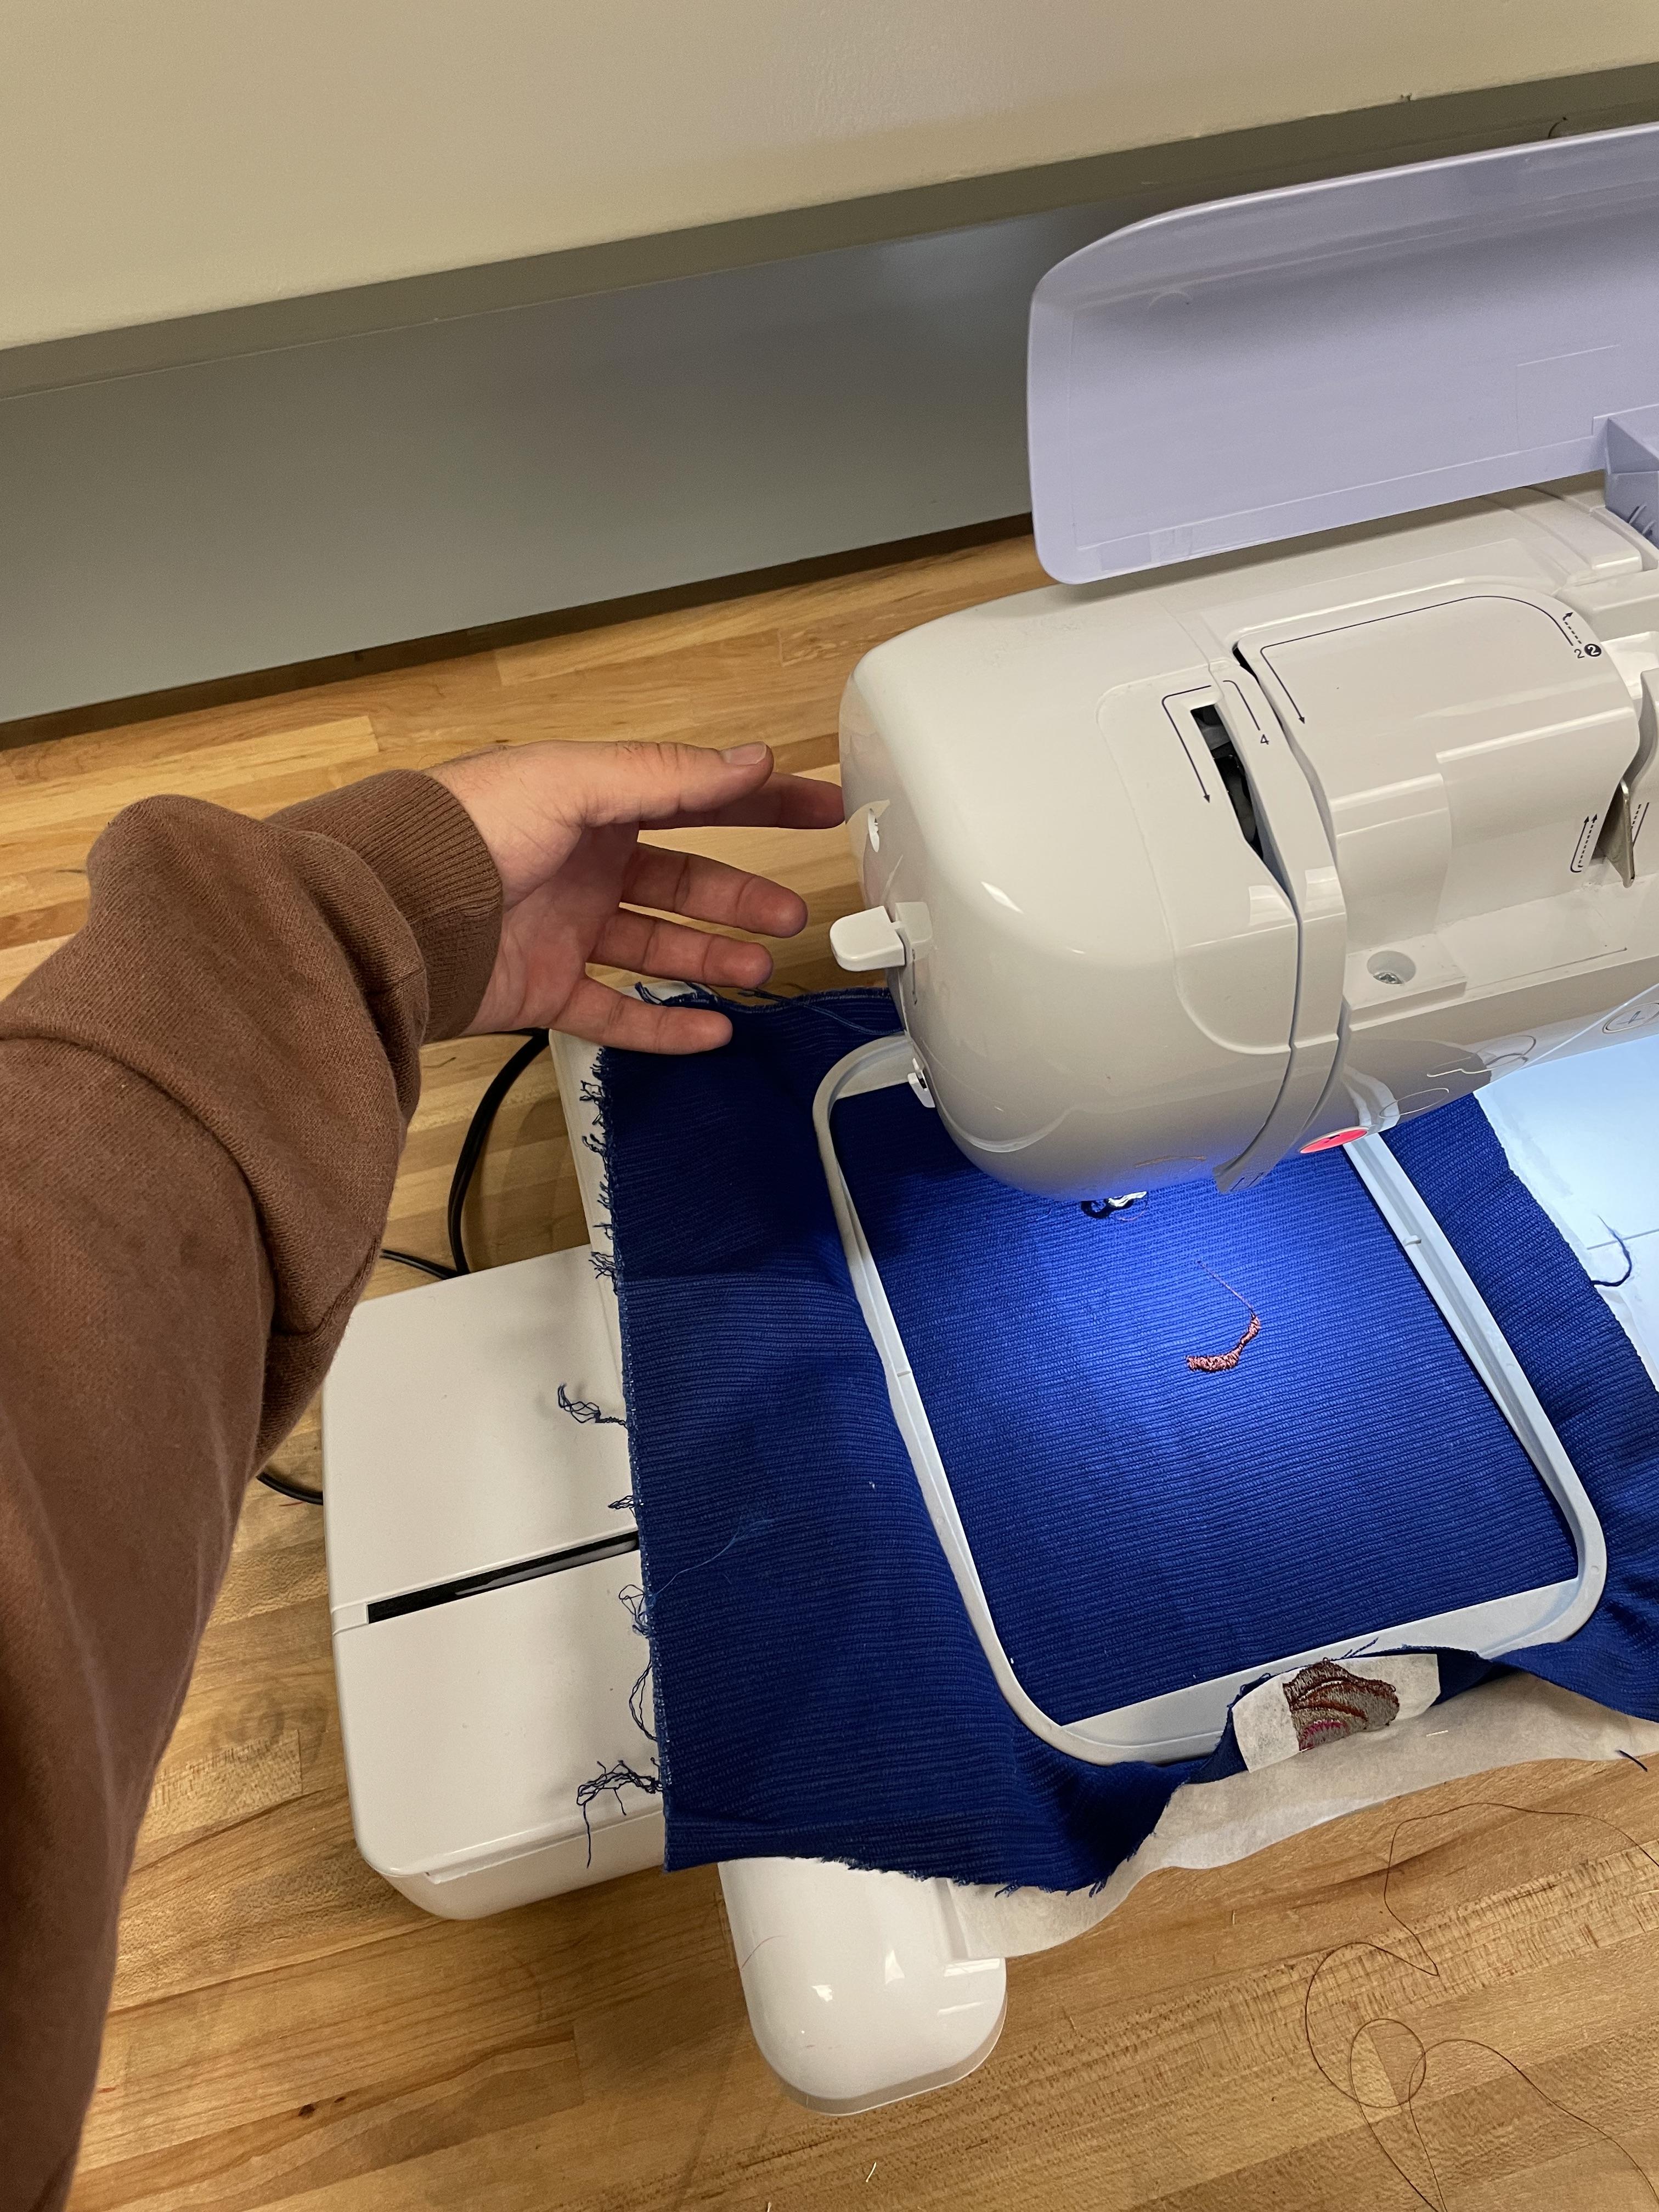
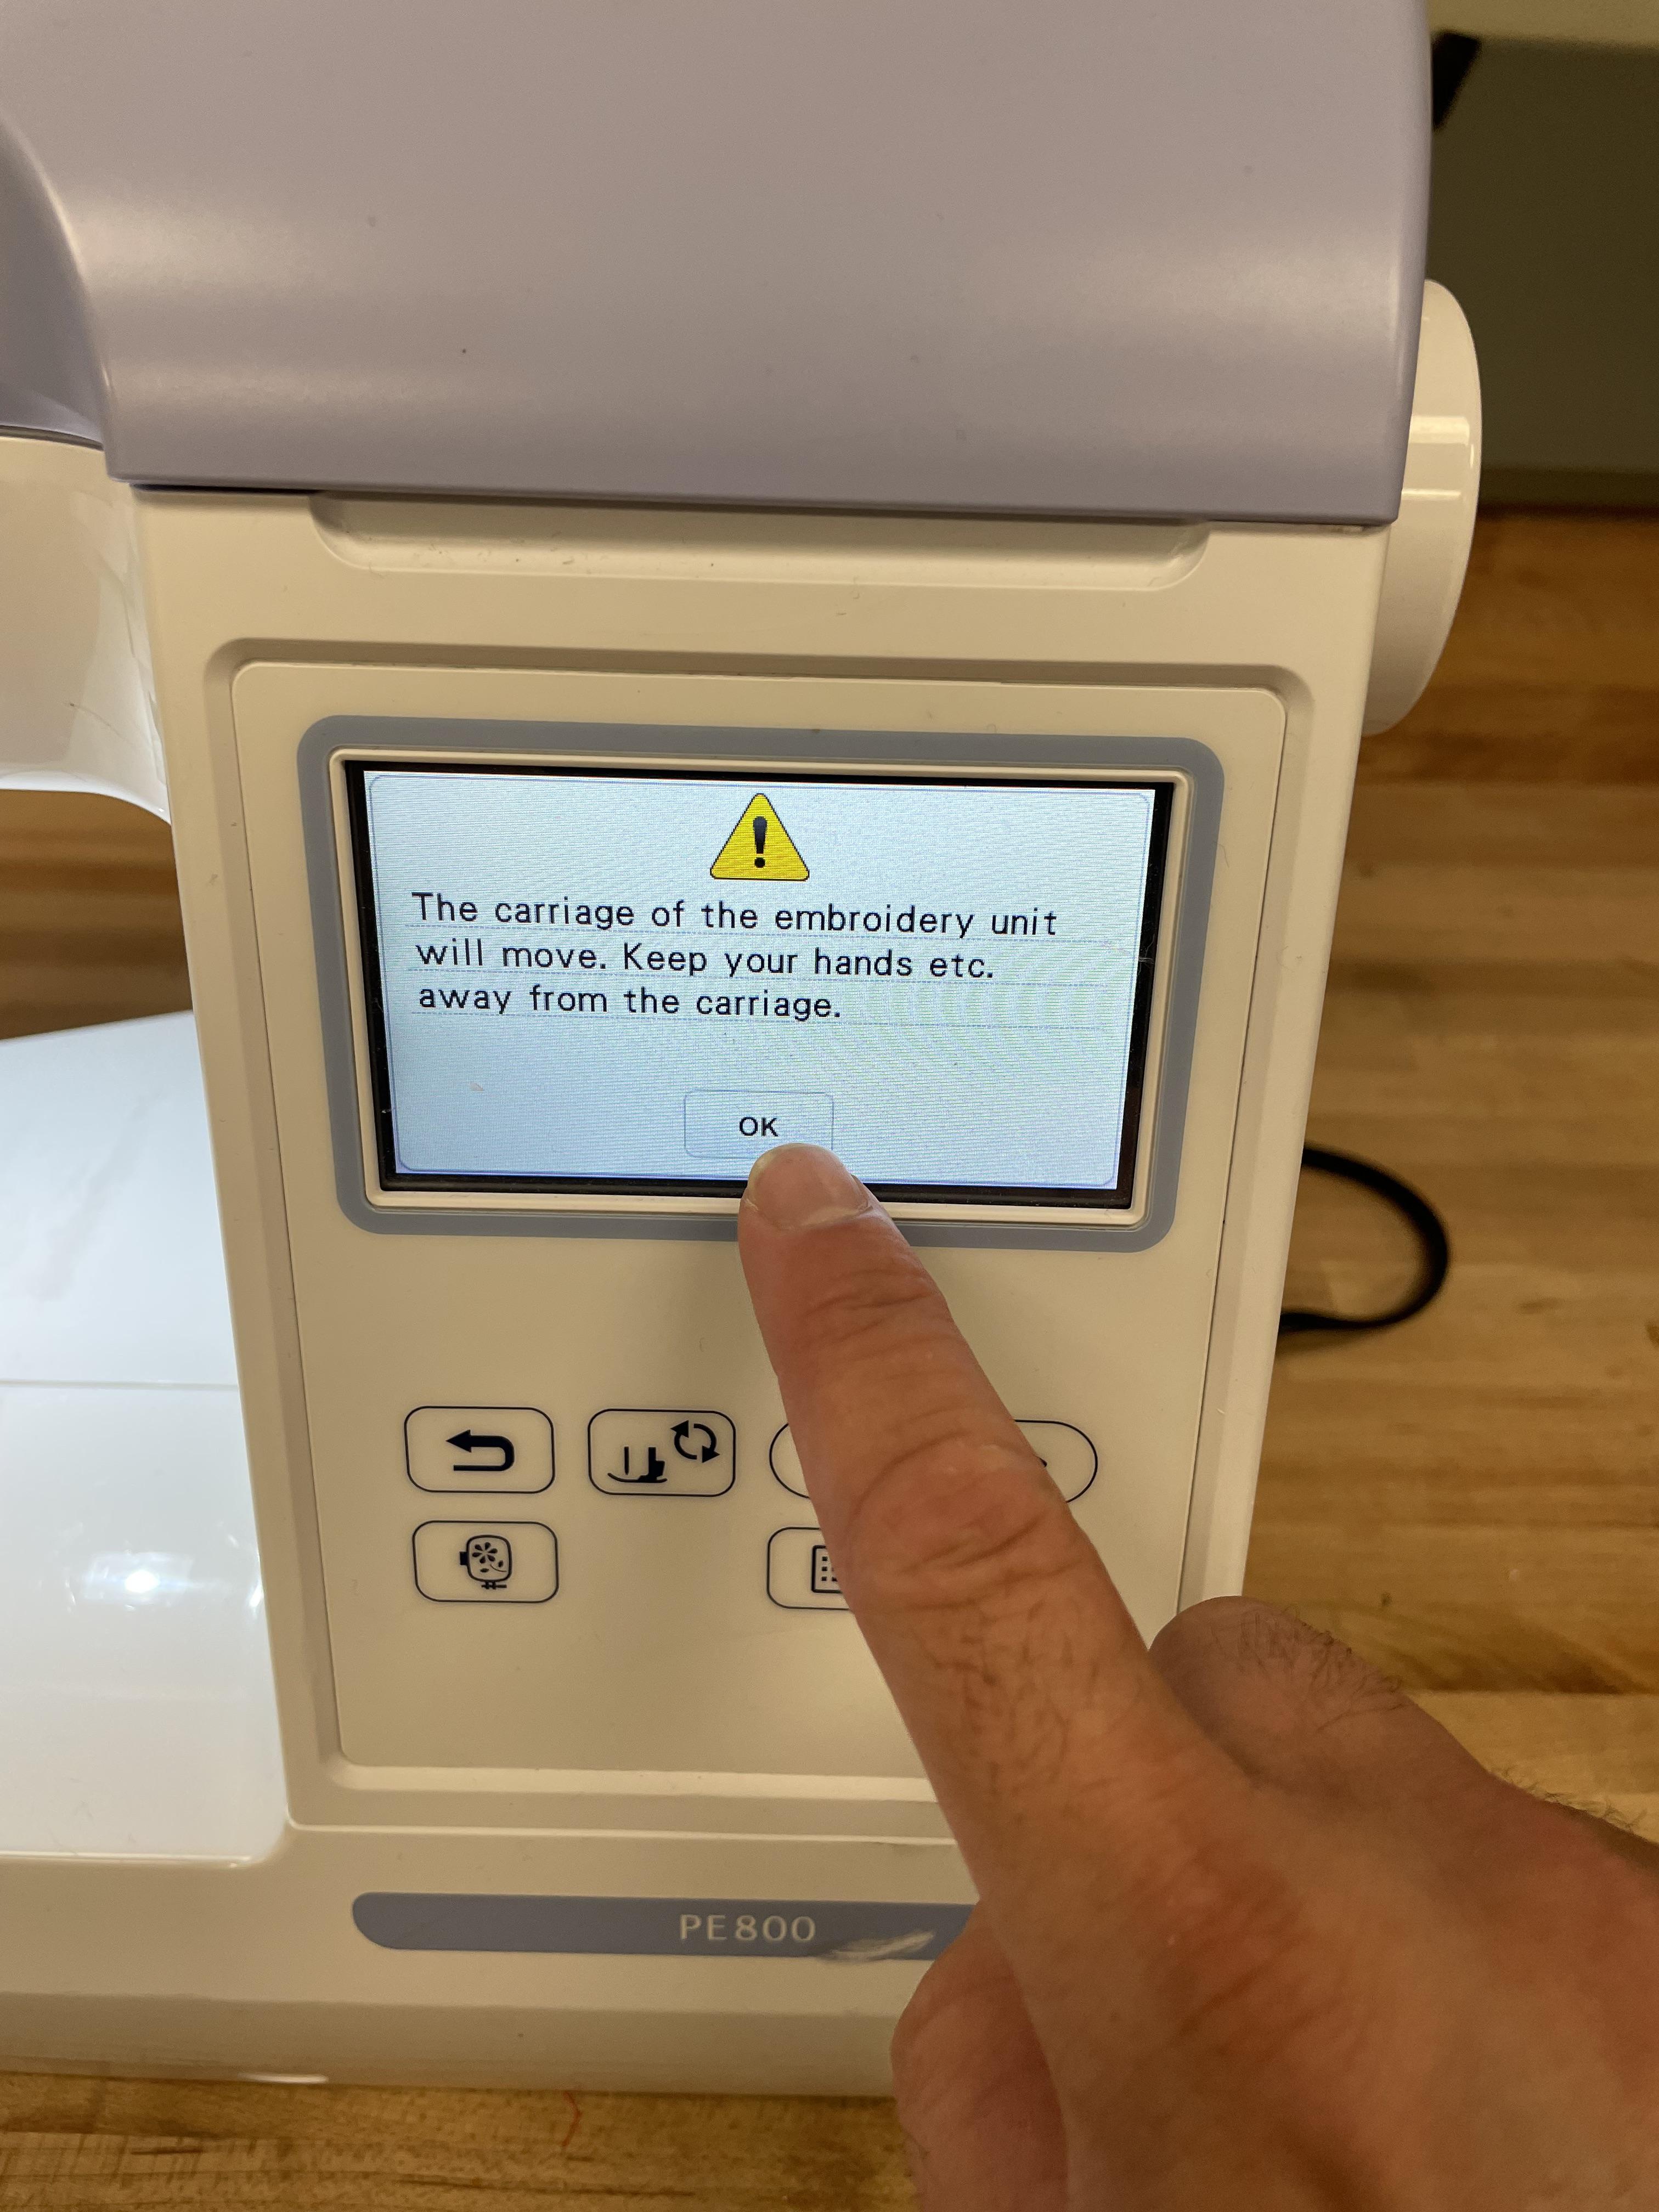
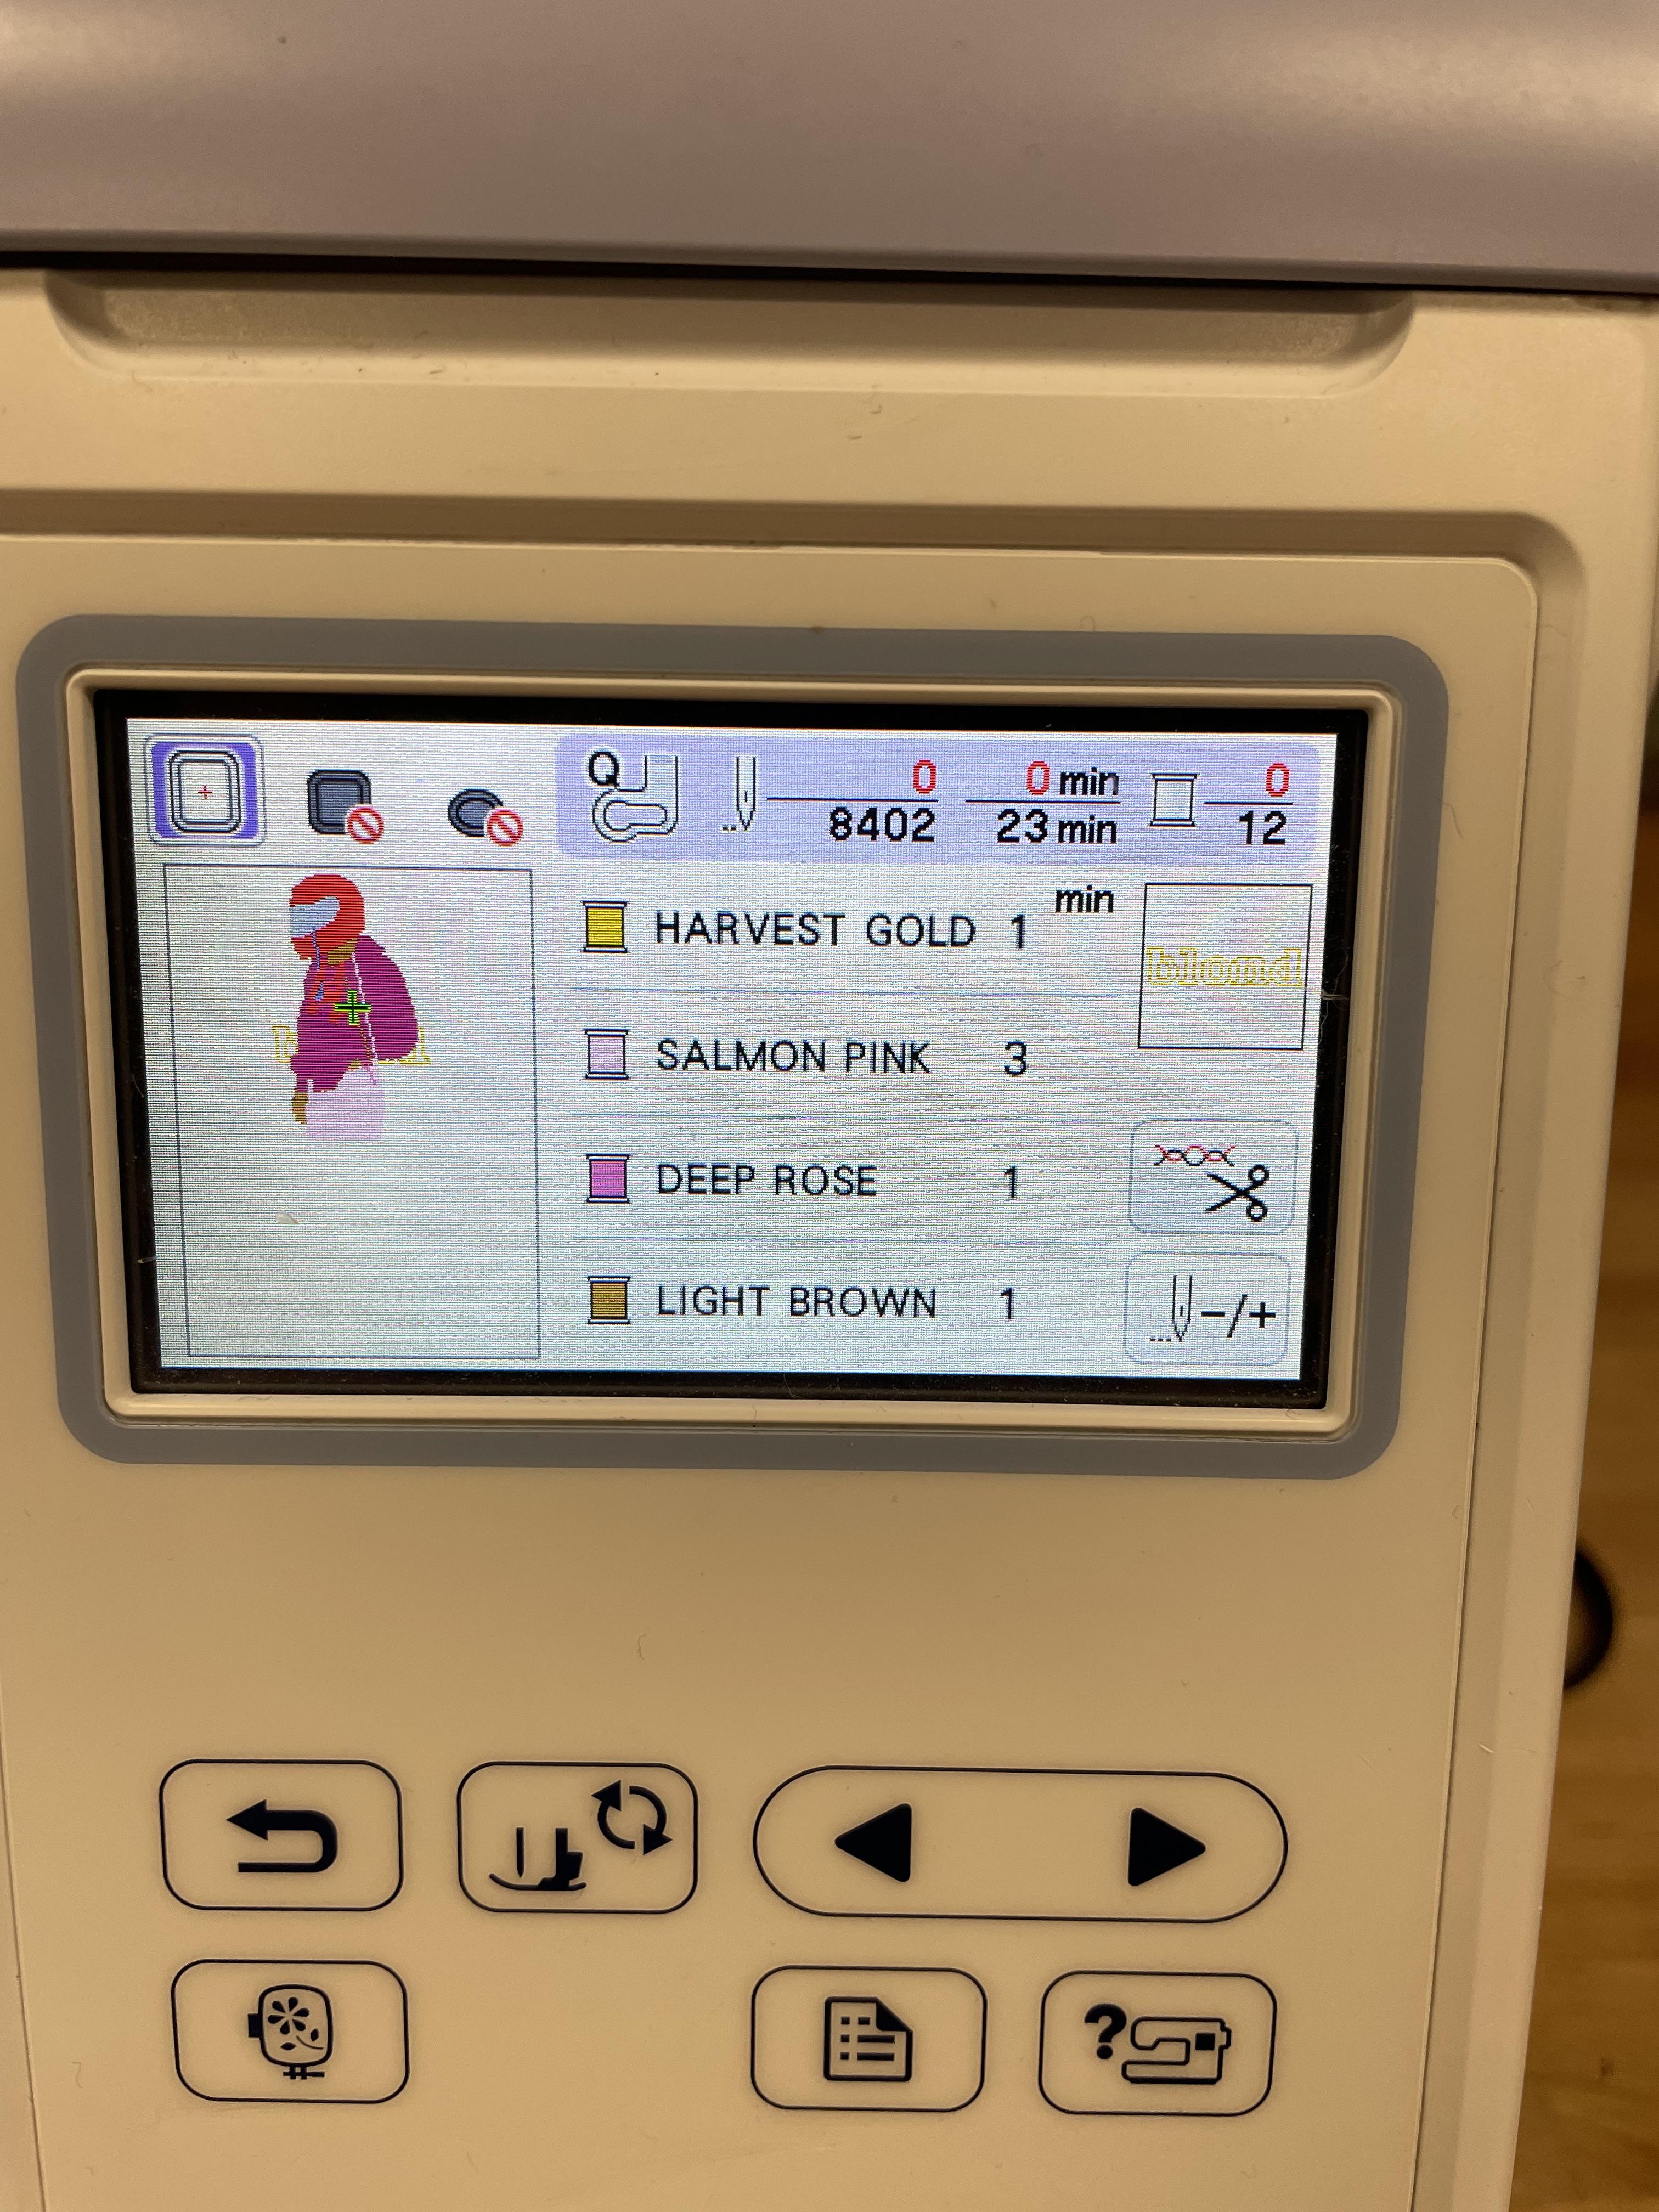
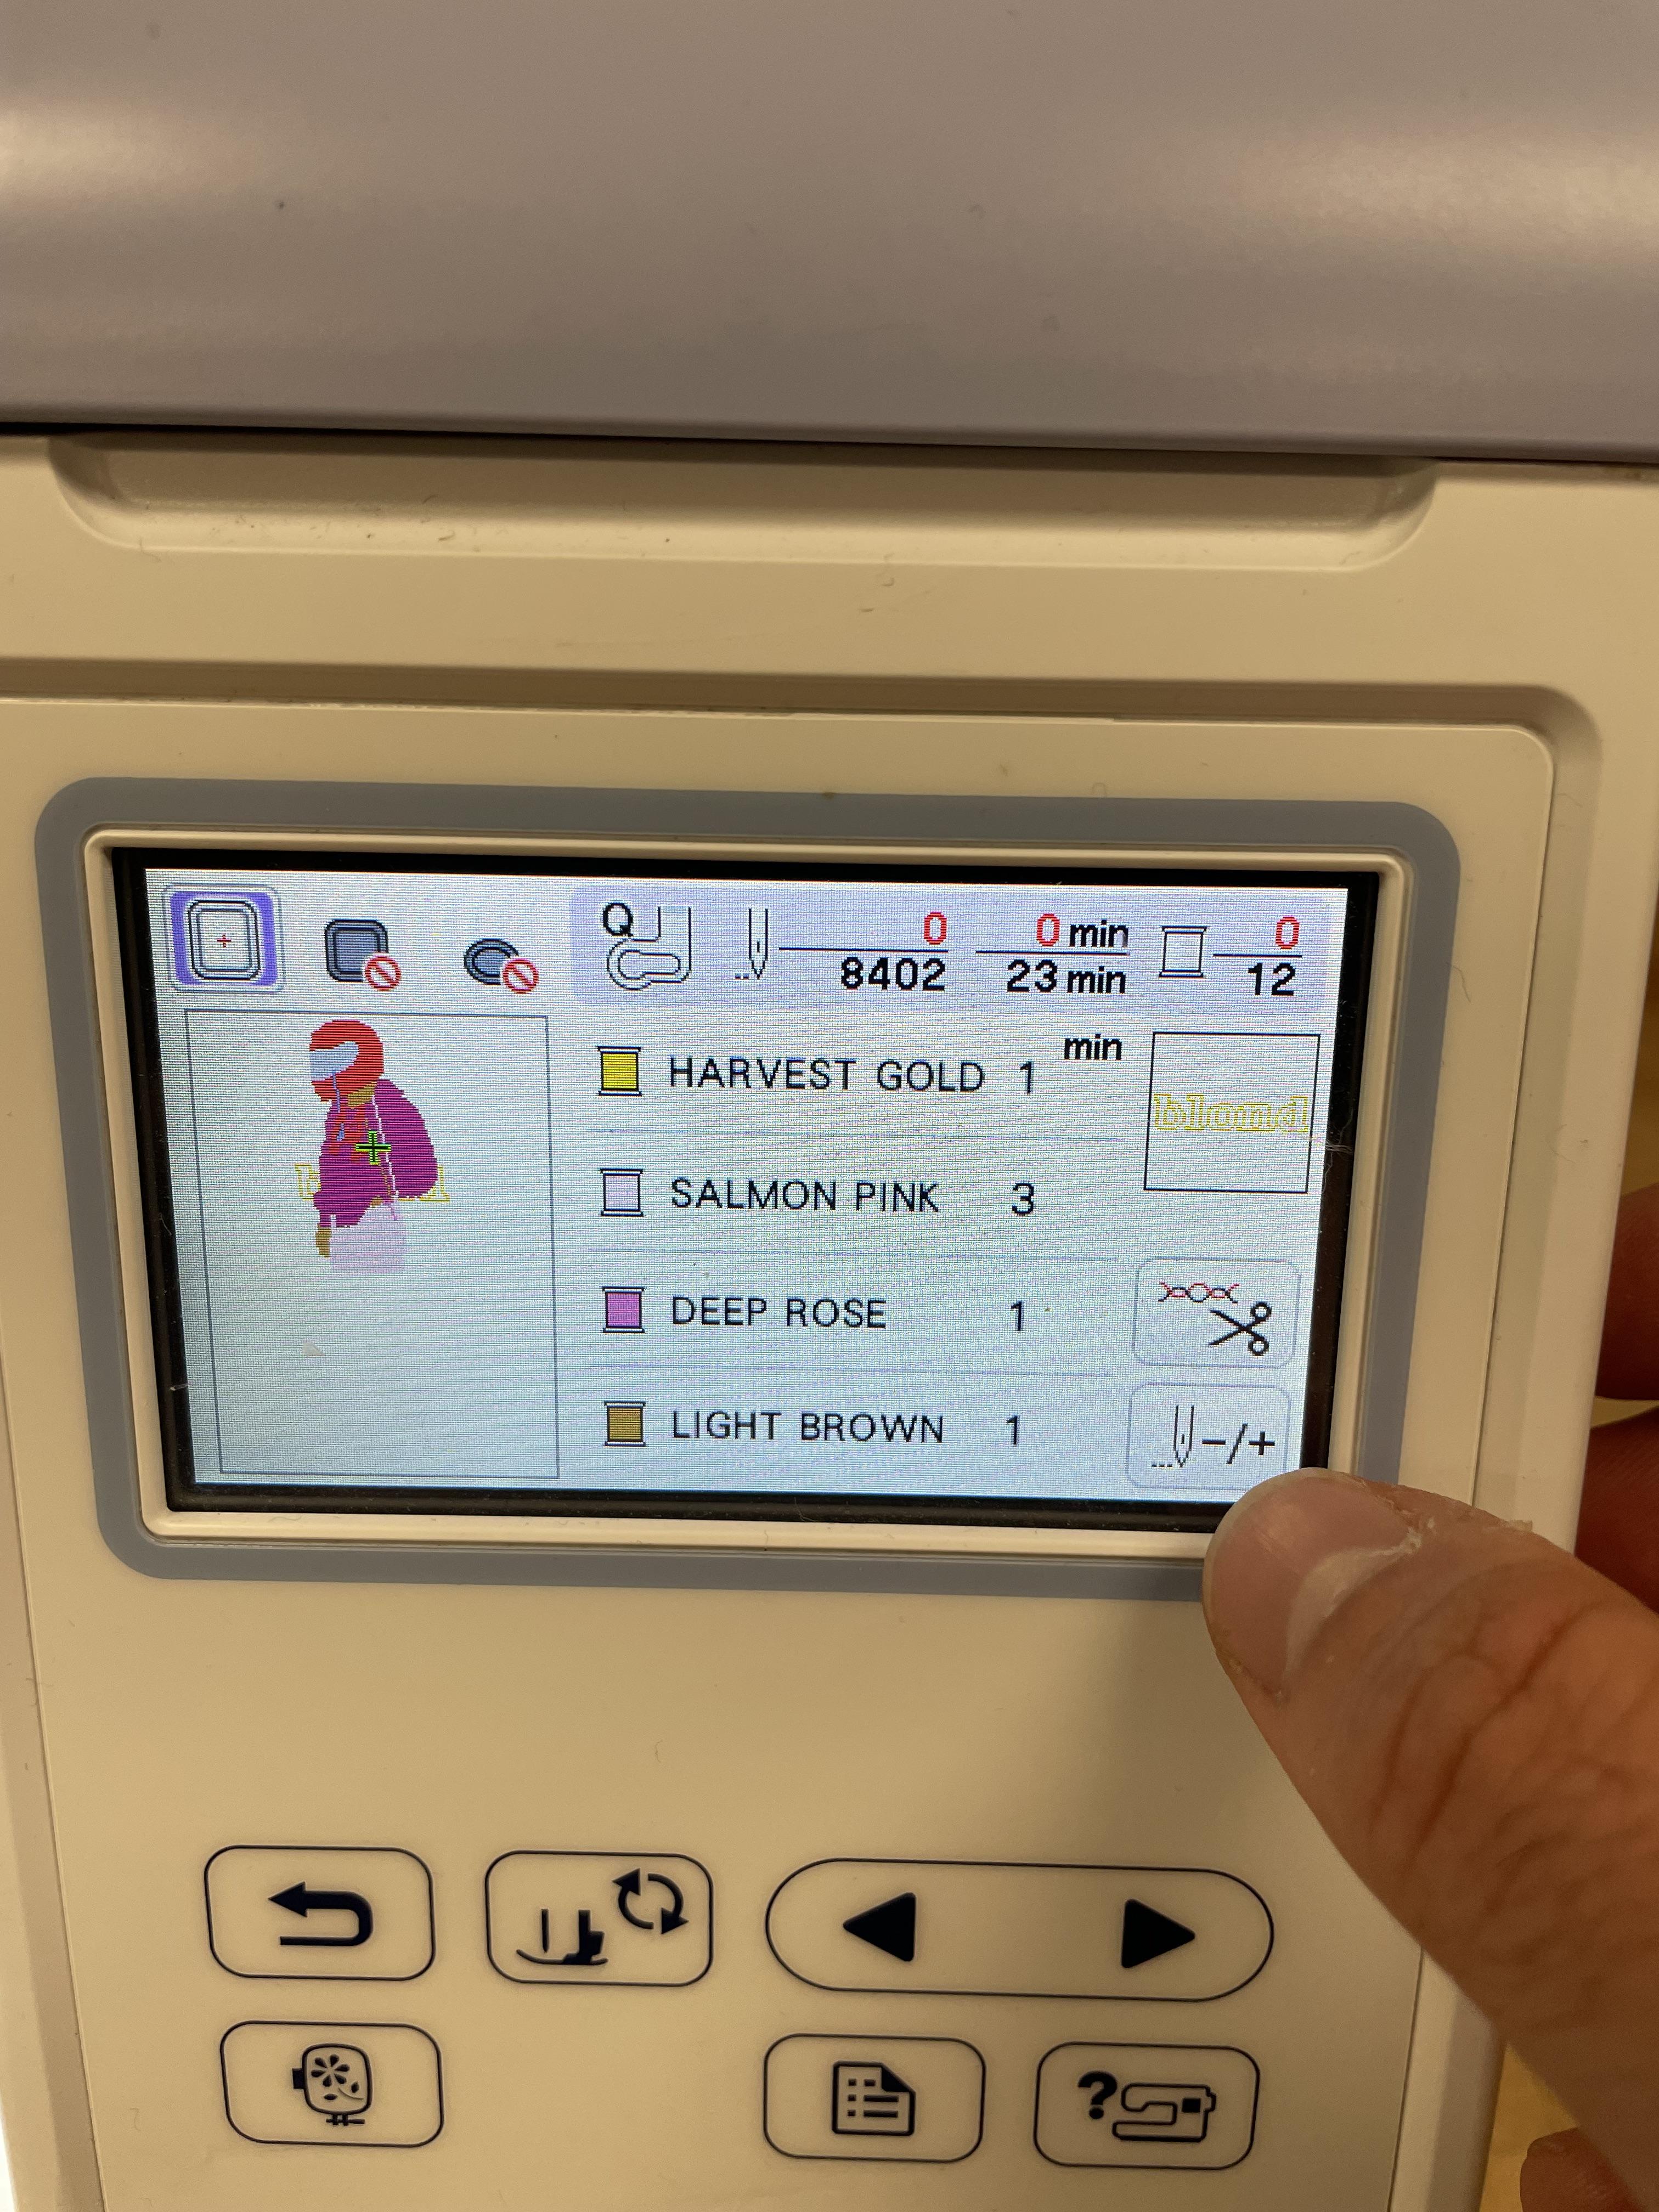
Attach the Hoop and Start Embroidering
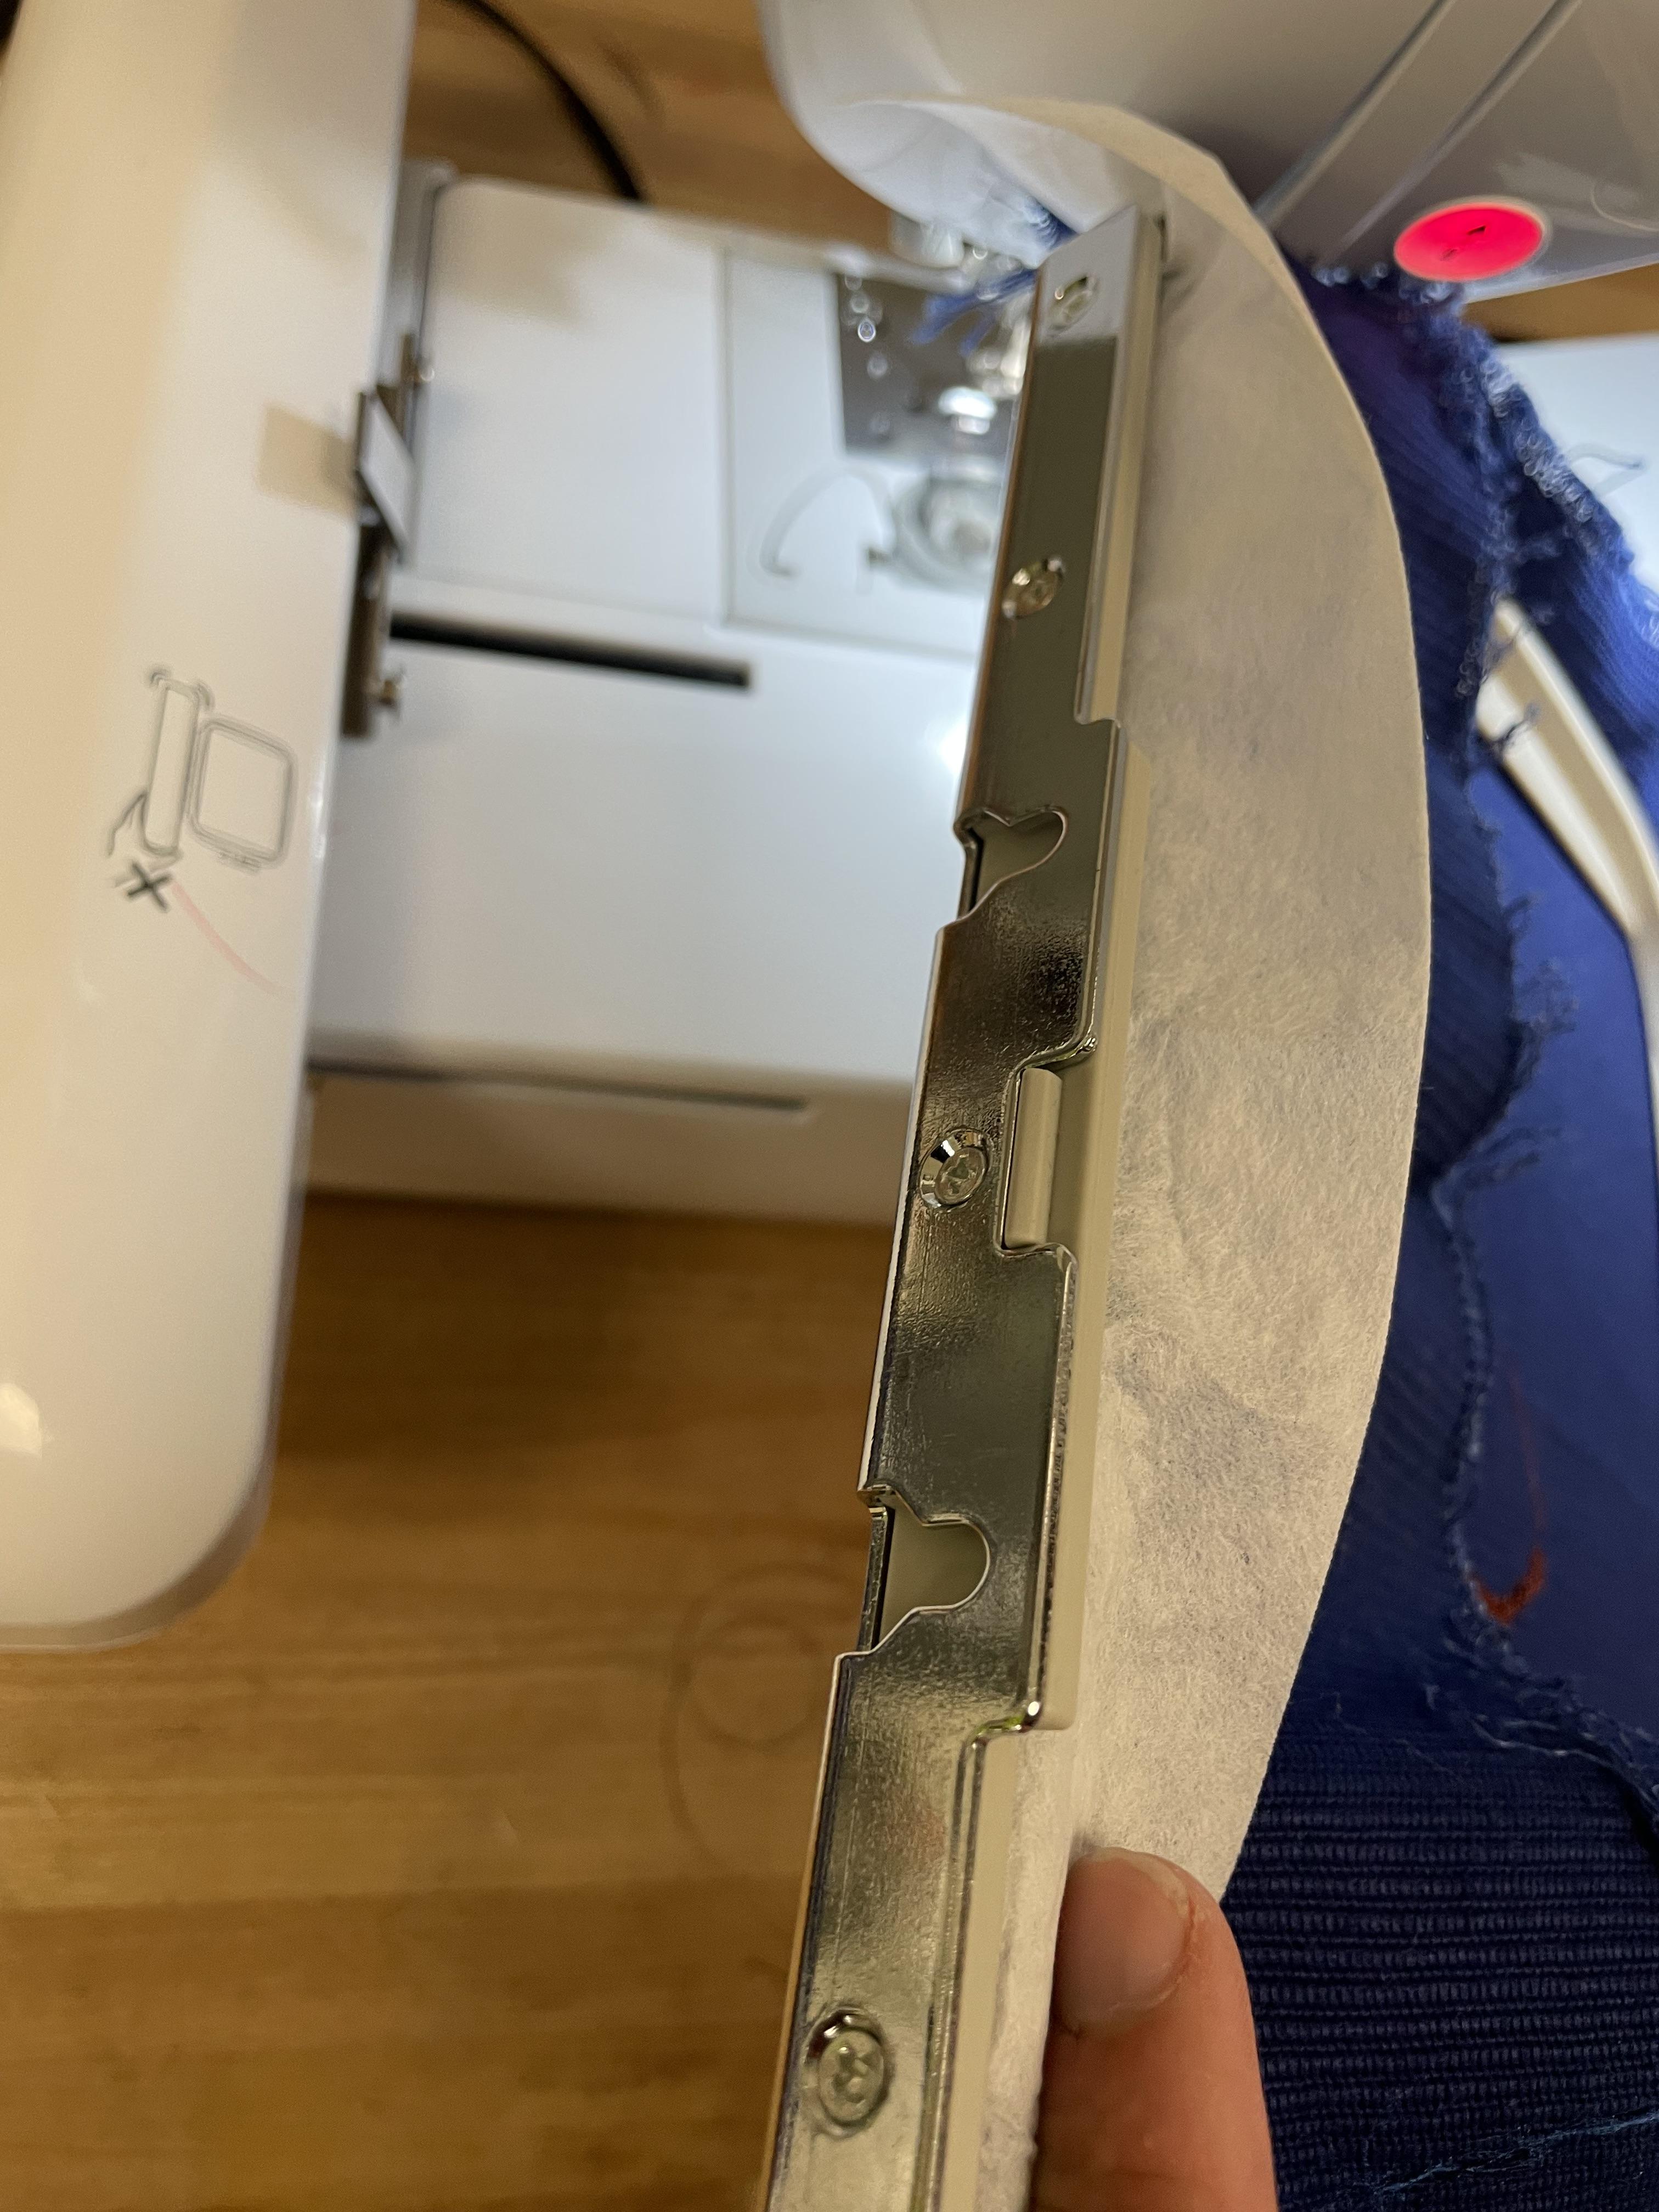
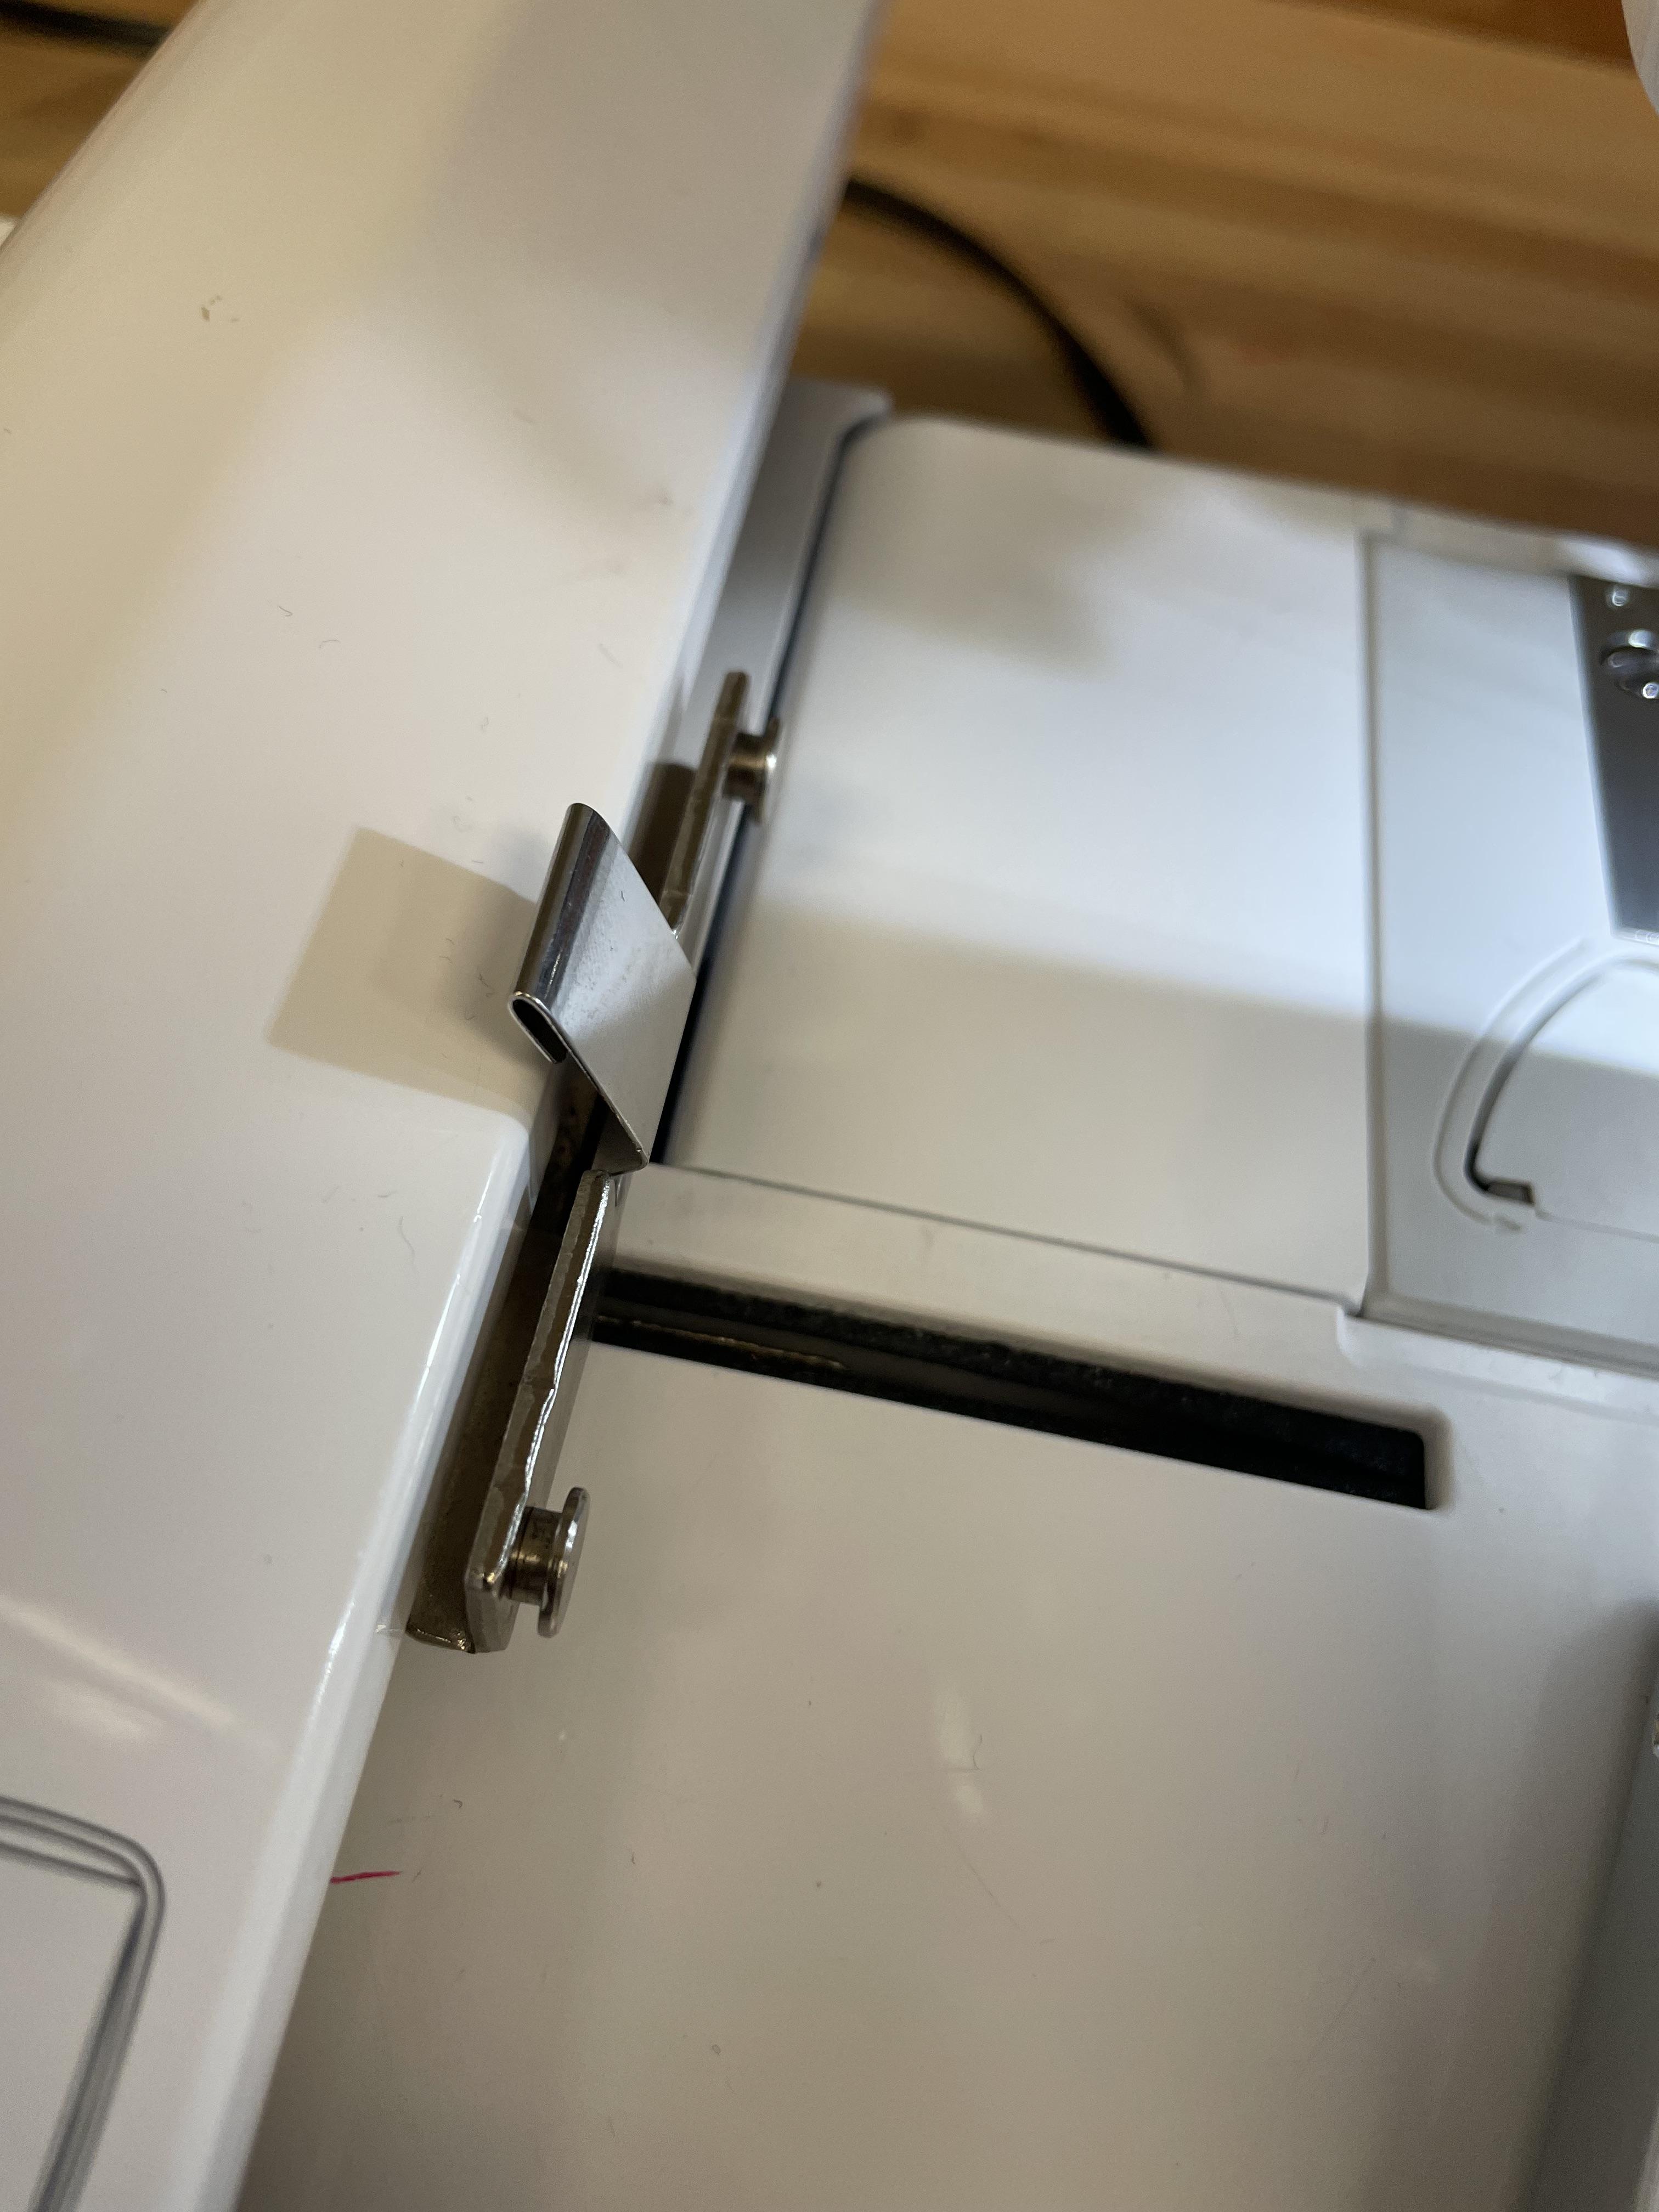
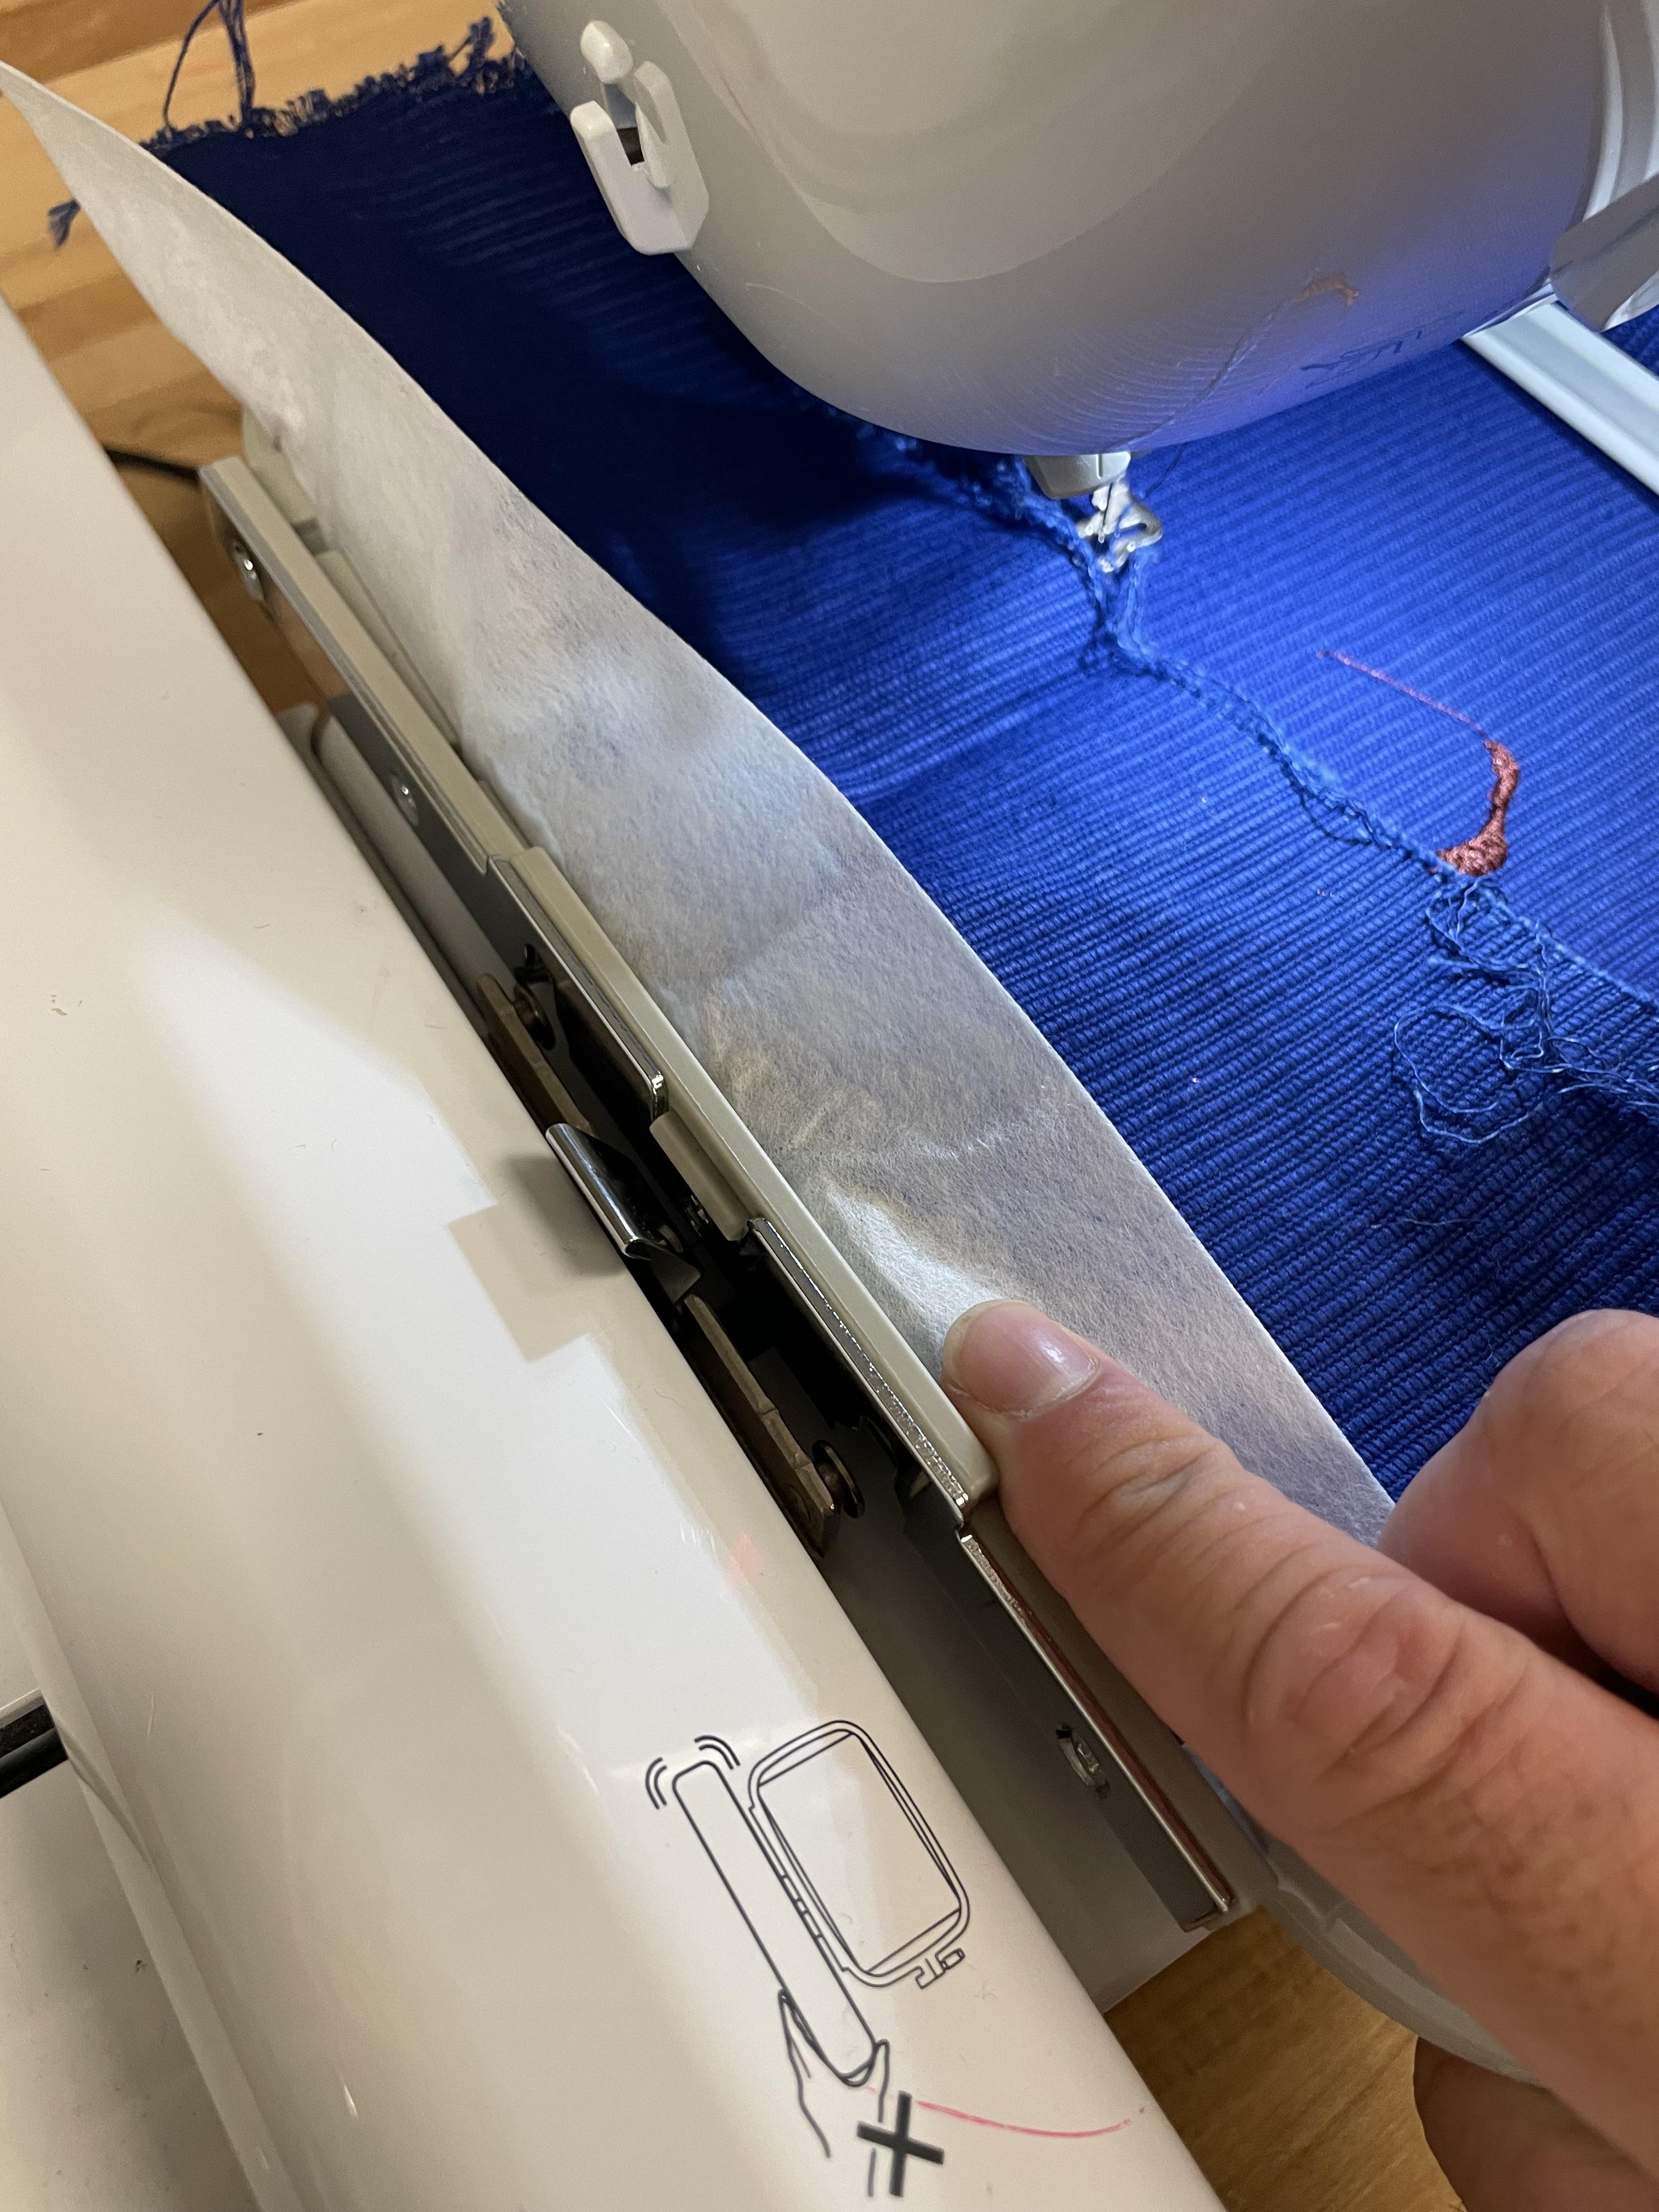
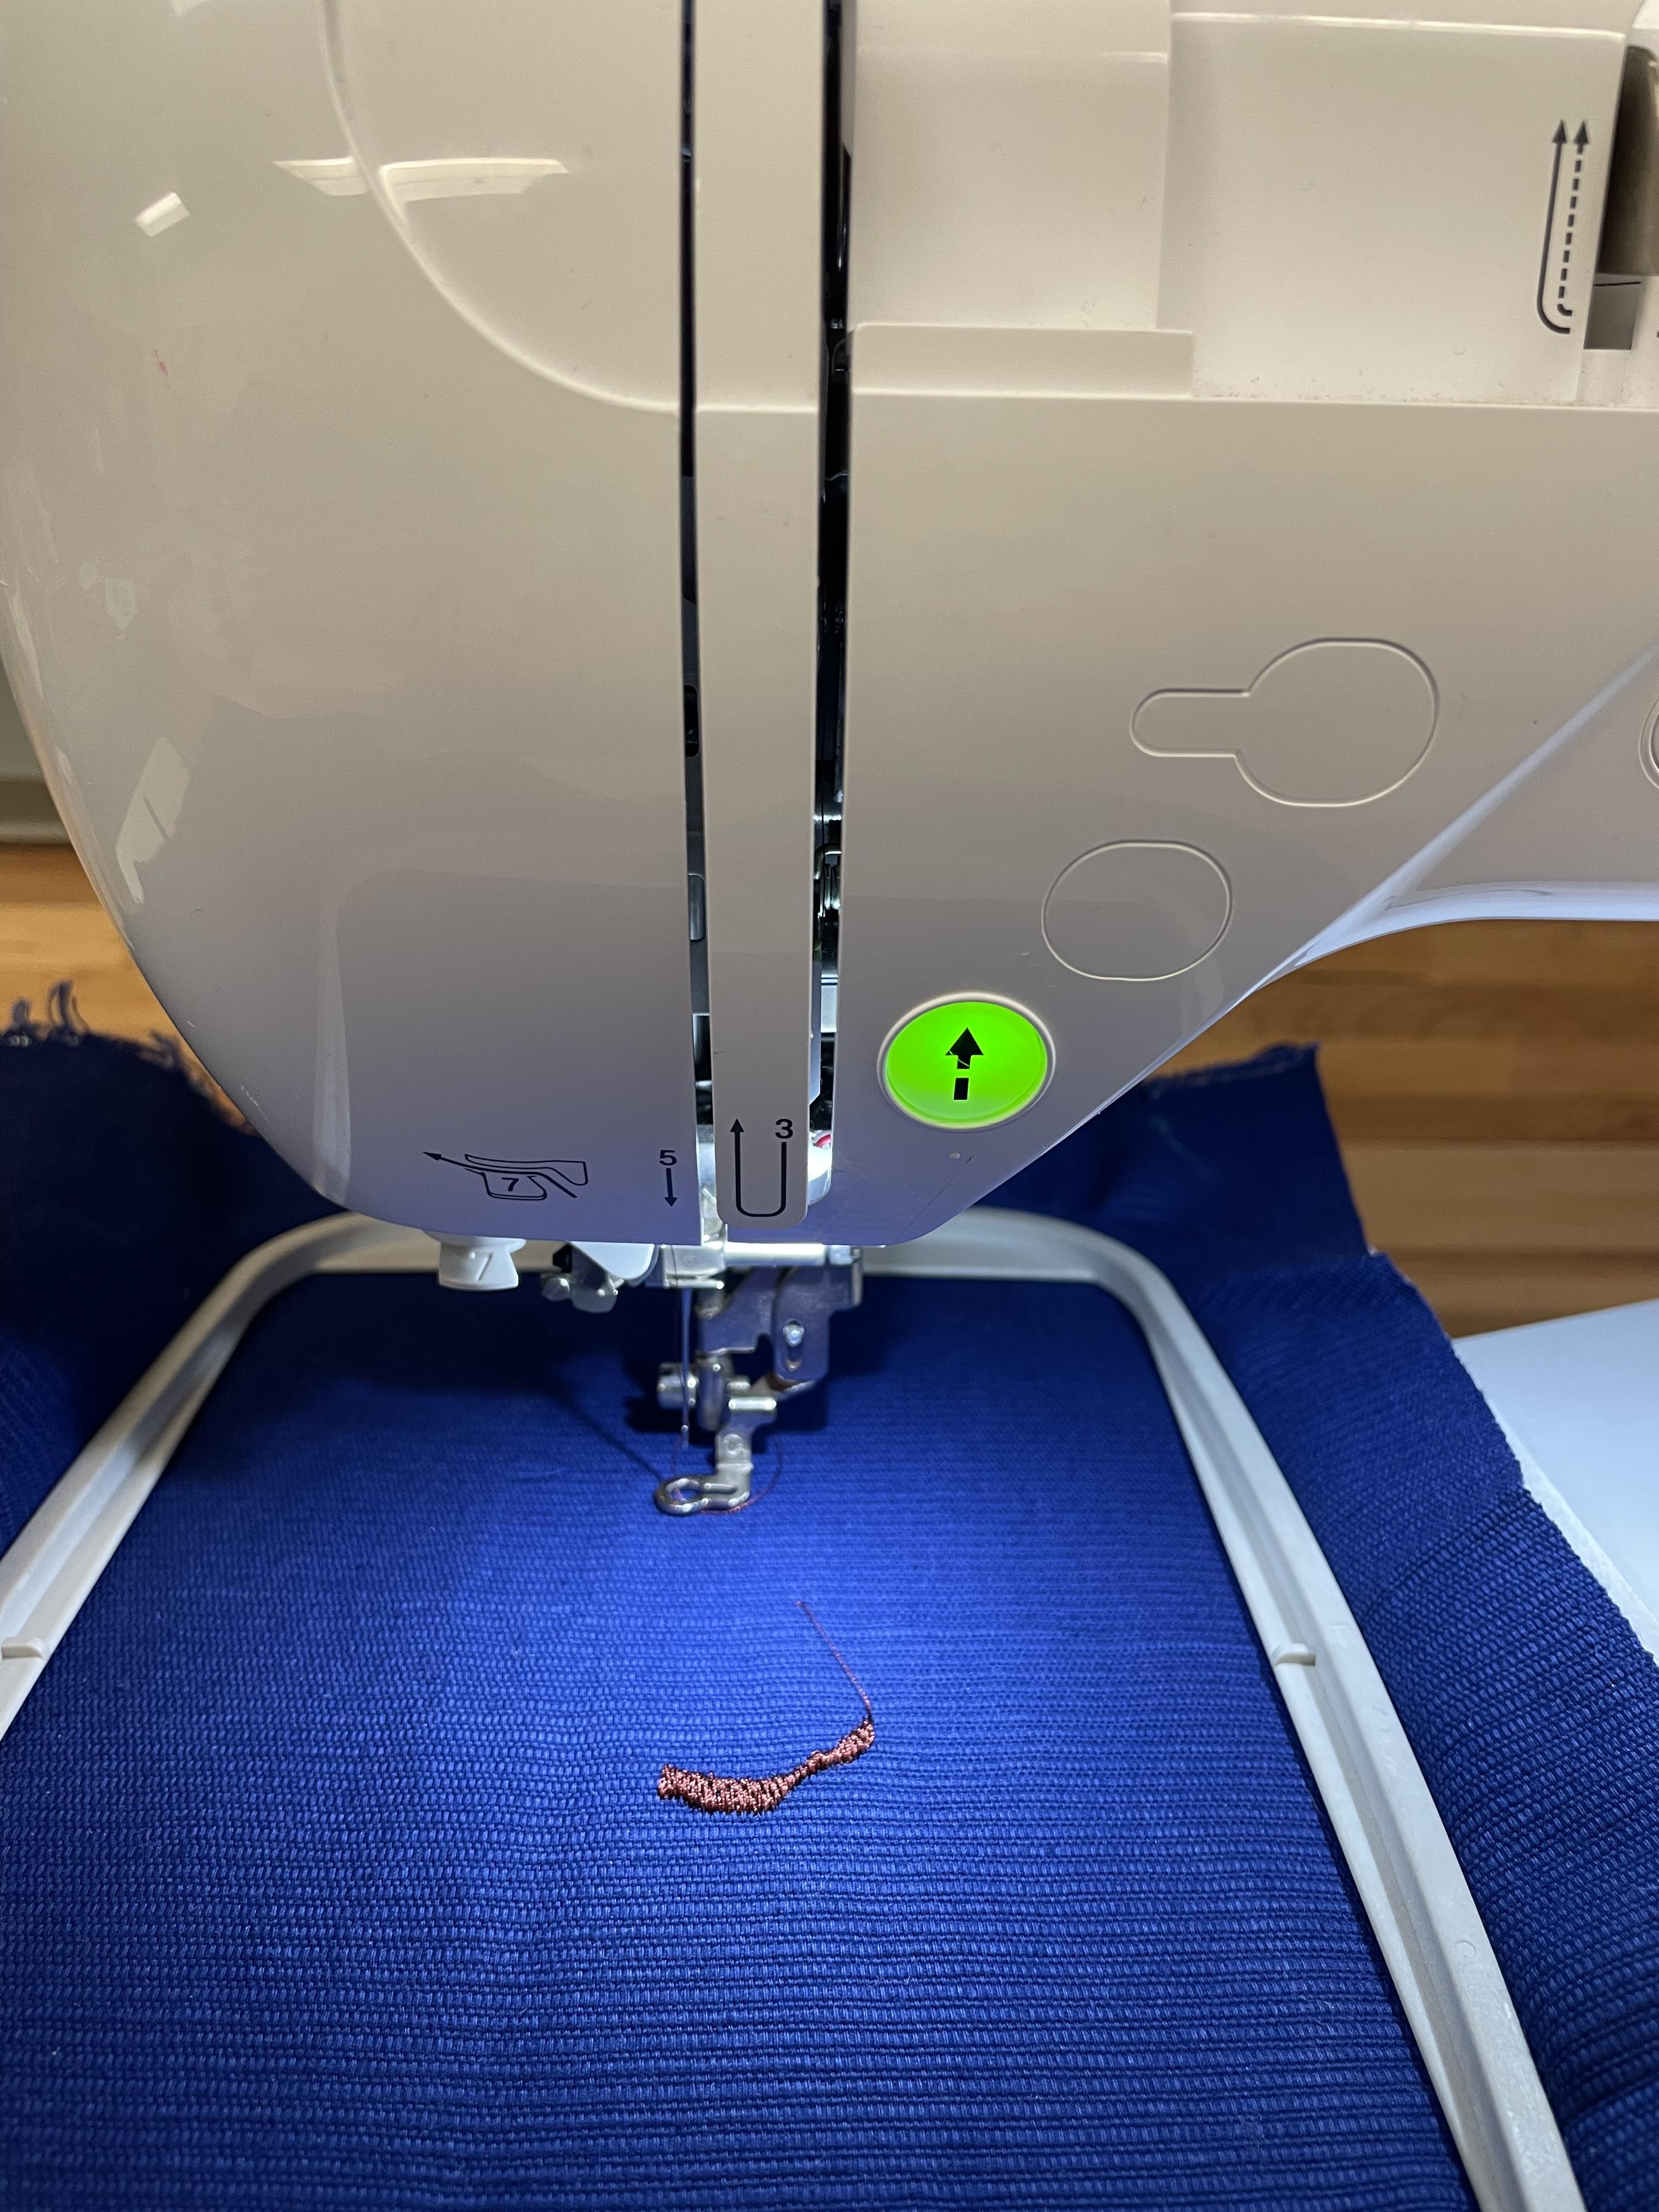
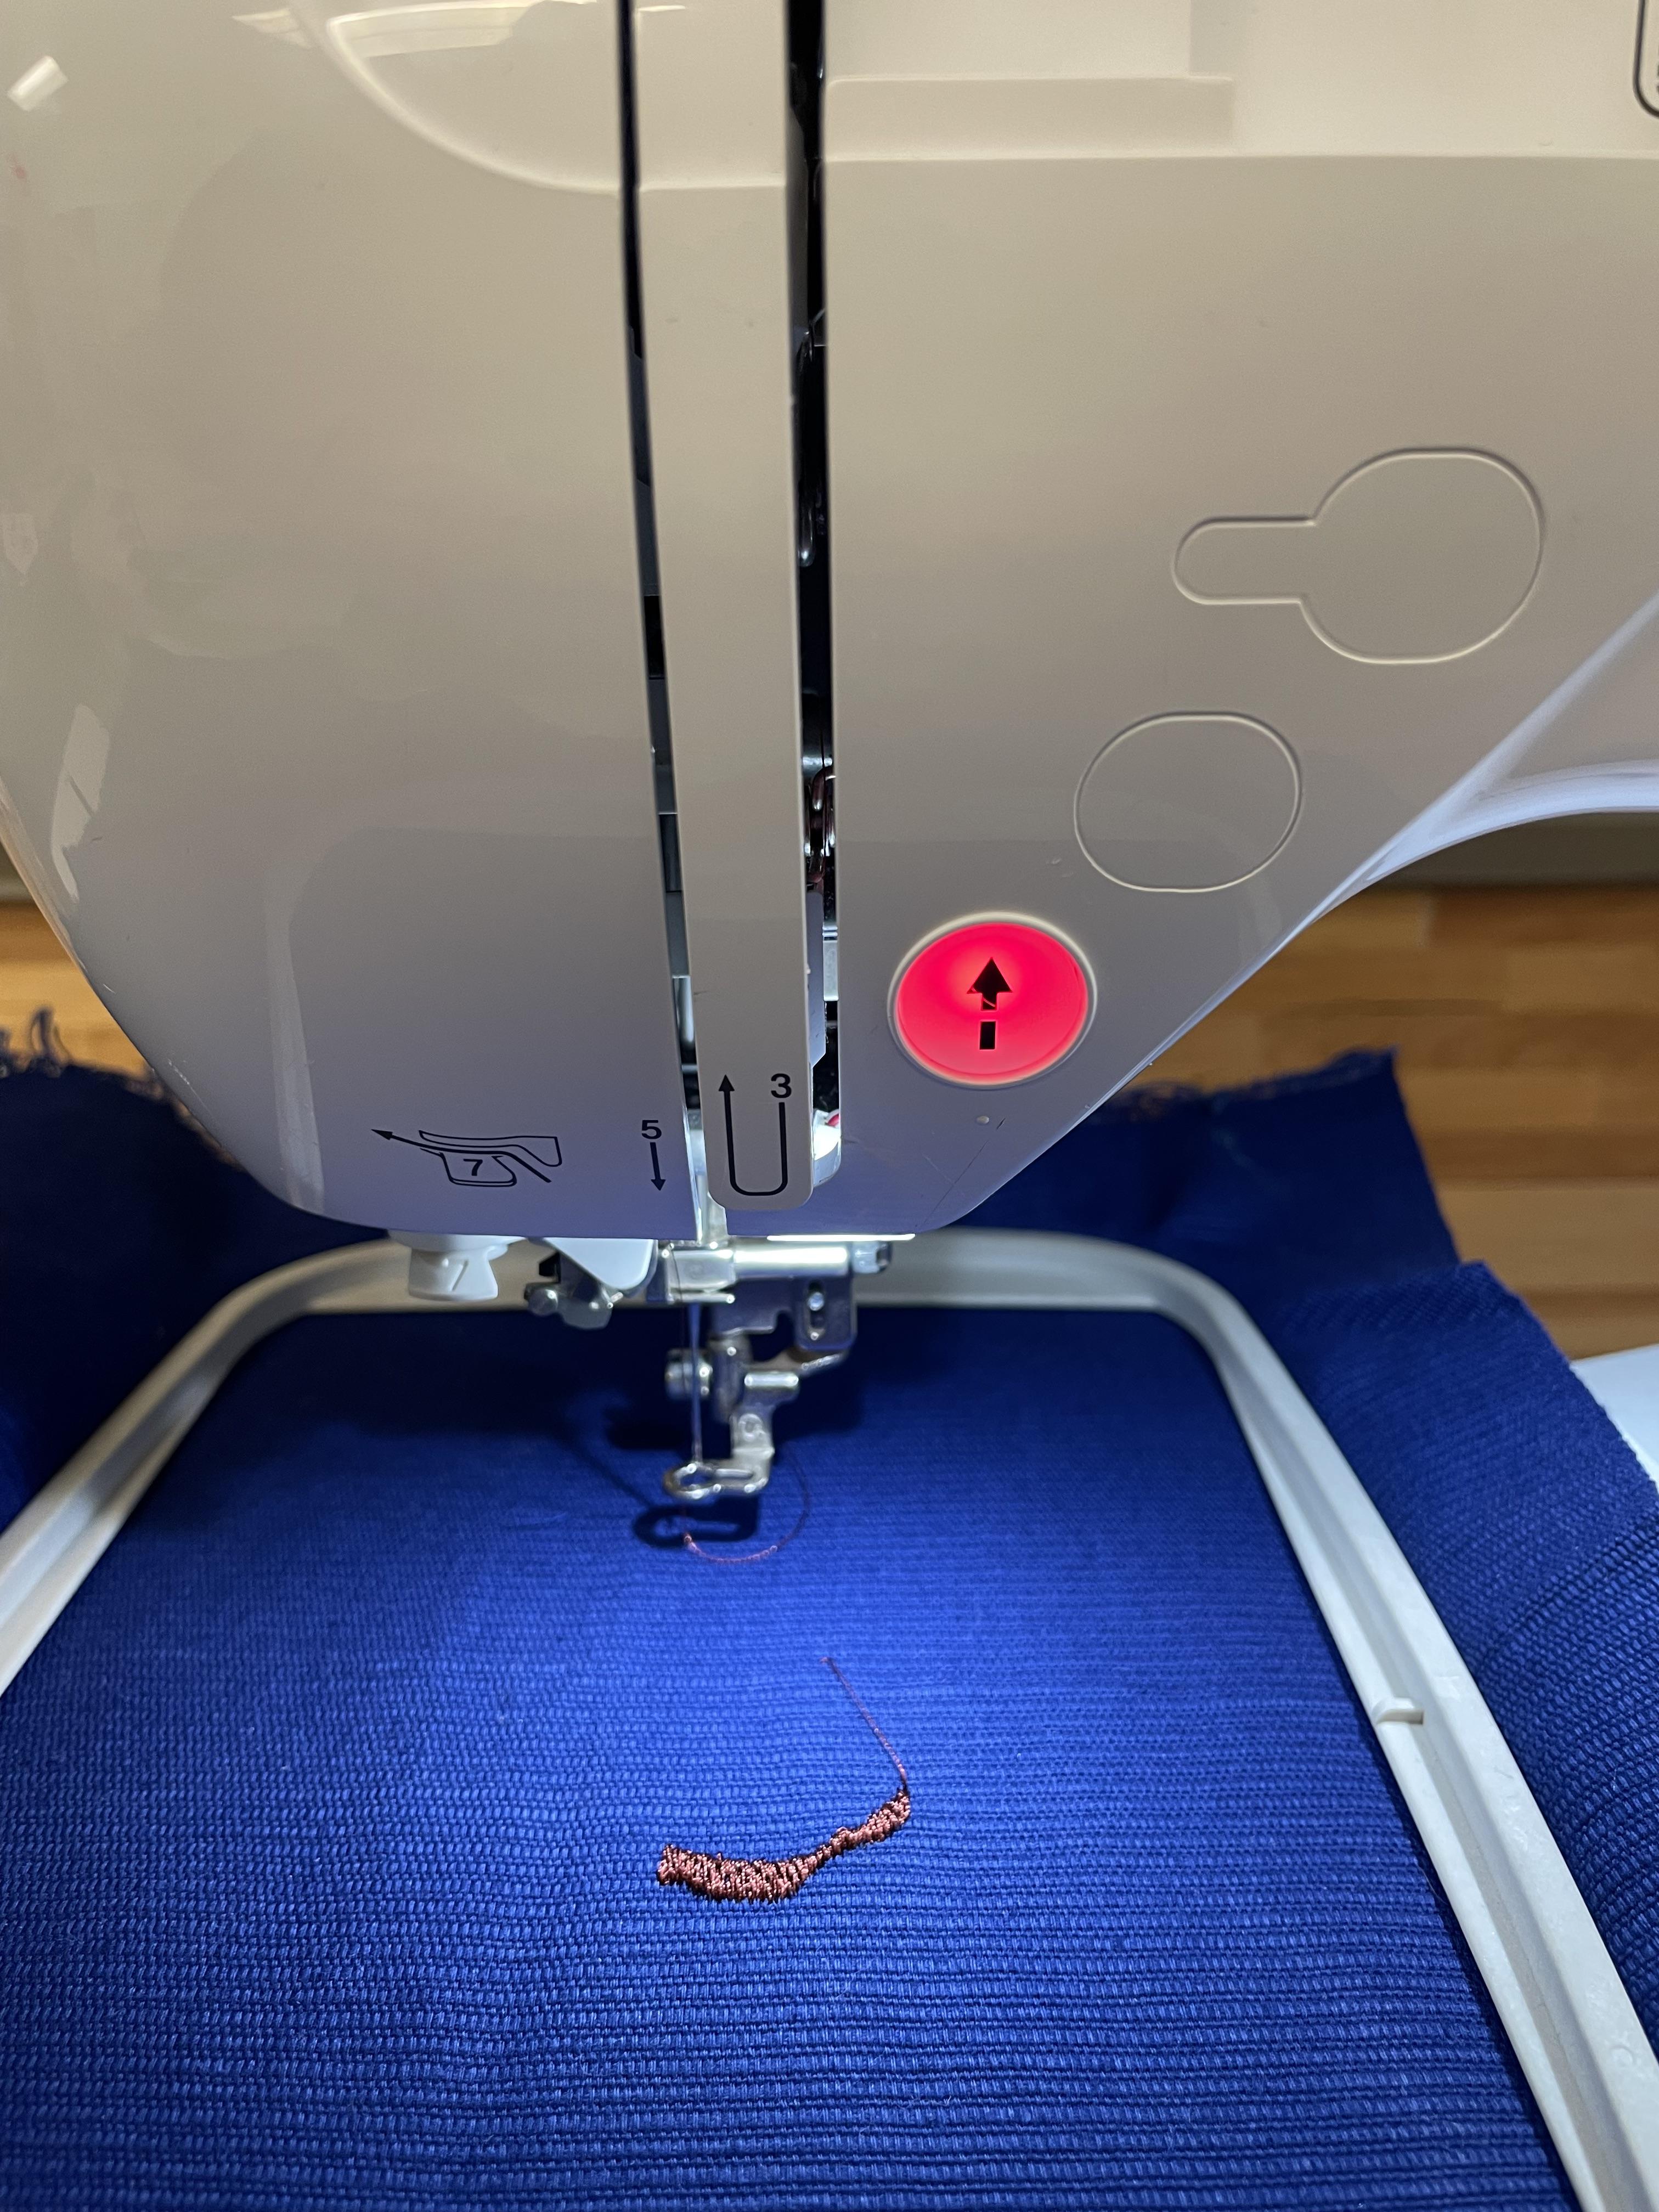
1) Attach the prepared hoop to the embroidery arm by sliding it into place and pressing down on the hoop's release lever.
2) Lower the presser foot lever.
3) Press the "Start/Stop" (button with the upward arrow) to begin embroidering. The machine will automatically stop for thread color changes.
4) When the machine stops, change the thread color as needed, and press "Start/Stop" again to continue embroidering.
Remove the Hoop and Clean Up
1) Once the embroidery is complete, press the "Start/Stop" button to stop the machine.
2) Raise the presser foot lever and remove the hoop from the embroidery arm.
3) Carefully cut away any jump stitches with a pair of scissors.
Congratulations, your design is complete! You now know how to use your new Brother PE800.