Getting Started With Raspberry Pi Zero W No HDMI Only USB Cable SSH Into Pi
by electronicGURU in Circuits > Raspberry Pi
17200 Views, 12 Favorites, 0 Comments
Getting Started With Raspberry Pi Zero W No HDMI Only USB Cable SSH Into Pi
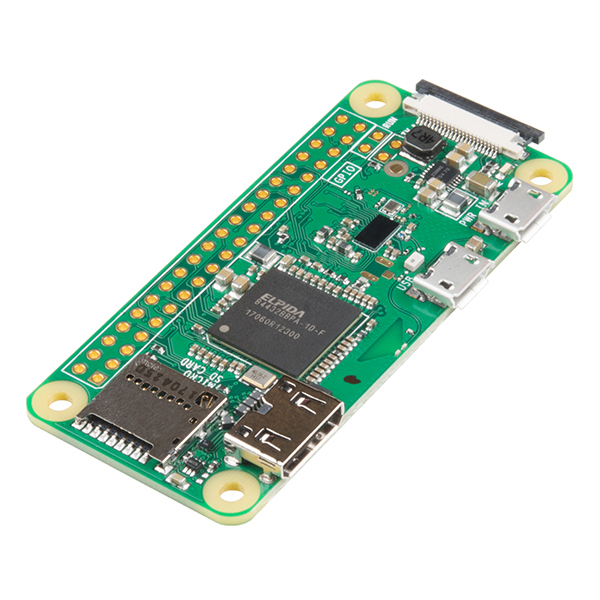
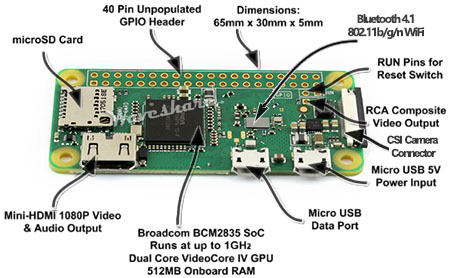
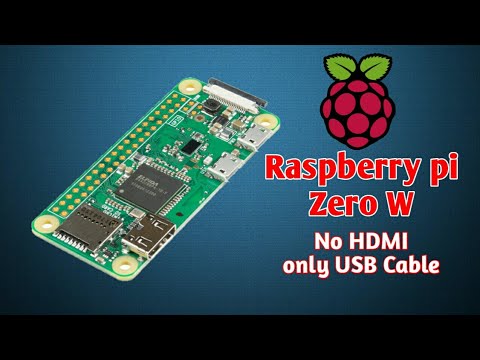
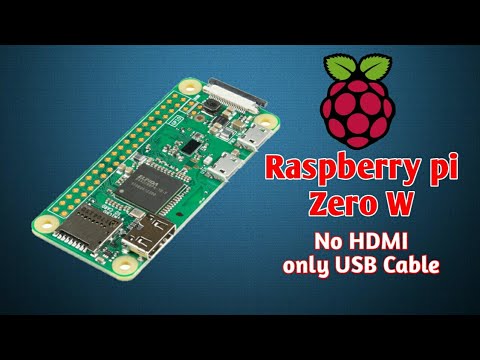
As some of you guys know Raspberry Pi computers are quite awesome and you can get the whole computer just on a single tiny board & past back the Raspberry Pi 3 was quite popular since it has quite the specs for a computer but the only downside was they are a little costly for the guy who usually use Arduino in his project because i always bought a Chinese clone of Arduino for 5$ or 6$ but for the pi i have to put 35$ in my project and if my project doesn’t need a WiFi connectivity then i can go for Pi Zero for 5$ – 6$ but in year 2017 they actually did something great they released ‘Raspberry Pi Zero W’ which actually is a revision of Pi zero with WiFi and costs 10$ (price may vary in different countries).
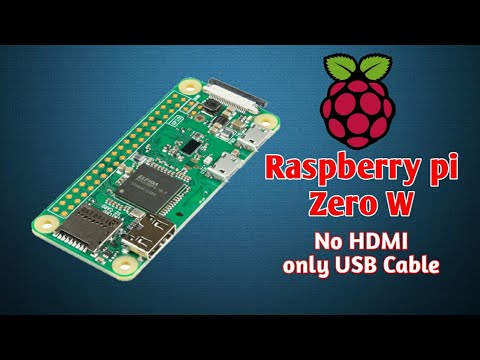
As talking about the specs of Raspberry pi zero w has following features:-
1GHz, Single-core CPU
512MB RAM
Mini HDMI and USB On-The-Go ports
Micro USB power
HAT-compatible 40-pin header
Composite video and reset headers
CSI camera connector
802.11n wireless LAN
Bluetooth 4.0
So the only problem to get started with Pi Zero W is we need a HDMI display for that and that will not be cost efficient so i thought about SSH into Pi Zero W using my PC but the another problem is SSH is disabled in recent updates by Raspberry organization by default so in this post we gonna see how to enable it and how to boot our pi Zero W.
Components You Need
Buy cheap RSP pi 0:
https://www.utsource.net/itm/p/7707421.html
USB cable :
https://www.utsource.net/itm/p/8566534.html
RPI accessories:
https://www.utsource.net/itm/p/6465997.html
//////////////////////////////////////////
So for this you need few things before getting started:
1- Raspberry Pi Zero W :
https://www.banggood.com/Raspberry-Pi-Zero-W-1GHz-...
2- Memory Card
3- USB Cable
4- USB Card Reader
Download All Required Softwares
/////////////Softwares you need to download /////////////
Download: - SD card formatter
https://www.sdcard.org/downloads/formatter_4/
Download: - Etcher software
Download: - Raspberry Pi OS
https://www.raspberrypi.org/downloads/raspbian/
Download: - Notepad ++
https://notepad-plus-plus.org/download/v7.5.8.html
Download: - Putty software
https://www.chiark.greenend.org.uk/~sgtatham/putty...
Download: - Bonjour software
https://support.apple.com/kb/DL999?viewlocale=en_U...
Download: - Raspberry Pi USB Ethernet Drivers
https://drive.google.com/file/d/1QKHL-JUvmvzBzafEn...
////////////////////////////////////
Since after downloading all these softwares, make sure you install all (except Raspbian OS and Raspberry Pi Ethernet USB Drivers) on your PC.
Flash the Raspbian OS
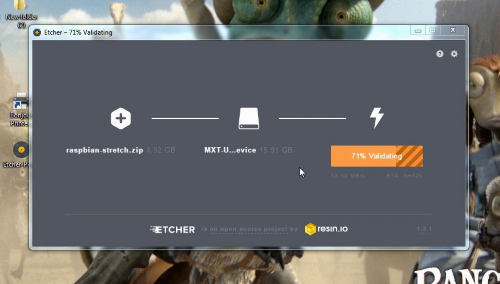
So then connect SD card to PC and format it.
Then open the Etcher Tool and select the Raspberry Pi image and select your SD card and hit Flash and after few minutes your OS will be flashed on your SD card.
Edit Files.
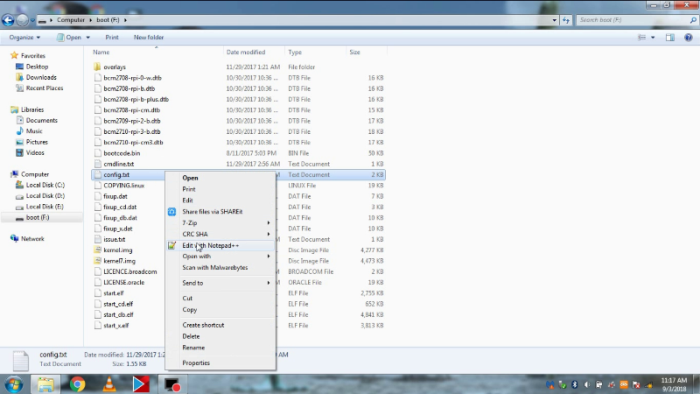
After Flashing the image plug your SD card into PC again and open it and you’ll find a file named “config.txt” and open it Notepad++ (don’t open it with Notepad , it will destroy the file formatting)
And after opening the file with Notepad++ go to the bottom of the file and add the given text :
dtoverlay=dwc2
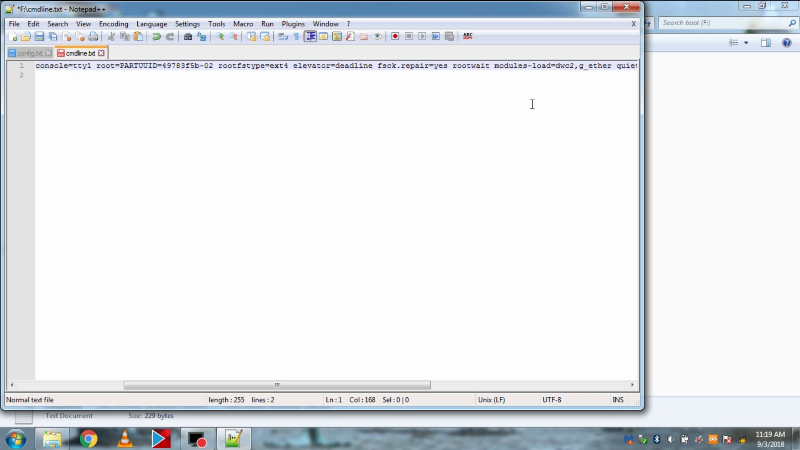
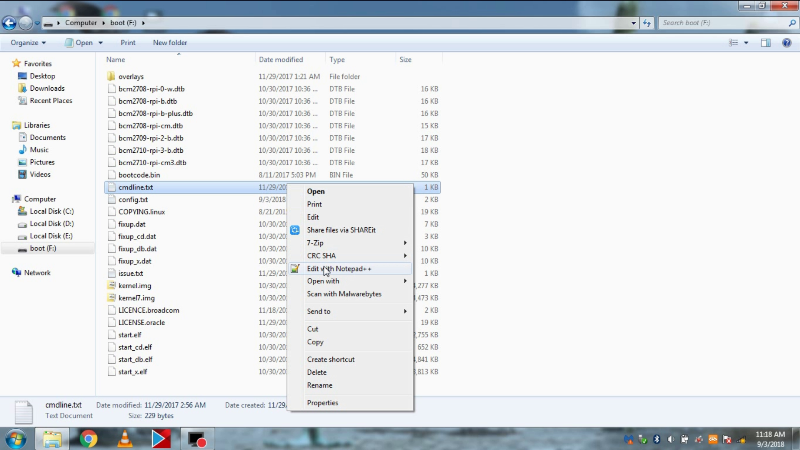
then save the file and open another file named “cmdline.txt” and open it with Notepad++ then find a part in the file “rootwait”
After “rootwait” in the file put this following code and make sure it will be exactly like this :
modules-load=dwc2,g_ether
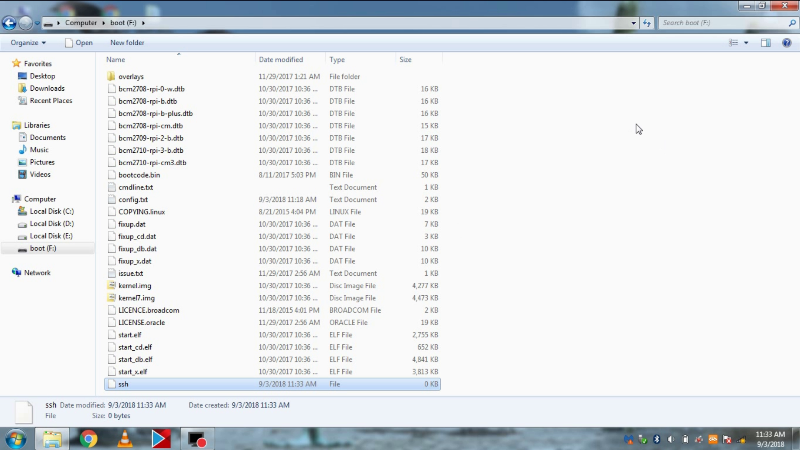
and save this file too, then create another file in the SD card and rename it as “ssh” and save it with no extensions.
Setup Drivers and Putty
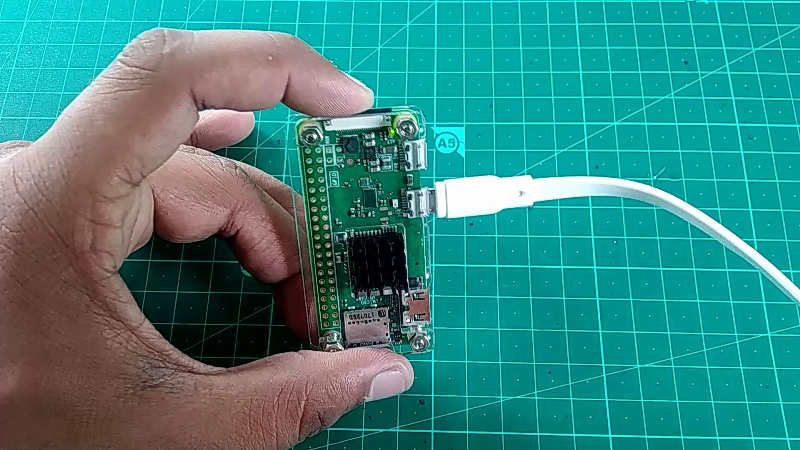
Then make sure you installed Bonjour on your Pi, if not then install it and then put your SD card into pi and connect the USB cable into USB port of pi (not the power port) and connect the cable to PC and your pi will start to boot which will be indicated by yellow/green LED on it.
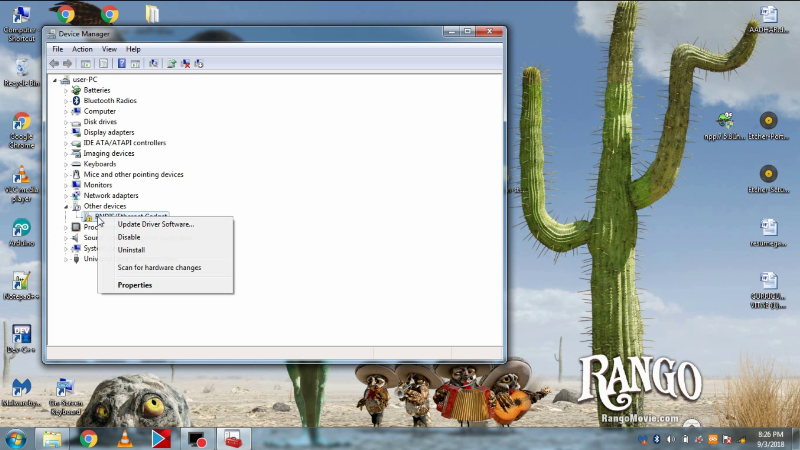
After this Go to device manager into your PC and see if you see any RDNIS or Ethernet or USB Device with yellow mark which needs to update its drivers then right click on it and update the drivers as we downloaded above in software “Raspberry Pi Ethernet USB Drivers” and install these drivers.
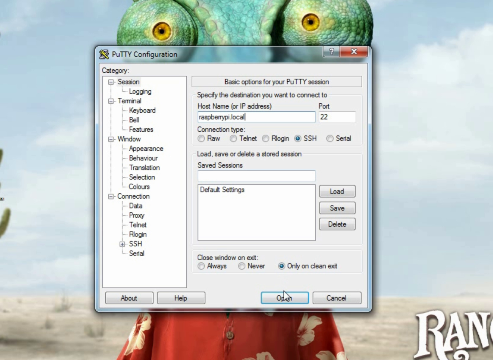
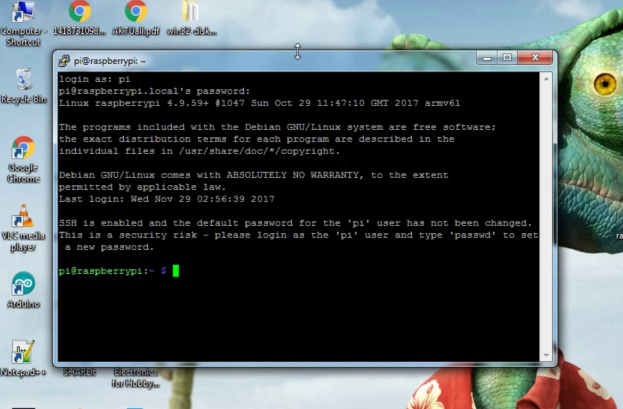
Then open Putty software and in the Hostname type “raspberrypi.local” then click open and a new window will pop up.
And in the new window you just need to type the Login as : “pi” and the password will be “raspberry” and hit enter and you’ll be logged into Pi.
If having trouble with steps then refer the given video..
And if this tutorial helped you please visit my site.