Getting Started With M5stack M5stick-C | How to Use GPIO Pins of ESP32 PICO Based M5stack M5stick C
by Utsource in Circuits > Arduino
1462 Views, 1 Favorites, 0 Comments
Getting Started With M5stack M5stick-C | How to Use GPIO Pins of ESP32 PICO Based M5stack M5stick C
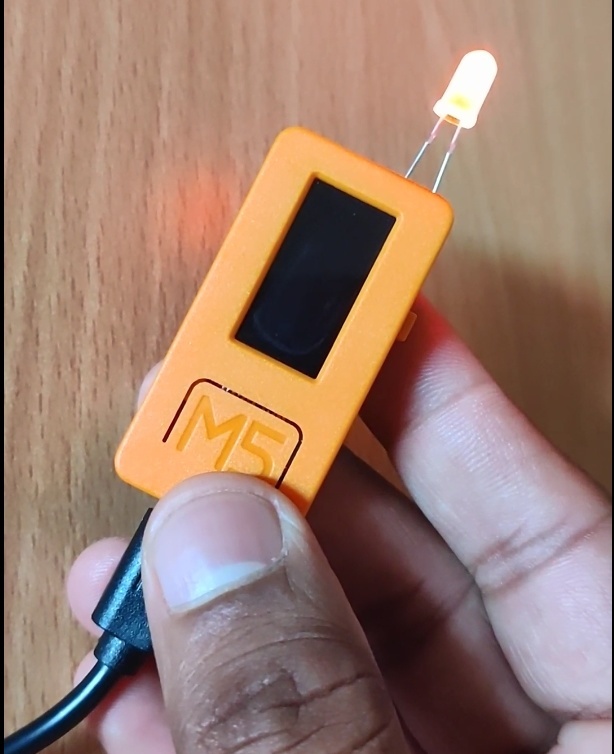
Hi Guys, in this tutorial we will learn how to use m5stick-C and how we can use the GPIOs of m5stick-C to provide some output or read some input.
So in this instructables we will see how to connect a LED and run a LED blink code and we will also write a code to turn on or off the LED from the push button provided on m5stick-C board.
Things You Need
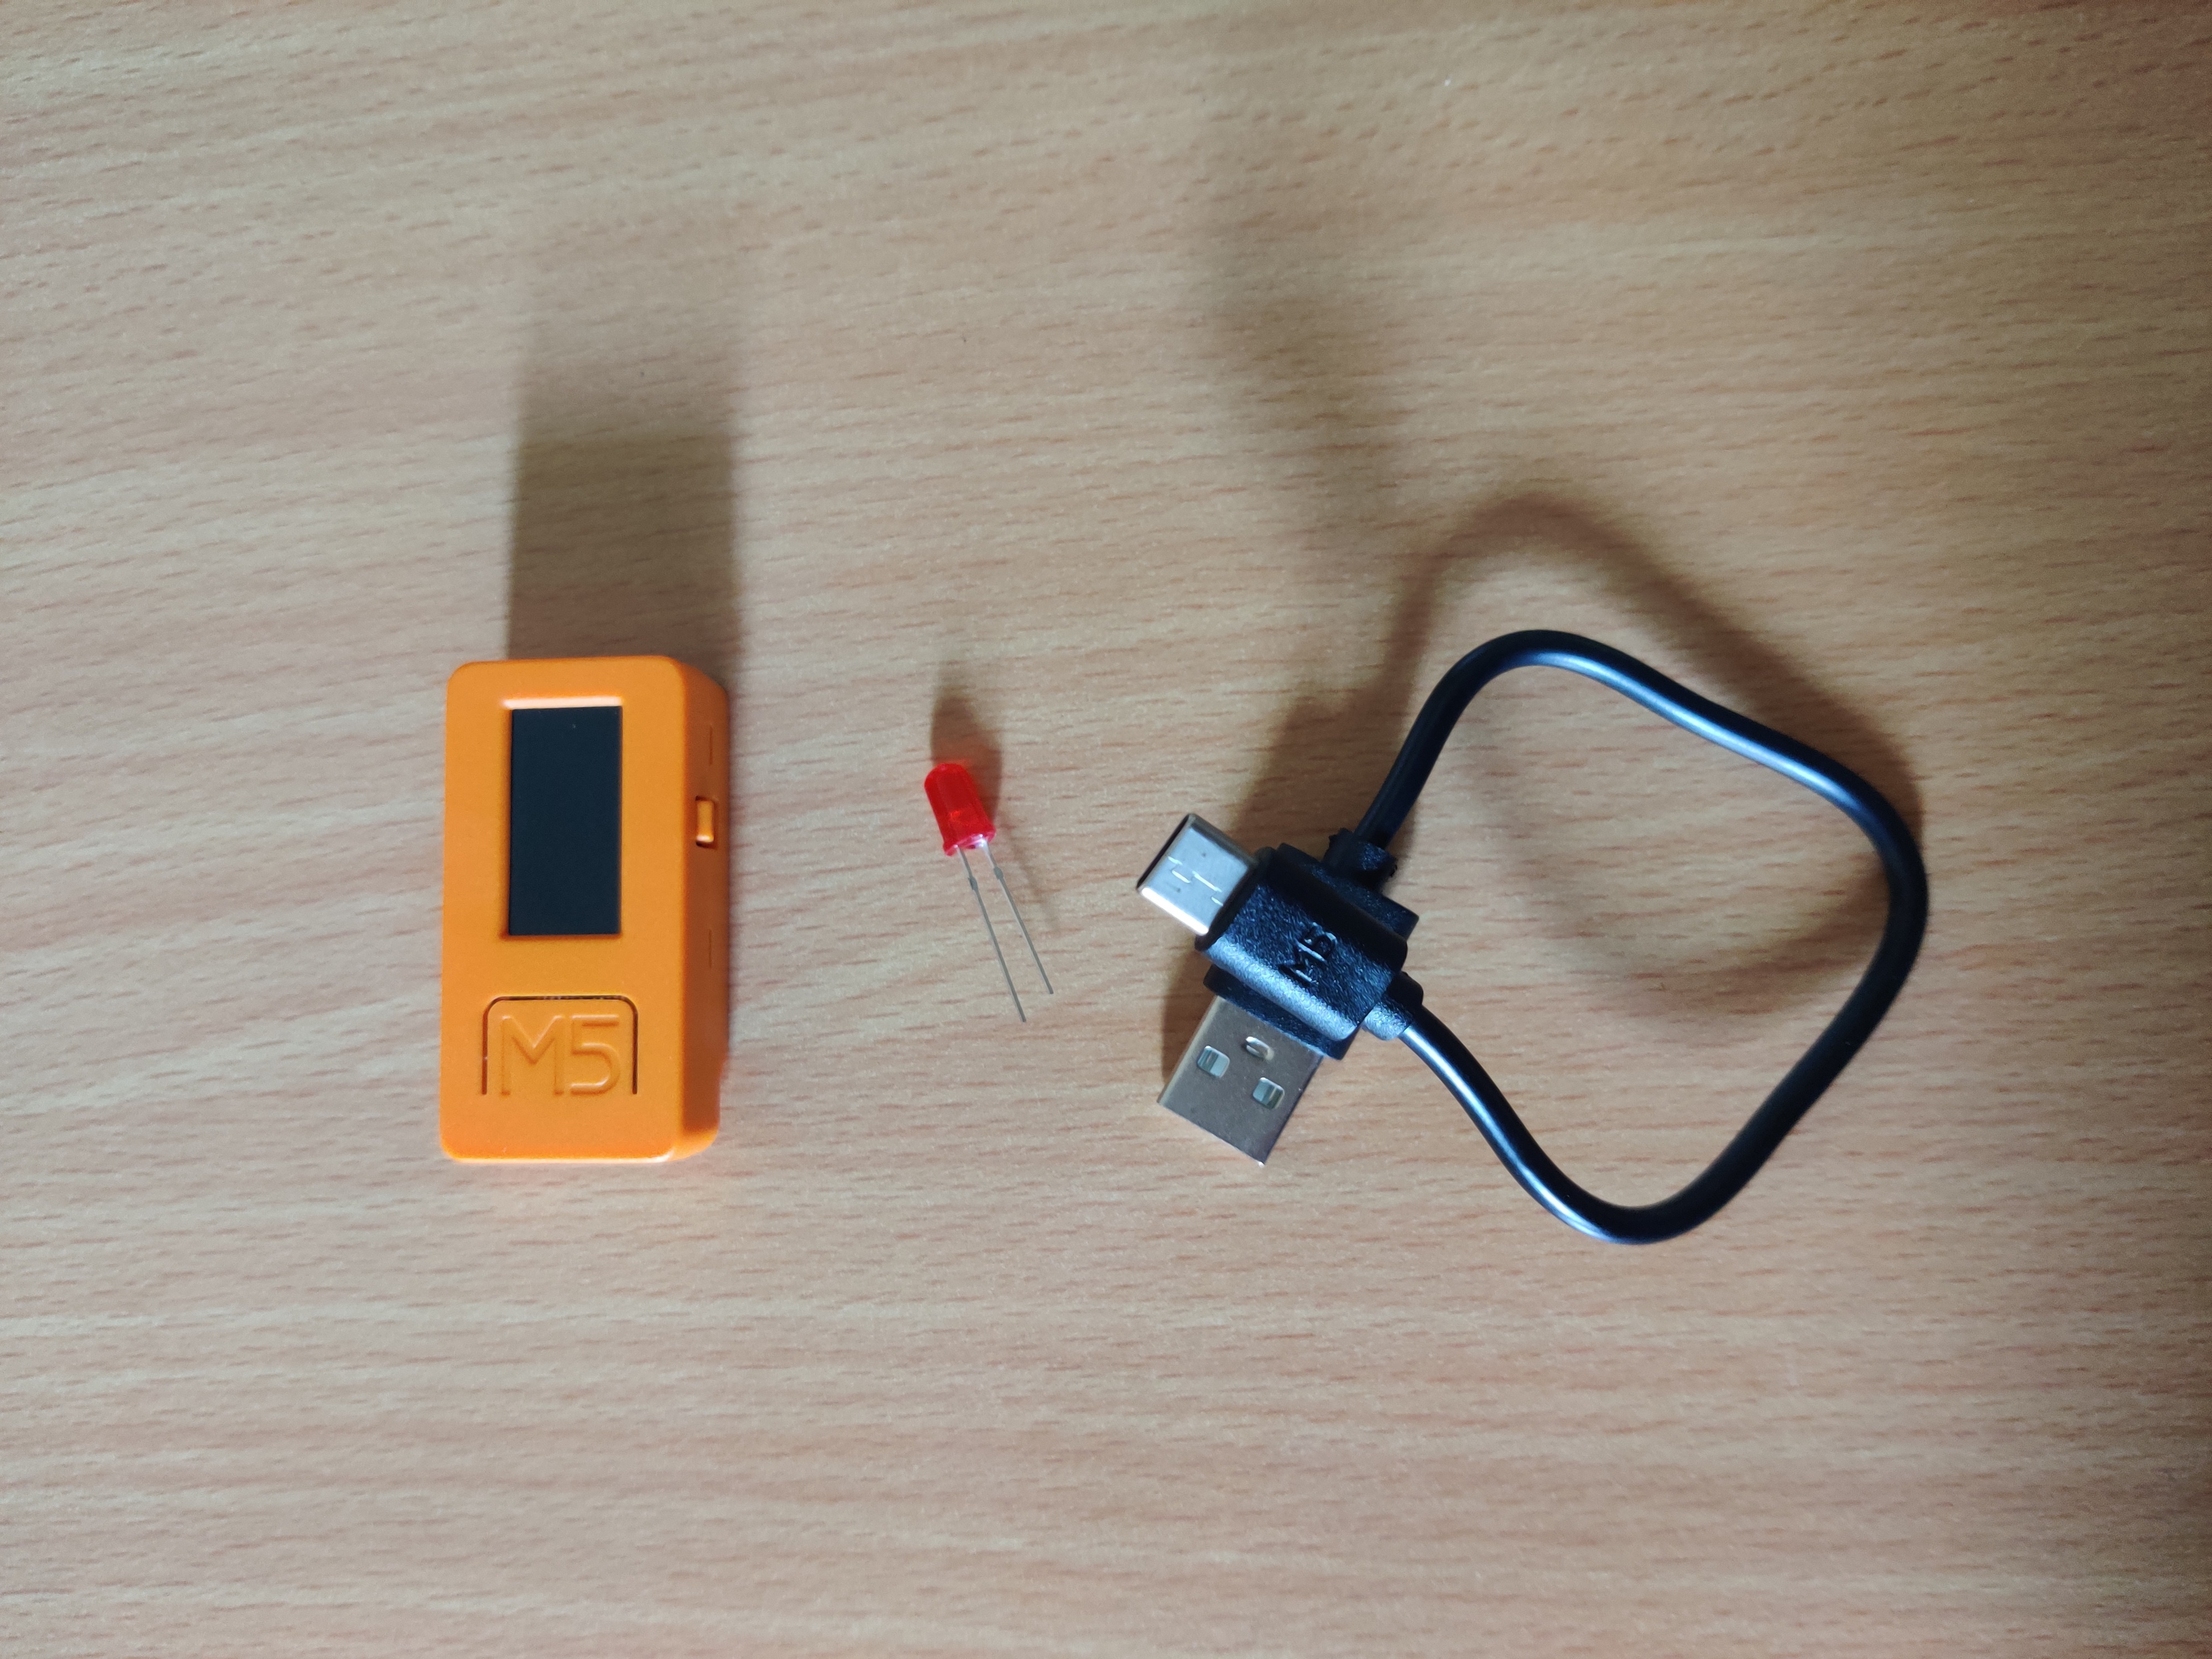
To proceed with this instructables you will need following things :
m5stick-c development board : https://www.utsource.net/itm/p/8663561.html
Type C cable
1x LED
Setting Up the IDE
.jpg)
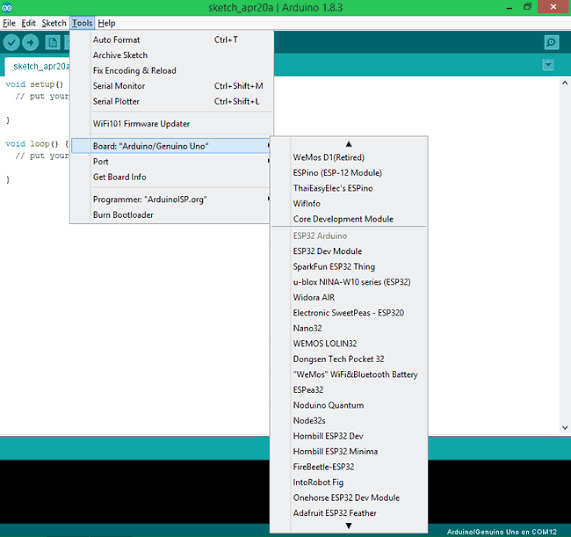
Make sure you installed ESP32 boards in your Arduino IDE and if it is not the case then make please follow the following instructables to do that :
ESP32 BOARDS INSTALL : https://www.instructables.com/id/Getting-Started-W...
Connections
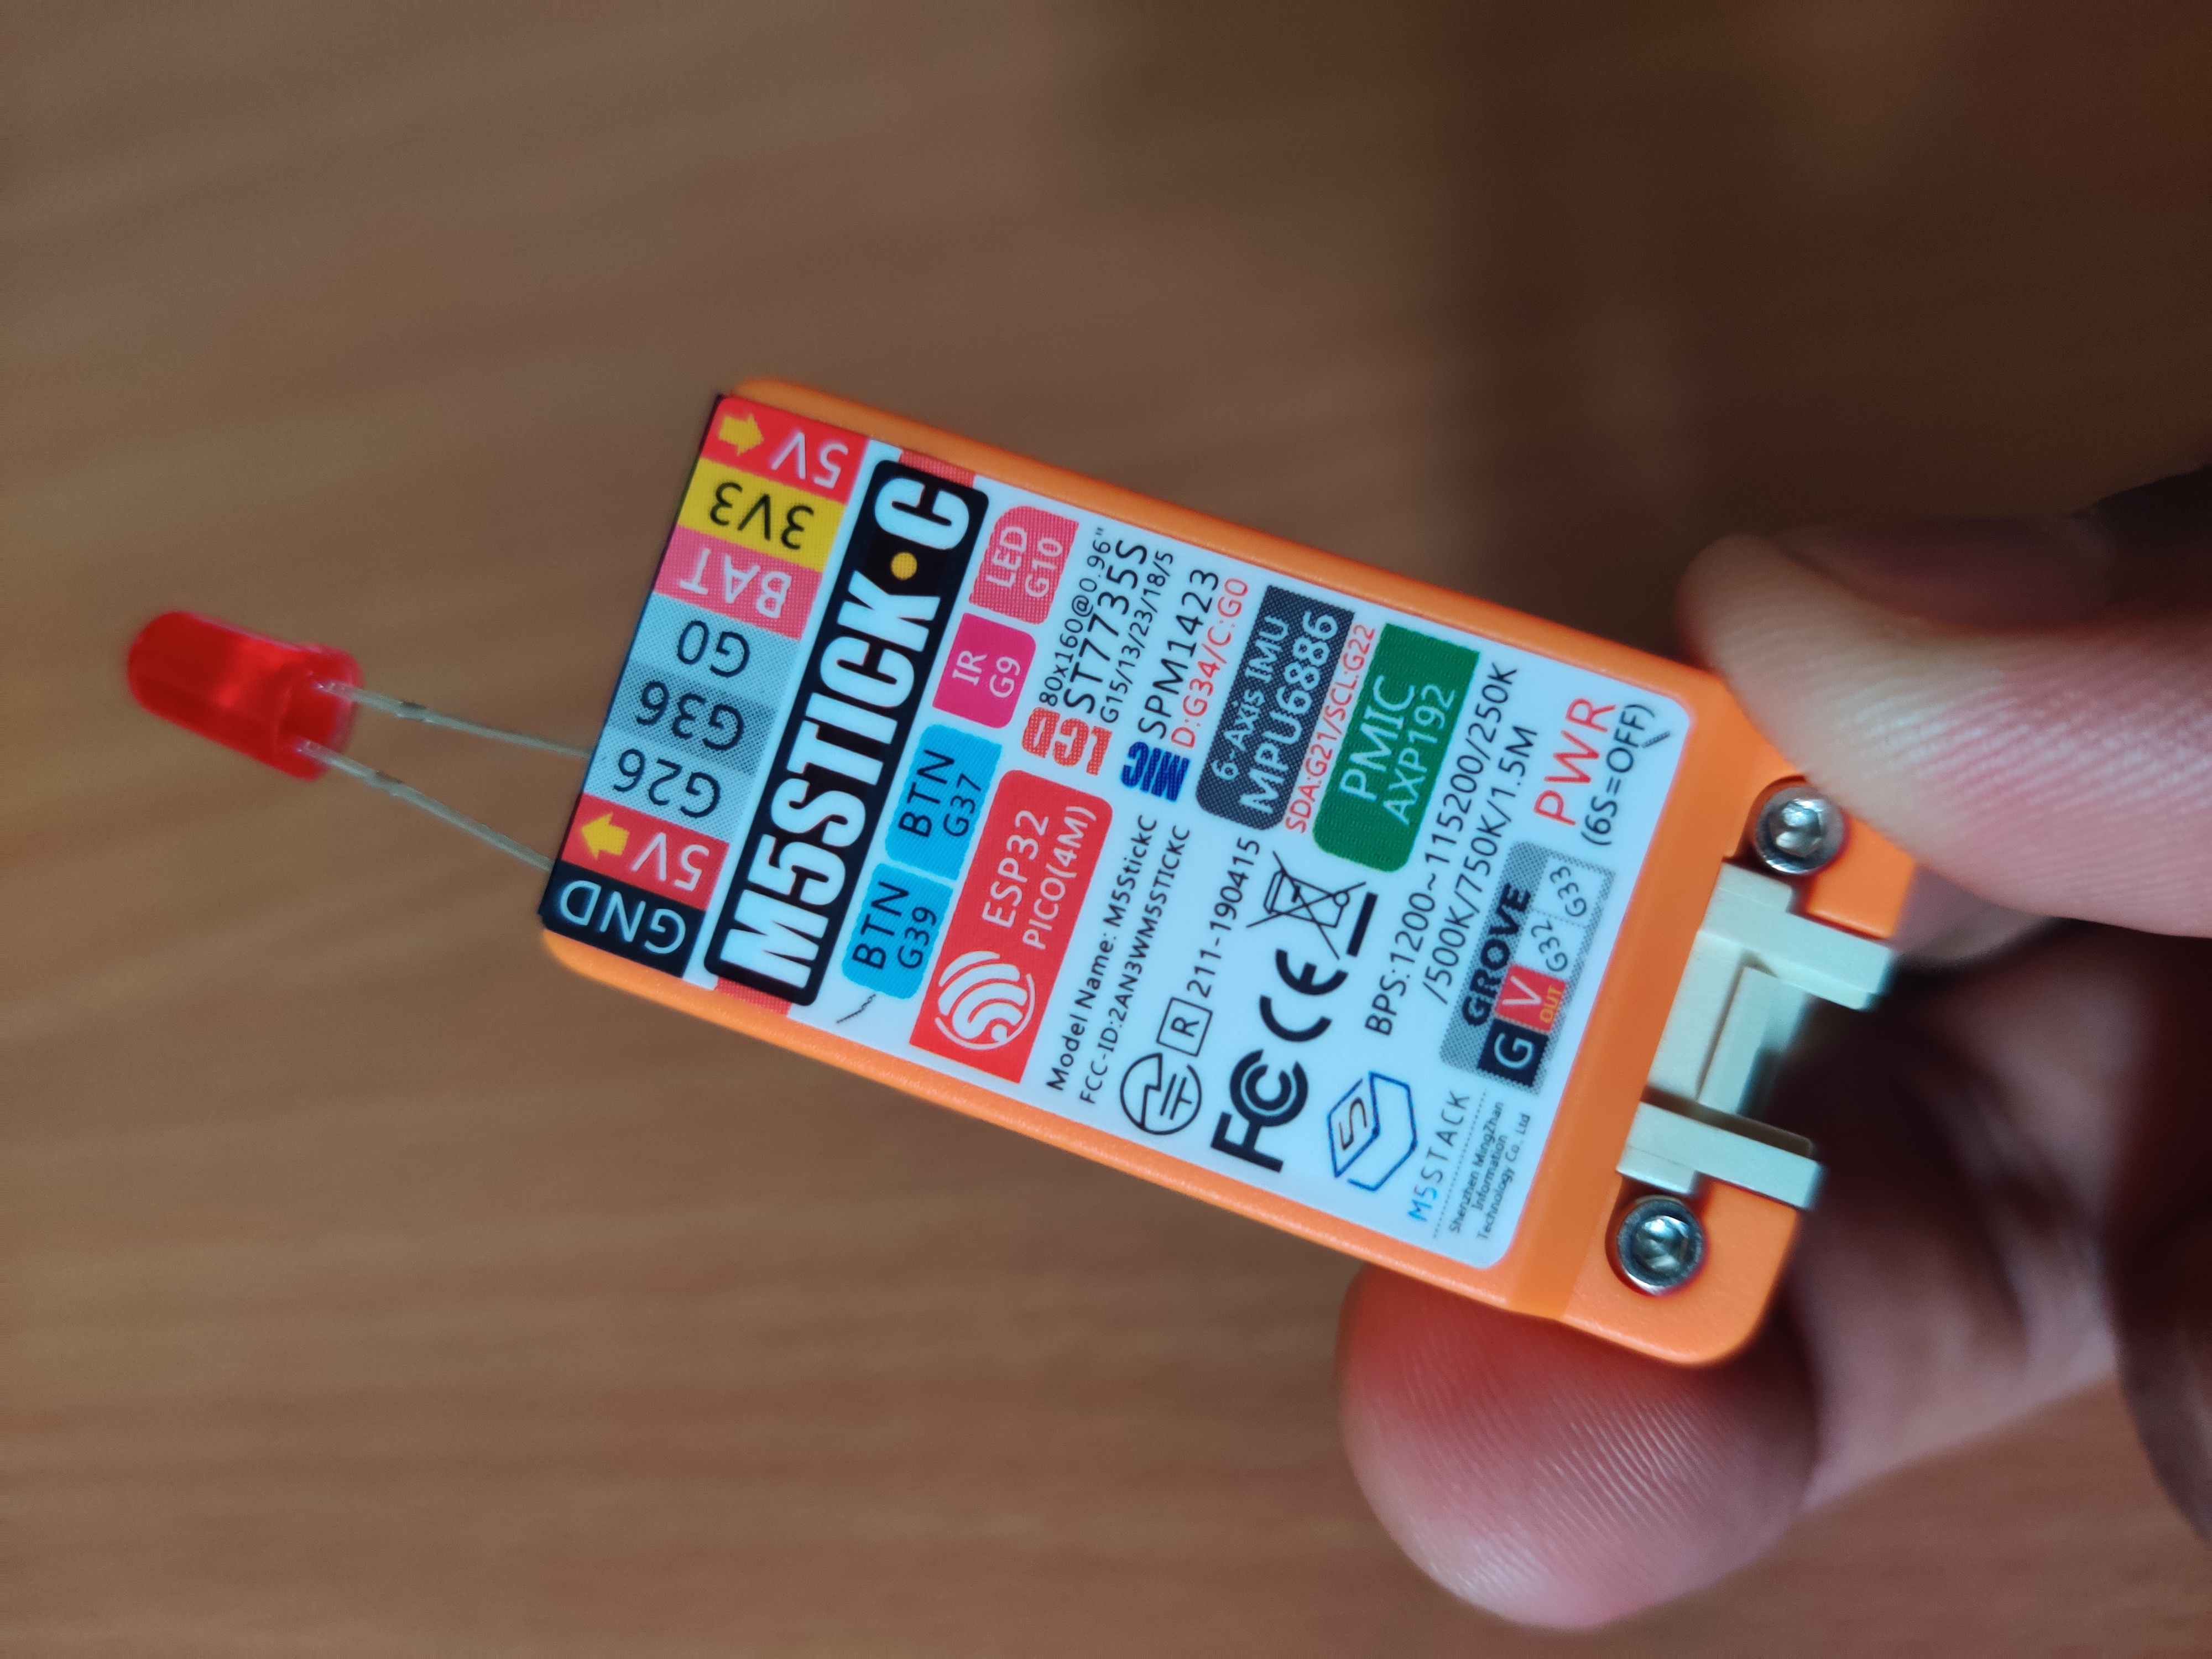
The connections are really simple as you can see in the image we are connecting a LED between GPIO26 and GND pin of m5stick-C.
Blink Program
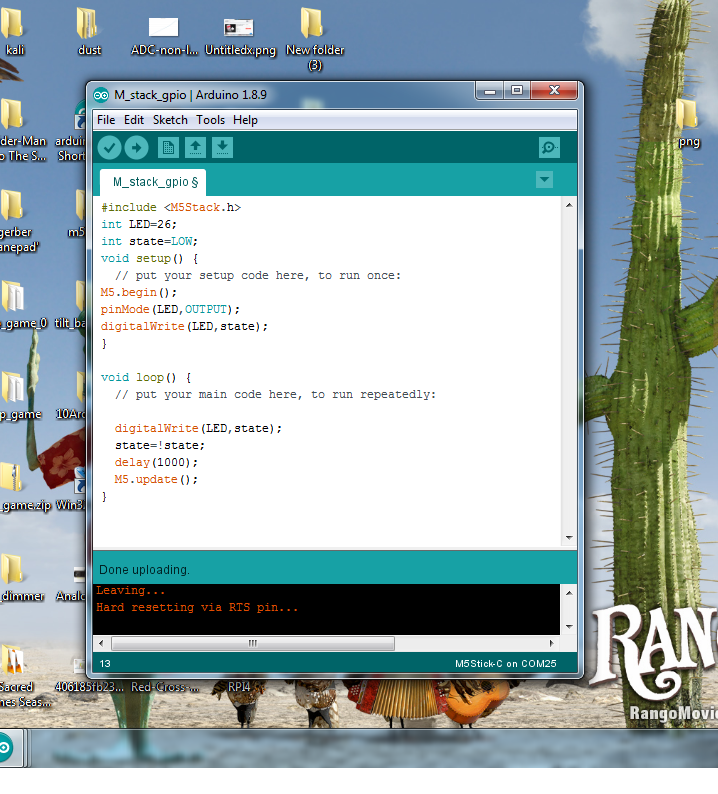
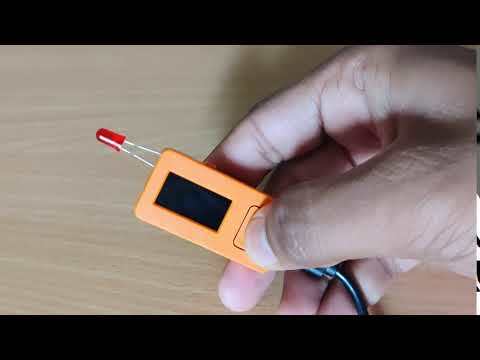
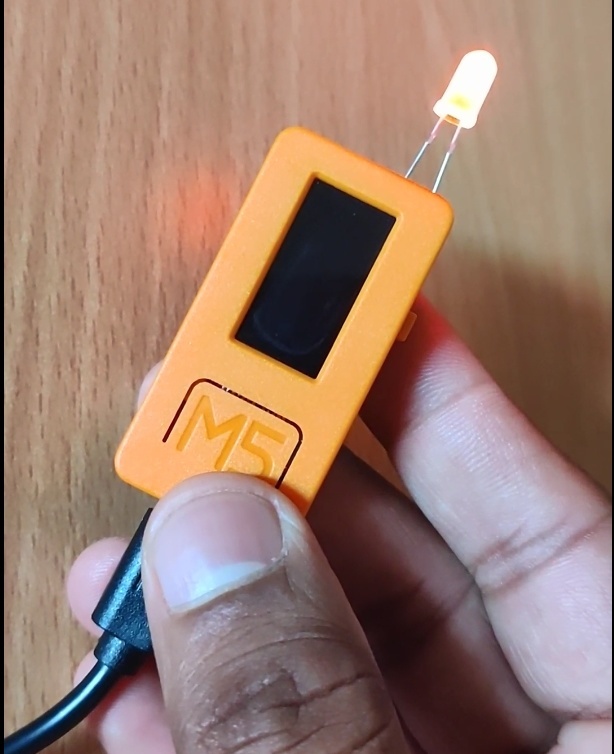
The following code you can copy. This code is basic blink code except to use the GPIOs on m5stick-C you need to use a function inside setup function to use its GPIOs and that is " M5.begin(); ".
So the following code will make the LED turn on for one second and turn it off after one second.
#include "M5stack.h"
int ledPin = 26;
void setup()
{
M5.begin();
pinMode(ledPin, OUTPUT);
}
void loop()
{
digitalWrite(ledPin, HIGH);
delay(1000);
digitalWrite(ledPin, LOW);
delay(1000);
}
So after uploading the above code you can see the LED blinking in the video.
LED Control With PUSH BUTTON
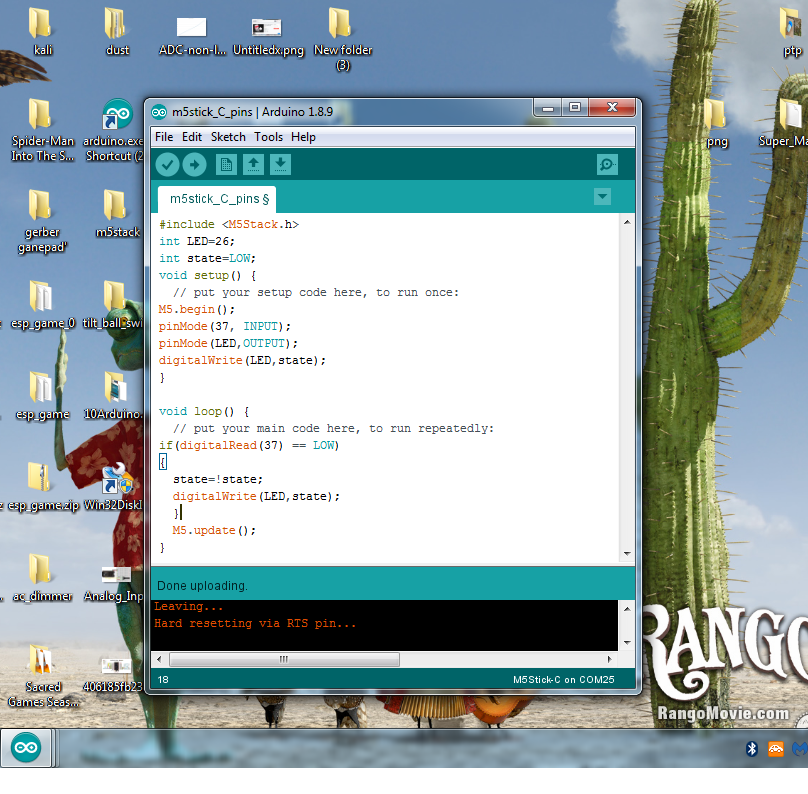
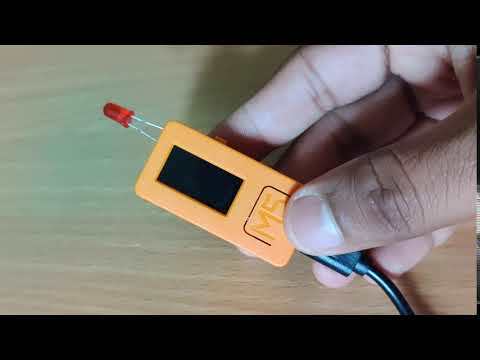
So we learned how to use a GPIO as output, now we will see how to use a GPIO as input as well.
But we will not actually connect any input (switch) to pins because on GPIO 37 of m5stick-C there is already a push button connected so we will declare the push button ( GPIO37) as input and we will use. A if condition to check the state of push button whenever push button's state goes low the state of LED will also change, say LED is currently ON and pushed the button then LED will turn off and vice versa.
So copy the following code and upload to you m5stick-C :
#include "M5stack.h"
int LED=26;
int state=LOW;
void setup() {
// put your setup code here, to run once:
M5.begin();
pinMode(37, INPUT);
pinMode(LED,OUTPUT);
digitalWrite(LED,state);
}
void loop() {
// put your main code here, to run repeatedly:
if(digitalRead(37) == LOW)
{
state=!state;
digitalWrite(LED,state);
}
M5.update();
}
After uploading the code your LED will turn on/off whenever you will press the button on the m5stick refer the video for the demo.
And follow me to learn more about this m5stick-C.