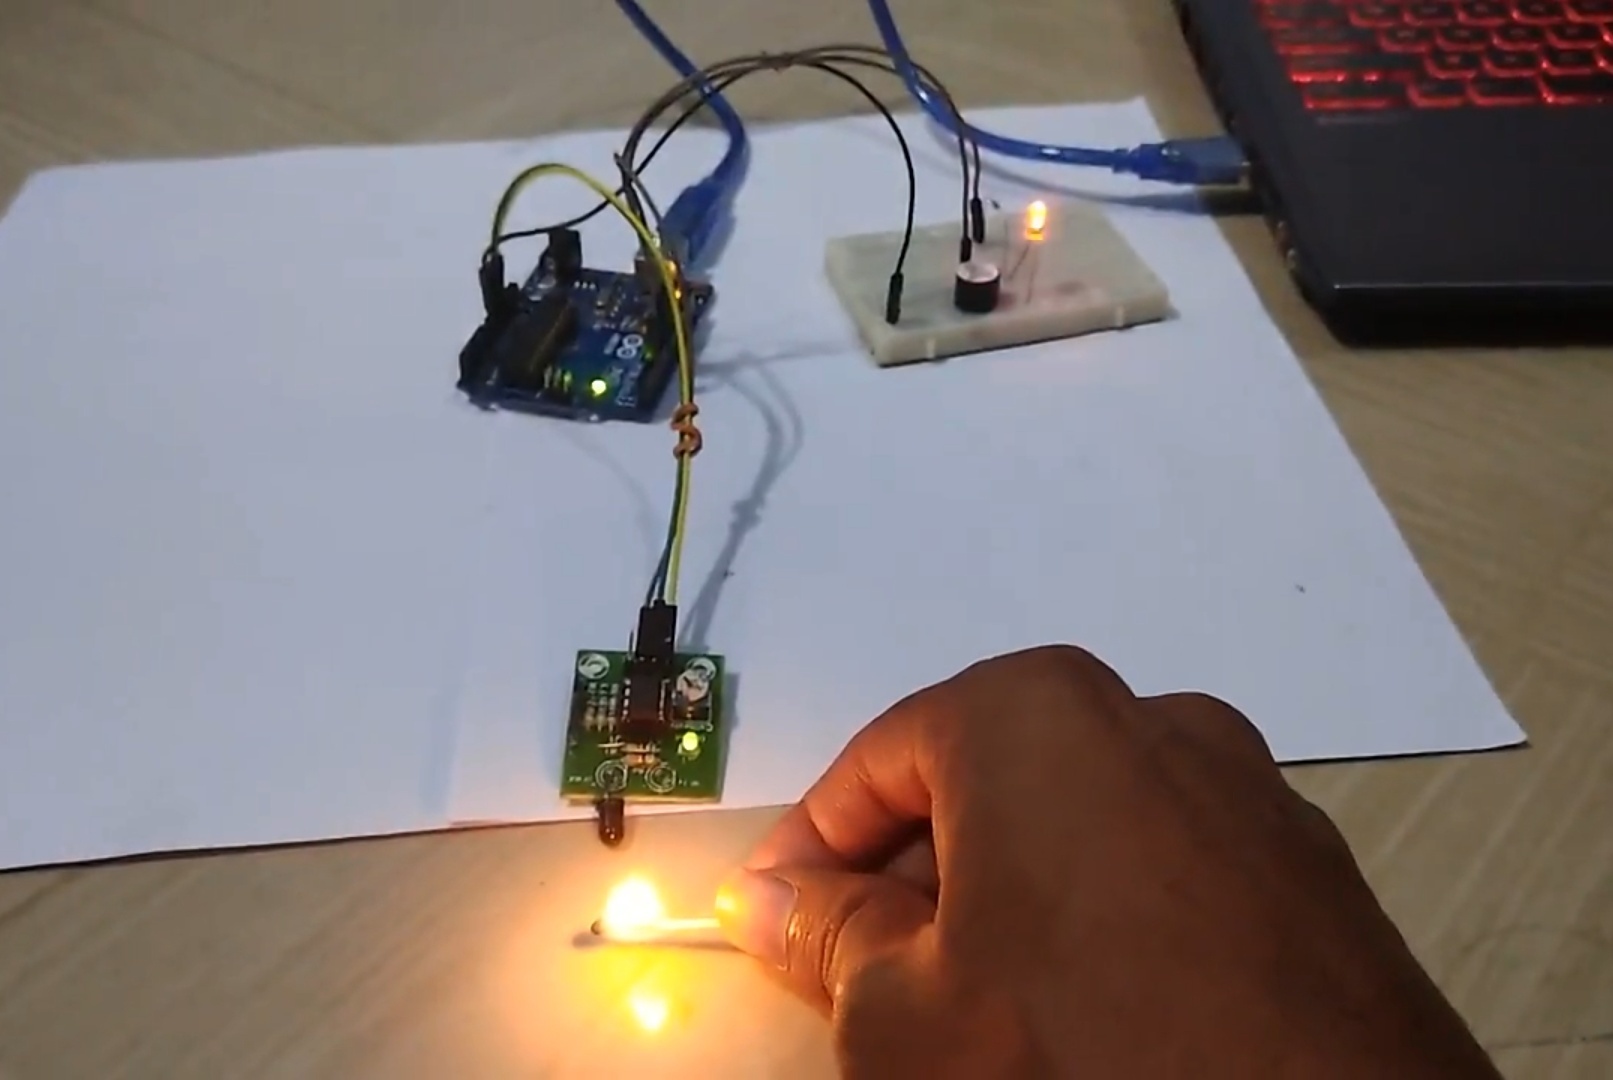
Getting Started With Flame Sensor With Arduino Uno
by Utsource in Circuits > Arduino
2100 Views, 1 Favorites, 0 Comments
Getting Started With Flame Sensor With Arduino Uno
Things You Need
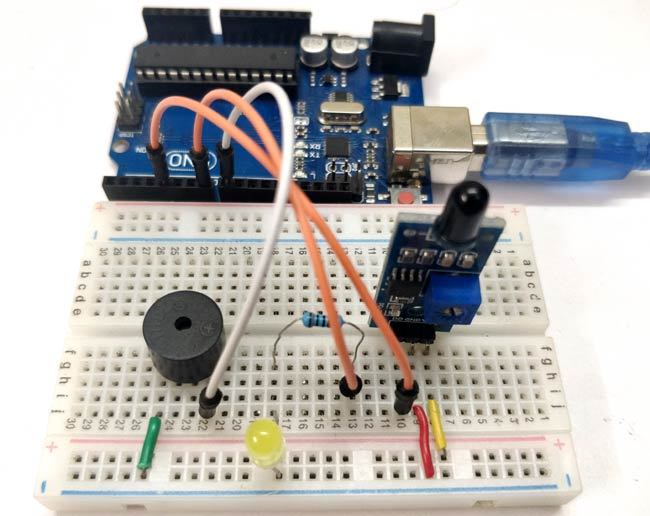
For this instructables you will need following things :
Arduino Uno (any Arduino board can be used)
Flame sensor
LED
Buzzer
Resistor
Jumper wires
Connections
Code
.jpg)
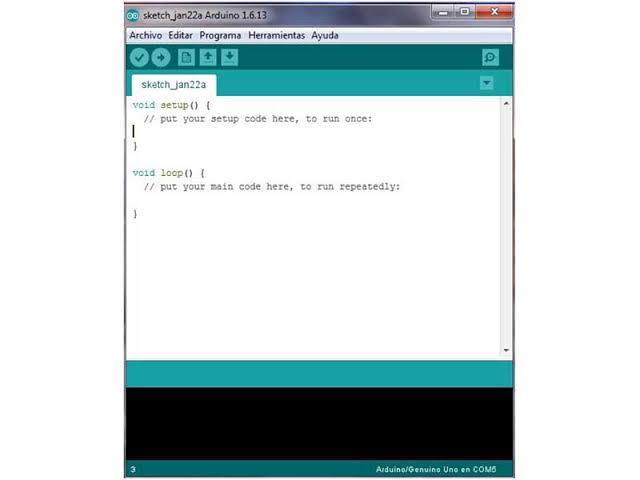
Please copy the following code and Upload it to arduino :
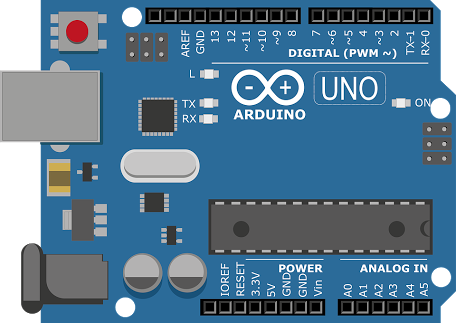
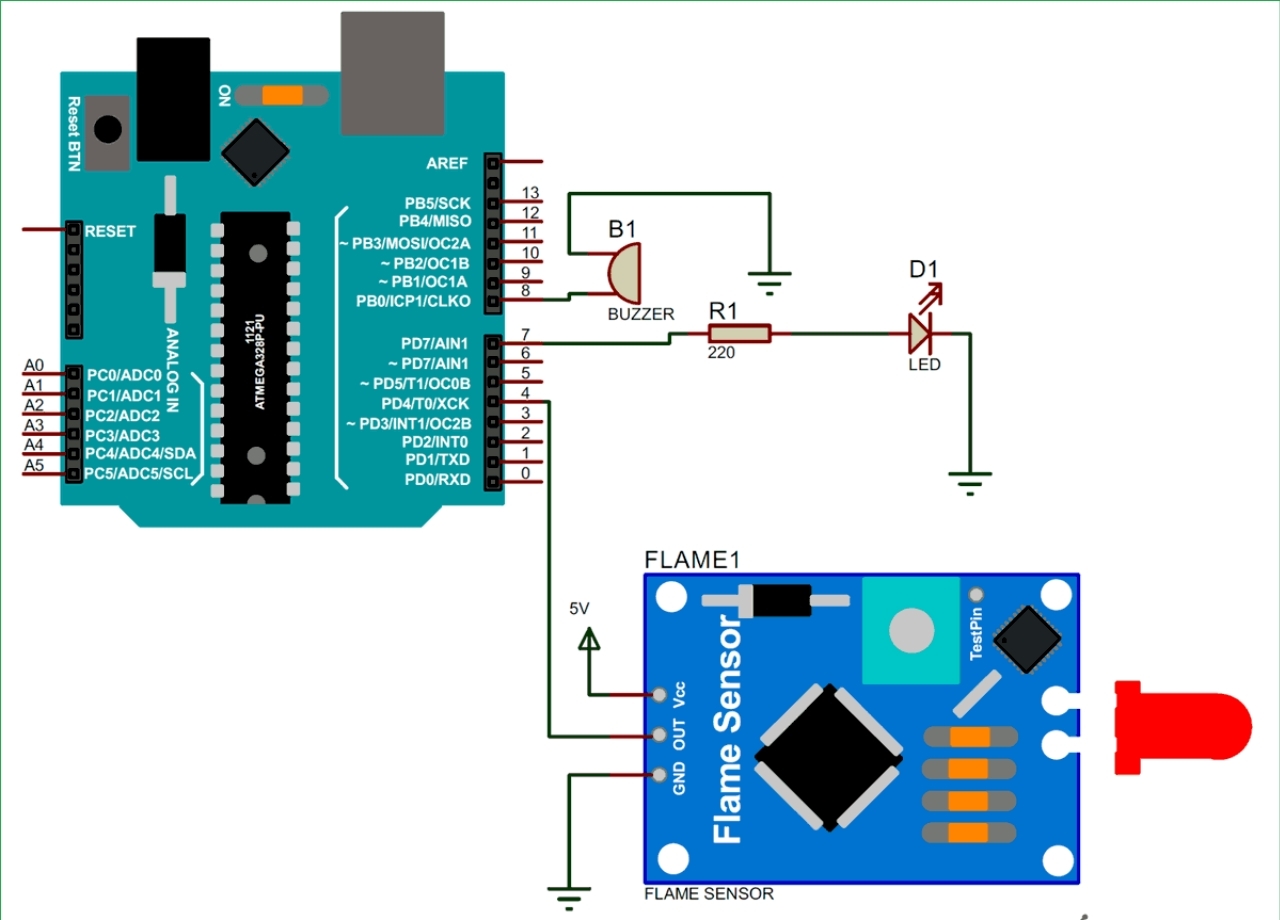
/* In this part of the code we are going to define pins for Flame sensor, LED and buzzer which are connected to Arduino. Flame sensor is connected to digital pin 4 of Arduino. Buzzer is connected to digital pin 8 of Arduino. LED is connected to digital pin 7 of Arduino.
Variable “flame_detected” is used for storing the digital value read out from flame sensor. */
int buzzer = 8;
int LED = 7;
int flame_sensor = 4;
int flame_detected;
/* In this part of the code, we are going to set the status of digital pins of Arduino and configure */
void setup()
{
Serial.begin(9600);
pinMode(buzzer, OUTPUT);
pinMode(LED, OUTPUT);
pinMode(flame_sensor, INPUT);
}
void loop()
{
/* This line of code reads the digital output from flame sensor and stores it in the variable “flame_detected”. */
flame_detected = digitalRead(flame_sensor);
/* Based on the value stored in “flame_detected”, we have to turn on the buzzer and LED. In this part of the code, we compare the value stored in “flame_detected” with 0 or 1.
If its equal to 1, it indicates that flame has been detected. We have to turn on buzzer and LED and then display an alert message in Serial monitor of Arduino IDE.
If its equal to 0, then it indicates that no flame has been detected so we have to turn off LED and buzzer. This process is repeated every second to identify the presence of fire or flame. */
if (flame_detected == 1)
{
Serial.println("Flame detected...! take action immediately.");
digitalWrite(buzzer, HIGH);
digitalWrite(LED, HIGH);
delay(200);
digitalWrite(LED, LOW);
delay(200);
}
else
{
Serial.println("No flame detected. stay cool");
digitalWrite(buzzer, LOW);
digitalWrite(LED, LOW);
}
delay(1000);
}
Final Test
