Getting Started With Ender 3v3 Se and First Impressions
by Amit_Jain in Workshop > 3D Printing
13288 Views, 1 Favorites, 0 Comments
Getting Started With Ender 3v3 Se and First Impressions
Hi All,
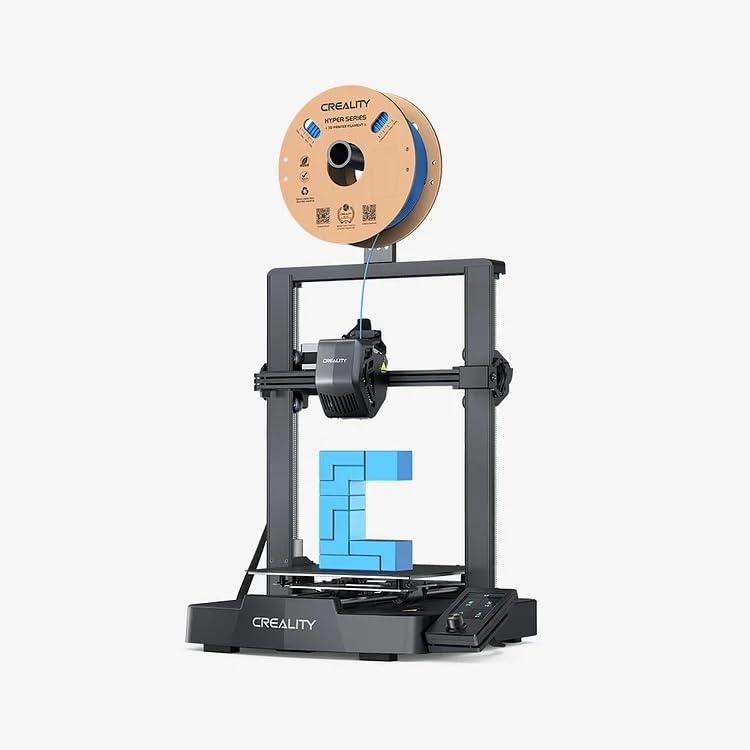
Creality has launched a new Ender 3 v3 se 3d printer
In this instructable, I will share how to get started, with it.. and How different it is from Ender 3 (original). It is a huge upgrade in the price range of an entry-level 3D printer. But it has a few issues that I will share
Supplies
Unbox
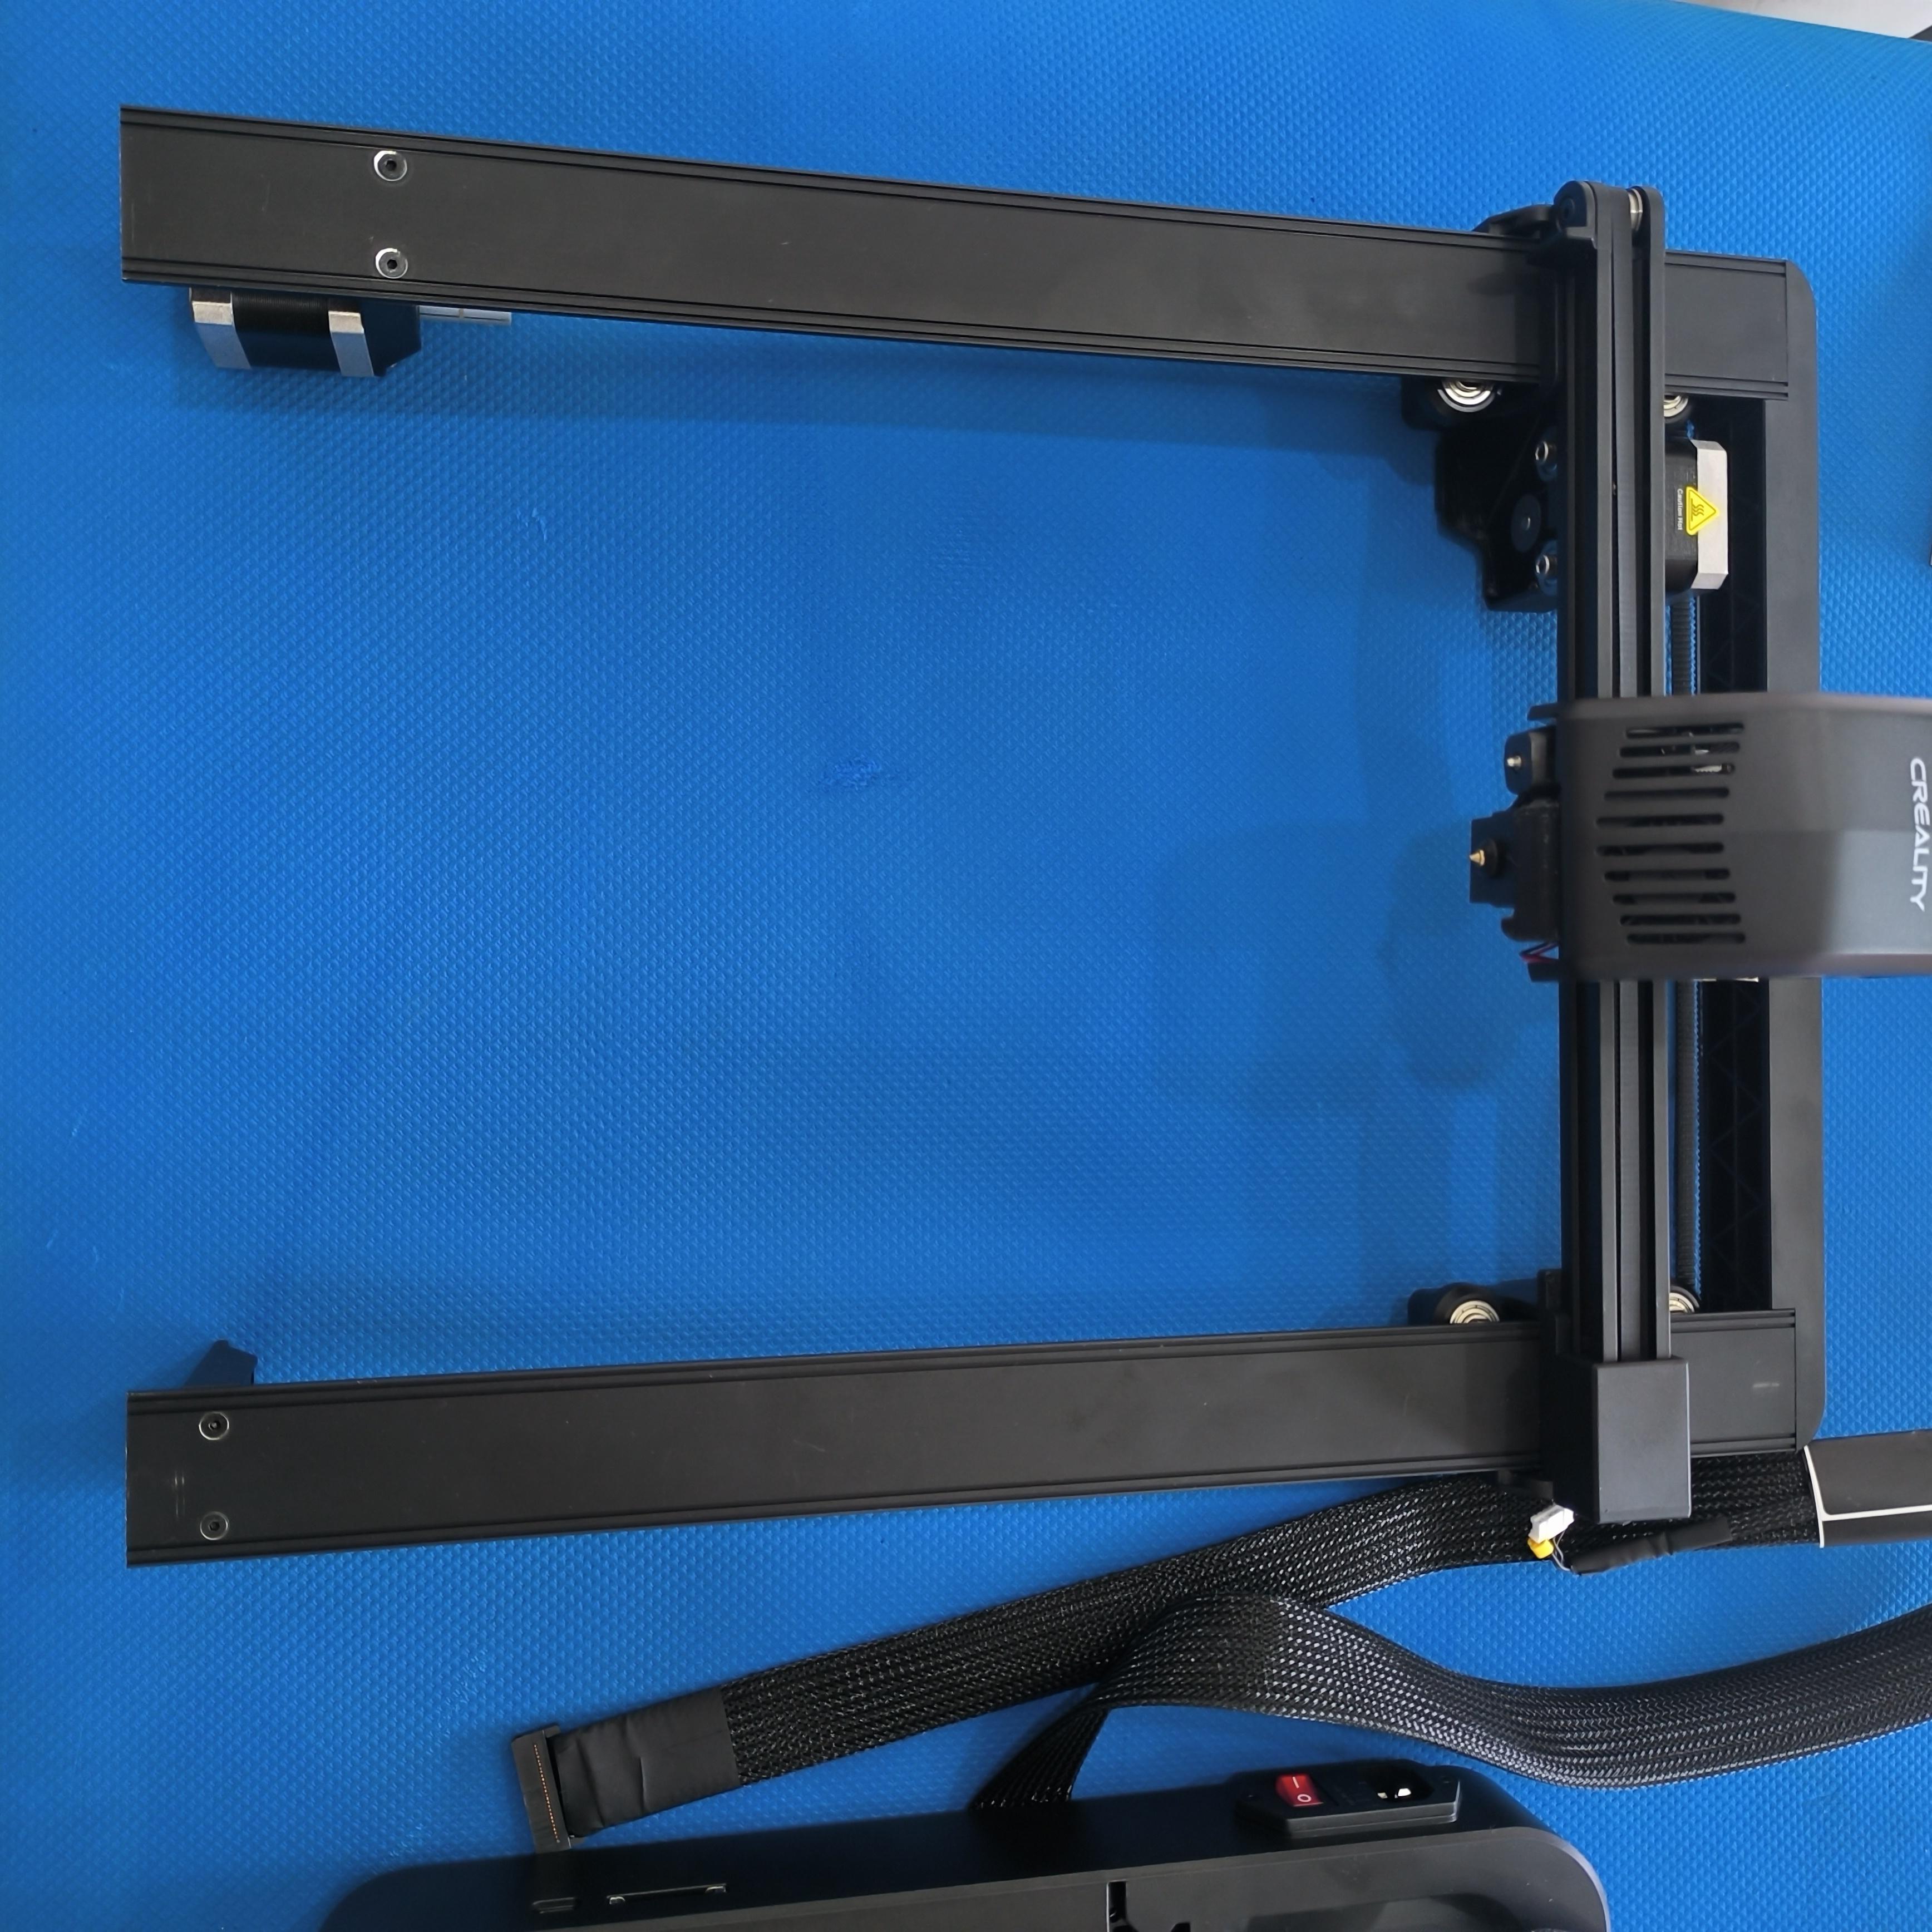
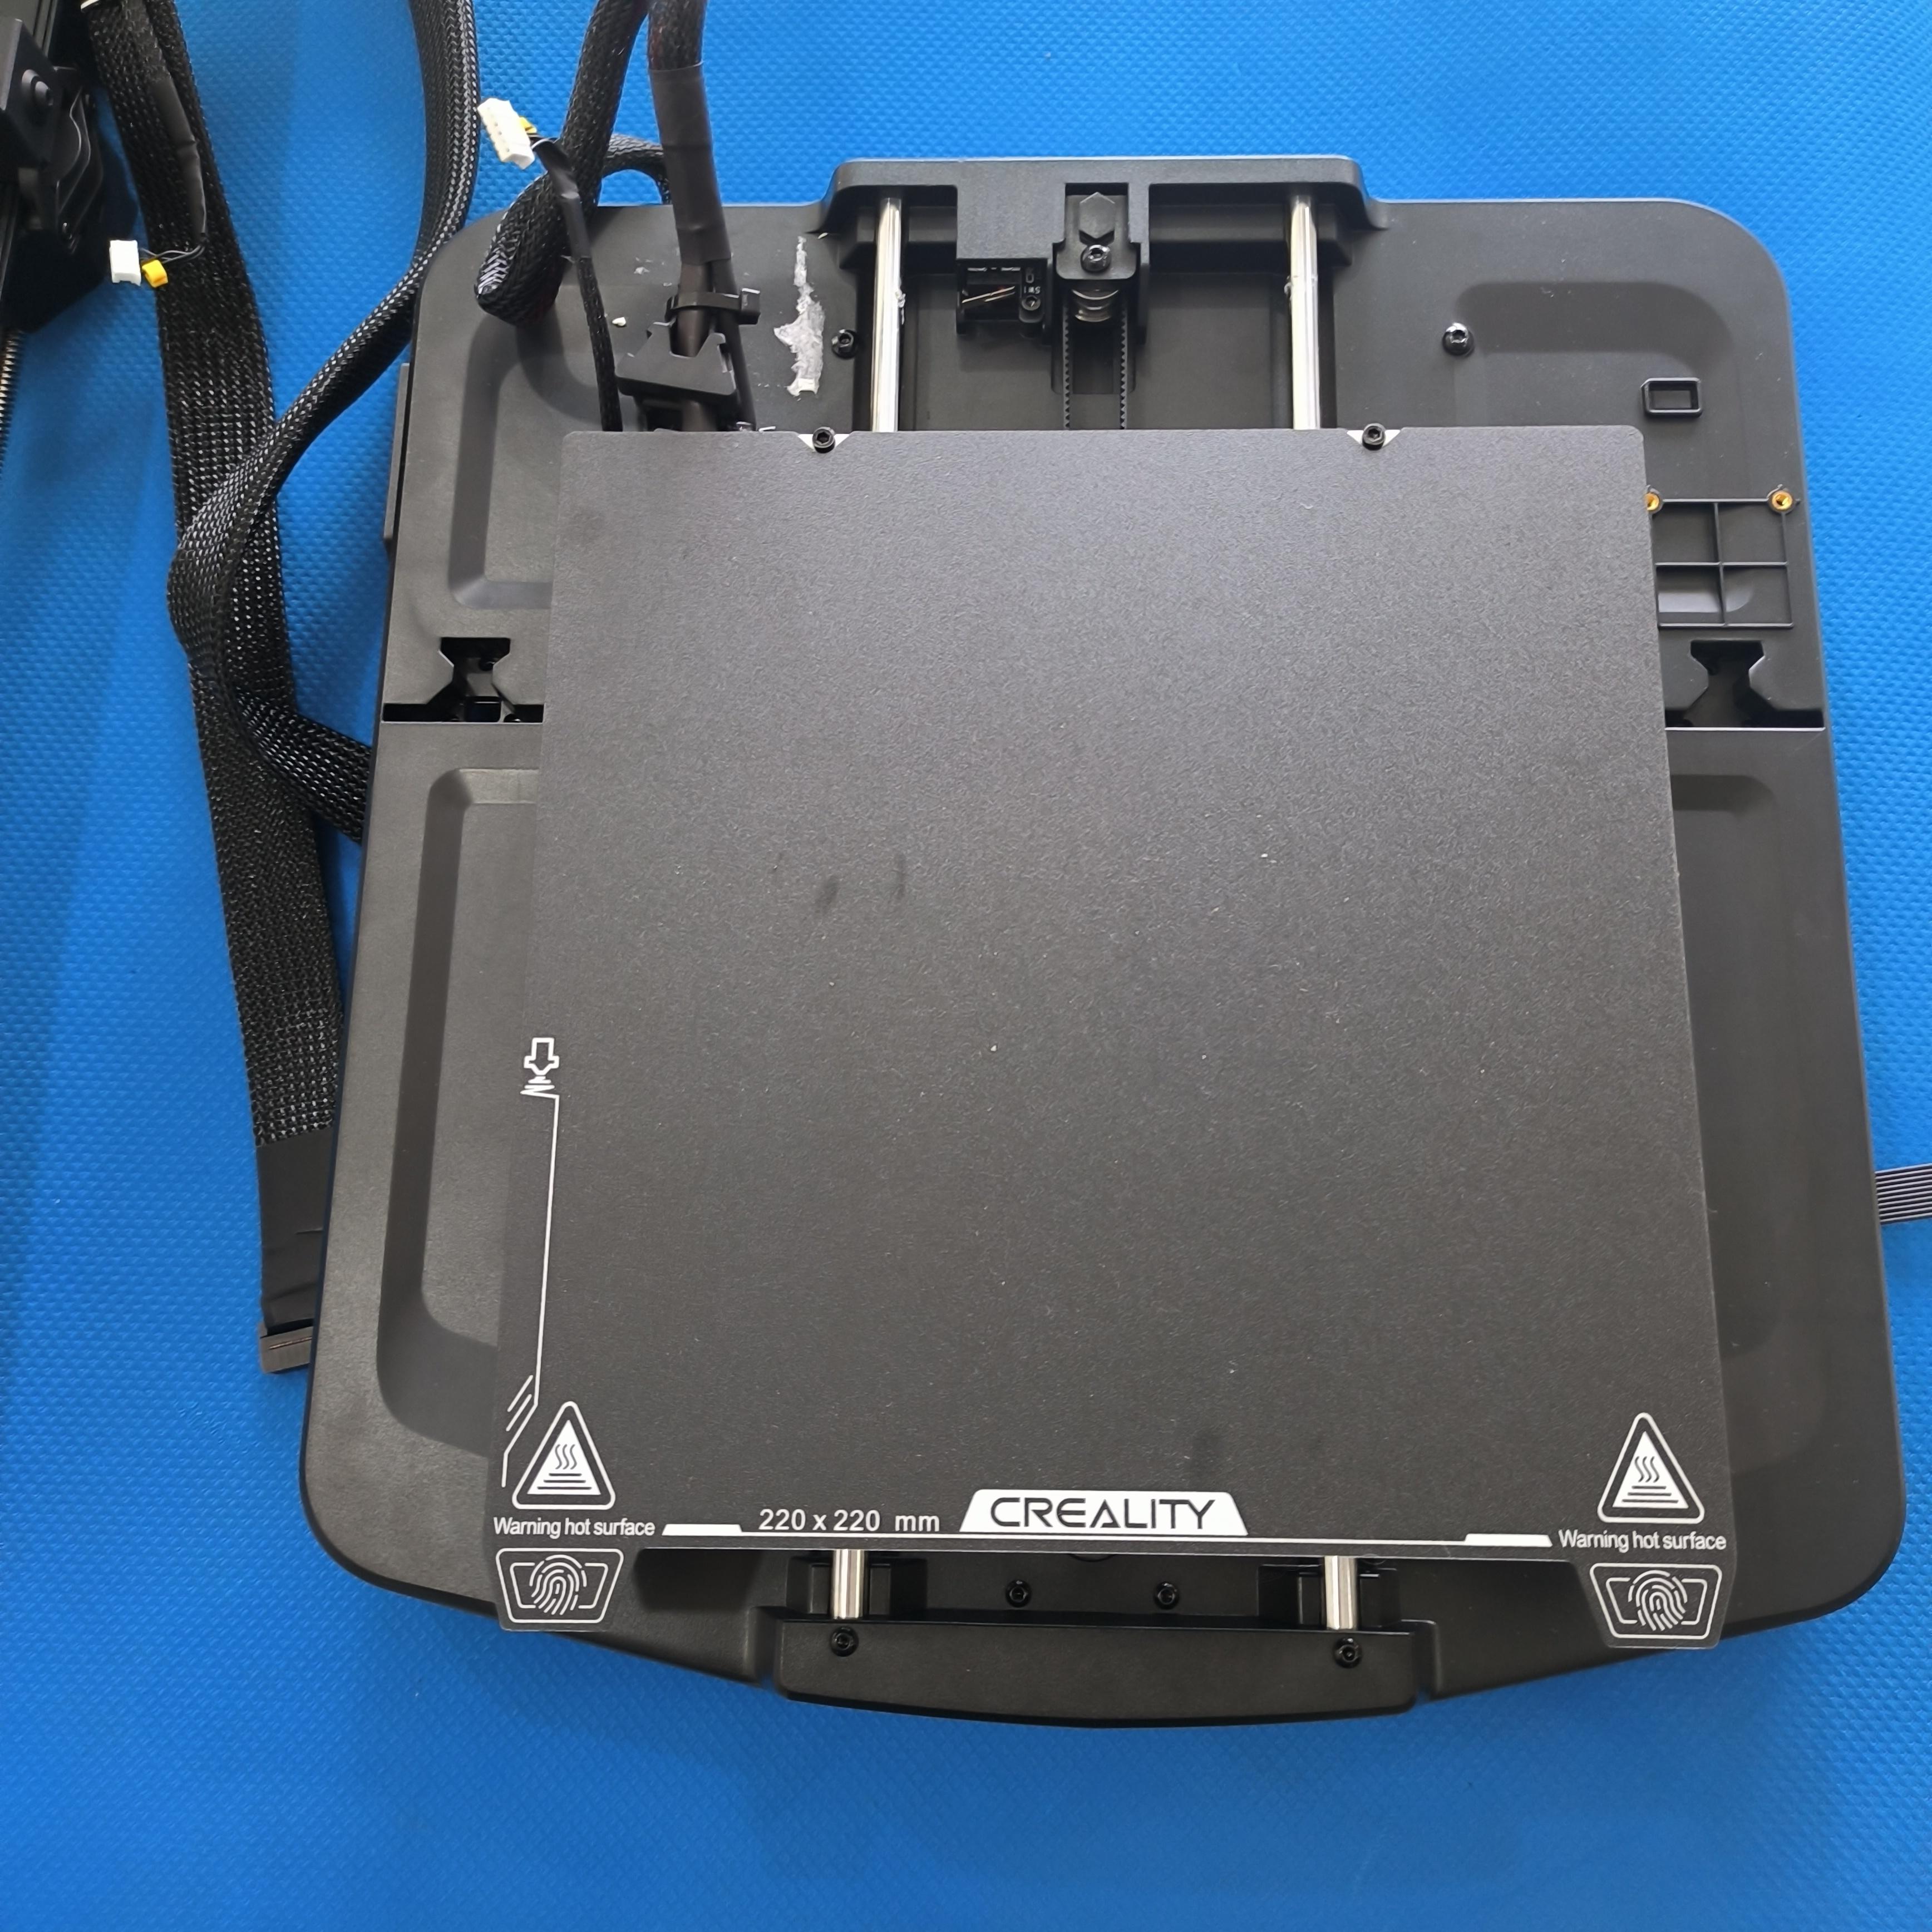
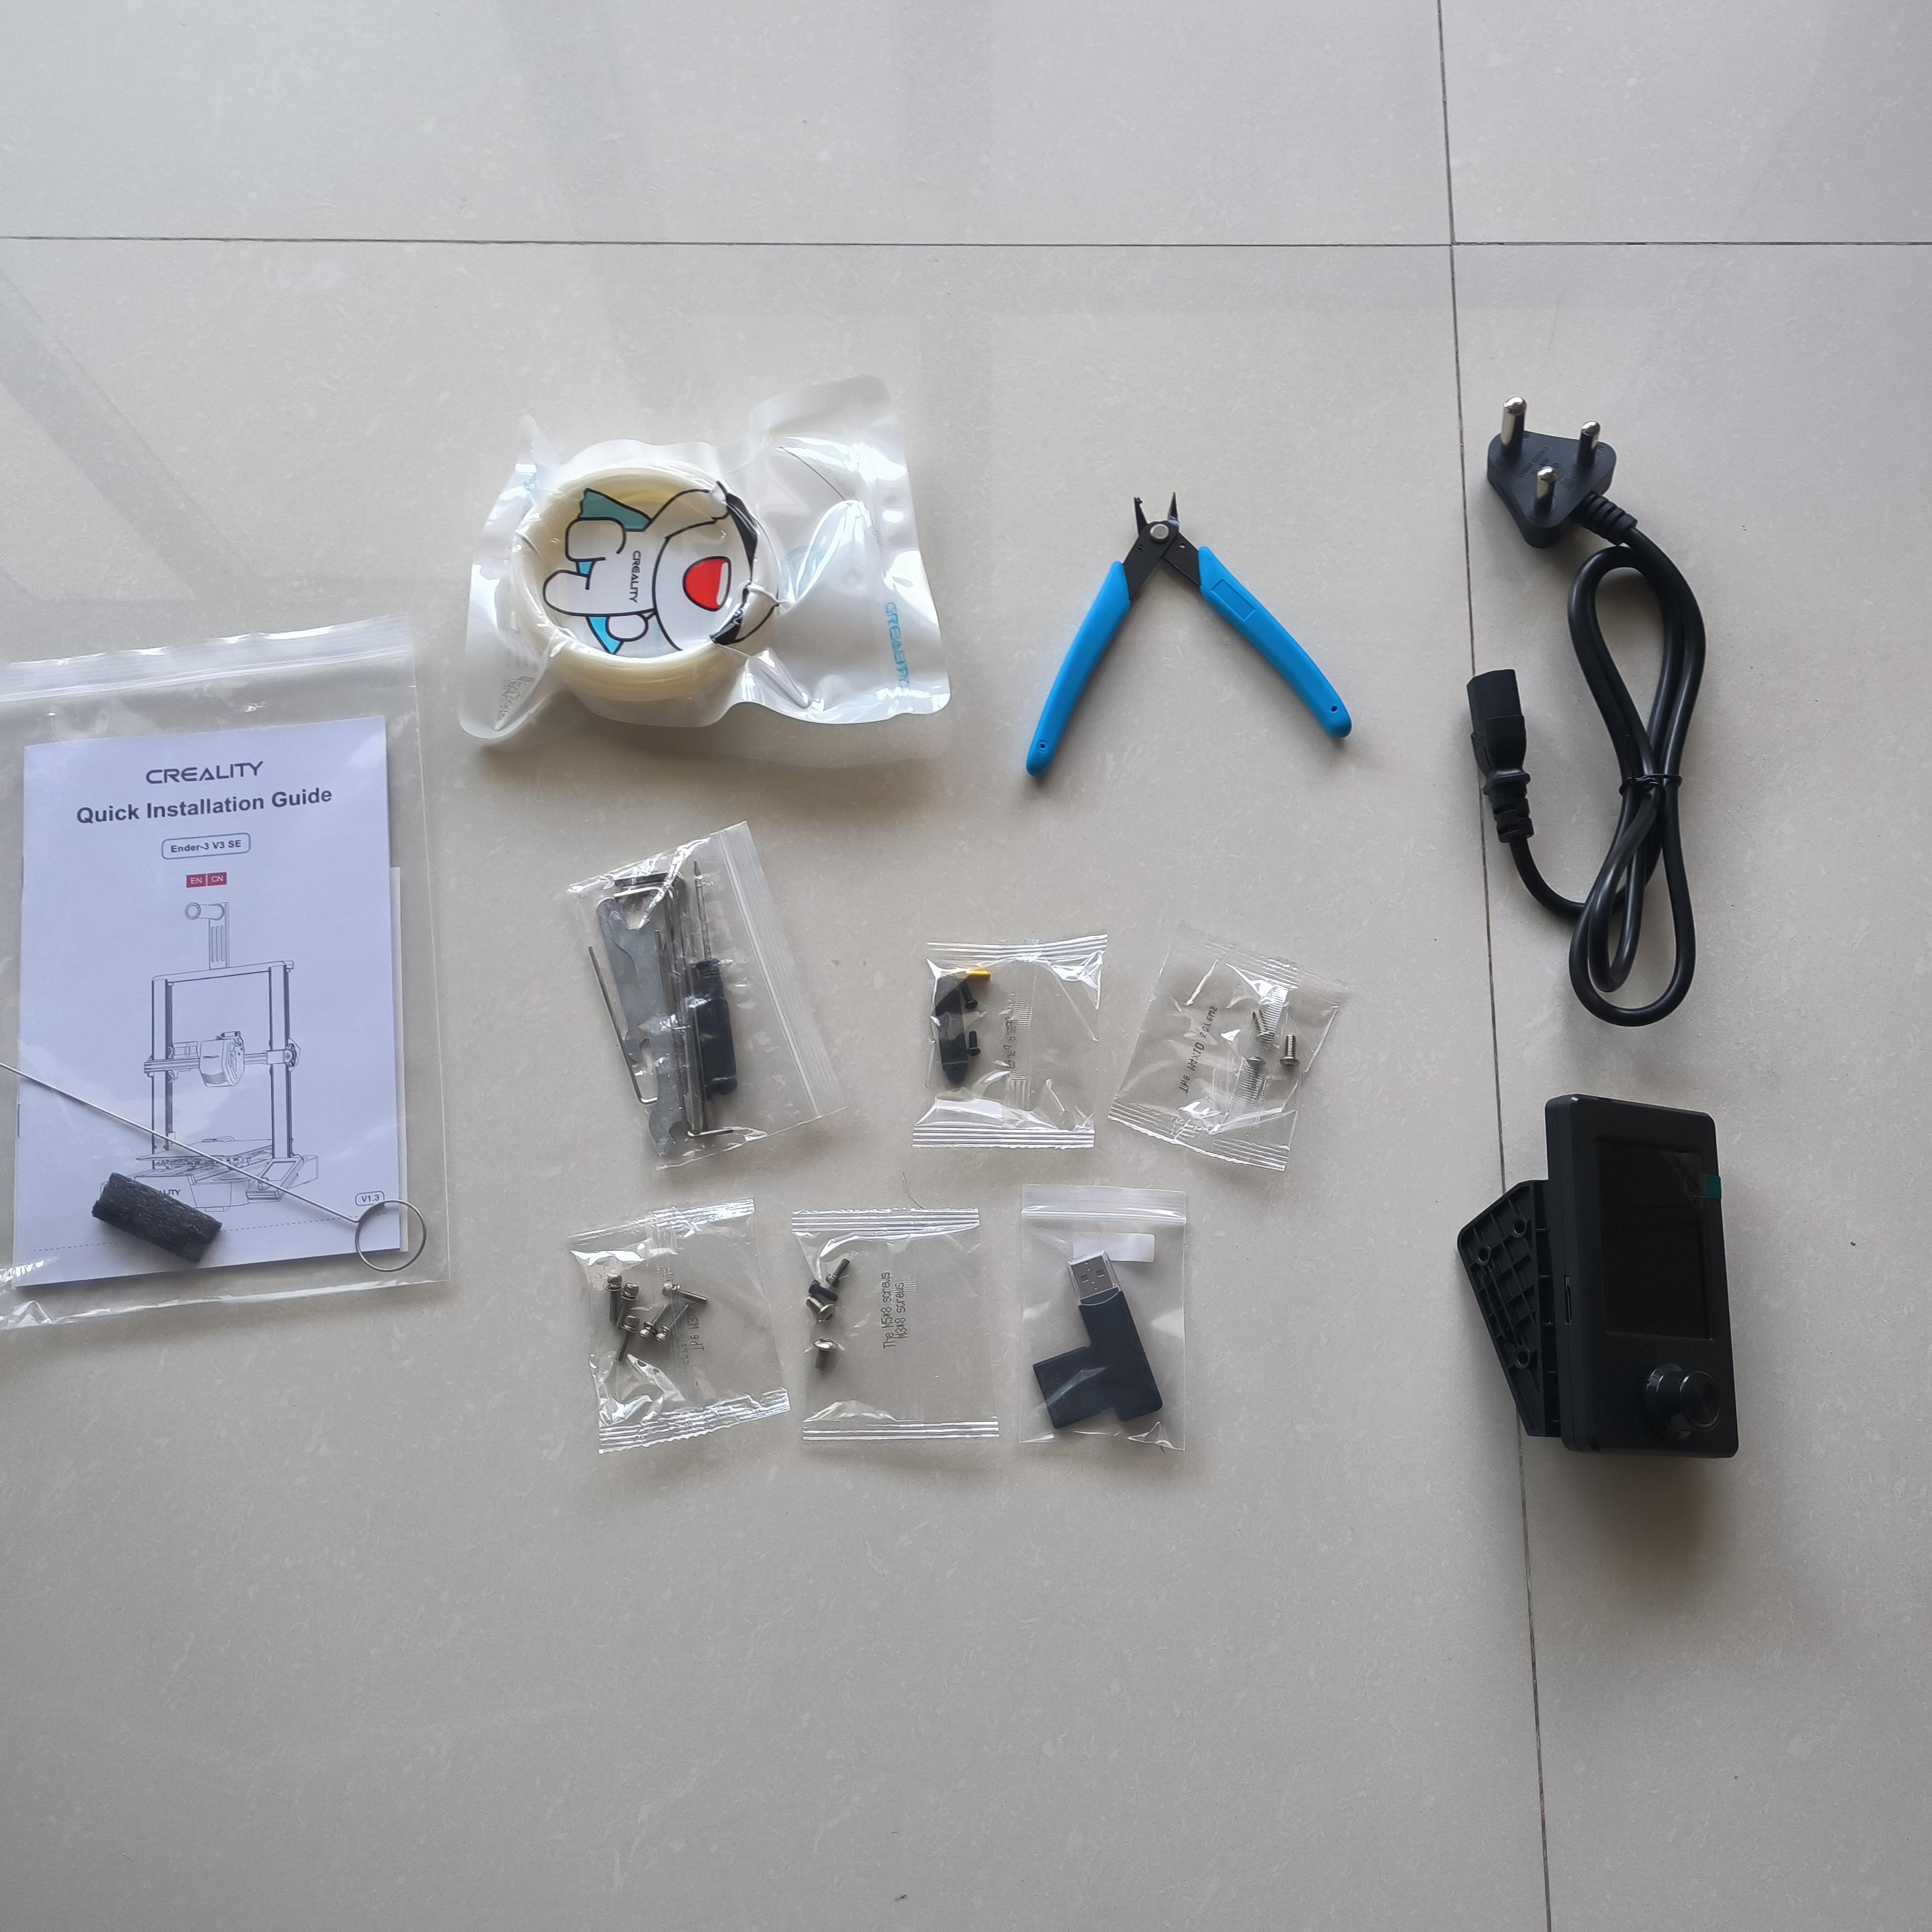
- Open the box and place its contents on a table
- You do not need to buy any tools, all are included in the package
Assembly
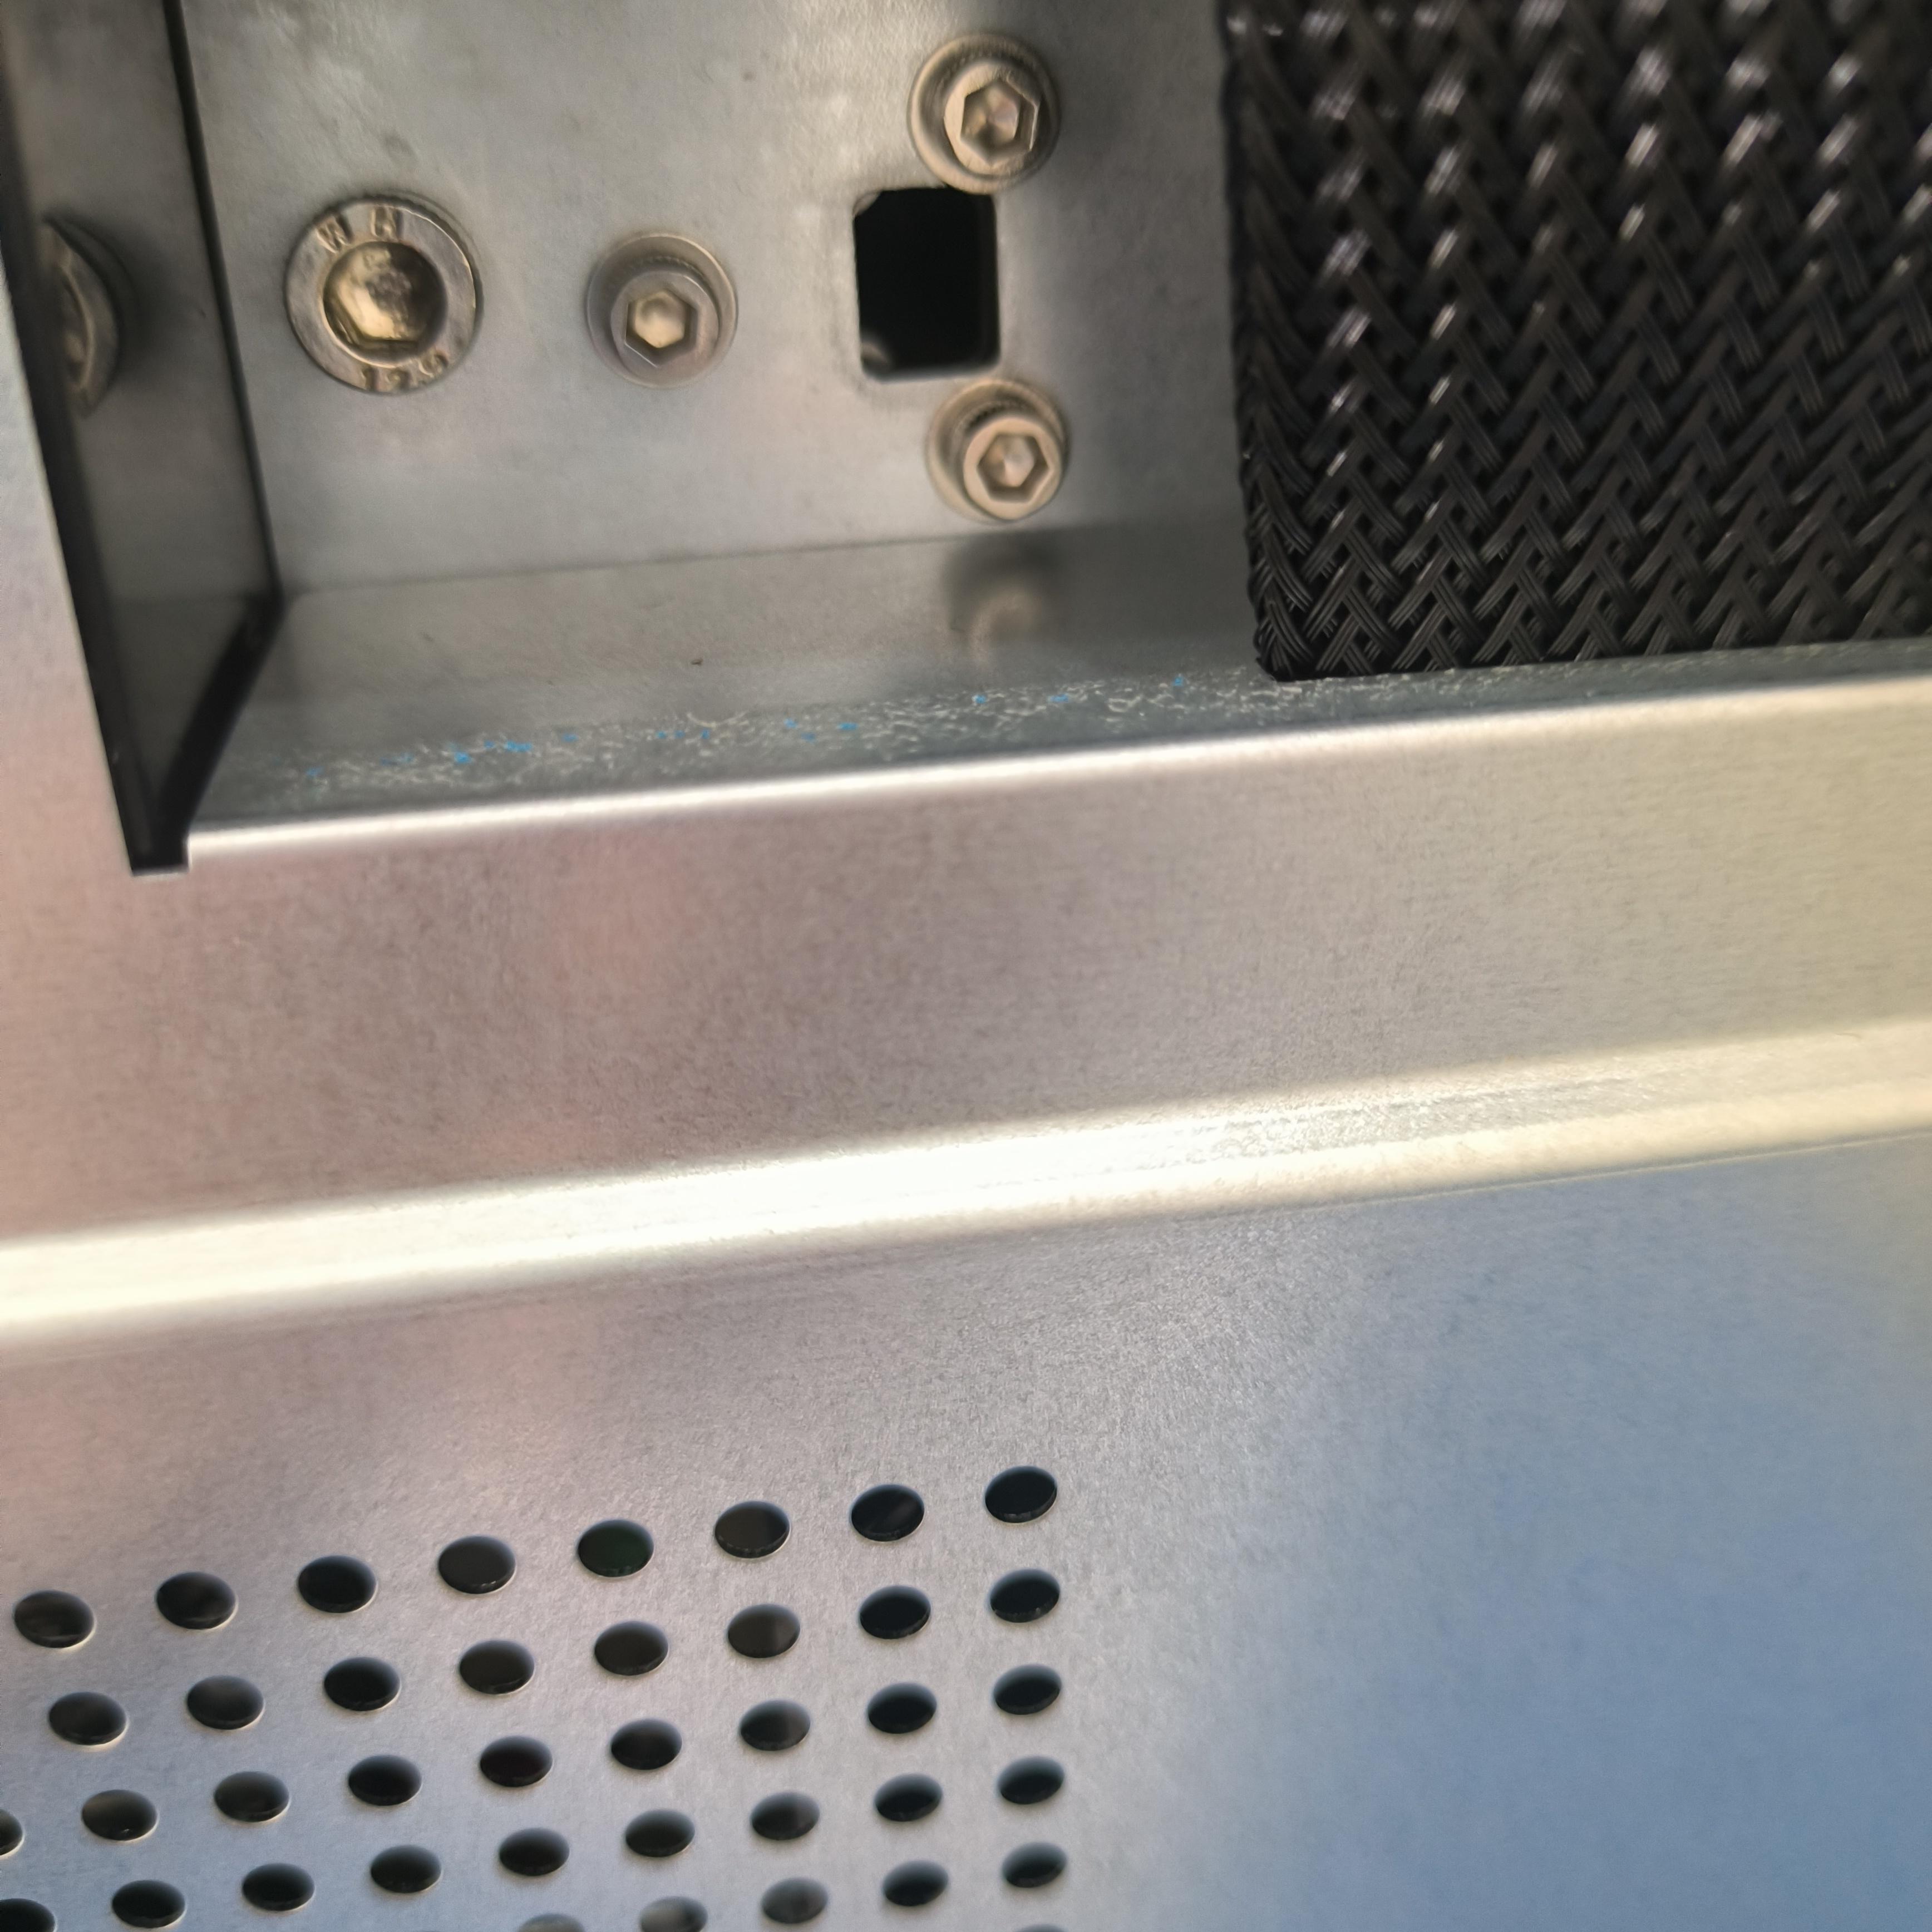
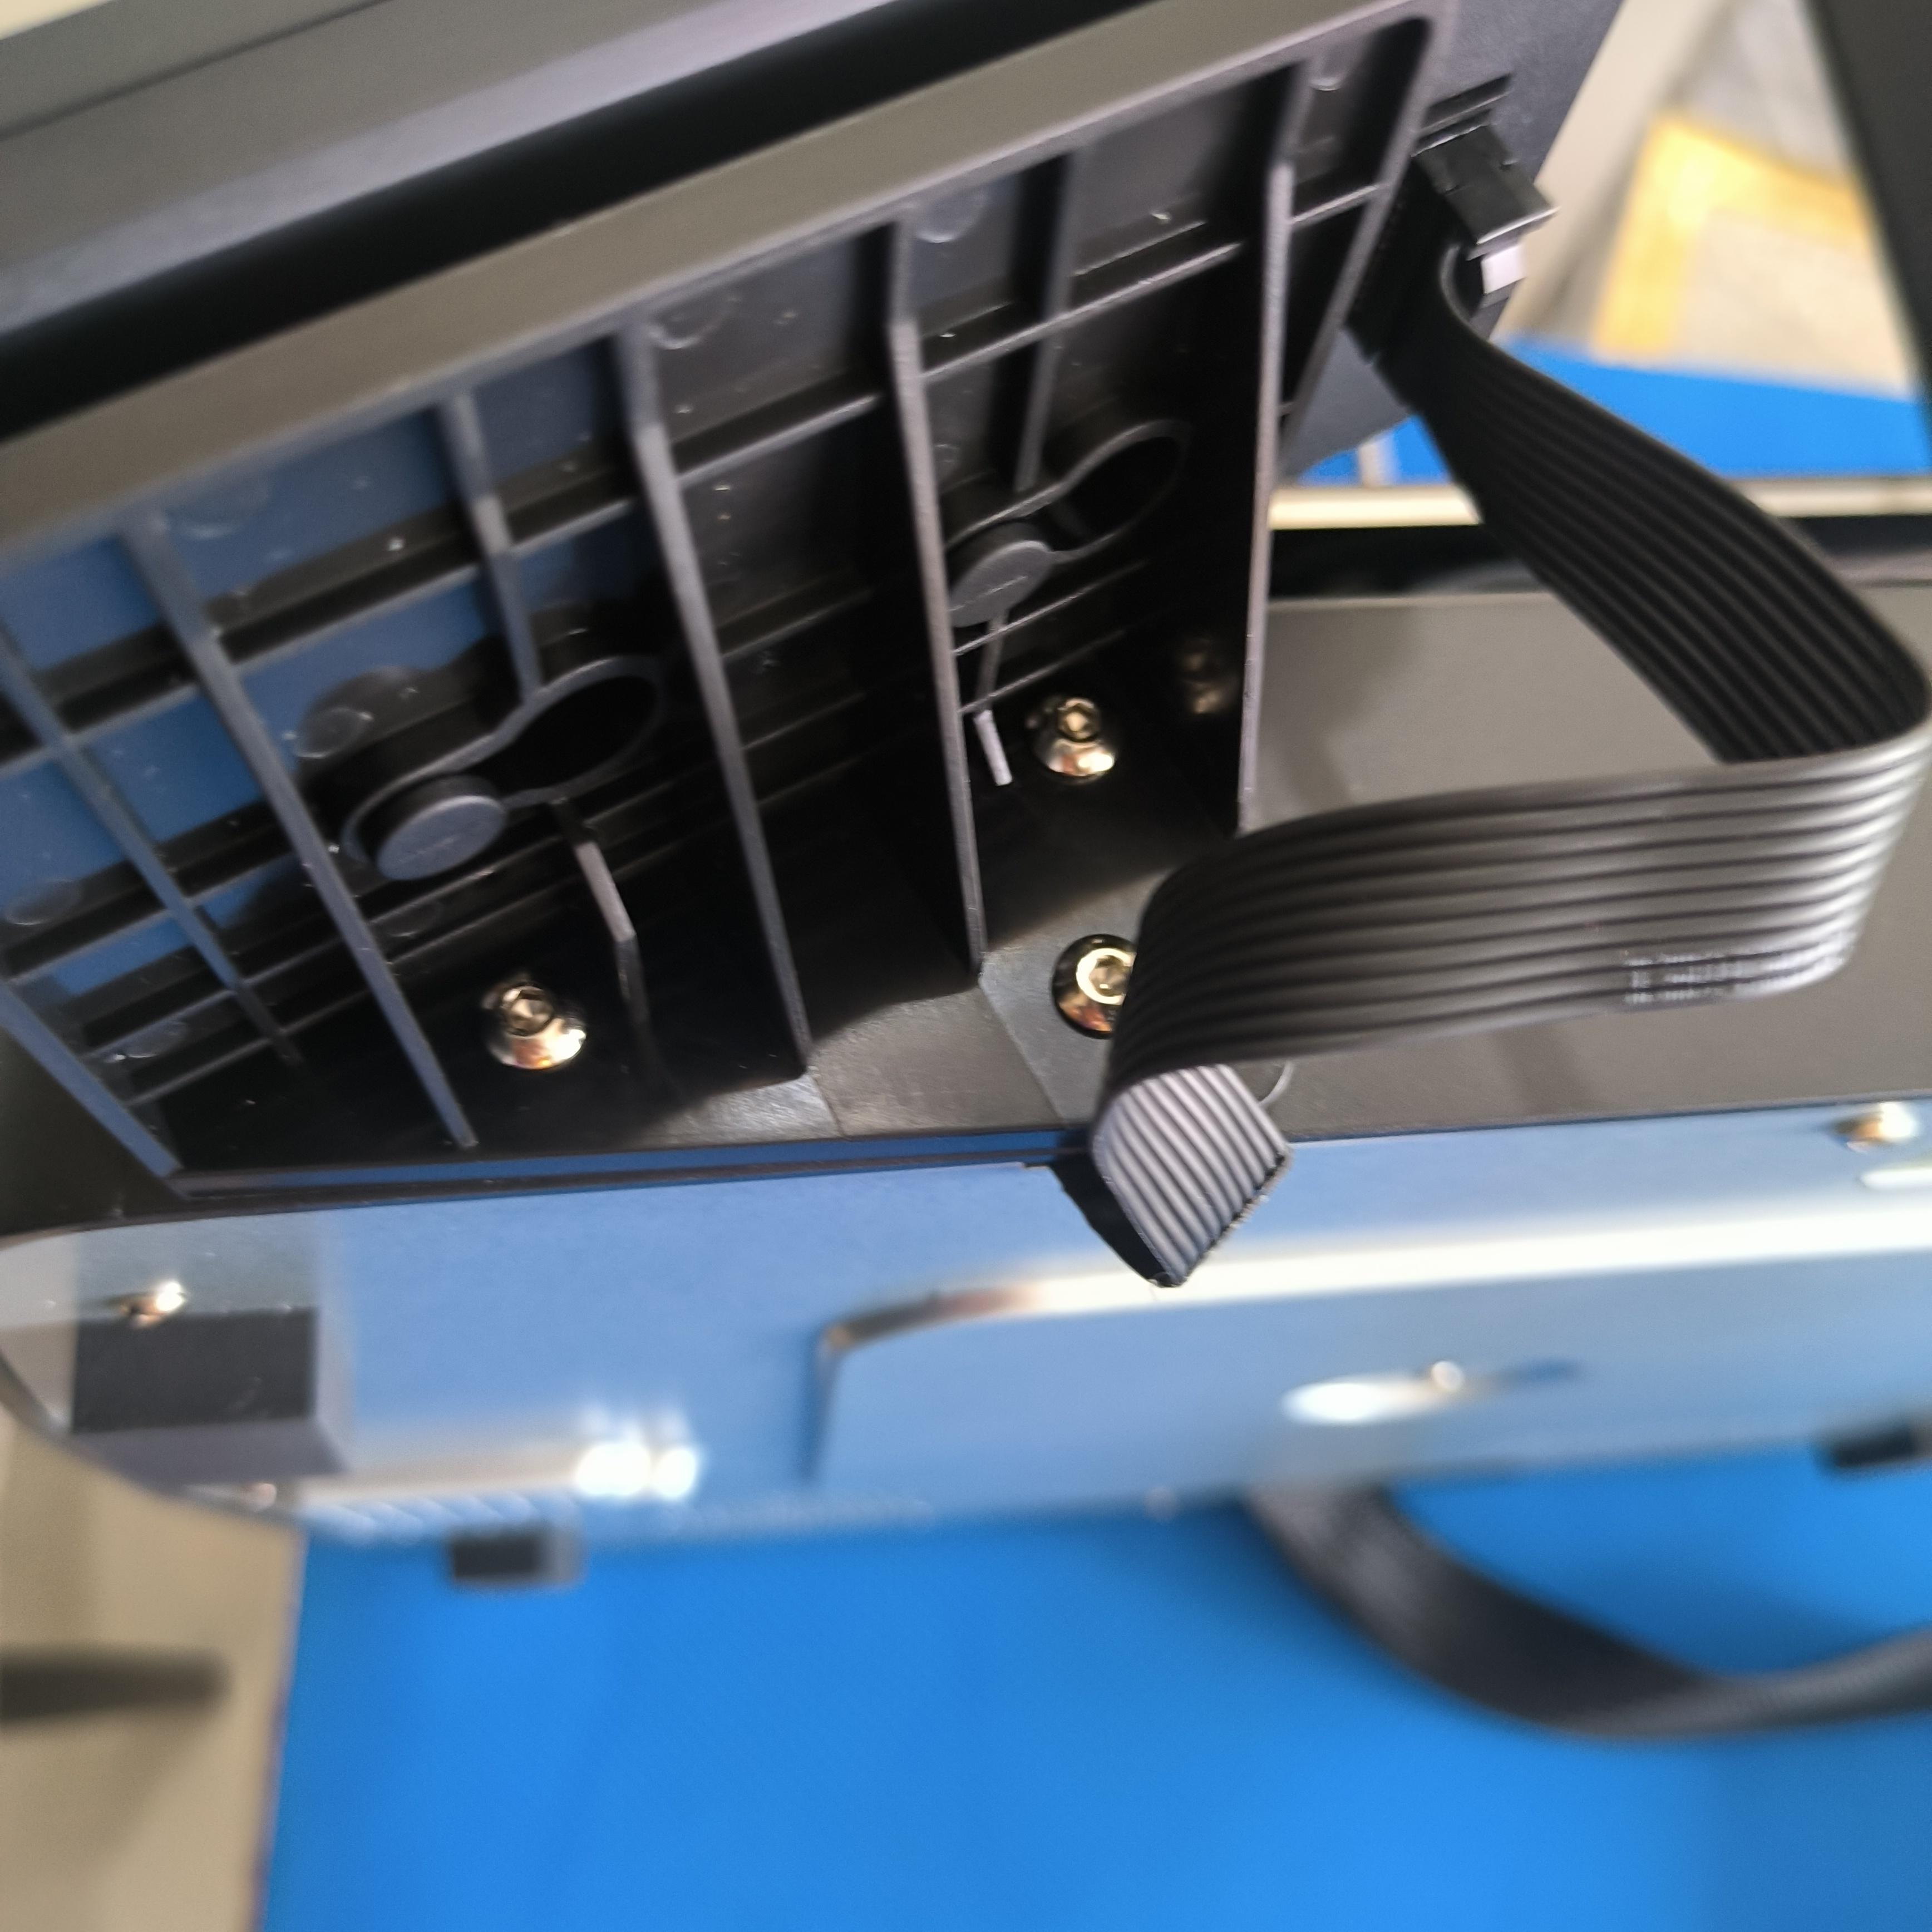
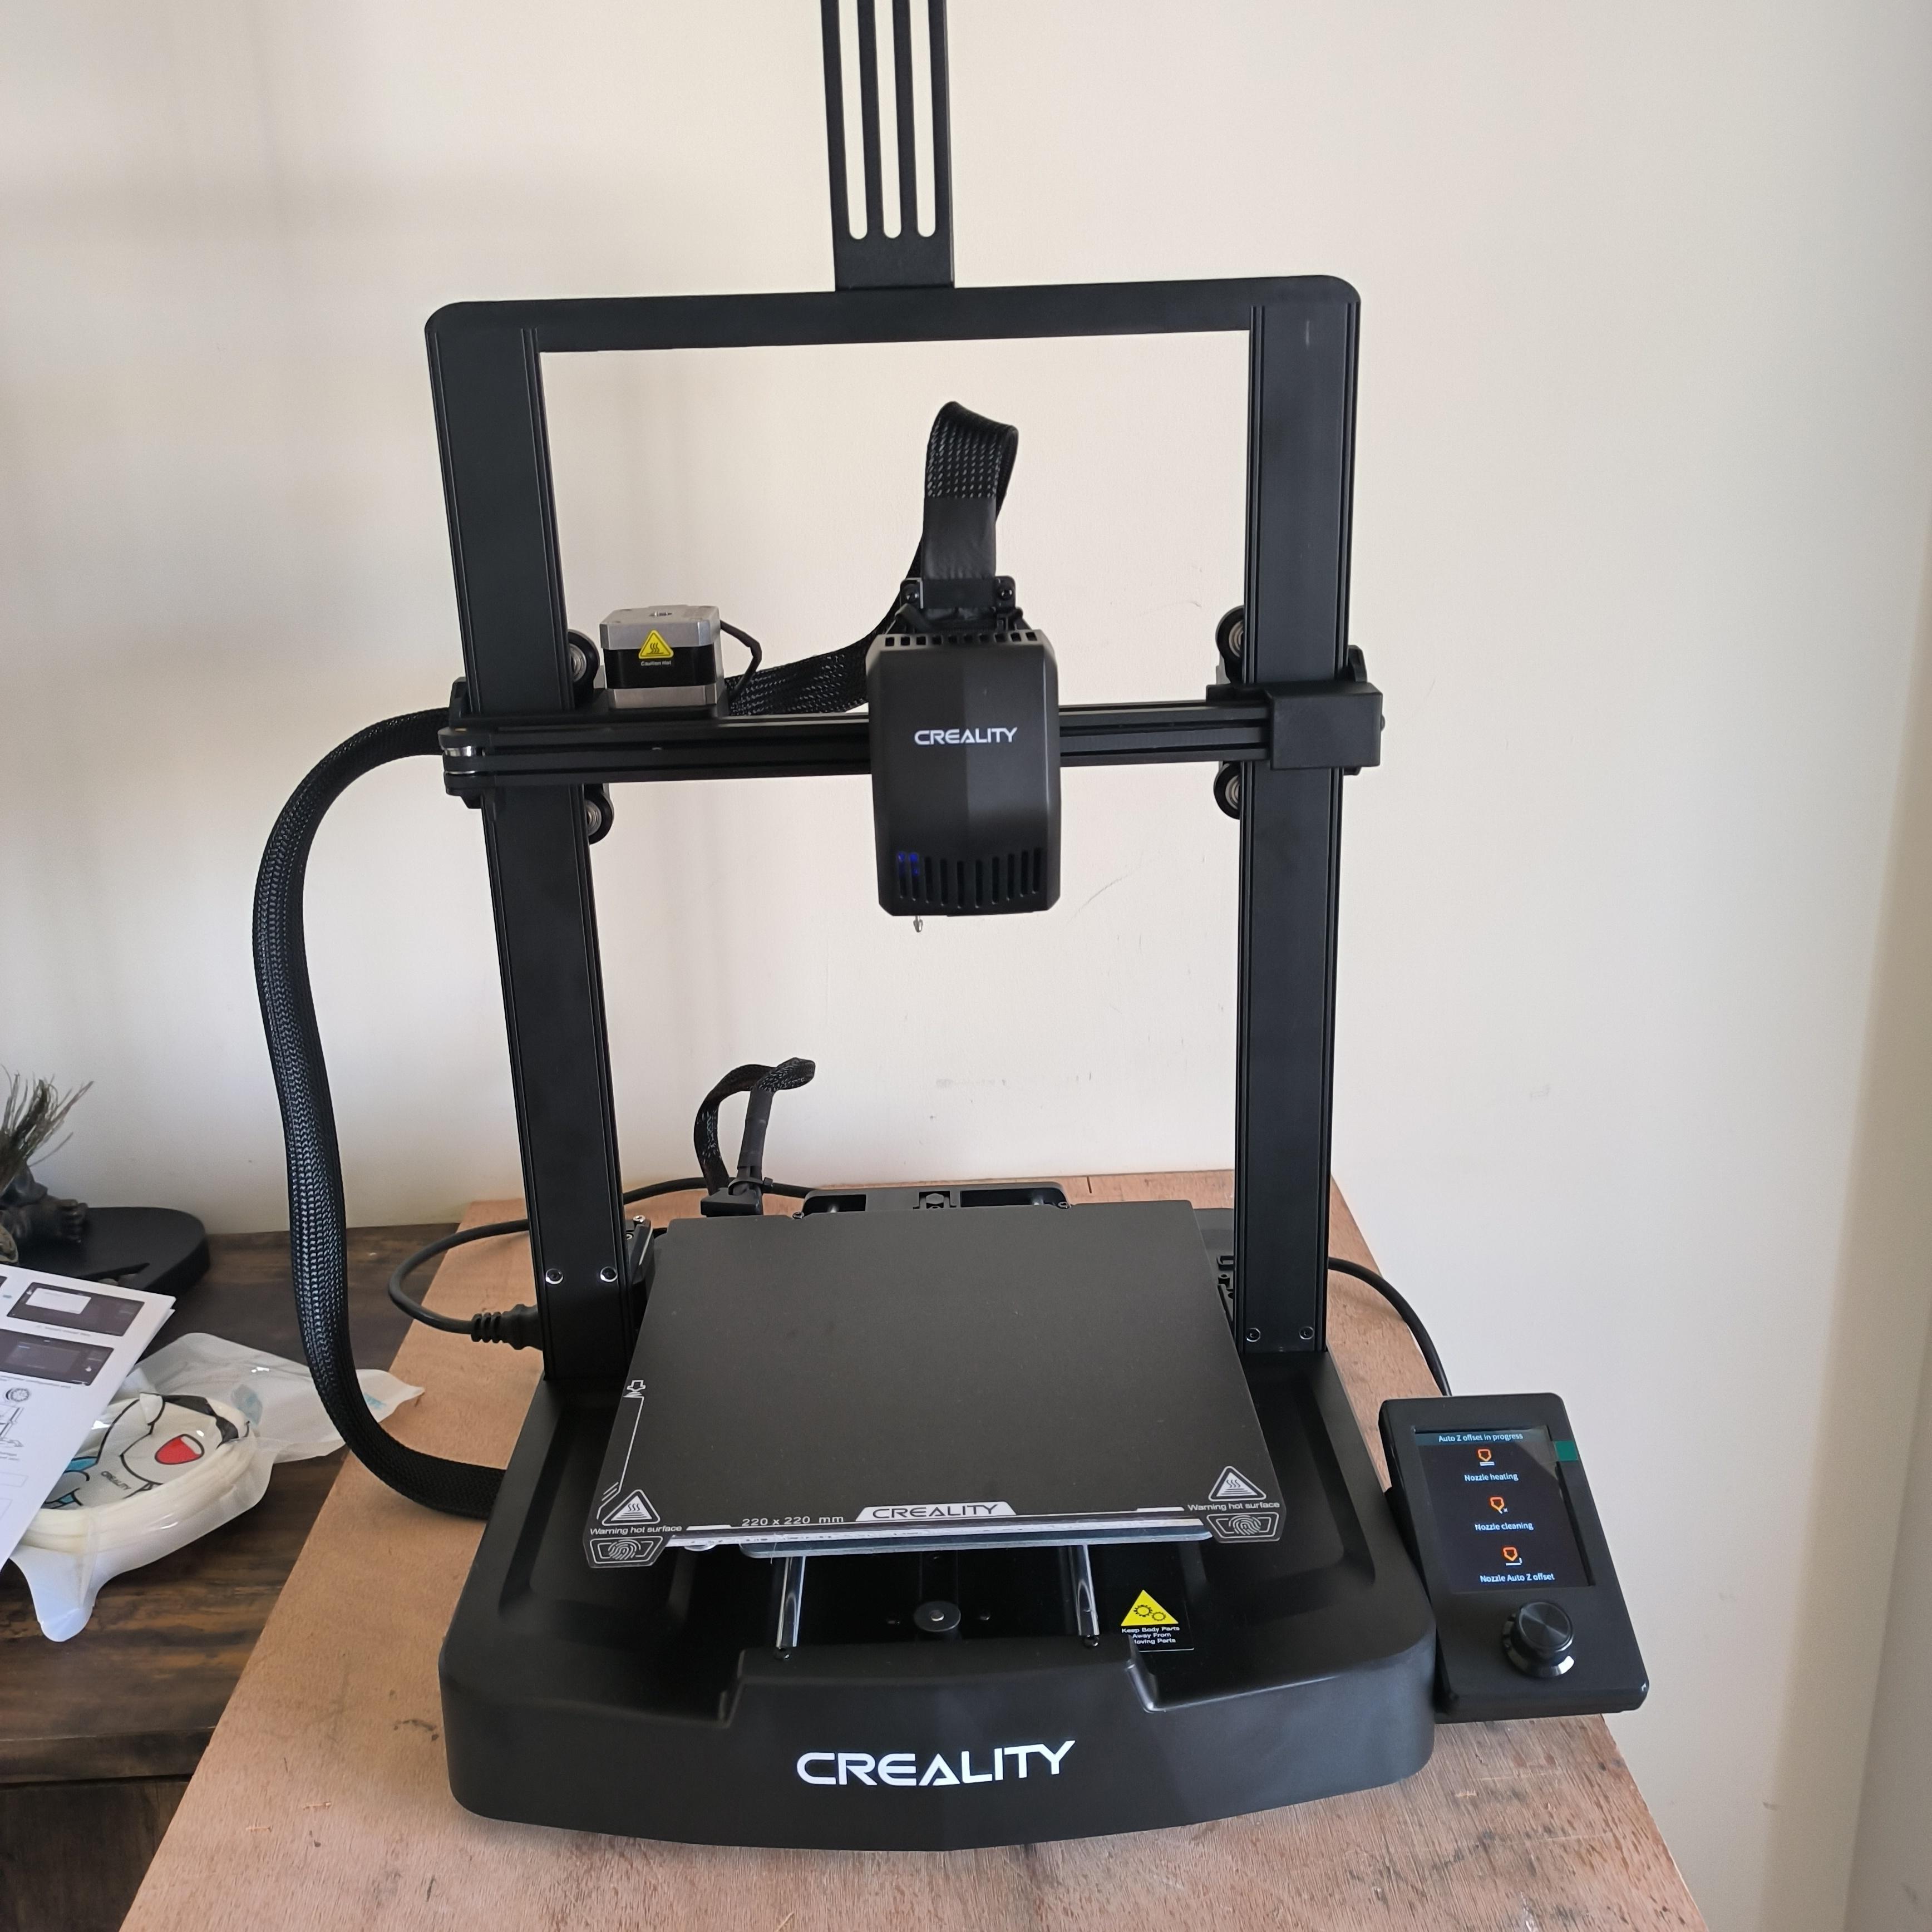
- Assembly is simple, follow the instructions from Creality or the official video here
- The printer comes 90% pre-assembled
- We need to put the gantry and base together
- Fix the screen and some wires
- Remember to set 110V or 230V based on your location
- Assembly took me 15 to 25 minutes unlike few hours on my ender 3
Bed Leveling
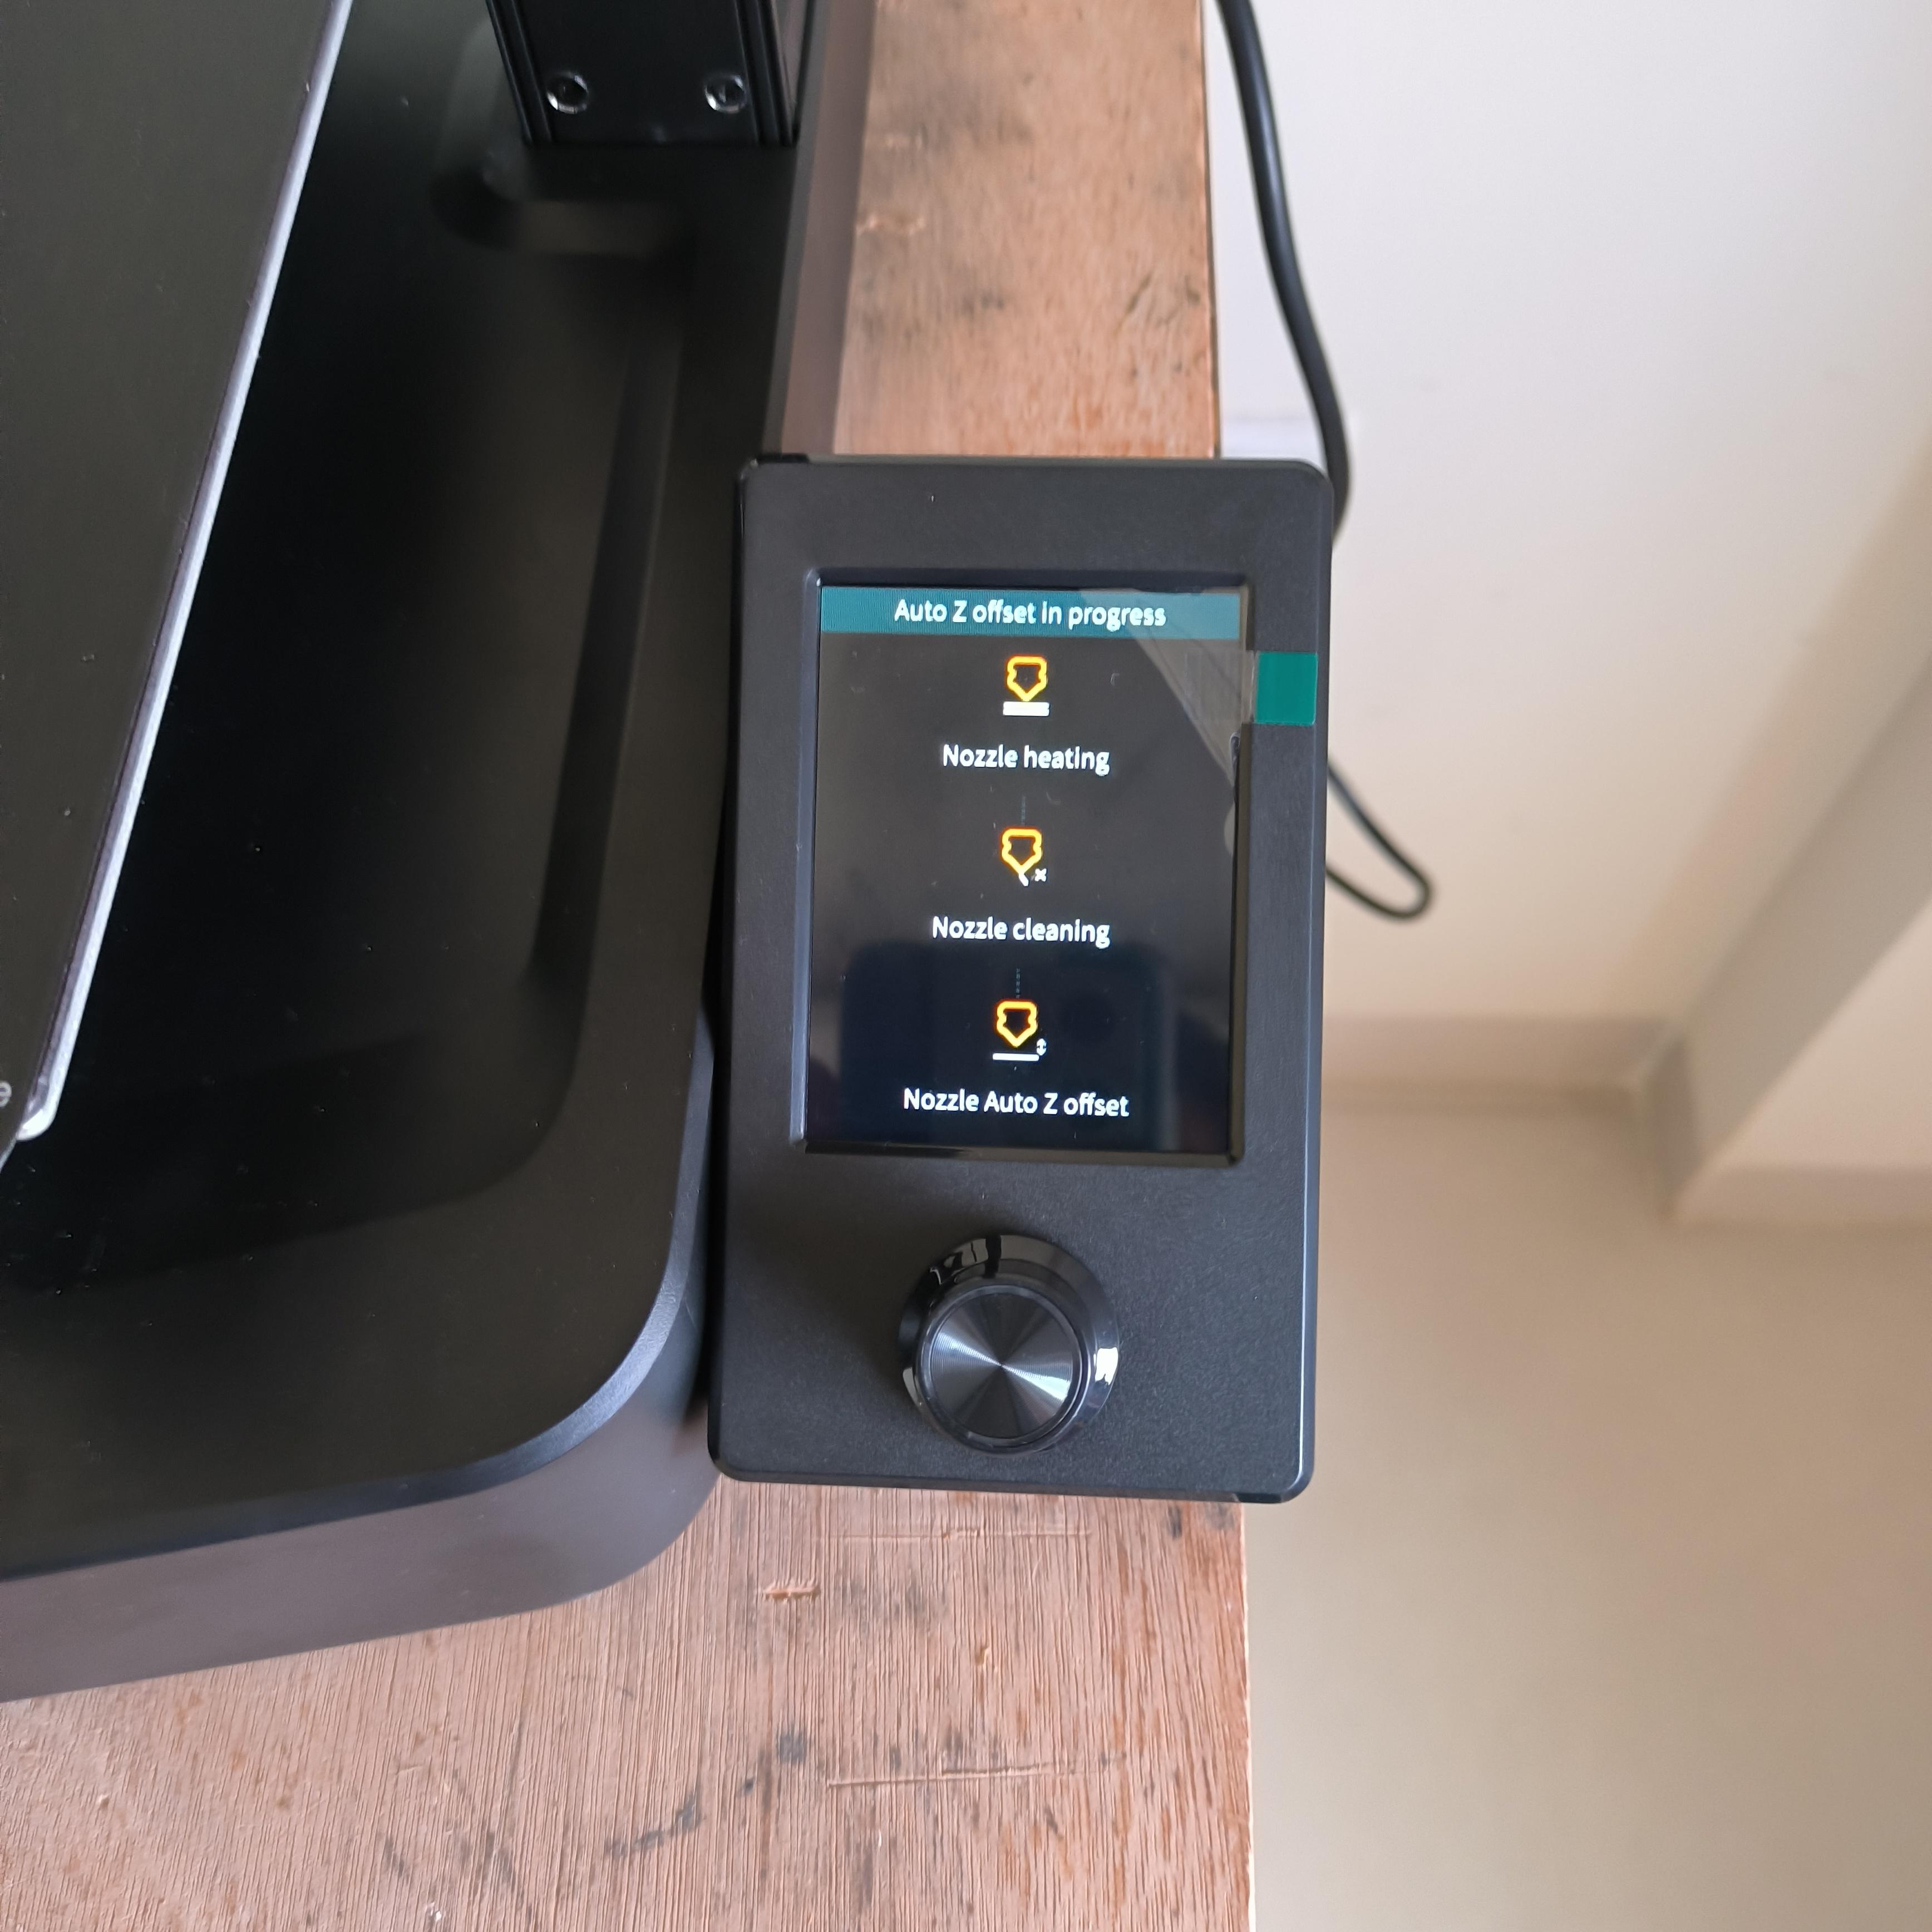
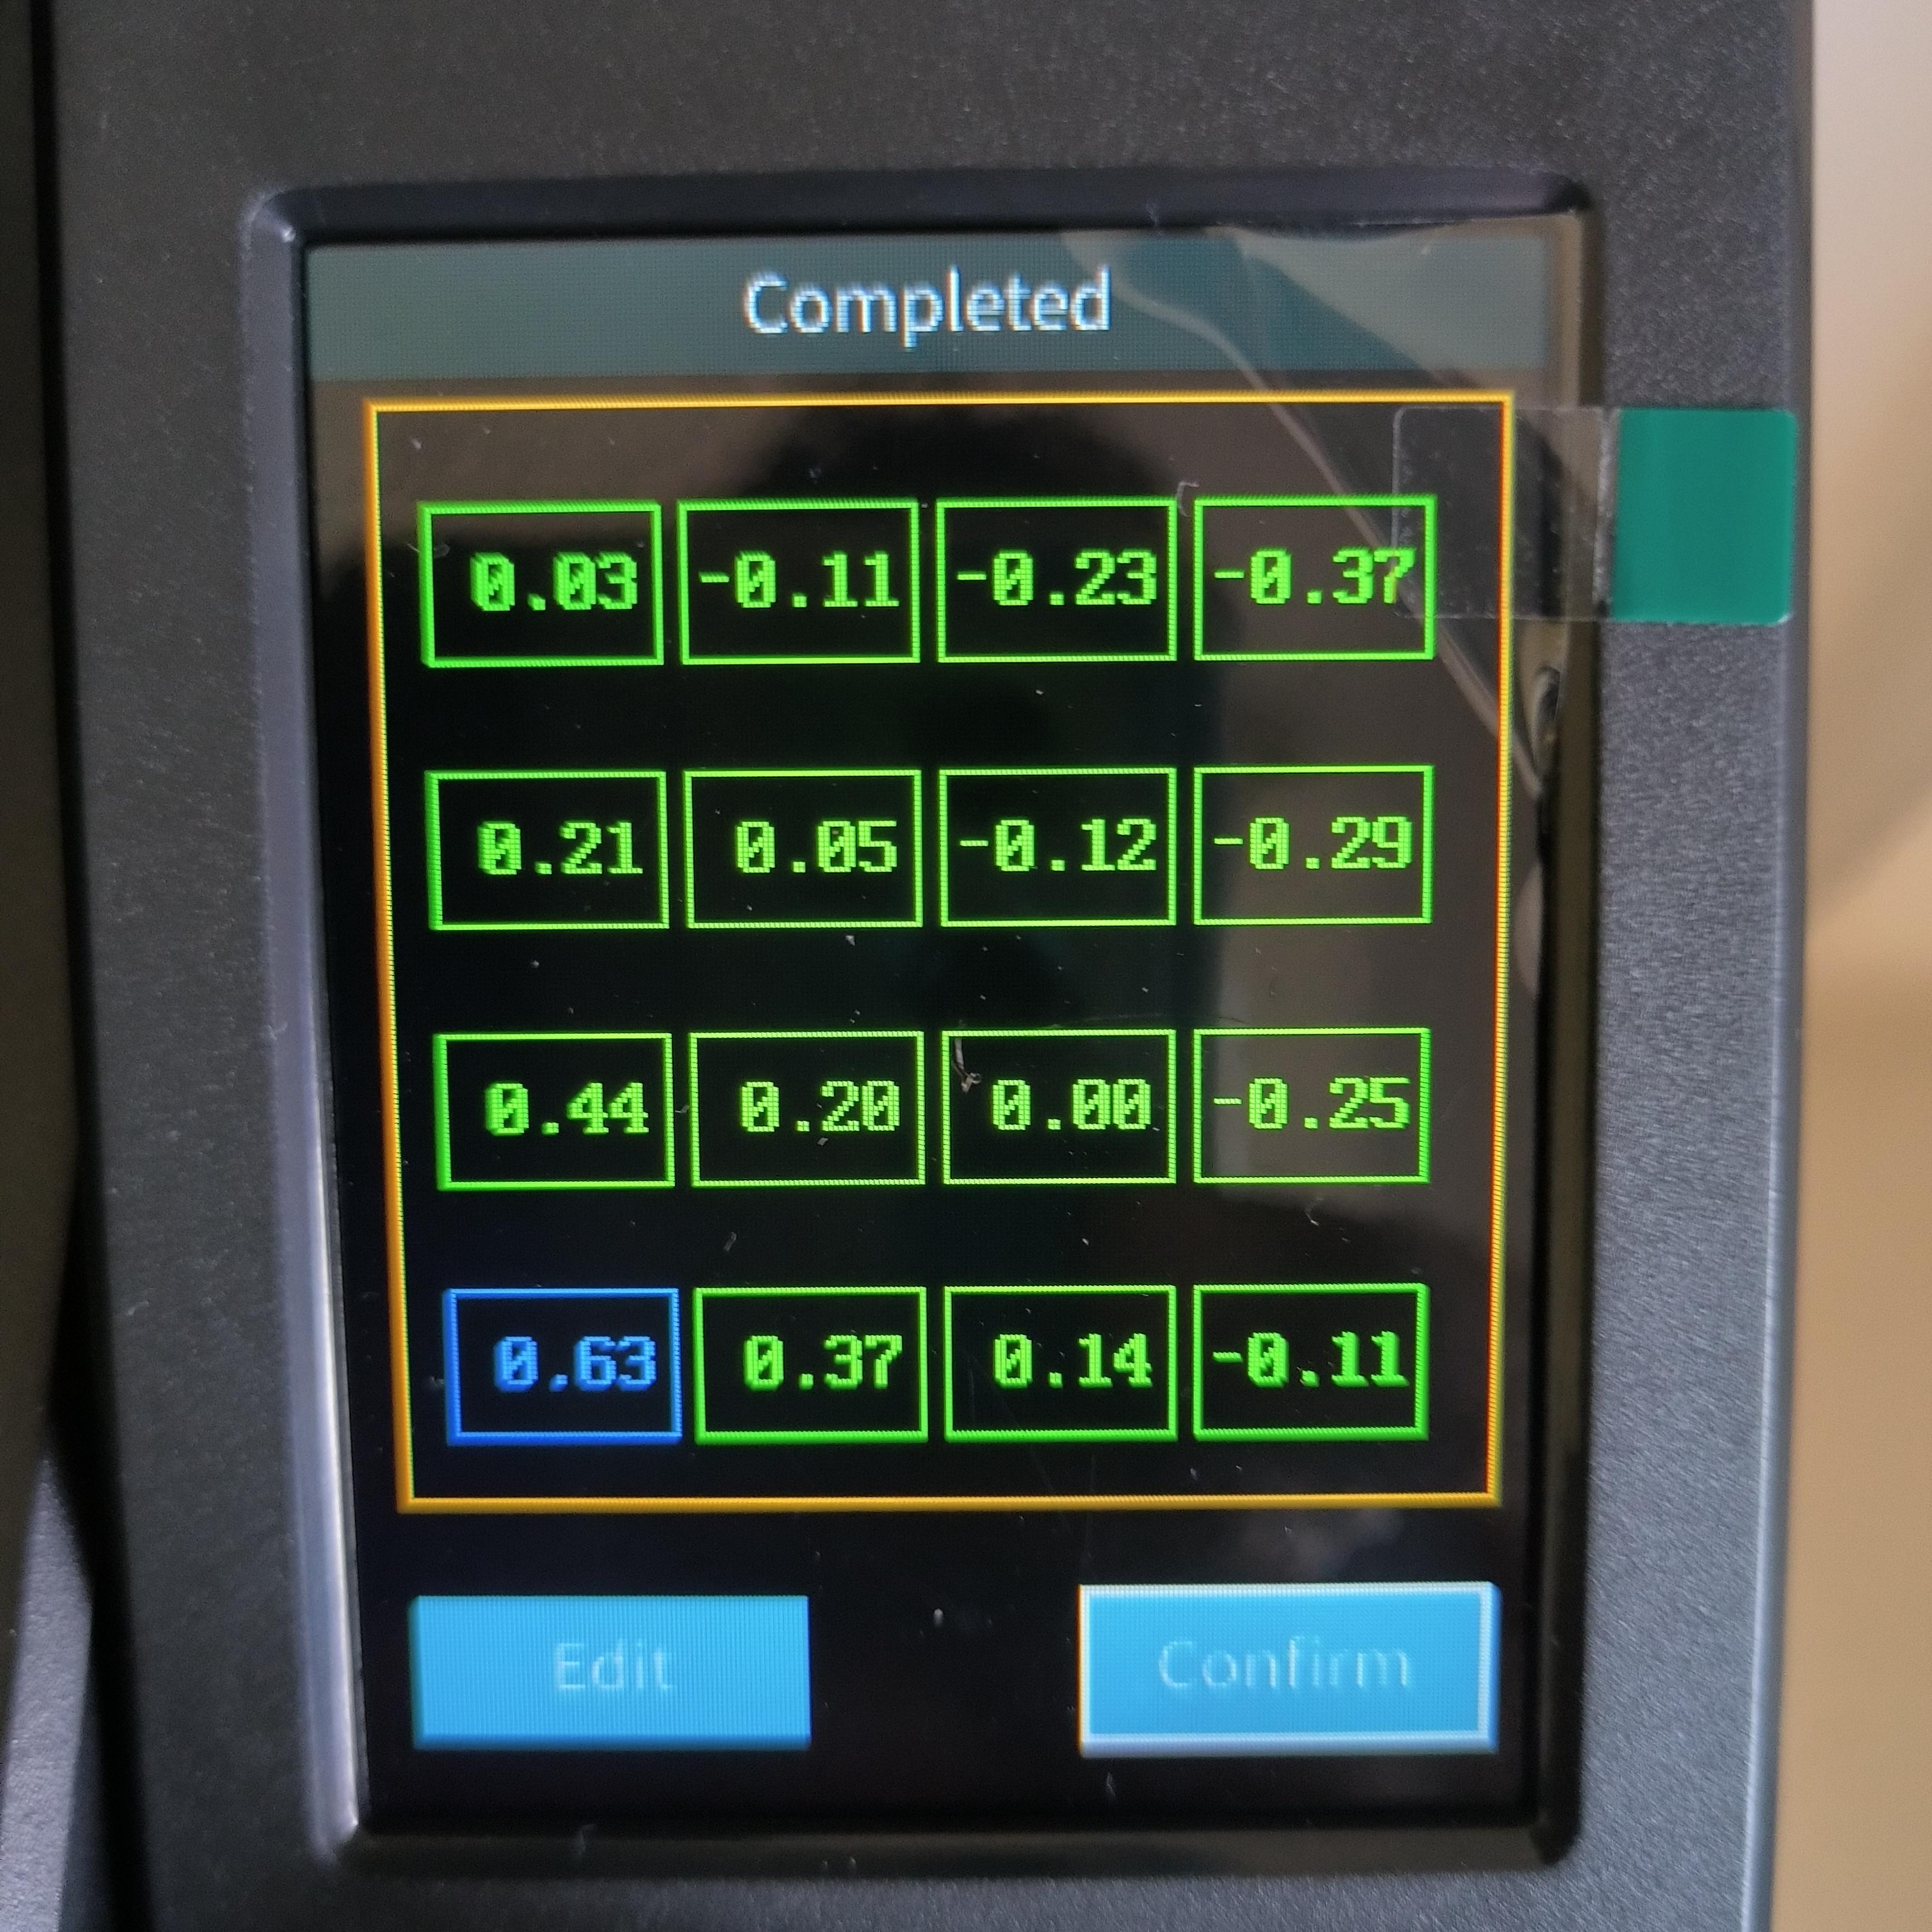
- The first thing one needs to do is to auto-level the bed
- The process is simple and the printer does it all
- As you can see in the picture, my bed is wrapped
- The printer should be able to adjust automatically*
- I am quite used to manual bed leveling and I miss the adjustment knobs
Firmware Upgrade
- This step is optional
- Go to Creality website https://www.creality.com/pages/download-ender-3-v3-se?spm=..page_1934481.products_display_1.1&spm_prev=..index.header_1.1
- Download the firmware and follow the steps as per the release notes
- This is extremely simple compared to what I had to do on my Ender 3
Printing
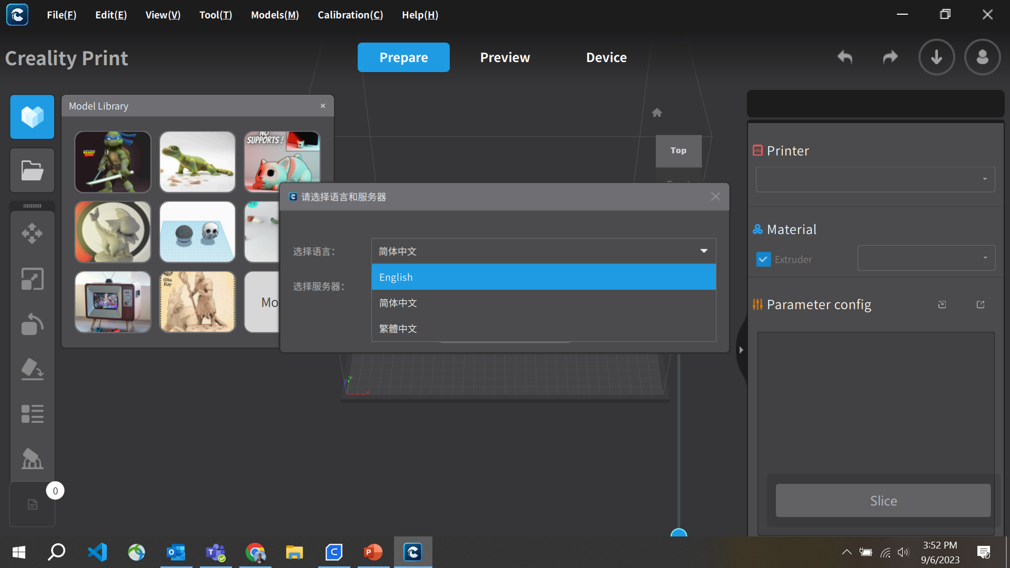
- Since the printer is new, we do not have it in the Cura 5.4 slicer
- The only option is to use Creality Print 4.3 or higher
- If you have been using Cura for a long time, then will find creality slicer a bit hard to use
- It has a marketplace for models, settings for printers, and profiles are mixed
- issues with software
- Limited profiles ( only 0.1 and 0.2 mm layer height)
- No jerk control, even after enabling
- Overlap between skin and top layer is not enough
- Retraction settings needs to adjusted to lower value
Print Quality
- Over the weekend I printed a few different objects
- my observations
- Positives
- Easy Installations
- Quiter than Ender 3
- 32 bit MB
- Print at higher speeds
- Direct drive
- Can print big objects faster
- Negatives
- The creality slicer needs improvements
- Jerk control needed for X and Y
- Compensation for auto-leveling is not good
- The flexible bed has a plastic layer, that easily melts
- Many plastic parts are used, which could lead to unknown issues
- Build volume dues to cable is reduced to 210mm on Z axis
- Smaller objects need to be printed at lower speeds
Cura
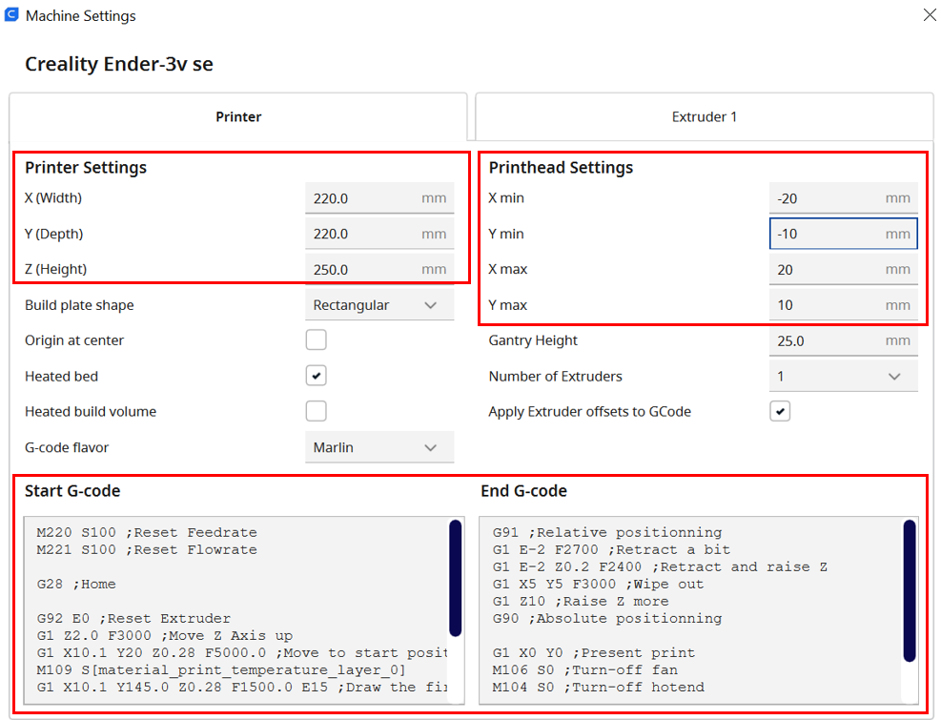
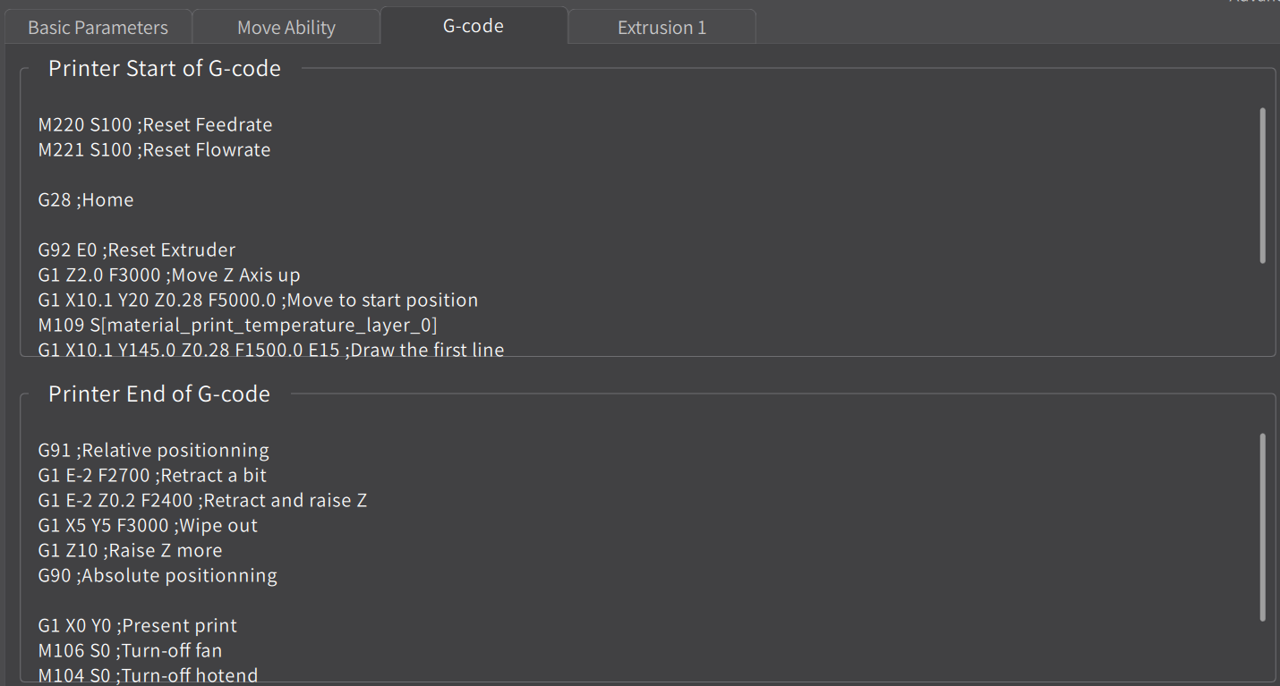

- This step is optional: I tried to create a machine and profile that matches Creality's slicer
- Machine definition cannot be exported or imported in Cura, so all steps are manual
- In Cura add a new printer select Ender 3 s1 or higher
- Then copy the setting from Creality Slicer to Cura
- Then edit a standard 0.2 mm layer height as in the picture
- I was able to print faster, without jerks, but was not able to get the same speeds as the Creality slicer
- Needs more work
Suggested Upgrades
- Bed
- Converting to an adjustable spring-screw mechanism is possible
- Glass bed
- Or PEI plate
- Printer
- Firmwave is still not open source, maybe later, we will be able to use Marlin and fix a few issues
- The cooling fan is 3D-printed and needs to be changed with a better one
- Cura slicer
I am happy with the printer, just that I miss a few tinkering options on it. Perfect for any beginner