Getting Started With ESP8266 ESP-12
by Mechatronics Workshop in Circuits > Microcontrollers
974 Views, 0 Favorites, 0 Comments
Getting Started With ESP8266 ESP-12
.jpg)
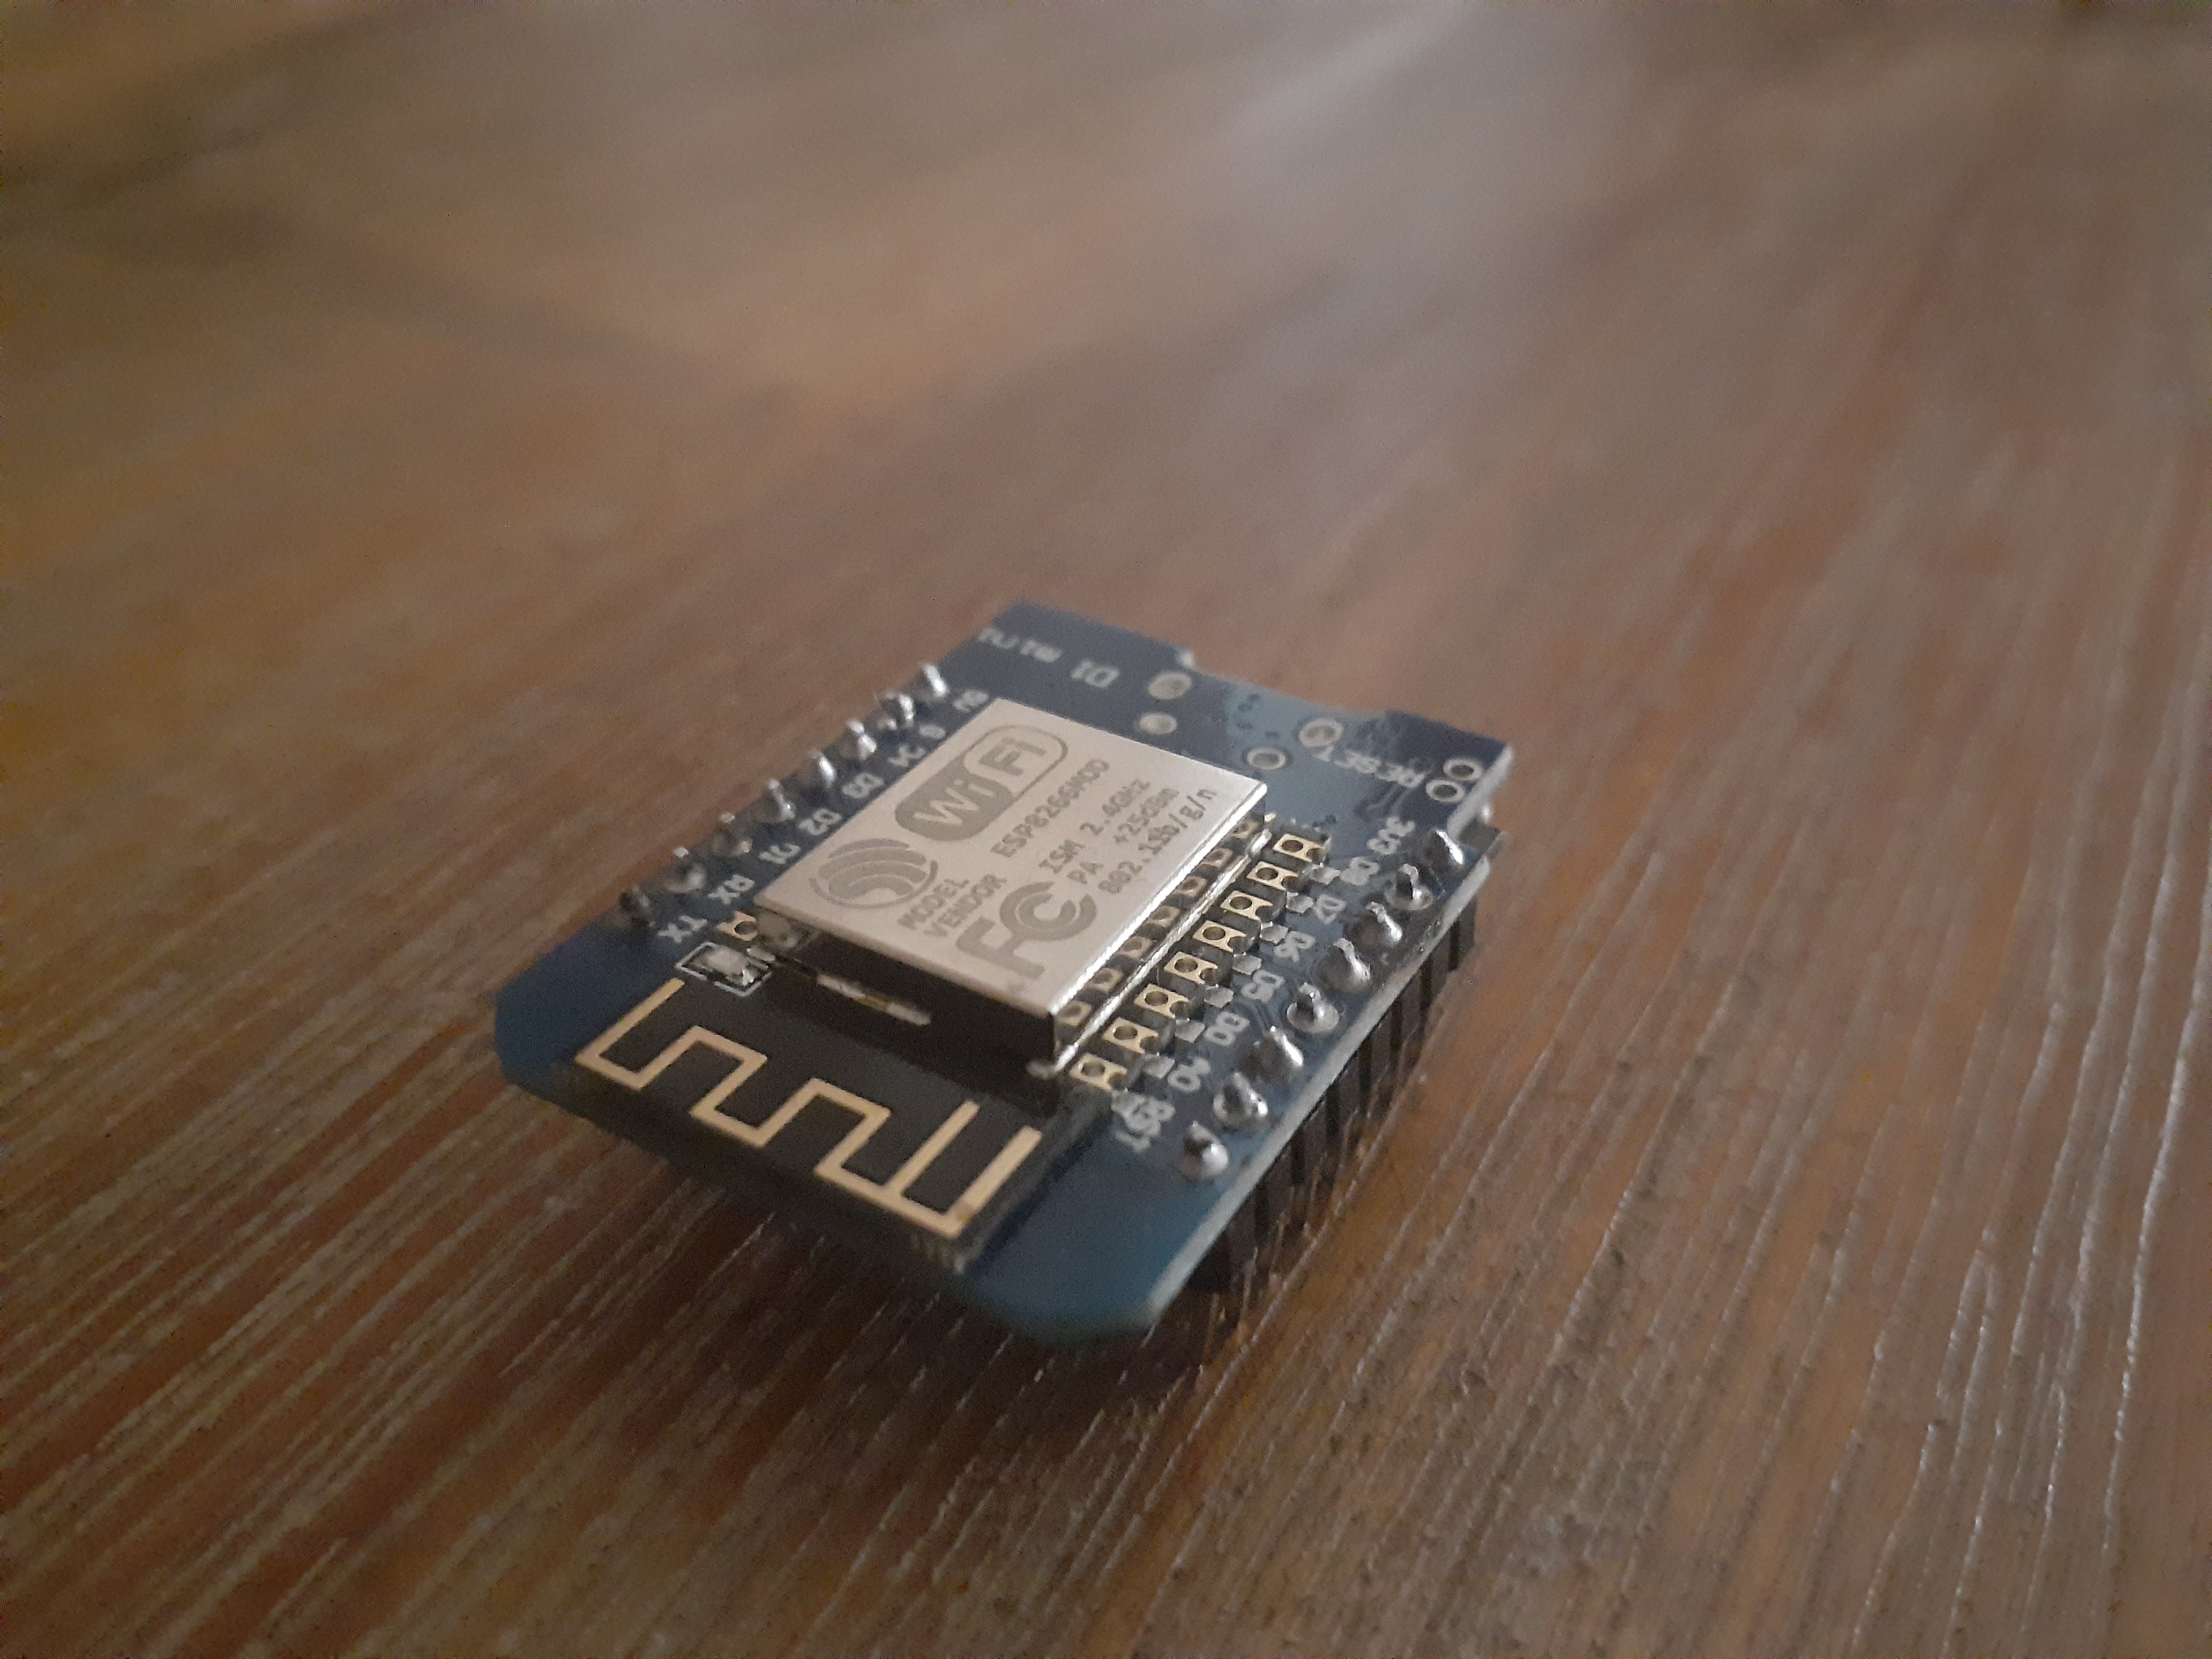
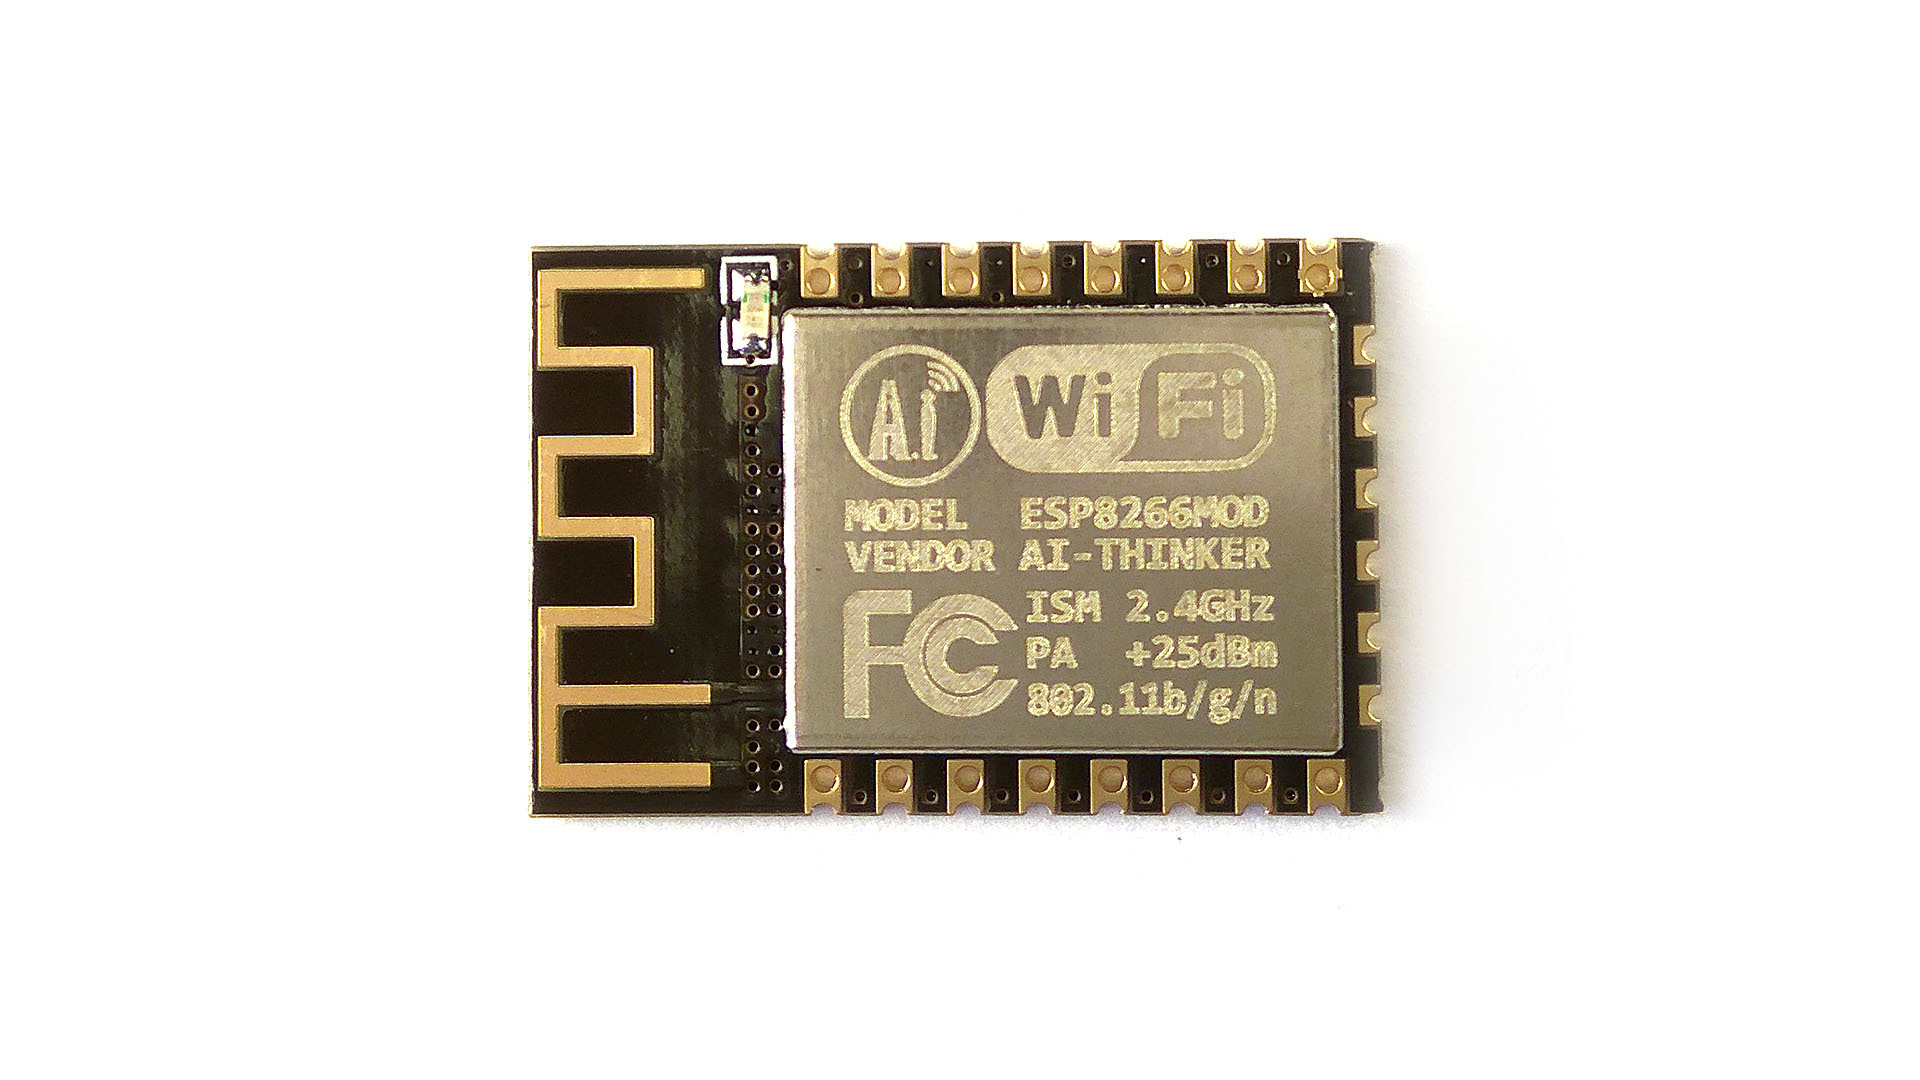
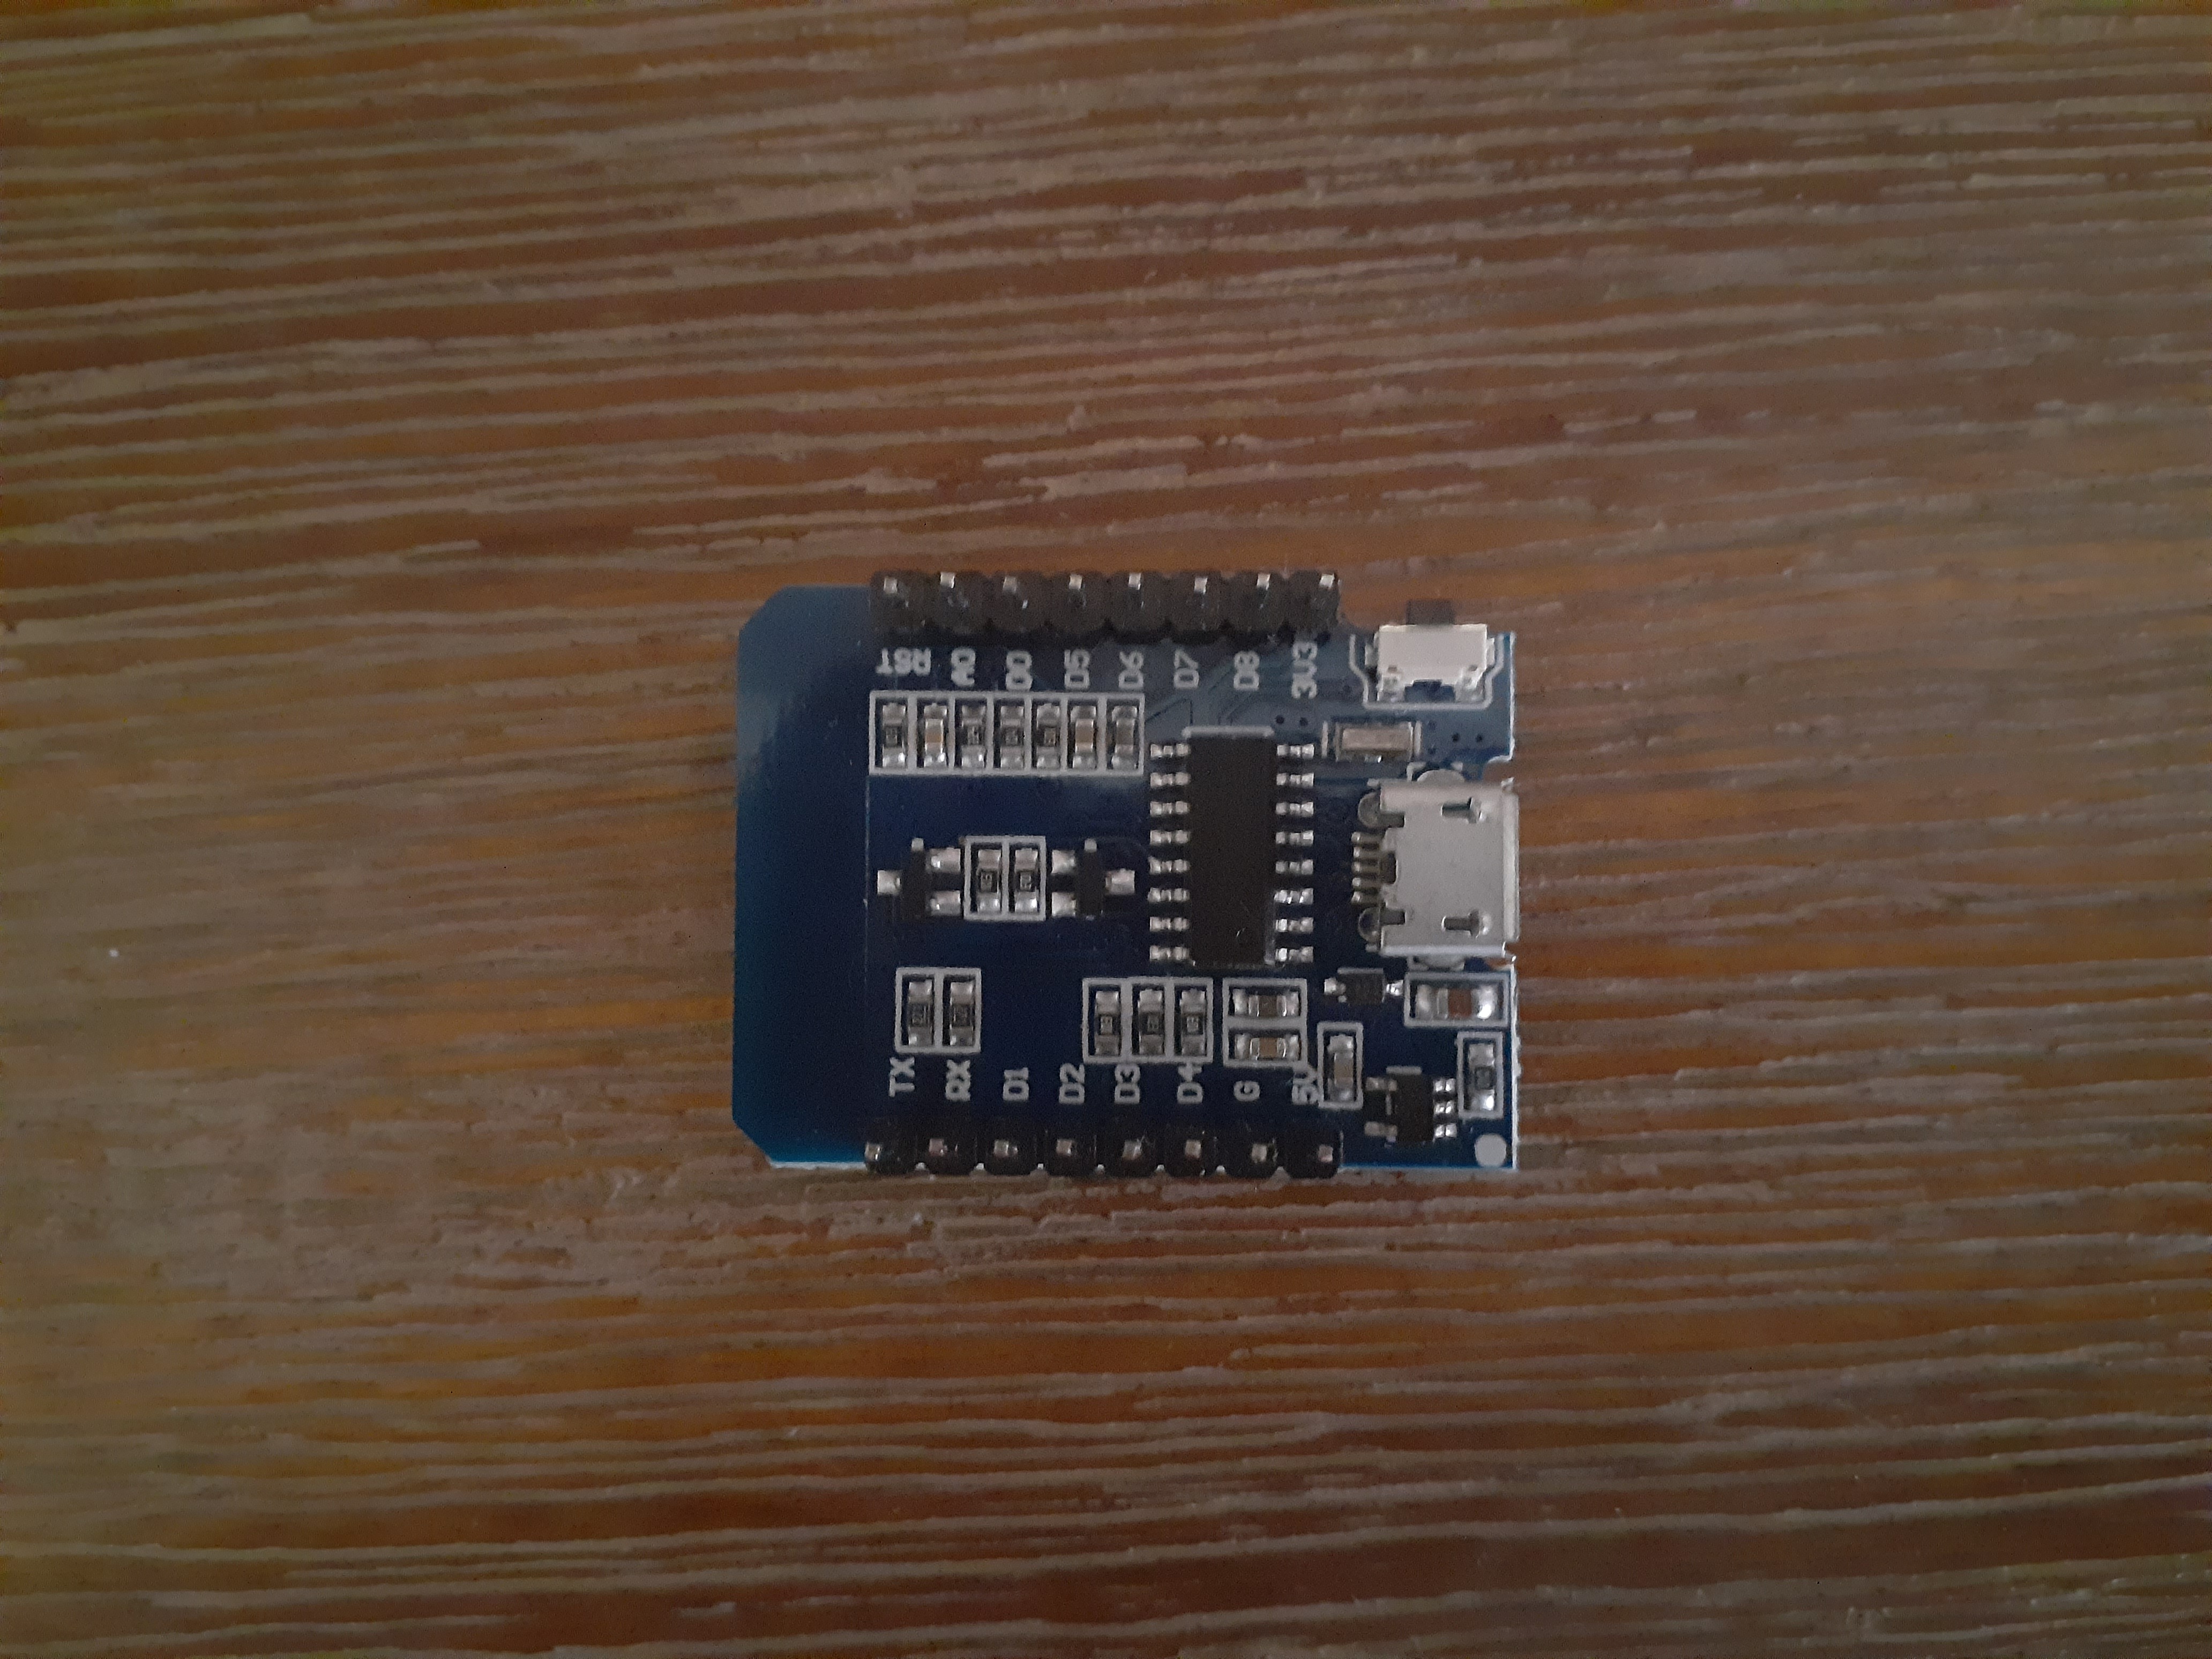
In this tutorial I will be teaching you guys how to get started with the ESP8266 microcontroller which is also a WIFI module. Some prior knowledge that you will most likely need is knowing what a microcontroller is and how to use the Arduino IDE to program a microcontroller. We will be learning how to set up the Arduino IDE to program this module and what settings you should use. This module is great for a myriad of projects as it can connect to any WIFI network and send web requests as well as creating its own network. There are endless possibilities for this module including temperature loggers, smart switches and many more which we can cover in later tutorials. You can purchase this module in many breakout boards, but I prefer using the WEMOS D1 mini board. This board exposes all the important pins that are not related to flash memory and you can program it directly by connecting a Micro USB cable. This board is also compact so you can plug it into a breadboard with 1 row exposed on each side and it's small size also allows you to create compact projects such as a smart watch. Today all we will be doing is blinking an LED without using any WIFI capabilities, but it is essential you get this down before moving onto complex projects.
Supplies
These are the parts you will need for this introduction tutorial:
- Any colour LED
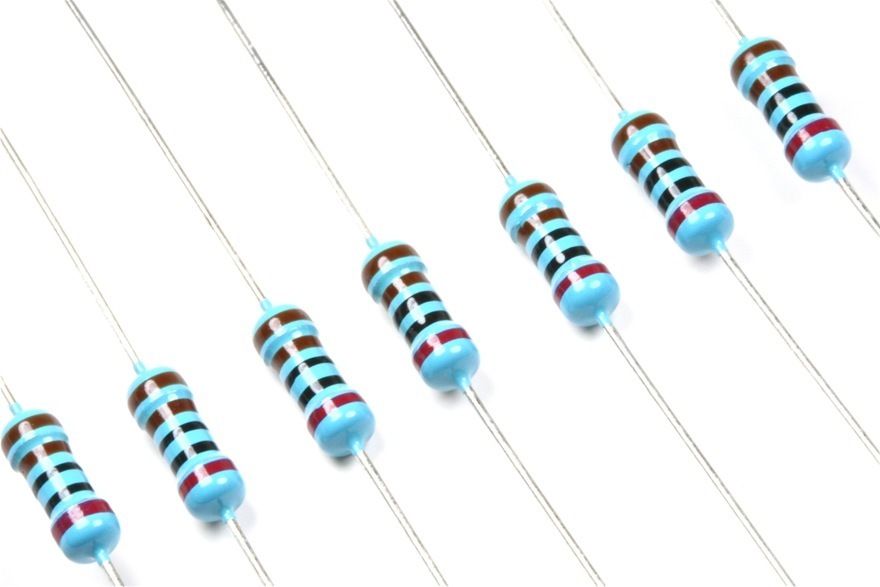
- 330 ohm resistor
- ESP8266 D1 mini
- breadboard (optional, but easier than soldering)
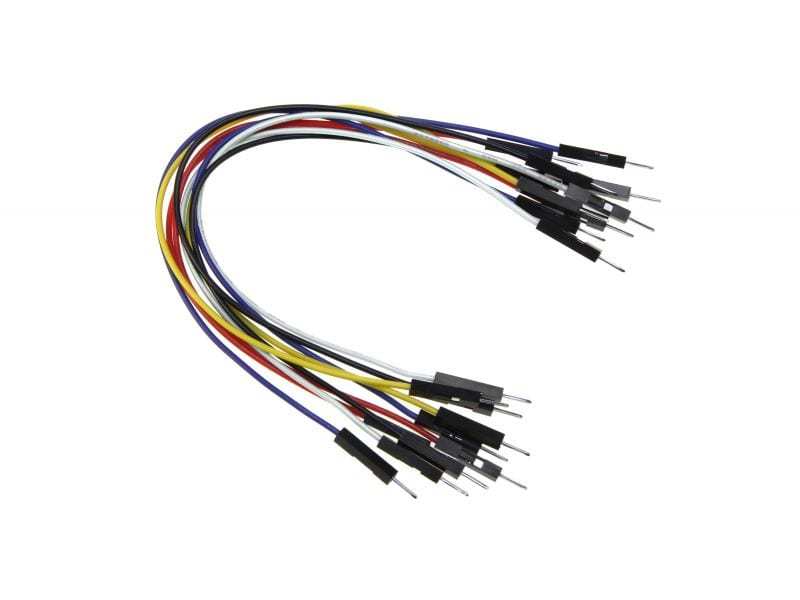
- jumper wires (optional, but easier than soldering)
Setting Up the Arduino IDE
To set-up the arduino IDE and get it ready for programming the ESP8266 follow these steps:
- Click on File > Prefrences or press CTRL + Comma
- In the "Additional Boards Manager URLs" field paste this url: https://arduino.esp8266.com/stable/package_esp826...
- If you already have a URL there seperate them with commas otherwise click "OK" in bottom left.
- Then close and restart the program.
- Click on tools > Boards > Board Manager.
- Search for "ESP8266", find the one that says "ESP8266 by ESP community" and select it.
- Click "Install".
- Once again restart the program.
- Now go into Tools > Board and select the option named "LOLIN(WEMOS) D1 R2 & mini".
- Next go on Tools > Port and select which ever COM port the module is connected to. For me this is "COM11" but it could differ or you.
- You should now be ready to upload the program after connecting the module to the computer through a micro USB cable.
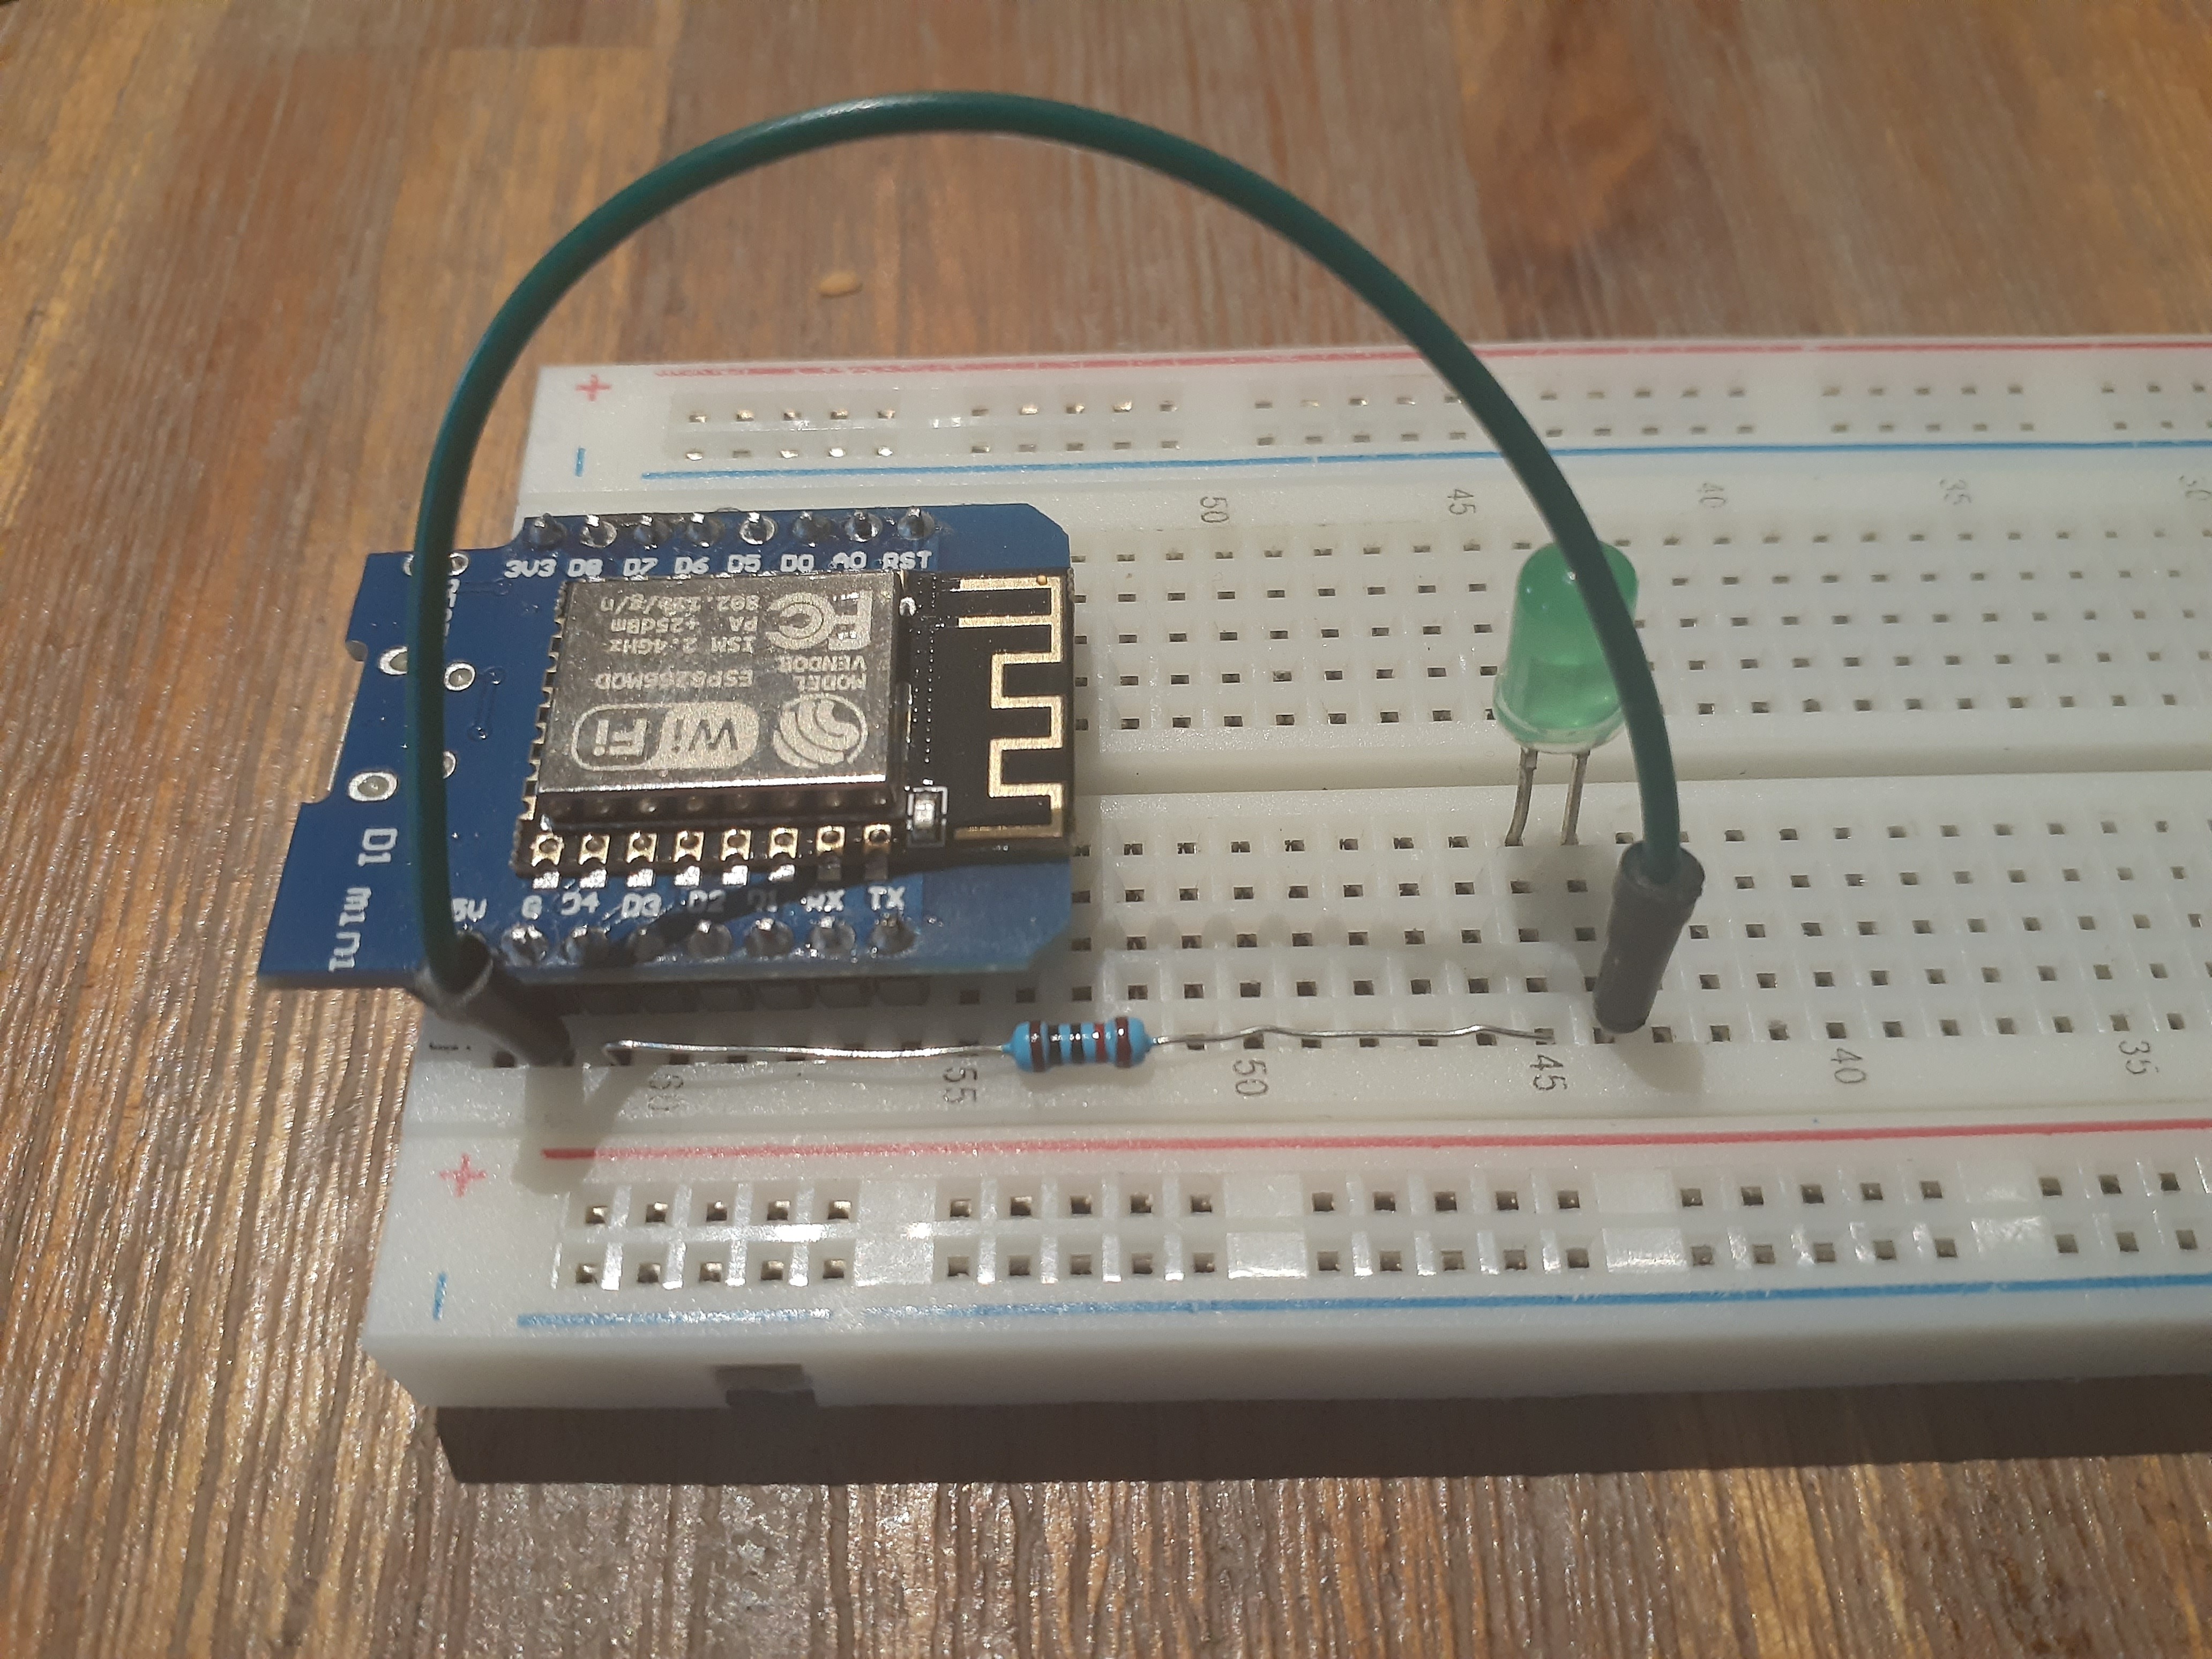
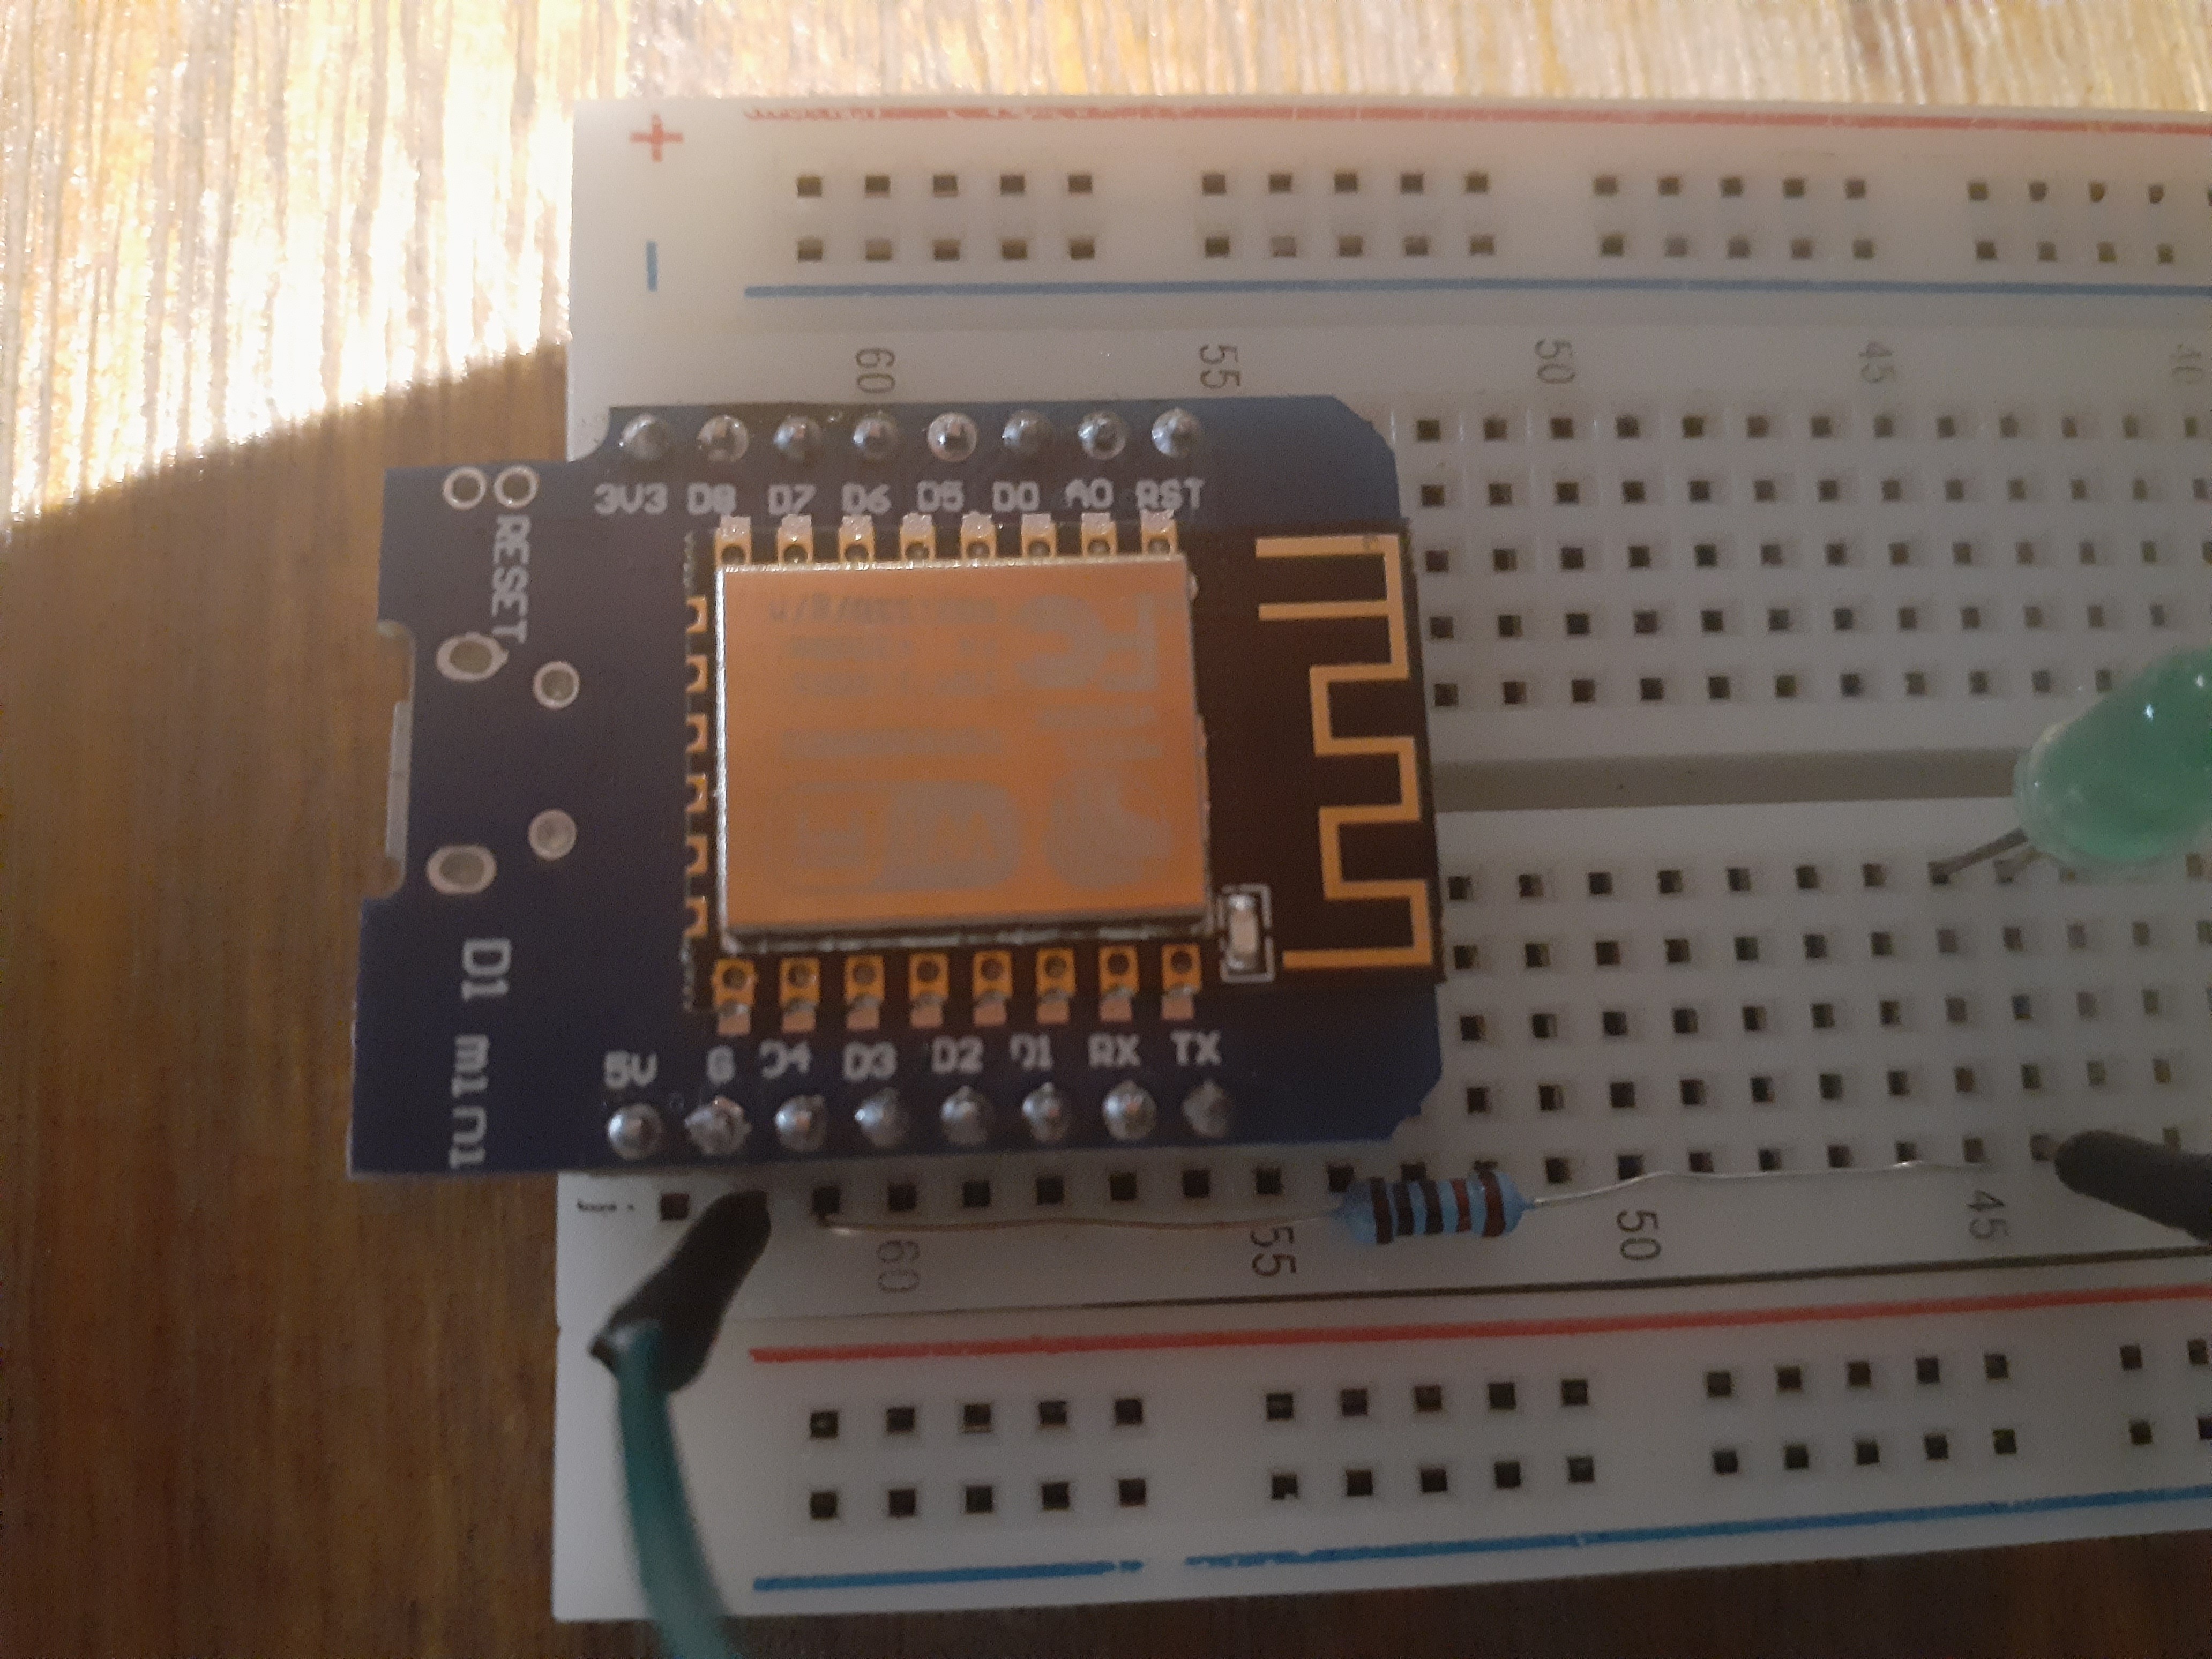
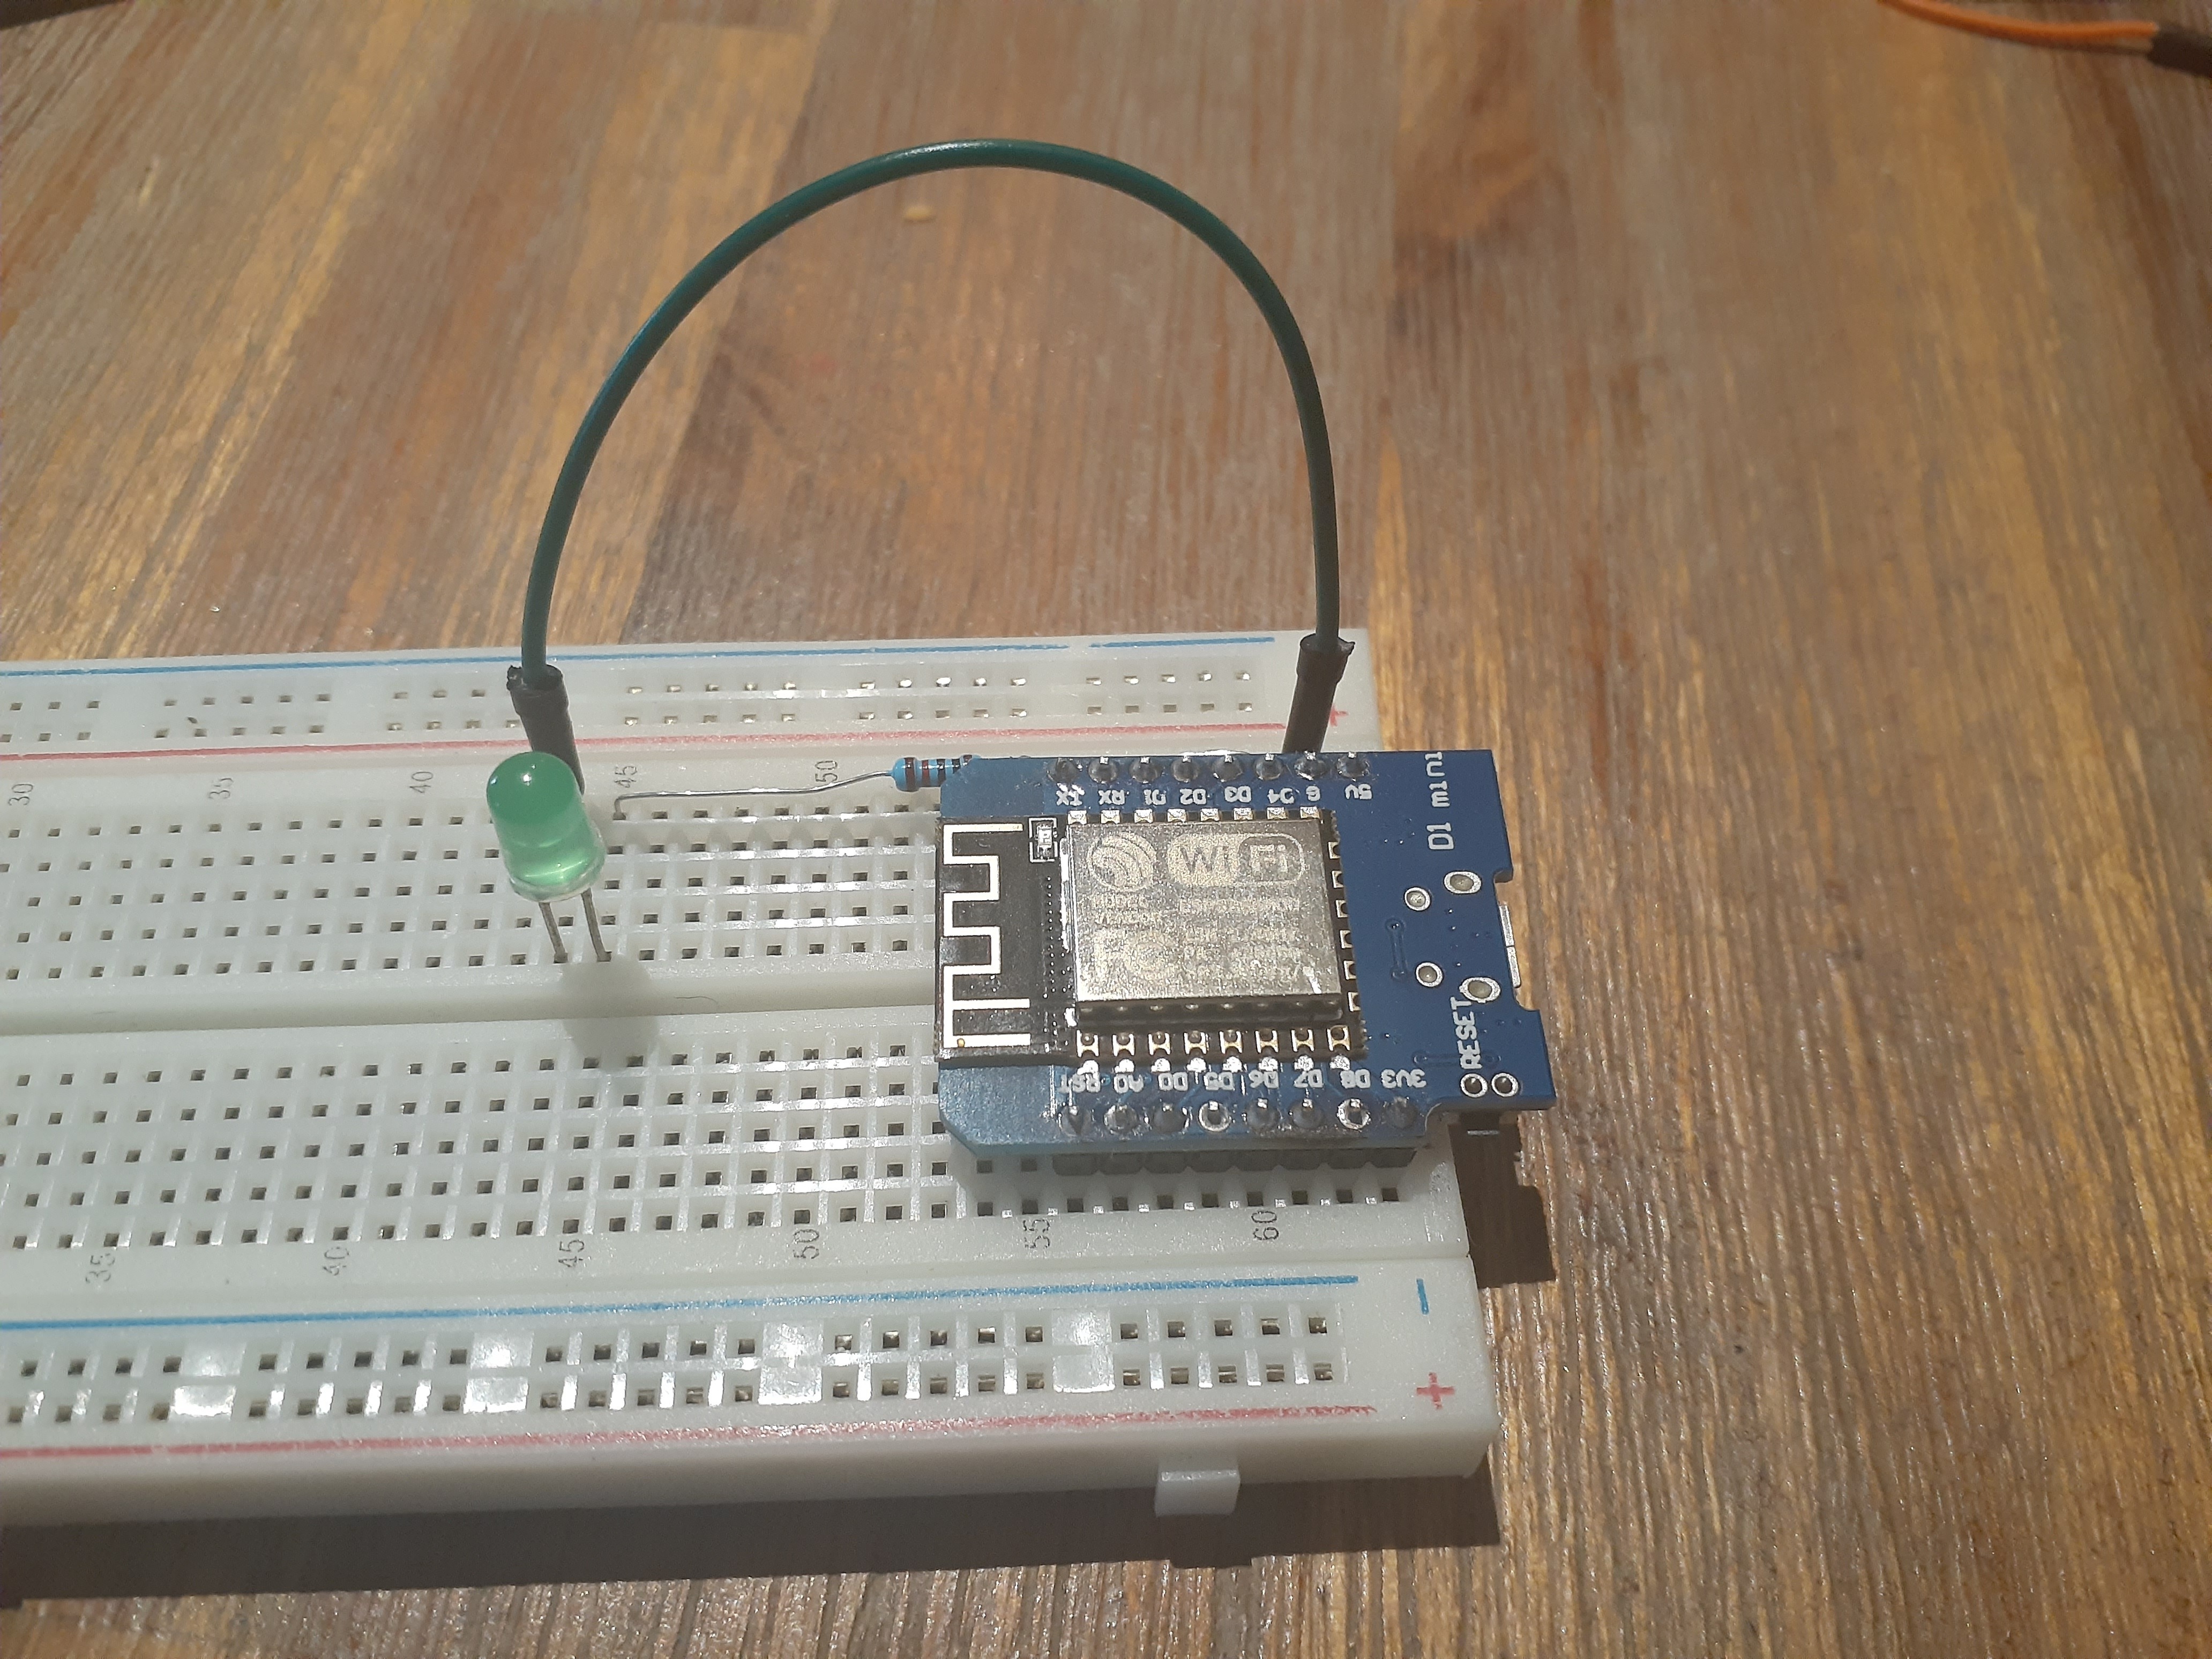
Wiring the Circuit
.jpg)
.jpg)
.jpg)
- Plug the module into a breadboard which will expose one row of pins on each side.
- Plug the LED into two holes in the breadboard.
- Connect a resistor to D3 with a value of 100 ohms, in my case I am using 2K ohms.
- Connect the other end of the resitor to the anode or longer lead of the LED.
- Connect a jumper wire from the ground pin to the cathode or shorter lead of the LED.
Programming ESP8266
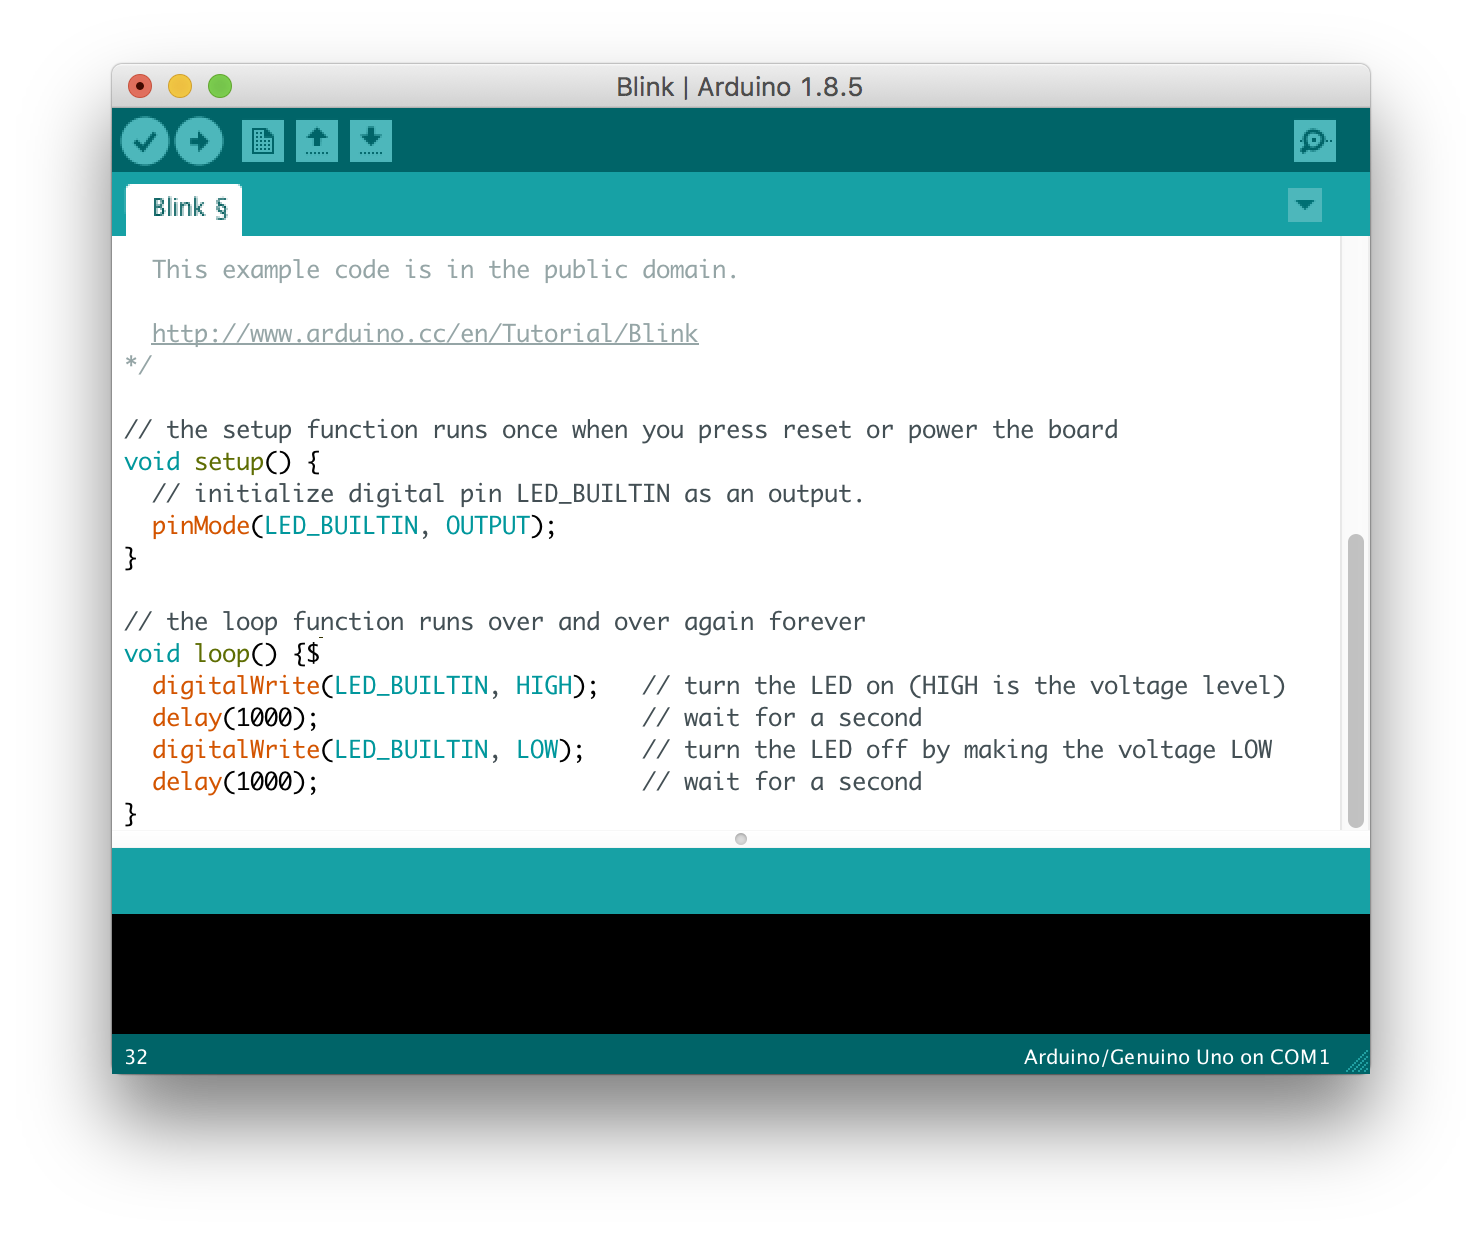
The description of the program are embedded using comments. Copy paste the following code and upload it to the WIFI module or download the file at the this link:
/*
 Blink by Saatvik Sehgal for WEMOS D1 mini
*/
const int LED = D3; // set LED as the variable name for the pin D3 so we can use "LED" instead of writing D3 every time
// the setup function runs once when you press reset or power the board
void setup() {
  pinMode(LED, OUTPUT); // initialize digital pin D3 as an output
  }

// the loop function runs over and over again forever
void loop() {
  digitalWrite(LED, HIGH);   // turn the LED on (HIGH is the voltage level)
  delay(1000);                       // wait for a second
  digitalWrite(LED, LOW);    // turn the LED off by making the voltage LOW
  delay(1000);                       // wait for a second
}
Thats All. You Should Now See the LED Blinking
Check out an example in the video attached.