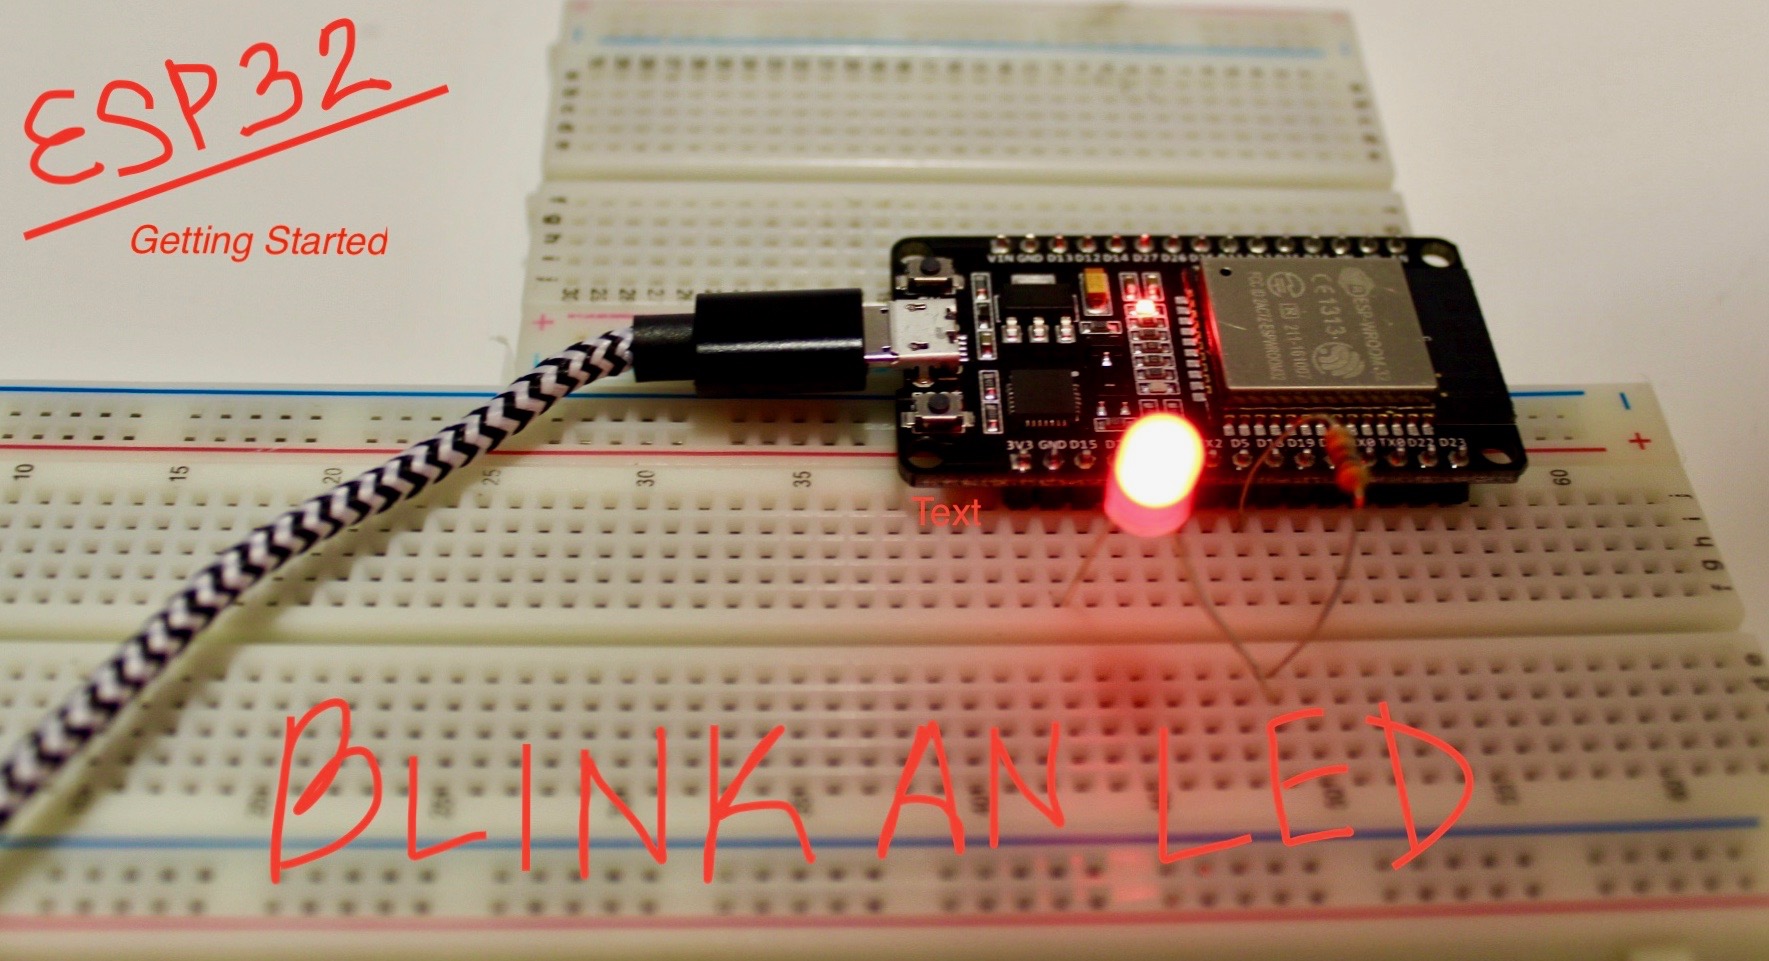
Getting Started With ESP32 on a Mac: Blink and LED
by TechMartian in Circuits > LEDs
26006 Views, 18 Favorites, 0 Comments
Getting Started With ESP32 on a Mac: Blink and LED
The ESP32 development board is super-charged version of the popular ESP8266. It is a WiFi-compatible microcontroller, in addition to having Bluetooth low-energy (BLE4.0) and 27 I/O pins. It also has a very small form factor relative to the Arduino and is also very cheap, approximately $5, making it the ultimate prototyping micro control. Since it has both WiFi and Bluetooth it is a great device to be used for Internet of Things (IoT) devices and projects.
This project is an introductory lesson in the use of the ESP32 in a series of tutorials for a variety of use cases and projects for the ESP32 development board, ranging from simple sensor interfacing to IoT devices.
I am inspired to write this instructable since I could not find a decent guides regarding how to get started with the use of the ESP32 Development Board. It is such a powerful board for it's size and price that I believe people should be more aware of it's existence and use.
Tools and Materials
- 2 Breadboards
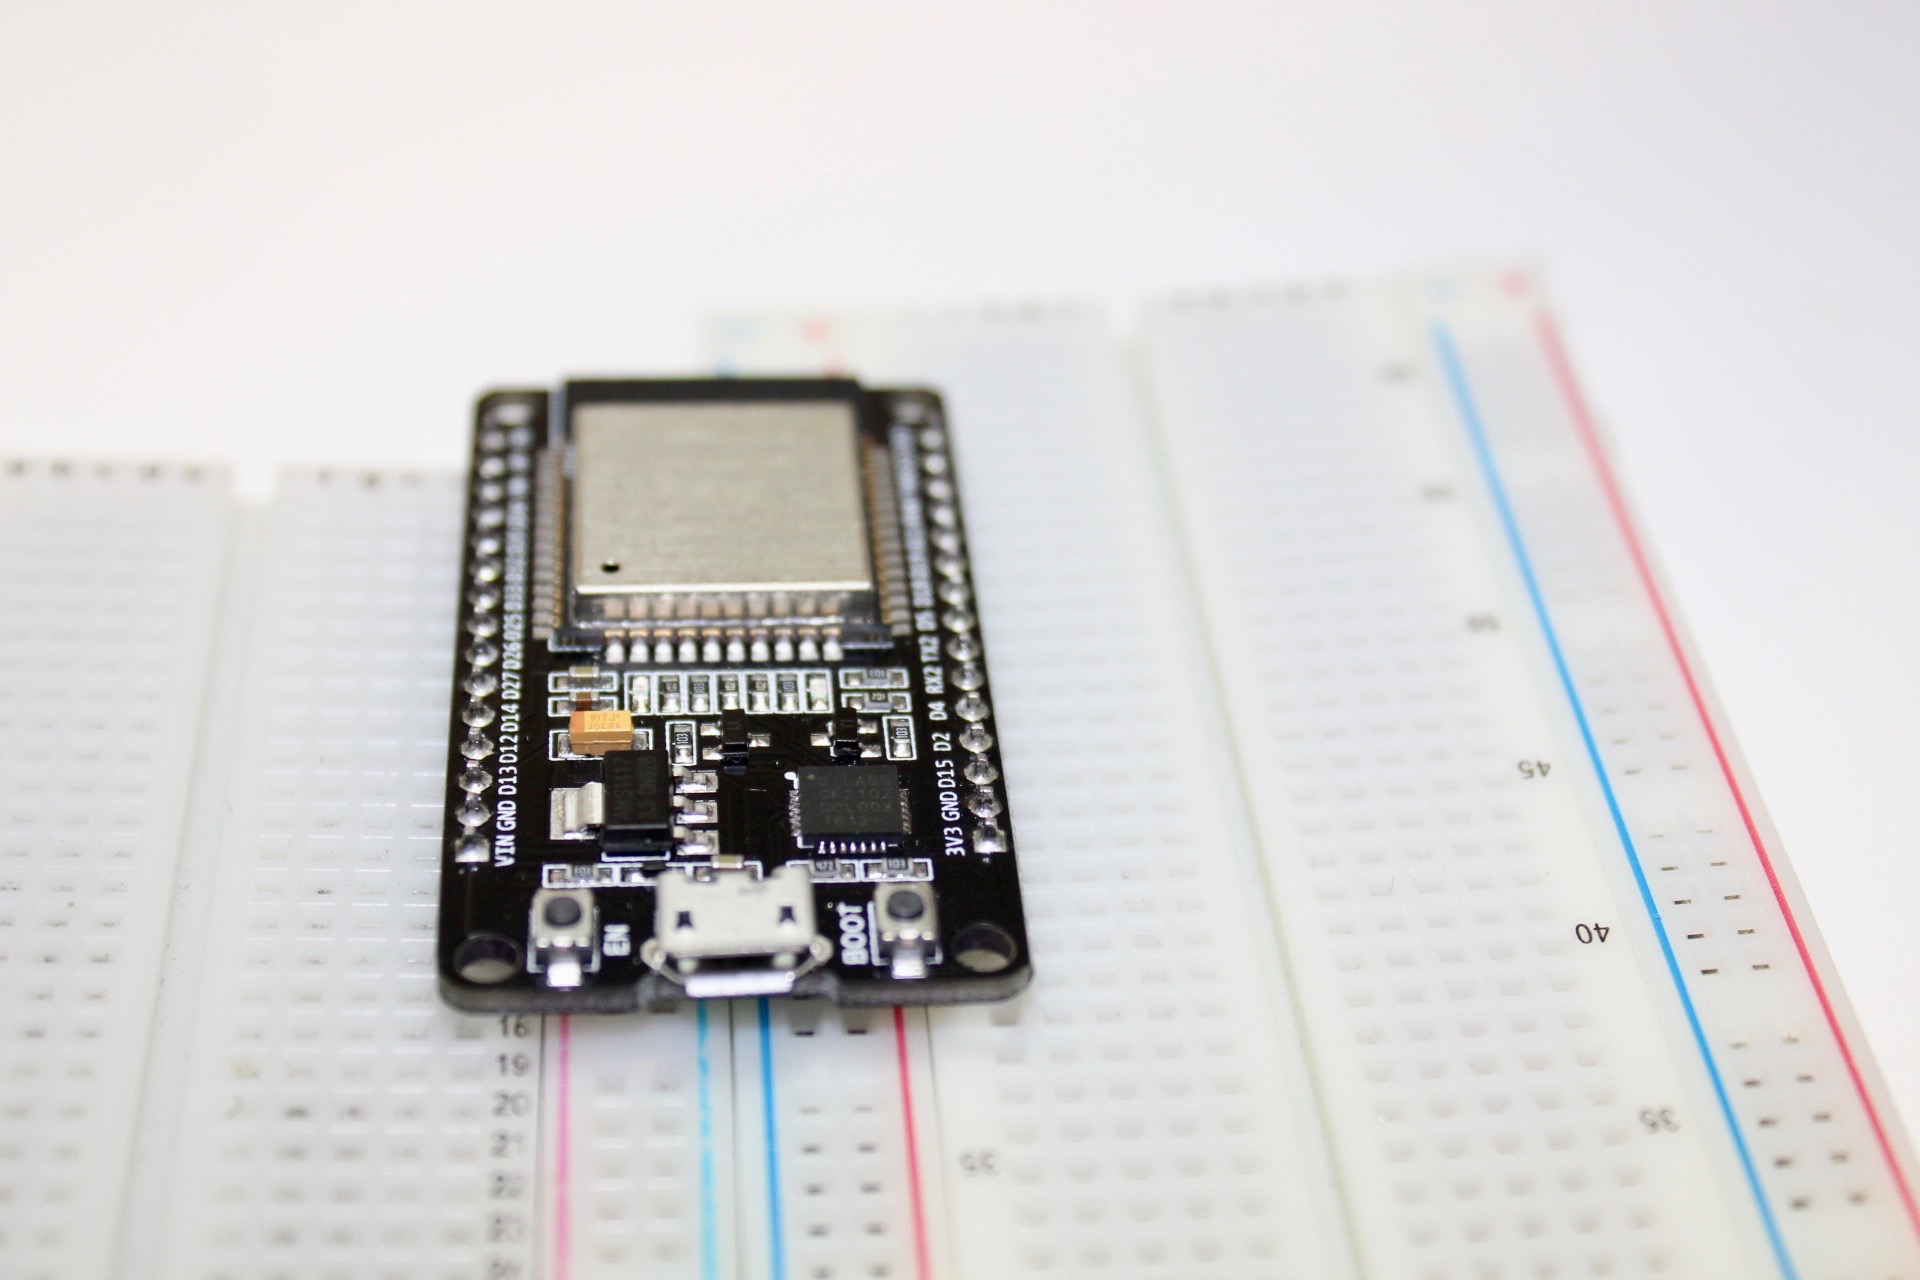
- ESP32 Development Board
- 5mm Red LED
- 100Ω Resistor
- USB to micro-usb cable
Installing the ESP32-Arduino-ACore Firmware
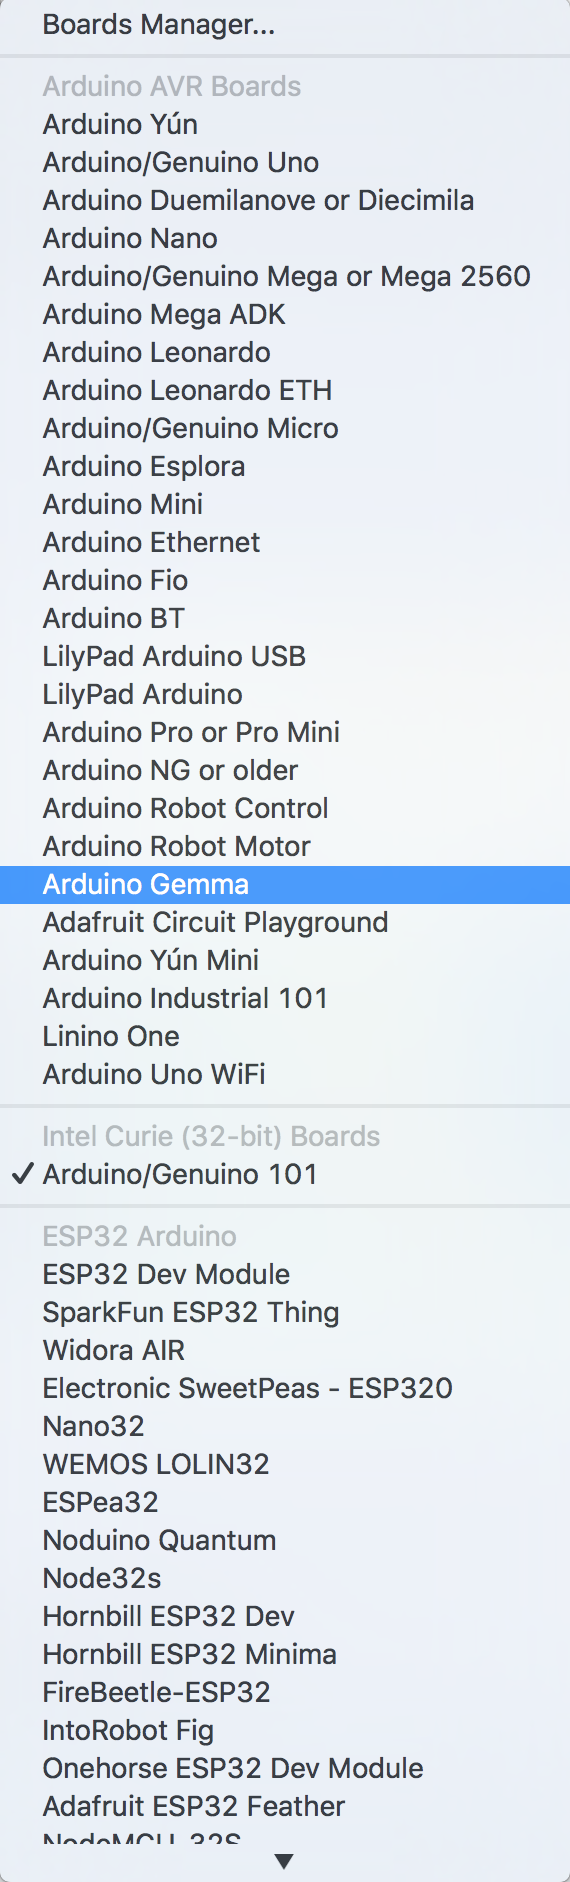
Natively, the Arduino IDE does not support the ESP32 Development board. Thus, the option to use the ESP32 will not be visible until the firmware is properly installed and that the Arduino IDE has been restarted.
- Open the Terminal and enter the following lines of code.
mkdir -p ~/Documents/Arduino/hardware/espressif && \
cd ~/Documents/Arduino/hardware/espressif && \
git clone  https://github.com/espressif/arduino-esp32.git  esp32 && \
cd esp32/tools/ && \
python get.py
2. Press enter and let the code run.
3. Restart the Arduino IDE and the you will see the ESP32 appear in the Tools>>Board
Install the SiLabs Driver
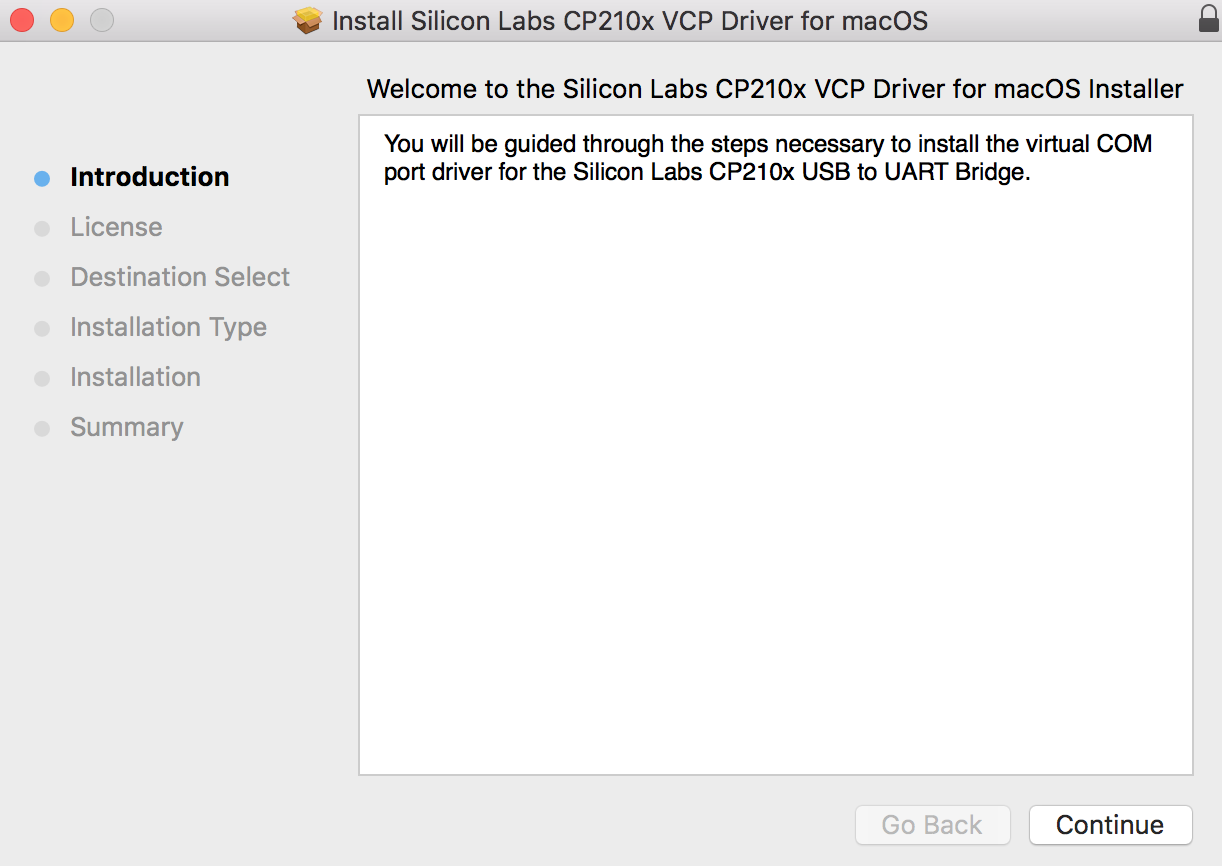
The ESP32 Development board's ports will not be recognized by the Arduino IDE since there are several drivers that are missing on a Mac.
- Download the drivers through the SiLabs website: https://www.silabs.com/Support%20Documents/Softwar...
- Install the drivers onto the computer
- Plug in the ESP32 through the micro-usb cable to the computer, and the port will appear on the Arduino IDE under Tools>>Ports.
Plugging in the ESP32 Development Board
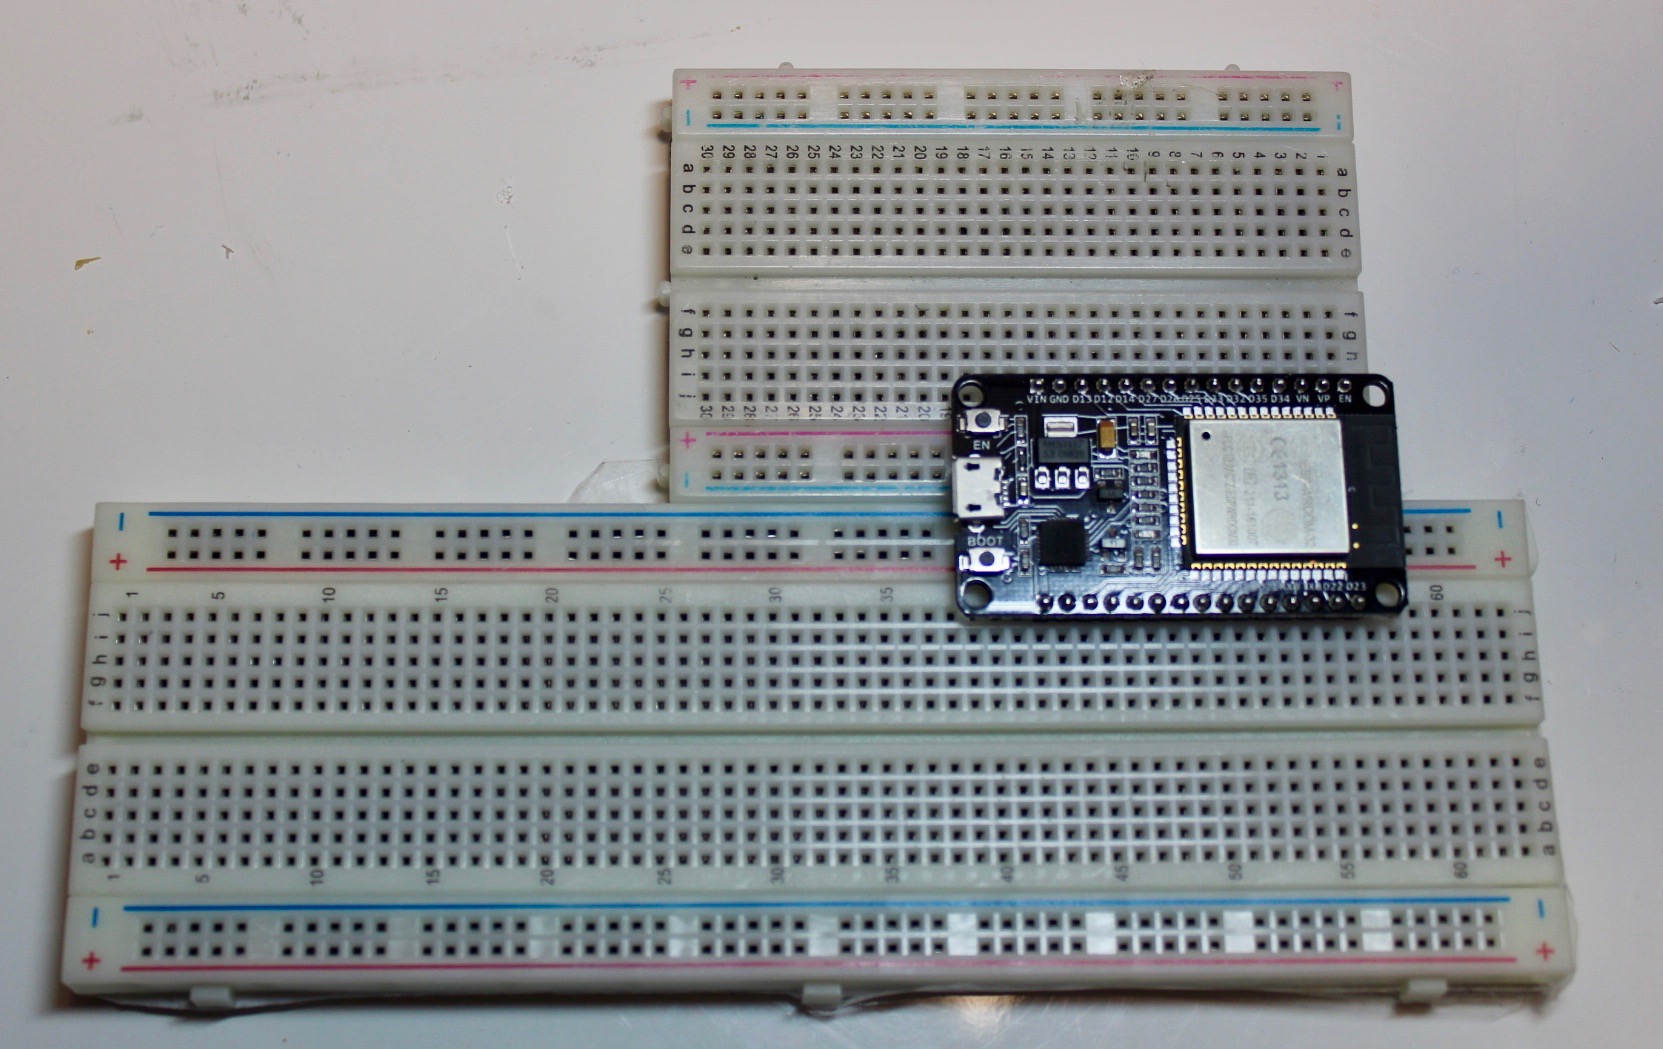
The ESP32 board is larger than its predecessor the ESP8266 as such it has to fit in between two breadboard to be usable.
- Tape two breadboards together.
- Plug in the ESP32 Development board in between the two breadboards.
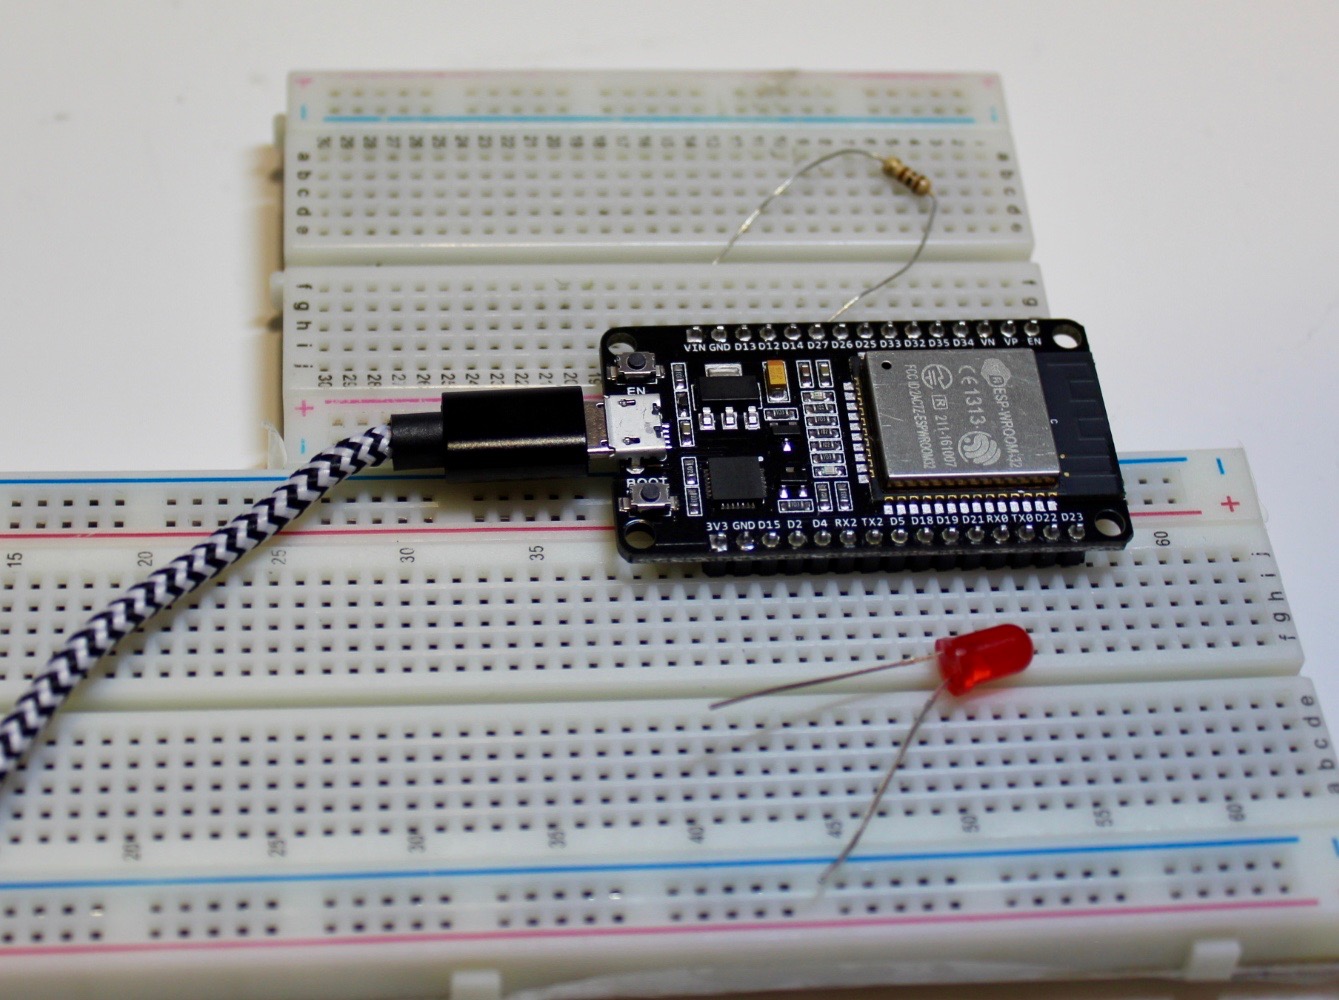
Wiring the Circuit

- Connect the 100Ω resistor to the pin called D6 on the ESP32.
- Connect the Anode of the LED to the end of the 100Ω resistor.
- Connect the Cathode of the LED to the pin called GND on the ESP32.
Coding

The code is relatively similar to that of the Arduino and are both written in C. However, there are differences in the baud rate as shown below.
int ledPin = 5;
void setup()
{
    pinMode(ledPin, OUTPUT);
    Serial.begin(115200);
}
void loop()
{
Serial.println("Hello, world!");
digitalWrite(ledPin, HIGH);
delay(500);
digitalWrite(ledPin, LOW);
delay(500);
}LED Blinking Demonstration
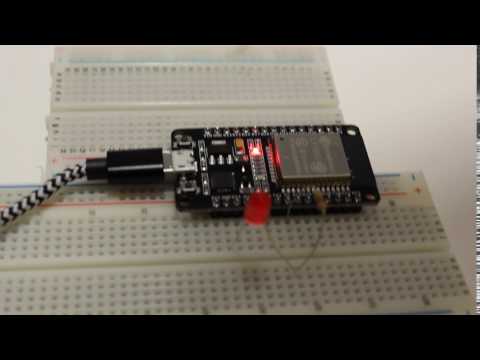
The LED blinking demonstration is the same result as the Arduino, but with the use of a much smaller form factor.