Getting Started With ESP32 | Installing ESP32 Boards in Arduino IDE | ESP32 Blink Code
by Utsource in Circuits > Arduino
18210 Views, 20 Favorites, 0 Comments
Getting Started With ESP32 | Installing ESP32 Boards in Arduino IDE | ESP32 Blink Code
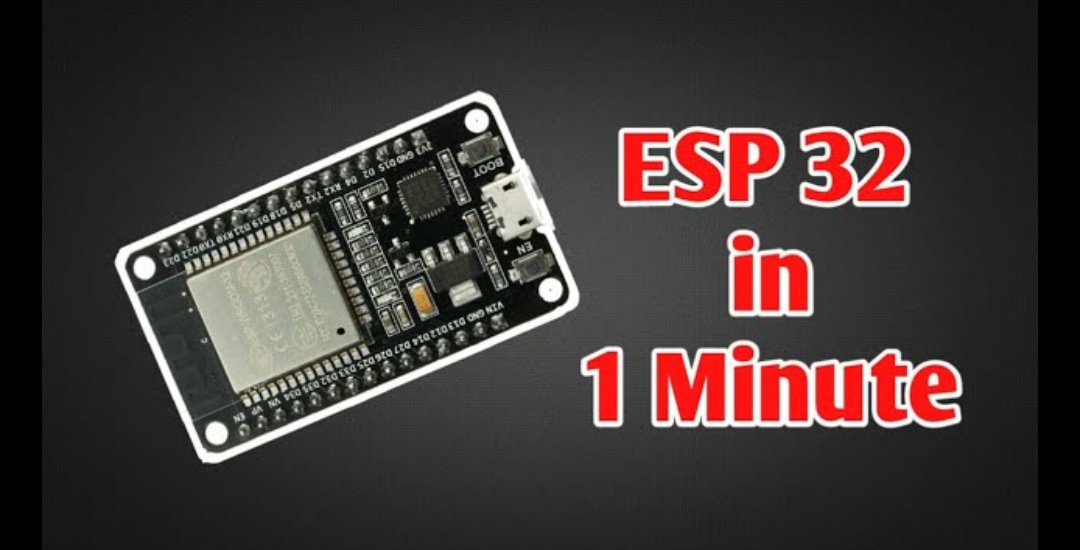
In this instructables we will see how to start working with esp32 and how to install esp32 boards into Arduino IDE and we will program esp 32 to run blink code using arduino ide.
Supplies
You will need a ESP 32 : https://www.mob.utsource.net/ic-datasheet/8391725
And a cable for Programming it .
Get a ESP32 & Get Arduino IDE
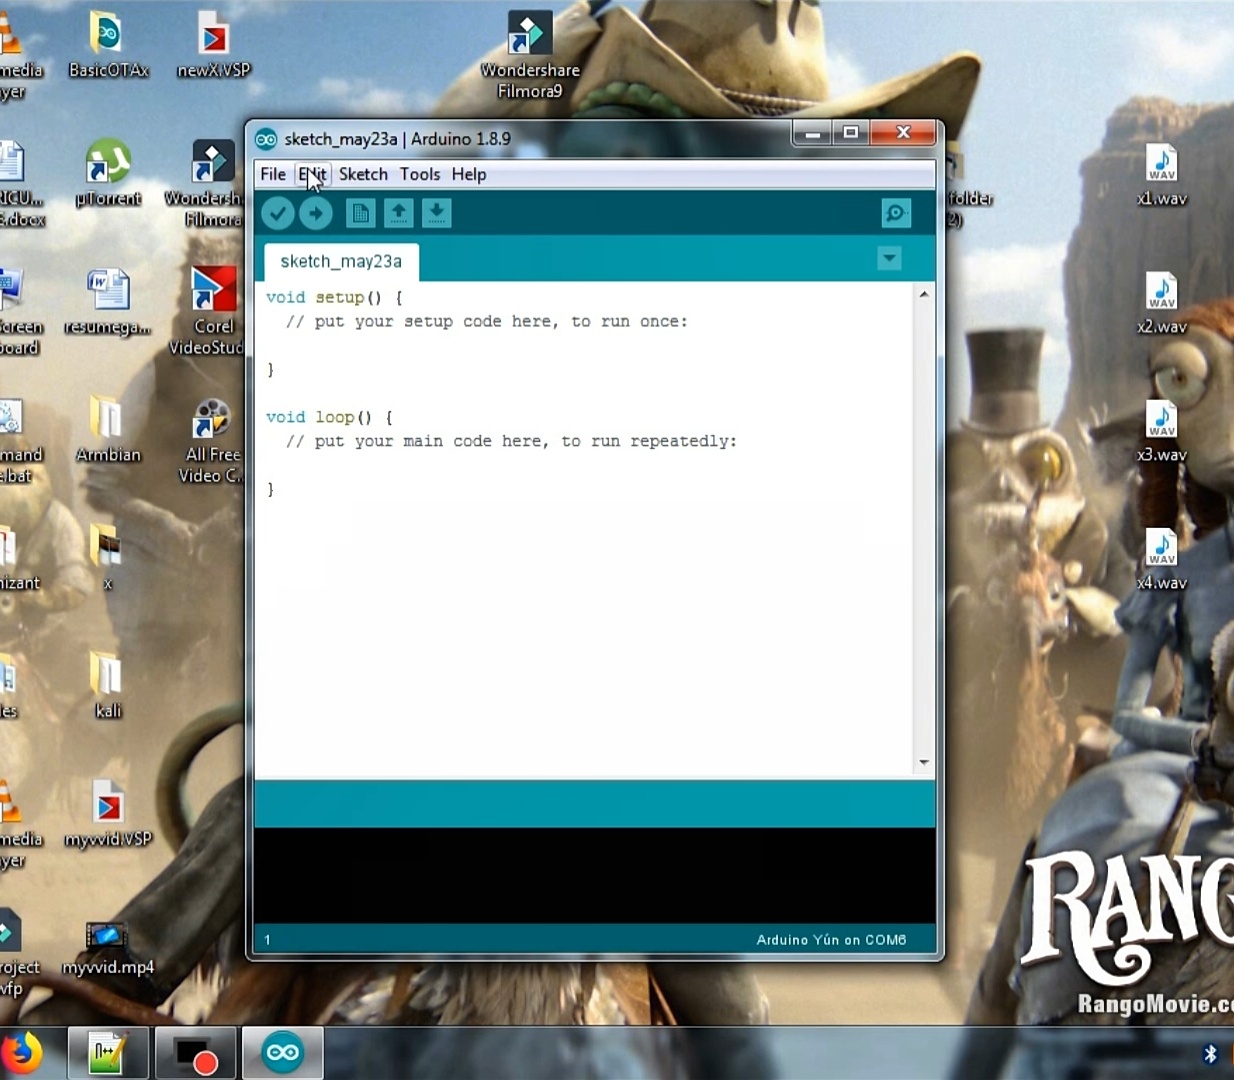
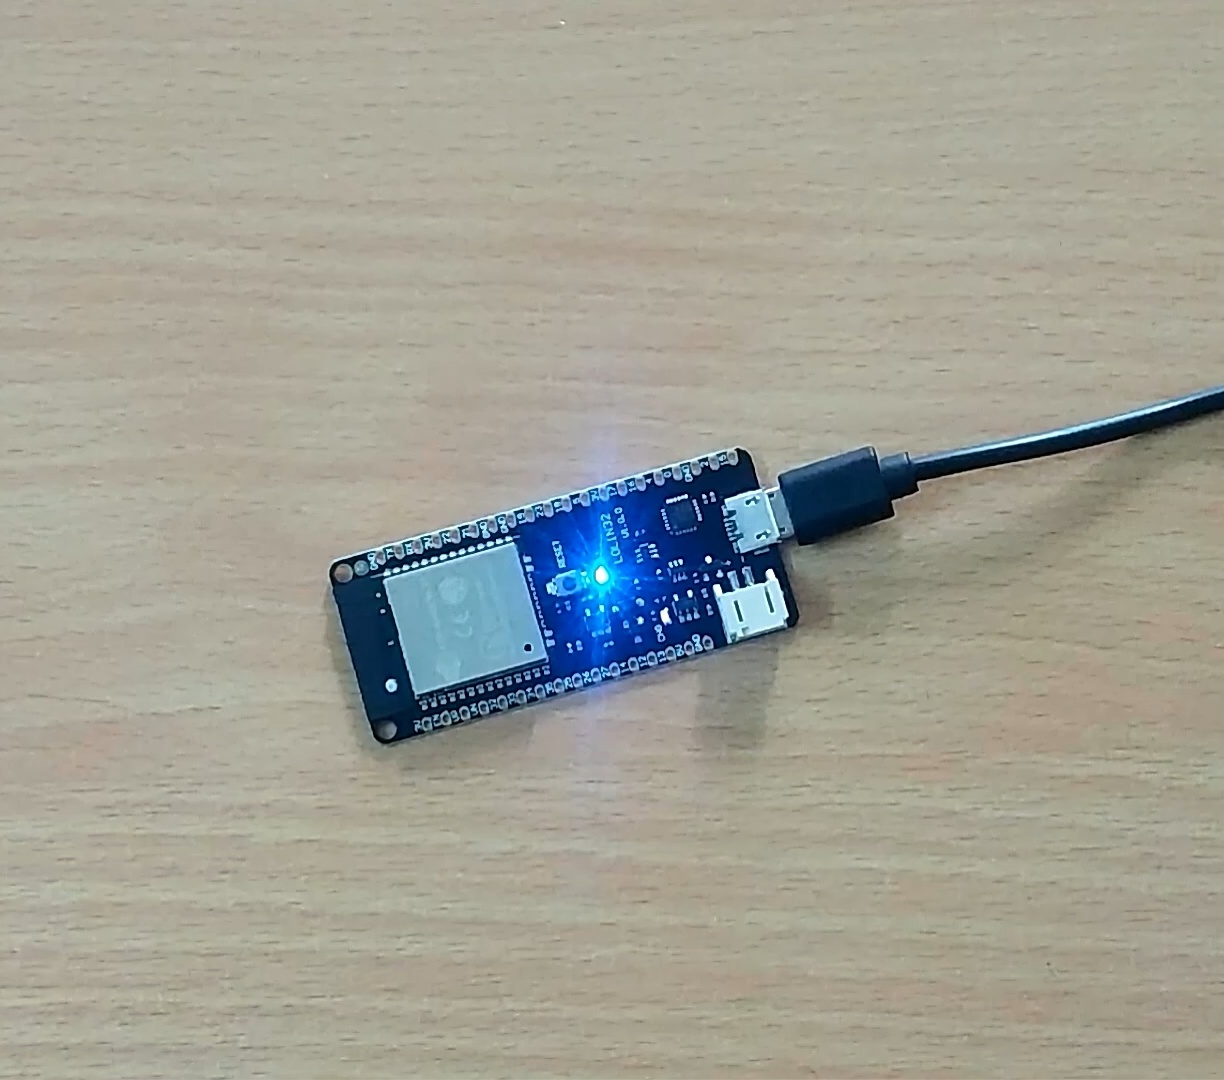
So the very first & basic requirement is to buy a ESP32 development board any esp32 board you can get.
Well this one here is ESP32 PICO BAORD : https://www.mob.utsource.net/ic-datasheet/8391725
but i am gonna use my esp32-wemos lolin 32 BAORD
And make sure you have arduino ide , if not visit https://www.arduino.cc and download the latest arduino ide and install it in your pc.
Time to Install Esp32 Boards in Your Arduino IDE
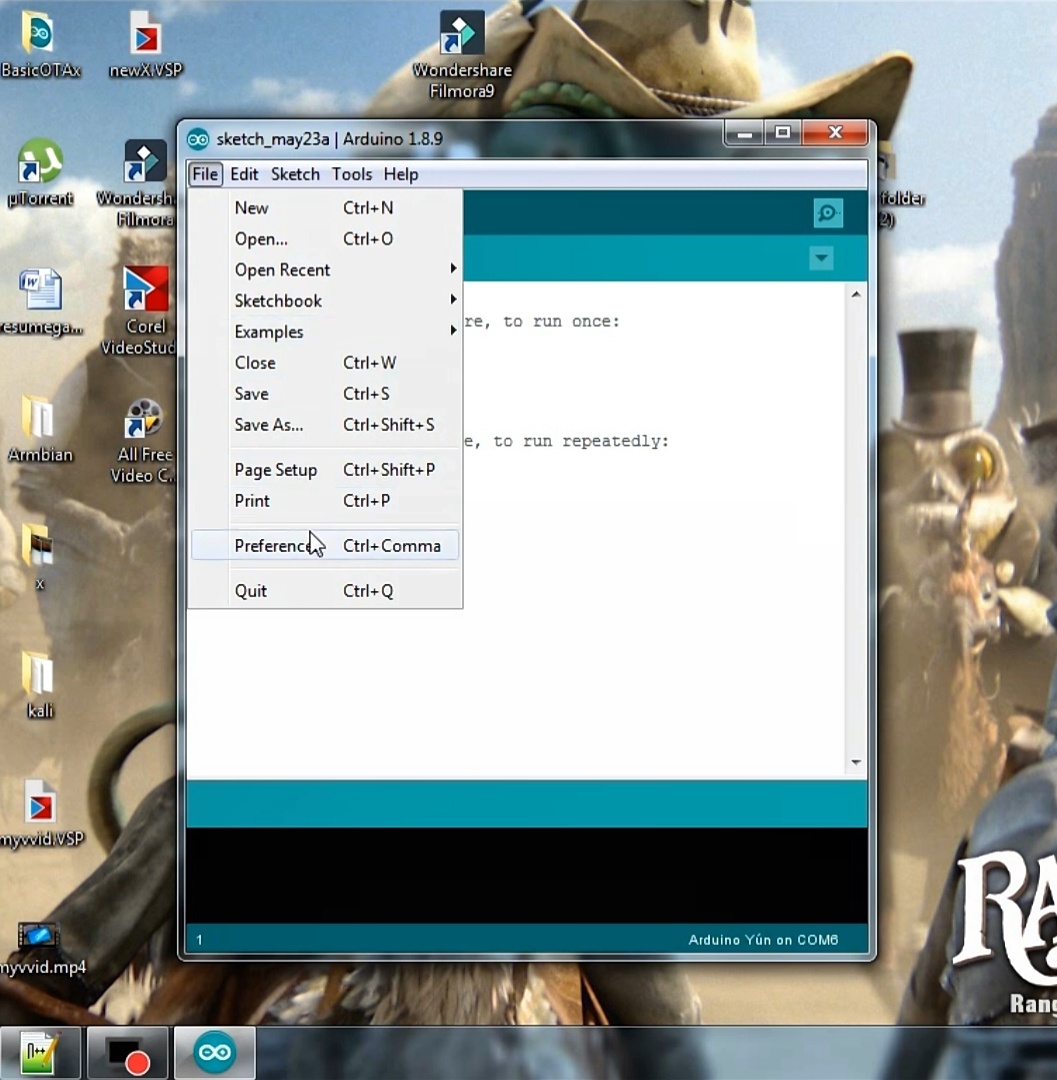
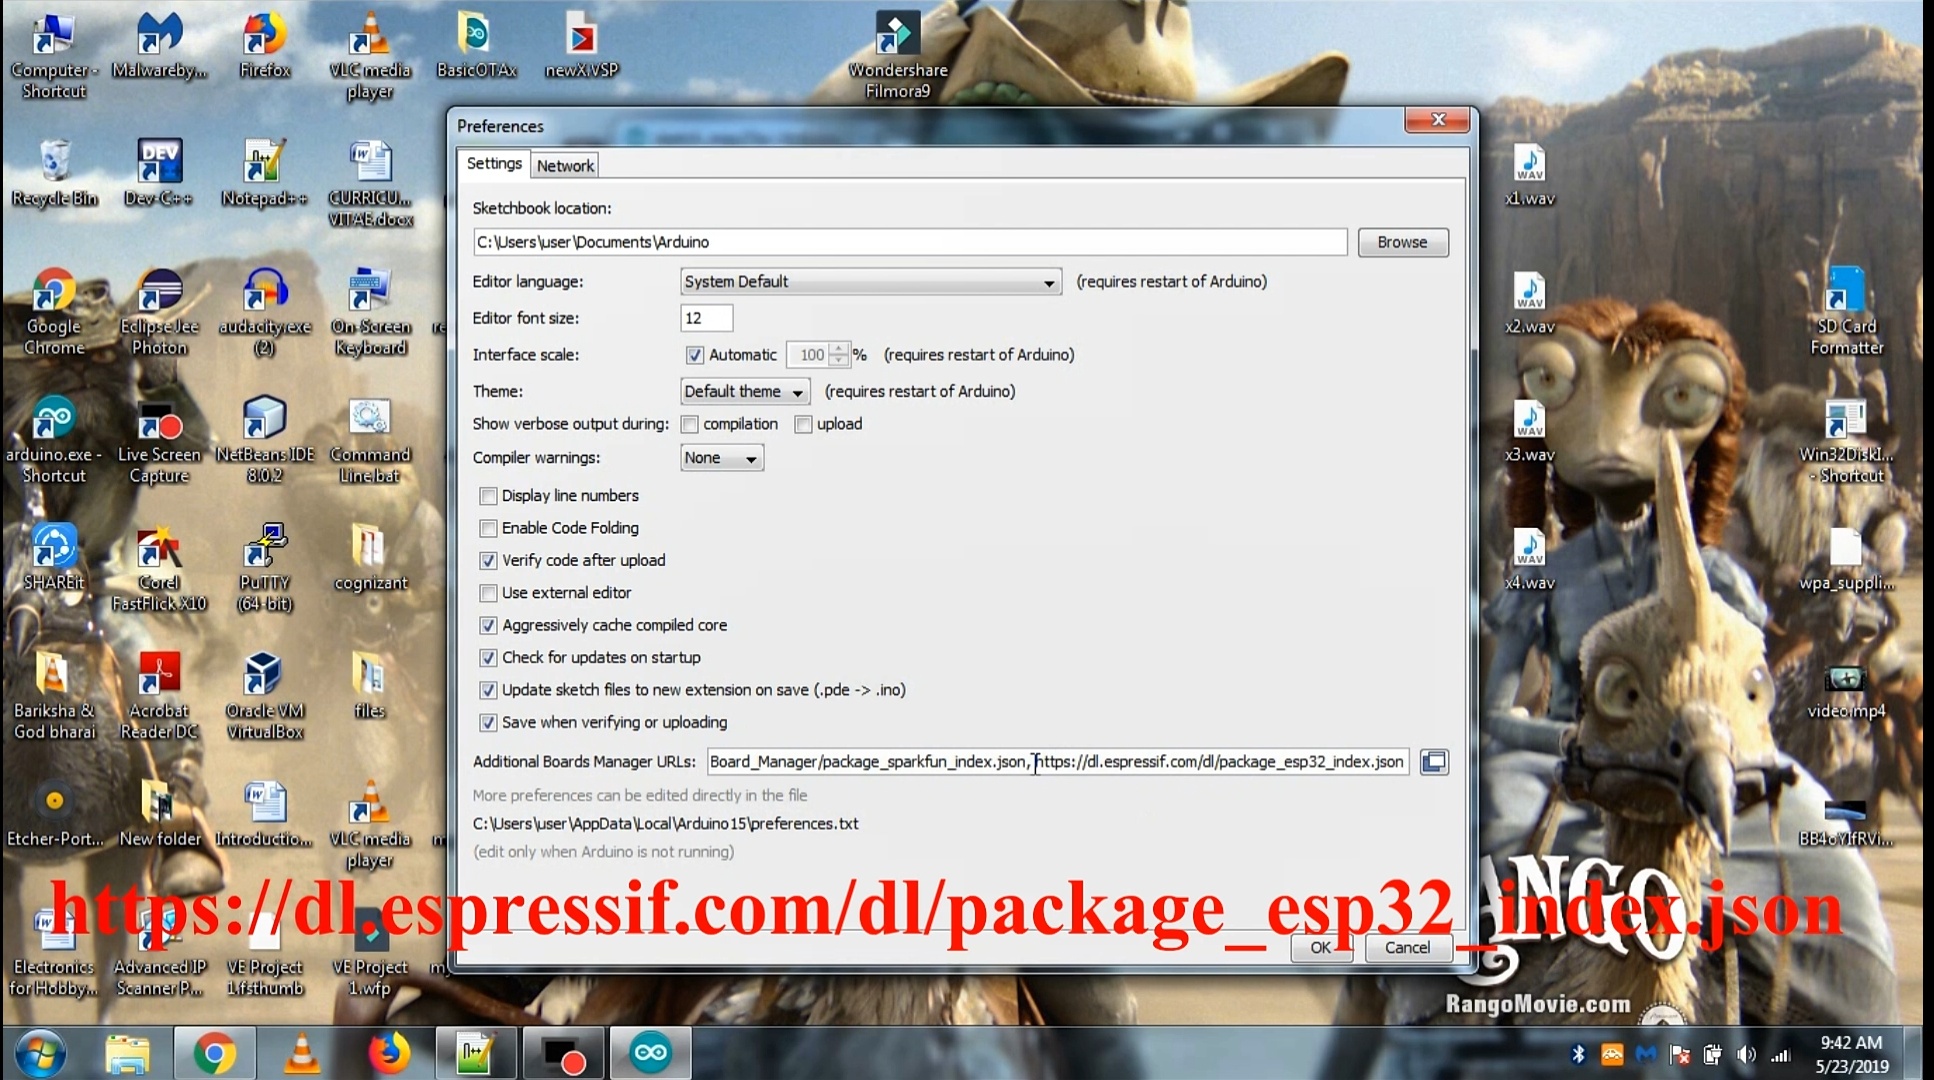
https://dl.espressif.com/dl/package_esp32_index.json
And click on OK.
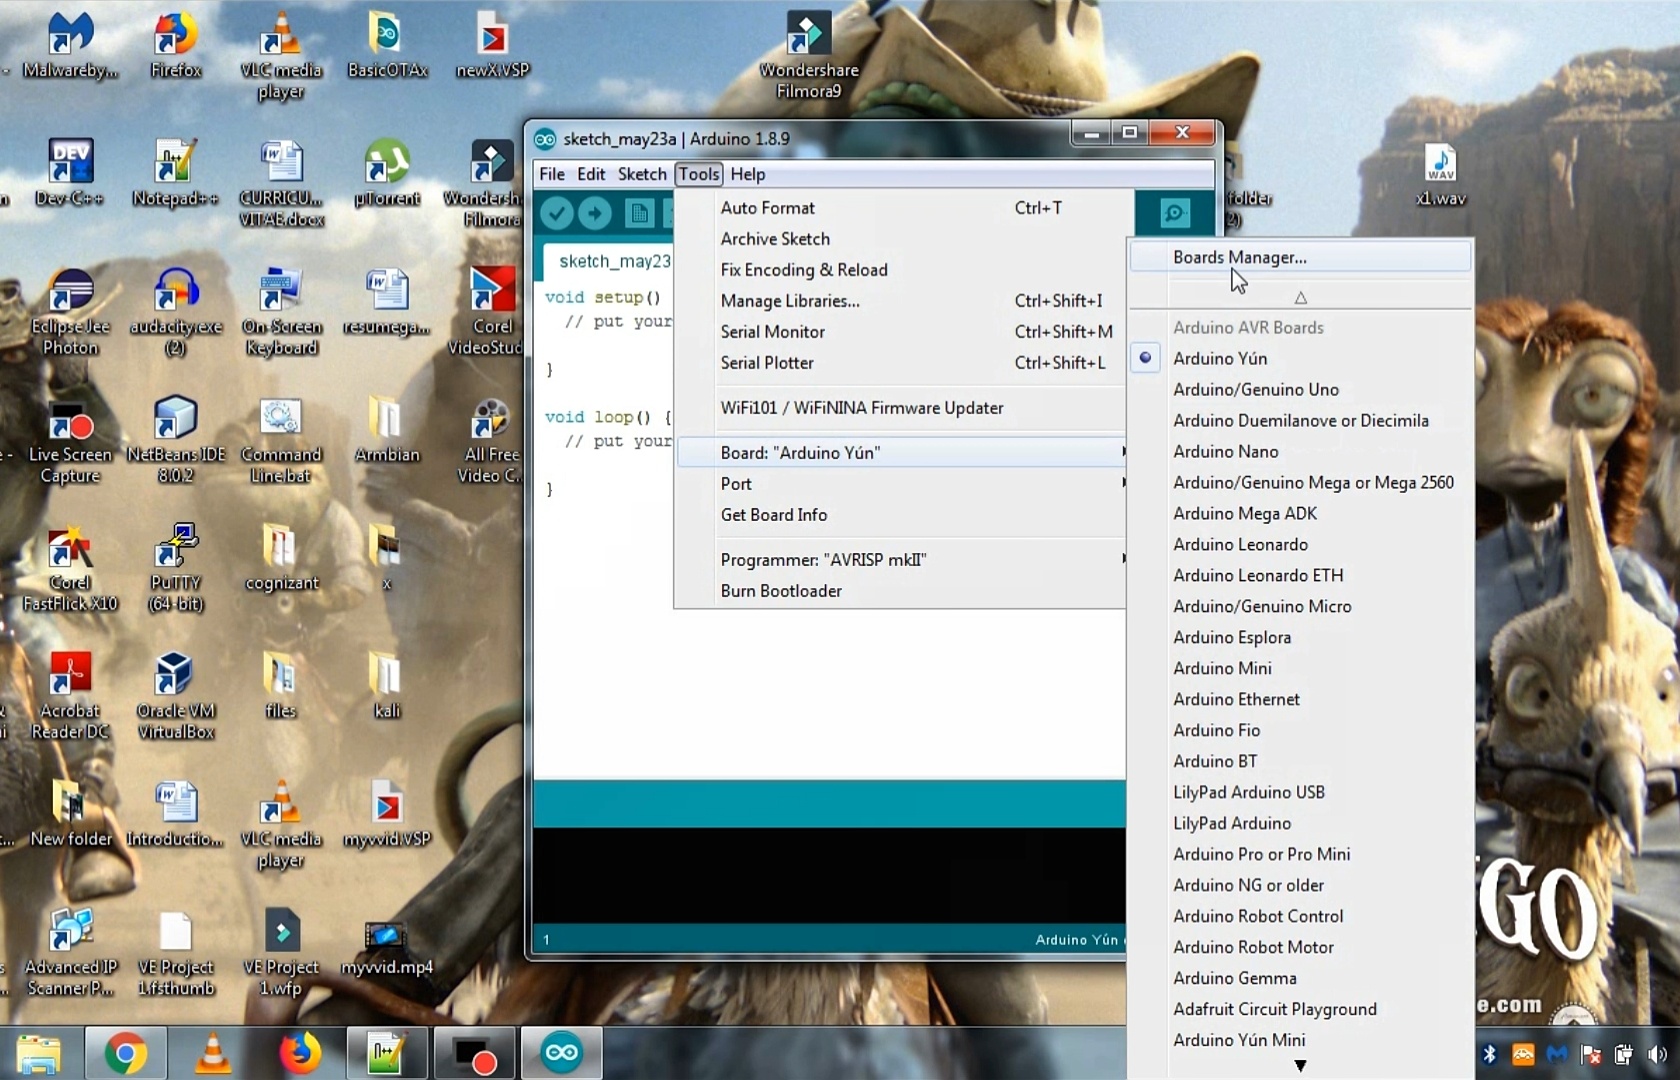
then go to tools, boards and boards manager and wait for window to load.
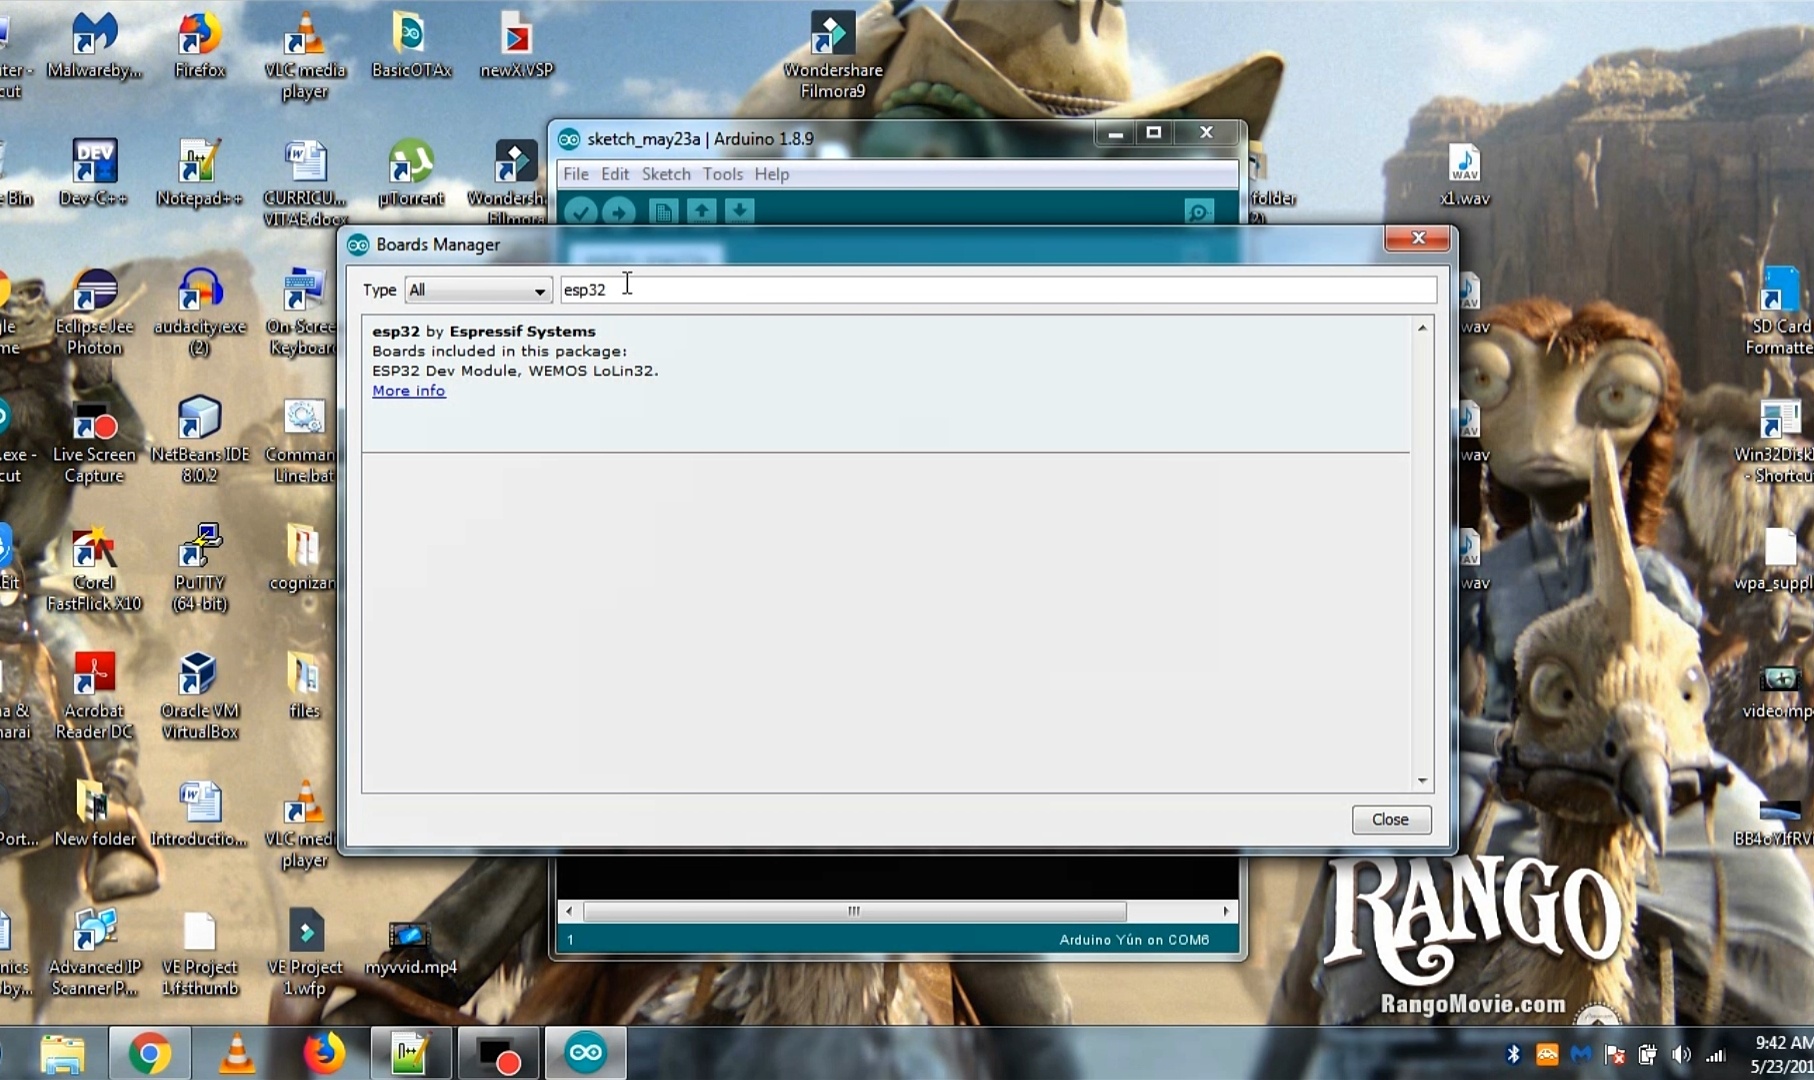
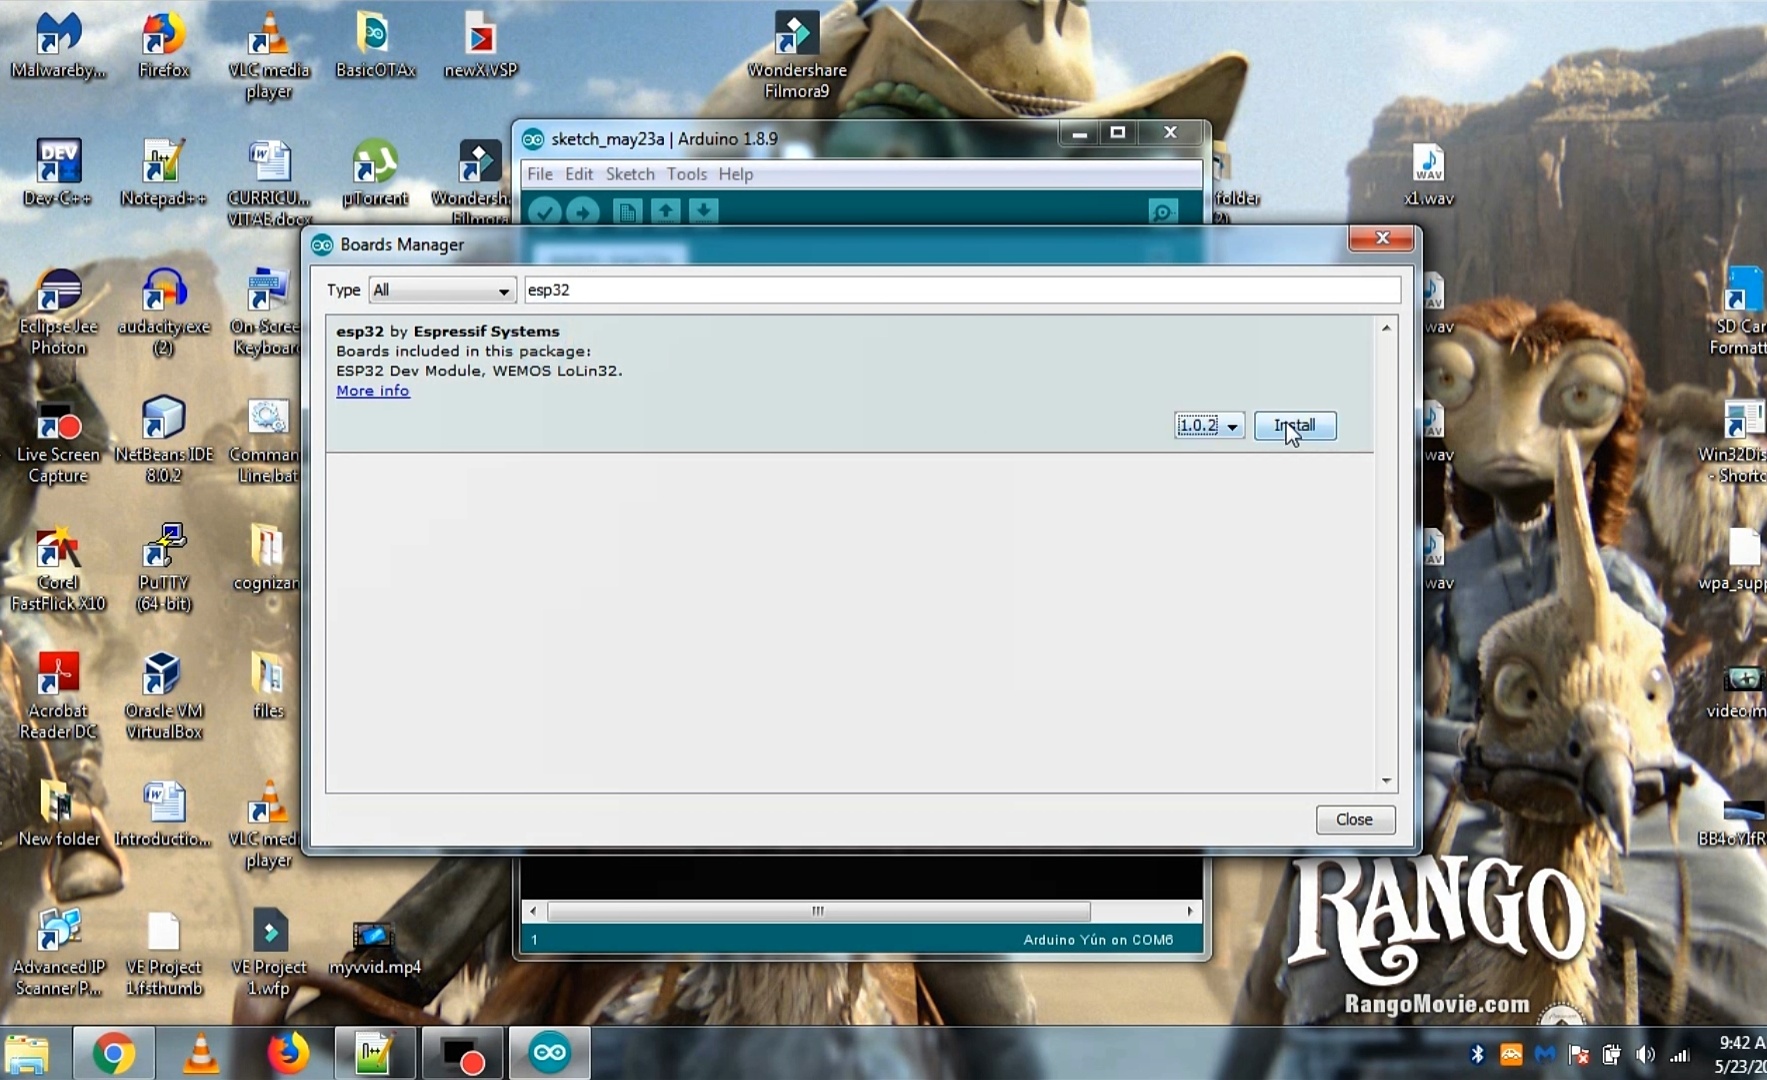
Then search there for ESP 32 as shown in images and click on the search results and then click on install to install the esp32 boards in your arduino ide. Please refer images to understand the process and you will successfully install your esp32 boards in your arduino ide.
Select Your Baord & Upload the Code : Final Step
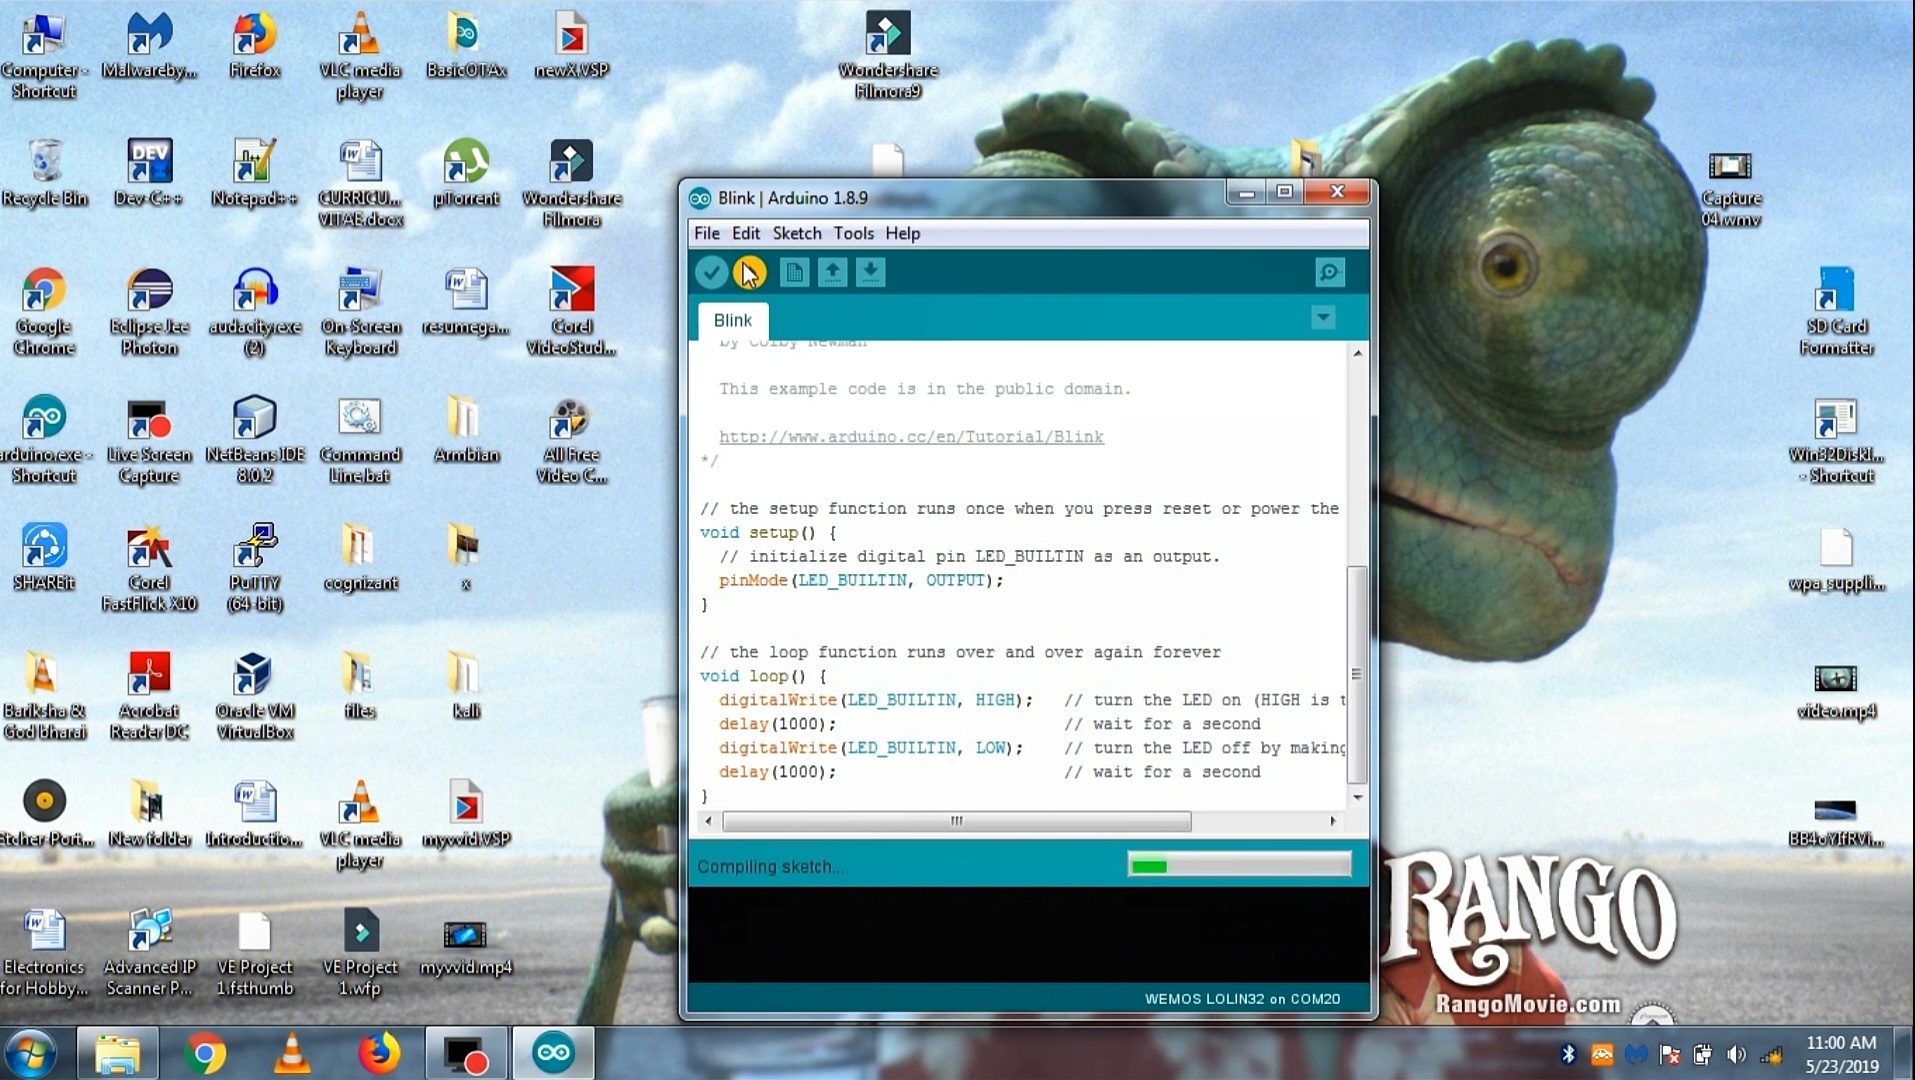
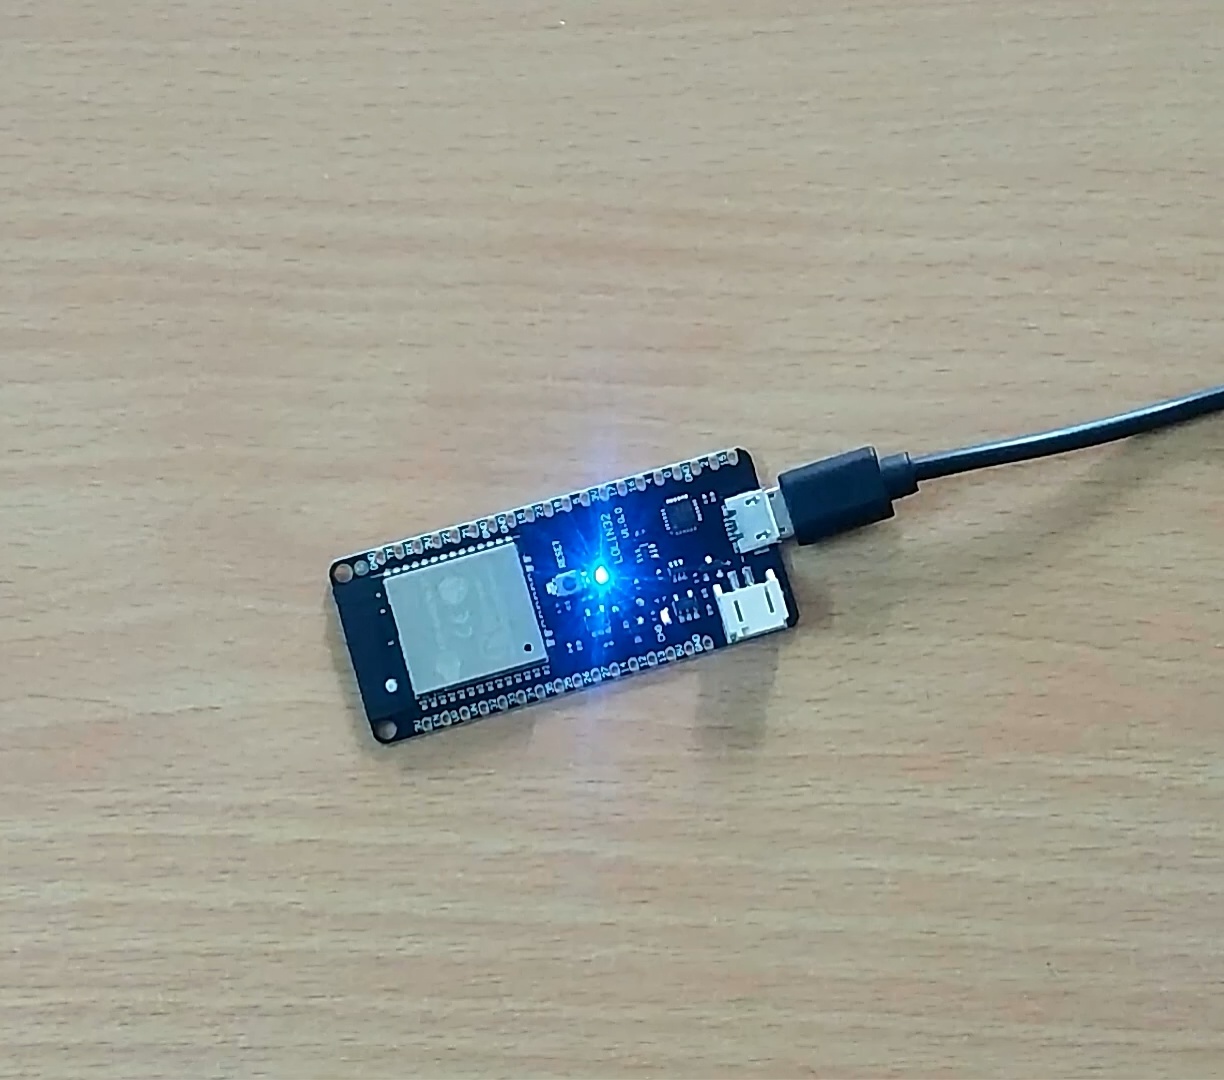
Make your own code from now on and upload to esp32 as you do with arduino's, have fun with esp32.