Getting Started With DeskProto

CNC milling is an indispensable tool set for any home machine shop. It can aid in just about any hobby or indeed be a rewarding hobby in and of itself. CNC milling, however, can be a little daunting to get started with; its expensive, complicated, and time consuming. But, what if it didn't have to be? Every type of CNC machining requires three unique pieces of software: CAD, CAM, and a Machine Control suite.
- CAD - Computer Aided Design: Used to create the model to be machined
- CAM - Computer Aided Manufacturing: Converts the CAD model to G-code
- Machine Control: Uses the G-code created by the CAM software to move the machine in the real world
Choosing your CAD program can be easy or hard. For me I went with the two programs I was familiar with. I would recomend getting started with Sketchup as that is one of the easier CAD programs to learn. However, there are as many choices of CAD software as there are CNC machines. I use Sketchup for my simple projects and Autodesk Inventor for more complicated projects.
The choice of Machine Control software is also pretty straight forward. Some machines come with their own proprietary software. But for generic machines there are a handful of choices. In my opinion, the best bang for your buck will be LinuxCNC, a free Machine control solution based off -you guessed it- Linux.
CAM has always been a sticking point of mine however. It's often the most complicated, important, and expensive part of a CNC setup. The first thing I discovered was, for the most part, you get what you pay for. Free CAM programs are extremely limited and often produce inefficient or down right dangerous tool paths. However, professional solutions are both prohibitively expensive and way too complicated to learn for a hobbyist like you and I.
So, what do you do? Well, DeskProto (http://www.deskproto.com/) is an inexpensive and shockingly powerful CAM solution that puts even some of the most expensive CAM programs to shame. It's surprisingly easy to get started with and to use wizard interface; which is ideal for getting started in a matter of minutes.
Prepare Your CAD Model
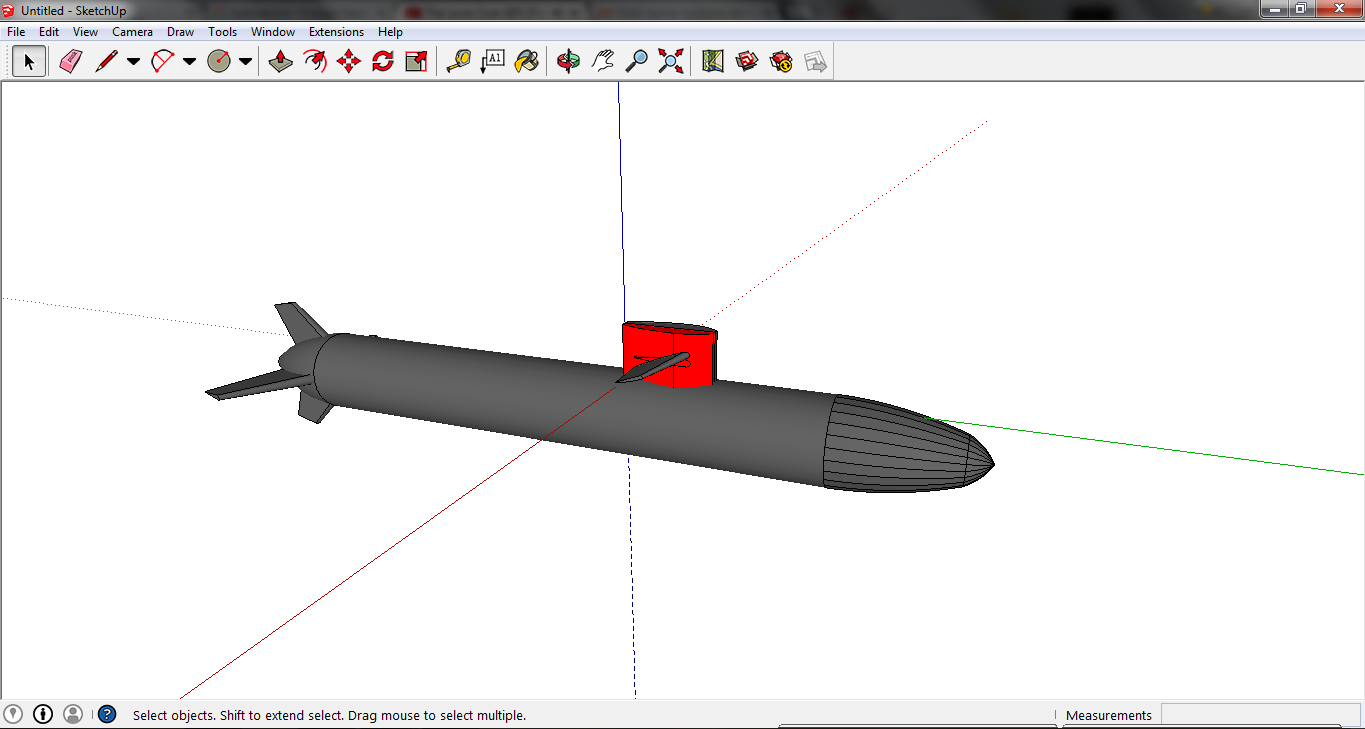
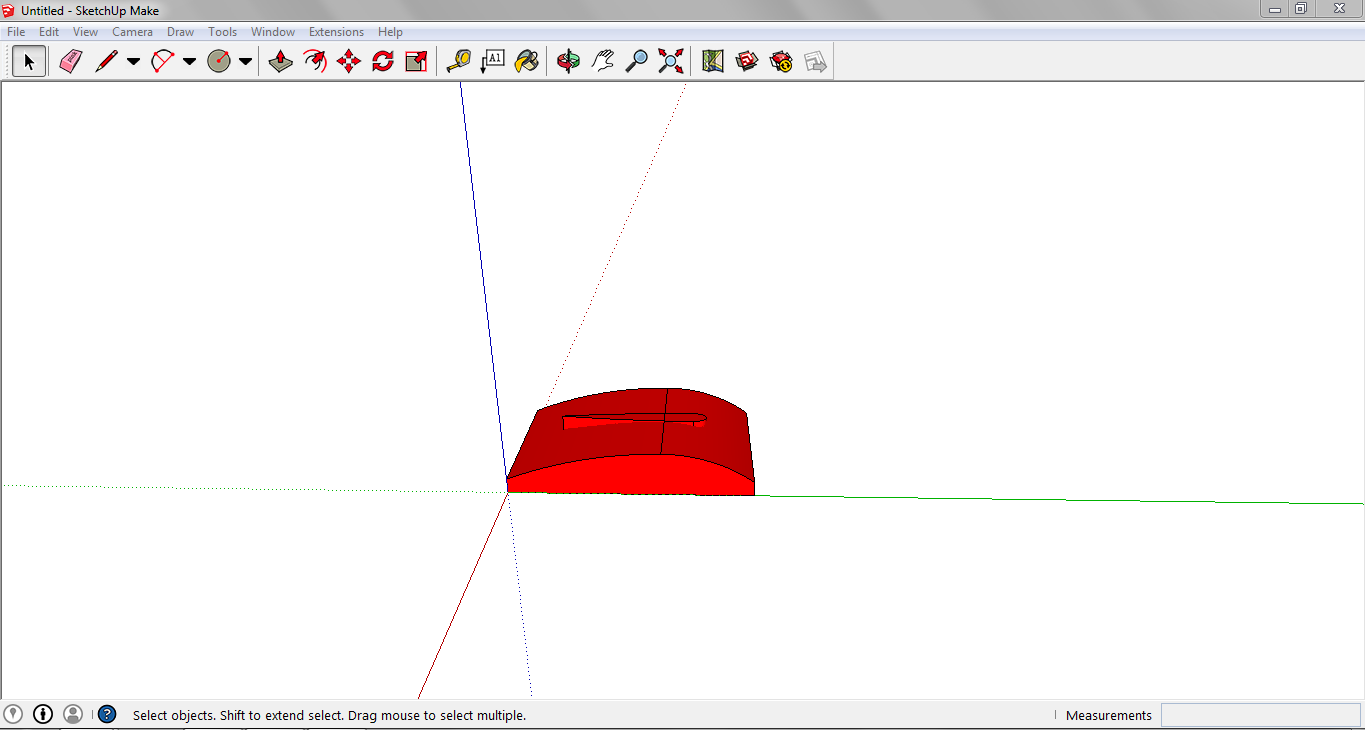
I’ve always wanted to make an RC submarine. Something about the idea of flying through a volume of water like an underwater airplane is so much more exciting than just floating on the surface. Until now I’ve never had the time or the tools needed to make something as complicated as a sub. For this tutorial we are going to machine half of the conning tower. Before I can do that I have to isolate the part I want to machine and export it as an .STL file.
I took inspiration for this project from another DeskProto user project which can be found here: http://www.deskproto.com/gallery/submarine.php. Although my sub will be much simpler I hope to one day attempt a fully accurate scale model.
Prepare Your Stock
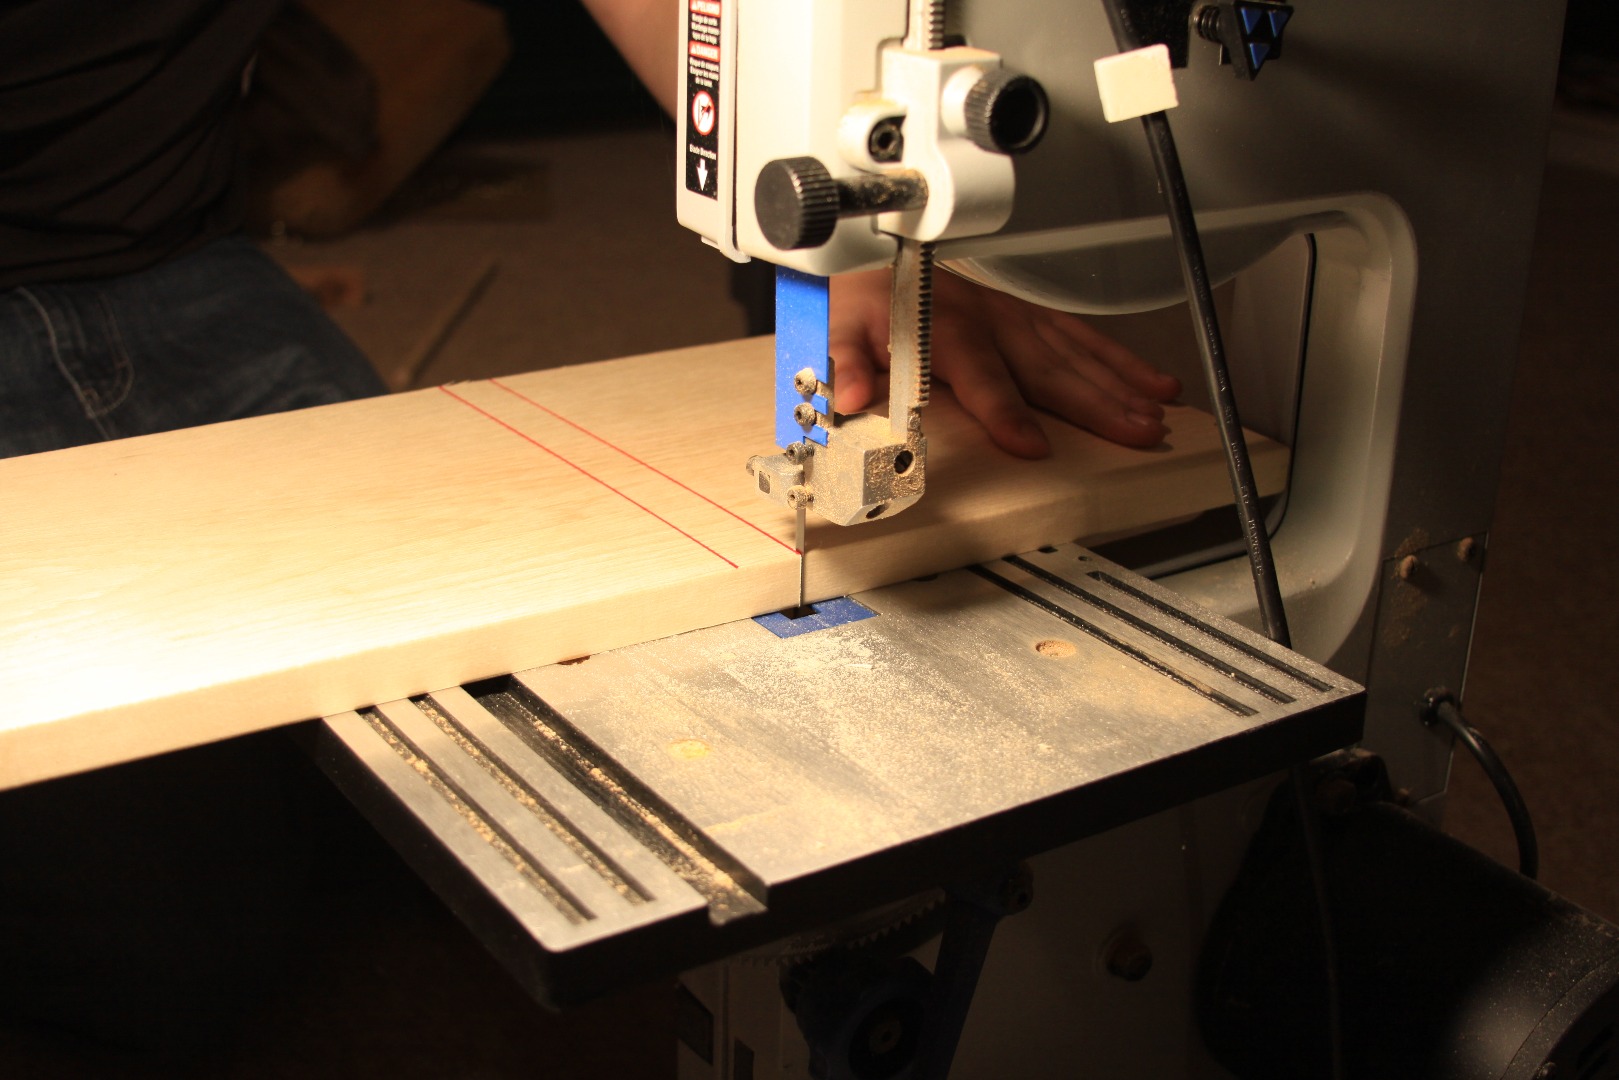
Don't be afraid to spend some time getting your stock material prepared right. Most pieces will require some finishing after you mill them. However, if you take some care to get the stock done properly beforehand, you’ll be better off for it. Measure twice, cut once as it's said.
Create Your CAM With DeskProto Part 1
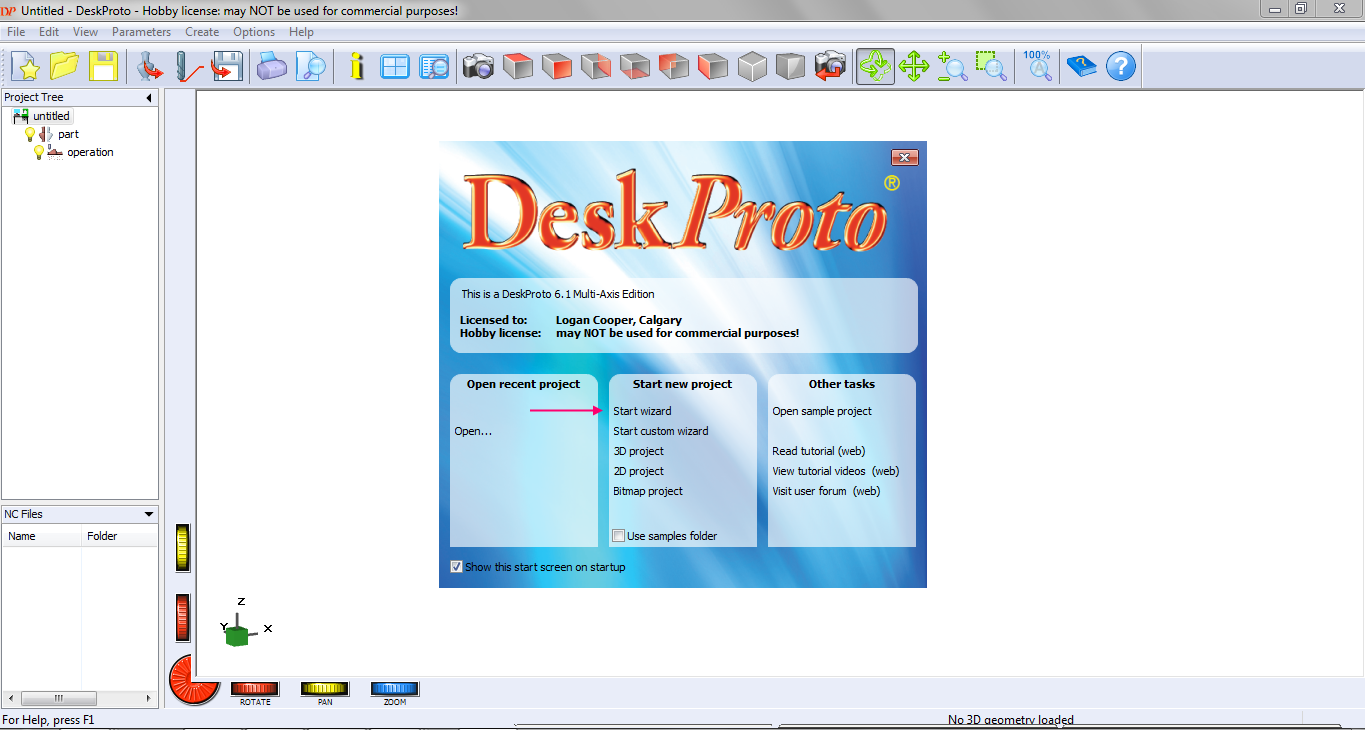
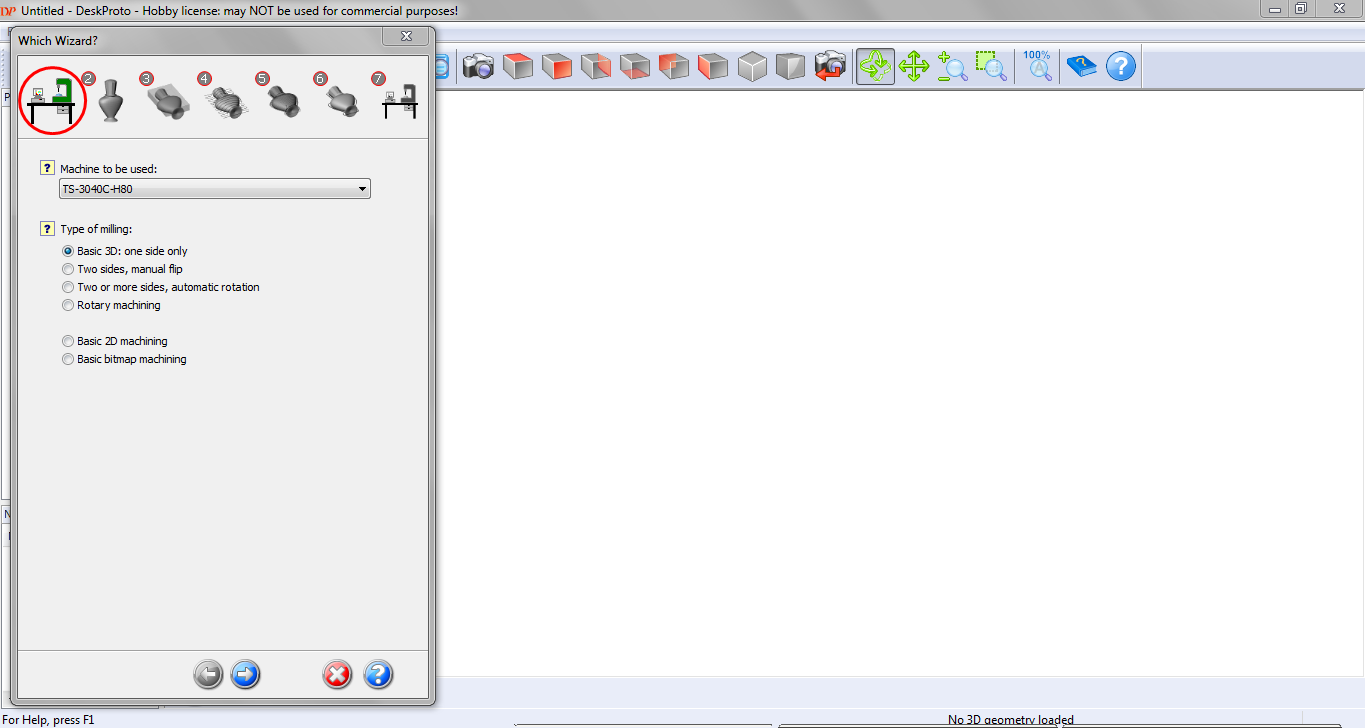
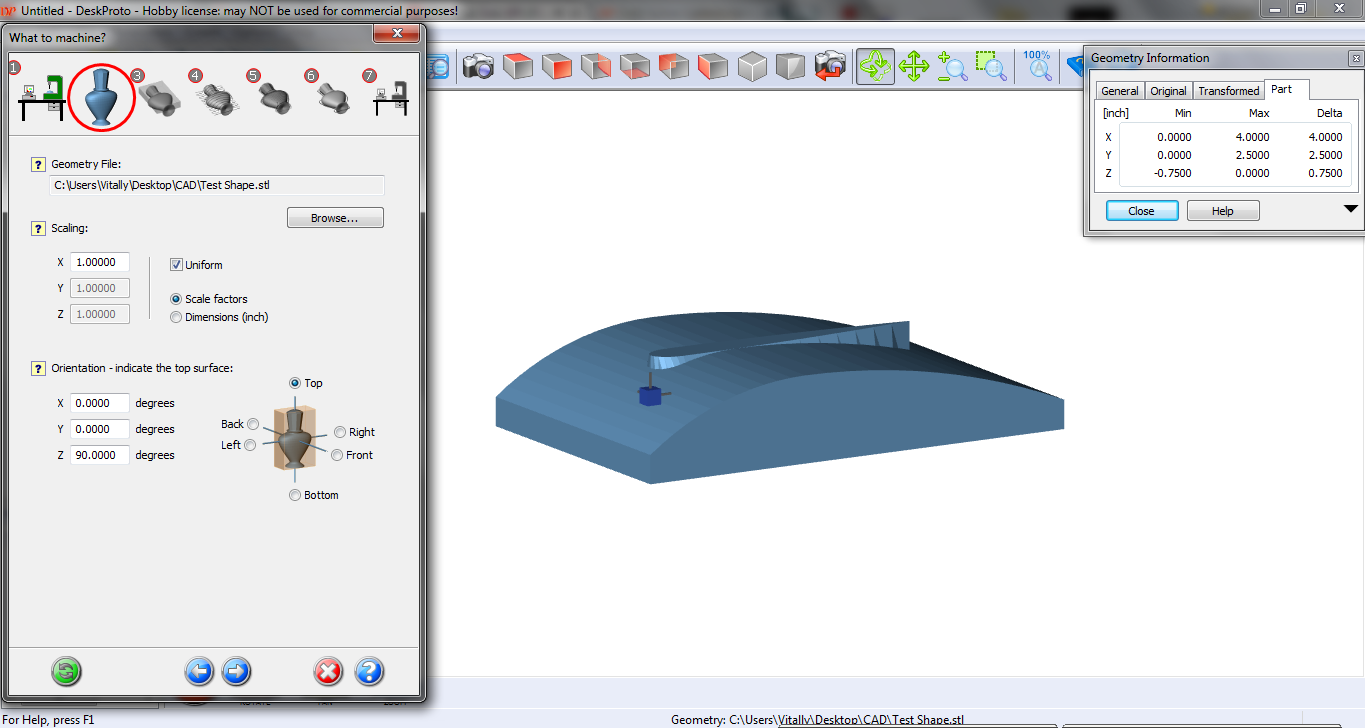
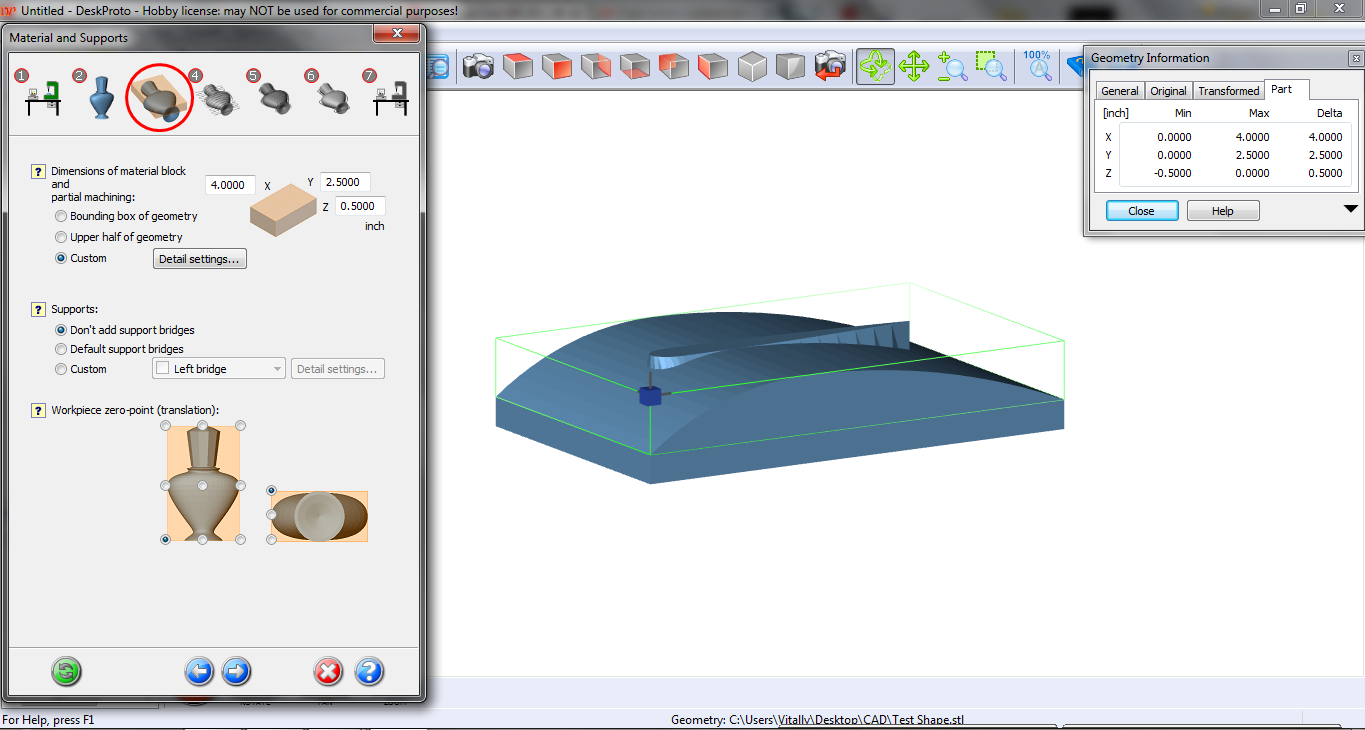
For this project, we will follow DeskProto’s integrated 3D CAM wizard. This is a 7 step process that will generate a roughing tool path as well as a finishing tool path. During this process, it's very important to to know a few things:
- The raw stock size
- The tool(s) you plan to use
- The type of mounting you plan to use
- The limits of your machine
In this part we will cover the first 3 steps:
Choose your machine and type of milling: First you want to choose your machine from the list. If you don't see your machine, you can add it to the list via the Options menu. We will be using basic 3D milling.
Open your geometry file and set the scale: Your geometry file needs to be in .STL format. Once you’ve selected the file, it will show up on in the main window. Use the settings on this page to adjust your model until it is the correct size. Additionally, you can use the orientation options to adjust the angle of your piece. Adjusting the angle can be helpful to align your model along a specific axis of your machine. I rotated my geometry 90 degrees on the Z axis so the long side of the conning tower was along the machine's X axis.
Set your machining area: This step is extremely useful to limit the area the machine will work in. I ended up specifying a working area 1/2 an inch deep. For this project, we do not need support bridges and the origin is correct. Keep in mind where the origin is (the origin is the blue box displayed in the geometry window) because it will be used when touching off our part.
Create Your CAM With DeskProto Part 2
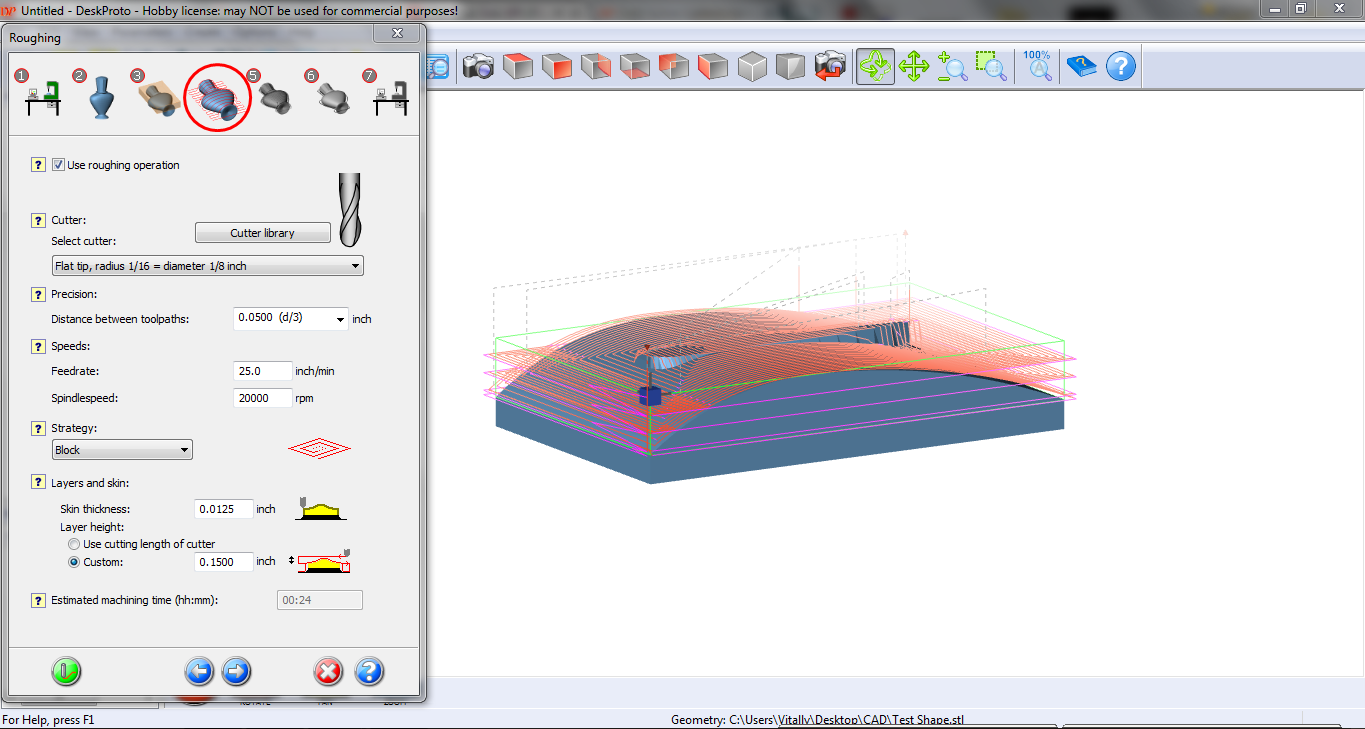
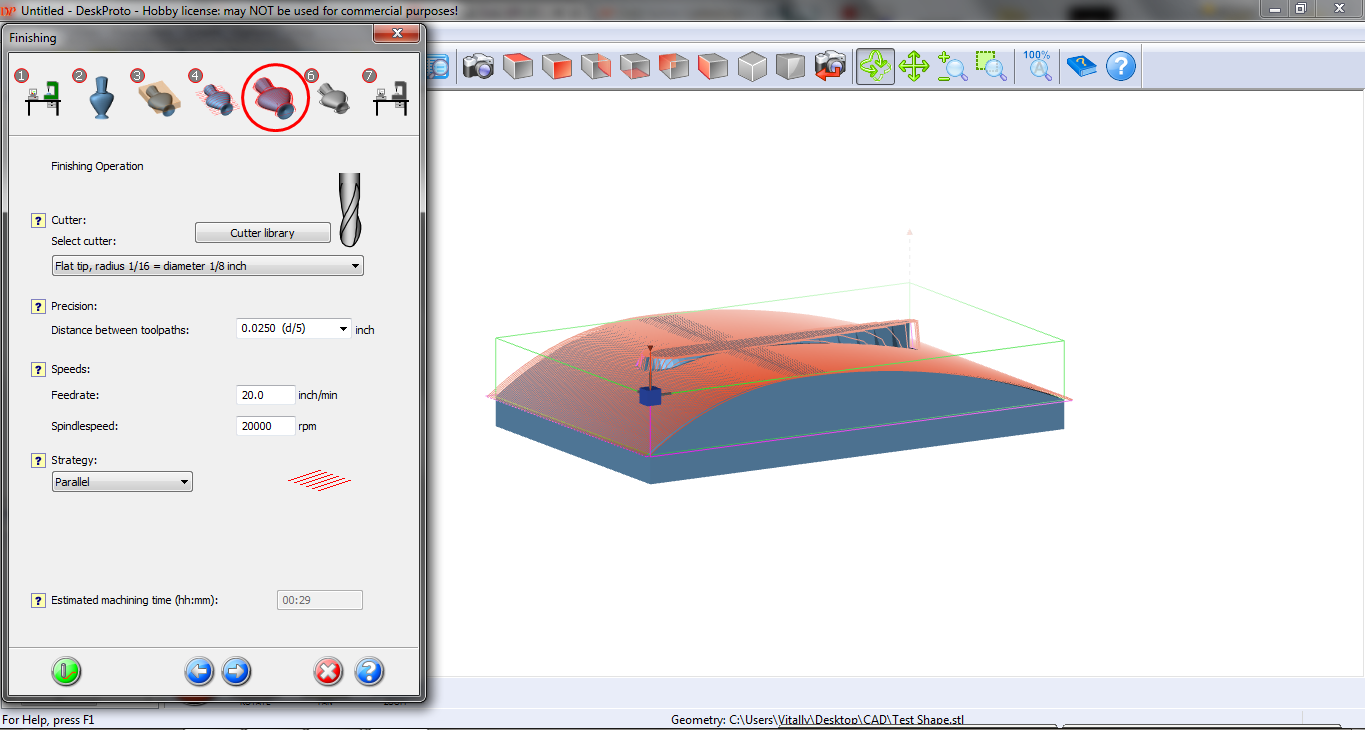
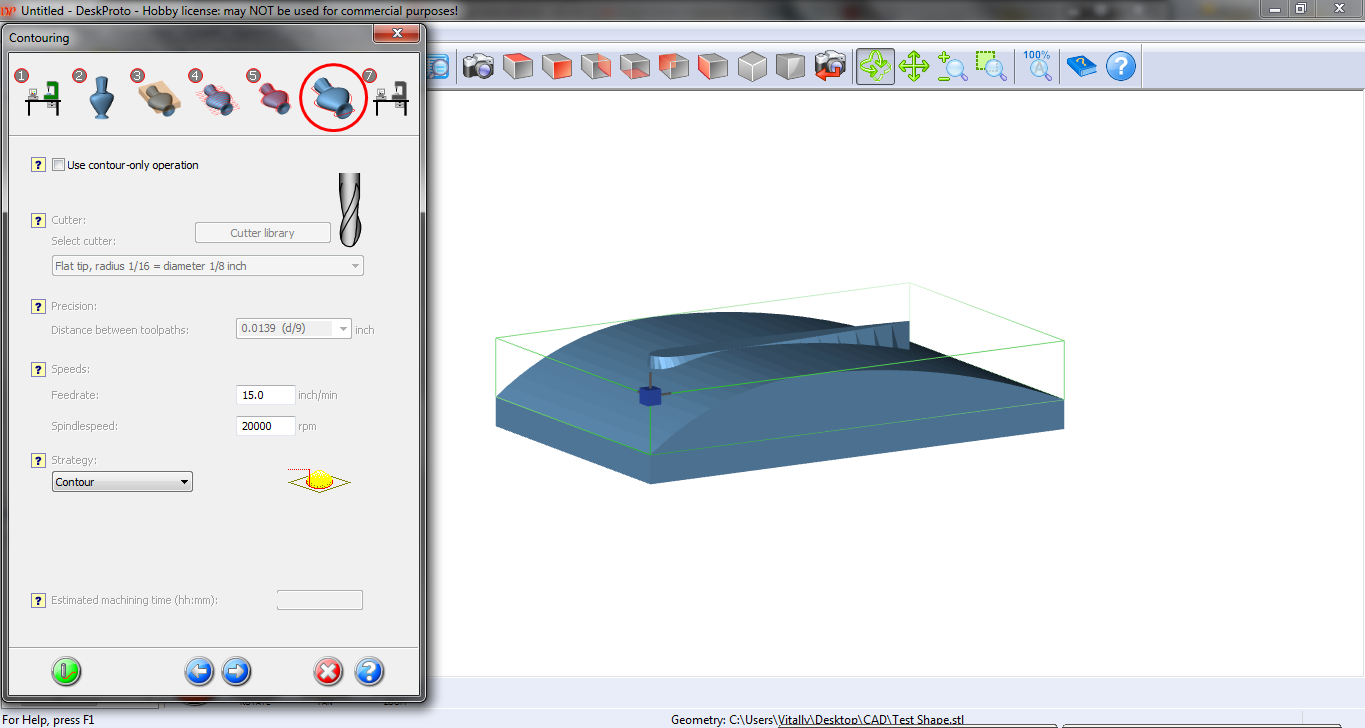
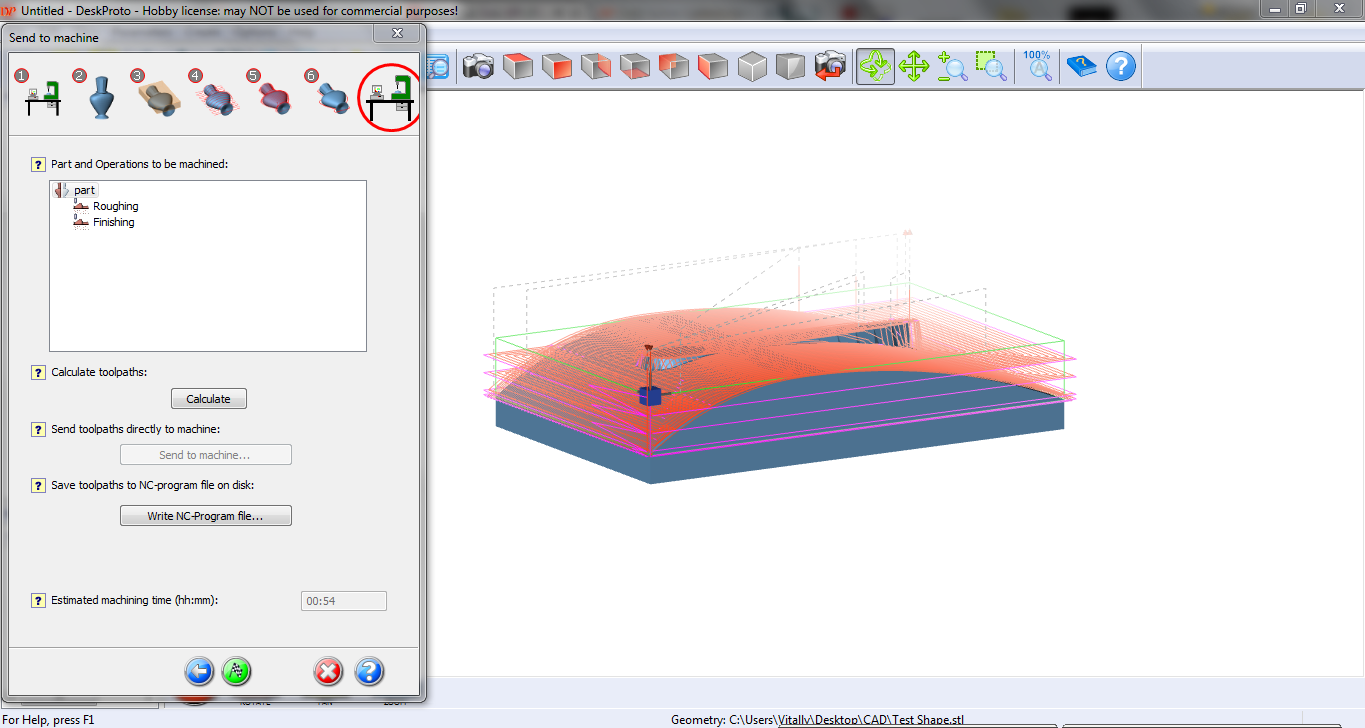
The next four steps will cover creating the tool path themselves. The tool paths I’ve created are not entirely optimized and, as you get better at using DeskProto, you’ll be able to polish and refine the tool paths to create more sleek and polished models.
Make the roughing pass: To create our roughing pass, we will first select our tool. In this case is a 1/8th inch roughing end mill. Then we will walk through the options one by one. I used a D/3 precision because my milling tools are quite small and leave quite a nice surface even at lower precision settings. Because my mill is new, I decided to use a conservative feed rate of 25 inches per minute. In hindsight, I could probably have added another 50%. Use a 0.15 inch pass depth.
Make the Finishing pass: To create our finishing pass we will select our tool, I used the same 1/8th-inch roughing end mill. Then we will set our precision to D/5 and feed rate to 20 inches per minute. Again, you will have to set your feed rate depending on your confidence with your own machine.
Contouring operation: For this project, I did not use a contouring operation. You can disable it with the checkbox at the top of the wizard.
Calculate the toolpaths and Export the NC file: The hard part is over! We’ve created the tool path and all that's left to do is to export everything. Click “calculate” and then “Write NC-program file” Once you’ve done that, you’ll have to transport the file from your CAM computer to your machine controller.
Setup Your Mill
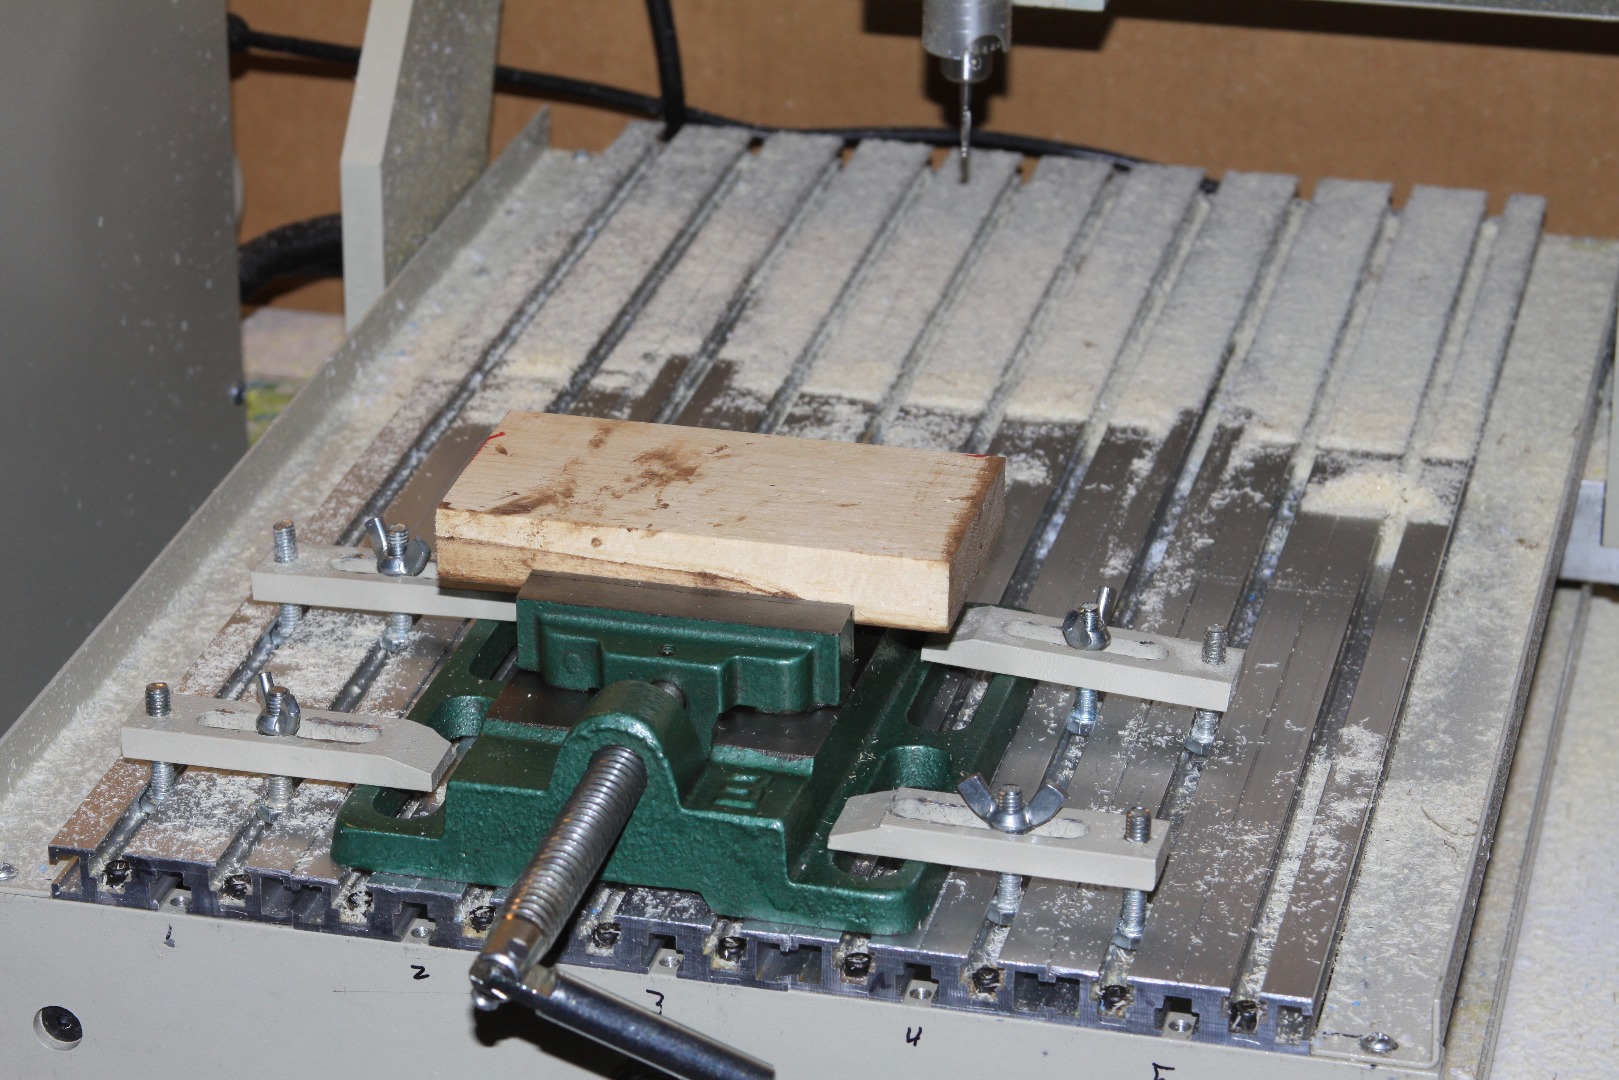
Setting up the mill is as much a science as creating the CAM data. You have to secure the stock in place enough that it won't move, no matter what the tool does, while still giving the tool room to make all the necessary operations. My recommendation for this particular project would be to pick up a drill press vice like the one shown in the image. They are relatively cheap and awesome for holding stock like this. ensure your stock is not set up 90 degrees offset to your tool paths you created earlier in DeskProto.
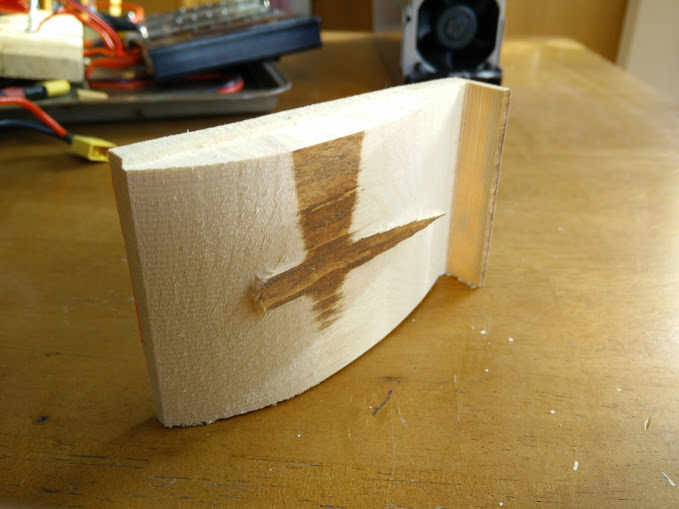
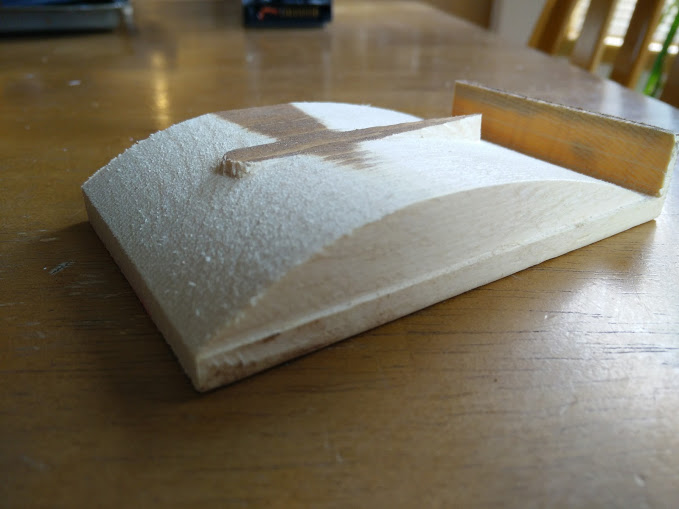
It is important you get your stock level in the vice. I did a fairly good job but you'll notice that the stained upper surface remains in some spots on the finished part. For this part it's not a major issue but if you're creating something that needs to highly accurate it's worth checking and double checking the parts alignment.
ALWAYS: Visually check the clearance between the tool and anything you don't want to mangle (Vice, Table, Nails/Staples/Screws). With a small mill like mine you may only break a tool. However, on a large mill you could destroy your machine or worse! Mills are high-energy machines and must be treated with absolute respect and care.
Touch Off and Start Milling!
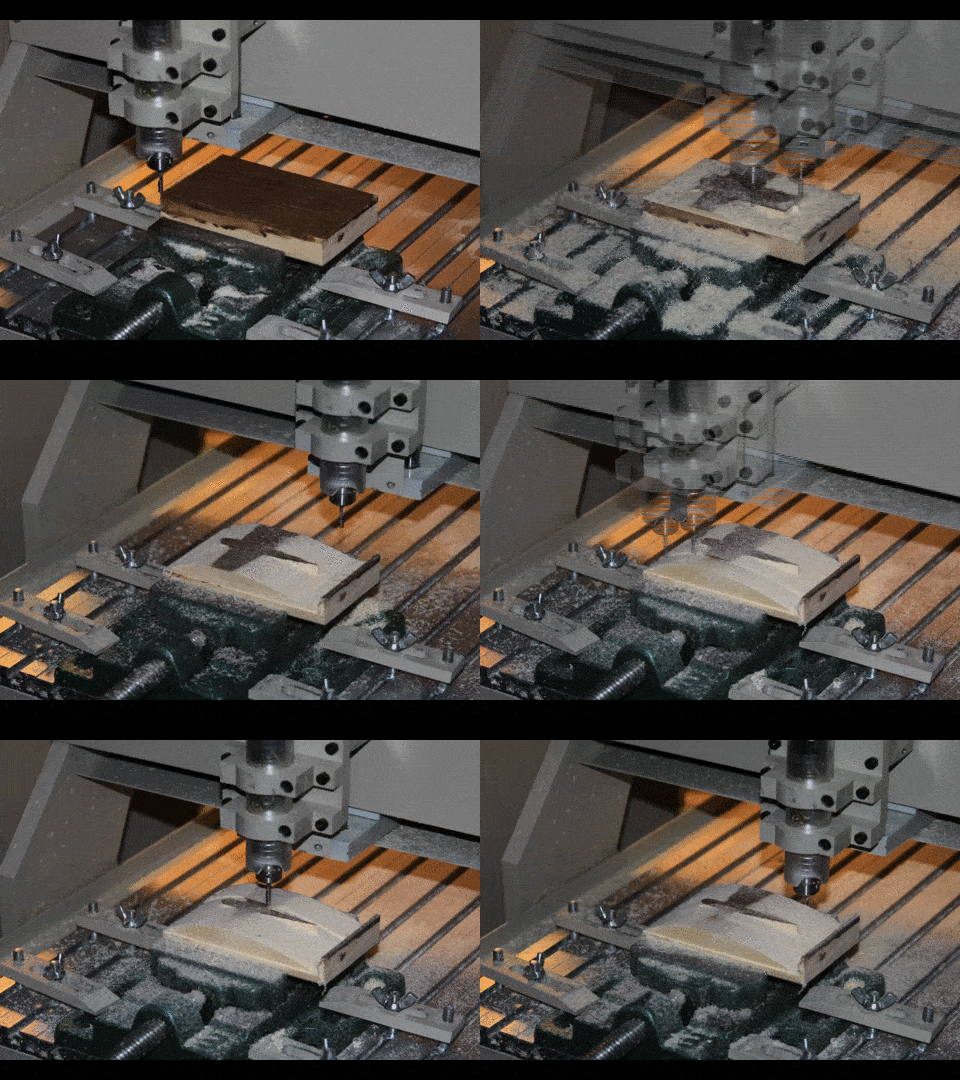
Touching off: This step is often one of the most confusing aspects of CNC machines for newcomers. CNC machines have two sets of internal coordinate systems: the machine coordinates and the workpiece coordinates. This is important because before we start our mill we will have to aline the workpiece coordinates with our real world workpiece. To do this we use a process called Touching off. To touch off in LinuxCNC simply position the tip of the tool at the XYZ coordinates you want to align the workpiece origin with and touch off each axis with the onscreen button. This will align the tool paths we created in DeskProto with our work piece. Use the origin created in DeskProto as your touch off reference.
Again, double check your clearances using the ghost image on screen and moving the mill to all the extremes of your G-code. Then, hit start!
Finish Your Part!
.jpg)
Finishing will improve the quality of your part ten-fold. Use a fine grit sandpaper to remove the tooling marks and smooth out any imperfections. From there, you can choose how you want to finish your part. For me since my part will be part of a much larger project for now I will leave it unfinished.