Getting Started Tutorial With Raspberry Pi Pico W Using MicroPython
by SmartTronix in Circuits > Raspberry Pi
2735 Views, 12 Favorites, 0 Comments
Getting Started Tutorial With Raspberry Pi Pico W Using MicroPython

This document provides a getting-started guide for the Raspberry Pi Pico W board using MicroPython. It covers how to: -Assemble the board -Install the MicroPython firmware -Write your first MicroPython program The Raspberry Pi Pico W is a board that can be used with MicroPython, a version of Python designed for microcontrollers.
This document provides a getting-started guide for the Pico W, covering how to assemble the board, install the MicroPython firmware, and write your first MicroPython program.
Supplies
- Raspberry Pi Pico
- LED
- Jumper Wire
- USB Cable
What Is Raspberry Pi Pico W?


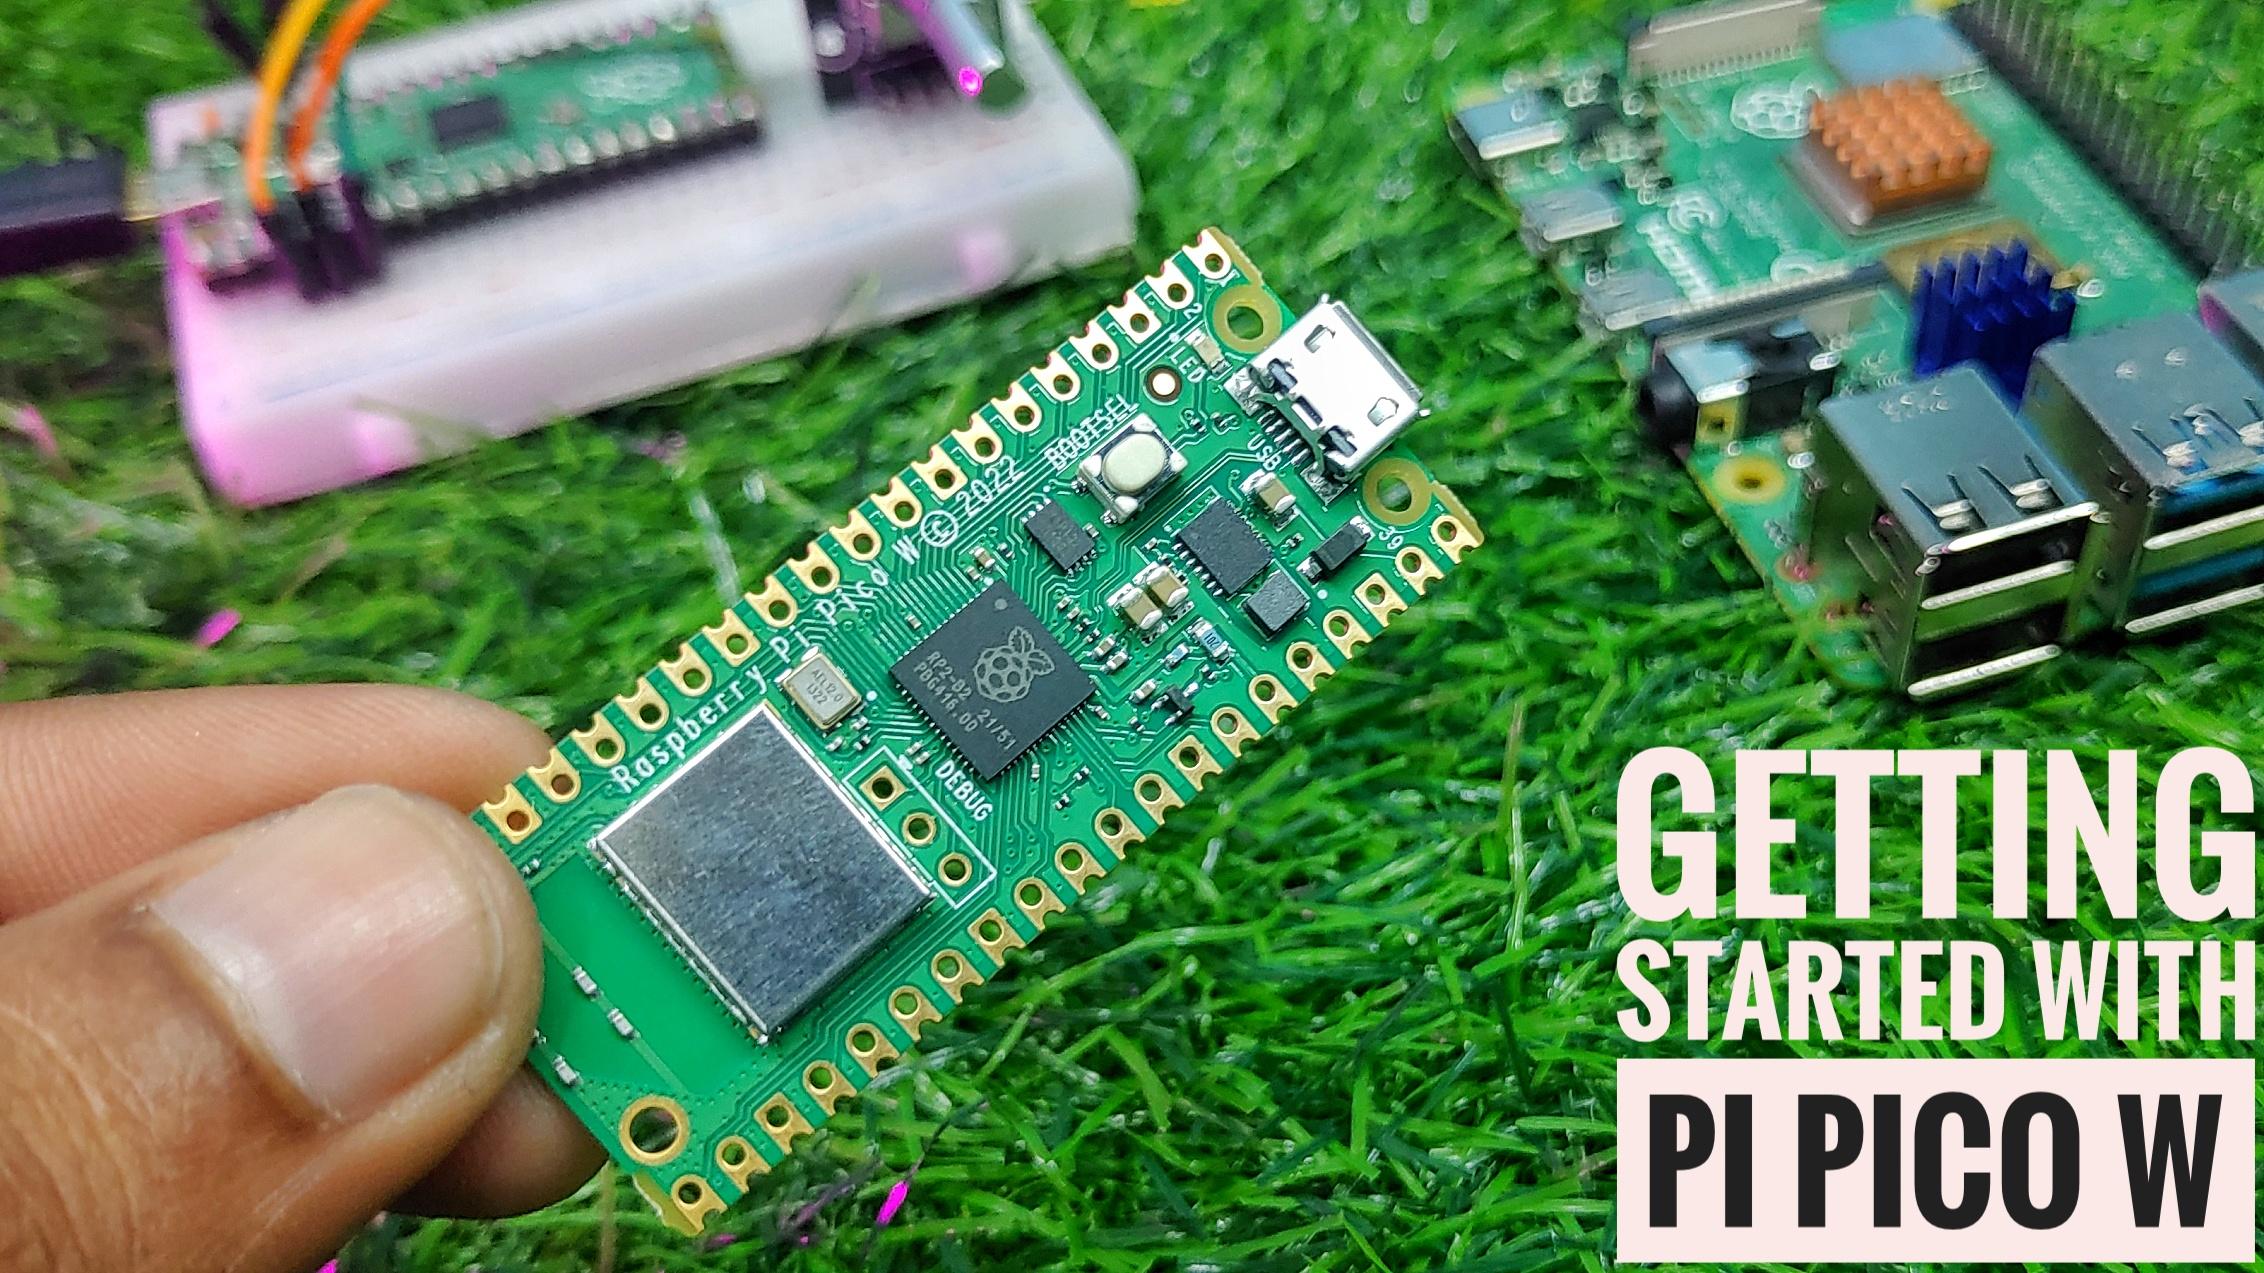
Raspberry Pi Pico W is a new microcontroller board from Raspberry Pi. It is their first microcontroller board based on their own custom microcontroller chip, the RP2040. The board is designed for makers, hobbyists, and educators. It is a low-cost, high-performance board that is easy to use and program.
Raspberry Pi Pico W has many features that make it powerful, but one of the most impressive is how it's wired.
The main improvement is the addition of Wi-Fi and Bluetooth functionality. Raspberry Pi Pico W incorporates an Infineon CYW43439 wireless chip that supports IEEE 802.11 b/g/n wireless LAN.
Raspberry Pi Pico W is a low-cost, high-performance microcontroller board designed by Raspberry Pi Foundation. It can be used in a wide variety of applications including robotics, drones, the Internet of Things (IoT), and much more
RP2040 Microcontroller
The RP2040 microcontroller features dual-core Arm Cortex M0+ processors, a rich selection of peripherals, and low-power performance The RP2040 microcontroller is a low-power, dual-core Arm Cortex M0+ processor with a rich selection of peripherals. It is designed for many applications, including IoT, wearables, and industrial control.
Raspberry Pi Pico W Specifications
.png)
The Raspberry Pi Pico W is absolutely different from the prior models. Pico is the first microcontroller to use the RP2040 "Pi Silicon" processor which features a dual-core Arm Cortex M0+ processor running at 133 MHz, 264KB of SRAM, and 2MB of flash memory for storing files and programs.
Raspberry Pi Pico W Specifications
Following are the key features of the Raspberry Pi Pico W Board.
- 21 mm × 51 mm form factor
- RP2040 microcontroller chip designed by Raspberry Pi in the UK
- Dual-core Arm Cortex-M0+ processor, flexible clock running up to 133 MHz
- 264kB on-chip SRAM
- 2MB on-board QSPI flash
- 2.4GHz 802.11n wireless LAN
- 26 multifunction GPIO pins, including 3 analog inputs
- 2 × UART, 2 × SPI controllers, 2 × I2C controllers, 16 × PWM channels
- 1 × USB 1.1 controller and PHY, with host and device support
- 8 × Programmable I/O (PIO) state machines for custom peripheral support
- Supported input power 1.8–5.5V DC
- Operating temperature -20°C to +70°C
- The castellated module allows soldering directly to carrier boards
- Drag-and-drop programming using mass storage over USB
- Low-power sleep and dormant modes
- Accurate on-chip clock
- Temperature sensor
- Accelerated integer and floating-point libraries on-chip
Raspberry Pi Pico W Pinout

This is a top view of the GPIO pins on the Raspberry Pi Pico W. The labels are on the bottom of the board.
The Raspberry Pi Pico pinout reveals that it has a total of 40 pins, including GND and Vcc pins. The pins are divided into power, ground, UART, GPIO, PWM, ADC, SPI, I2C, system control, and debugging functions.
How to Program Raspberry Pi Pico W Using MicroPython


How to program the Raspberry Pi Pico in MicroPython. MicroPython is a lean and efficient implementation of the Python 3 programming language that includes a small subset of the Python standard library and is optimized to run on microcontrollers and in constrained environments.
Installing MicroPython on Raspberry Pi Pico W
You will need to download the MicroPython firmware for the Pico. You can do this from the MicroPython website.
To load MicroPython on Pico W:
- Download the "MicroPython UF2 file" from this link.
- Make sure the Pico is not connected to the computer and the power it.
- Connect the micro USB cable to the Pico.
- Press and hold the "BOOTSEL" button before plugging the USB cable into the computer.
- Continue holding the button until the drive RPI-RP2 appears on your computer.
- Drag and drop the UF2 file onto the RPI-RP2 volume.
- Your Pico will reboot. That's it, you are now running MicroPython on your Pico.
Once you have the firmware, you will need to copy it to the Pico. you can now program it using MicroPython.
Getting Started With Raspberry Pi Pico W Using MicroPython


Installing Tonny Python IDE
We will use the Thonny Python IDE to program Raspberry Pi Pico in MicroPython. Thonny comes with the MicroPython plug-in pre-installed. If you don't have Thonny installed, you can follow the instructions in this tutorial to install it.
In this article, we will show you how to program the Pico to turn on an LED. First.
Connect the Raspberry Pi Pico W to your computer. Then go to Thonny > Tools > Options and click on the Interpreter tab. To change your preferred interpreter, select MicroPython (Raspberry Pi Pico). The port dropdown menu can be left to detect the Pico W automatically. Click Ok to close. check my previous tutorial on Getting Started With Raspberry Pi Pico With Thonny IDE
Blink Program for Onboard LED


import machine
import time

led= machine.Pin('LED', machine.Pin.OUT)

while (True):
    led.on()
    time.sleep(1)
    led.off()
    time.sleep(2)
Save the program on the Raspberry Pi Pico W and give it a name like blink.py
The program will run and you can see the LED toggling on the board
Conclusion

This guide has shown you how to get started with your Raspberry Pi Pico using MicroPython. You have now learned how to write code in MicroPython and how to run it on your Raspberry Pi Pico. now you'll be able to write your own MicroPython programs to control the Raspberry Pi Pico W.