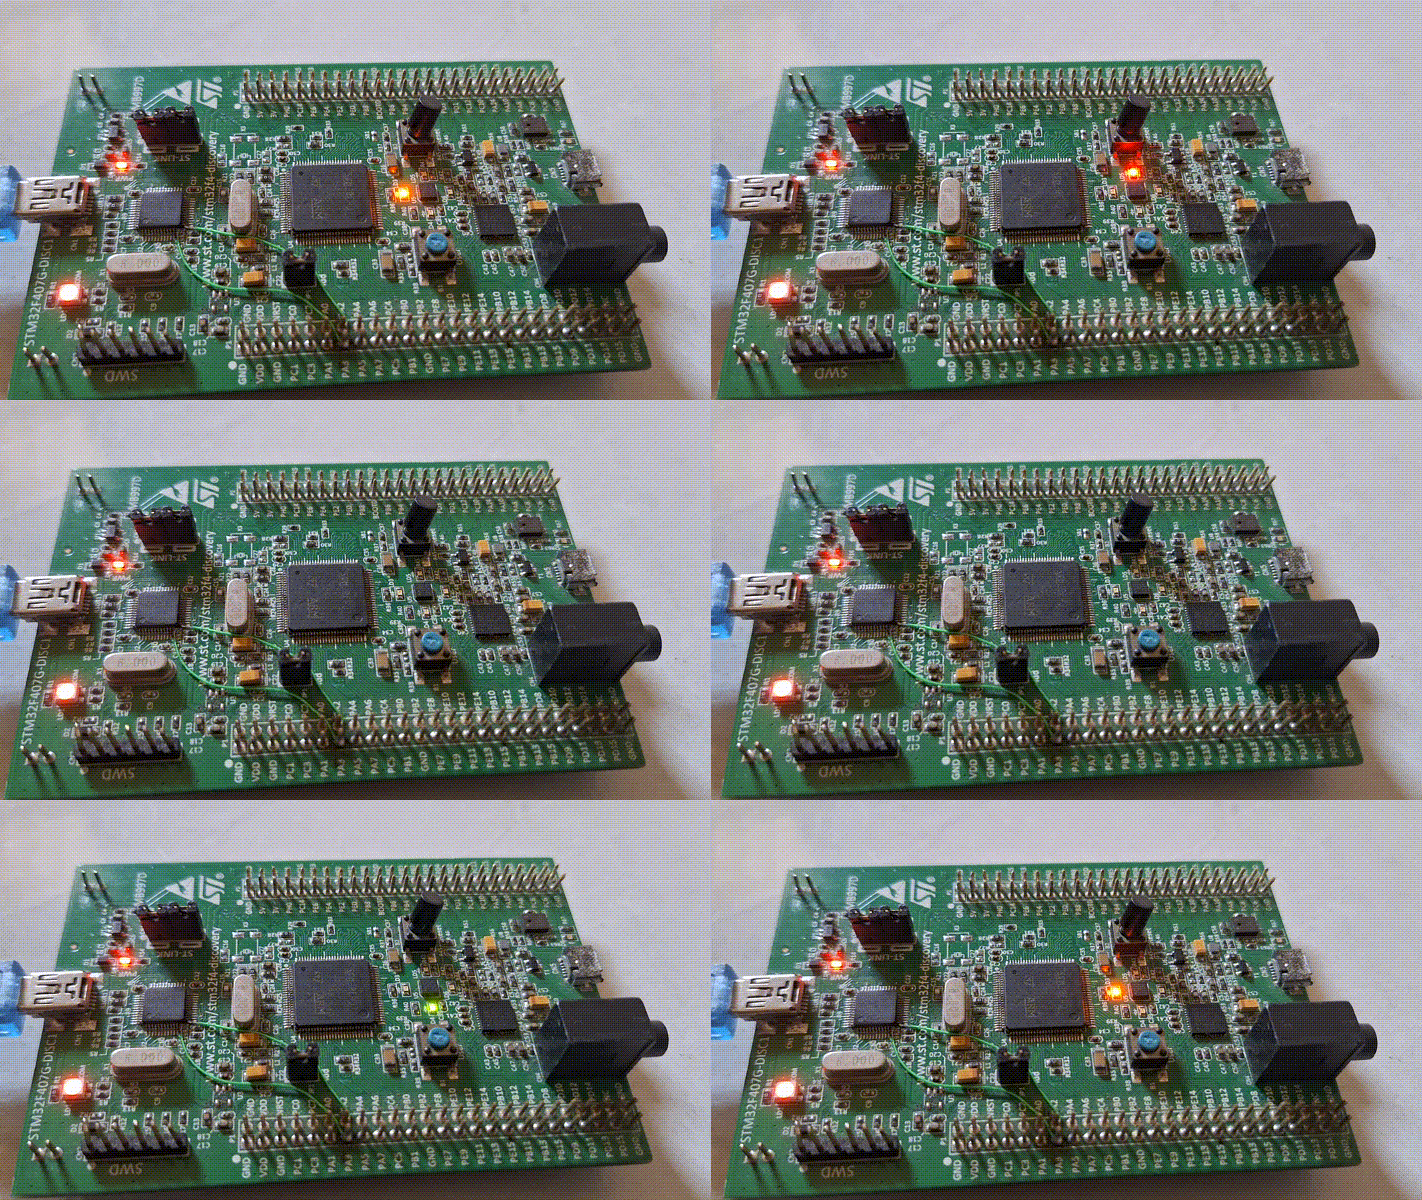
Programming STM32F4DISC Board With ArduinoIDE (STM32Duino)
by teukuzikrifatahillah in Circuits > Arduino
391 Views, 4 Favorites, 0 Comments
Programming STM32F4DISC Board With ArduinoIDE (STM32Duino)

Reference : https://github.com/stm32duino/Arduino_Core_STM32
Accelerating your stm32 projects with stm32duino.
Supplies
- PC / Laptop with ArduinoIDE software
- STM32F4DISC Board
- Downloader Cable (Mini USB)
- AWG30 Cable 20 cm (Optional for Serial Debugging)
Add Board Support URLs


- Click File -> preference
- In the "Additional Board Manager URLs" add this link: https://github.com/stm32duino/BoardManagerFiles/raw/main/package_stmicroelectronics_index.json
- click OK
Install STM32 Based MCU


- Go to Tools -> Boards -> Boards Manager
- Search for "stm32duino"
- Click Install on the "STM32 Based MCU Boards"
- Wait for the instalation process to complete
Install Driver


We will install STM32CubeProg to solve driver problems.
- First, go to this link
- Download STM32CubeProg. You will need to log in, or you can download it as a guest. The download link will be sent to your email. Make sure you use the same browser to open the link as the one you used to request it previously.
- Extract the file and install STM32CubeProg by following the steps until the instalation is complete
Try Blink


- Write the code below
- Click Tools -> Boards -> STM32 Based MCU Boards -> Generic STM32F4 Boards
- Make sure the downloader cable is plugged in
- Click Upload or press CTRL+U on keyboard
const int led_pin[4] = {PD12, PD13, PD14, PD15};

void setup() {
 // put your setup code here, to run once:
 for(int i = 0; i < 4; i++)
 {
  pinMode(led_pin[i], OUTPUT);
 }
}

void loop() {
 // put your main code here, to run repeatedly:
 for(int i = 0; i < 4; i++)
 {
  digitalWrite(led_pin[i], HIGH);
  delay(100);
  digitalWrite(led_pin[i], LOW);
  delay(100);
 }
}
Downloads
Try Serial Communication (Useful for Debugging)


- Configure the hardware, Use flying wires to connect (ST-LINK VCP pin 12 and 13) to (STM32F407 USART2 pin PA2 and PA3) as shown in the figure
- Click Tools -> Boards -> STM32 Based MCU Boards -> Generic STM32F4 Boards
- Write the code below
- Make sure the downloader cable is plugged in
- Click Upload or press CTRL+U on keyboard
- Click Serial Monitor in the top right corner or press CTRL+M on keyboard
- Change the baudrate to 115200 to match what we programmed
#include <HardwareSerial.h>

HardwareSerial Serial2(PA3,PA2);

void setup() {
  // put your setup code here, to run once:
  Serial2.begin(115200); // Initialization

}

void loop() {
  // put your main code here, to run repeatedly:
  Serial2.println("Hello World!");
  delay(1000);

}