Get Crypto Real Time Prices & All the Data
by RonFrtek in Circuits > Arduino
130 Views, 1 Favorites, 0 Comments
Get Crypto Real Time Prices & All the Data
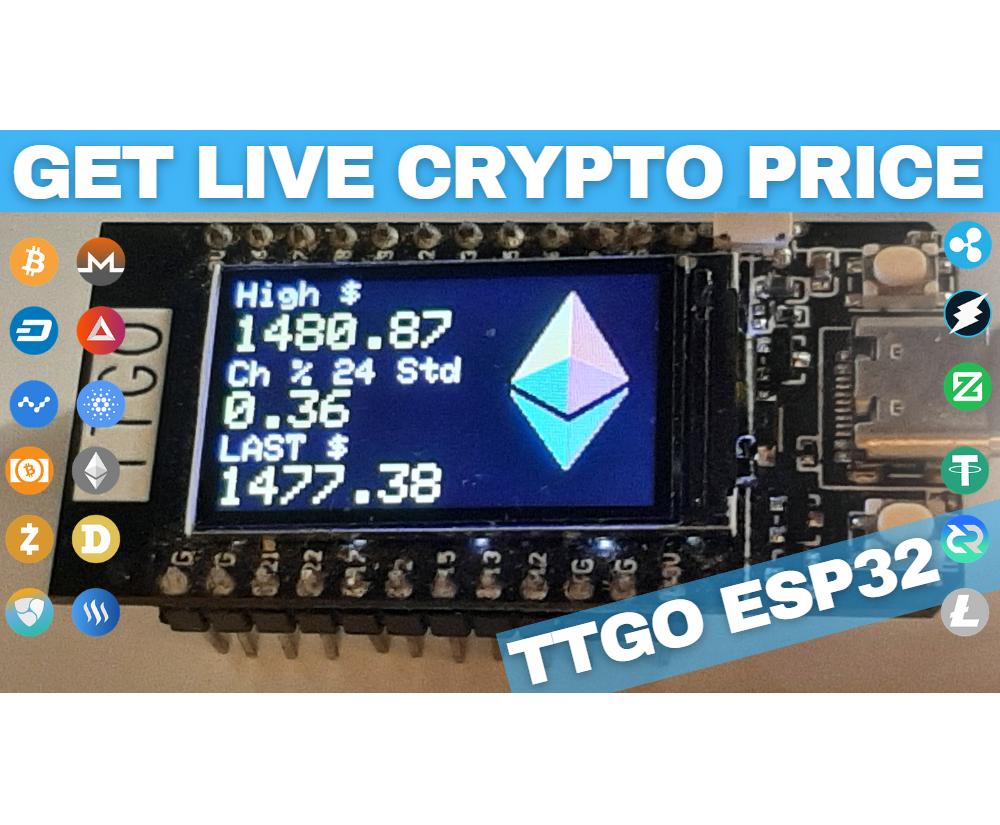
In this tutorial we will learn how to get any Crypto price from the internet using the TTGO ESP32 and Visuino, we will also learn how to add a SSL certificate to the ESP32 board.
In this tutorial we are going to get Ethereum price and use a Coingecko API access, In the first original tutorial we were using a Coindesk API.
Link to the first tutorial here
Link to the second tutorial here
What You Will Need
.jpg)
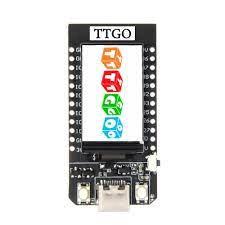
- TTGO ESP32
- WiFi connection
- Visuino program: Download Visuino
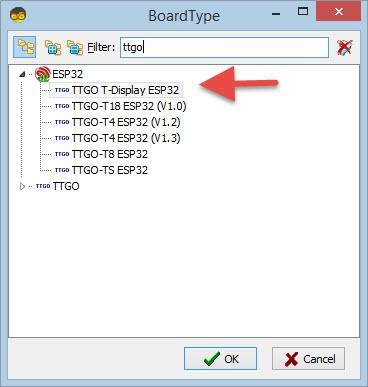
Start Visuino, and Select the Arduino TTGO T-Display ESP32 Board Type
The Visuino: https://www.visuino.eu also needs to be installed. Download Free version or register for a Free Trial.
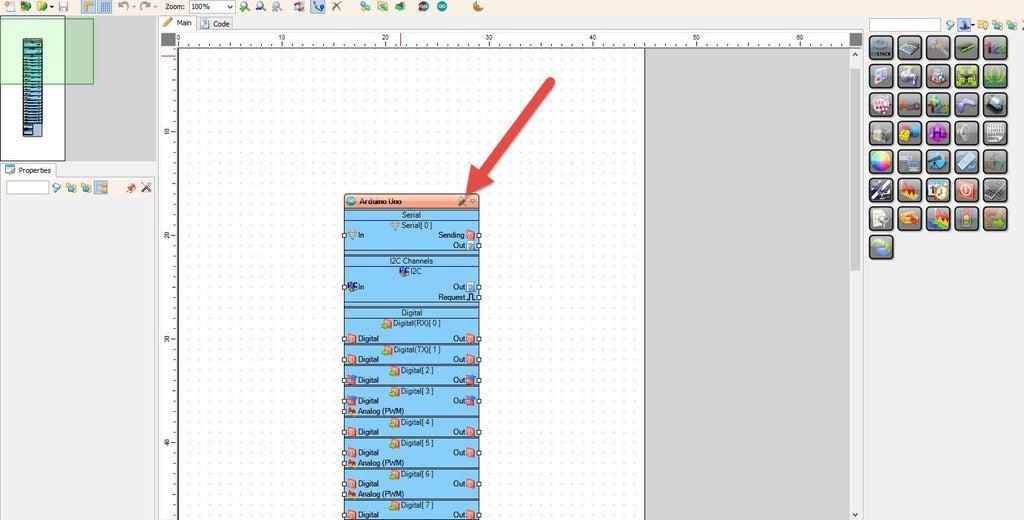
Start Visuino as shown in the first picture Click on the "Tools" button on the Arduino component (Picture 1) in Visuino When the dialog appears, select "TTGO T-Display ESP32" as shown on Picture 2
Get Server SSL Certificate for Your ESP
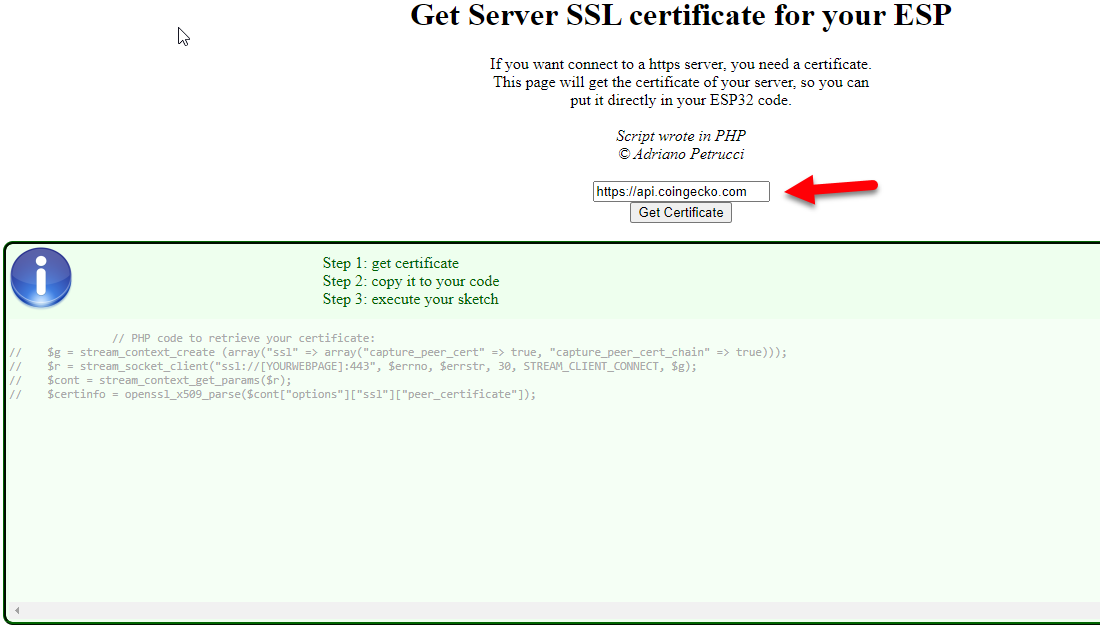
- Go to https://projects.petrucci.ch/esp32/?page=ssl and paste the https://api.coingecko.com in the Edit box and click "Get Certificate" button (Picture1)
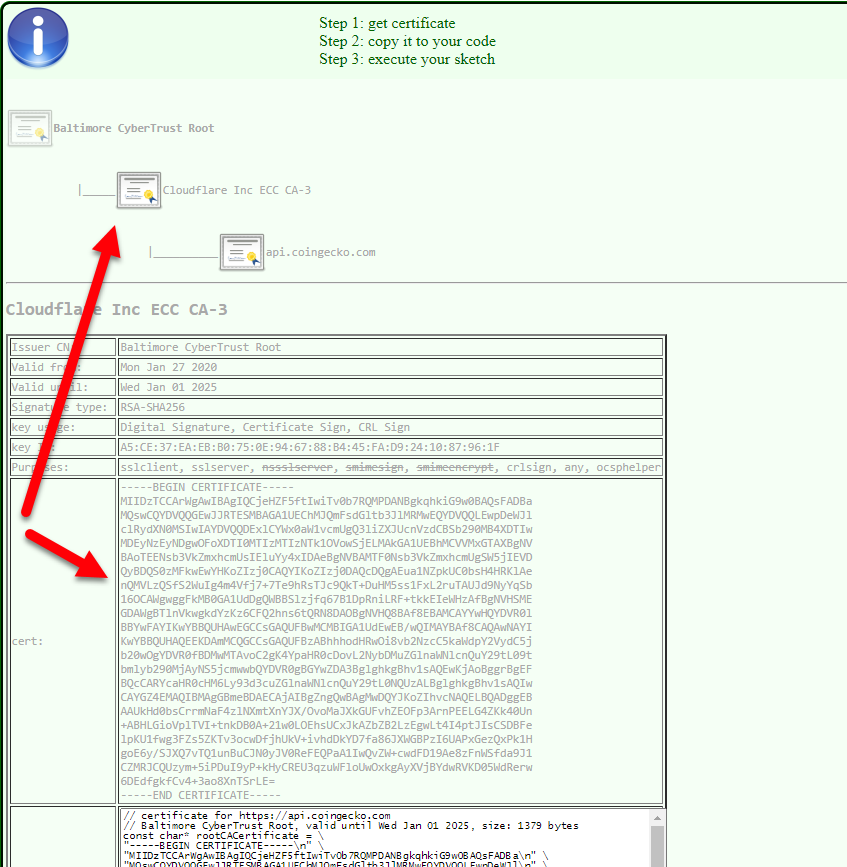
- Click on the "DigiCert SHA2 Extended Validation Server CA" Image (Picture2)
- (Picture 3) In the Table below "cert:" select the certificate field and copy it to the Clipboard (you will need it in the next step)
In Visuino Set WiFi
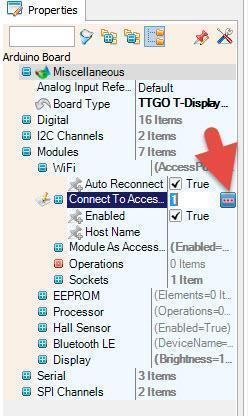
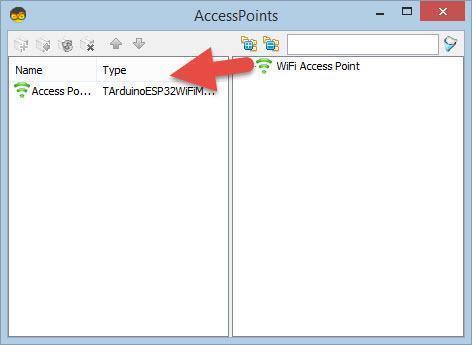
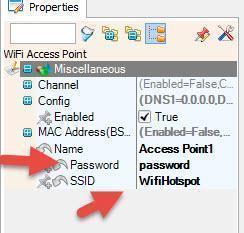
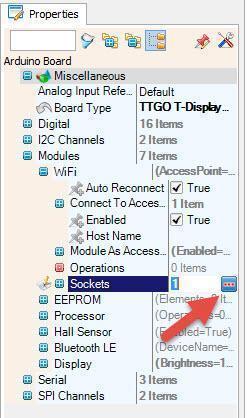
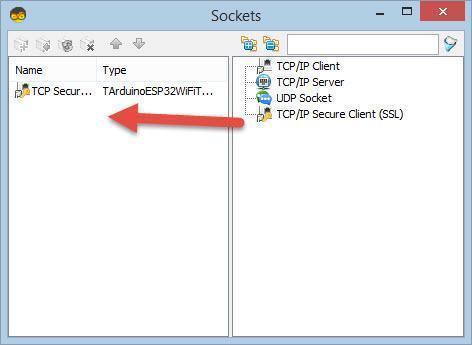
- Select TTGO T-Display ESP32 board and in the properties window expand "Modules>WiFi>Connect To Access Points
- Click on the Connect To Access Points 3 Dots
- In the AccessPoints window drag "WiFi Access Point" to the left side
- In the properties window set SSID (name of your WiFi hotspot or router)
- In the properties window set Password (password of your WiFi hotspot or router)
- Close AccessPoints window
- Select TTGO T-Display ESP32 board and in the properties window expand "Modules>WiFi>Sockets
- Click on the Sockets 3 Dots
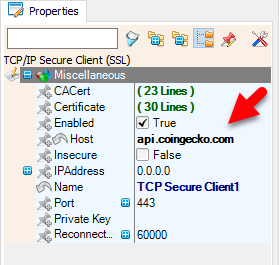
- In the "Sockets window" drag TCP/IP Secure Client (SSL) to the left
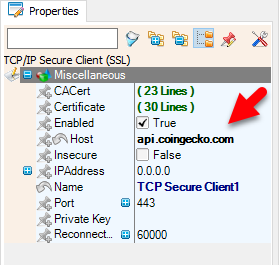
- In the properties window set Host to: api.coingecko.com
- select "CACert" and click on the 3 dots button and in the "CACert window" paste the Certificate that you got in the previous step
- Close the "Sockets window"
In Visuino Set Display

- Select TTGO T-Display ESP32 board and in the properties window expand "Modules>Display>Orientation"
- Set Orientation to:goRight
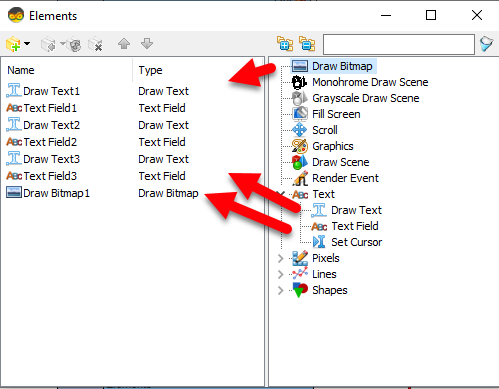
Select TTGO T-Display ESP32 board and in the properties window expand "Modules>Display>Elements" Click on the Elements 3 Dots
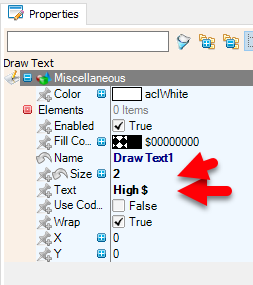
- In the Elements window Drag "Draw Text" to the left and in the properties window set size to 2 and text to High $
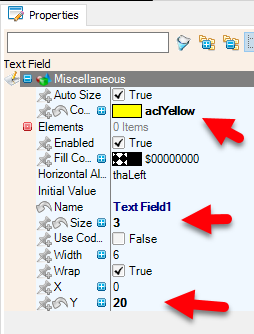
- In the Elements window Drag "Text Field" to the left and in the properties window set size to 3, color to "aclGold" and Y to 20.
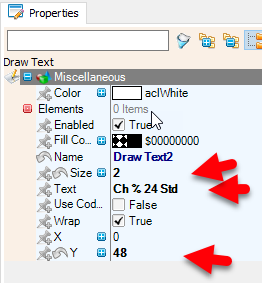
- In the Elements window Drag another "Draw Text" to the left and in the properties window set size to 2 ,text to Ch % 24 Std and Y to 48.
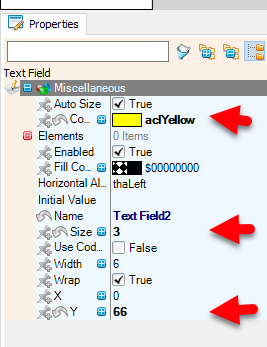
- In the Elements window Drag another "Text Field" to the left and in the properties window set size to 3, color to "aclGold" and Y to 66.
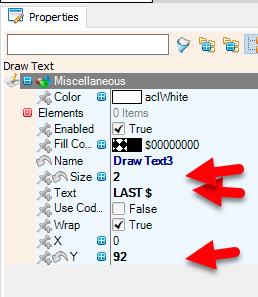
- In the Elements window Drag another "Draw Text" to the left and in the properties window set size to 2 ,text to LAST $ and Y to 92.
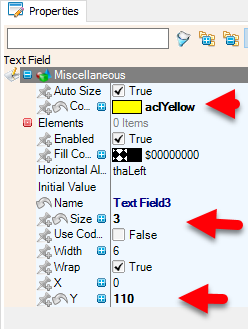
- In the Elements window Drag another "Text Field" to the left and in the properties window set size to 3, color to "aclGold" and Y to 110.
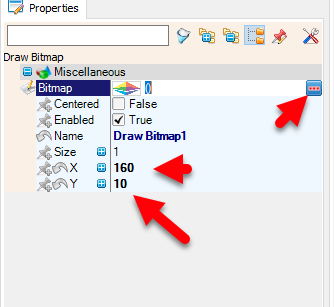
- Optionally you can add bitmap to the Display, to do that in the Elements window drag "Draw Bitmap" to the left side and in the properties window set X to 160, Y to 10
- Click on the Bitmap 3 Dots
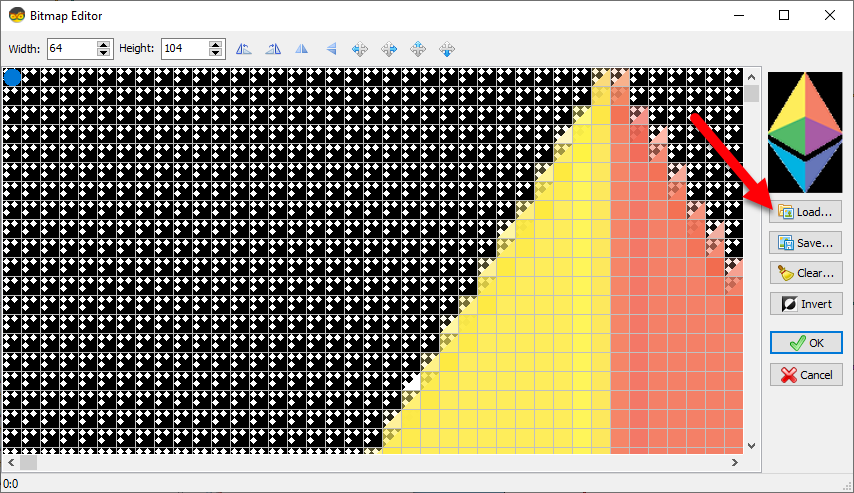
- In the Bitmap Editor Load the Ethereum bitmap (picture 1) and close the Bitmap editor
- You can find other bitmaps at https://iconarchive.com/search?q=crypto
In Visuino Add Components
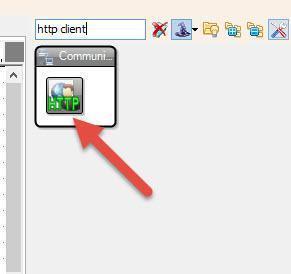
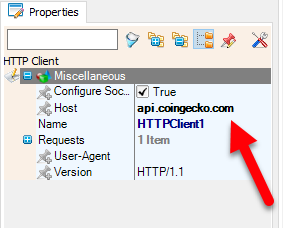
- Add "HTTP Client" component
- Select "HTTPClient1" and in the properties window set Host to api.coingecko.com
- Click on the Requests 3 Dots
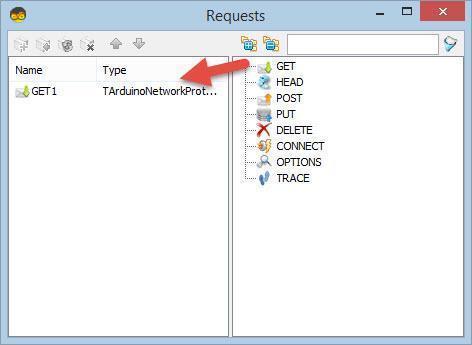
- In the "Requests window" drag "GET" to the left side
- In the properties window set URL to: /api/v3/coins/markets?vs_currency=eur&ids=ethereum
Note: You can display any Crypto price, just change the end &ids=ethereum to
for example: &ids=bitcoin
or for example: &ids=helium
- Close the requests window
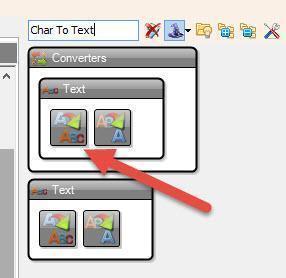
- Add "Char To Text" component
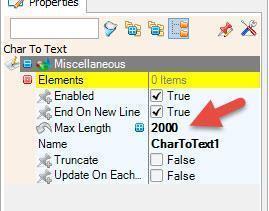
- Select "CharToText1" and in the properties window se Max Length to 2000
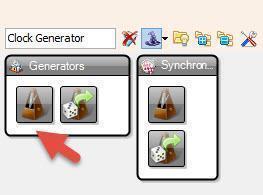
- Add "Clock Generator" component
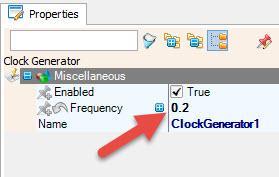
- Select "ClockGenerator1" and in the properties window set frequency to 0.2, this will be the refresh time, you can adjust it if you want.
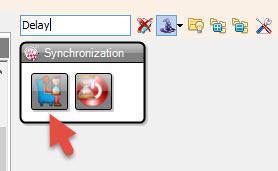
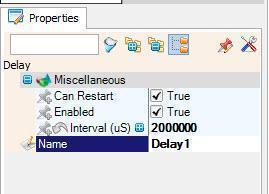
- Add "Delay" components and in the properties window set "Interval (uS)" to 2000000
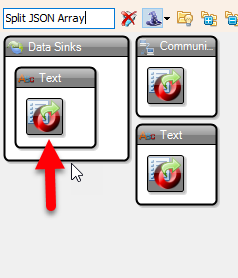
- Add "Split JSON Array" component
In Visuino Parsing JSON
- With the mouse right click on the "SplitJSONArray1" and in the menu click on the "Parse JSON Array.."
In the "JSON Array" window paste this sample code(avalible on https://api.coingecko.com/api/v3/coins/markets?vs_currency=usd&ids=ethereum )Or copy paste the following:
[{"id":"ethereum","symbol":"eth","name":"Ethereum","image":"https://assets.coingecko.com/coins/images/279/large/ethereum.png?1595348880","current_price":1482.03,"market_cap":178670183667,"market_cap_rank":2,"fully_diluted_valuation":178670183667,"total_volume":8690920453,"high_24h":1489.18,"low_24h":1436.04,"price_change_24h":4.9,"price_change_percentage_24h":0.33153,"market_cap_change_24h":879009745,"market_cap_change_percentage_24h":0.49441,"circulating_supply":120516618.402028,"total_supply":120516618.402028,"max_supply":null,"ath":4228.93,"ath_change_percentage":-64.94021,"ath_date":"2021-12-01T08:38:24.623Z","atl":0.381455,"atl_change_percentage":388583.46455,"atl_date":"2015-10-20T00:00:00.000Z","roi":{"times":91.39422777297055,"currency":"btc","percentage":9139.422777297055},"last_updated":"2023-01-27T20:29:51.396Z"}]
- Close the "JSON Array" window
- "SplitJSONArray1" component will now create new pins
In Visuino Connecting Components
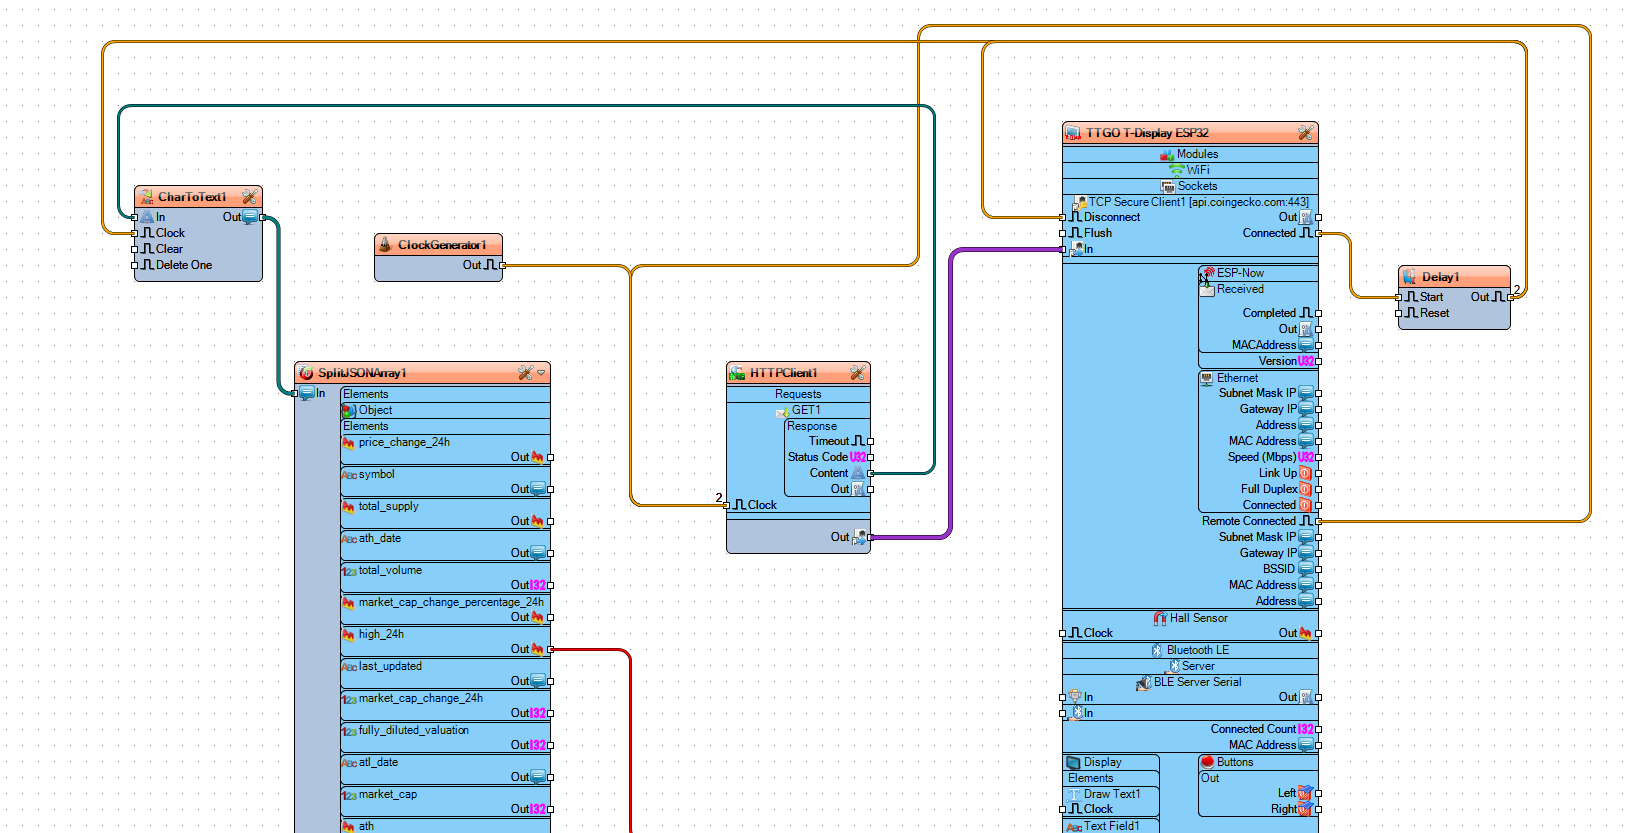
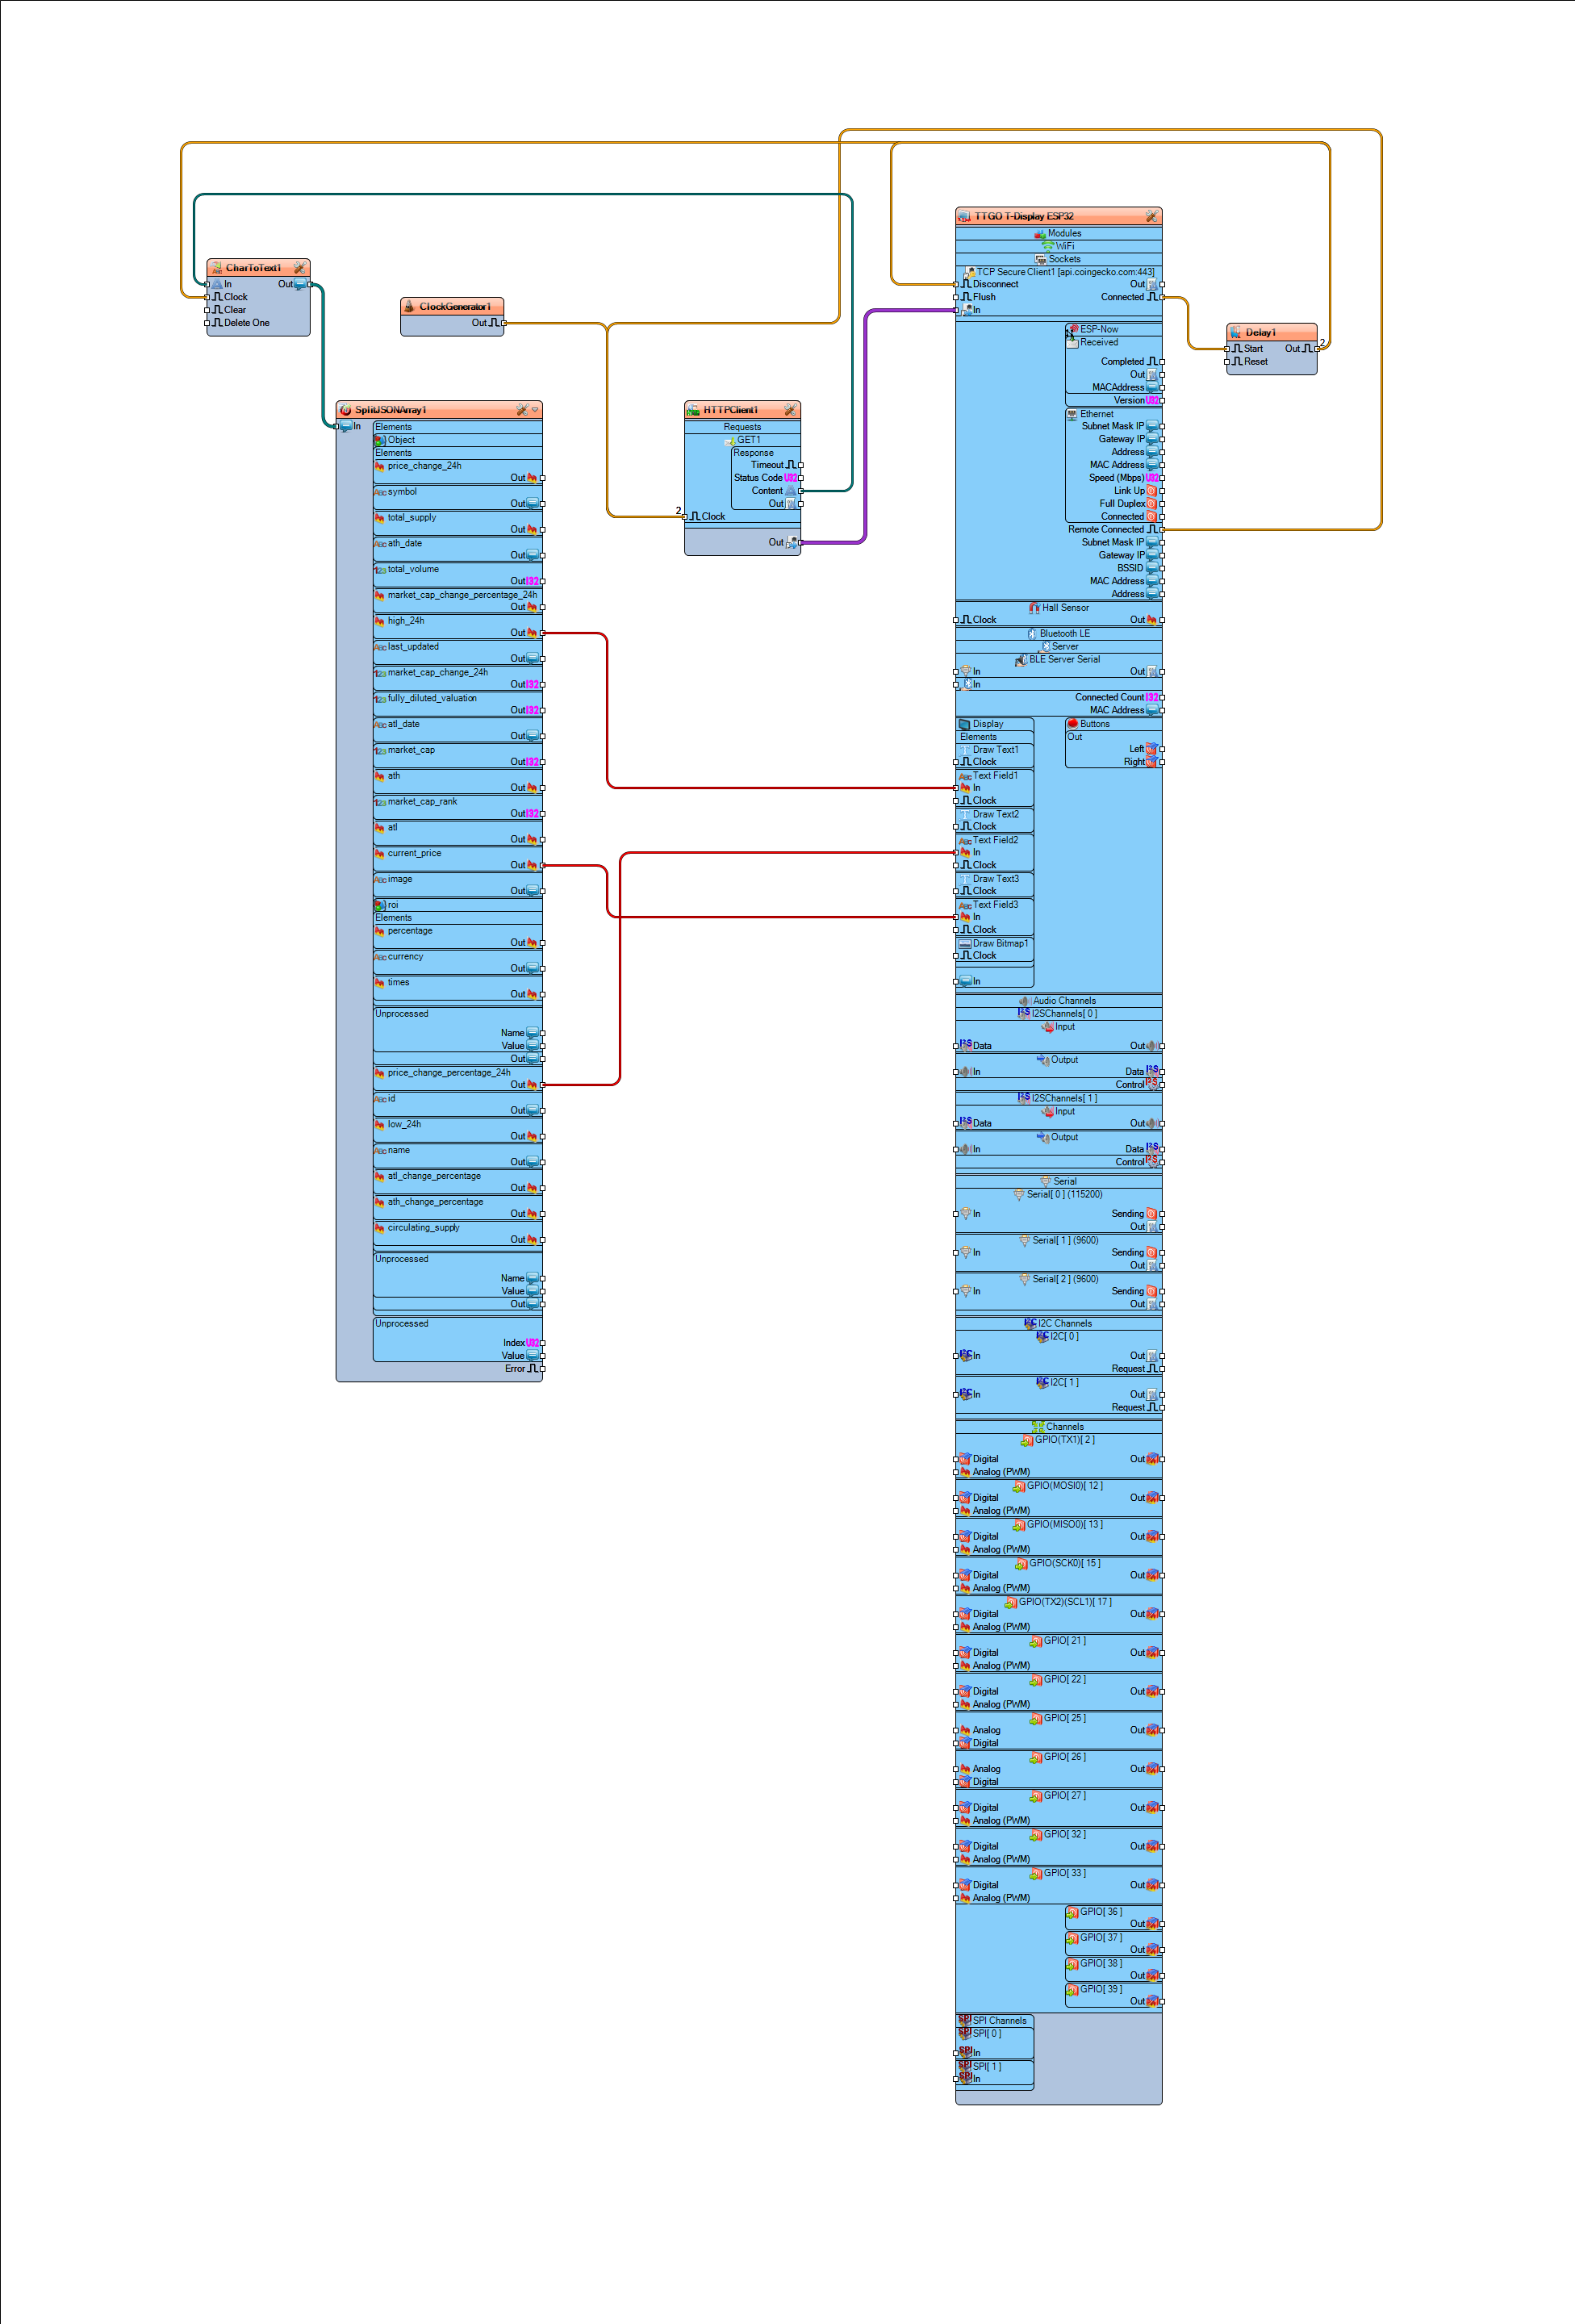
- Connect "ClockGenerator1" pin Out to "HTTPClient1" pin Clock
- Connect "TTGO T-Display ESP32" pin [Connected] to "Delay1" pin Start
- Connect "TTGO T-Display ESP32" pin [Remote Connected] to "HTTPClient1" pin Clock
- Connect "HTTPClient1" pin Content to "CharToText1" pin In
- Connect "HTTPClient1" pin to TTGO T-Display ESP32 > WiFi>TCP Secure Client1 pin In
- Connect "Delay1" pin Out to "CharToText1" pin Clock and TTGO T-Display ESP32 > WiFi>TCP Secure Client1 pin Disconnect
- Connect "CharToText1" pin Out to "SplitJSONArray1" pin In
- Connect "SplitJSONArray1" pin [High_24h] to TTGO T-Display ESP32 >Display Text Field1 pin[In]
- Connect "SplitJSONArray1" pin [price_change_percentage_24h] to TTGO T-Display ESP32 >Display Text Field2 pin[In]
- Connect "SplitJSONArray1" pin [Current_price] to TTGO T-Display ESP32 >Display Text Field3 pin[In]
- Note: you can also play with the other pins from "SplitJSONArray1" component
Generate, Compile, and Upload the Code

In Visuino, at the bottom click on the "Build" Tab, make sure the correct port is selected, then click on the "Compile/Build and Upload" button.
Play
If you power the TTGO ESP32 module it will connect to the network and display the current Bitcoin price data.
Congratulations! You have completed your project with Visuino. Also attached is the Visuino project, that I created for this Tutorial, you can download it and open it in Visuino: https://www.visuino.eu
Note: In the File Project when you open it in Visuino, change the WiFi settings (Access point and password) to your settings.
You can learn more about the Bitstamp API here https://www.coingecko.com/en/api/documentation