Geode Inspired Head Piece

This project is created as a course assignment at the California State University, Long Beach; taught by Behnaz Farahi: DESN 551: Materials, Tools, and Techniques of Prototype.
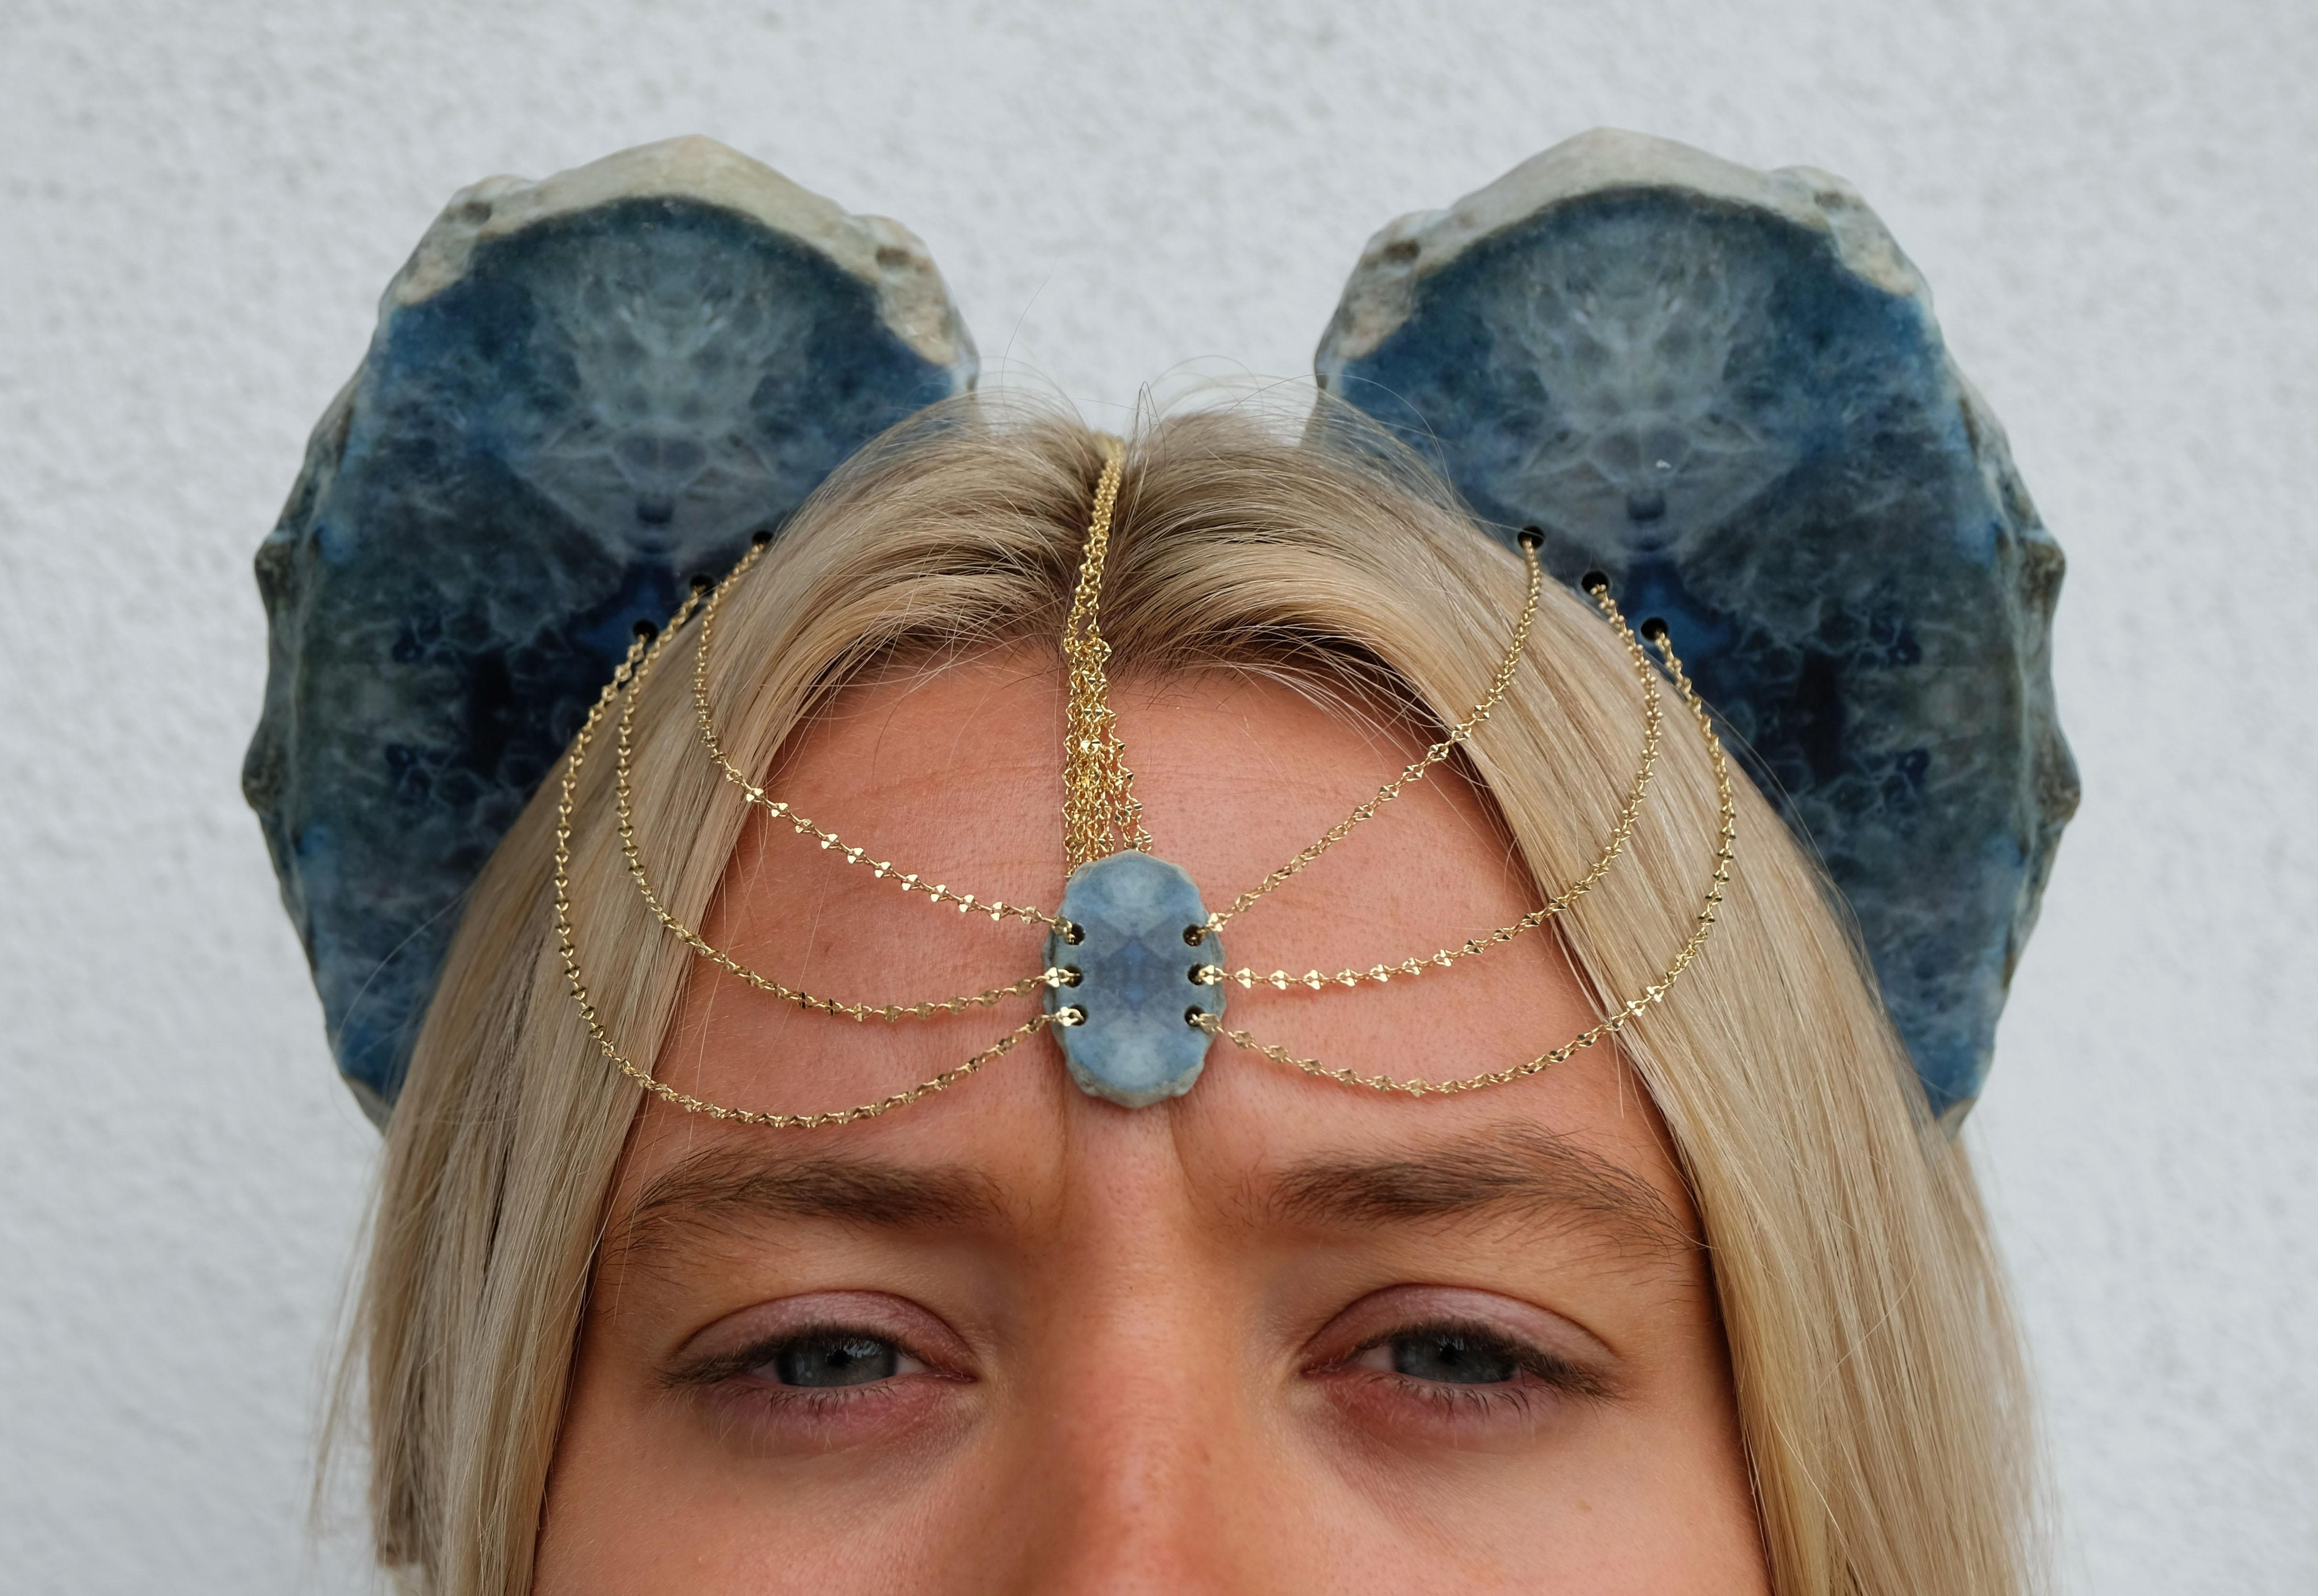
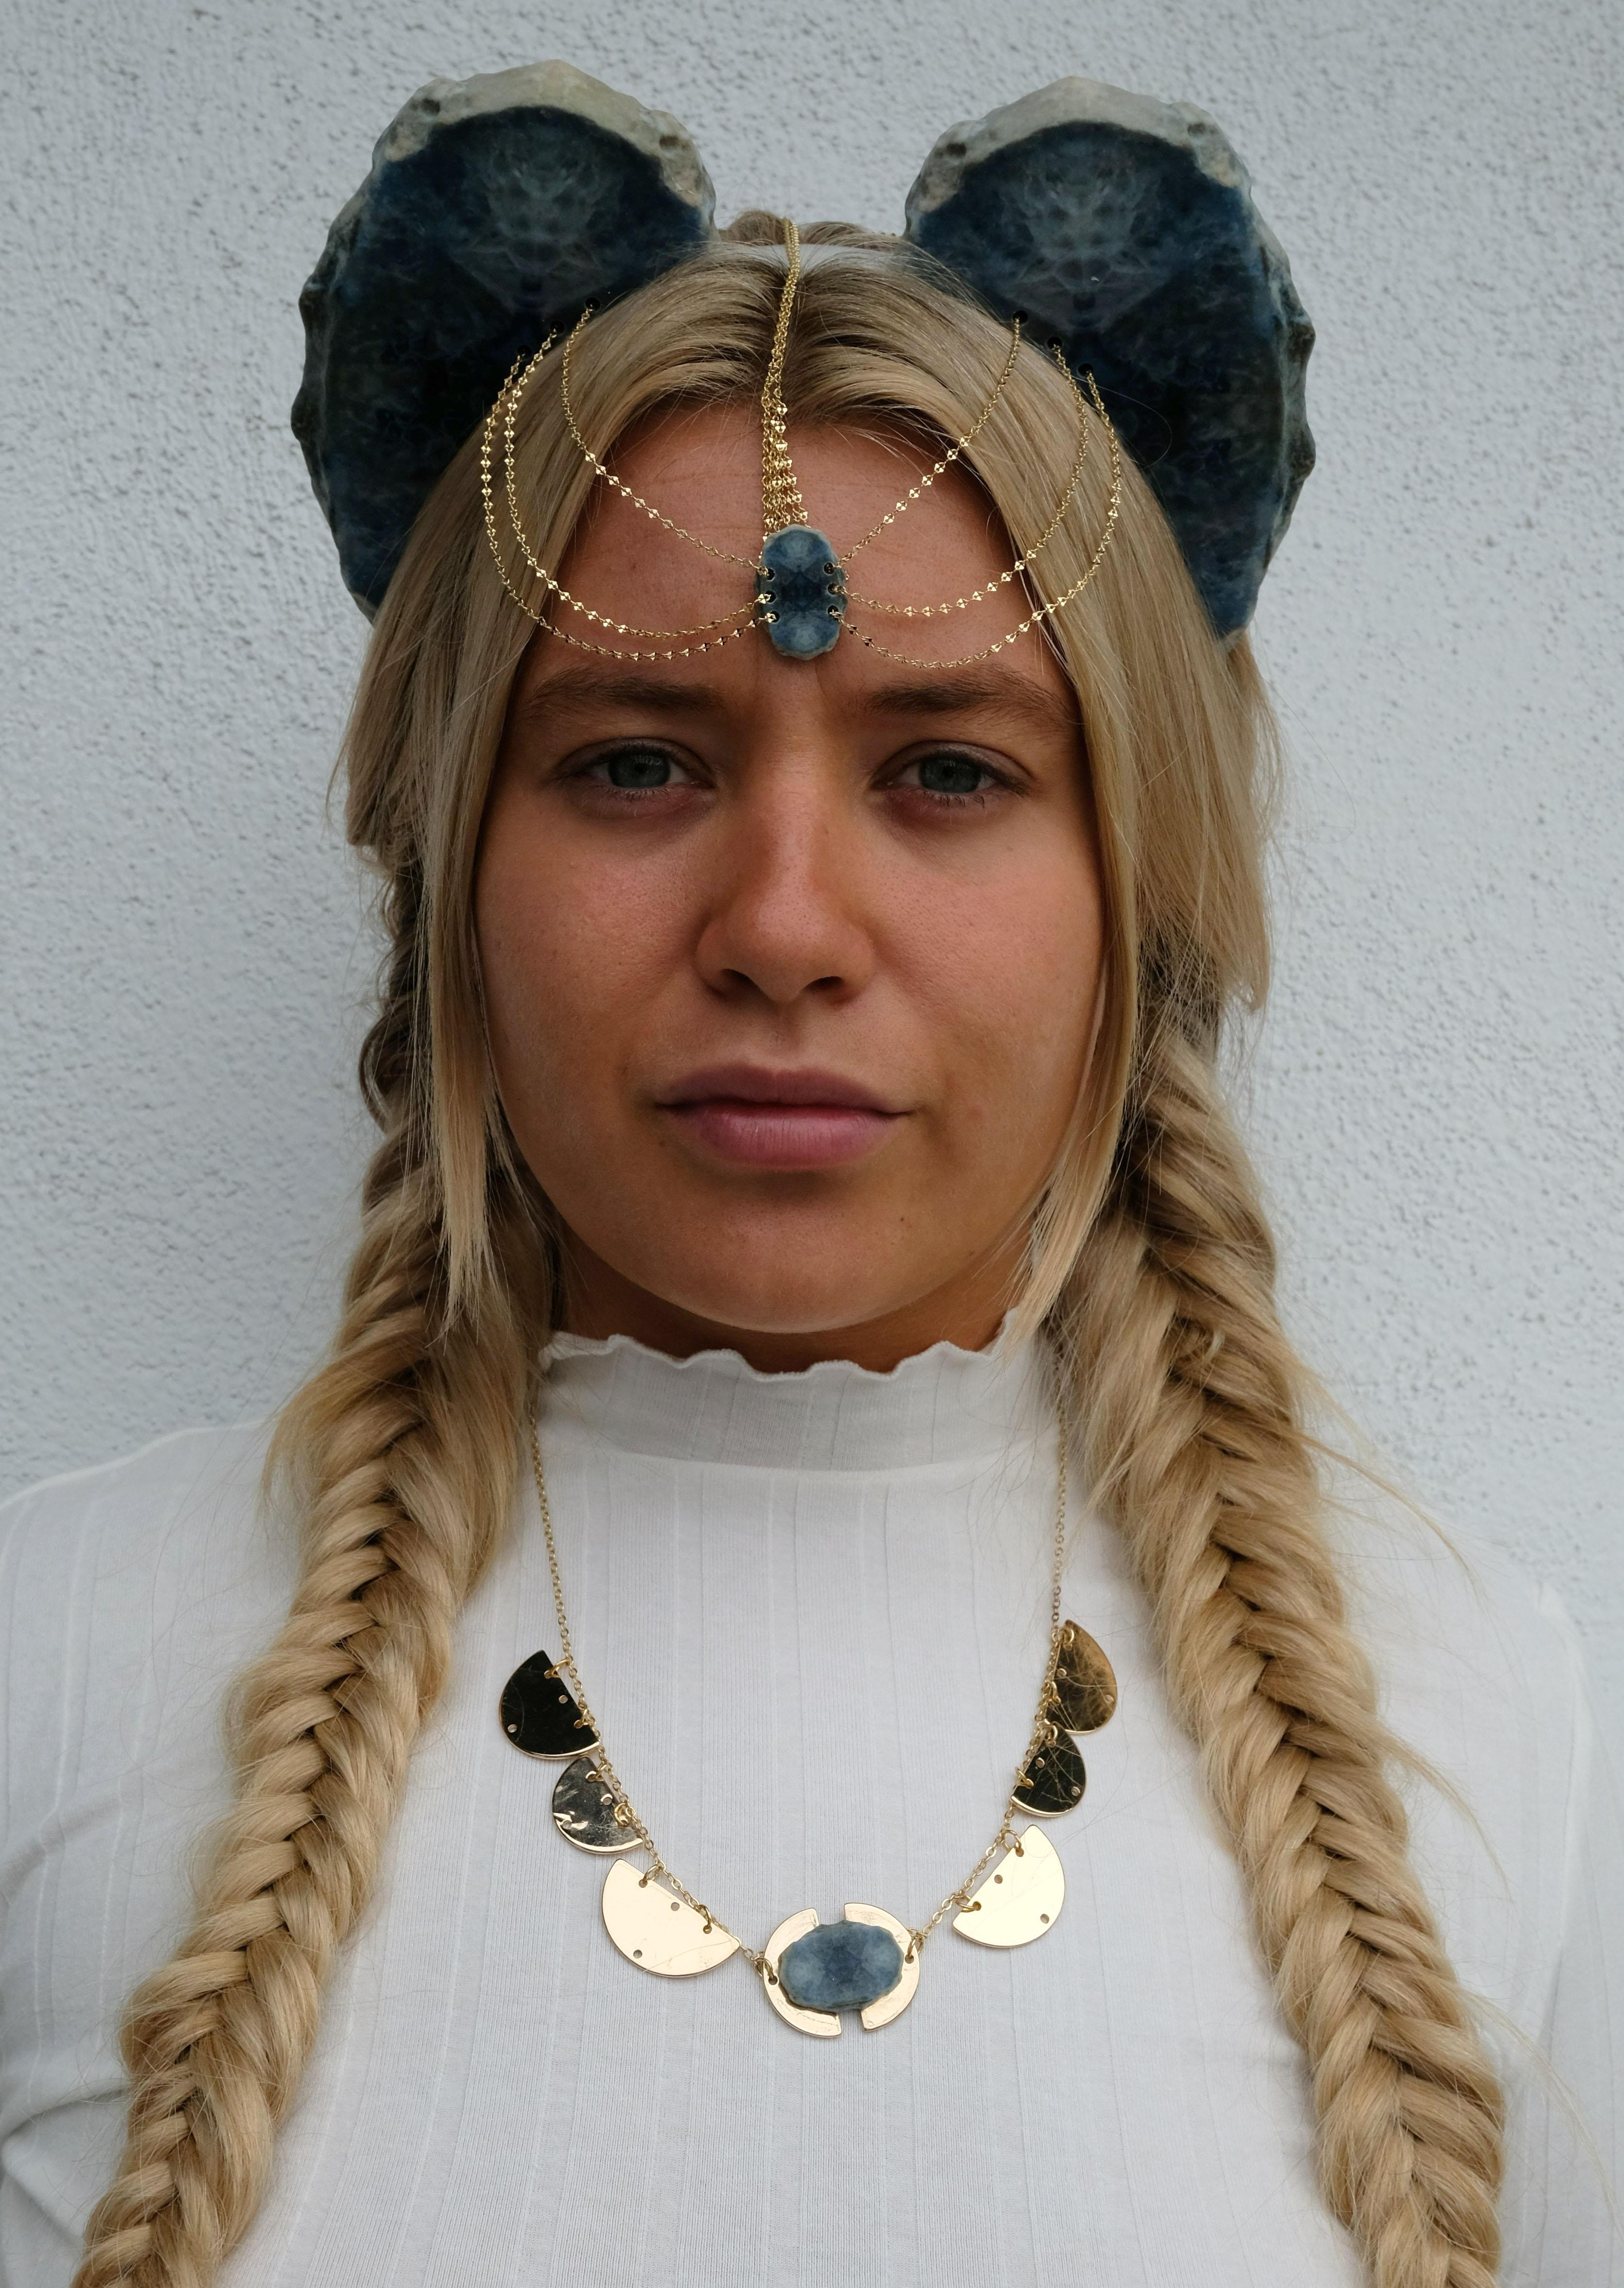
I chose to use a geode and transform into a wearable piece for my first 3D printing project. I wanted to create an abstract jewelry piece, so I transformed a geometric geode into a curvilinear headpiece.
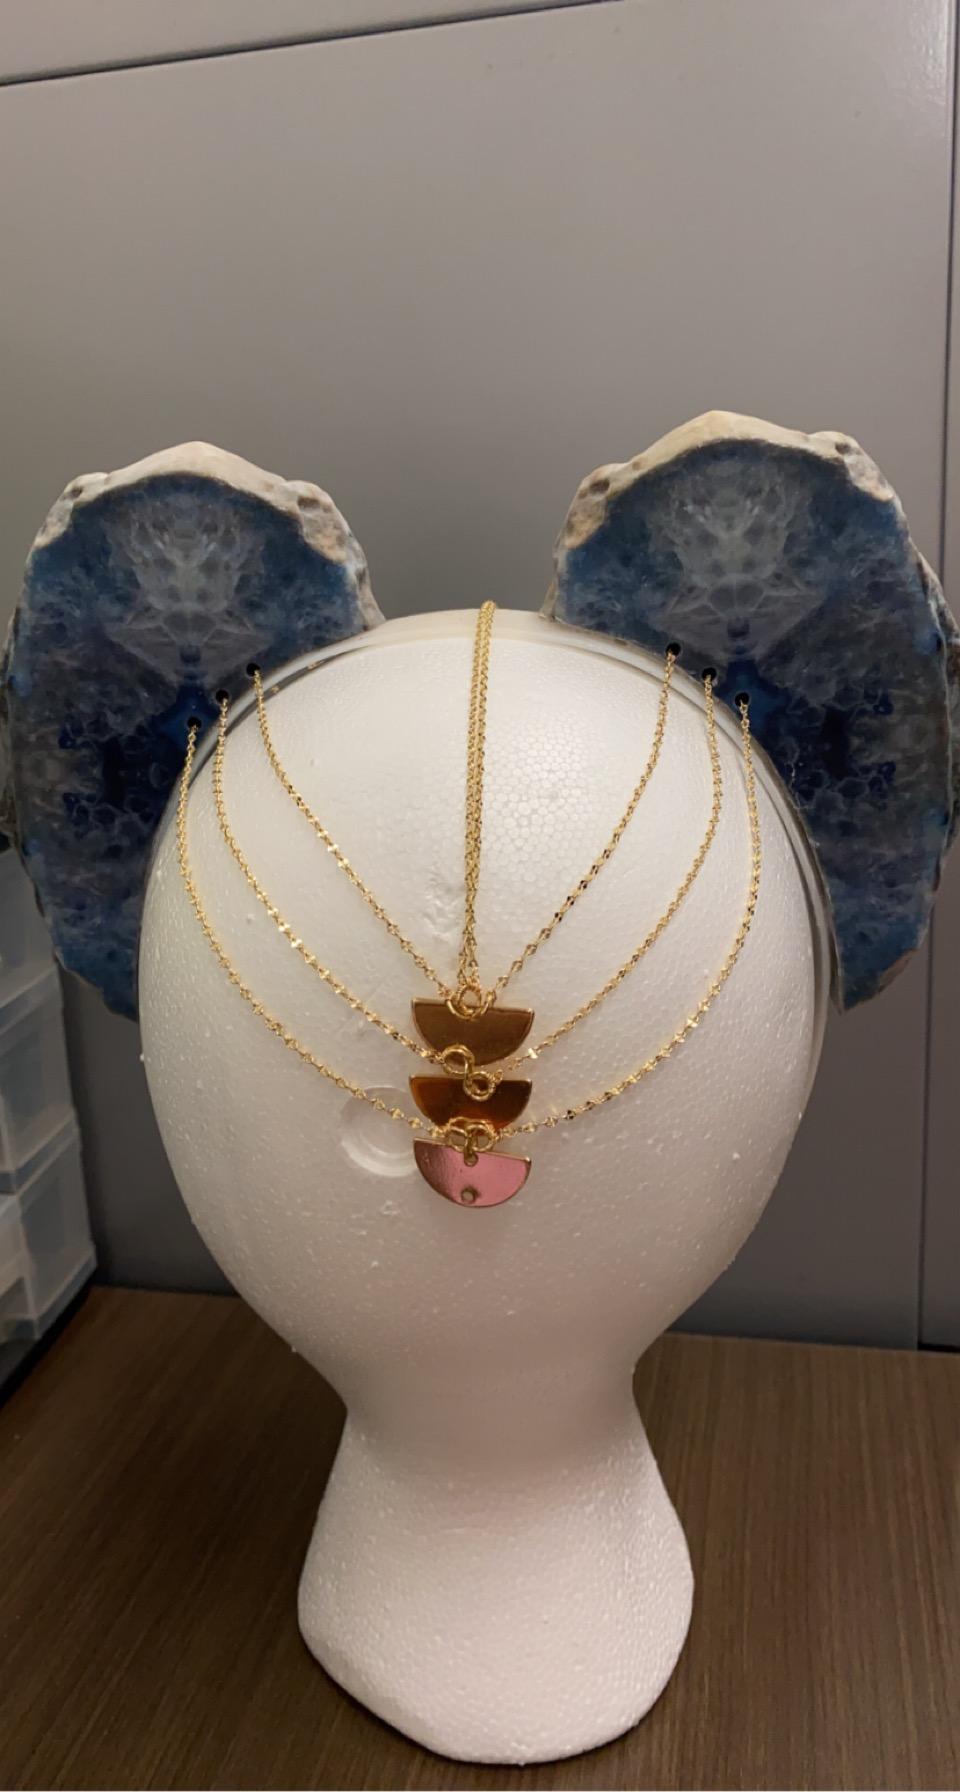
The more I worked on this project, the more I wanted to push myself further. I ended up adding a smaller geode piece to the center of the headpiece and connecting all of the pieces with a chain.
Geodes naturally encompass a turbulence design within itself. Geodes come in multiple different colors all have different designs and textures. Geodes are generally rough and gray on the exterior like a regular rock, however when you look inside a beautiful crystal is revealed.
Geodes are spherical rocks that contain a hollow cavity that is lined with crystals. They form in both igneous and sedimentary rocks. First a hollow cavity is formed inside the rock and then silica rich groundwater flows into the cavity, forming crystals along the walls of the rock and solidifying.
Supplies
- Geode
- Foam Core
- Tape
- Water Bottle/ Stand
- Natural Light
- Phone/Computer
- Gold Chains
- Jewelry Pieces
- Headband
Software Used:
- Scaniverse
- Meshmixer
- Rhino
- 3D Printer
MidJourney Exporation
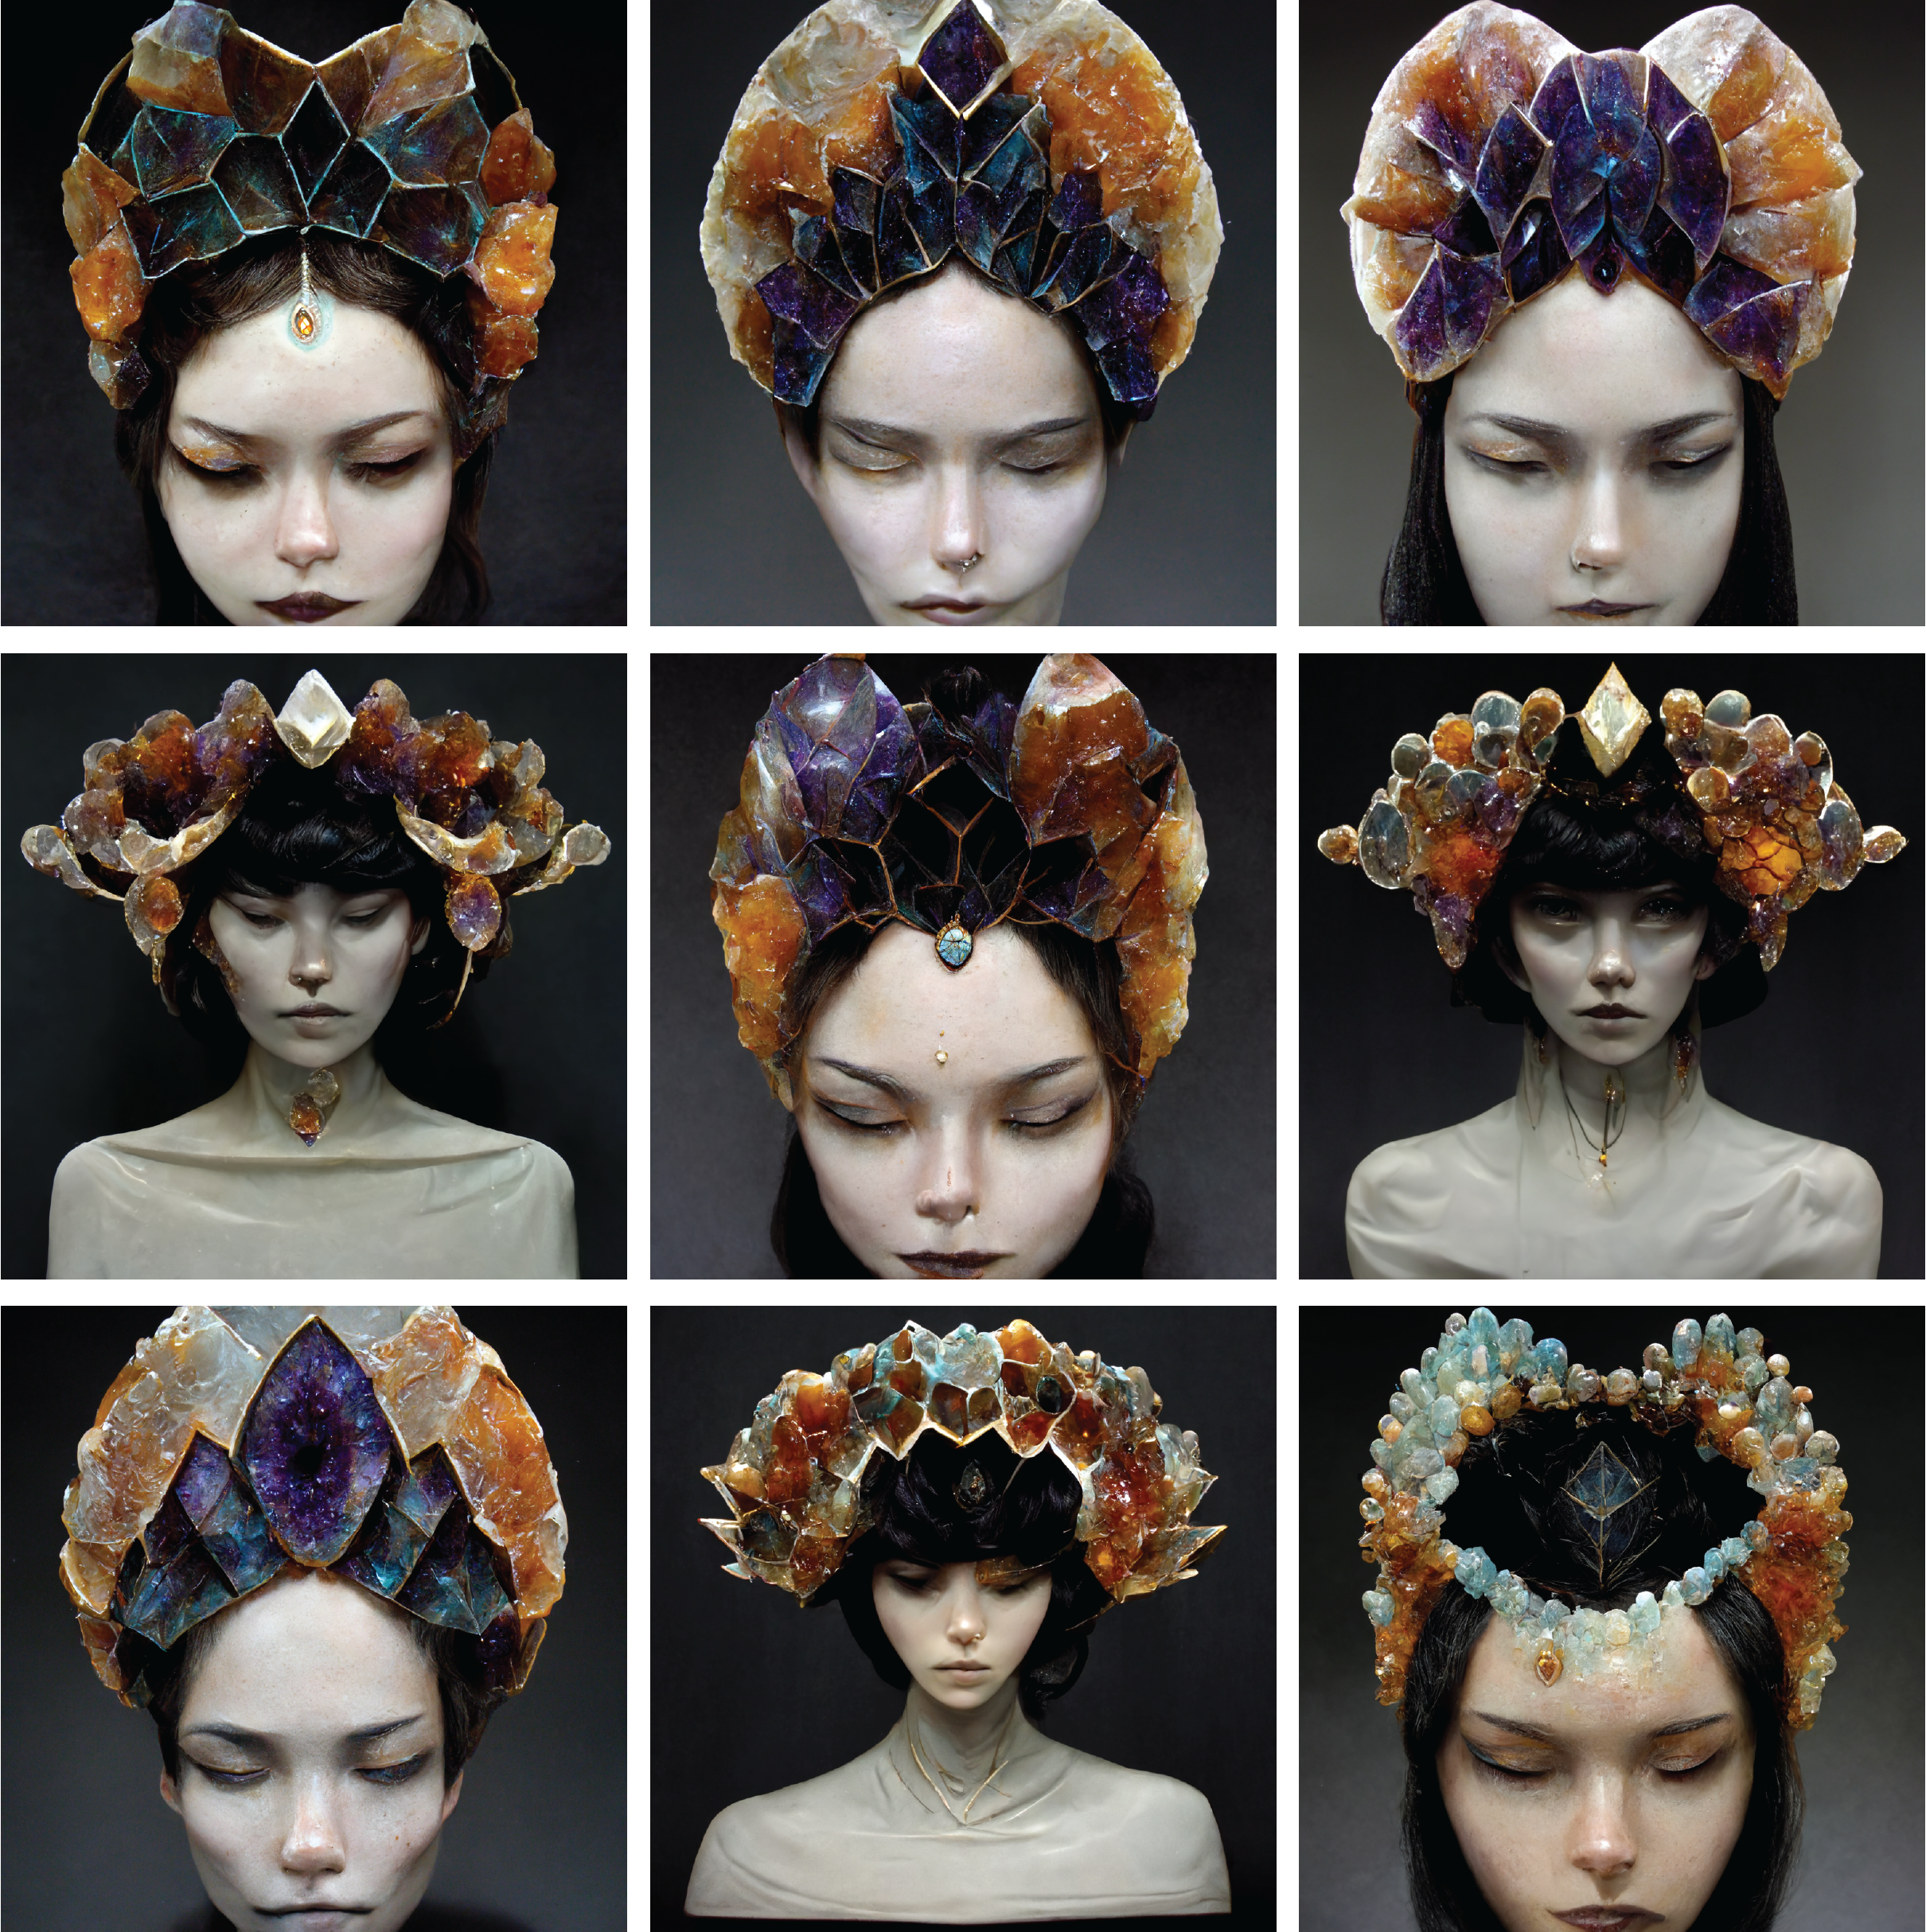
Steps:
- Input prompts into Midjourney until you are satisfied with your inspiration image
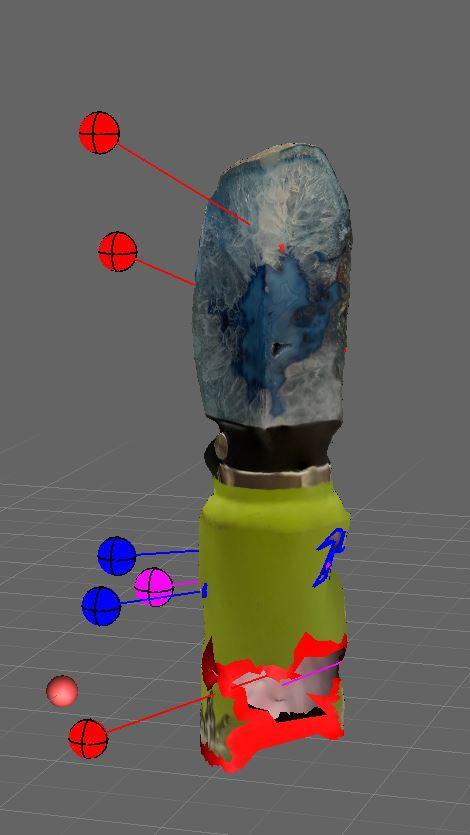
Setting Up & Scanning

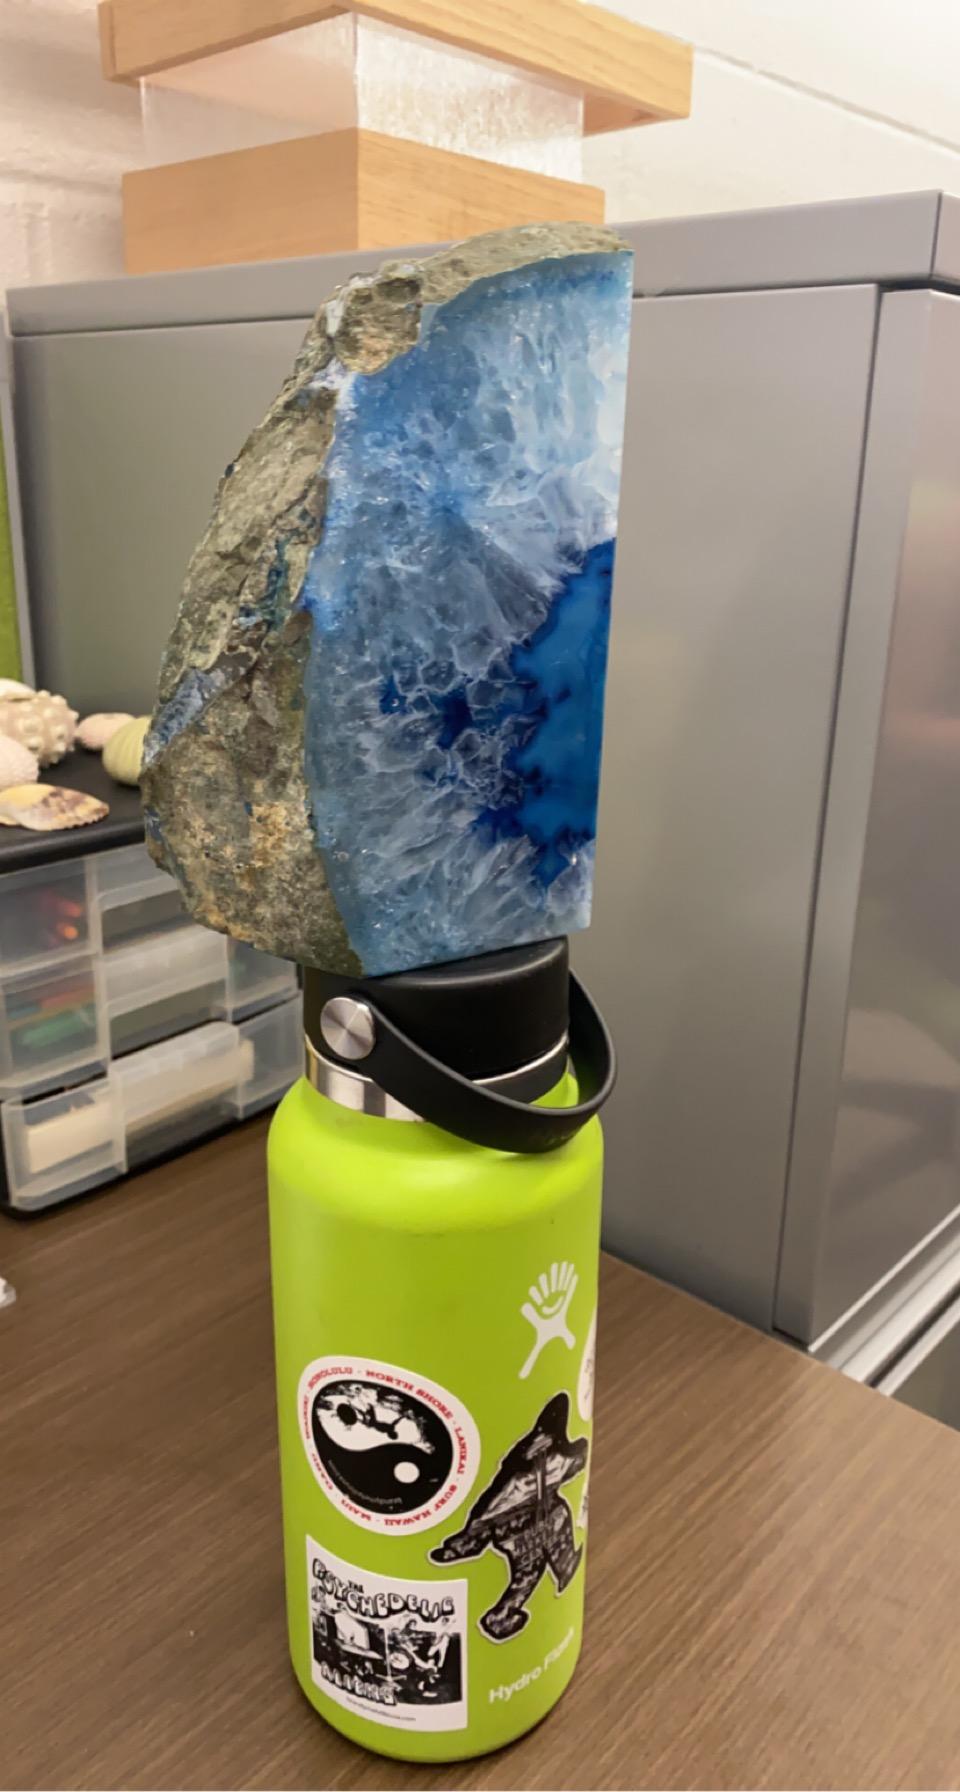
Steps:
- Using the tape create a box out of the foam core
- Place the water bottle/stand in the center of the box
- Place the geode on top of the water bottle/stand
- Start scanning object using scaniverse app
- Import scan as an .obj file
Cleaning Up Scan in Meshmixer
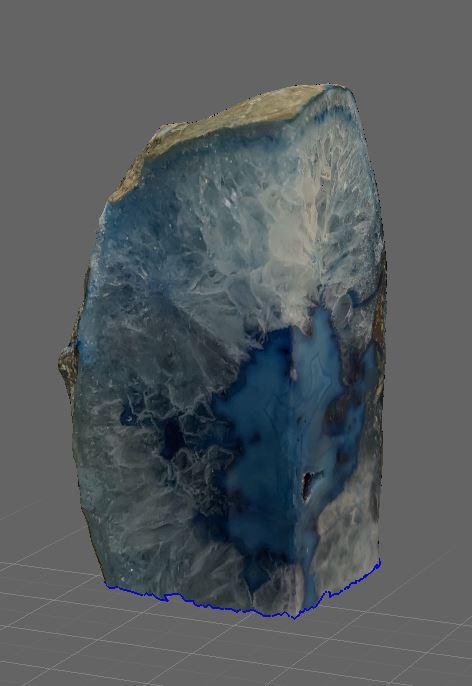
Steps:
- Import .obj file from scaniverse into meshmixer
- Use select tool to get rid of everything in the file except for the geode
- Use the inspector tool to fill in any holes in the geode
Creating the Shape You Want

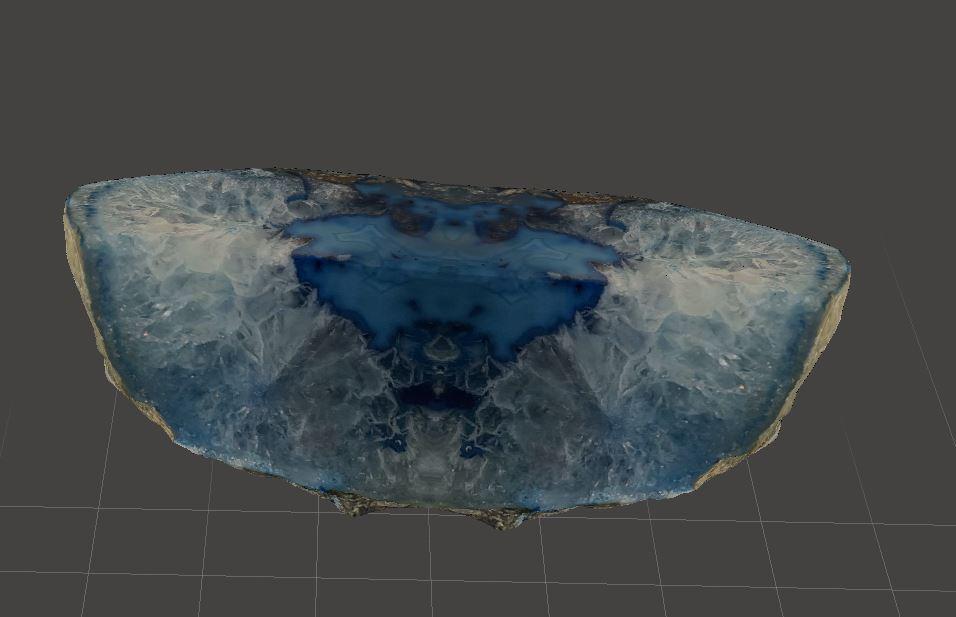
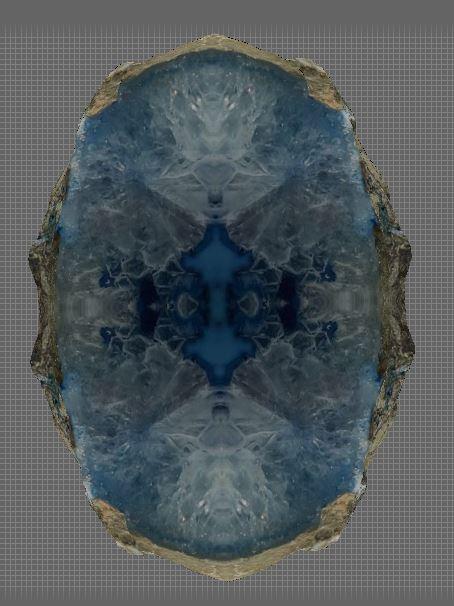
Steps:
- Find the side of the geode you like the most
- Still in meshmixer, use the mirror tool to create a longer geode
- use the mirror tool again to create a full circular geode
- Make sure it is to scale
- Export as an .obj file
Forming the Goede to a Head
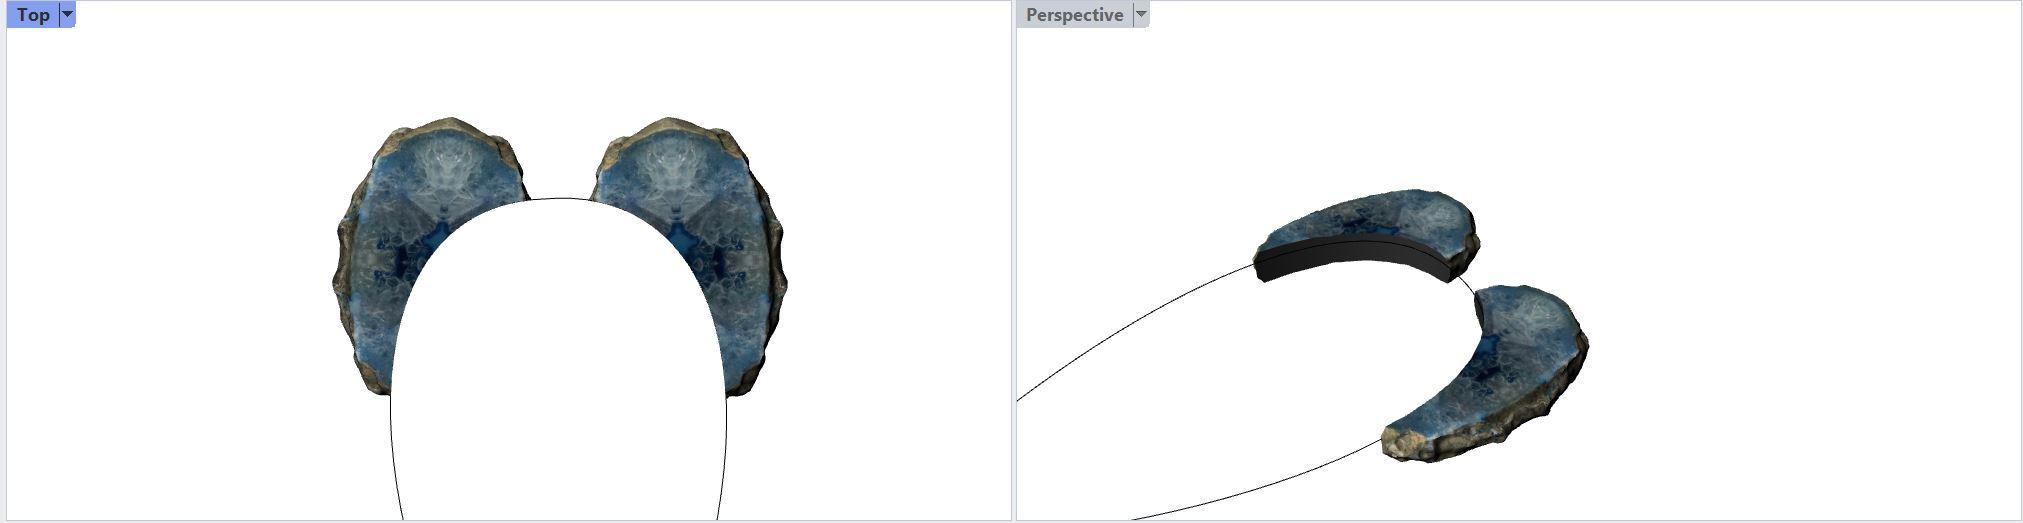
Steps:
- Bring the .obj file from Meshmixer into Rhino
- Import a human head template
- Use the meshbooleandifference command to cut out the shape of the head from the geode
- Export as a obj. file
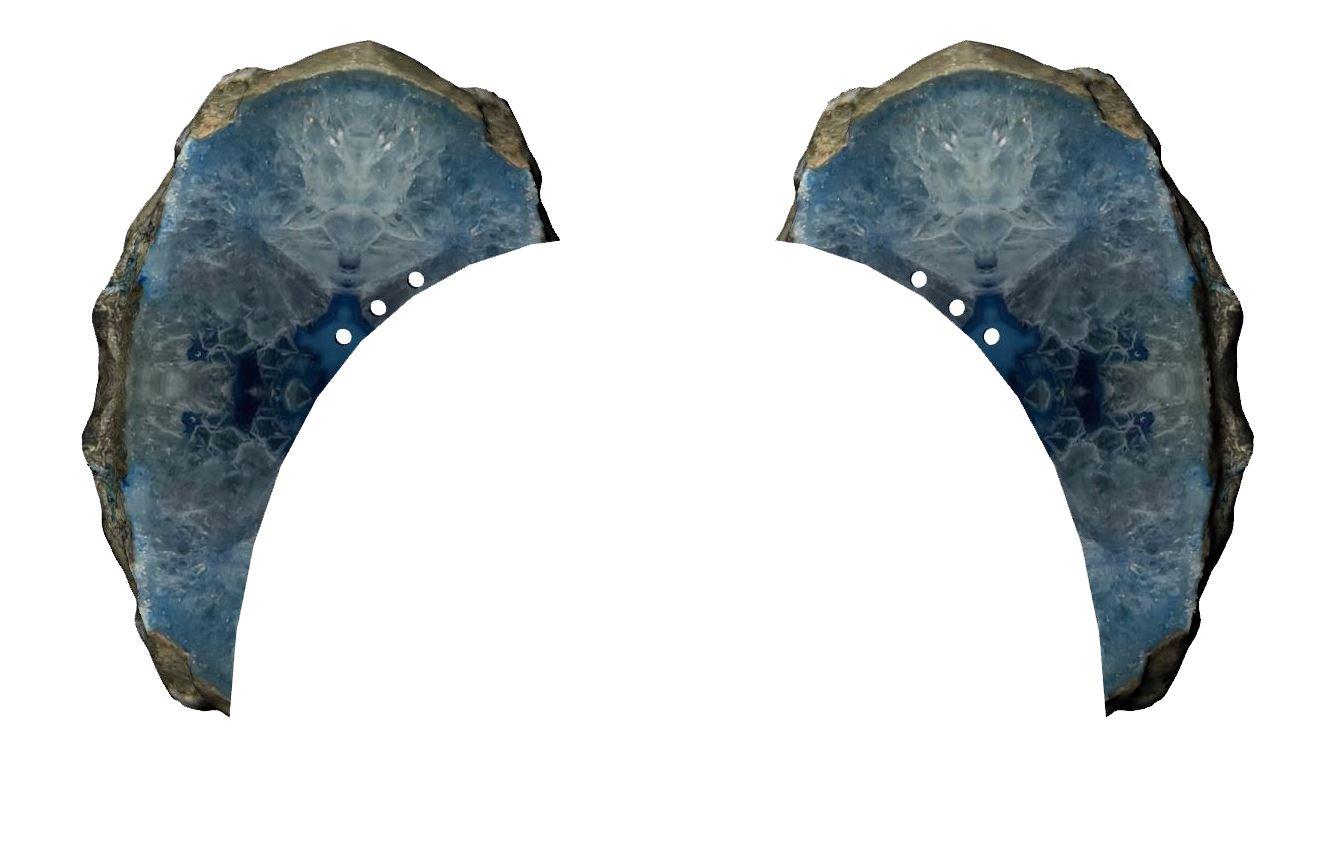
Creating Holes for Jewelry

Steps:
- Import .obj file into meshmixer
- Use the meshmix tool and select a cylinder
- Place cylinder in the desired spot to form a hole
- Make sure the cylinder is to scale
- Use the duplicate and transform tool to place each cylinder
- Make sure to extend the cylinder through both sides of the model
- Export as an .obj file
Cut Out Holes for Jewelry

Steps:
- Bring .obj file into Rhino
- Use the meshbooleandifference command to cut out the cylinders from the geode
- Duplicate the piece to create two for each side of the head
Adding a Secondary Jewel
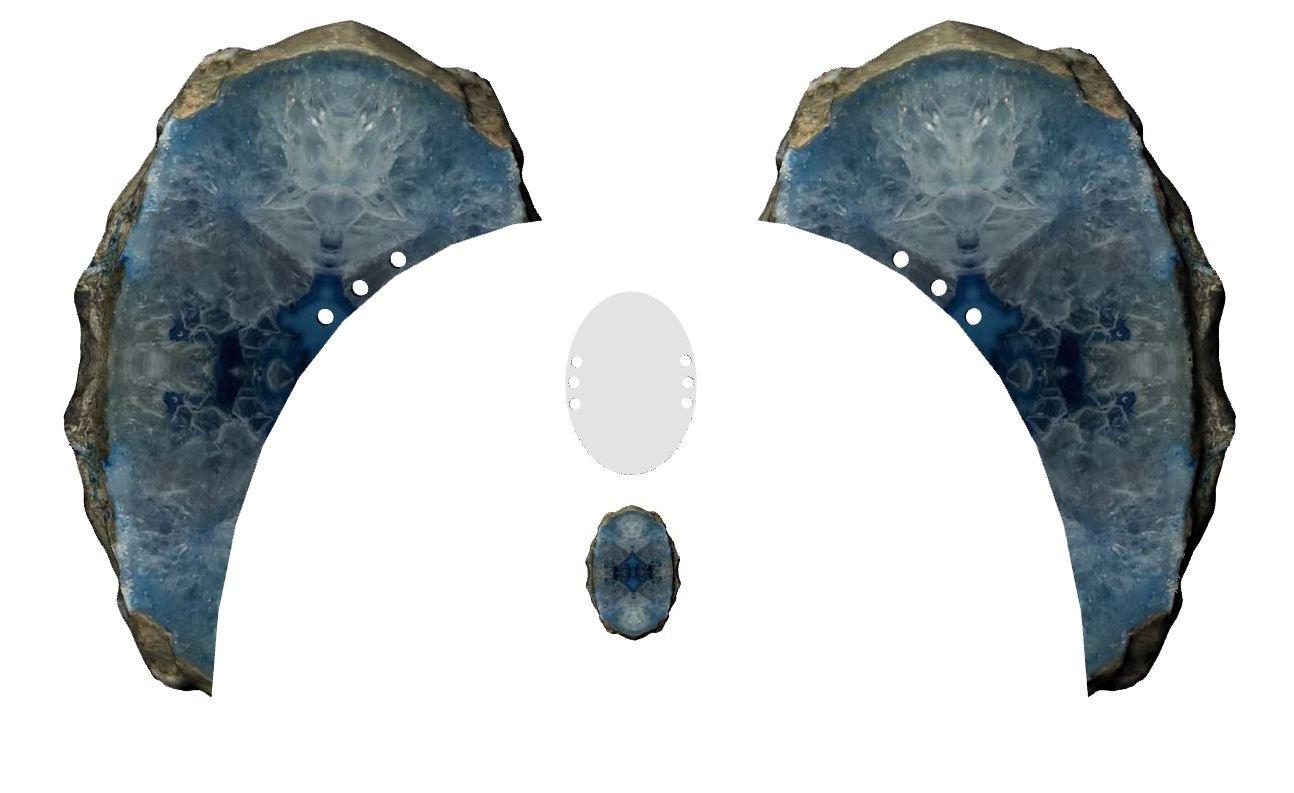
Steps:
- Go back to the original full geode and scale it smaller
- Create an oval for the backing of the jewel
- Create holes in the oval to attach to the head pieces
Printing & Assembly
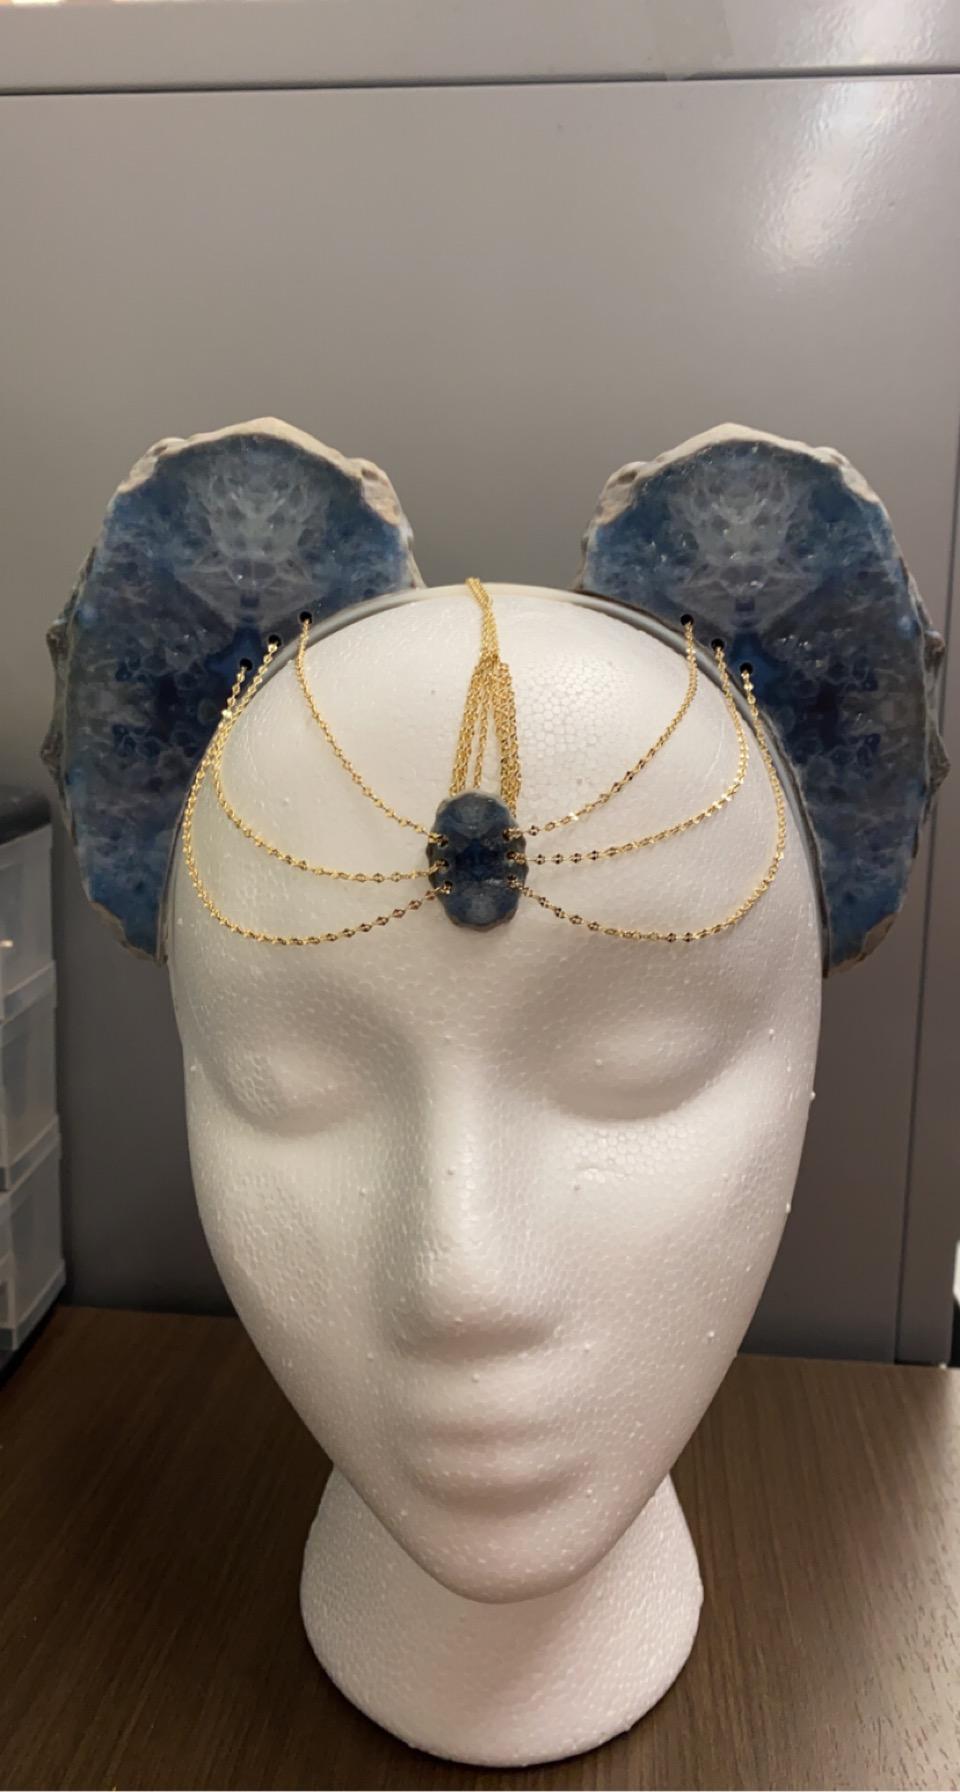
Steps:
- Send file to be 3D printed
- Once printed run gold chains through each hole in the head piece and attach through the holes in the oval piece
- Attach chains together at the back of the headpiece so it does not fall apart