Geo-ring
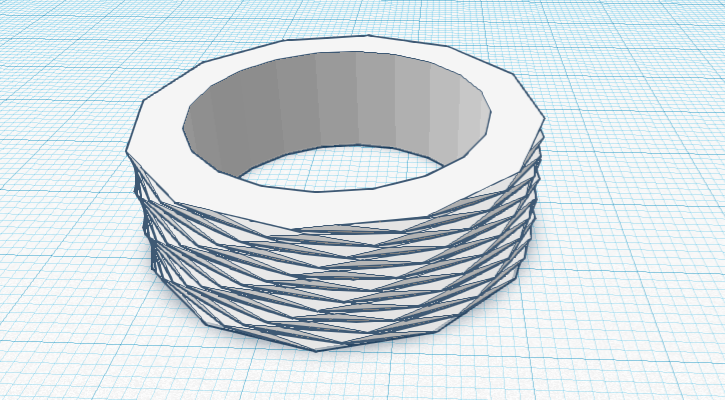
This is the Geo-ring. I designed this using TinkerCAD.
First Step to Design the Geo-ring
Measure the diameter of the finger you will use to wear the ring.
Step 2
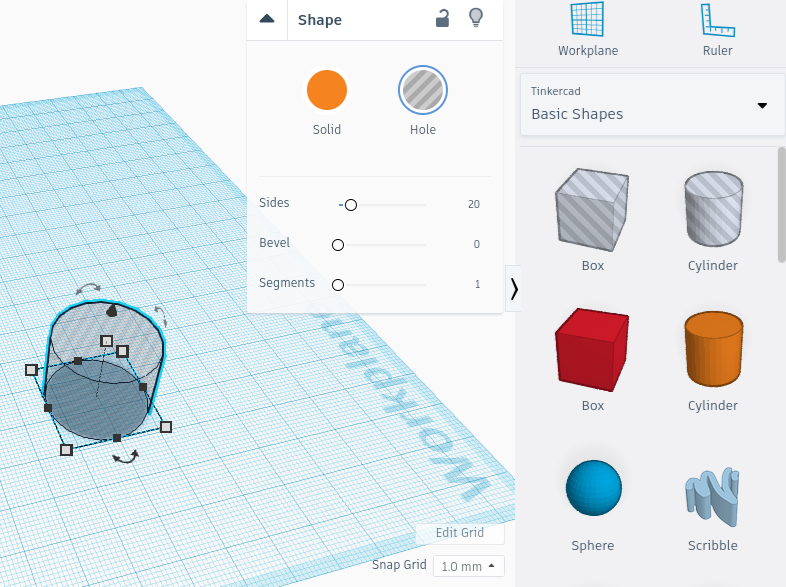
Make a cylinder hole that matches your finger size.
Step 3
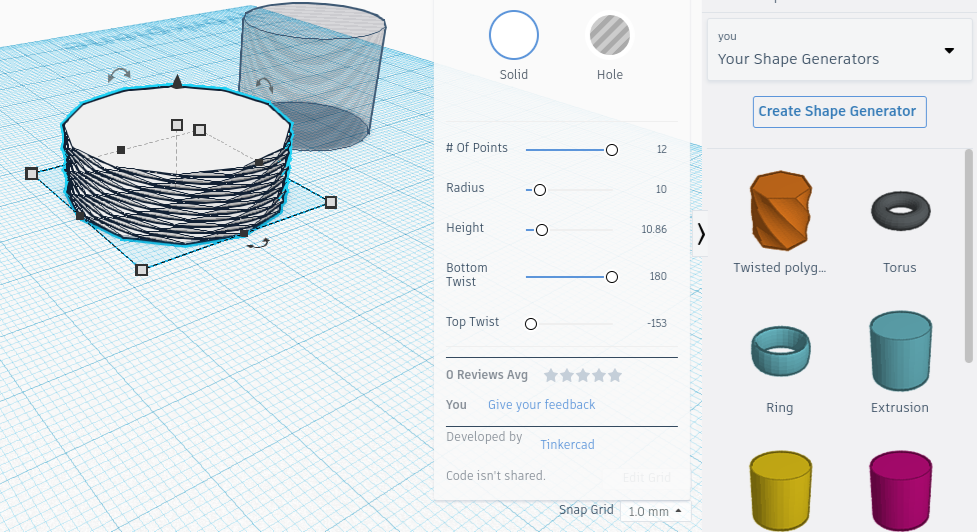
In this step, you will need a twisted polygon. Add the twisted polygon and adjust the top twist to -153 and the bottom twist to 180. After doing this you need to adjust the length and width of your twisted polygon to about 5mm bigger than your cylinder.
Step 4
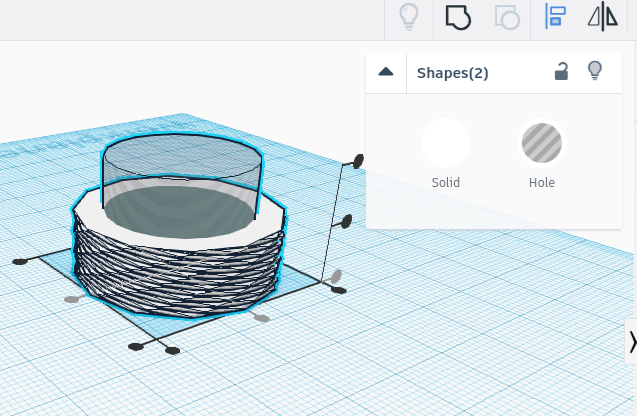
In this step, you will need to use the align feature to place the cylinder hole in the center of your twisted polygon.
Step 5
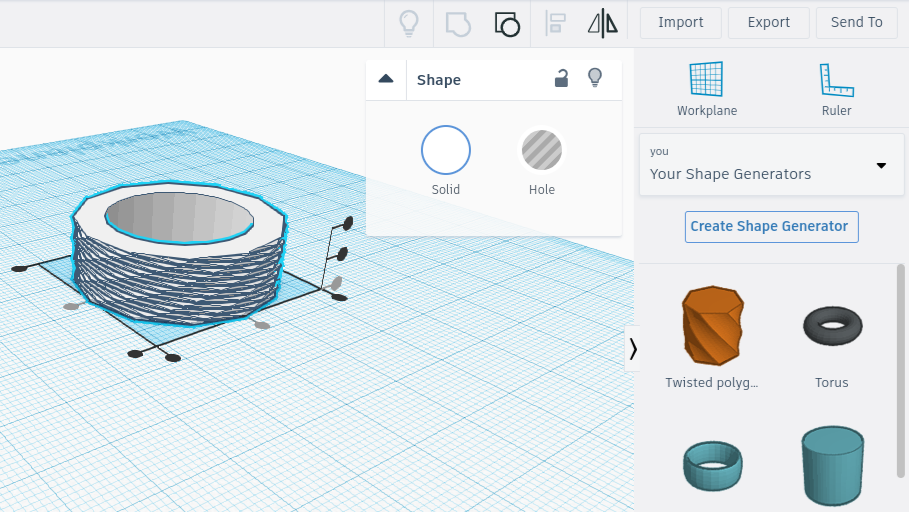
In this step, you will group the two shapes together to make them become a Geo-ring.
Last Step
3D Print your Geo-ring. You may use the .stl file of it that I have provided.