Generative Design Hook

When I come home from school, I always leave my backpack on the floor or on a chair causing the room to be cluttered so I want to make a hook so that my backpack has a place to hang. First I use tinkercad to design first hook prototype but I can no should if my deign can bear the weight from backpack so I decide export the object and get into fusion 360 using generative design workspace to finish the final design. In the end I would compare the hook designed by generative design and hook designed by me.
Let's get started!
Supplies

Start With Tninkercad
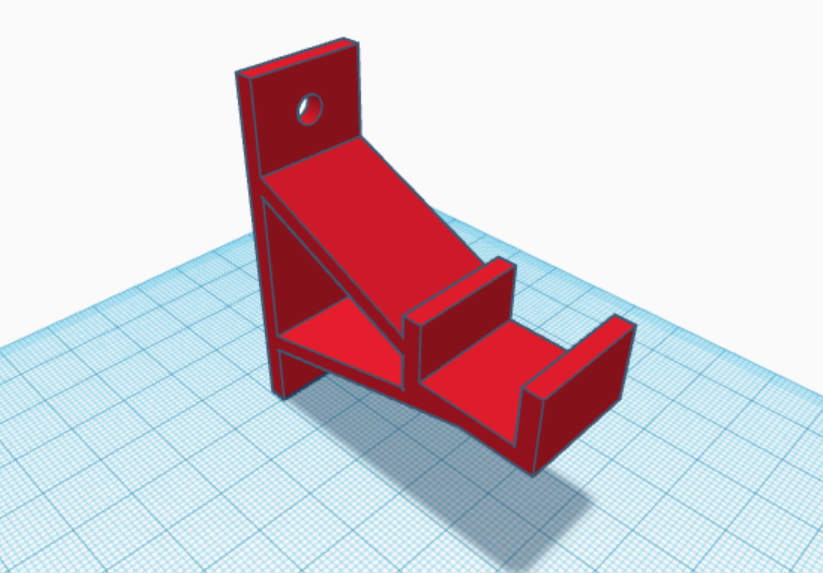
Thinkercad is a very simple software for beginners to learn about 3d design and I can design what I think in my brain quickly just stack some blocks out. Next I can export the object from thinkercad and 3d printed. Althought Thinkercad can design the prototype fast, it cannot analyze any stress conditions. If my hook is designed wrong it may not bear the weight from backpack so I will export the file and get into Fusion 360 for my final design.
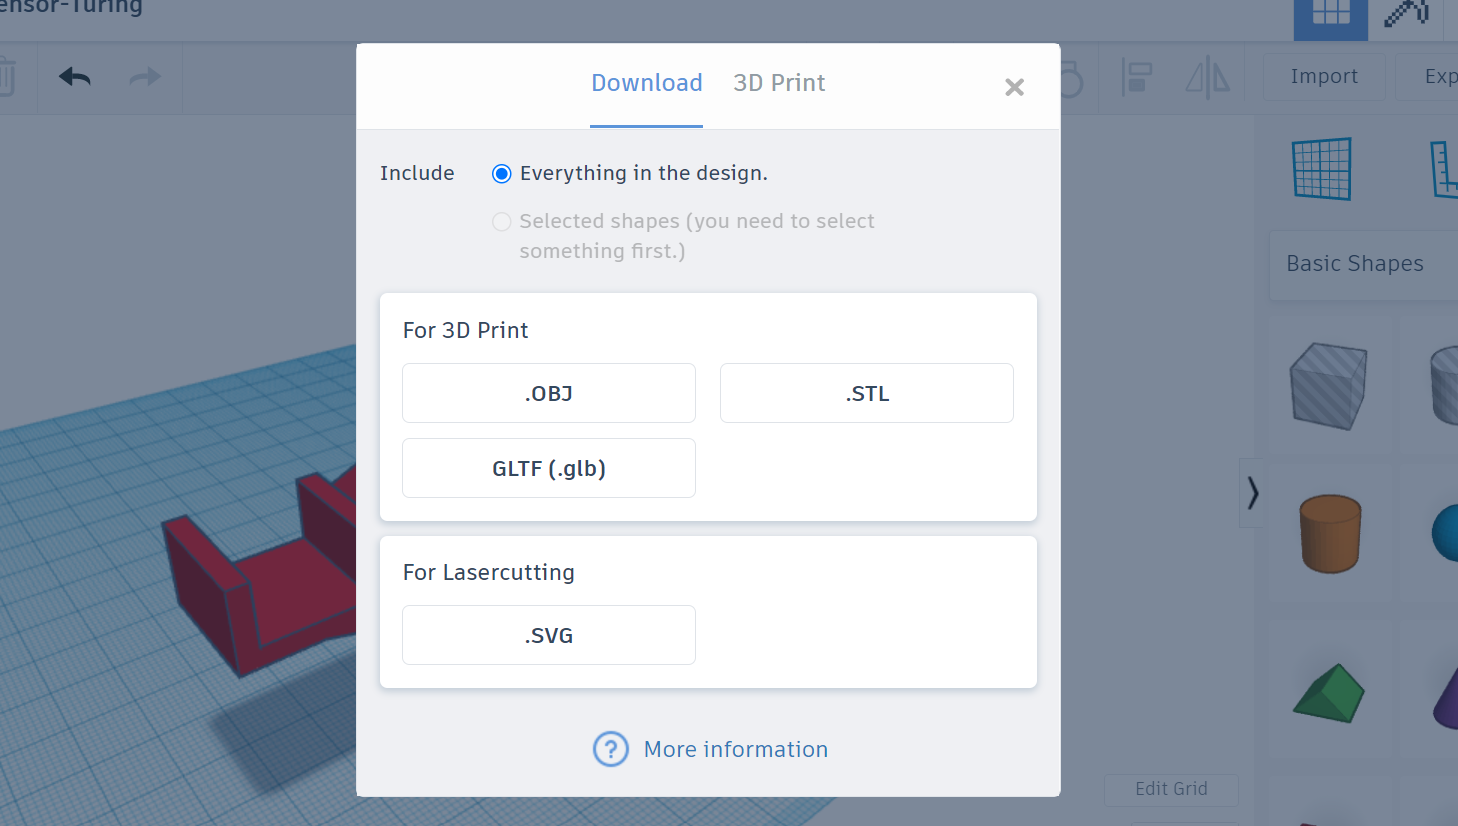
There are there file formats to choose in Thinkercad. I prefer to stl file because it is a common 3d file for 3d printed. But stl is file with many triangle face I need to conversion in Fusion 360.
Import Into Fusion360
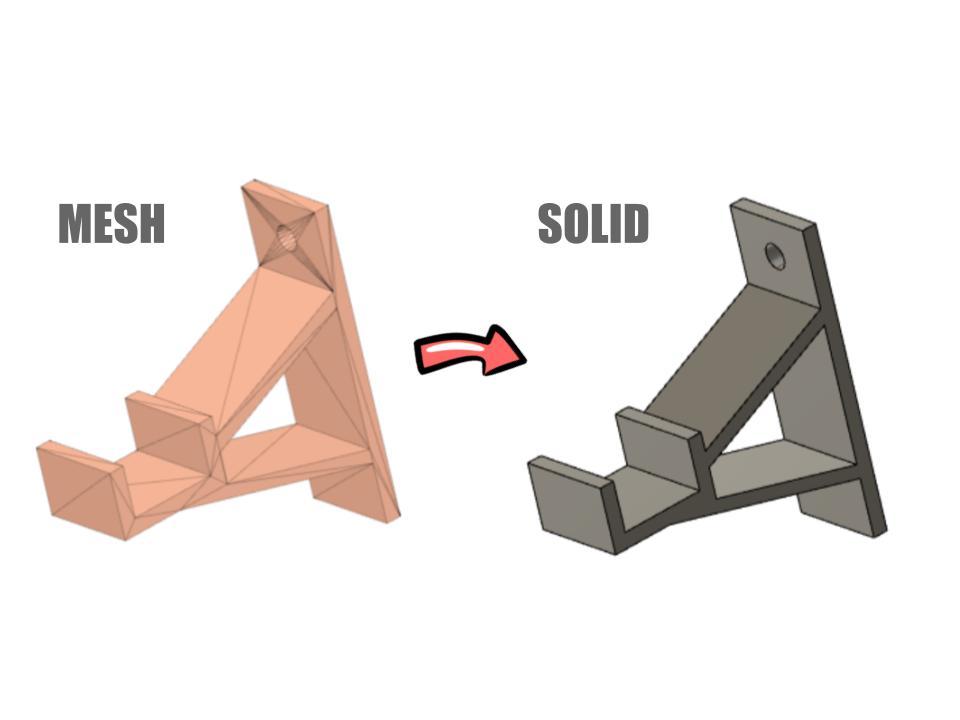
Because I export the stl file from thinkercad so if I import this file into Fusion 360 it will have many small face. So we need to follow the step to let the mesh turn into solid.
design workspace > prepare > generative face ground > mesh > modify > convert mesh > prismatic
And you can turn the mesh into solid.
There is video below for reference
Generative Design
After turning mesh into solid, we can start get into generative design.
What is generative design
Generative design is a design exploration process. Users just need to set the goal and input the preserve geometery and obstacle geomatery along with materials, manufacture, stress next computer will send this data to cloud. After calculate complished you can pick out the one prototype that suits best from the many results. Generative design can let the product more lighter and stronger even can save more money.
How to use Fusion 360 generative design
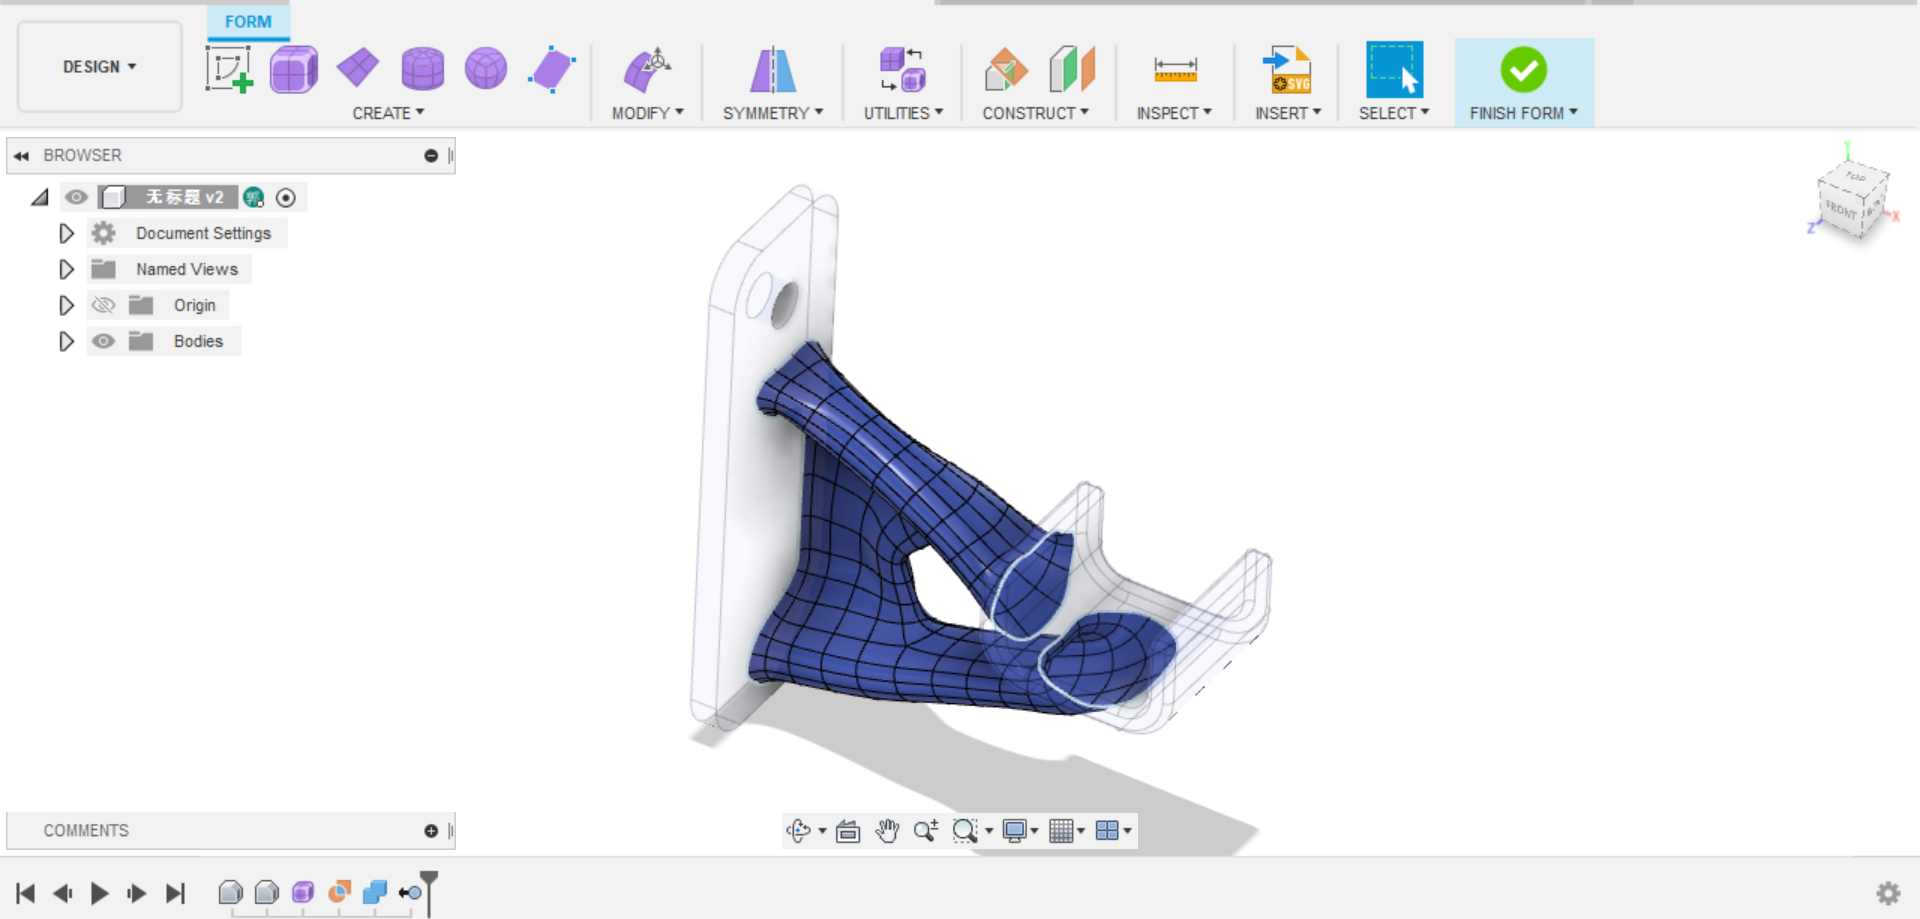
- Preserve geometry
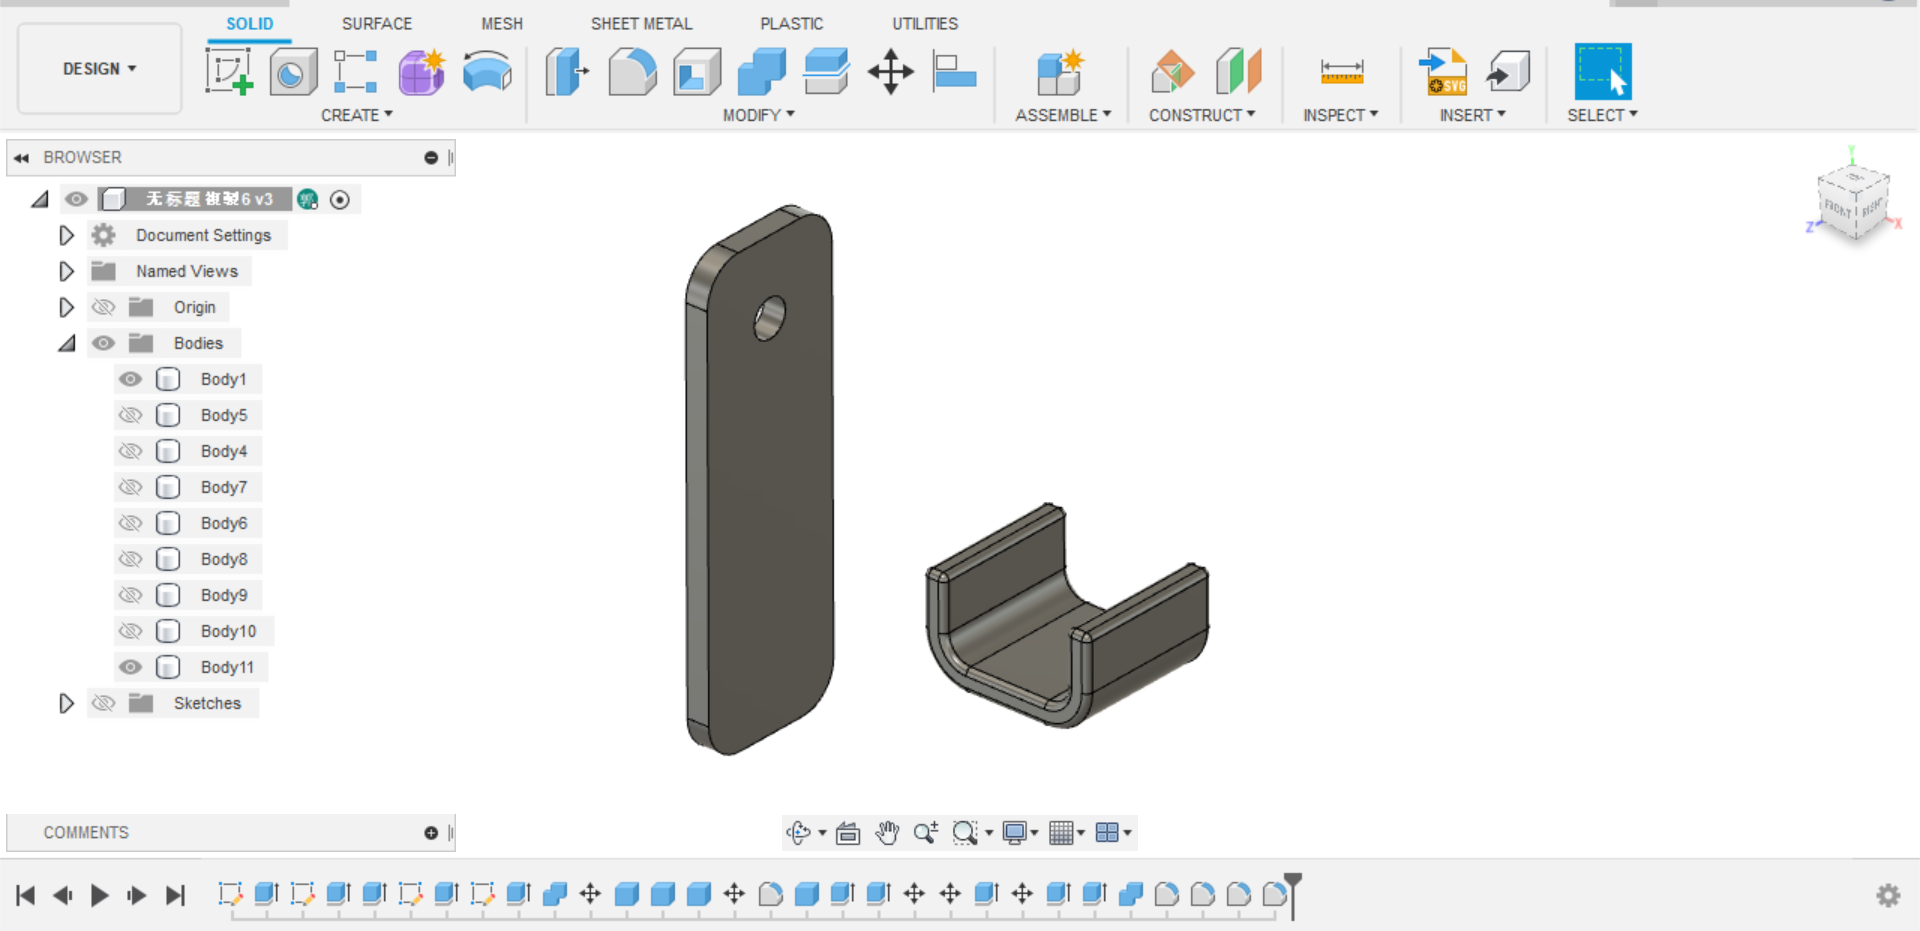
Currently the hooks in Fusion360 are monolithic so it is impossible to distinguish which ones need to be preserved and which ones need to be generated so we need to delete some part that don't need in the generative design. Can use the extrude or split body to cut the part. After cut the hook body I also add fillet feature on the edge.
Picture No.1 is sample.
- Obstacle geometry
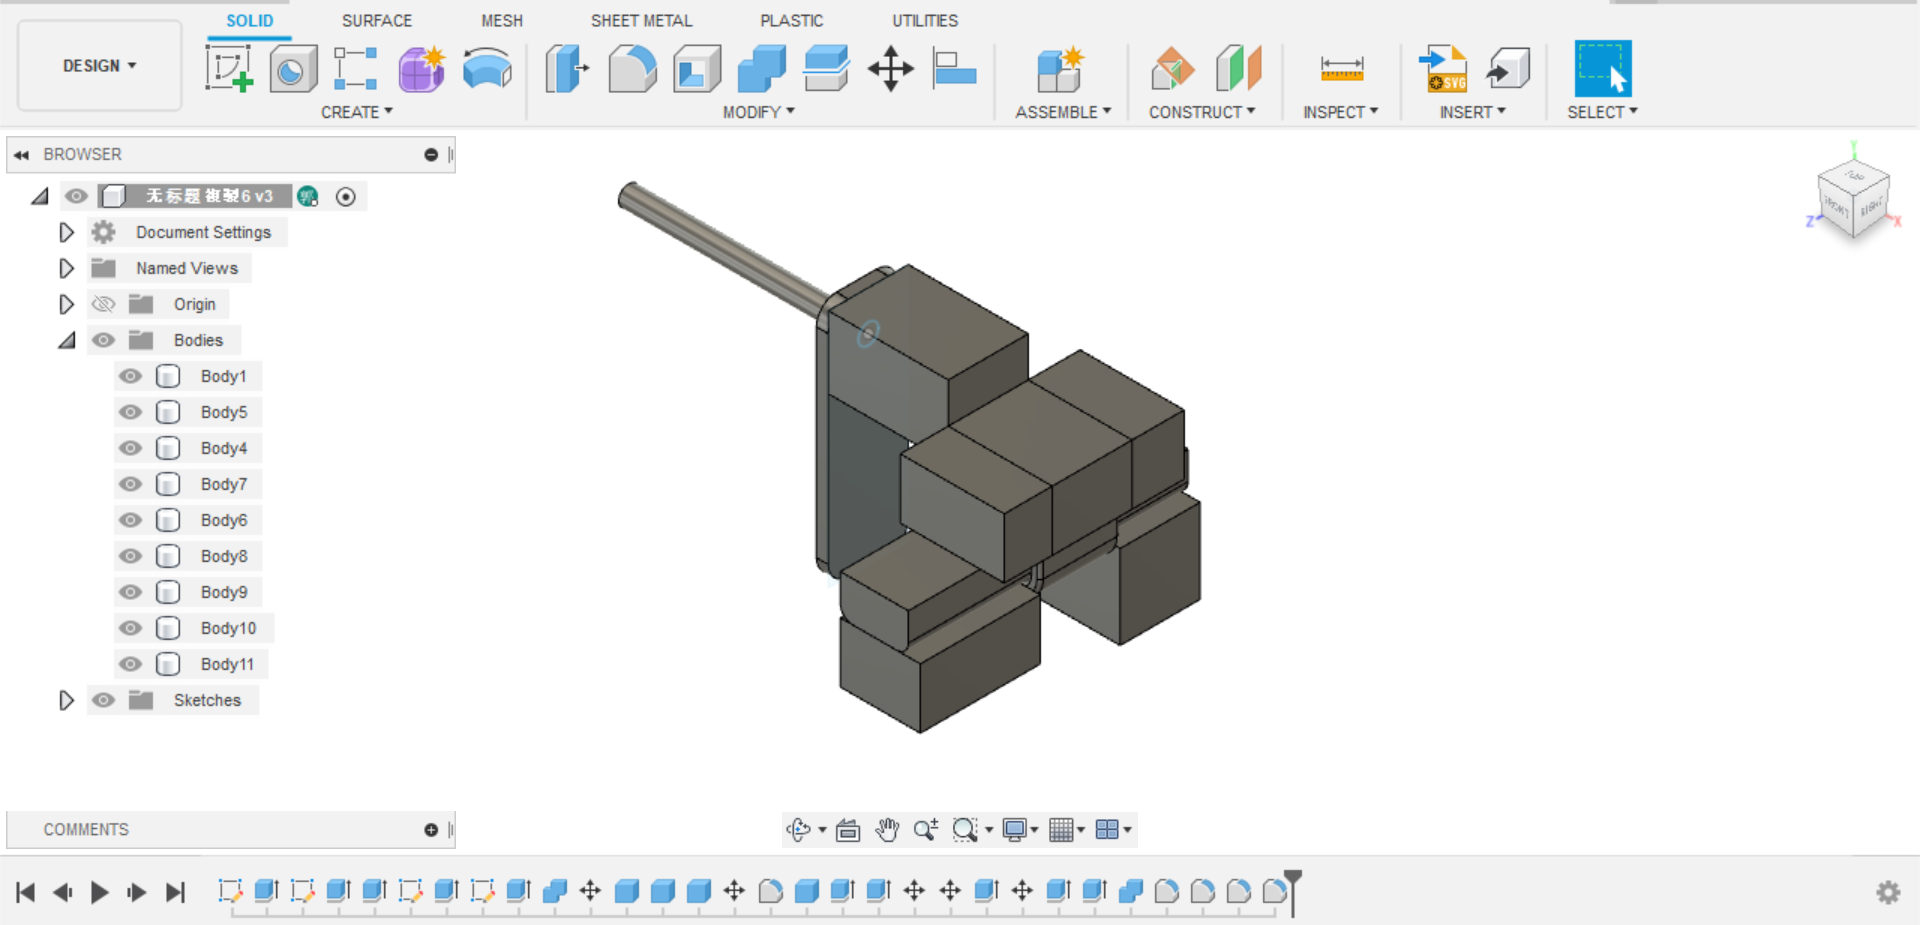
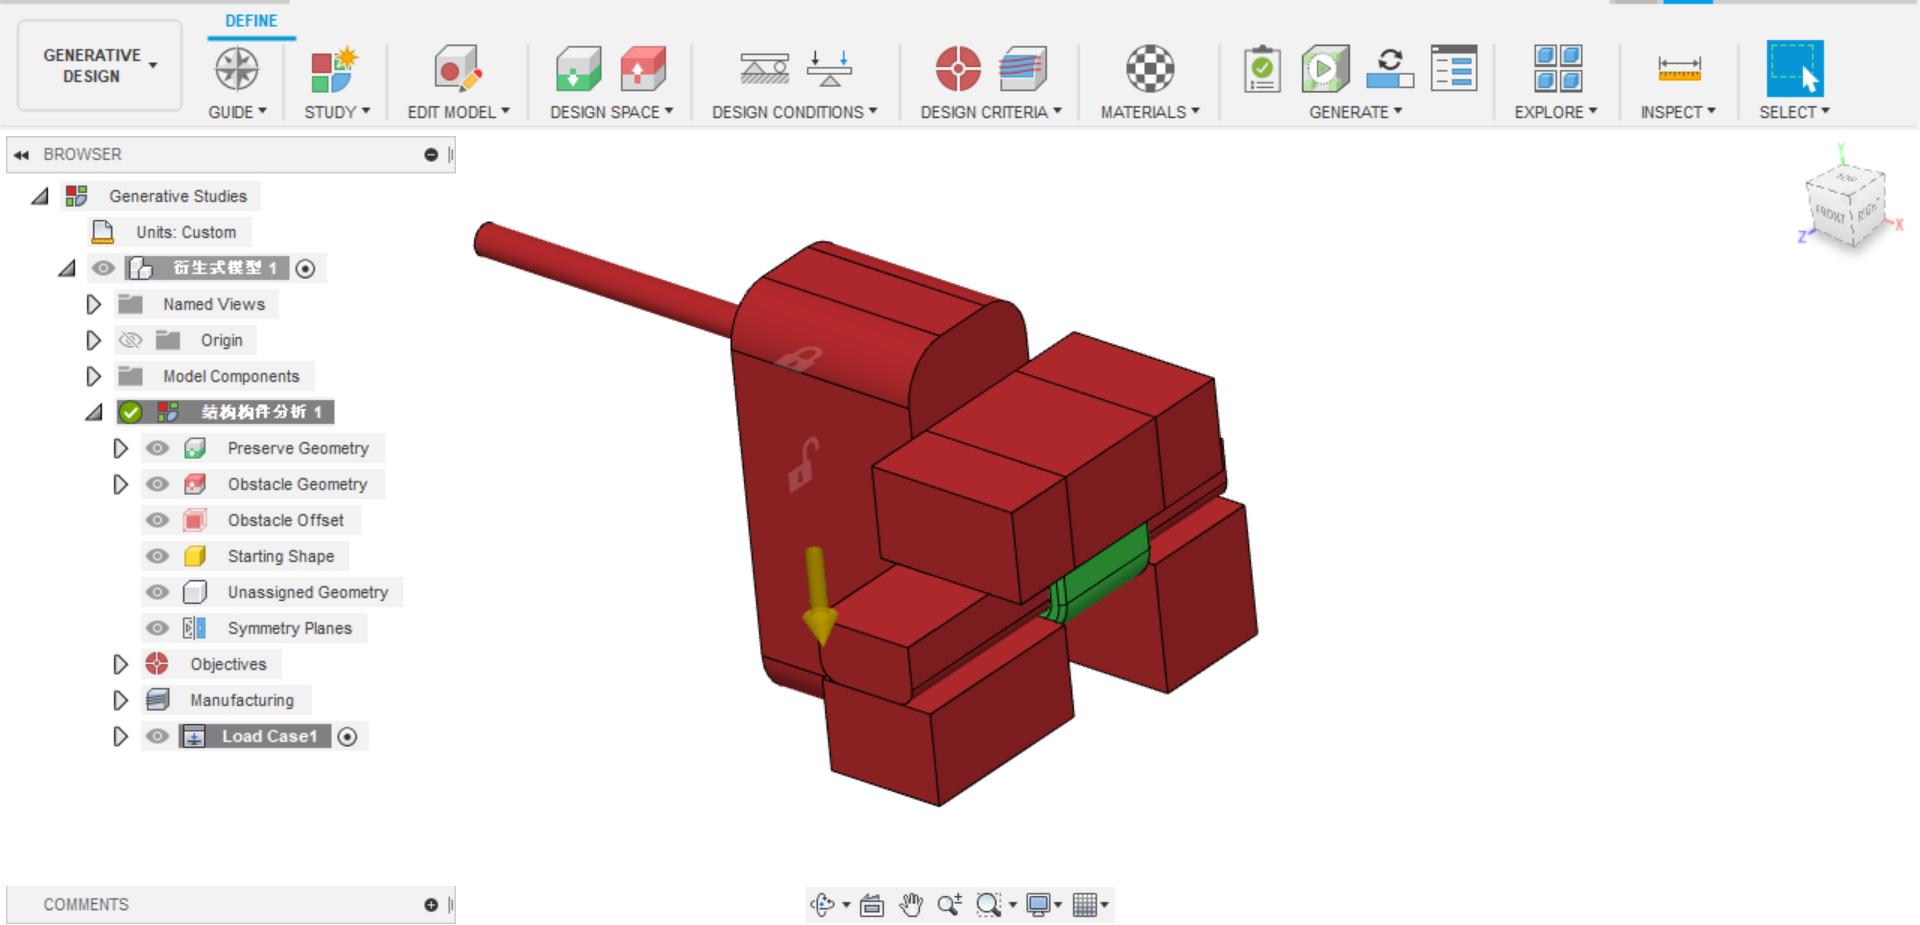
Because generative design need some obstacle to avoid design come out with some errors.Like the generative design block the hole reserved for tightening screw. Can use extrude, box or cylinder to make the obstacle.
Picture No.2 and No.3 are sample.Red means the obstacle geometry and green means the preserve geometry.
- Objectives
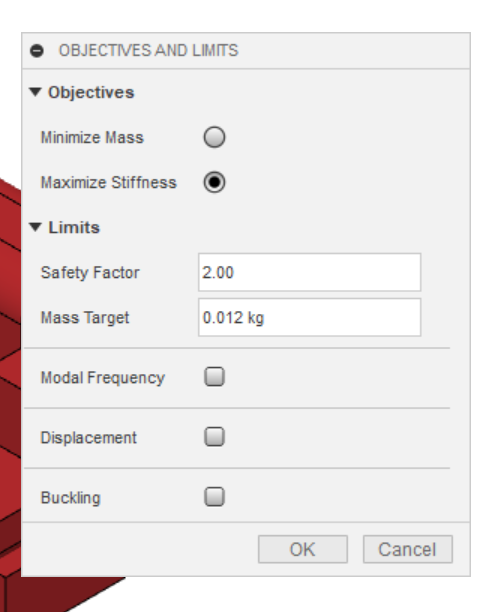
There are two types of objectives you can choose to set. One is minimize mass which need to set safety factor. The other is maximize stiffness which need to set safety factor. You can try these two obtion. But I chose the maximize stiffness because I can control hook mess.
Picture No.4 is a dialog box about objectives.
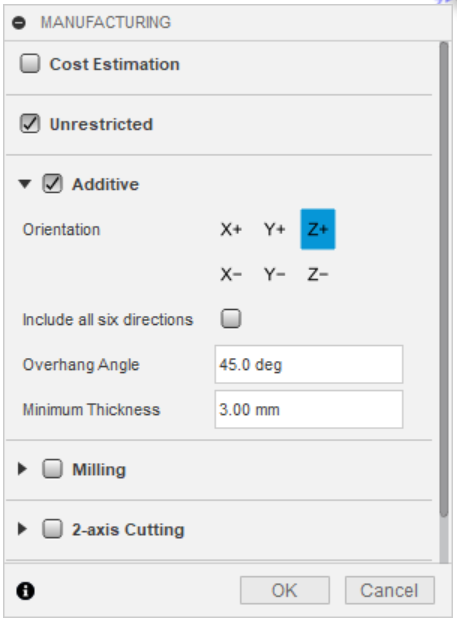
- Manufacturing
There are many different type of manufacture way but I just have 3d printer so I chose additive manufacture. The AM need to set orientation, overhang angle and minimum thickness but I only have to change orientation and the others keep the preset parameter. Orientation need to change direction to 3d printer printing direction. The others parameter are common setting to 3d printer.
Picture No.5 is a dialog box about manufacturing
- Material
My 3d printer filament is abs so I set abs to material.
- Load case
Load case is the most important parameter in generative design because this setting will decide the position of the force and the fixed point. It will directly affect the design of the generator design of the object. In load case need to set up two parameter.One is loads and the other is constrain You can see how I set up a load case in the video below.
Finish
After completing all the above settings, you will see a green hook on the pre check, which means that the data can be sent to the cloud for generation.
You need the cloud credit to generate design. If you have student account you don't need to worry because you can use this workspace for free.
Analyze
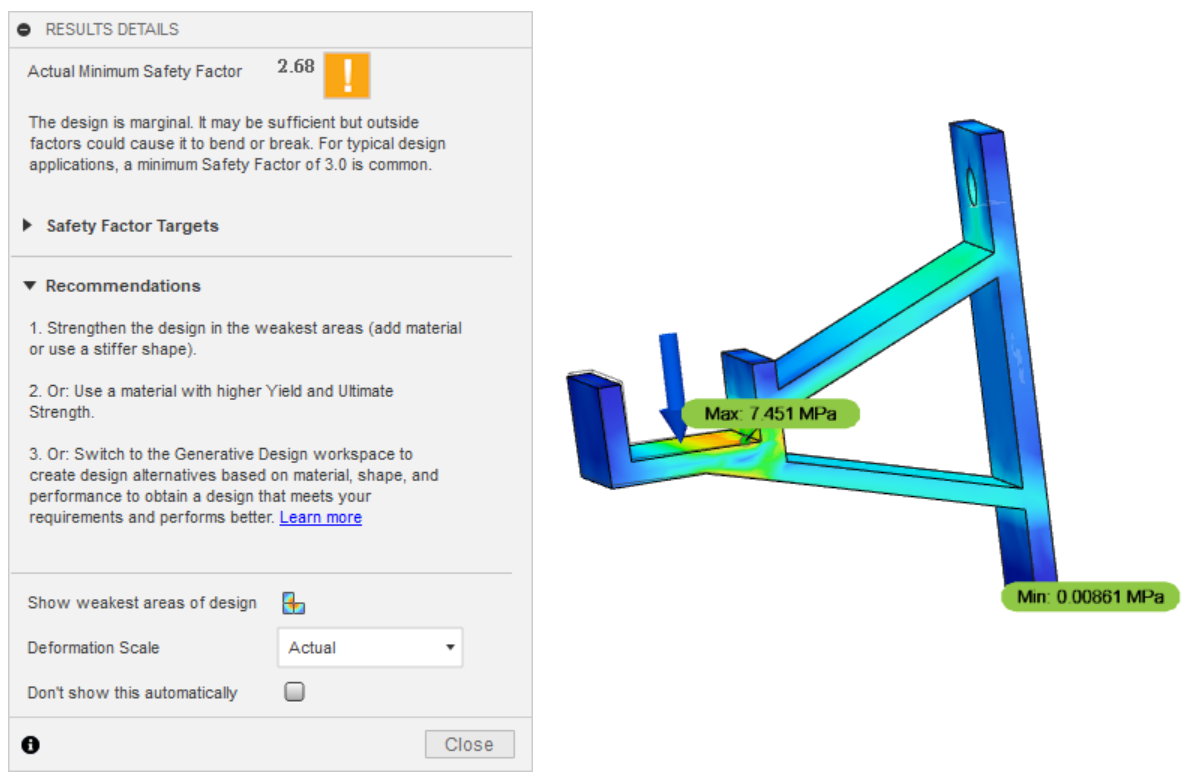
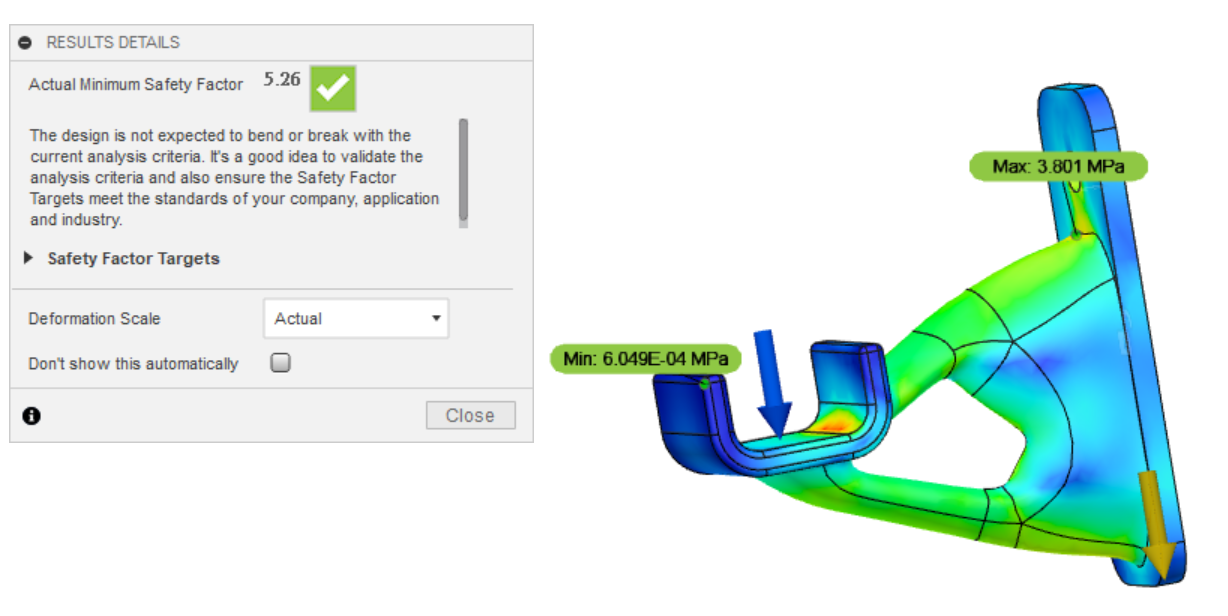
After finish generative design I do simulation about static stress. The picture above shows the result of the comparison.I let those two different designs stand 70N stress at the same time.The results are very obvious. Hooks originally designed using thinkercad have a safety factor of 2.68 and hook using generative design have a safety factor of 5.26 this display generative design makes the hook more strong.
Finish
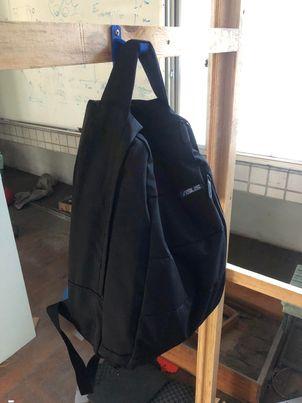
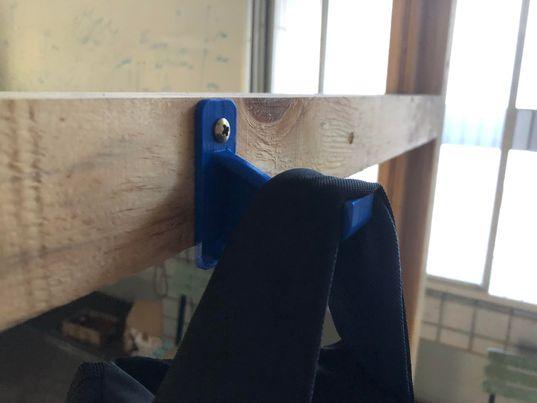
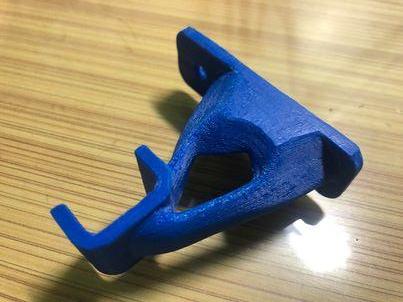
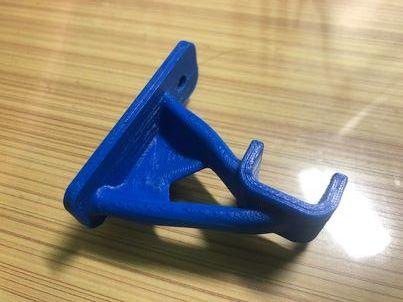
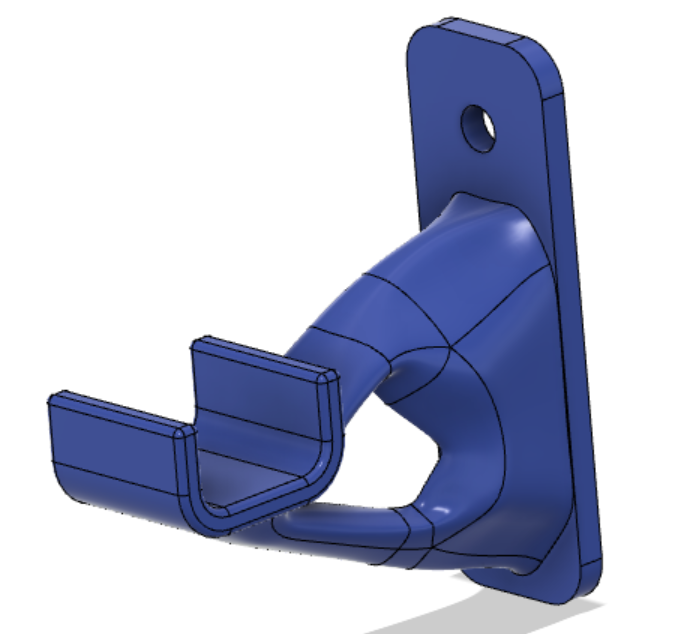
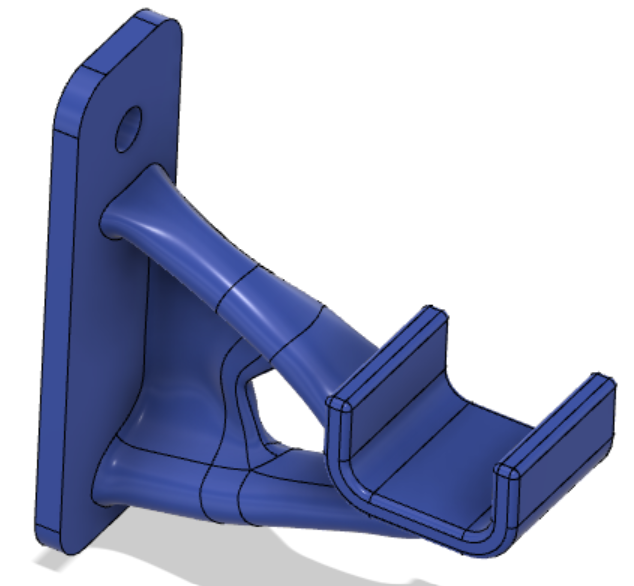
Finally I used 3D printer and abs filament to print out the hook and fix it to the wall. My backpack finally had a place to hang.
Thank you for reading my instructable.