General Disassembly of ACER ONE Netbook for Upgrades
by izzyspeaks123 in Circuits > Computers
2228 Views, 9 Favorites, 0 Comments
General Disassembly of ACER ONE Netbook for Upgrades
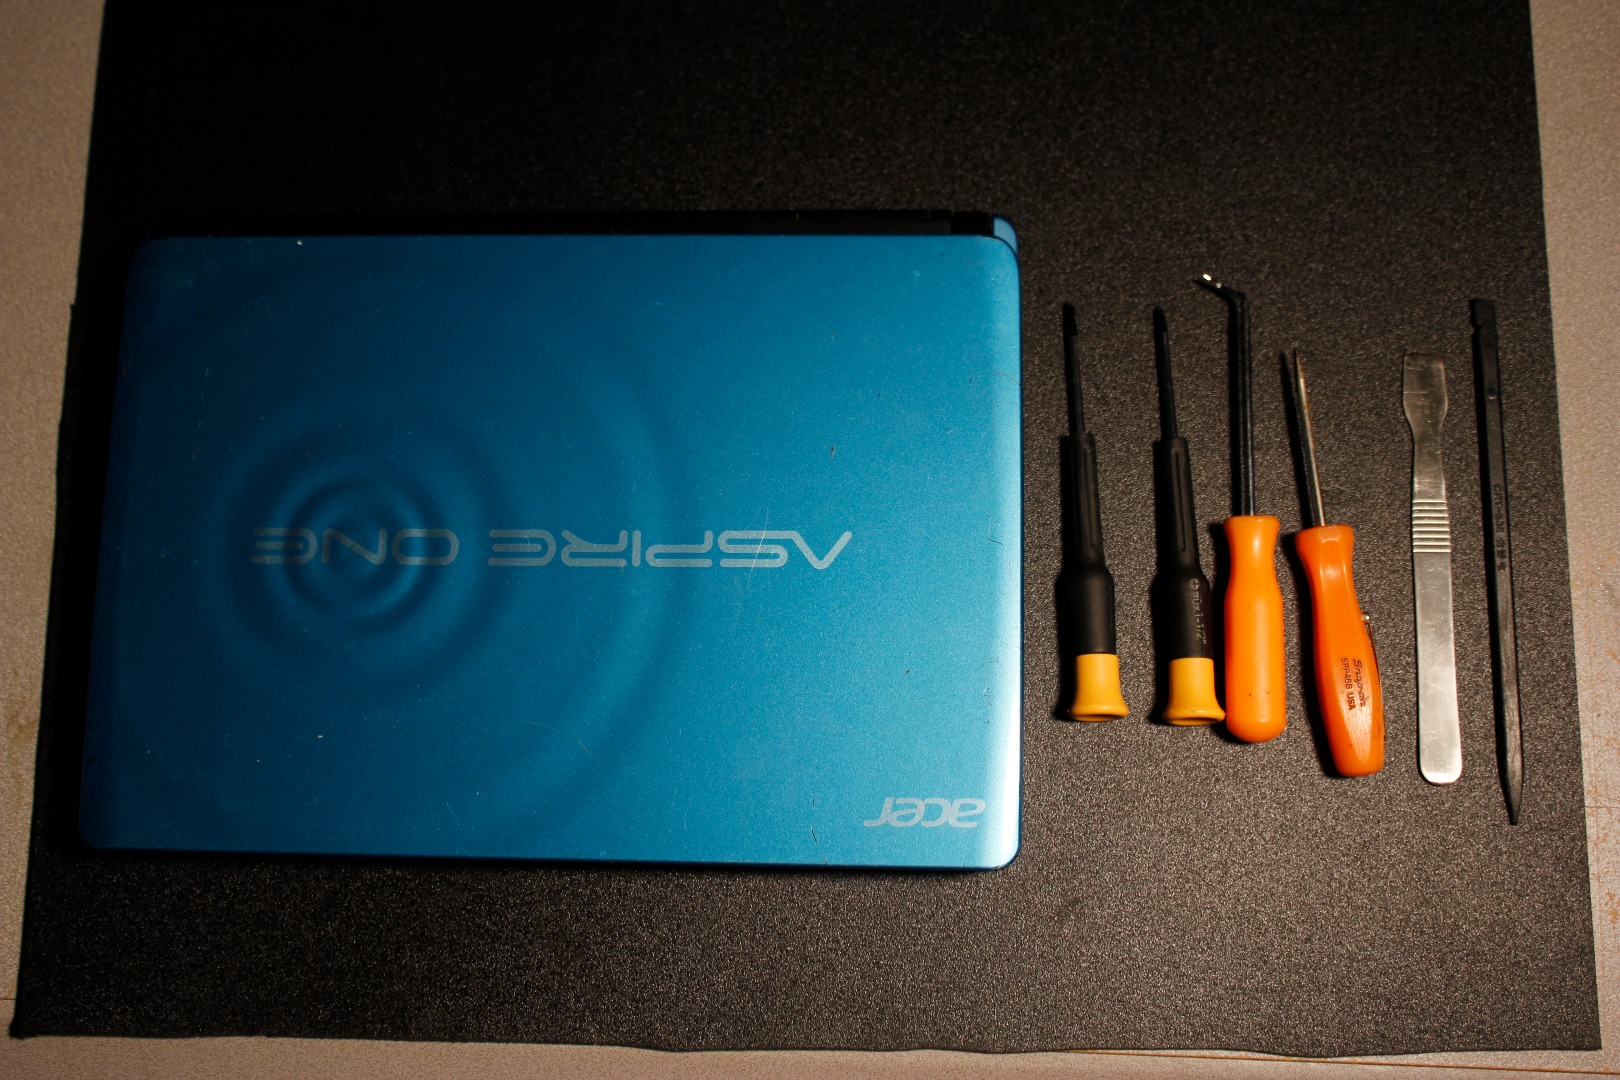
I will show you how to disassemble your ACER Aspire ONE for various upgrades. This netbook is rather easy to service so this is a great first attempt project.
You will need:
* Plastic Spudger
* Hook Pick
* 00 and 0 Phillips Screwdriver
Padded work area...
Remove Main Battery
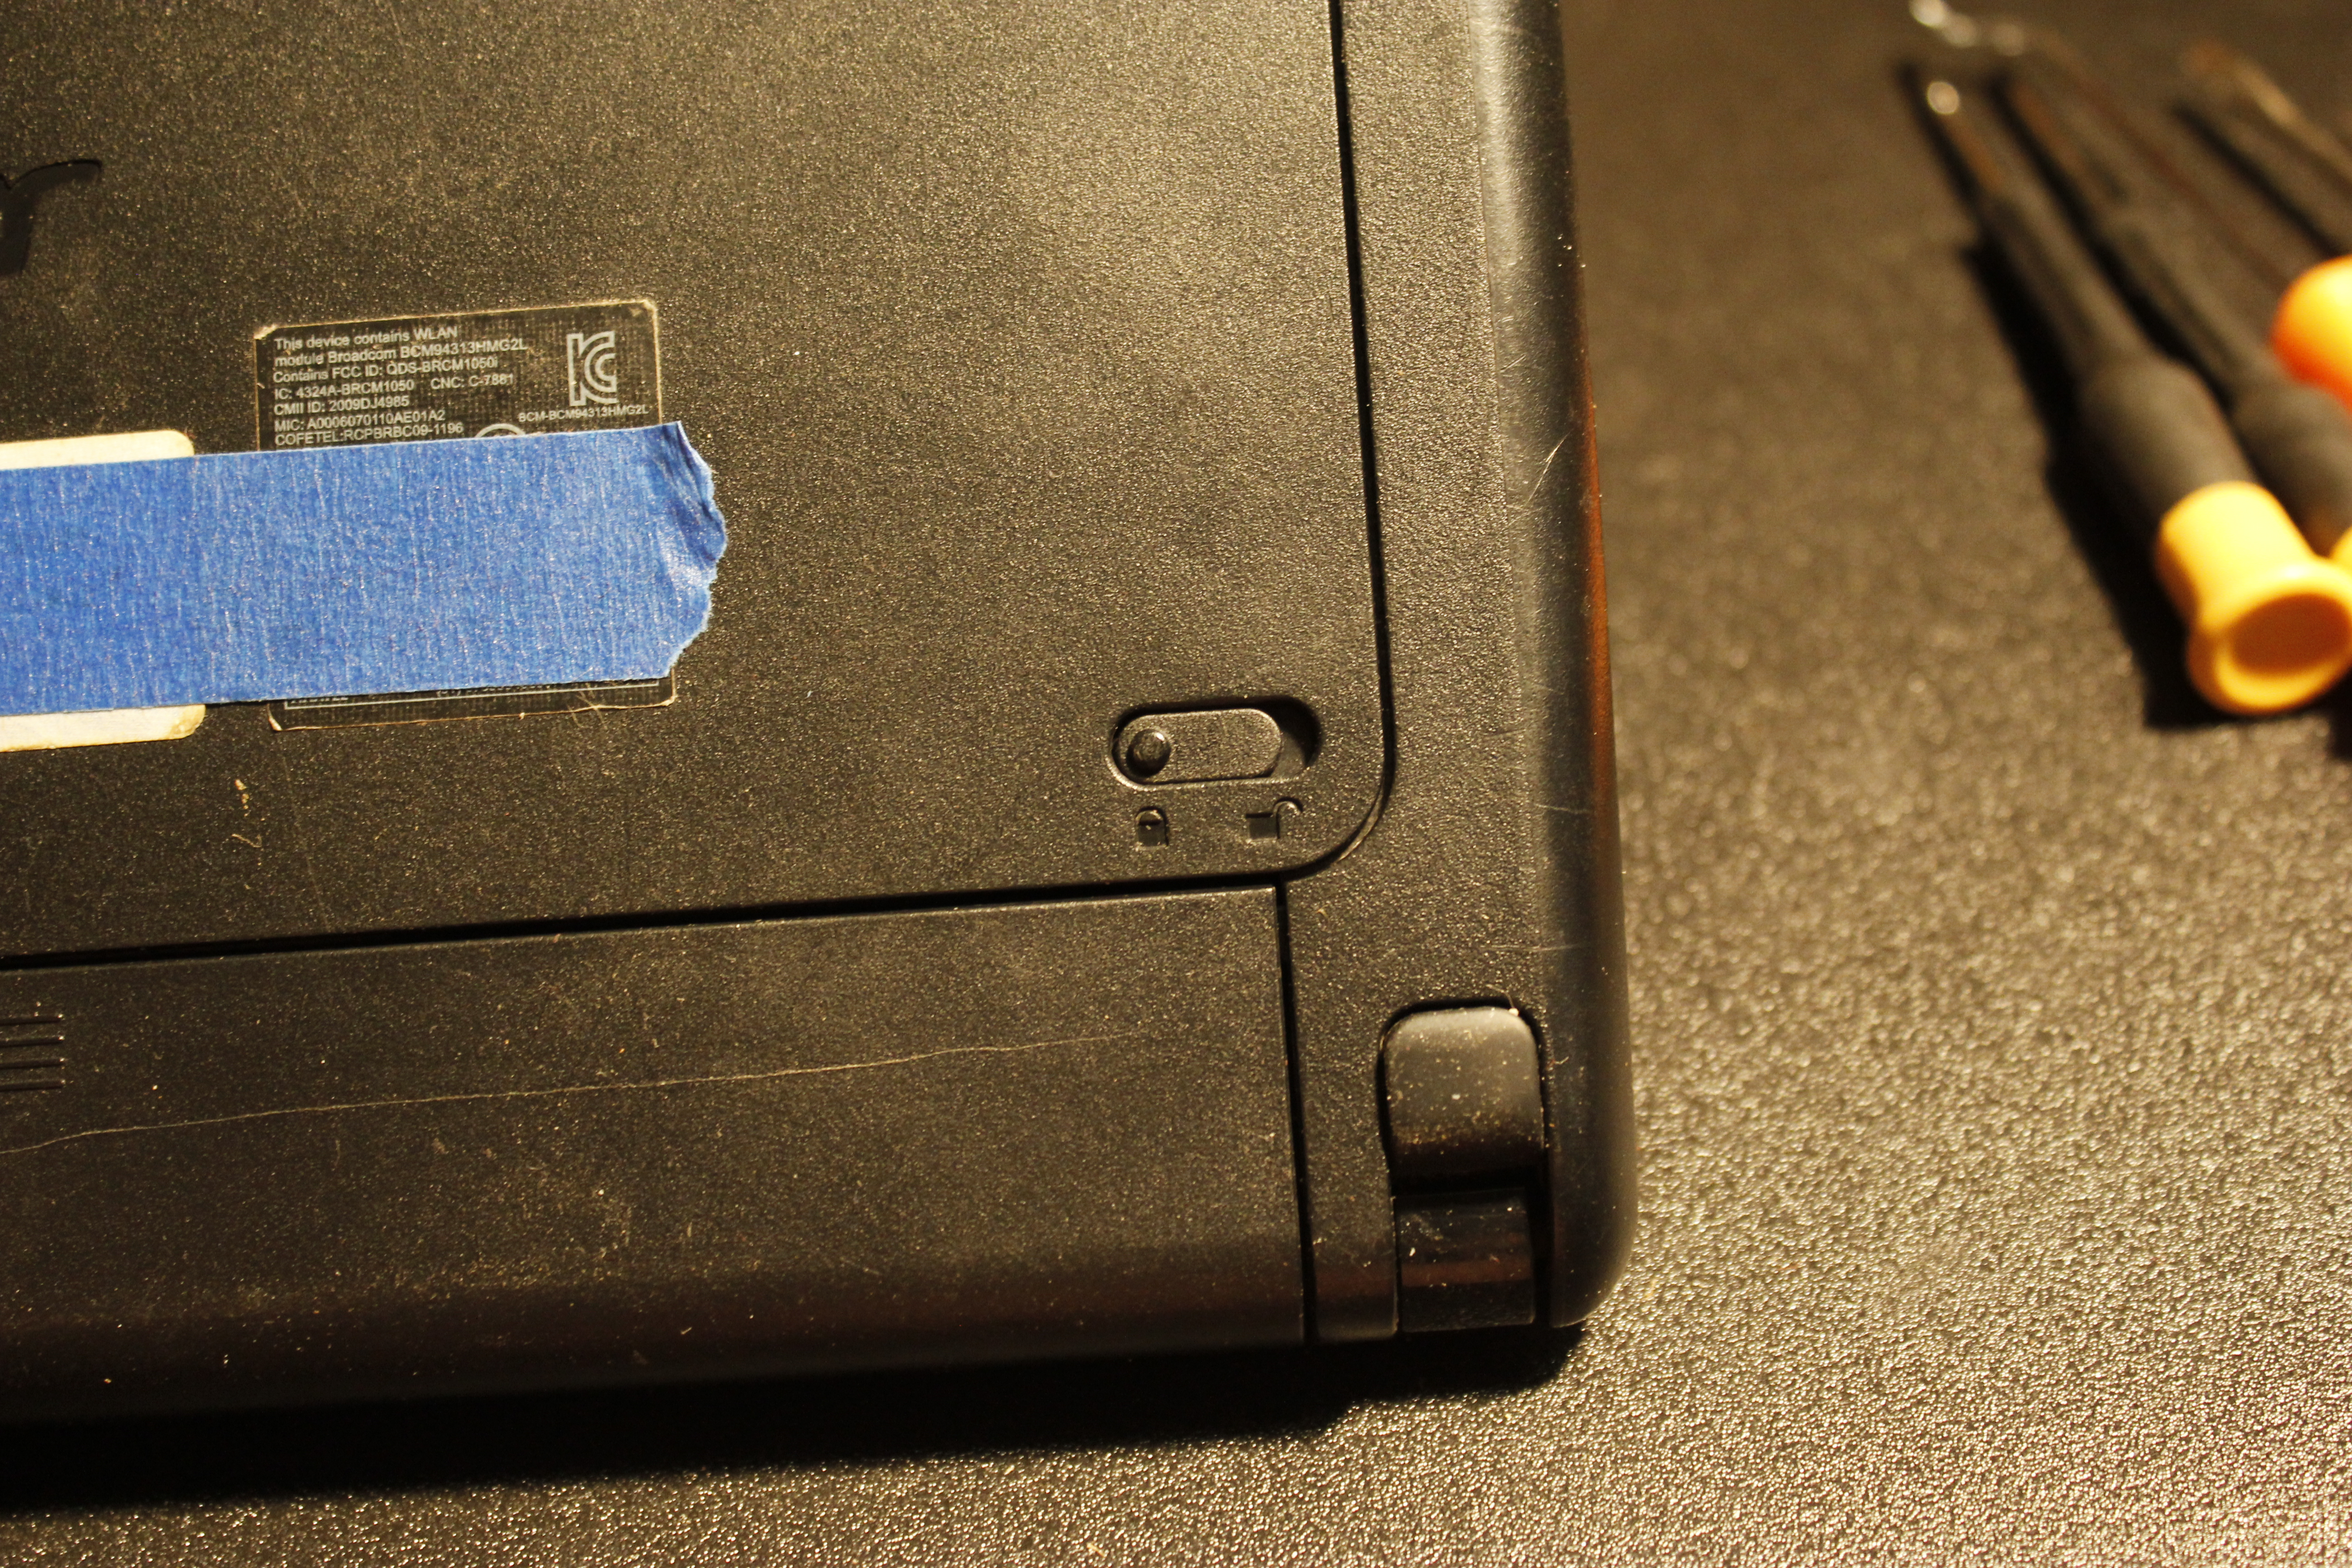
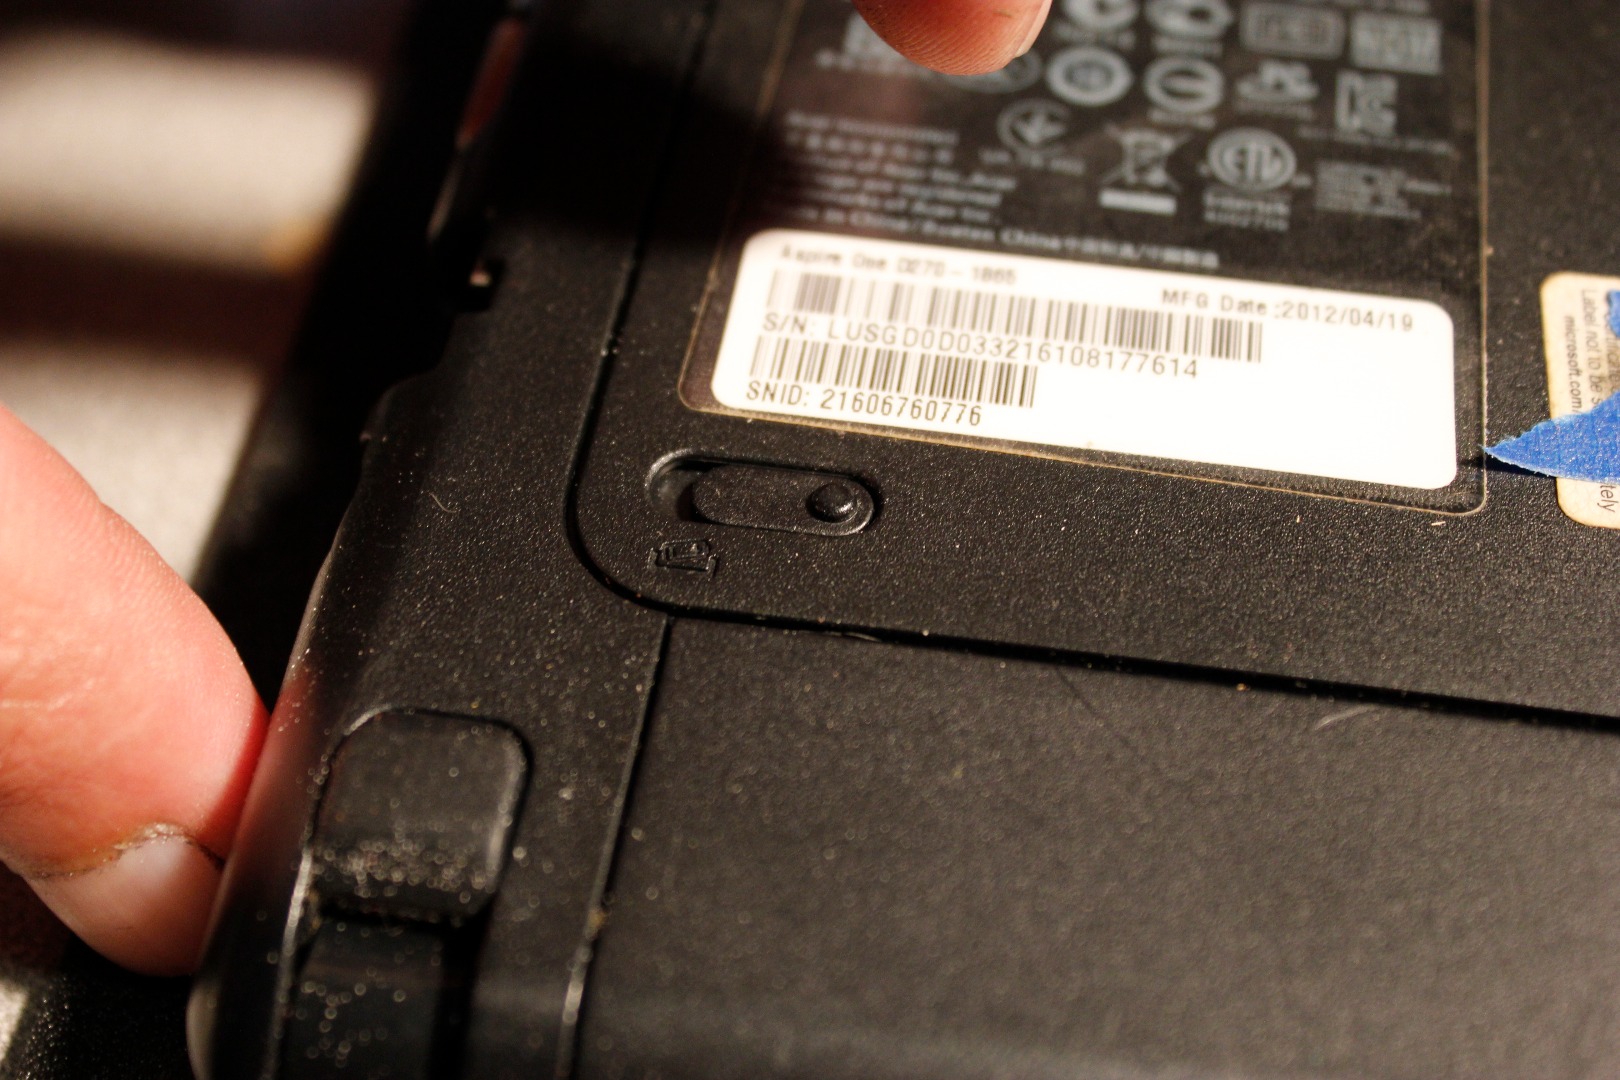
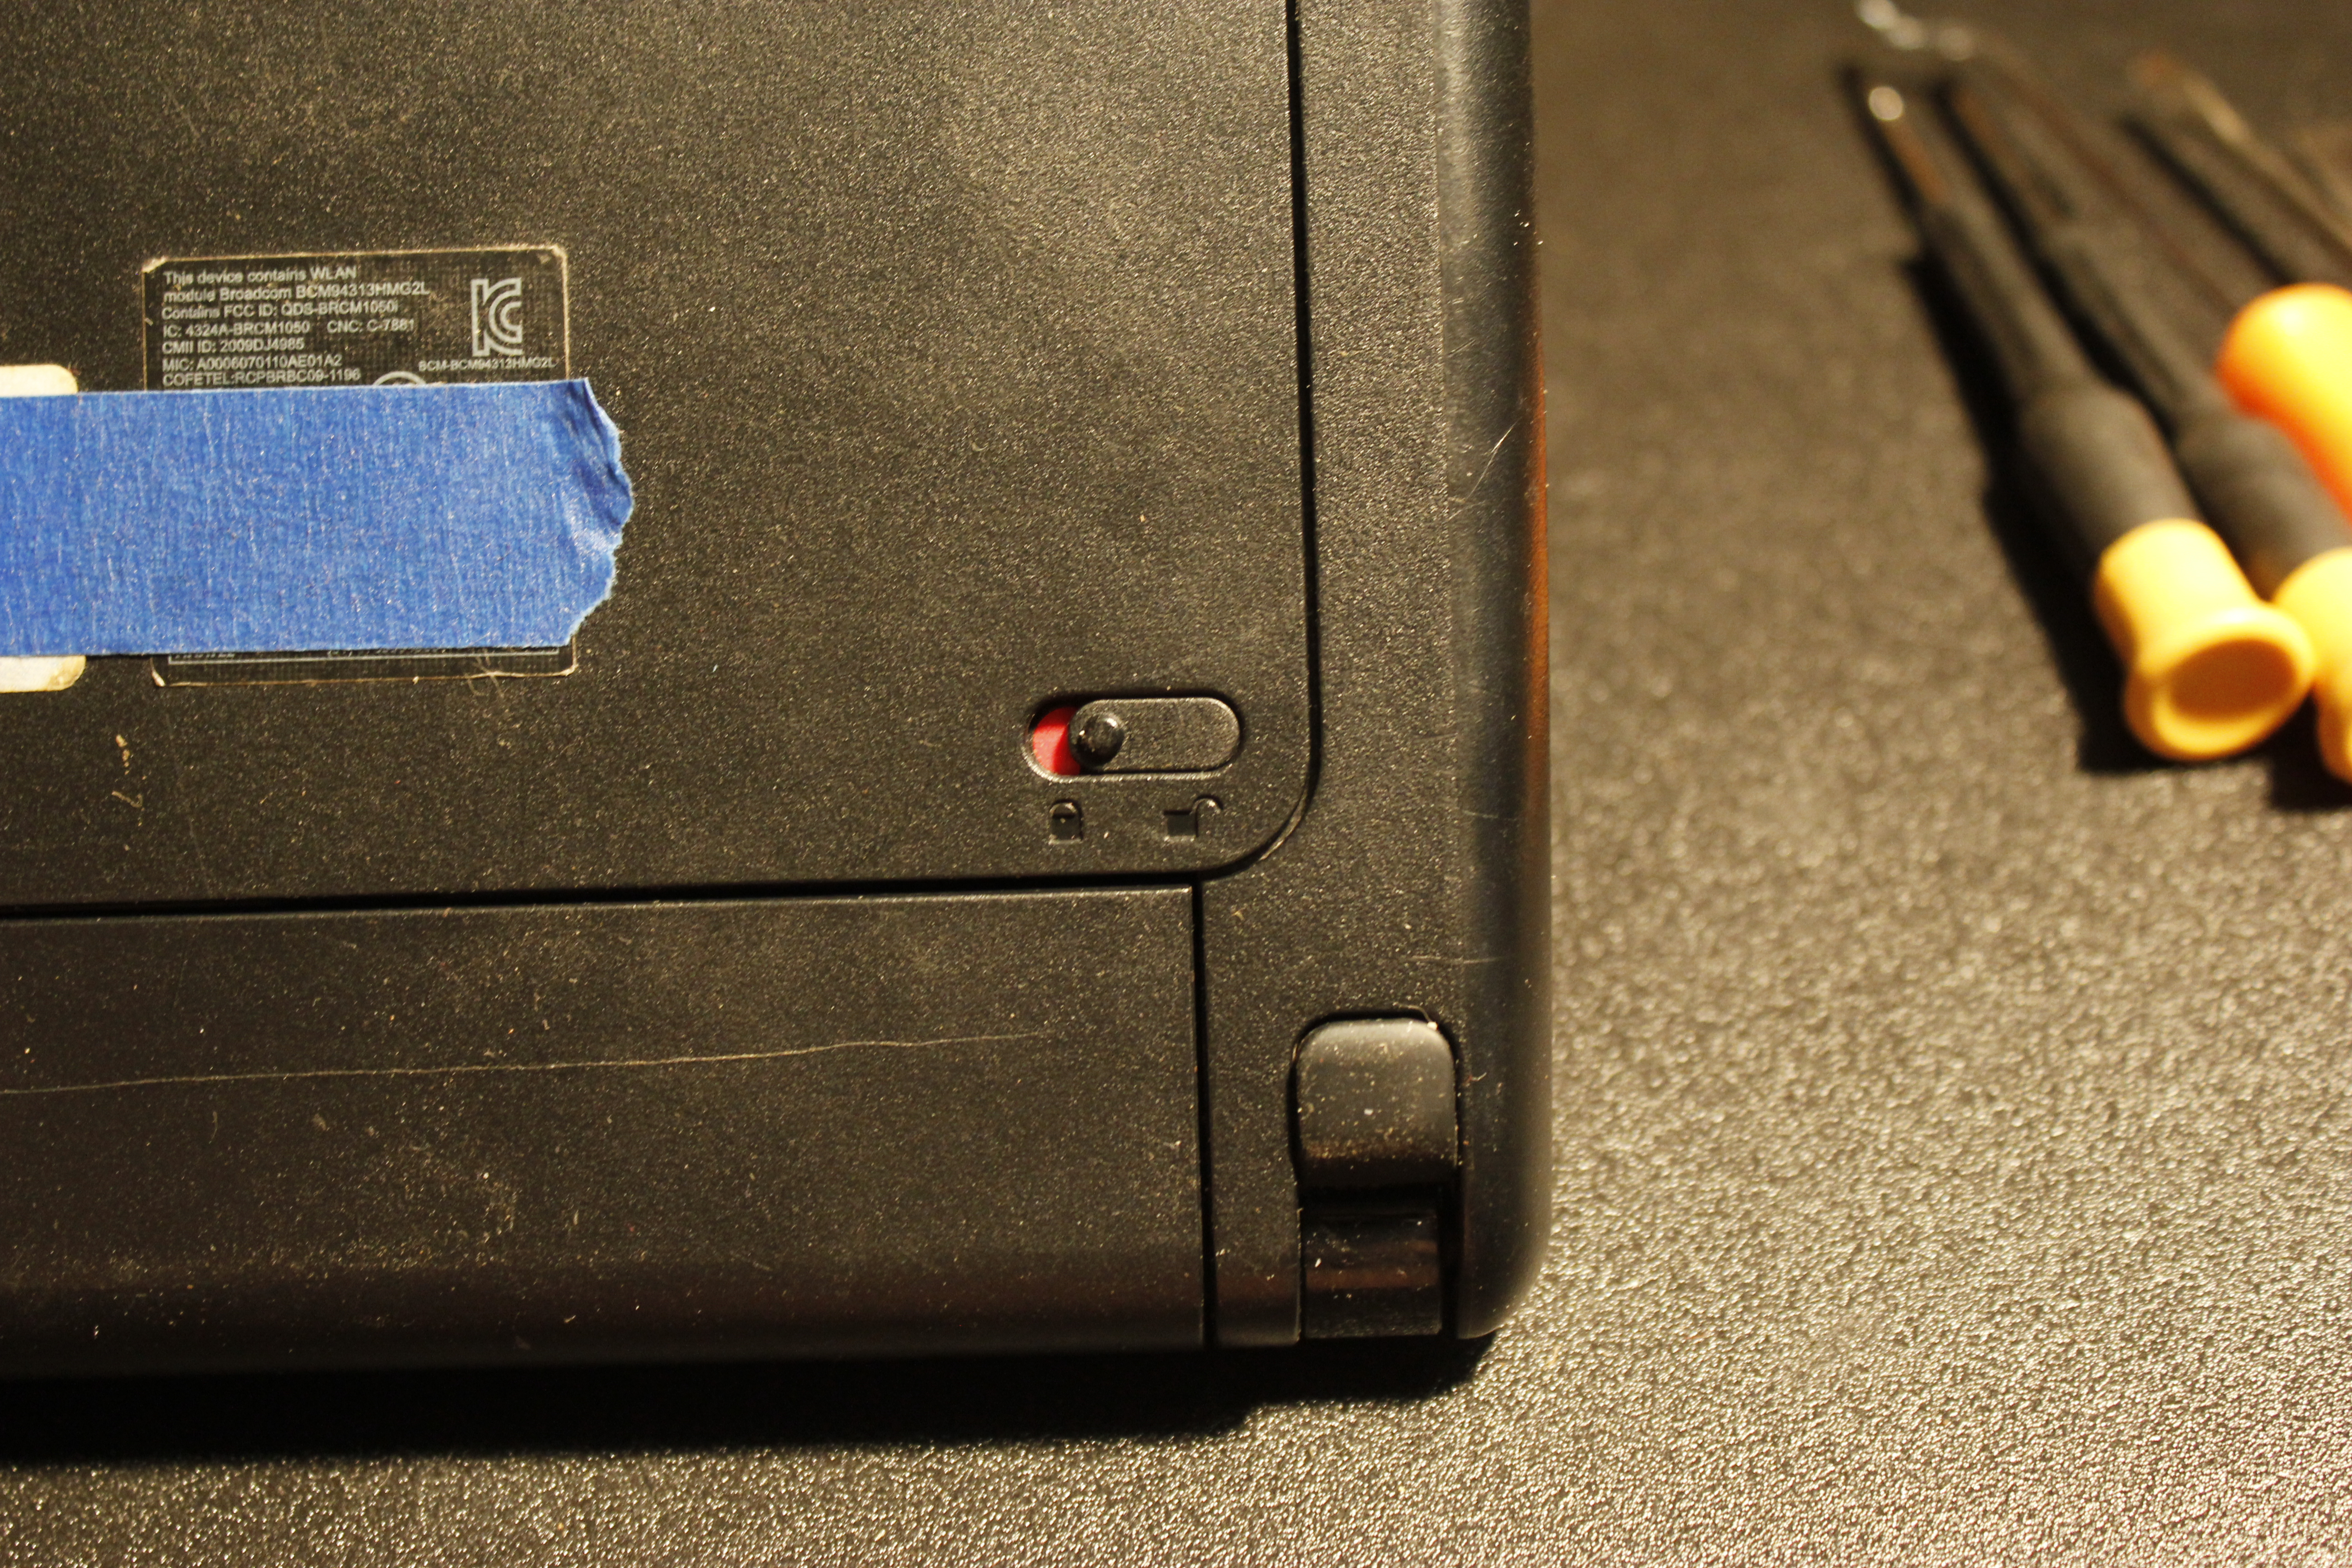
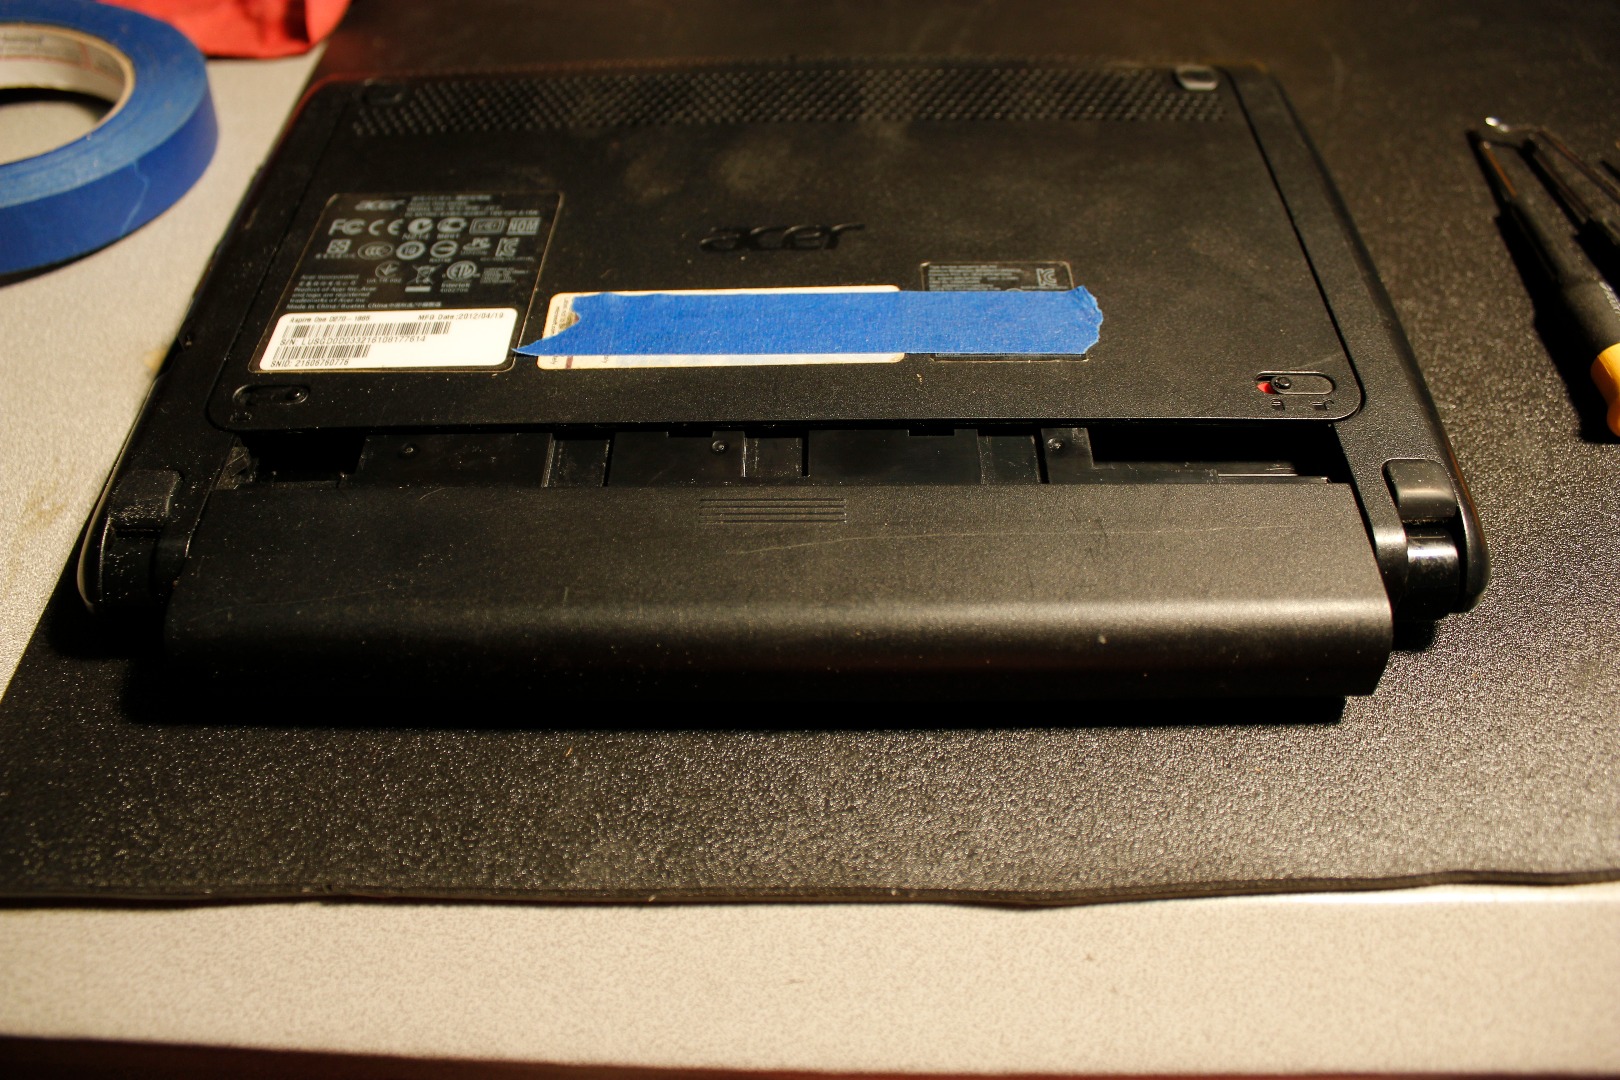
Now remove the main battery. With the battery facing you there is a lock on the right side. Slide it till it indicates red. Then do the same motion on the left with the release. The battery will slide towards you with minimal pulling.
Set aside and move on..
Release the Keyboard
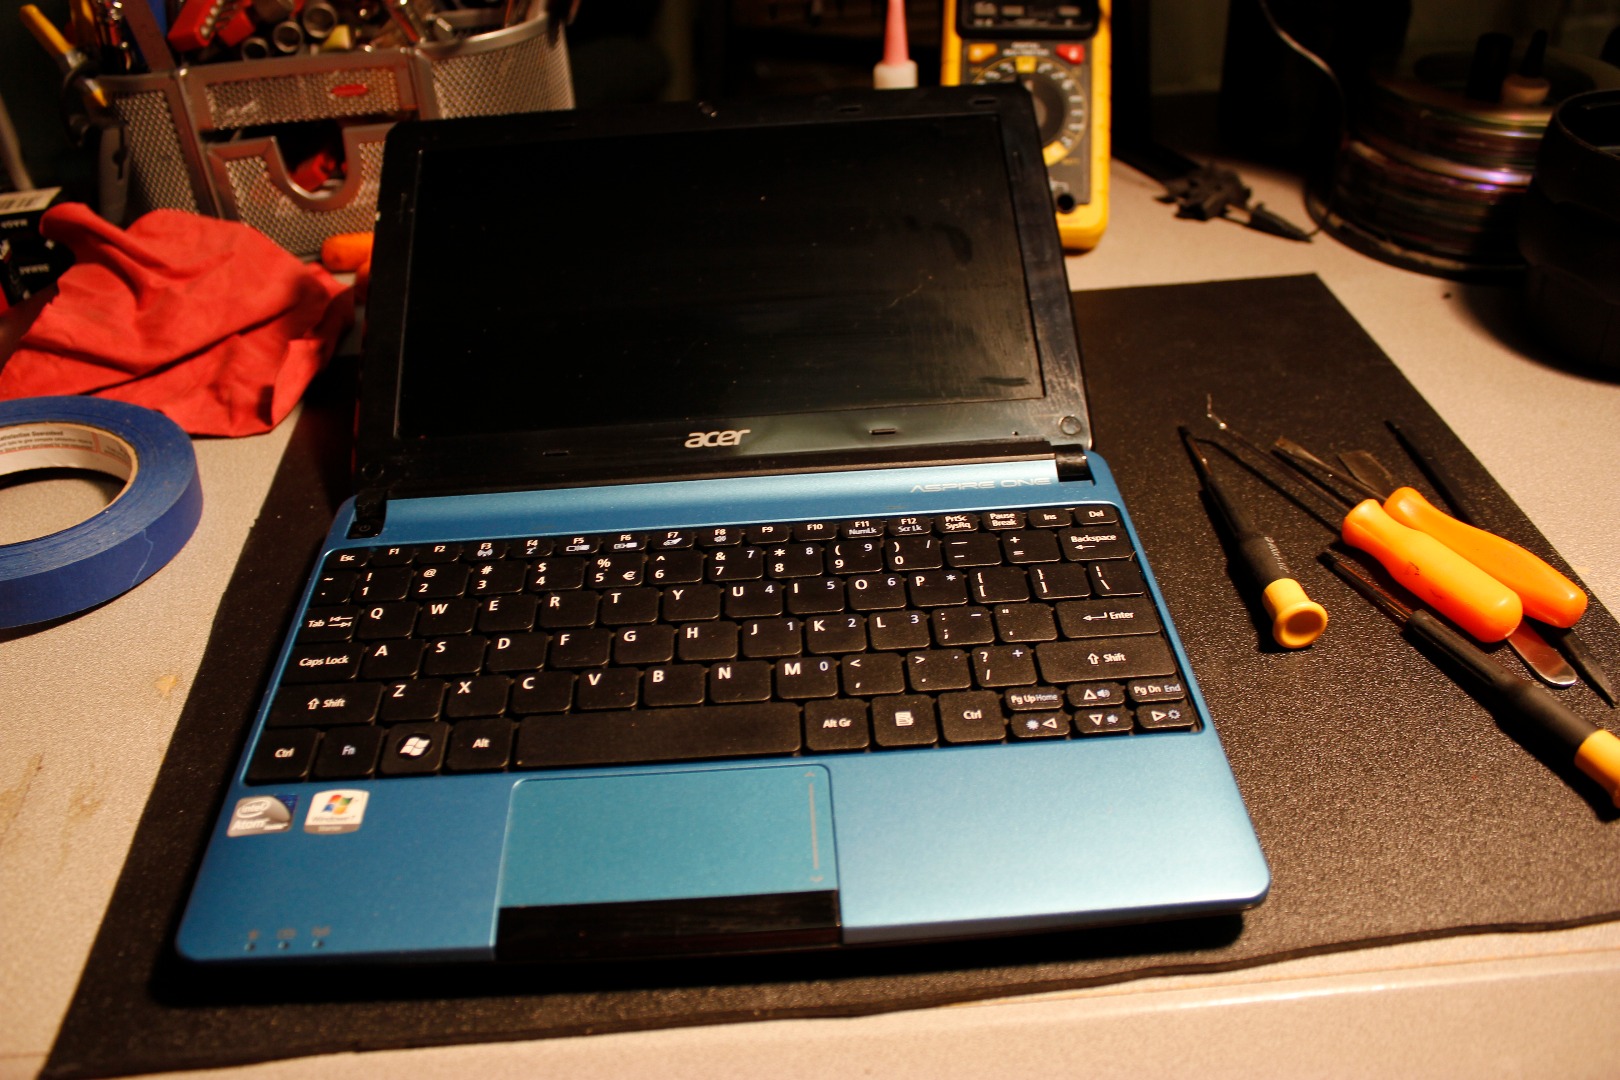
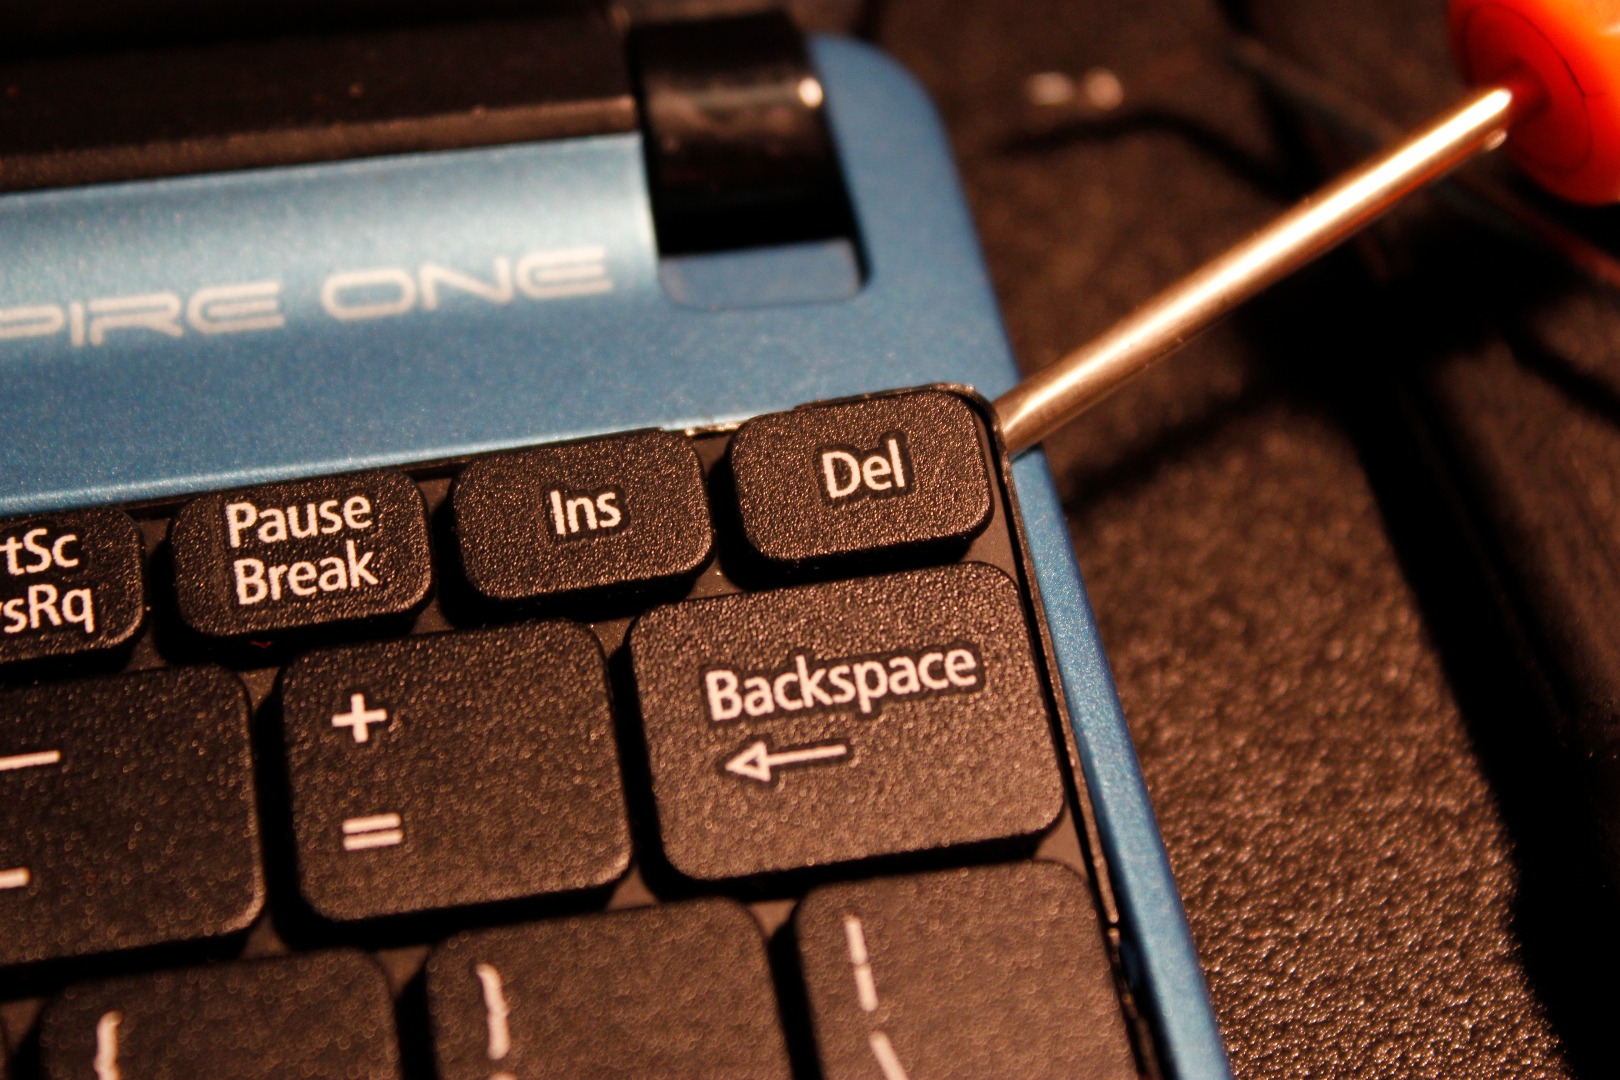
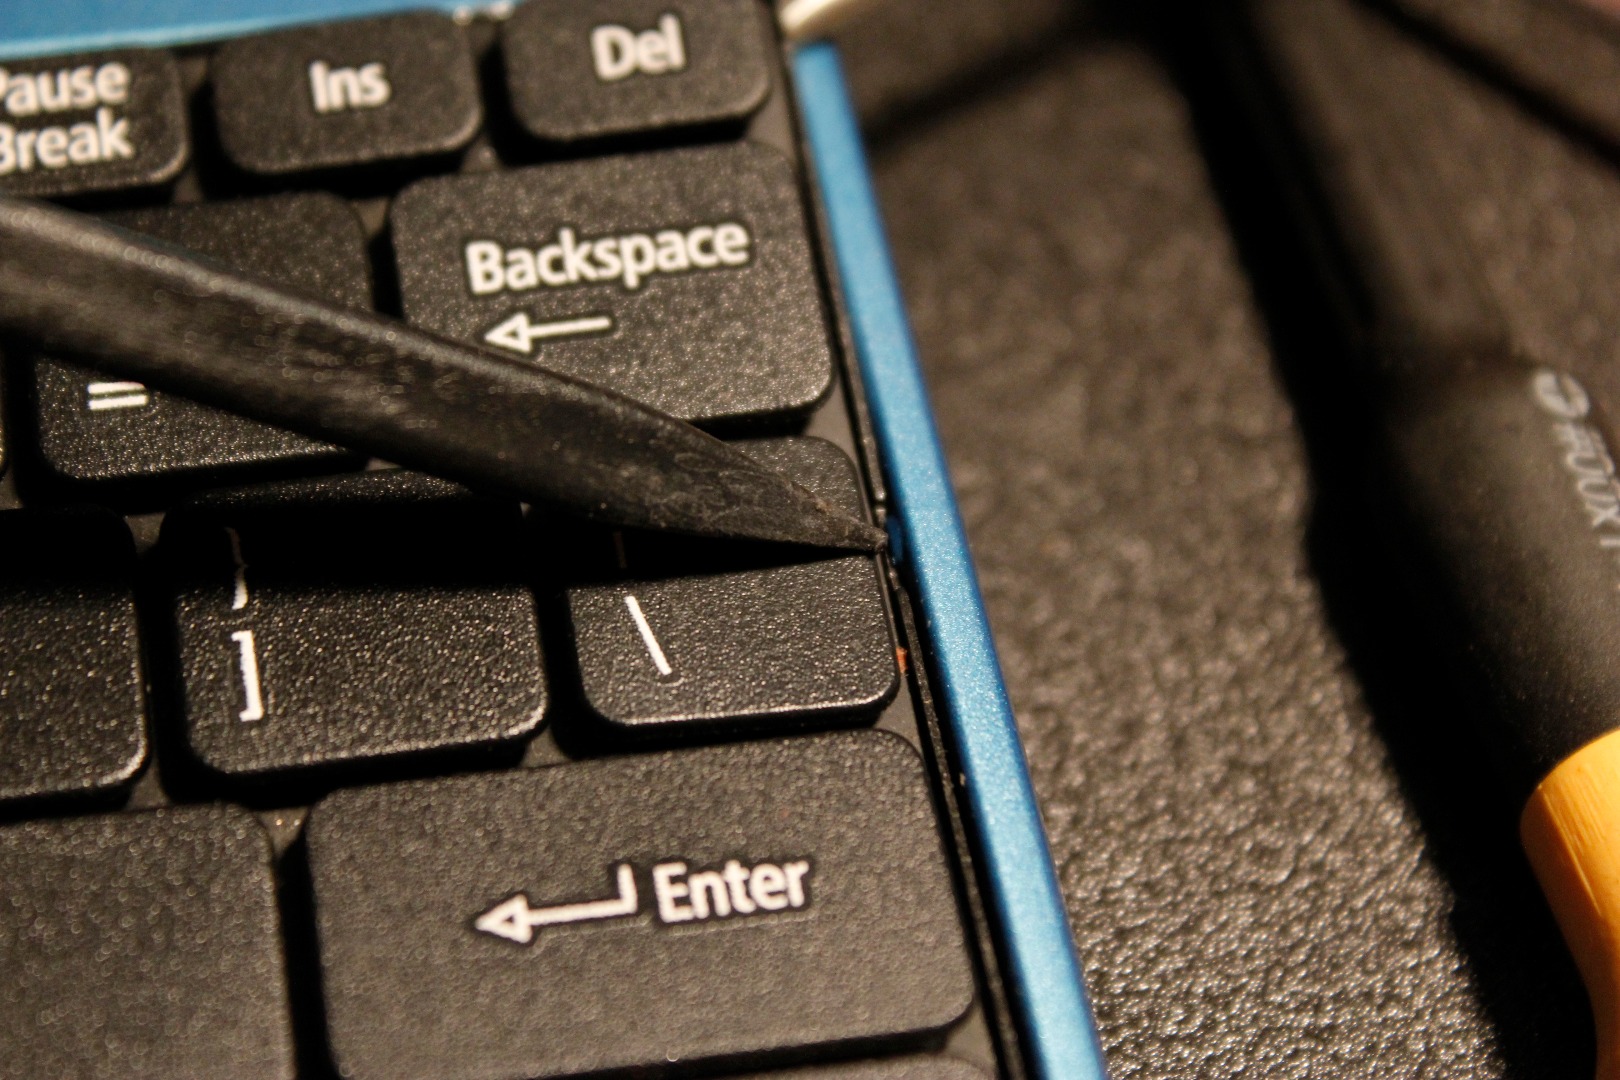
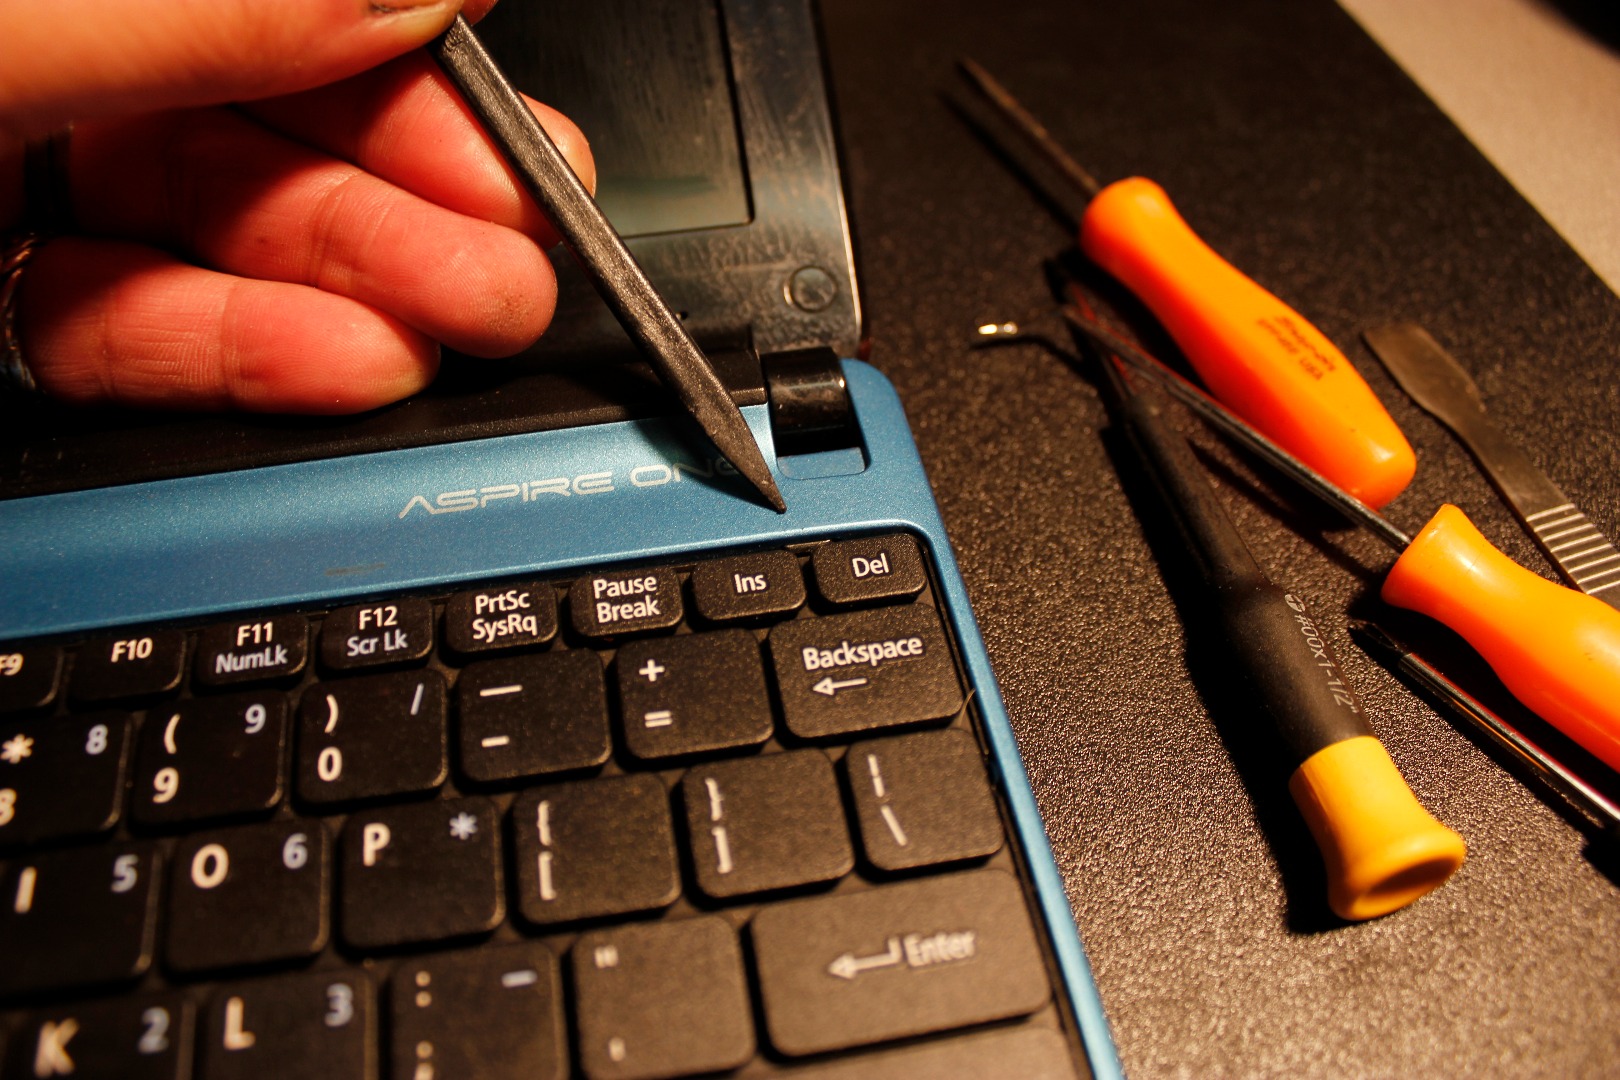
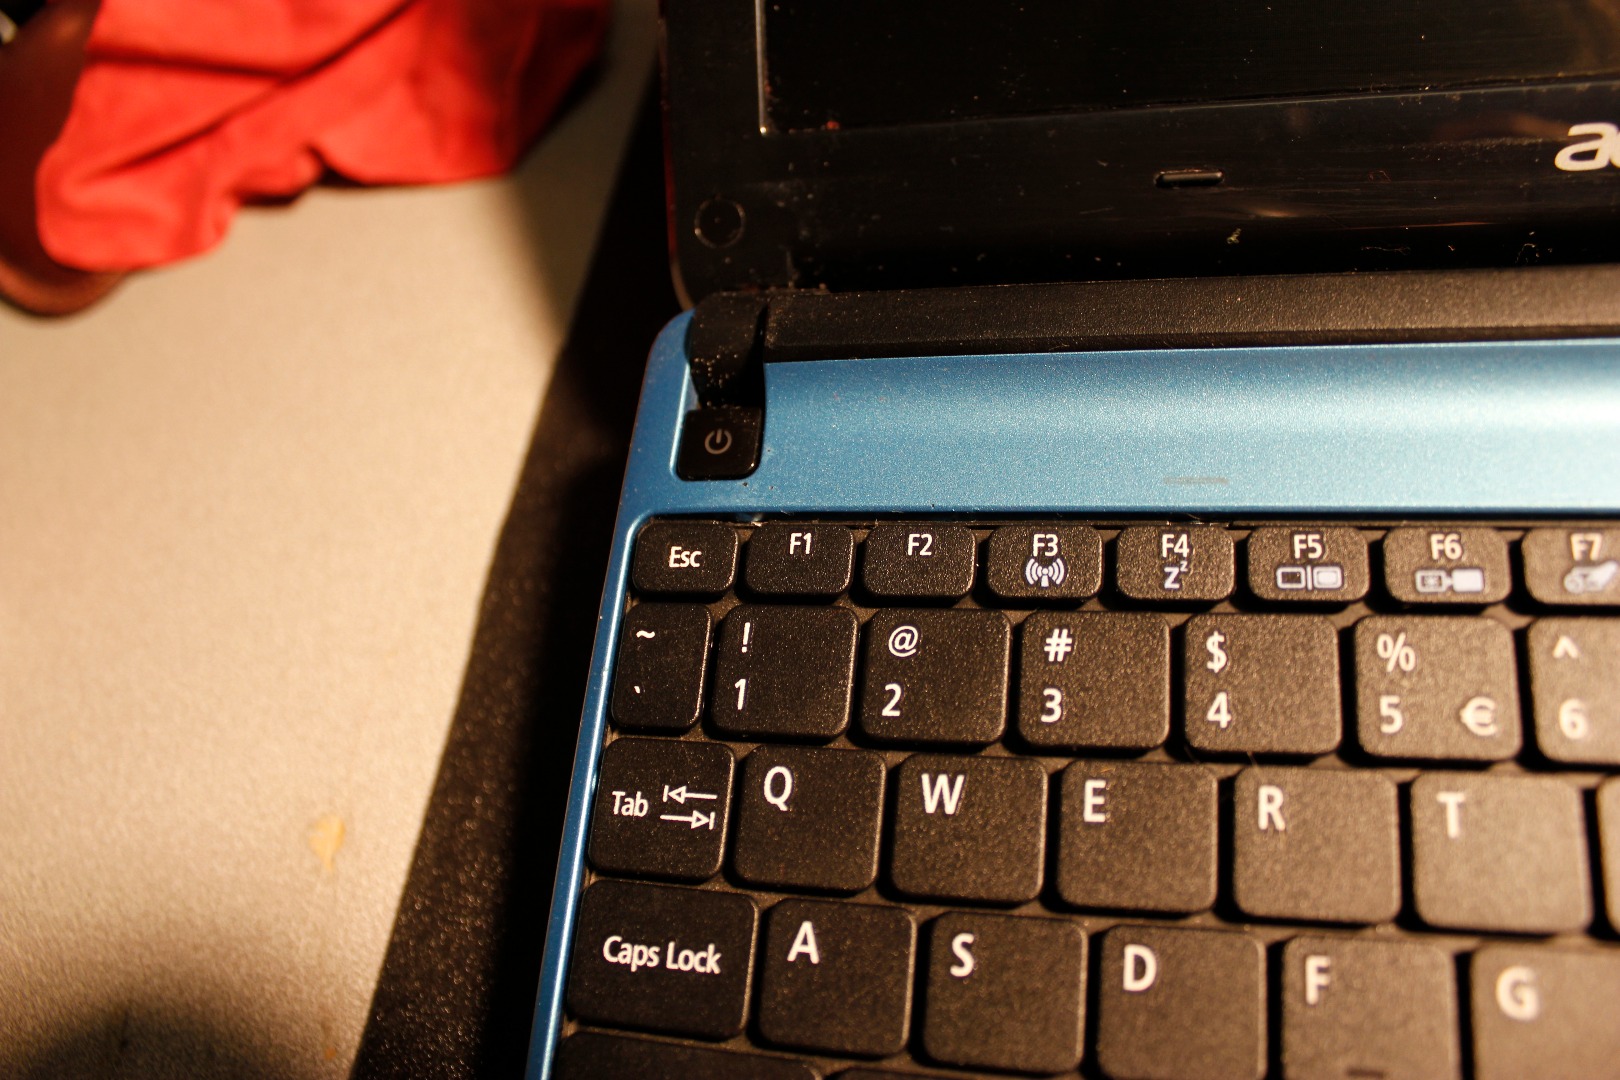
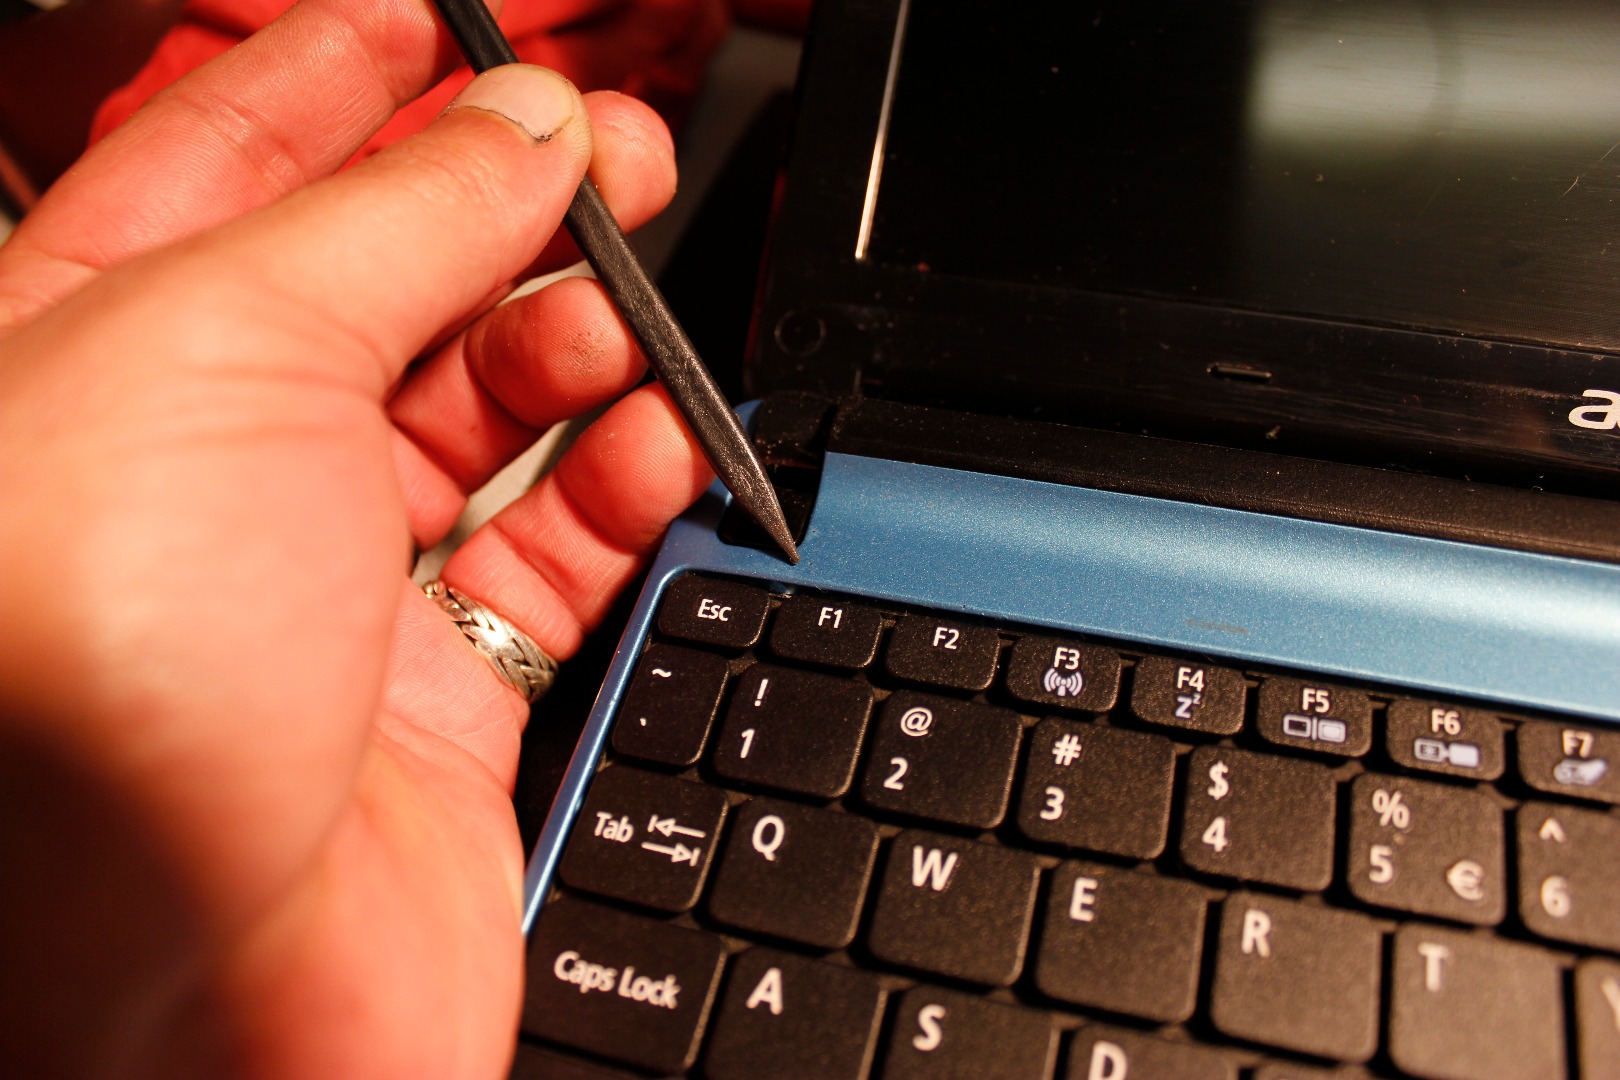
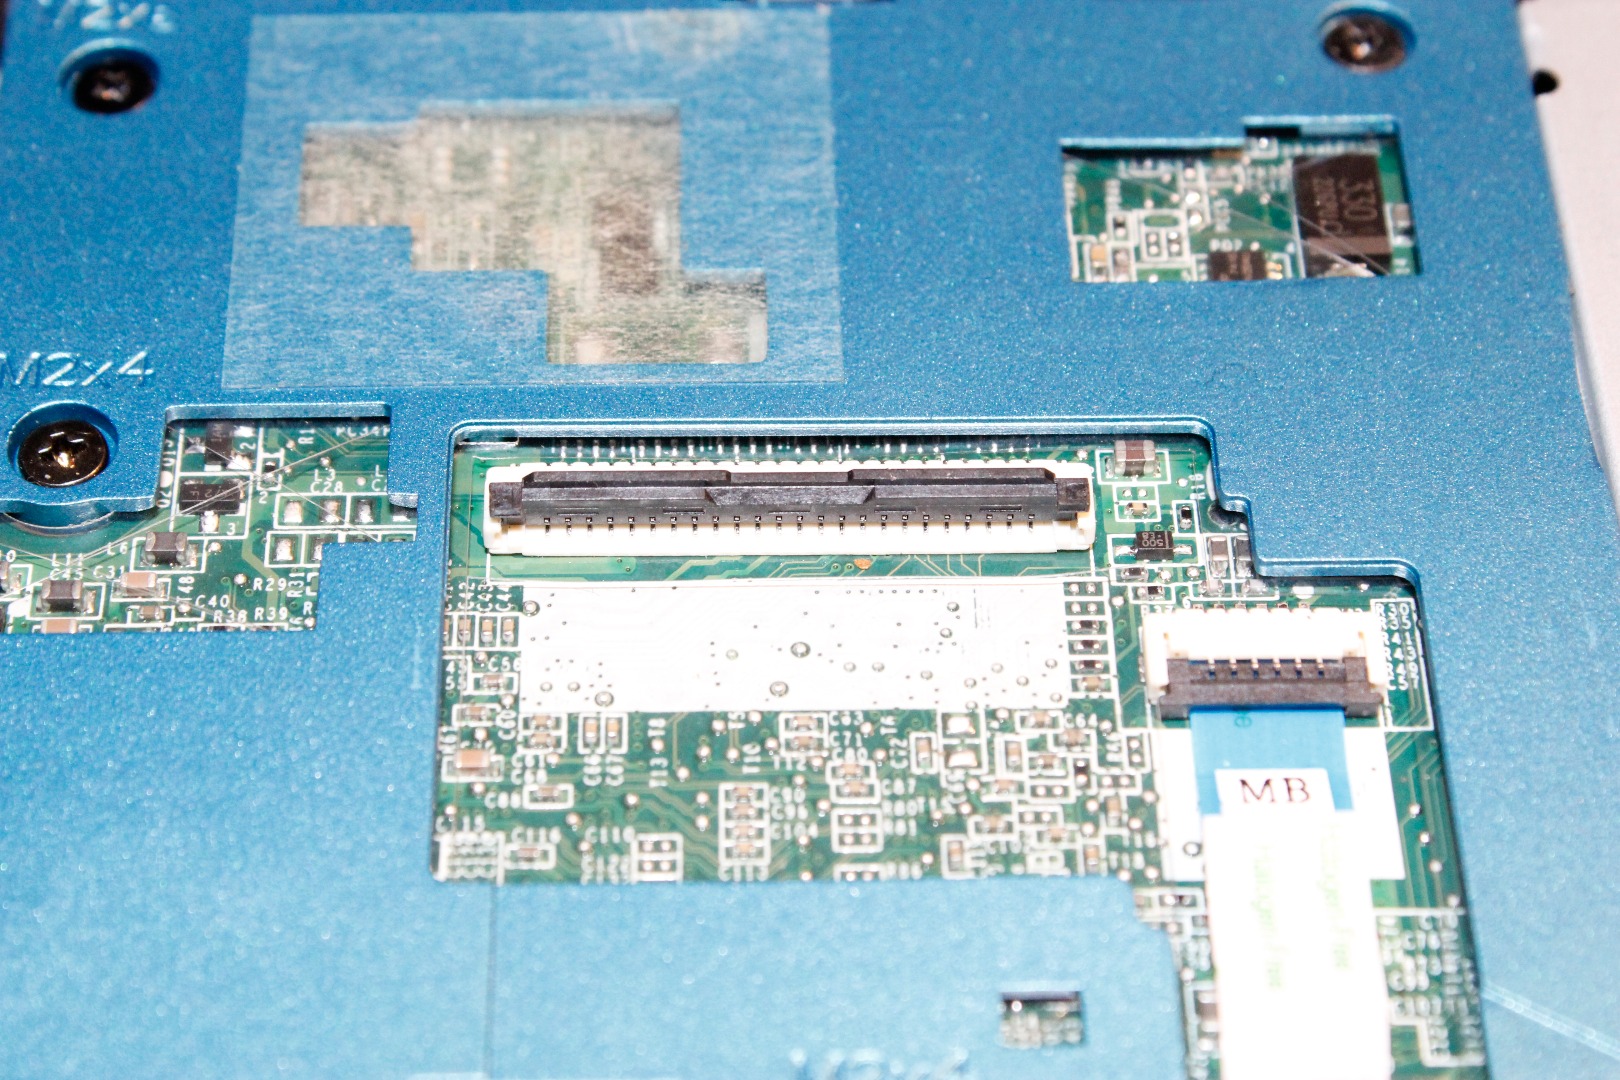
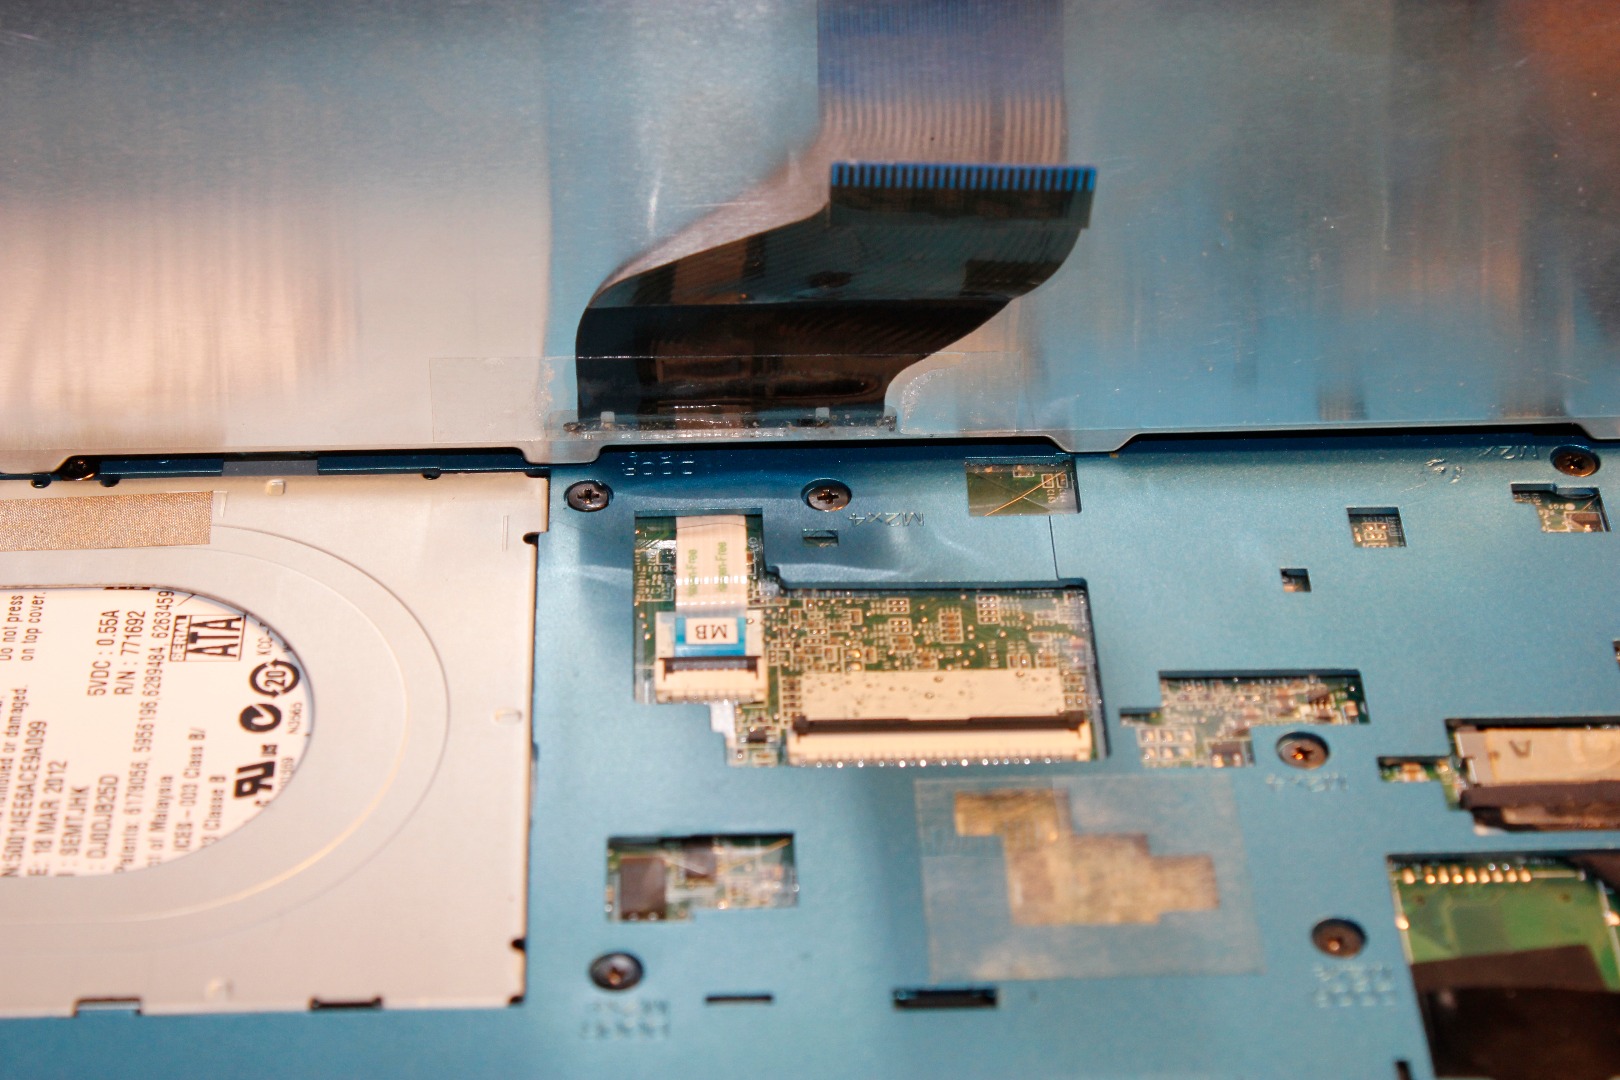
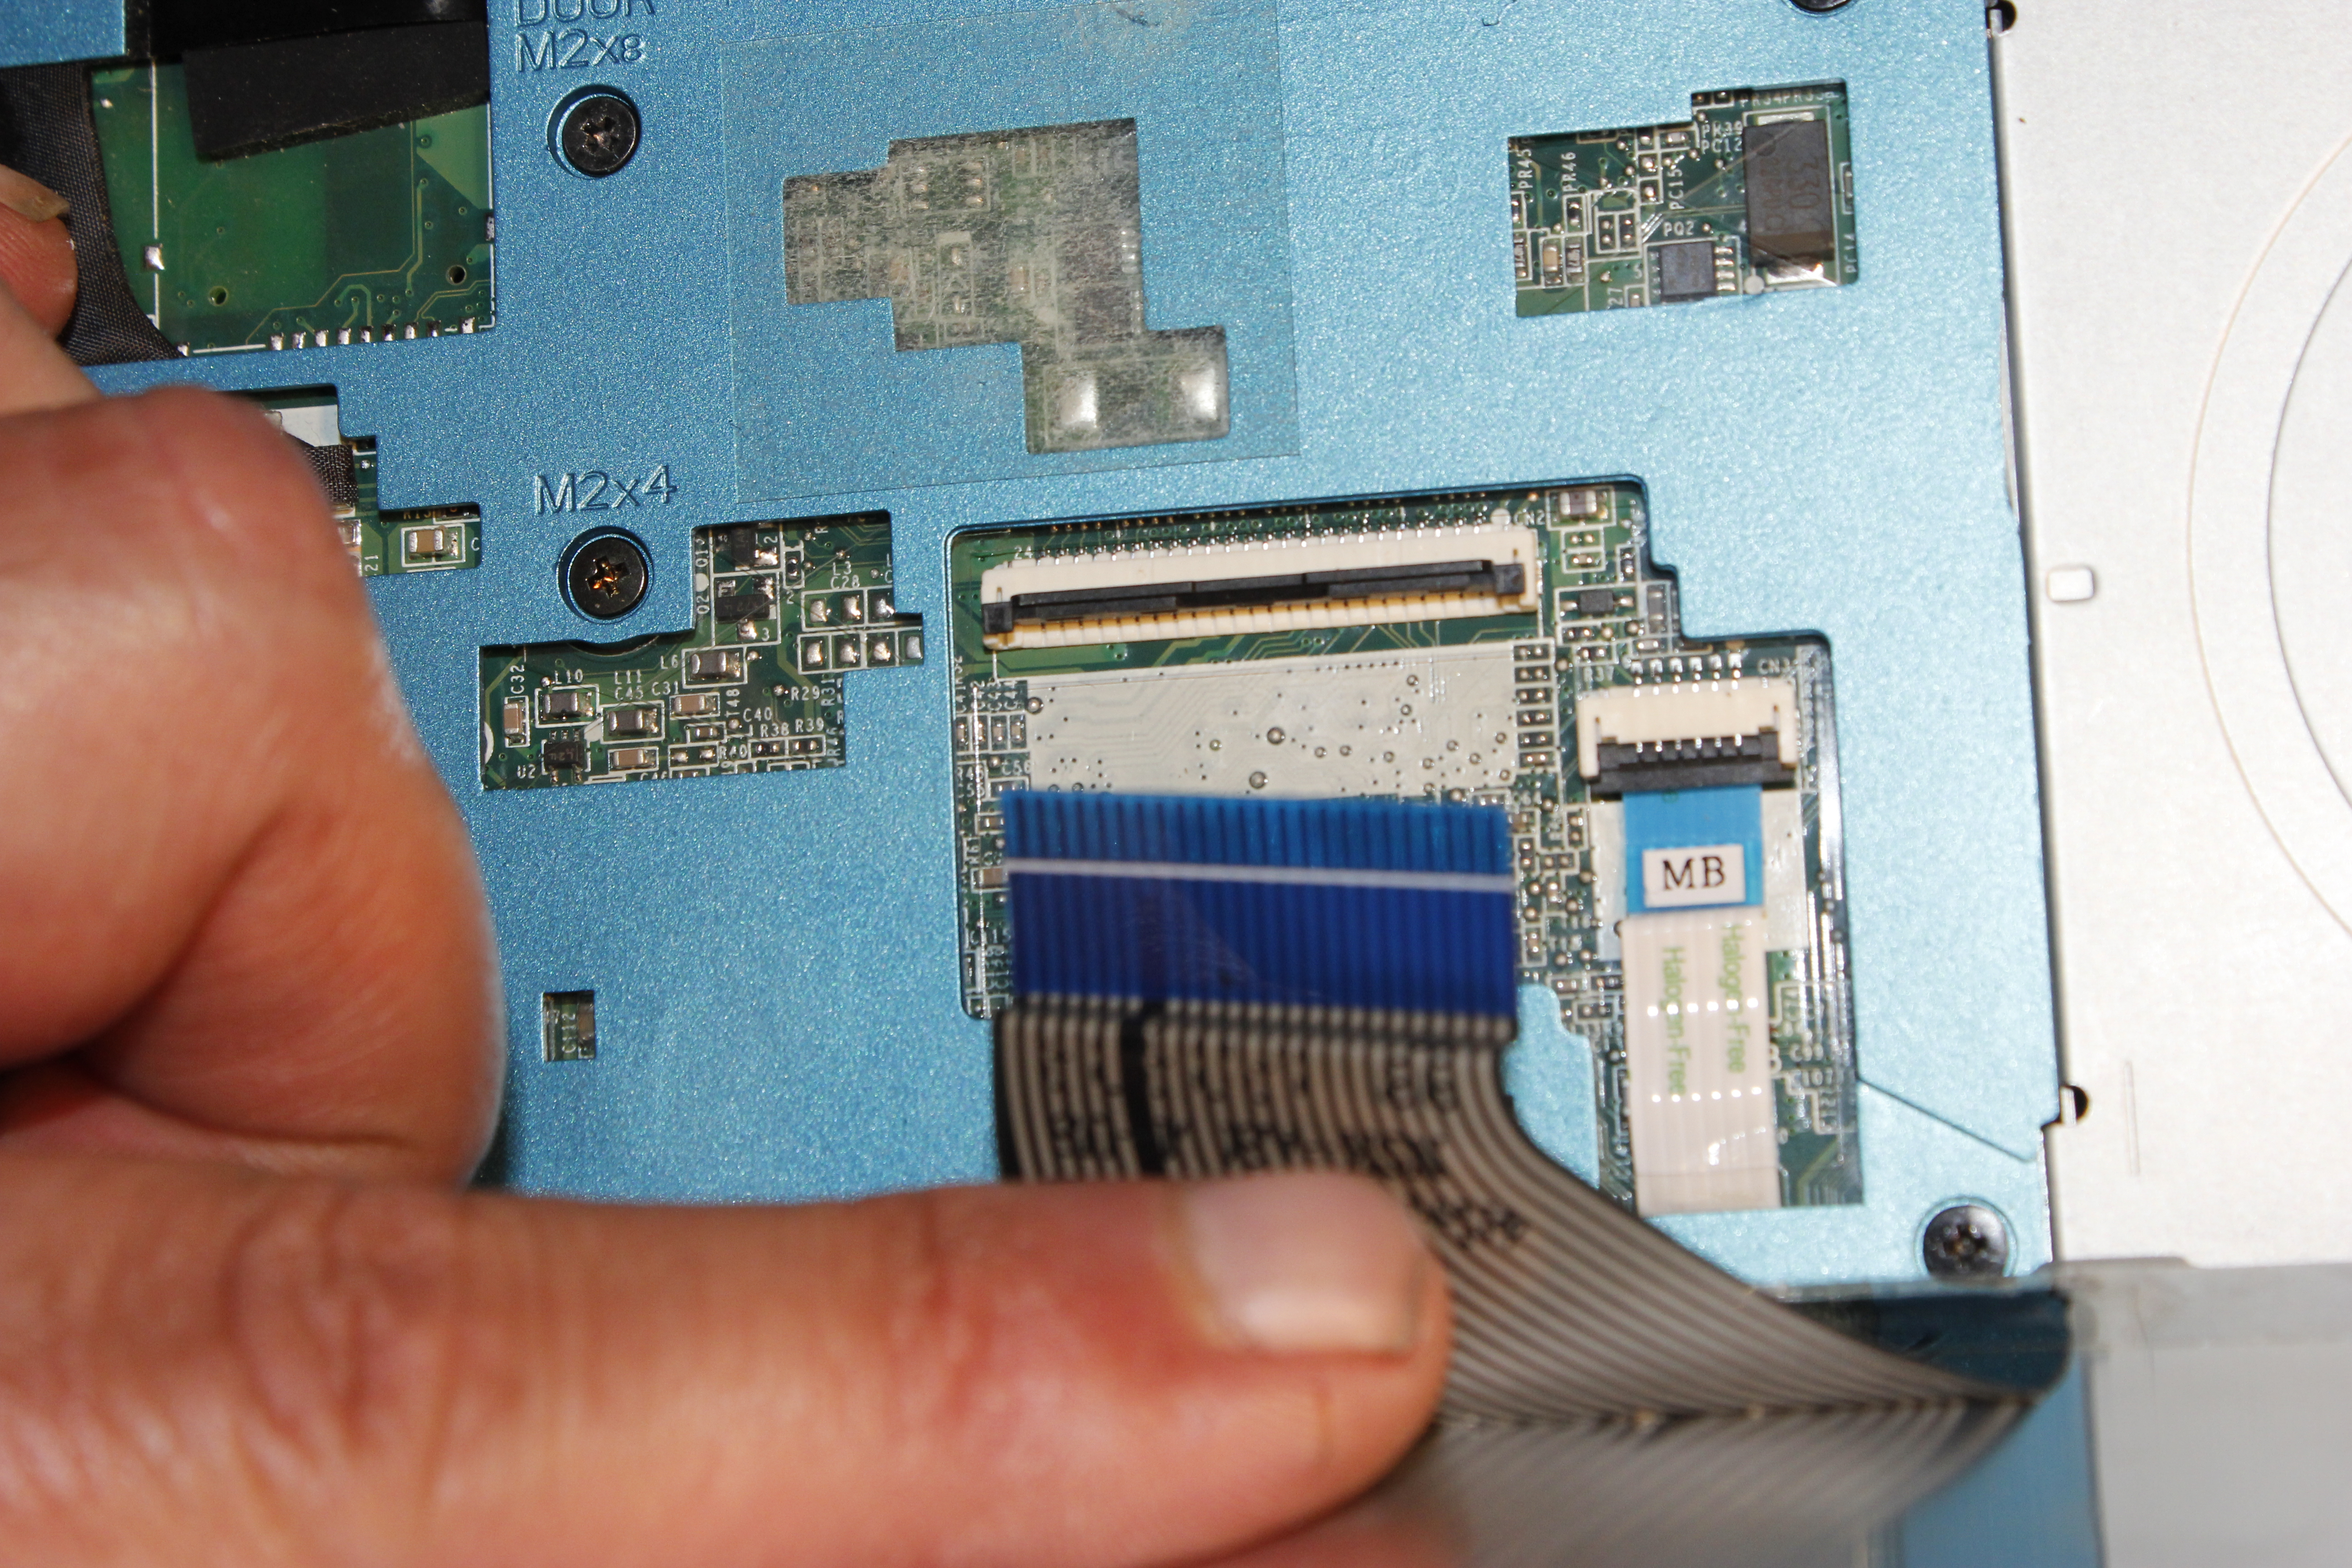
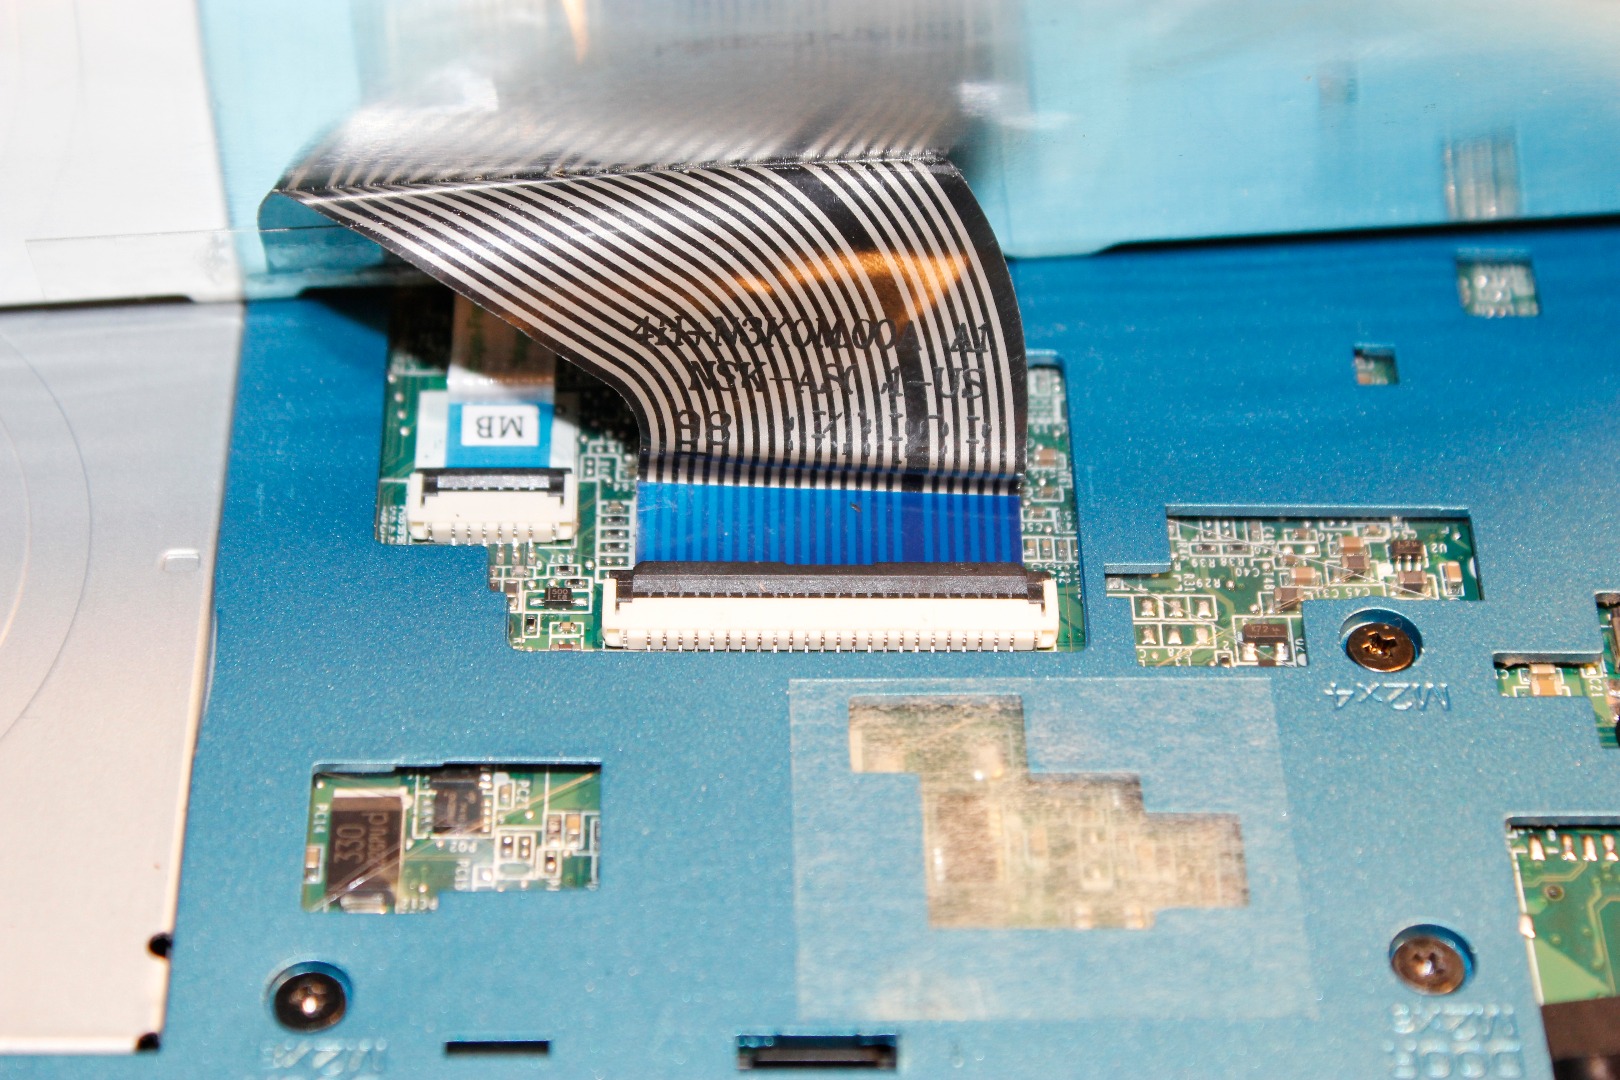
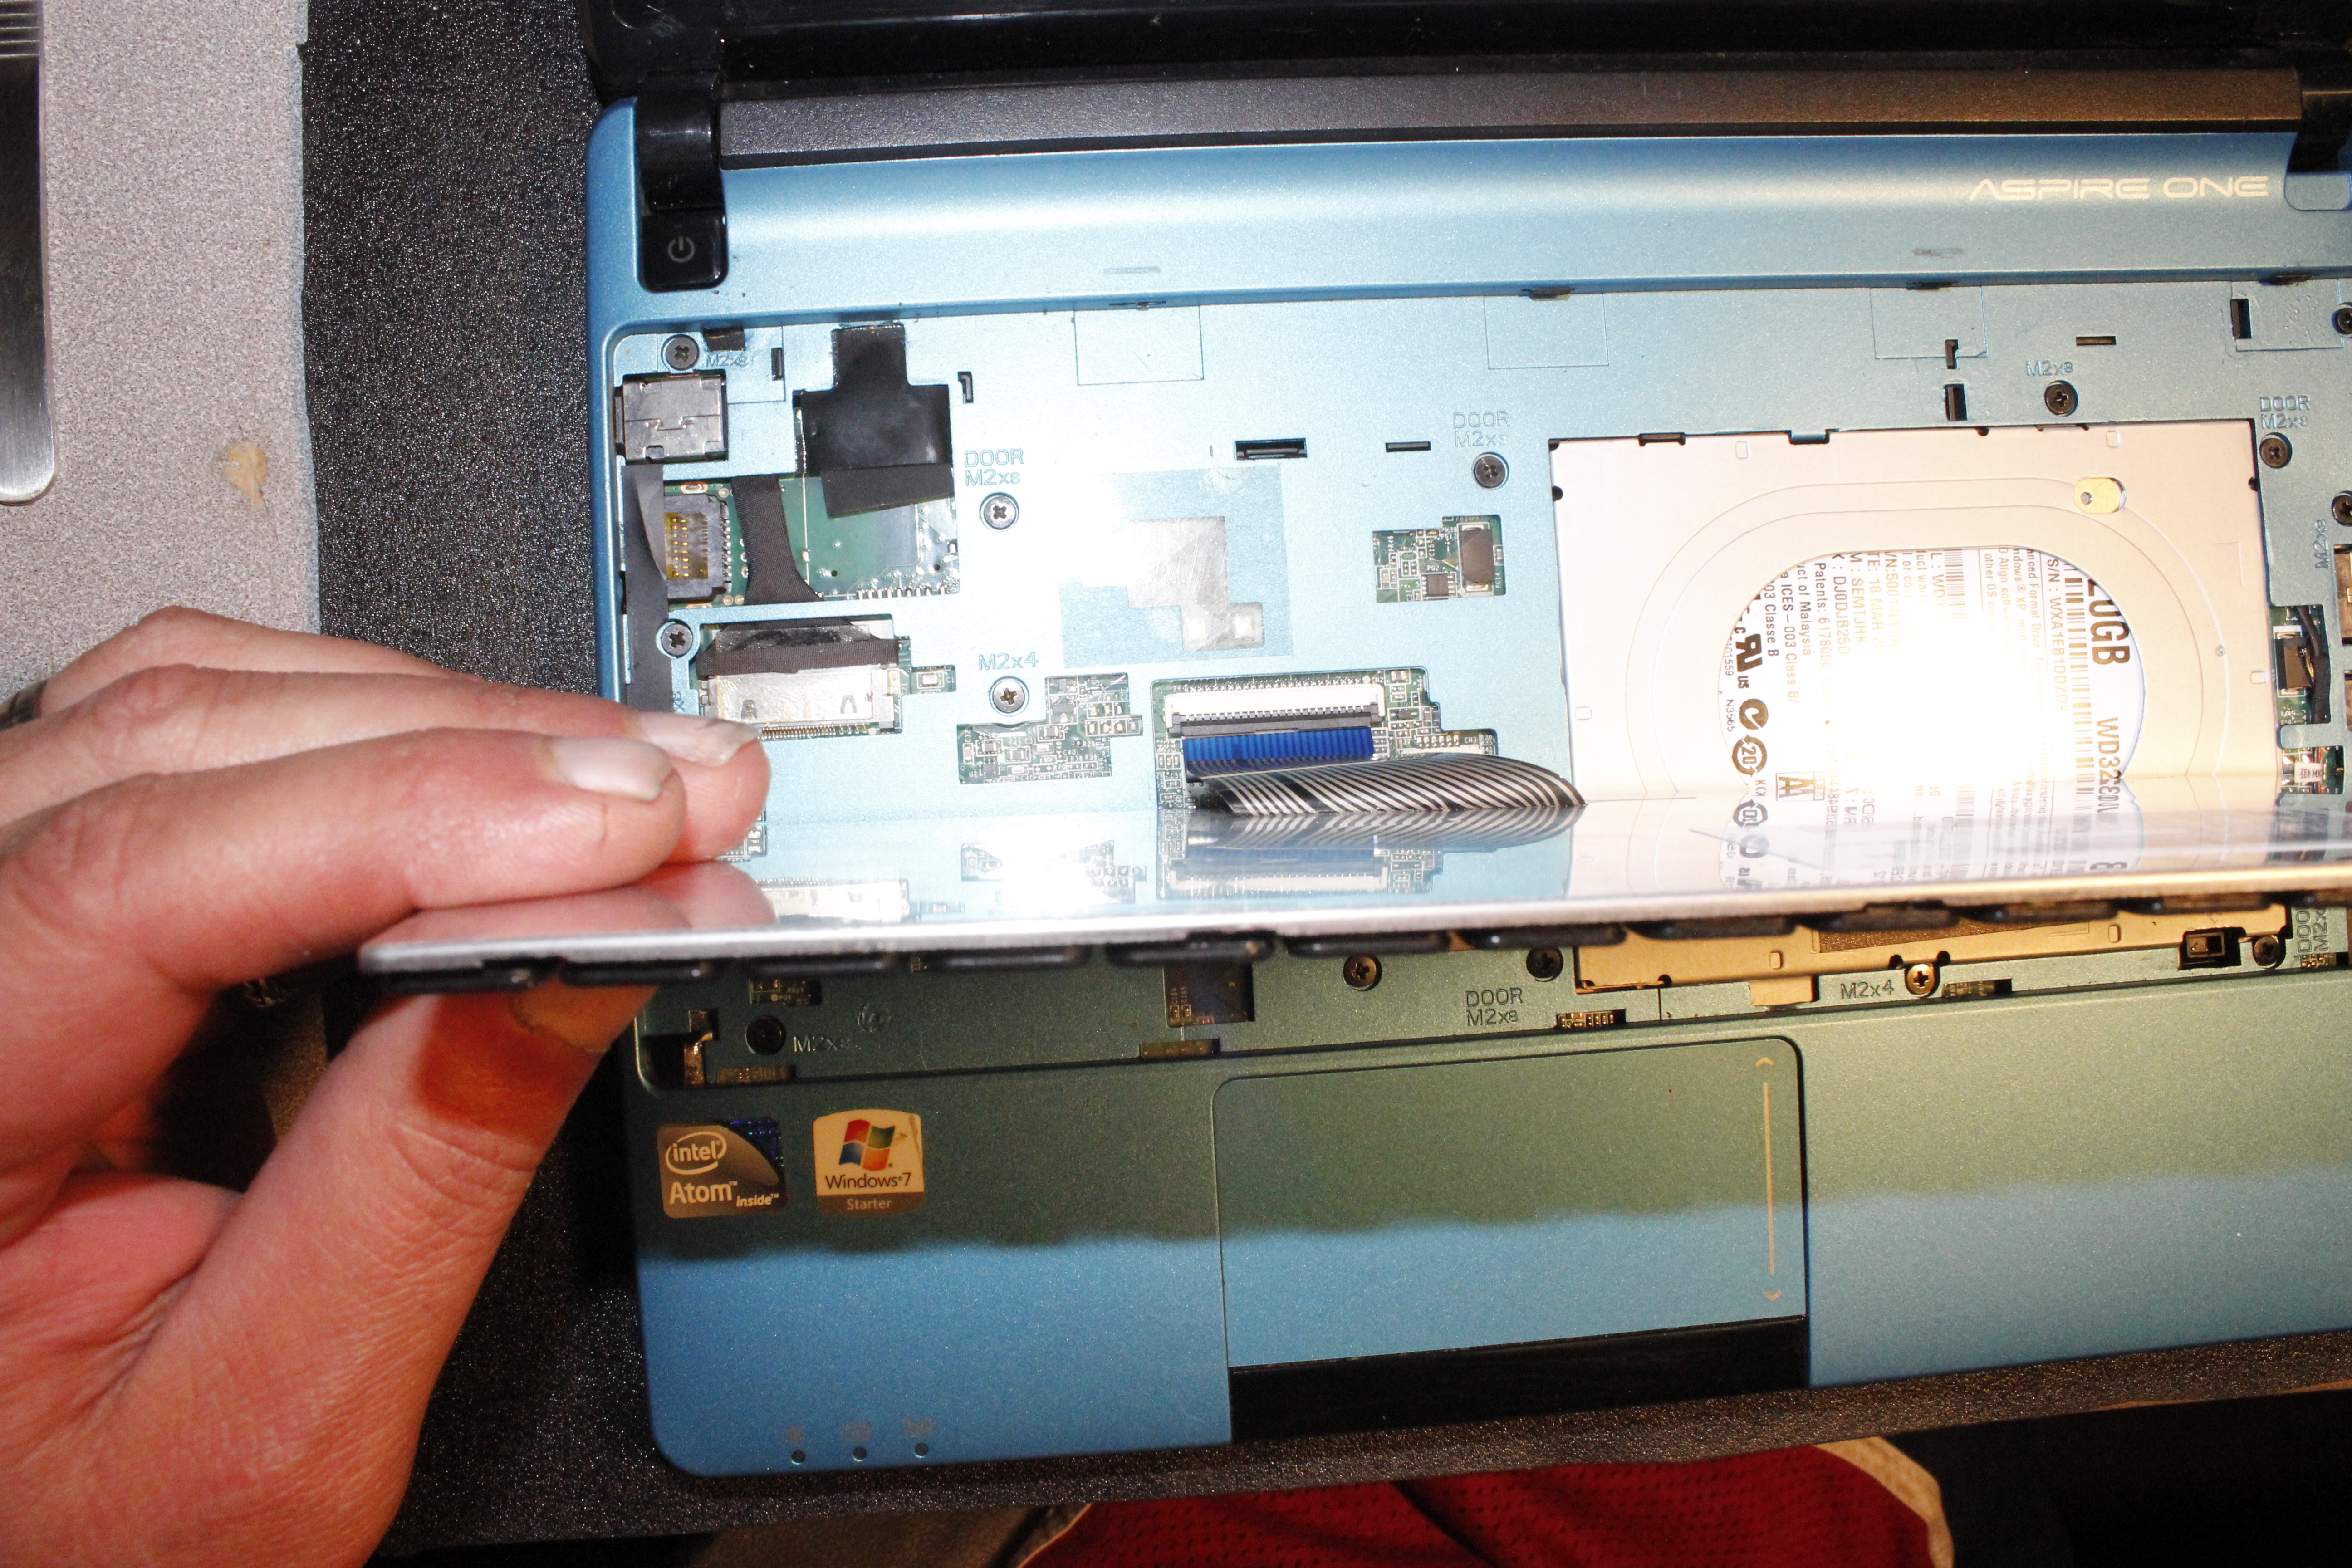
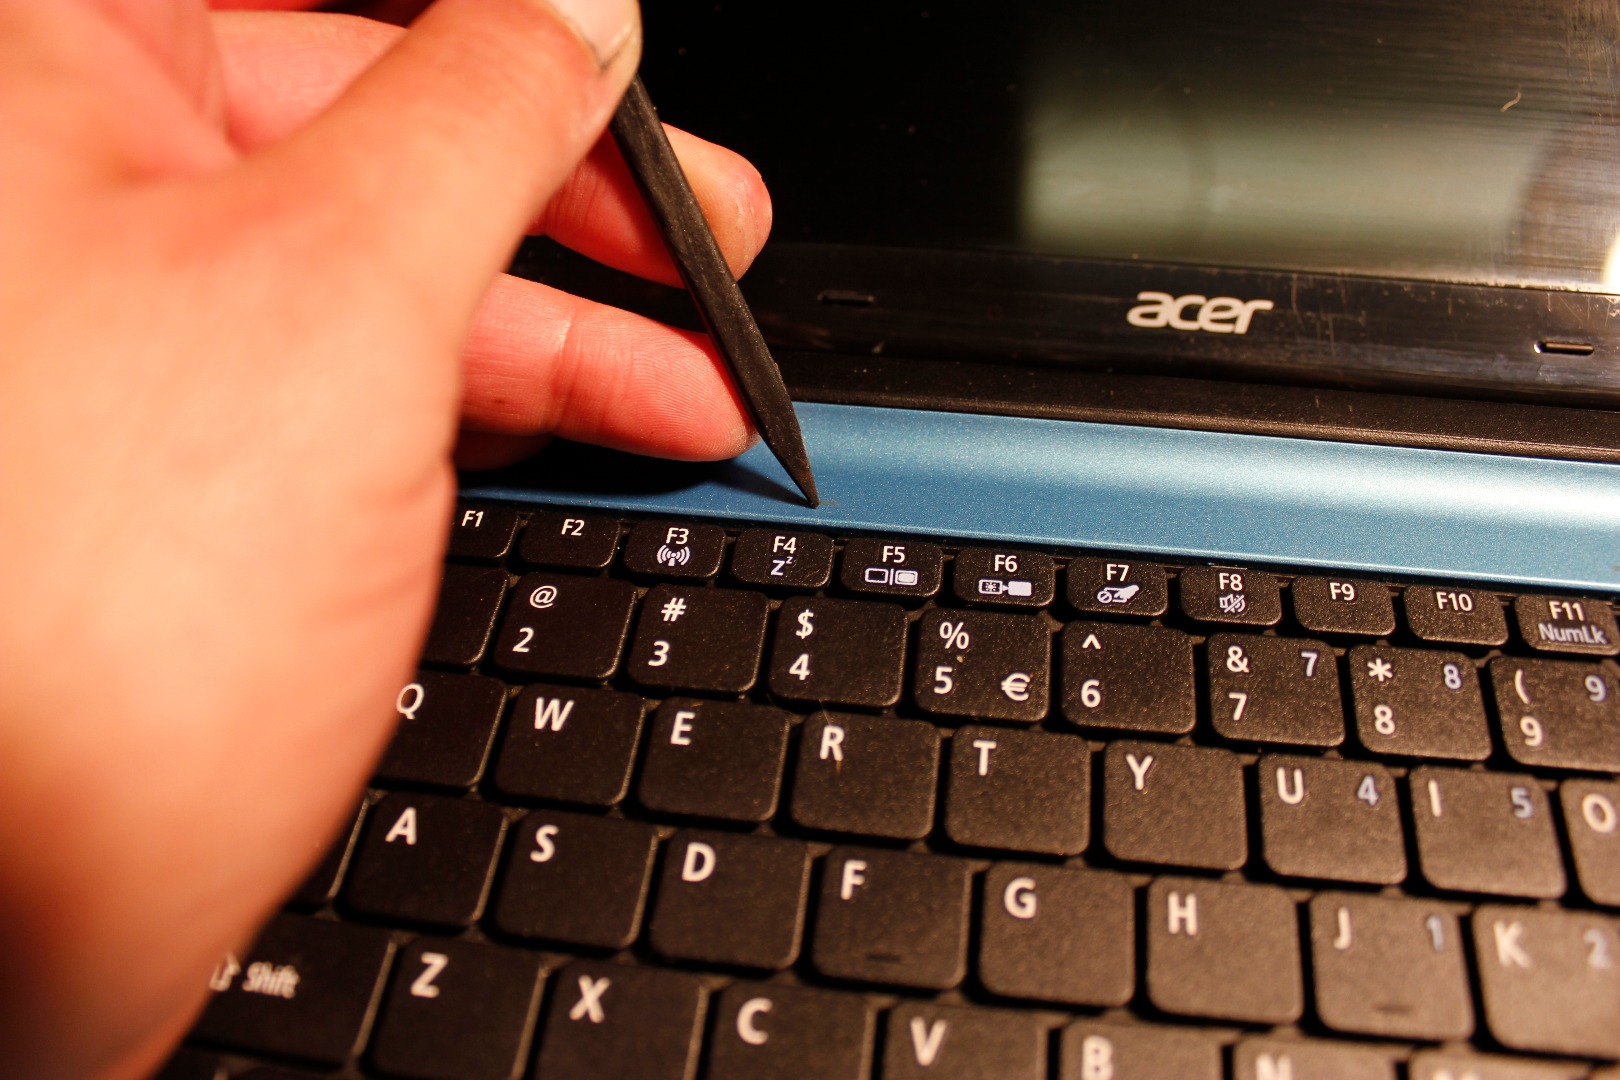
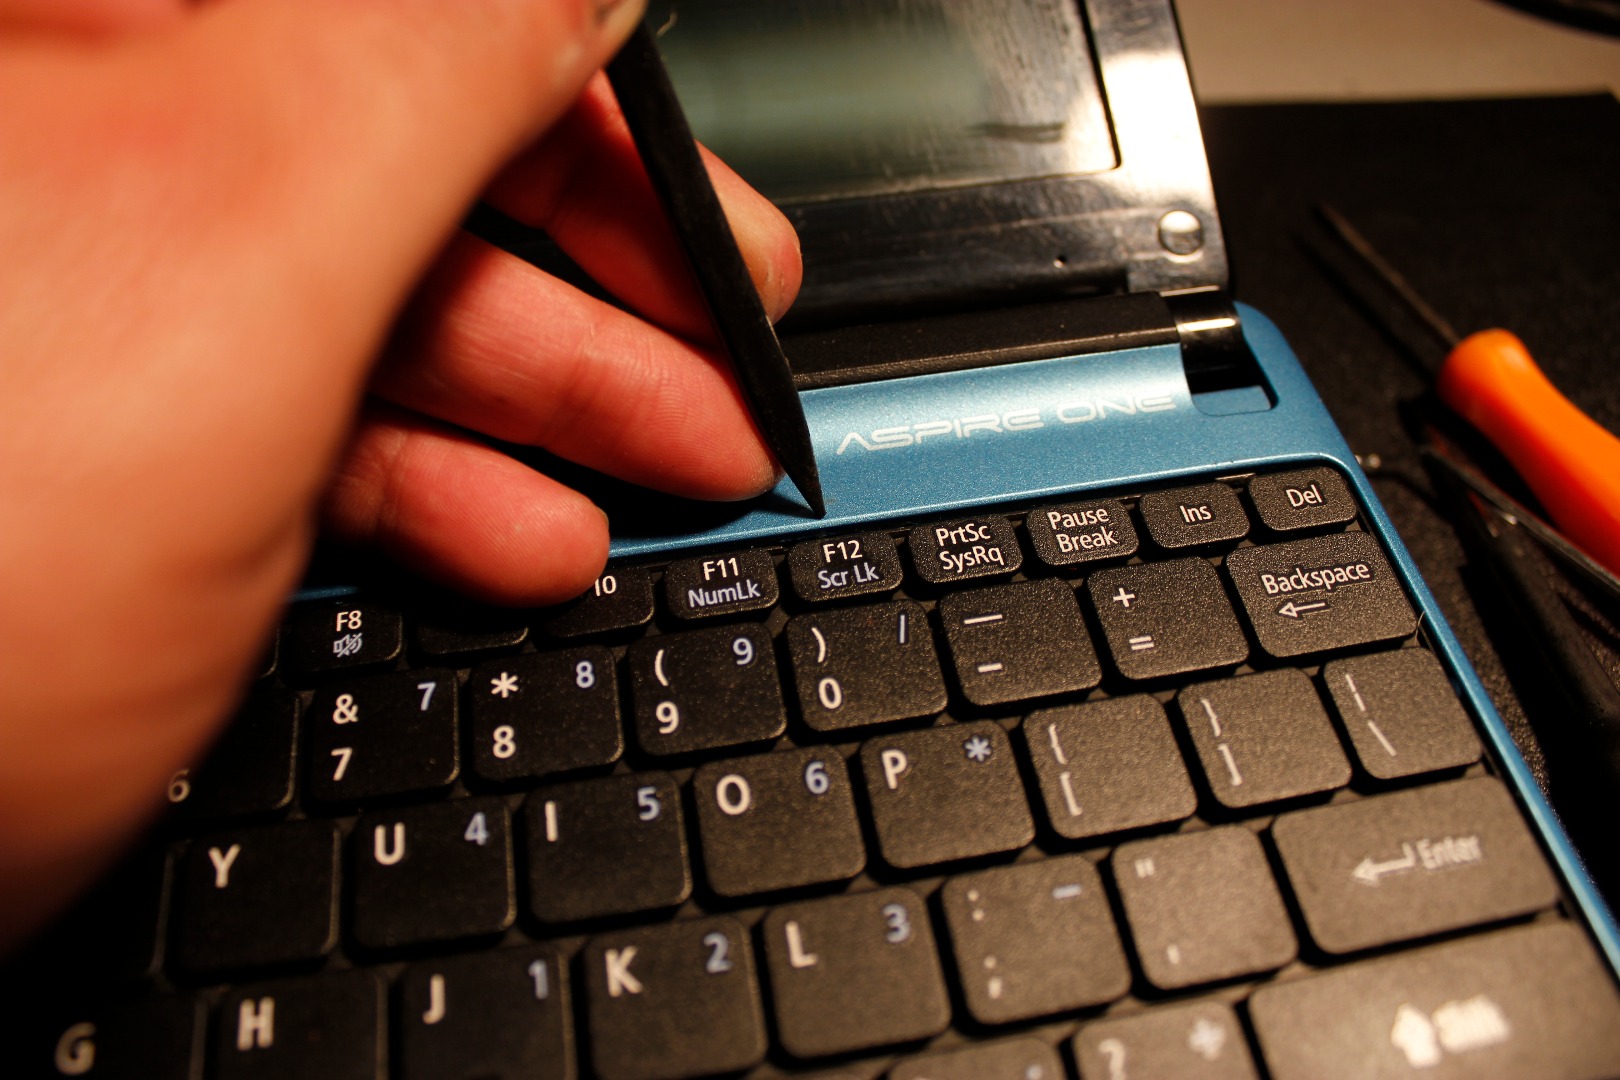
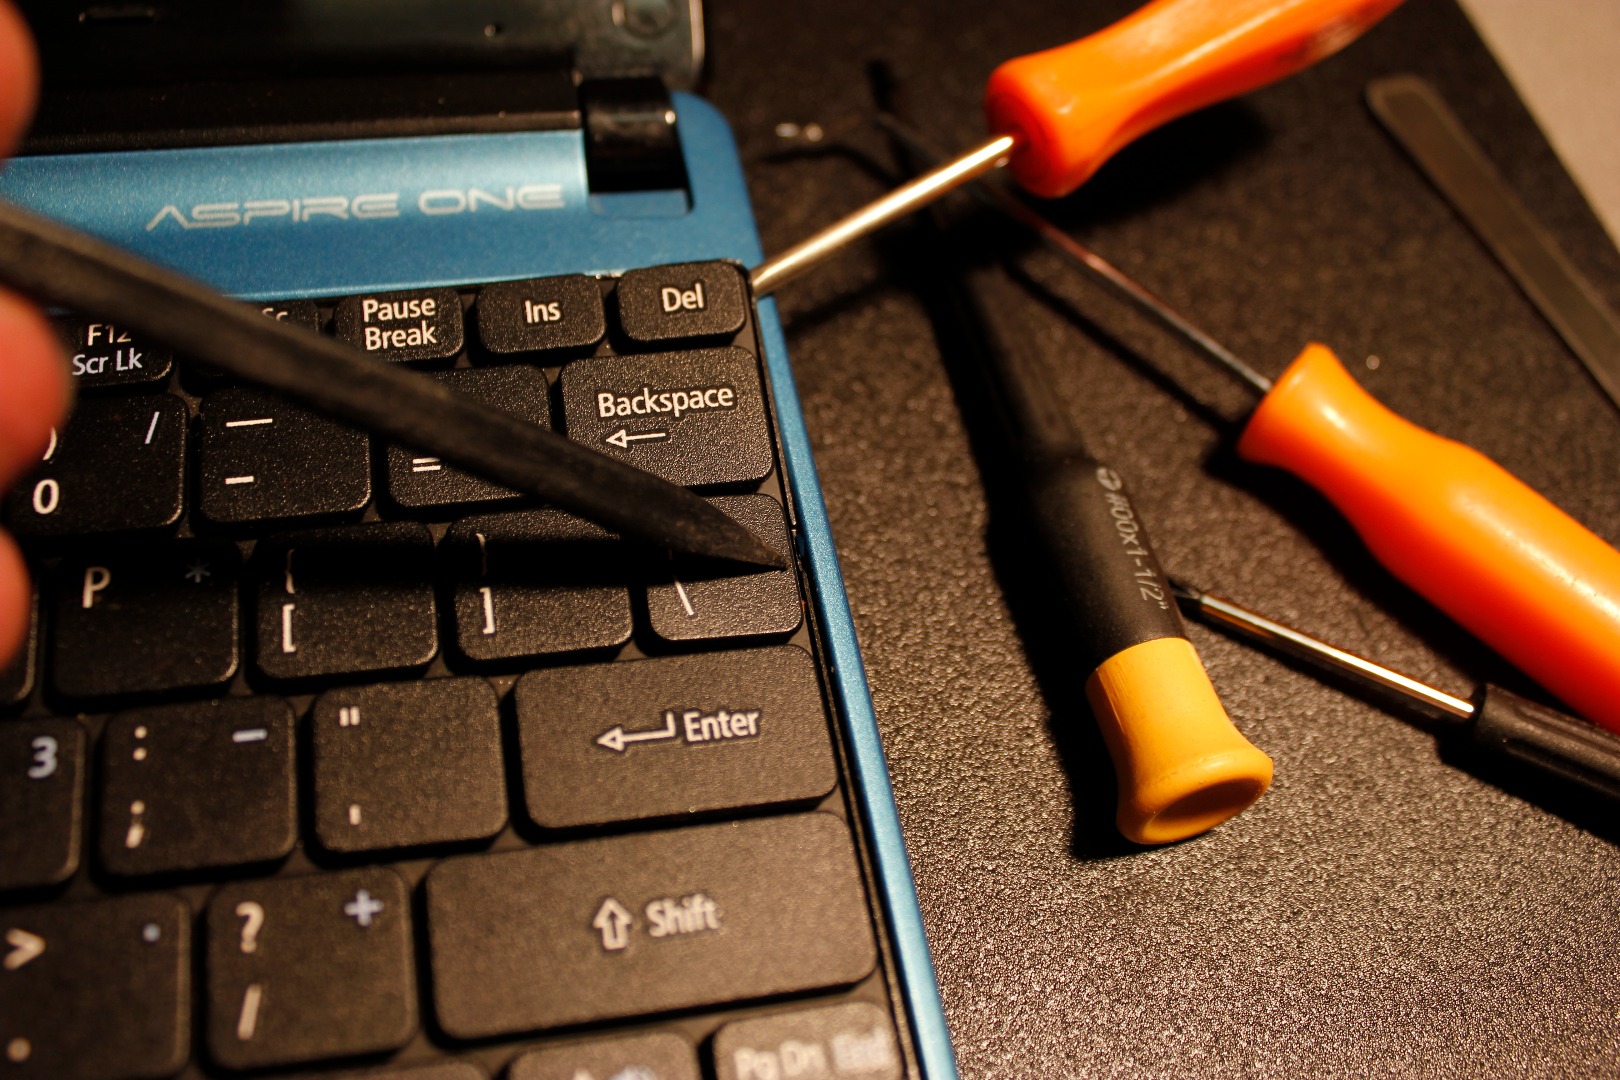
On the outer edges of the keyboard you will find small latches 3 on the top of the keyboard and one on each side. I used the hook to start the release. You should be able to push the release away from the keyboard edge into the body while lifting simultaneously. Do this for one latch at a time leaving something behind to make sure the keyboard does not fall back into the locked position. In my case I used my hook for the release and lift; then I used the spatula tool and the spudger to hold the keyboard out of the locked position as I went.
Now that the keyboard is released lift to a 90 degree position. DO NOT pull on the keyboard. If it stops moving easily, stop moving it. Once you have the keyboard in a 90 degree position use the spudger tool to release the ribbon latch, lift it to the 90 degree position and the ribbon should release. Be very very careful here as it is rather easy to break the latch. Break the latch and you will have to replace the motherboard as the latch fence is not available alone.
Once you have the keyboard loose set it aside for later assembly. Use some care as it is easy to lift off the keys and putting them back on is a pain. Hardly worth the man hours to assemble.
If the keyboard replacement is what you were after you are almost done here. Set the keyboard on its edge at the 90 degree angle and then insert the new keyboard ribbon until the line on the ribbon is straight with the ribbon socket and pushed all the way in. Once it is in this position latch the ribbon lock. Before locking the keyboard down power up the unit to make sure the keyboard is working as it should. If it is not power the unit down and try again.
For everything else proceed to the next step.
Releasing Lower Tray to Gain Access to RAM, WIFI, and Hard Drive
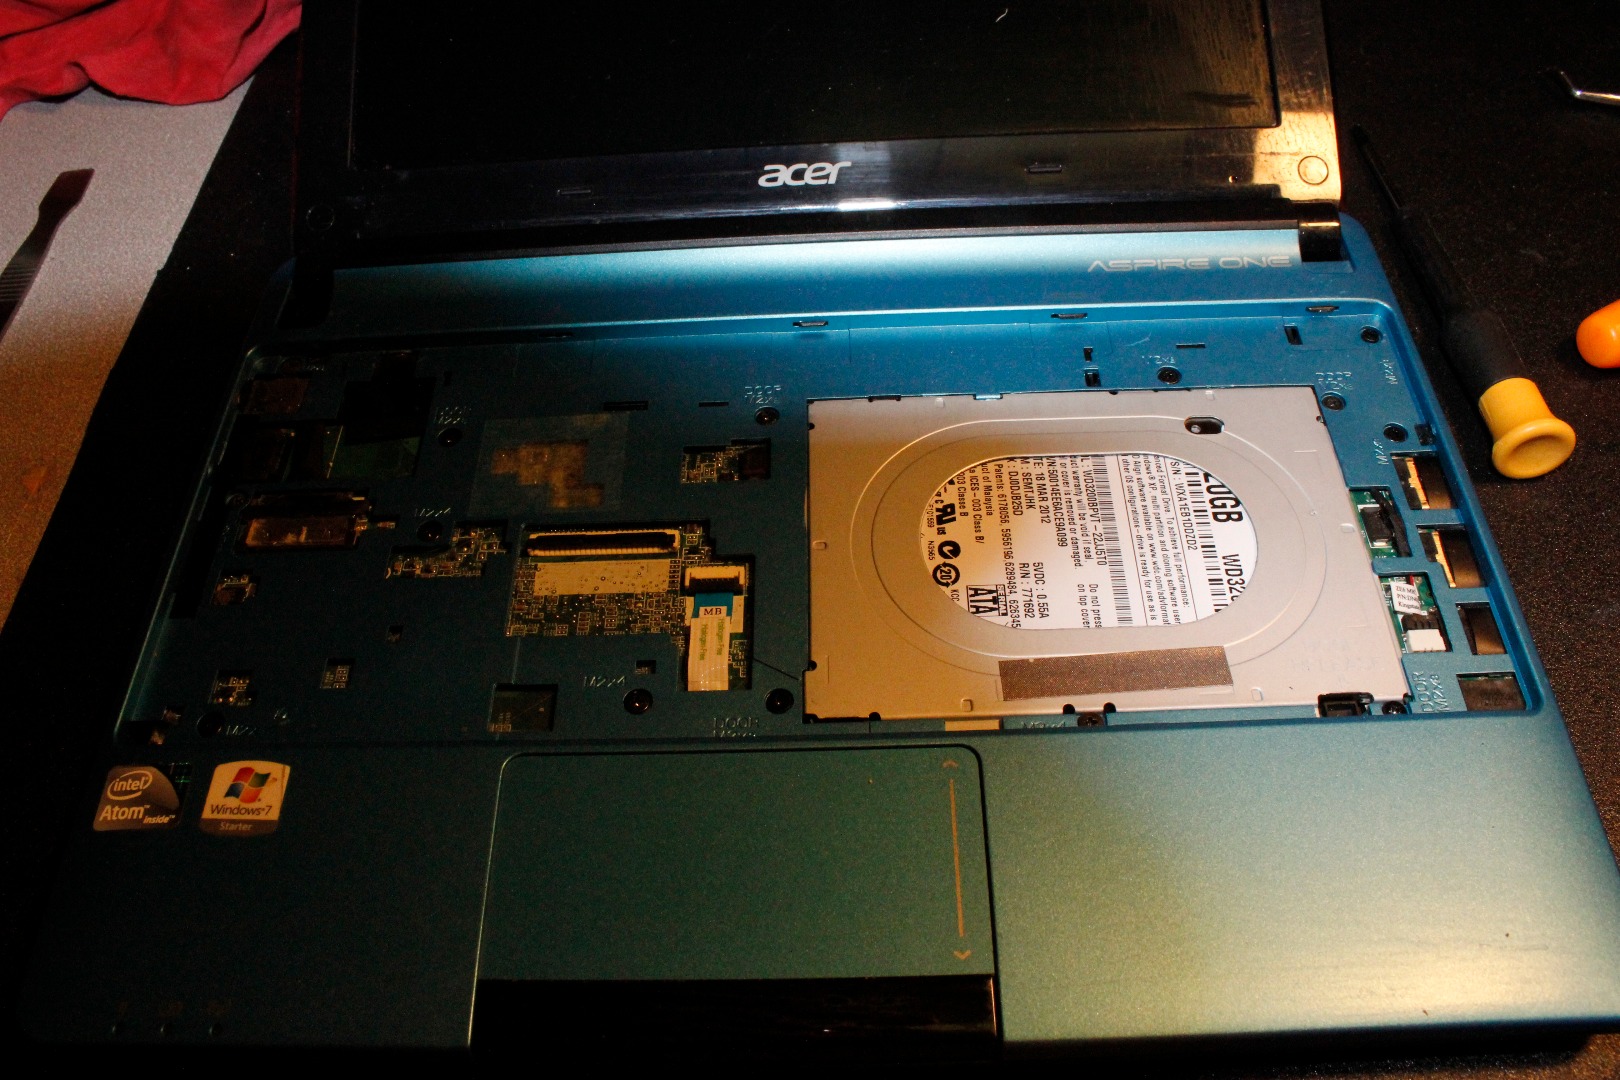
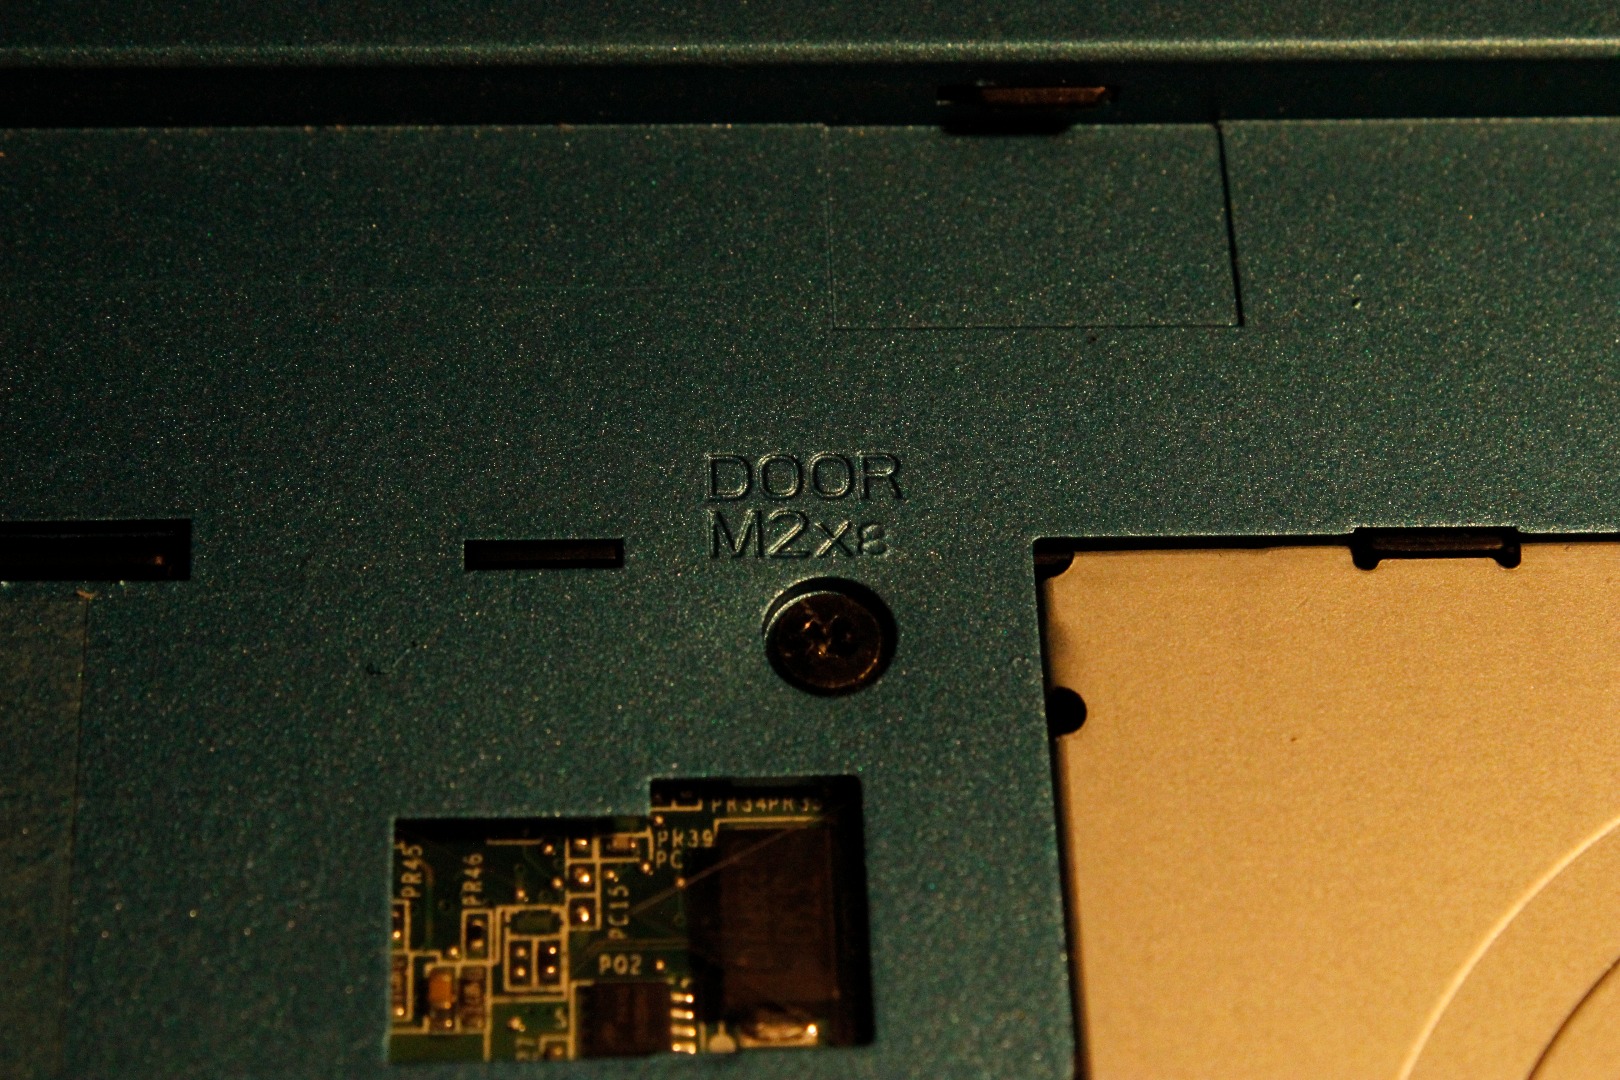
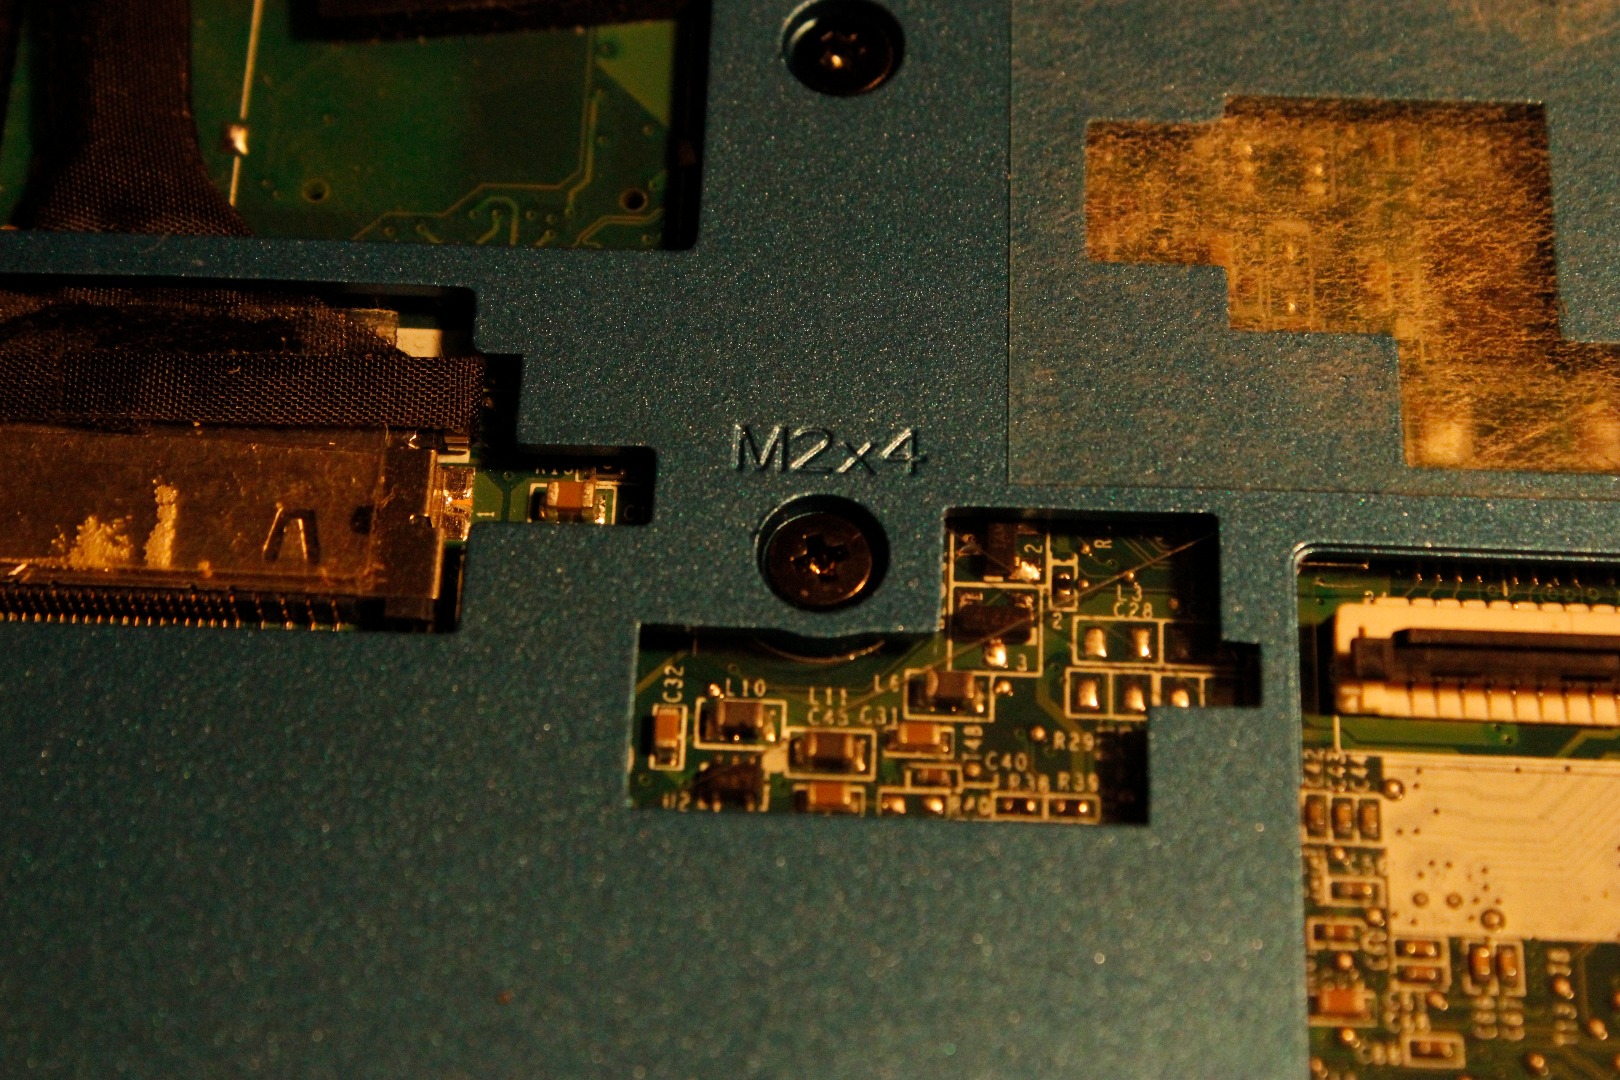
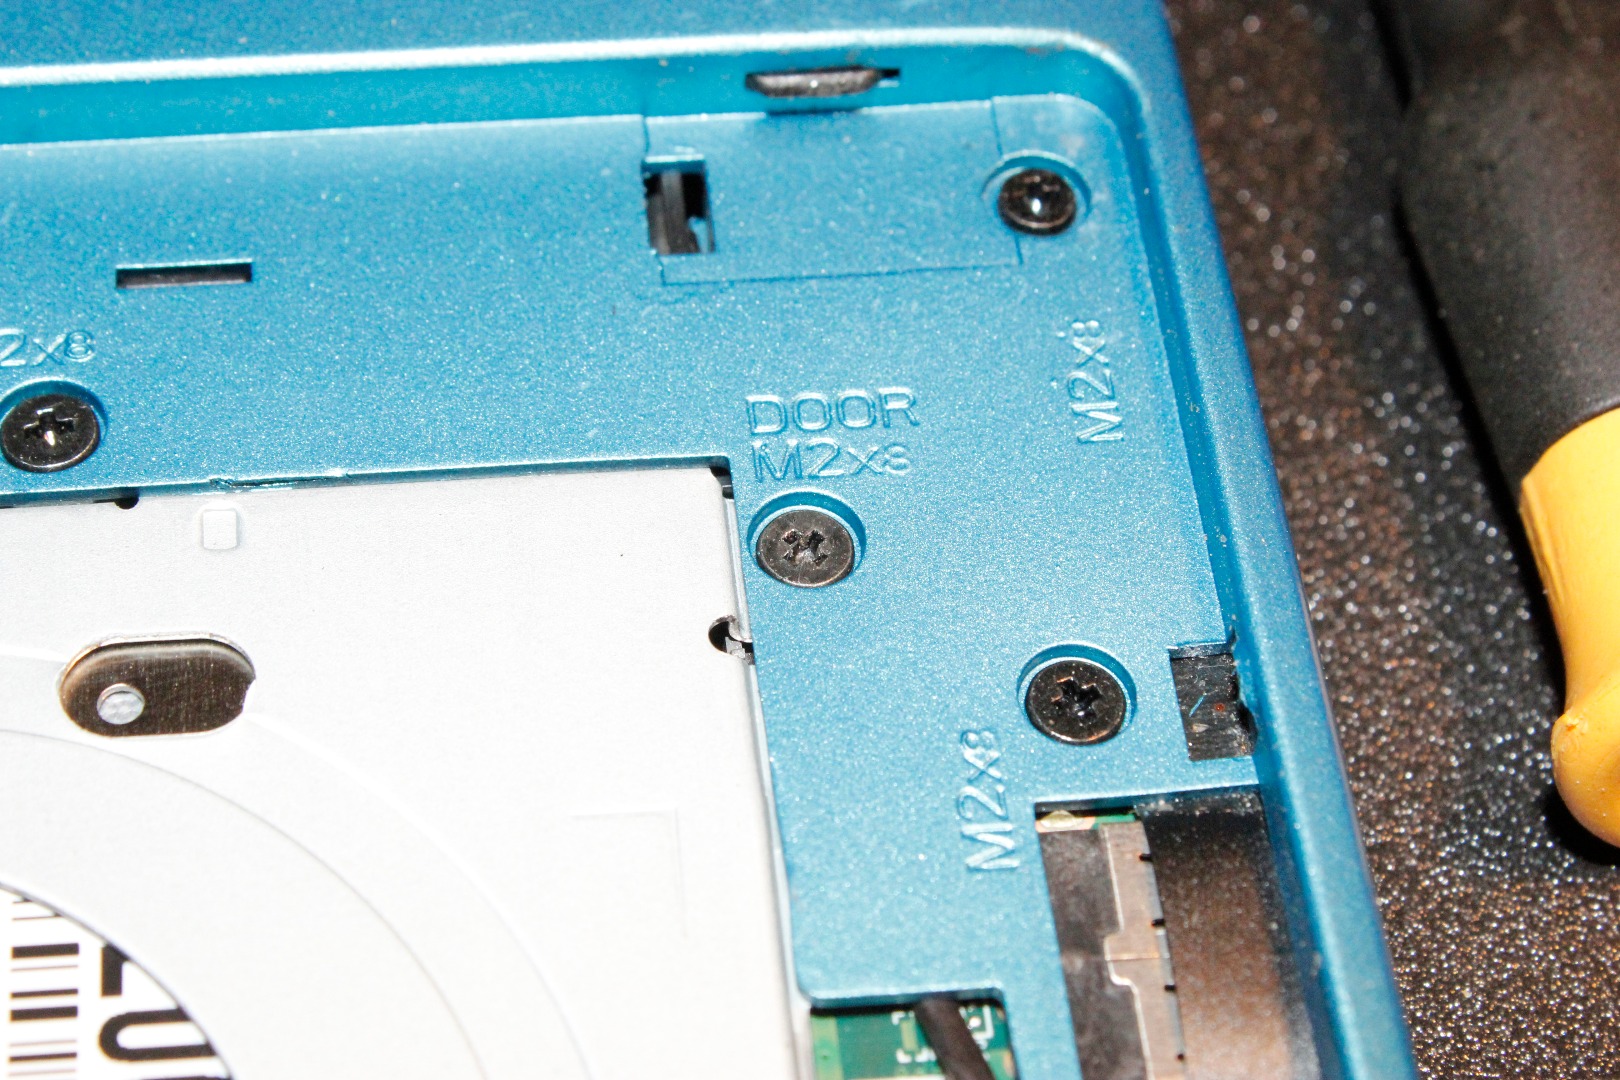
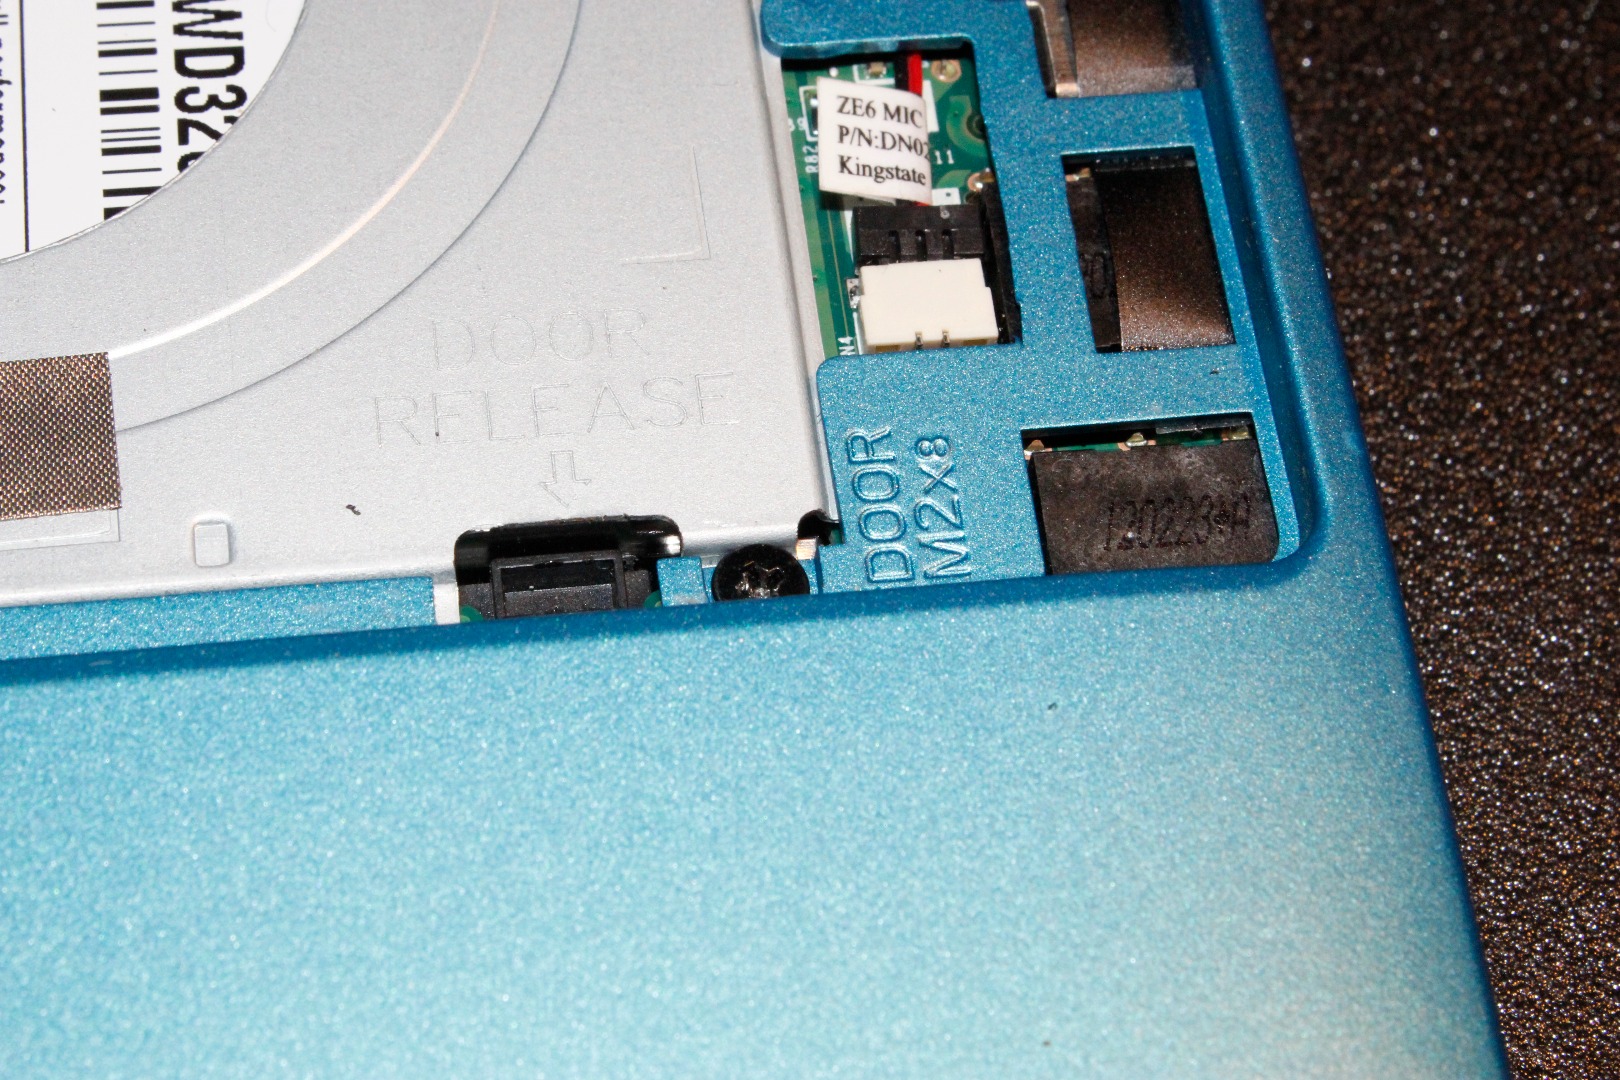
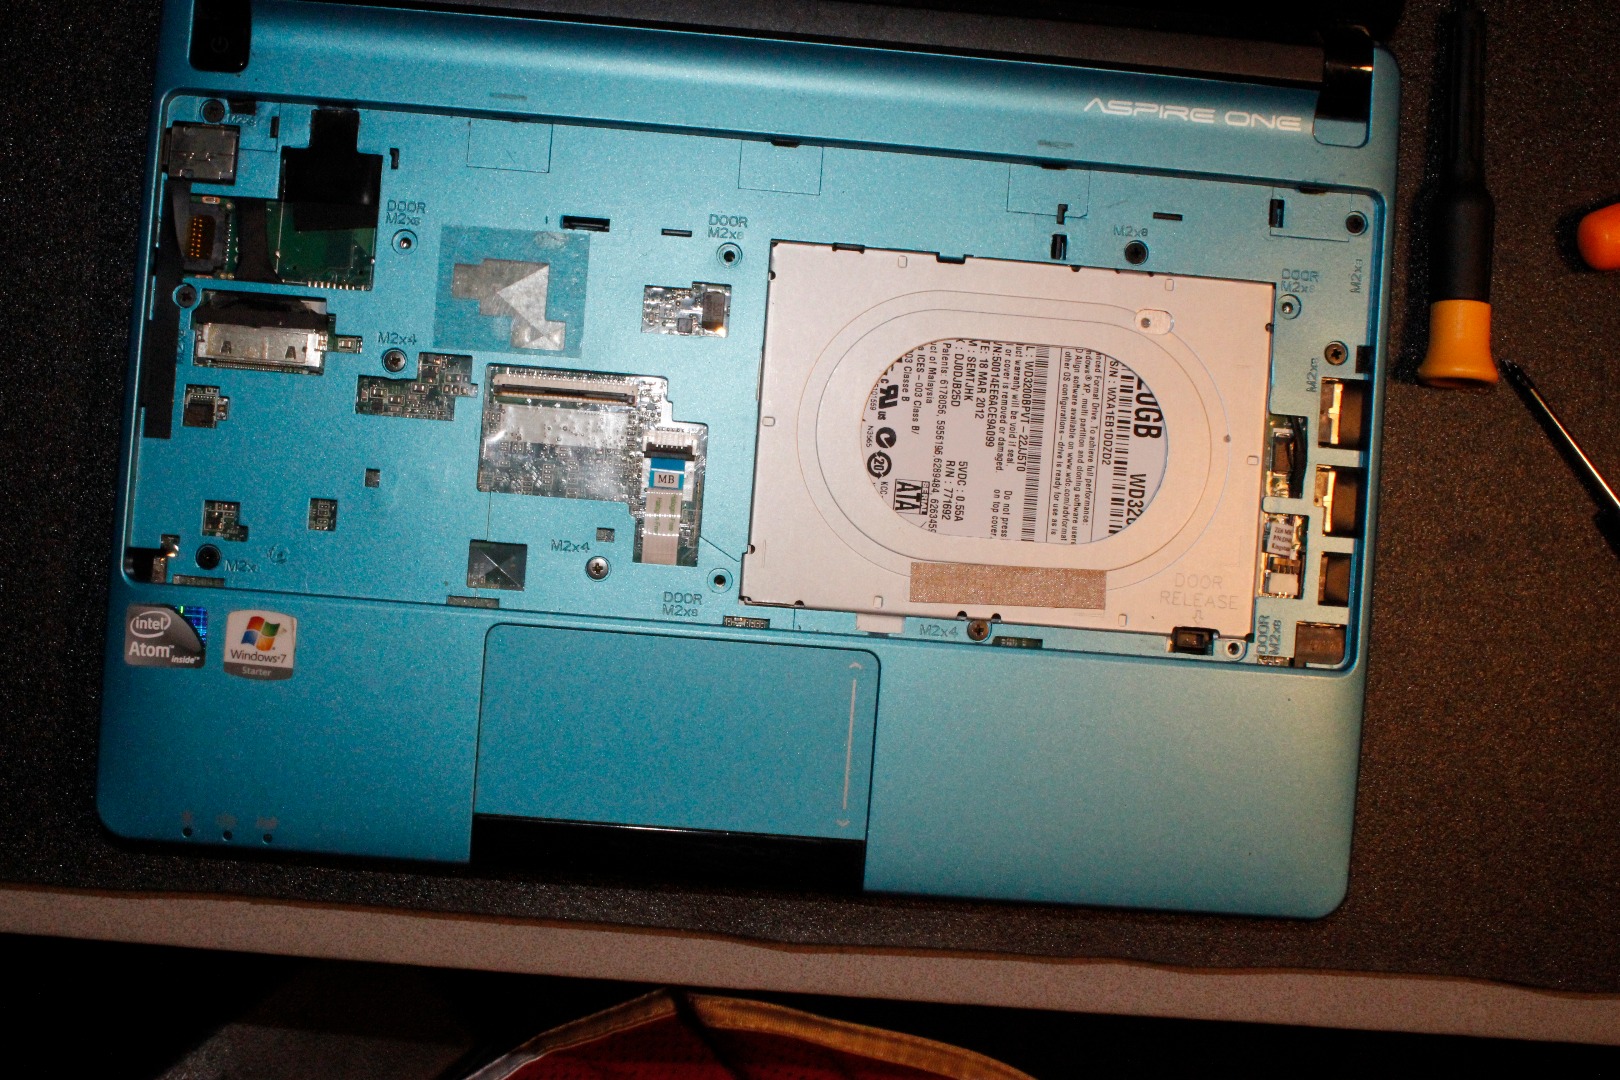
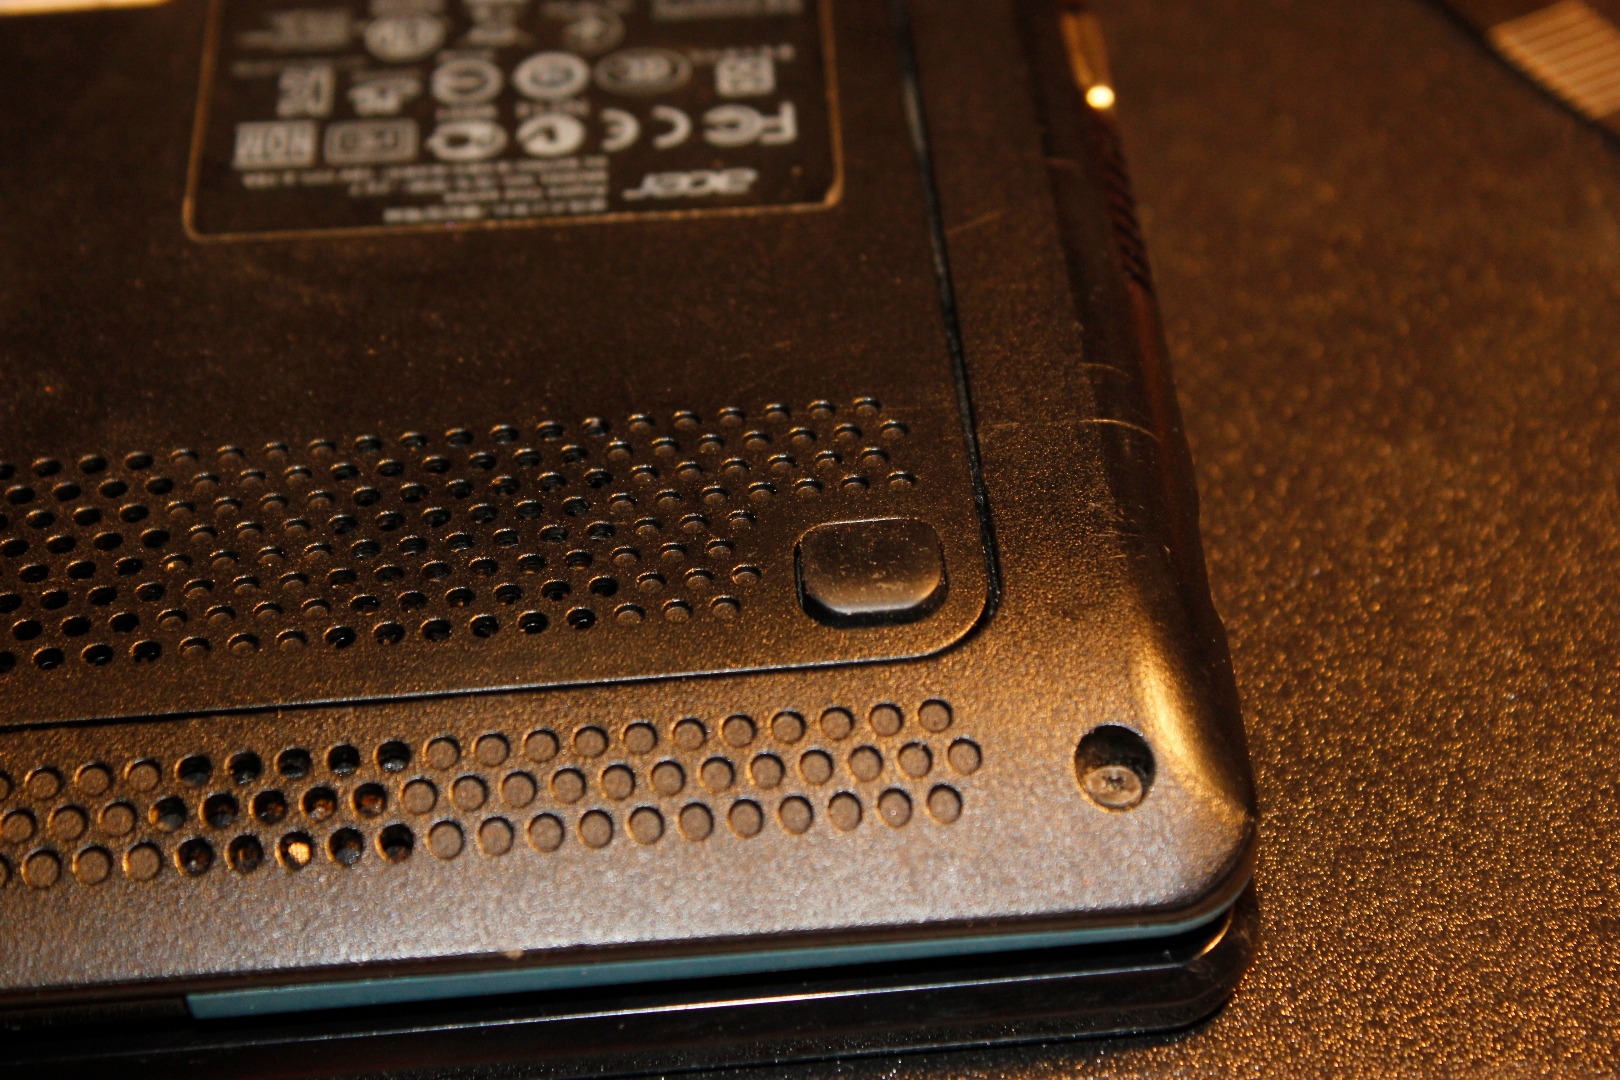
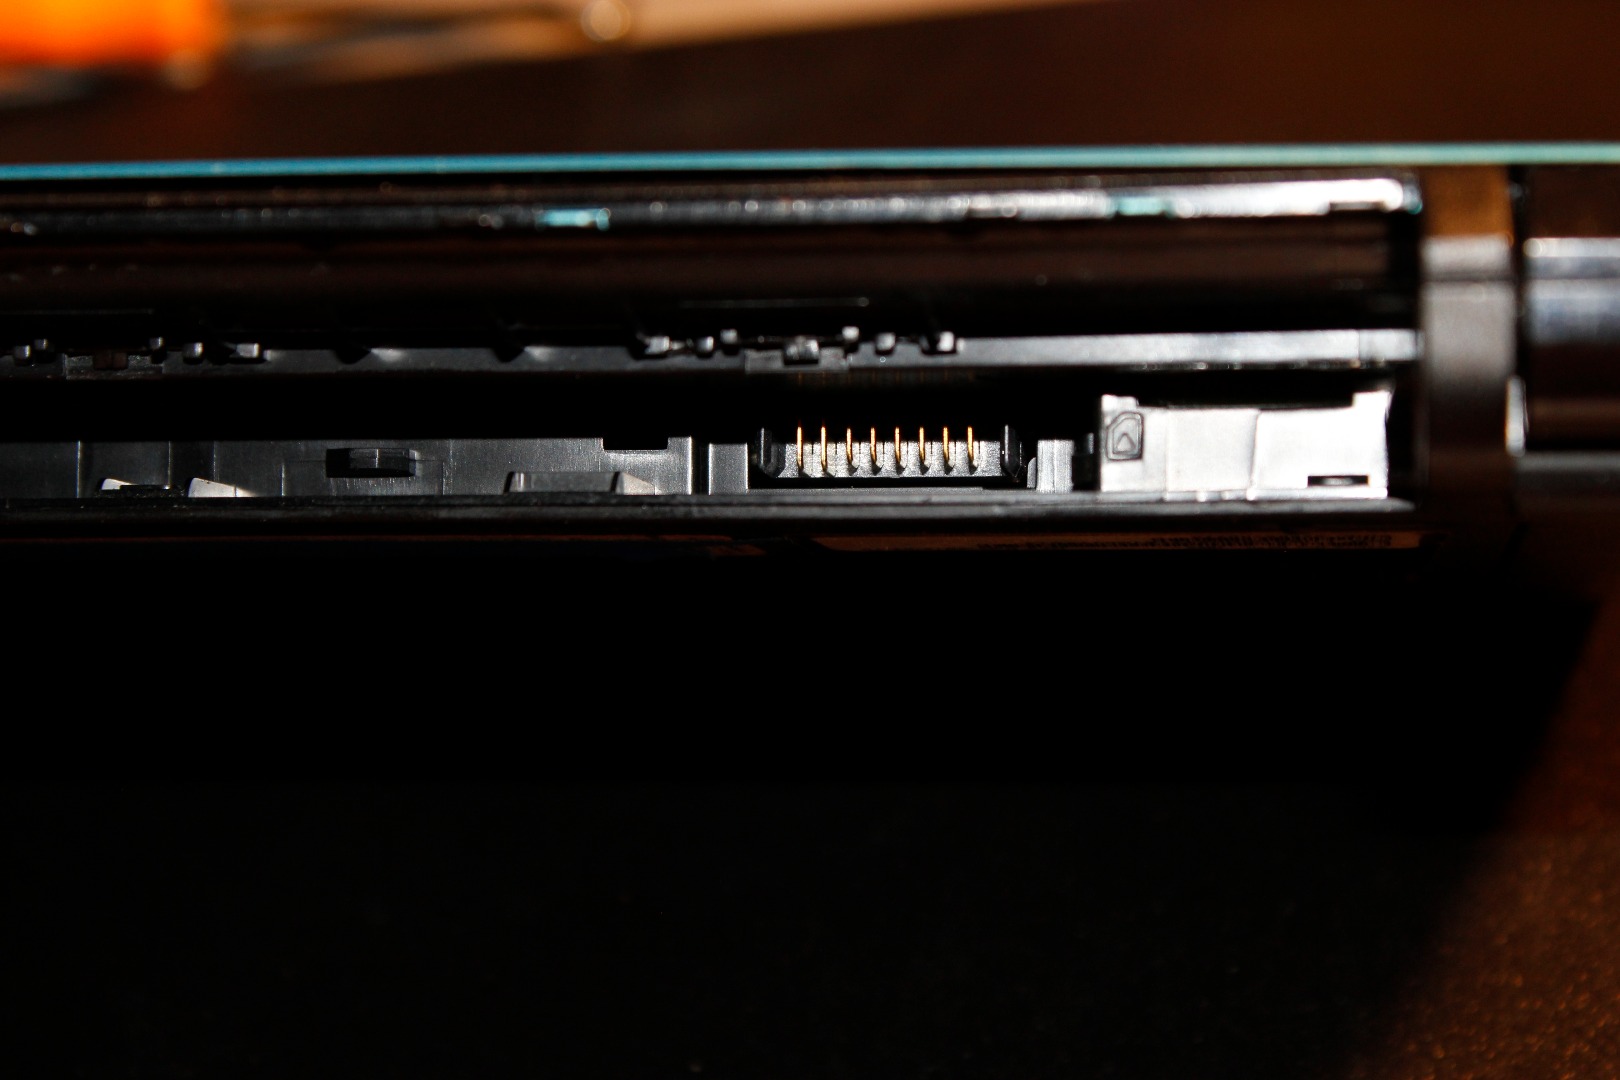
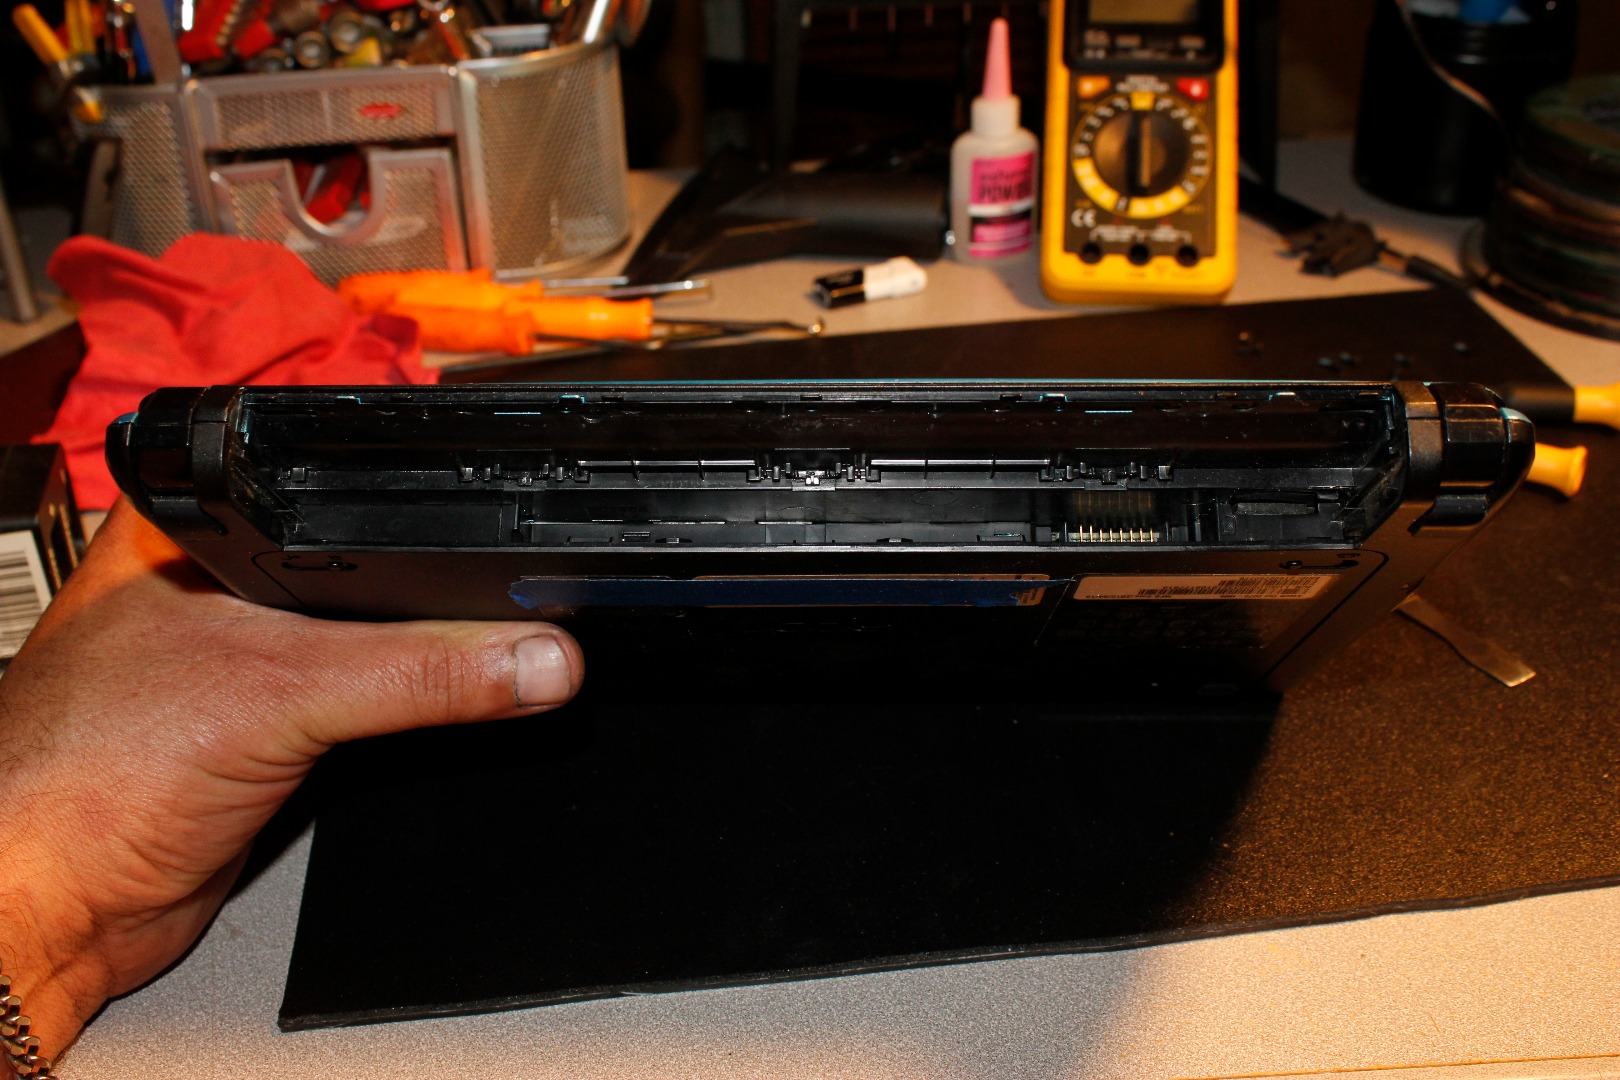
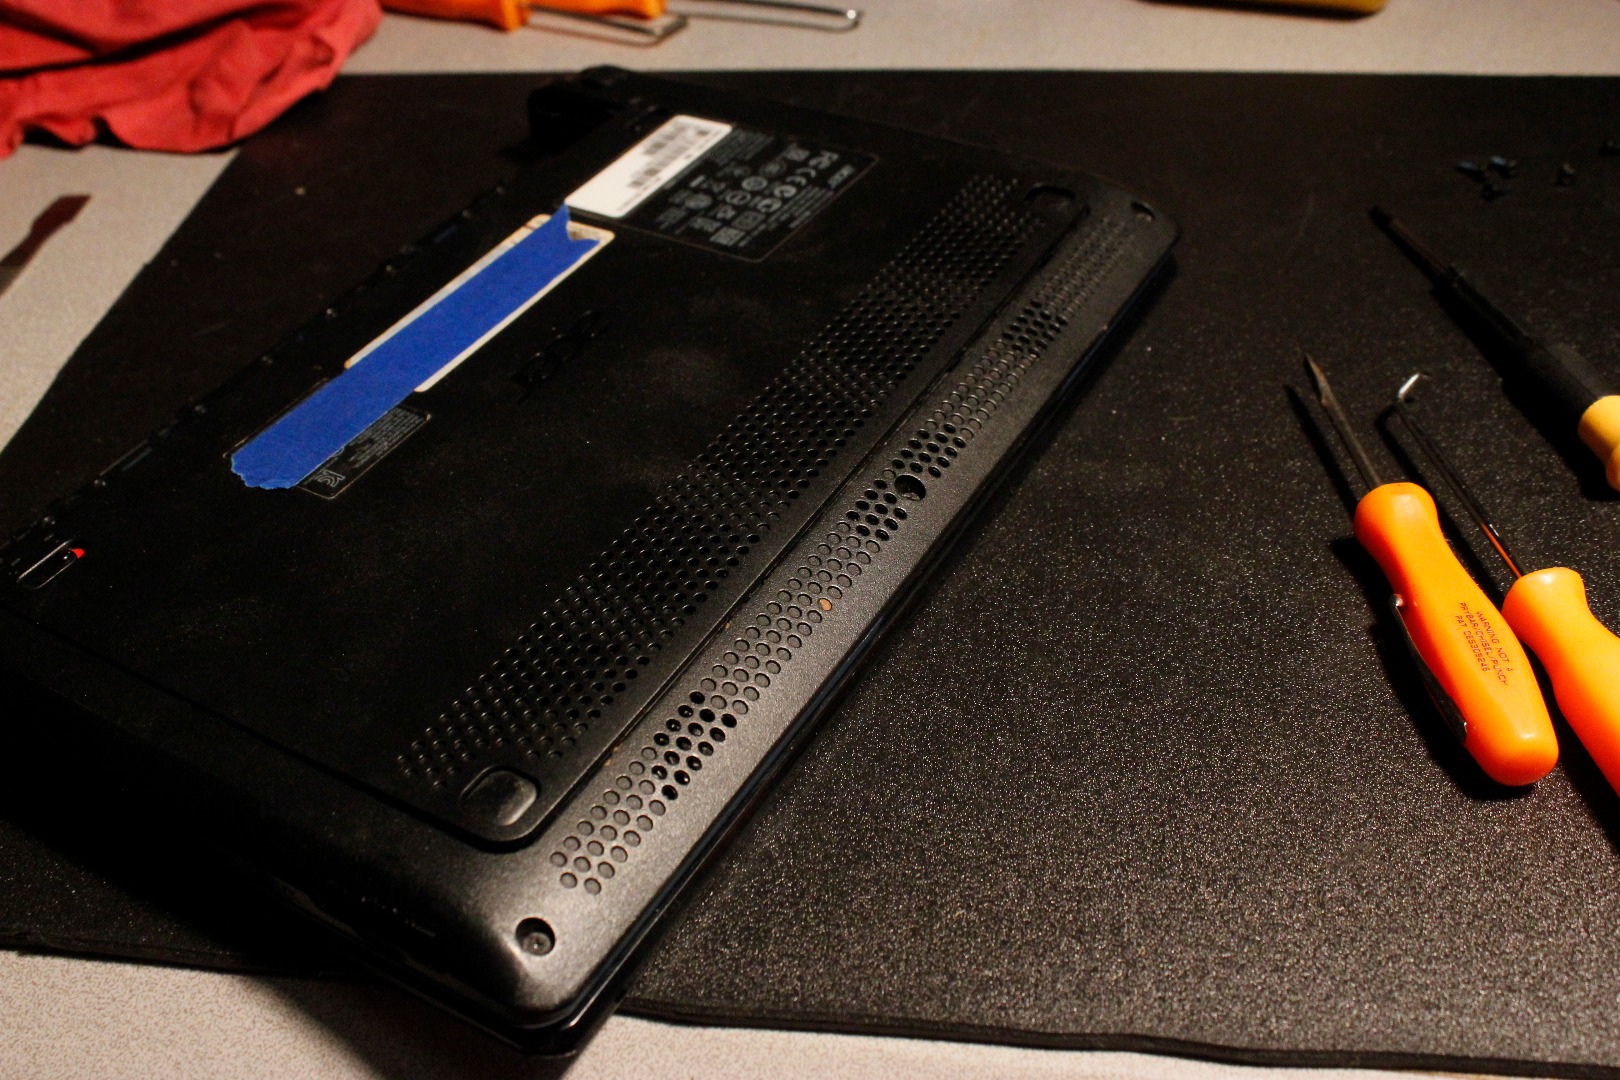
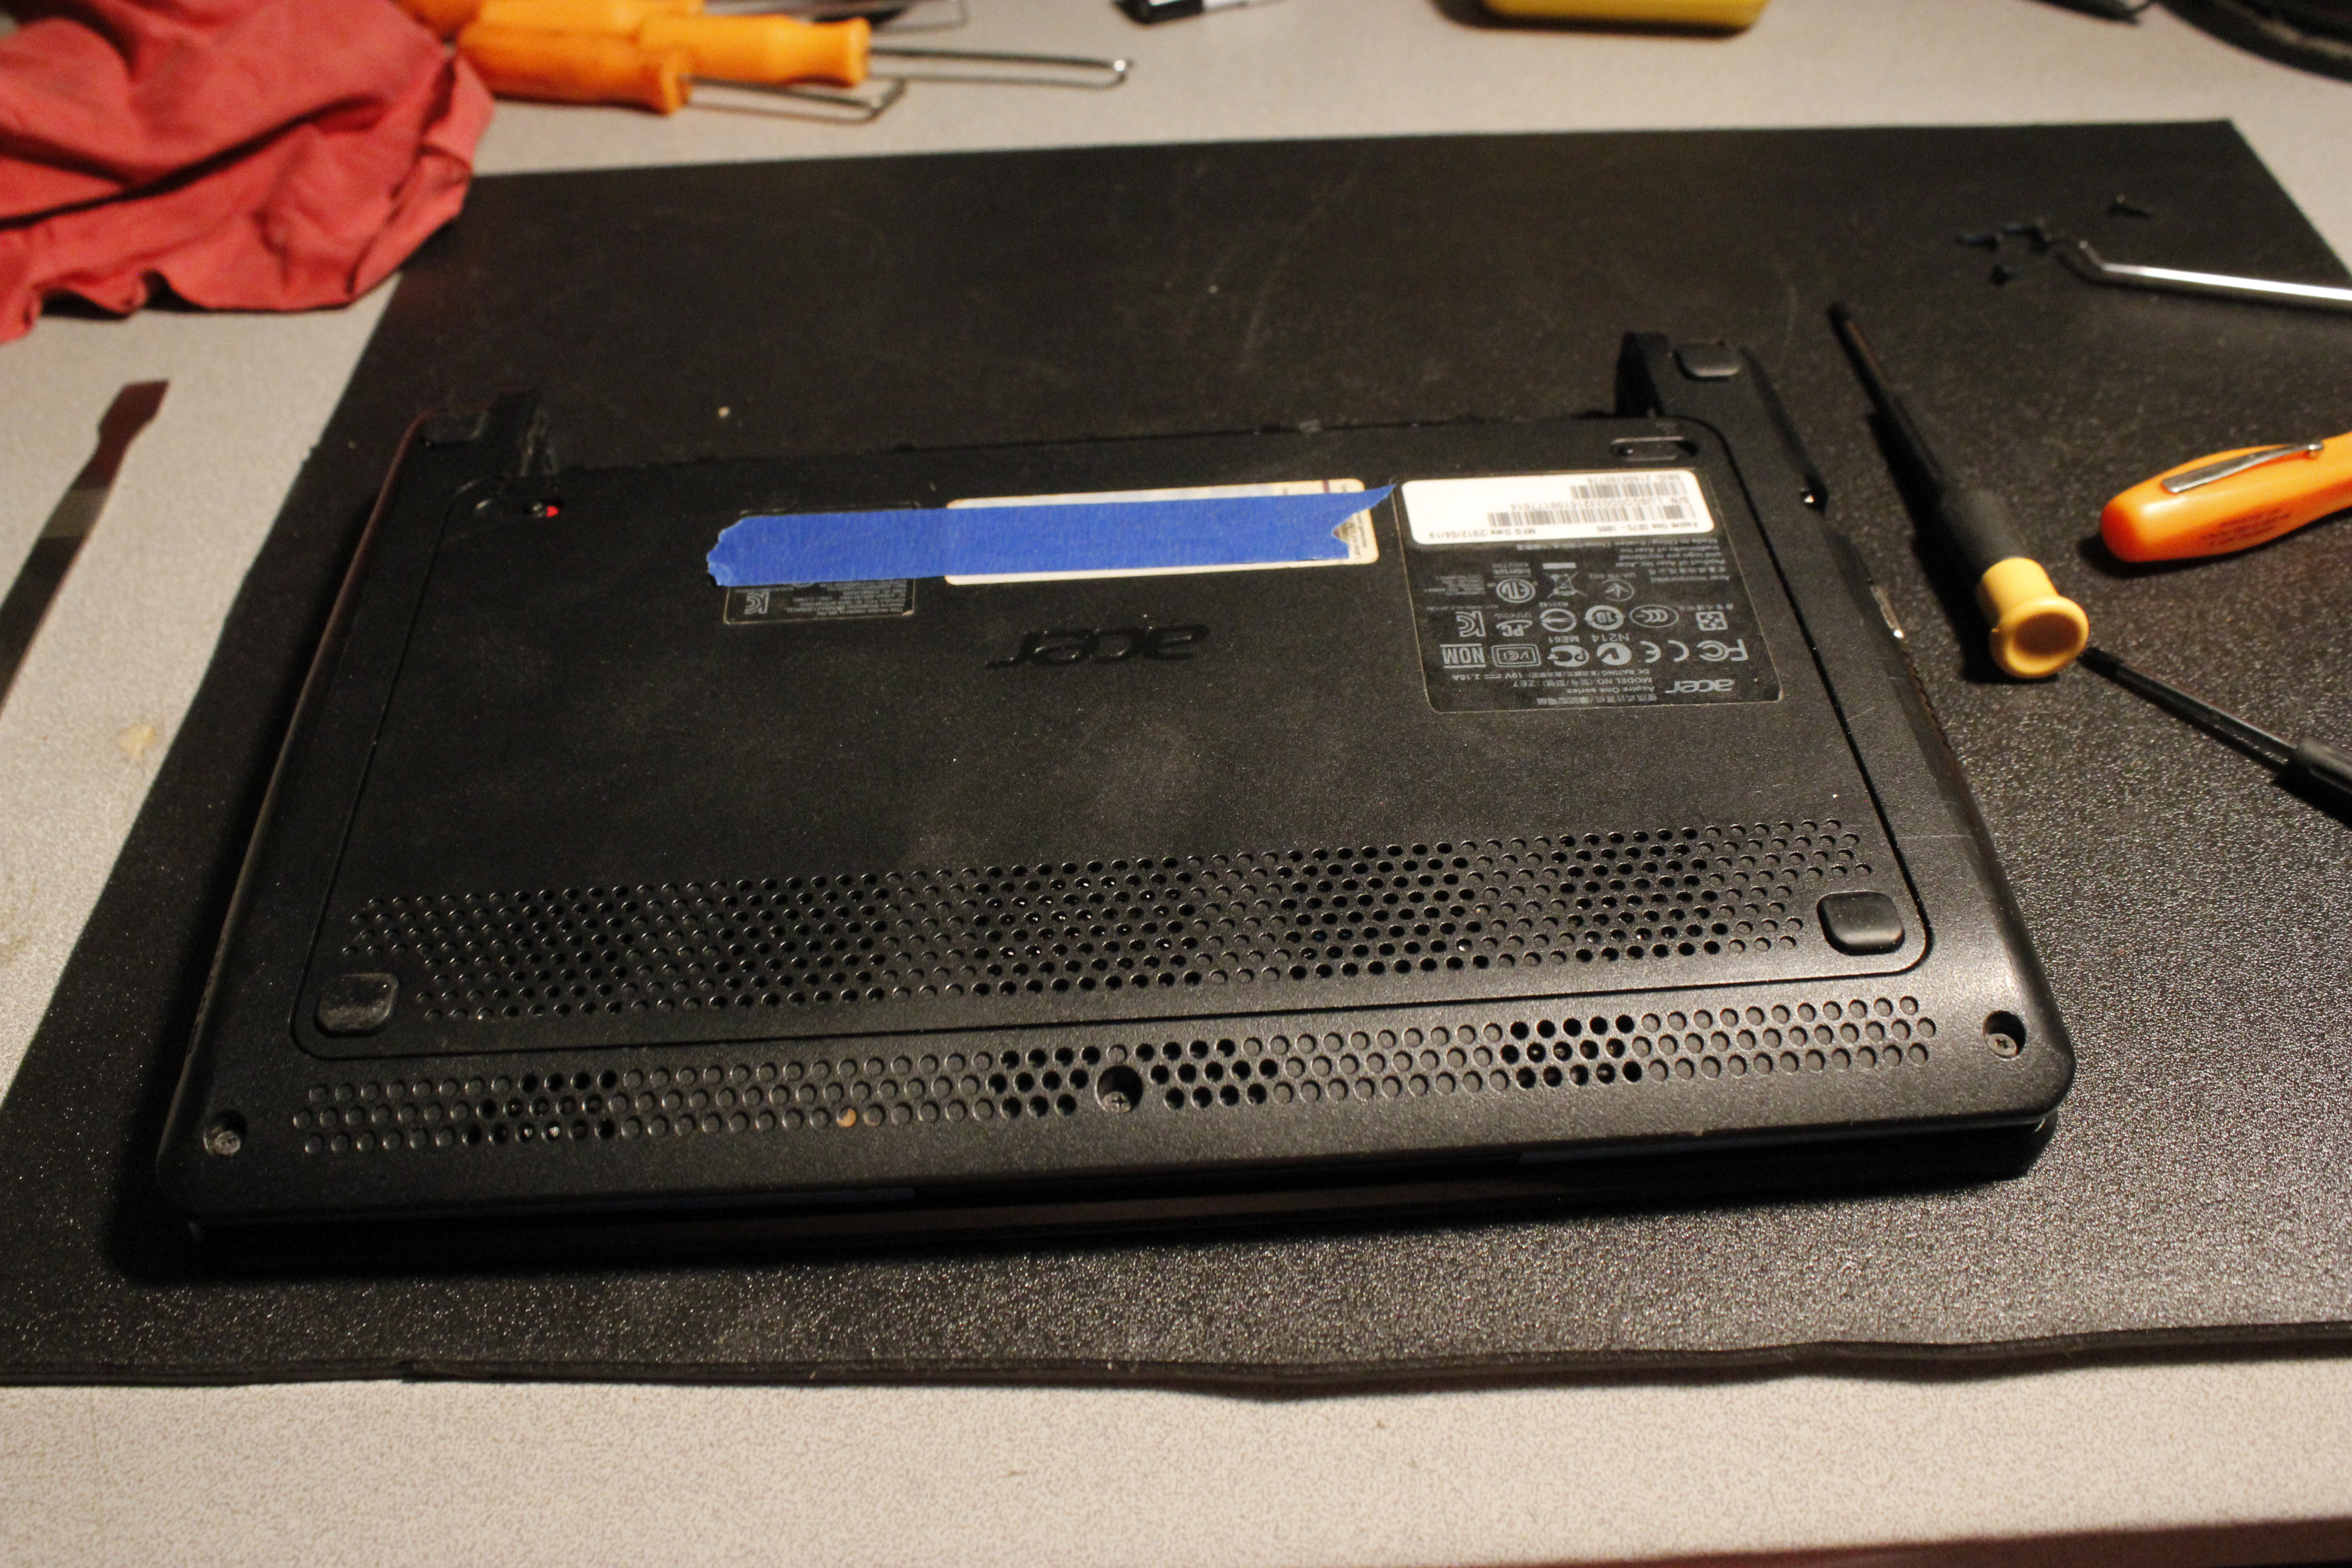
Now that you have the keyboard removed you can release the lower tray. Remove all of the screws labeled "door". Once you have these removed close the unit and flip the unit over again.
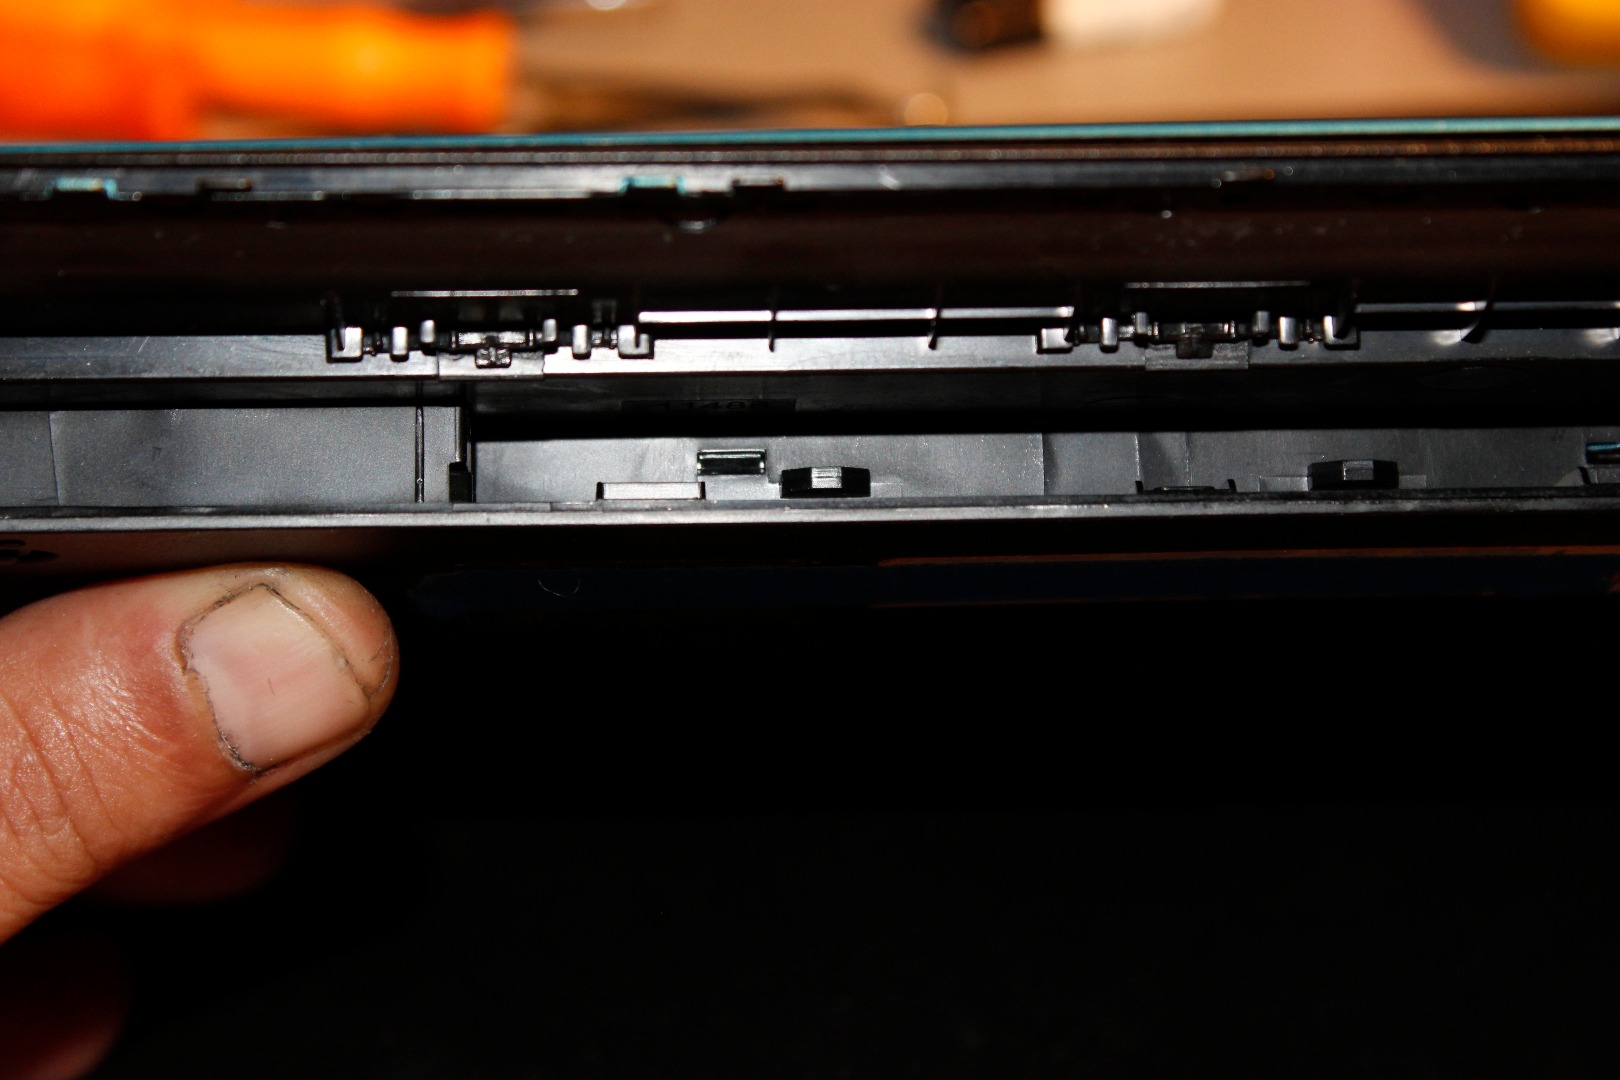
Now start in the right corner at the rubber foot and pry the door open at that corner. Once you have that corner released work your way across the edge to the left until the whole edge is released. Then lift up with your hand gently to release the door. Do not try to pry open from the battery side of the tray as you will damage the latches that lock the door in place on the battery edge.
Remove or Replace Hard Drive, RAM, WIFI Card Etc.
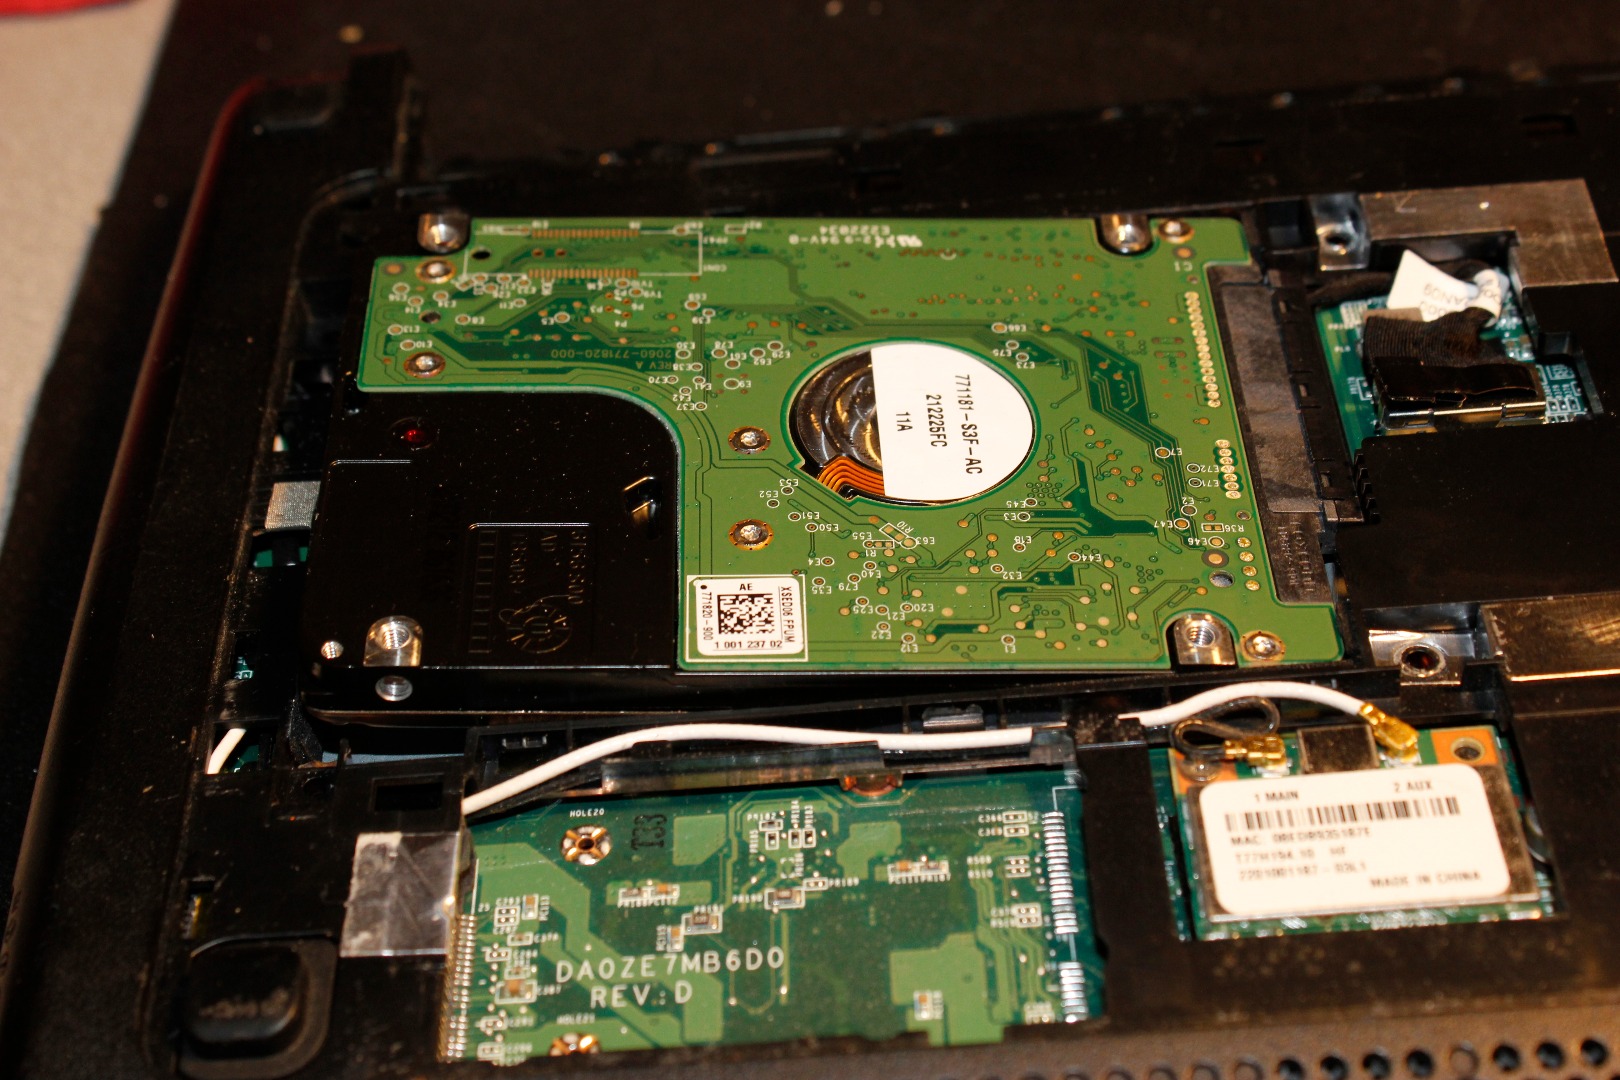

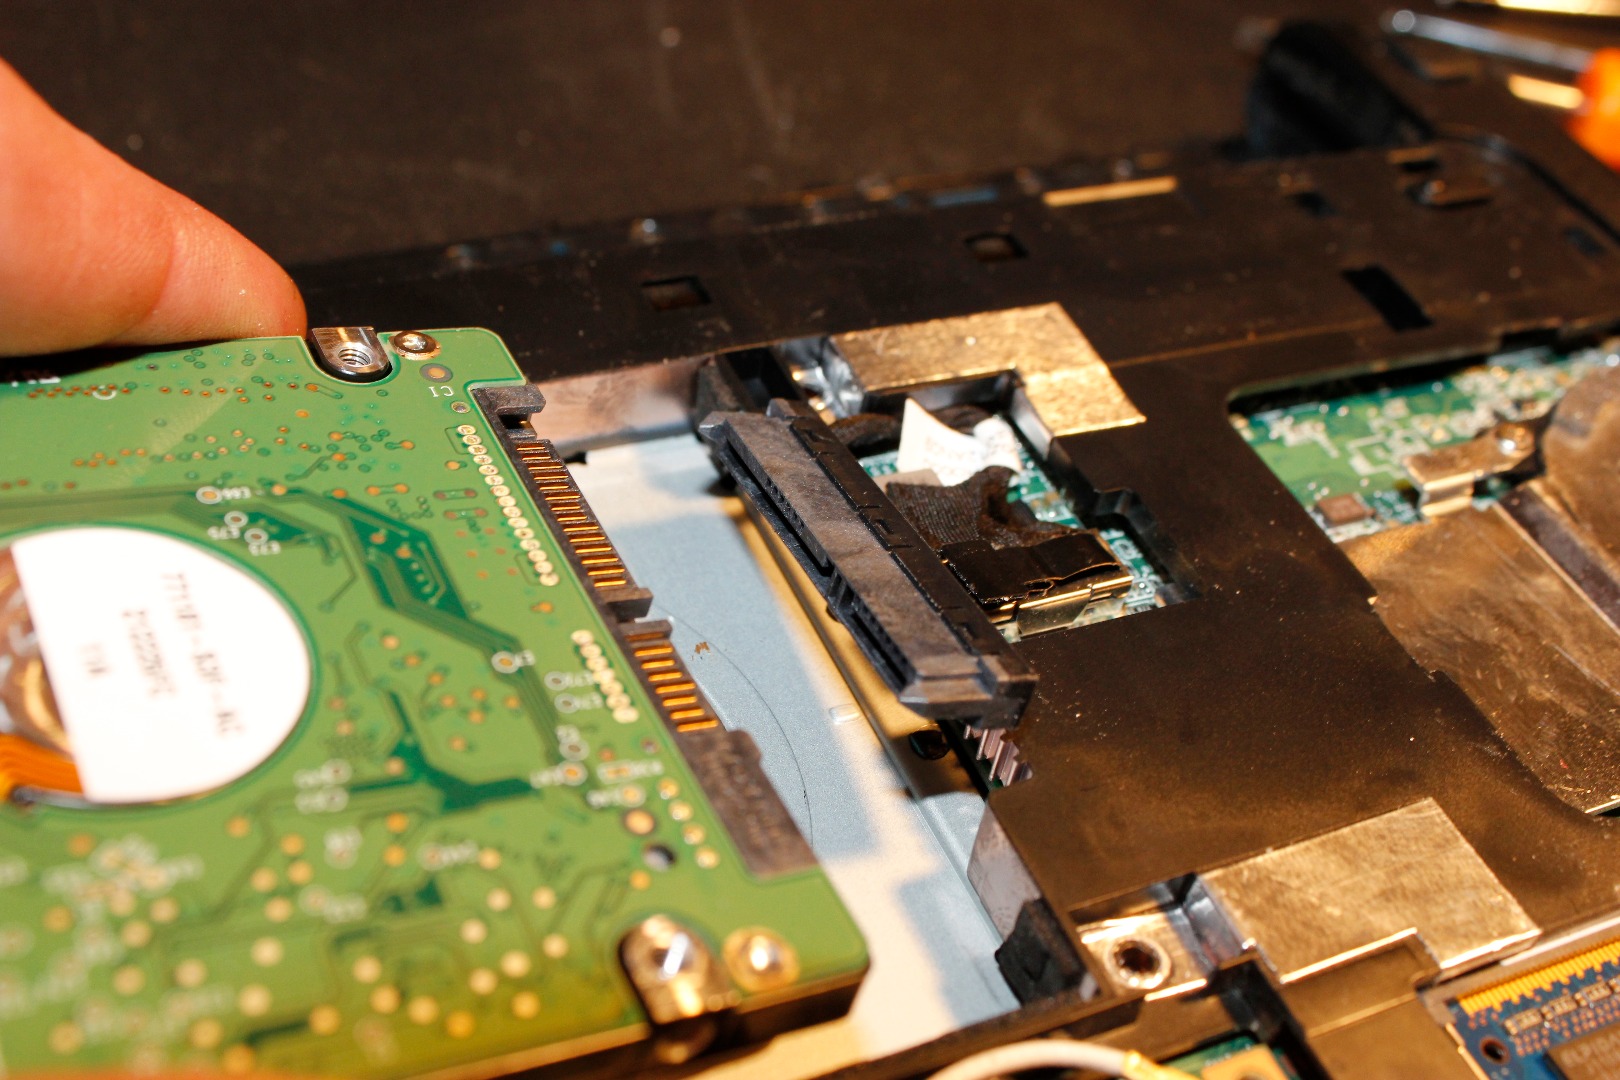

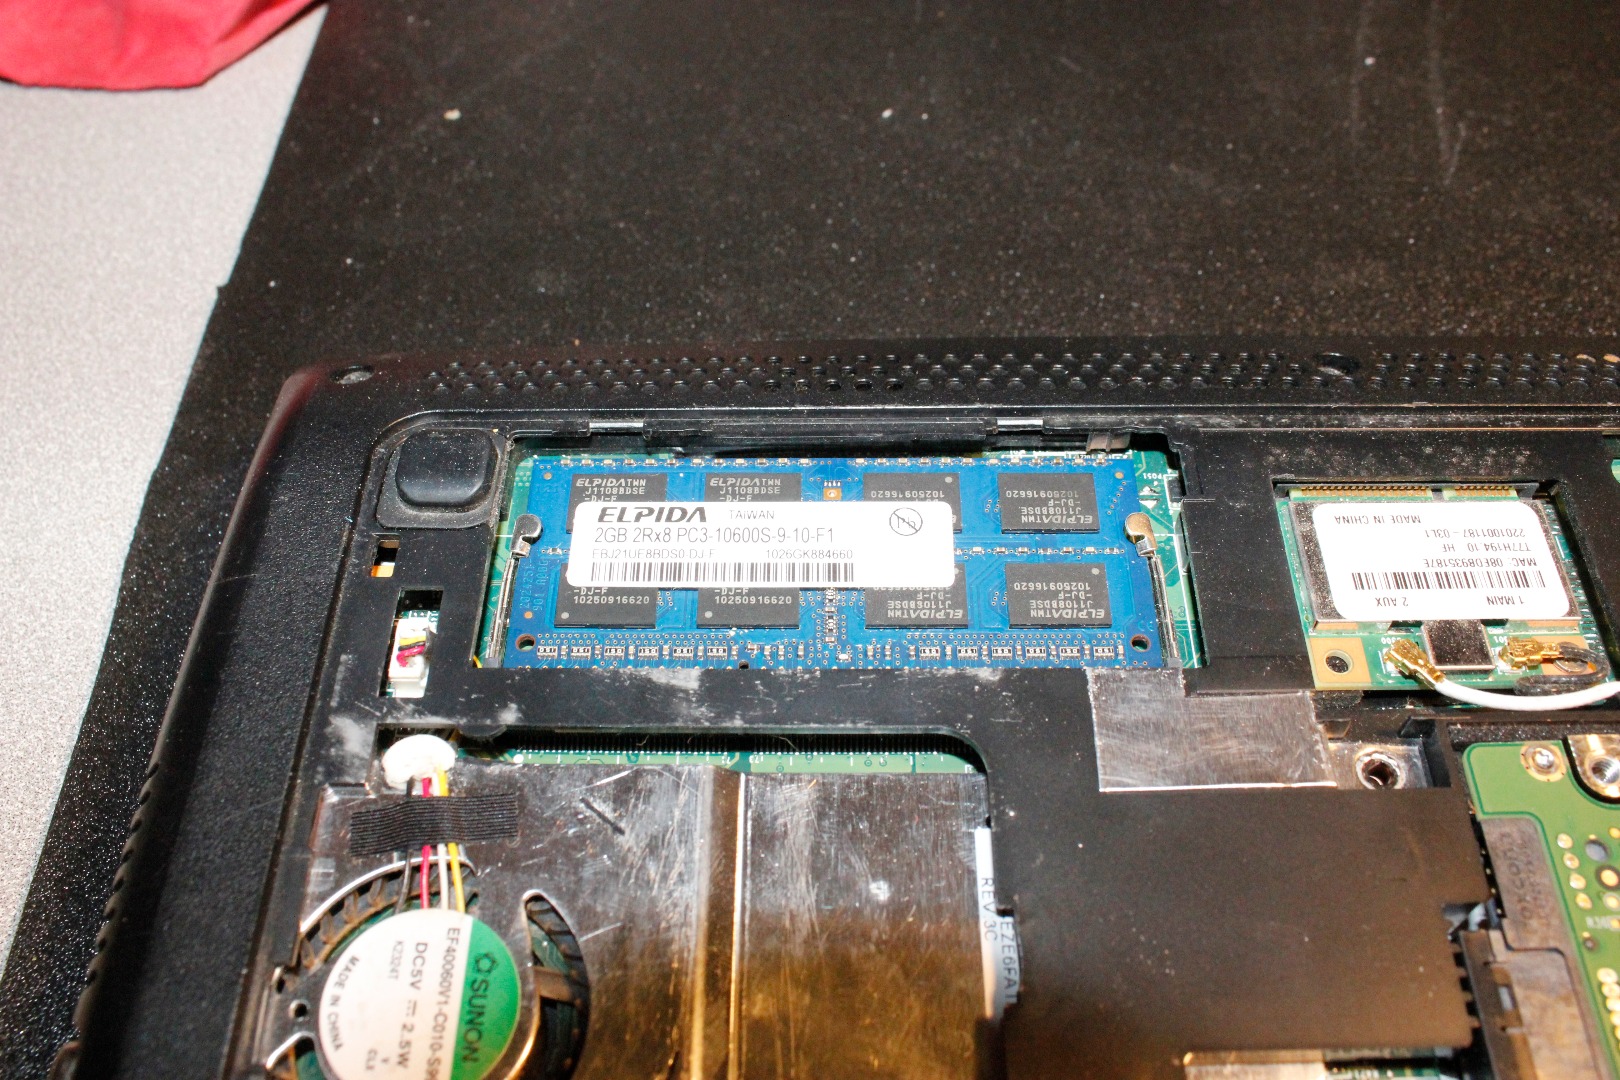
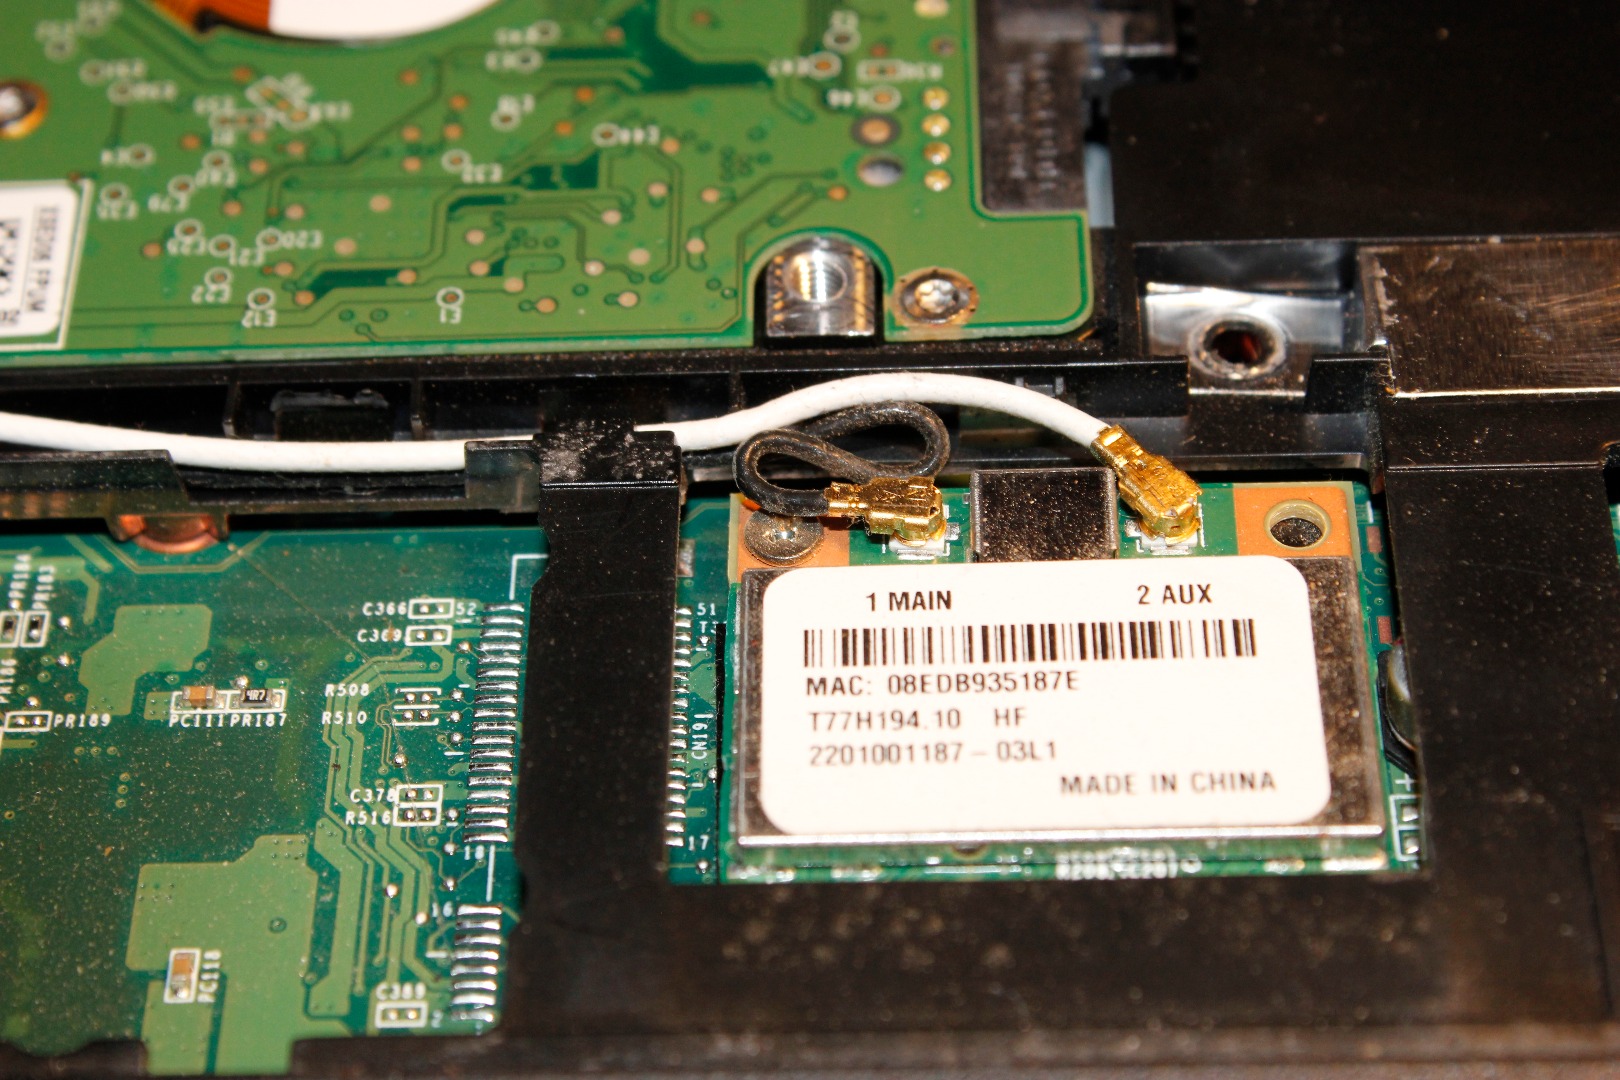
Removing Hard Drive:
Remove both screws that hold the hard drive in place. These are on the top side on either side of the hard drive (see picture for detail). Once you have these screws removed flip the unit over. Now remove the hard drive using the hook tool in the mounting hole to lift it up. Then gently remove the connector.
To install hard drive reverse this procedure from here. Make sure to install the two screws that hold in the hard drive on the top then follow door install procedure in the next step. Remember to test the keyboard before locking it down.
Removing the RAM:
To remove the RAM actuate the latches on each side outward to release the RAM module. This machine supports a maximum of 2 gig of ram. That I know of there is no BIOS update that would support a larger memory module. To install the RAM module insert the module in the socket at an angle and then push down until it locks in the motherboard. This should not take lots of pressure to install it. If you are being met with resistance back up and try again. Once you have the module installed reverse from this step; then follow door install procedure in the next step. Remember to test the keyboard before locking it down.
Removing the WIFI module.
This is easy to remove. It is held in its socket by once Phillips screw. Remove the two antenna wires carefully with the plastic spudger tool; before removing the wires make sure to note which color goes where. Then remove this screw to release the module from its socket. Lift straight up and it will come out. To replace reinsert the card and gently push down while pushing into the socket. Then install the screw and snug it up.
Once you have the module installed reverse from this step. Then follow door install procedure in the next step. Remember to test the keyboard before locking it down.
Installing Rear Door - Details
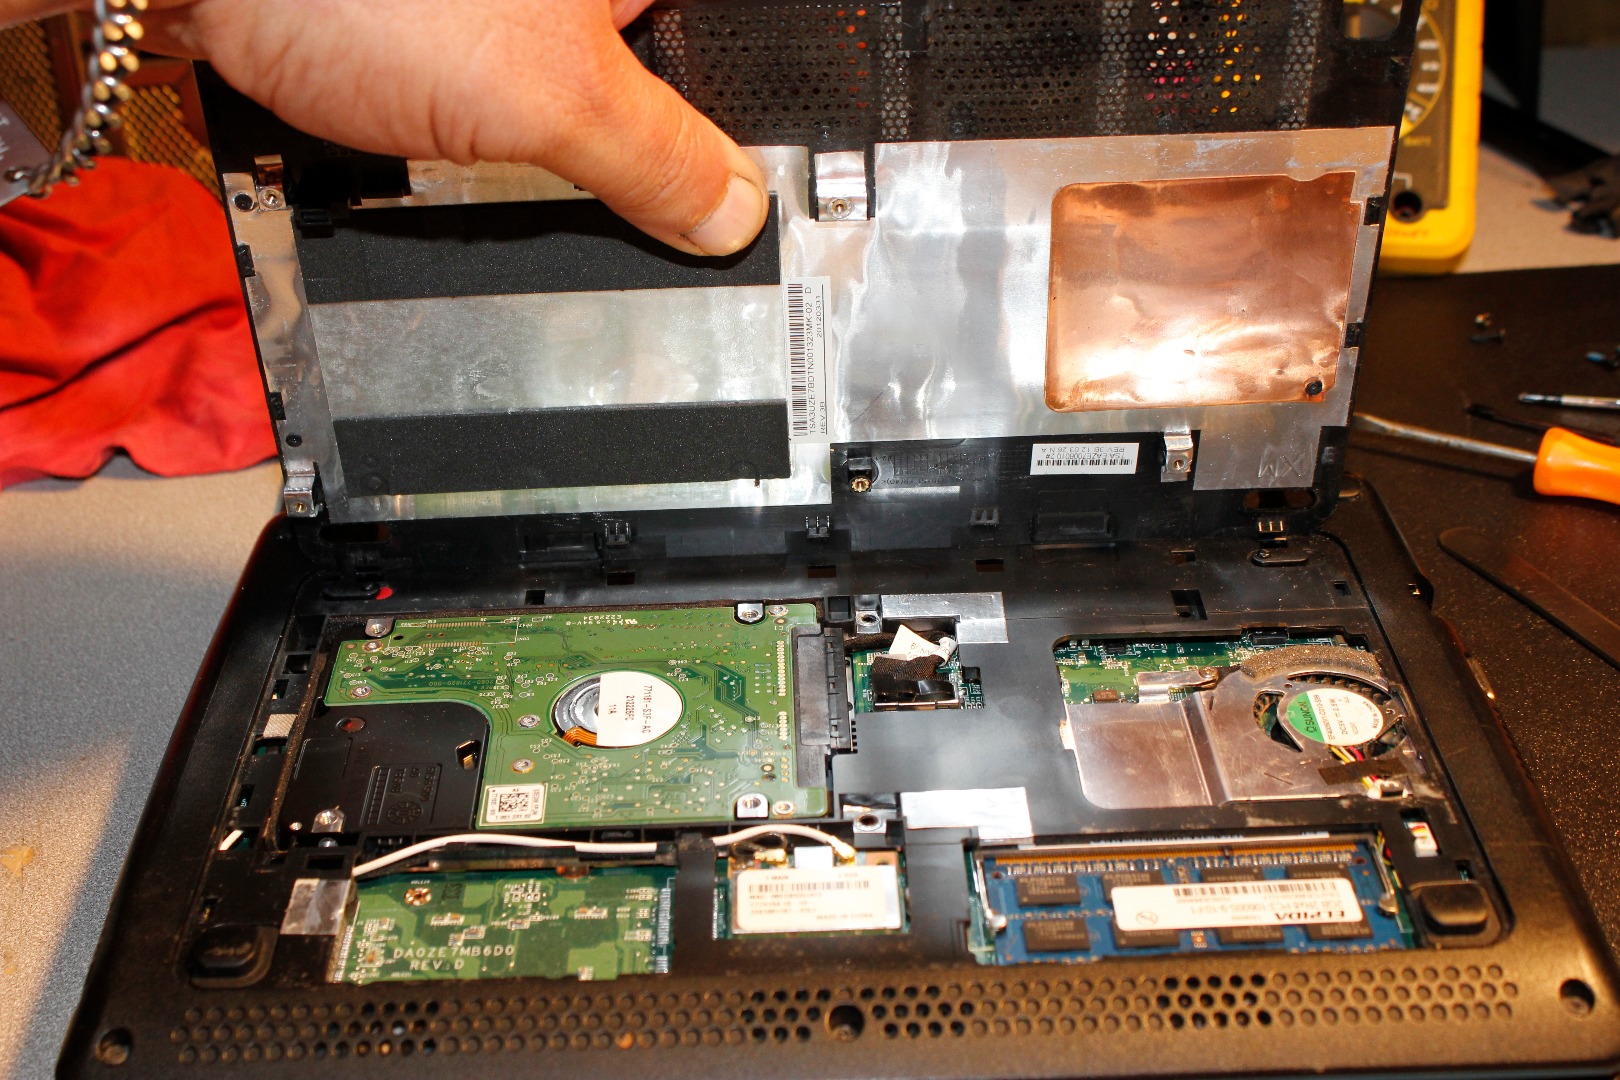
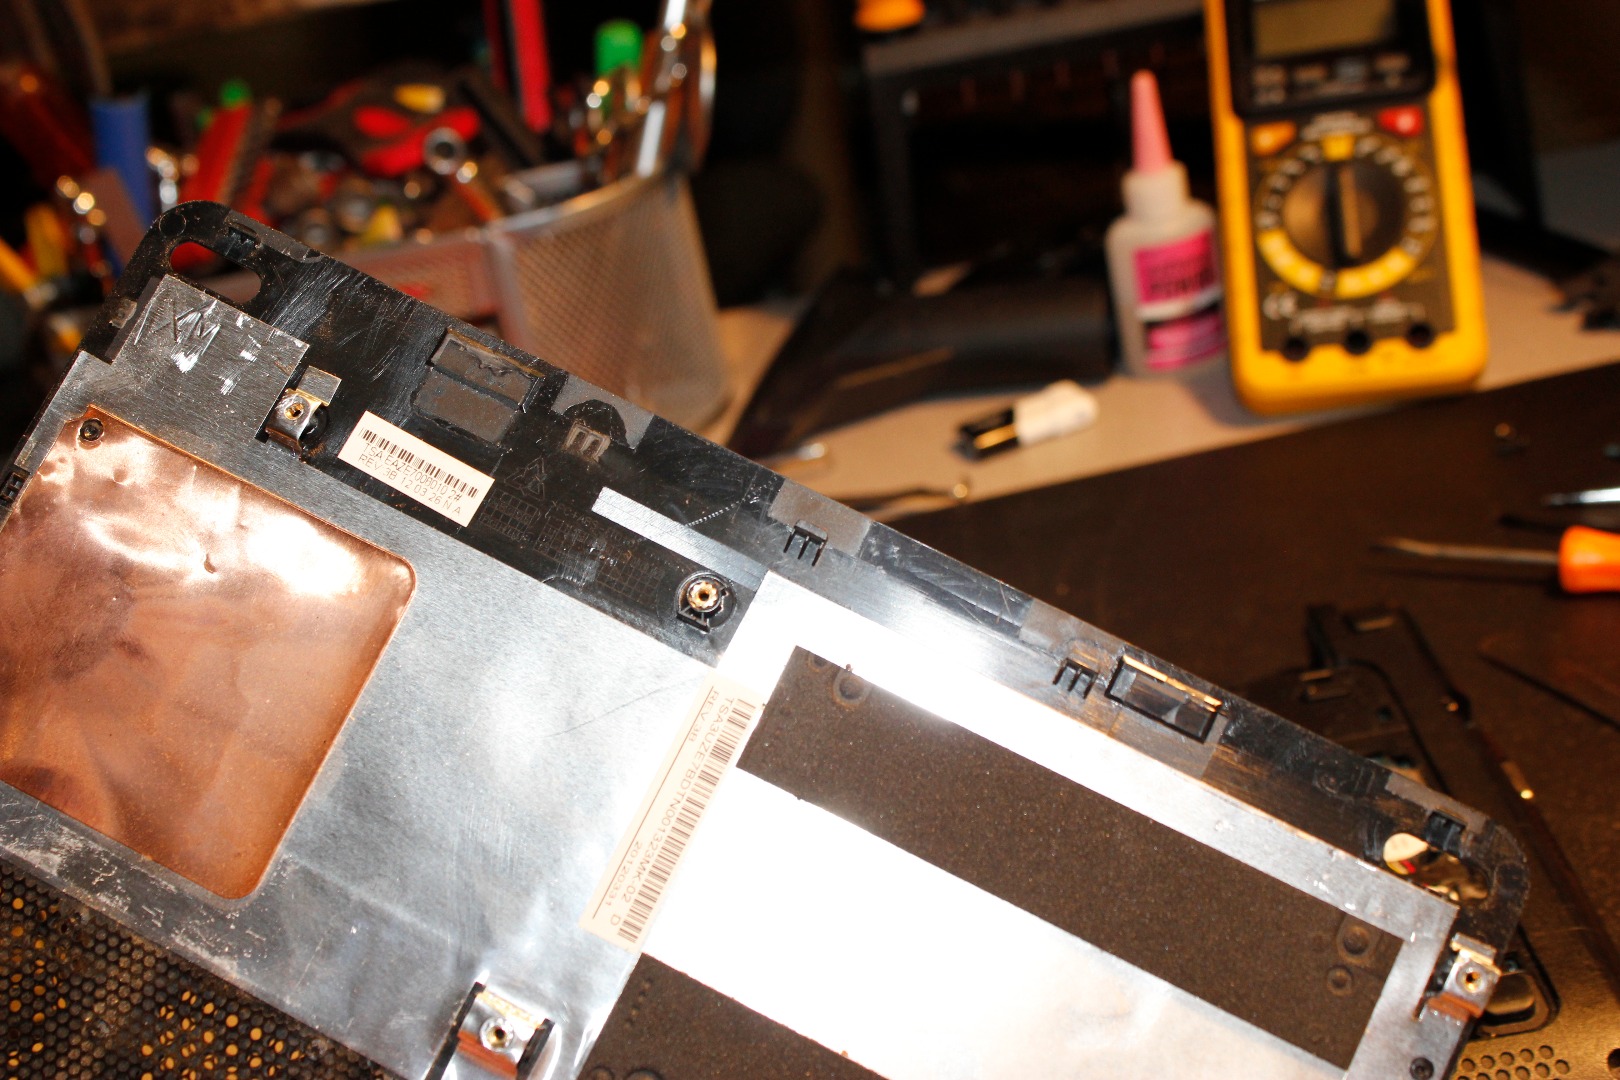
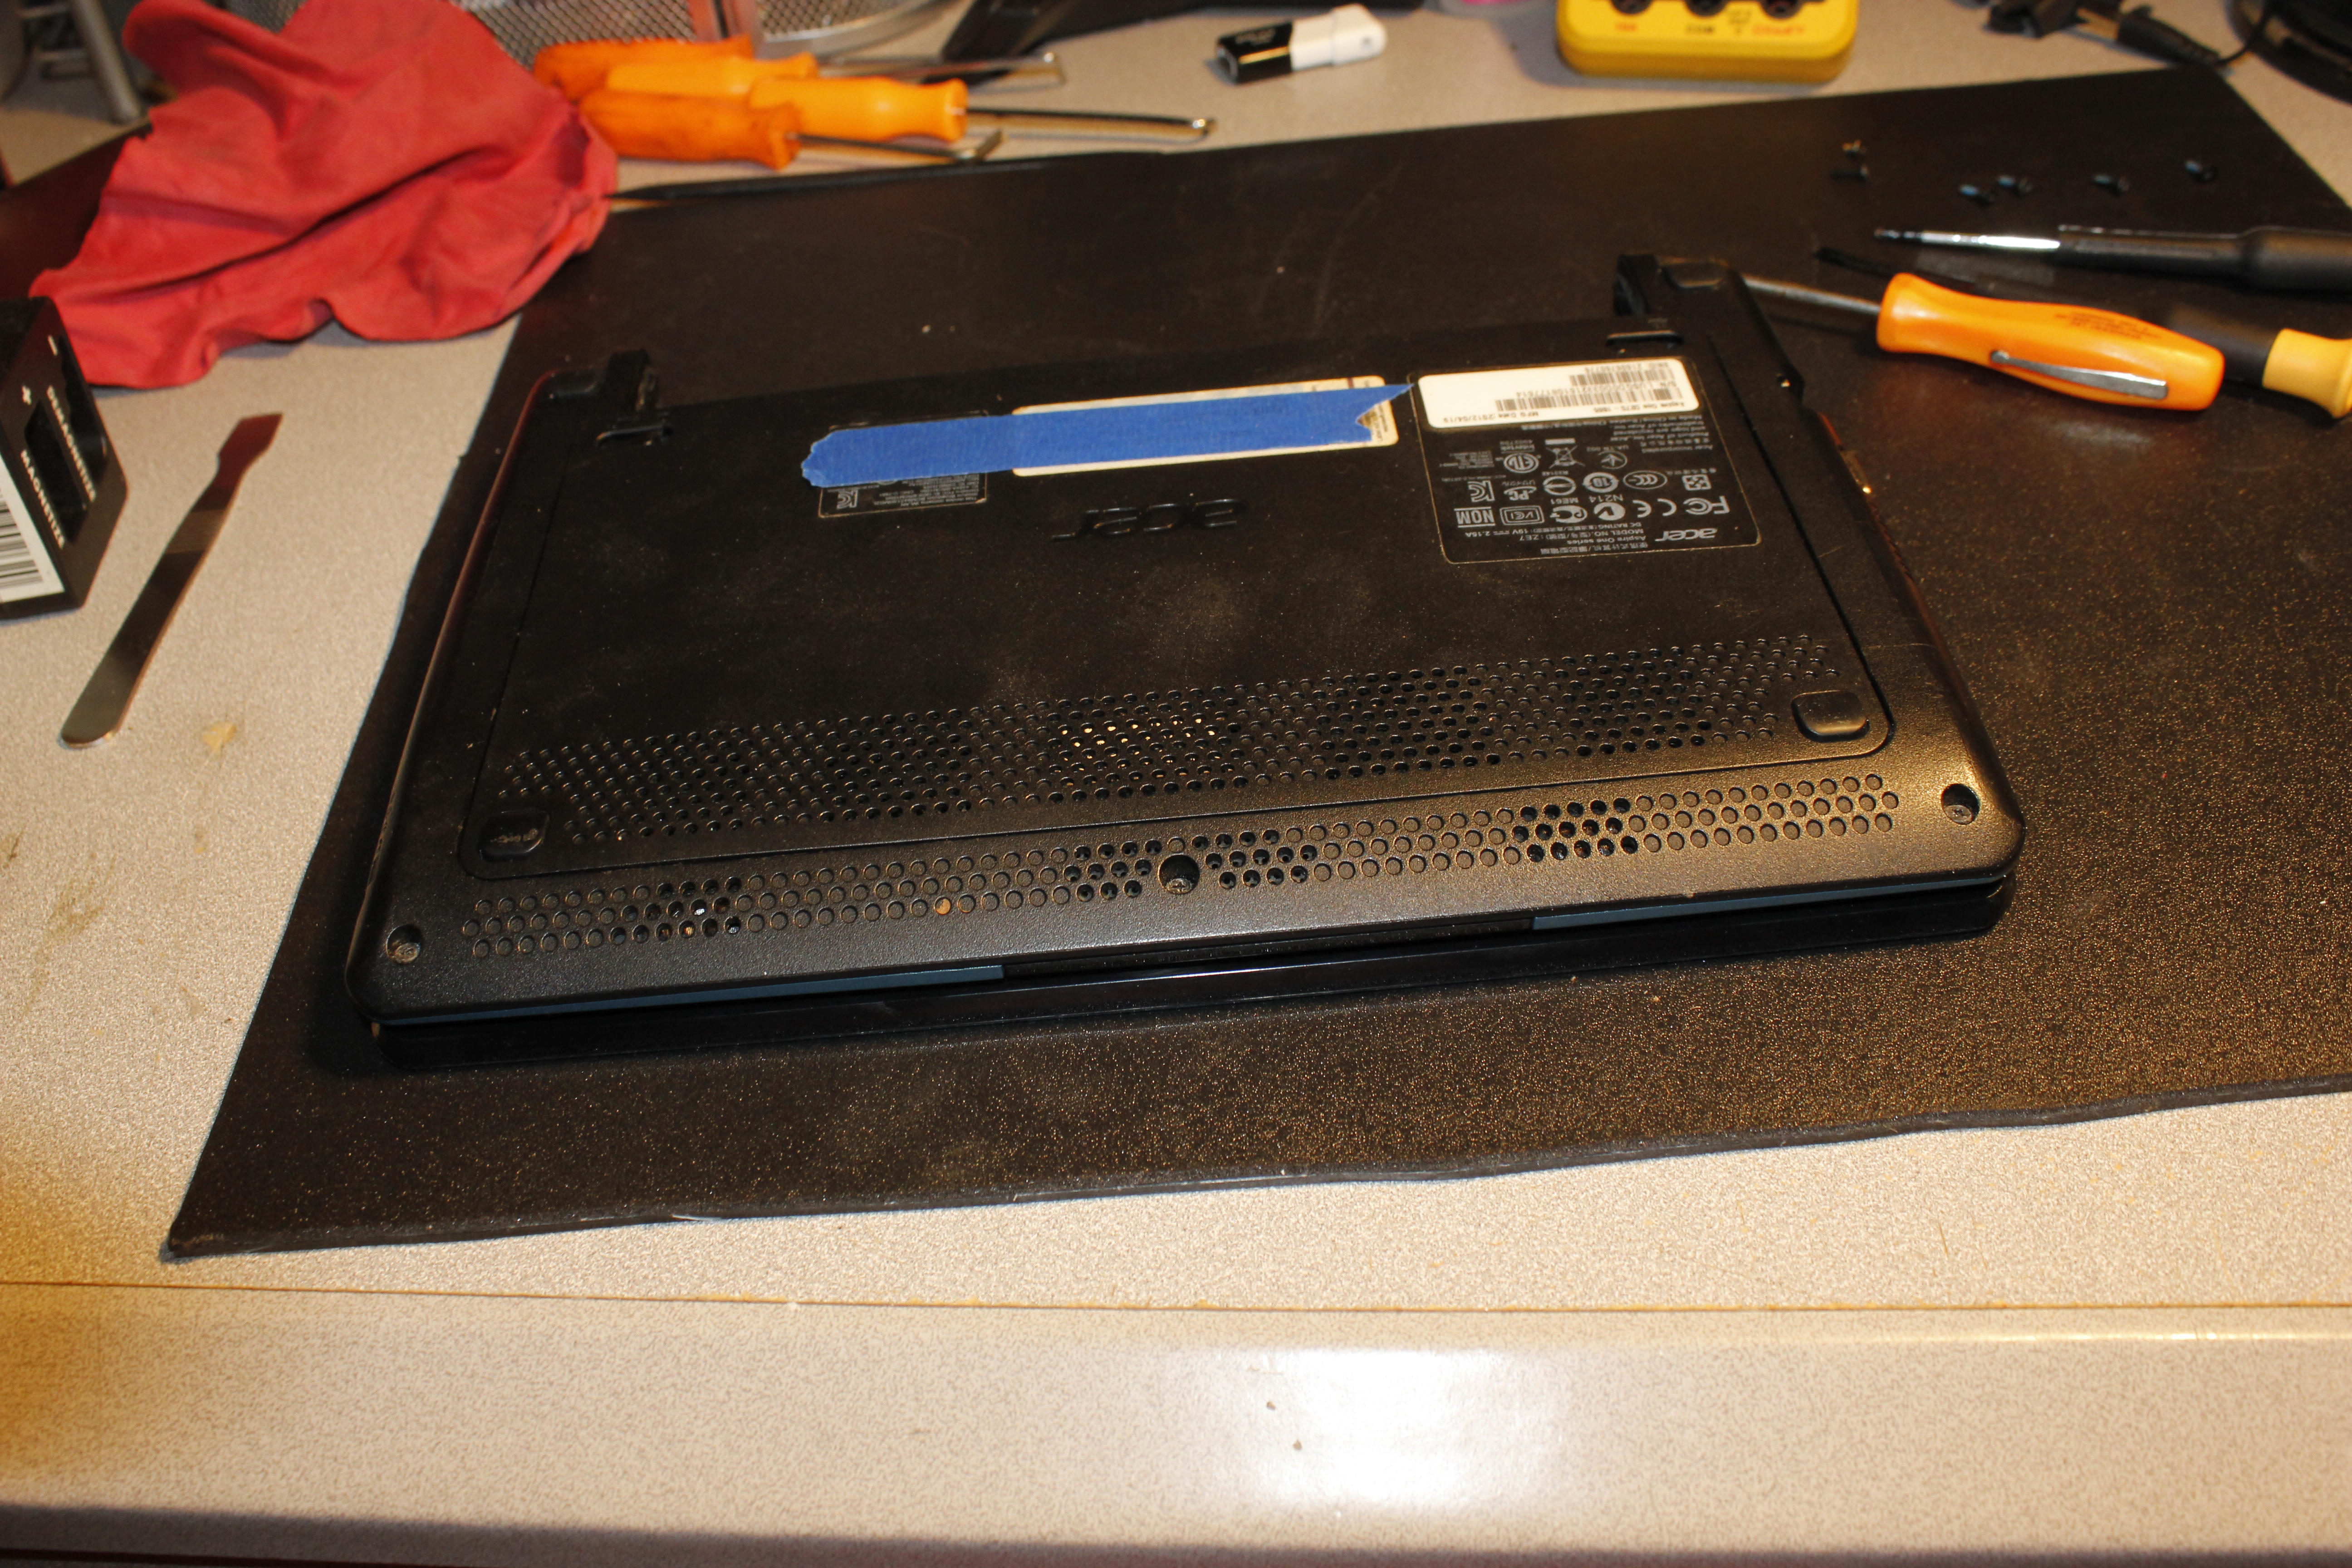
See the picture for details.
Line up the latches at the battery side and lower the door in place. Then push the edge of the door down along its edges until it is locked in place. Once you have the door installed flip the unit over and install all the screws that are labeled as door.