Gearing Up in TinkerCad
by Ladycartoonist in Workshop > 3D Printing
15215 Views, 42 Favorites, 0 Comments
Gearing Up in TinkerCad
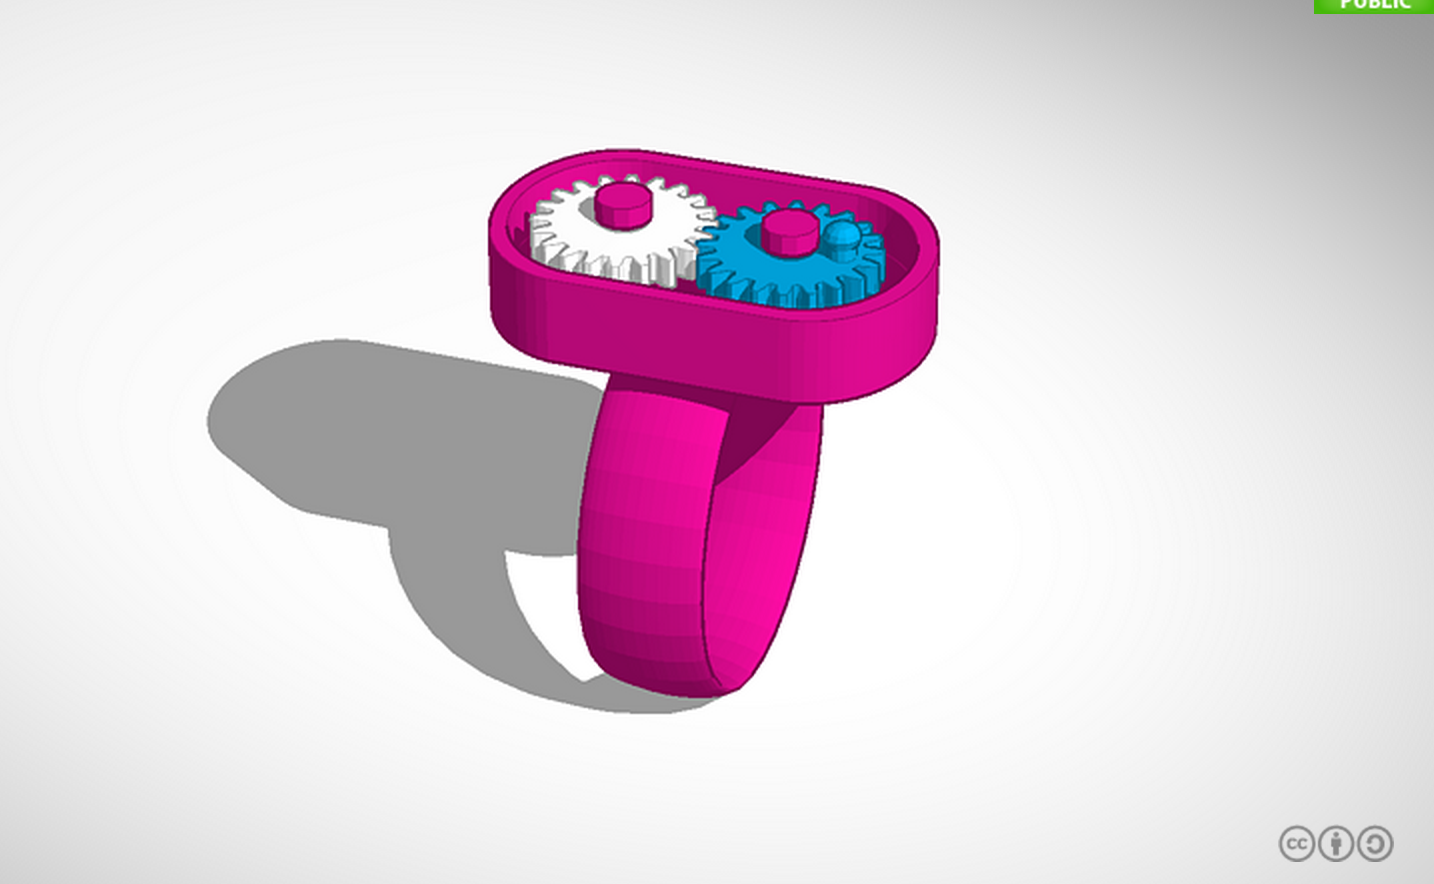
I like machines. I like how they work together, how they move, their ability to move and drive and push. I love them. So I wind up using them quite a bit in my art- both actual machines, and decorative machines. What says 'the glory of mankind's achievement in machinery' better than a gear?
Not. Much.
I also am a devout user of TinkerCad- I use so many media that having something free, simple, and online means I can get to making sooner. It's also dead easy to learn.
It's a pretty powerful tool; and though it can't create things like gears or sprockets, it has the ability to upload .stl files from other programs, which is what I'm going to do here.
Choose Your Generator
If you're not an advanced user of a fancy CAD program that does gear generation, it can be really, really hard to model them. I've chronicled elsewhere how to get parts from McMaster into TinkerCad, but unfortunately, McMaster does not seem to have CAD models available for it's gears. Luckily, there's several free gear generators, some for download and some online.
You'll need either an SVG or STL to upload into Tinkercad. Here are some programs I've found:
For download:
http://woodgears.ca/gear/index.html windows
http://www.gearotic.com/downloads.html windows
http://woodgears.ca/gear_cutting/template.html Online, elegant, but only exports .plt file format, a bit of a pain
The one I'll be using:
It's a little clunky, but it exports STLs, which we can import directly into Tinkercad.
Using the Gear Generator
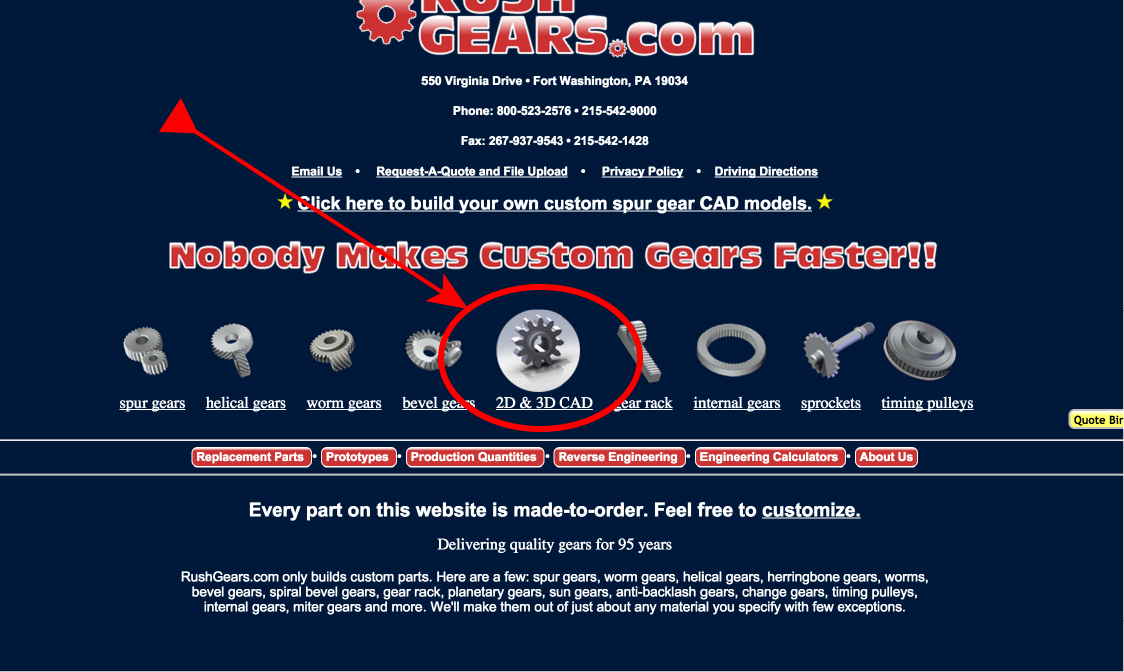
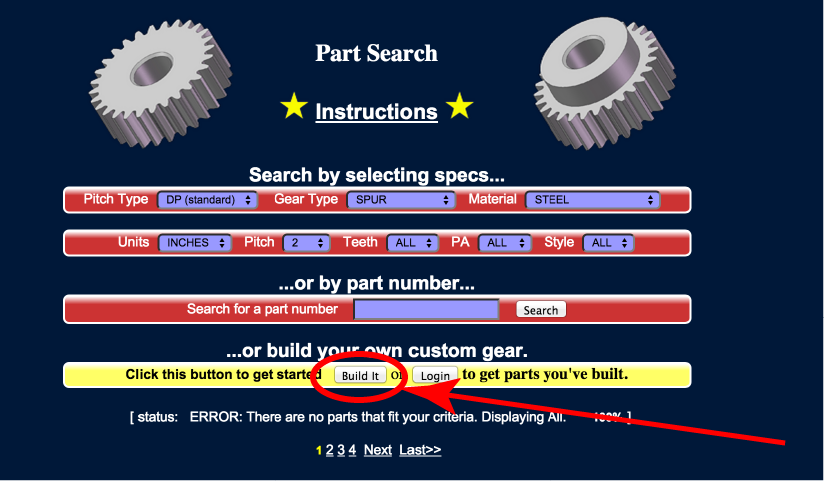
Once you're on the site, look for "2D or 3D CAD". Click that, and on the next page,
"...or build your own custom gears.".
Click build it.
Choose Your Settings
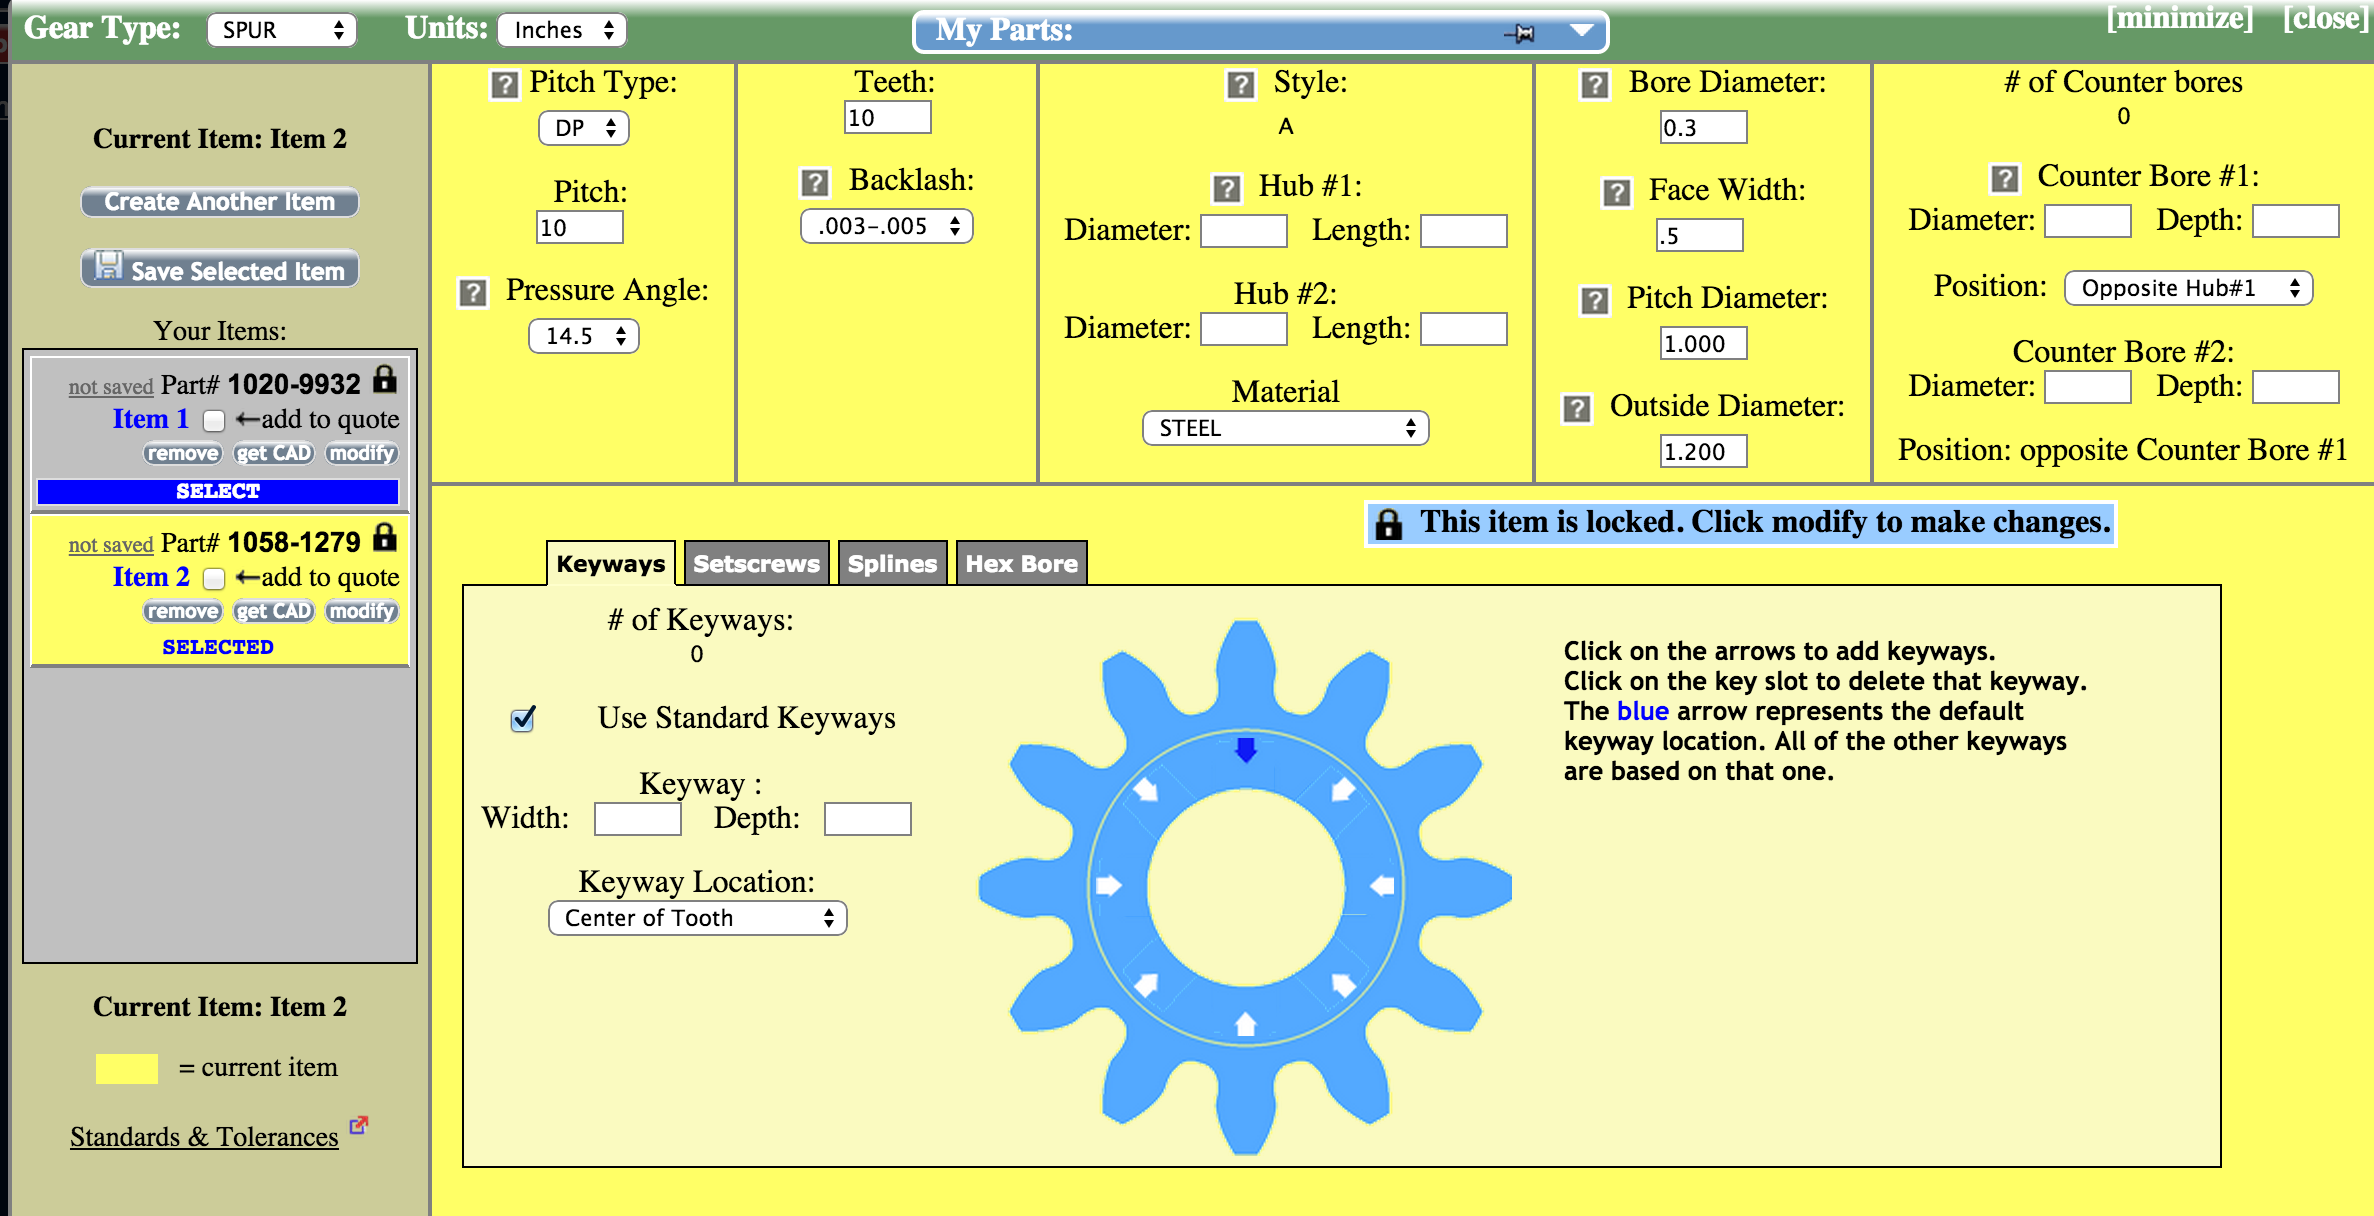
This is the page you'll come to. What's nice about this generator (hint, it's not the color scheme) is that it gives you all the variables for the gear. You can add keyways and set screws, set your pitch and backlash, etc. If you're not too hip on the minutiae of gear design, hover your mouse over the little '?' squares, and explanations/graphics will pop up. If you're hoping to match a gear to one you bought/want in McMaster, input the same measurements here as on it's product page.
Get Your CAD Model
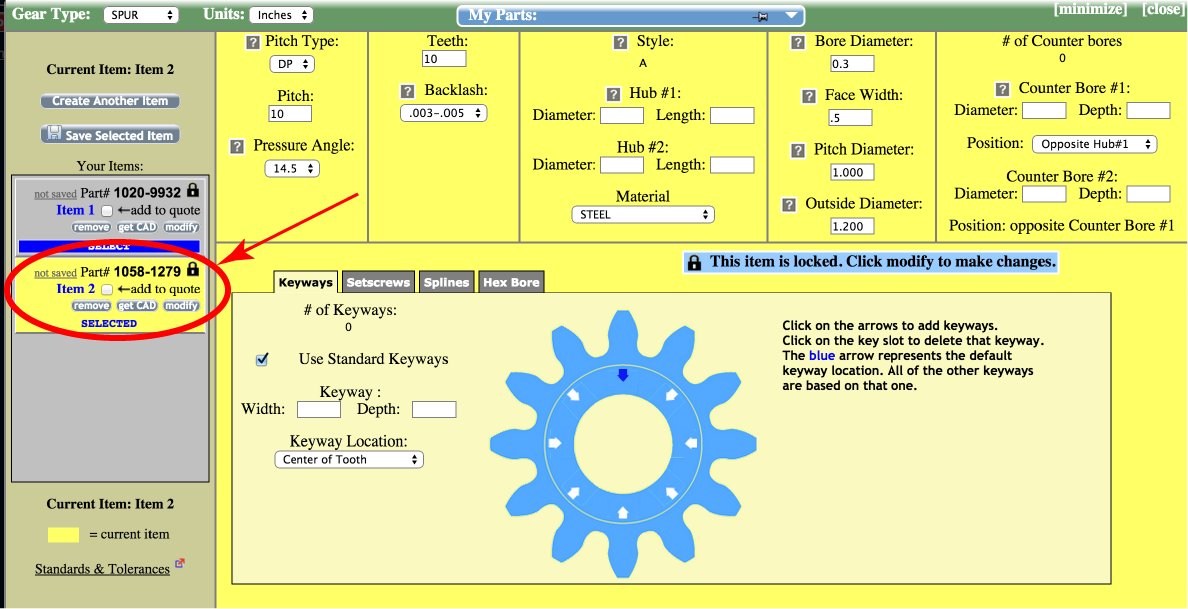
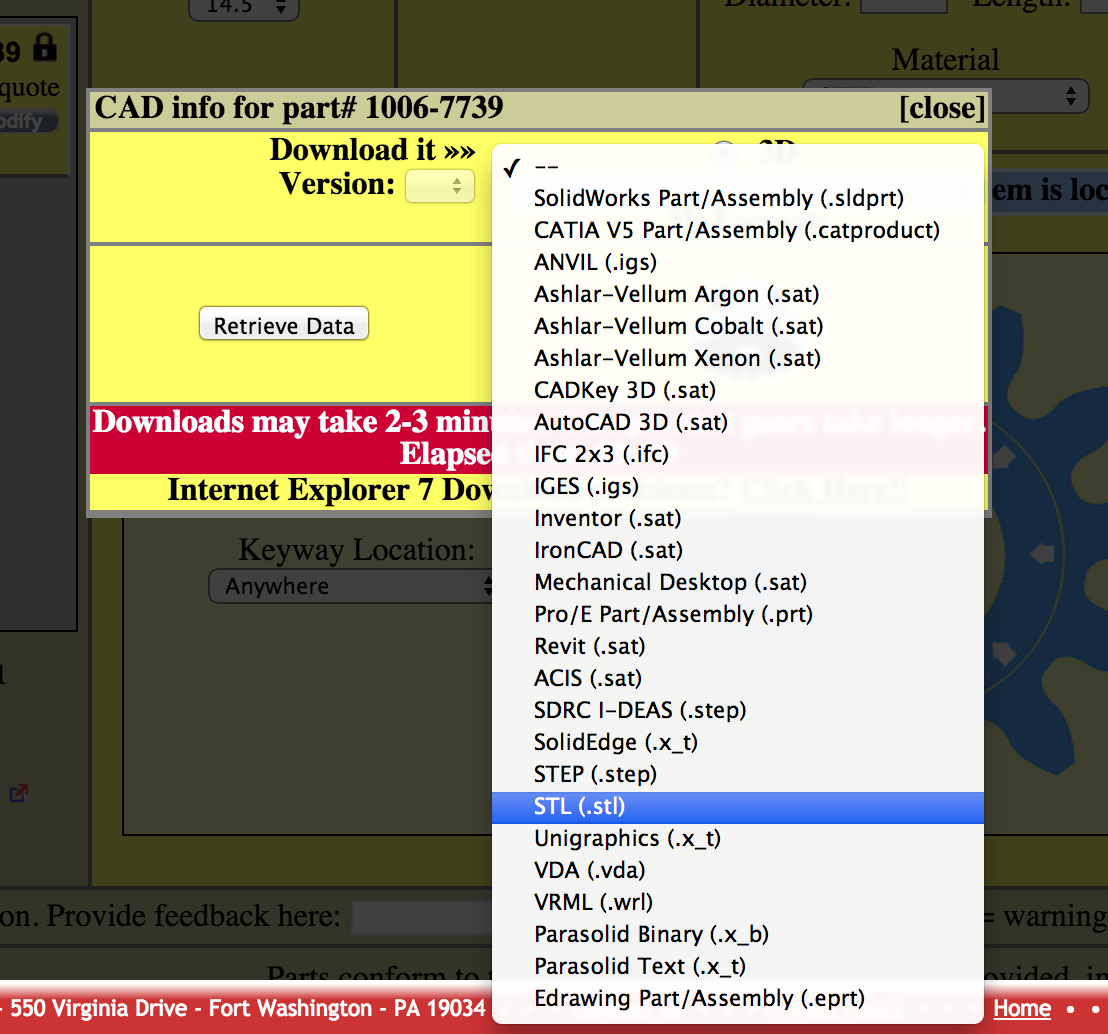
On the left hand side of the screen you'll see a little button that says 'Get CAD'. Click it, and a pull down menu will pop up.
Navigate to 'STL' and click 'get data'.
Now, 90% of the time the download works, and sometimes it doesn't. If it doesn't, try the download again. I've had luch the 2nd or 3rd time without changing anything.
Upload to Tinkercad
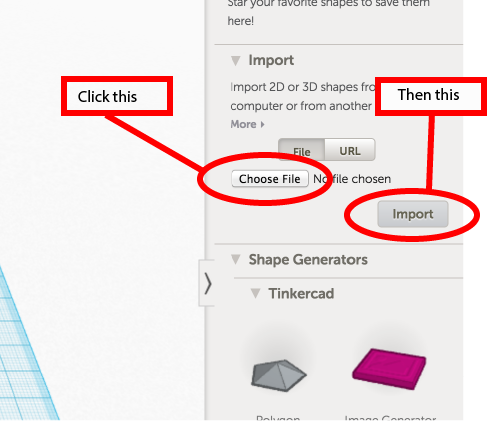
Head over to TinkerCad.com, sign in and click 'create new design'.
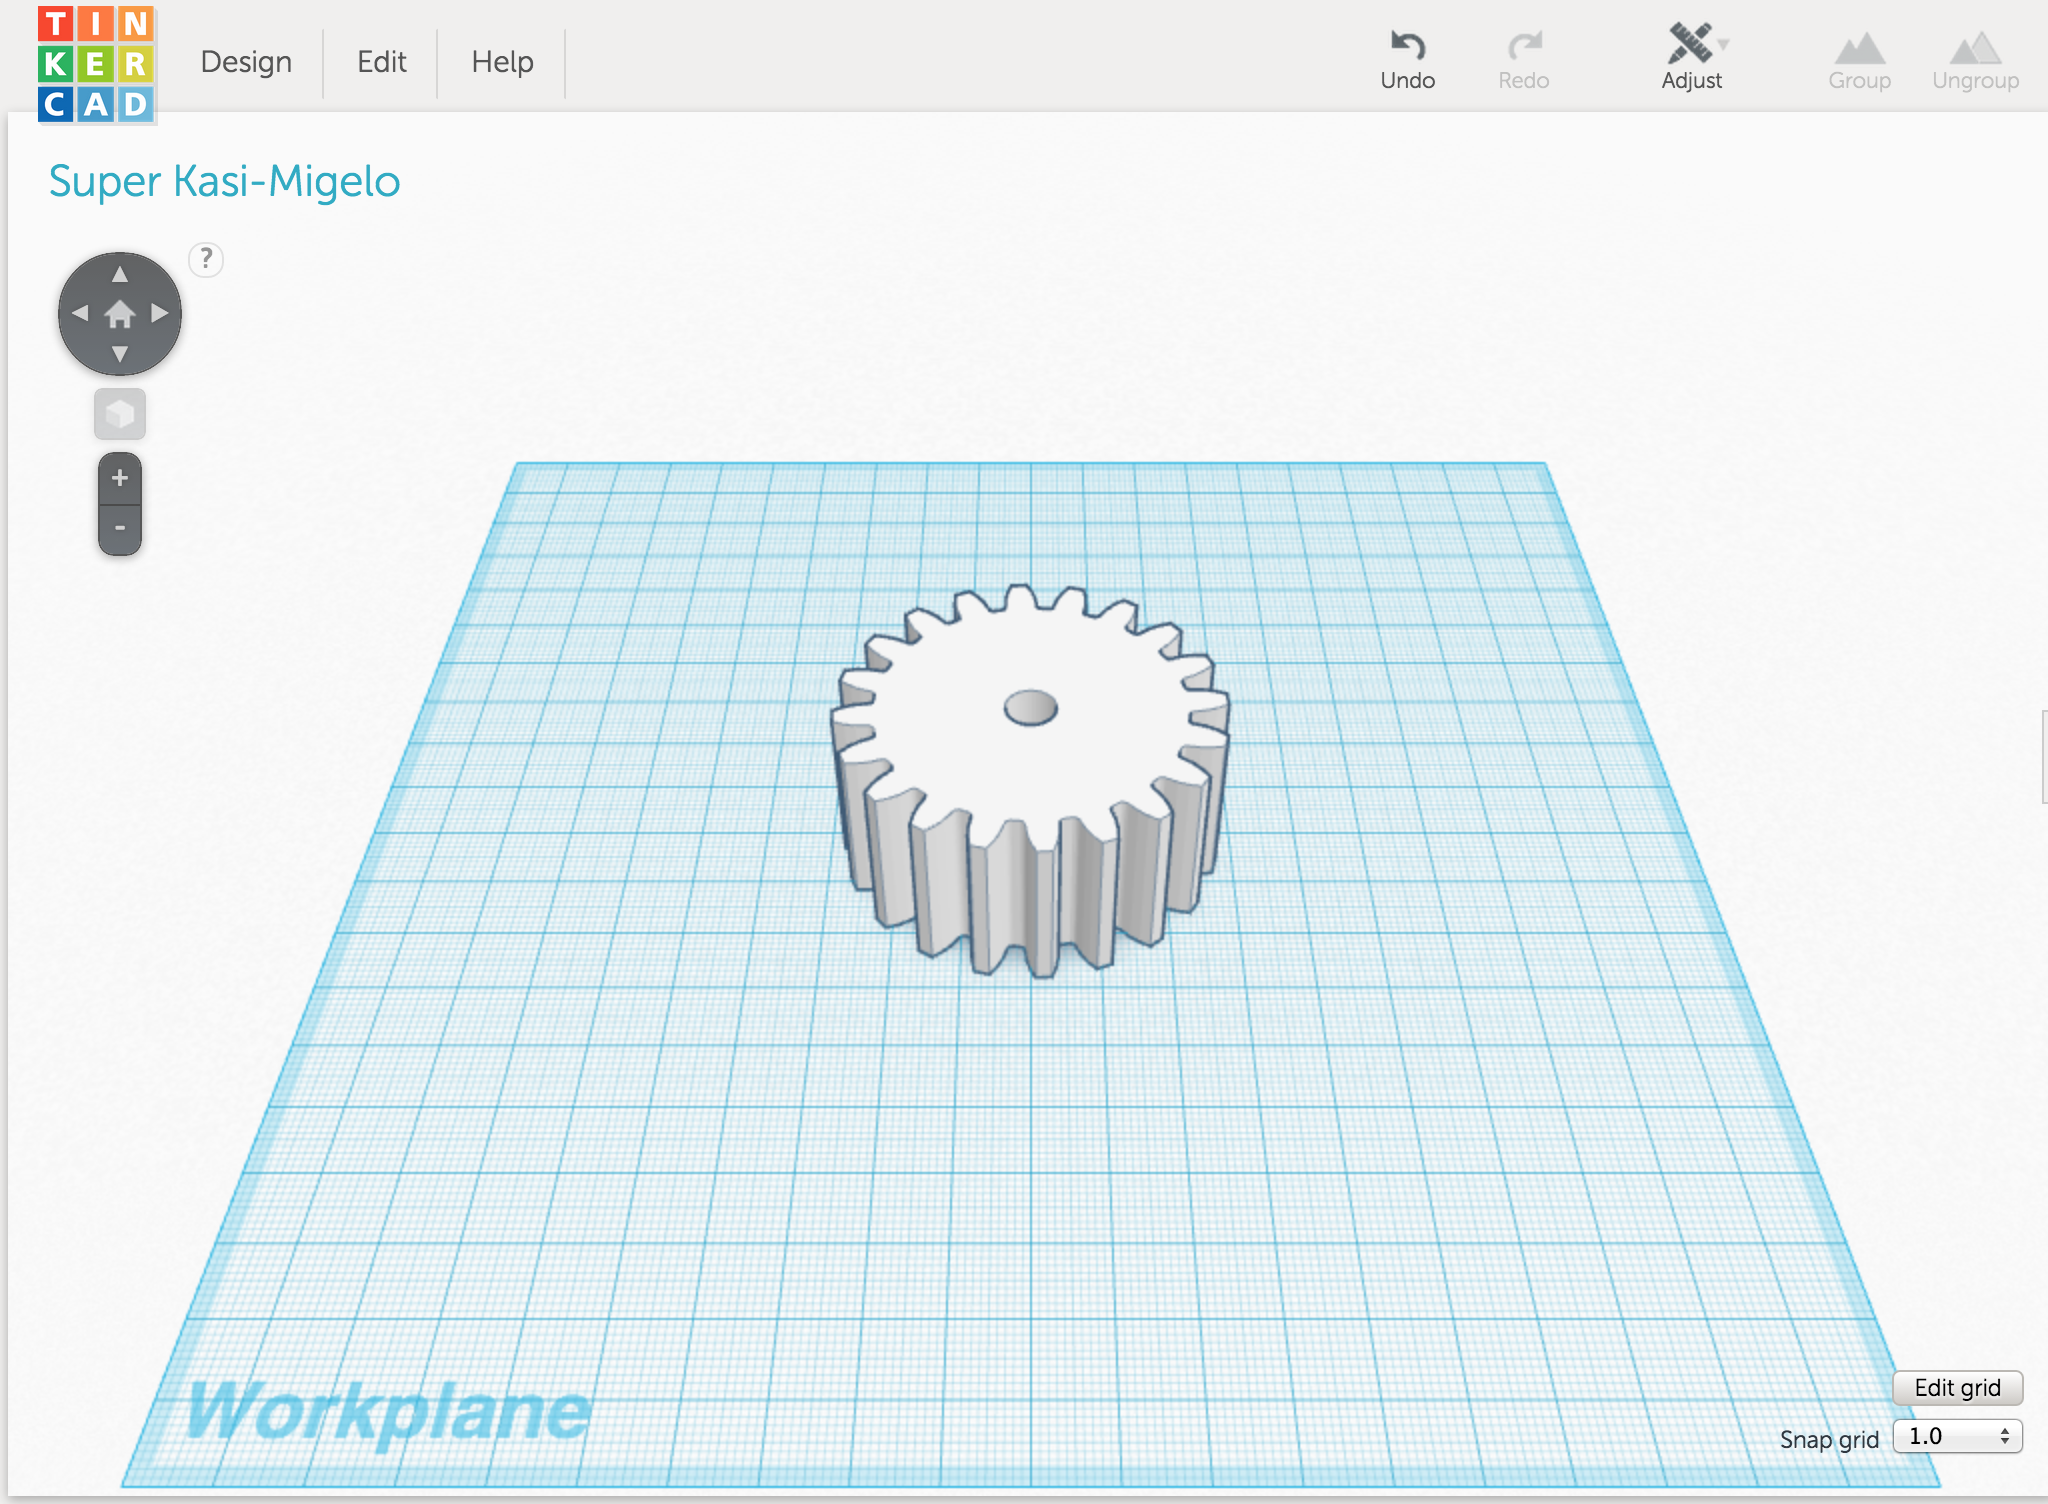
On the right hand side, you'll see an 'import' functionality. Click 'choose file' and then 'import'. If you want the gear to be true to size/match up with another gear you have, do not change any of the size parameters.
Tada! You're All Geared Up!
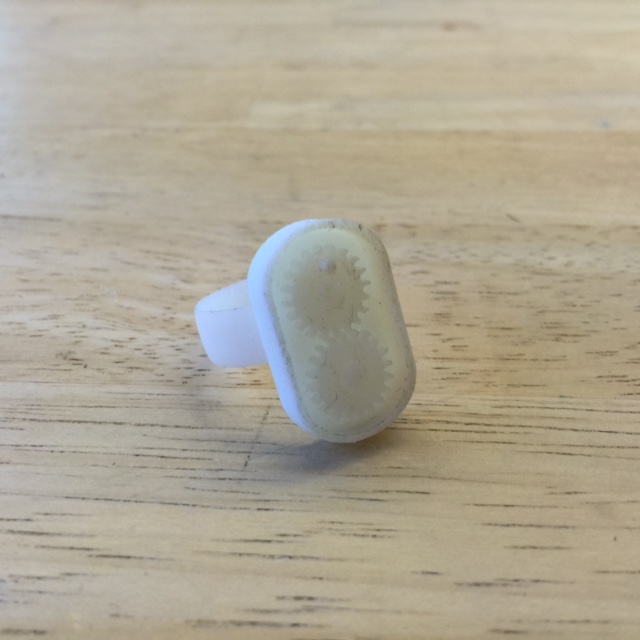
You're now ready to edit the gears. If you want them to remain true to size, never alter their dimensions. If you want them to stay the same size relative to each other, I.E, you just want them to mesh with the other gears in your model, you can scale them together and, as long as they're identical/scaled identically, they'll mesh.
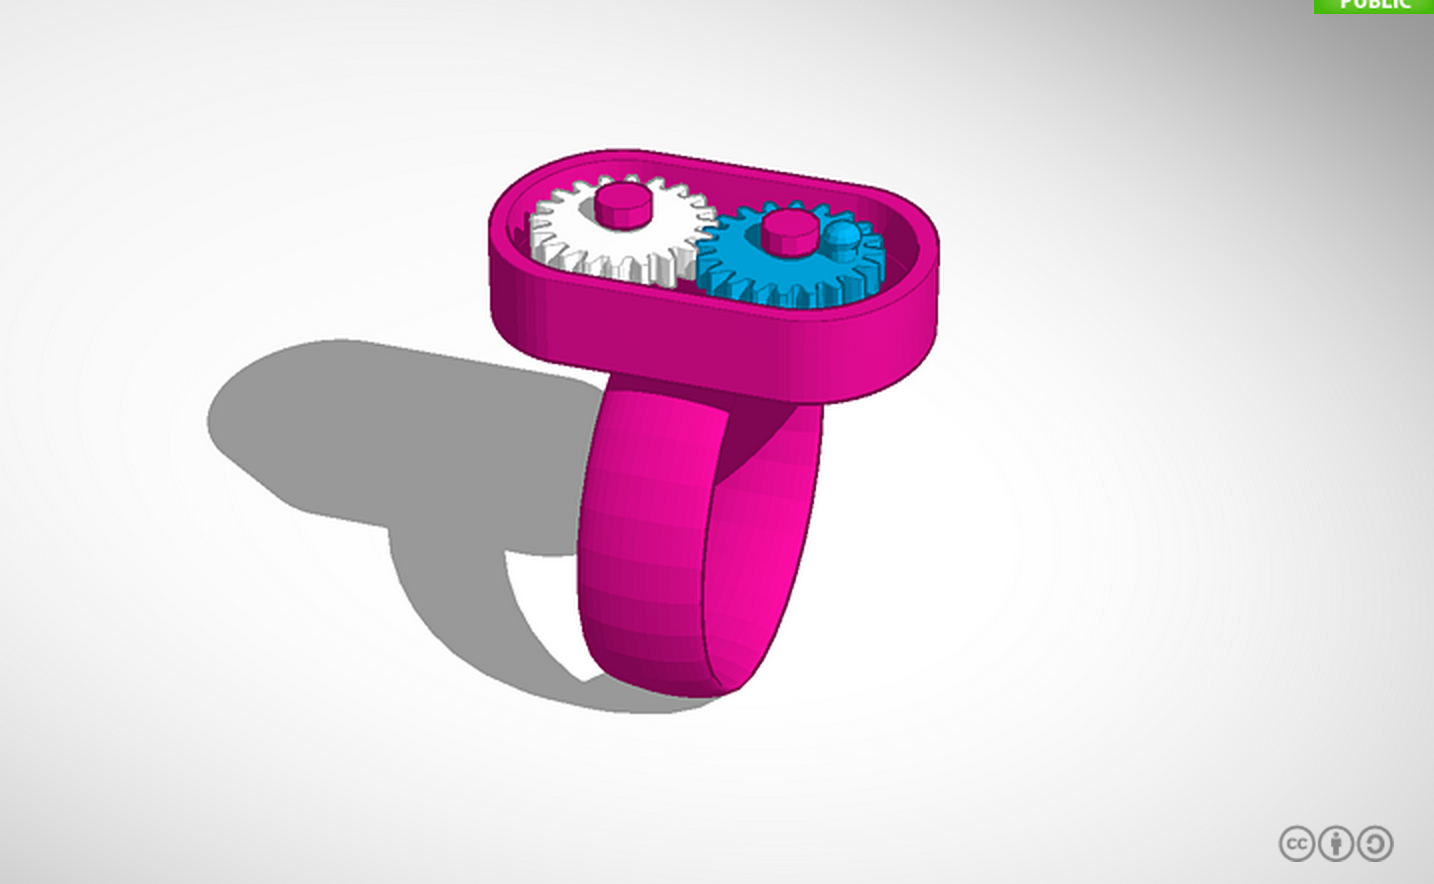
In this example I've made a little ring which has the gears on pins so that they can rotate. You can see the model here:
https://tinkercad.com/things/8dmK4PT4jsf