GassistPi (Google Home in Raspberry Pi)
by nicolei28 in Circuits > Raspberry Pi
23127 Views, 98 Favorites, 0 Comments
GassistPi (Google Home in Raspberry Pi)
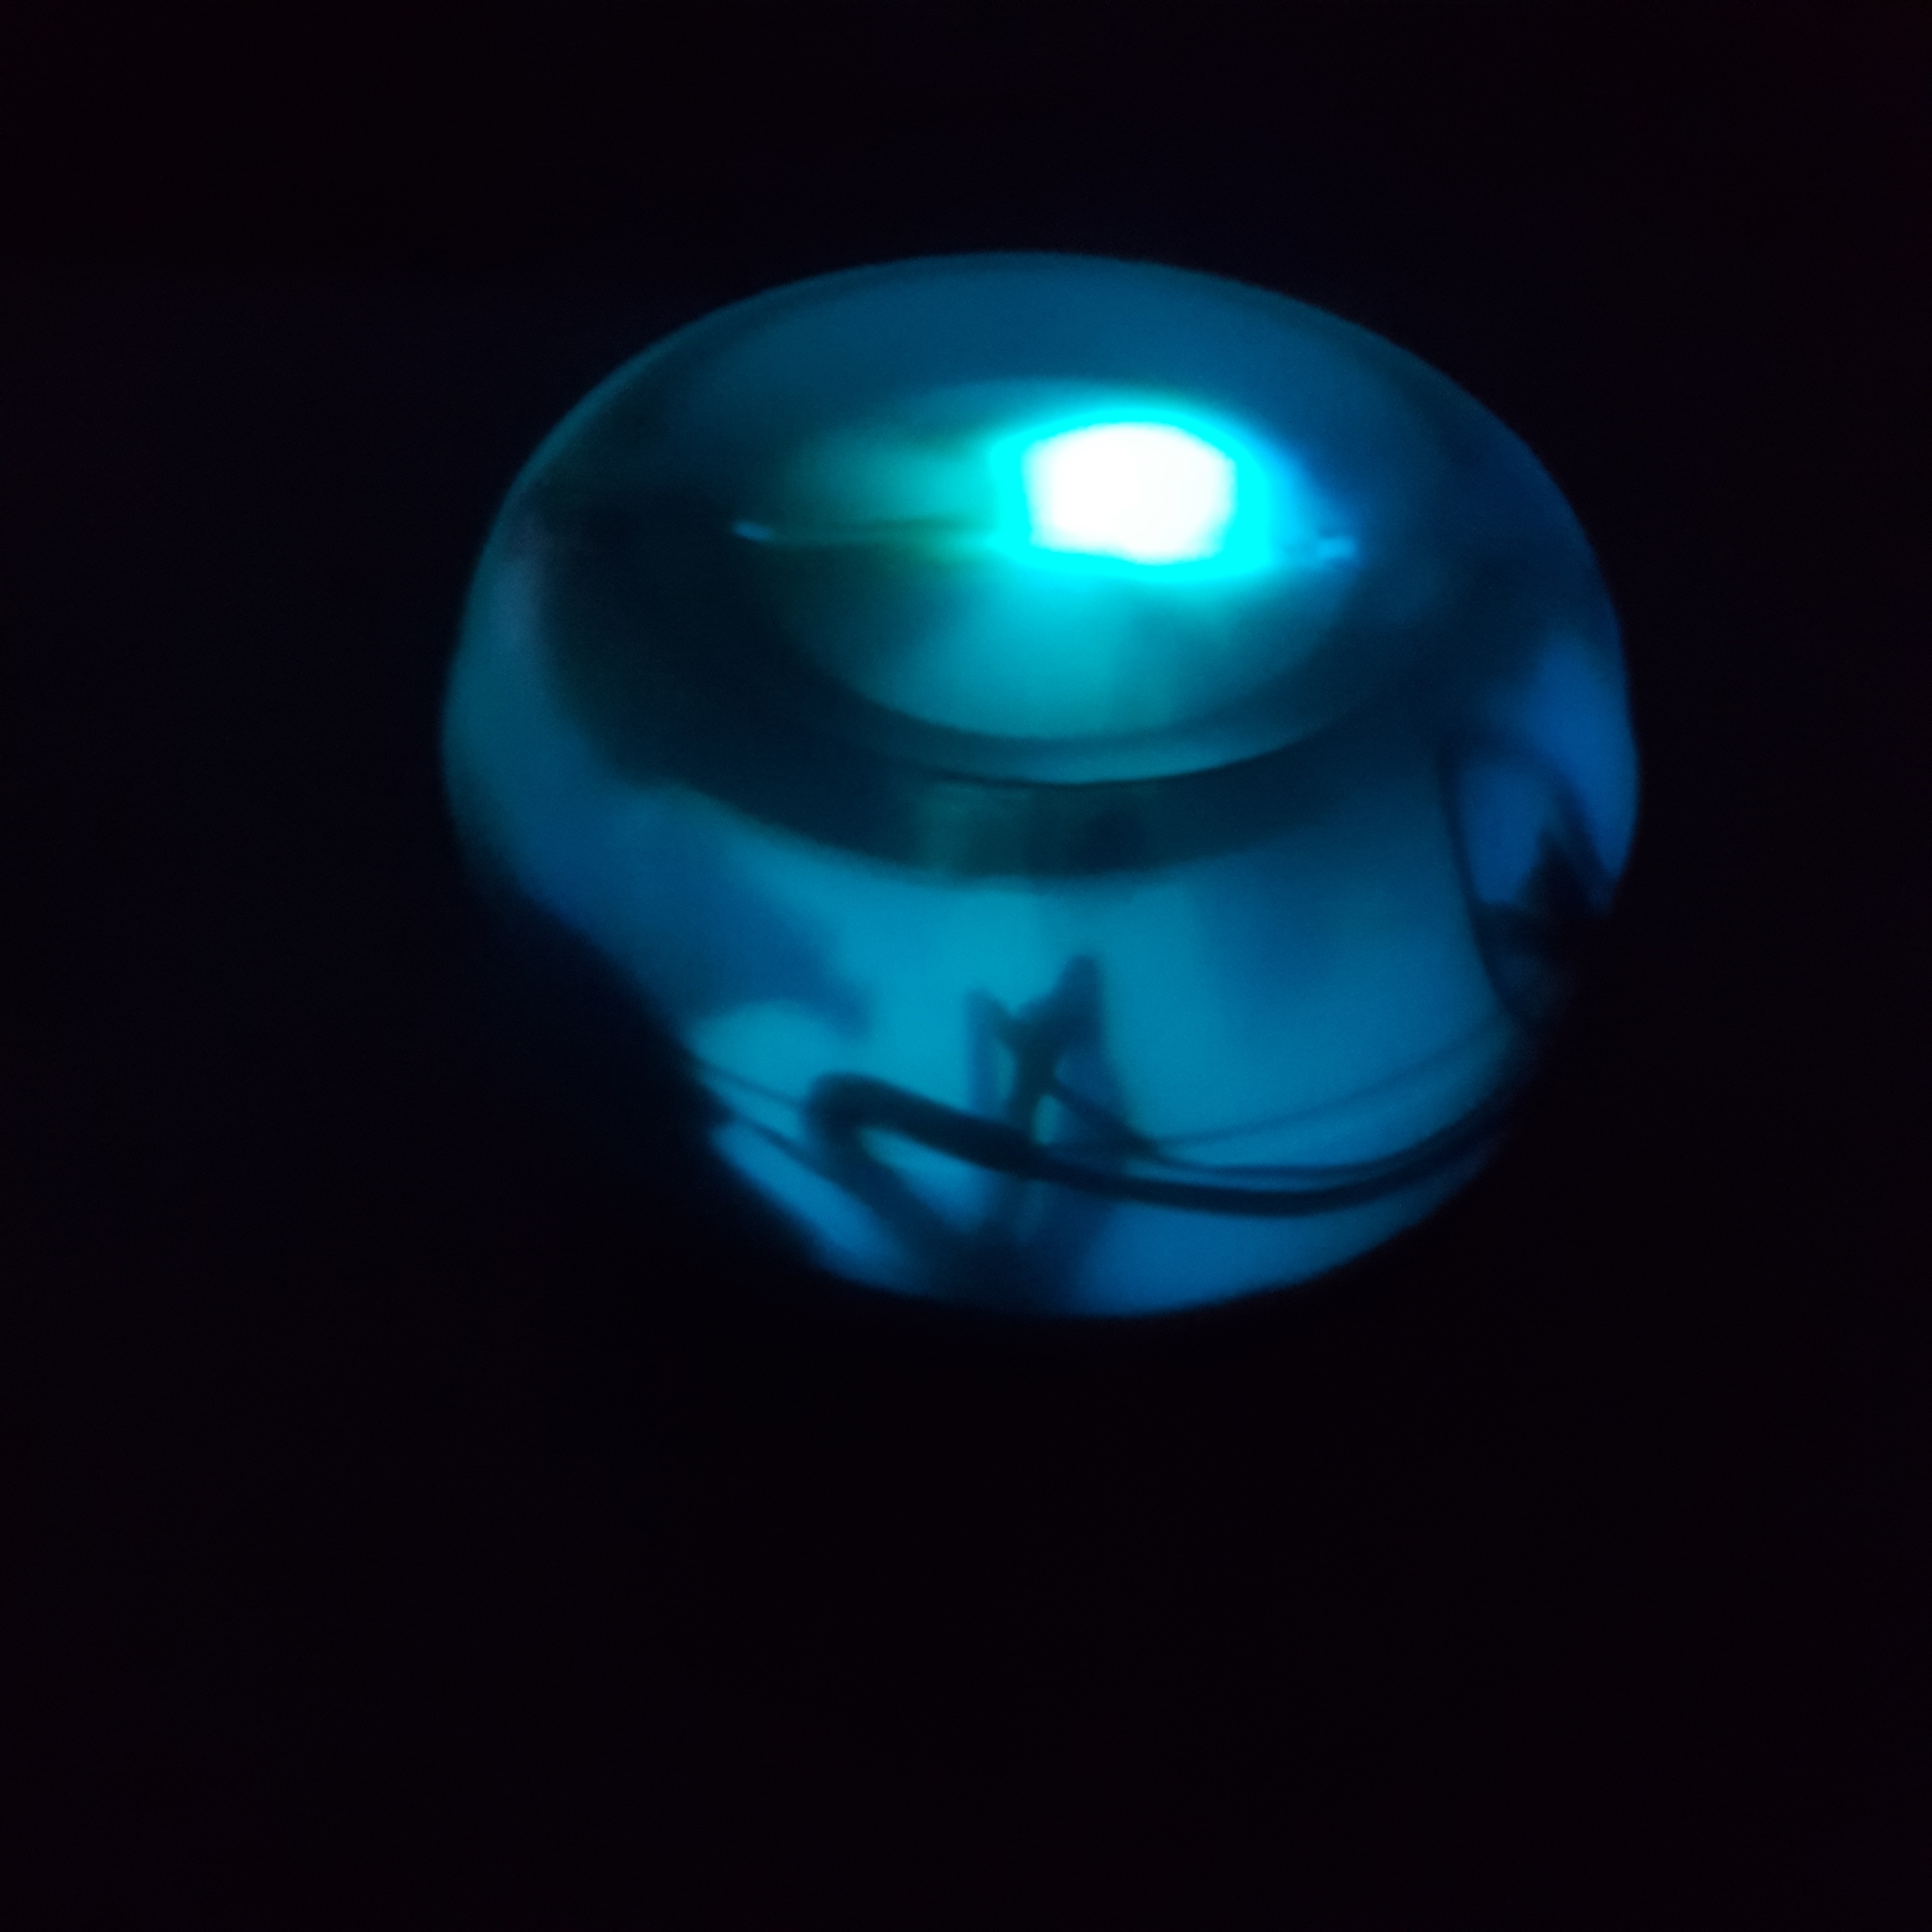
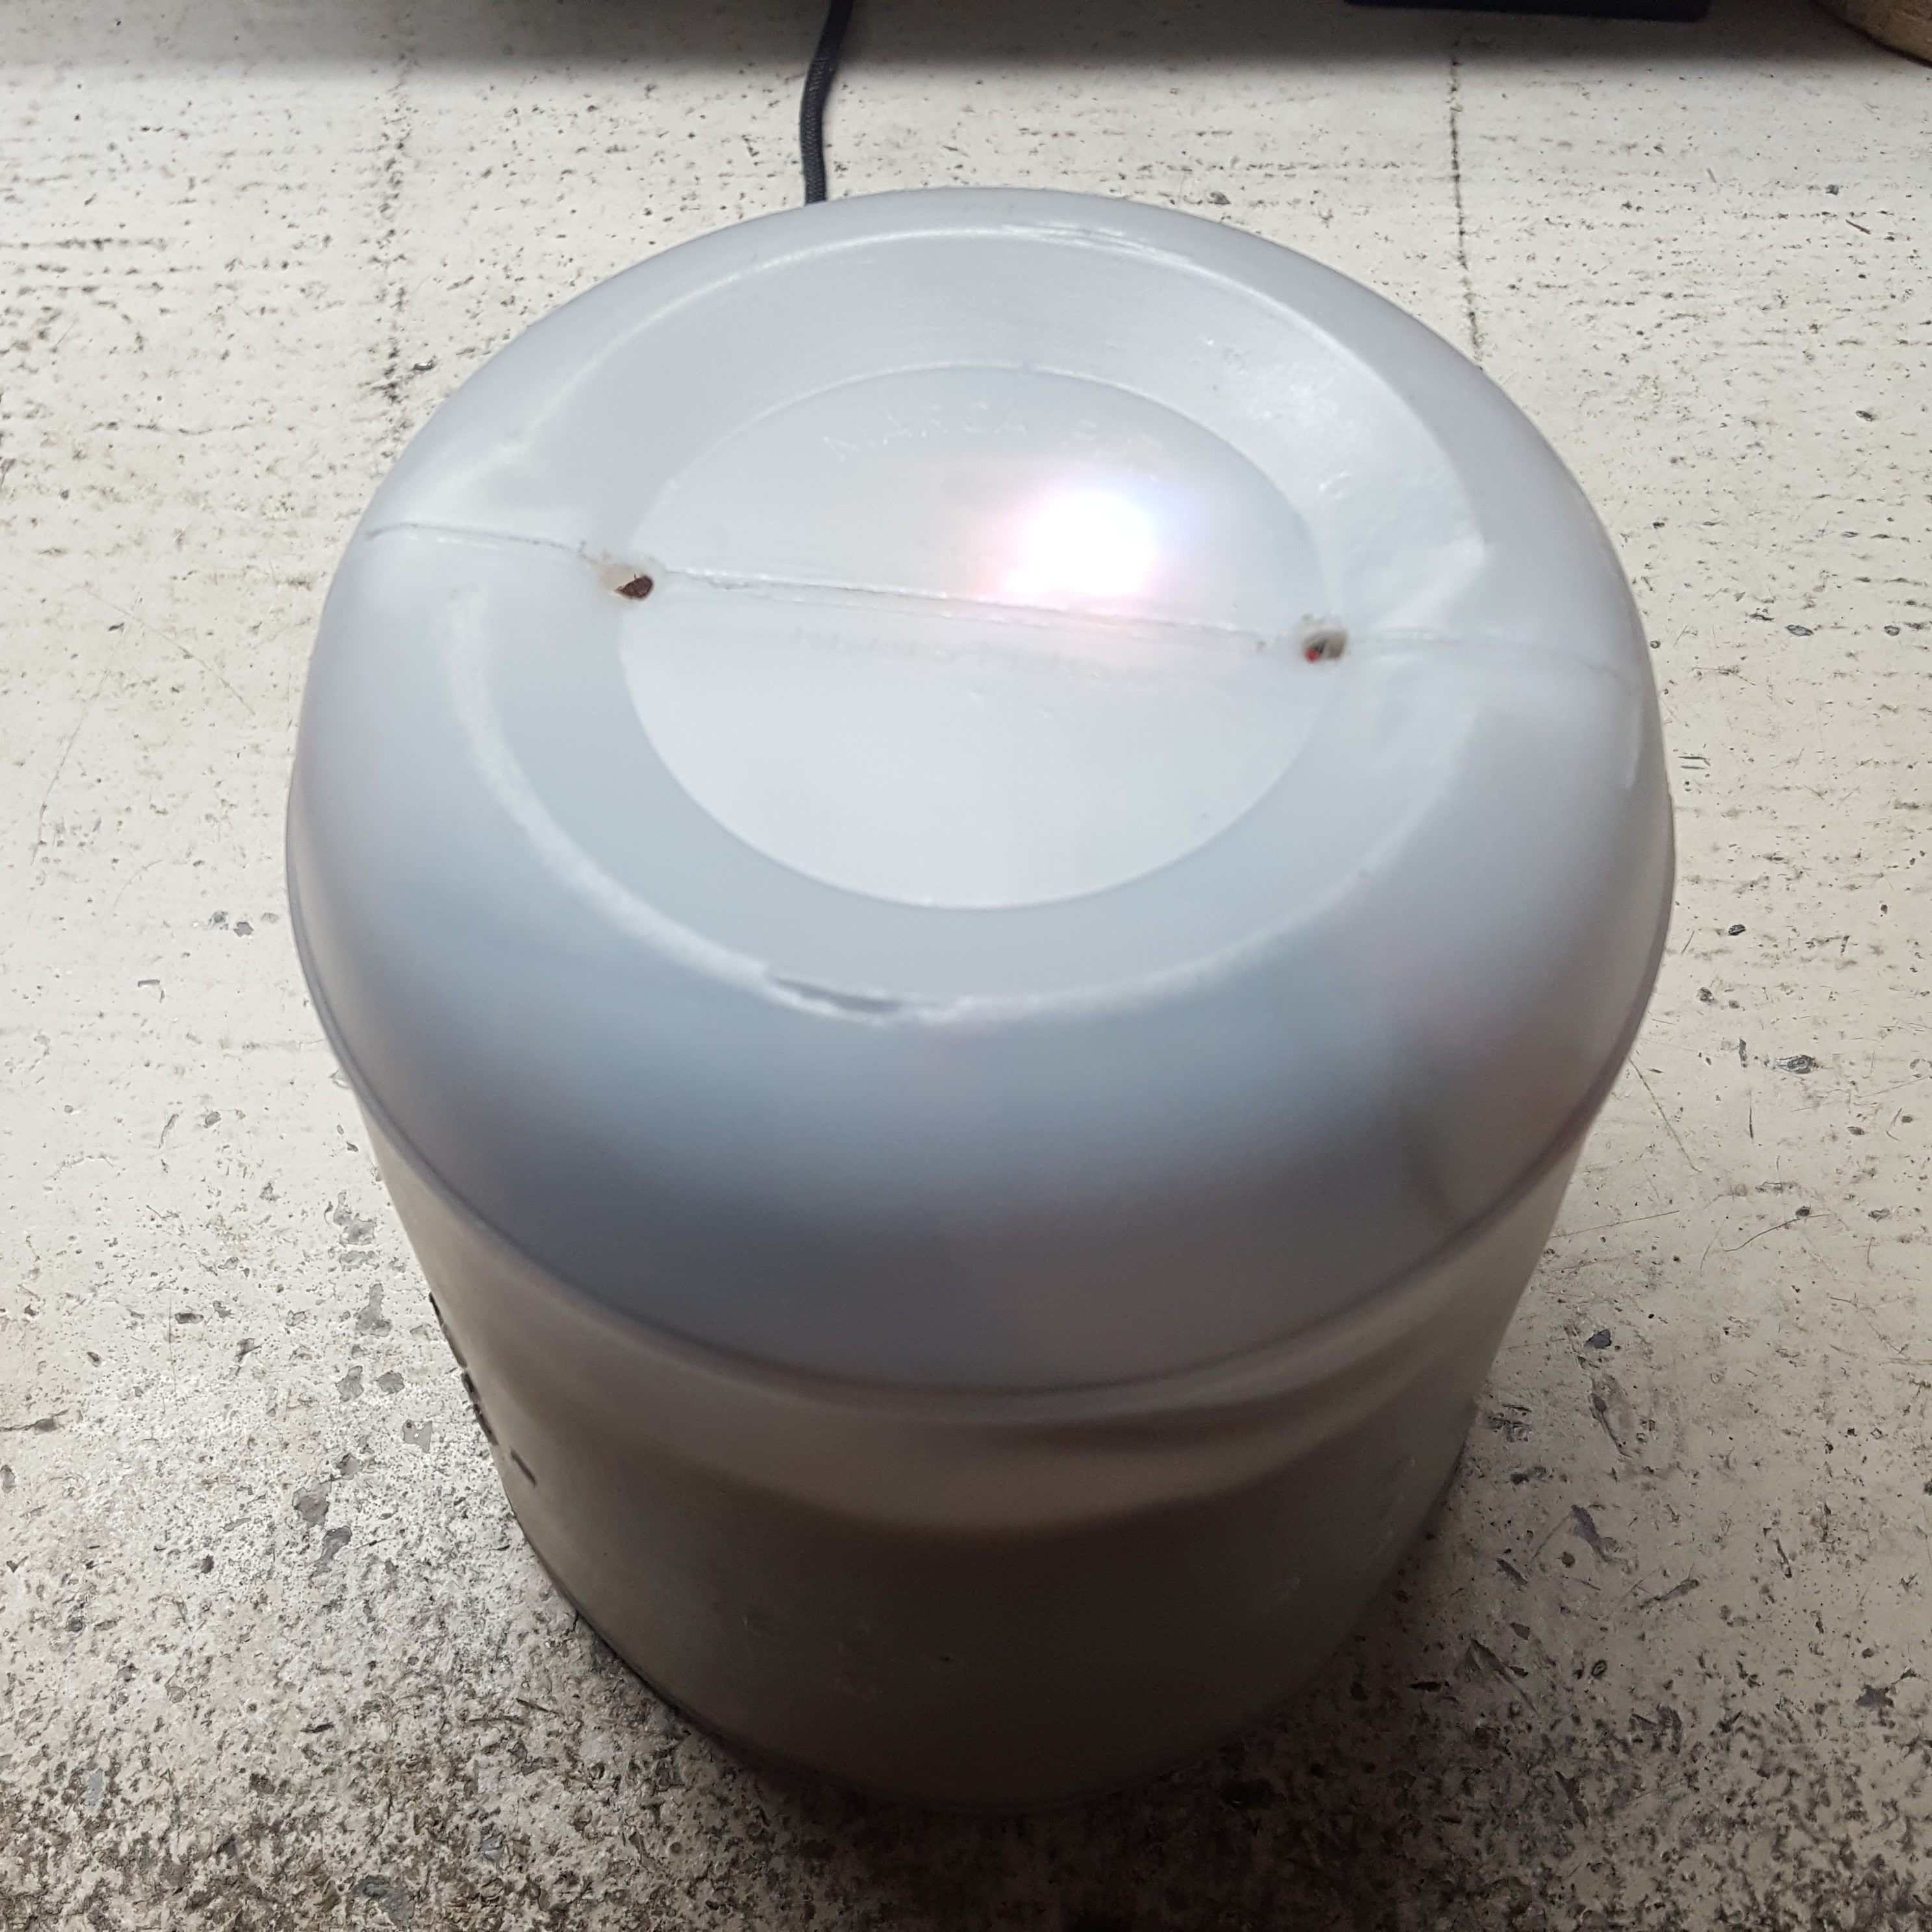
Google Assistant for Raspberry Pi!
Gathering Materials & Tools
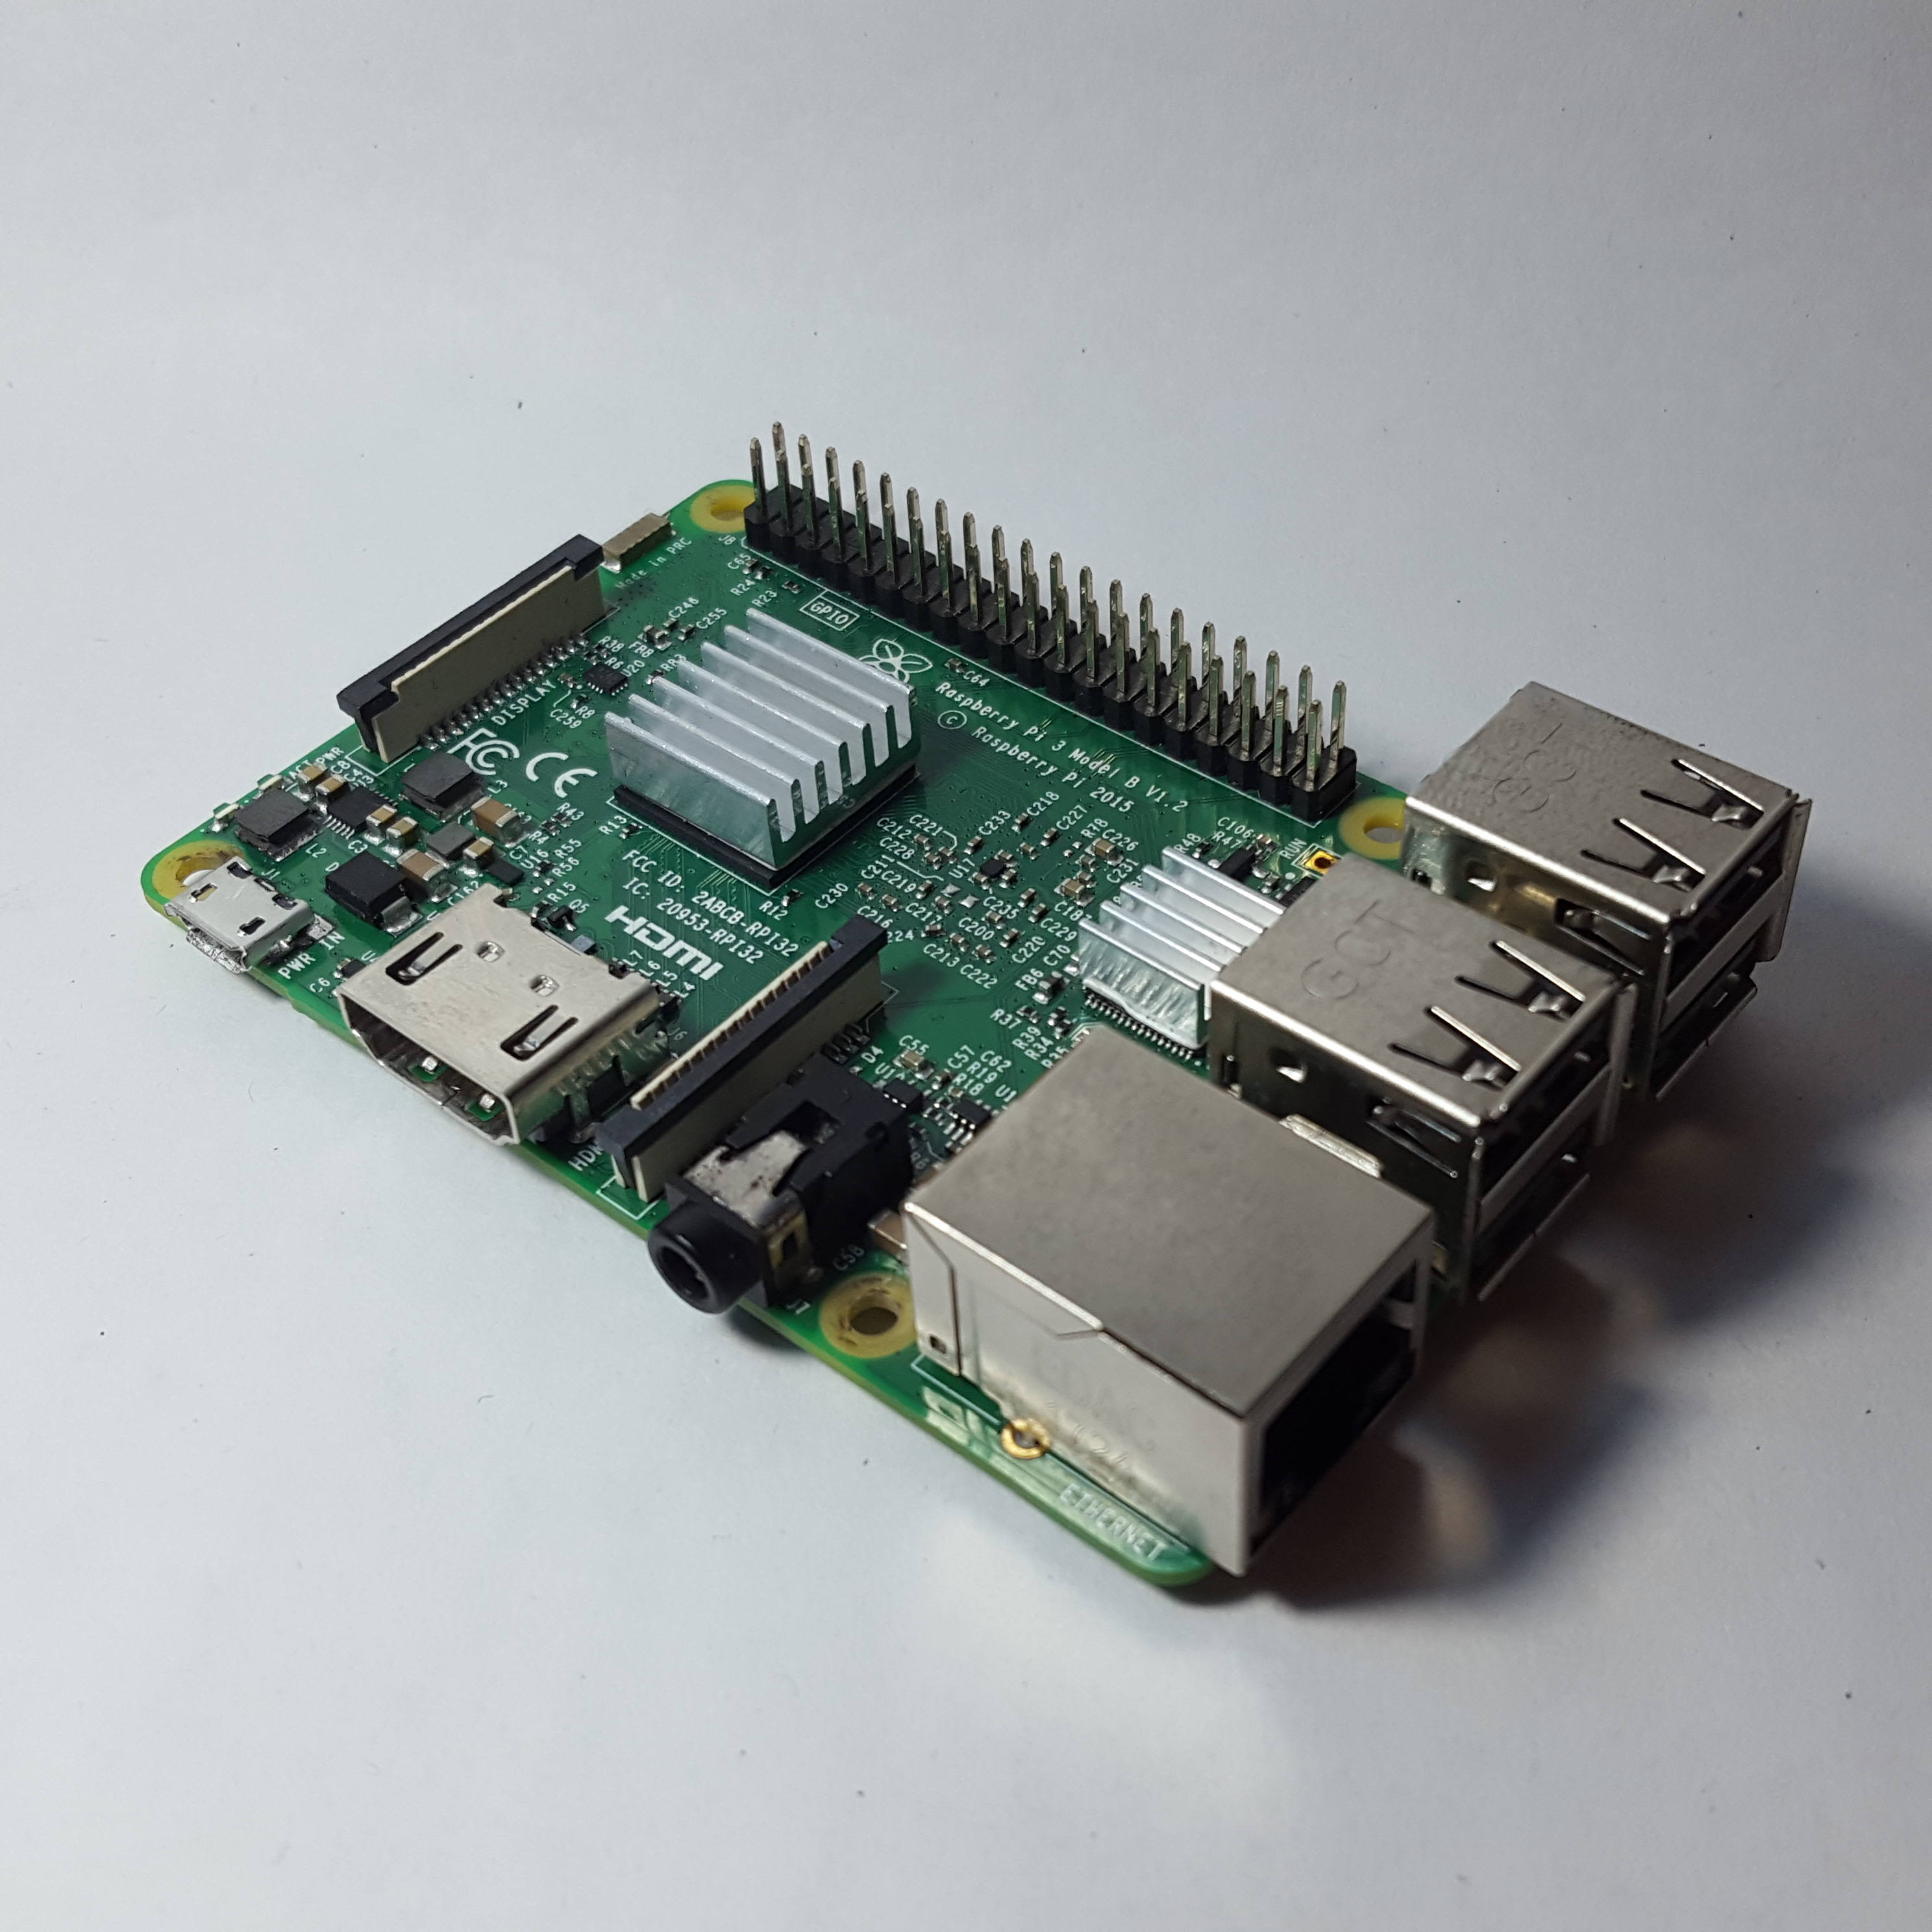
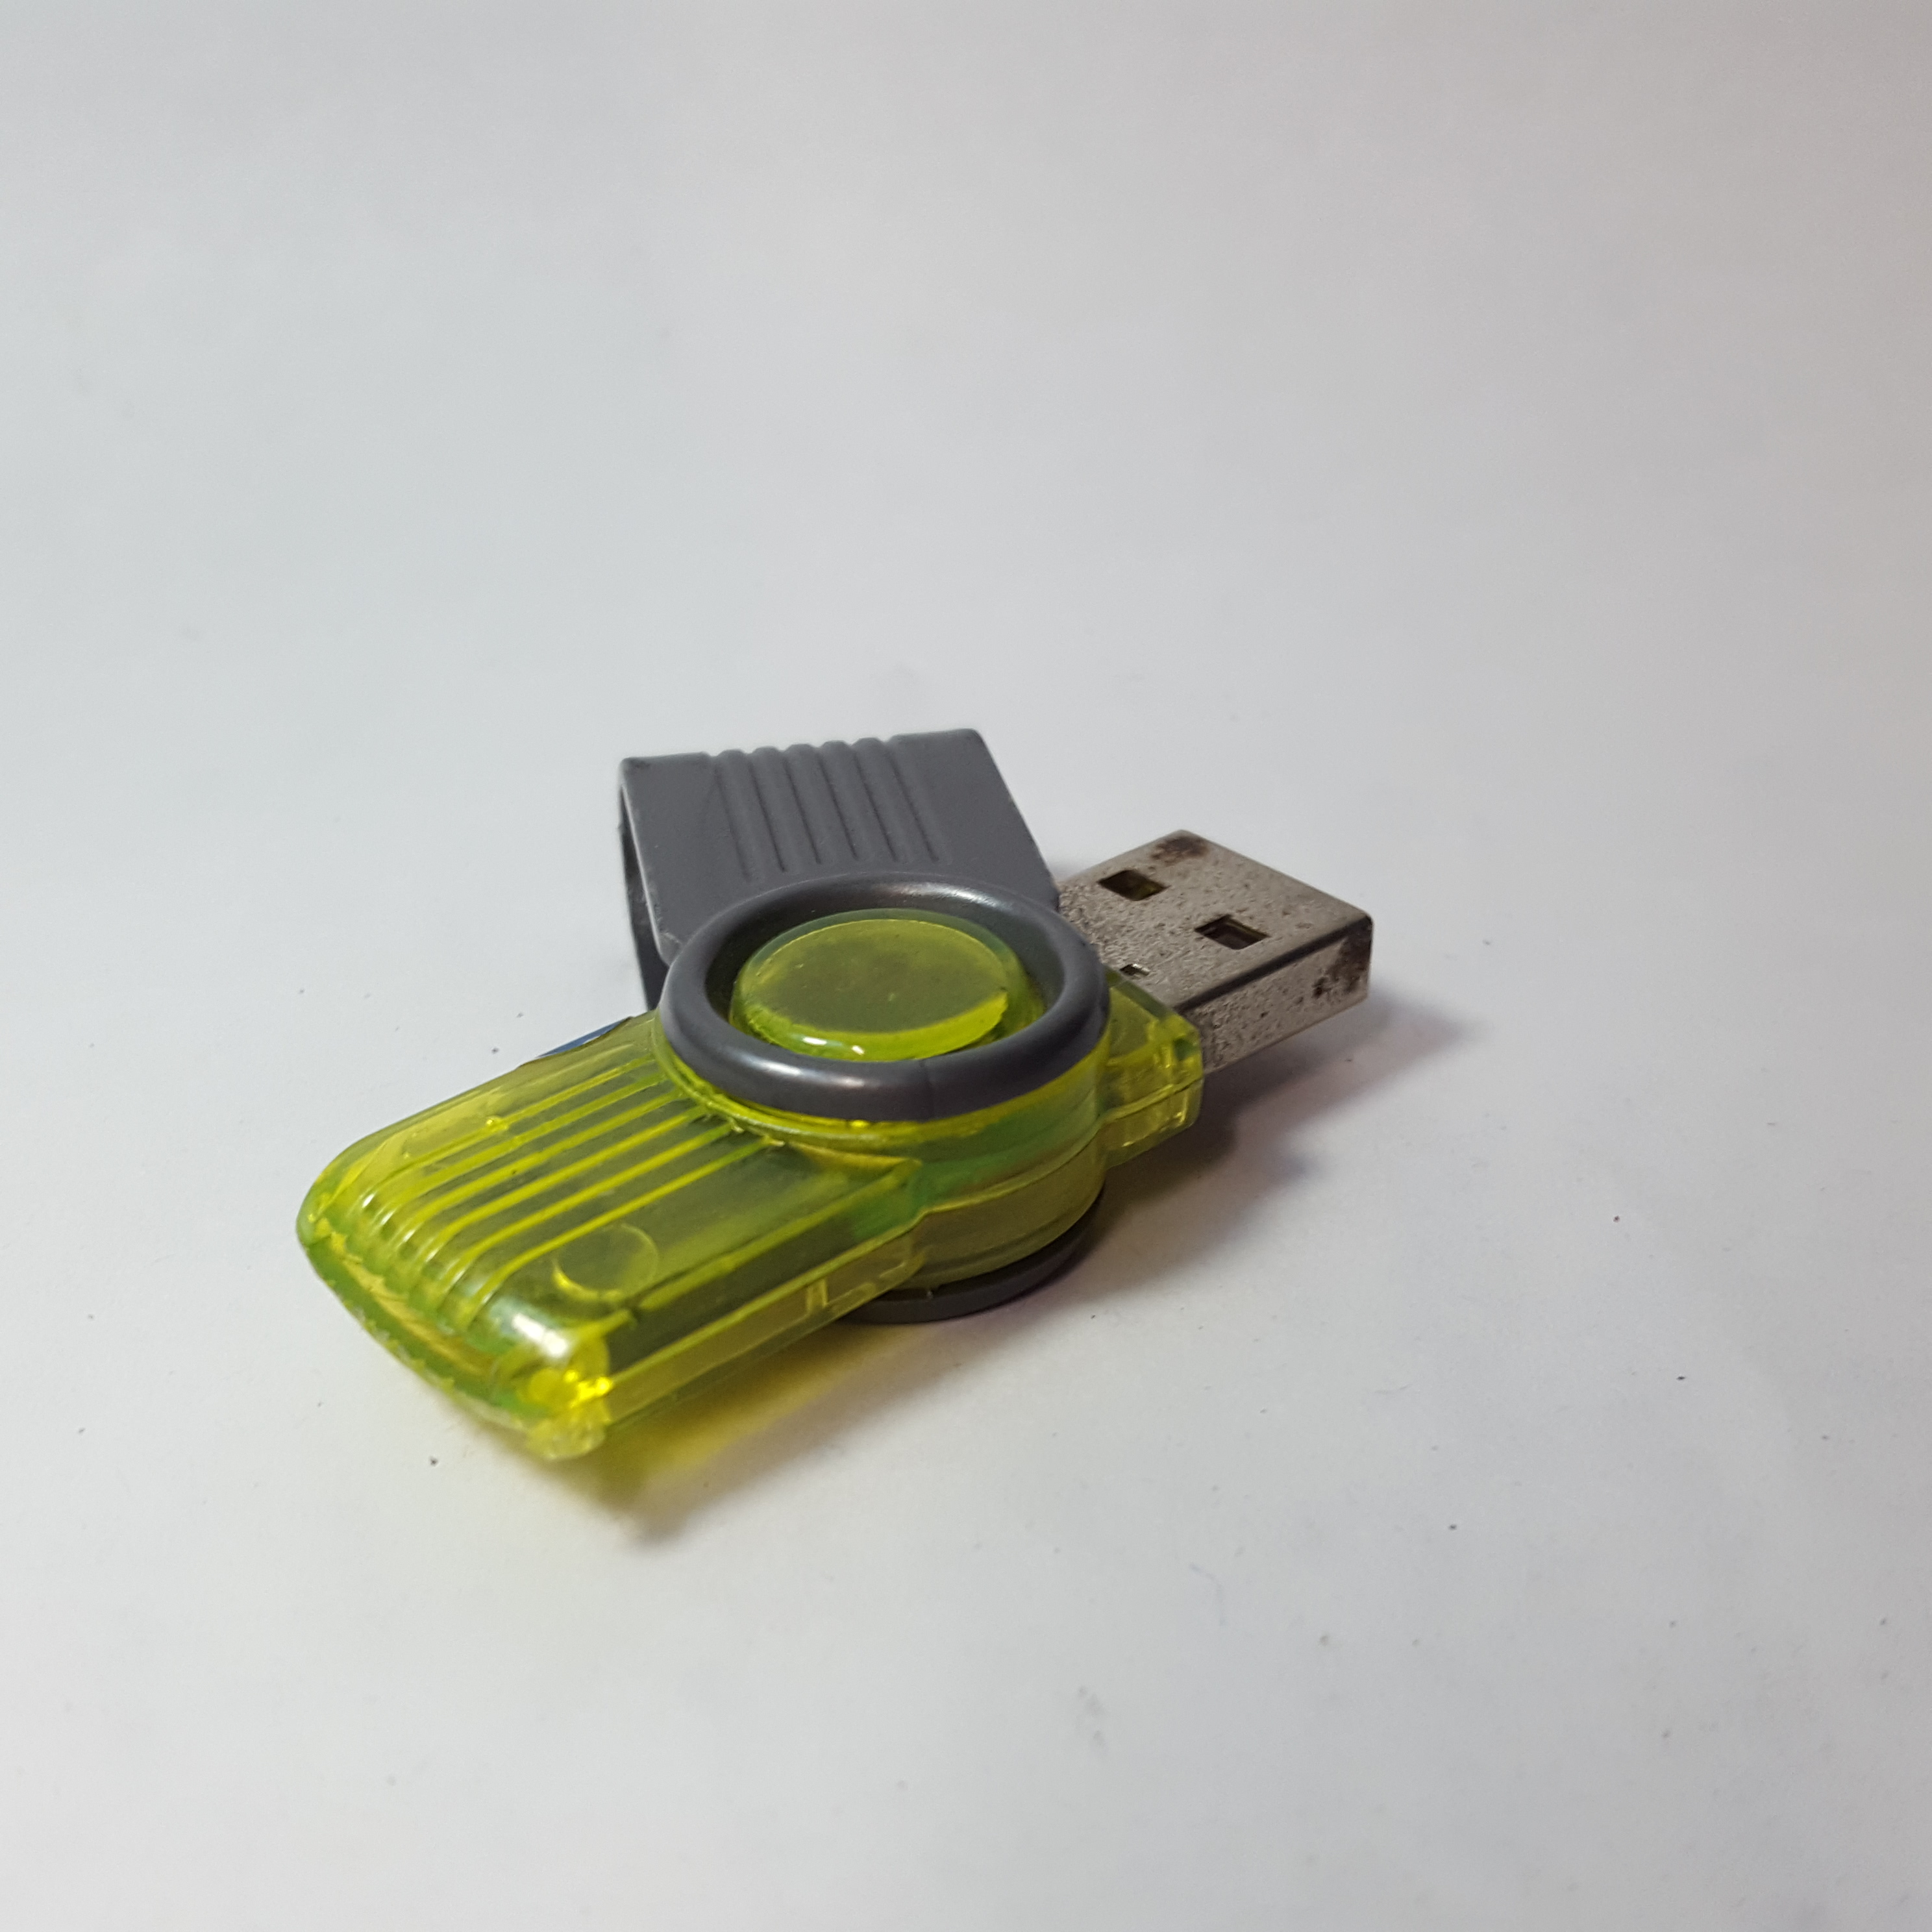
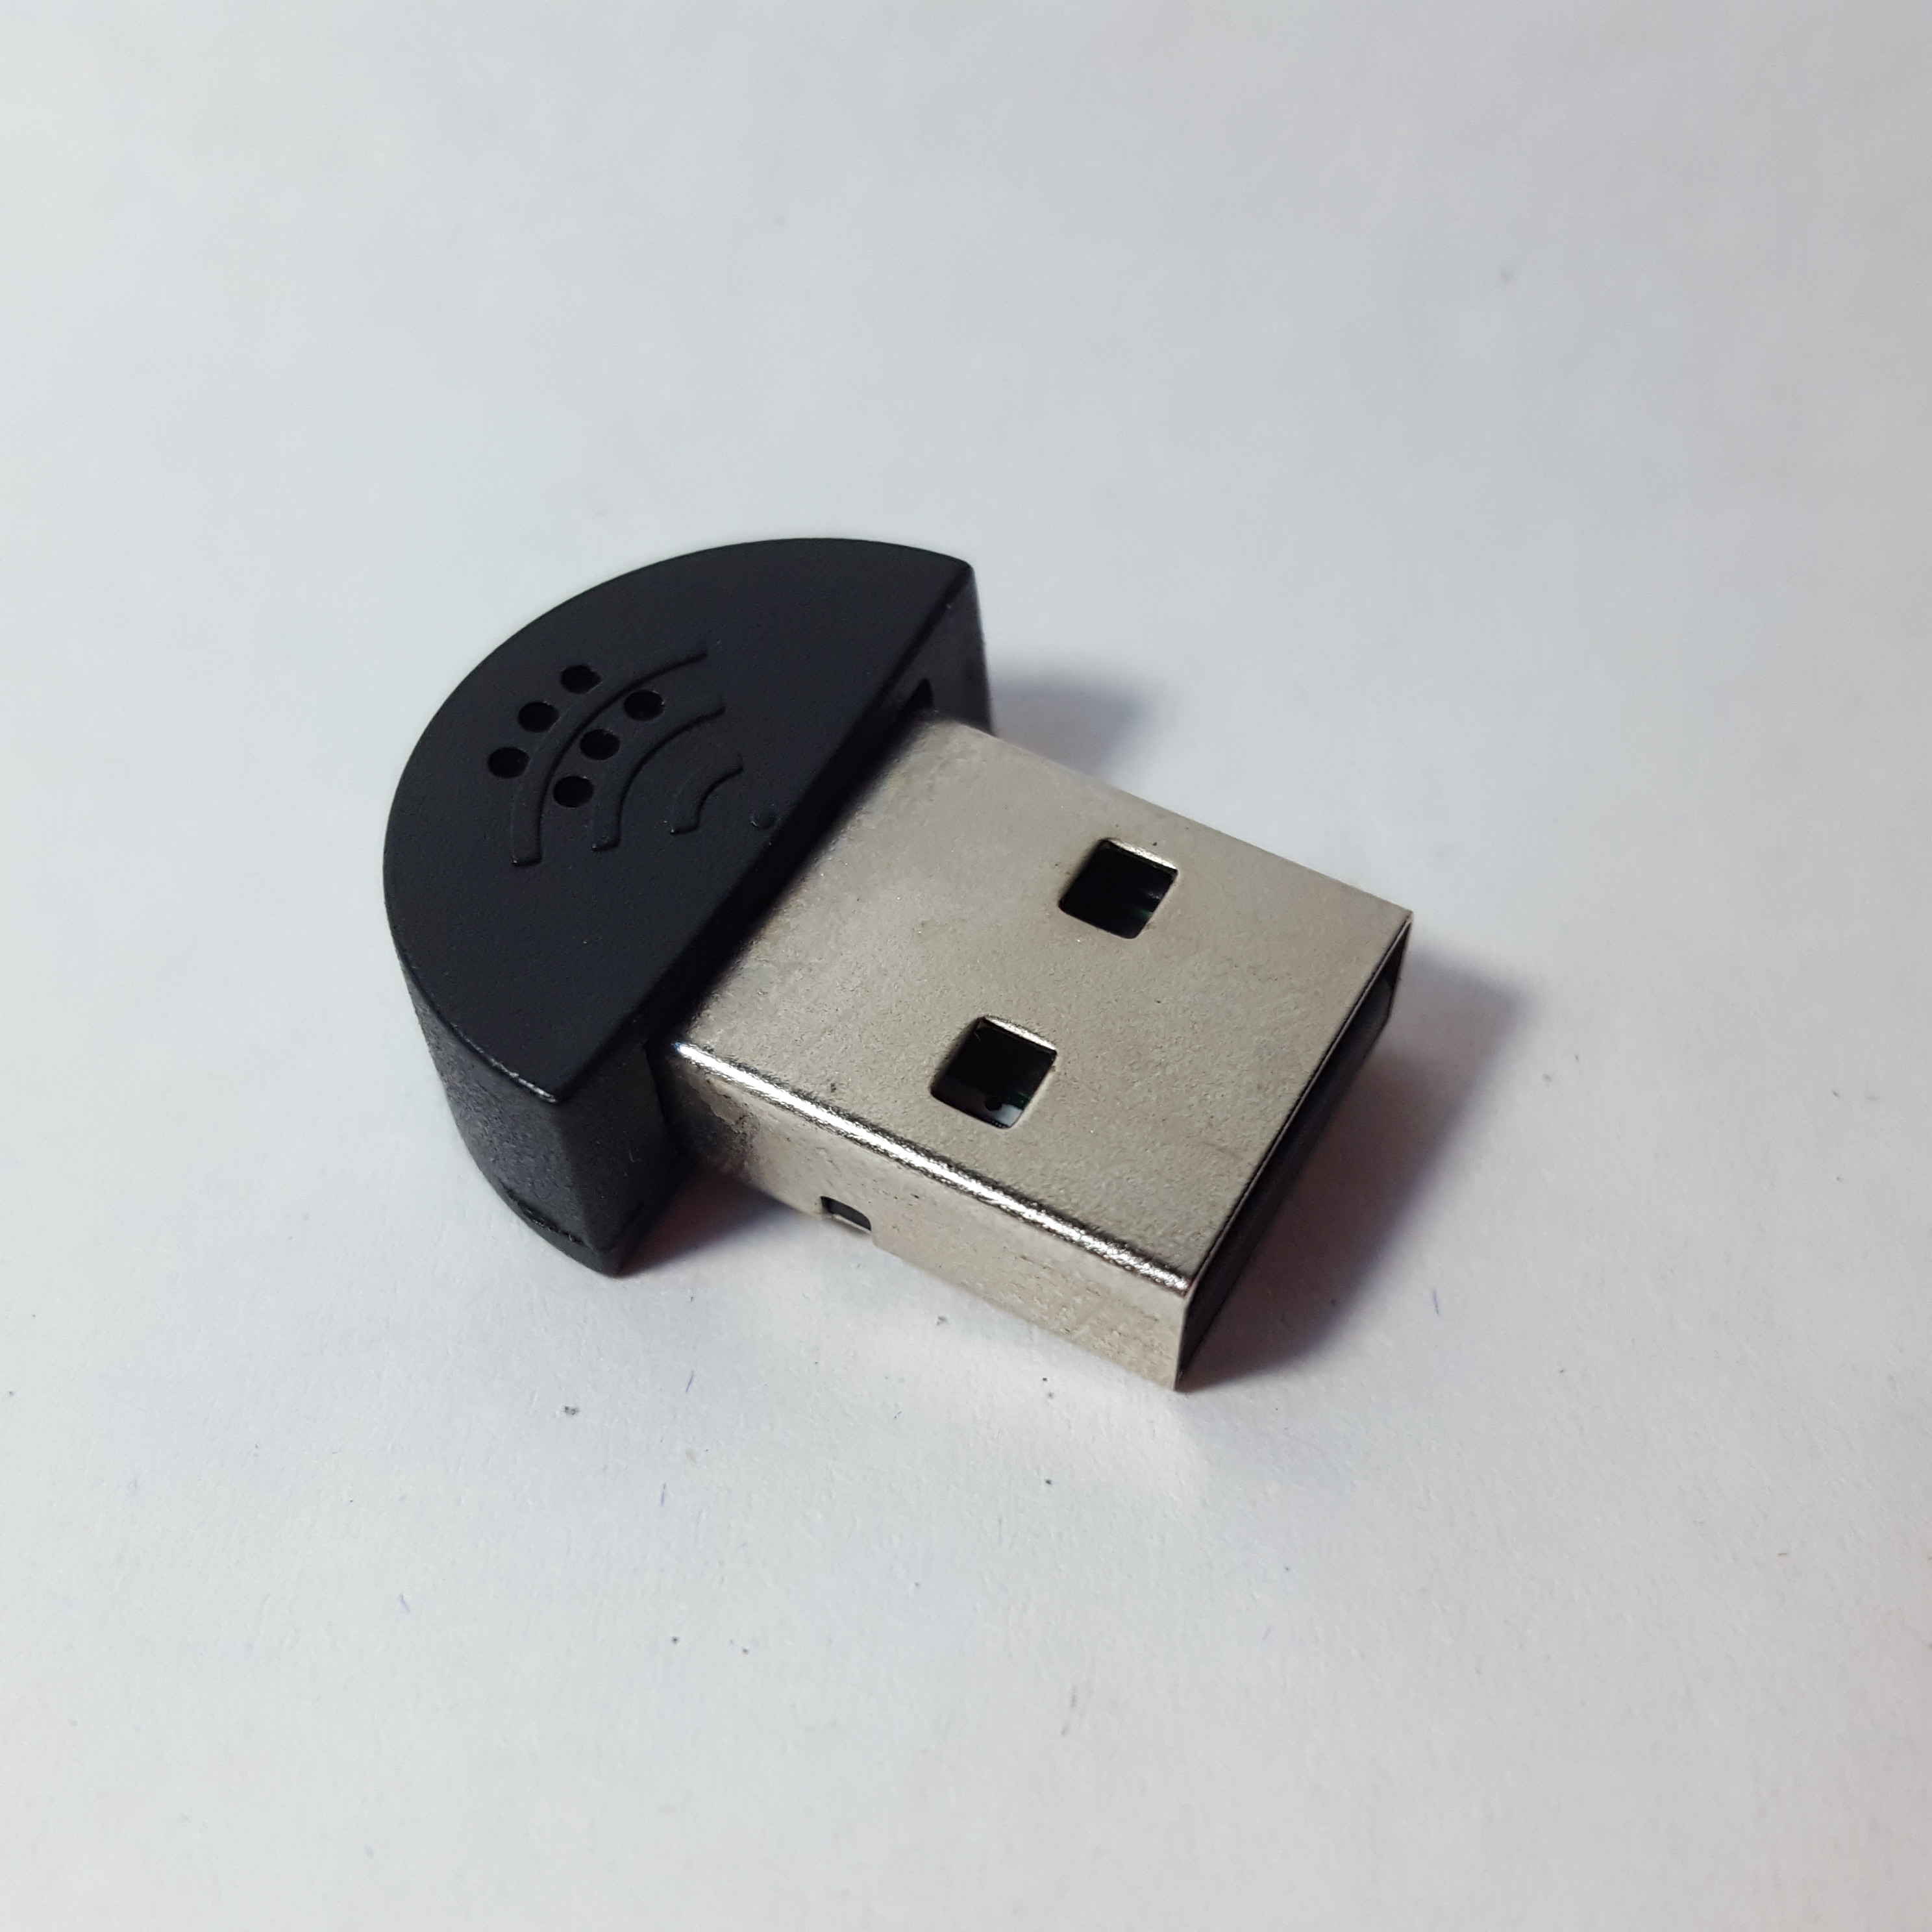
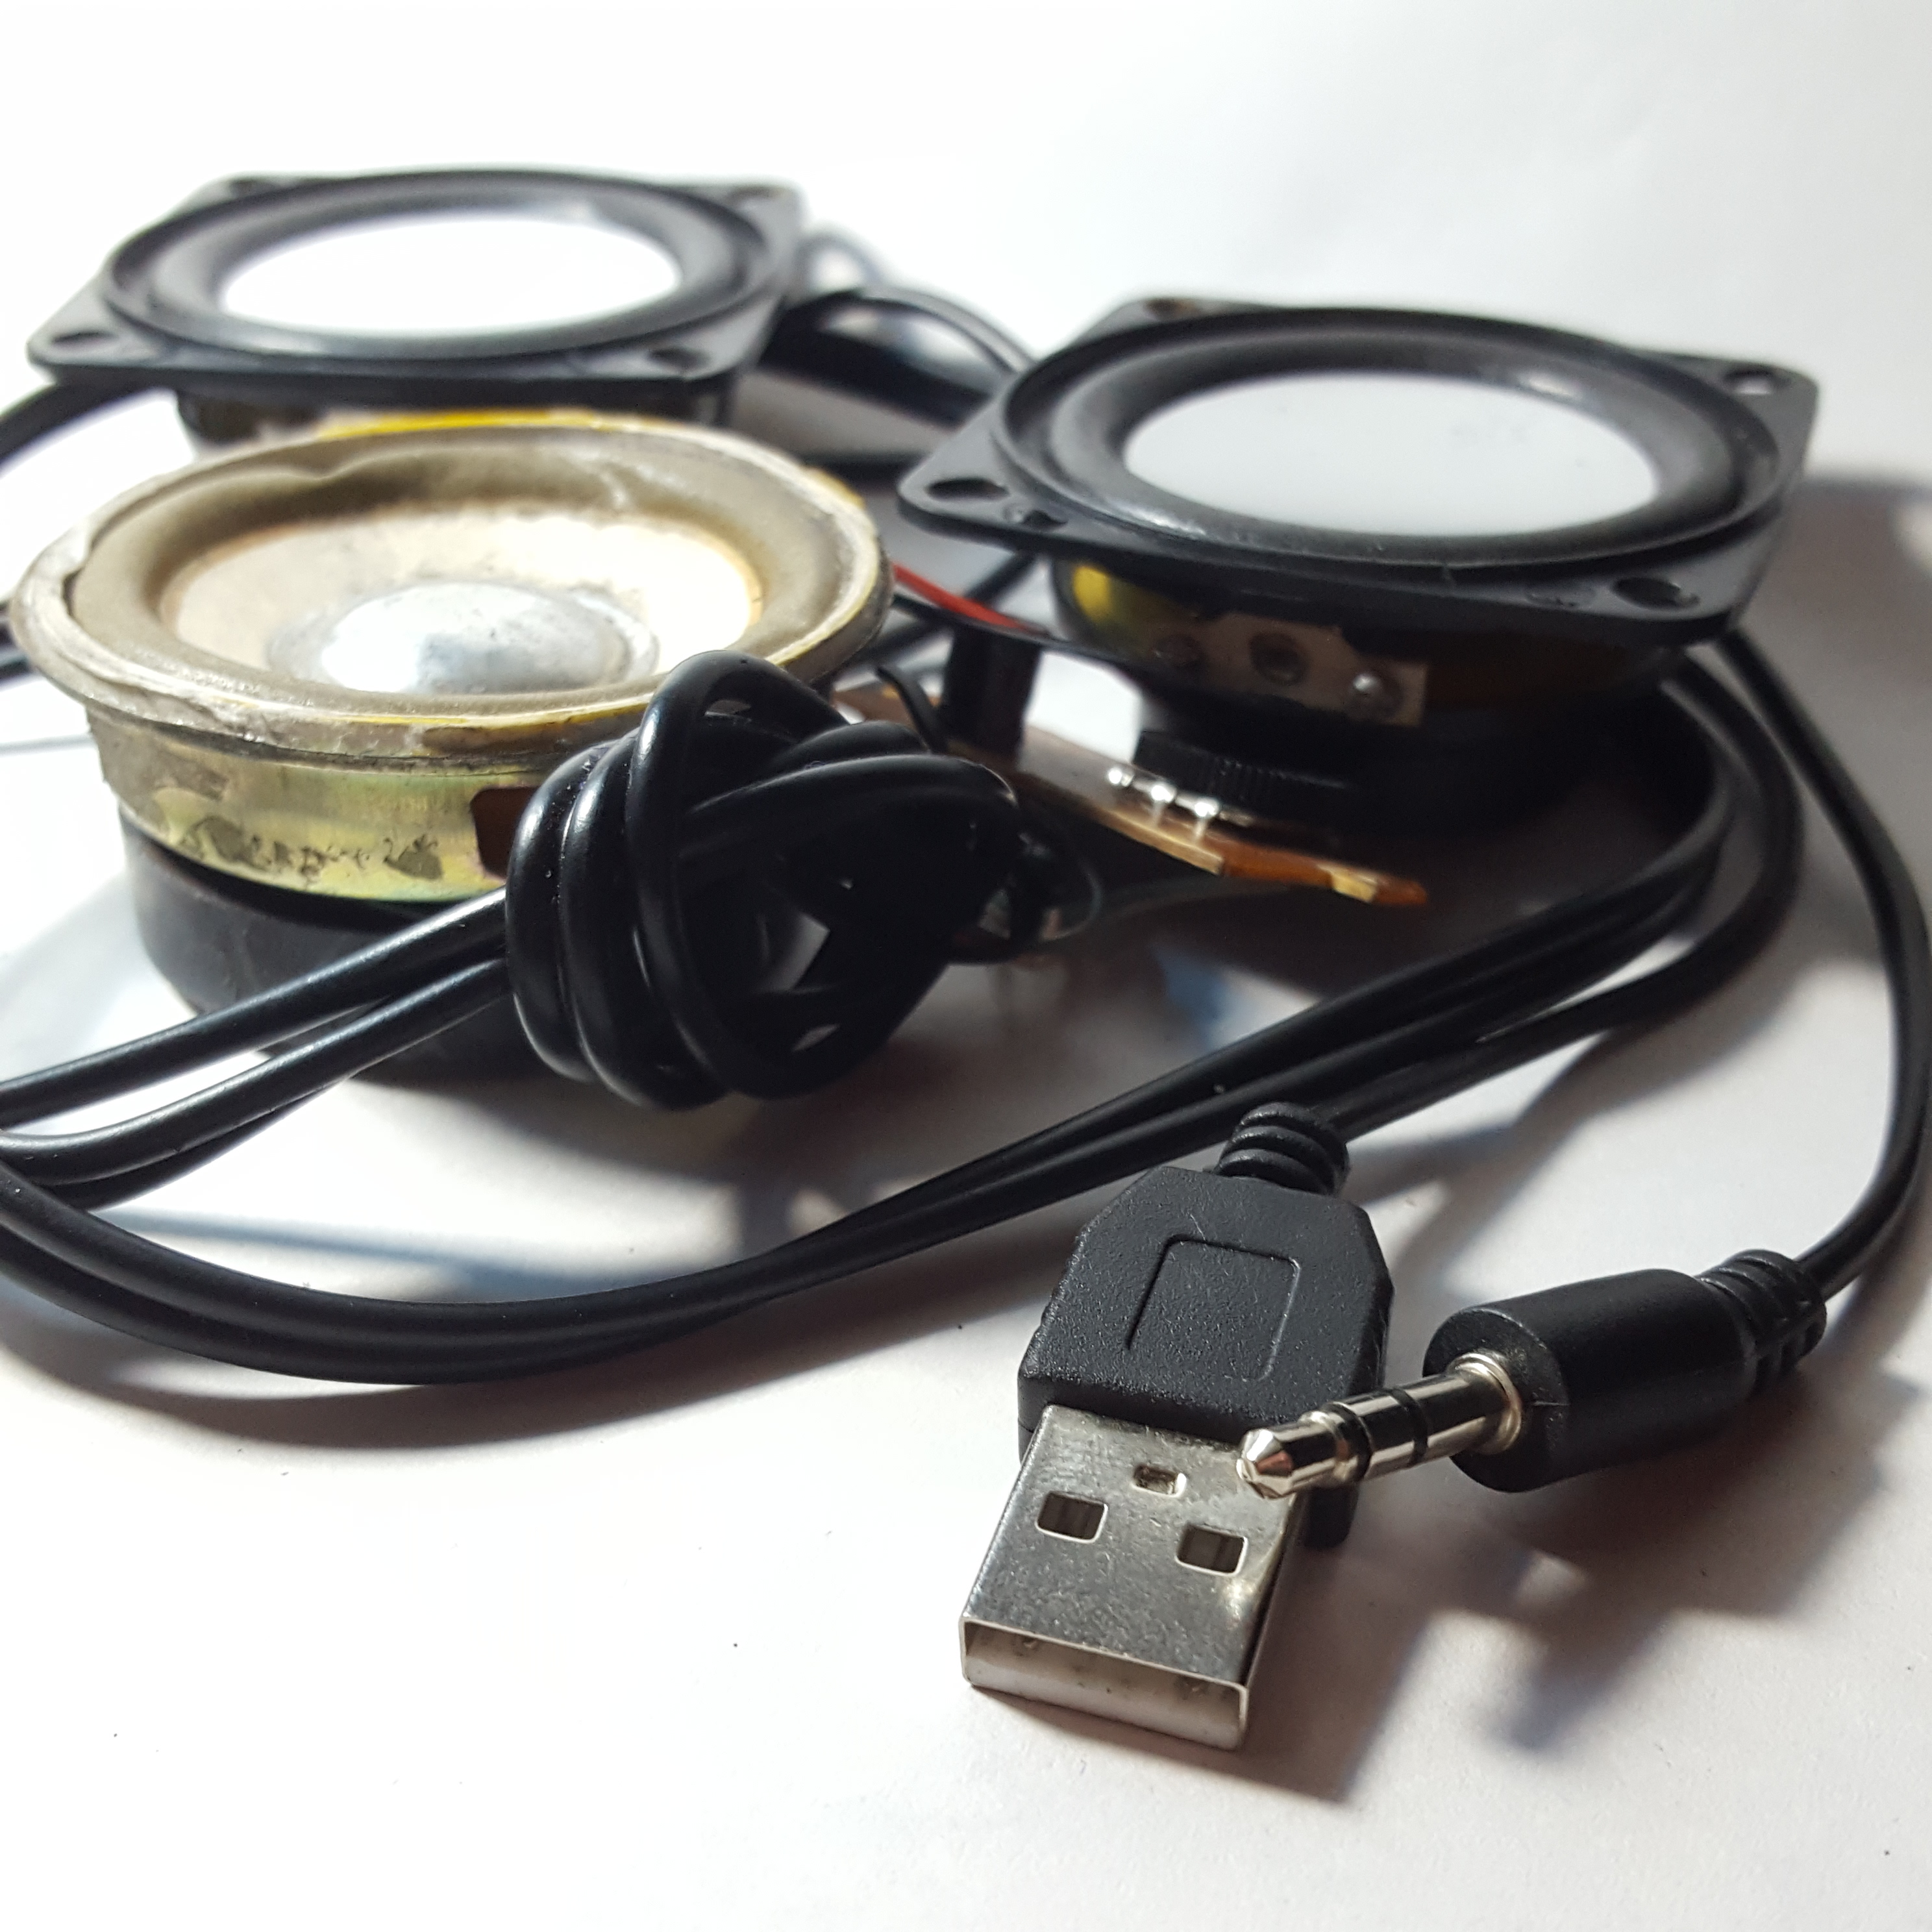
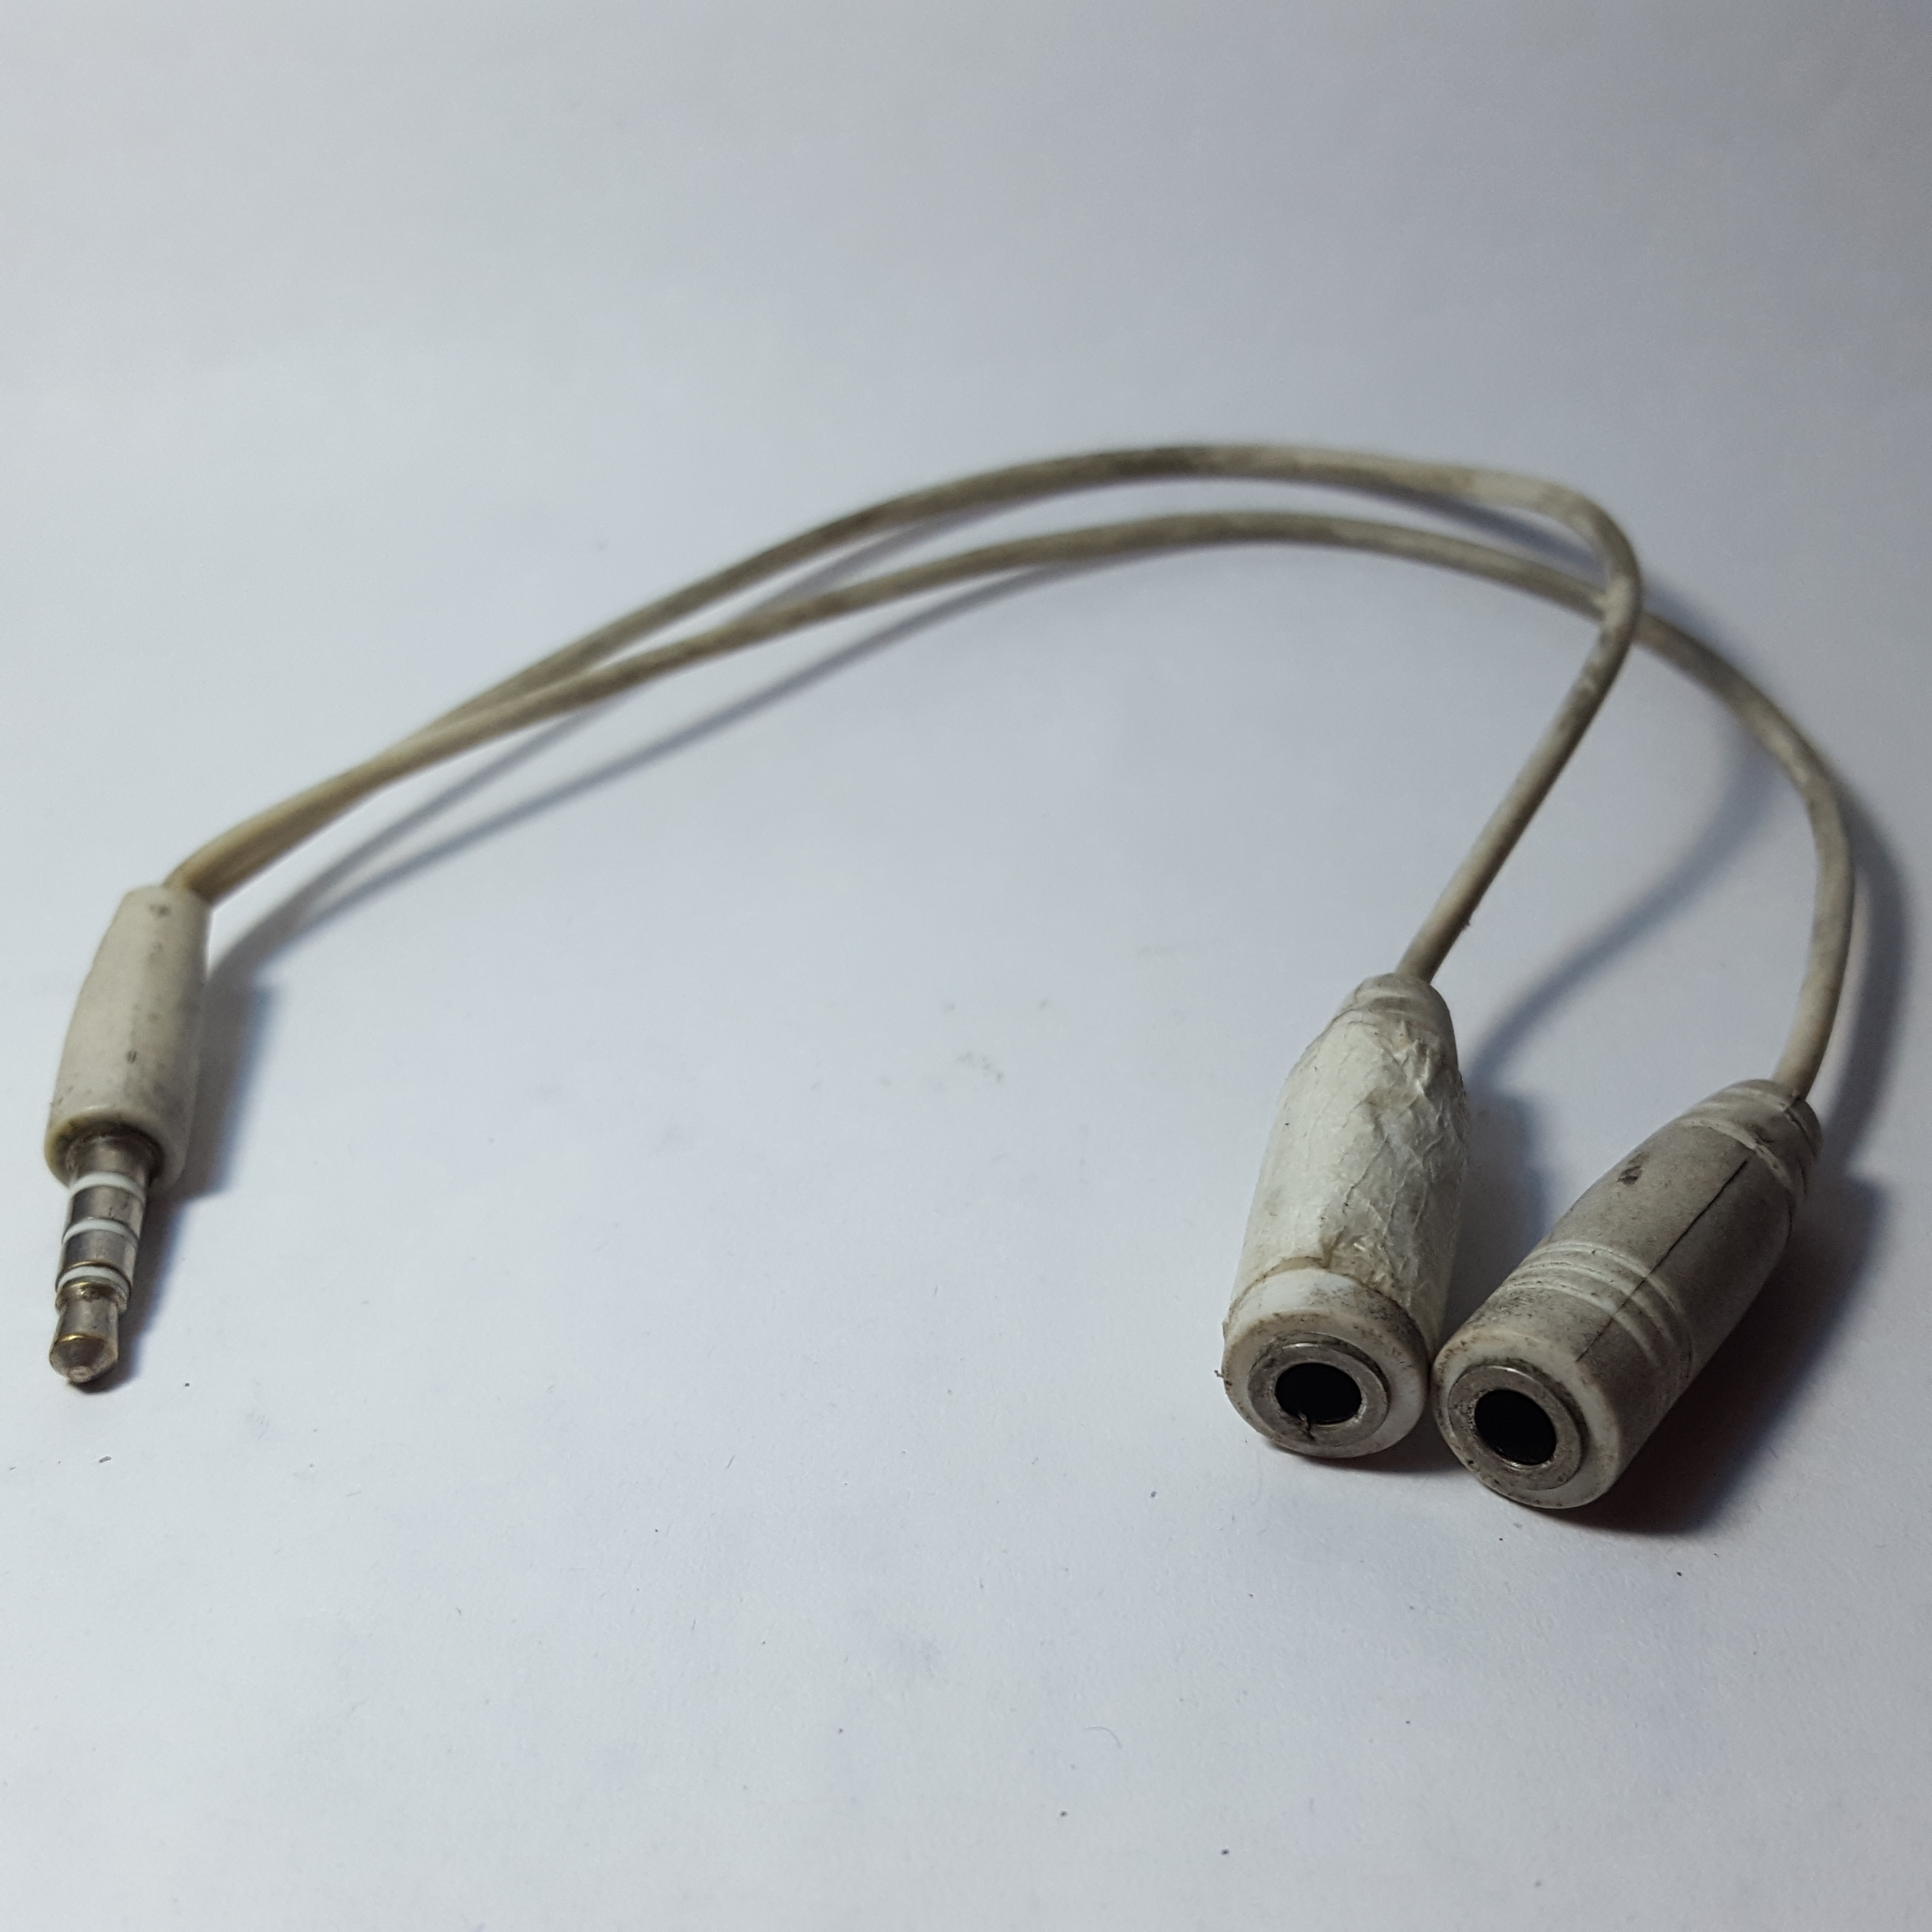
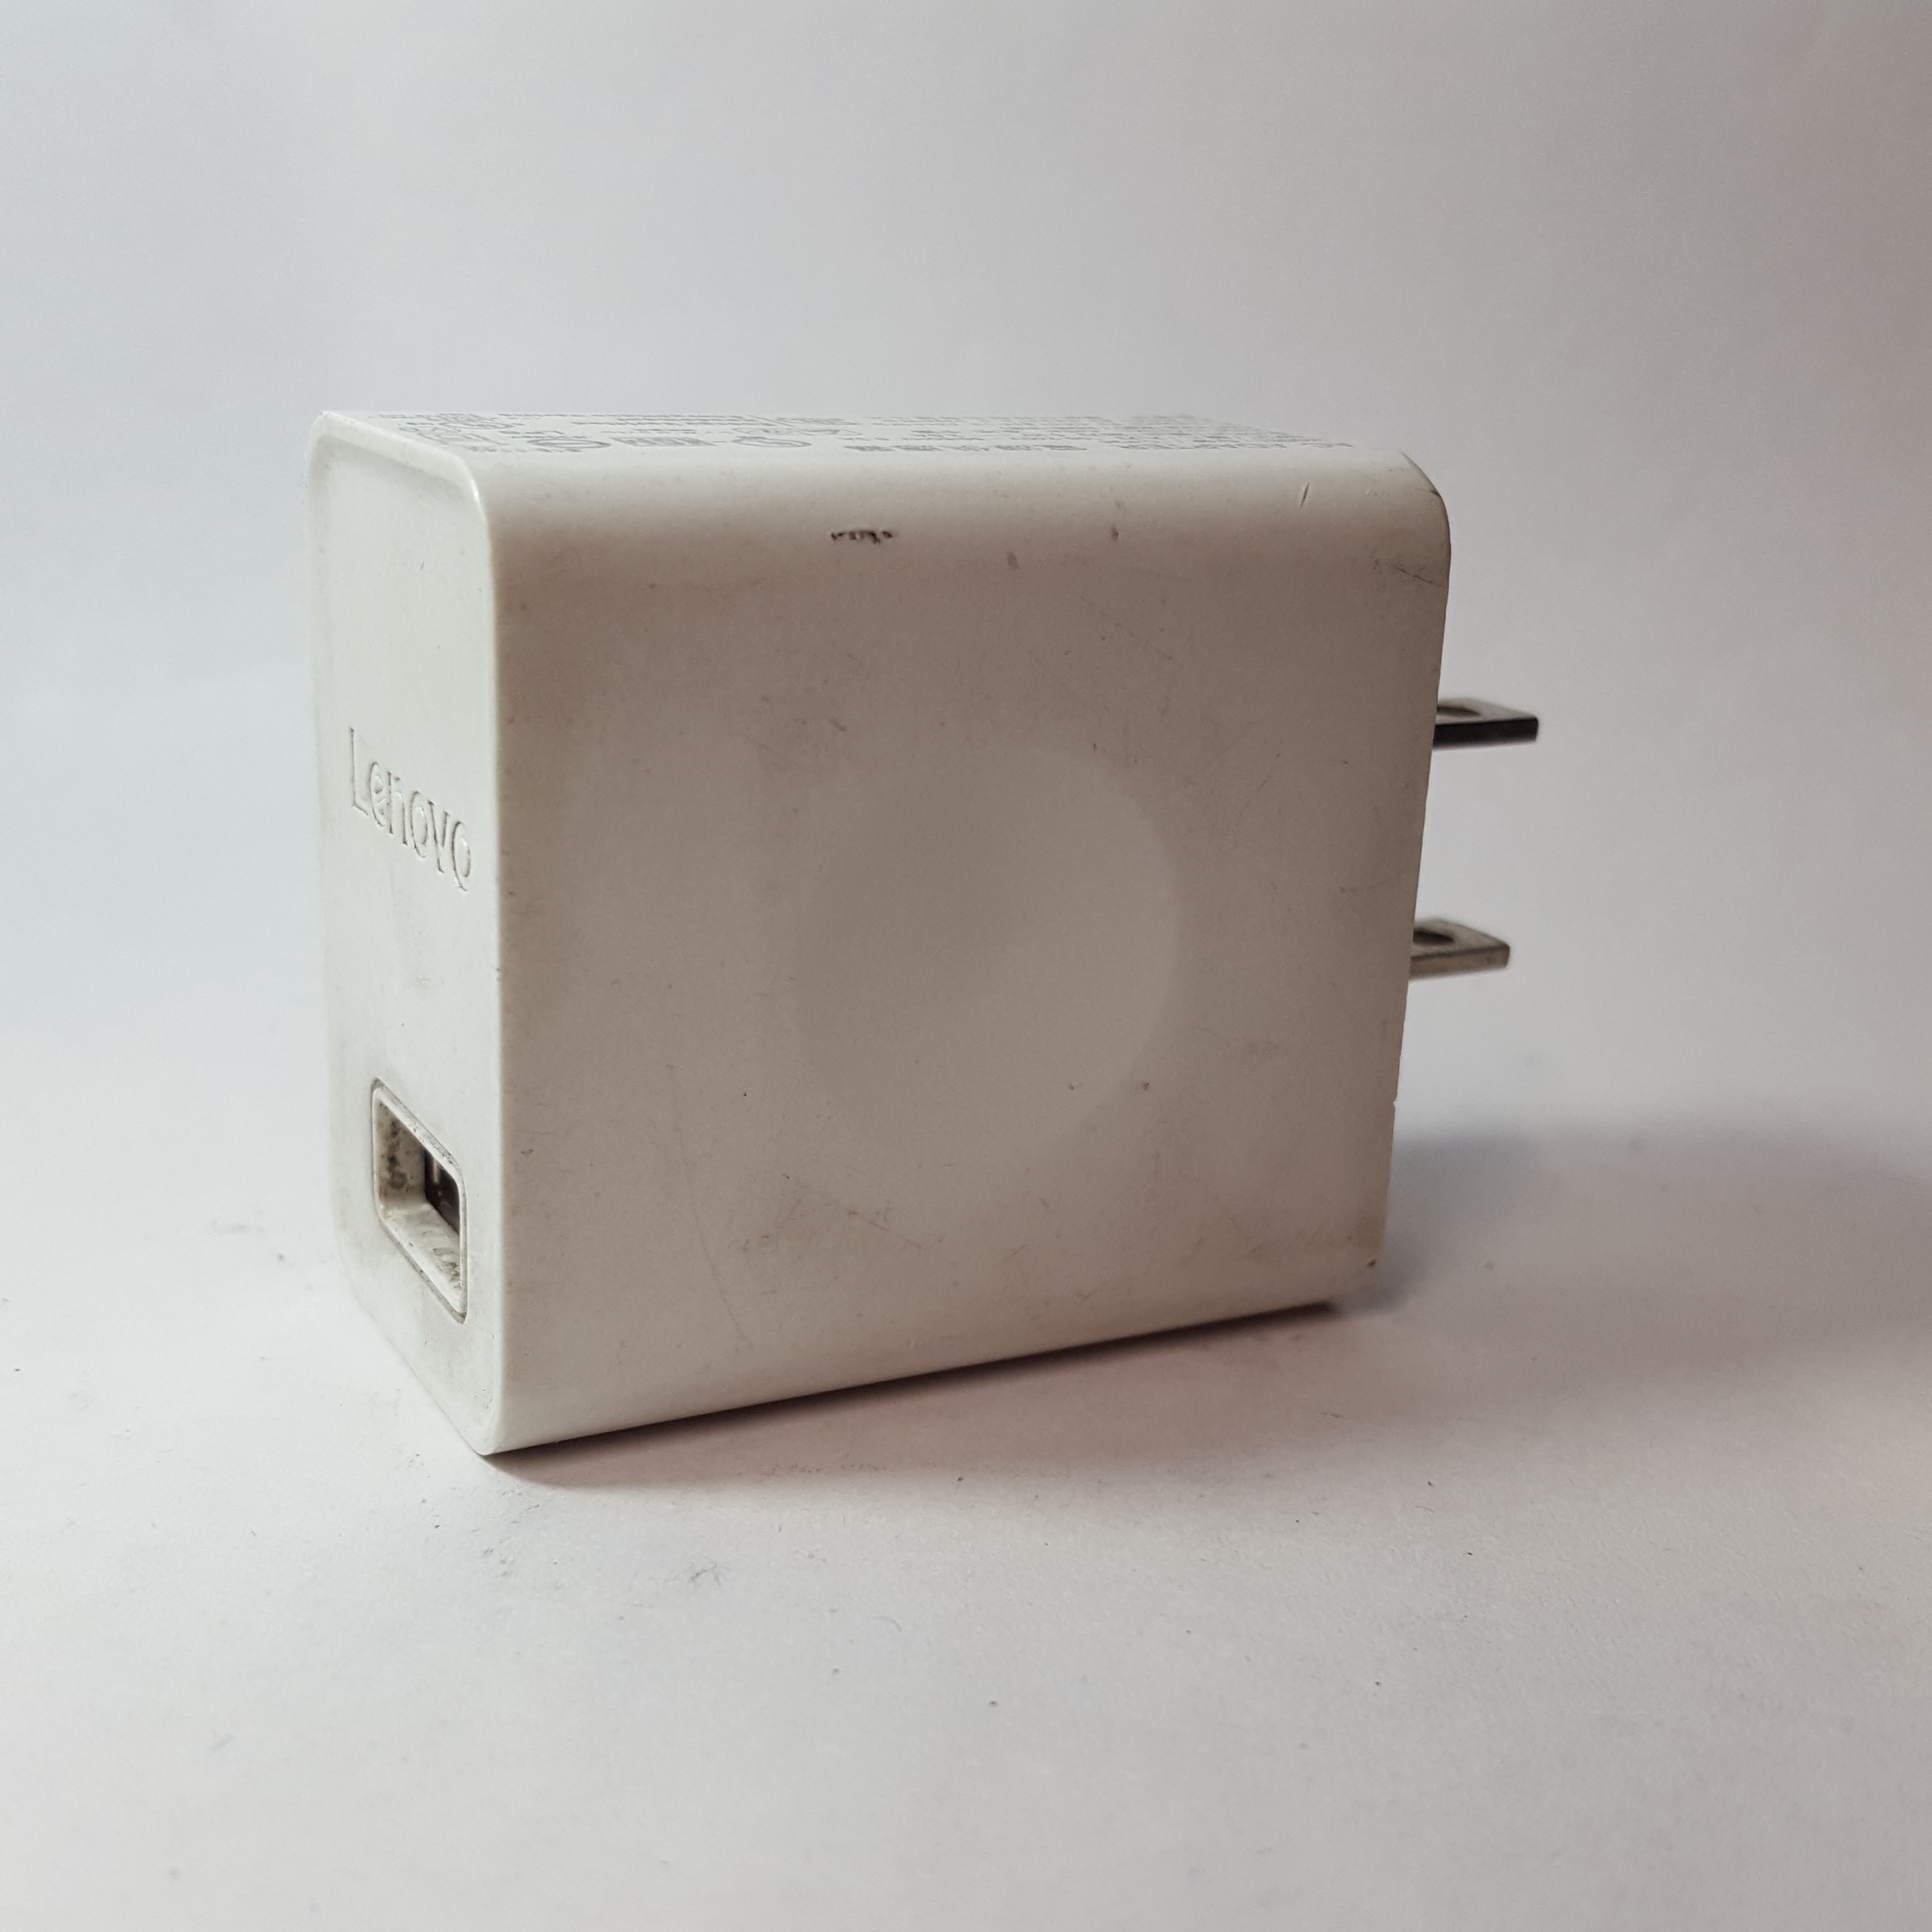
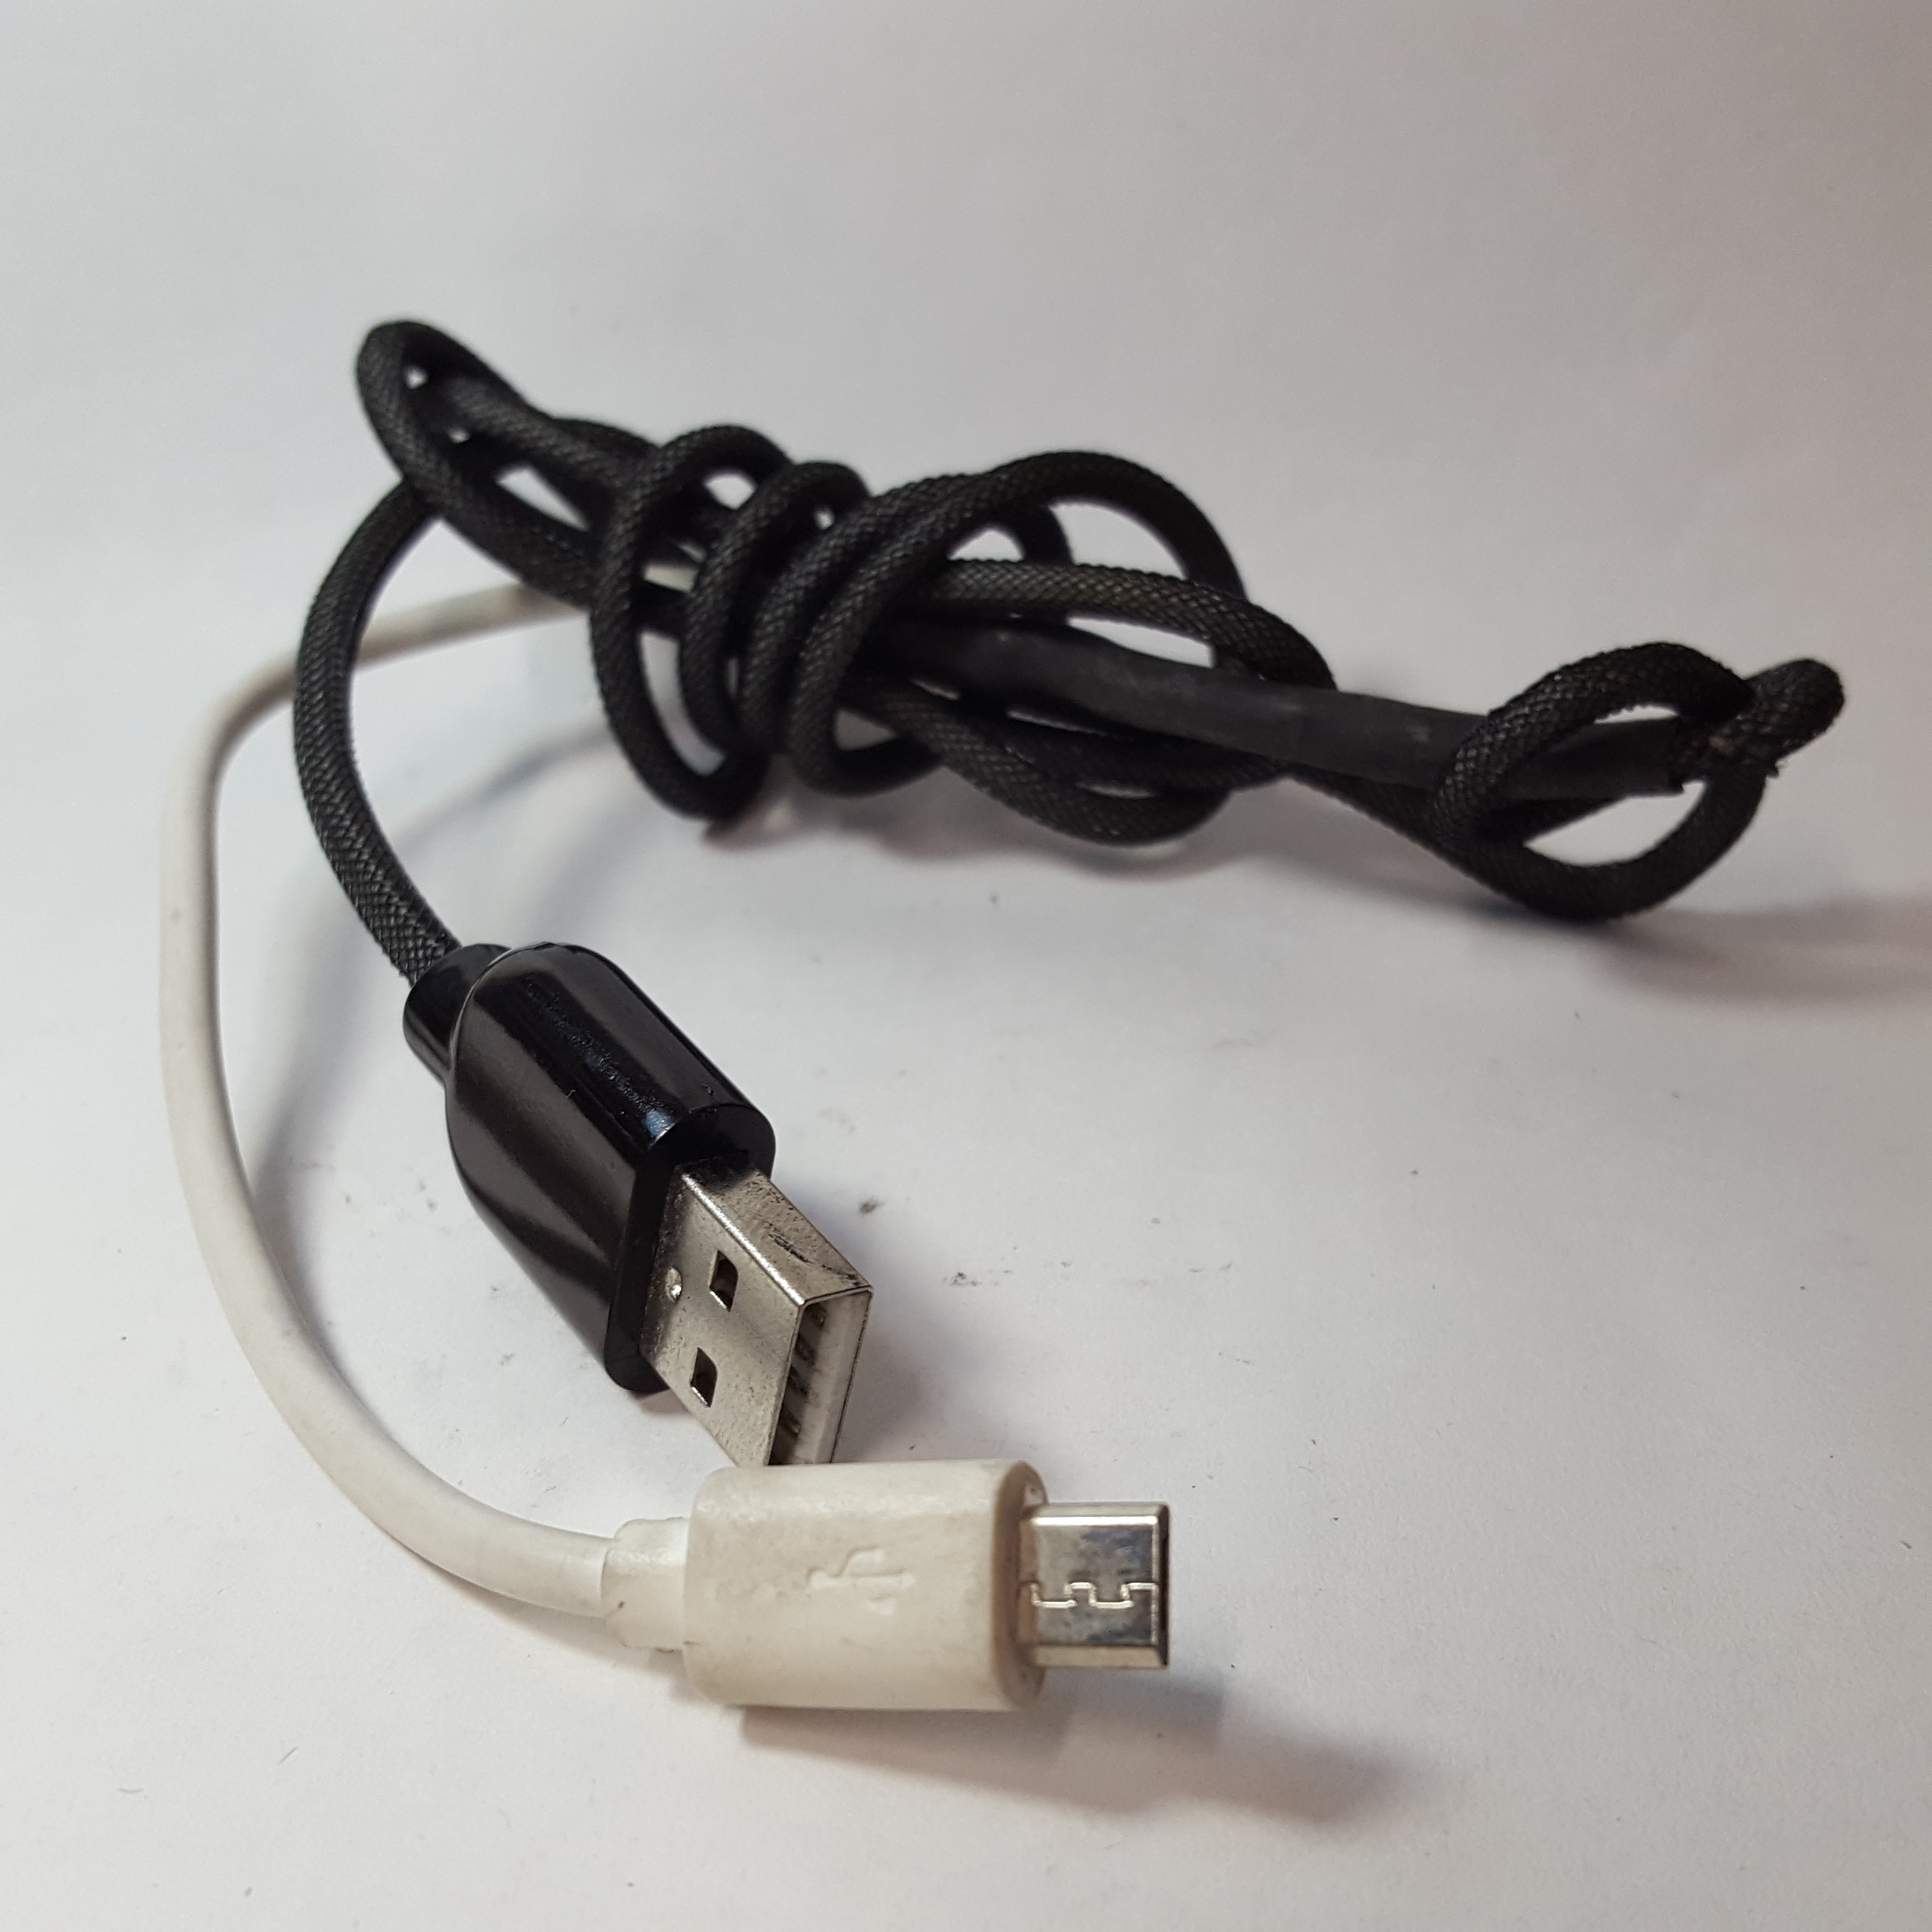
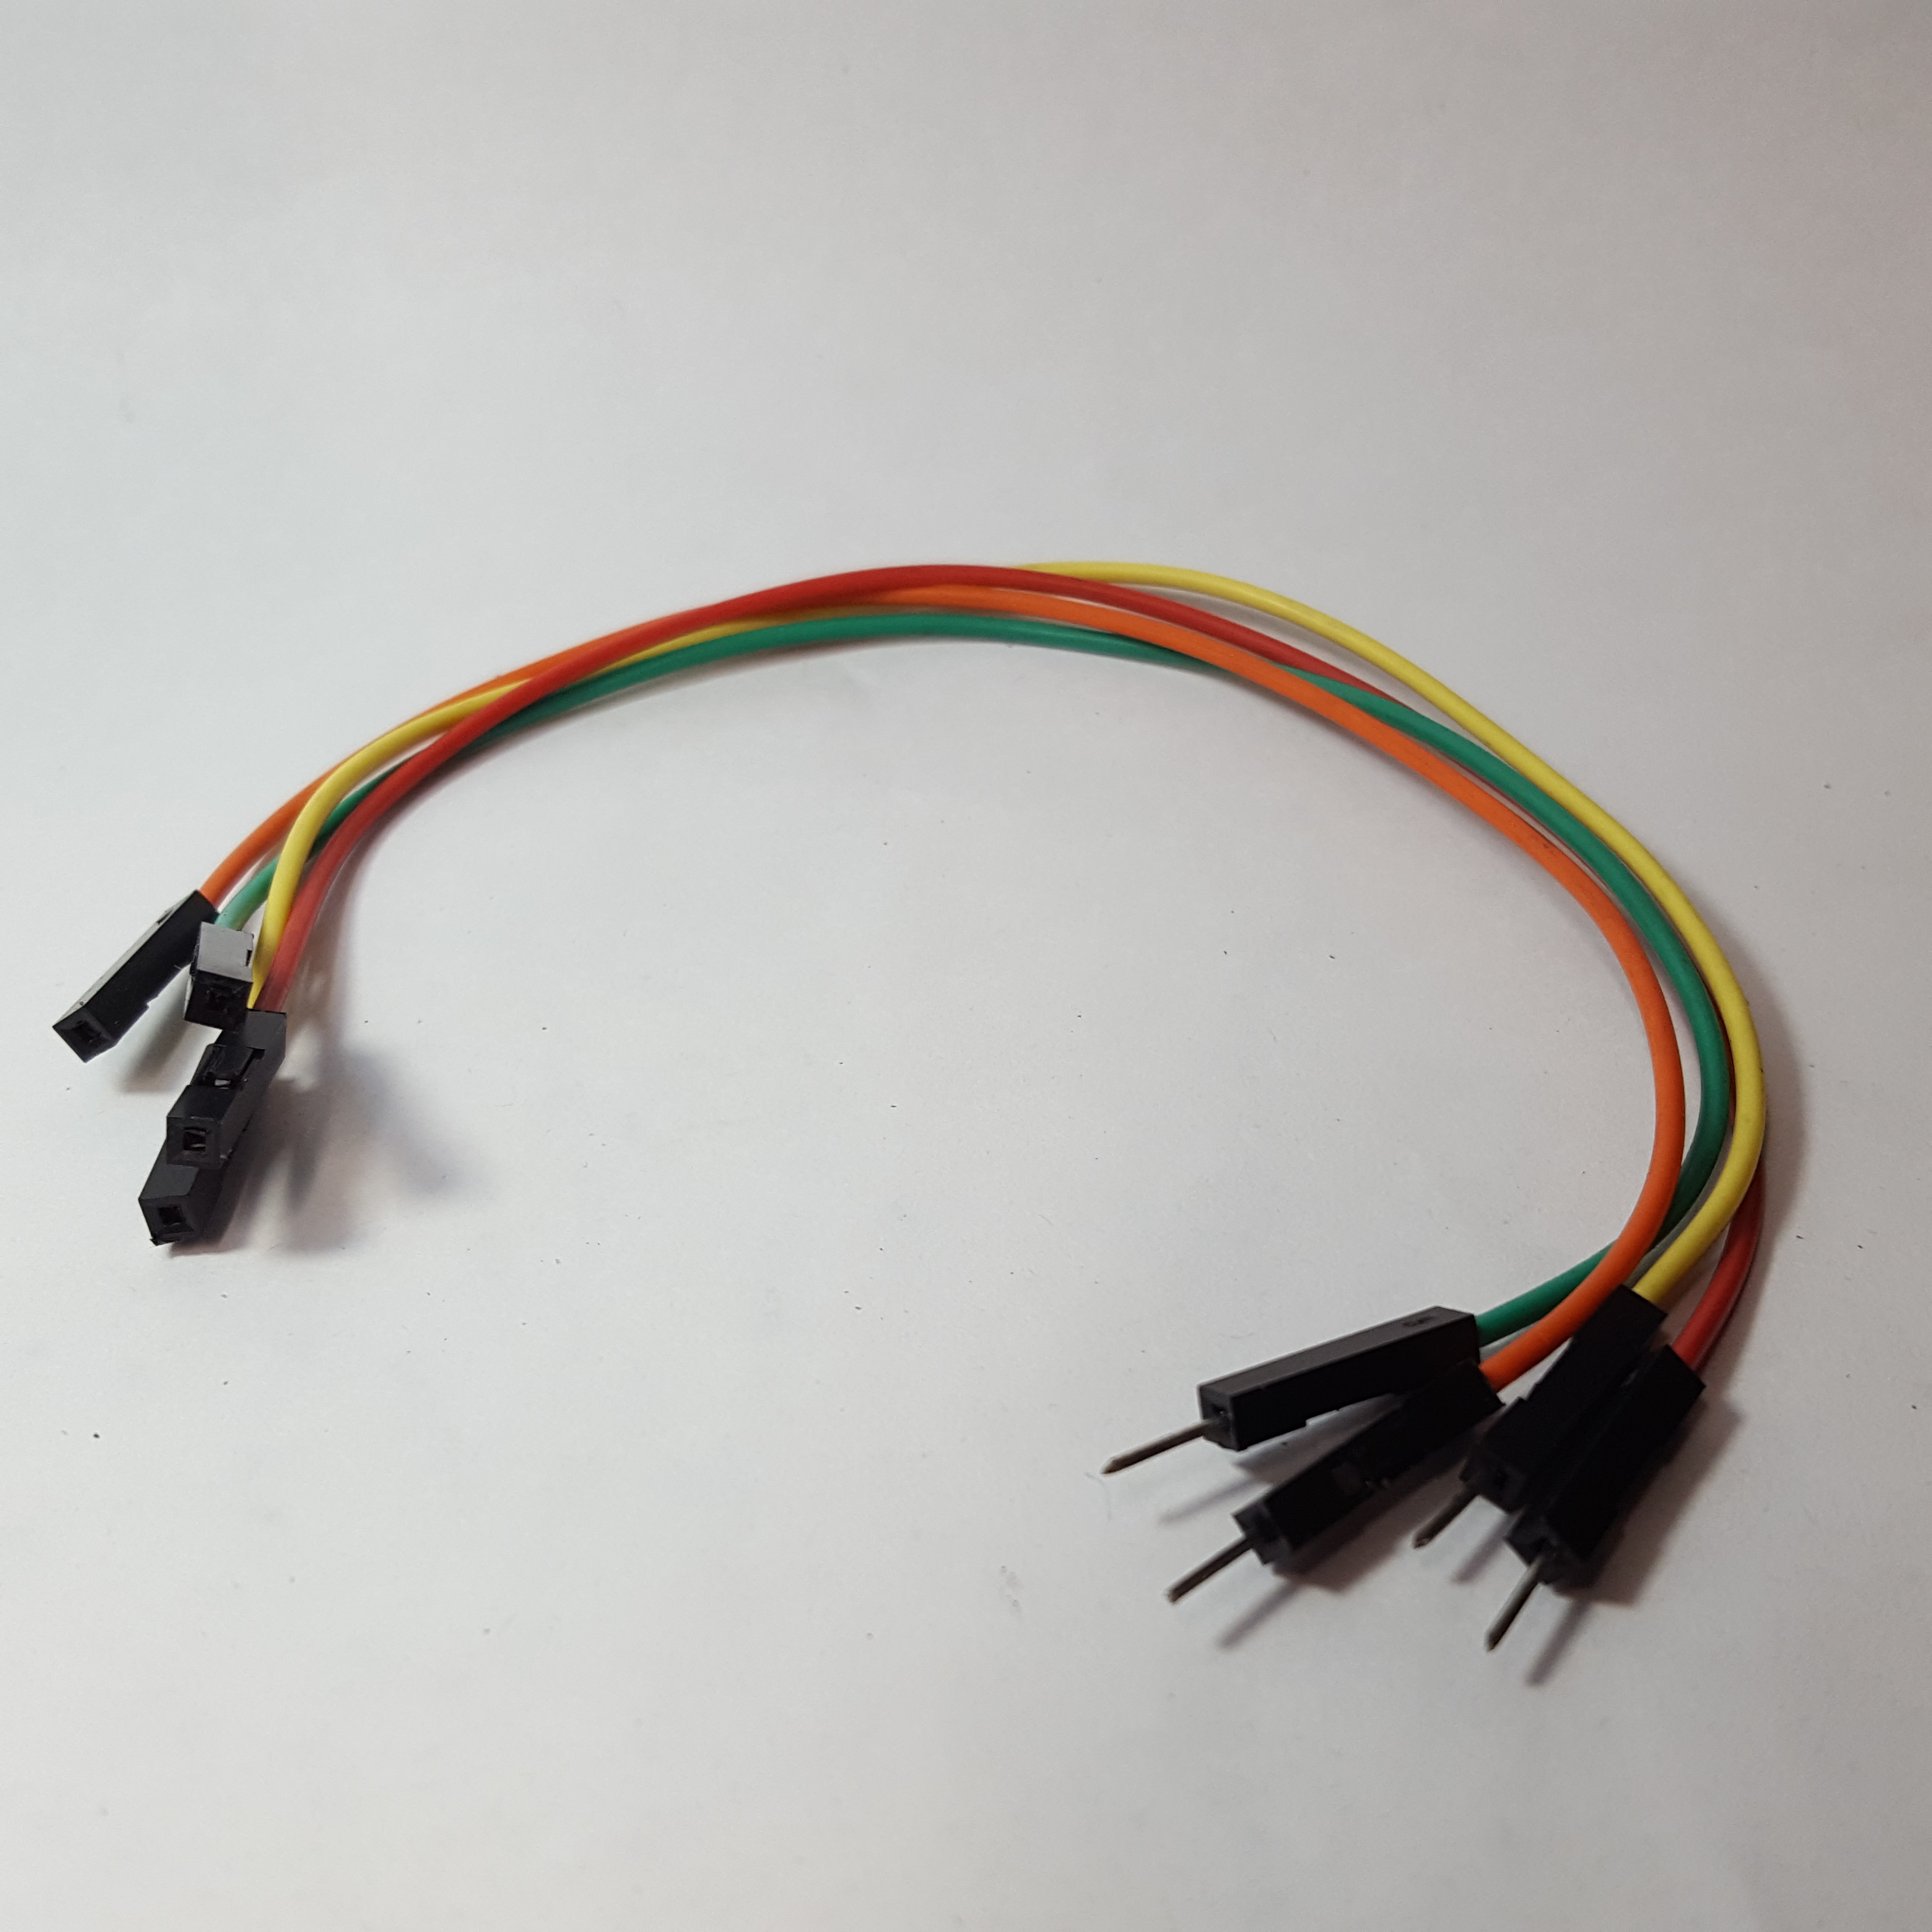
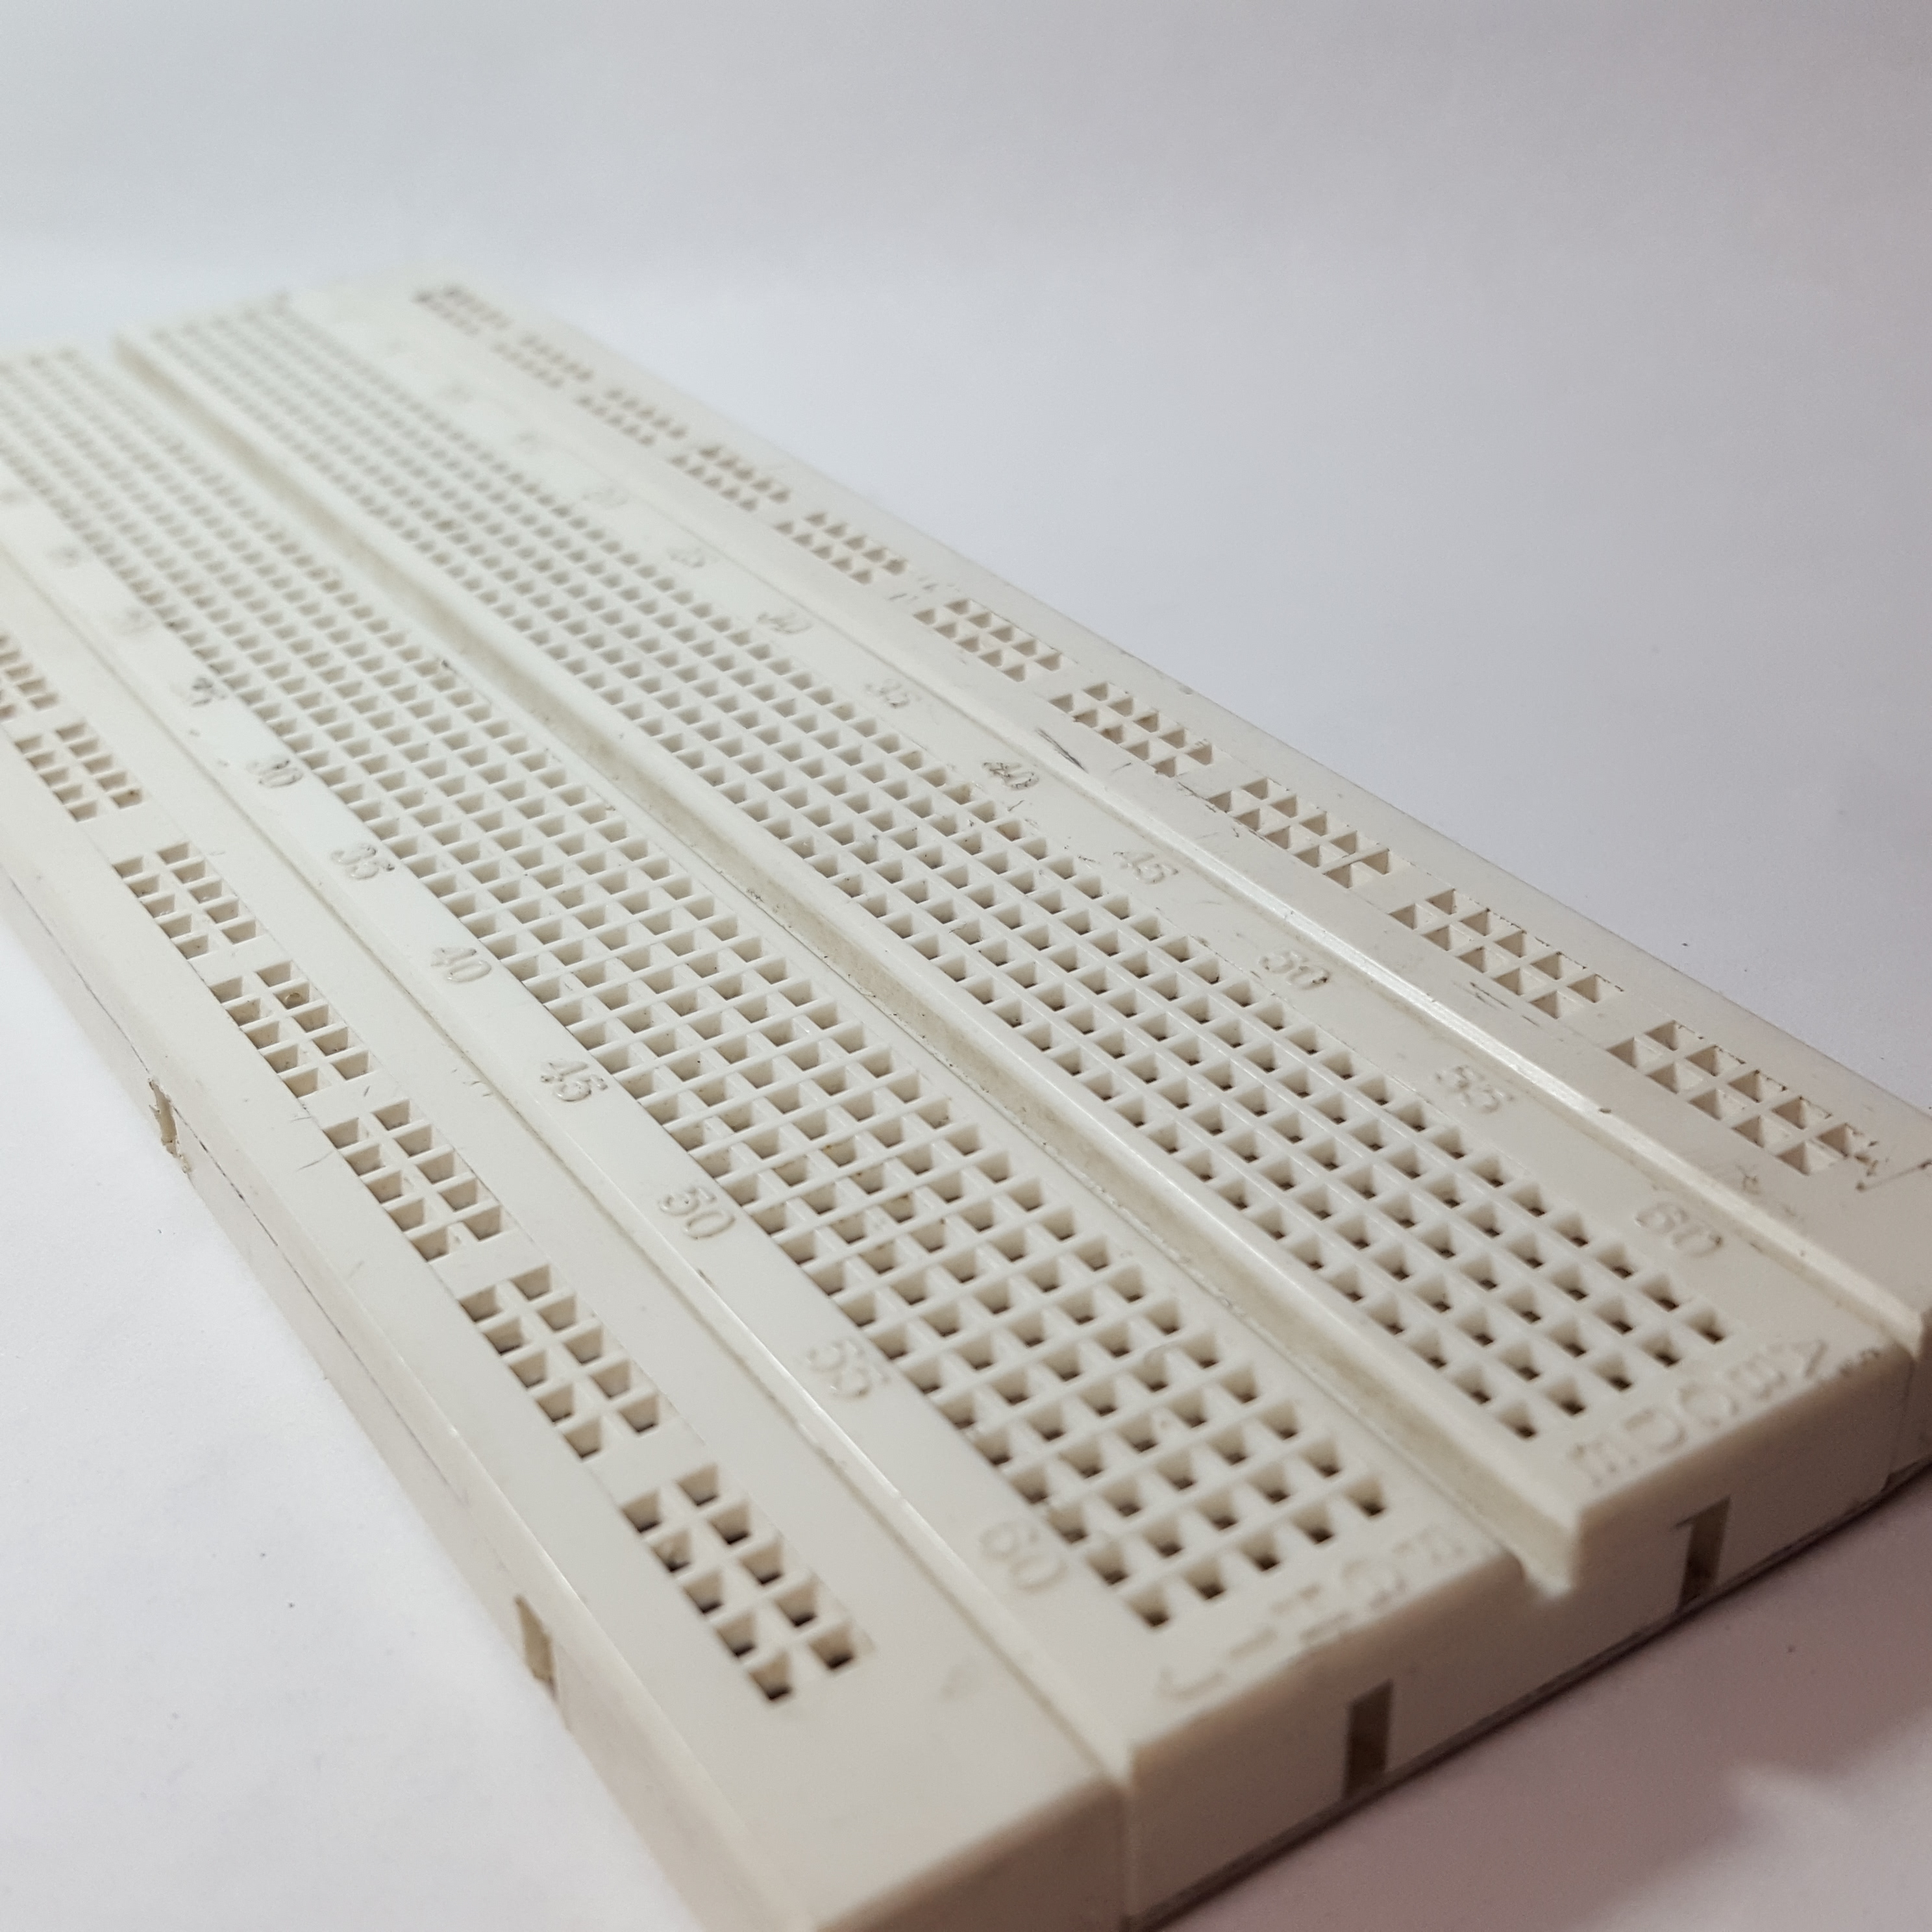
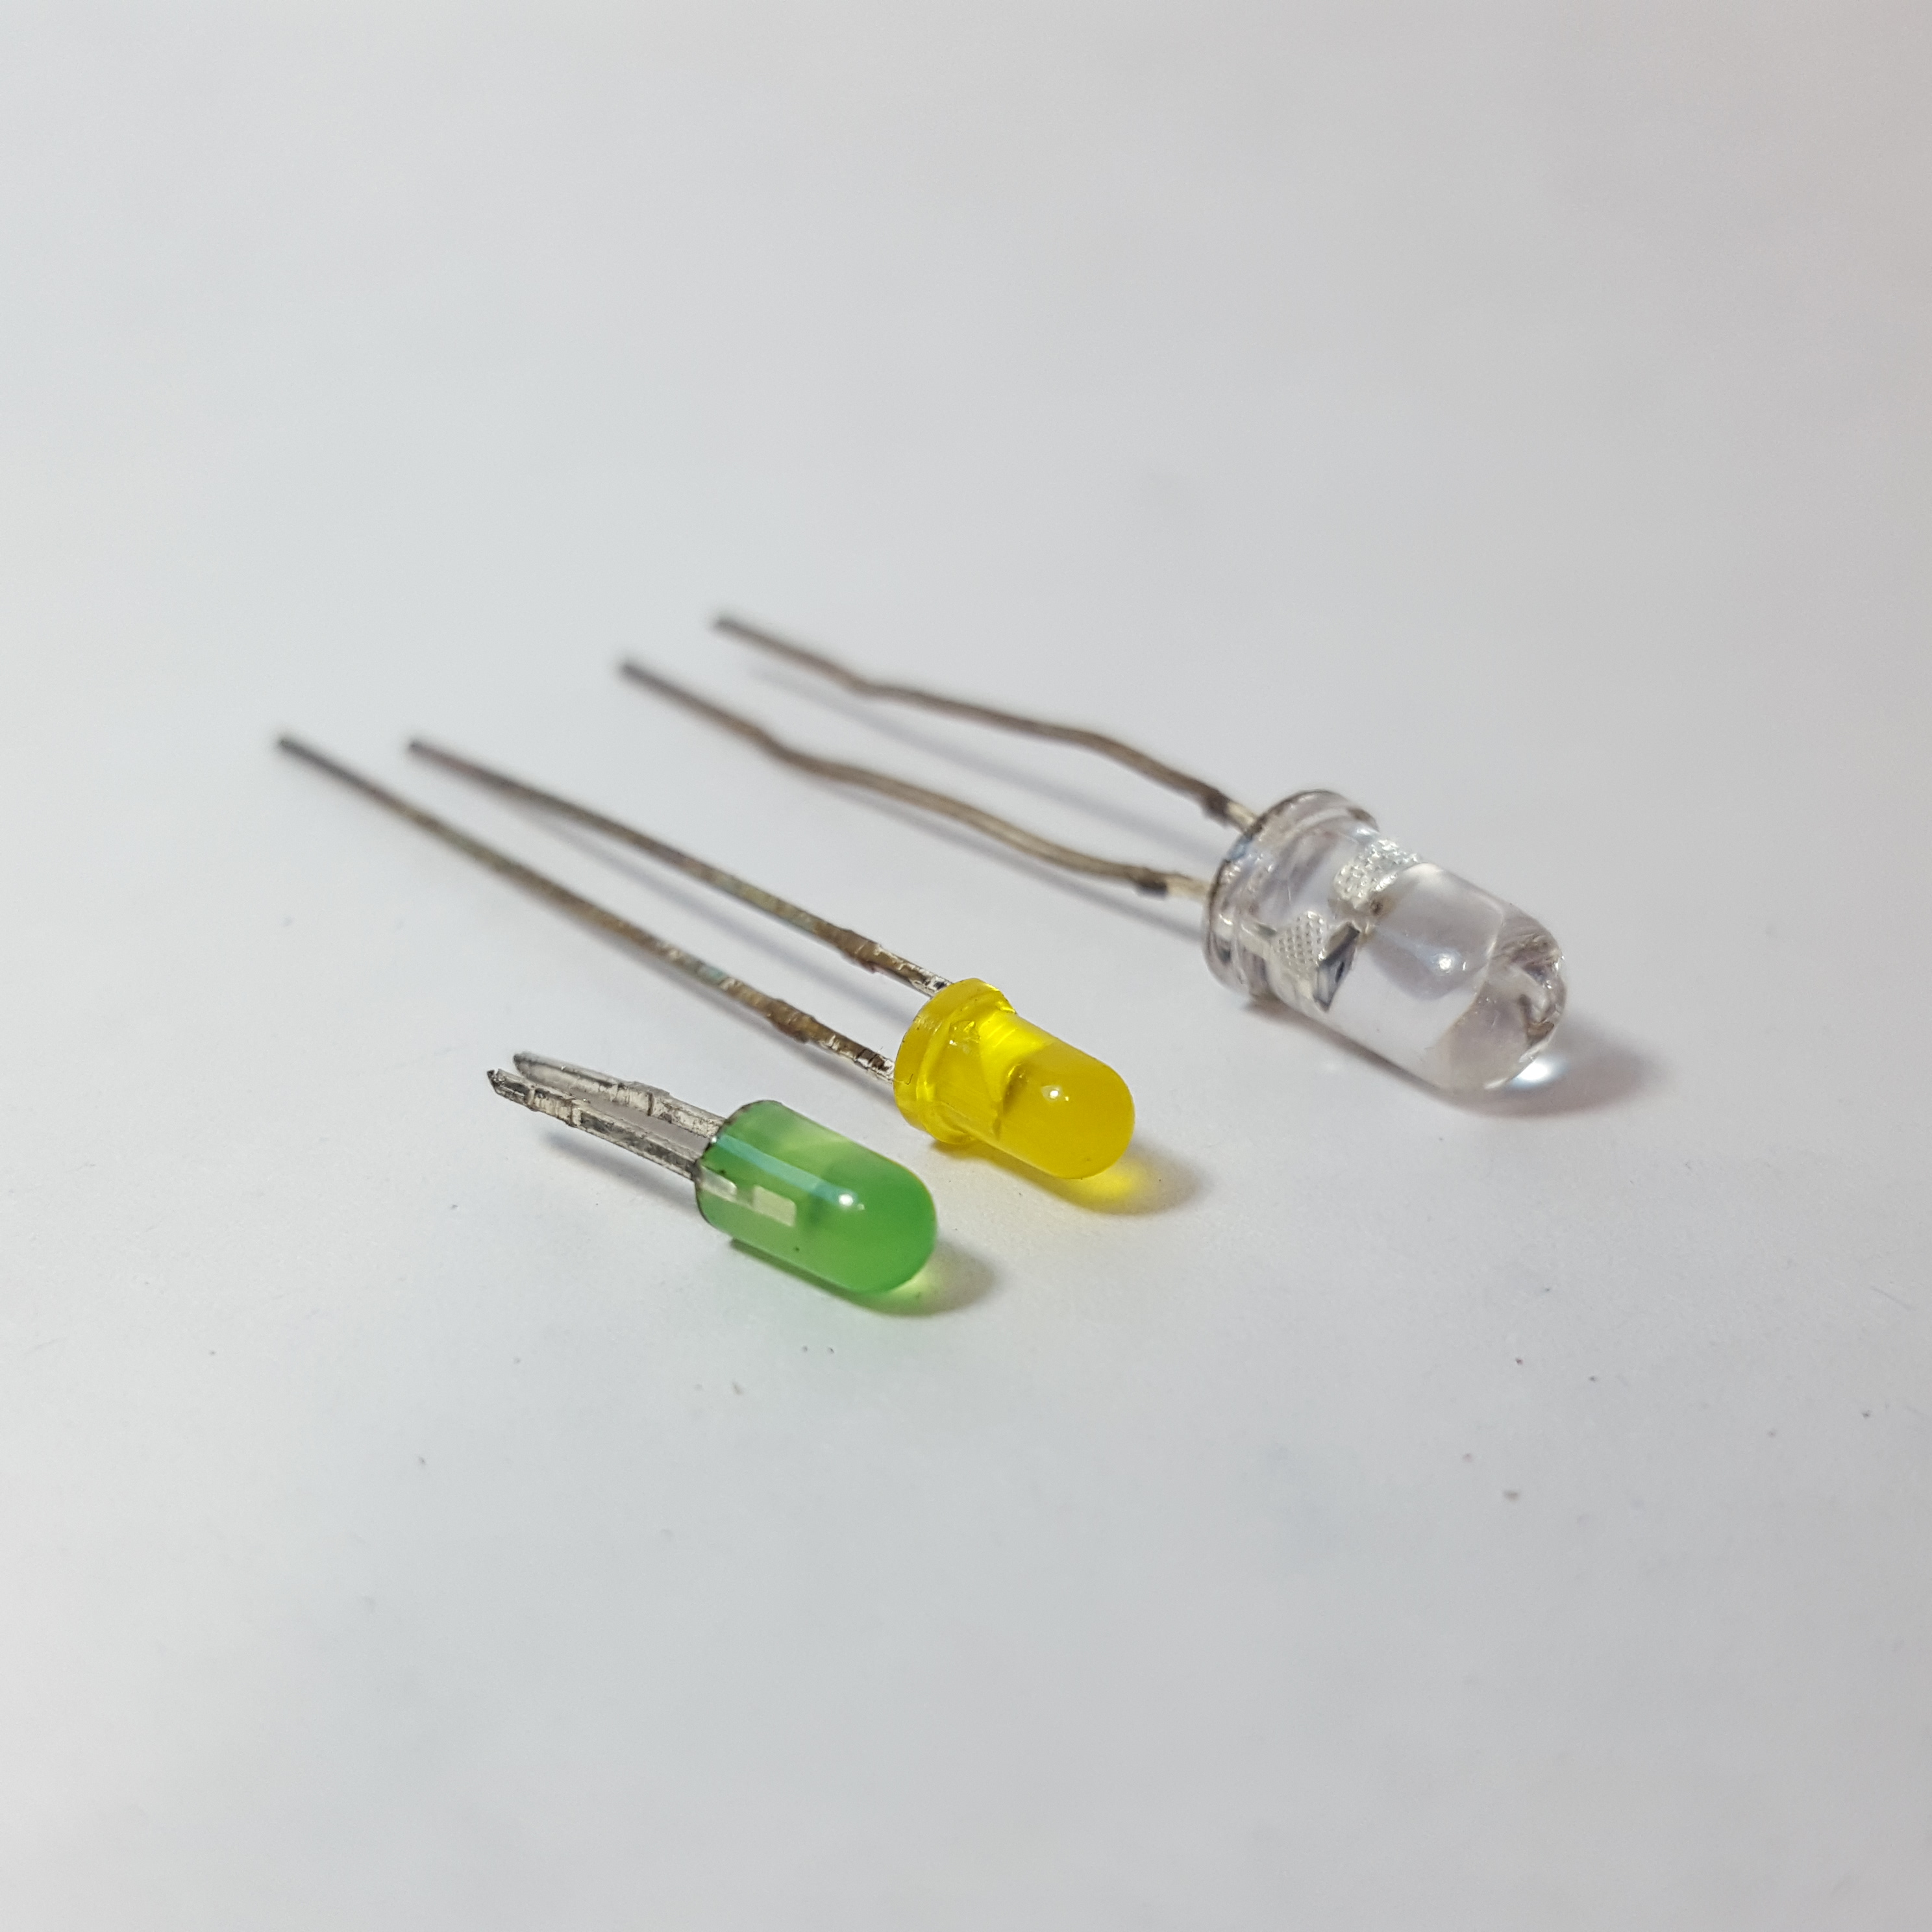
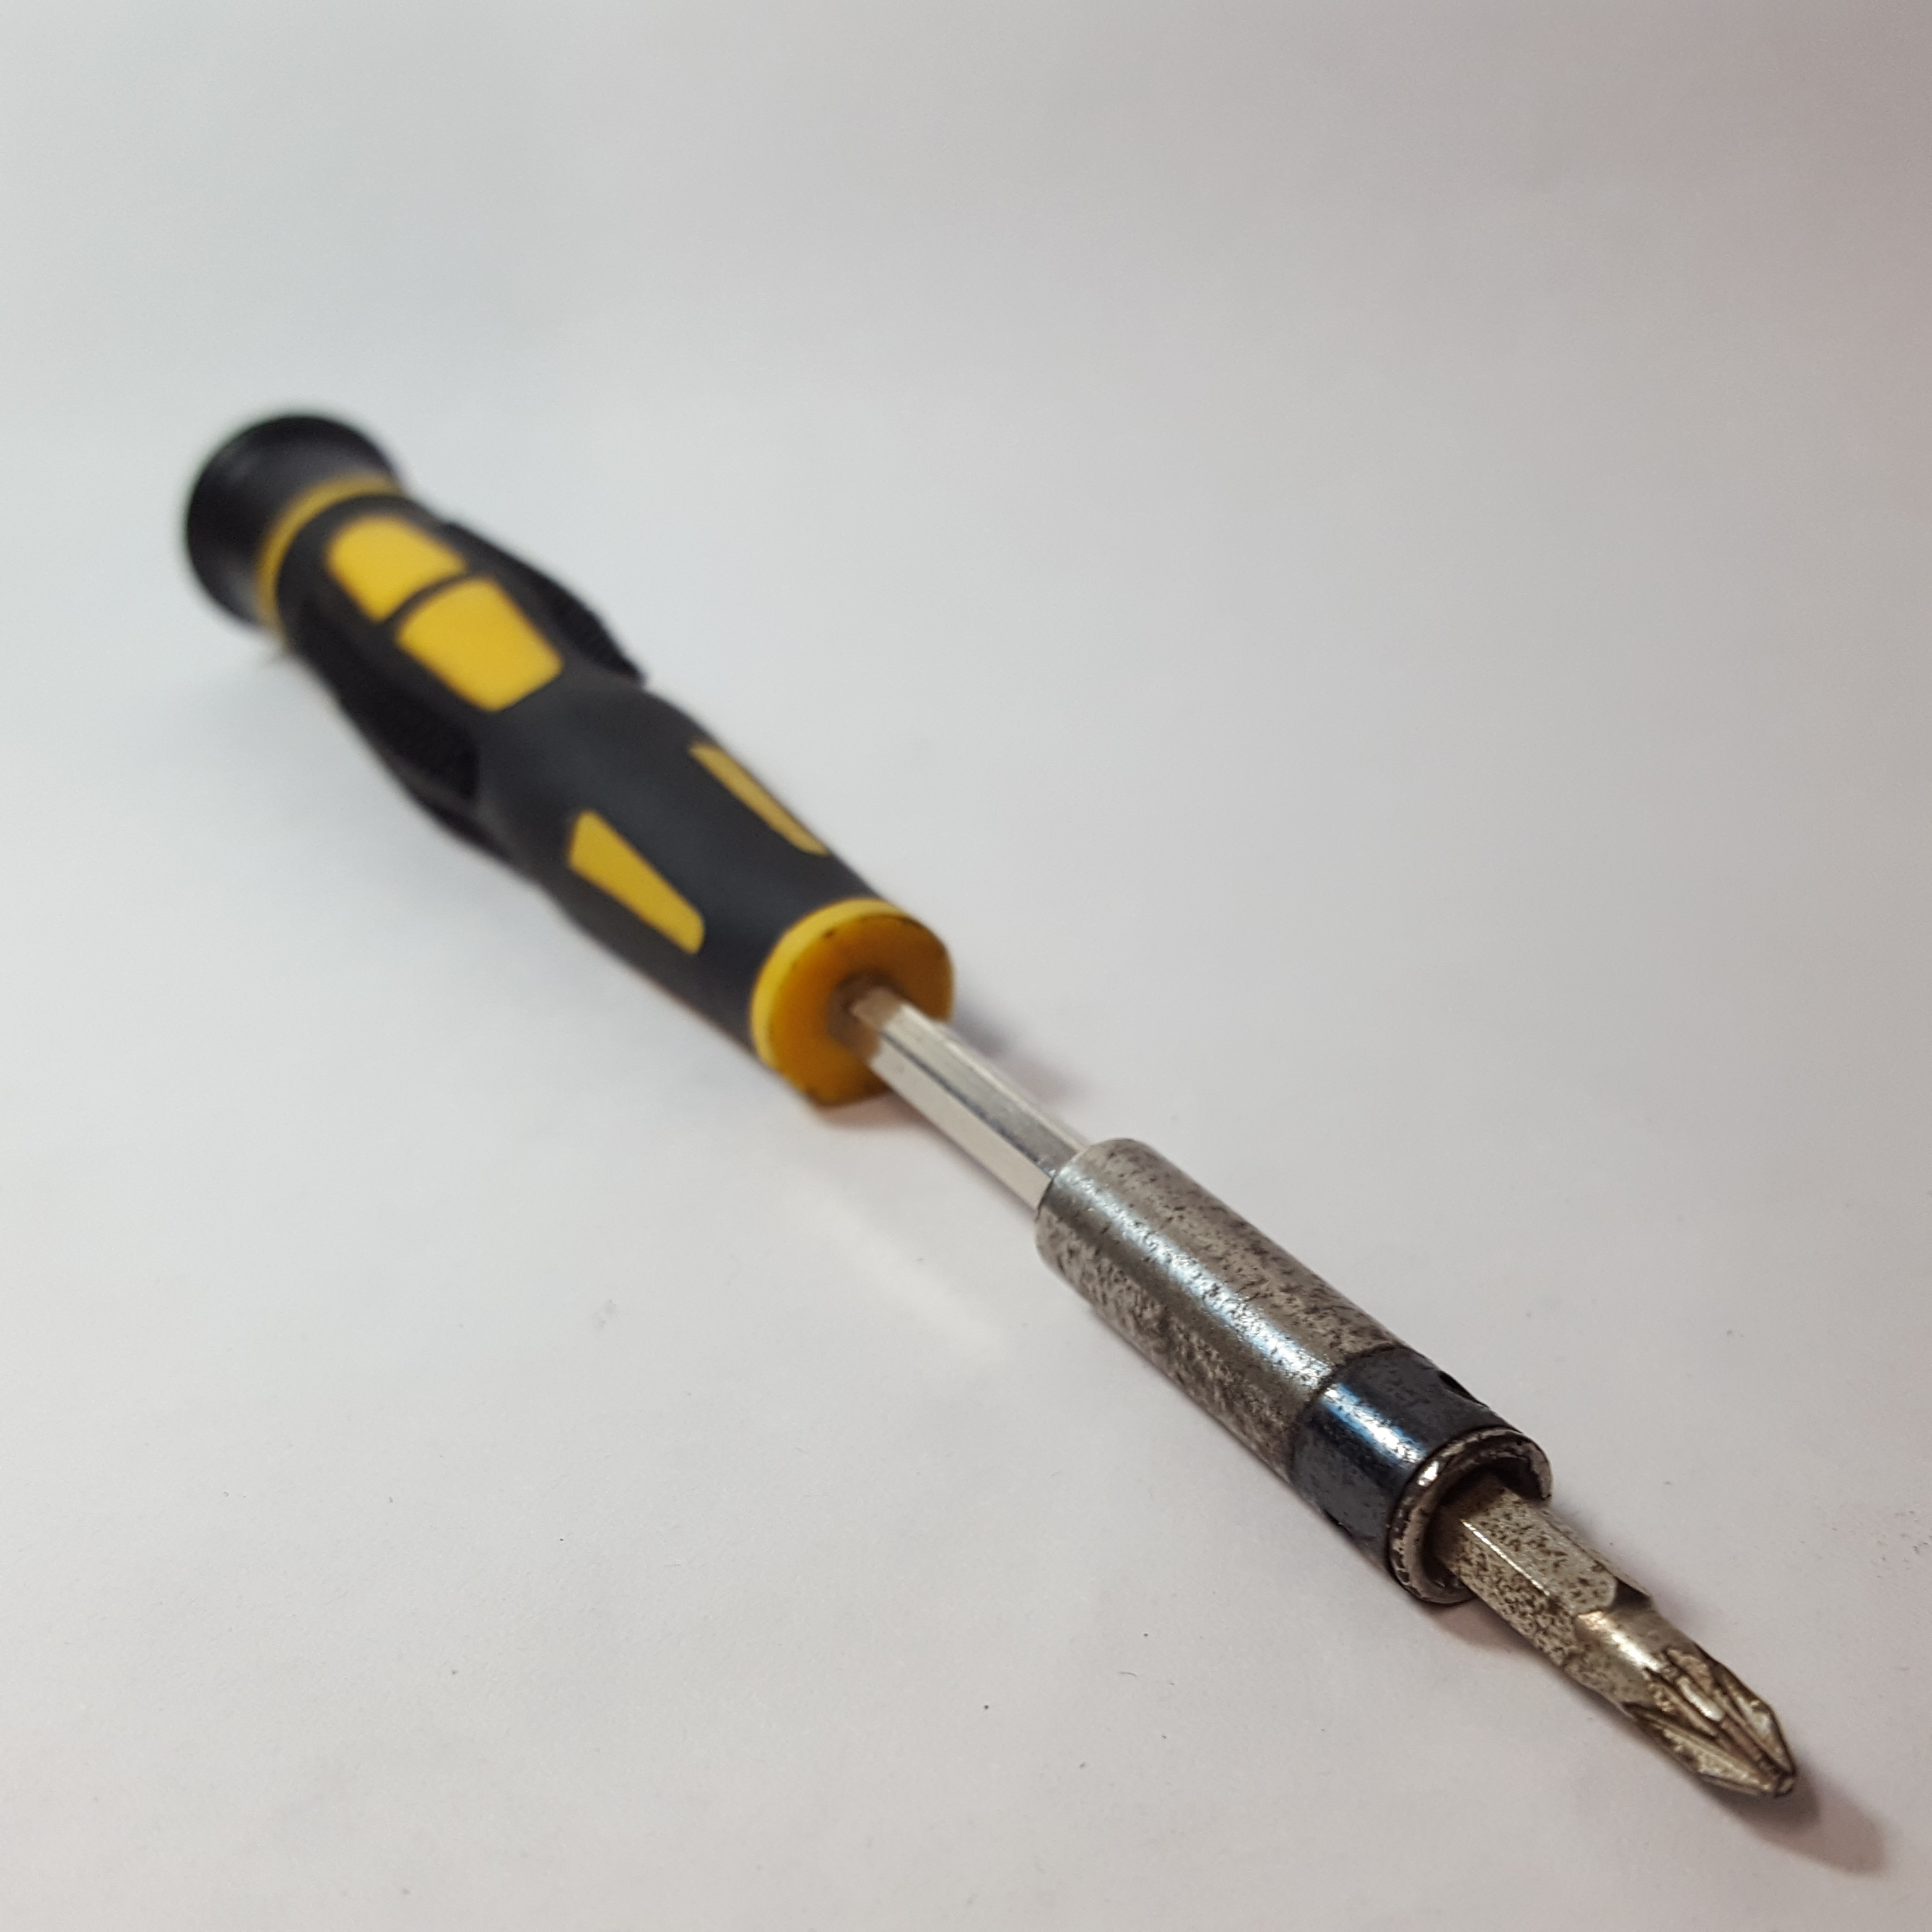

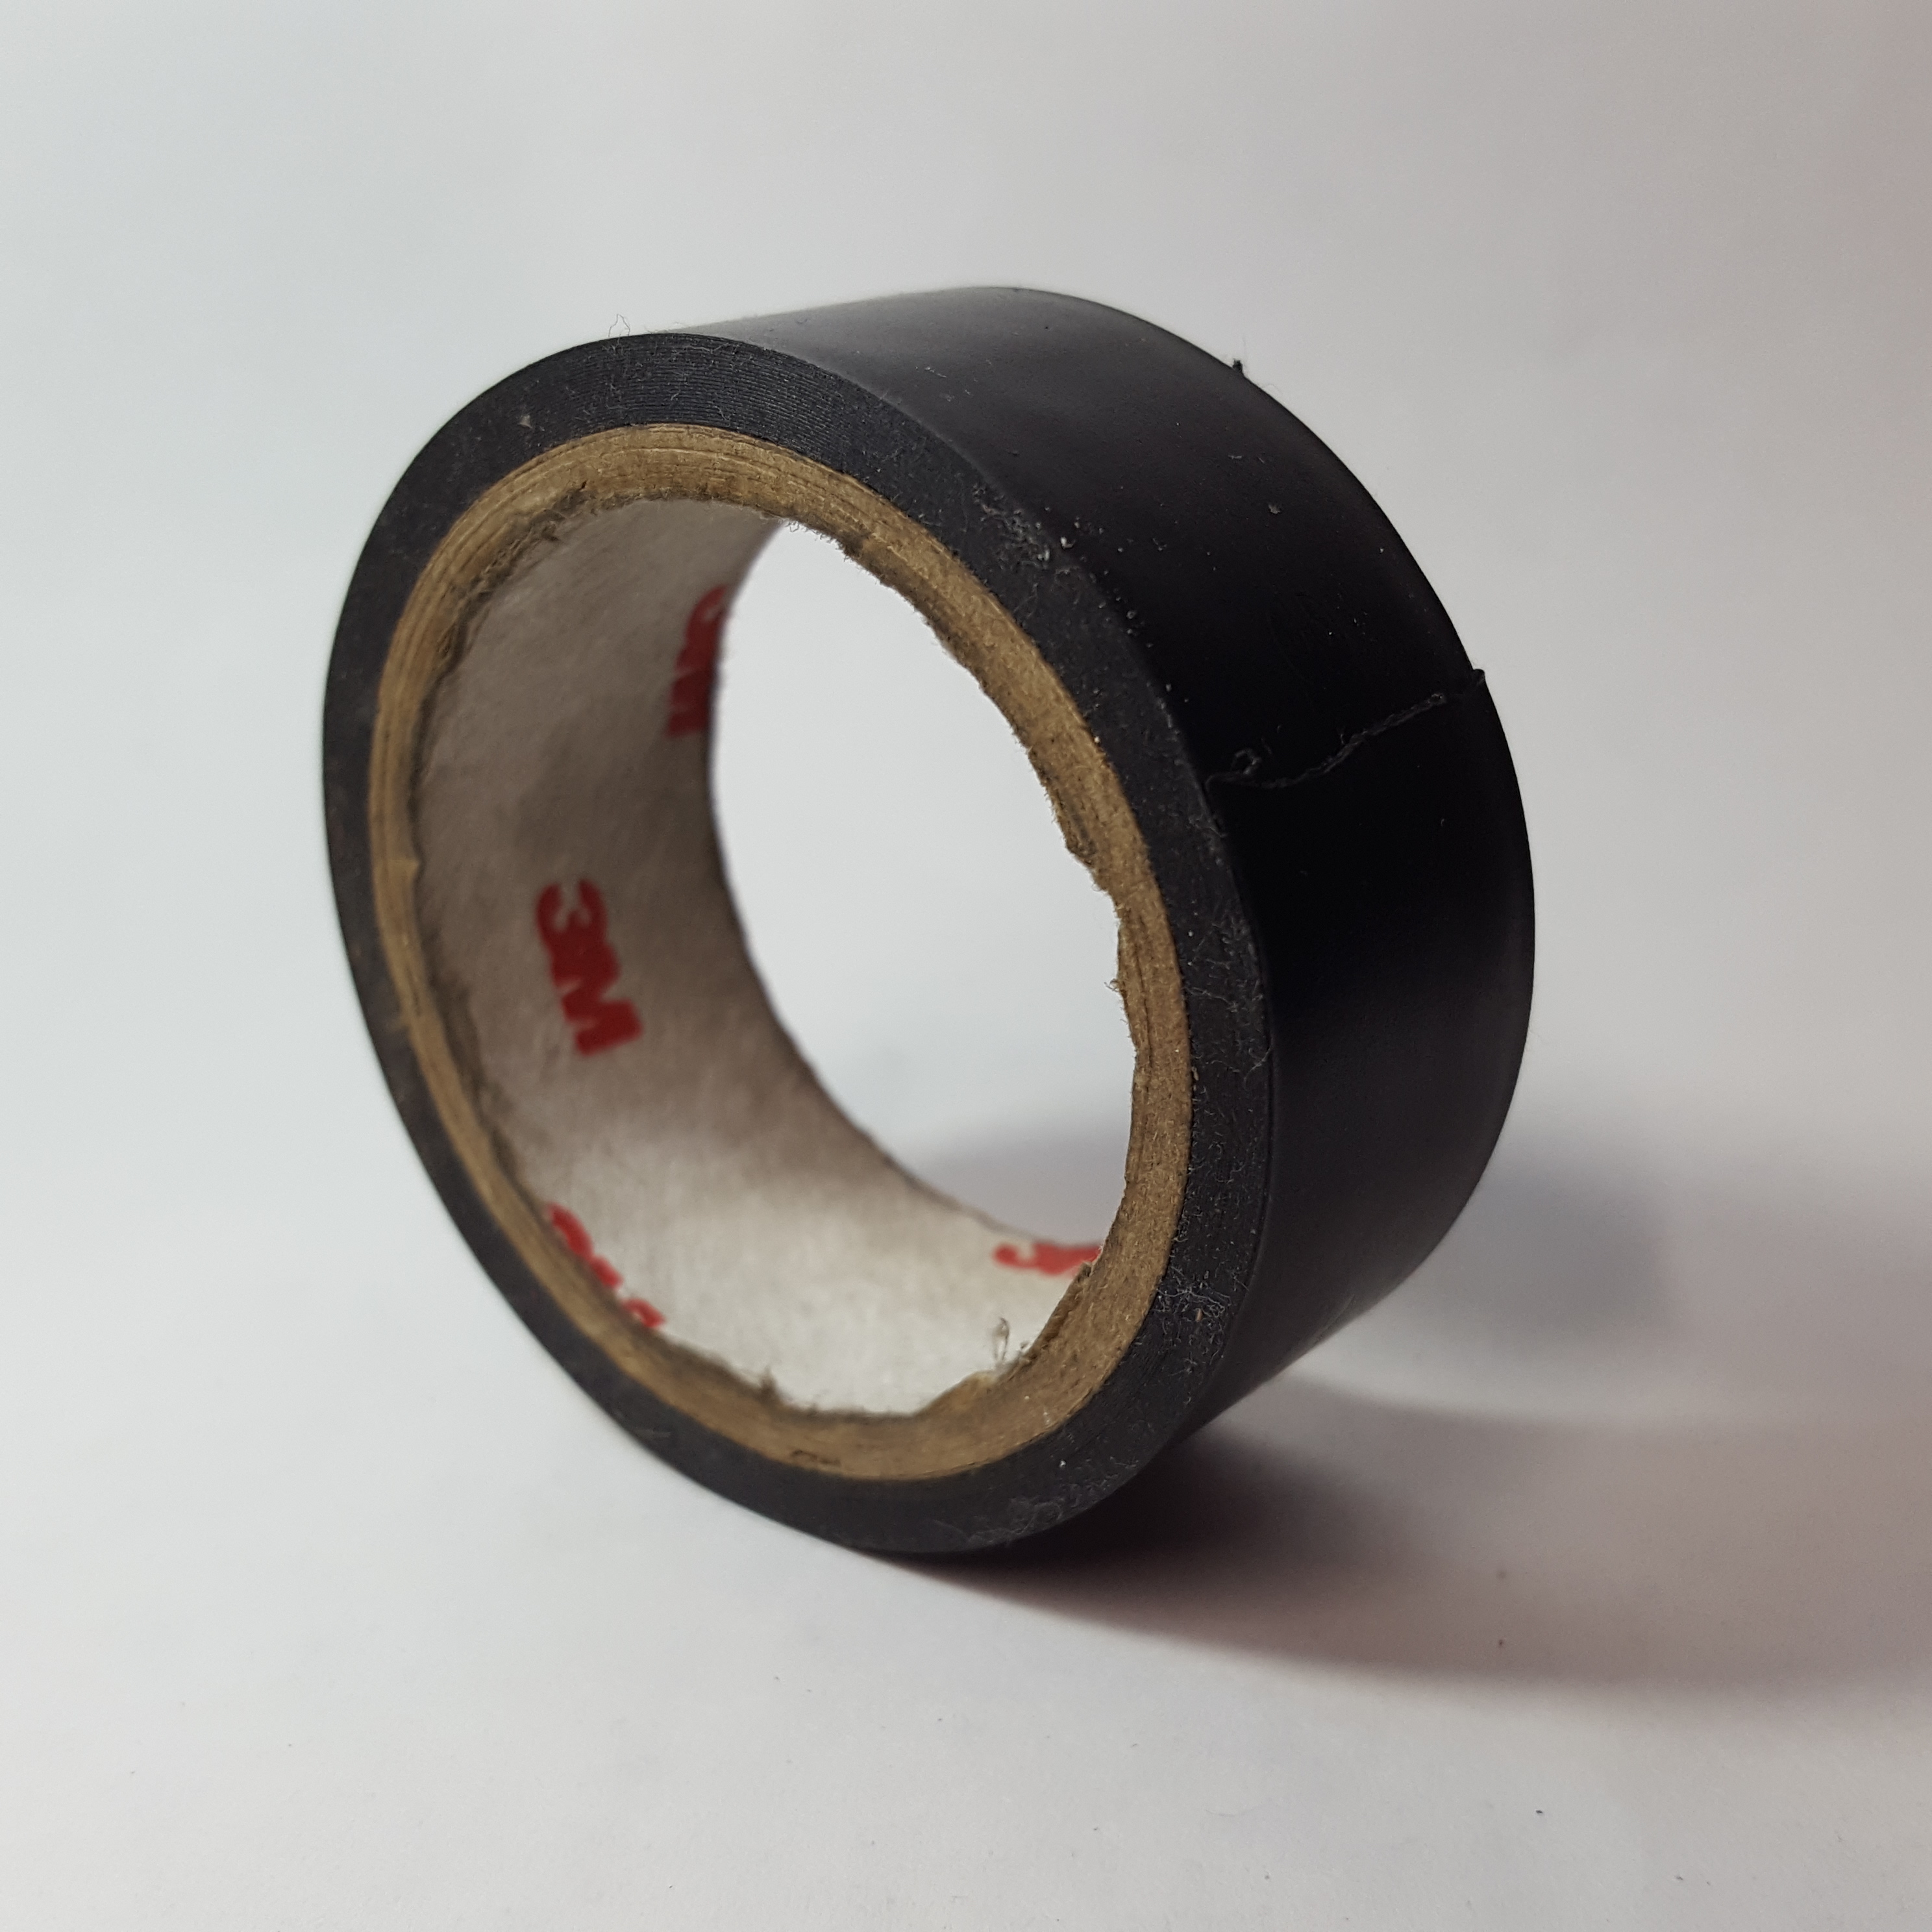
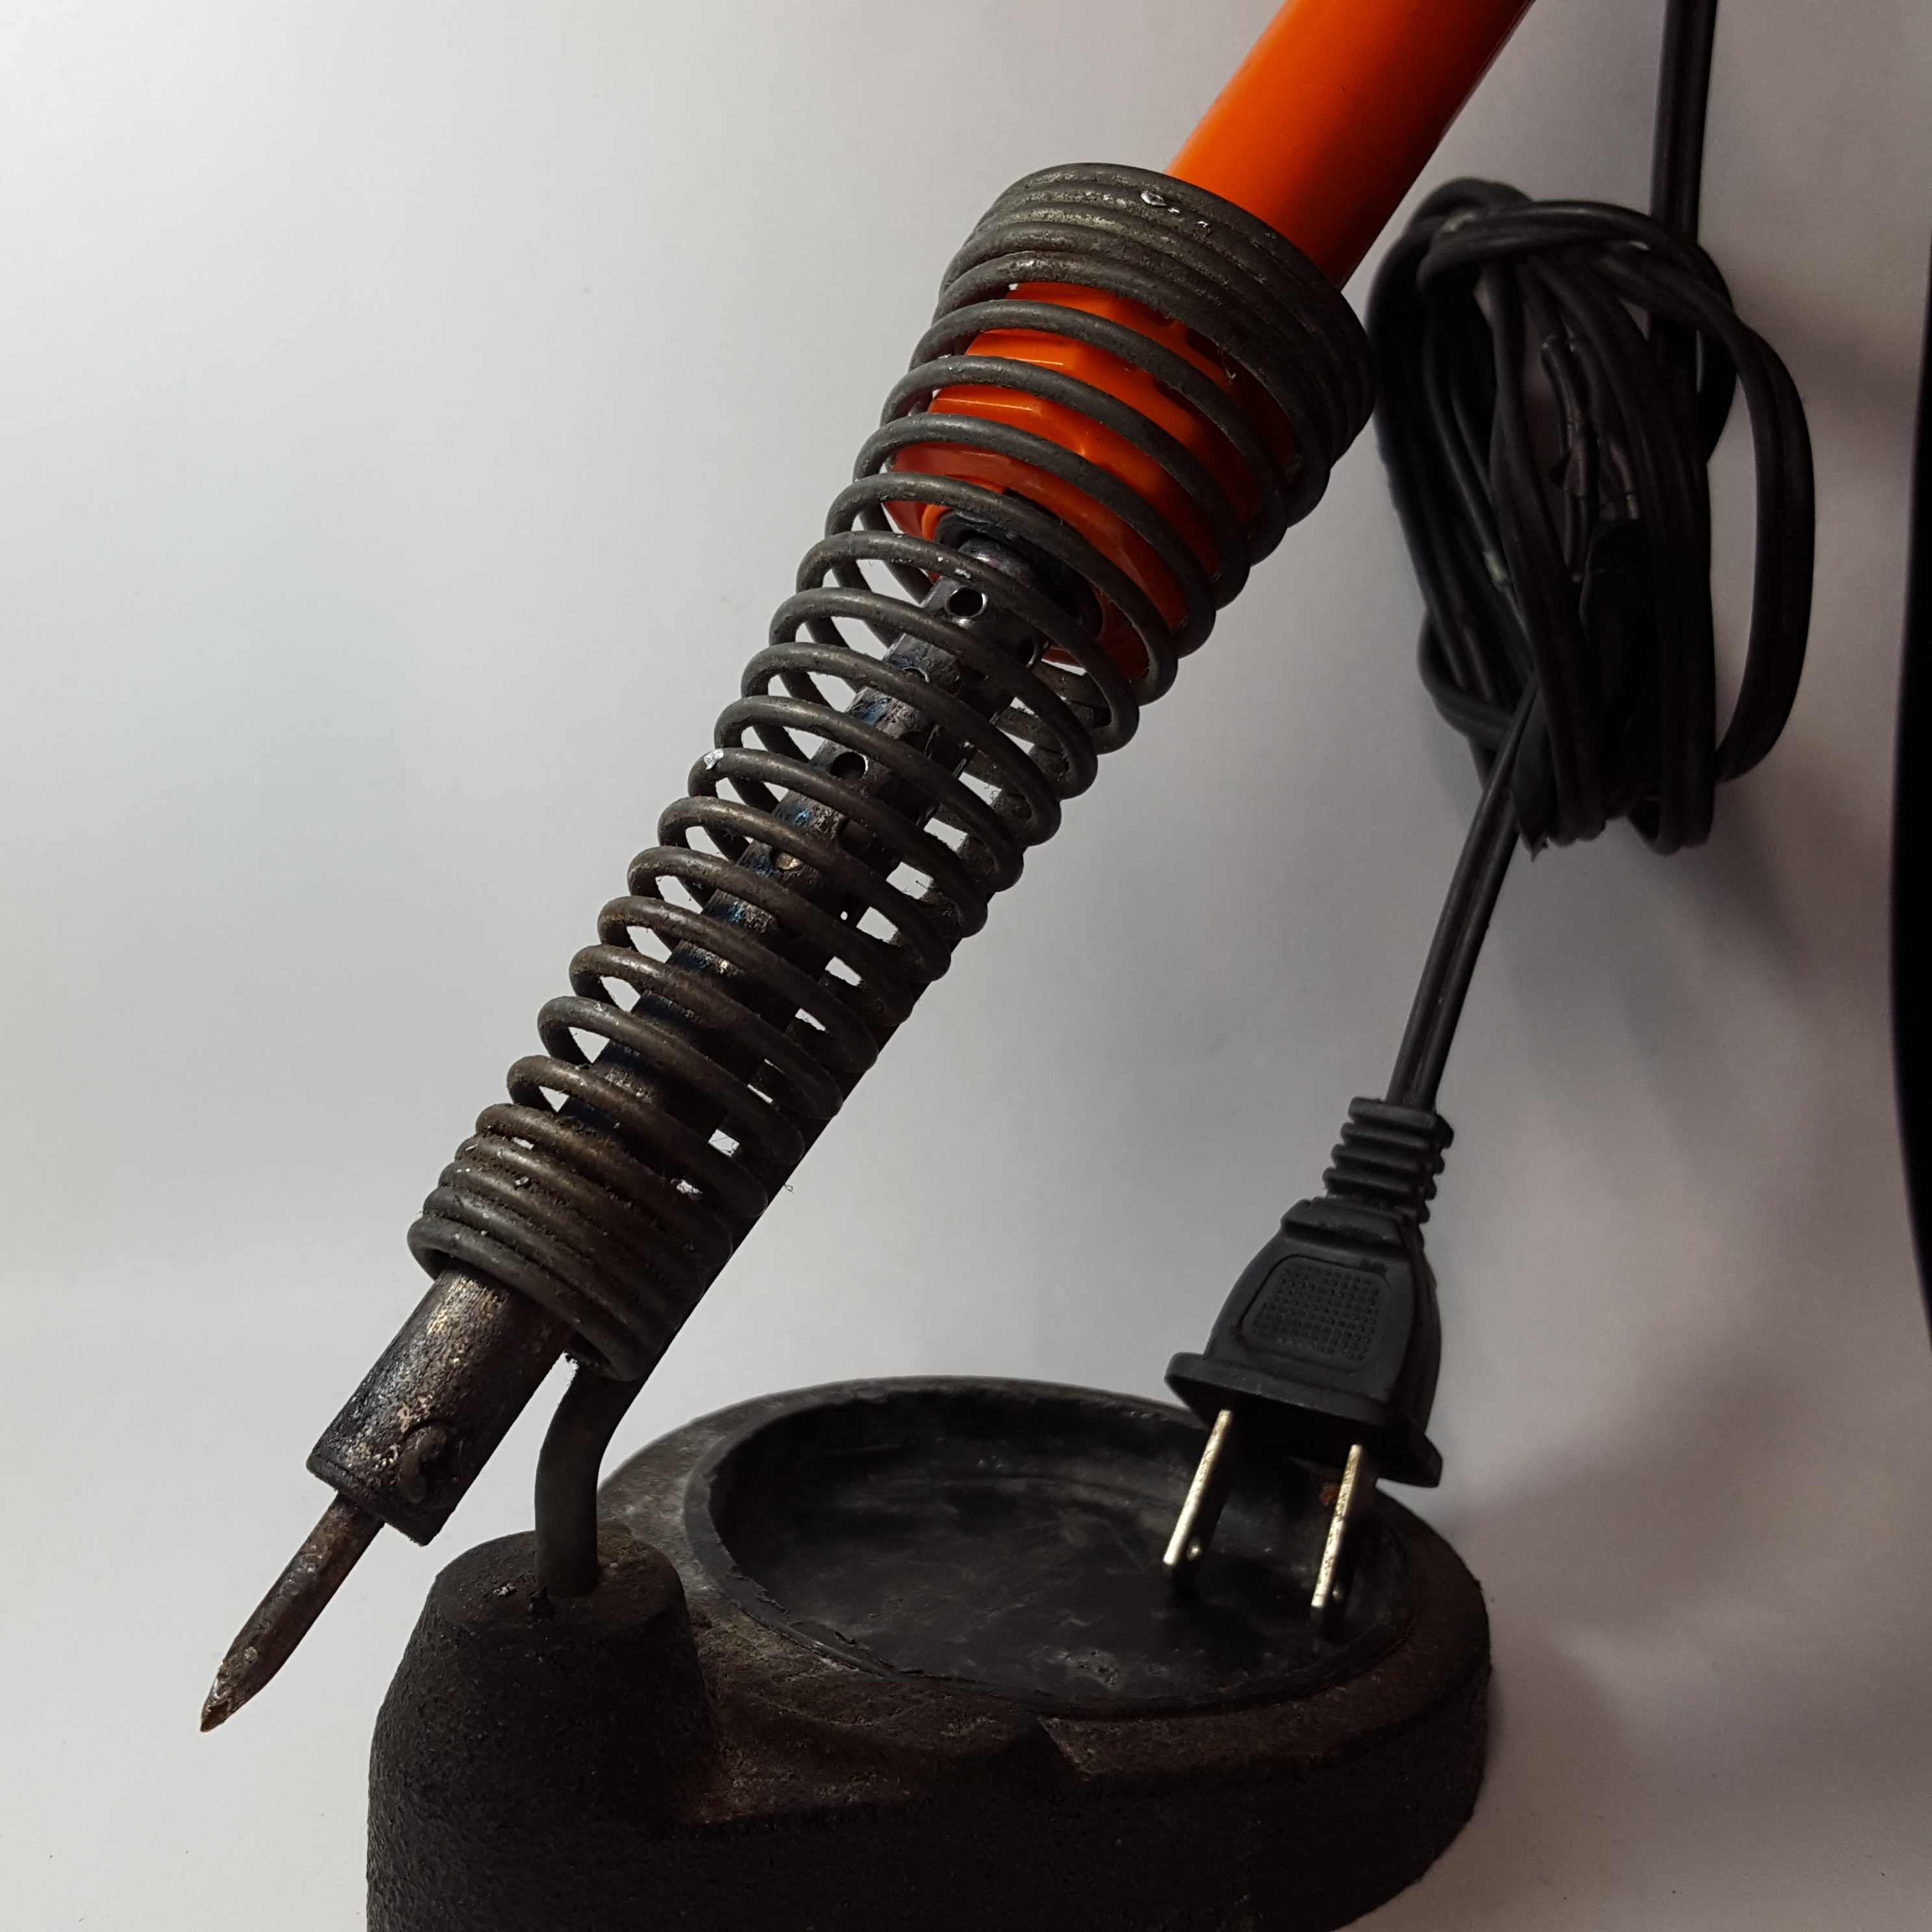
- Raspberry Pi 3 Model B (You can also use other raspberry pi version but you need Wi-Fi to run this)
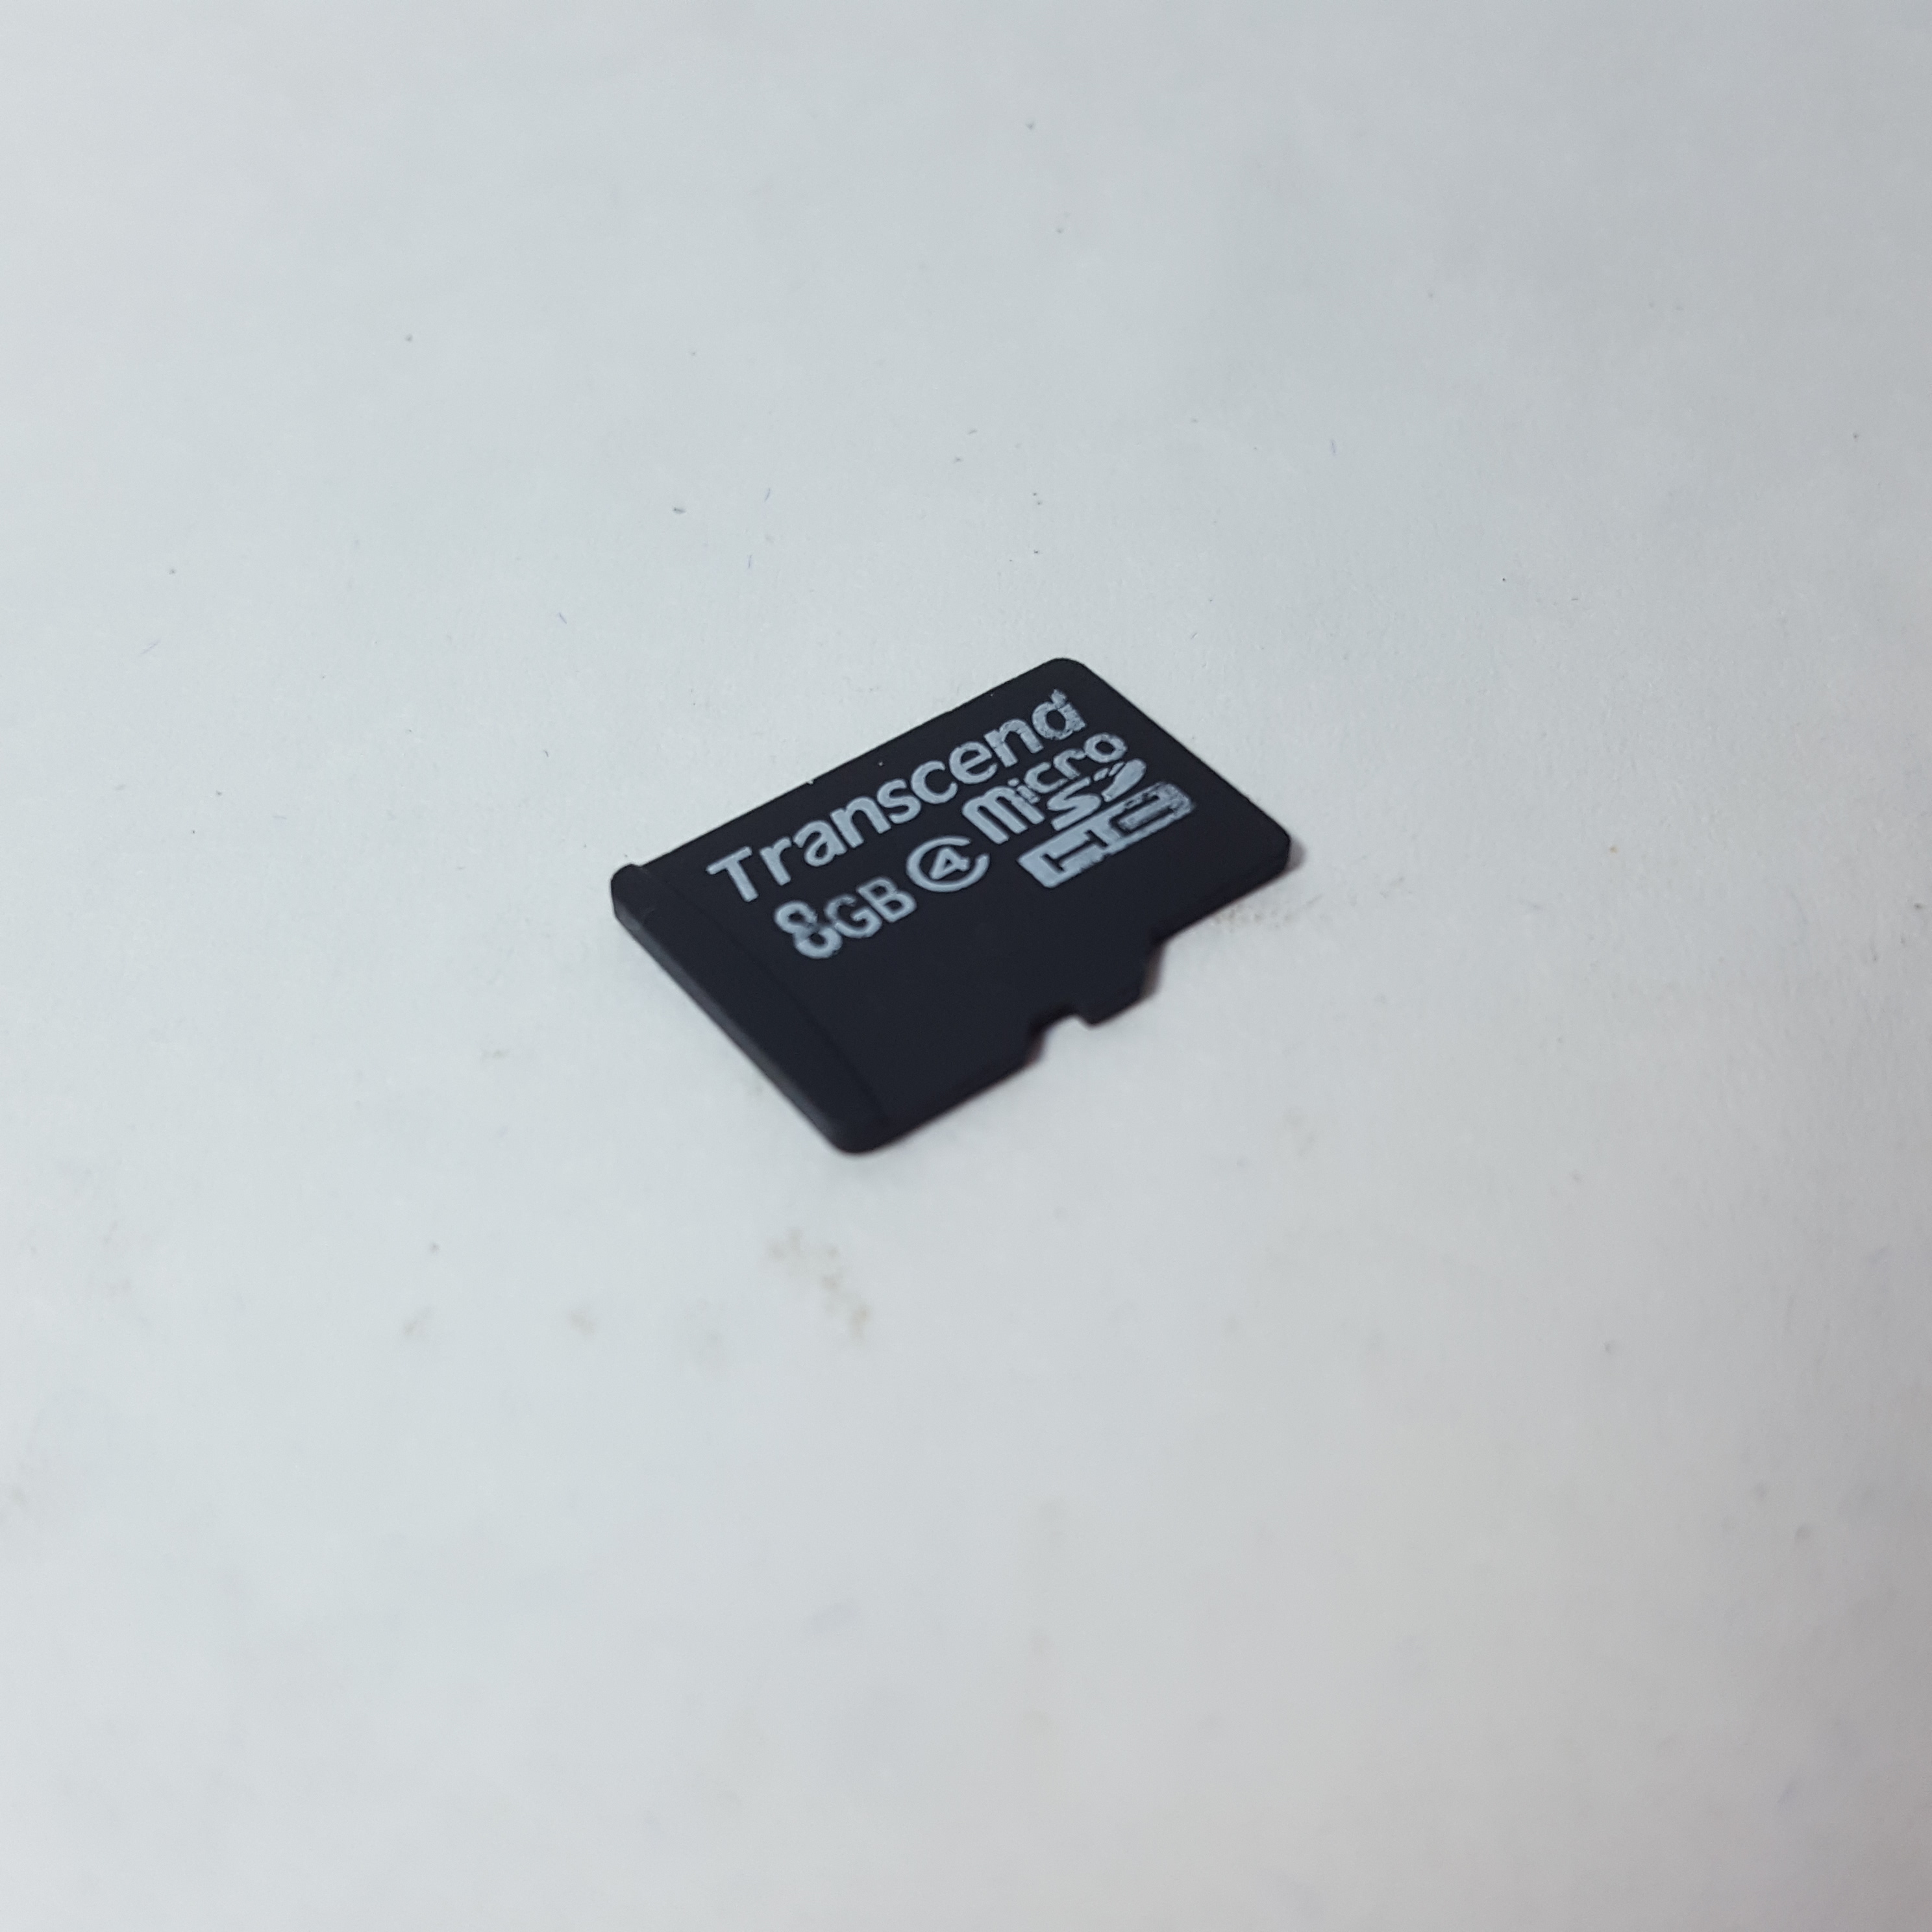
- 8GB Micro SD Card
- Micro SD Card Reader
- USB Microphone
- USB Powered Speakers
- 3.5mm Jack Splitter
- 5V 2A USB Power Adaptor
- Micro USB Cable
- Female to Male Jumper Cables
- Breadboard
- LEDs (any color you want)
- Phillips Screwdriver
- Phillips Screws
- Electrical Tape
- Soldering Iron & Stand
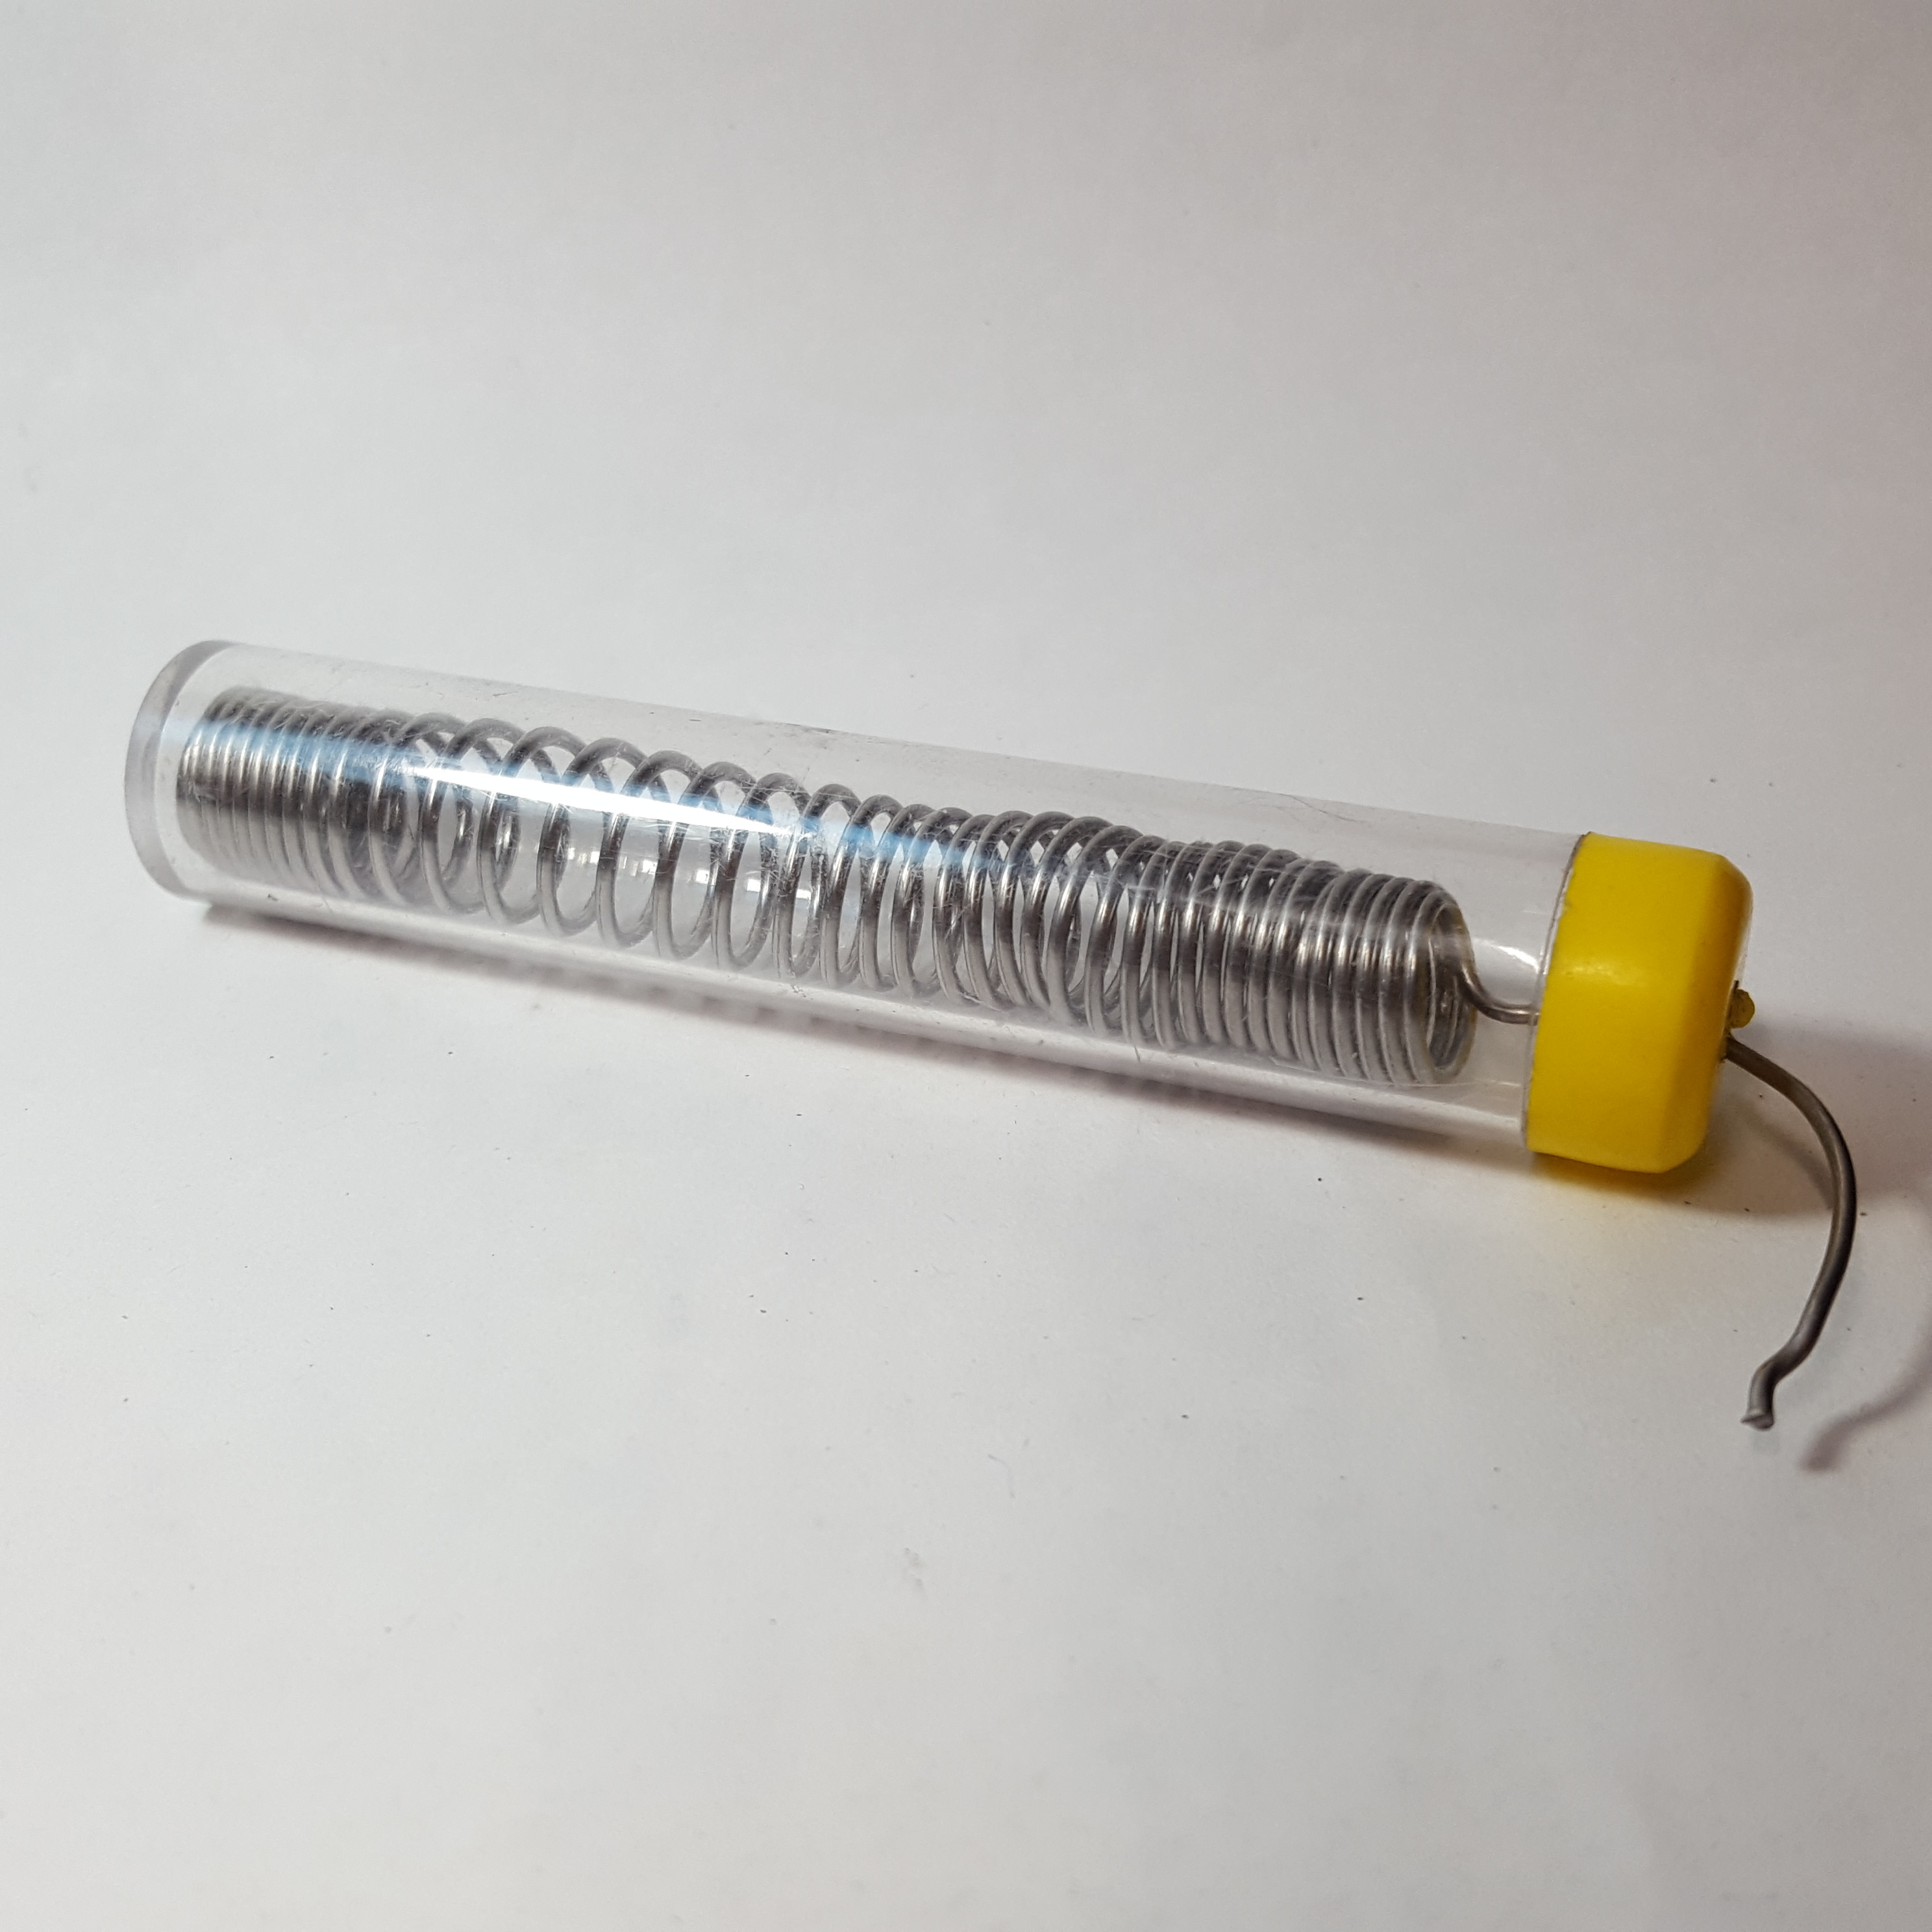
- Soldering Lead
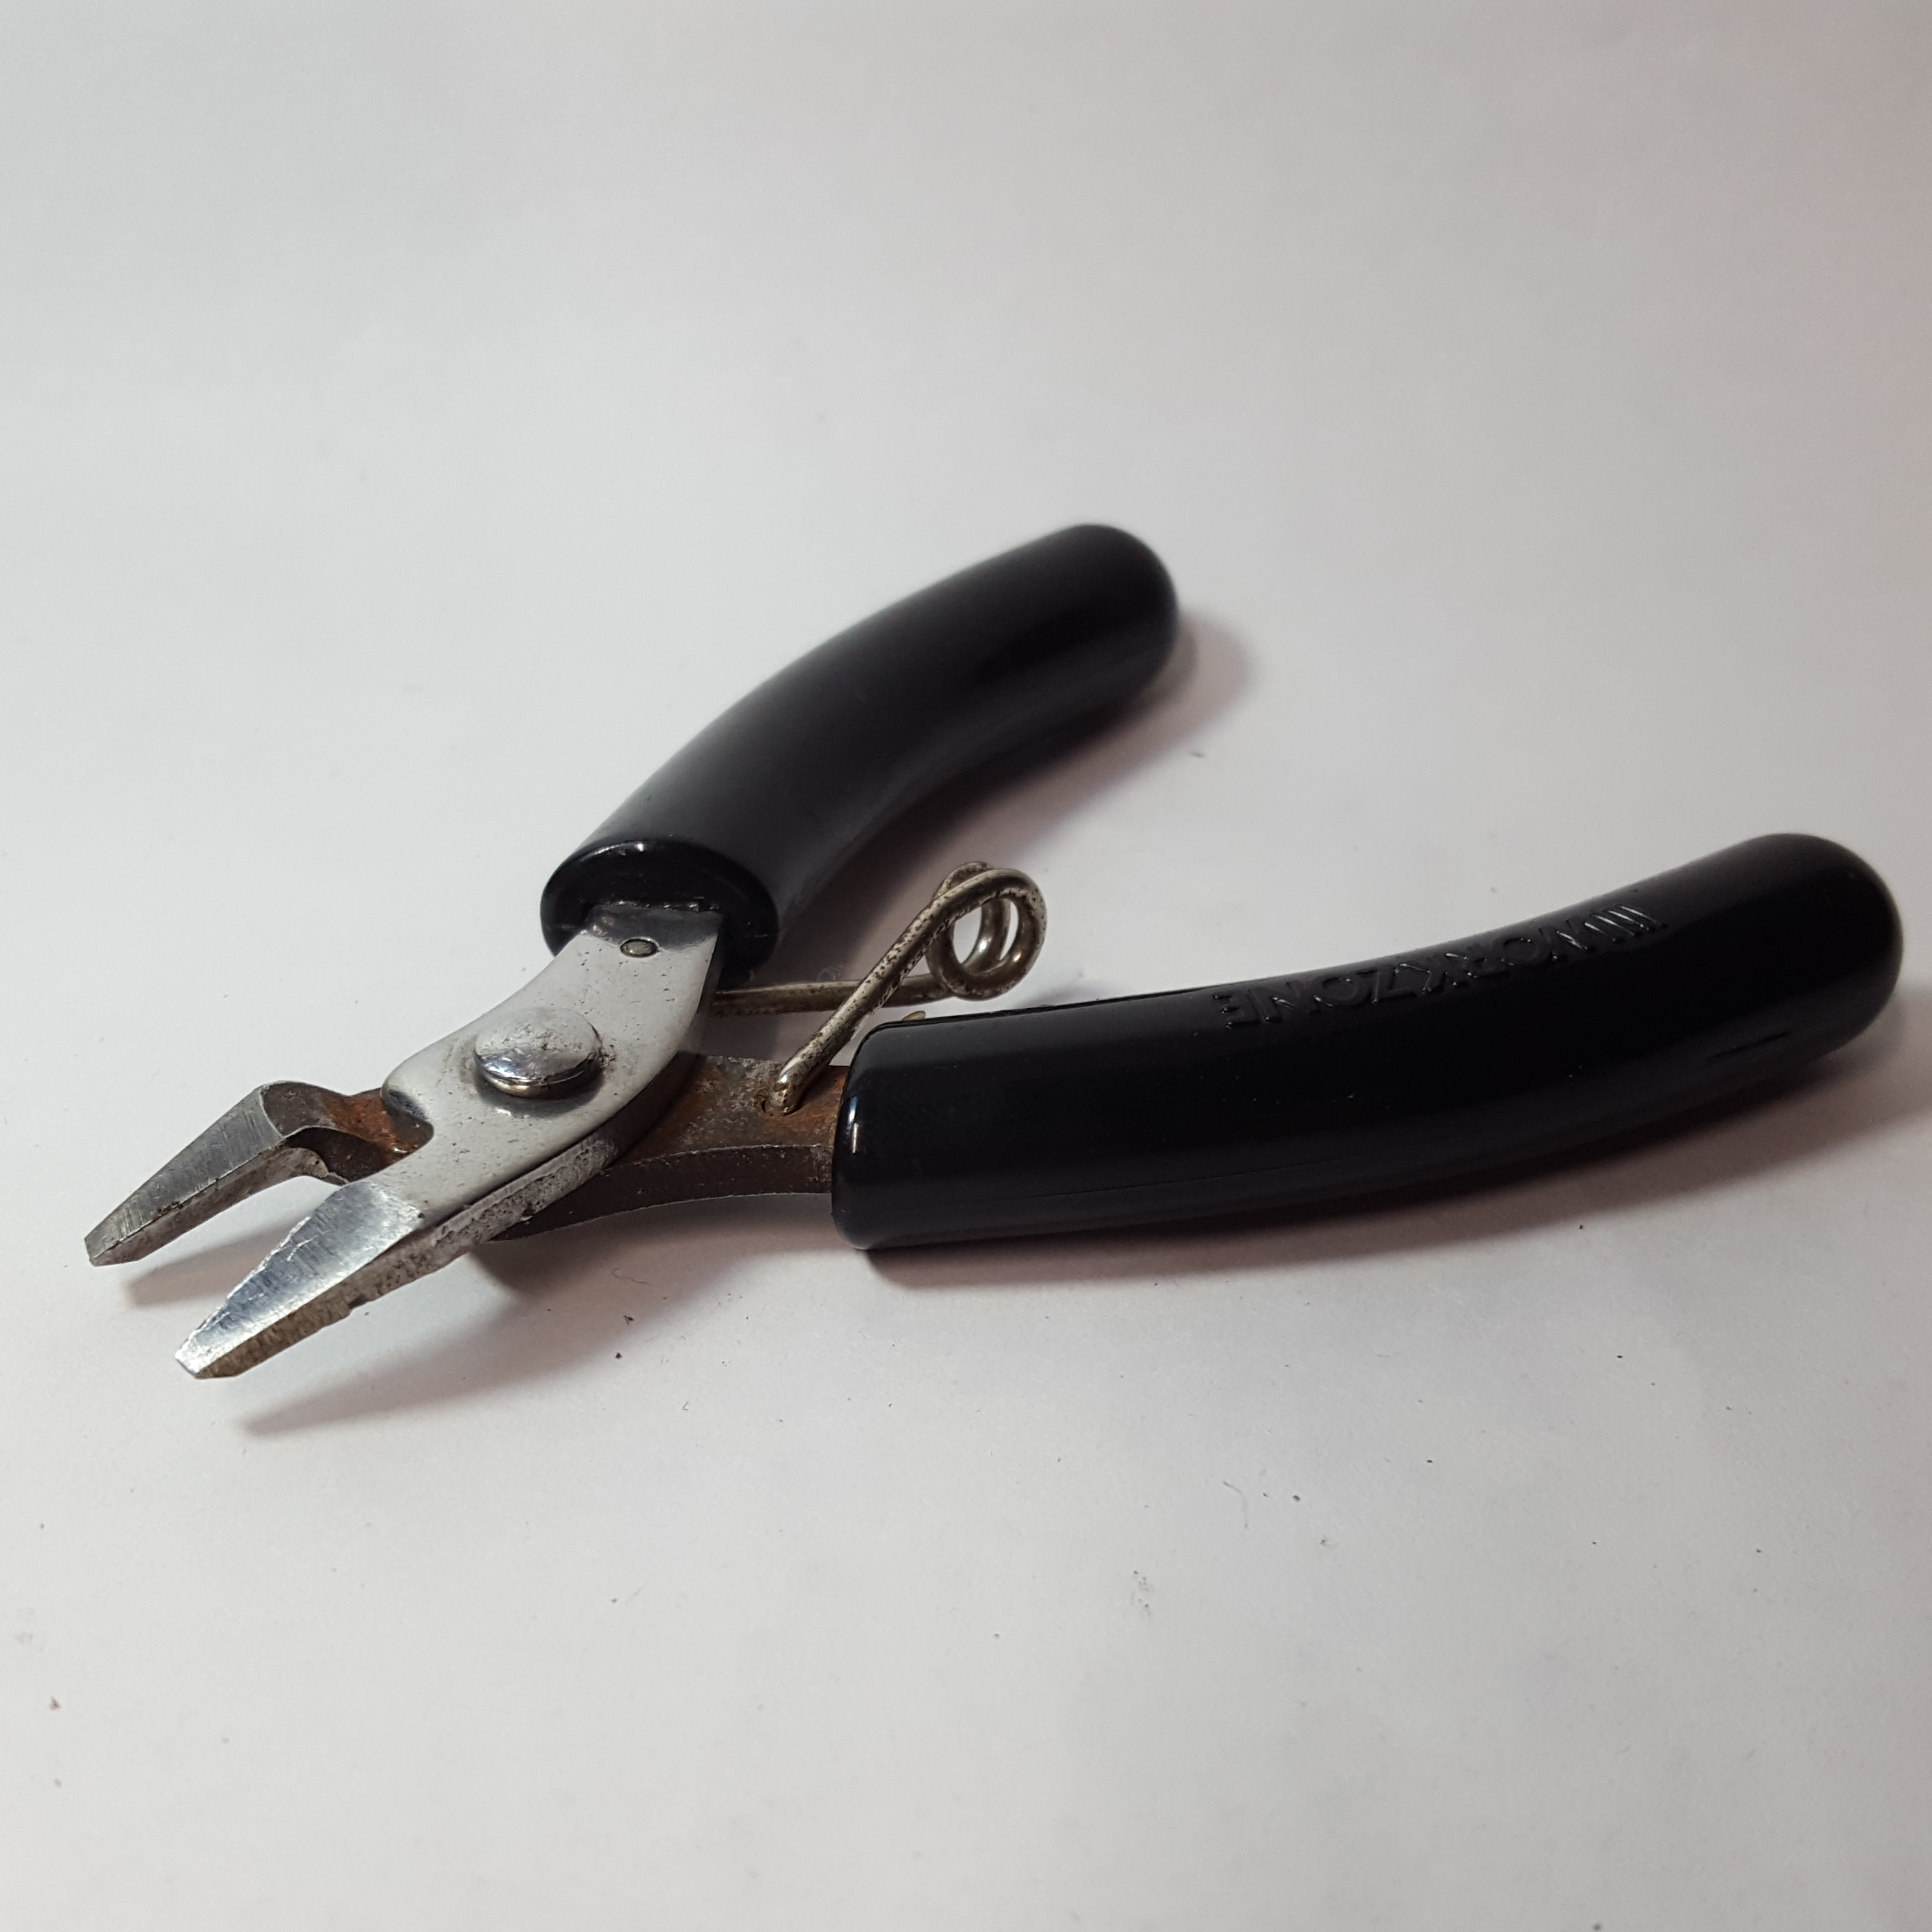
- Wire Cutter
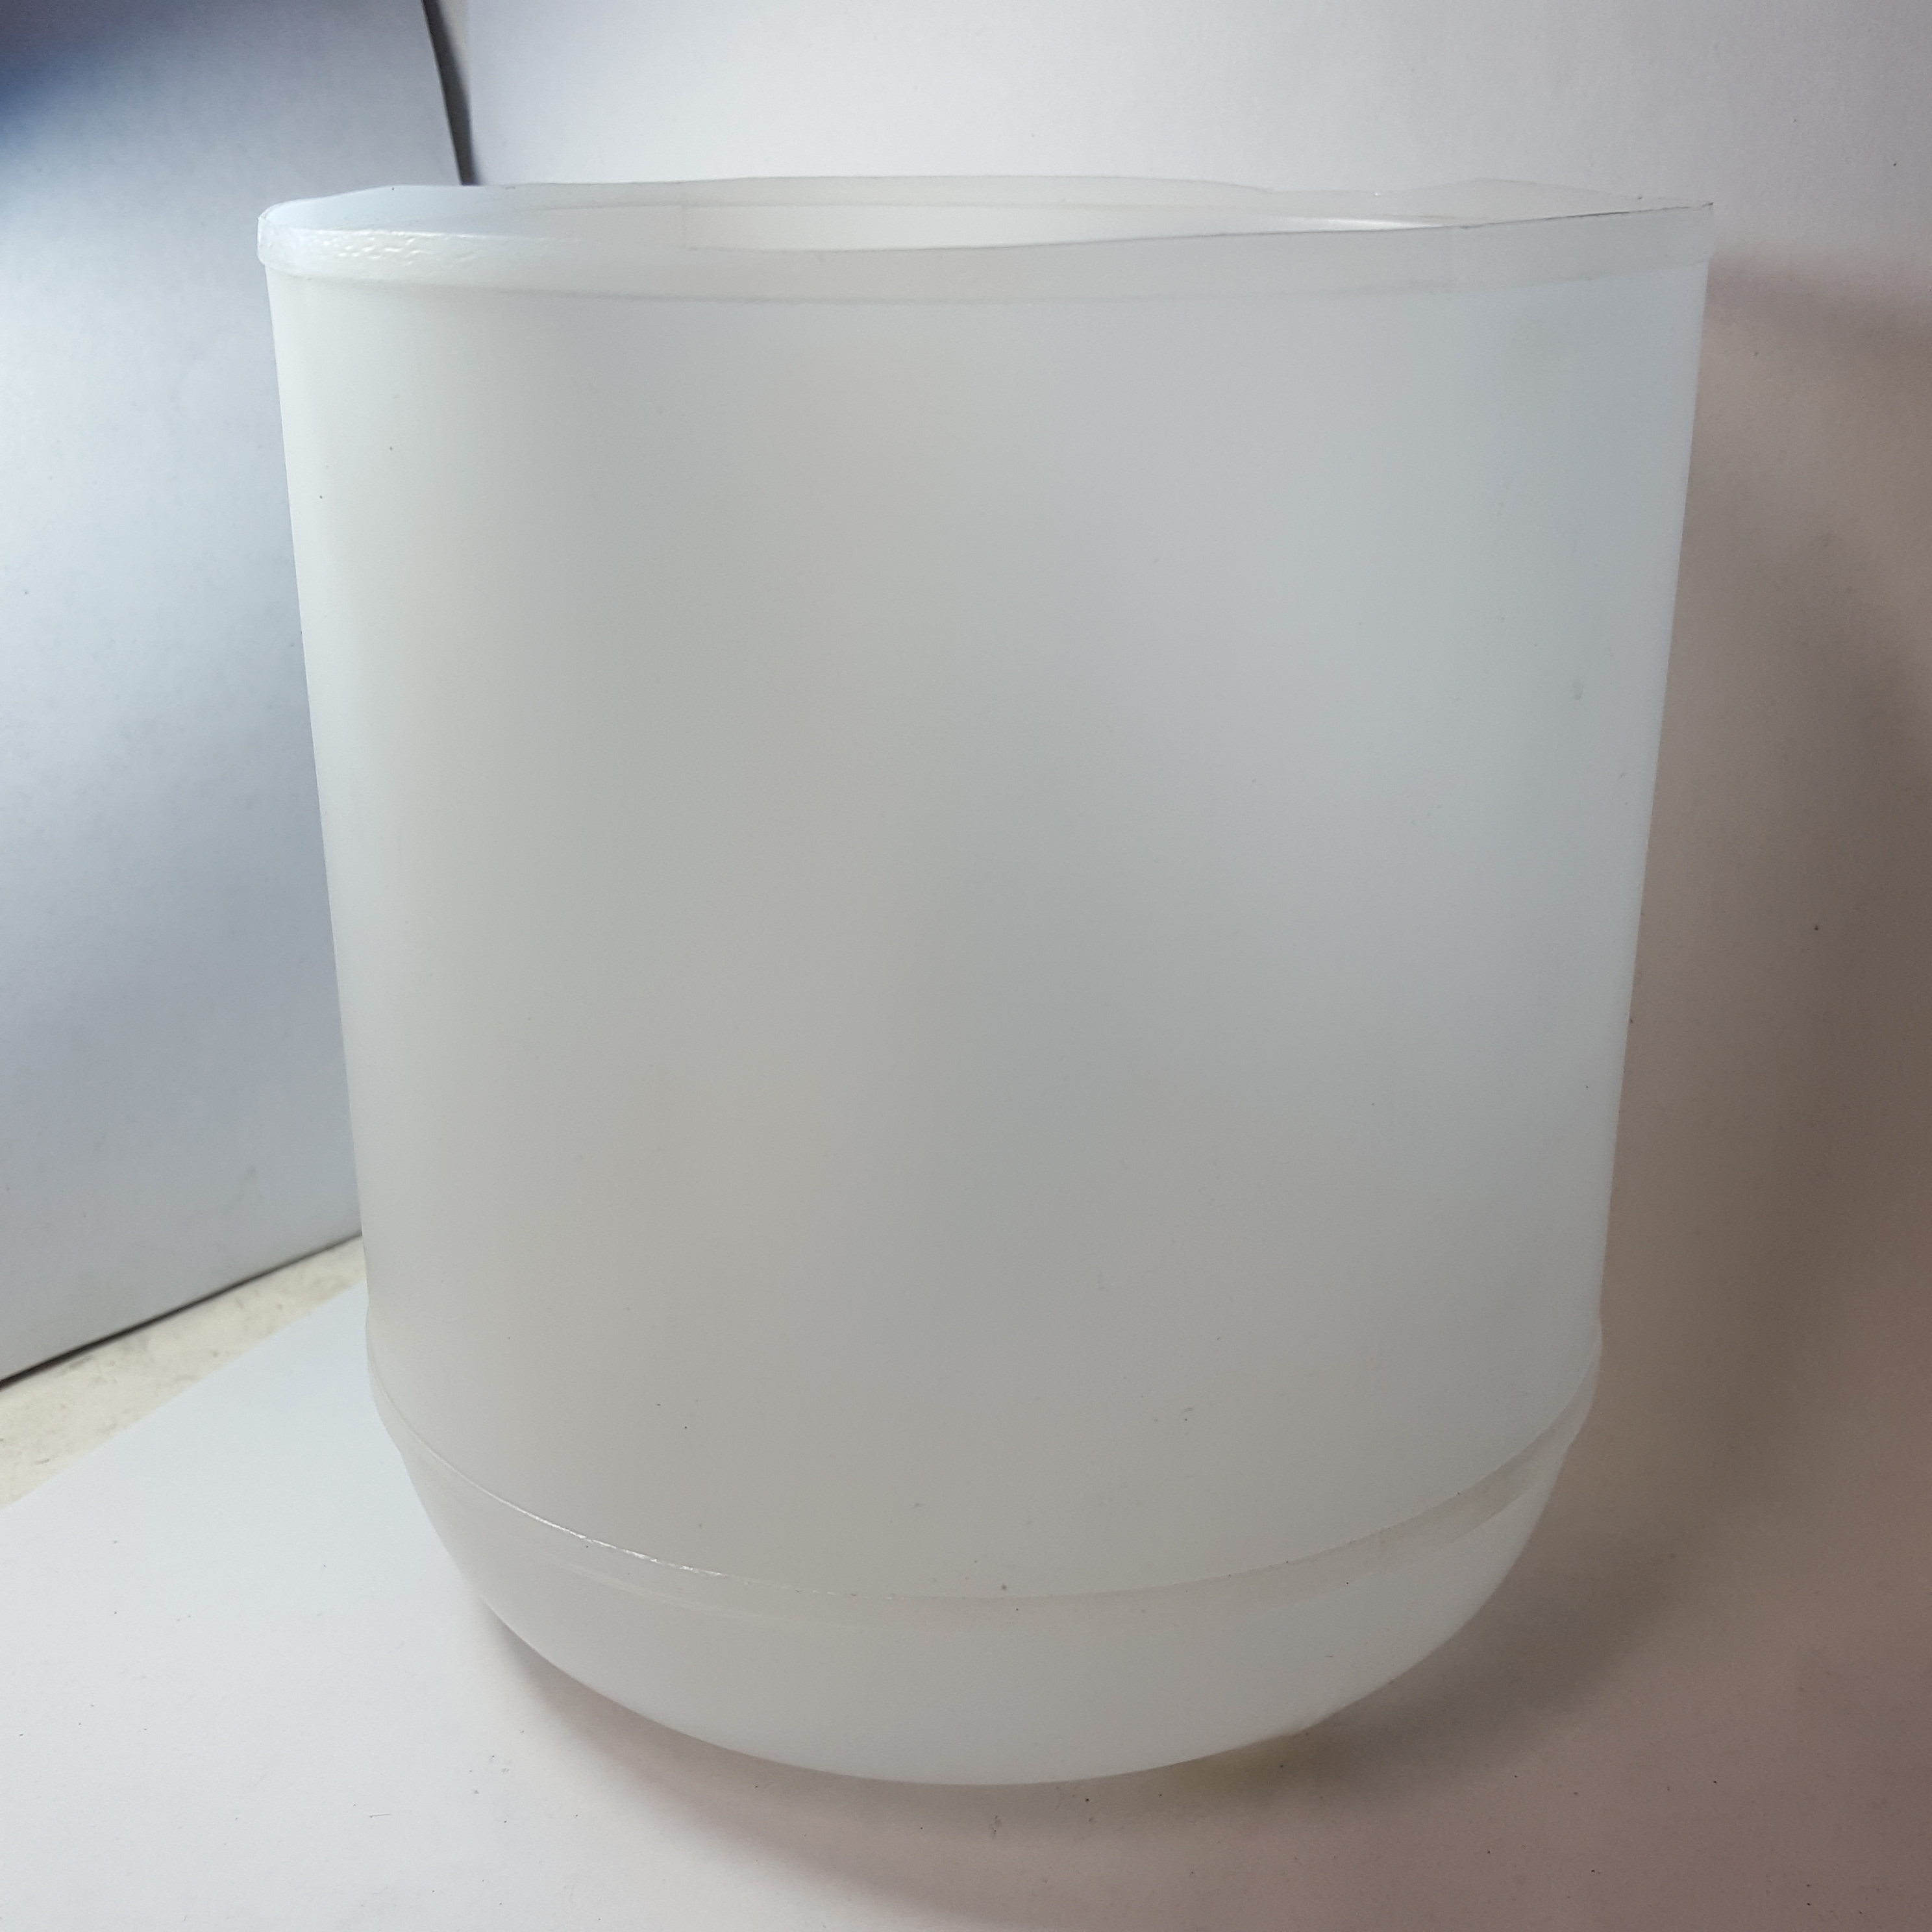
- Ketchup Jug (I've already cut it :) )
- 100/150/330 ohms resistor
Flashing Raspbian to Micro SD Card
- Download Raspbian or Raspbian Lite
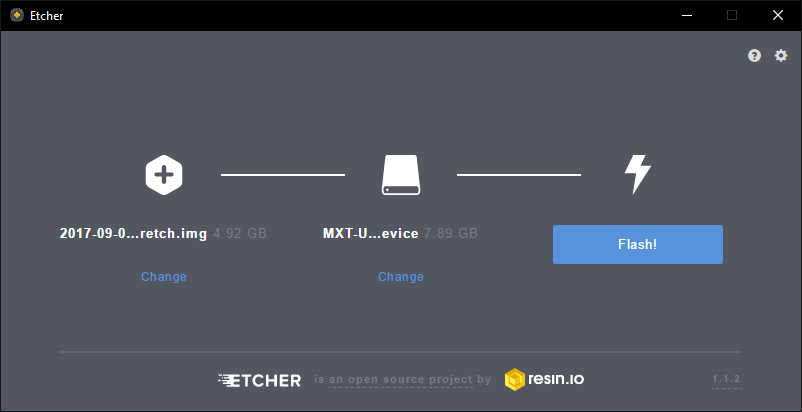
- Download & Install Etcher
- Plug the Micro SD Card Reader with the Micro SD Card in it.
- Open Etcher
- Click on Select Image and browse the download location of Raspbian/RaspbianLite Zip
- Click on Select Drive and find the drive of your micro sd card reader.
- Then lastly click on "Flash!"
This could take 10-30 minutes so sit back, relax and eat pie :)
Power Up Your Raspberry Pi!
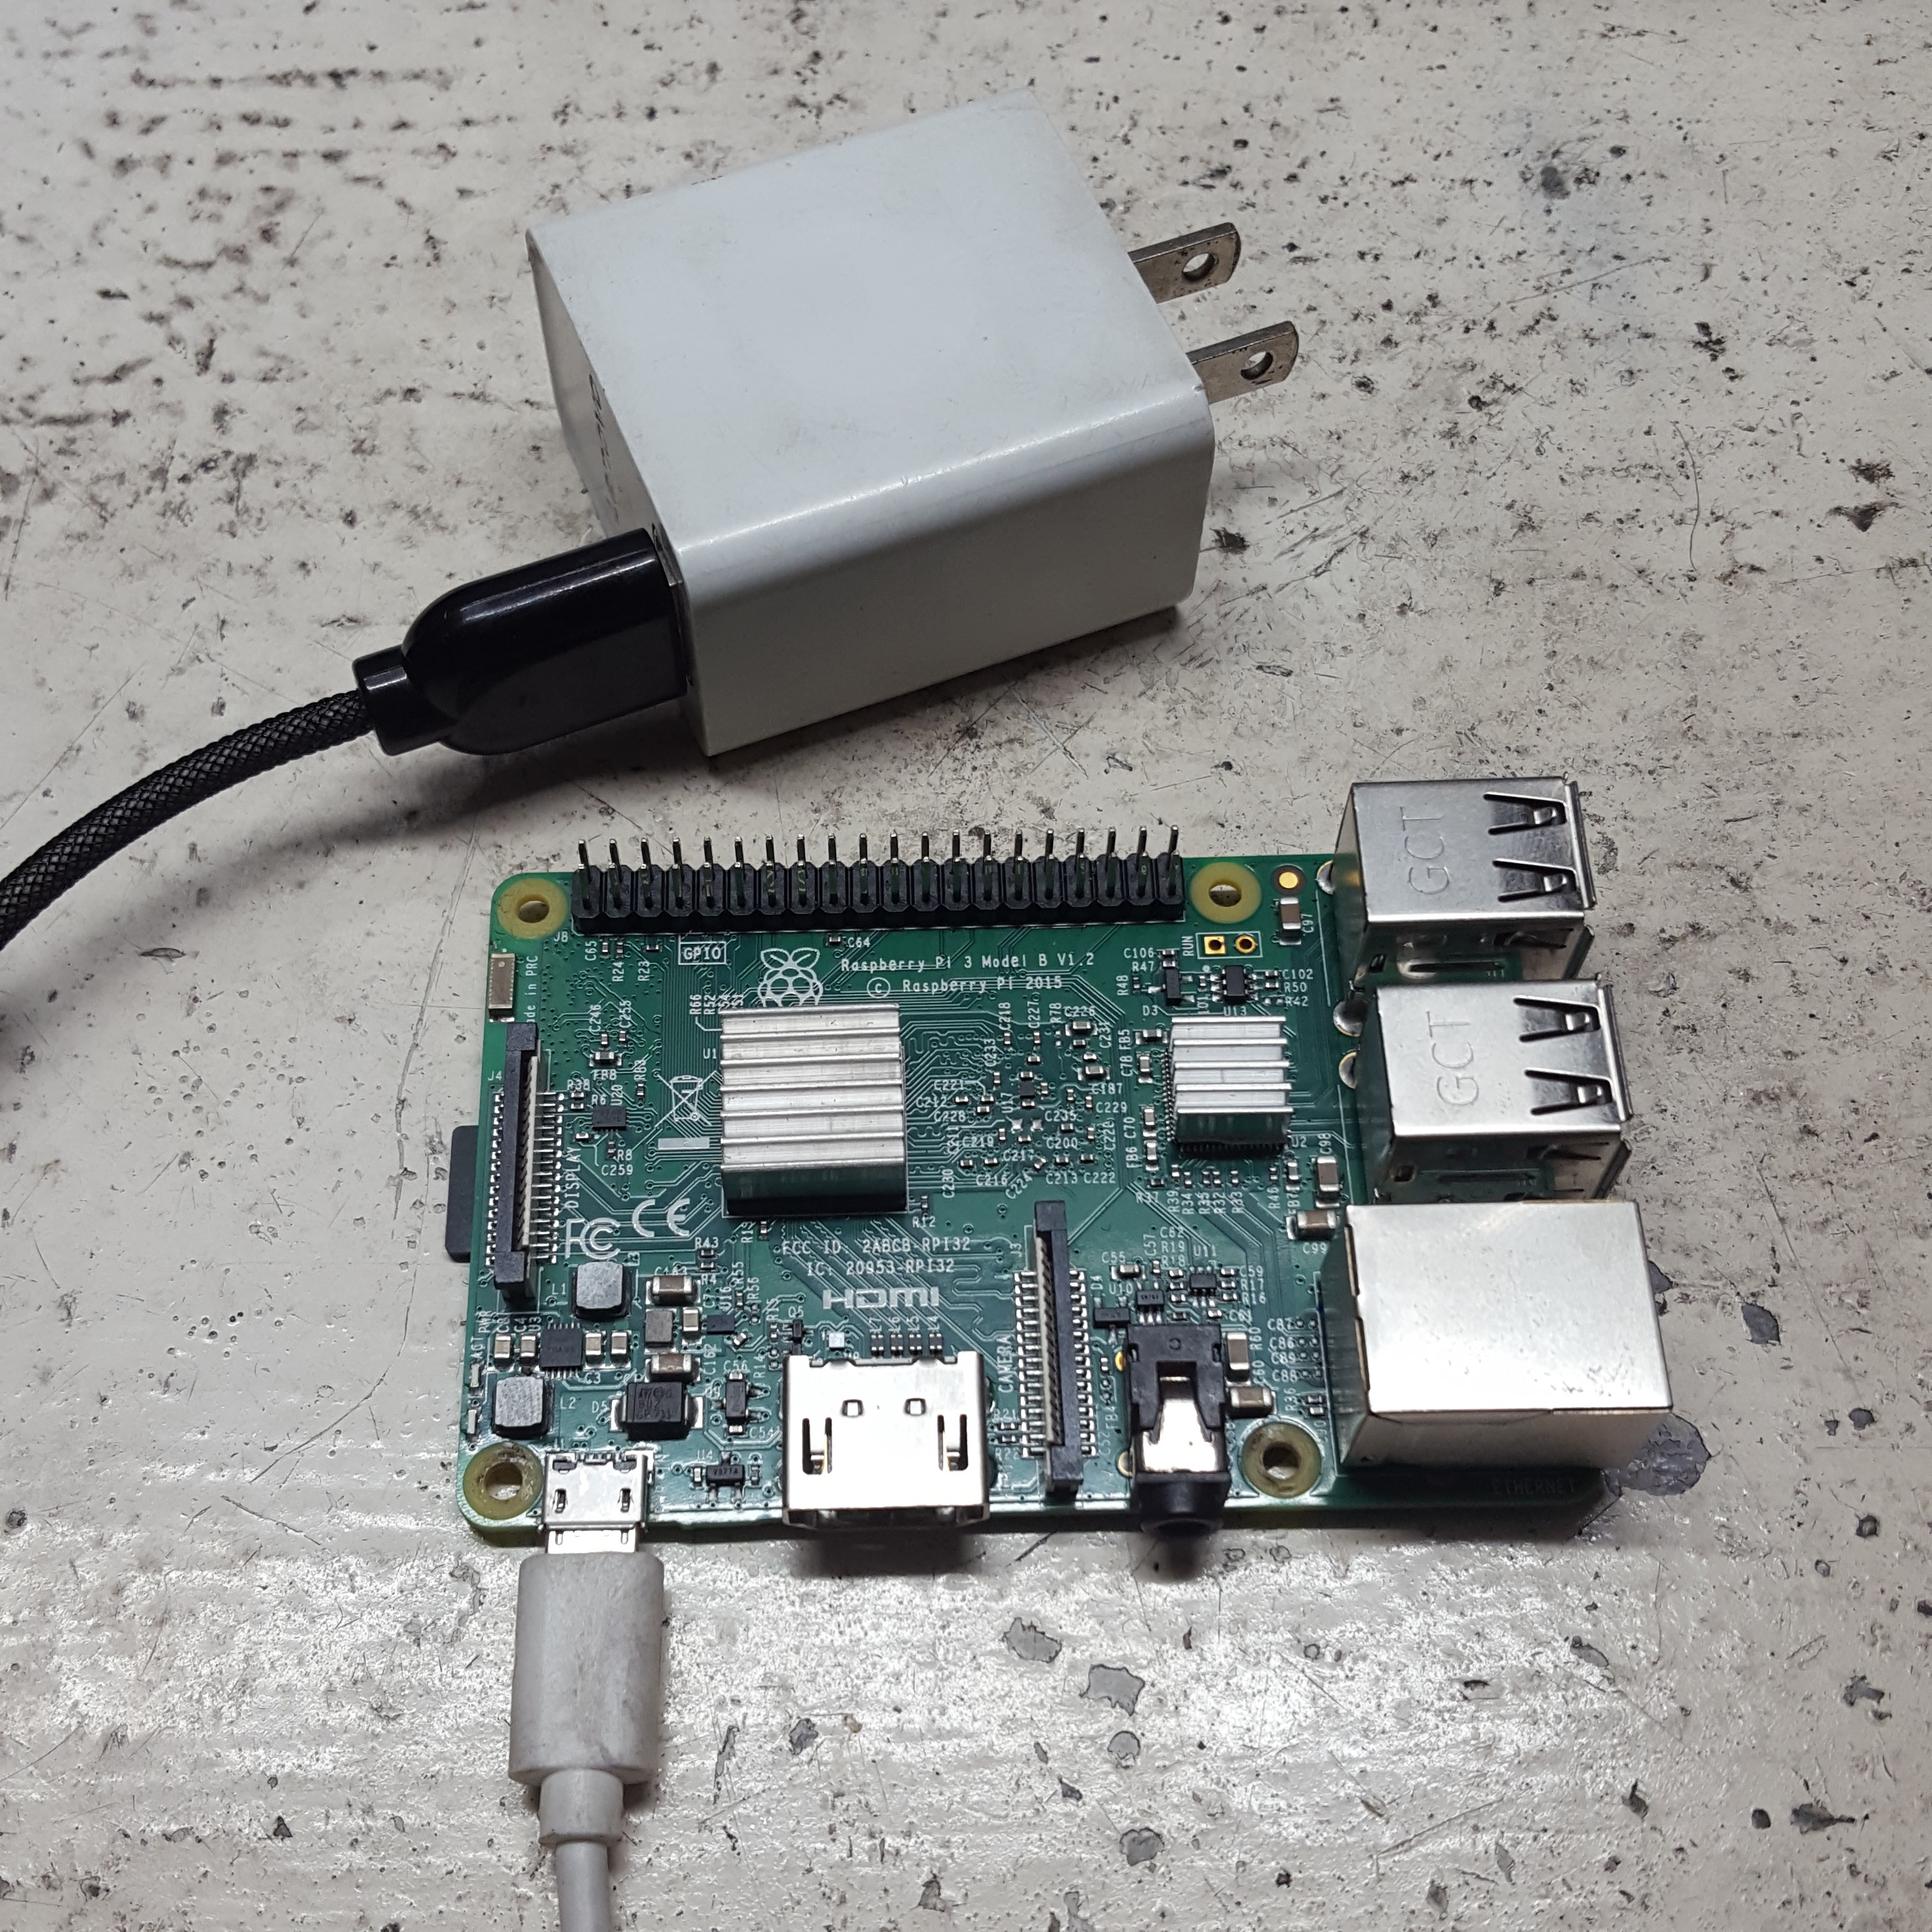
Now after we flash the micro sd card we may now able to boot this raspberry pi to raspbian :)
Plug the raspberry pi to your monitor with the hdmi cable.
Installing GassistPi
.png)
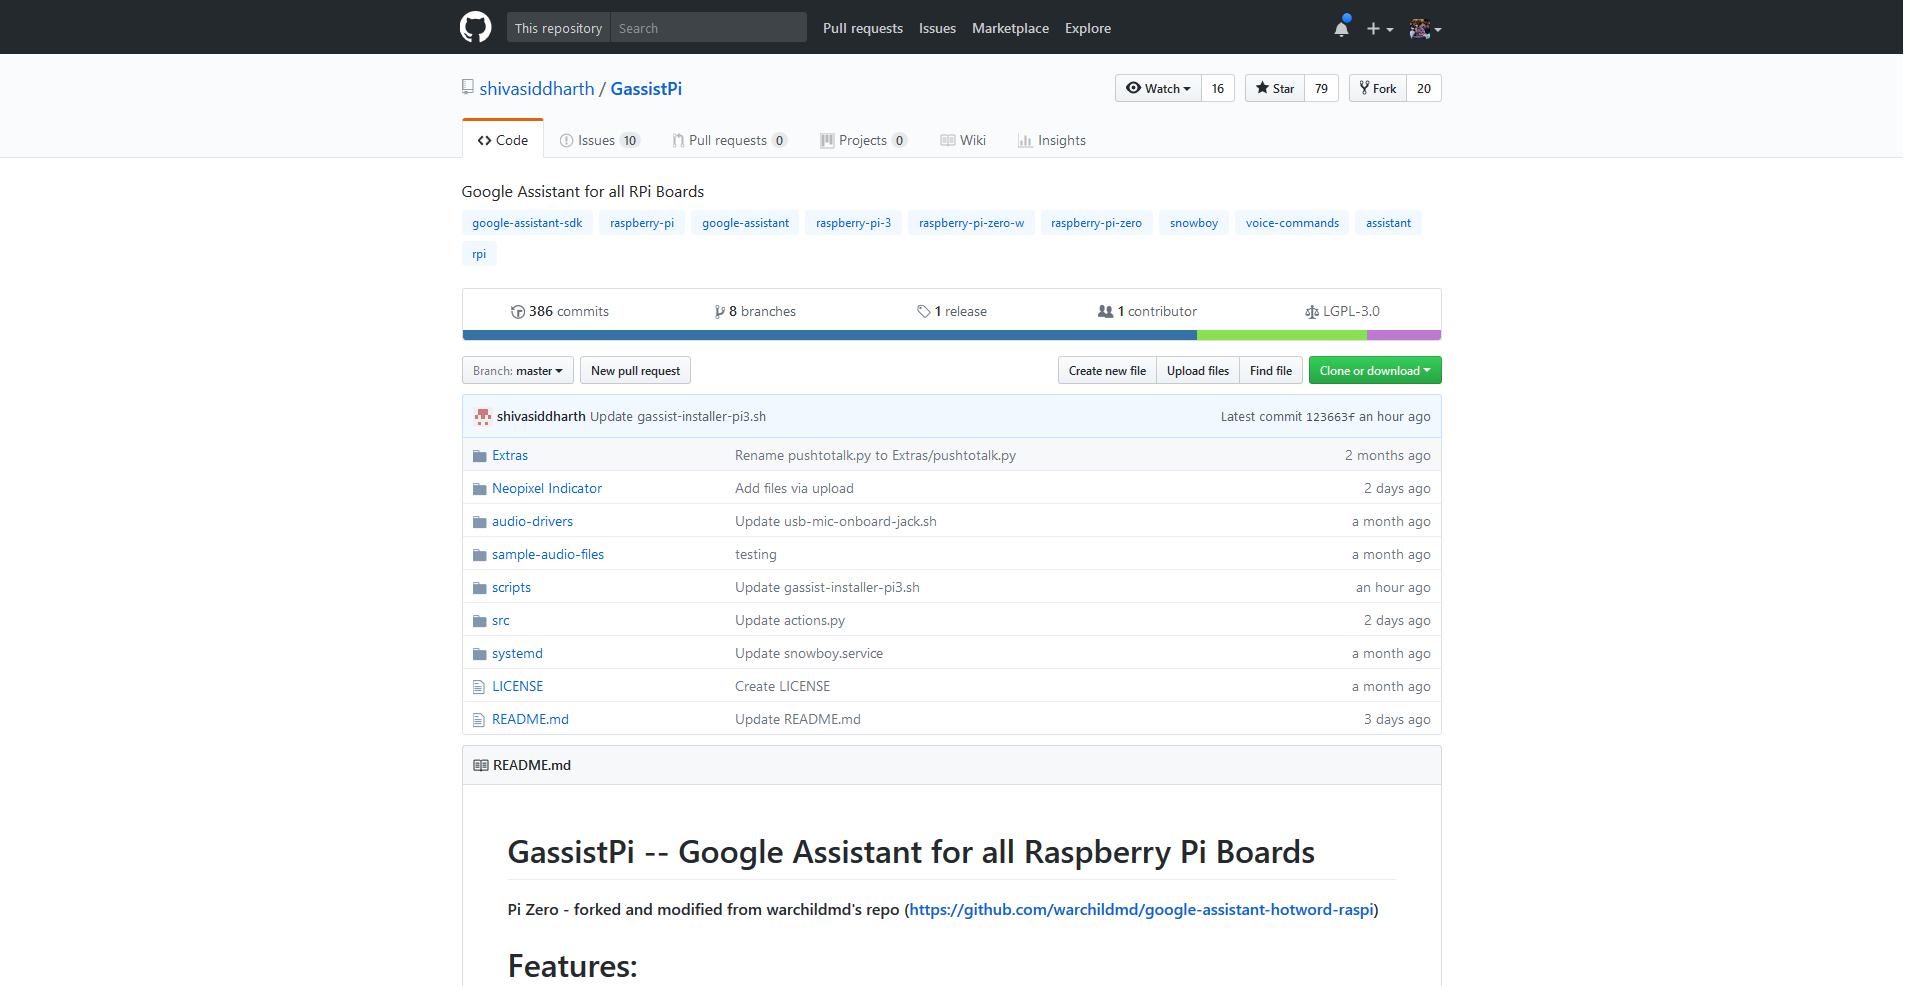
Now after you boot up your raspberry pi you may now go this Github Repository of GassistPi and you may also follow the guide there.
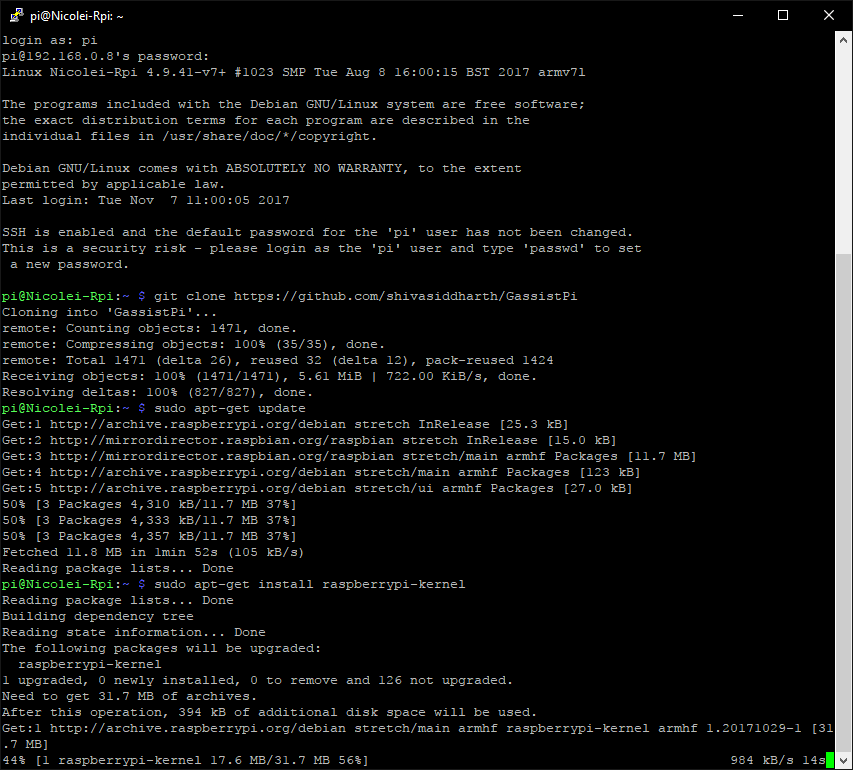
1. Open terminal and clone the repository
git clone <a href="https://github.com/shivasiddharth/GassistPi" rel="nofollow">https://github.com/shivasiddharth/GassistPi</a>
2. Update OS and Kernel
sudo apt-get update
sudo apt-get install raspberrypi-kernel
3. Restart your Raspberry Pi After booting up open your terminal again and execute this command because we'll going to use usb mic and the onboard audio jack (PLUG YOUR USB MIC AND SPEAKER FIRST BEFORE EXECUTING THE COMMAND)
sudo chmod +x /home/pi/GassistPi/audio-drivers/USB-MIC-JACK/scripts/usb-mic-onboard-jack.sh
sudo /home/pi/GassistPi/audio-drivers/USB-MIC-JACK/scripts/usb-mic-onboard-jack.sh
4. Download credentials--->.json file (refer to this doc for creating credentials https://github.com/shivasiddharth/GassistPi
5. Place the .json file in/home/pi directory
6. Rename it to assistant.json
7. Using the one-line installer for installing Google Assistant and Snowboy dependencies Pi3 and Armv7 users use the "gassist-installer-pi3.sh" installer and Pi Zero, Pi A and Pi 1 B+ users use the "gassist-installer-pi-zero.sh" installer. Snowboy installer is common for both
7.1 Make the installers Executable
sudo chmod +x /home/pi/GassistPi/scripts/gassist-installer-pi3.sh
sudo chmod +x /home/pi/GassistPi/scripts/gassist-installer-pi-zero.sh
sudo chmod +x /home/pi/GassistPi/scripts/snowboy-deps-installer.sh
7.2 Execute the installers (Run the snowboy installer first. Don't be in a hurry and Don't run them parallely, Run them one after the other
sudo  /home/pi/GassistPi/scripts/snowboy-deps-installer.sh
sudo  /home/pi/GassistPi/scripts/gassist-installer-pi-zero.sh
sudo  /home/pi/GassistPi/scripts/gassist-installer-pi3.sh
8. Copy the google assistant authentication link from terminal and authorize using your google account
9. Copy the authorization code from browser onto the terminal and press enter
10. Move into the environment and test the google assistant according to your board
source env/bin/activate
google-assistant-demo
(say the hotword "ok google")
or
source env/bin/activate
googlesamples-assistant-pushtotalk
11. To make our google assistant autostart when the raspberry pi is on run this commands
sudo chmod +x /home/pi/GassistPi/scripts/service-installer.sh
sudo /home/pi/GassistPi/scripts/service-installer.sh
sudo systemctl enable gassistpi-ok-google.service
sudo systemctl enable snowboy.service
sudo systemctl start gassistpi-ok-google.service
sudo systemctl start snowboy.service
12. Restart your raspberry pi and your google assistant will autostart
Customization of Your GassistPi
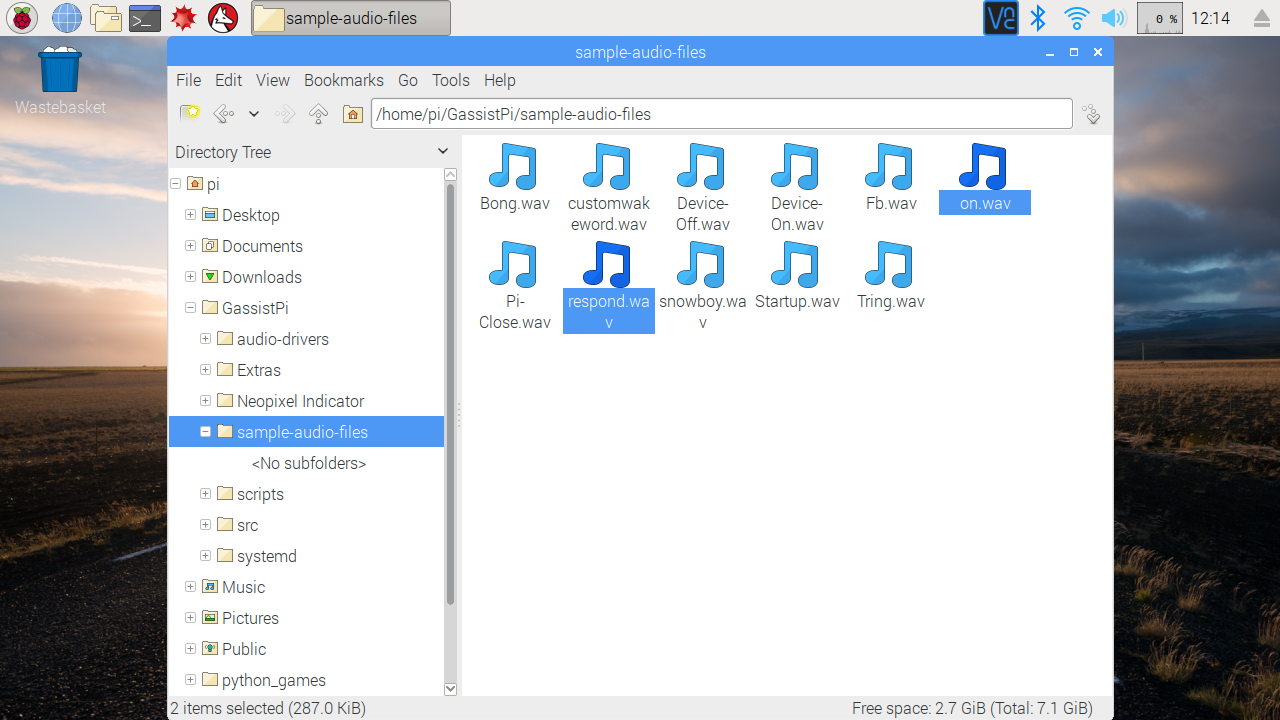
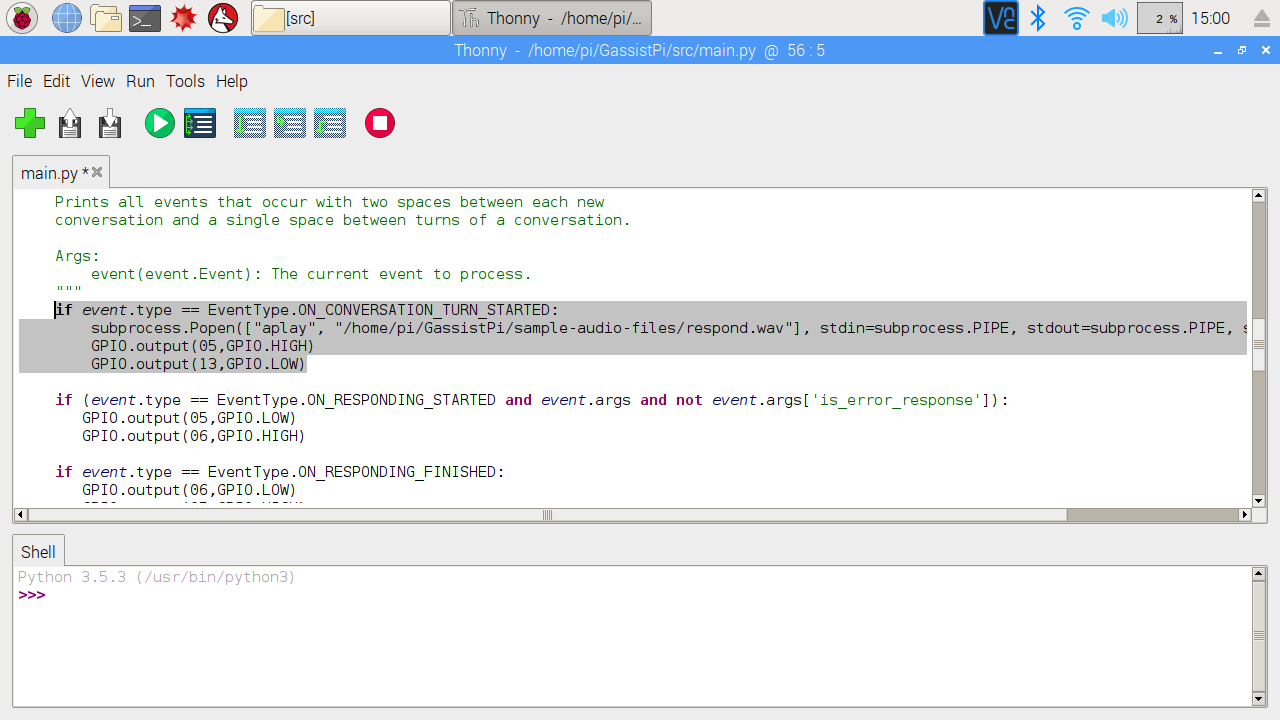
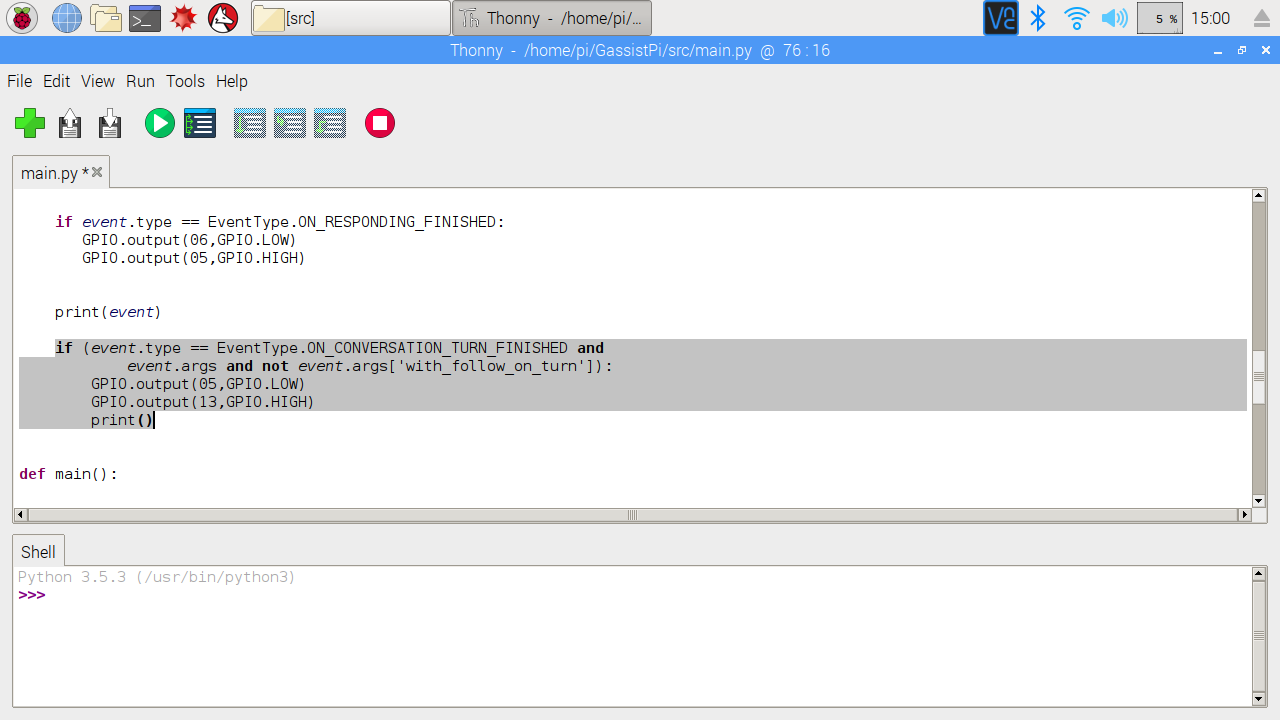
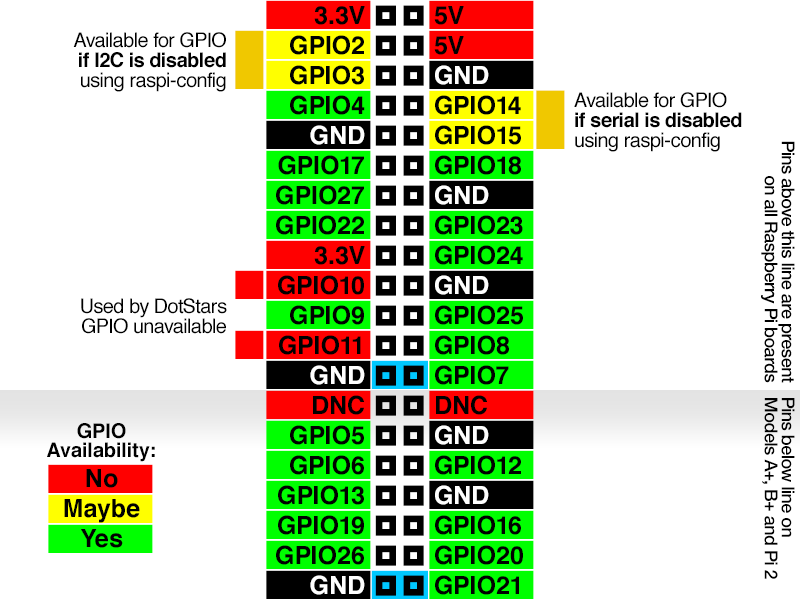
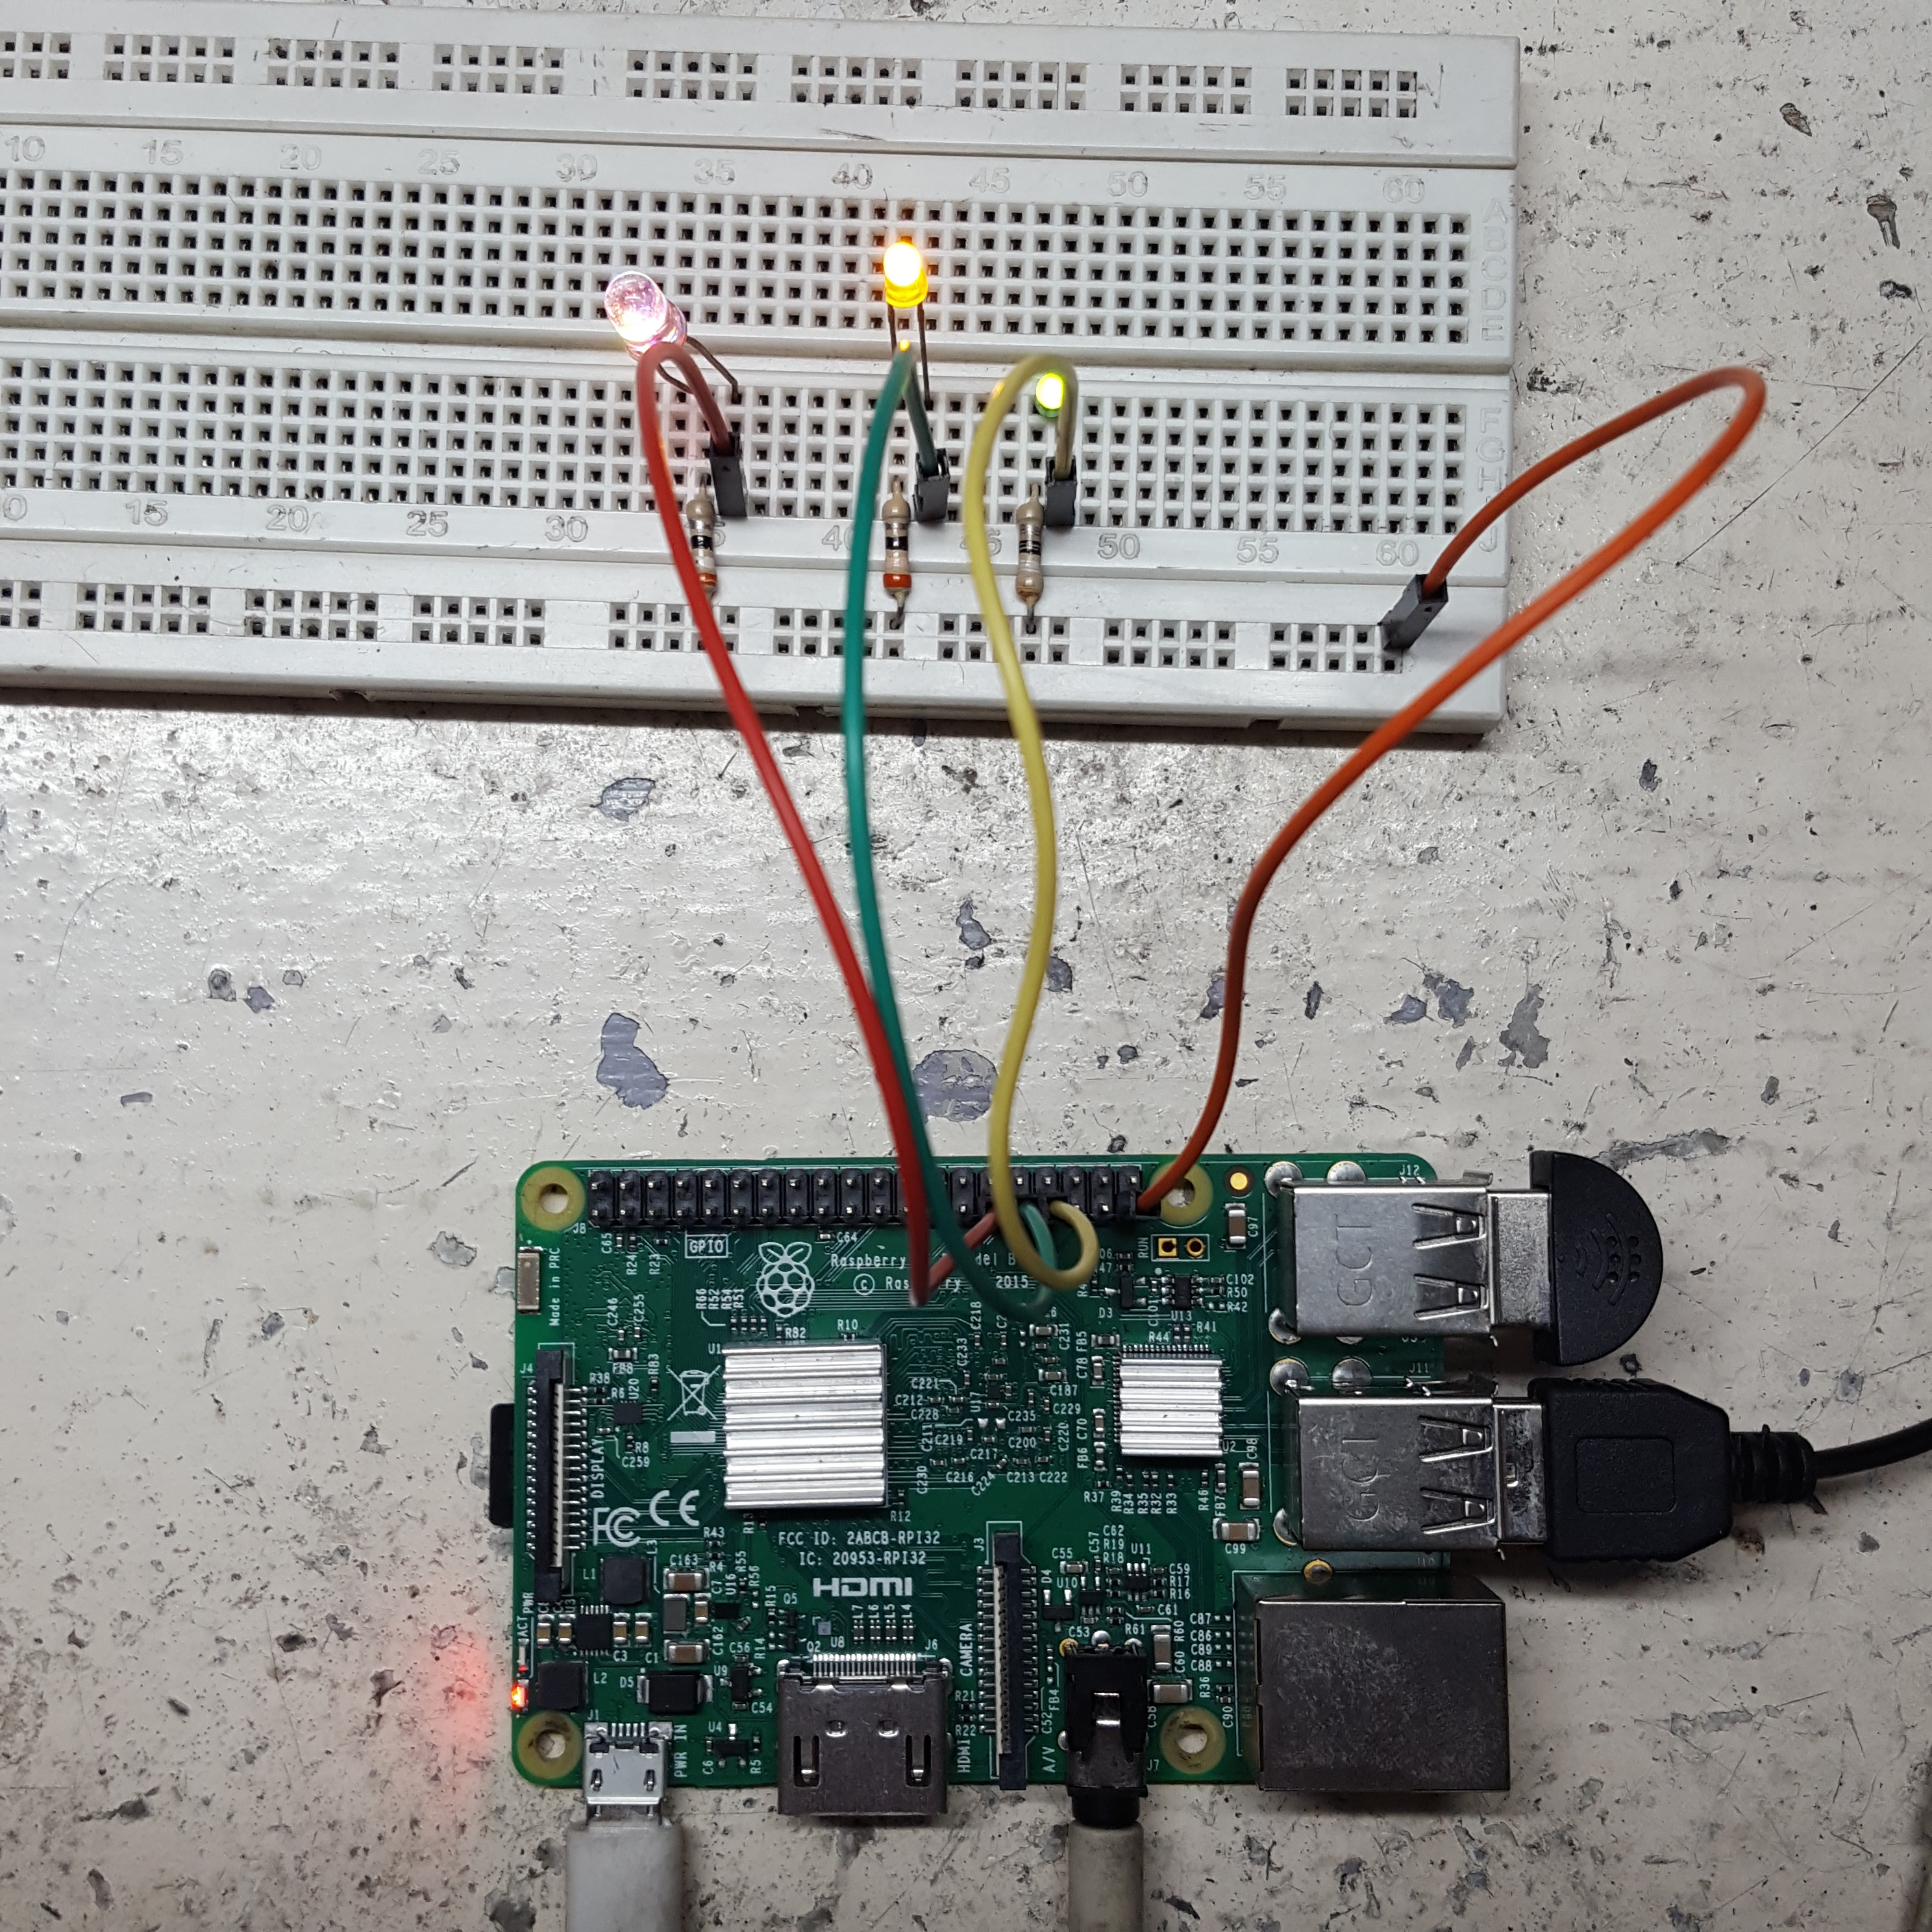
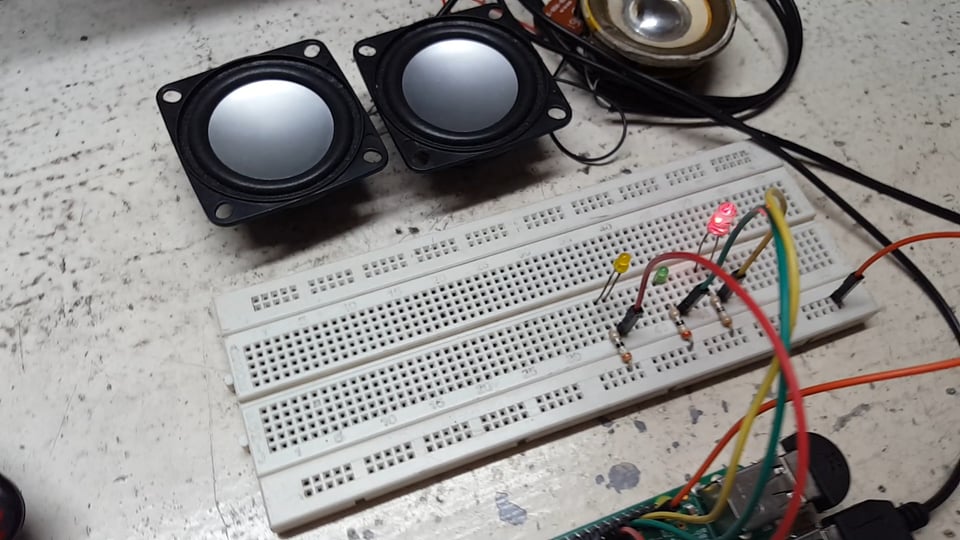
To feel the real "Google Home" we will be adding custom sounds and led light response.
Changing the sounds
Download my custom sounds
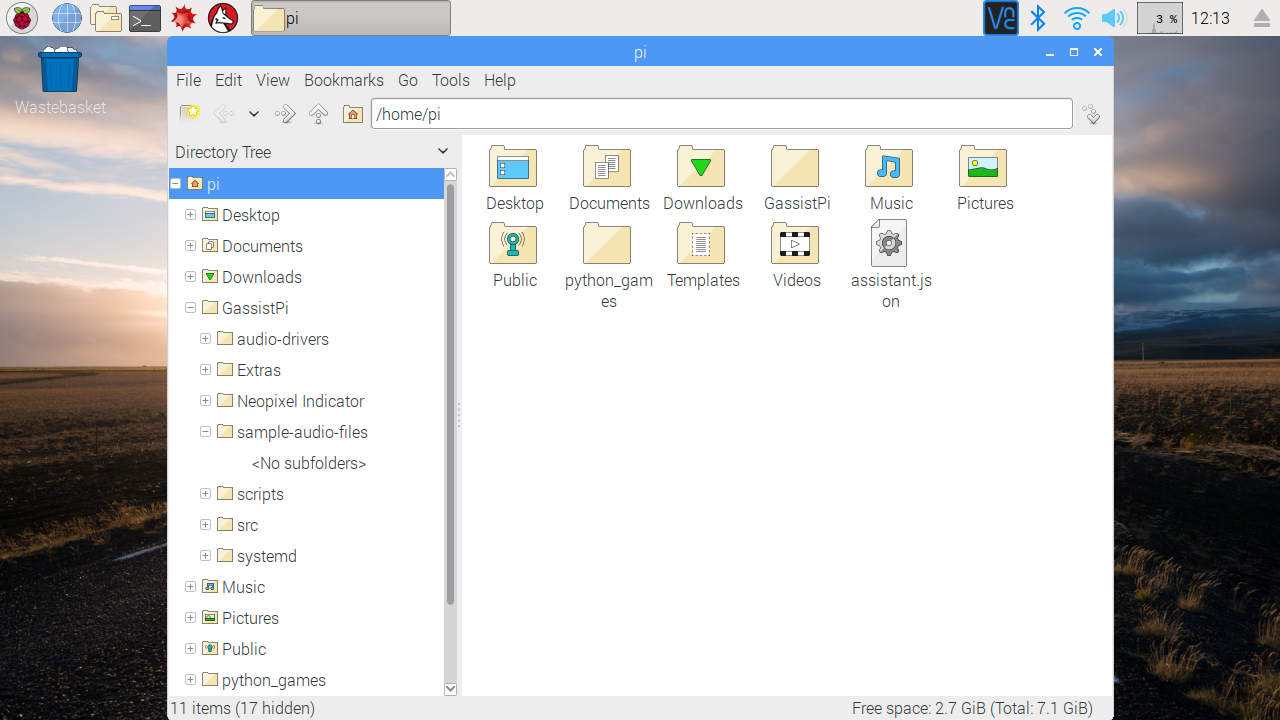
1. Put the downloaded sounds in /home/pi/GassistPi/sample-audio-files
2. Now go to /home/pi/GassistPi/src then open main.py
3. Find & Replace Startup.wav to on.wav
4. Find & Replace Fb.wav to respond.wav
5. Then Save
Adding LED Lights Response
In GassistPi Pin 05 & Pin 06 is Google assistant listening and responding but we'll be adding an extra led to let us know if google assistant is started
In main.py we'll add in #Indicator Pins
GPIO.setup(13,GPIO.OUT)
GPIO.output(13, GPIO.HIGH)
In ON_CONVERSATION_TURN_STARTED add this line
GPIO.output(13, GPIO.LOW)
In ON_CONVERSATION_TURN_STARTED add this line
GPIO.output(13, GPIO.HIGH)
You can download the main.py and replace your main.py in /home/pi/GassistPi/src
Enclosure
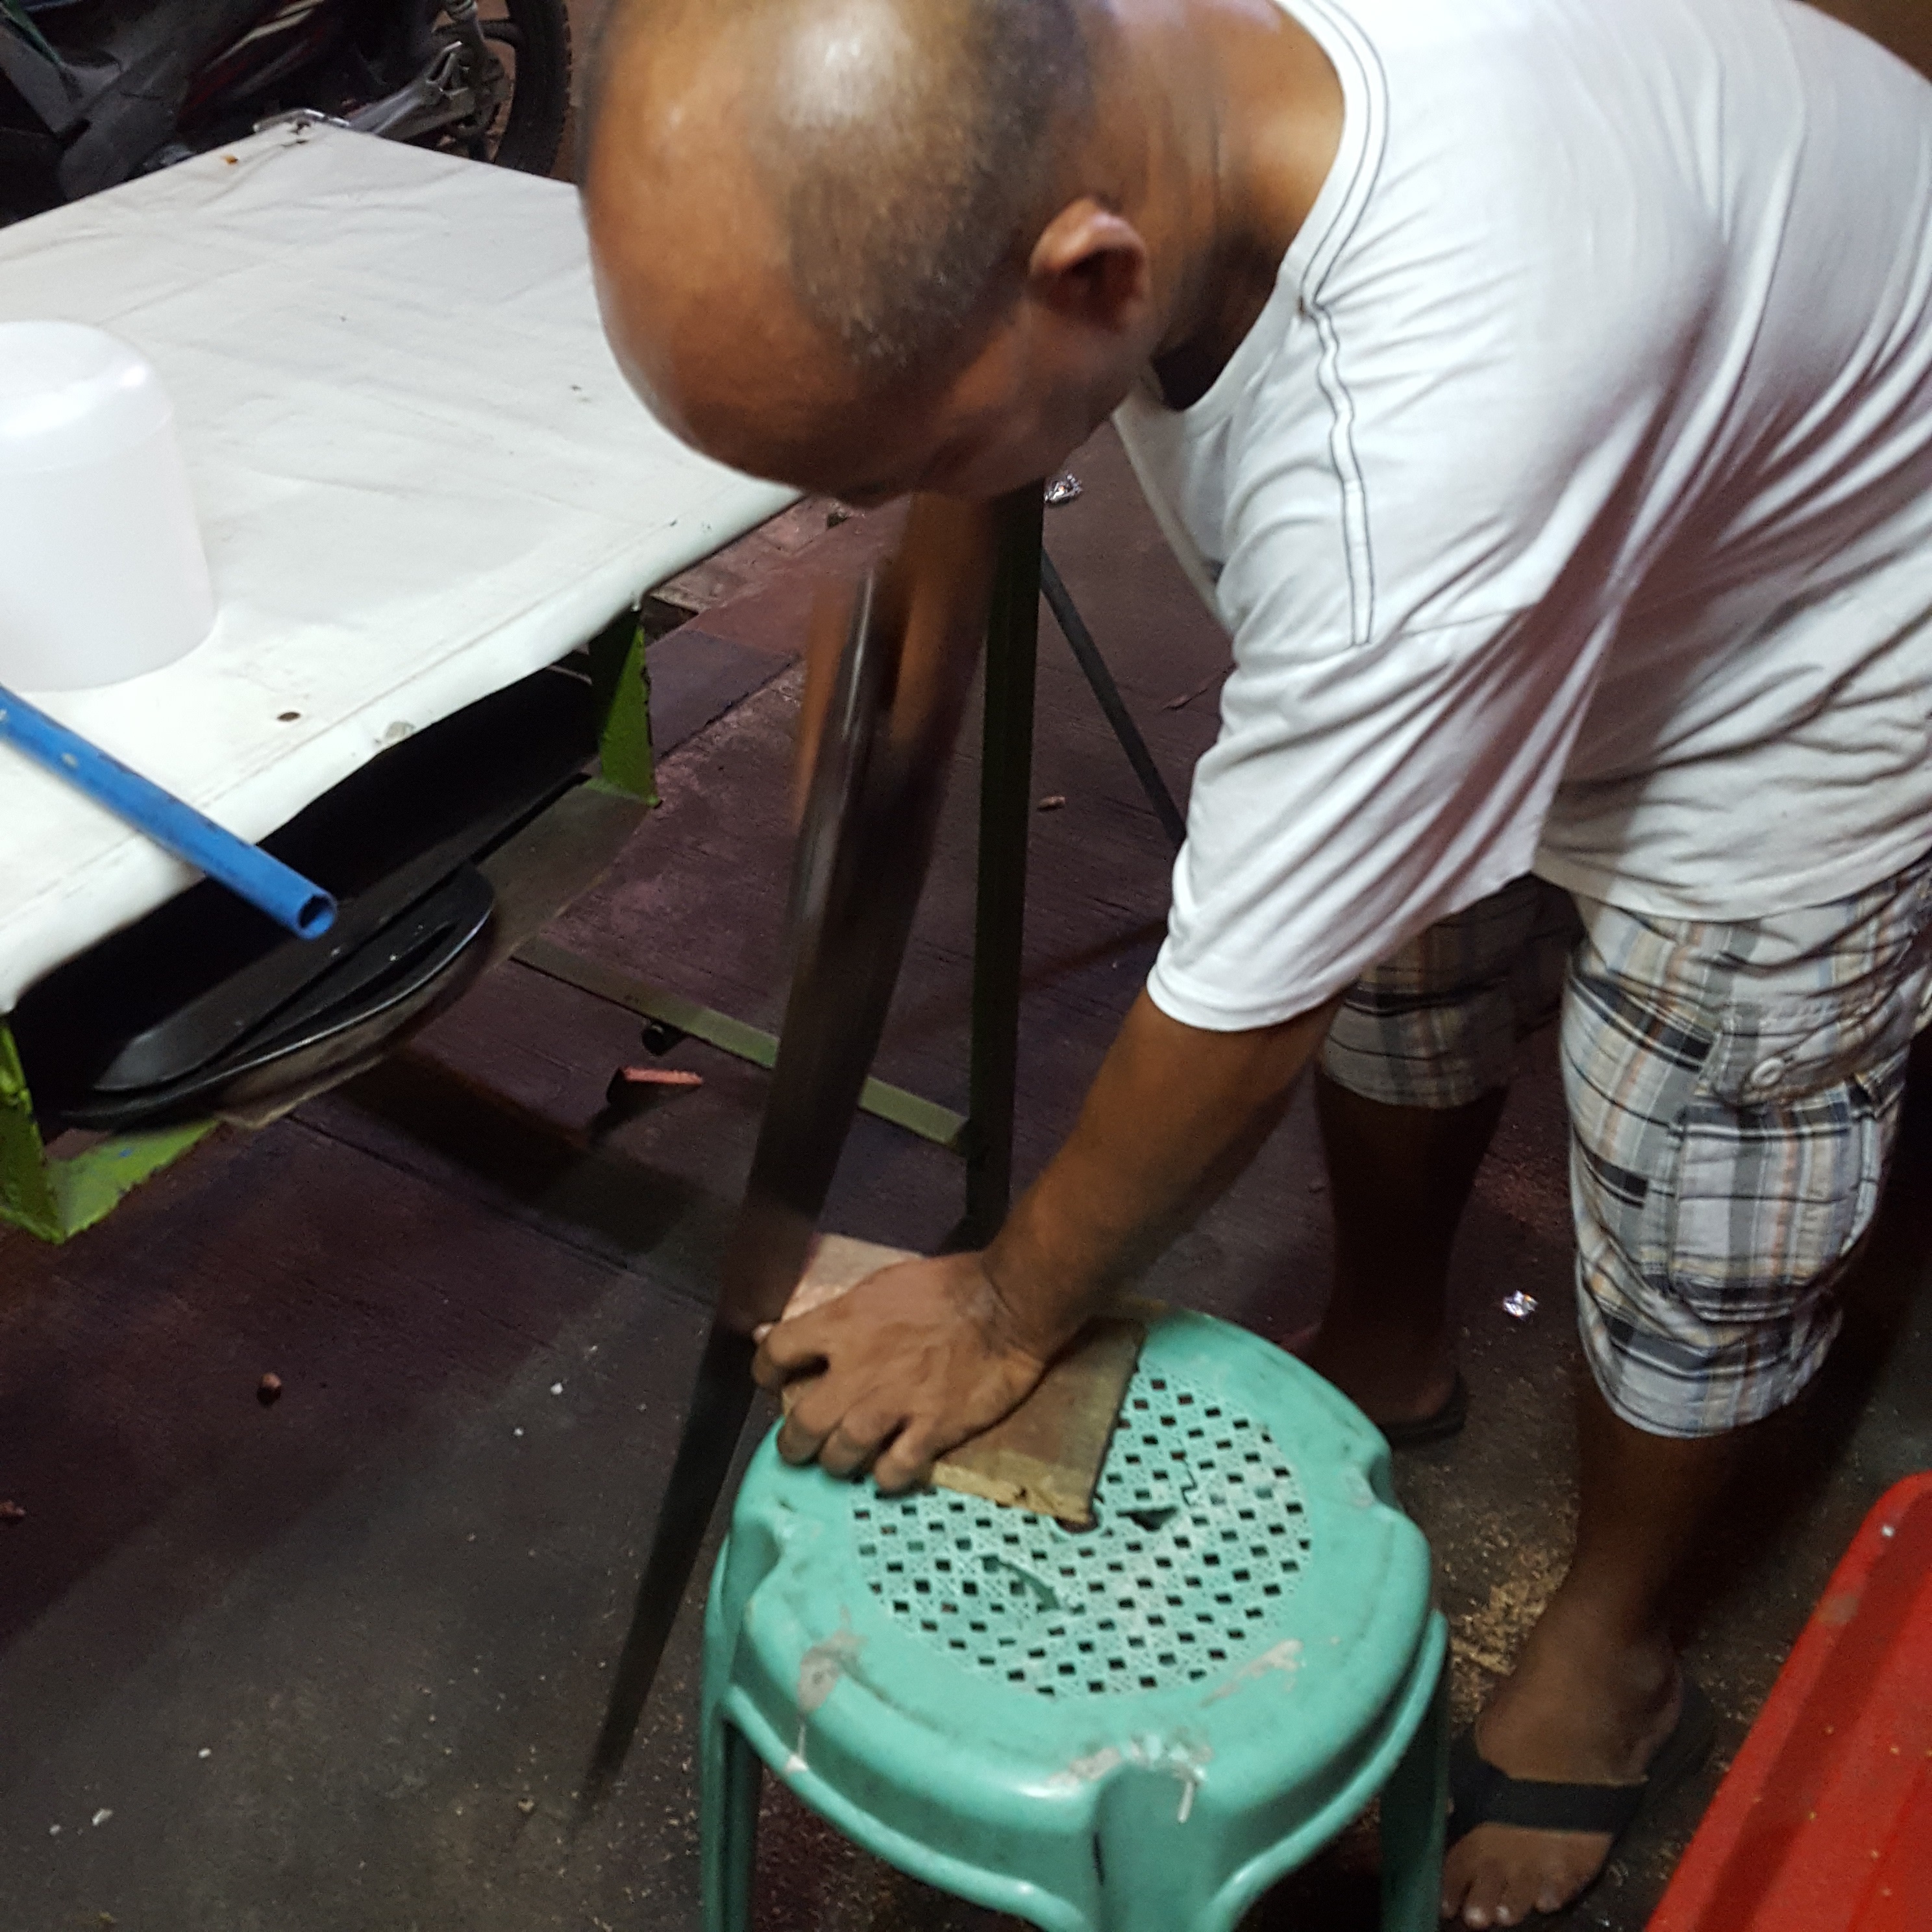
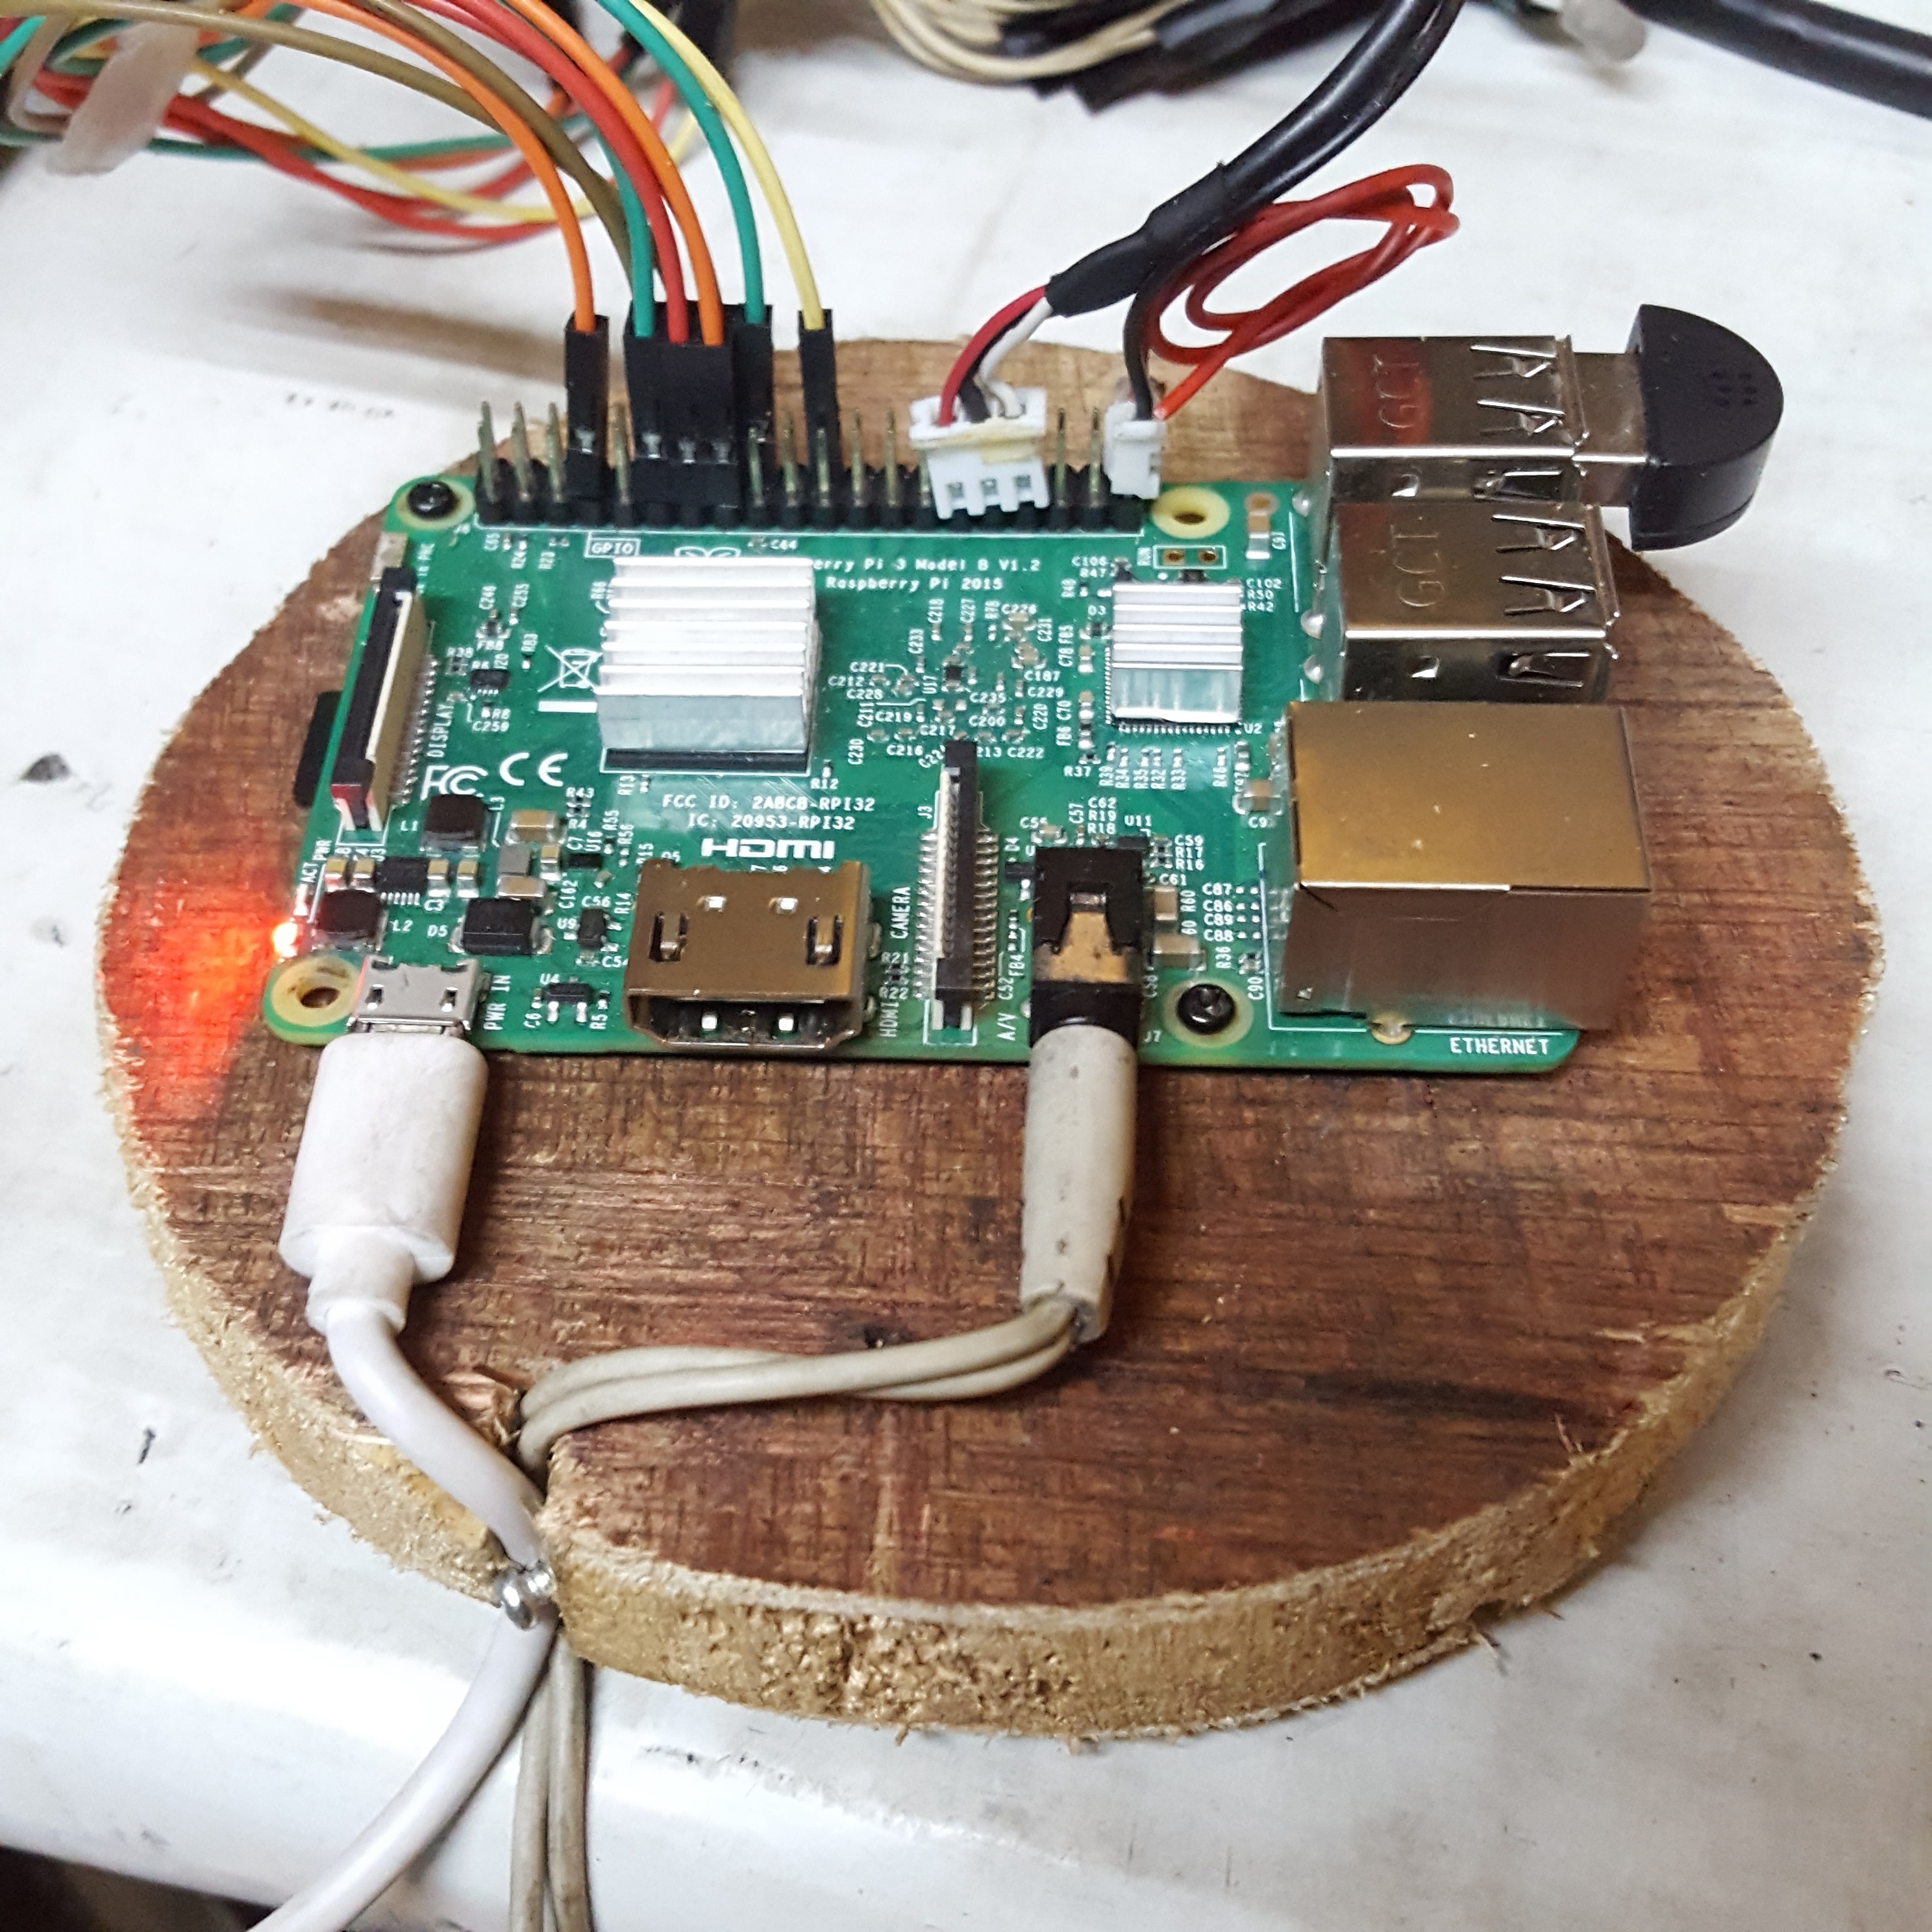
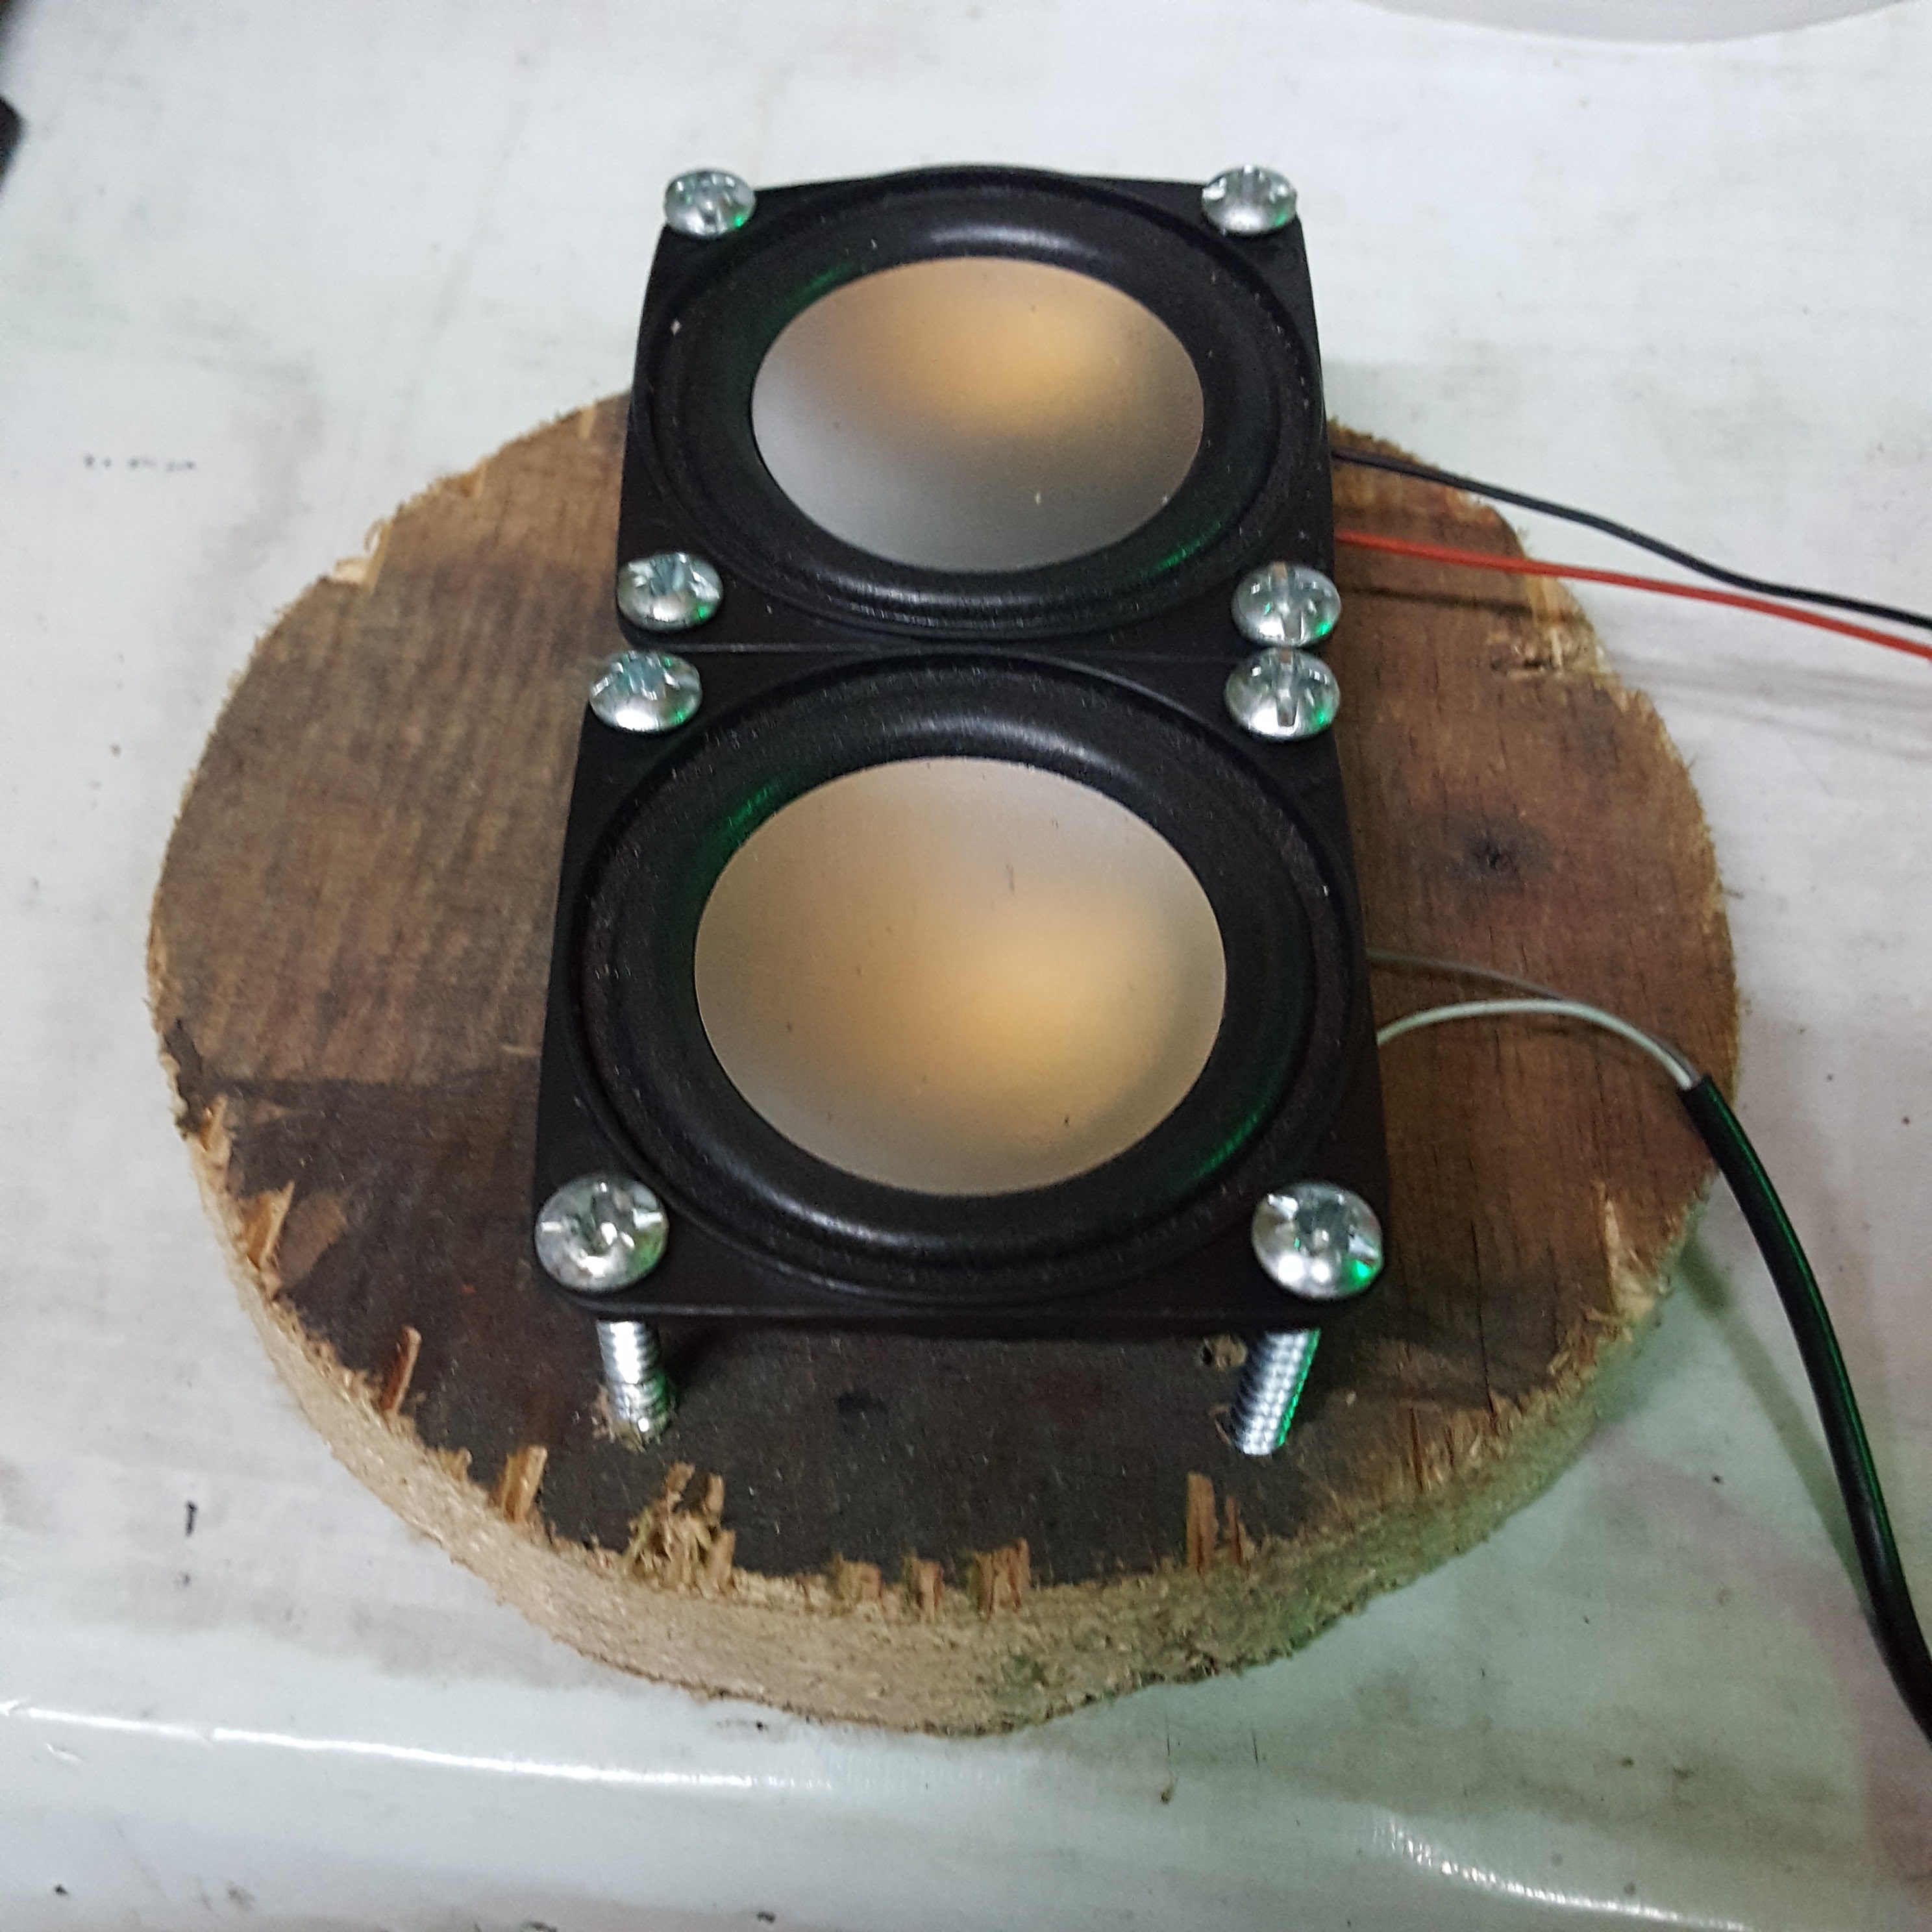
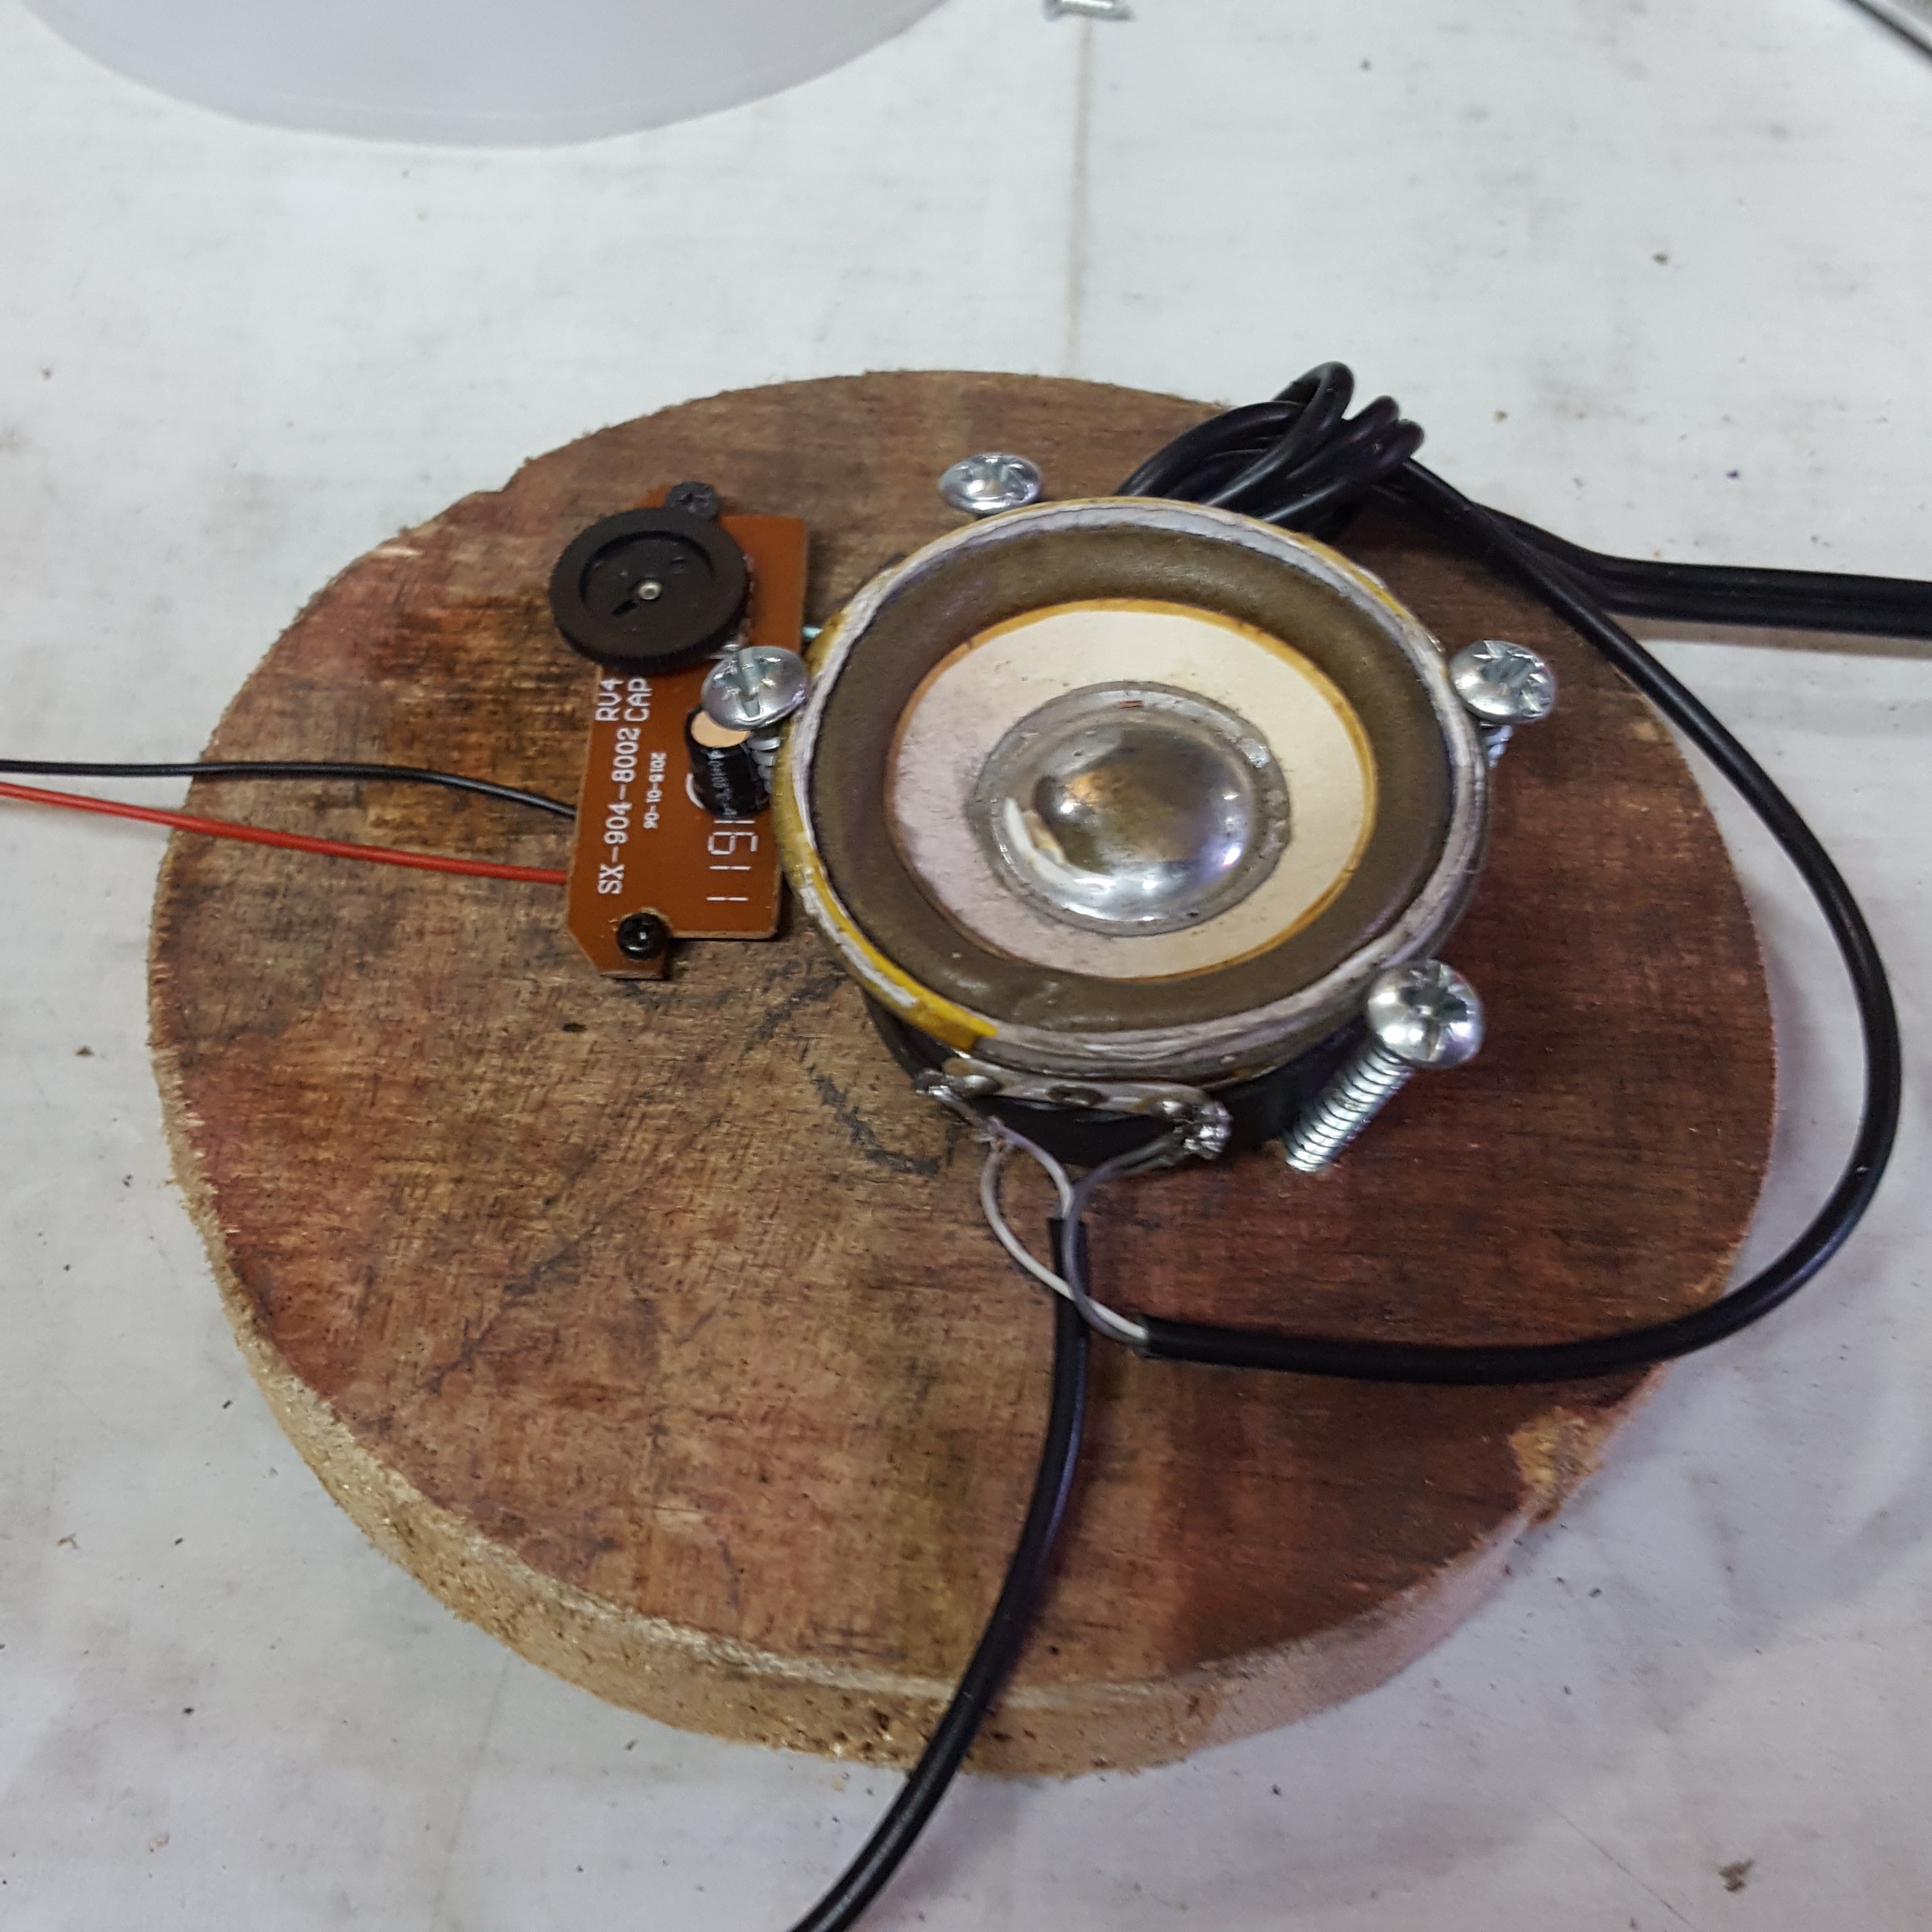


I know you can make much more beautiful enclosure :) but i'll show you on how i make this enclosure for my Google Assistant :)
I transfer the leds from breadboard to female to female jumper cables.
My father helps me to saw the scrap wood for the base and middle for the enclosure.
The base wood i attached 1 speaker on it.
The middle wood i attached the 2 speaker at the bottom and raspberry pi at the top
The leds, i use hot glue to attach it at the top of enclosure
For speakes holes and microphone holes, i use my soldering iron to put holes at the bottom of my enclosure and 2 holes at the top.
Conclusion.

This project cost less than $50 (Php 2563.70) to make.
This GassistPi project can also helps you to automate your house. It can trigger On/Off relay.
I also added LightshowPi (http://lightshowpi.org/) in this project so when i play music on it the lights will follow on it :)
If this project is awesome please vote this entry for "Raspberry Pi" & "Wireless" contest :) Thanks!