Garden Fence With Look Through Design
by Superbender in Workshop > Home Improvement
3146 Views, 31 Favorites, 0 Comments
Garden Fence With Look Through Design
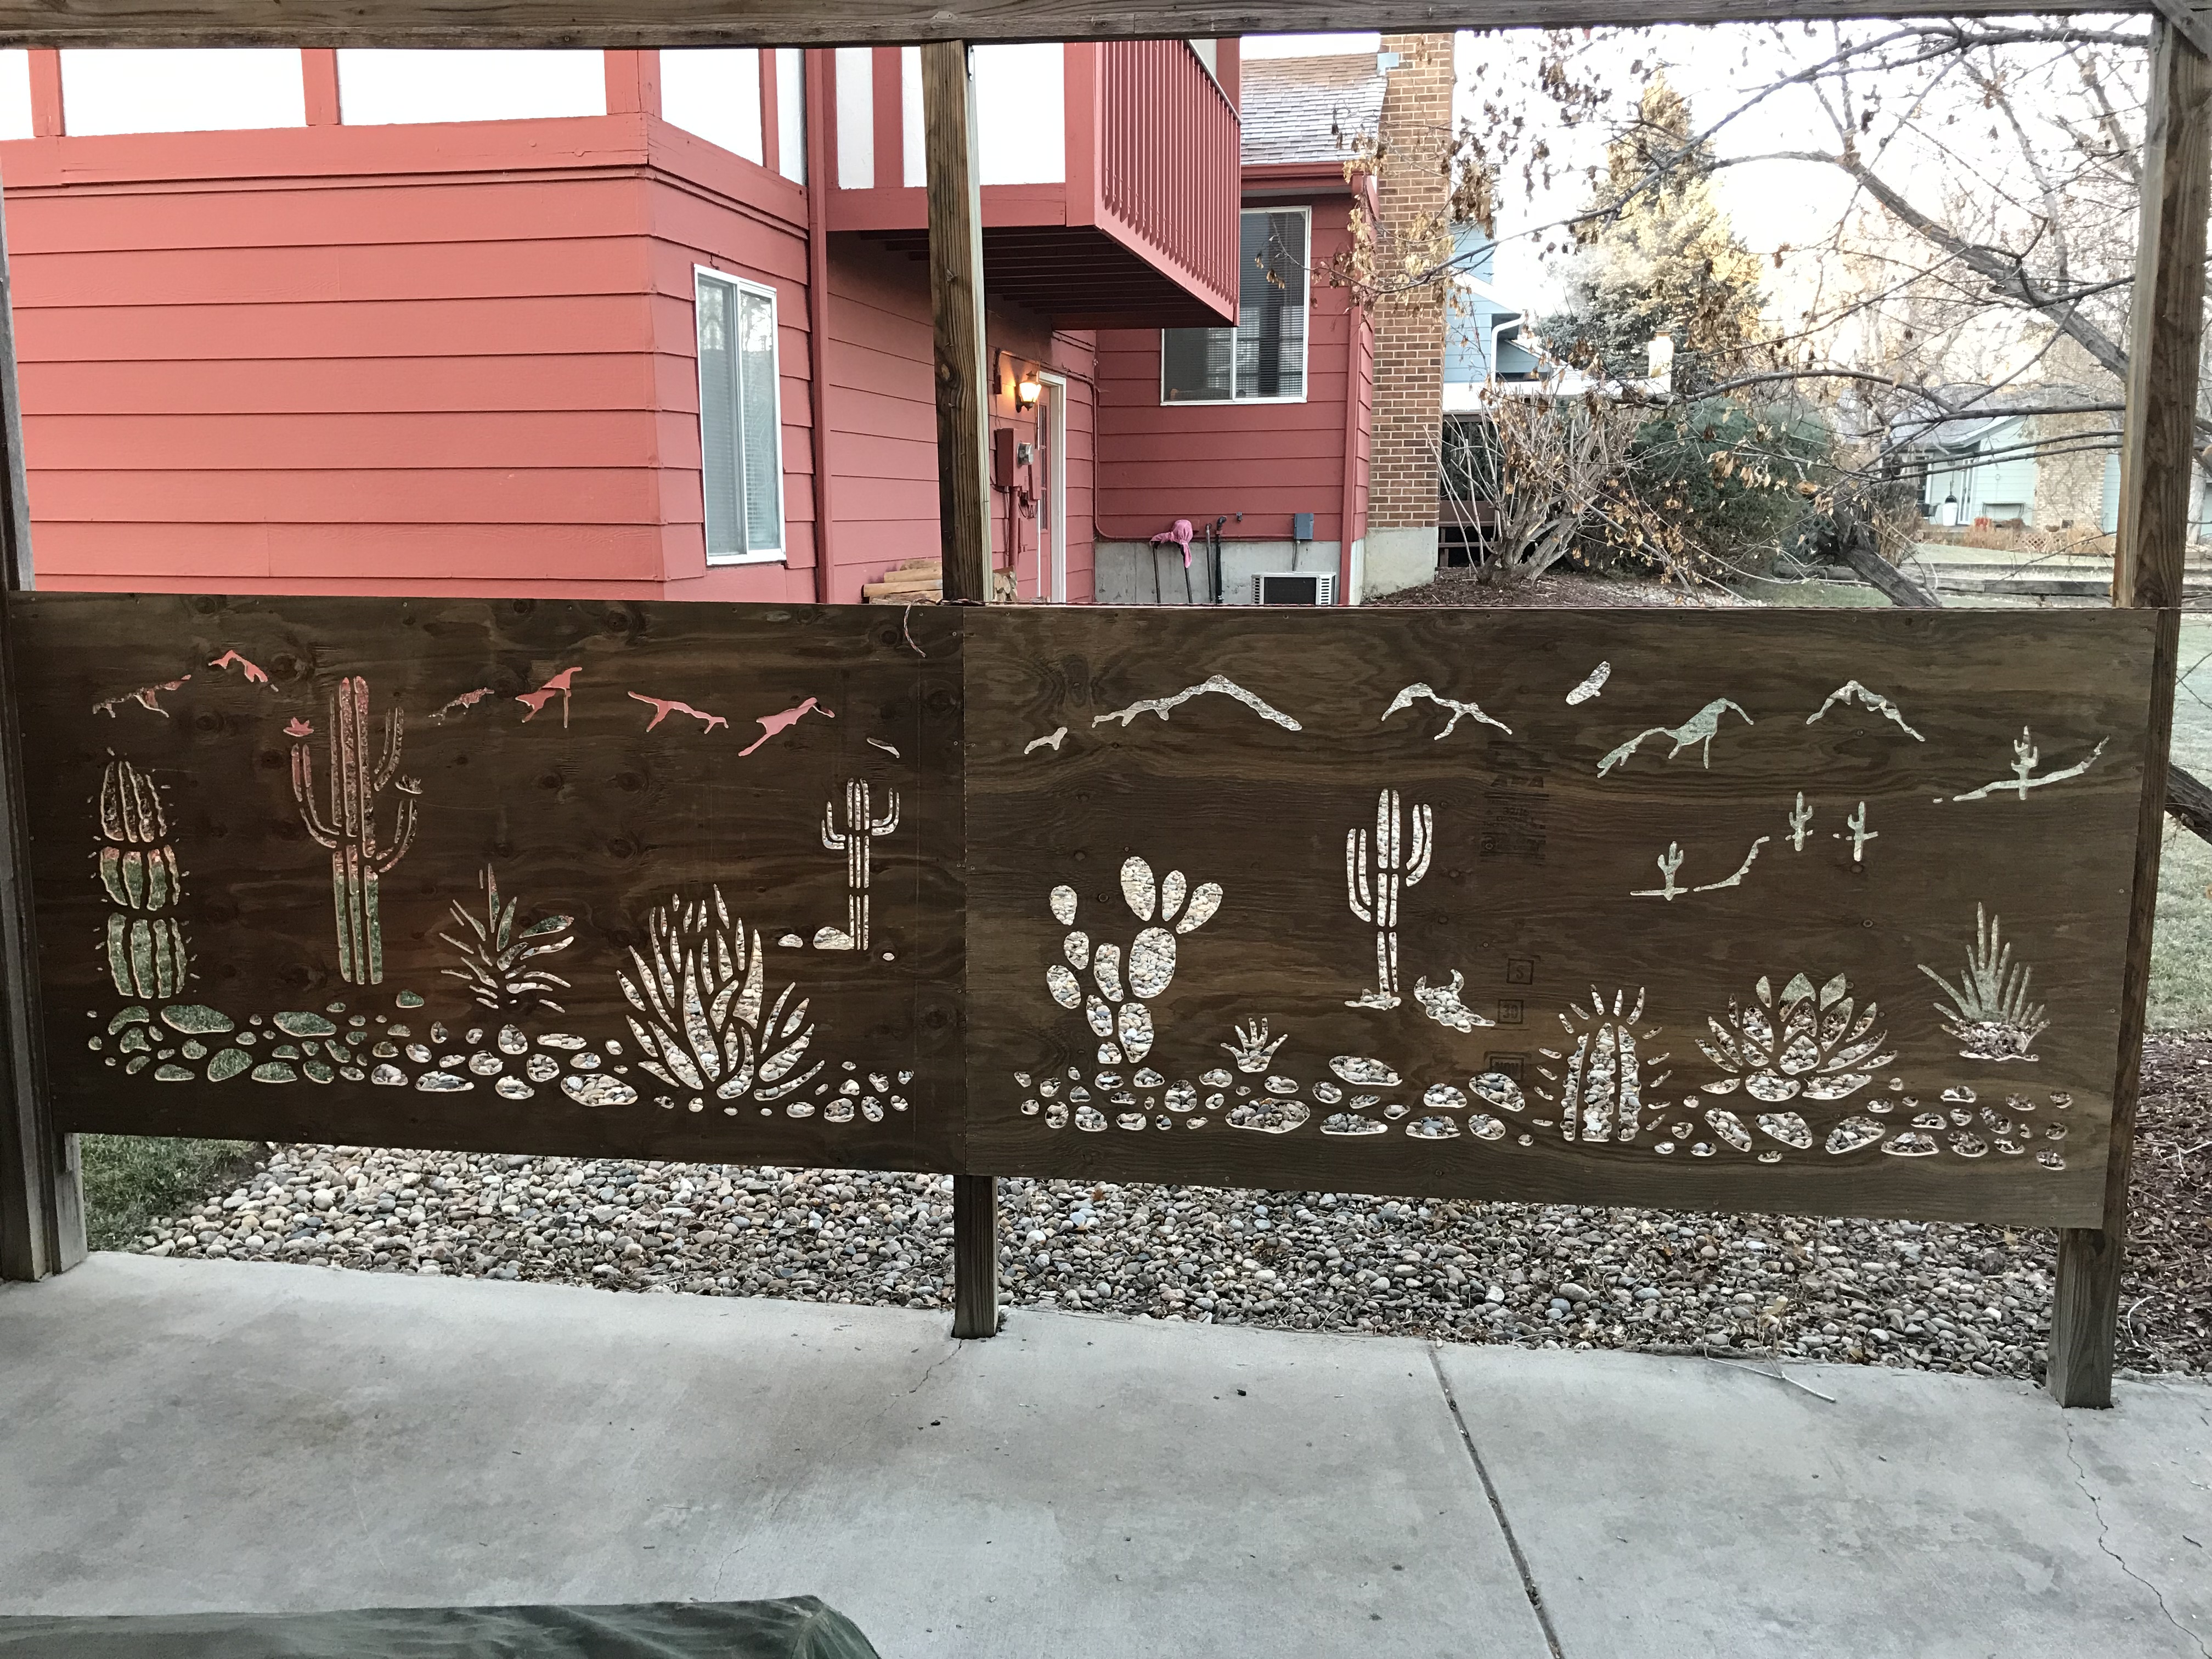
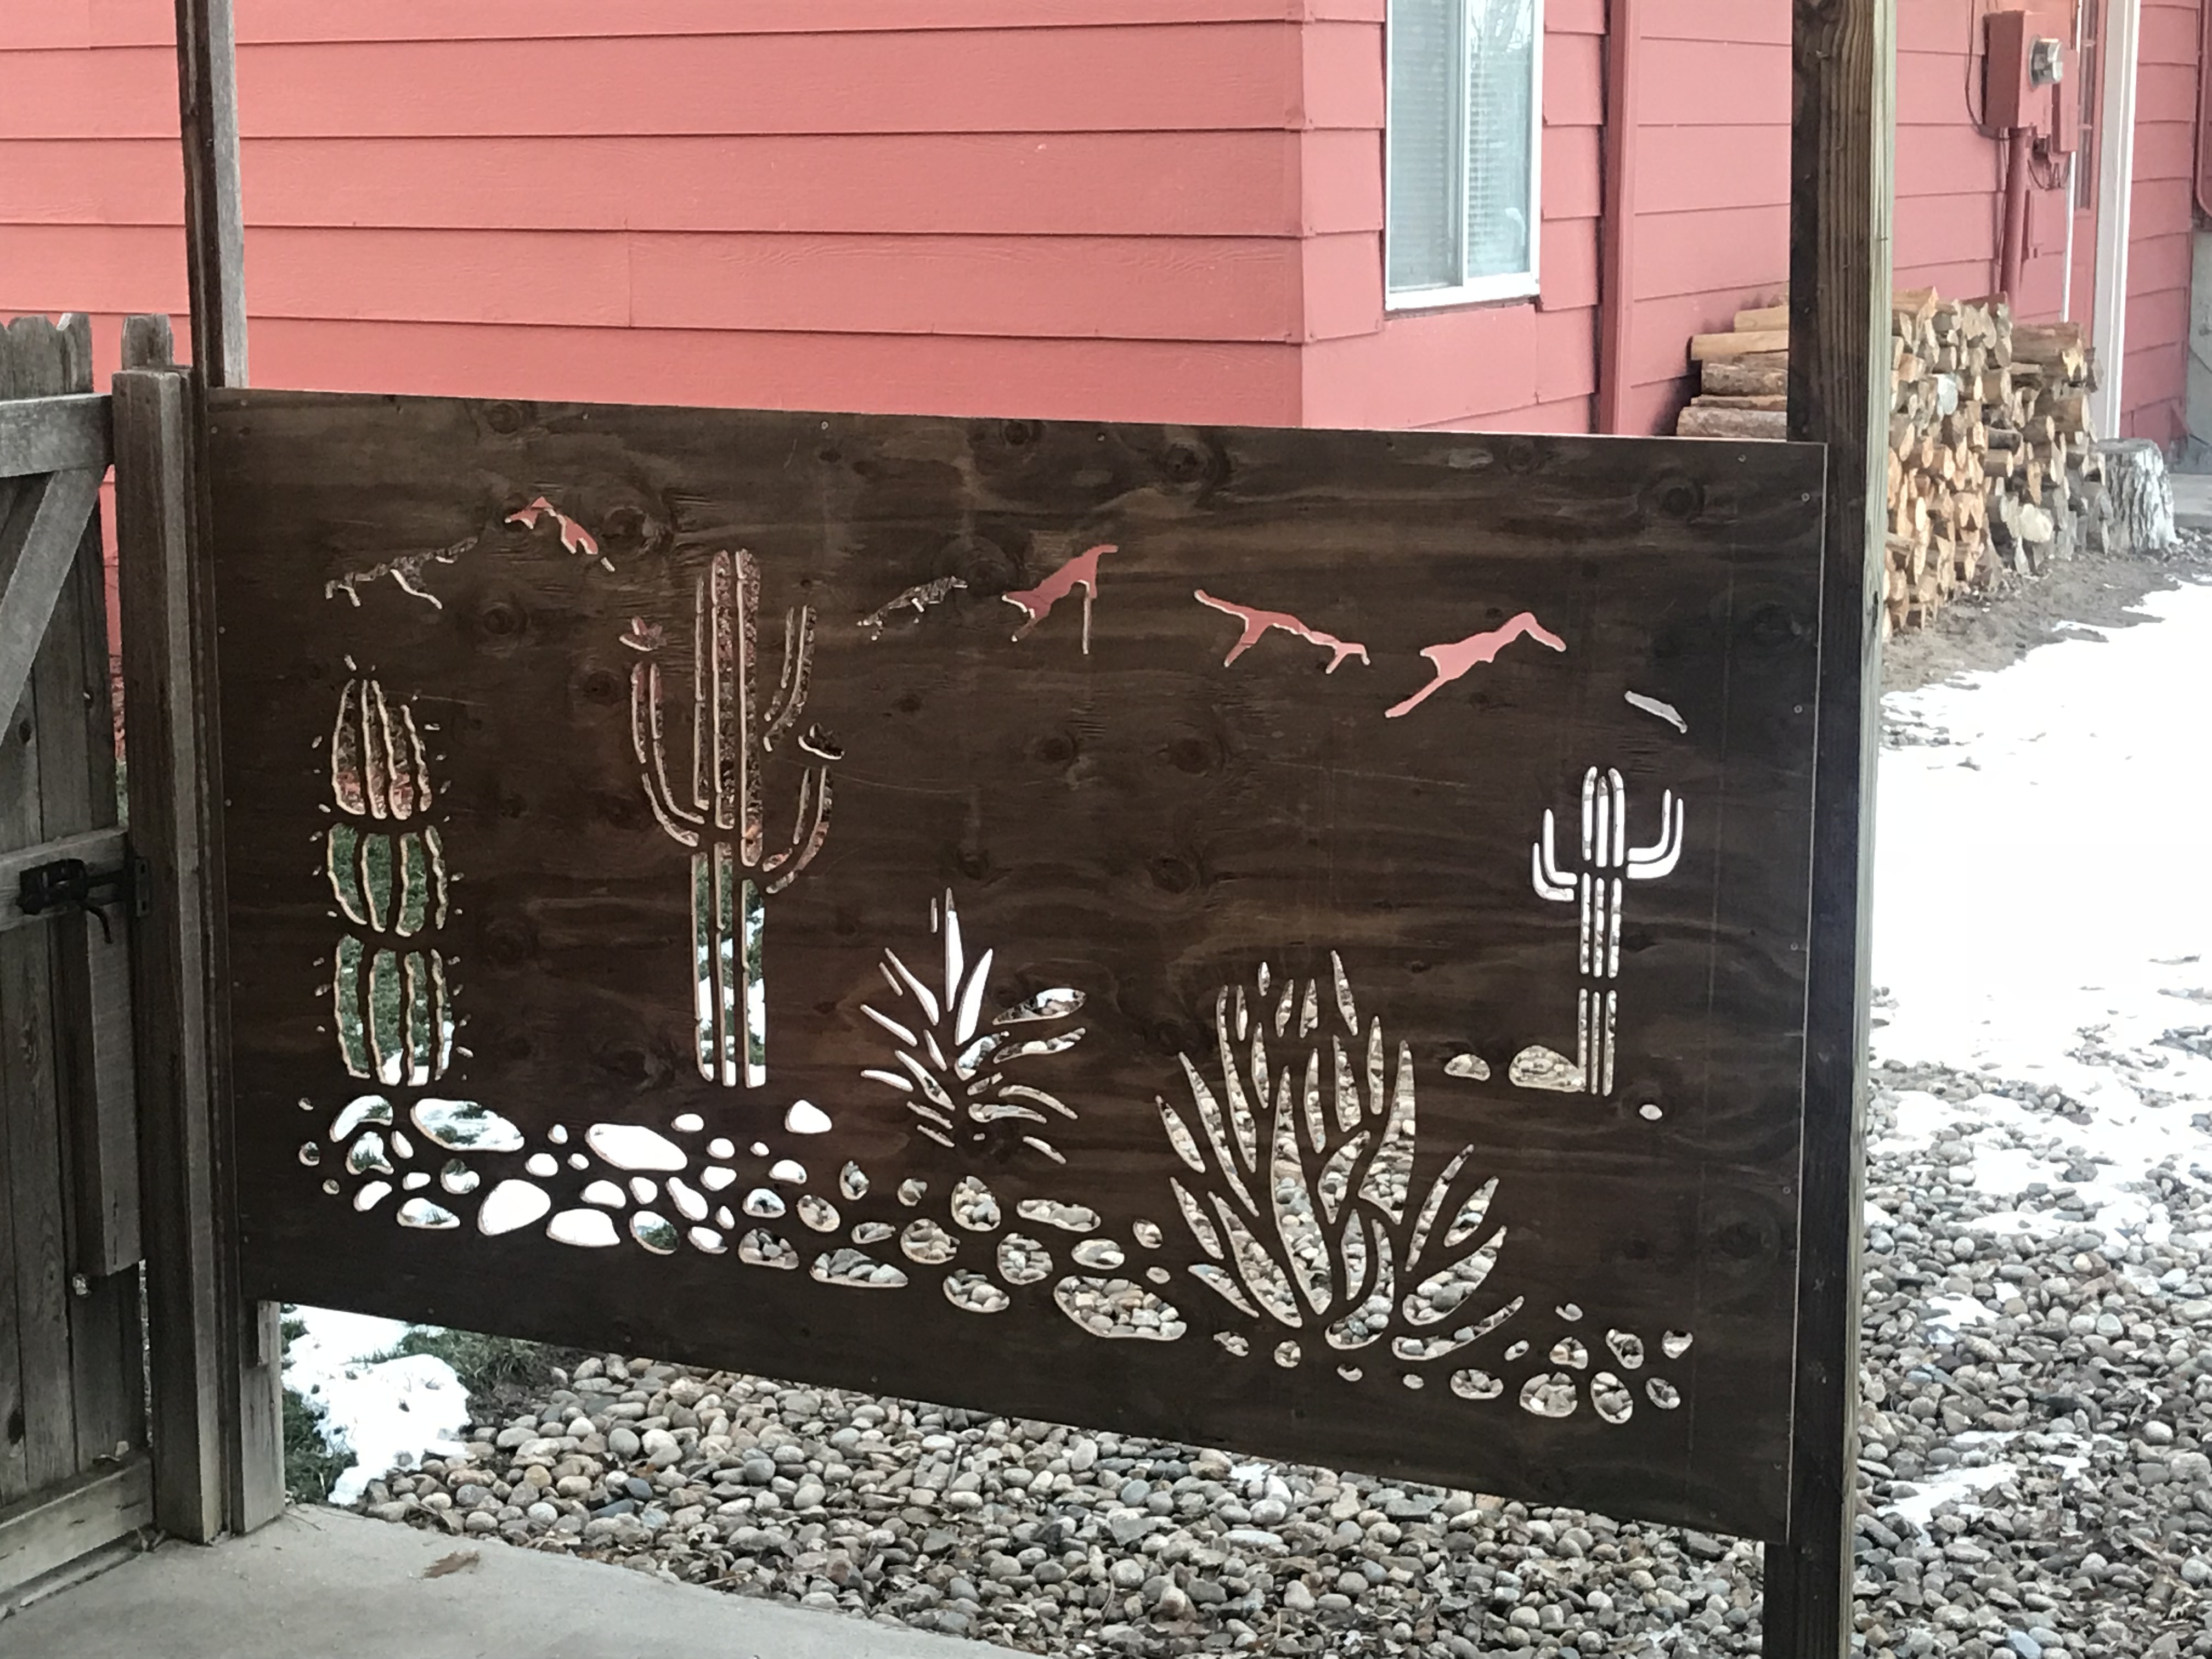
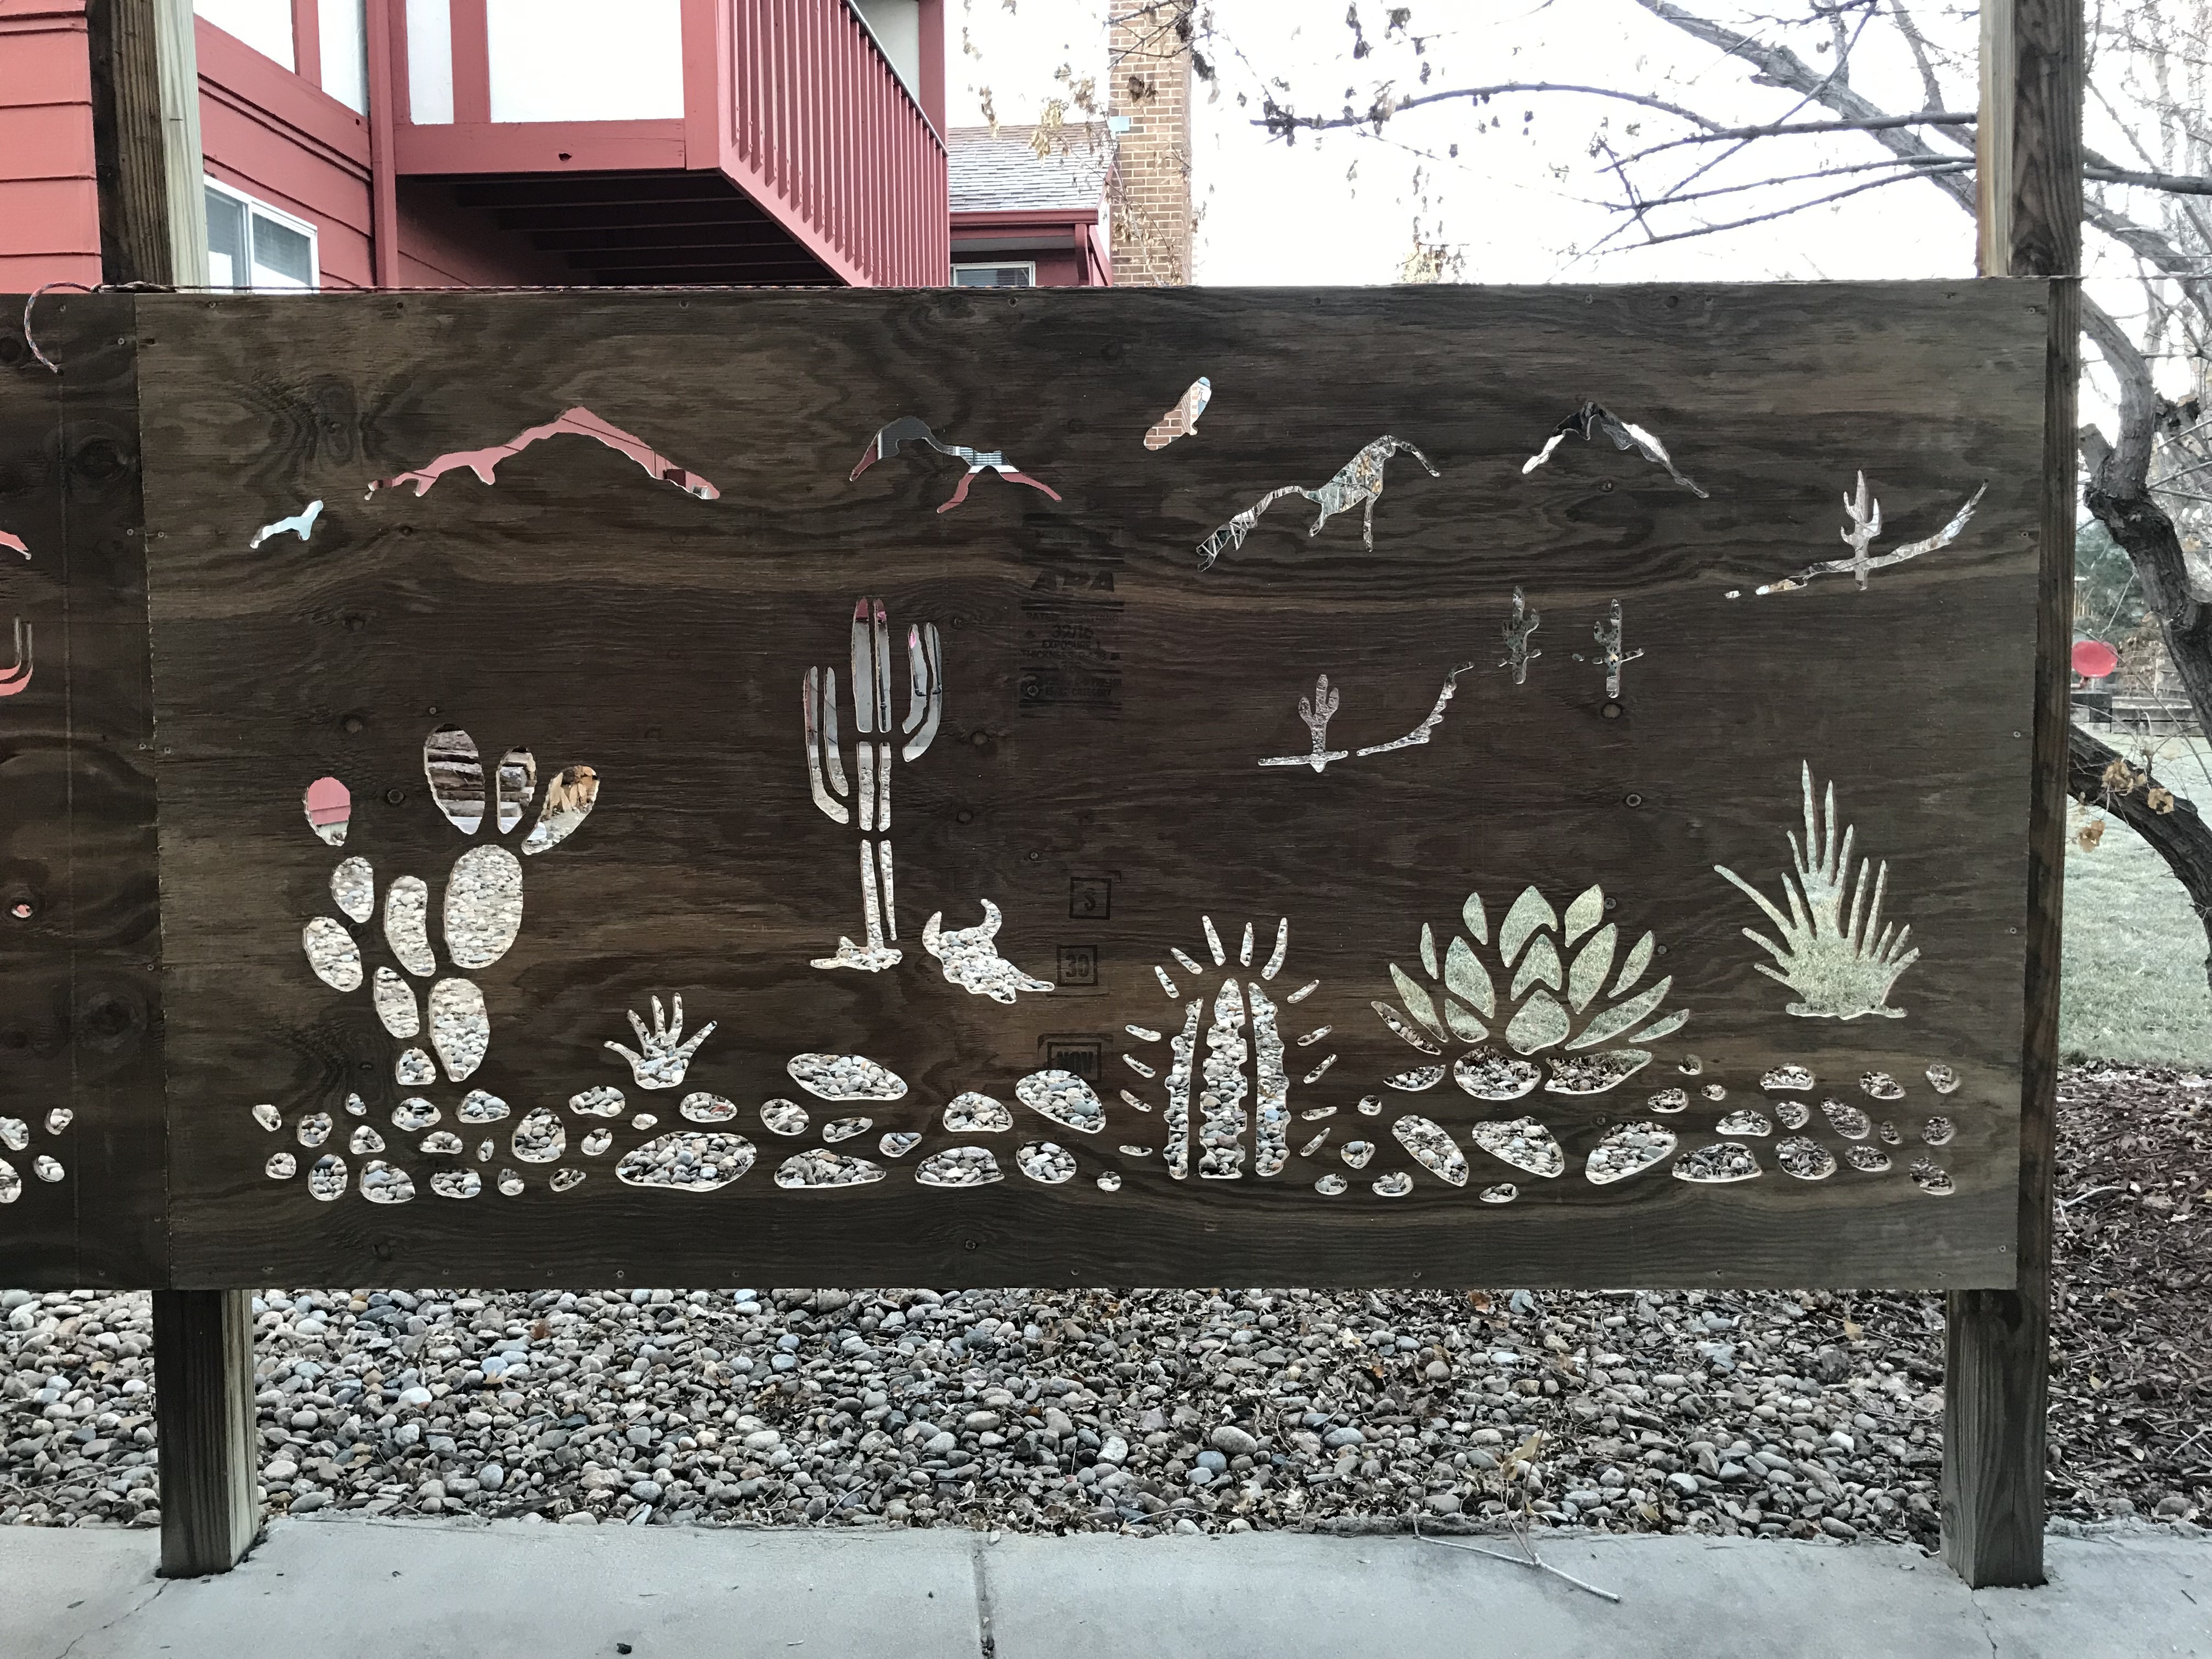
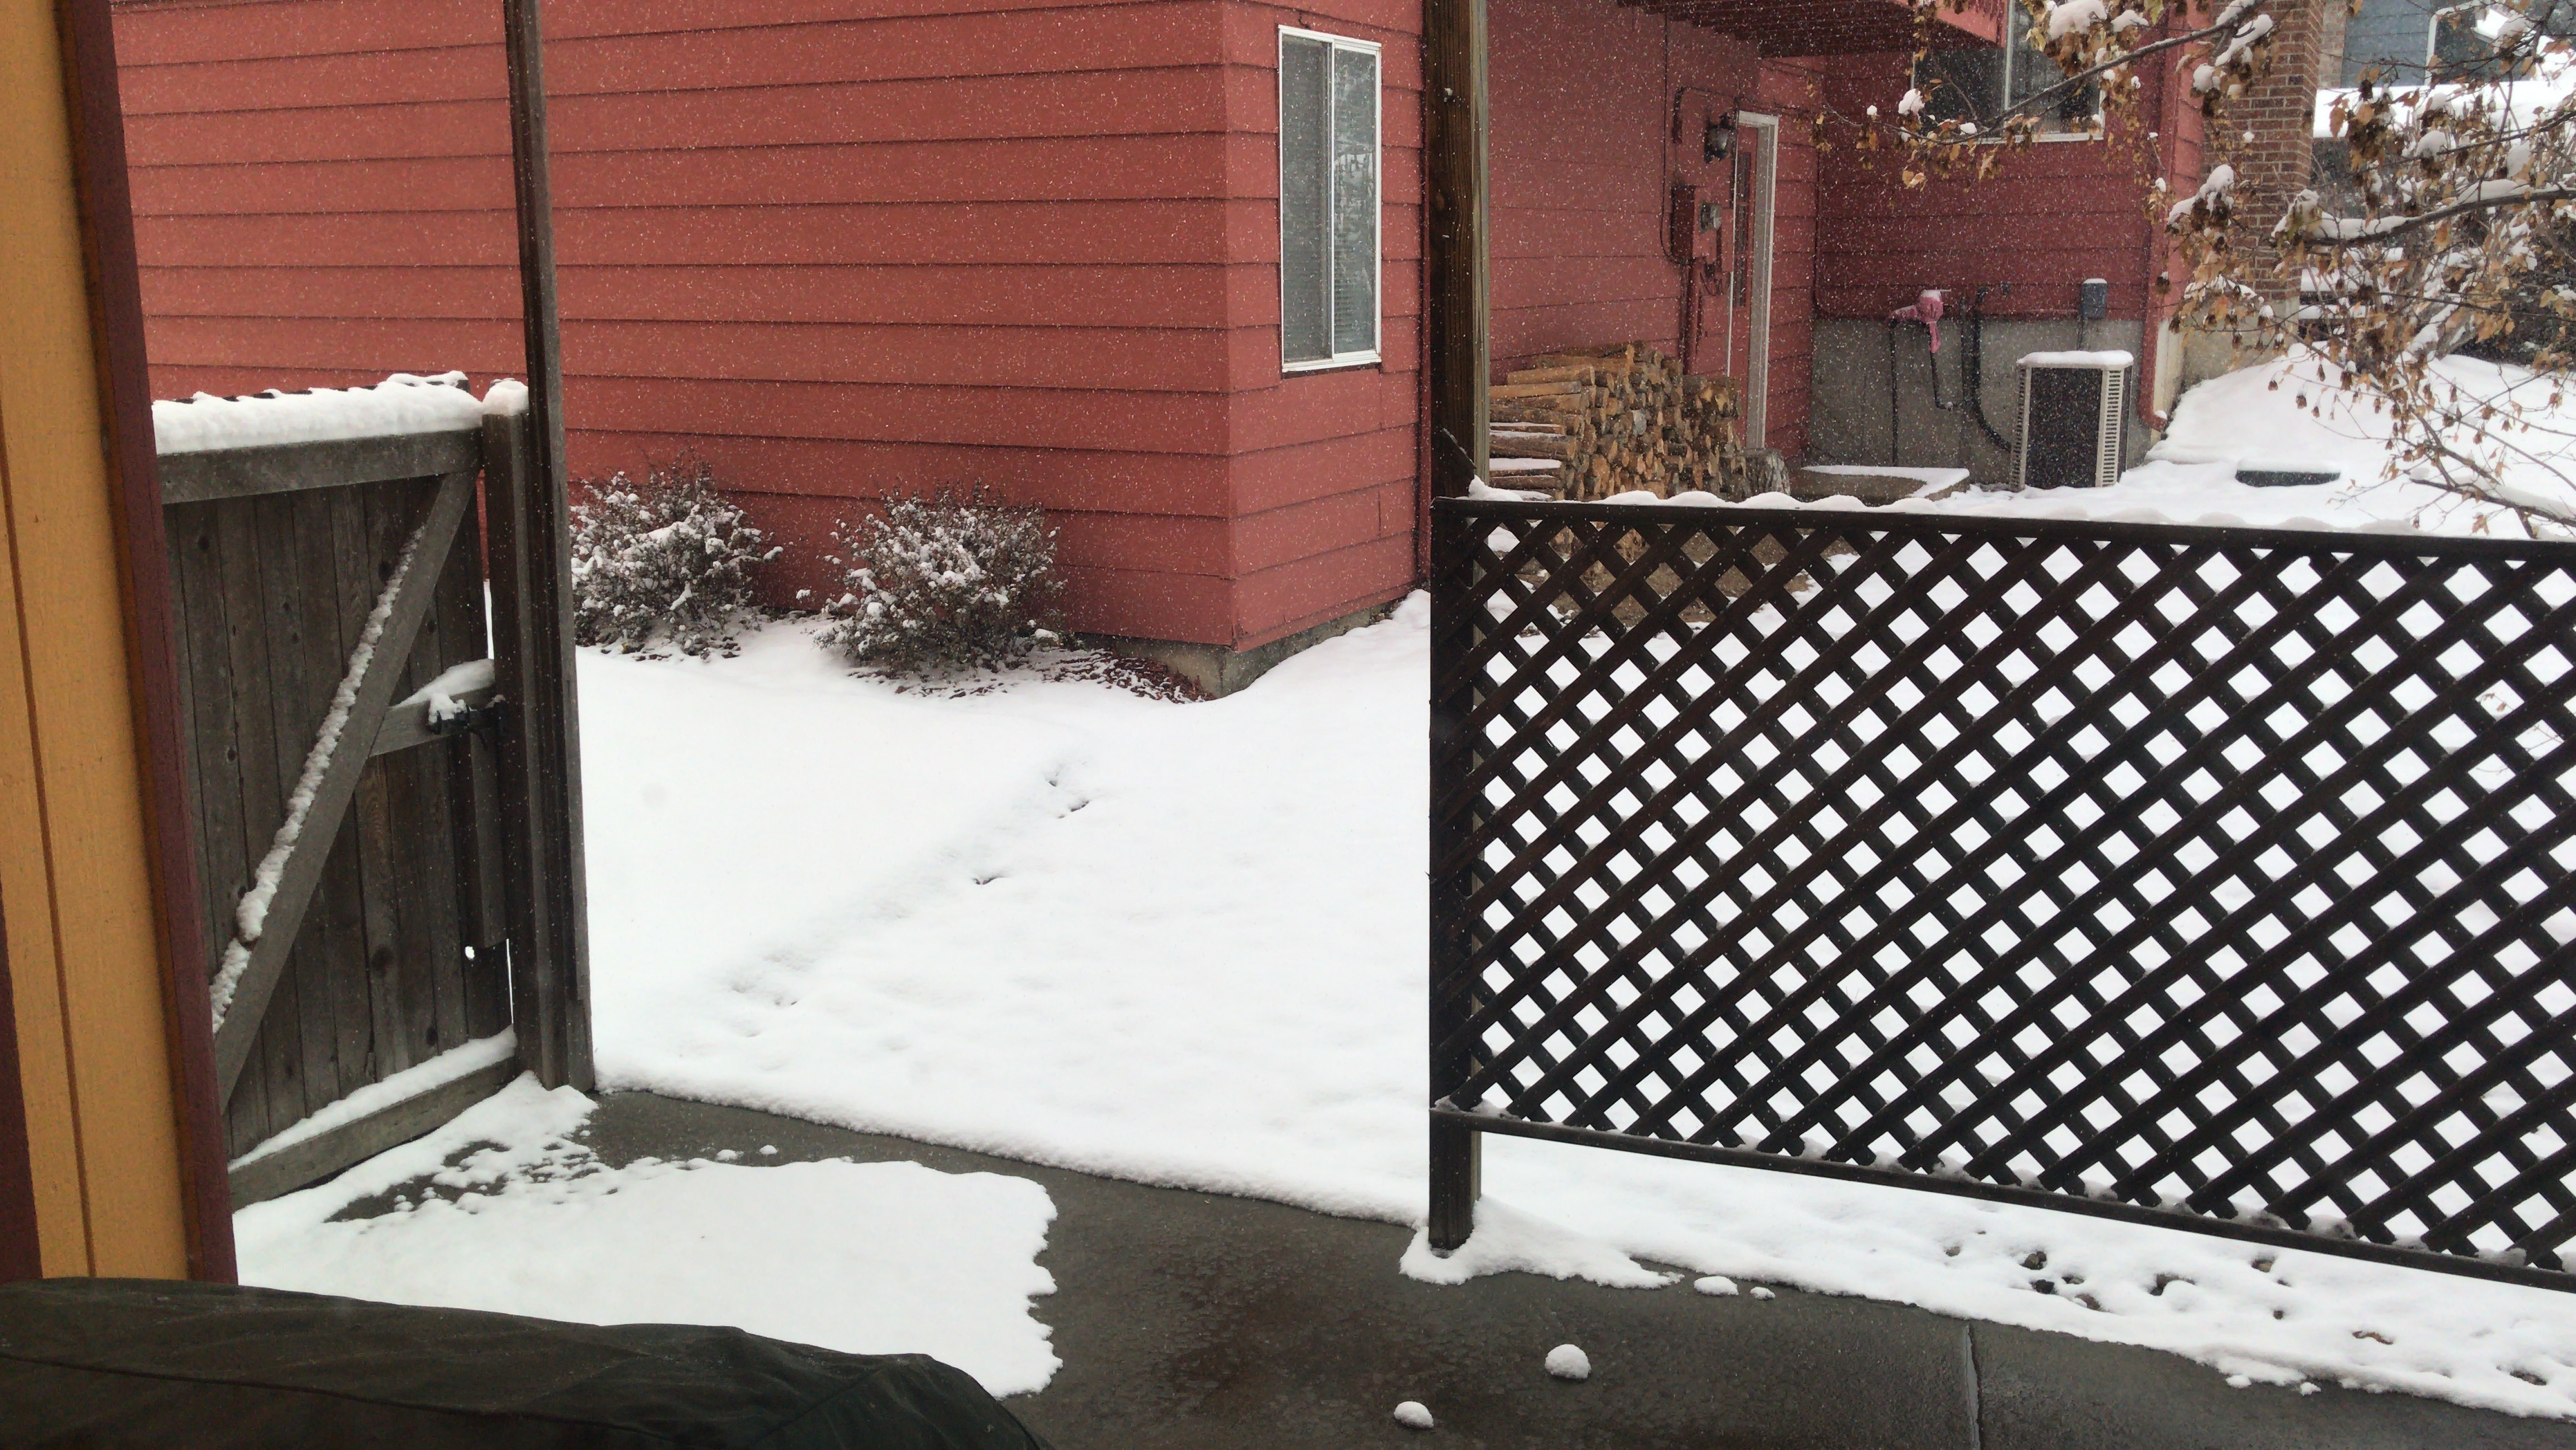
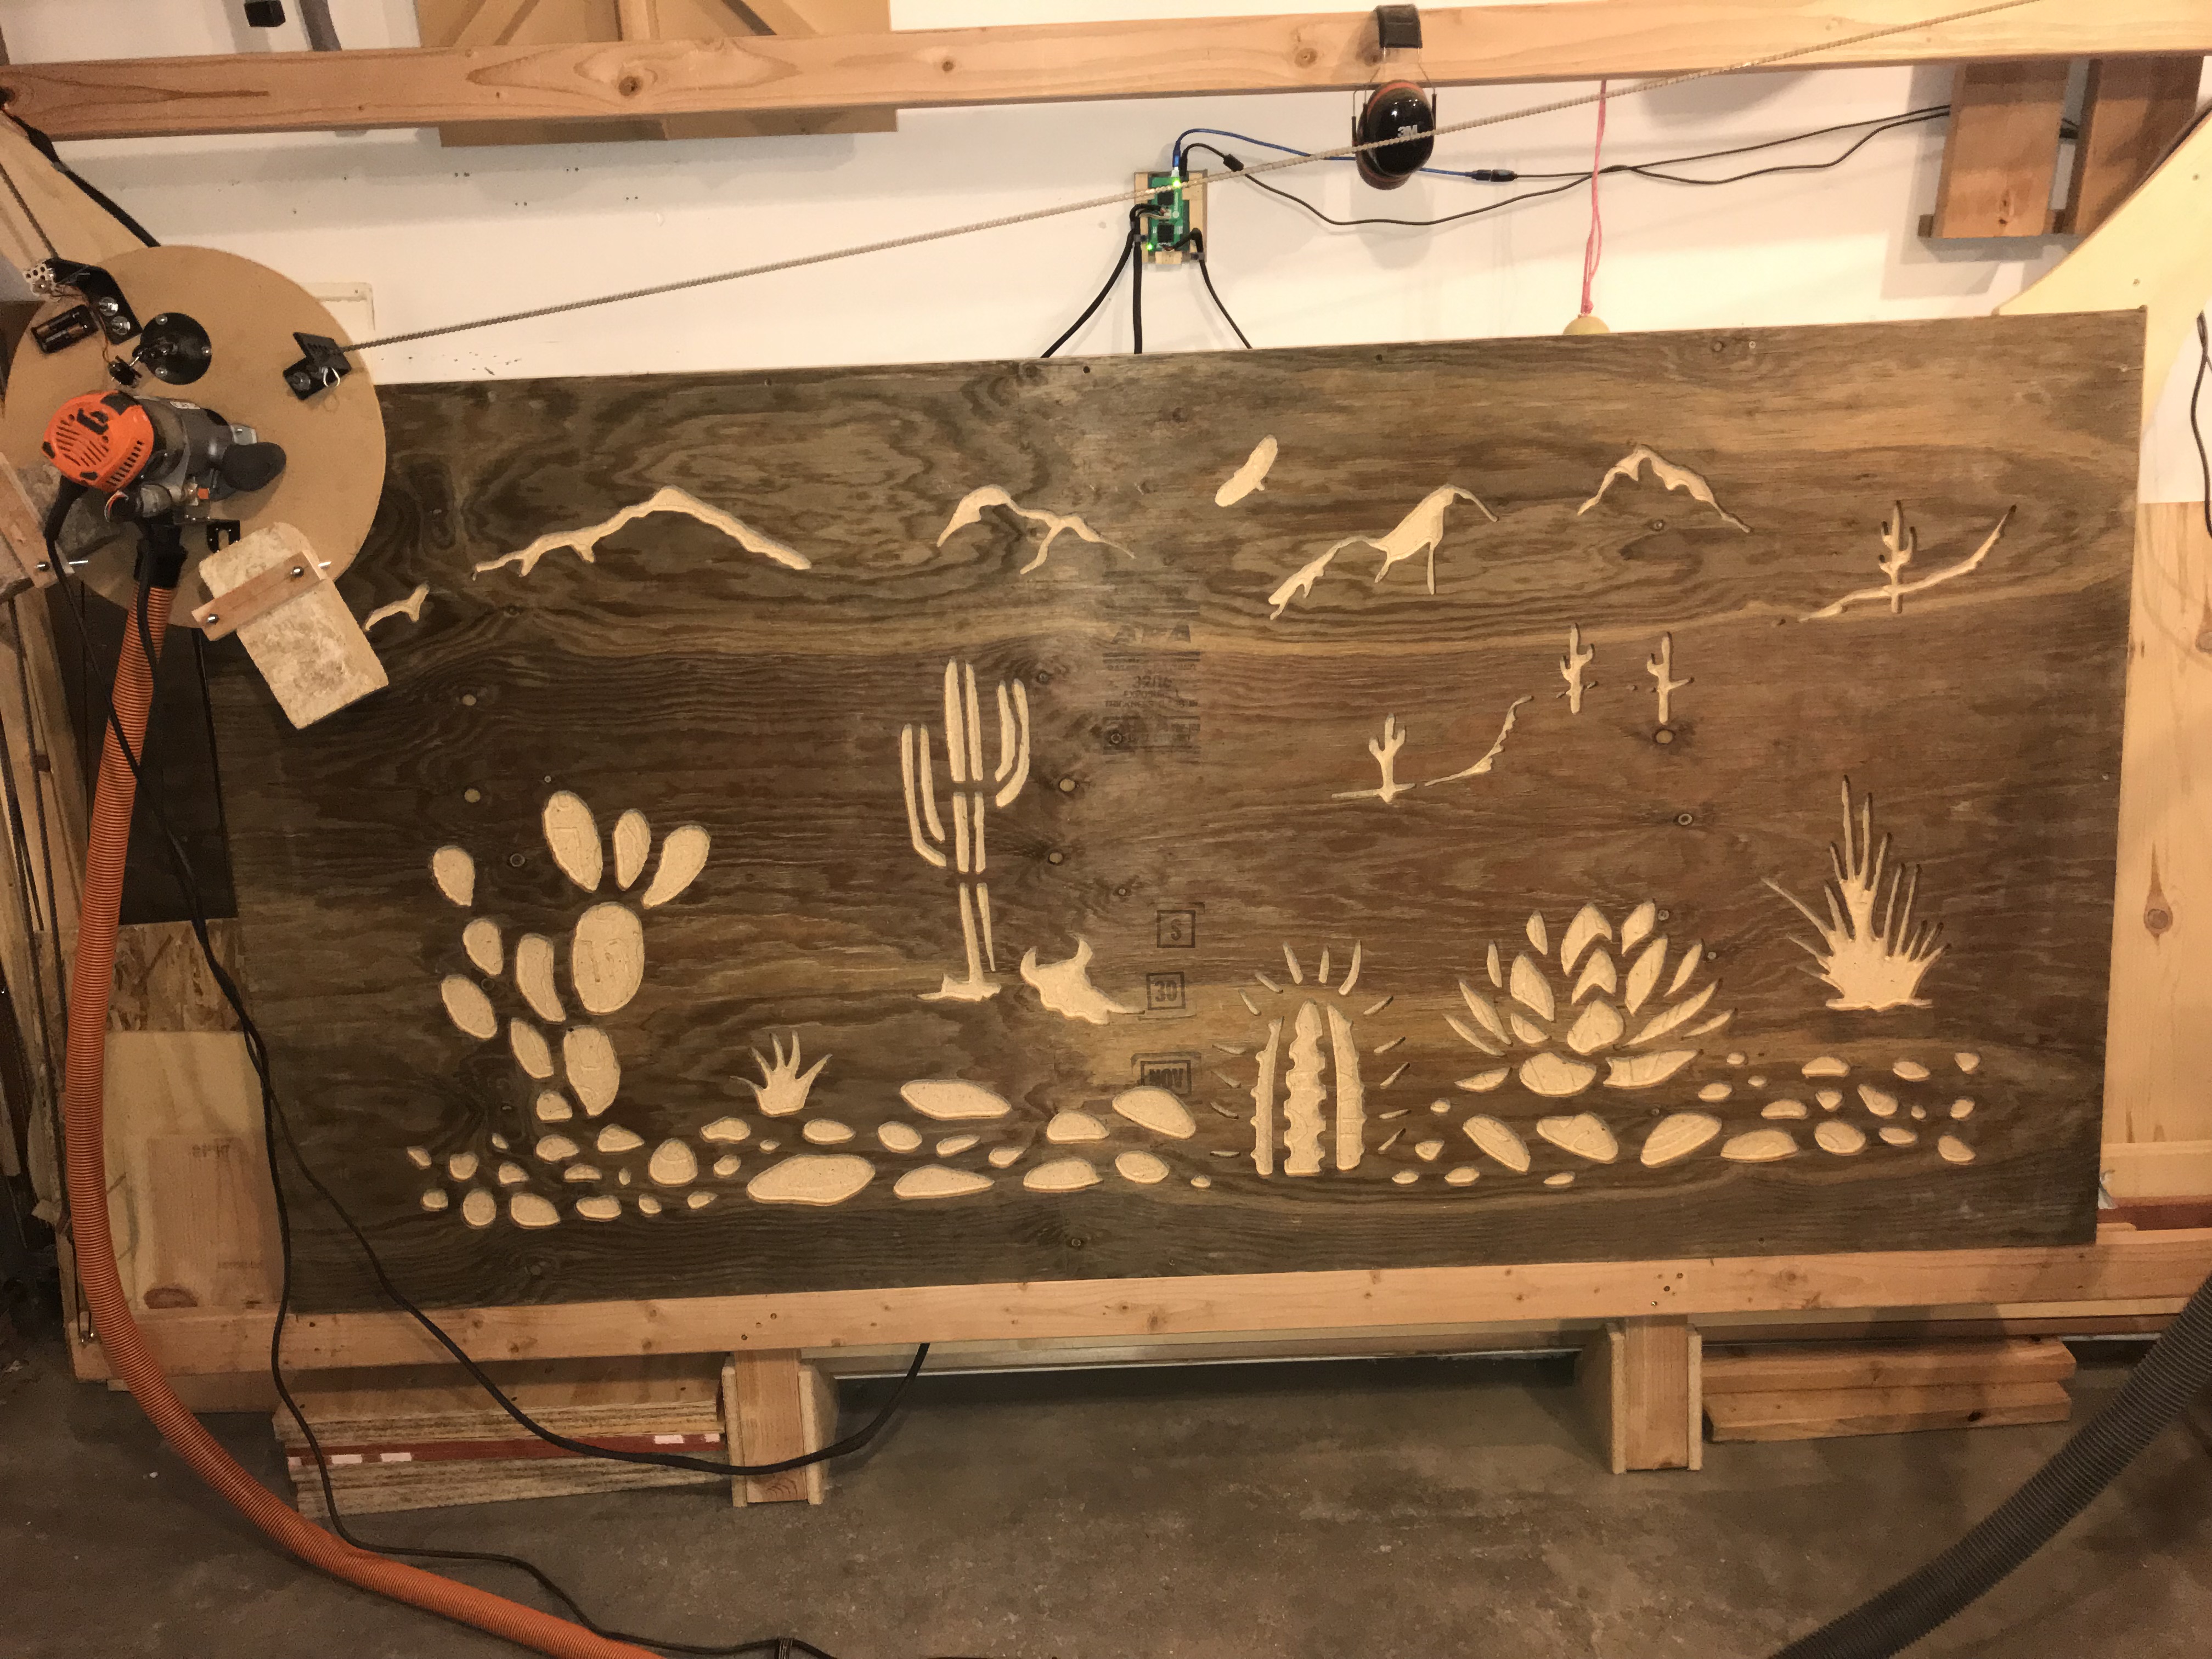
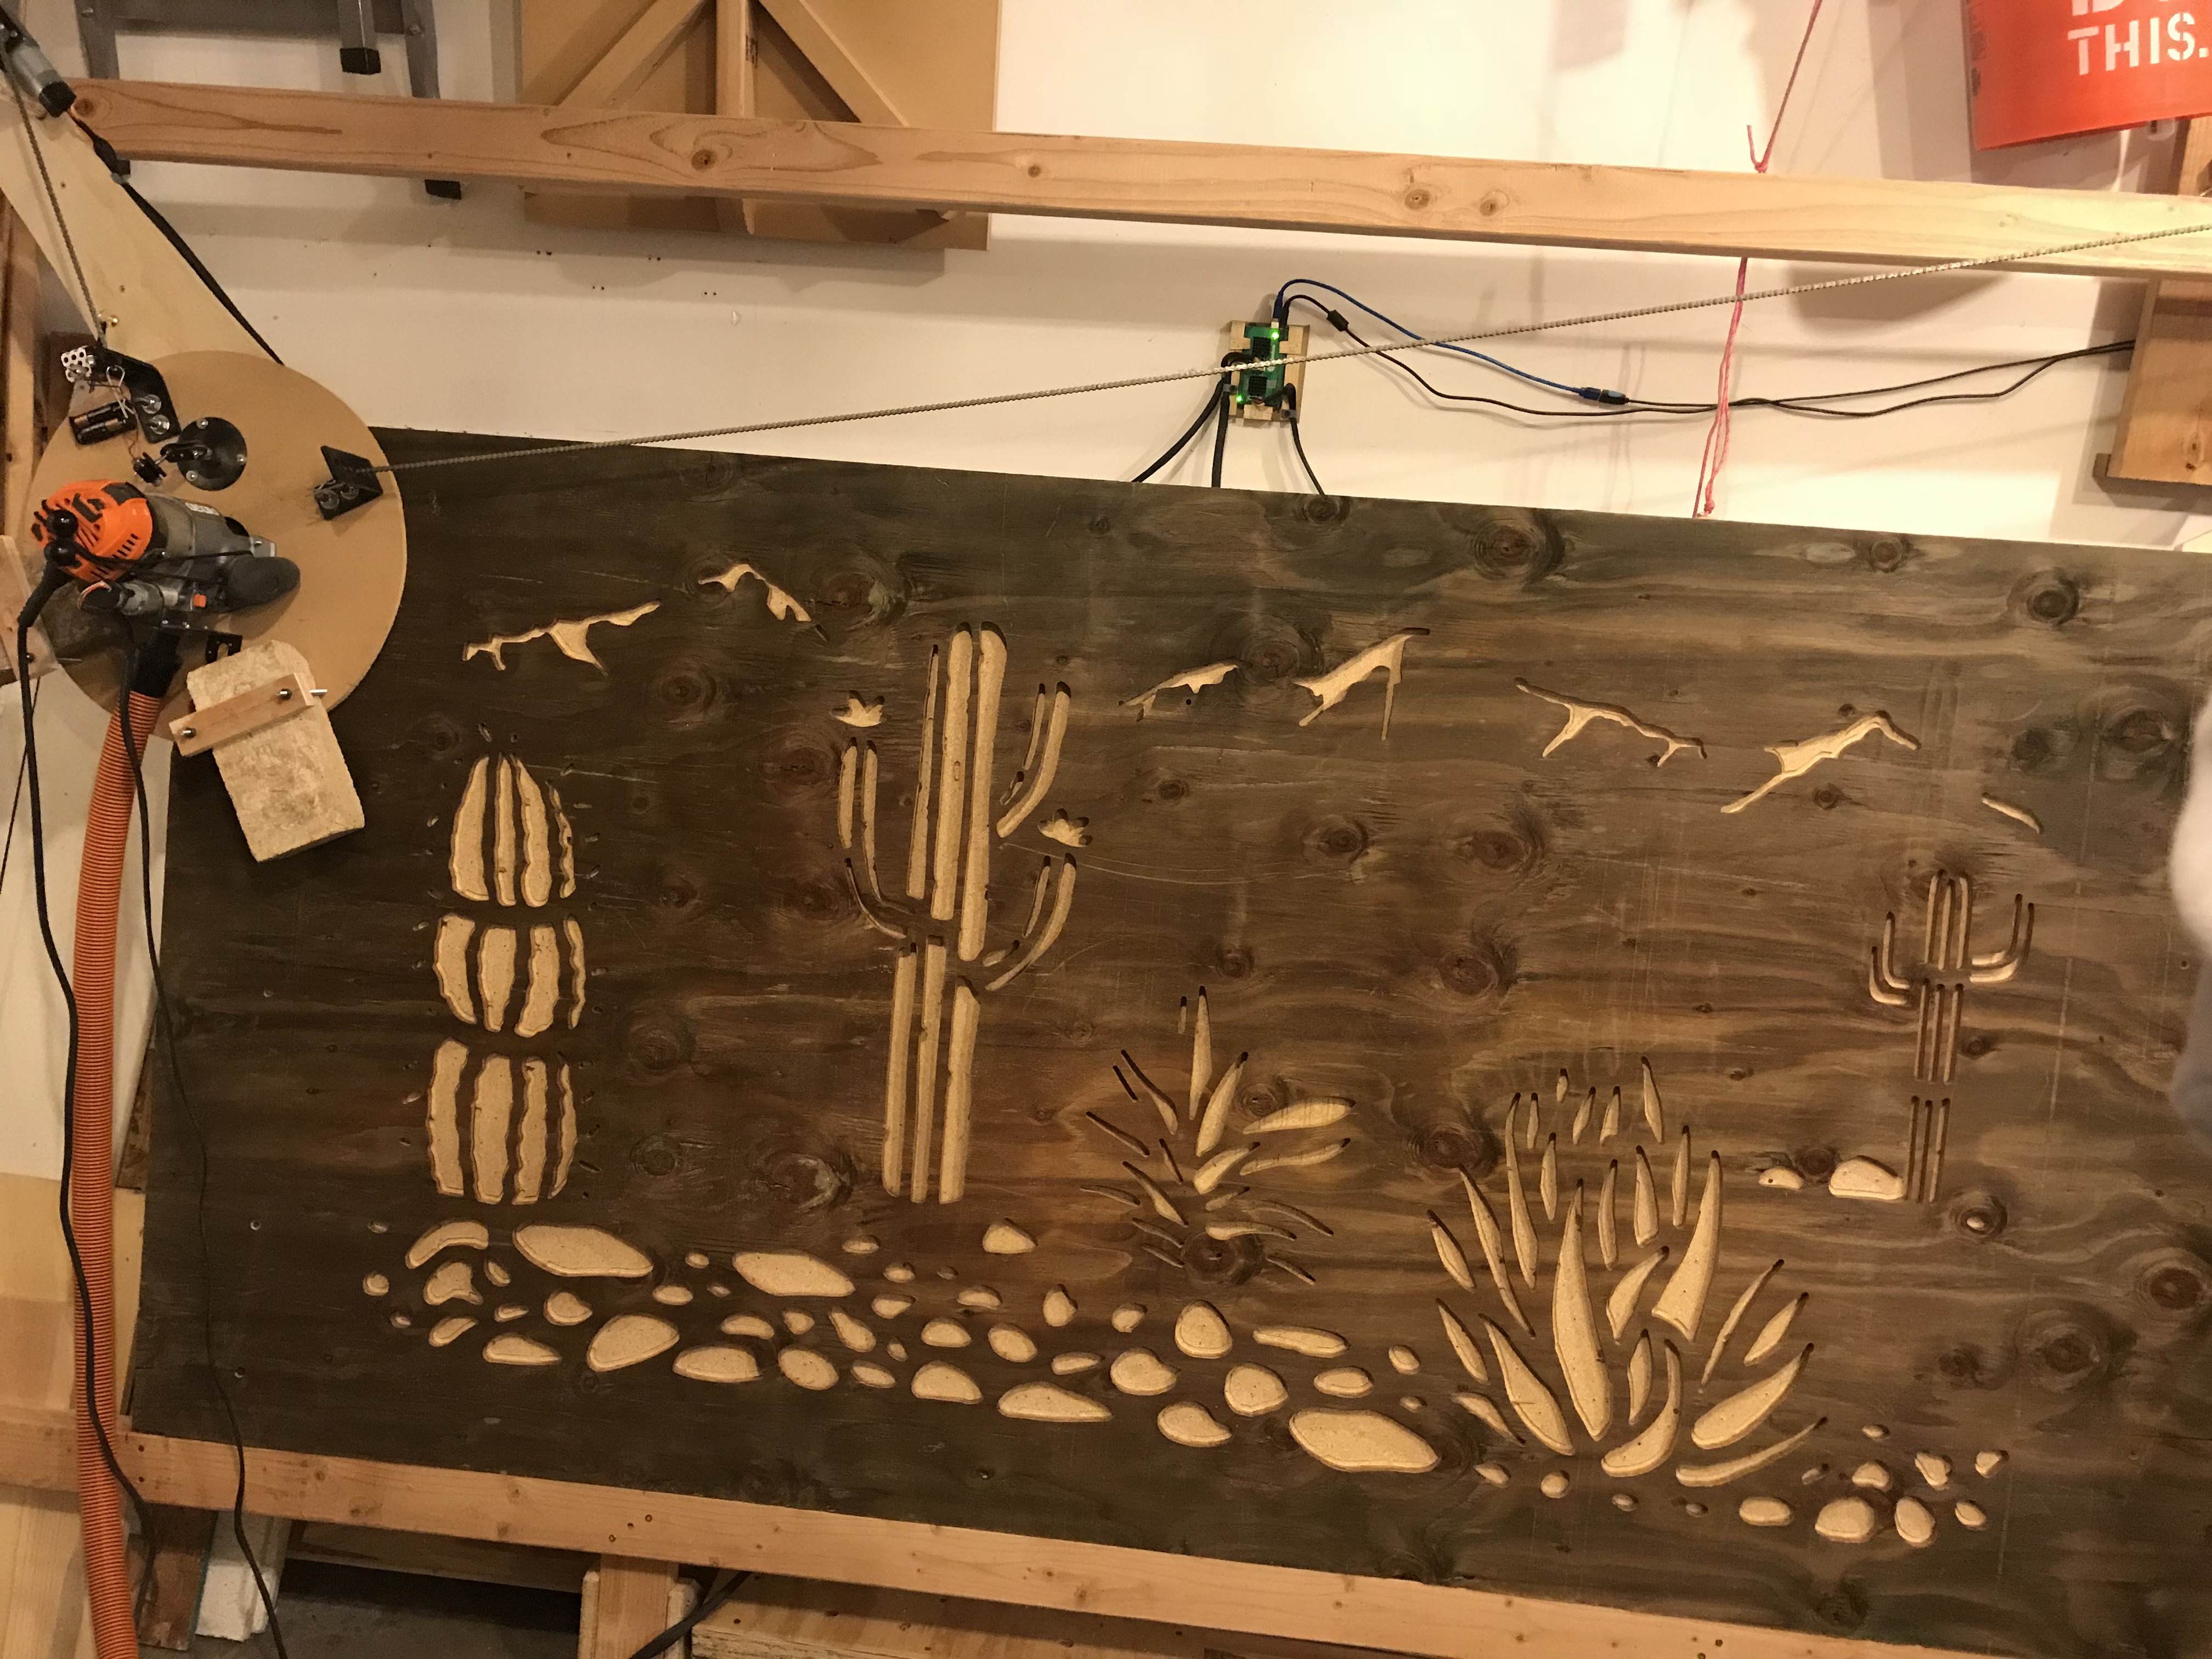
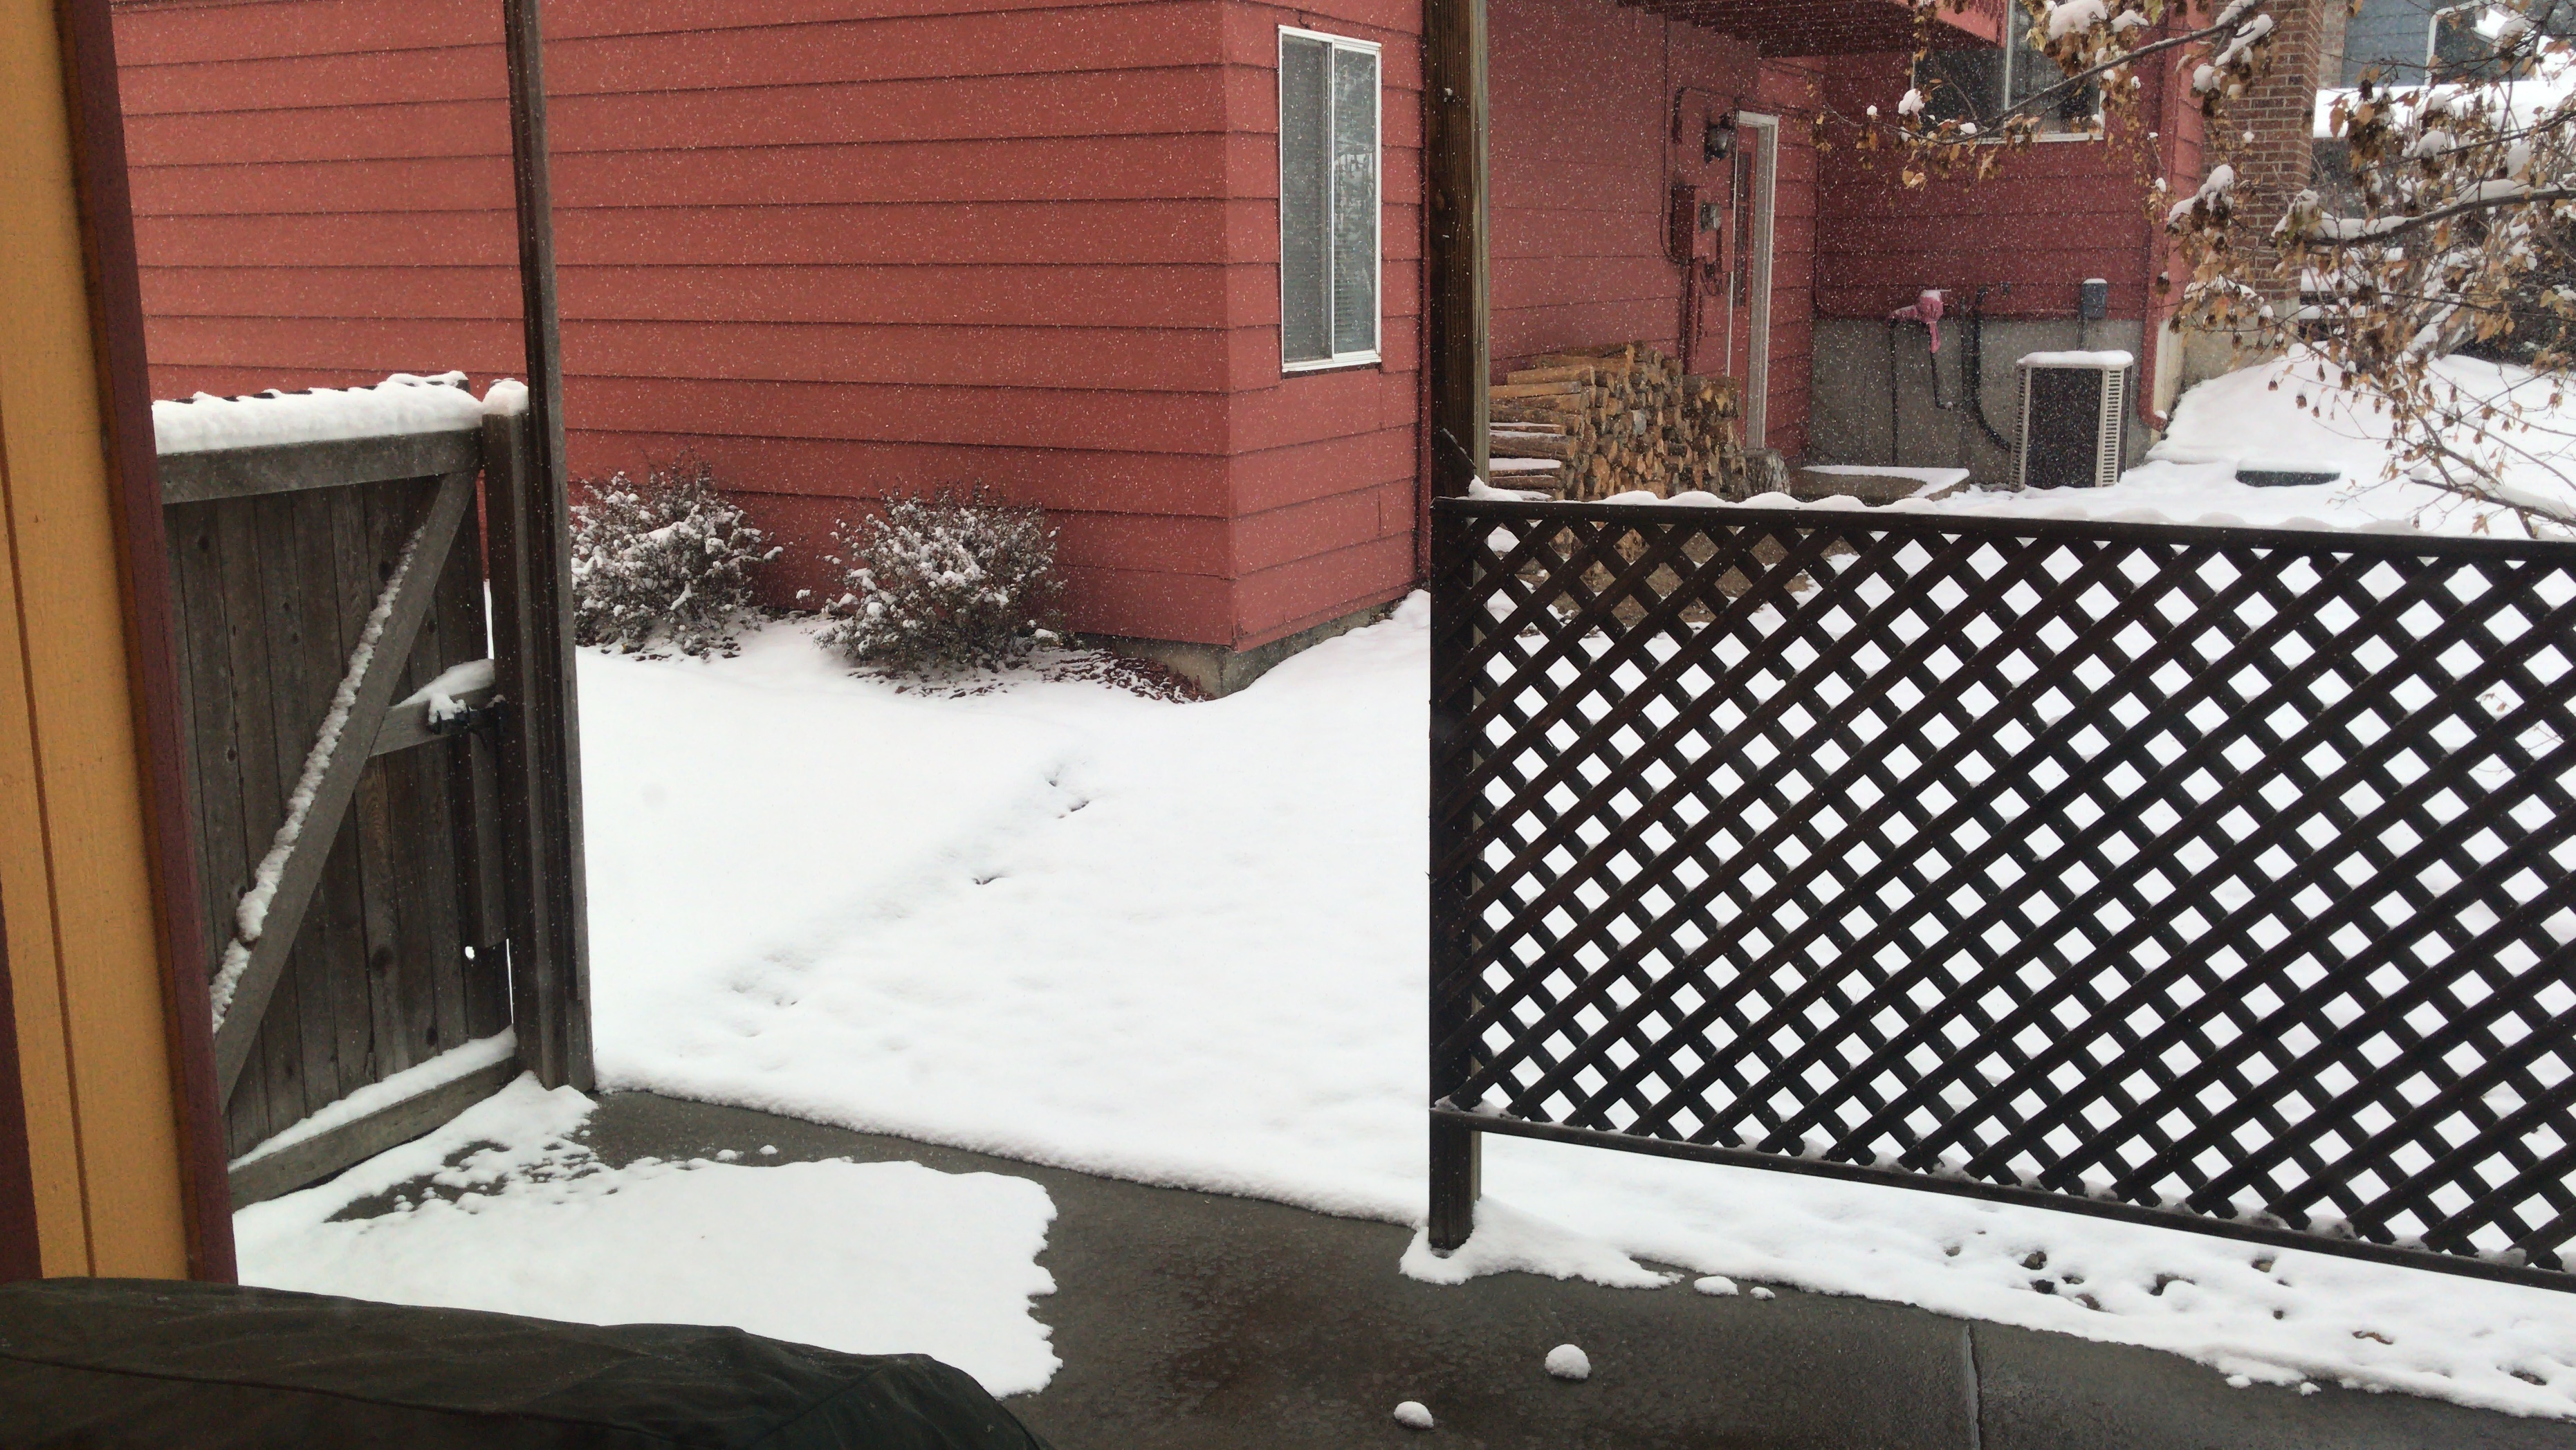
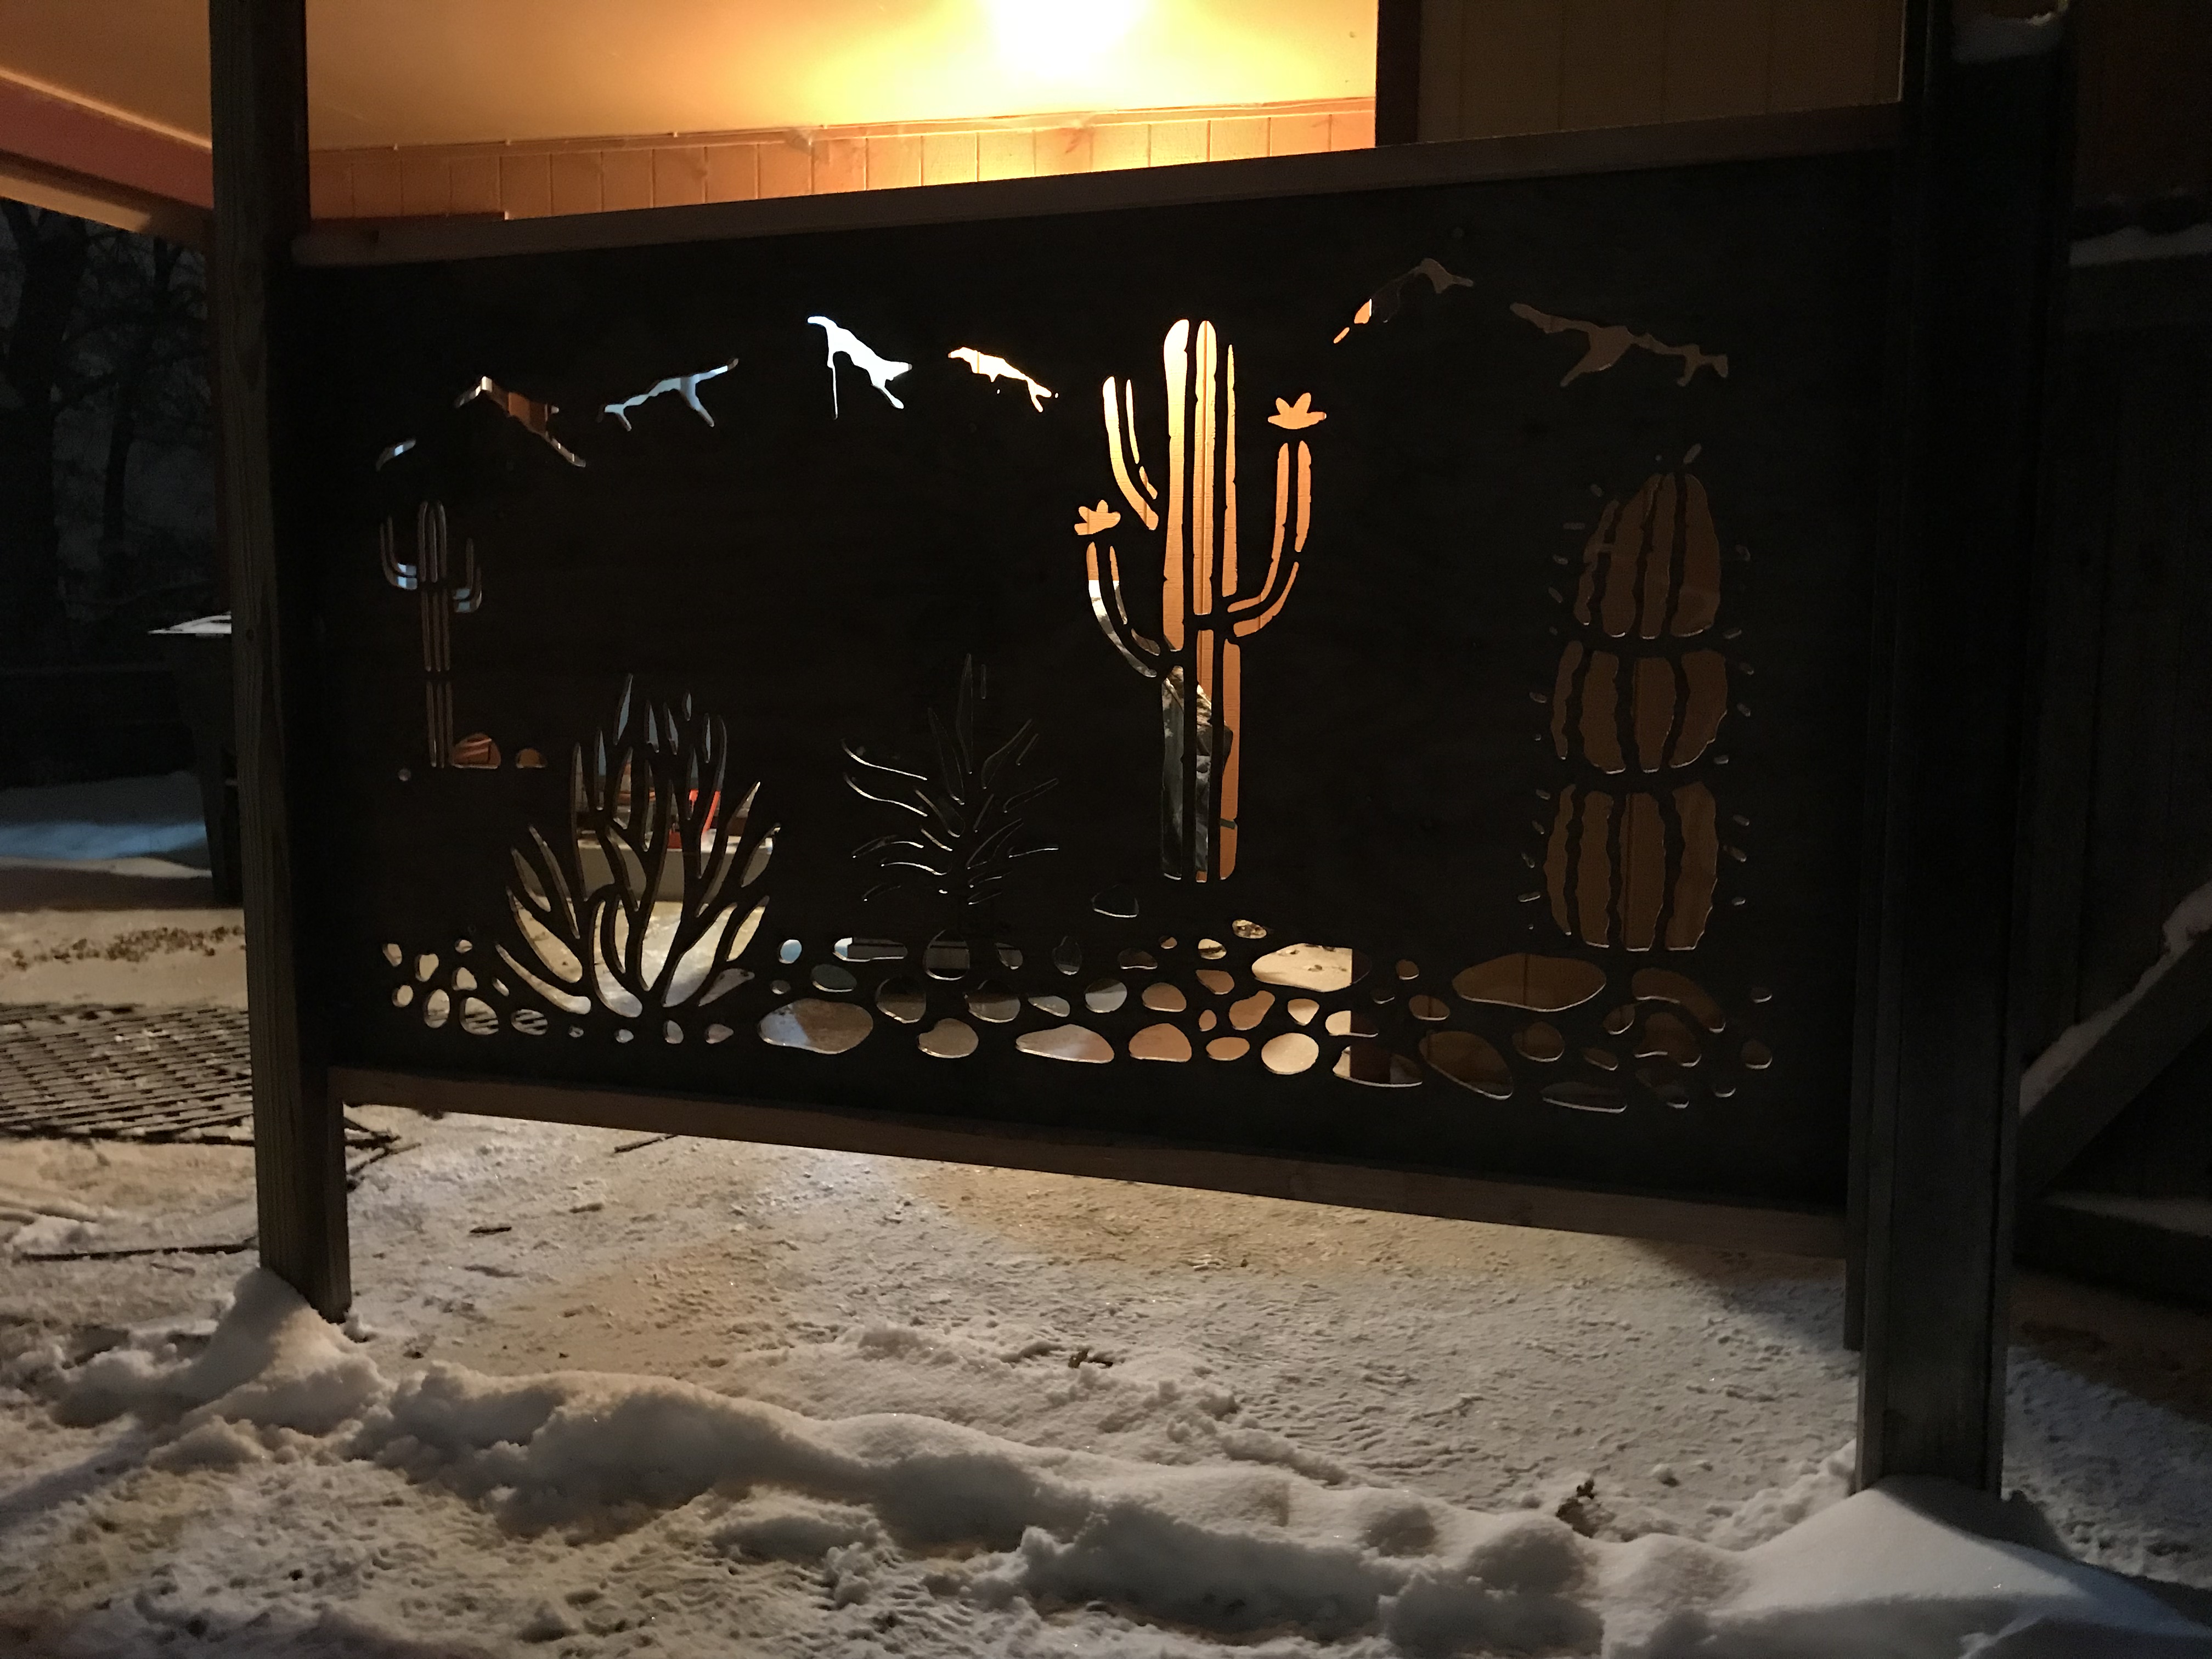
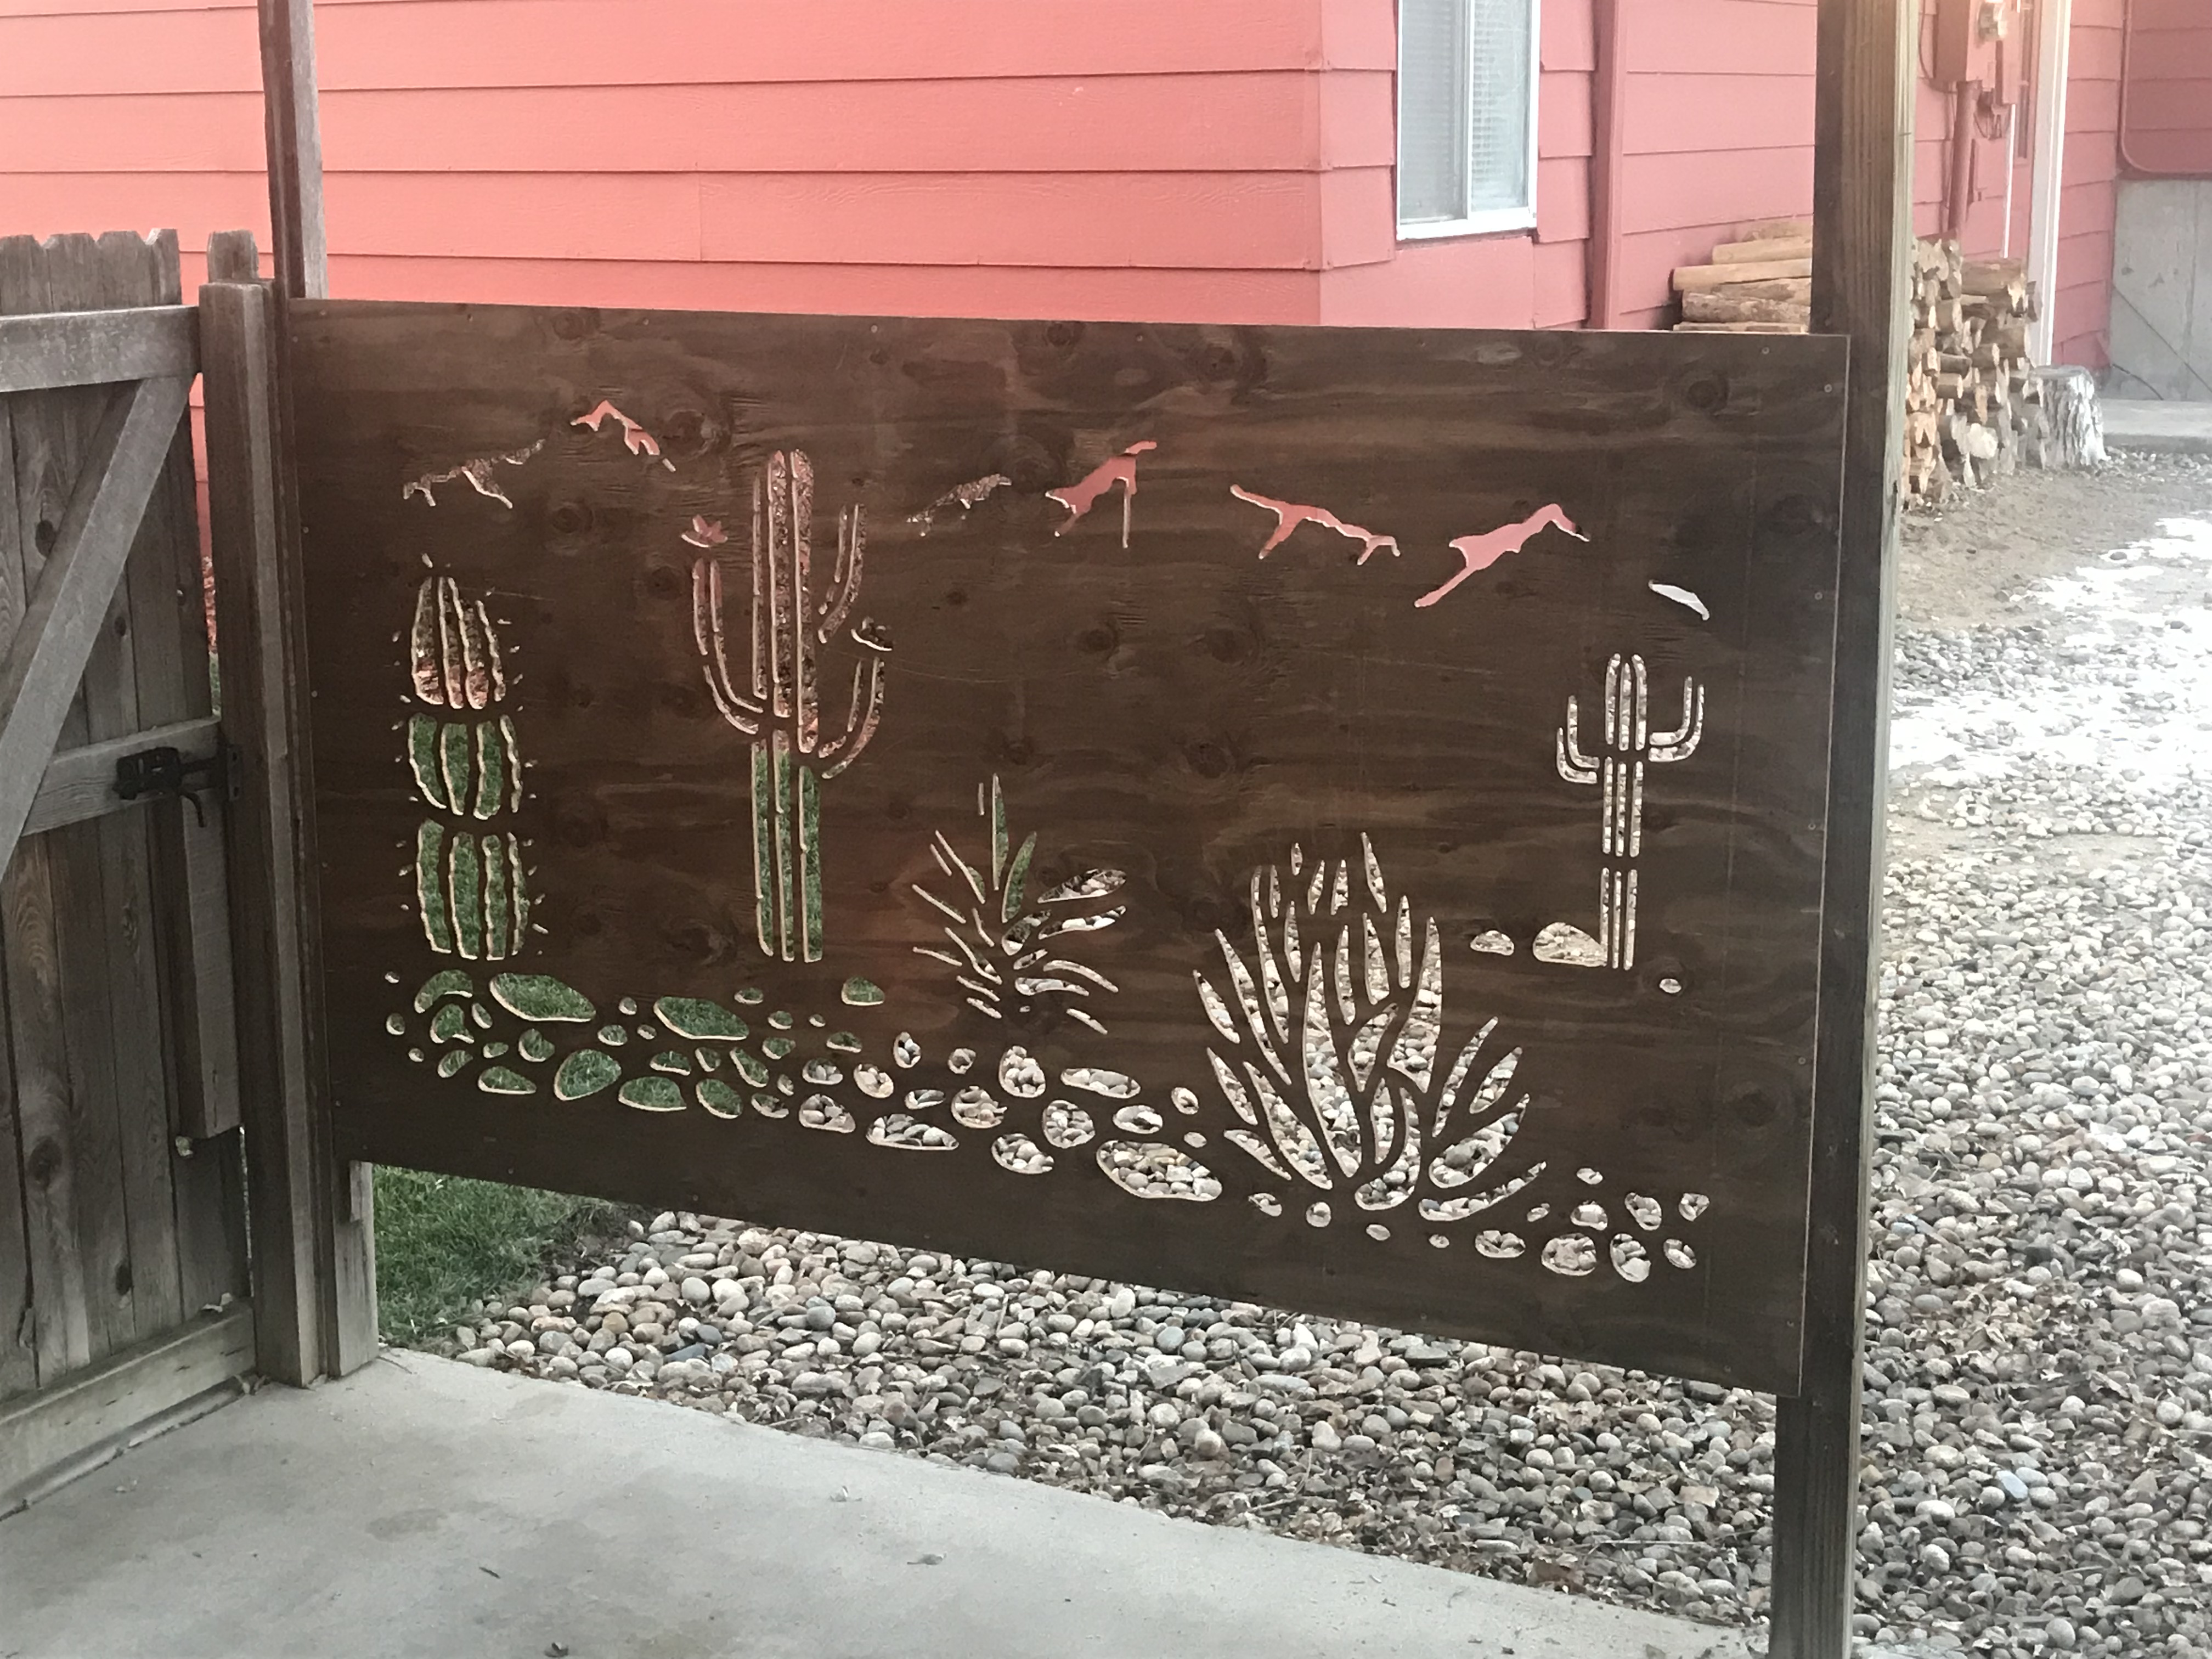
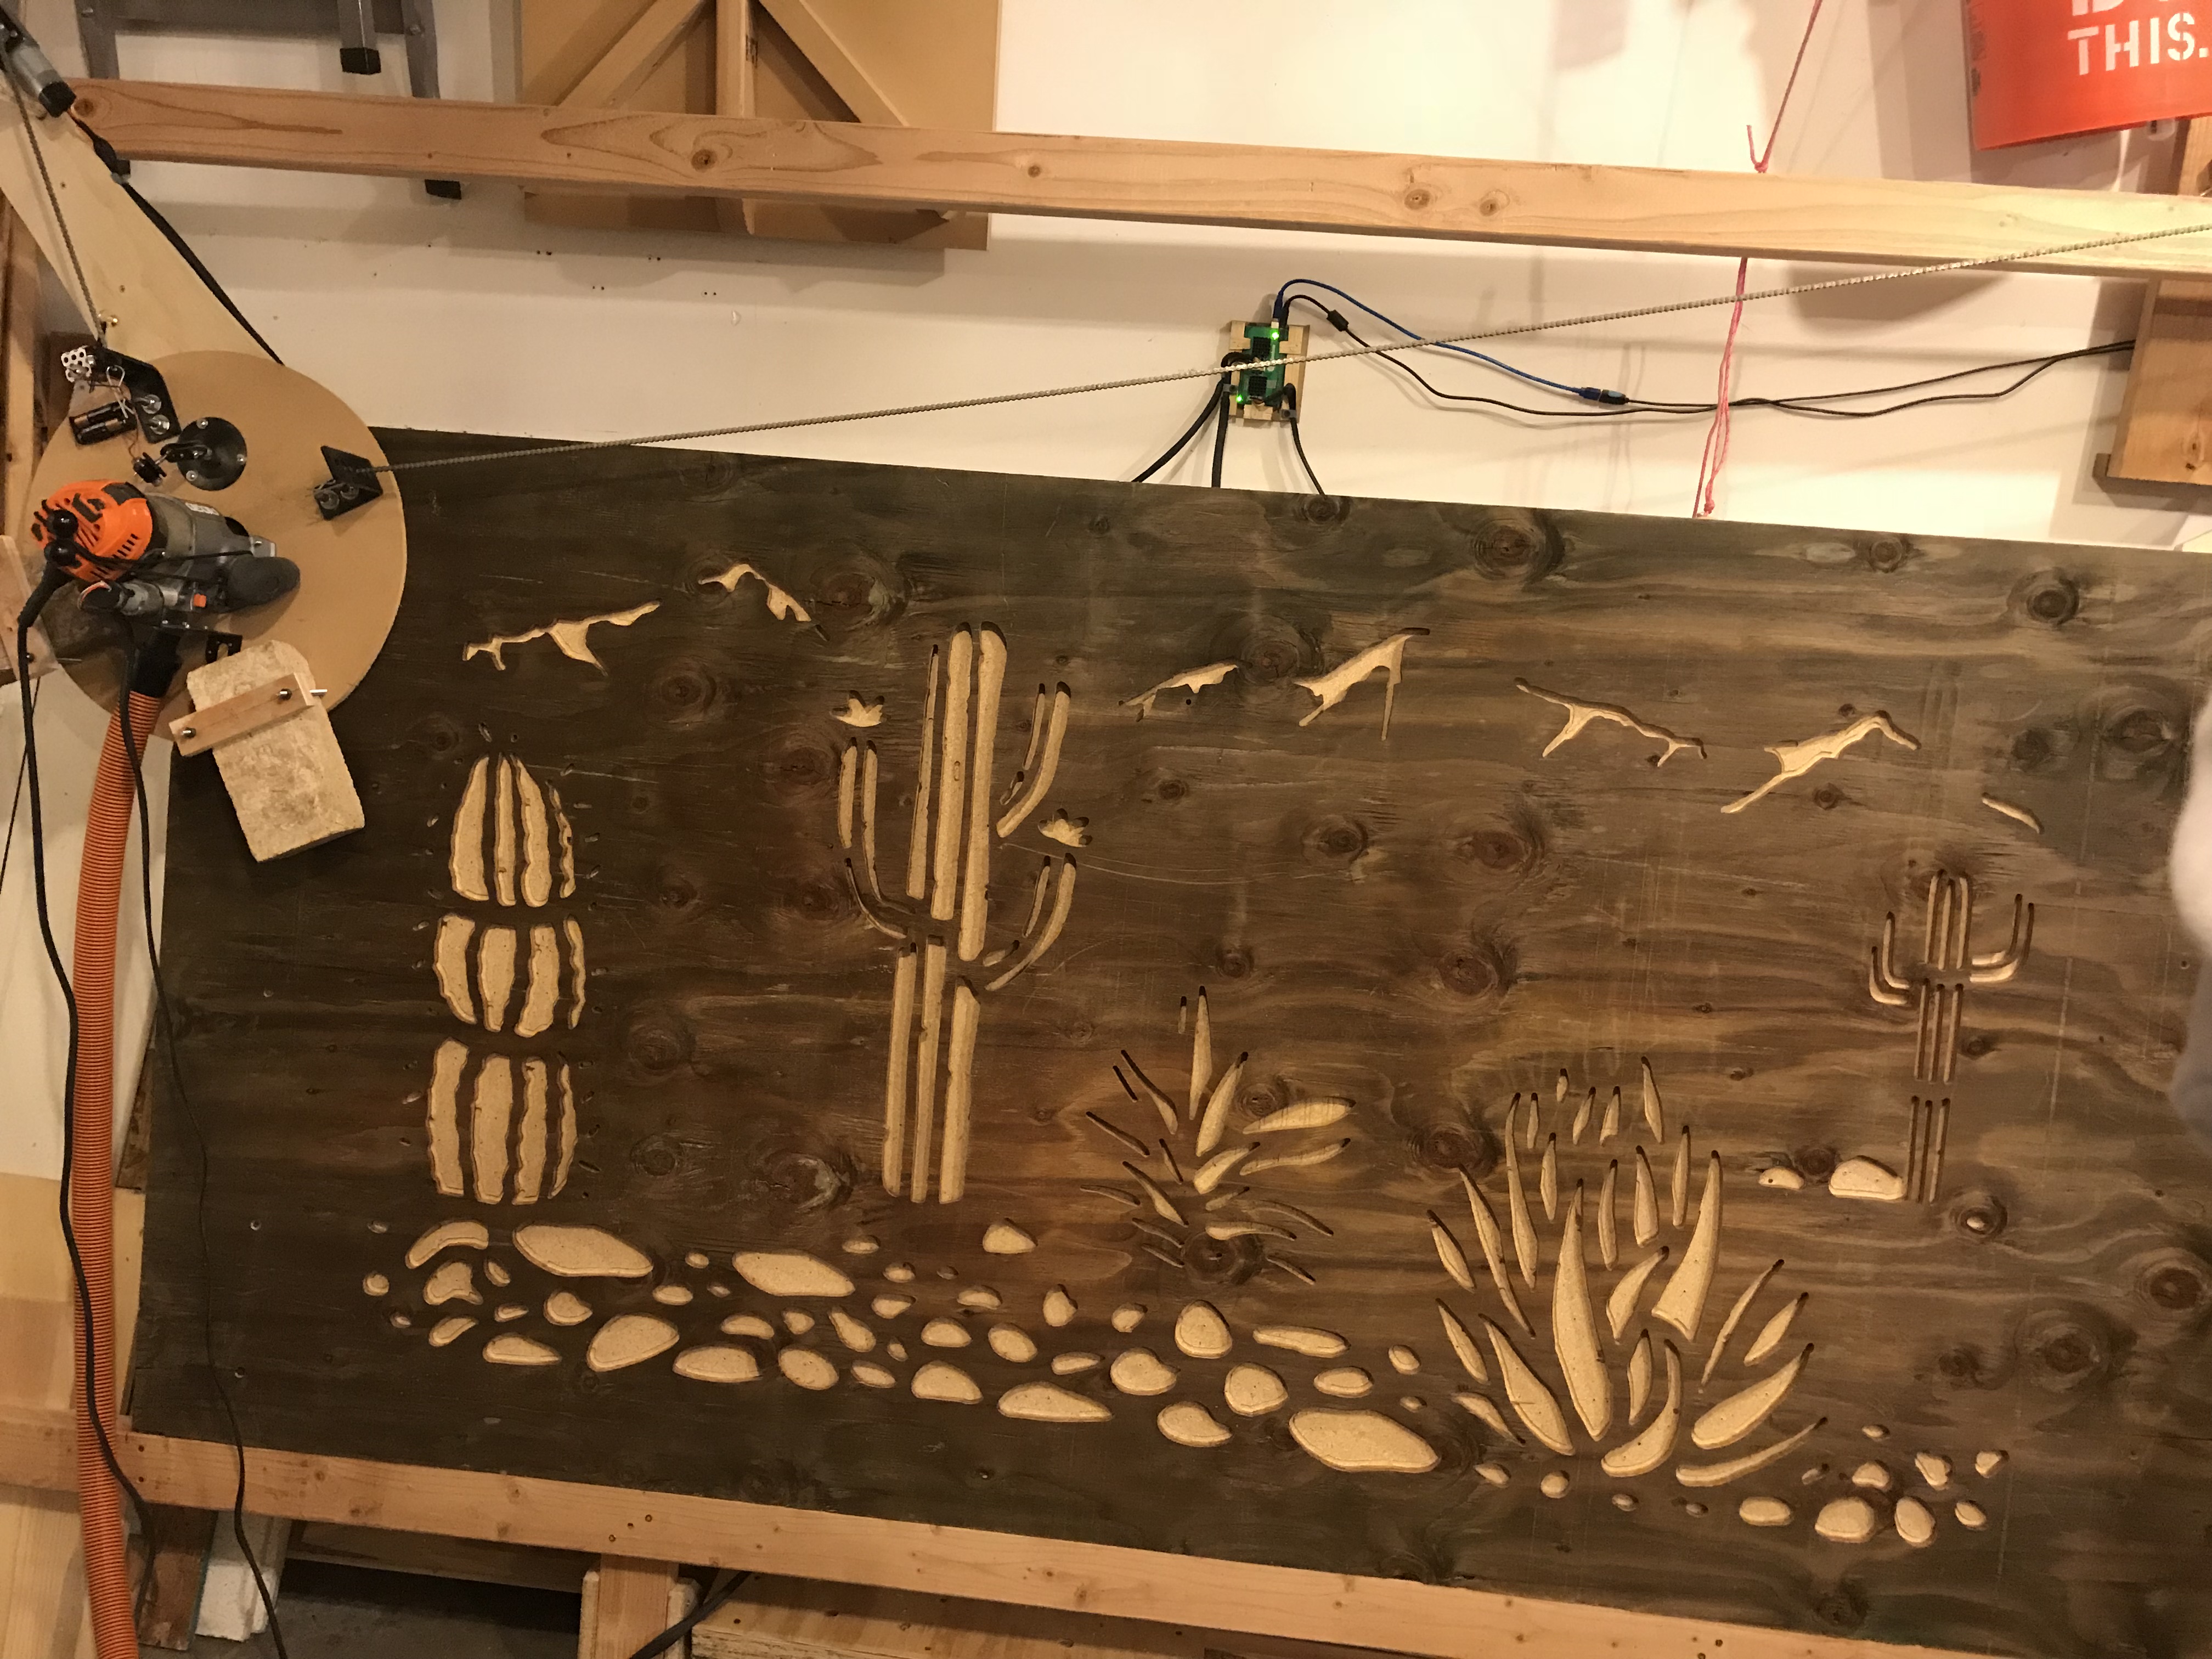
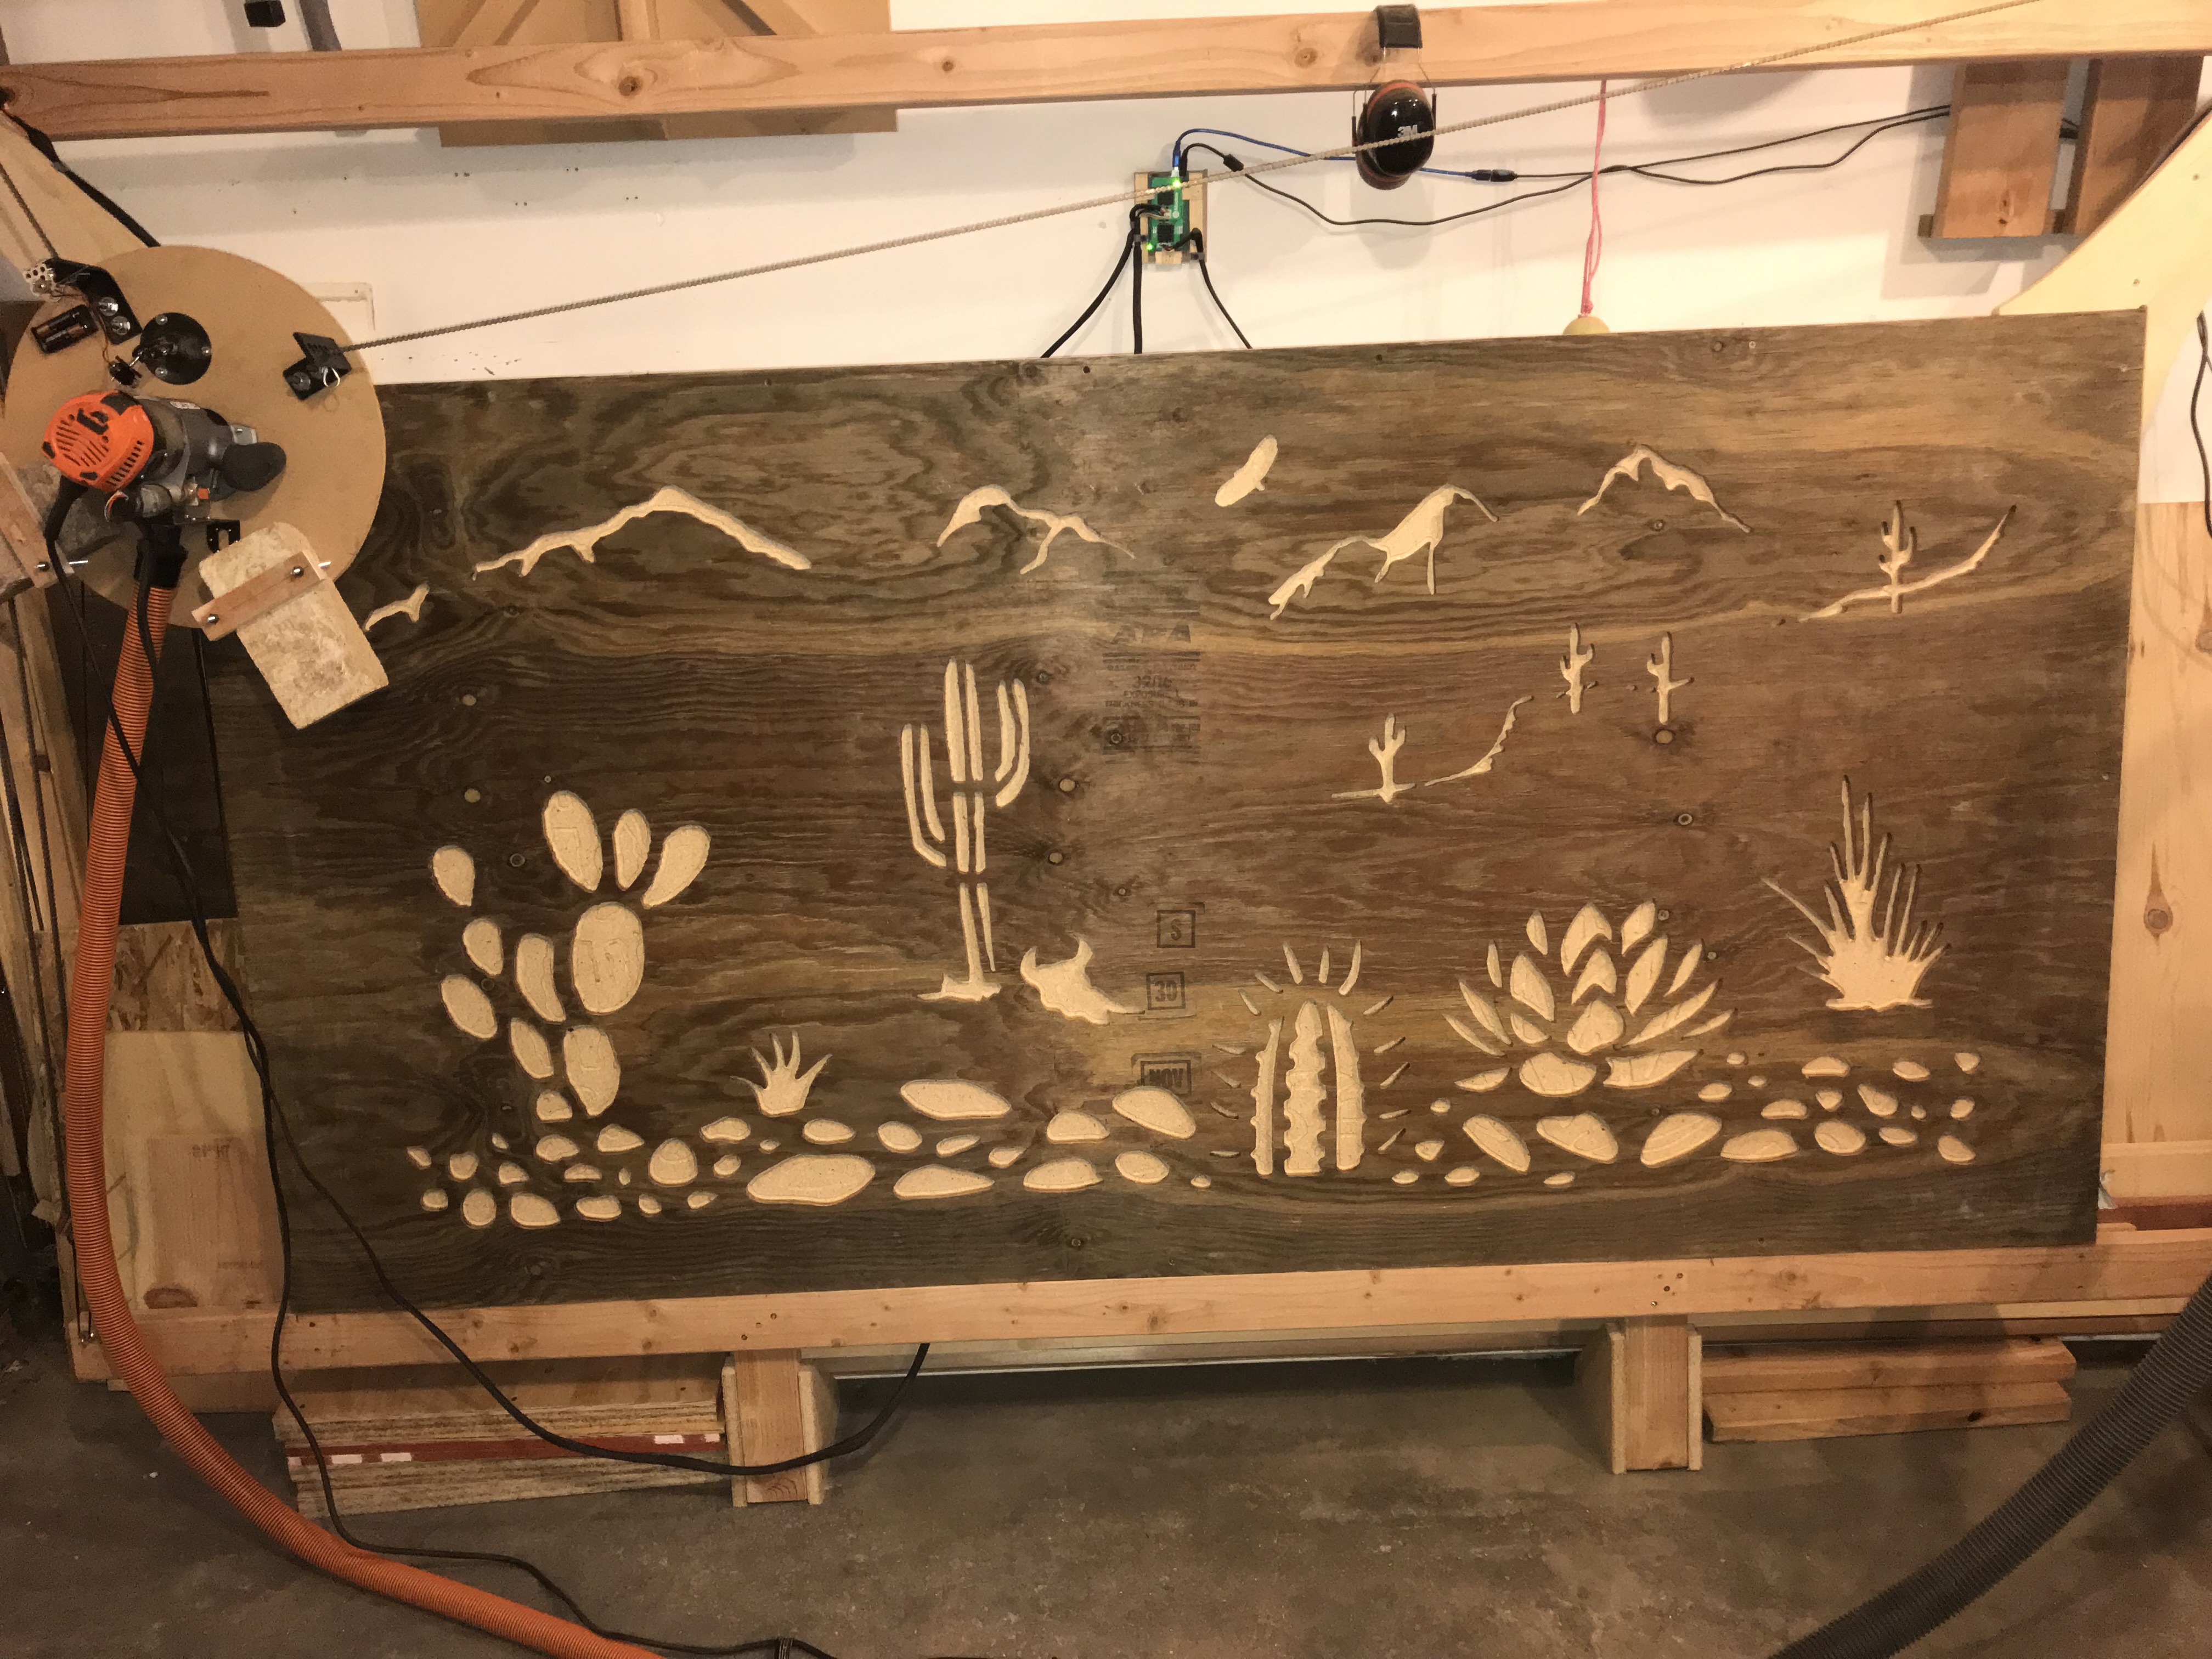
We recently exchanged our failing fence with a fancy-schmancy artsy-fartsy design fence of our own making. Instead of a big gap next to a (useless) gate we now have a beautiful look through desert scenery with mountains, cacti and stones. It's fun looking out of the window again. There is a second panel in the making. Stay tuned to soon see the updated pictures.
Let's get started.
Tools & Materials
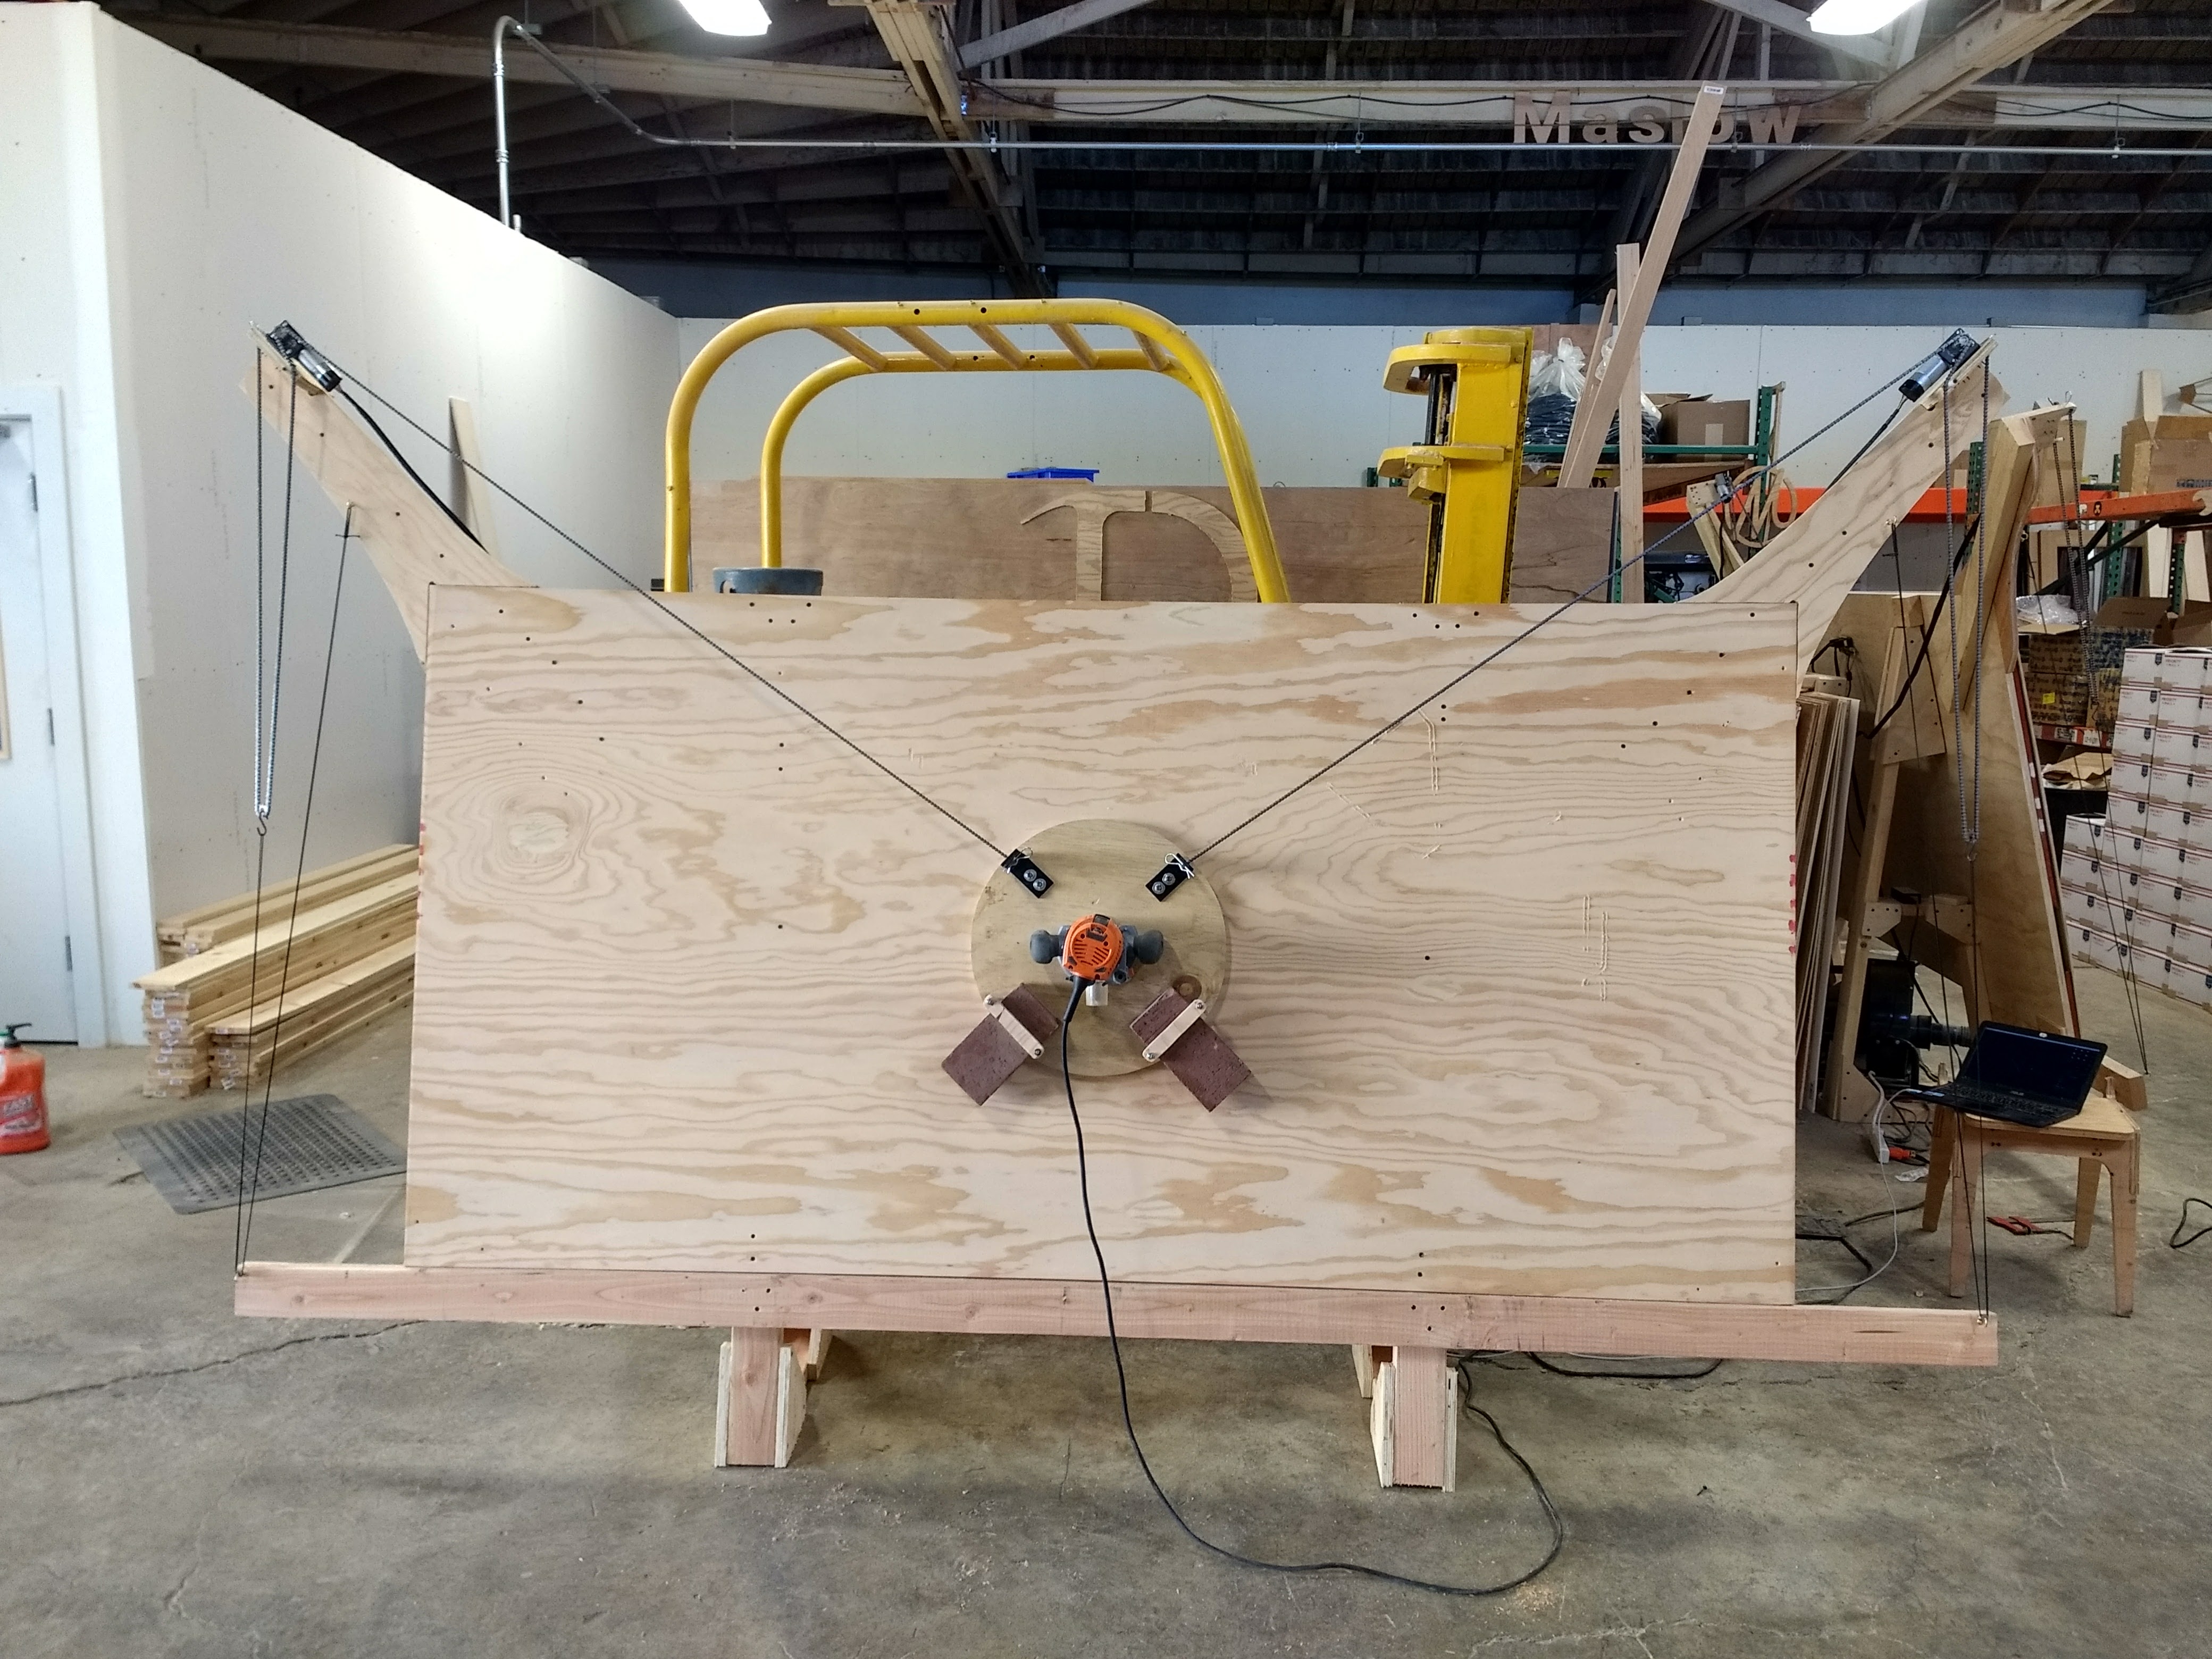


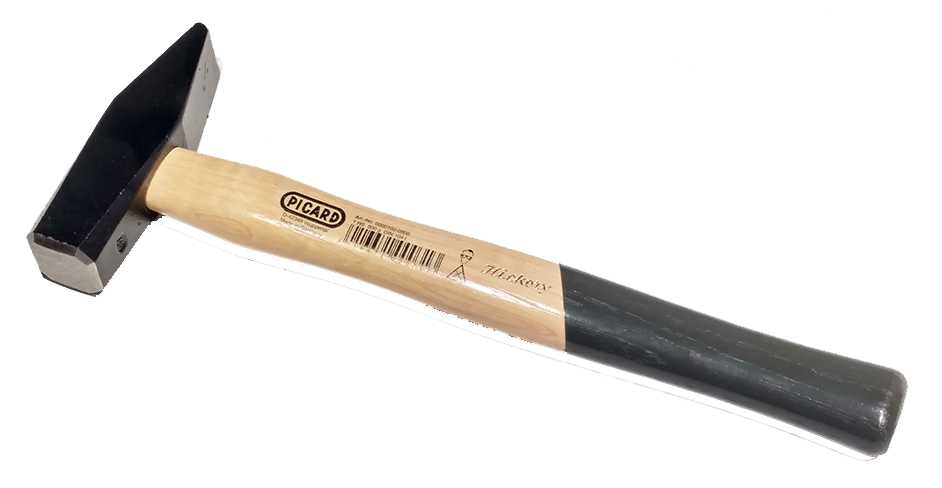
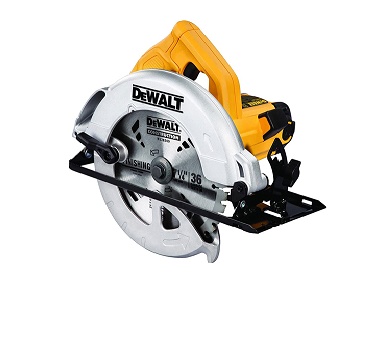
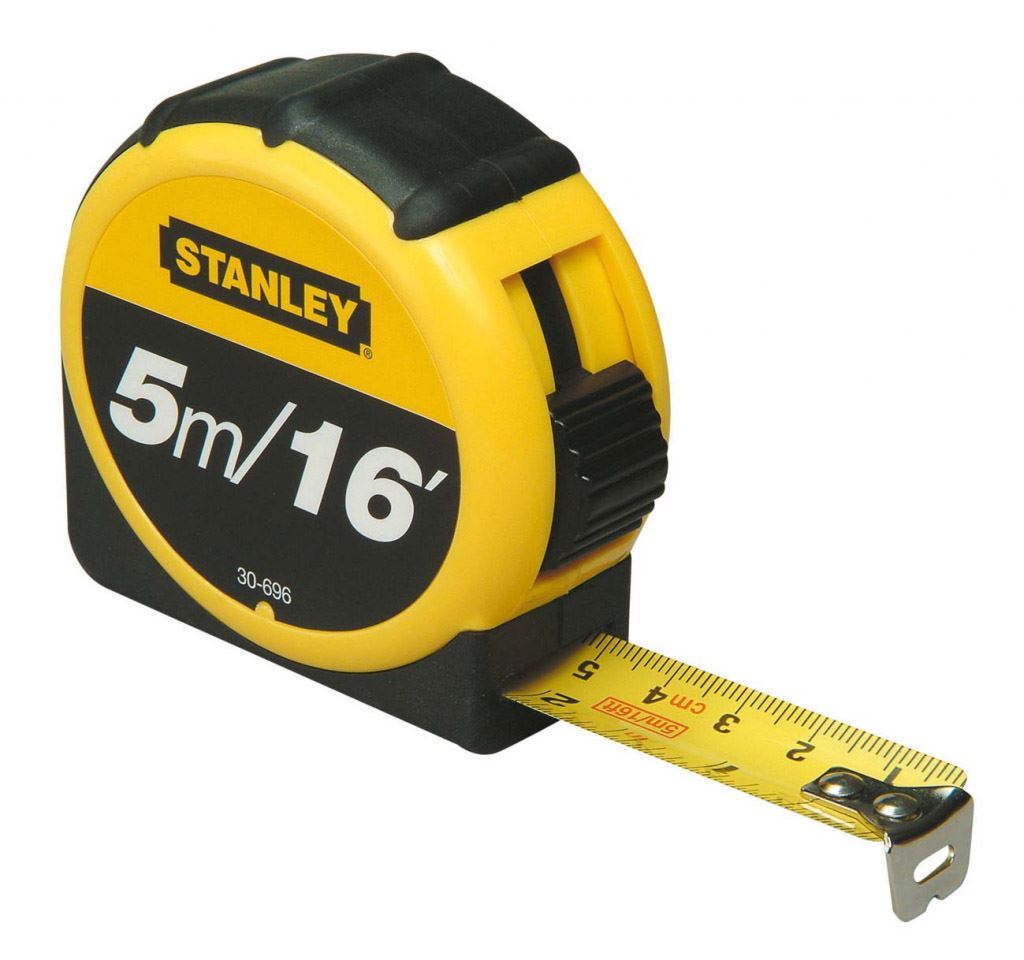



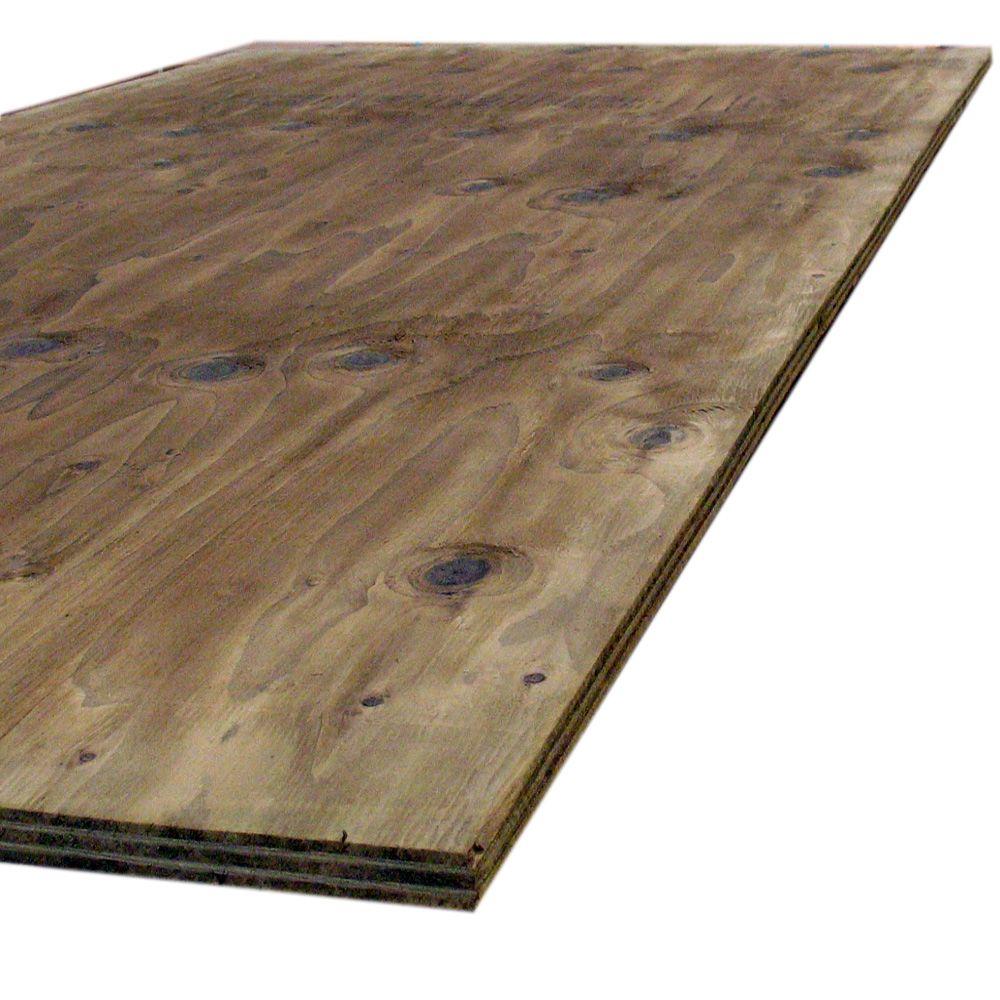
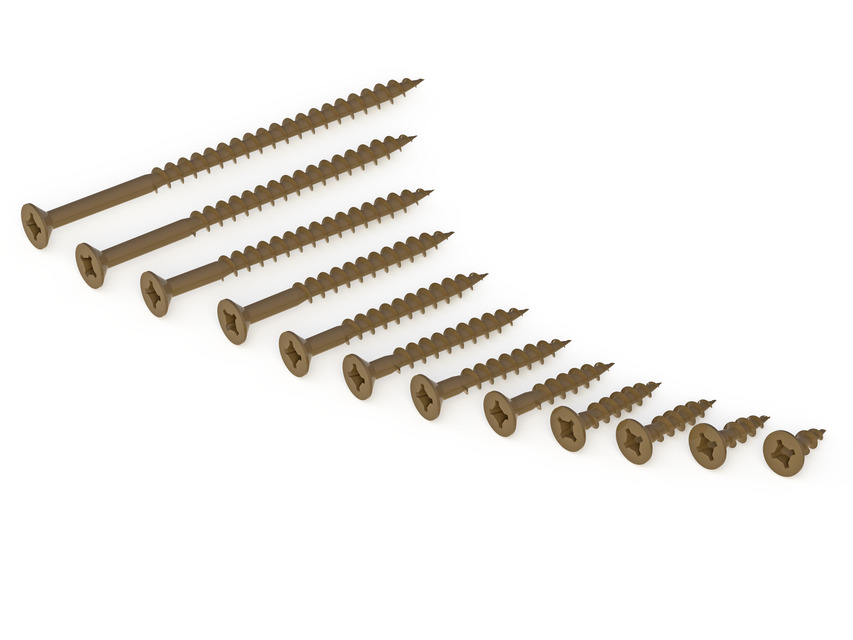
There are different ways to cut the fence pattern. You obviously would need to use the tools you have available. Listed here are the computer tools, tools and materials that I used. I will point out alternatives as I expect not everybody will have a Maslow CNC available to their use.
Design
- Computer
- Internet
- Software
- Image manipulation software: Imagemagick (free)
- Image manipulation software: GIMP (free)
- Vector graphics software: Inkscape (free)
- Cam software: Browser based Makercam.com (free)
Tools
- Maslow CNC or projector and jigsaw or drawing tools and other hand cutting tool (router)
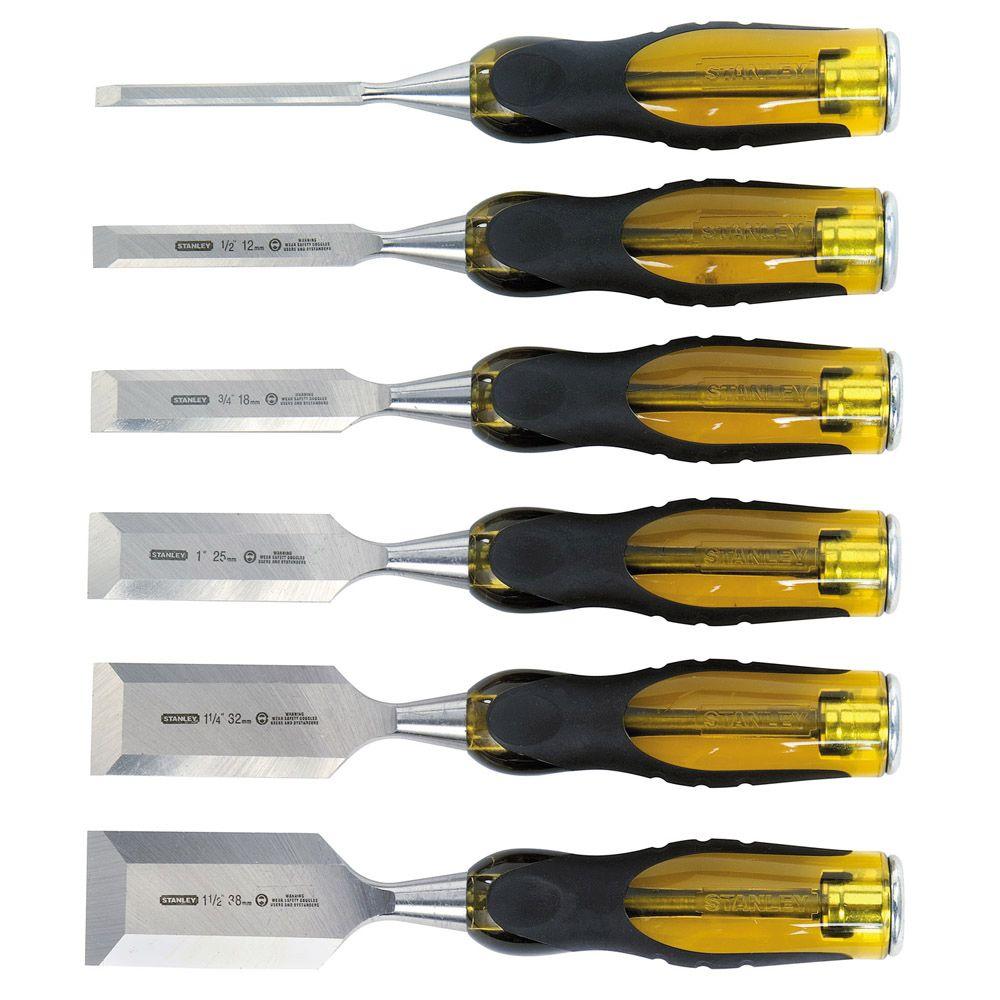
- chisels
- hammer
- sandpaper
- circular saw
- drill
- drill bits
- countersink bits
- measurement tape
- rulers
- pencil
- dust collection system or shop vacuum
Materials
- 8' x 4' x 0.5" weather treated plywood
- 2 x 4 or 2 x something weather treated wood
- paint
- non-rusting woodscrews
- weather treated fence posts
Measurements
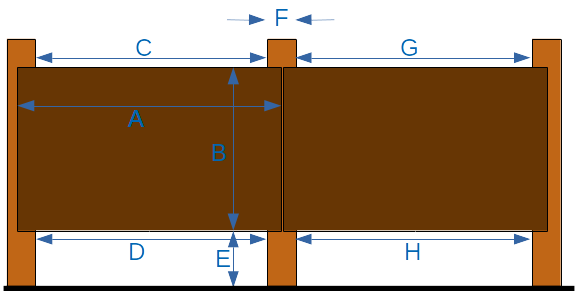
Measuring is key to any good build. Take your time. Measure twice. Jot it all down. Measure again. While millimeter precision is not needed here, it sucks if your panel comes up short.
We already had fence posts from our previous ugly privacy fence. The posts were solid and we could reuse them. For the build I used the following measurements:
A: Mounting length left panel. From edge of left post (depends how you can mount it there) to middle of middle post. If I had to set new fence posts I would make this distance 8 feet, the length of a standard sheet of wood.
B: Height of the panel. We kept this at 4 feet to use the height of a standard sheet of wood.
C: Distance between left and middle posts on top.
D: Distance between left and middle posts on bottom. Note that this distance could vary from the distance on top (C). Better to know that so that you can adjust to it accordingly.
E: Height from the bottom. We chose this to be 18". The panel we used was weather proofed for non-ground contact. We also don't have any pets, so this worked perfectly for us.
F: Width of the fence posts. You will need to consider this dimension to determine your design space.
G: Distance between middle and right posts on top. We did not have identical distances between the fence posts, so we needed two panels with different lengths. This may not be necessary if you set your own posts or it could be necessary for that very reason. :)
H: Distance between middle and right posts on bottom.
Design Space
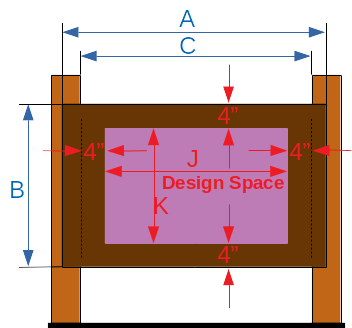
From the measurements I determined the space that was available for the design. We essentially left a 4" border around the panel space between the posts to (i) allow space for reinforcement on top and bottom and (ii) have a strong solid section near the post where potential stress areas might exist due to shrinking and expanding wood.
In equations this means:
C-8"=J
B-8"=K
Using our left panel as example we ended up with:
Panel inside dimensions => 82.75" x 48" total size (with C=82.75")
Design space => 78.75" x 40"
Creating the Design and Gcode



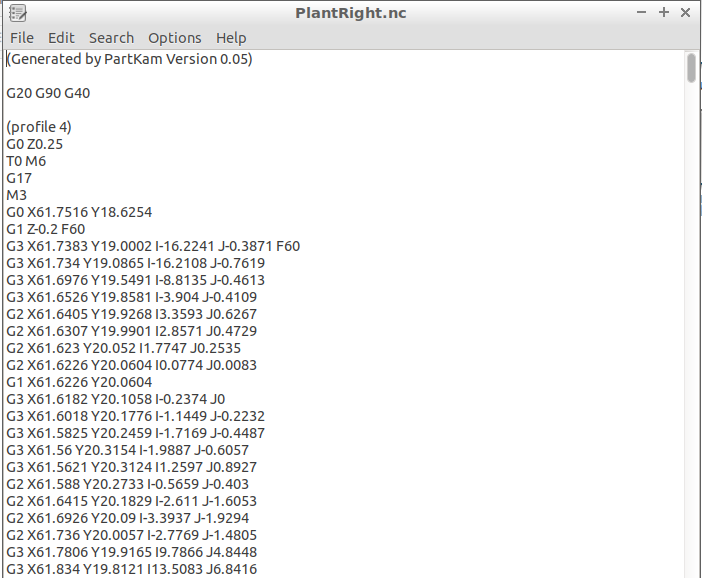
- This is probably the most complicated part of the build. I divided this step into two alternative parts.
- Please also refer to the attach txt file which I use to remember some of the software commands of the programs I used.
- Last not least, if you have a Maslow CNC, I uploaded the gcode for your cutting pleasure. Note that the taps I put in didn't really work for me to hold the cutouts in place. Refer to the method I am suggesting in the cutting step.
In part1:
- I layout the rough steps I actually used in my build
- I am attaching a txt file with my notes on the various programs I used.
- Since I used the Maslow CNC the ultimate outcome was a gcode file.
In part2:
- I layout how this could be done without the CNC machine using drawing skills and basic tools.
Part1: Preparation of design and gcode
Motif
- Decide on a motif. For example we chose a desert scene.
- Depending on your artistic skills:
- Search the internet for clip art or templates of for example mountains, cacti and stones
- or Draw your own mountains, cacti and stone elements and scan them in
- Remember that wood cannot levitate. Every part needs to be connected to the panel at least at one point or gravity will do its thing.
Gimp: Arrangement of Scenery
- Create your "canvas" by customizing the page size to have the ratio of your design space in a photo manipulation software (gimp)
- Convert each clip art into a true black and white image using image magick or gimp
- Created an individual gimp file (.xcf) for each clip art and save it.
- Get rid of the translucent alpha layer. That gets in the way a lot.
- Do not worry about low resolution pixely appearance. We fix this at the end.
- Select, then copy and paste from the individual files into your canvas.
- The sizes of the images will depend on the resolution of the source file
- If the size does not fit, then change the image size prior to the copy and paste process.
- You may have to redo this several times for every item until the sizes fit with respect to each other
- Review the image
- Everything black will be cut out
- Ensure that gravity cannot grab anything and throw it on the ground (i.e. check if everything is connected)
- Look for long horizontal and or vertical lines, such as mountains or horizons or tall trees. Split these lines up, so that the panel remains strong. Simply use the paint tool to interrupt black lines with white paint sections.
- Look for wood sections that are too thin and fragile.
- Manipulate the image to strengthens that are too thin or fragile.
- Have somebody else review your image
- Do they recognize it at first sight?
- Discuss and change as needed.
- Export the image from gimp as .jpg or .png file
Inkscape: Conversion into life sized, smooth vector graphics image (.svg)
- Import the image into inkscape (or other vector graphics software)
- Size the image to the actual size of the design space using the units: inches
- Offset the image from the origin using the x,y coordinates and the units: inches
- the image is moved right and upwards from the origin
- the image should now sit exactly in the "design space" of the panel
- Consider the fastening section of the panel and the additional 4" no-cutting border
- Convert image from a pixel format to a path format using for example Path/Trace Bitmap in Inkscape (see attachment)
- Smoothen the image further using the "Node selection" button and the Path/Simplify function.
- You now should have very nice round features on all the elements of your drawings.
- Check your resolution with Edit/Preferences/Bitmap in Inkscape. If the dpi values do not match between Inkscape and MakerCam you are changing the actual sizes that are cut. In my case the "natural" inkscape resolution was 96 dpi. This depends on the inkscape version, so be careful.
MakerCam: Conversion into gcode for cutting on MaslowCNC
- Open MakerCam at www.makercam.com
- Use the "Help" link for more information
- Adjust the resolution to that of your .svg file by Edit/Edit Preferences => SVG Import Default Resolution (px/inch): 96 (my dpi settings as example)
- Import .svg file => everything is shown in red, i.e. everything is selected
- Unselect everything => click somewhere in empty space
- Zoom out until you see the whole image
- Check if all image parts are there.
- Click and drag to mark sections of the drawing. Select sections that are reasonably sized so the cutting can be done in portions rather than all at once.
- Create profiles for each section using the CAM commands:
- CAM/Profile Operation
- Select the parameters for your router bit and wood thickness
- For my project with 0.5" thick wood I used: 0.25" bit size, target depth -0.6", inside cut, 0.25" safety height, stock surface 0", step down 0.2", feed rate 30 "/min, plunge rate, 30 "/min, direction: clockwise
- CAM/Calculate Selected
- CAM/Export gcode => rename section to something you can remember, for example I created a CactusRight.nc file, for what part I think you can guess.
- CAM/Profile Operation
- Done, you have now gcode for X sections that will make up your fence
Part2: Preparation for "traditional" manual cutting methods such as jigsaw or router
Motif:
- Same than Part1, though drawing your motif on paper might be faster than designing it on computer
- However you get your motif on paper does not matter, you can print sections out on paper with various scaling until it all fits together
- Once you have your scenery layed out you have two options:
- Scan it into a computer and project it with onto the 4'x8' board with a projector. Trace it onto the board for the cutting process.
- Transfer your scenery straight onto the 4'x8' board. Use your artistic skills. Make sure you have enough space between the section so that parts still have a minimum stability.
Downloads
Cutting Process
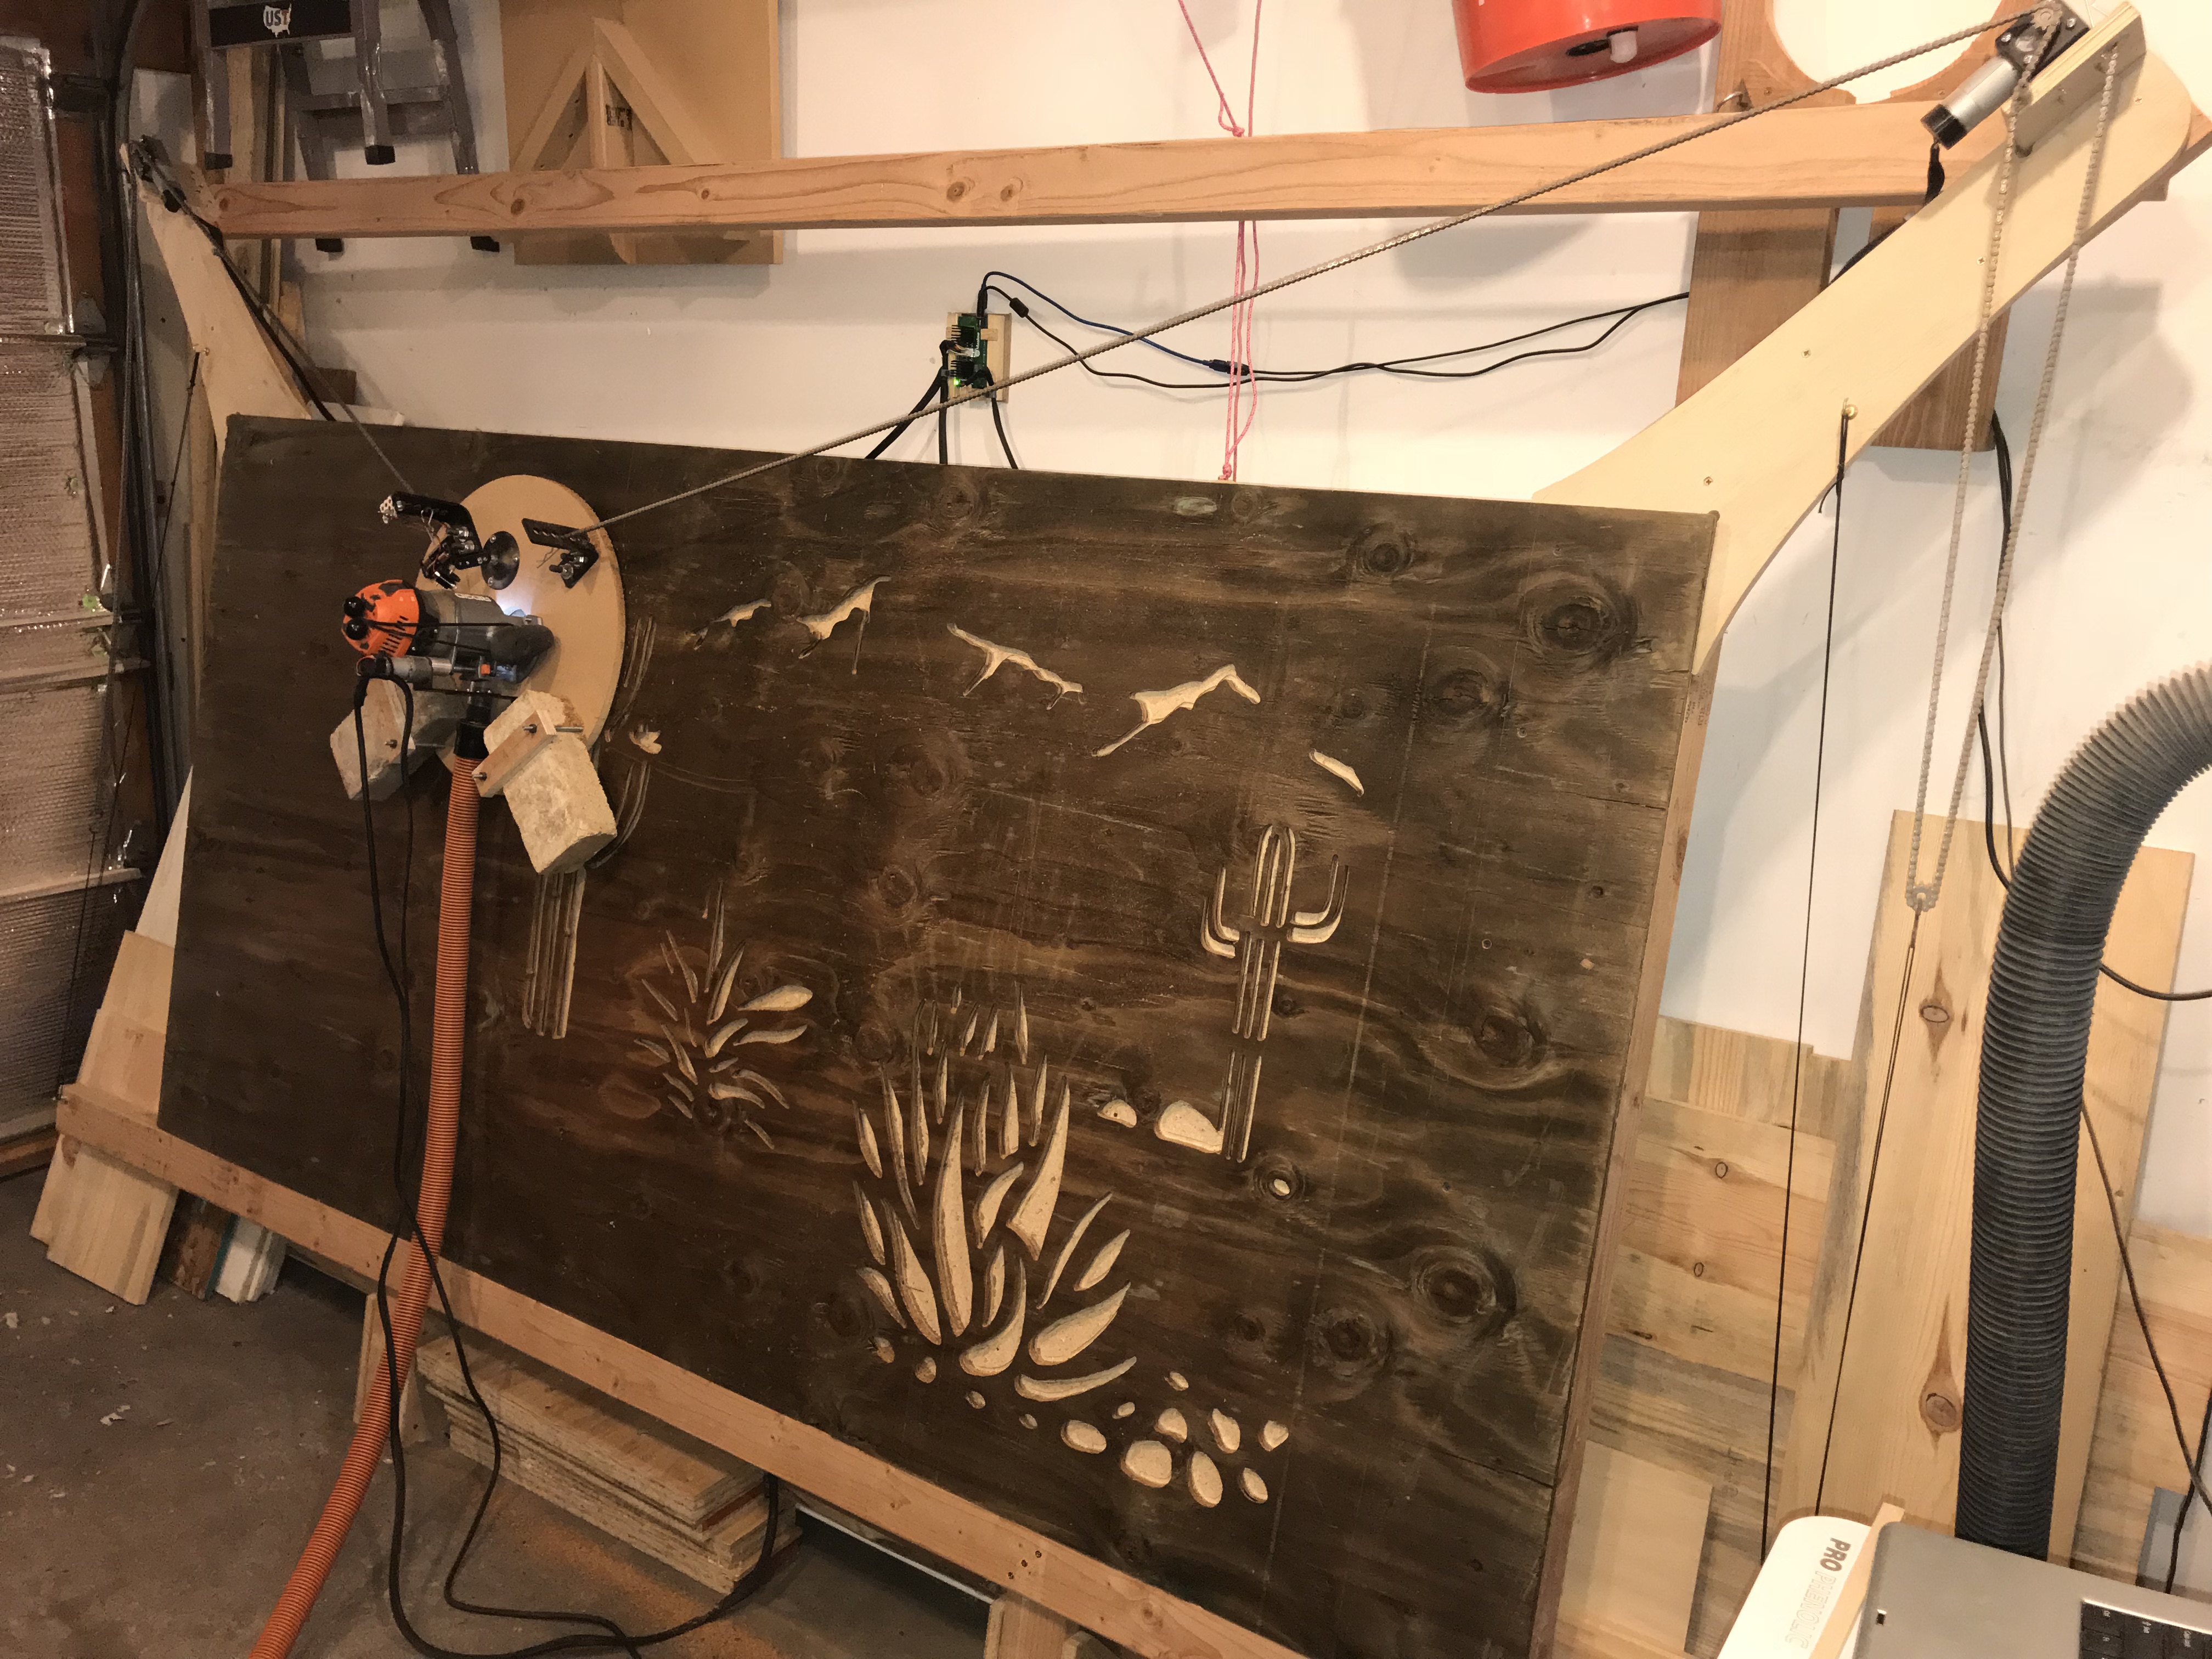
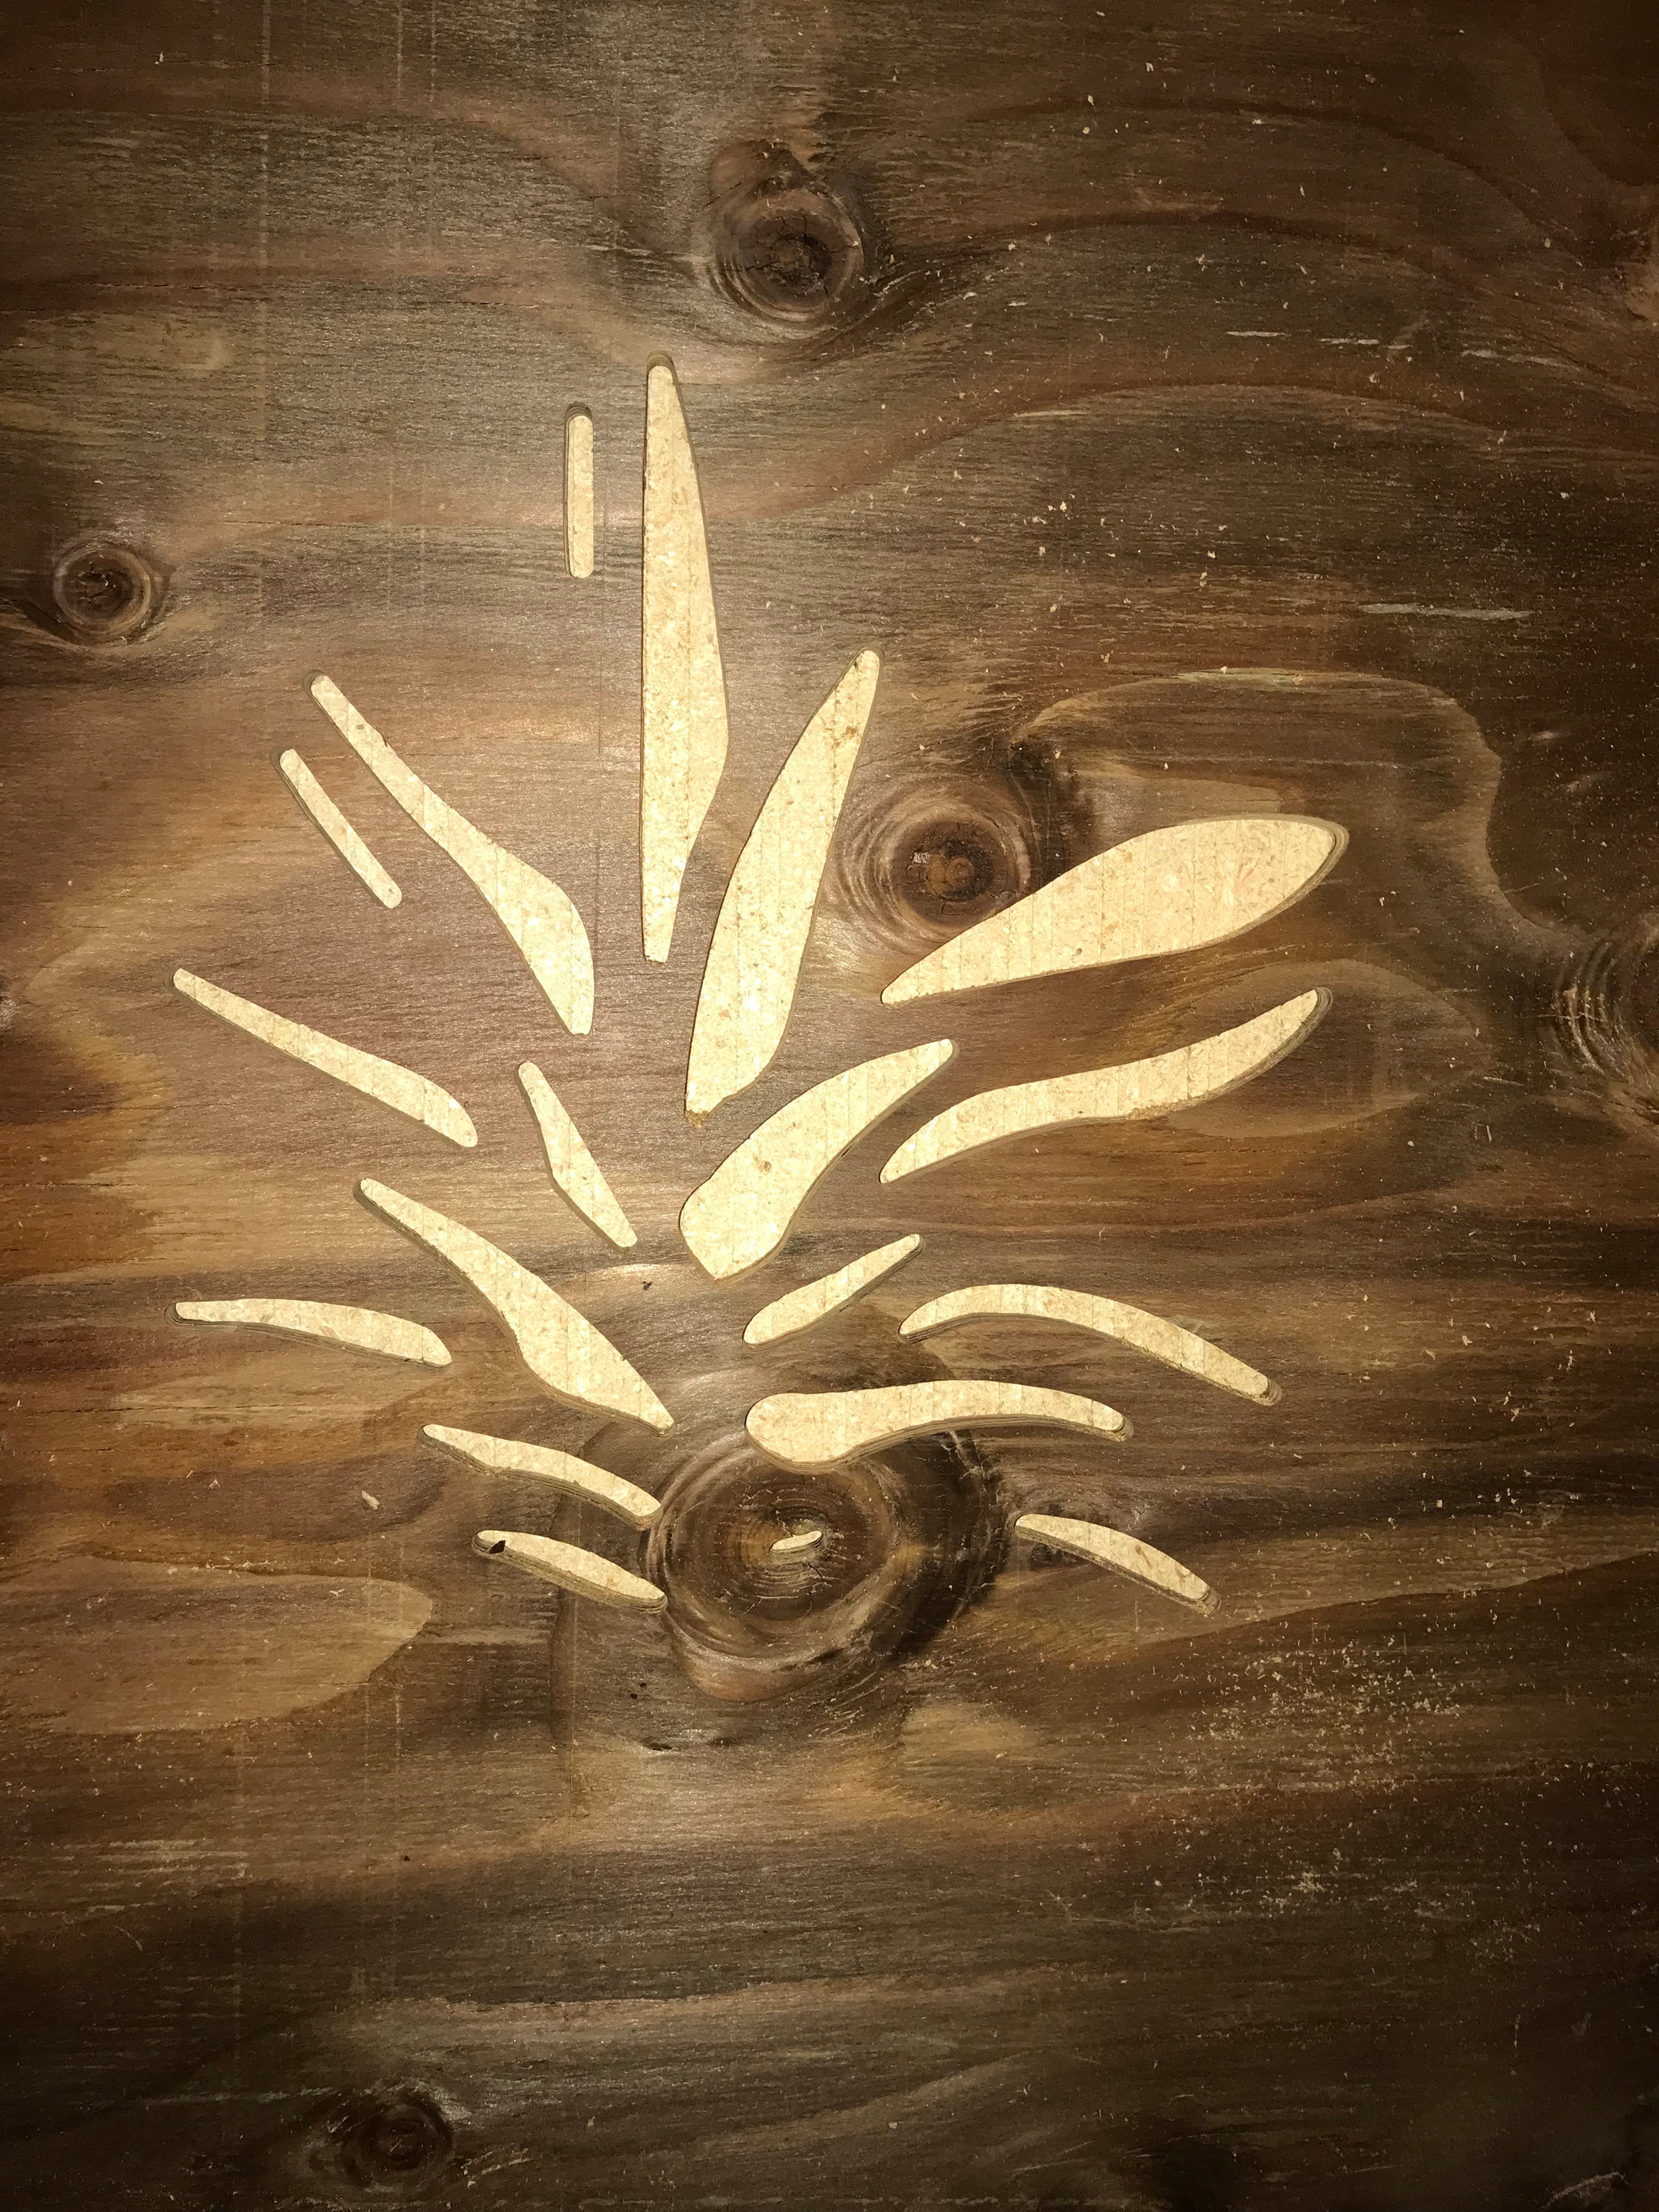
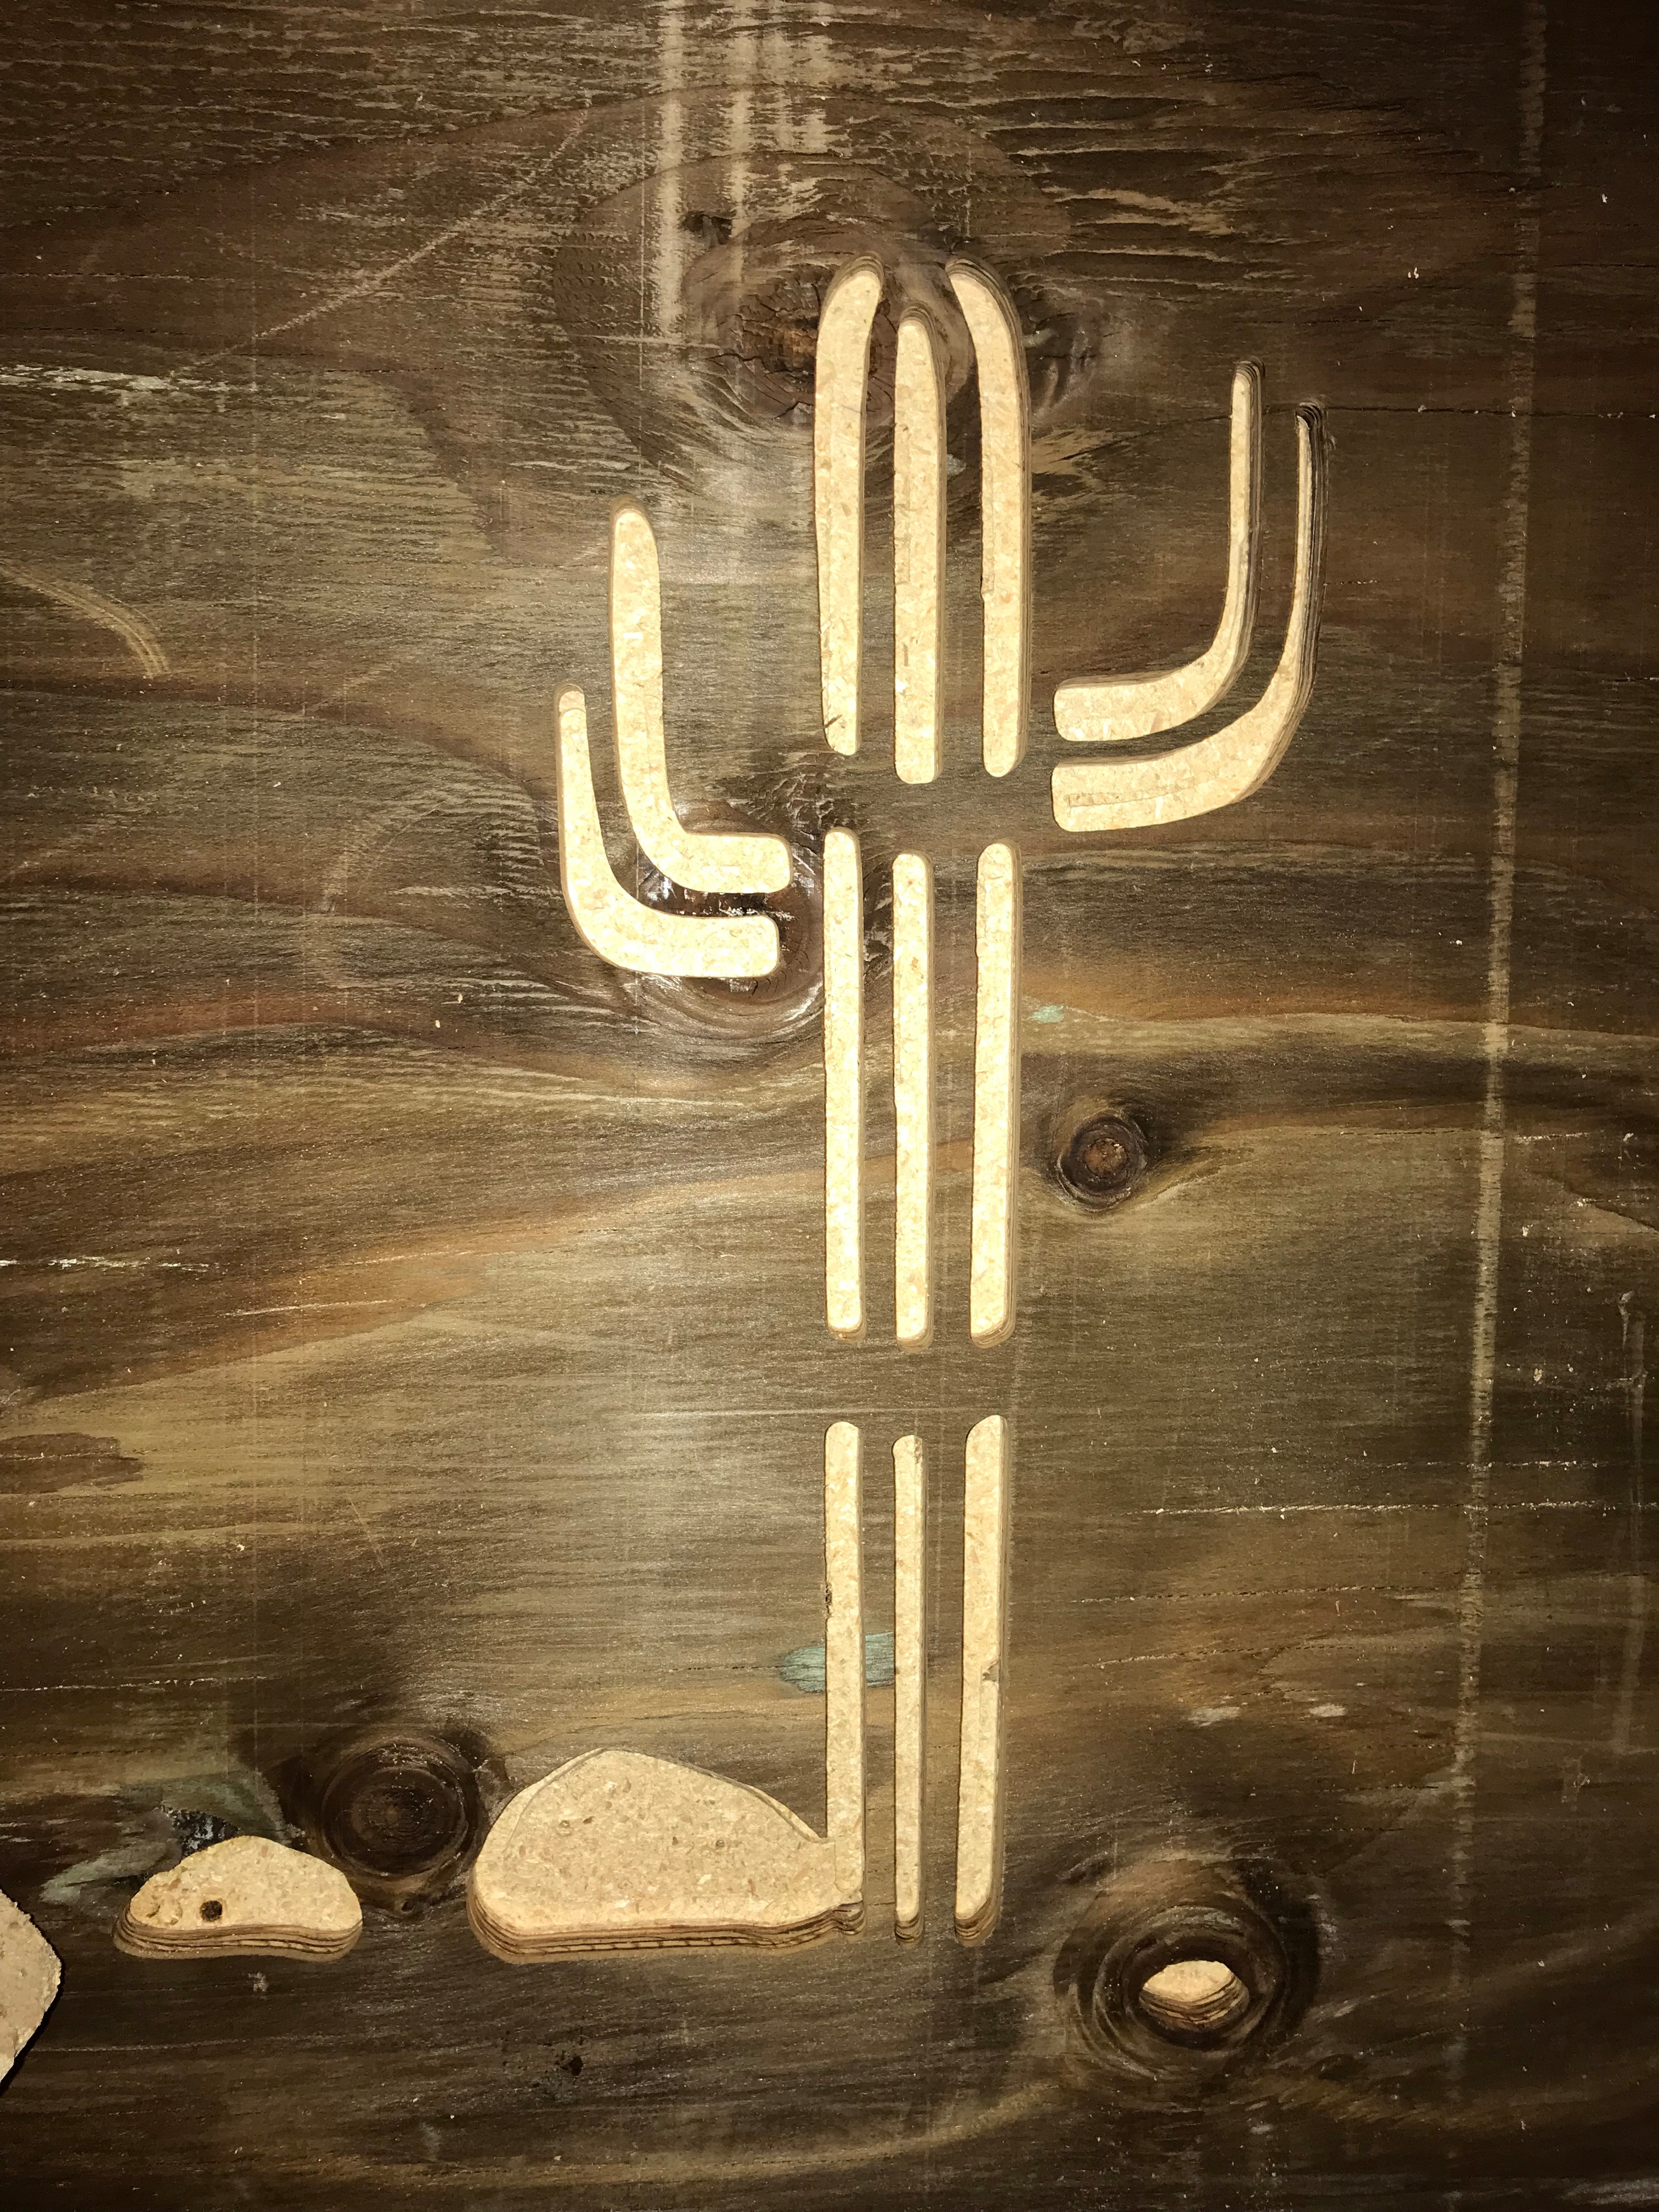
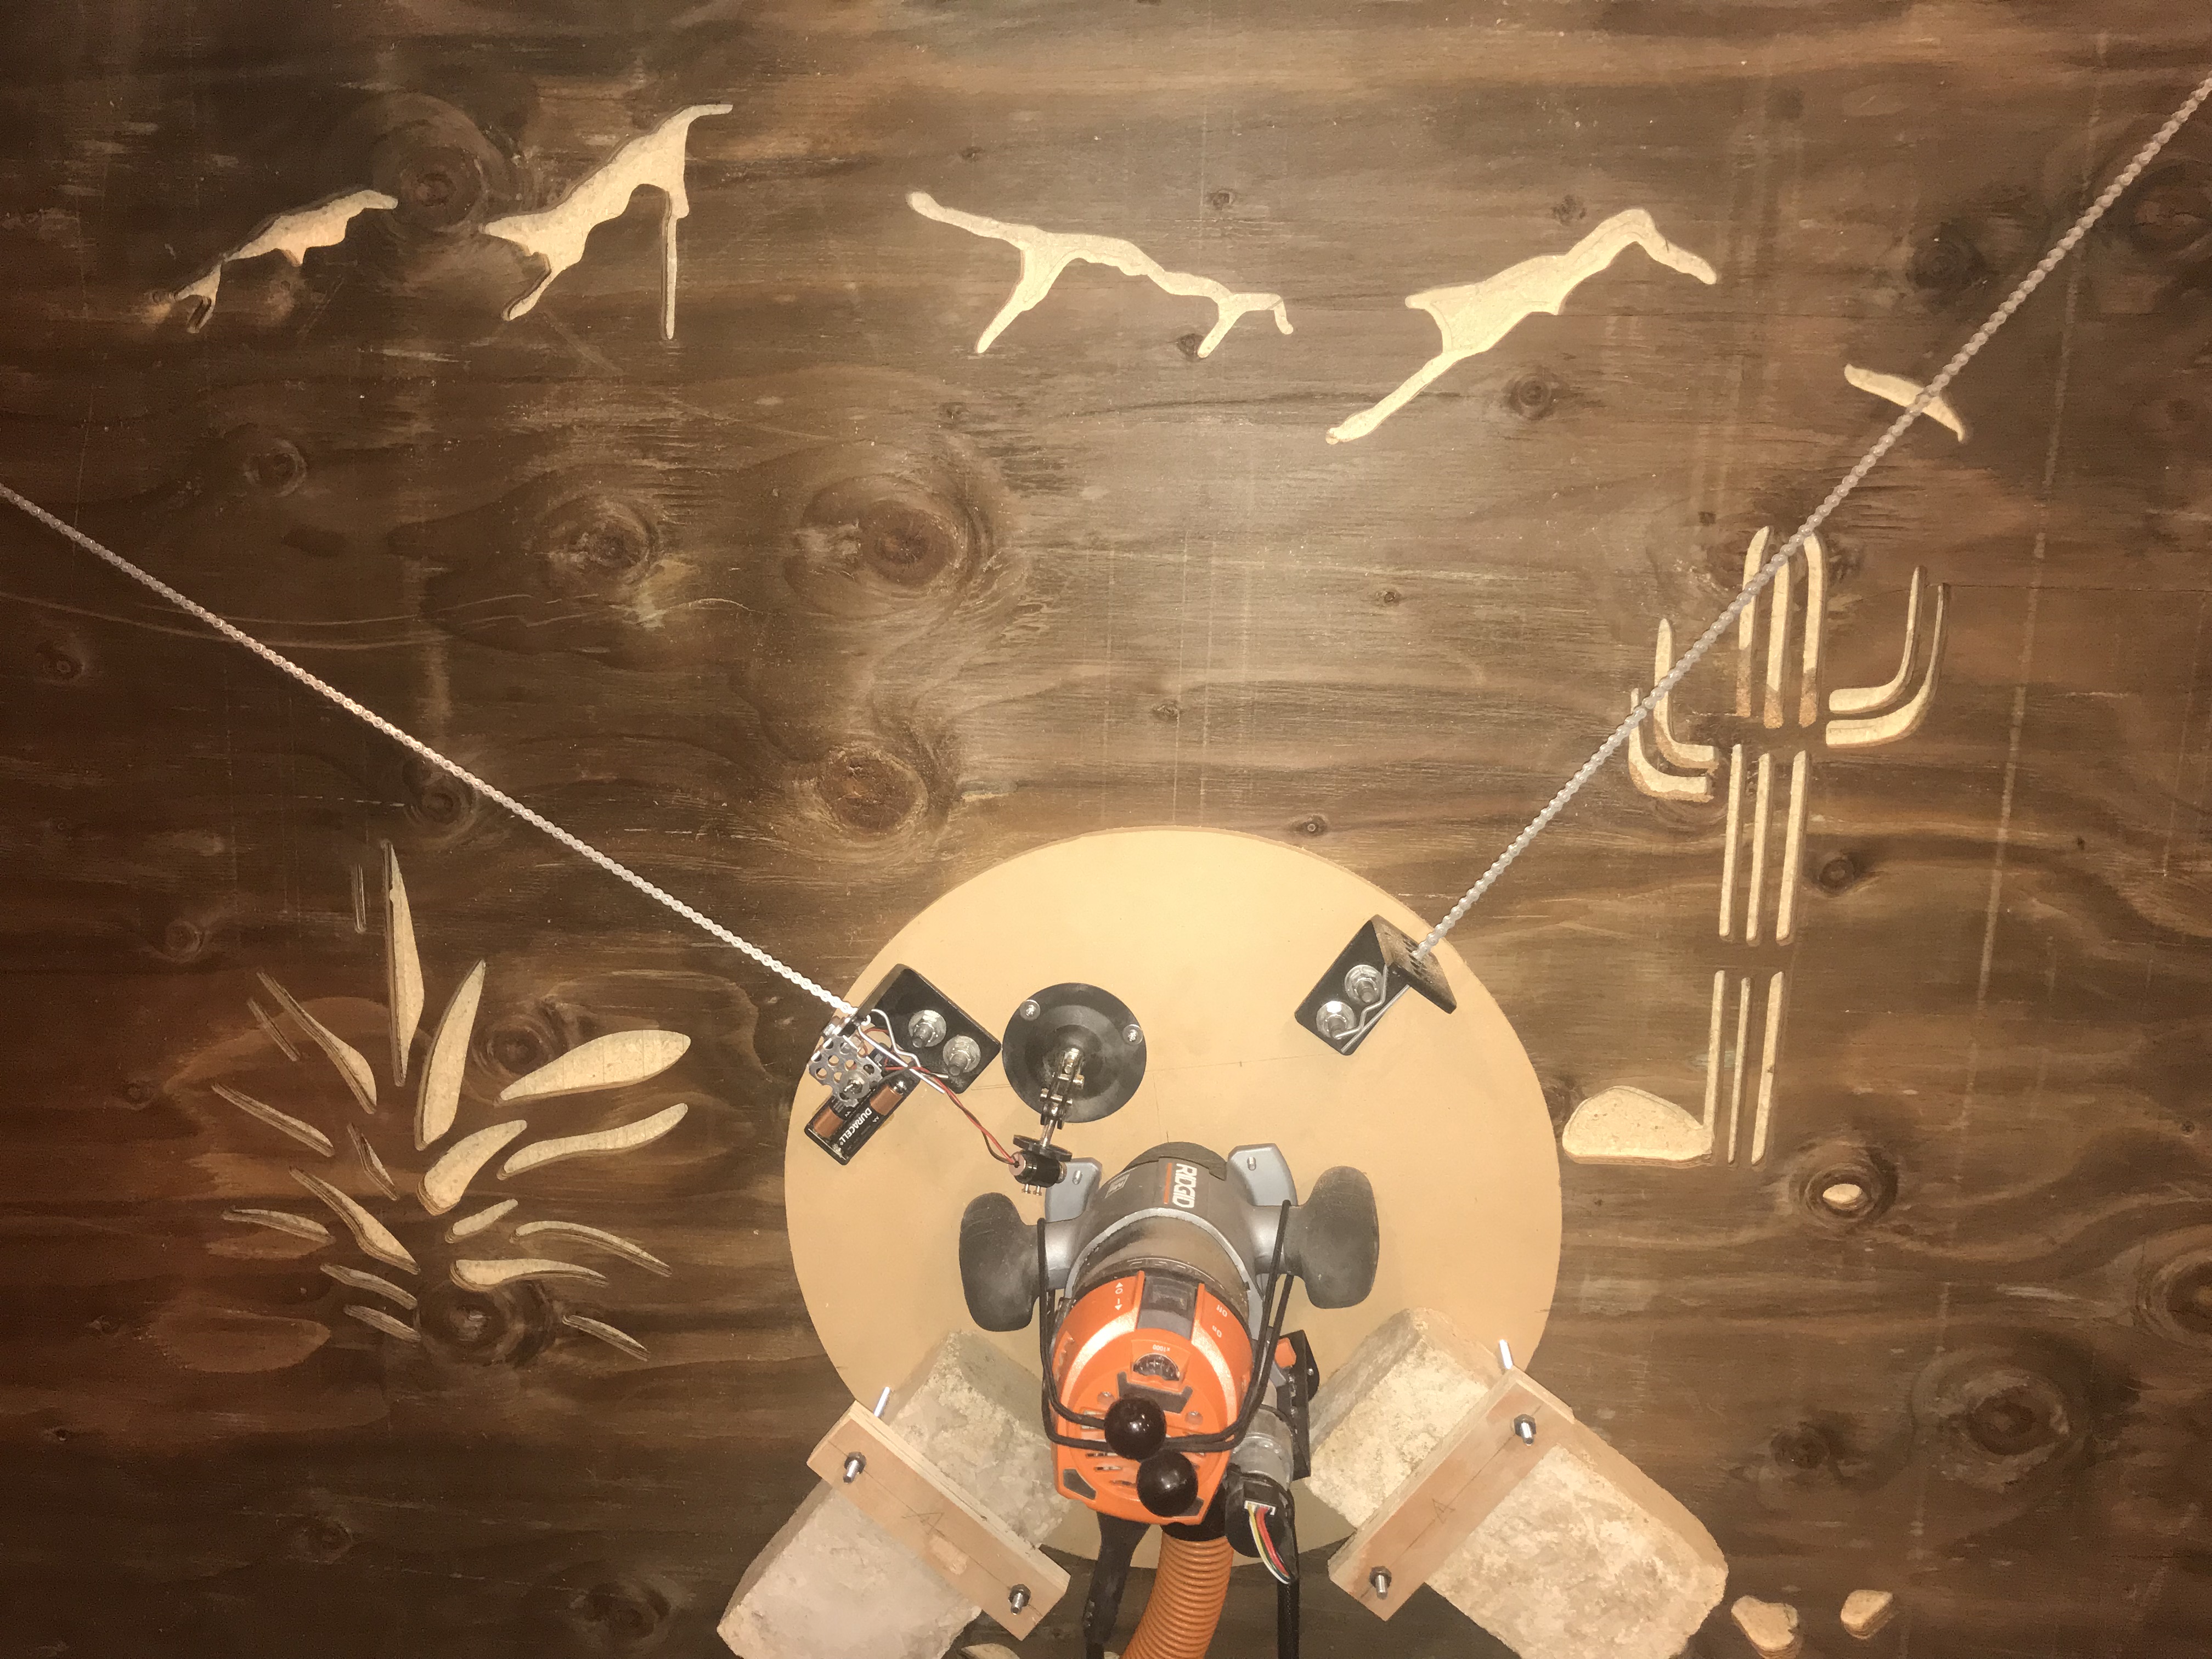
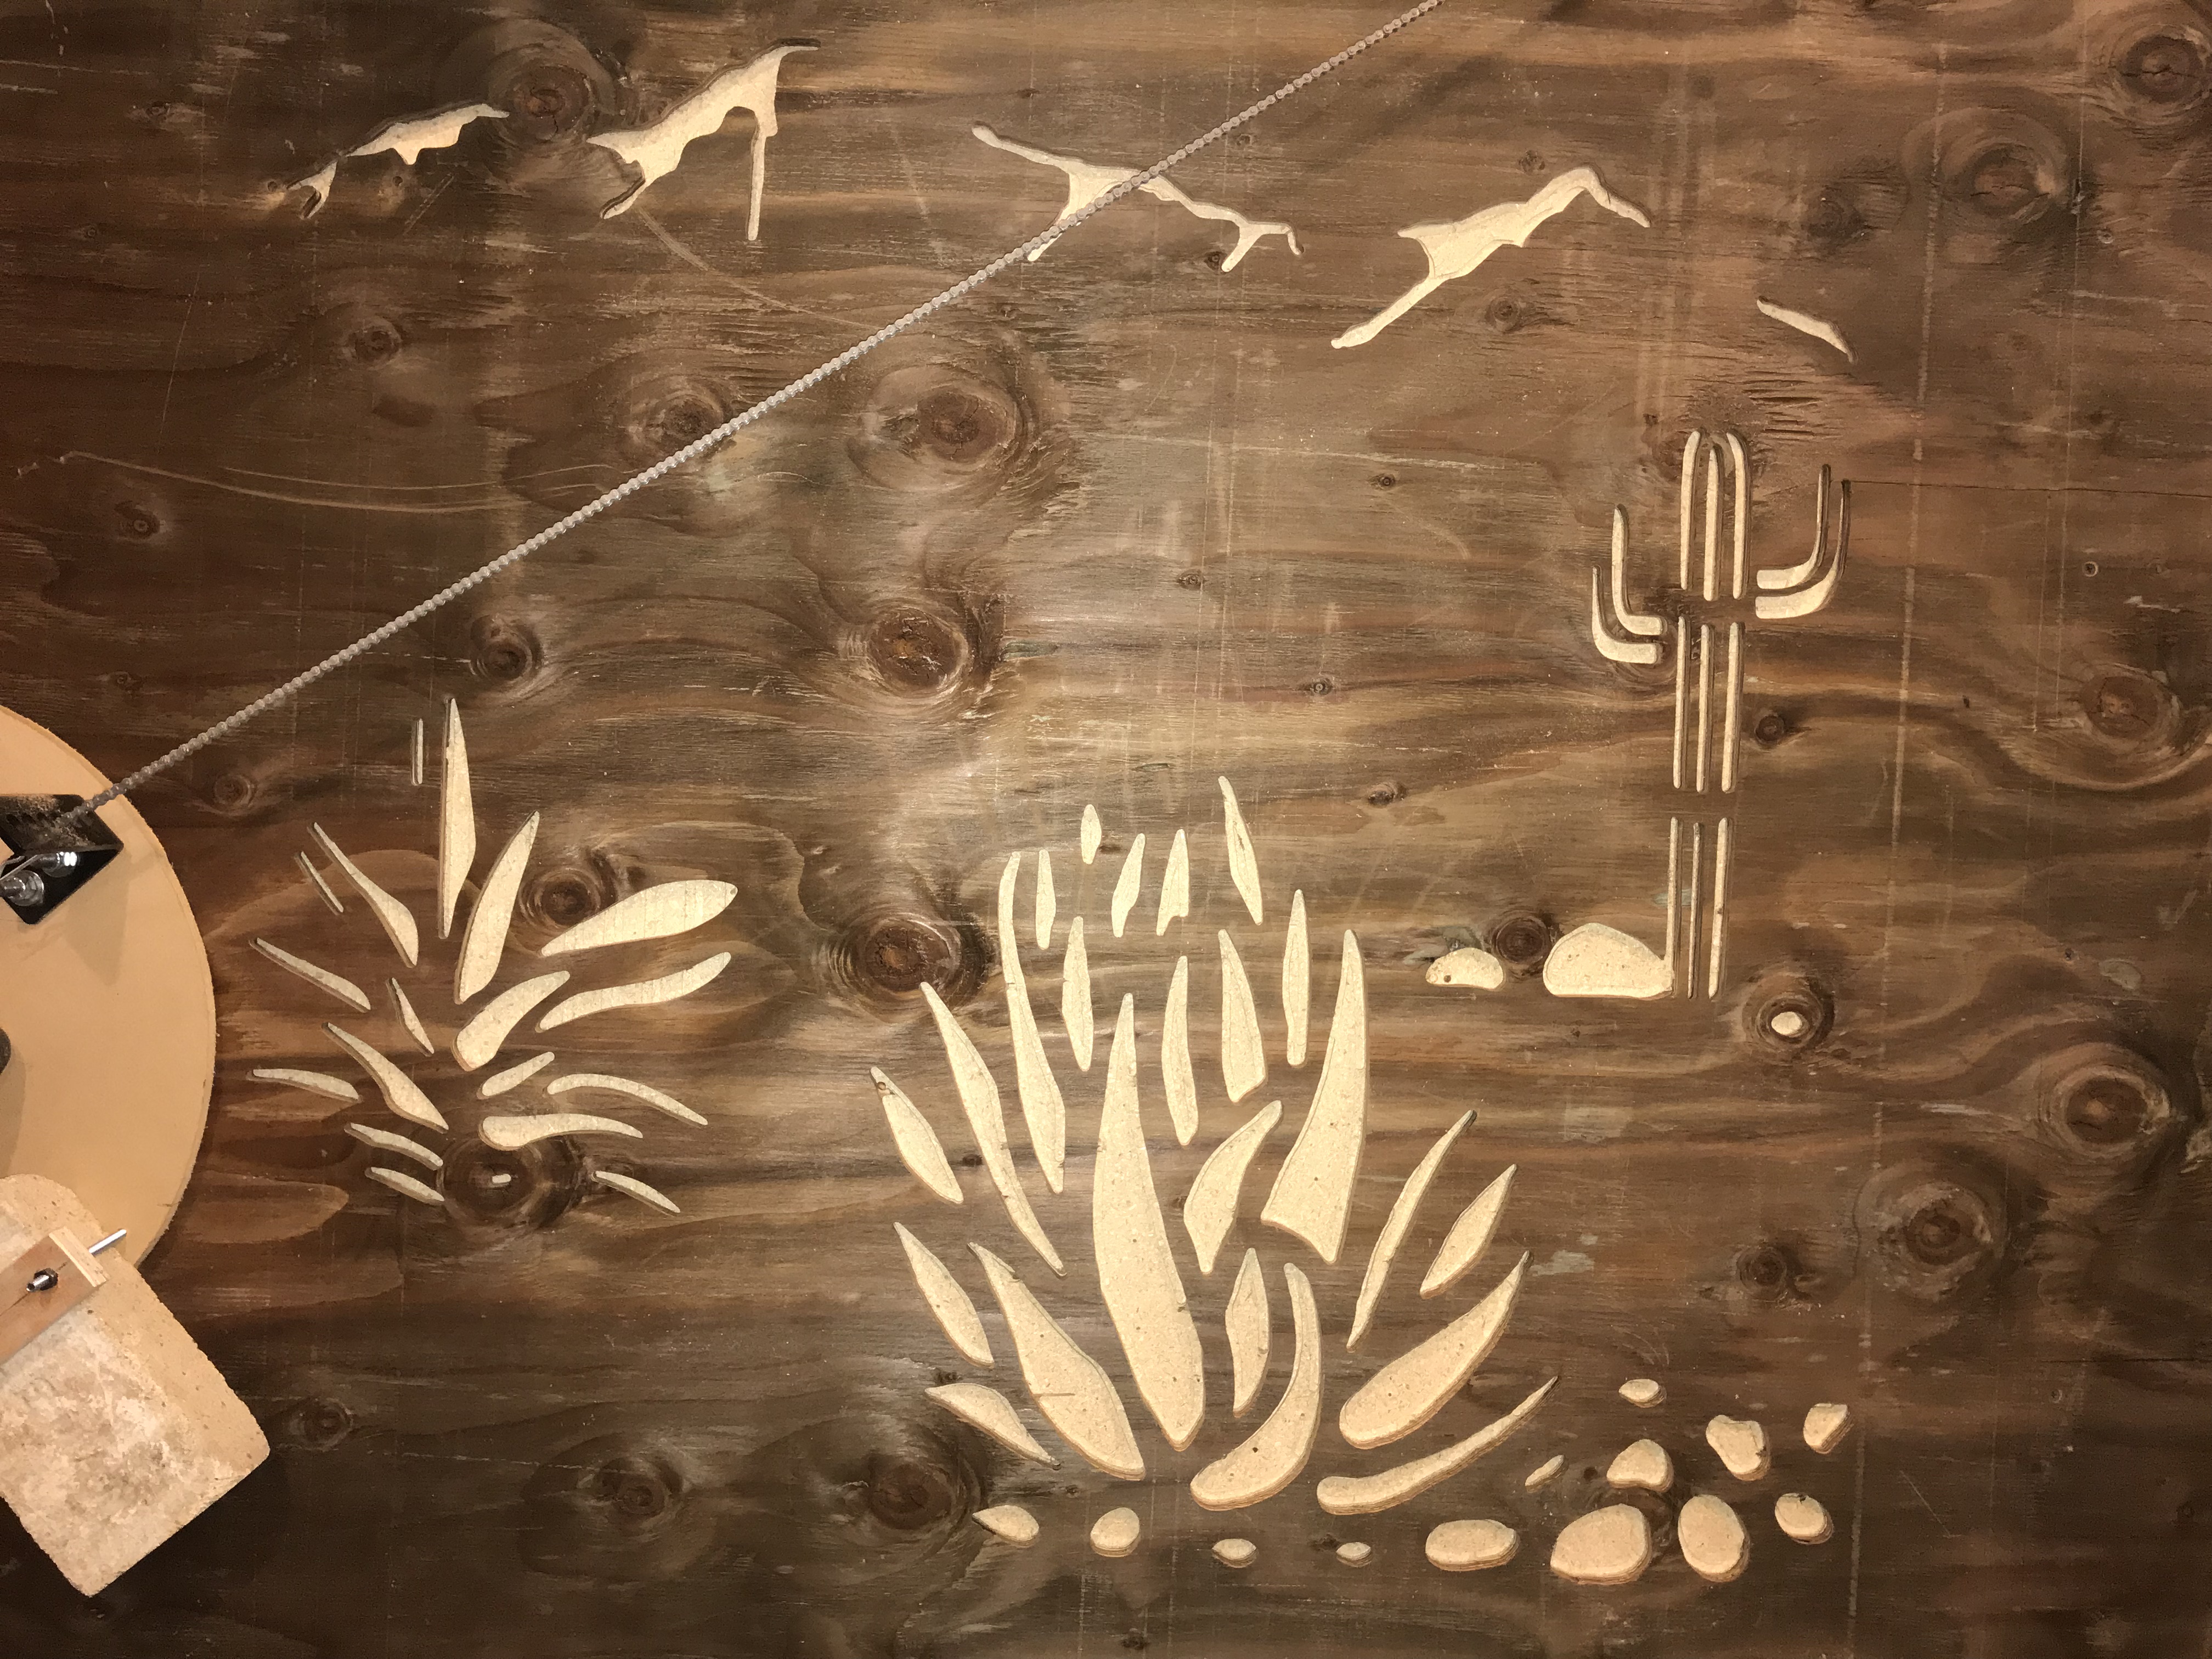
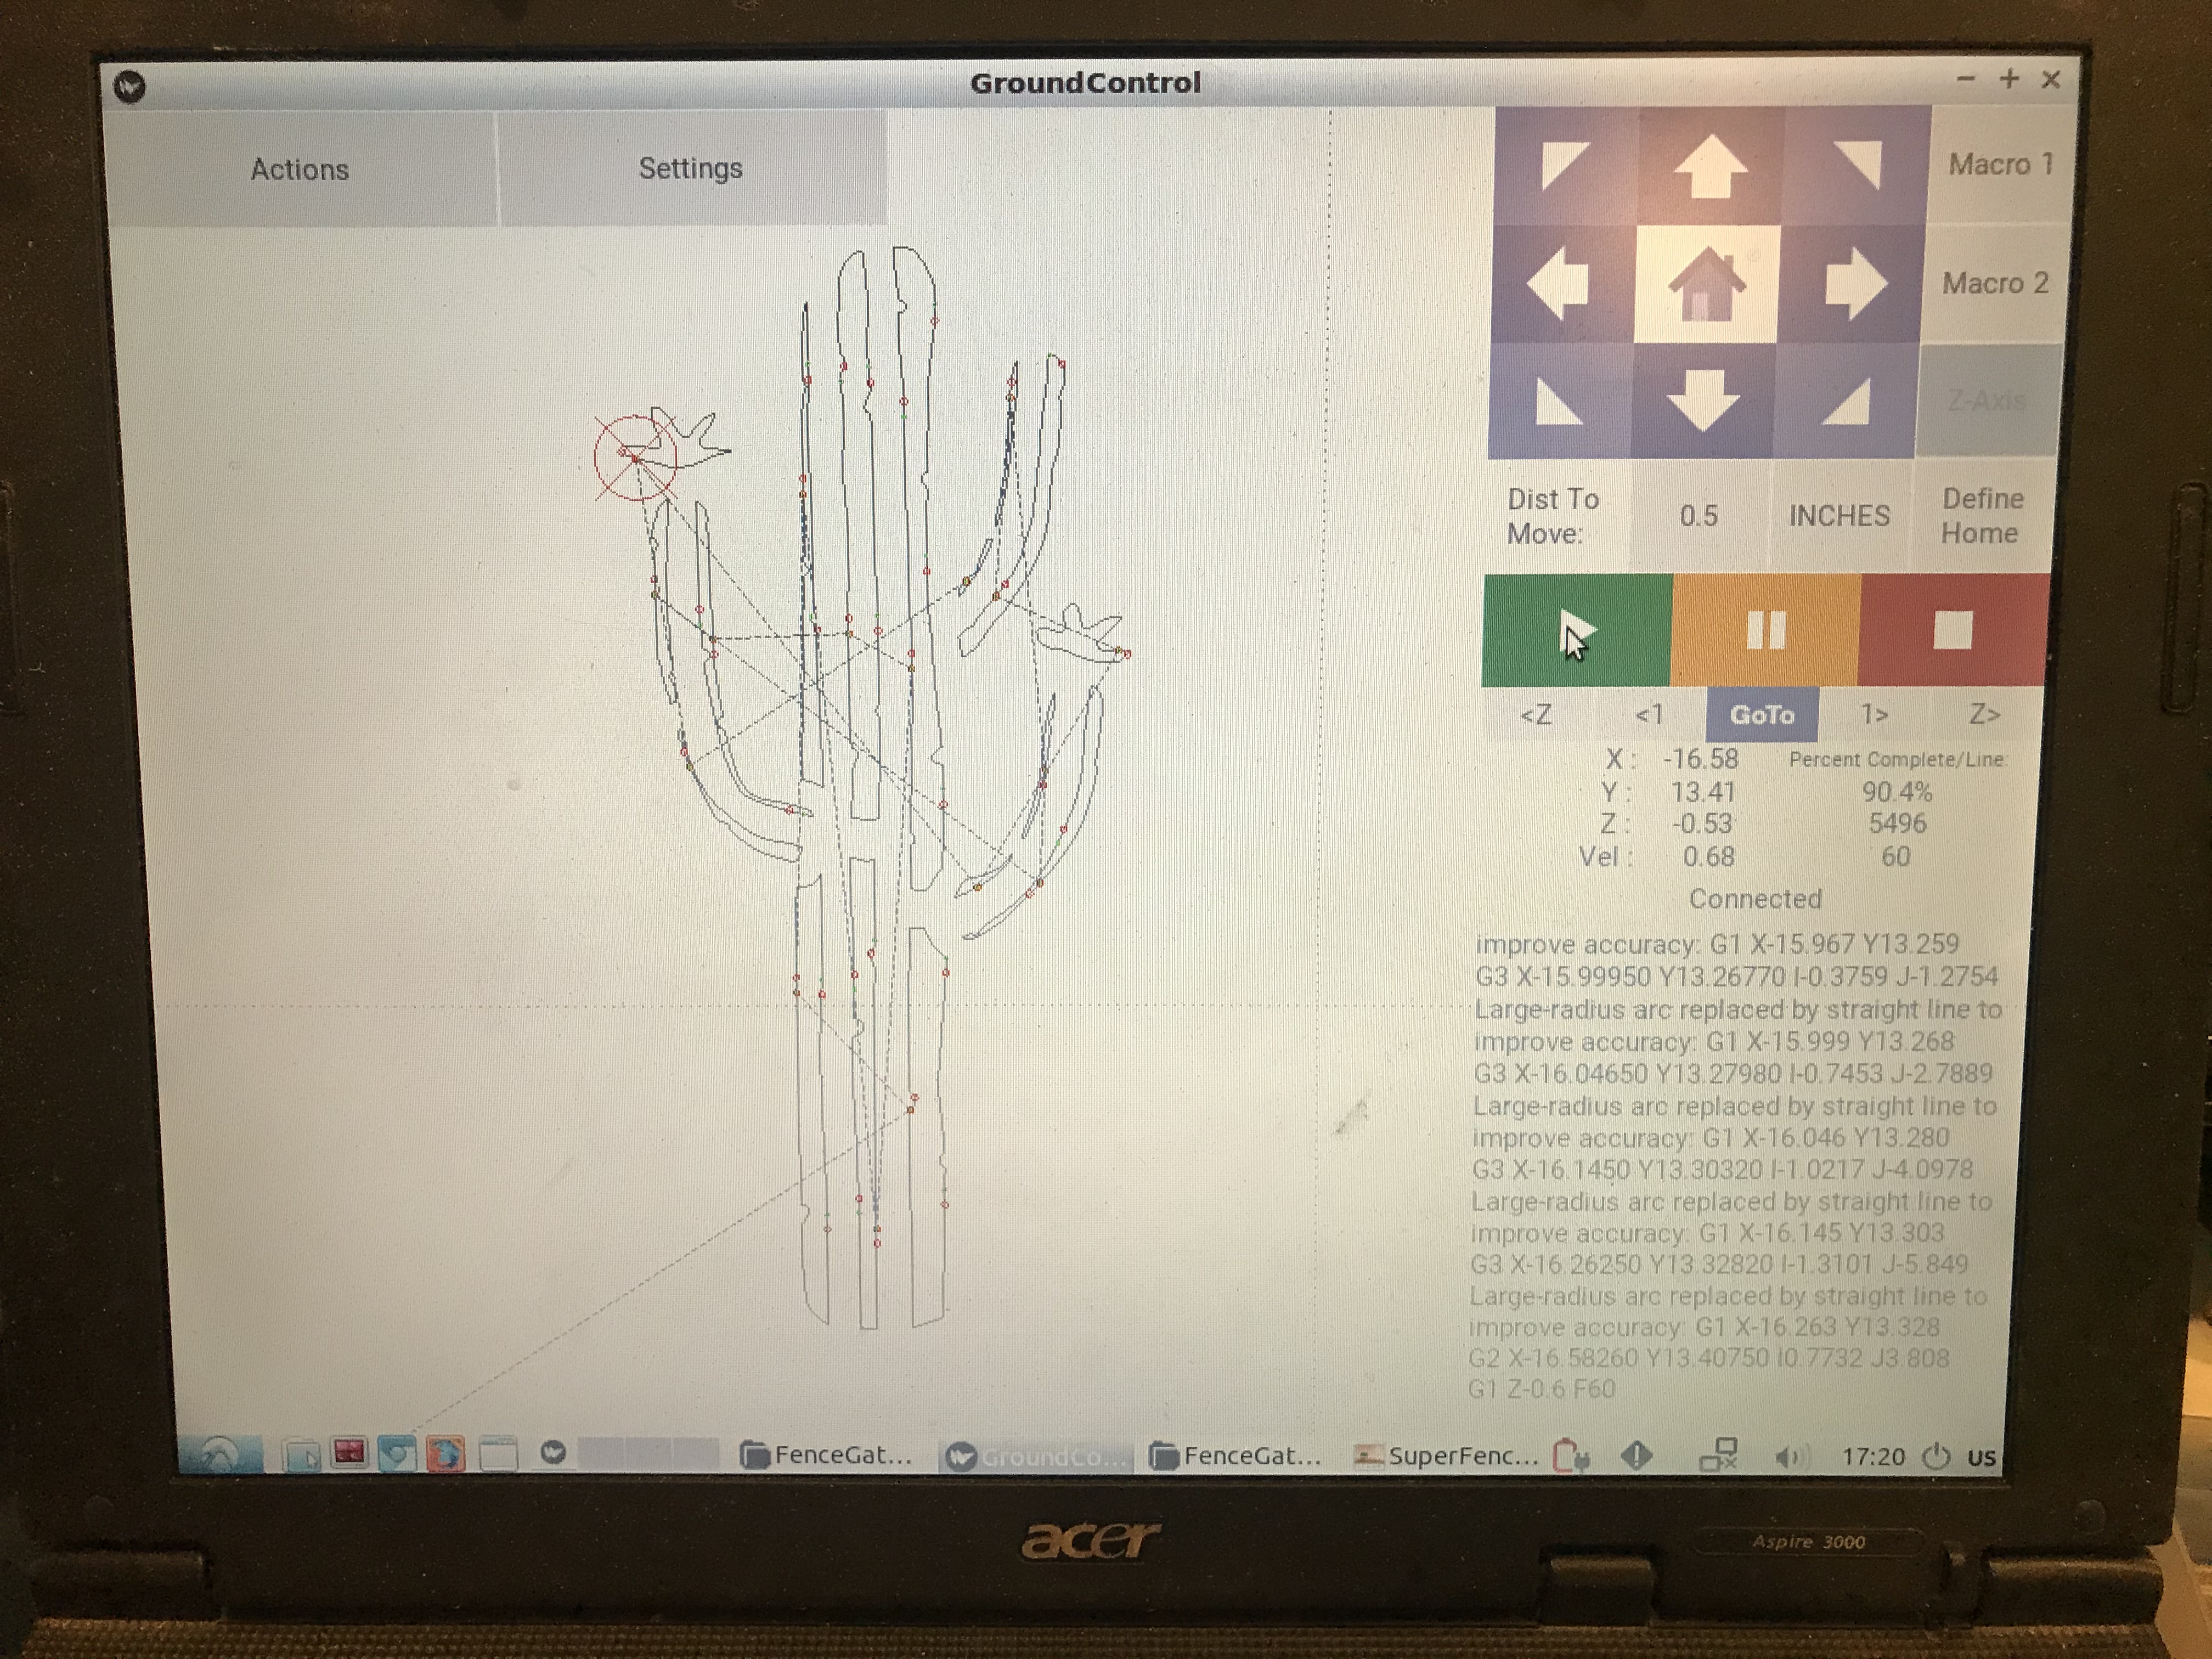
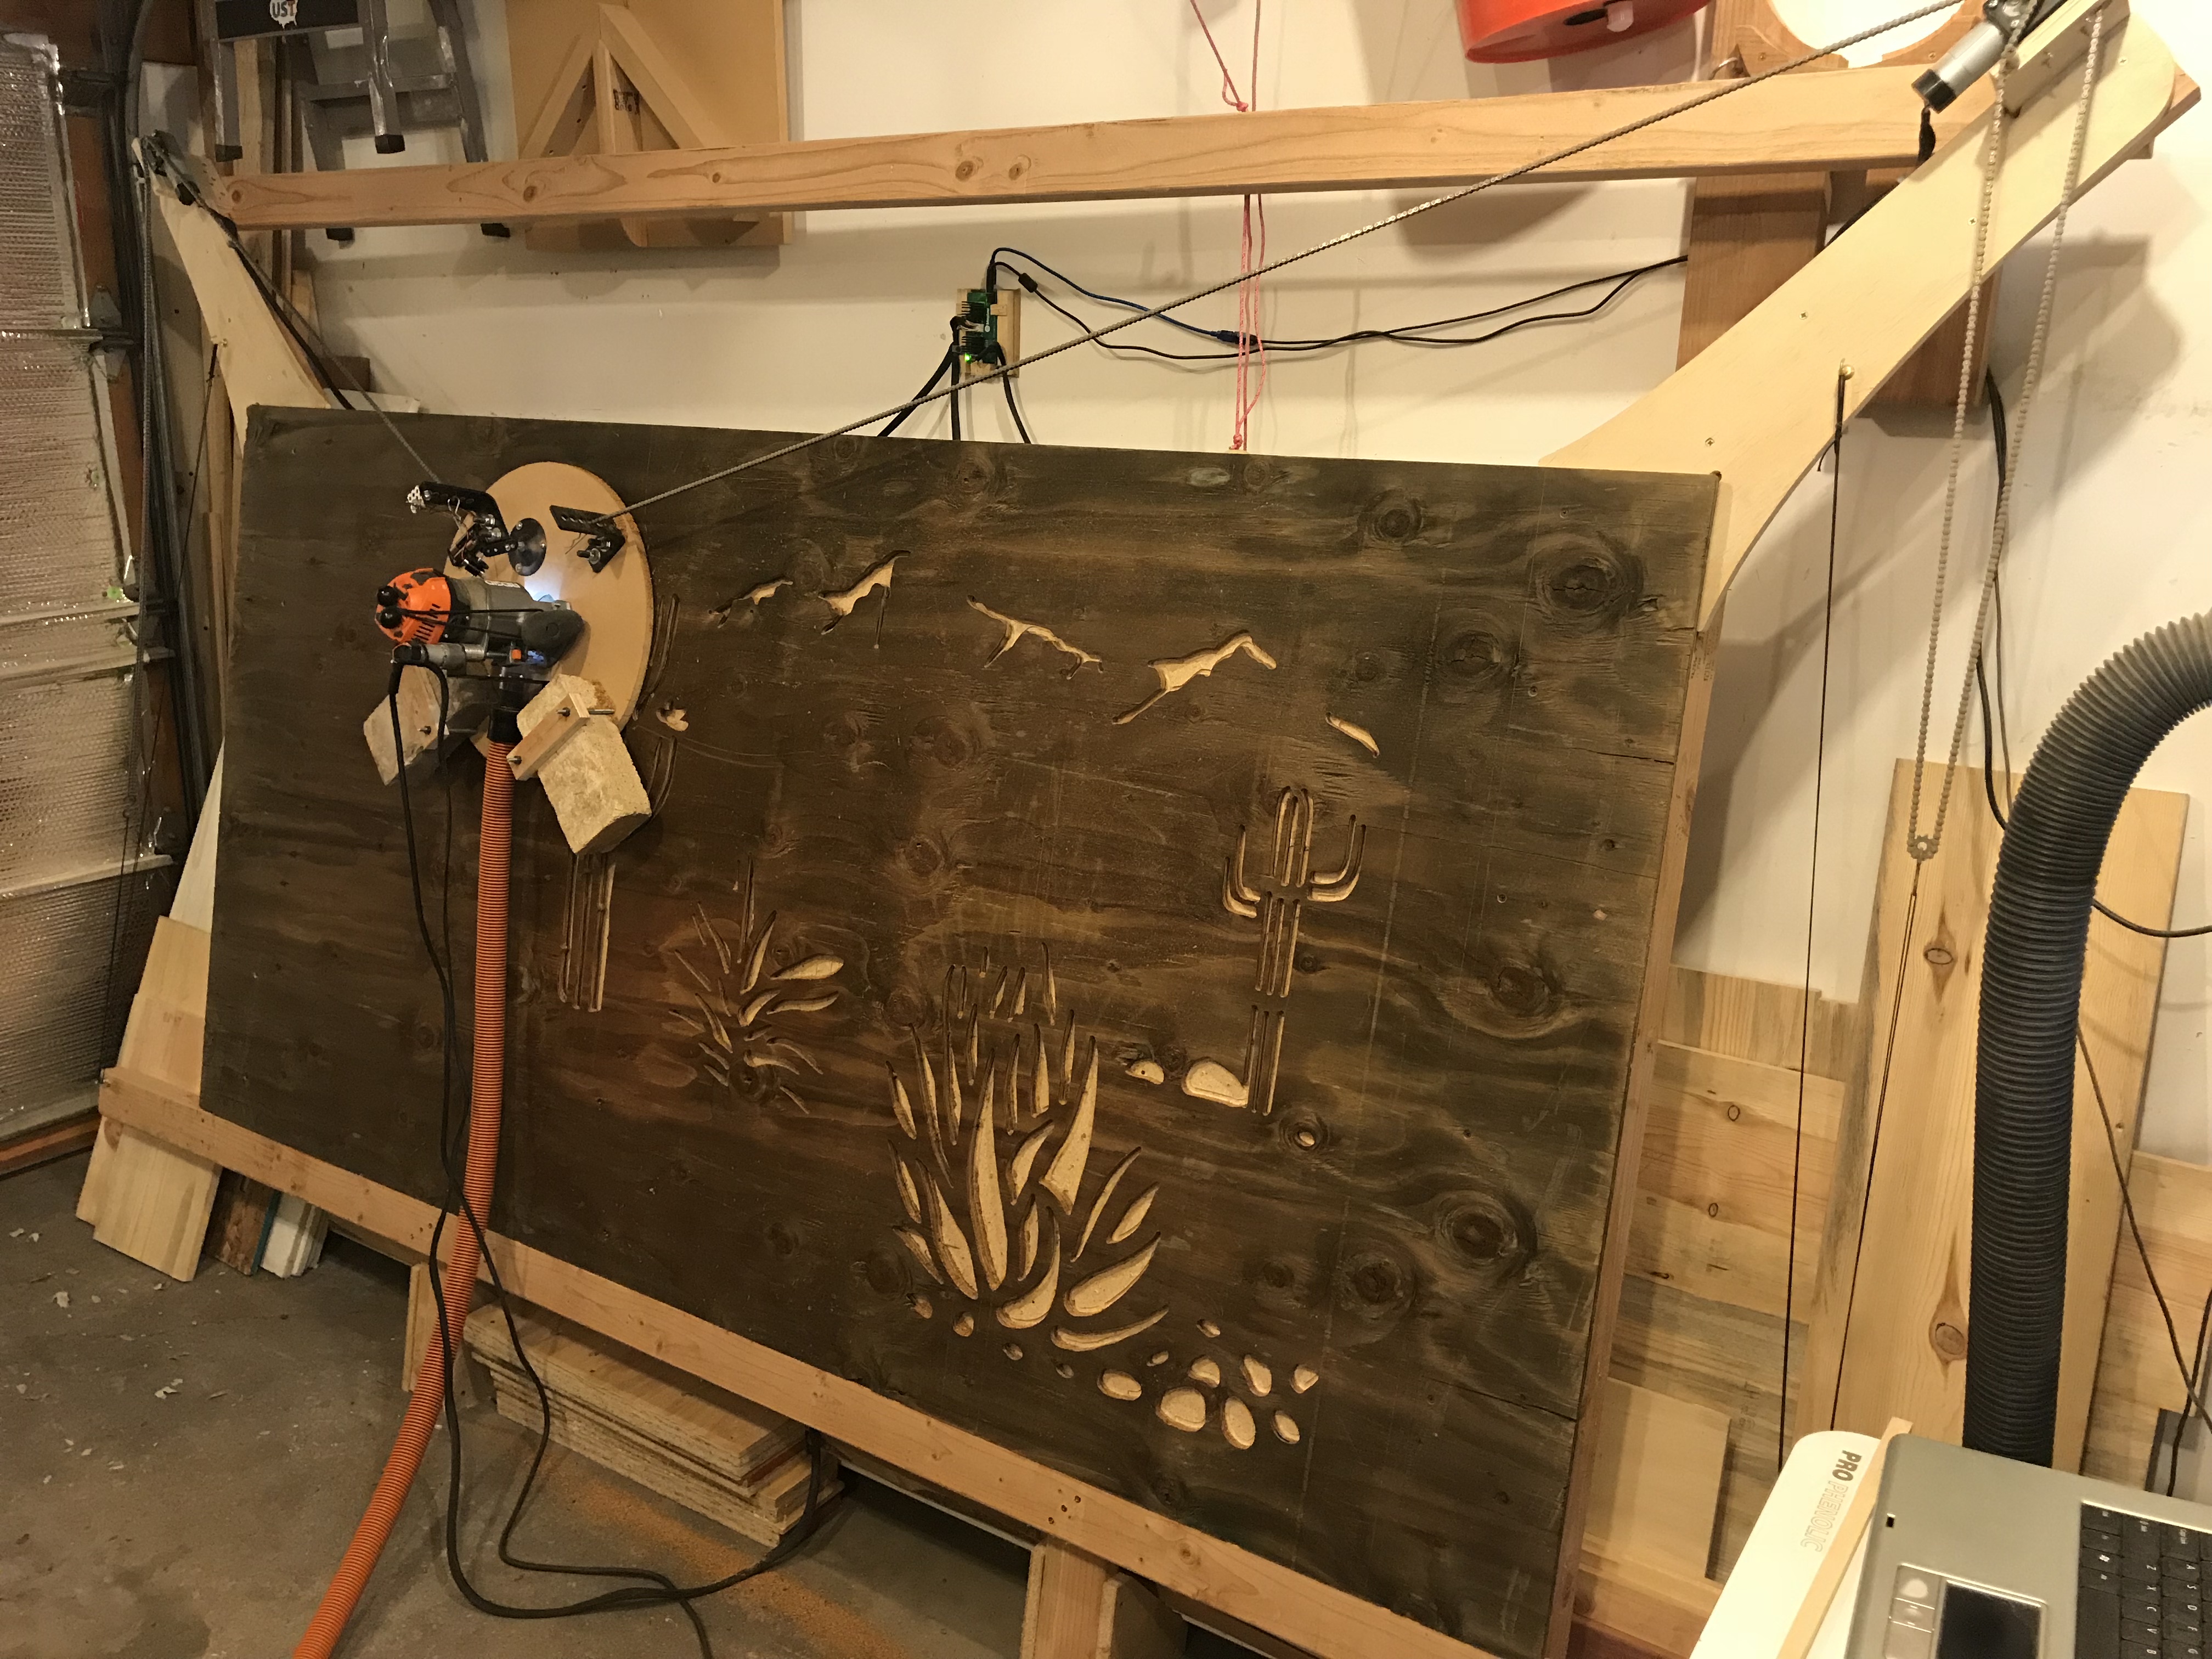
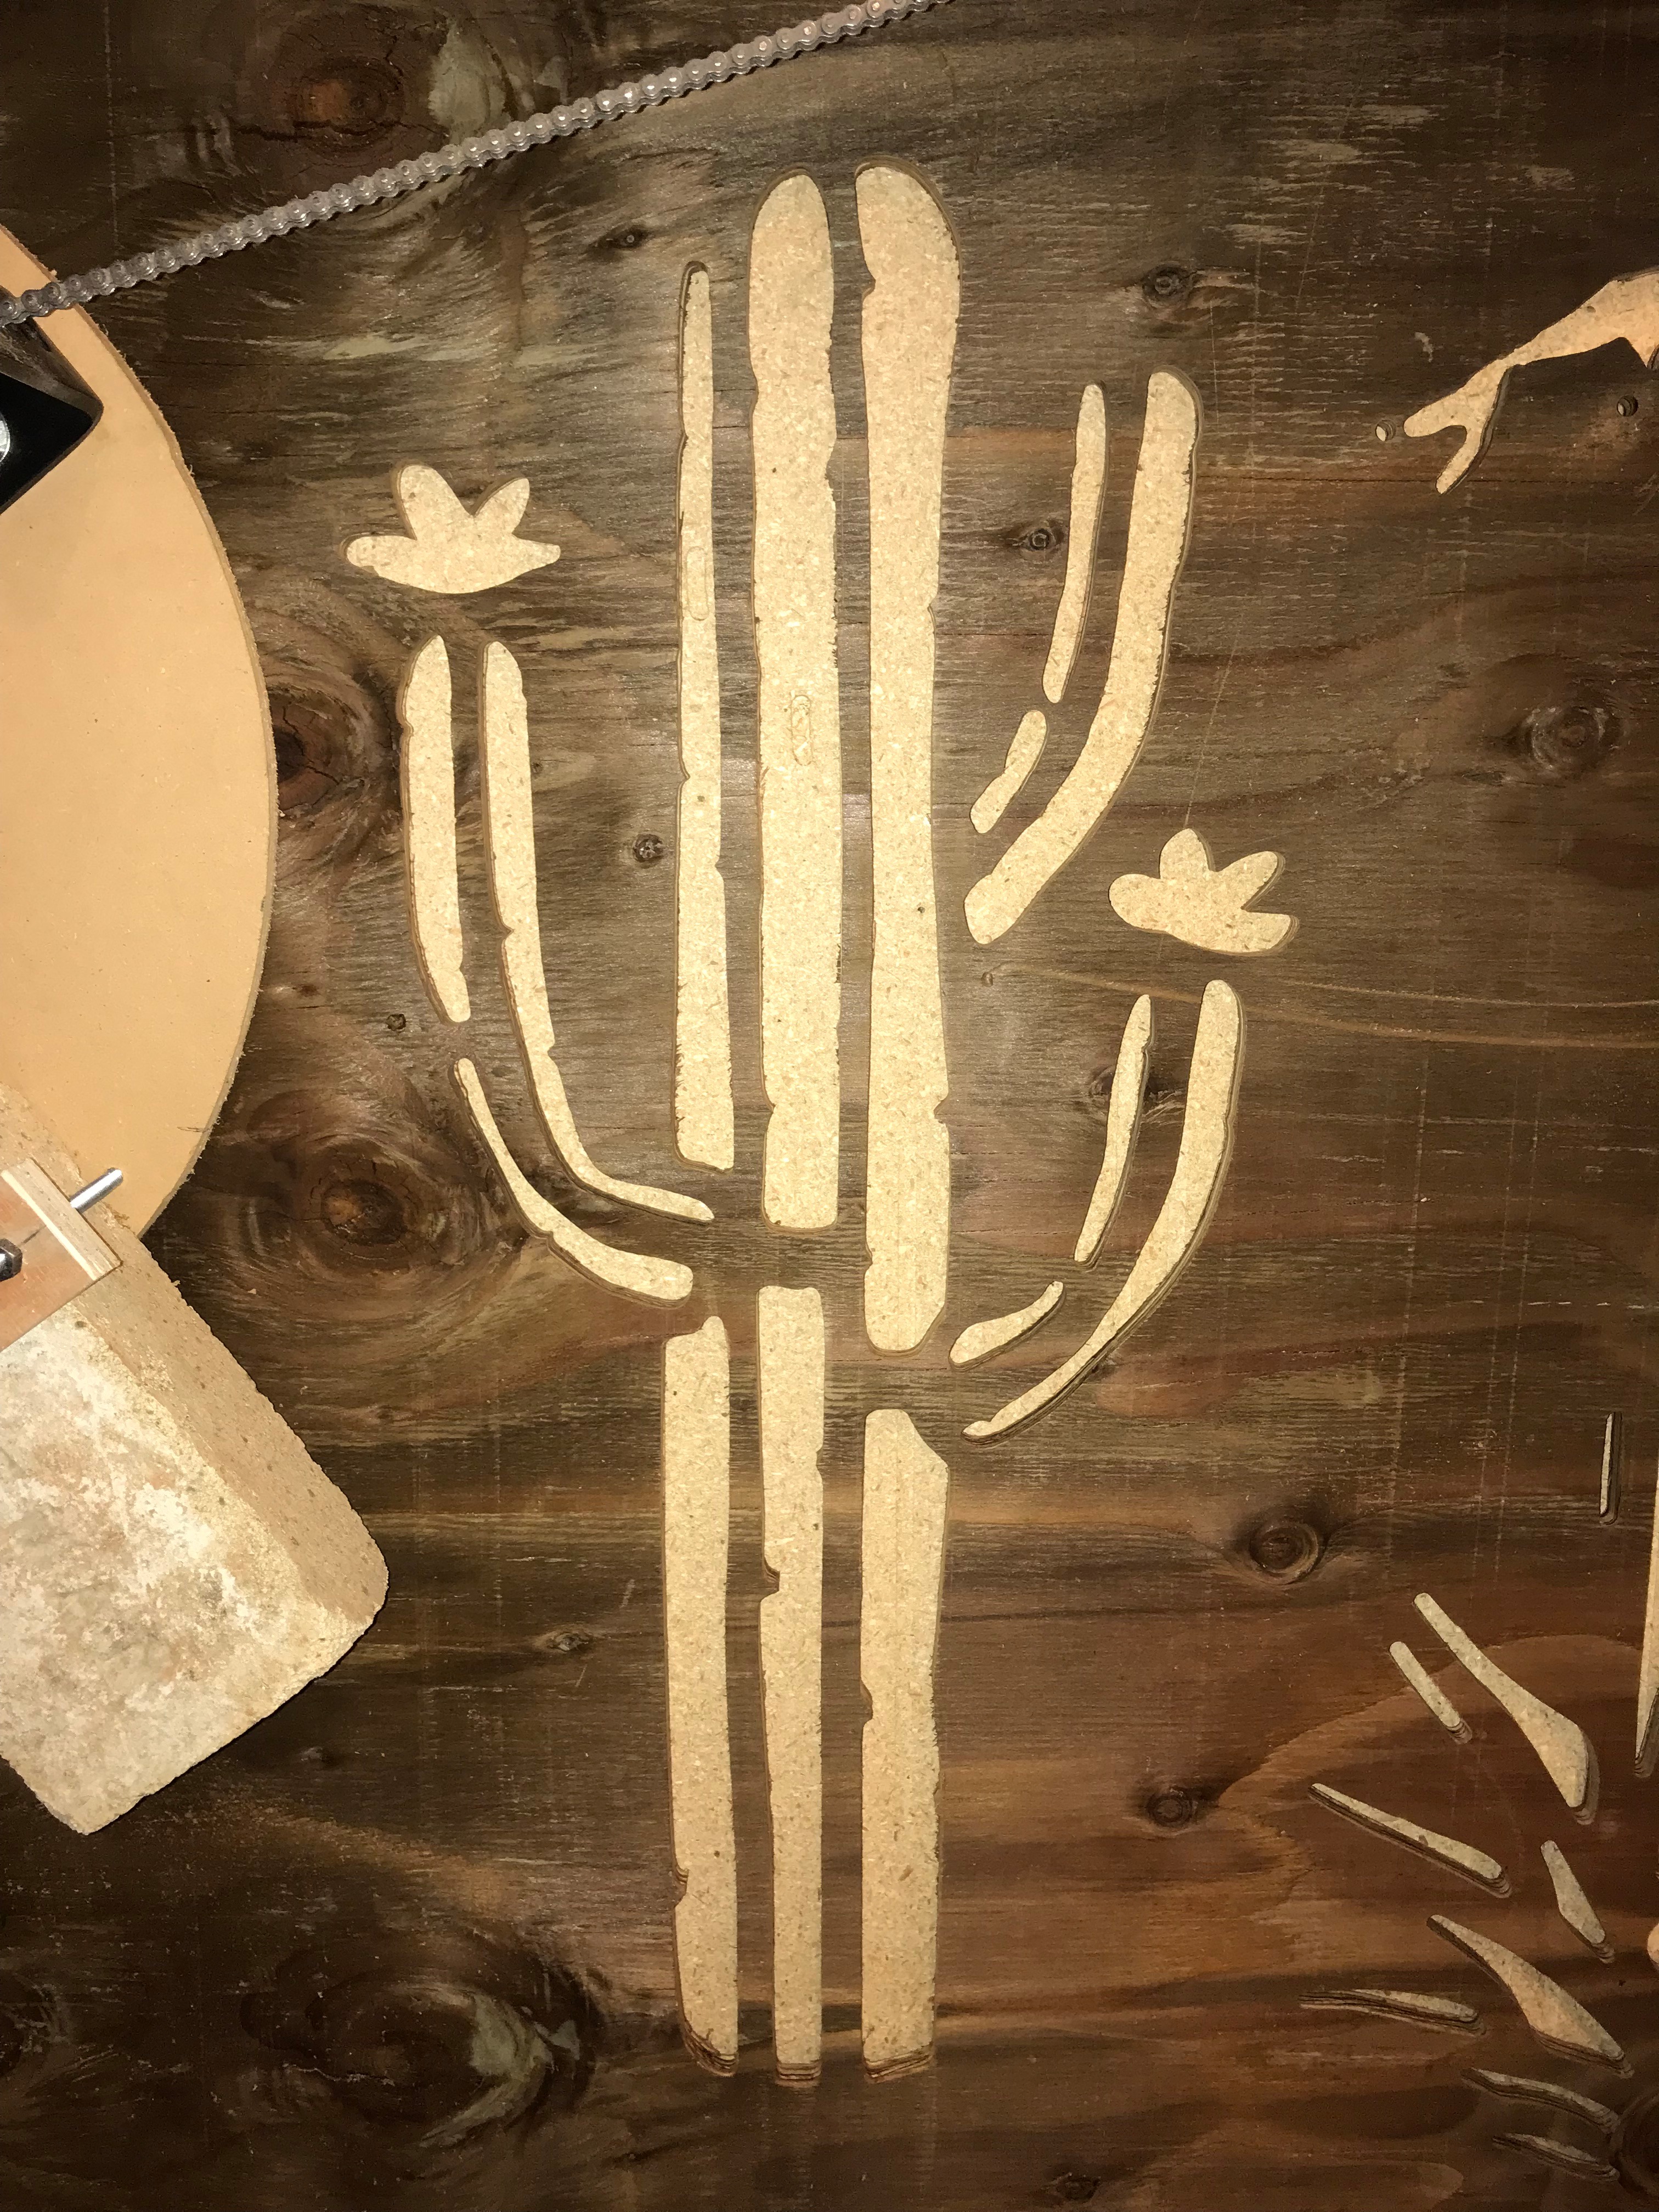
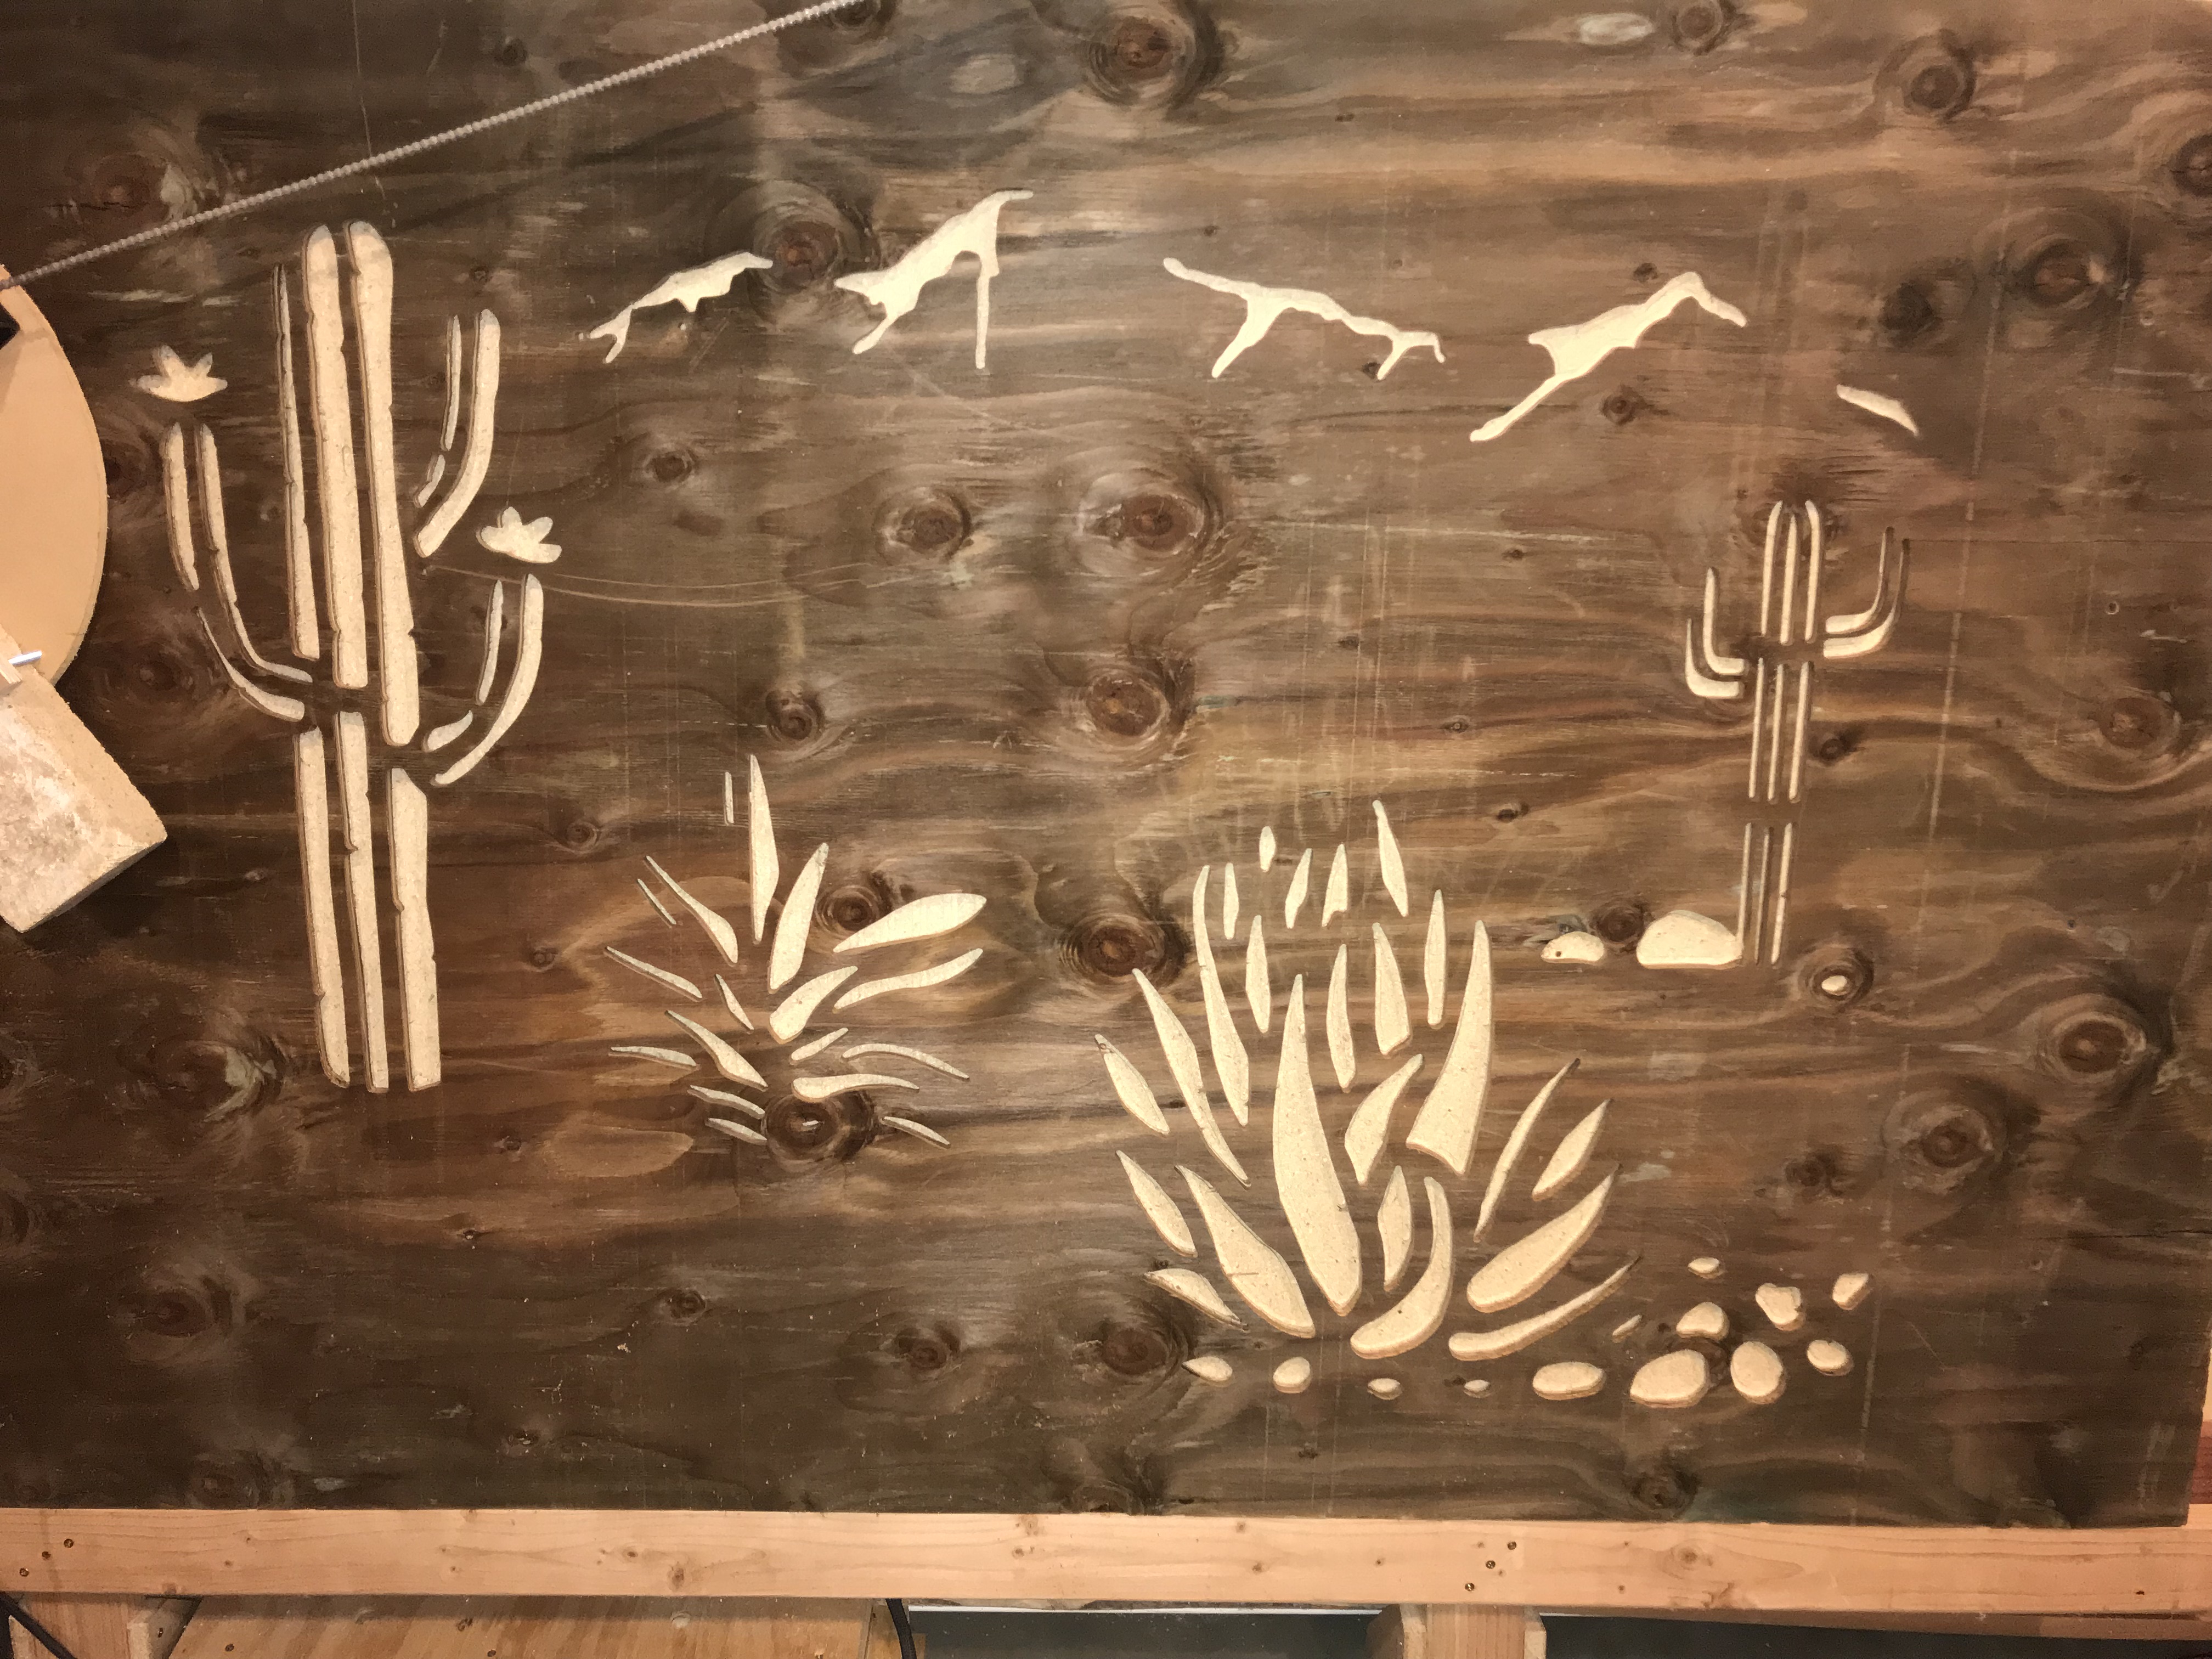
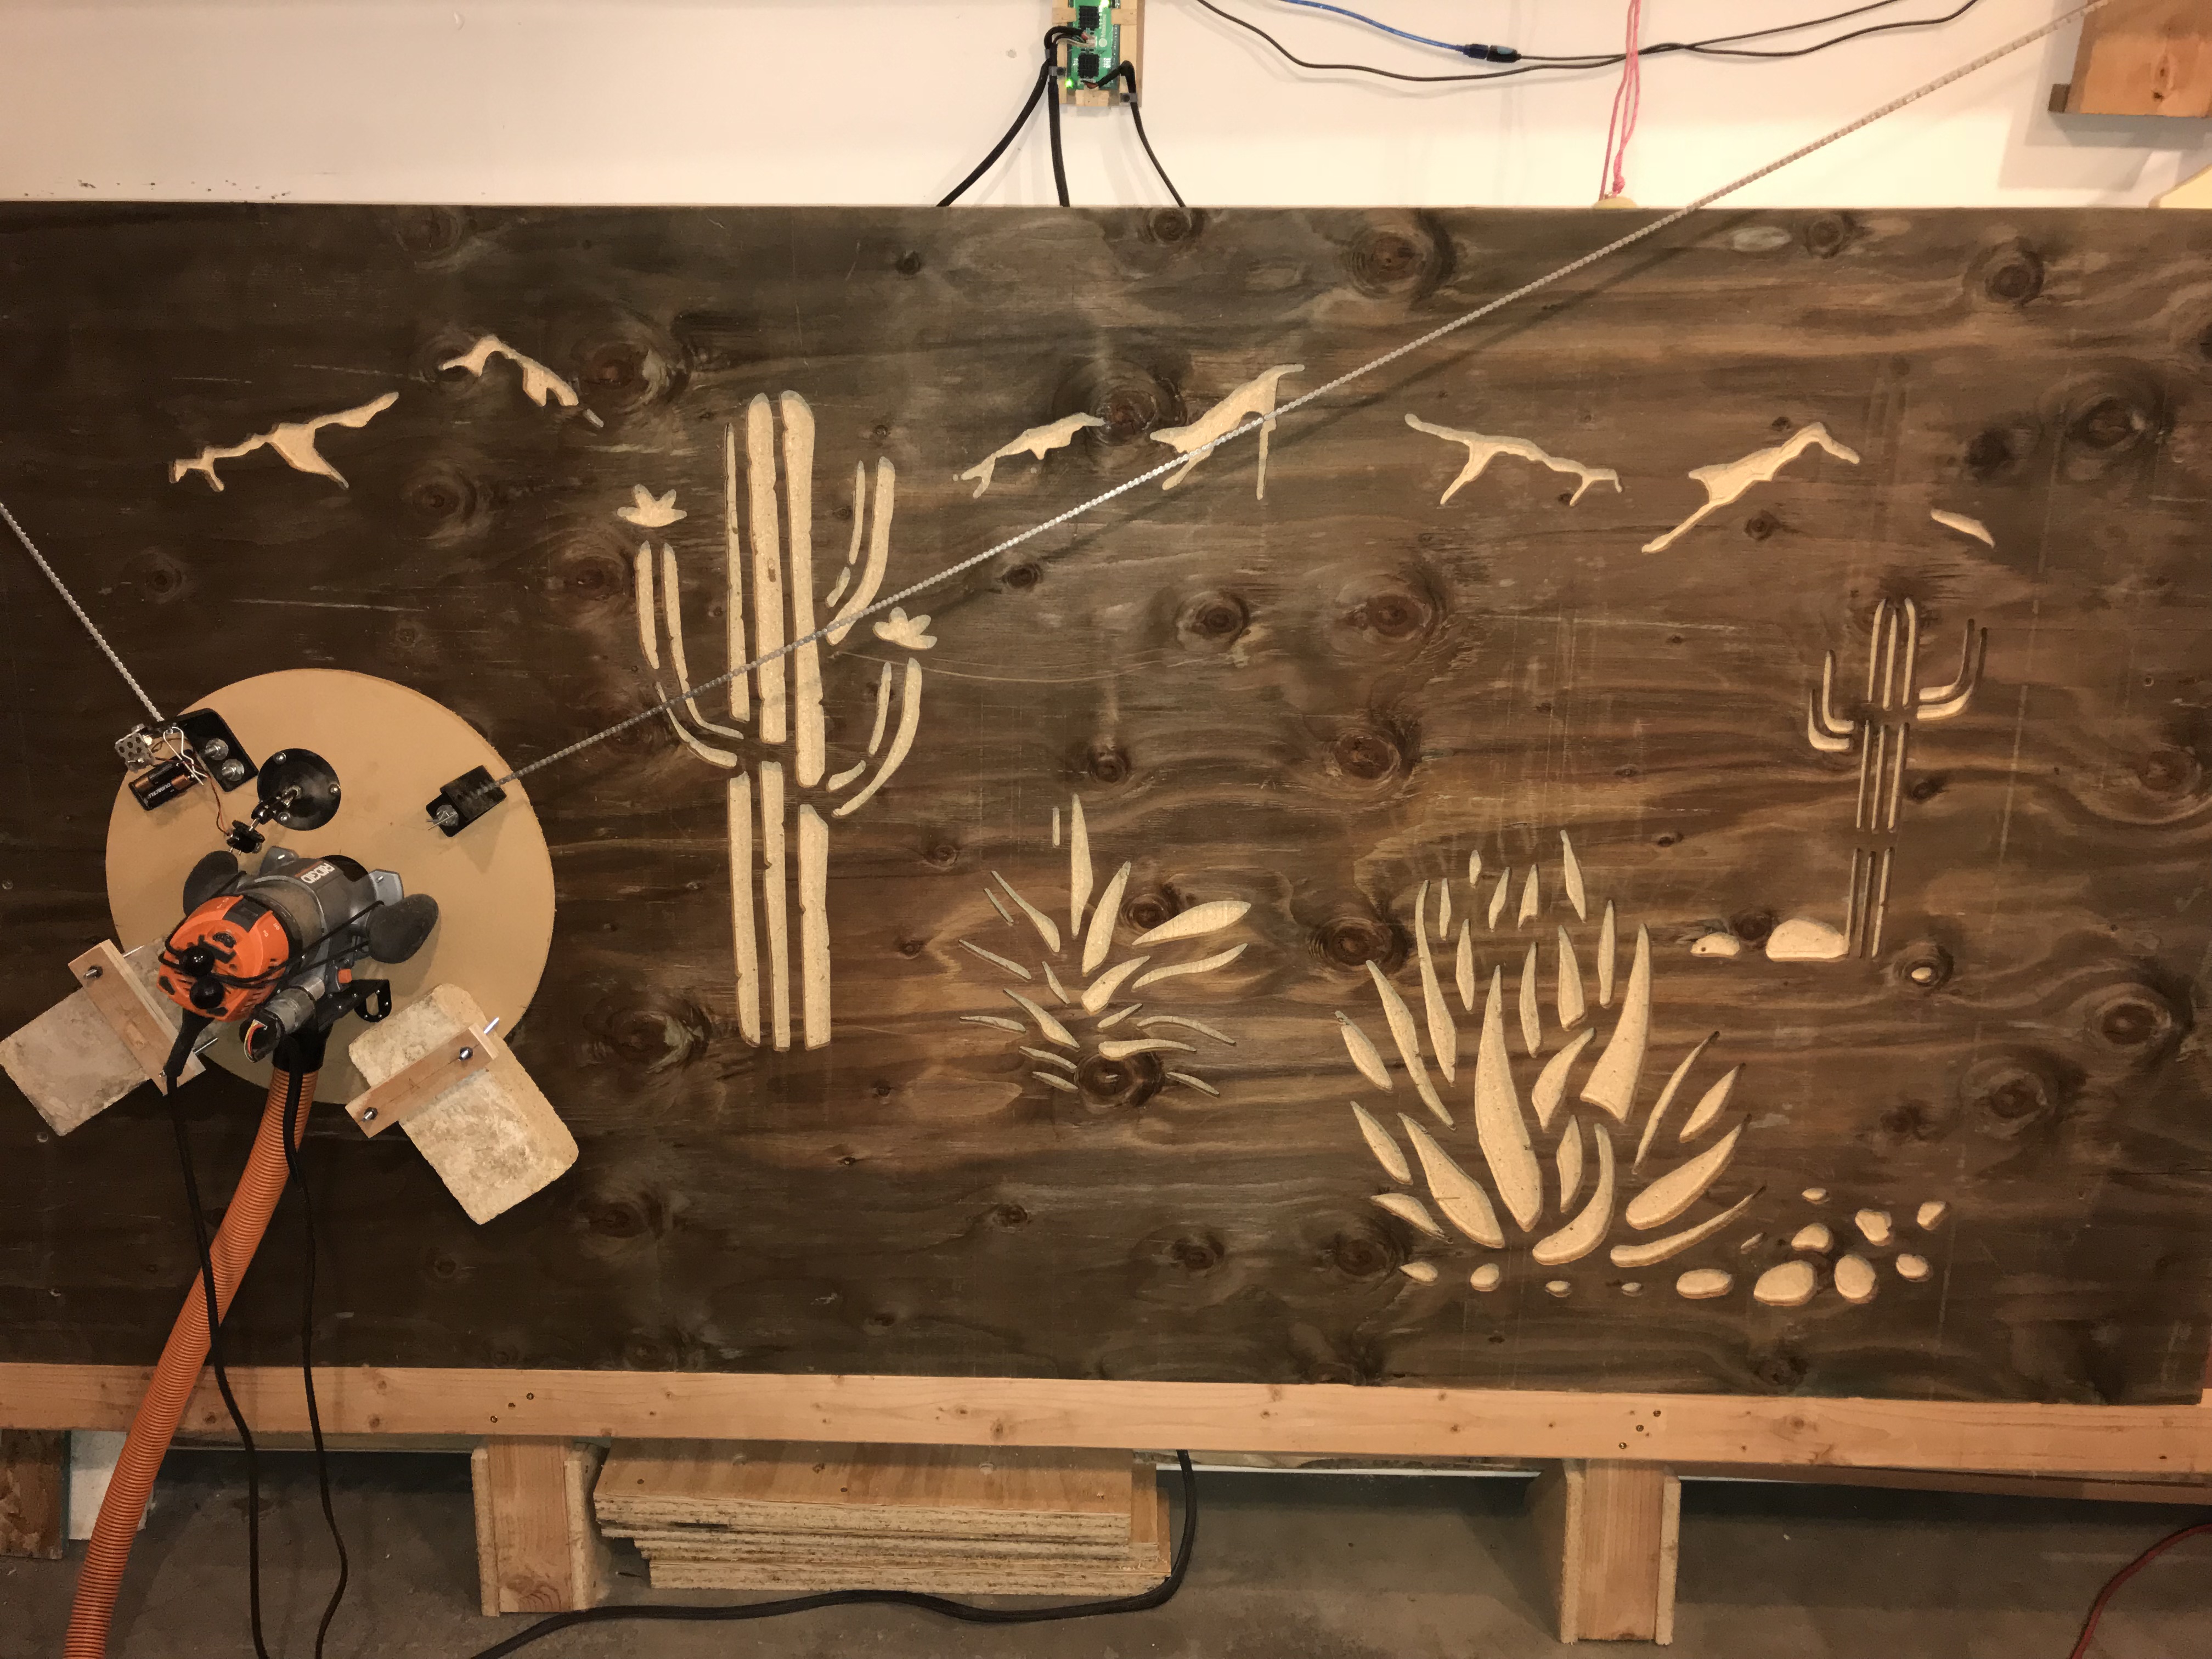
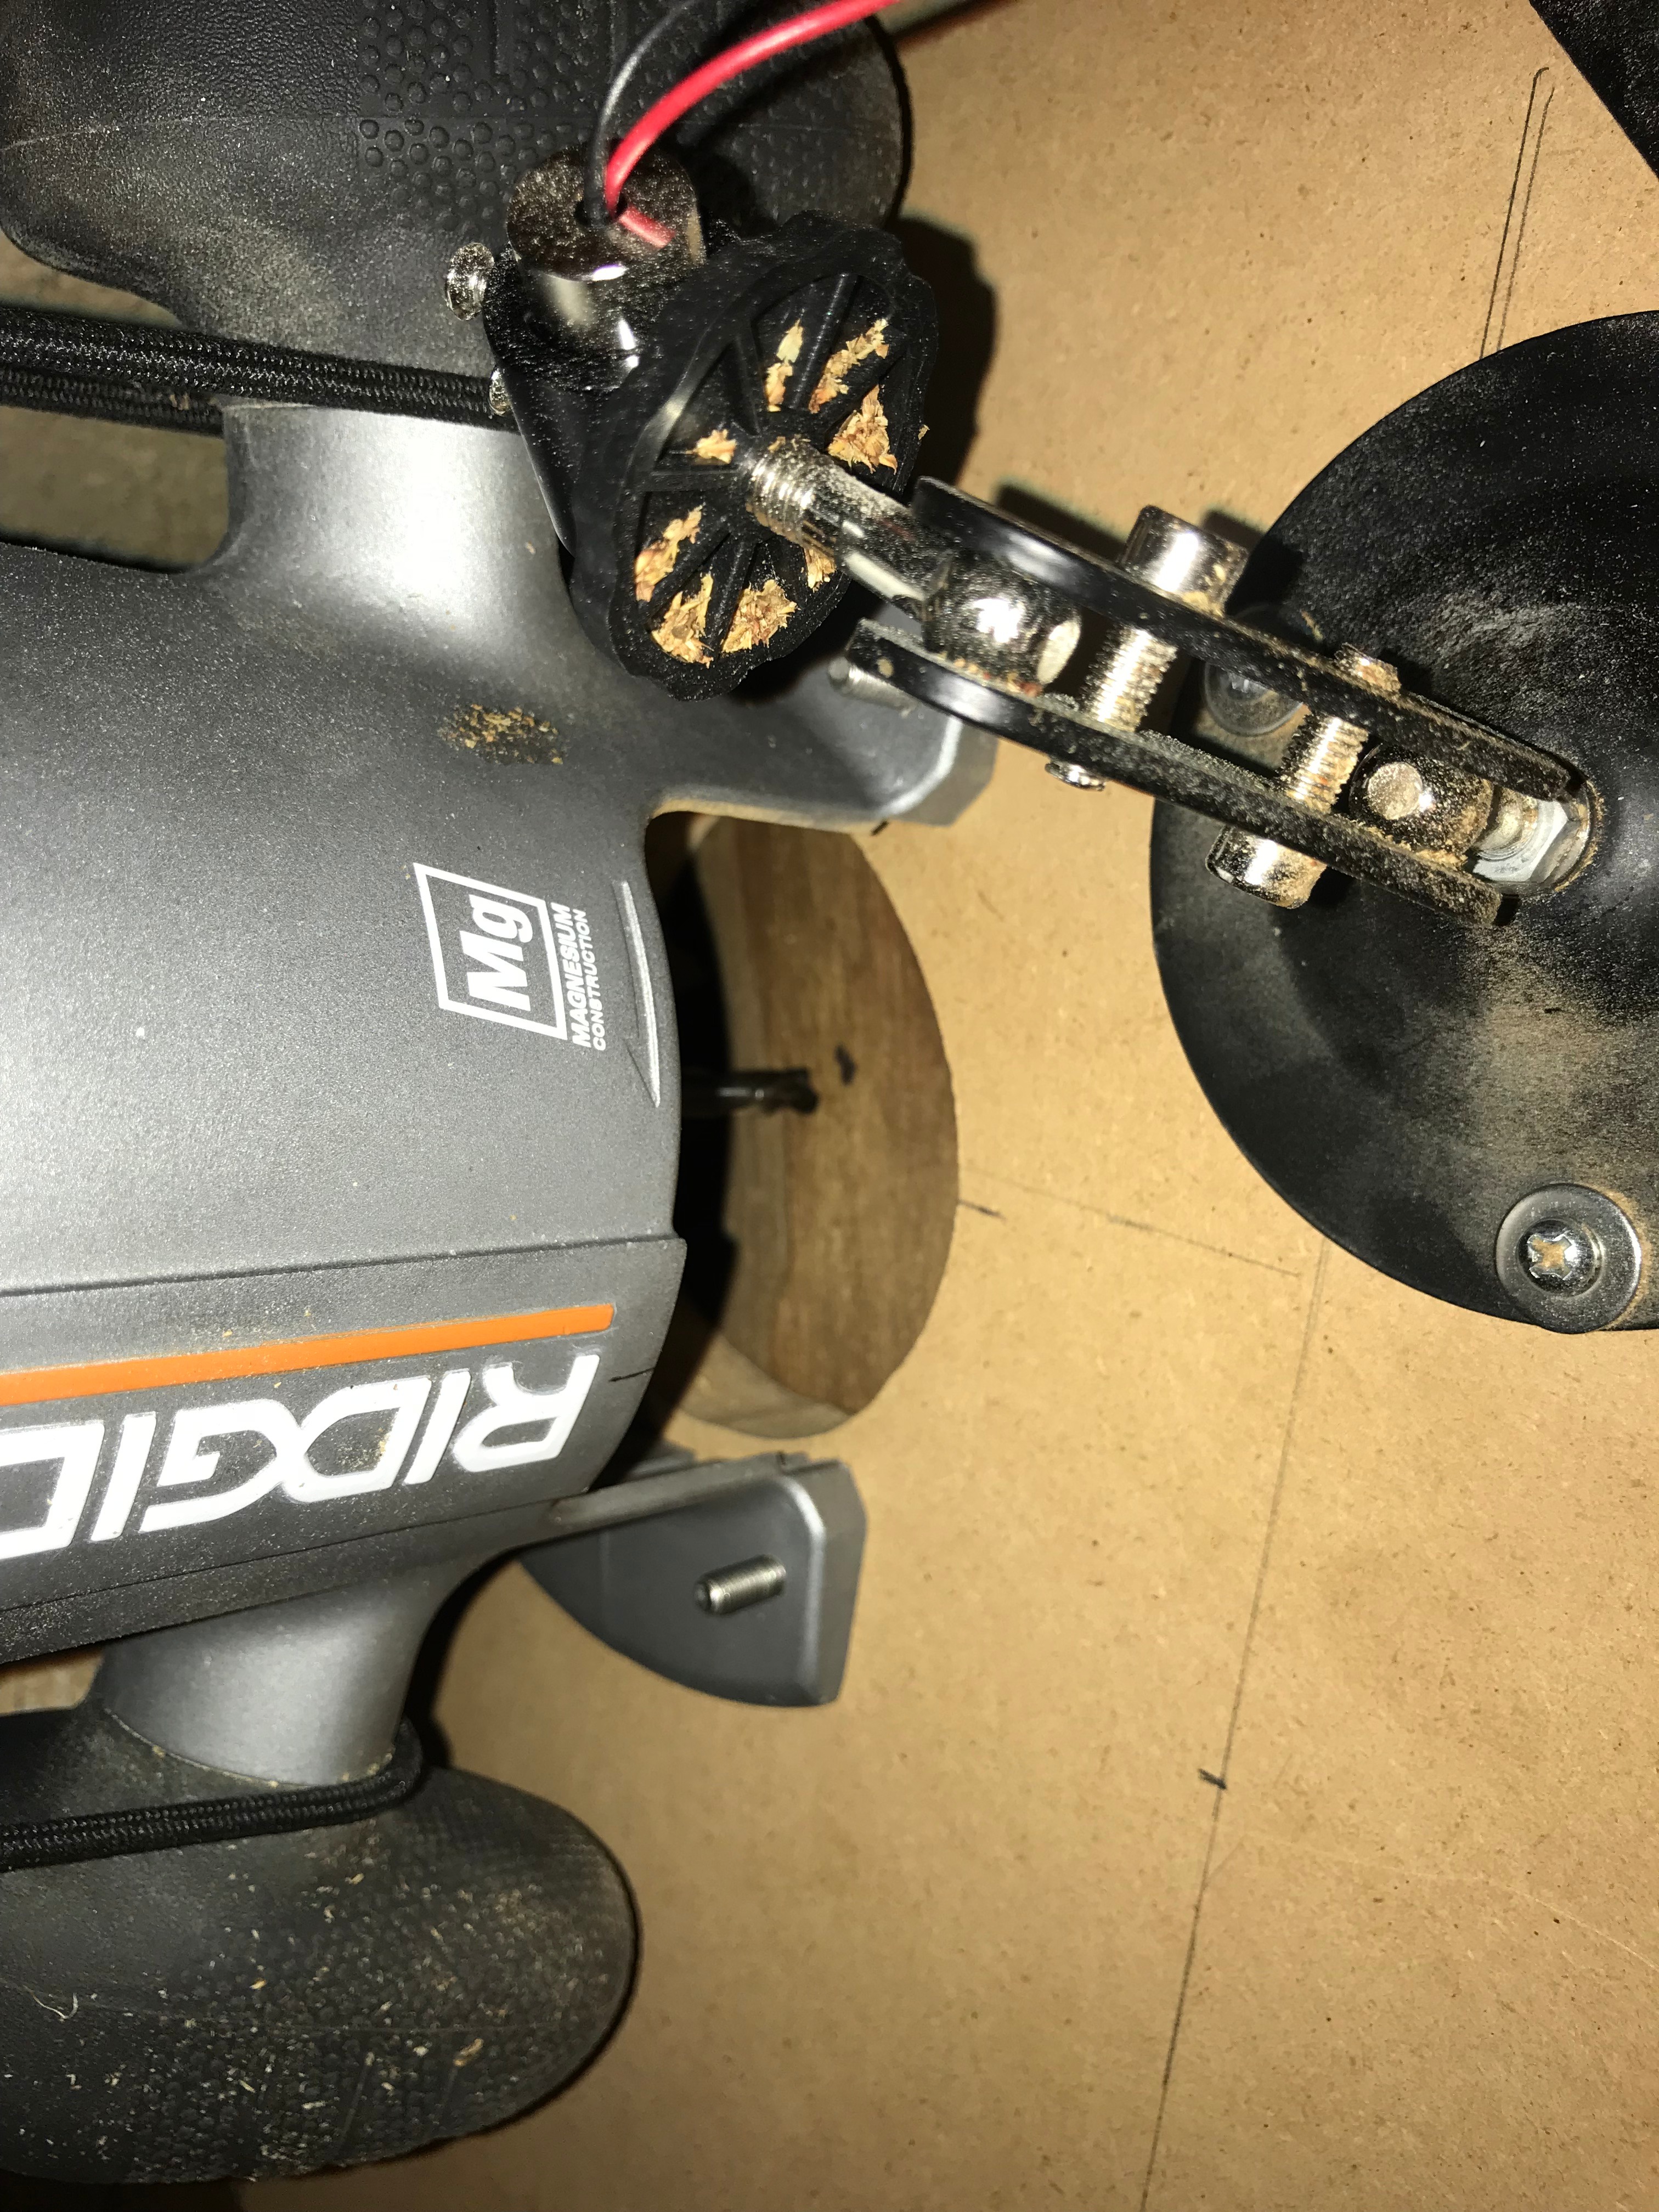
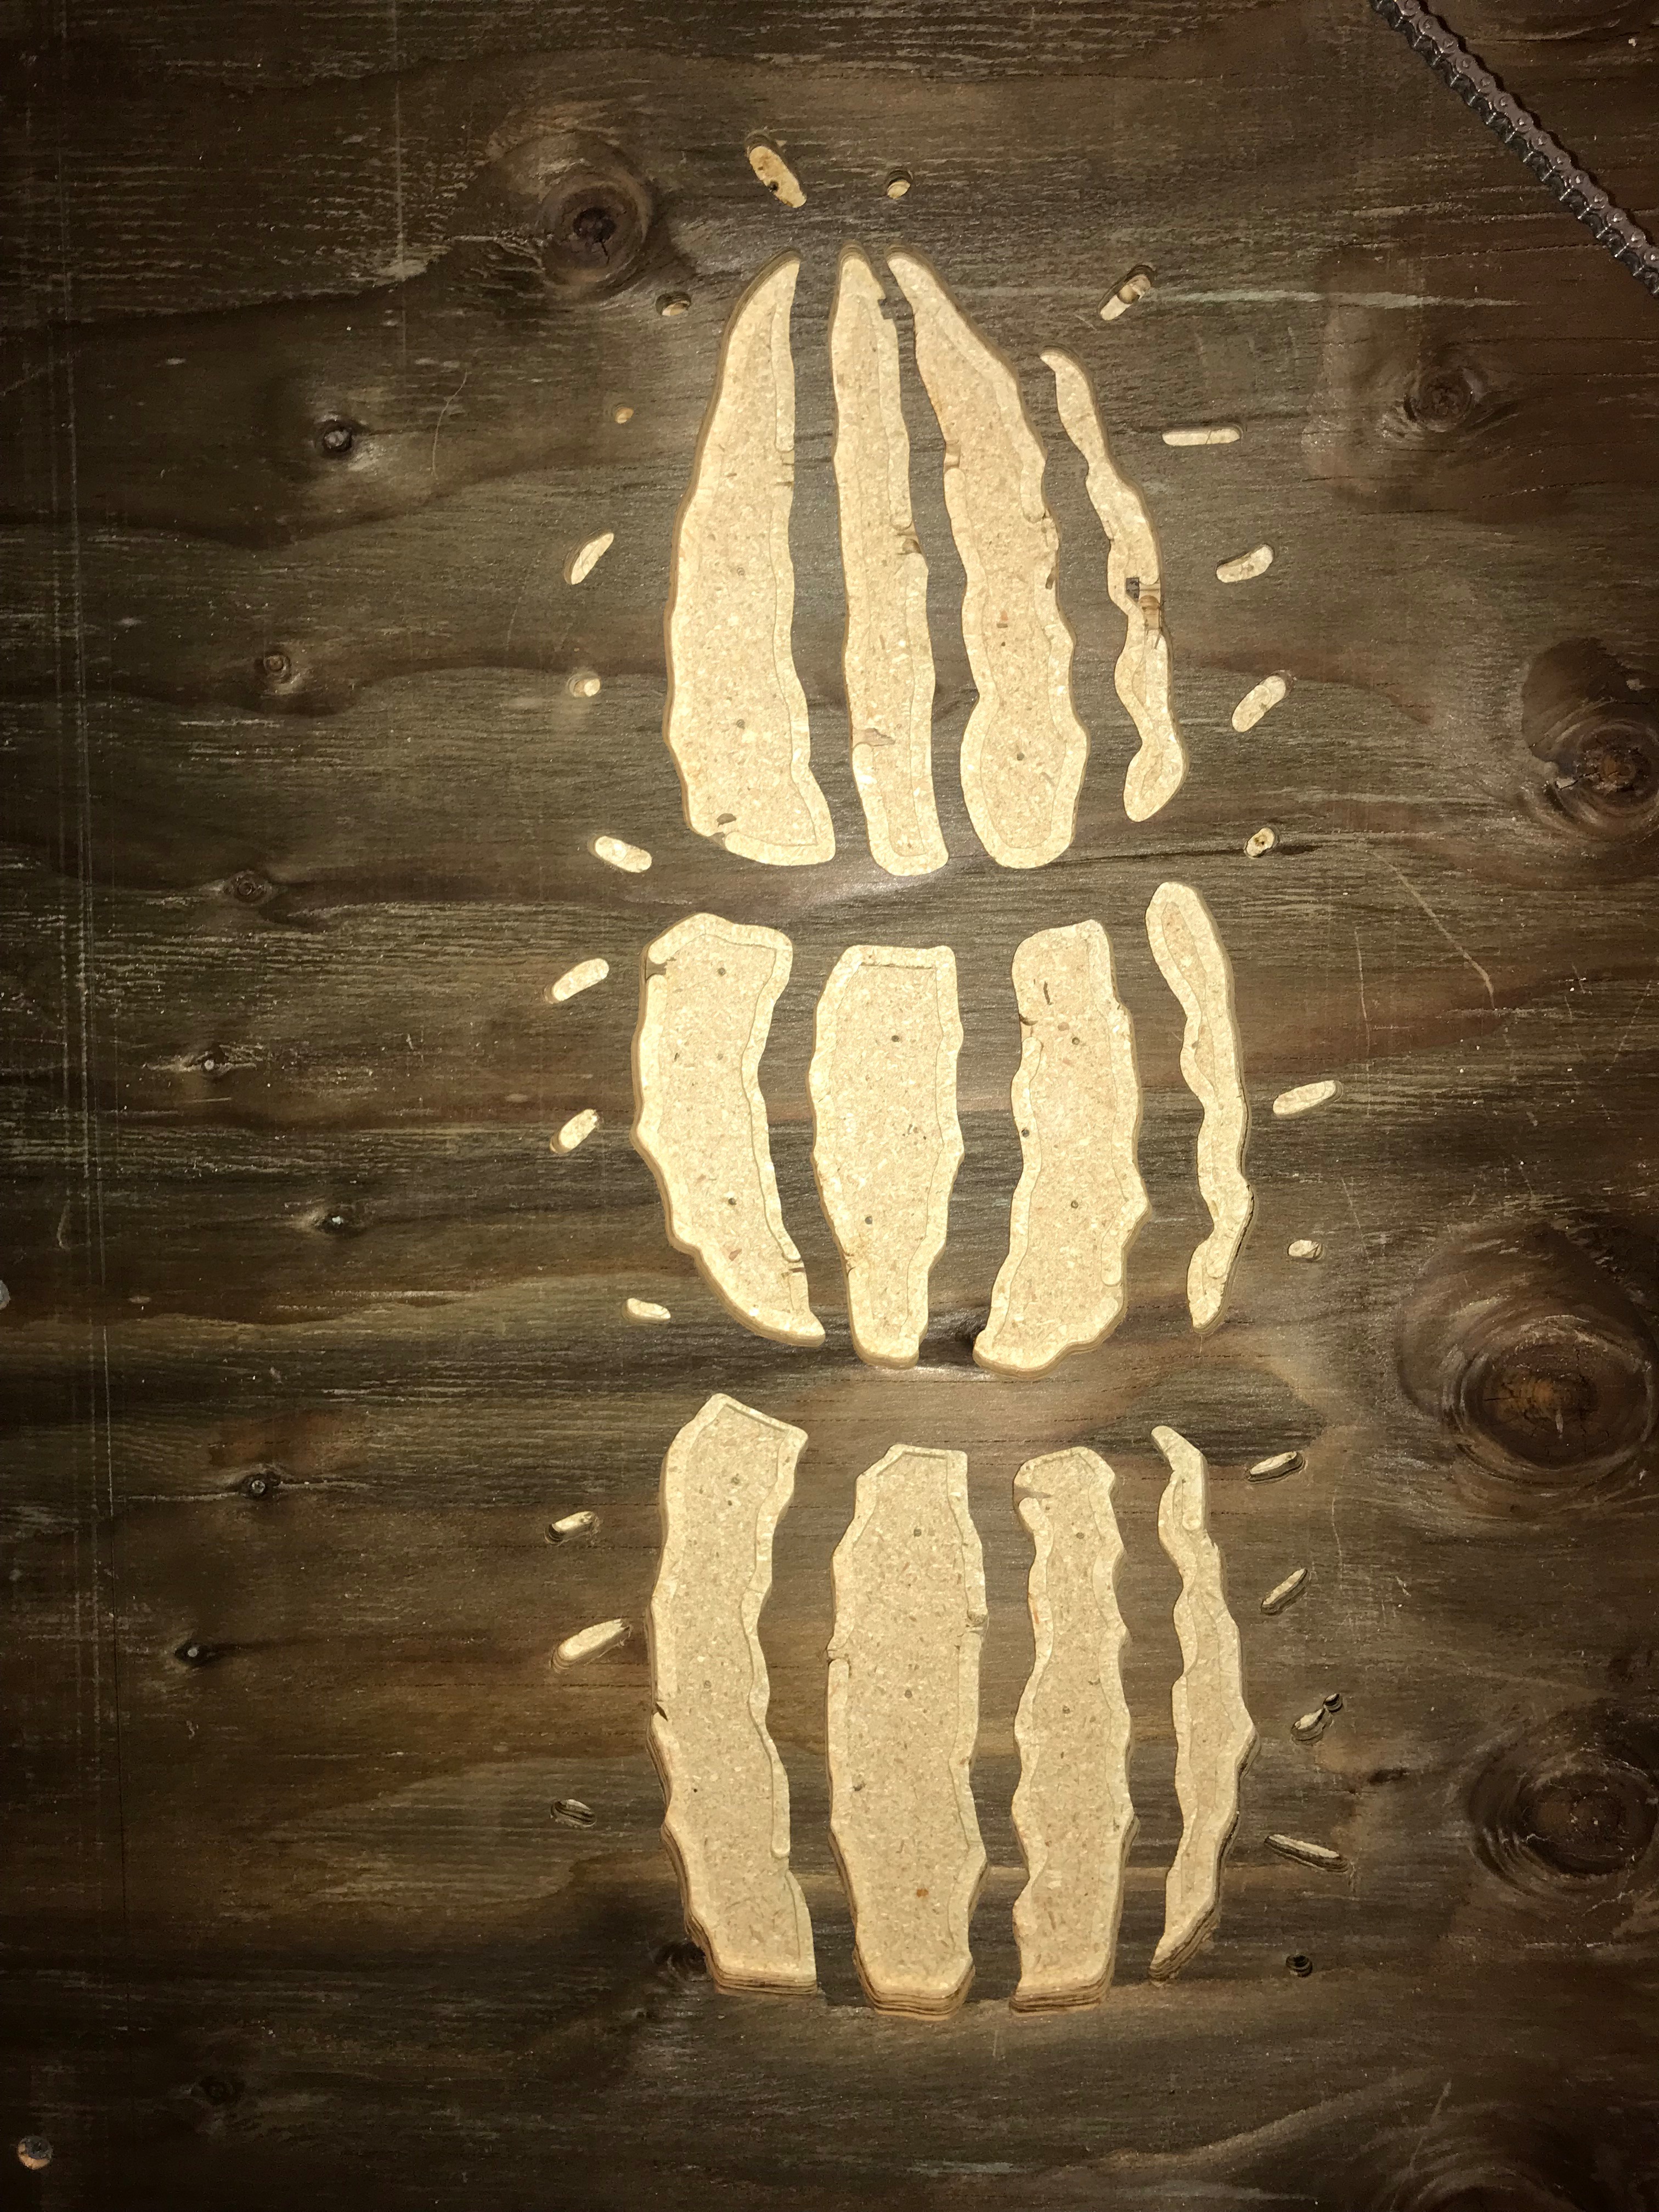
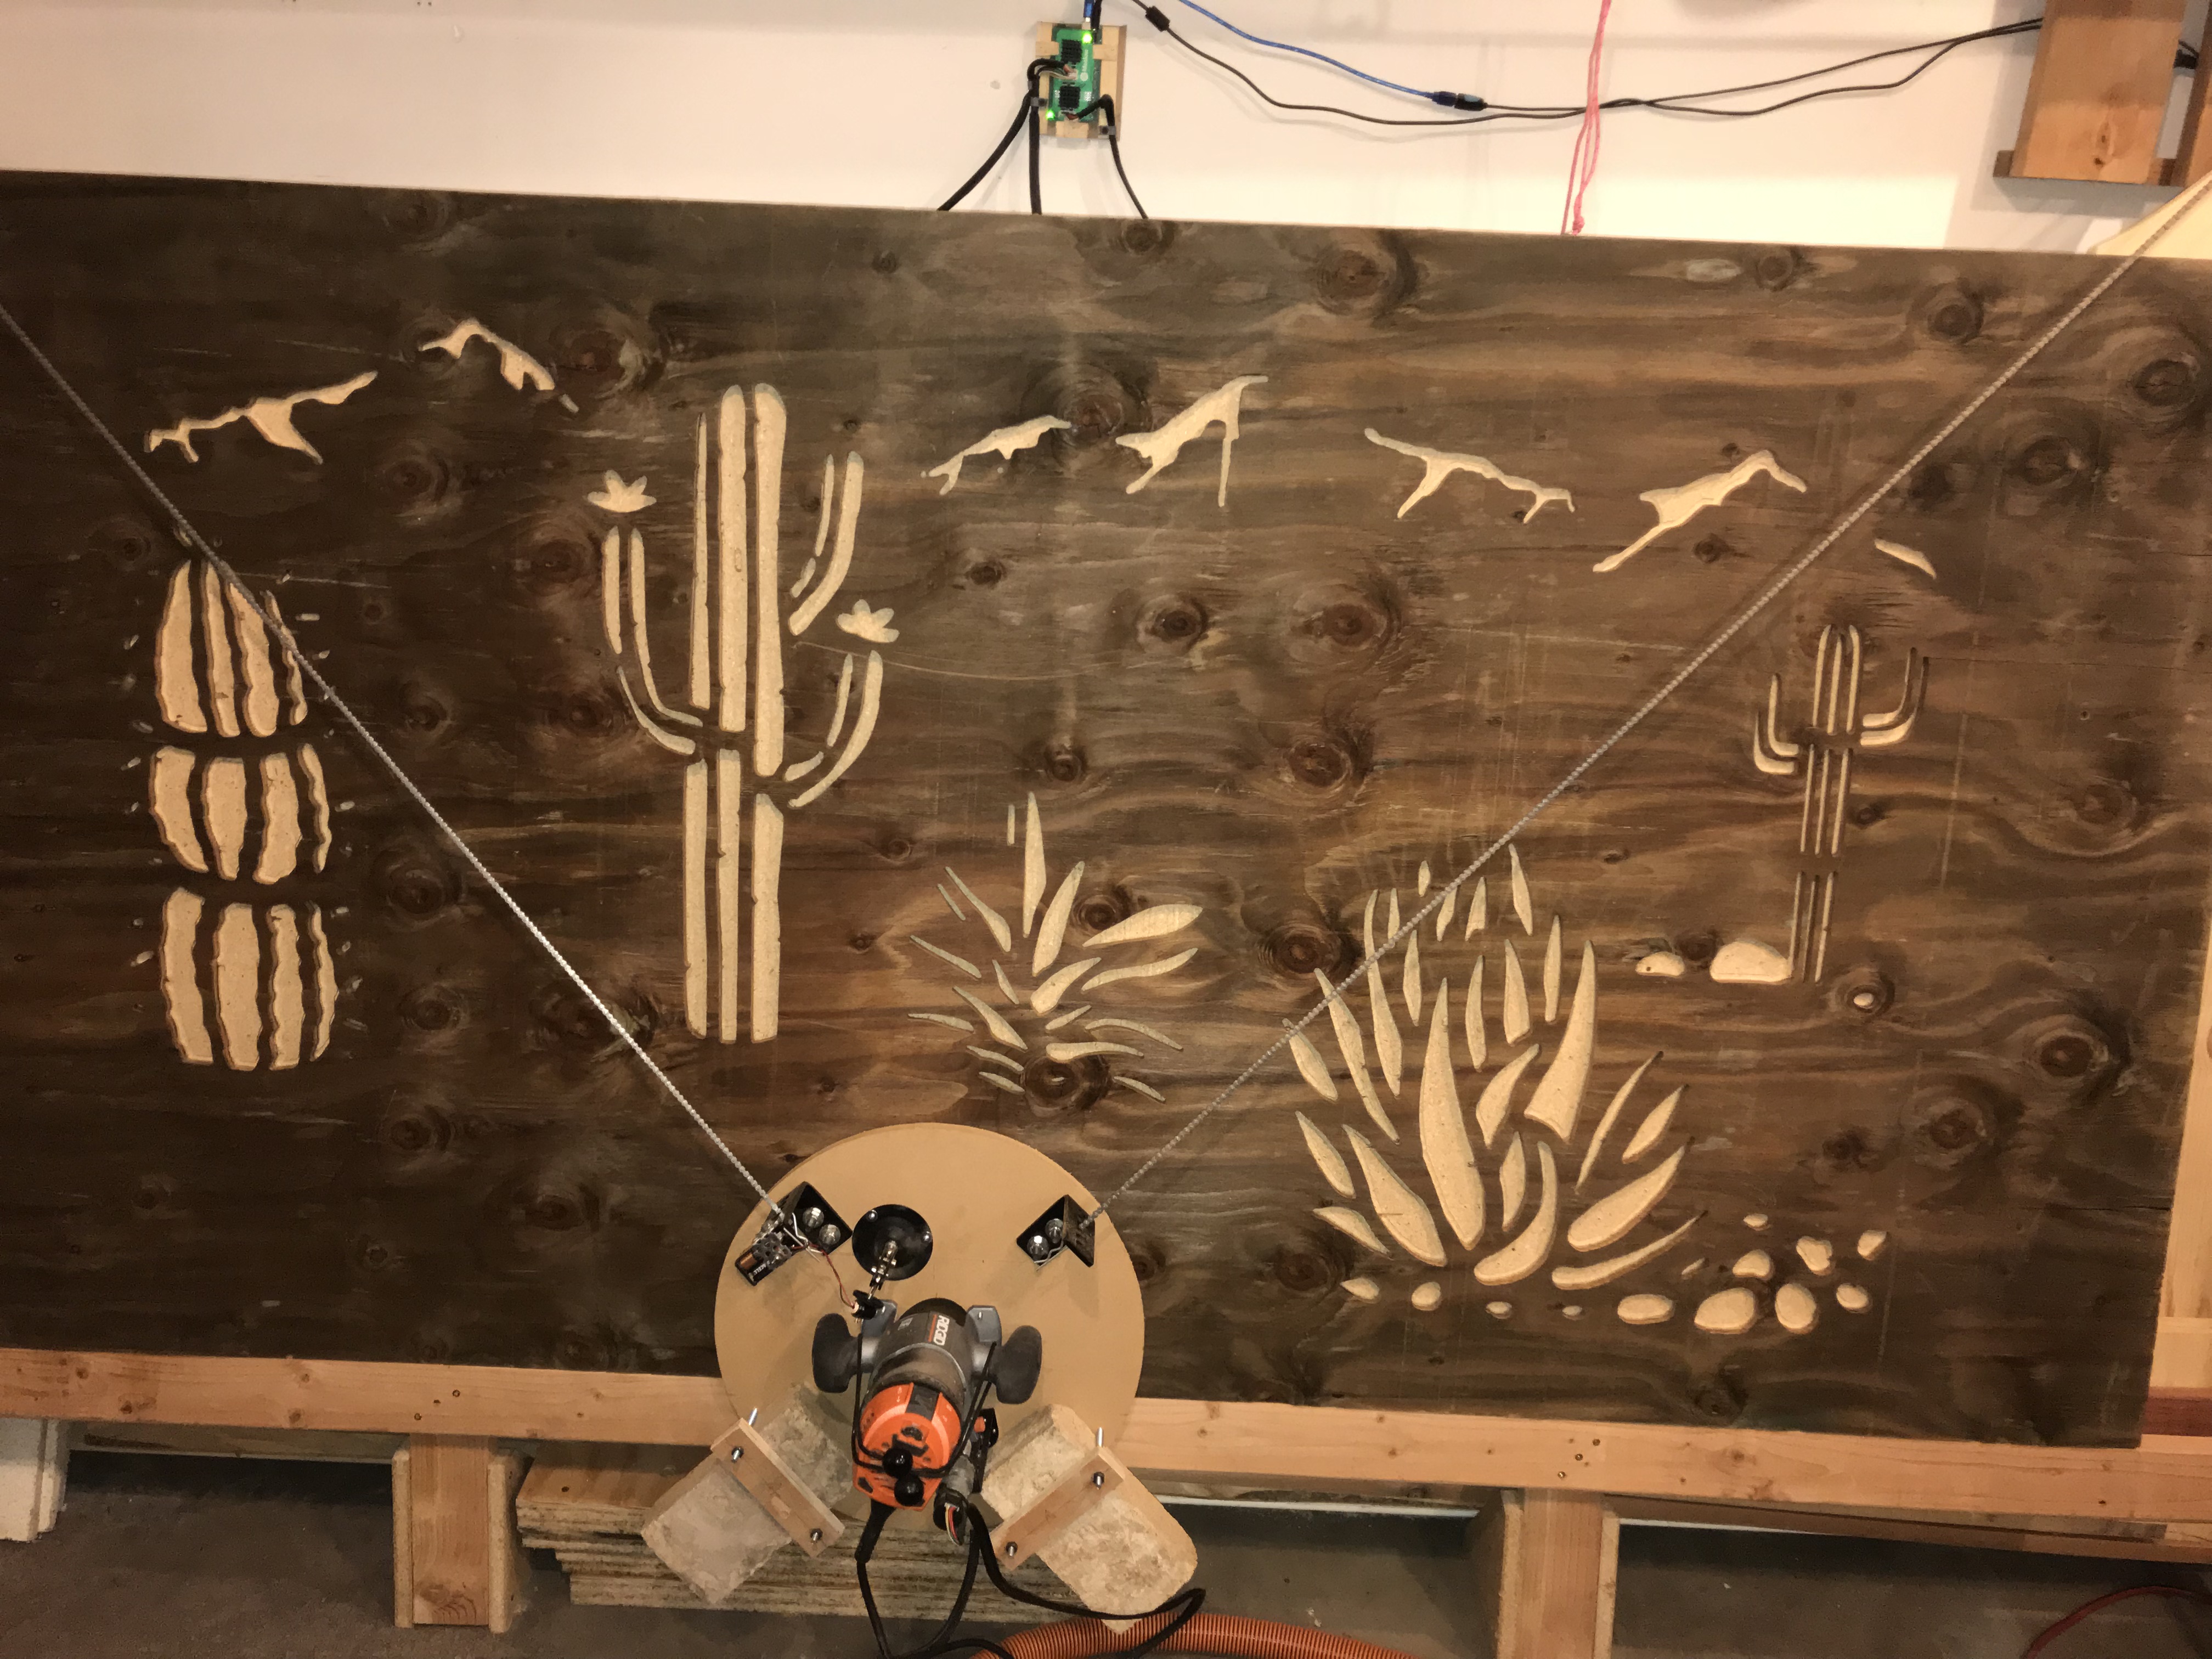
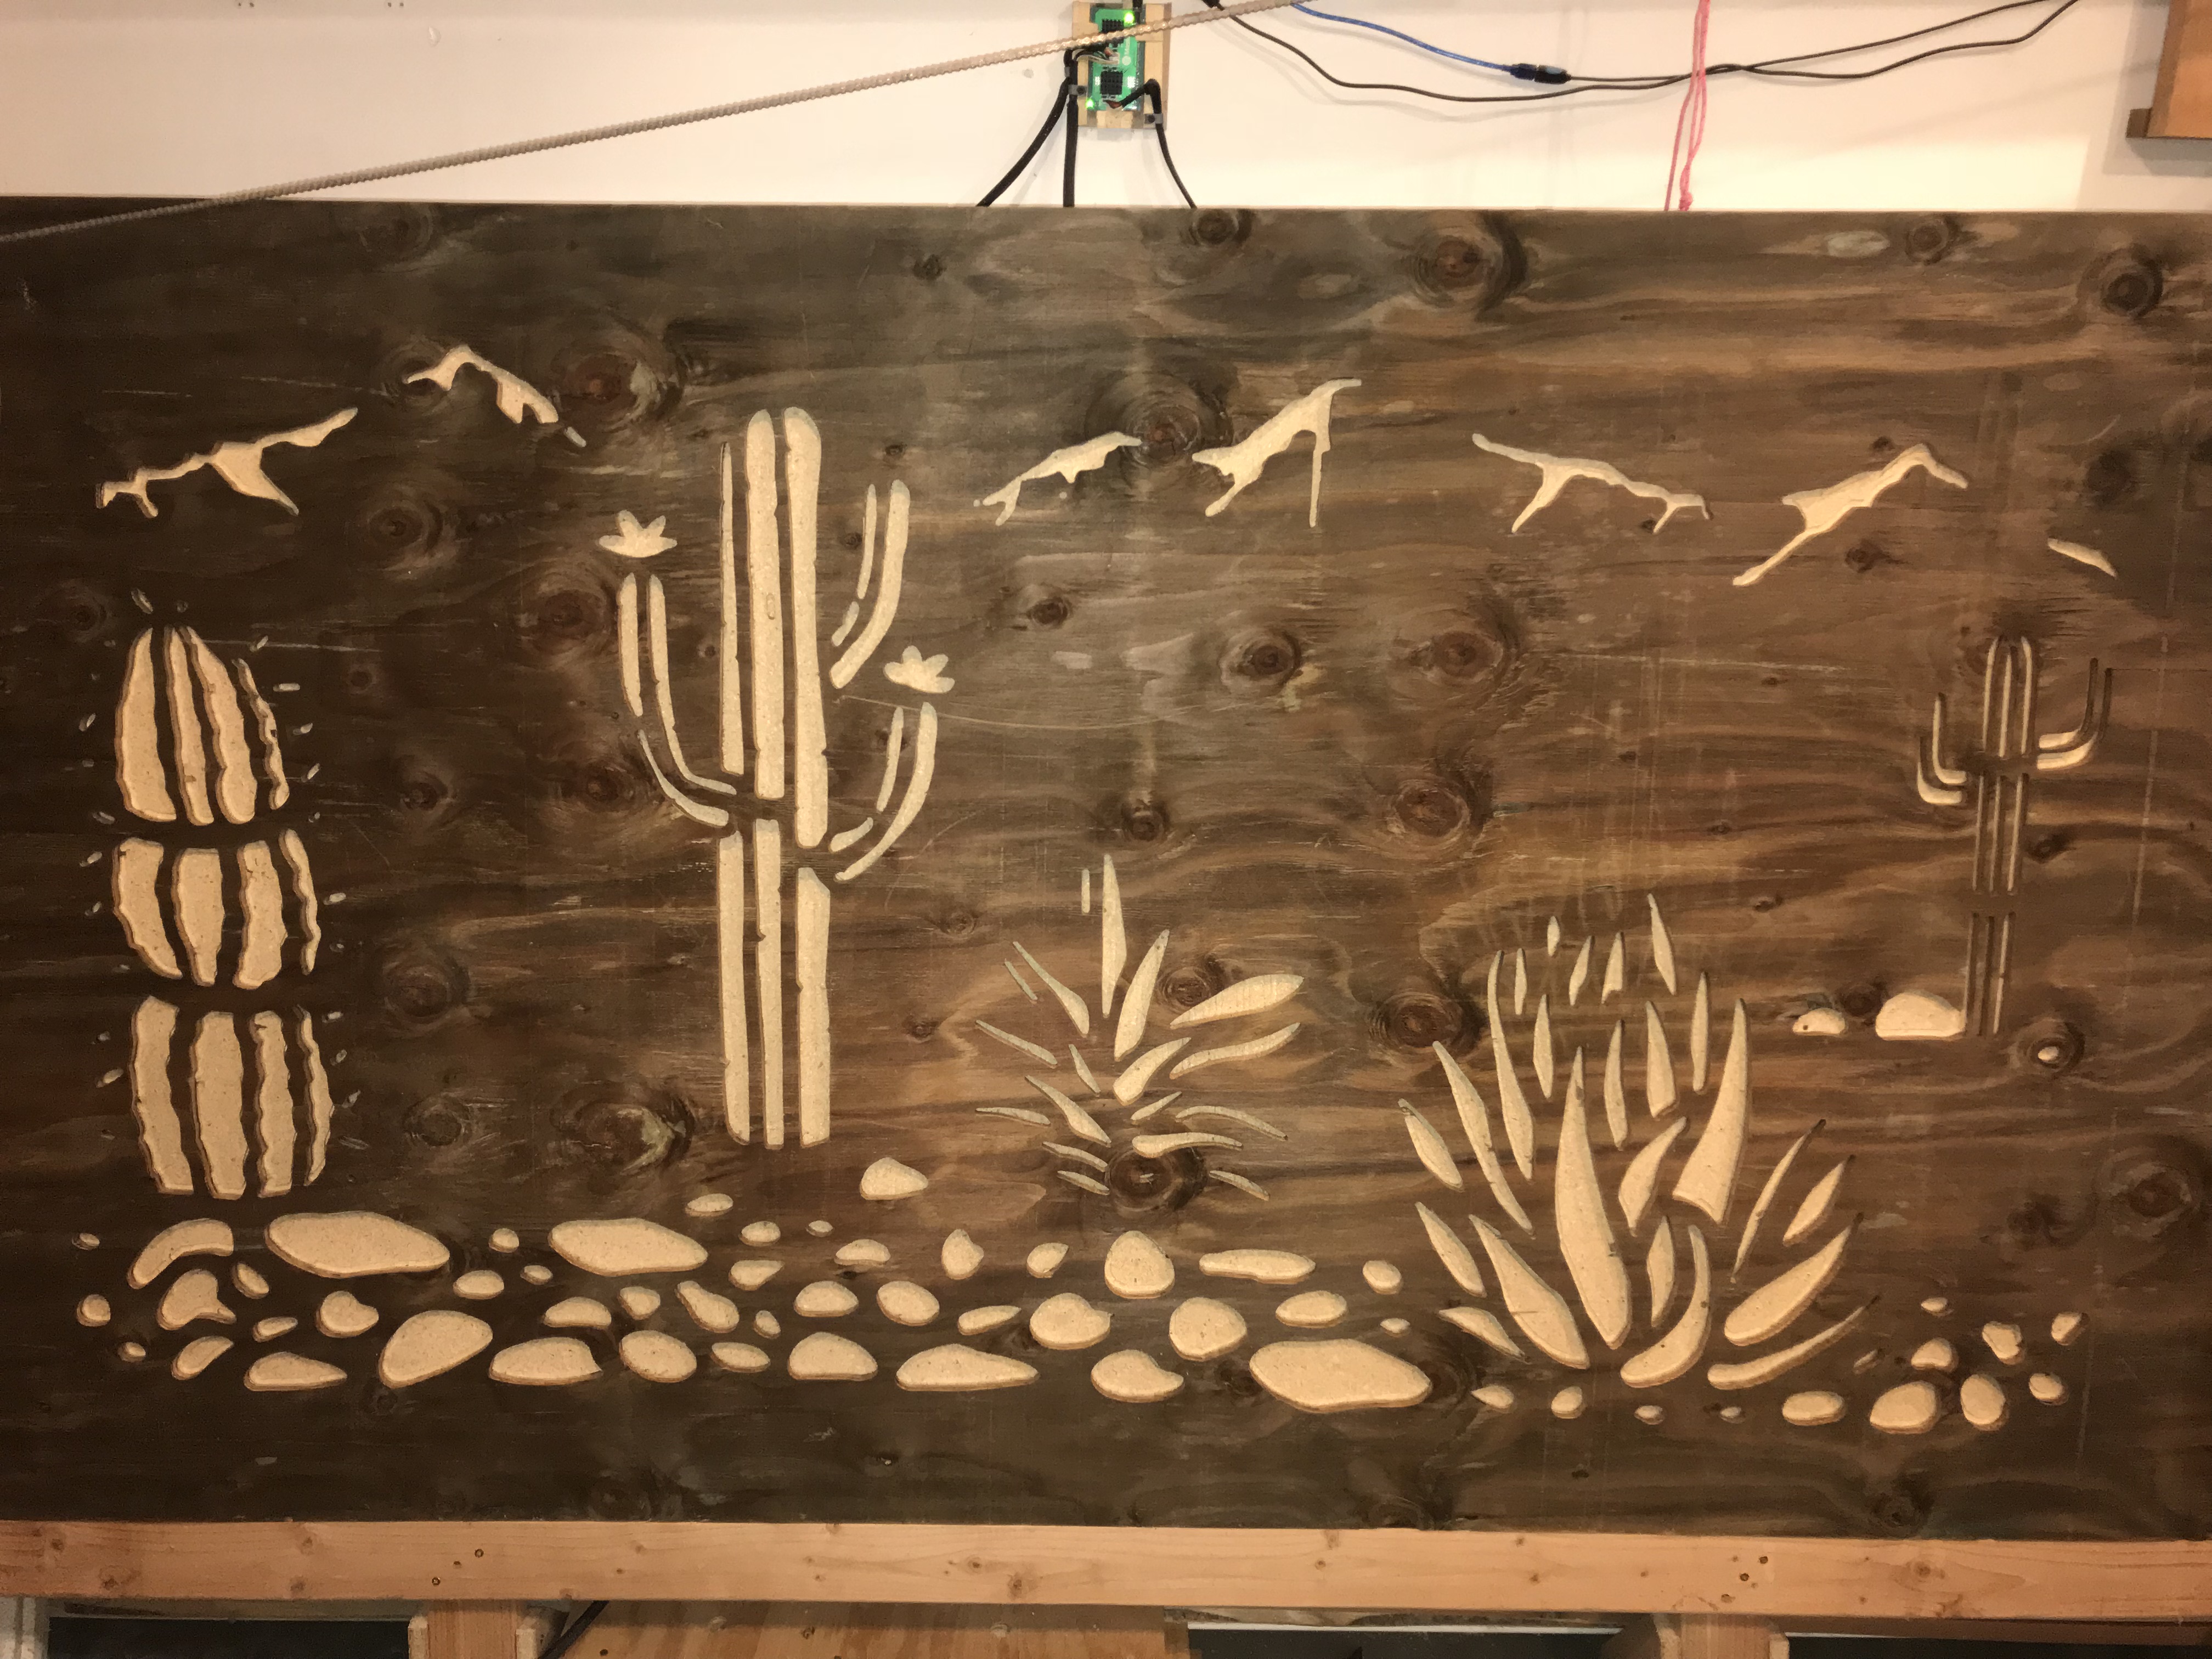
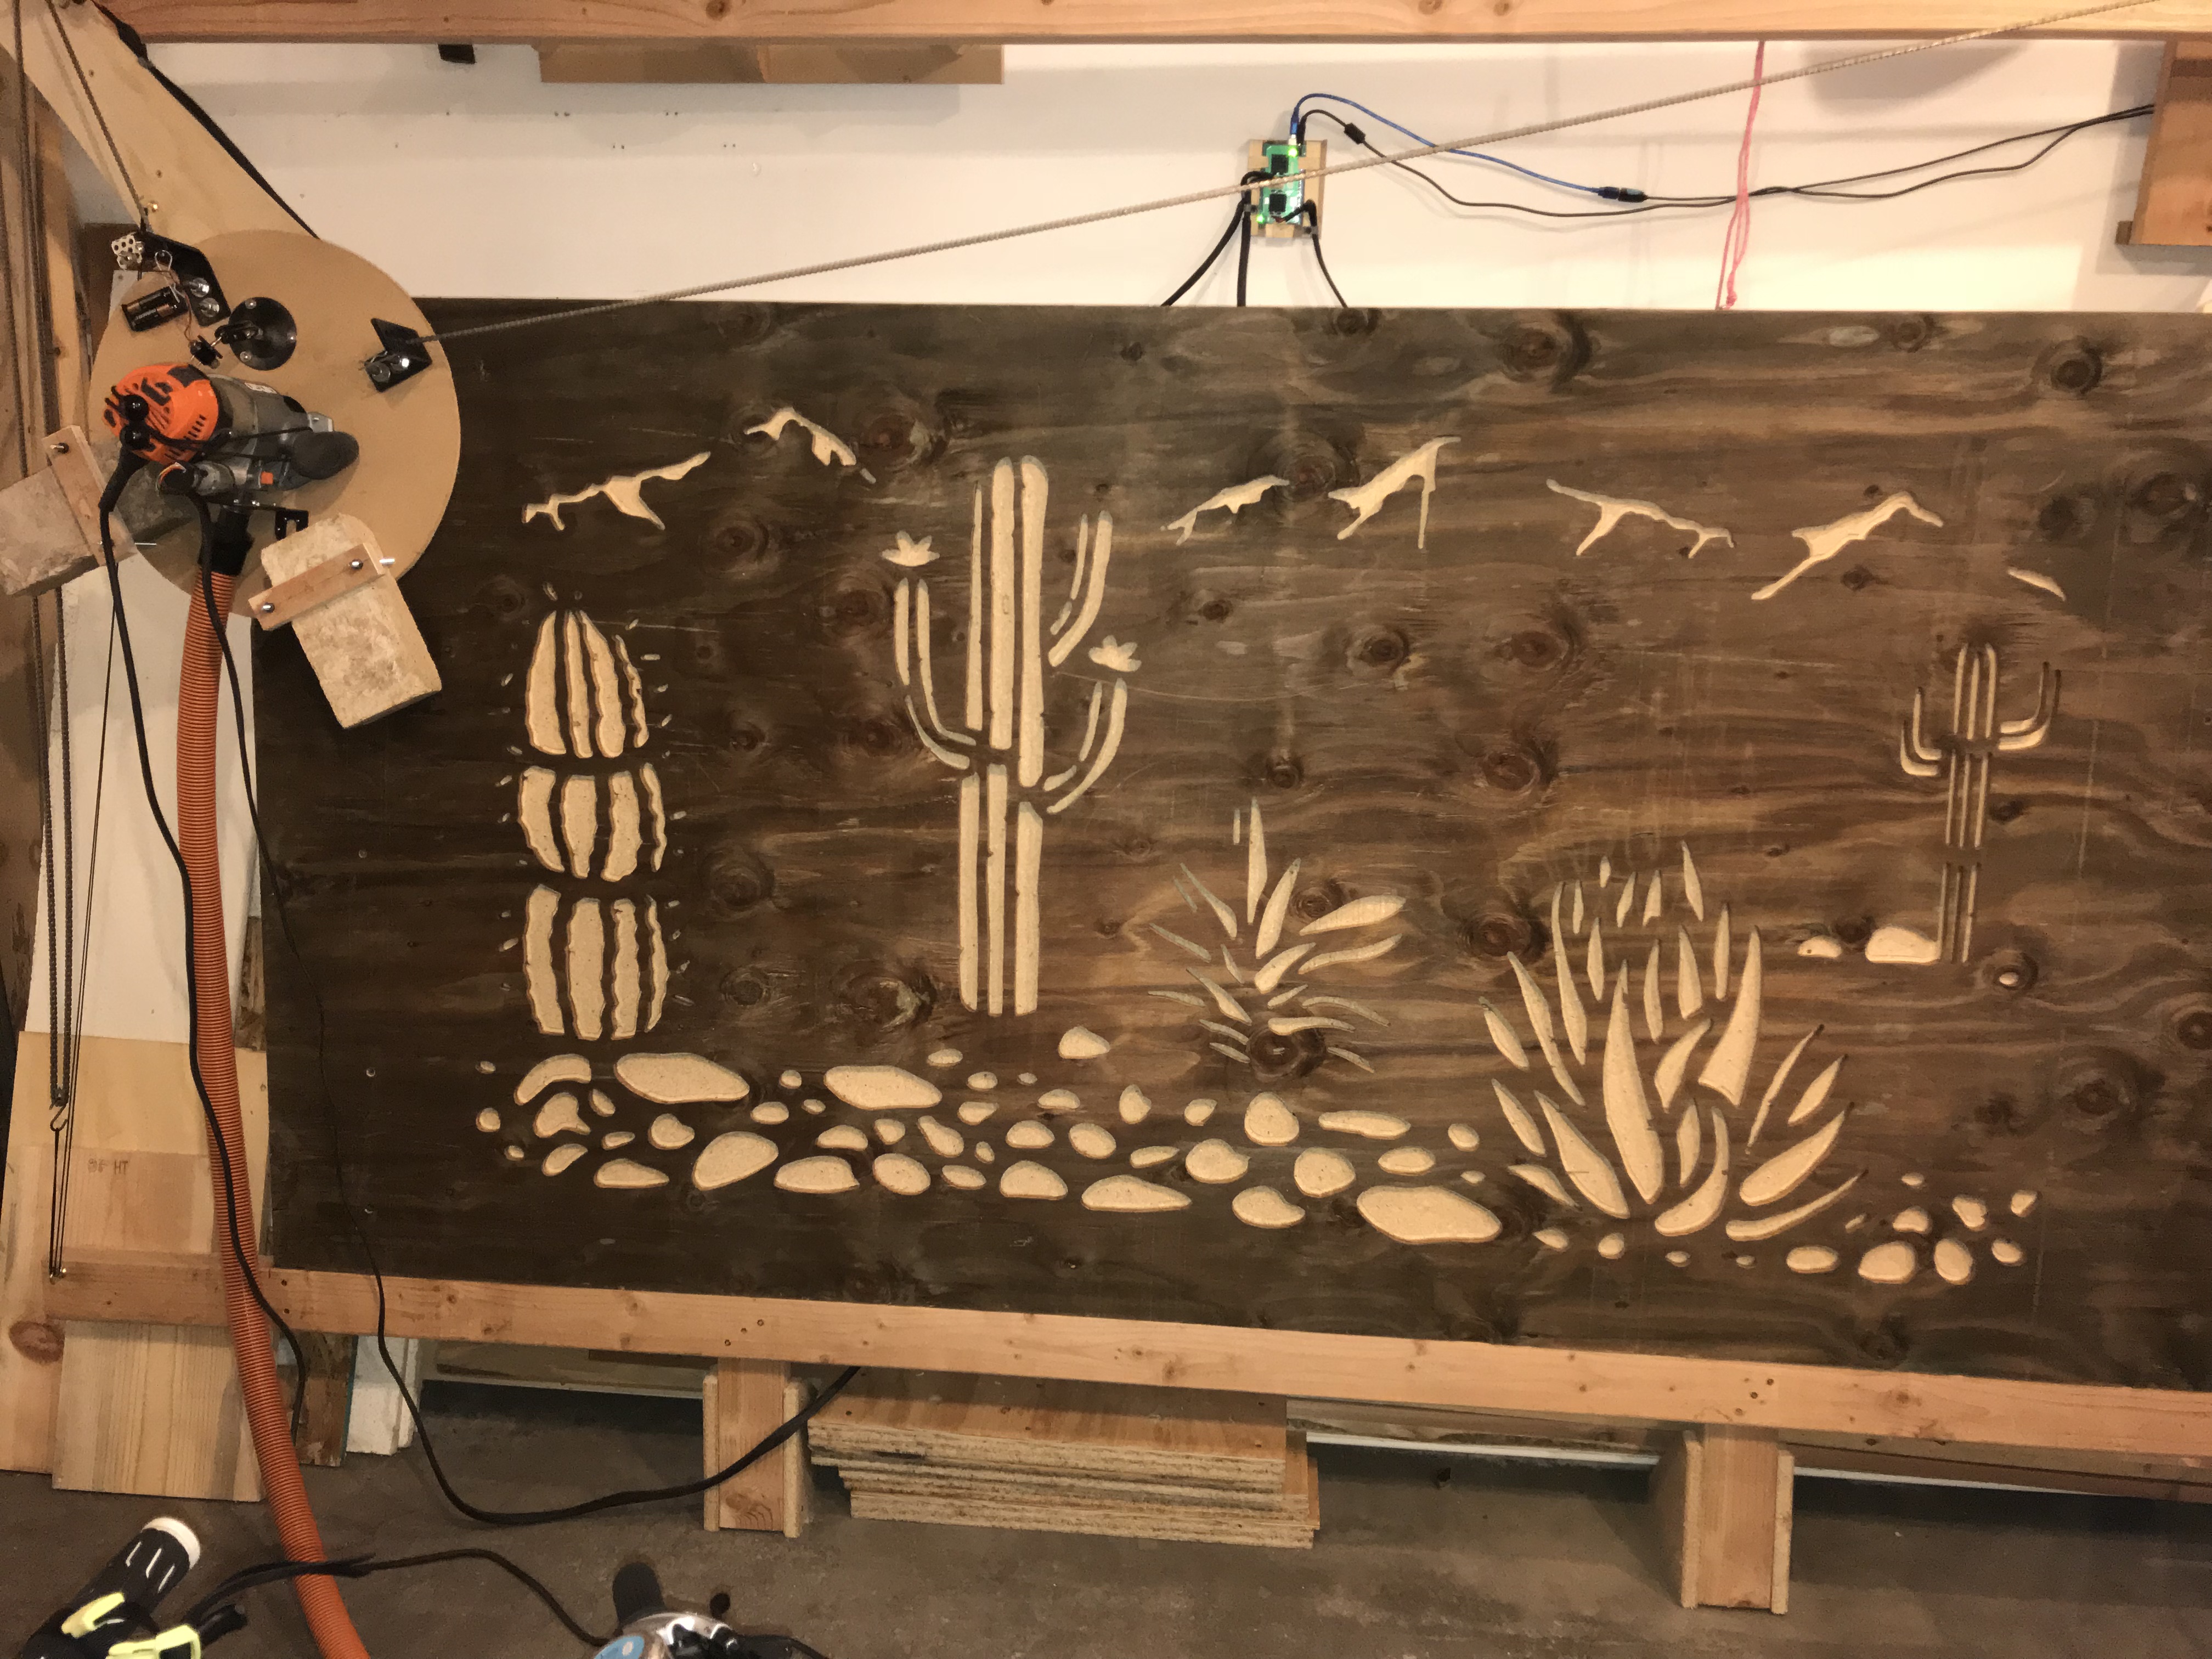
This took a quite some time but was actually one of the easier parts of the build. I again divided this step into two alternative parts.
In part1:
I explain how I used the Maslow CNC to cut the design for my fence. This is a straight forward process, but I will give a few specific tricks that helped me to get it all done.
In part2:
I will display a hypothetical series of steps to get to the same results with a jigsaw or manually controlled router.
Part1: Operating the Maslow CNC
- Put the wood sheet on the Maslow CNC.
- Attach it with screws on the far left and far right. In my case my panel length was larger than needed. I had strips on the right and left that were outside the fence area. I cut them off after the machining, but used them to hold the panel more flat and in place. Note that my tinkerbuddies and me use a sacrificial particle board as a protective layer to the Maslow CNC frame board. Note that my board was still not flat, but lifted off somewhat in the middle.
- Move the cutting sled to the lower left corner of the fence panel. Align it on the y-axis with the lower edge. Align it on the x-axis right were you cut the extra off on the left.
- Home it to 0,0.
- Run the z-axis down to just so touch the wood sheet.
- Home the z-axis to 0.
- Lift it to 0.25".
- Load the first gcode file into "Groundcontrol" software that controls the Maslow CNC.
- Put on safety glasses and hearing protection, and apparently it is not so bad to have a fire extinguisher handy as well.
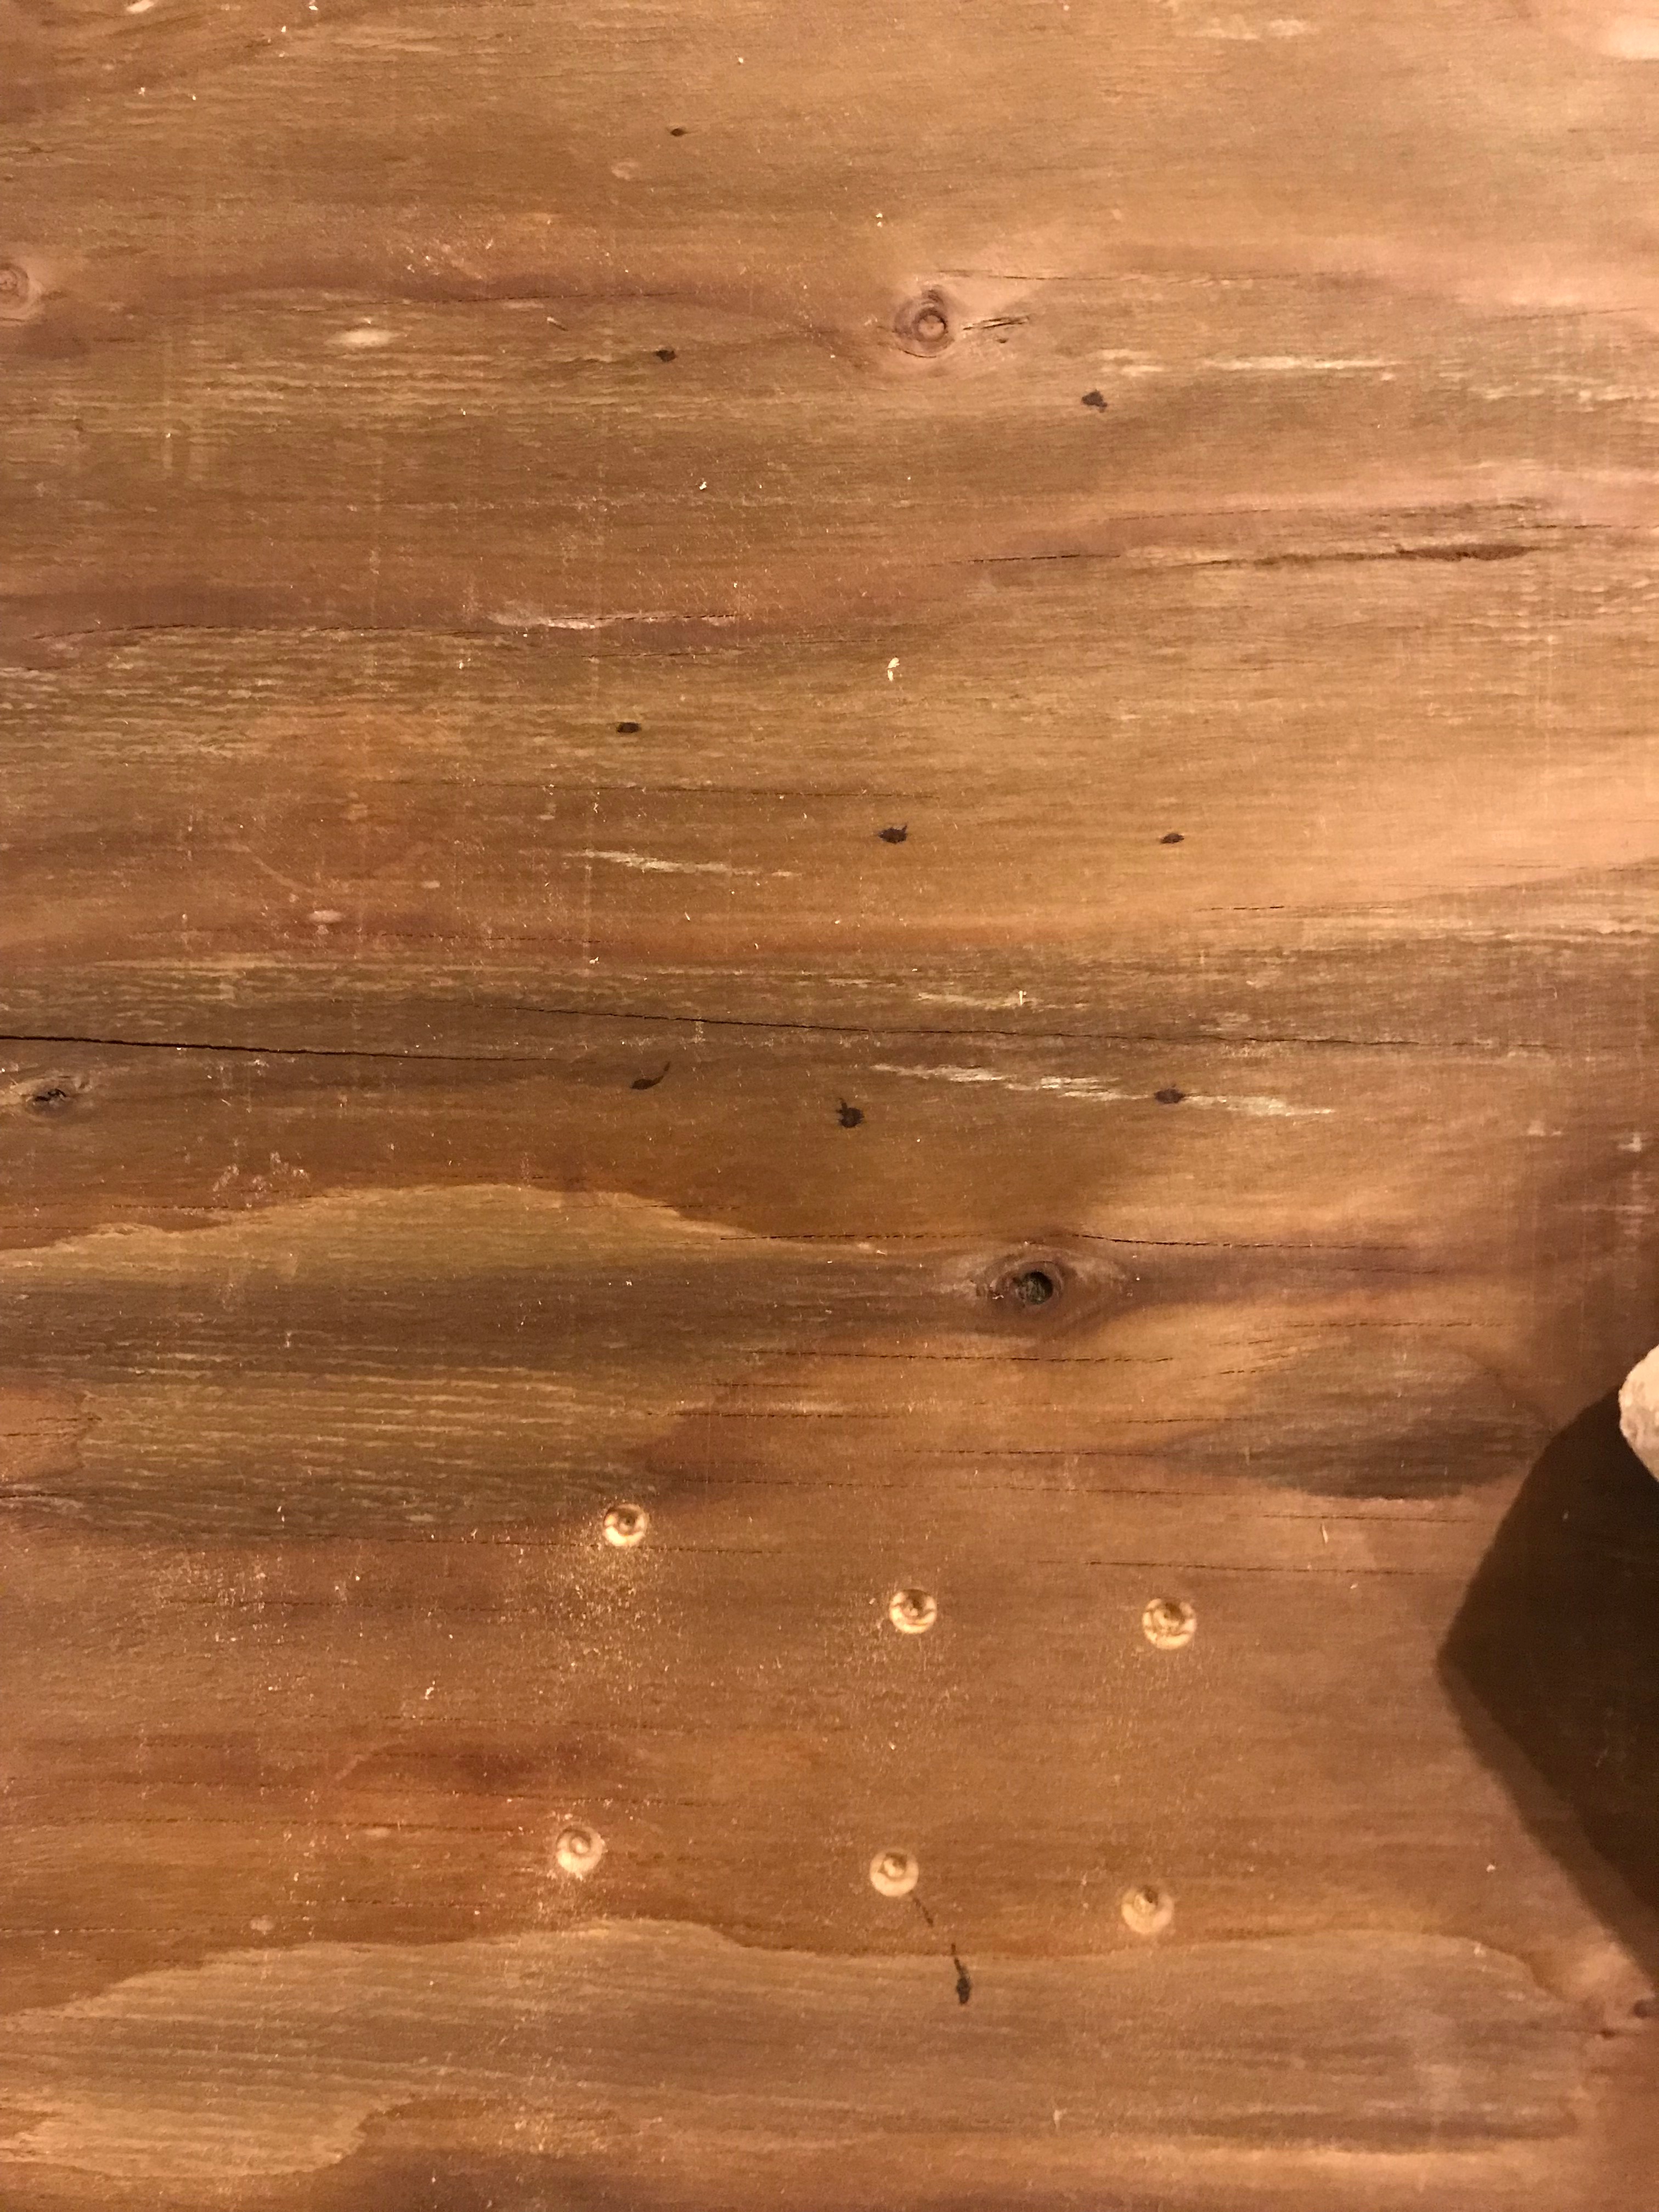
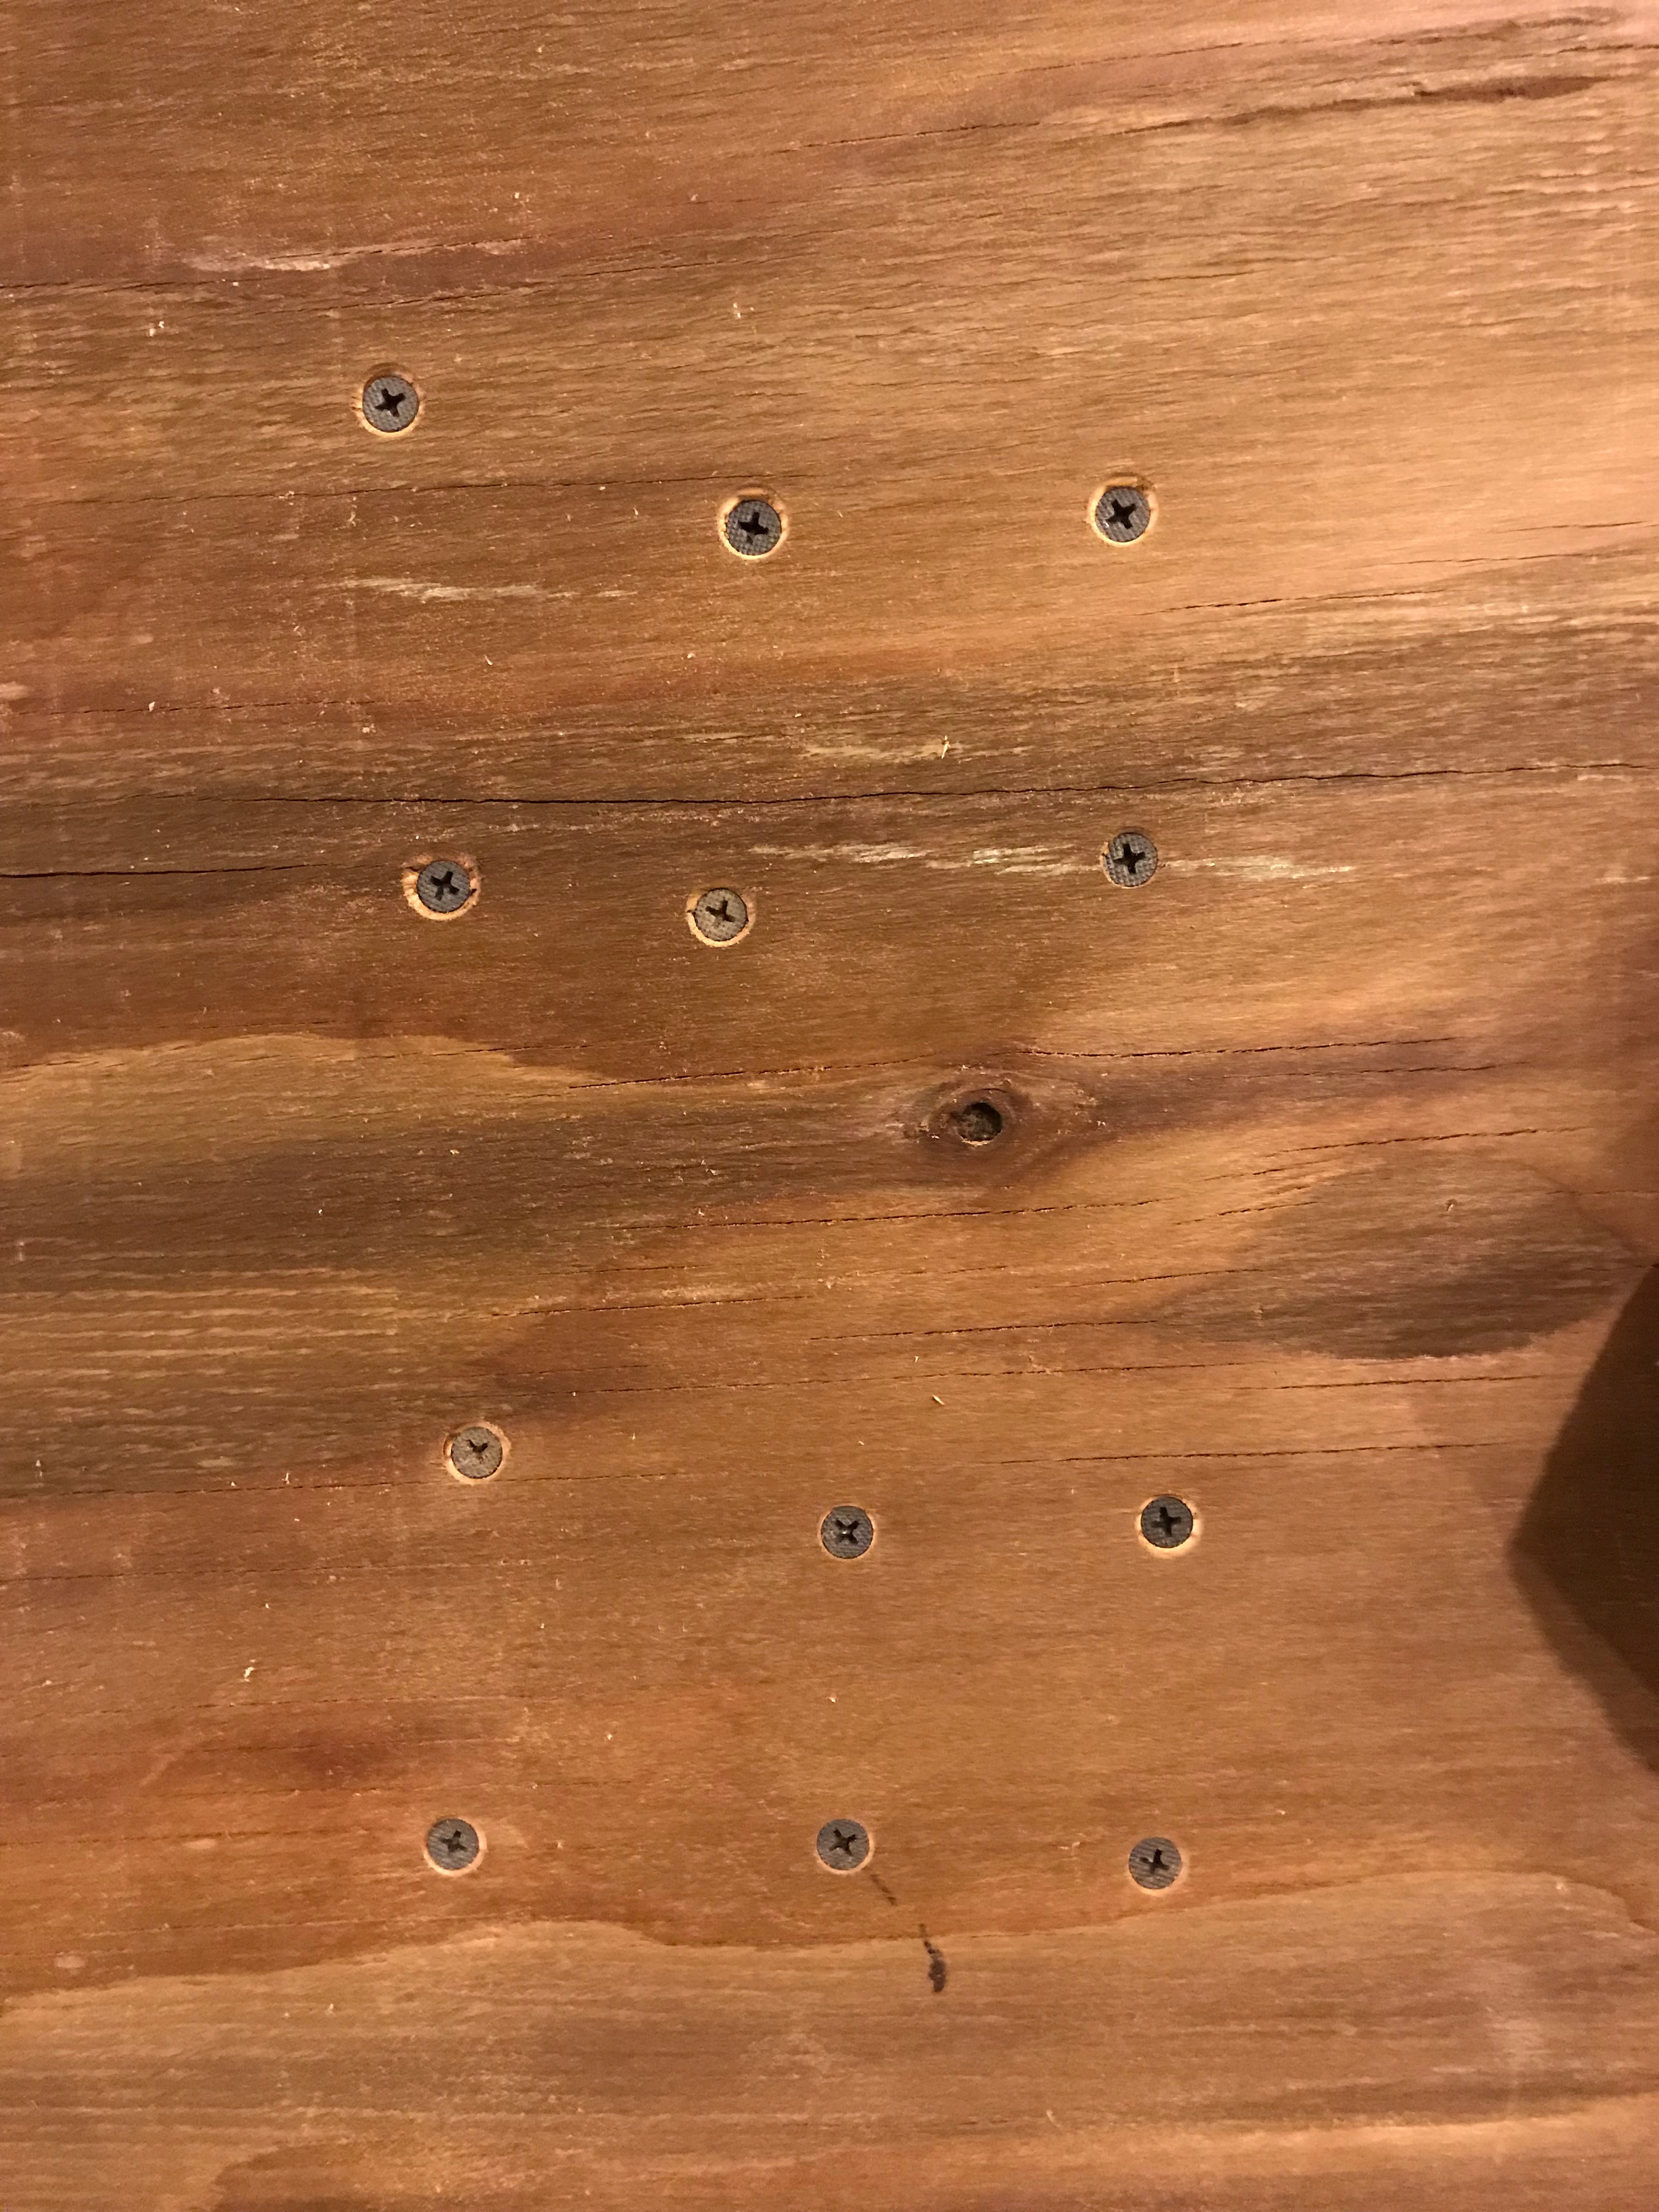
- Select larger cutting areas. If you cut them out, the wood may fall down and by it's weight it can jam the router. To prevent this:
- Move the router sled manually to one of the areas.
- Pick a spot far enough from the edge to be not cut by the router bit.
- Mark it.
- Move to a second spot.
- Mark this as well.
- Repeat this wherever larger areas are being cut out. Be very careful to keep distance to the actual router bit path.
- Confirm you completed all larger areas.
- Move the sled to the side.
- Counter sink the spots that were marked.
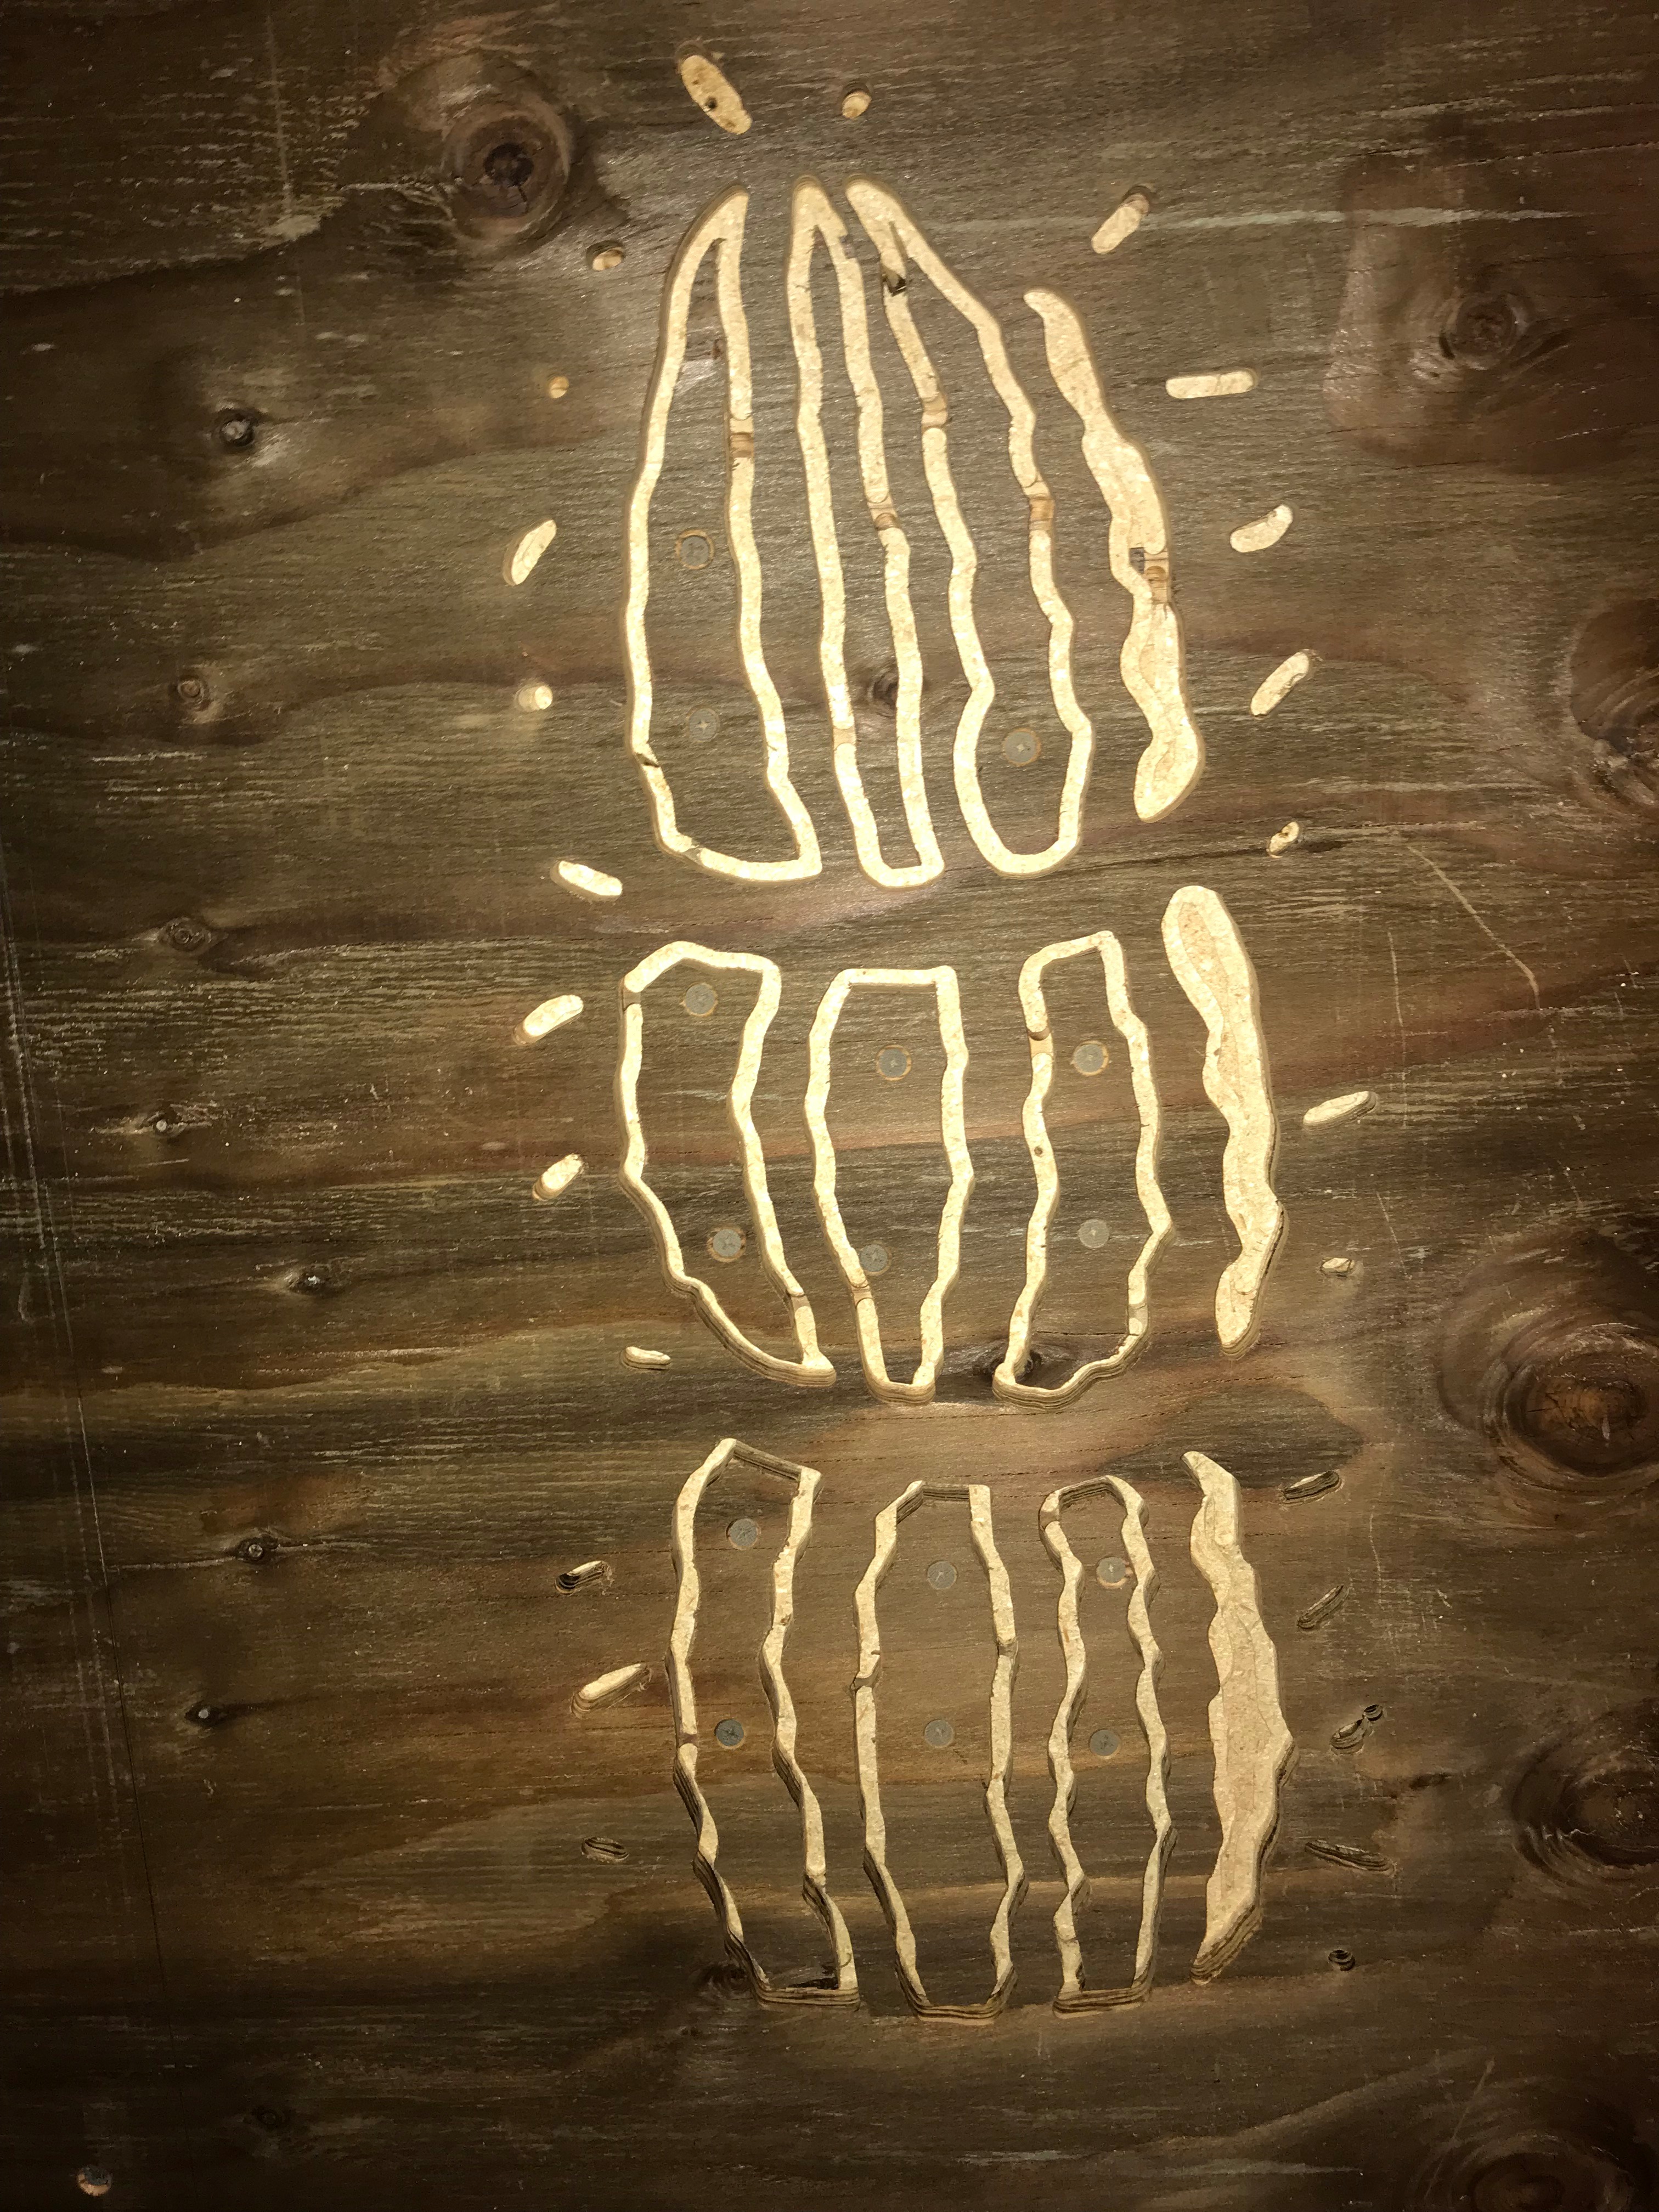
- Drill screws into the countersunk spots. These screws will hold the inside of the cutout area in place and prevent them to fall onto the router during the cutting process.
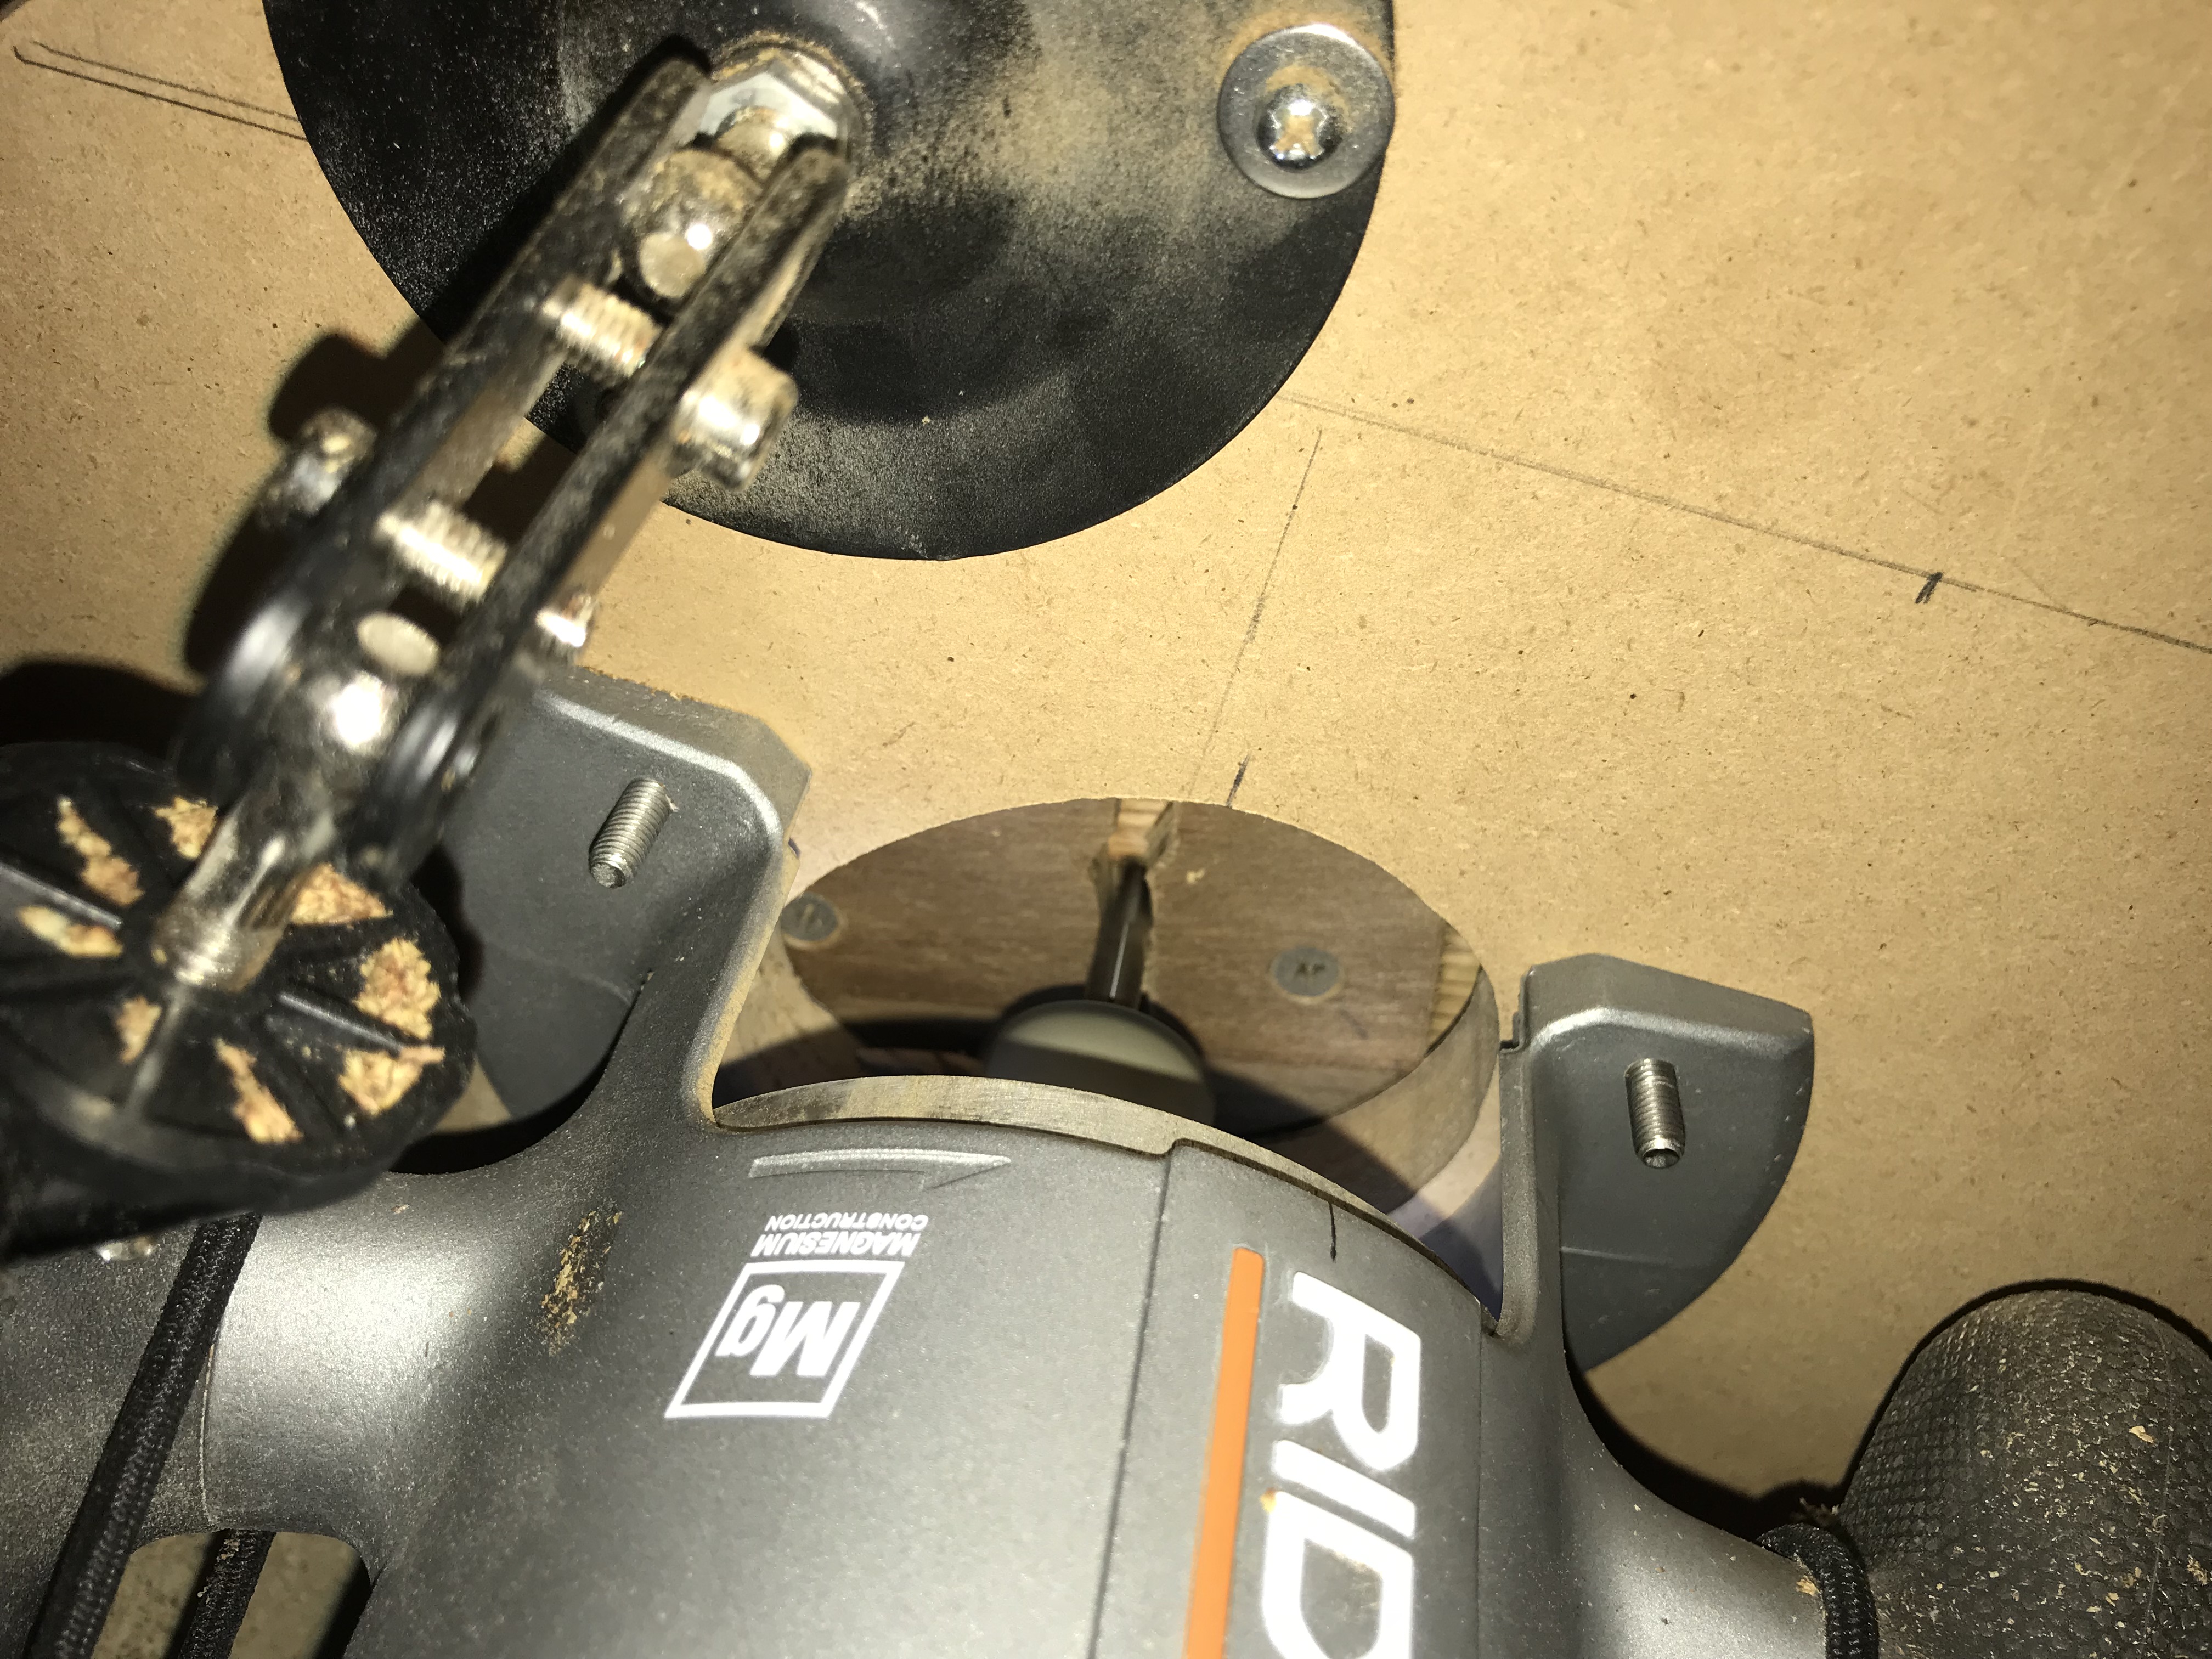
- Start the router and the dust collection system (if any).
- Start the cutting process and watch the magic. (I love you Maslow guys. Good job.)
- Note that it might be handy to have a very thin wood stick around to help removing or guiding small pieces of wood that are cut out. You can keep them from falling into the router path or remove them purposely. I did this while the system was running pretty much continuously.
Part2: Doing it manually (in theory).
- This step assumes that you have transferred the drawing of the motif on the wood sheet. You could have done this free hand, or by using a projector.
- Set the wooden sheet on a bunch of scrap wood at least high enough to run a jig saw through it.
- Pick a drill bit whose diameter is larger than your jigsaw blade.
- Drill one hole in each cut out area.
- Cut out the areas with the jigsaw, carefully trailing the edges on the inside.
Install and Reinforcement
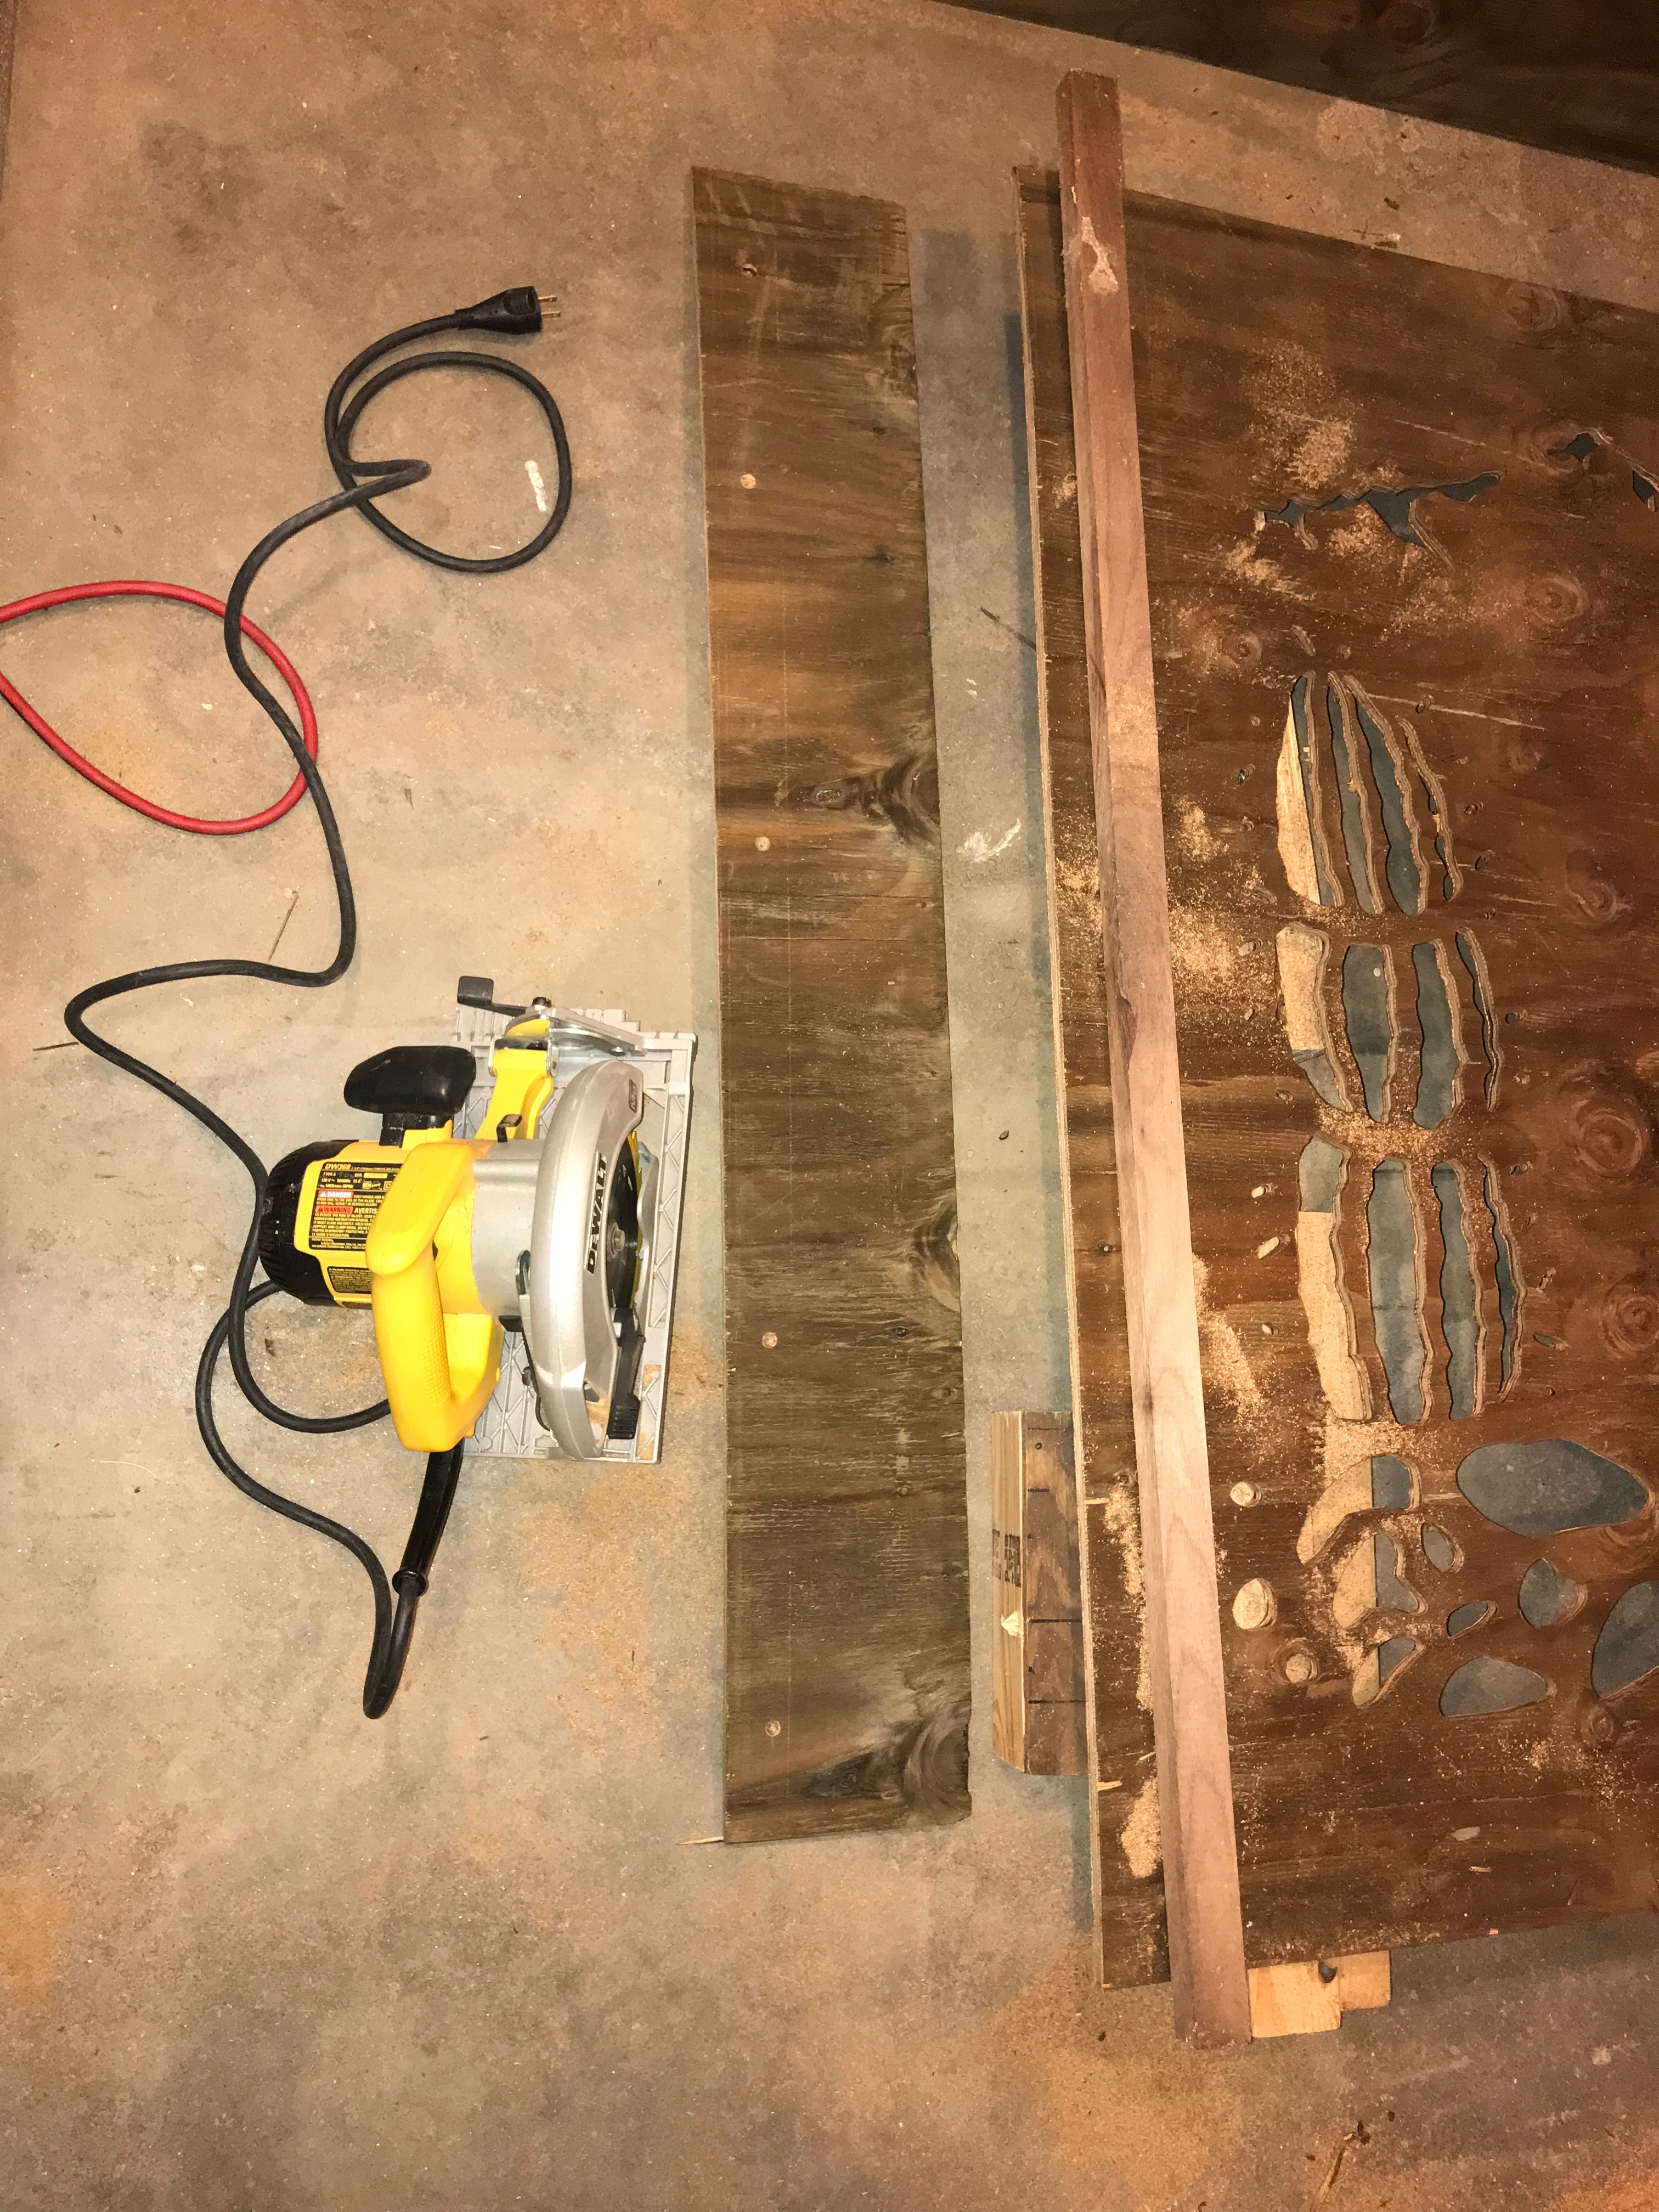
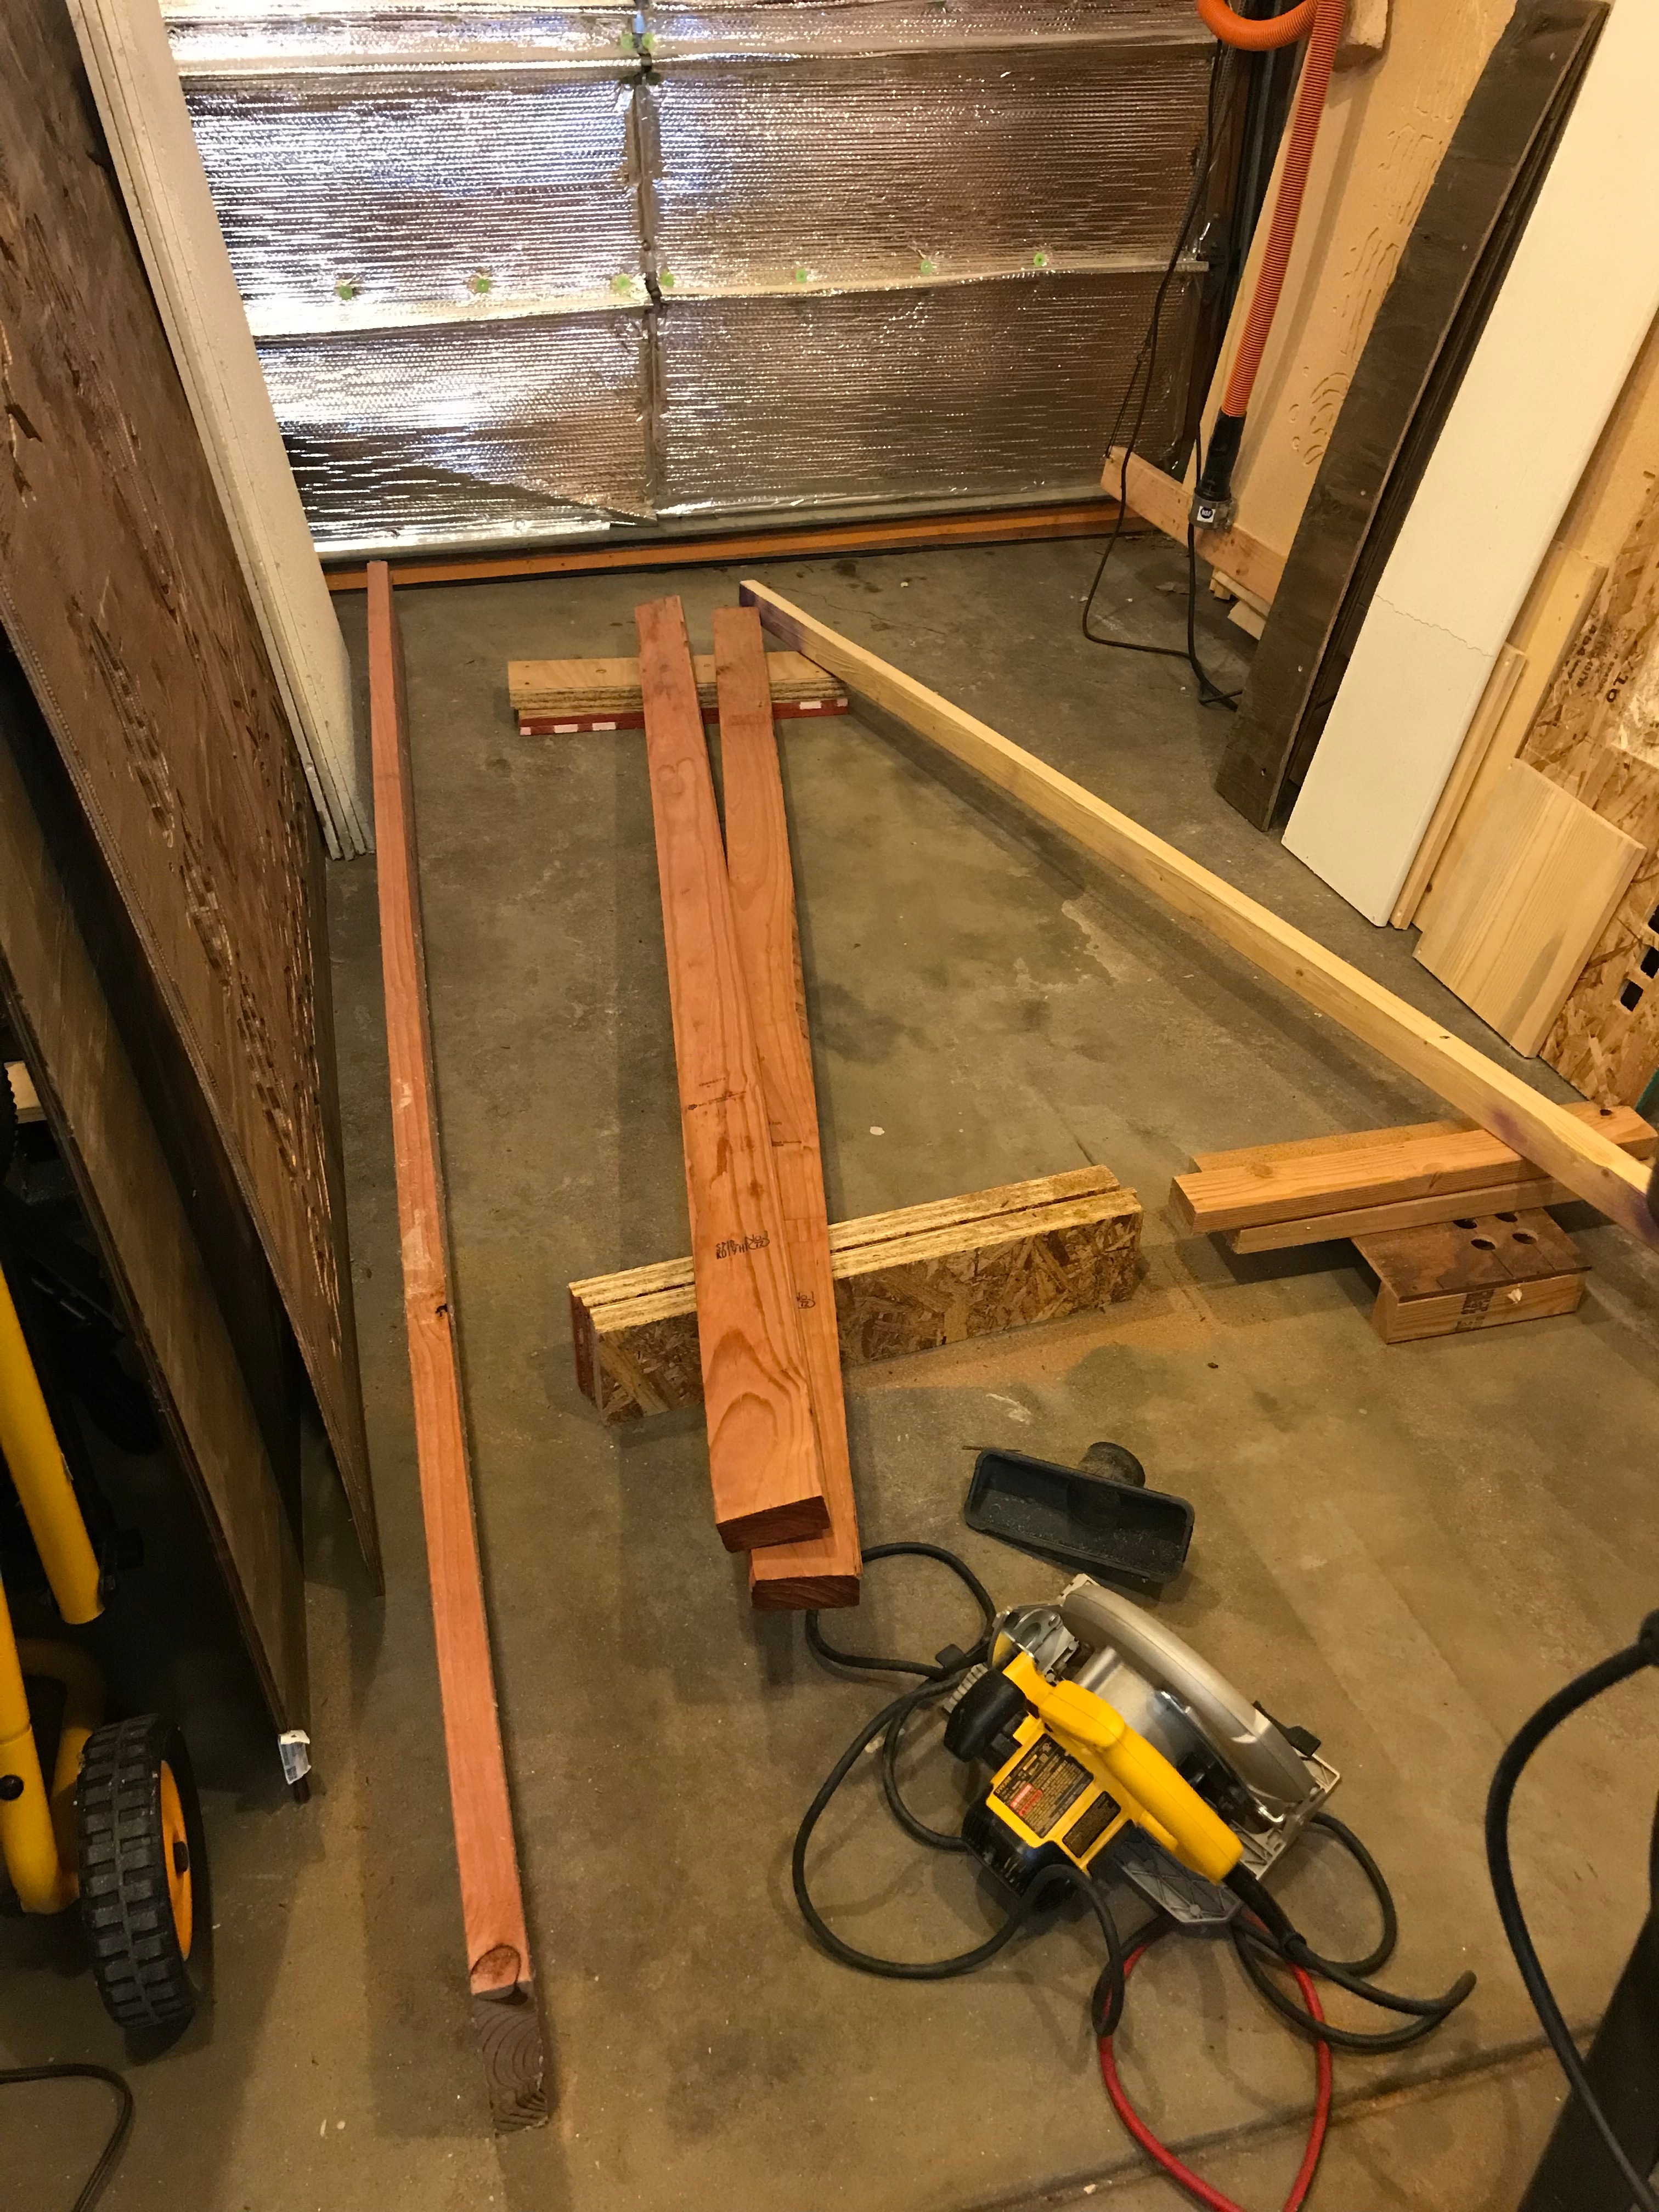
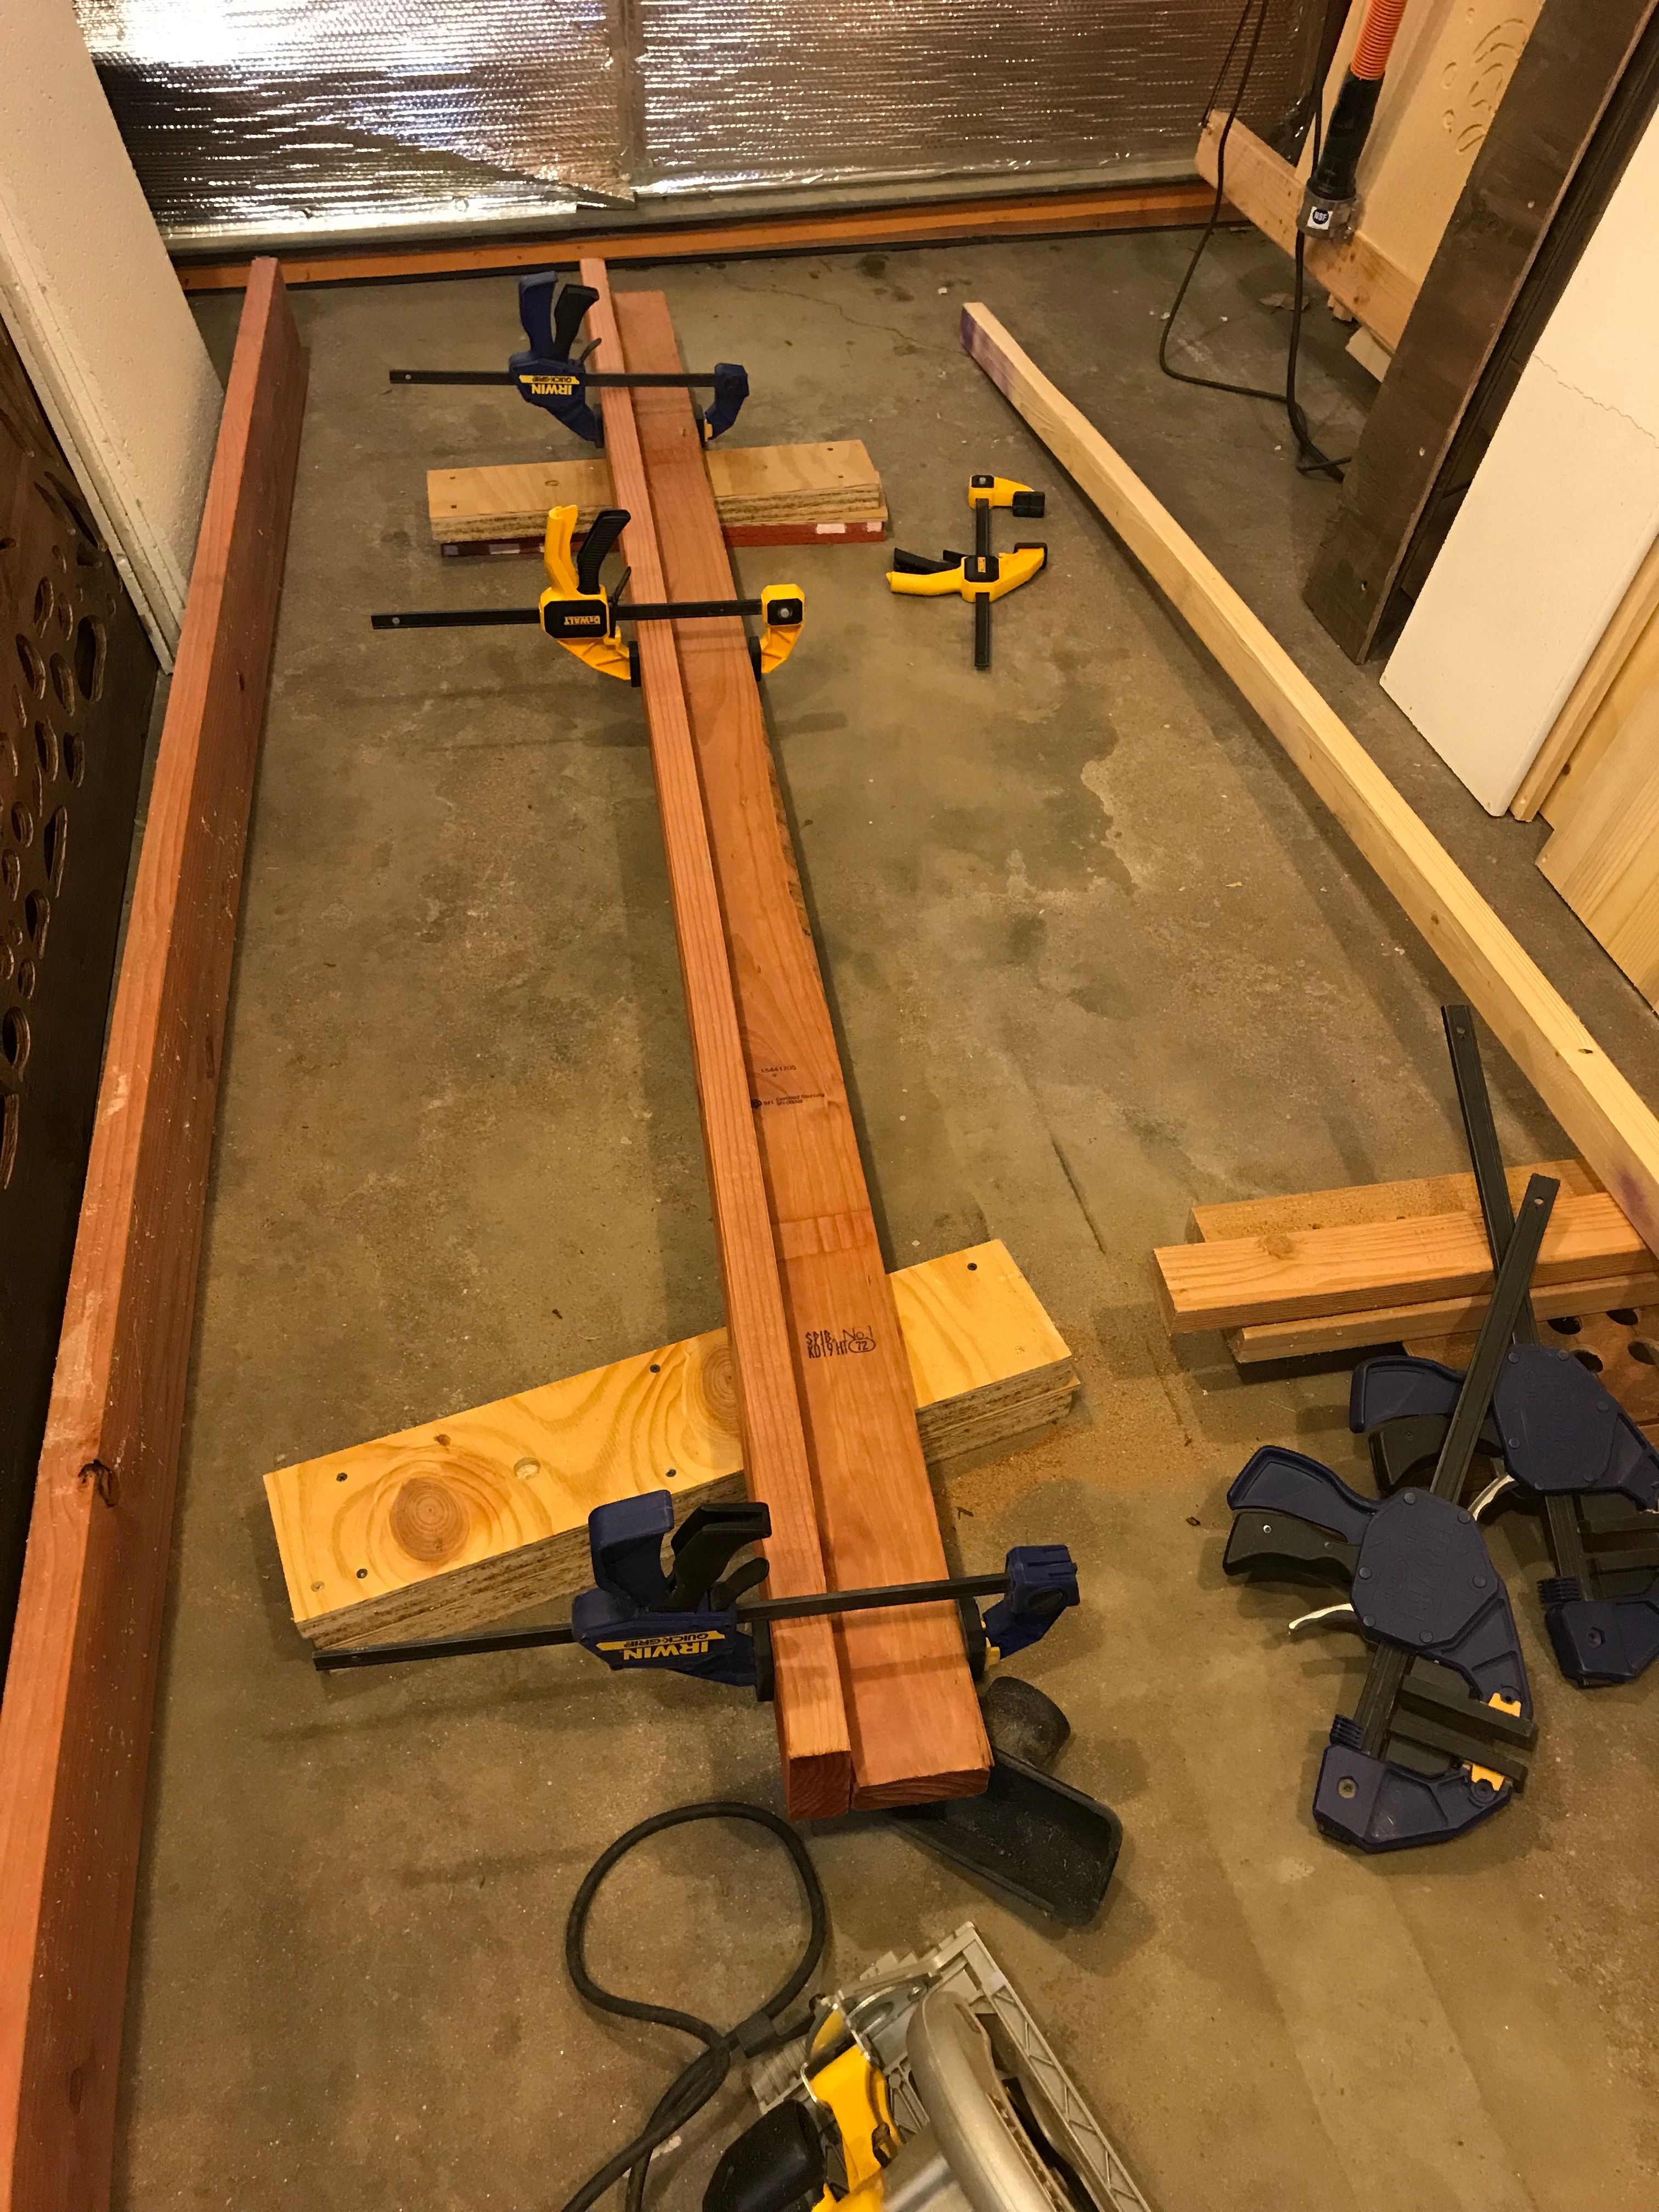
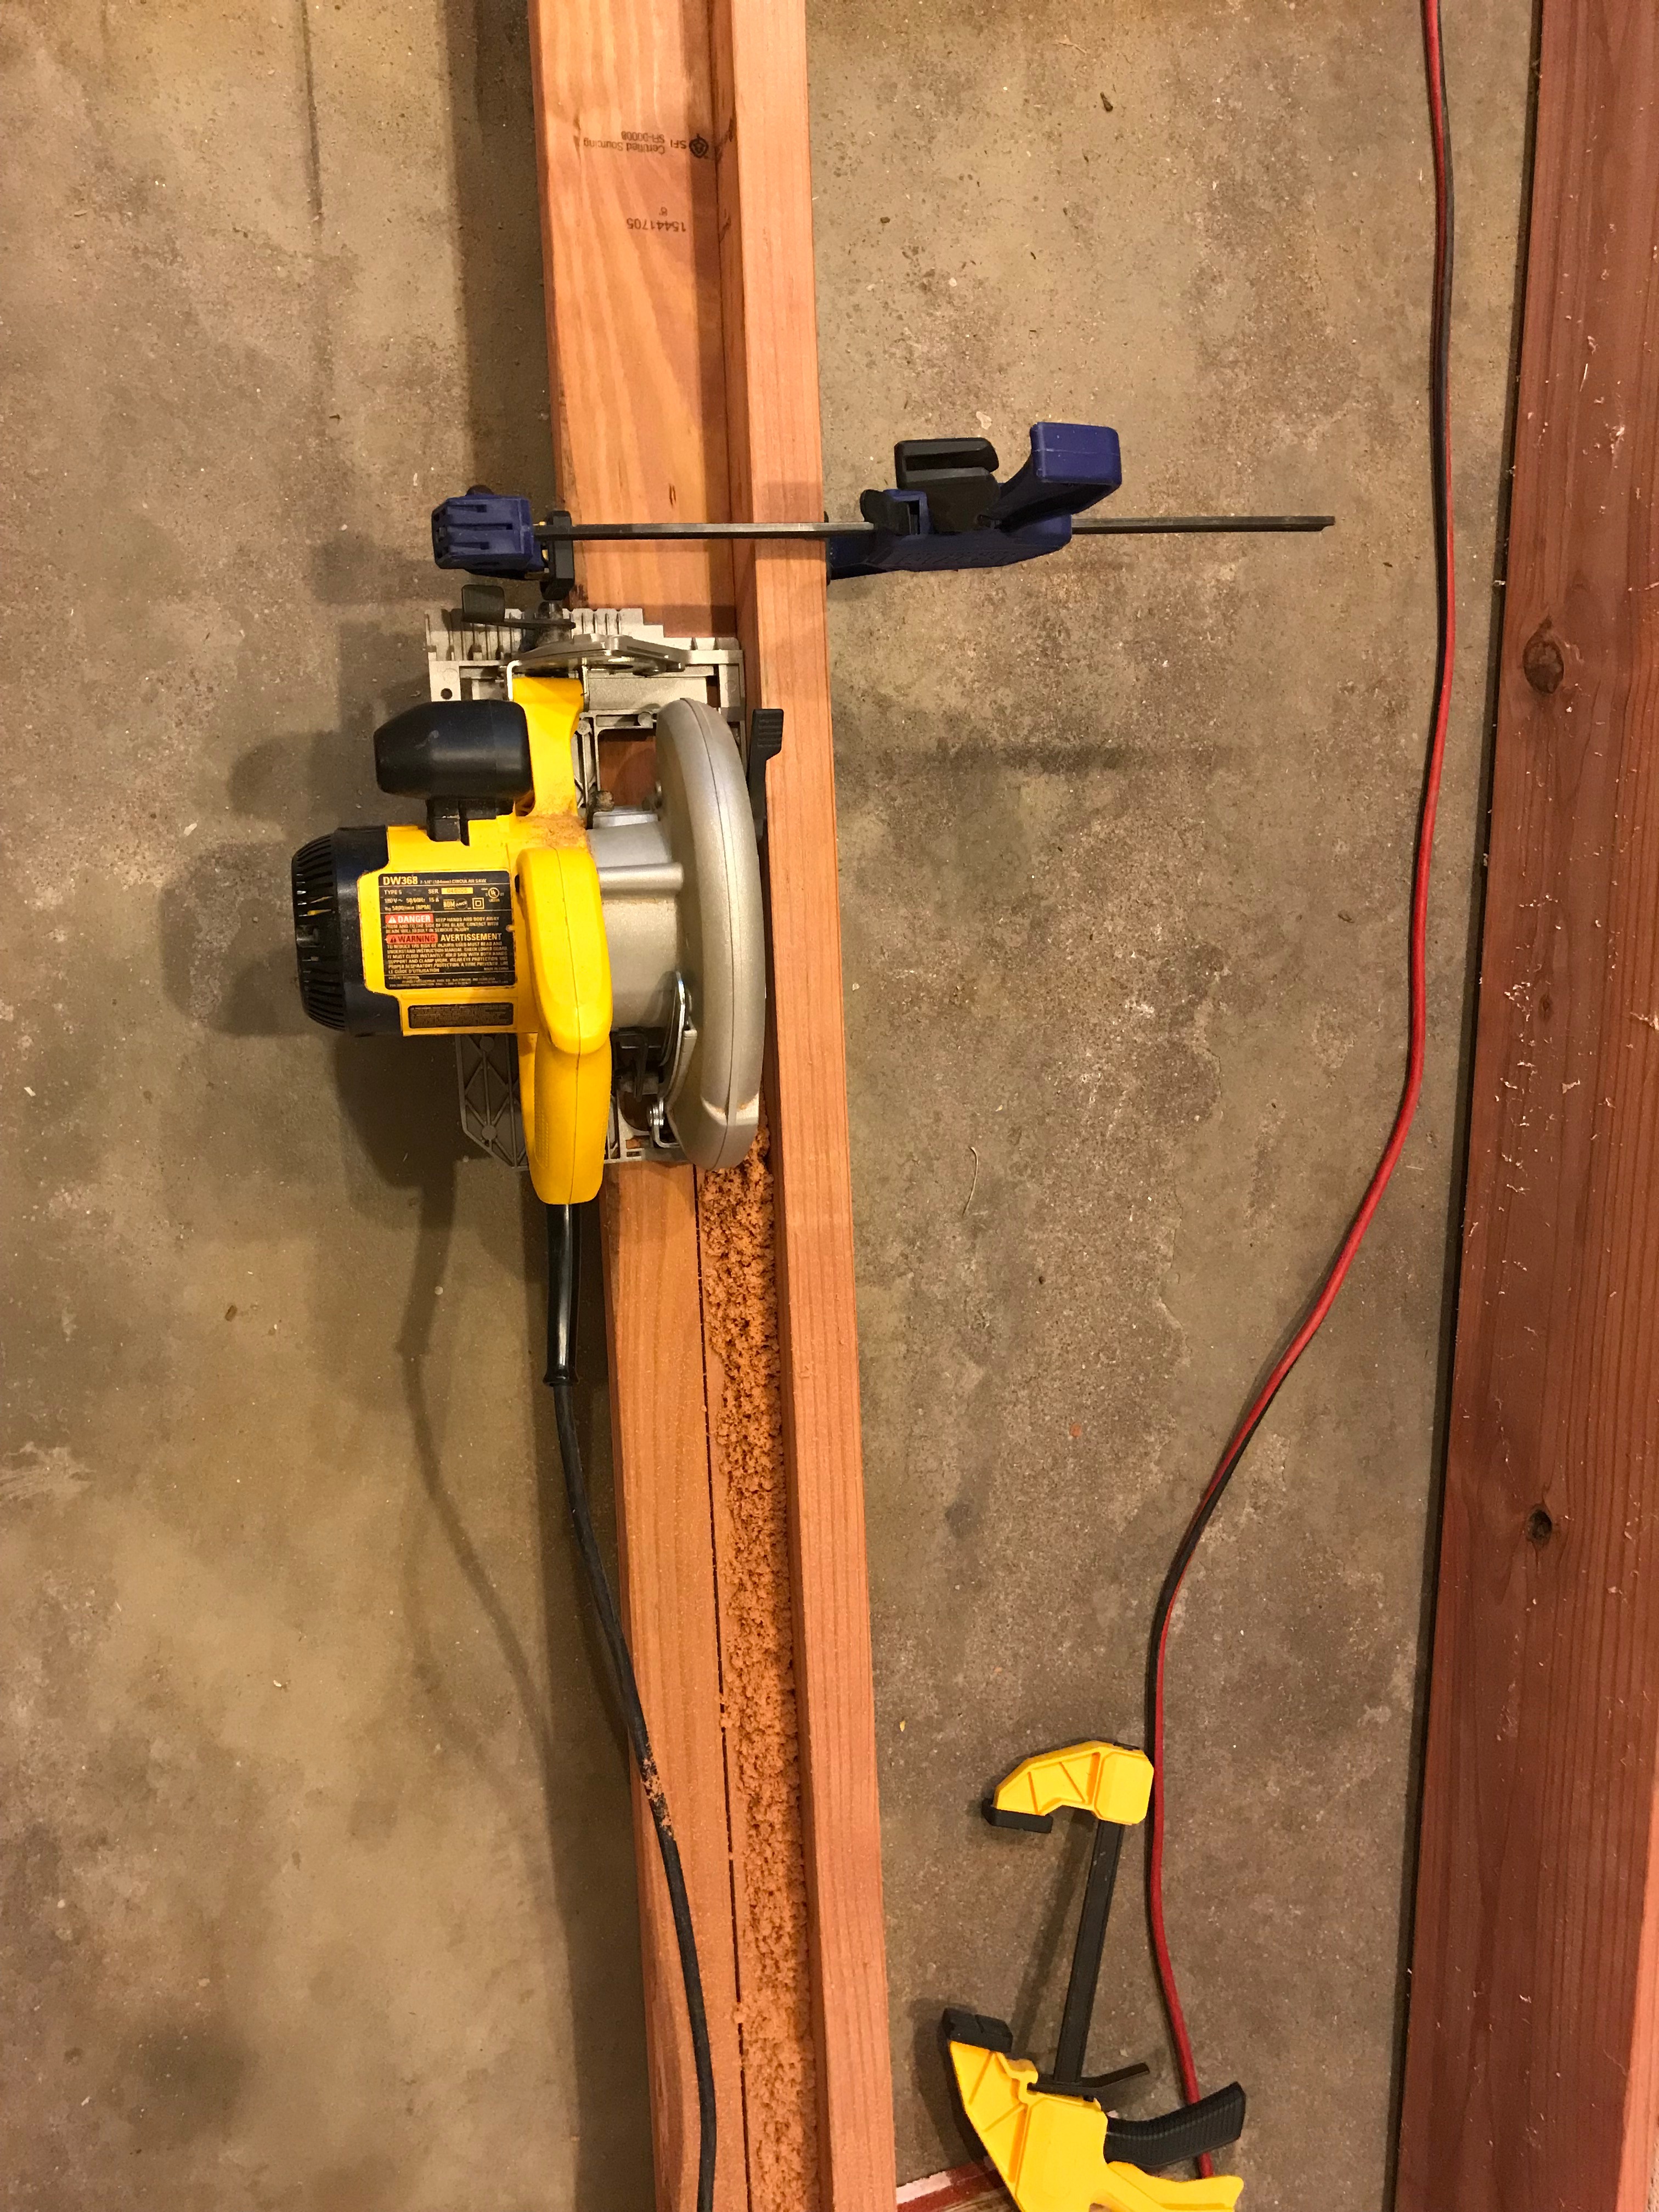
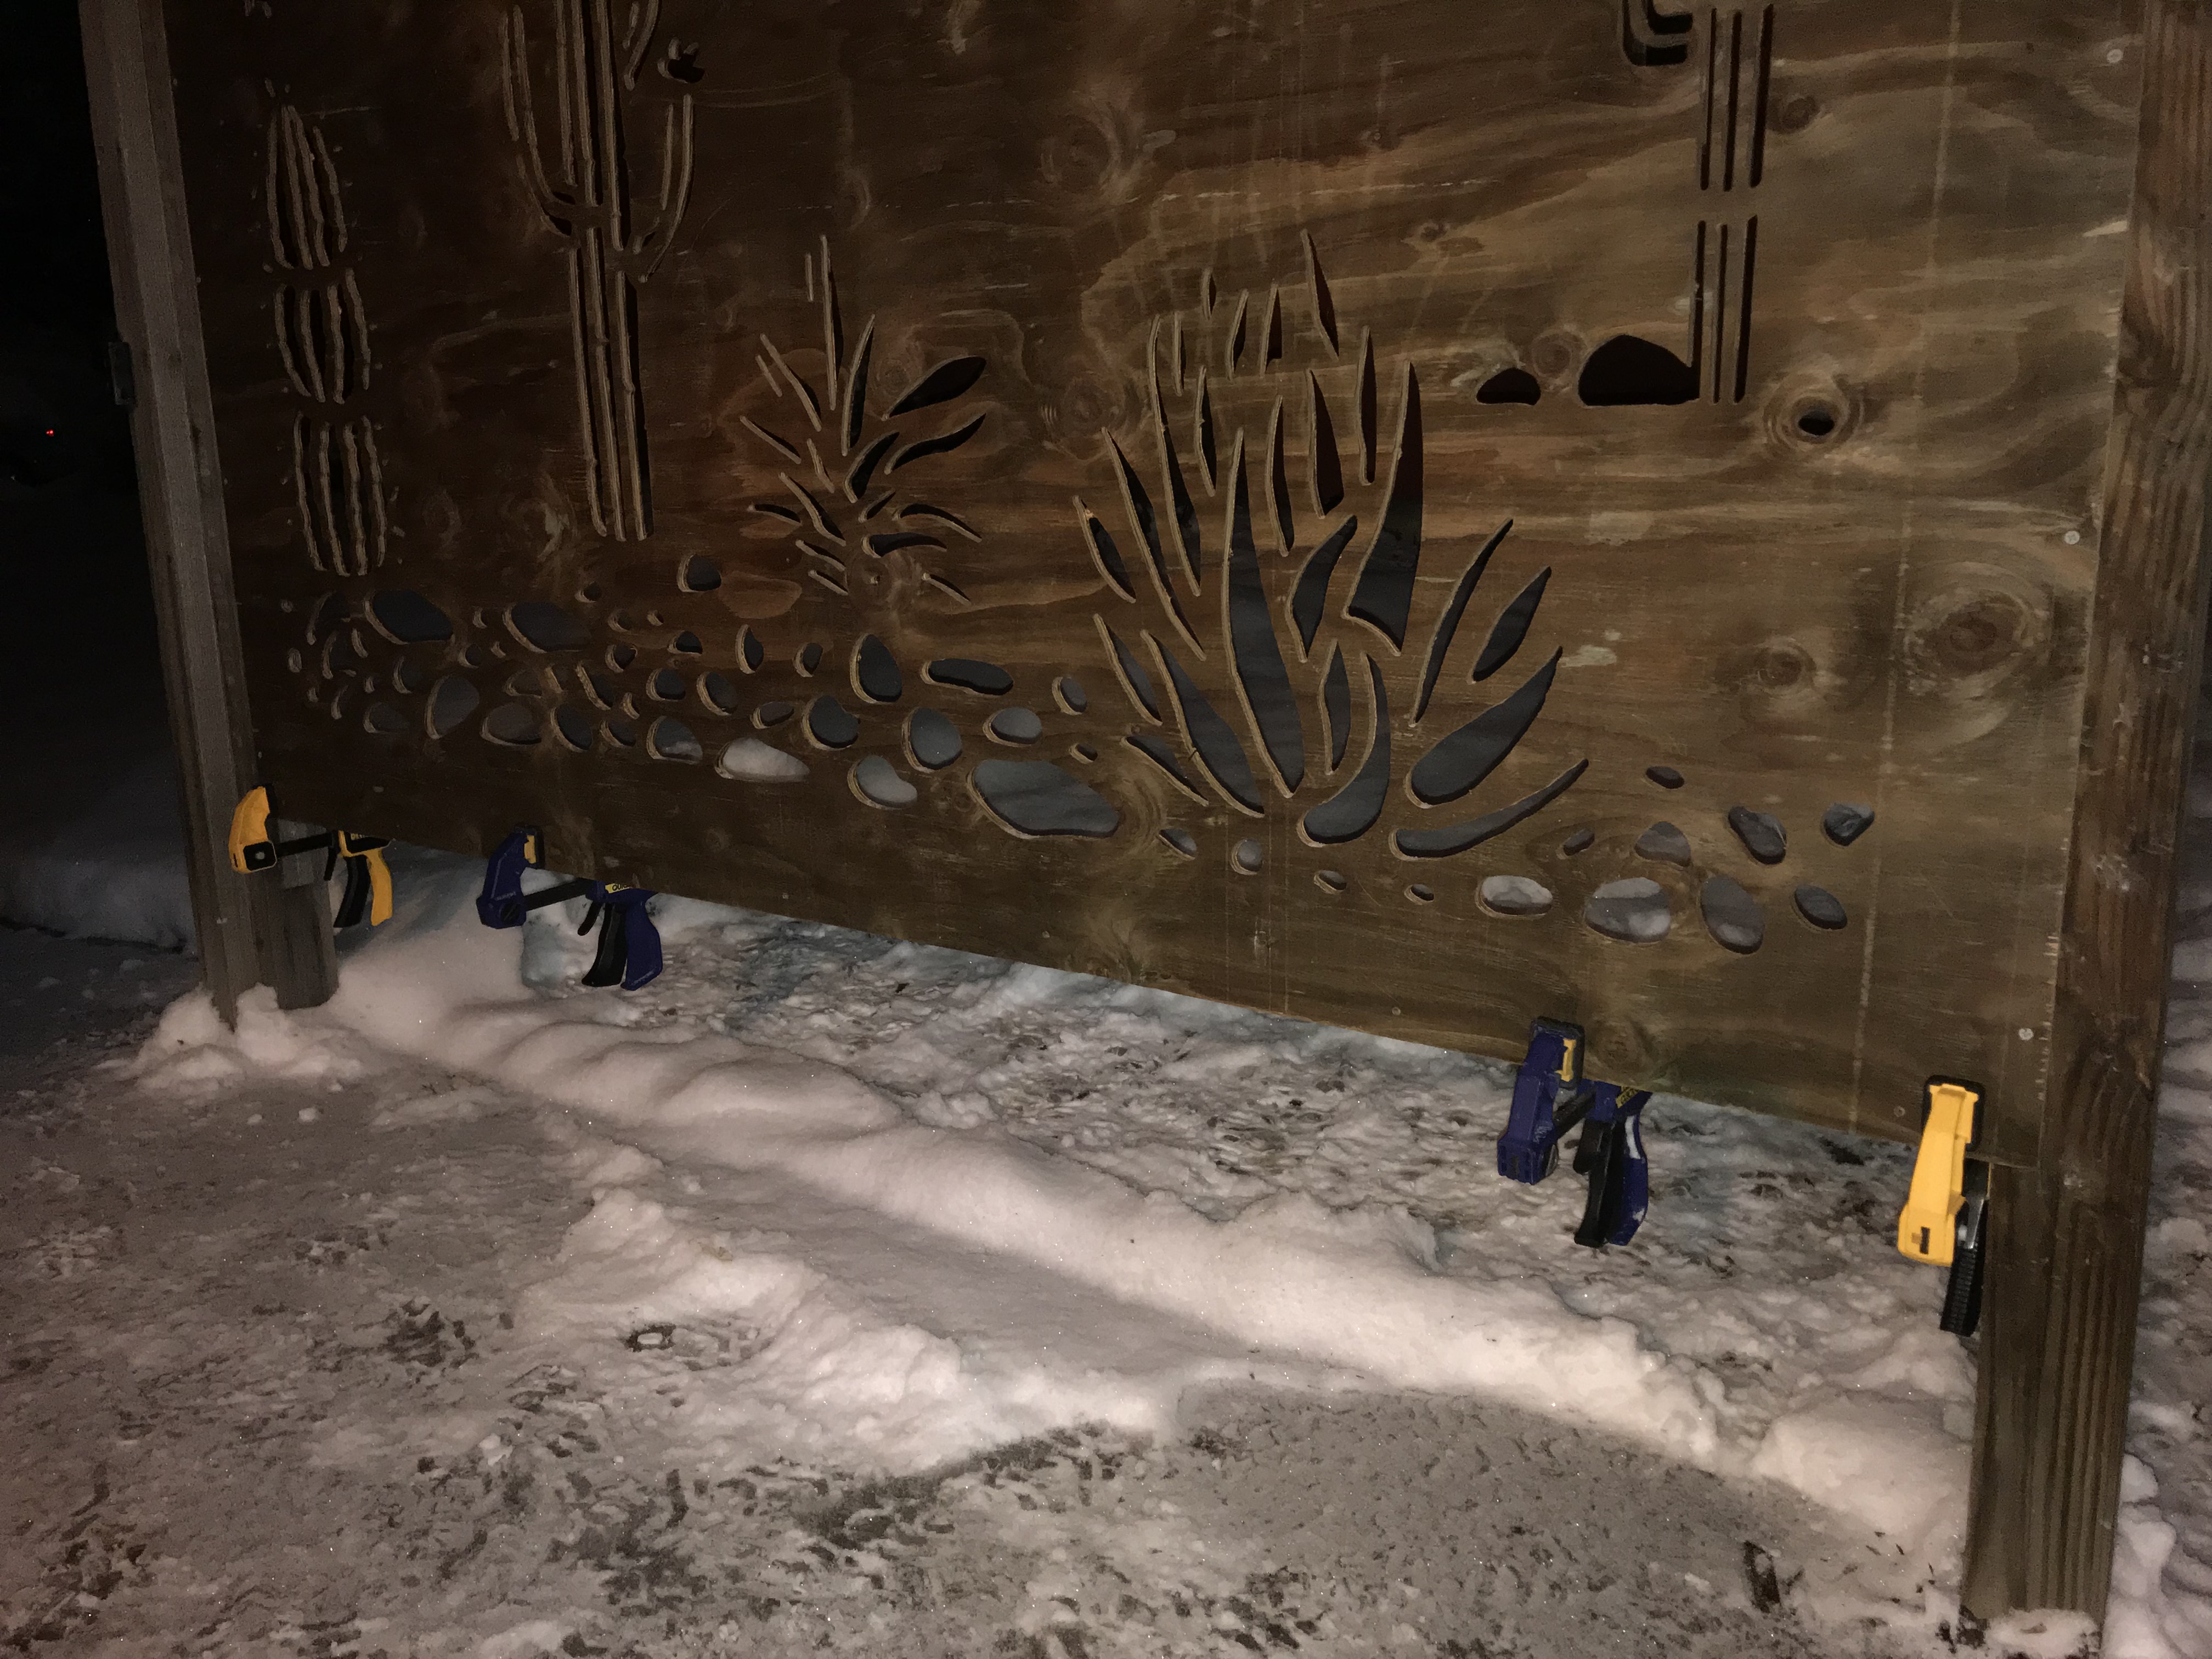
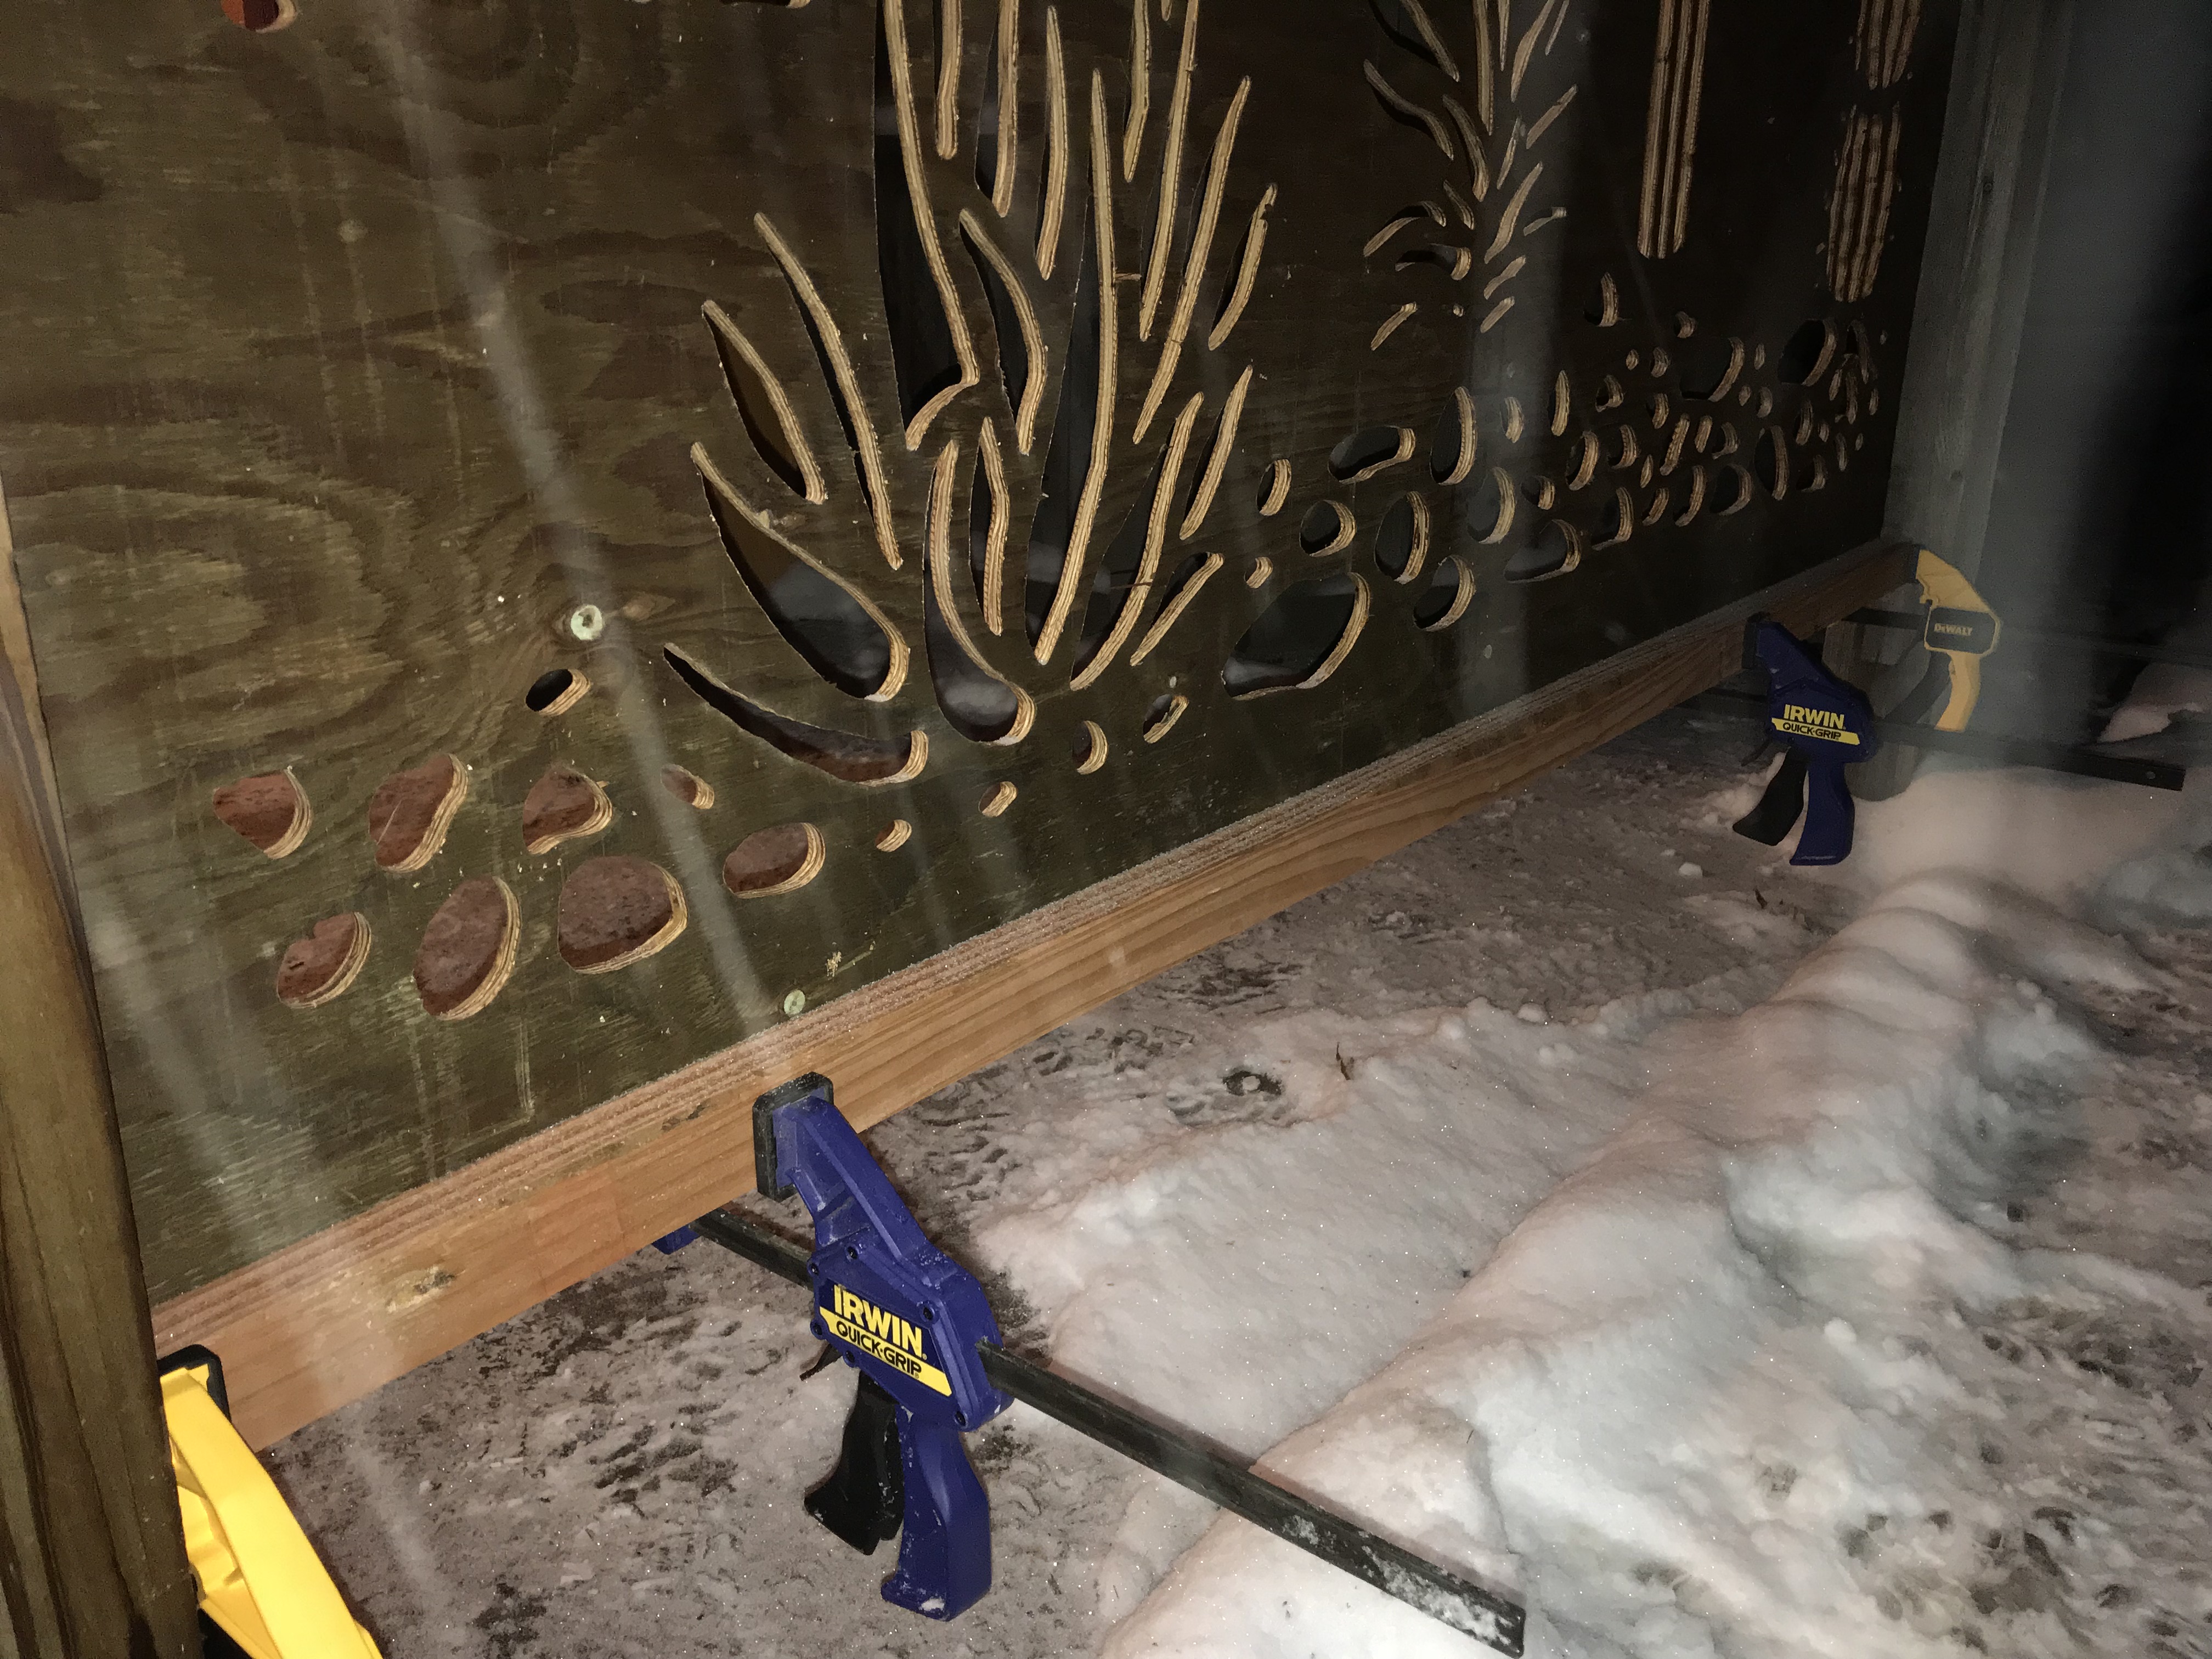
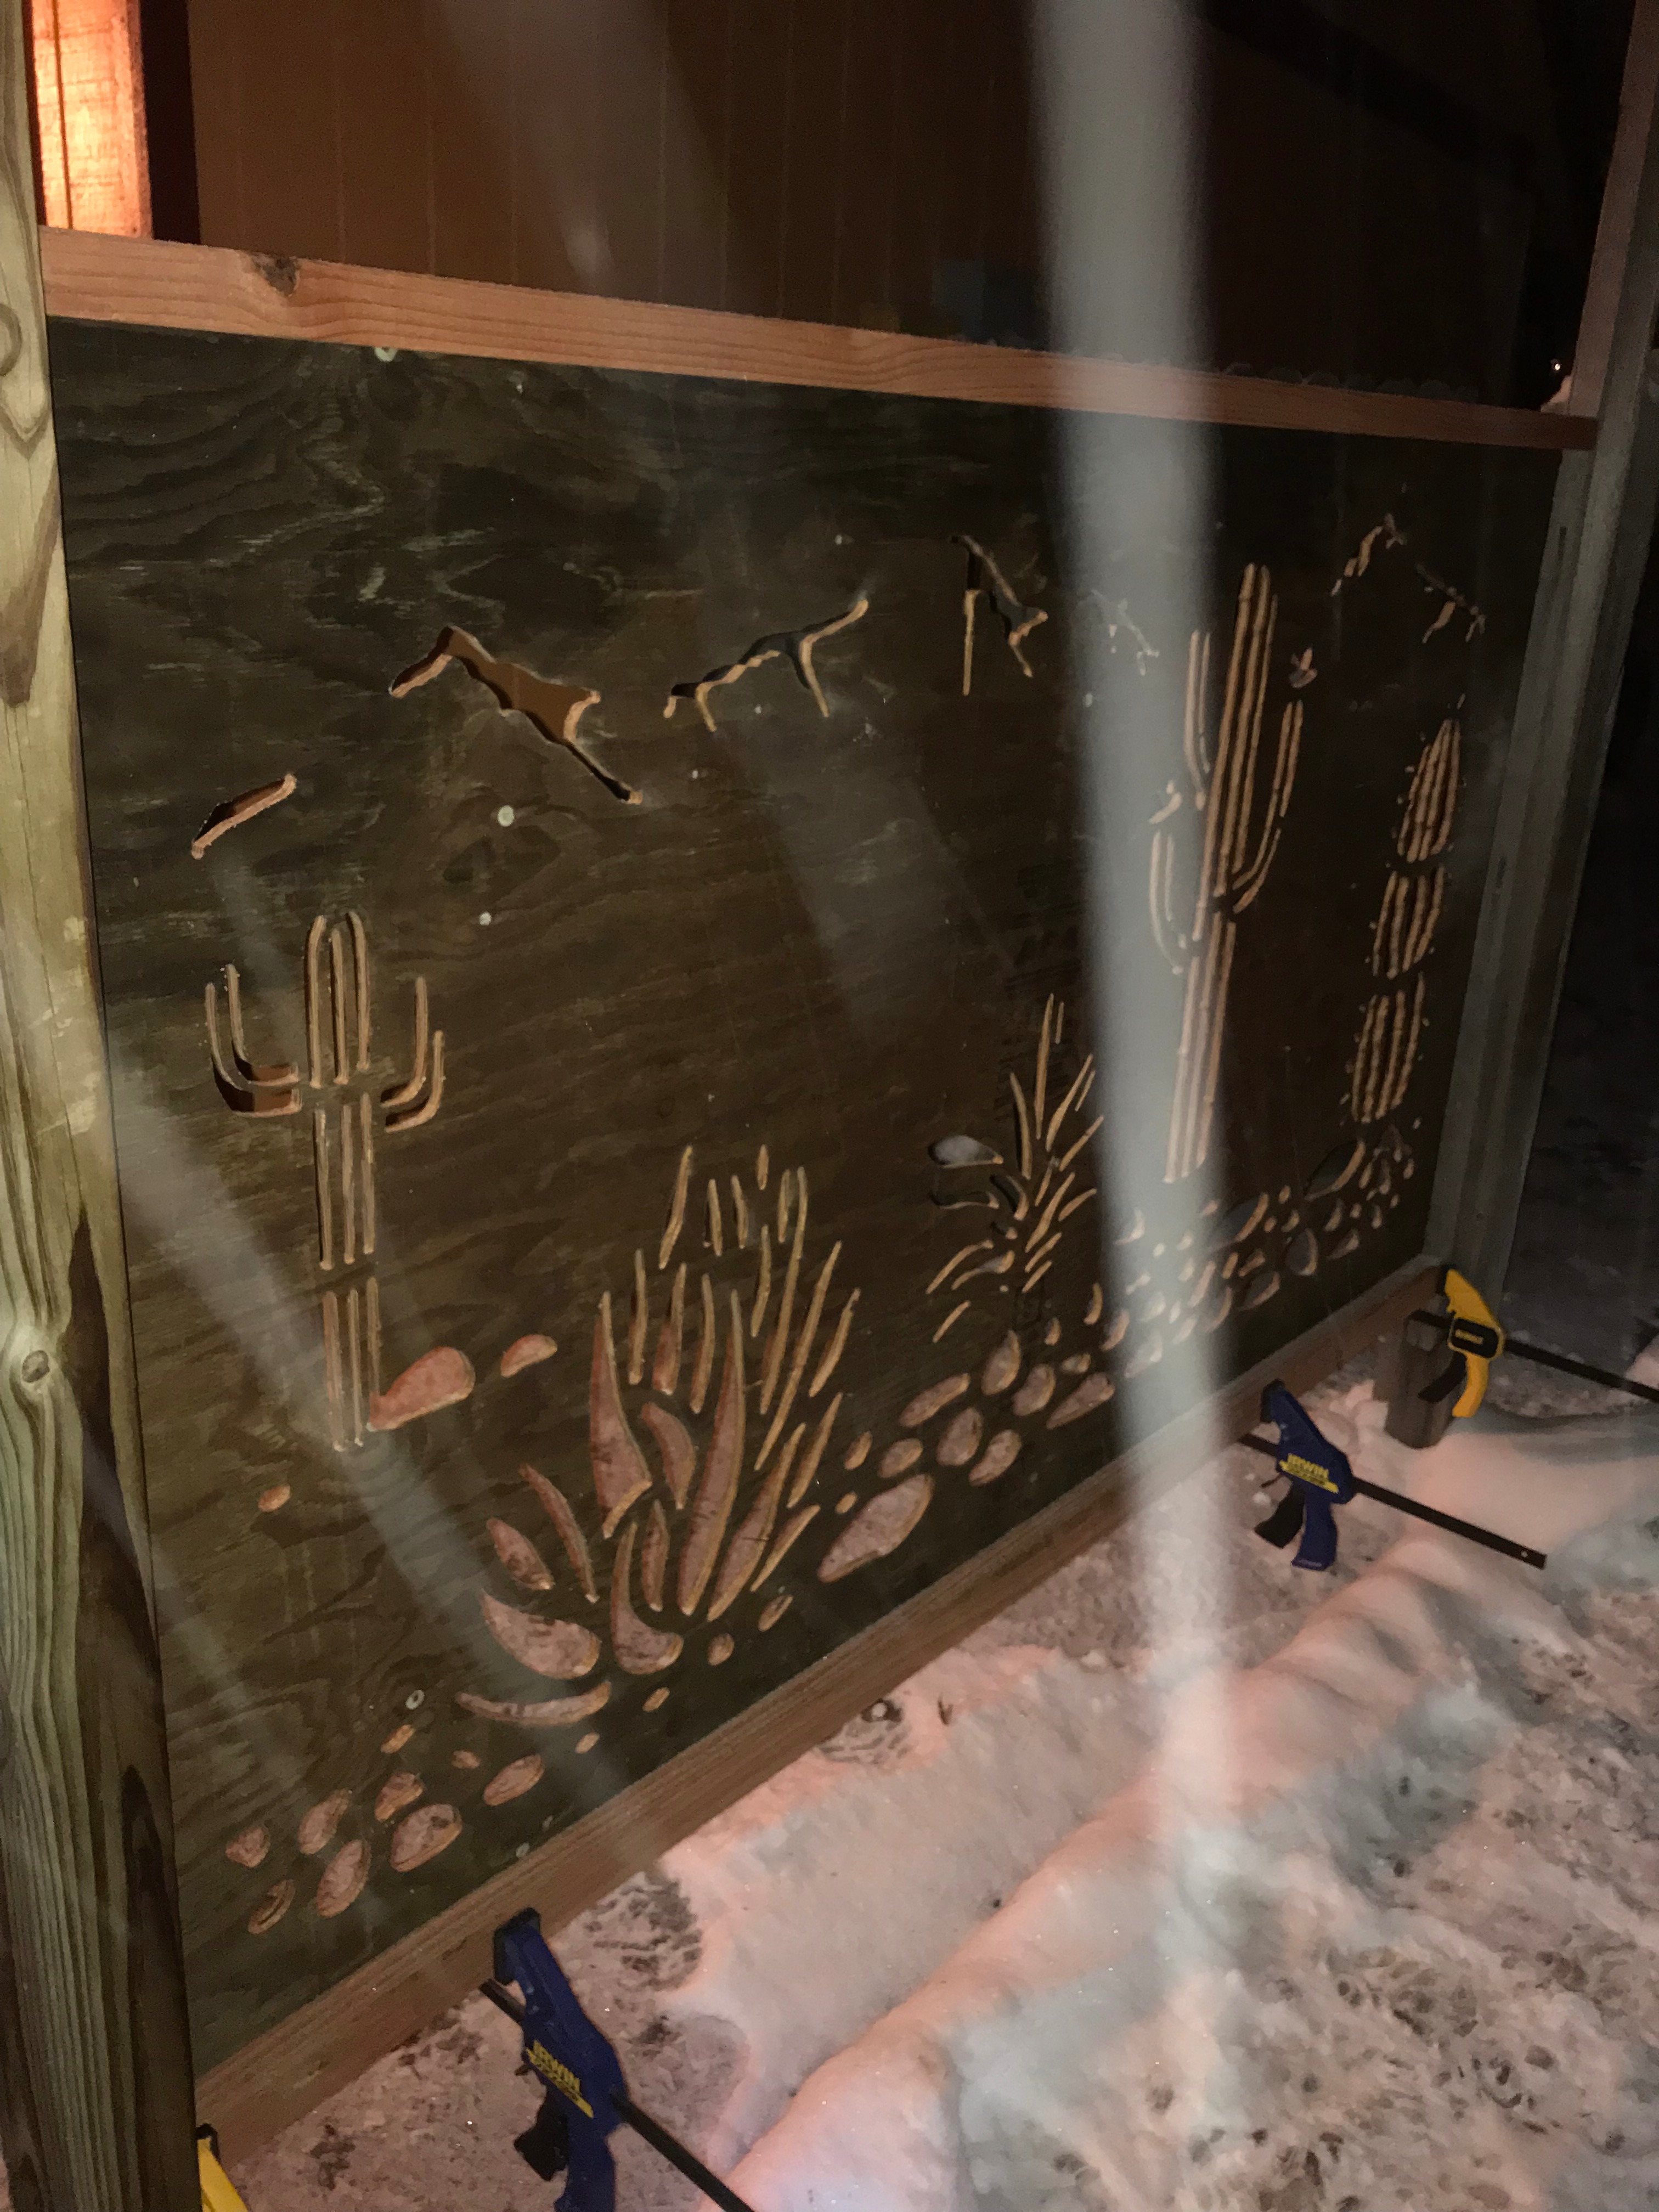
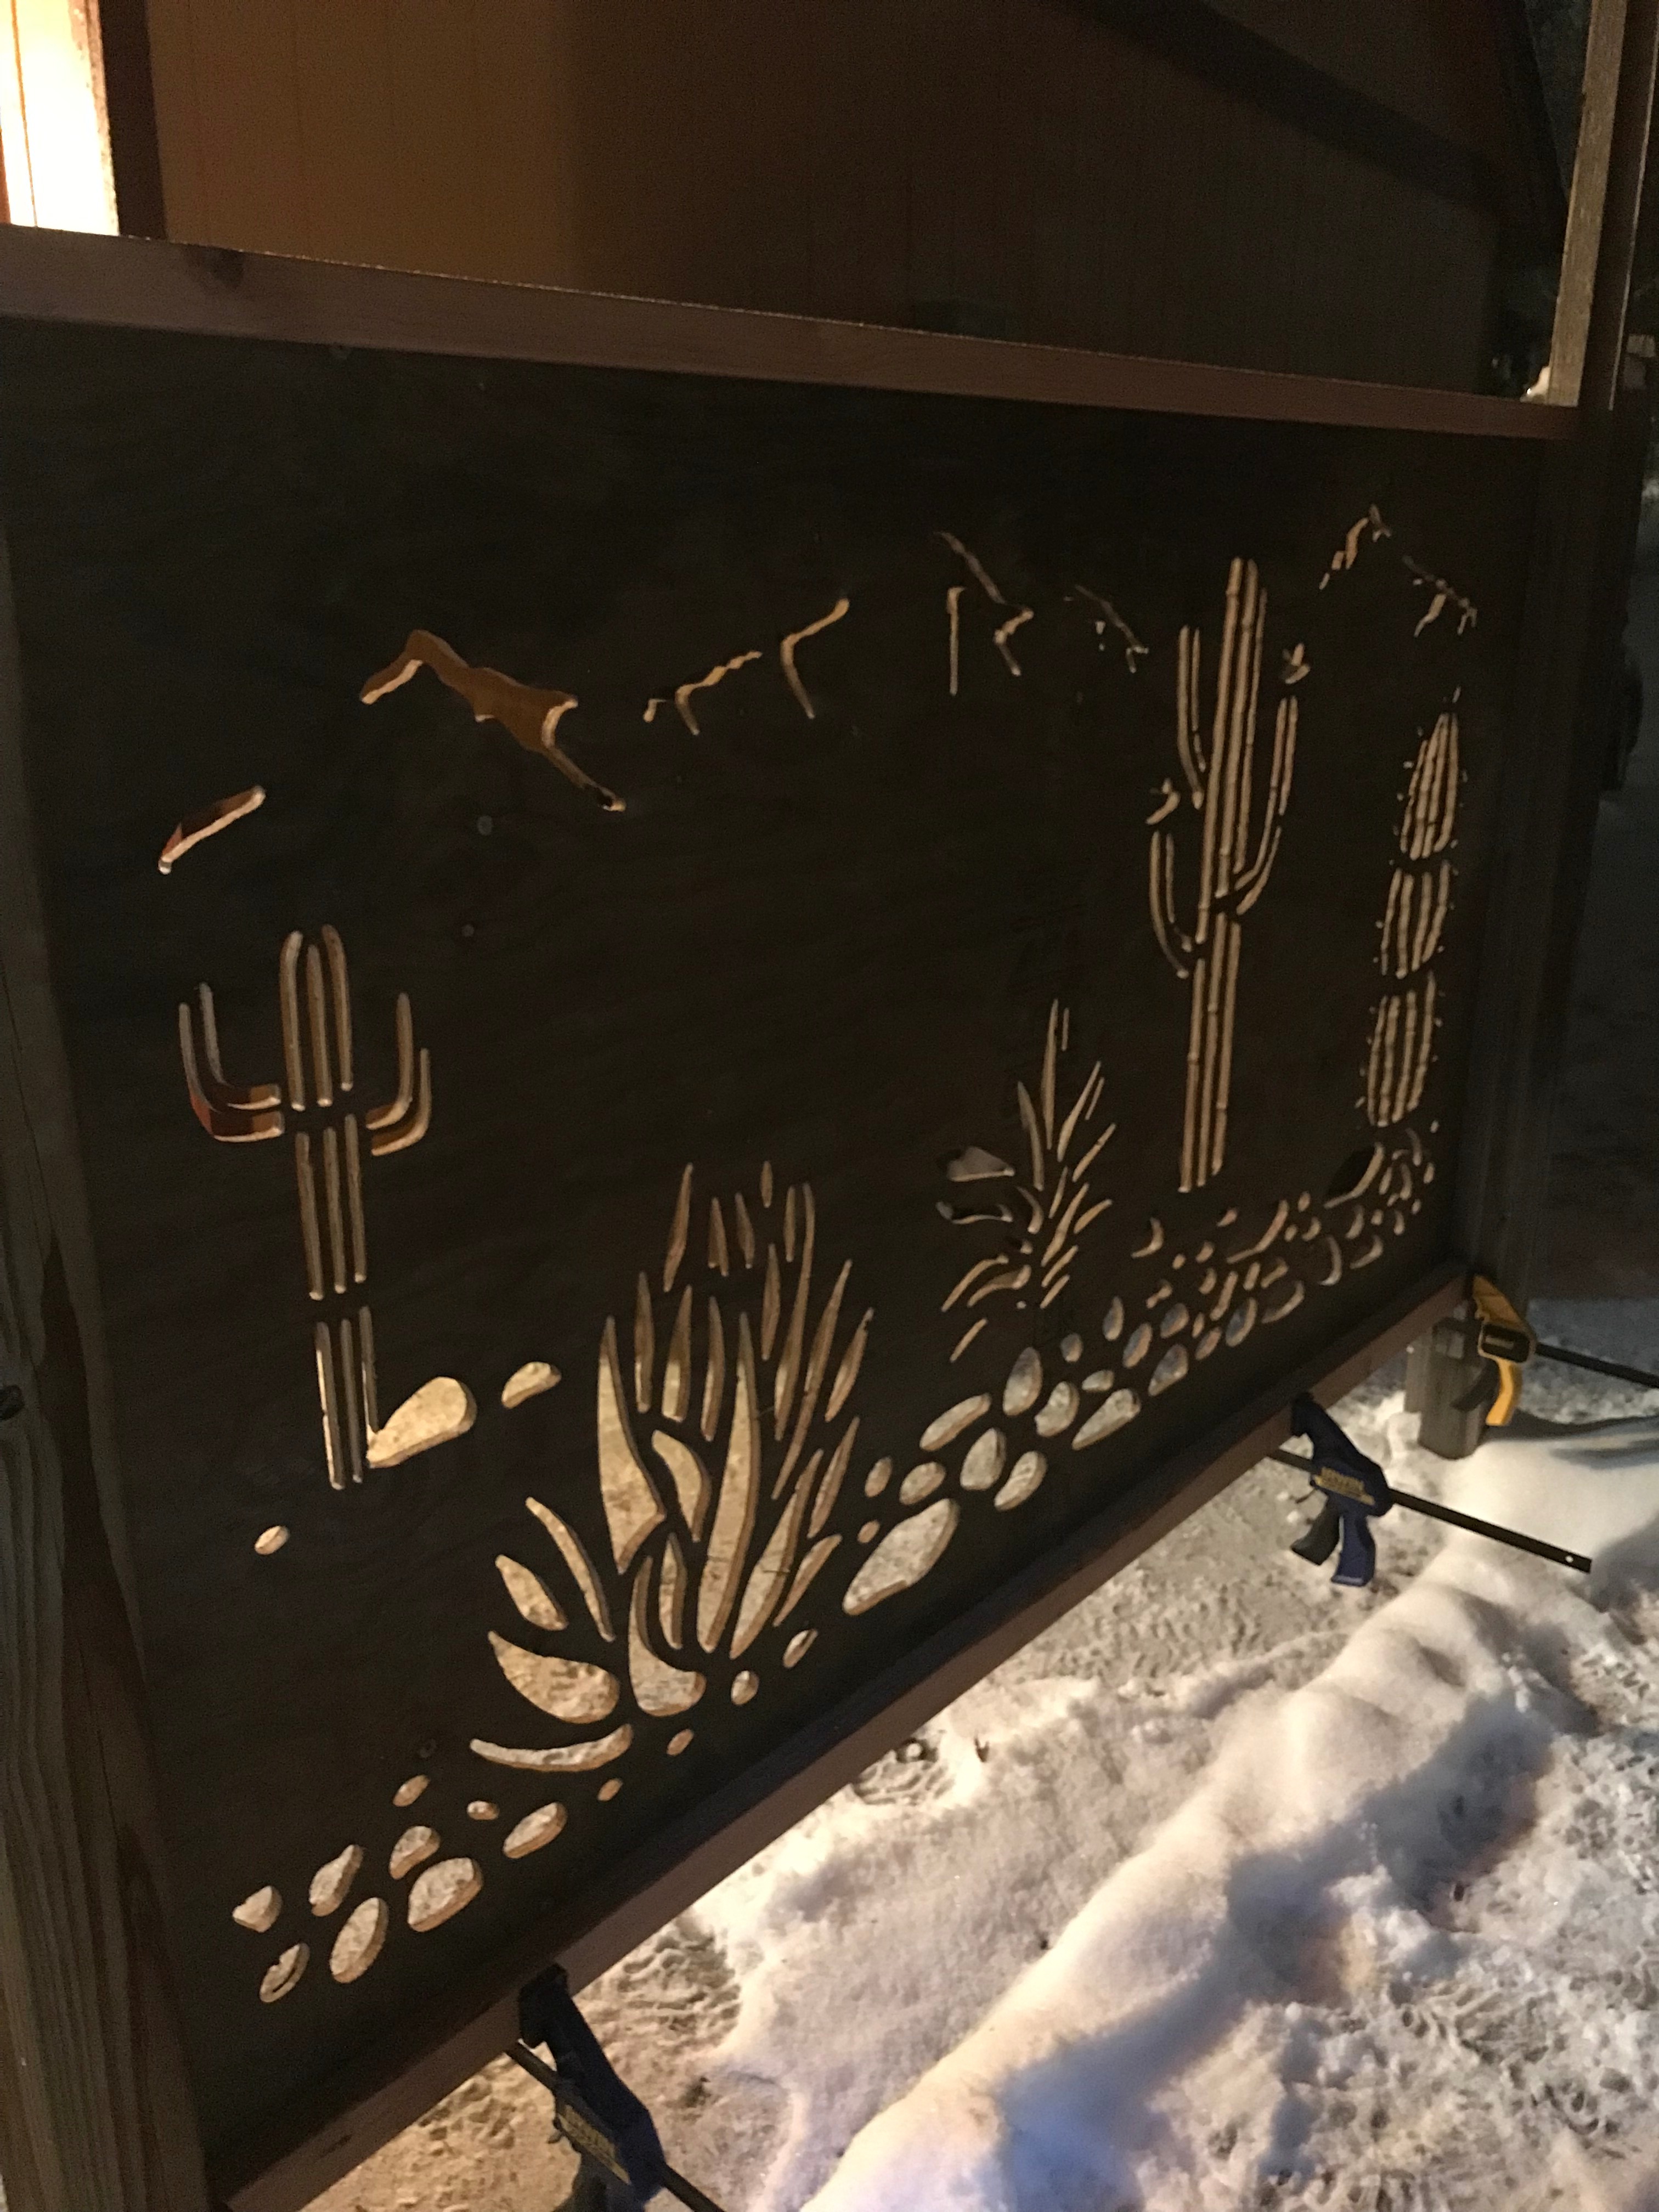
- Cut off the side strips you don't need (if any) with a circular saw or jig saw.
- Take thick strips of pressure (weather) treated wood and cut them into support beams of about 2"x2" strength.
- Clamp the panel onto the fence posts.
- Make sure it is level.
- Drill pilot holes for fastening.
- Countersink the holes.
- Attach wood screws (for outside) through the panel into the fence posts. Use plenty.
- Remove clamps.
- Measure and cut the support beams to length.
- Clamp them on to the panel..
- Drill pilot holes for fastening.
- Countersink the holes.
- Attach wood screws (for outside) through the panel into the support. Use plenty.
- Remove clamps.
- Step back and enjoy.
- Tell your neighbors.
- Take pictures and post them on instagram, facebook, pinterest, and wherever else.
- Boast.
- Whatever you choose, enjoy and be proud.
Glamour Shots
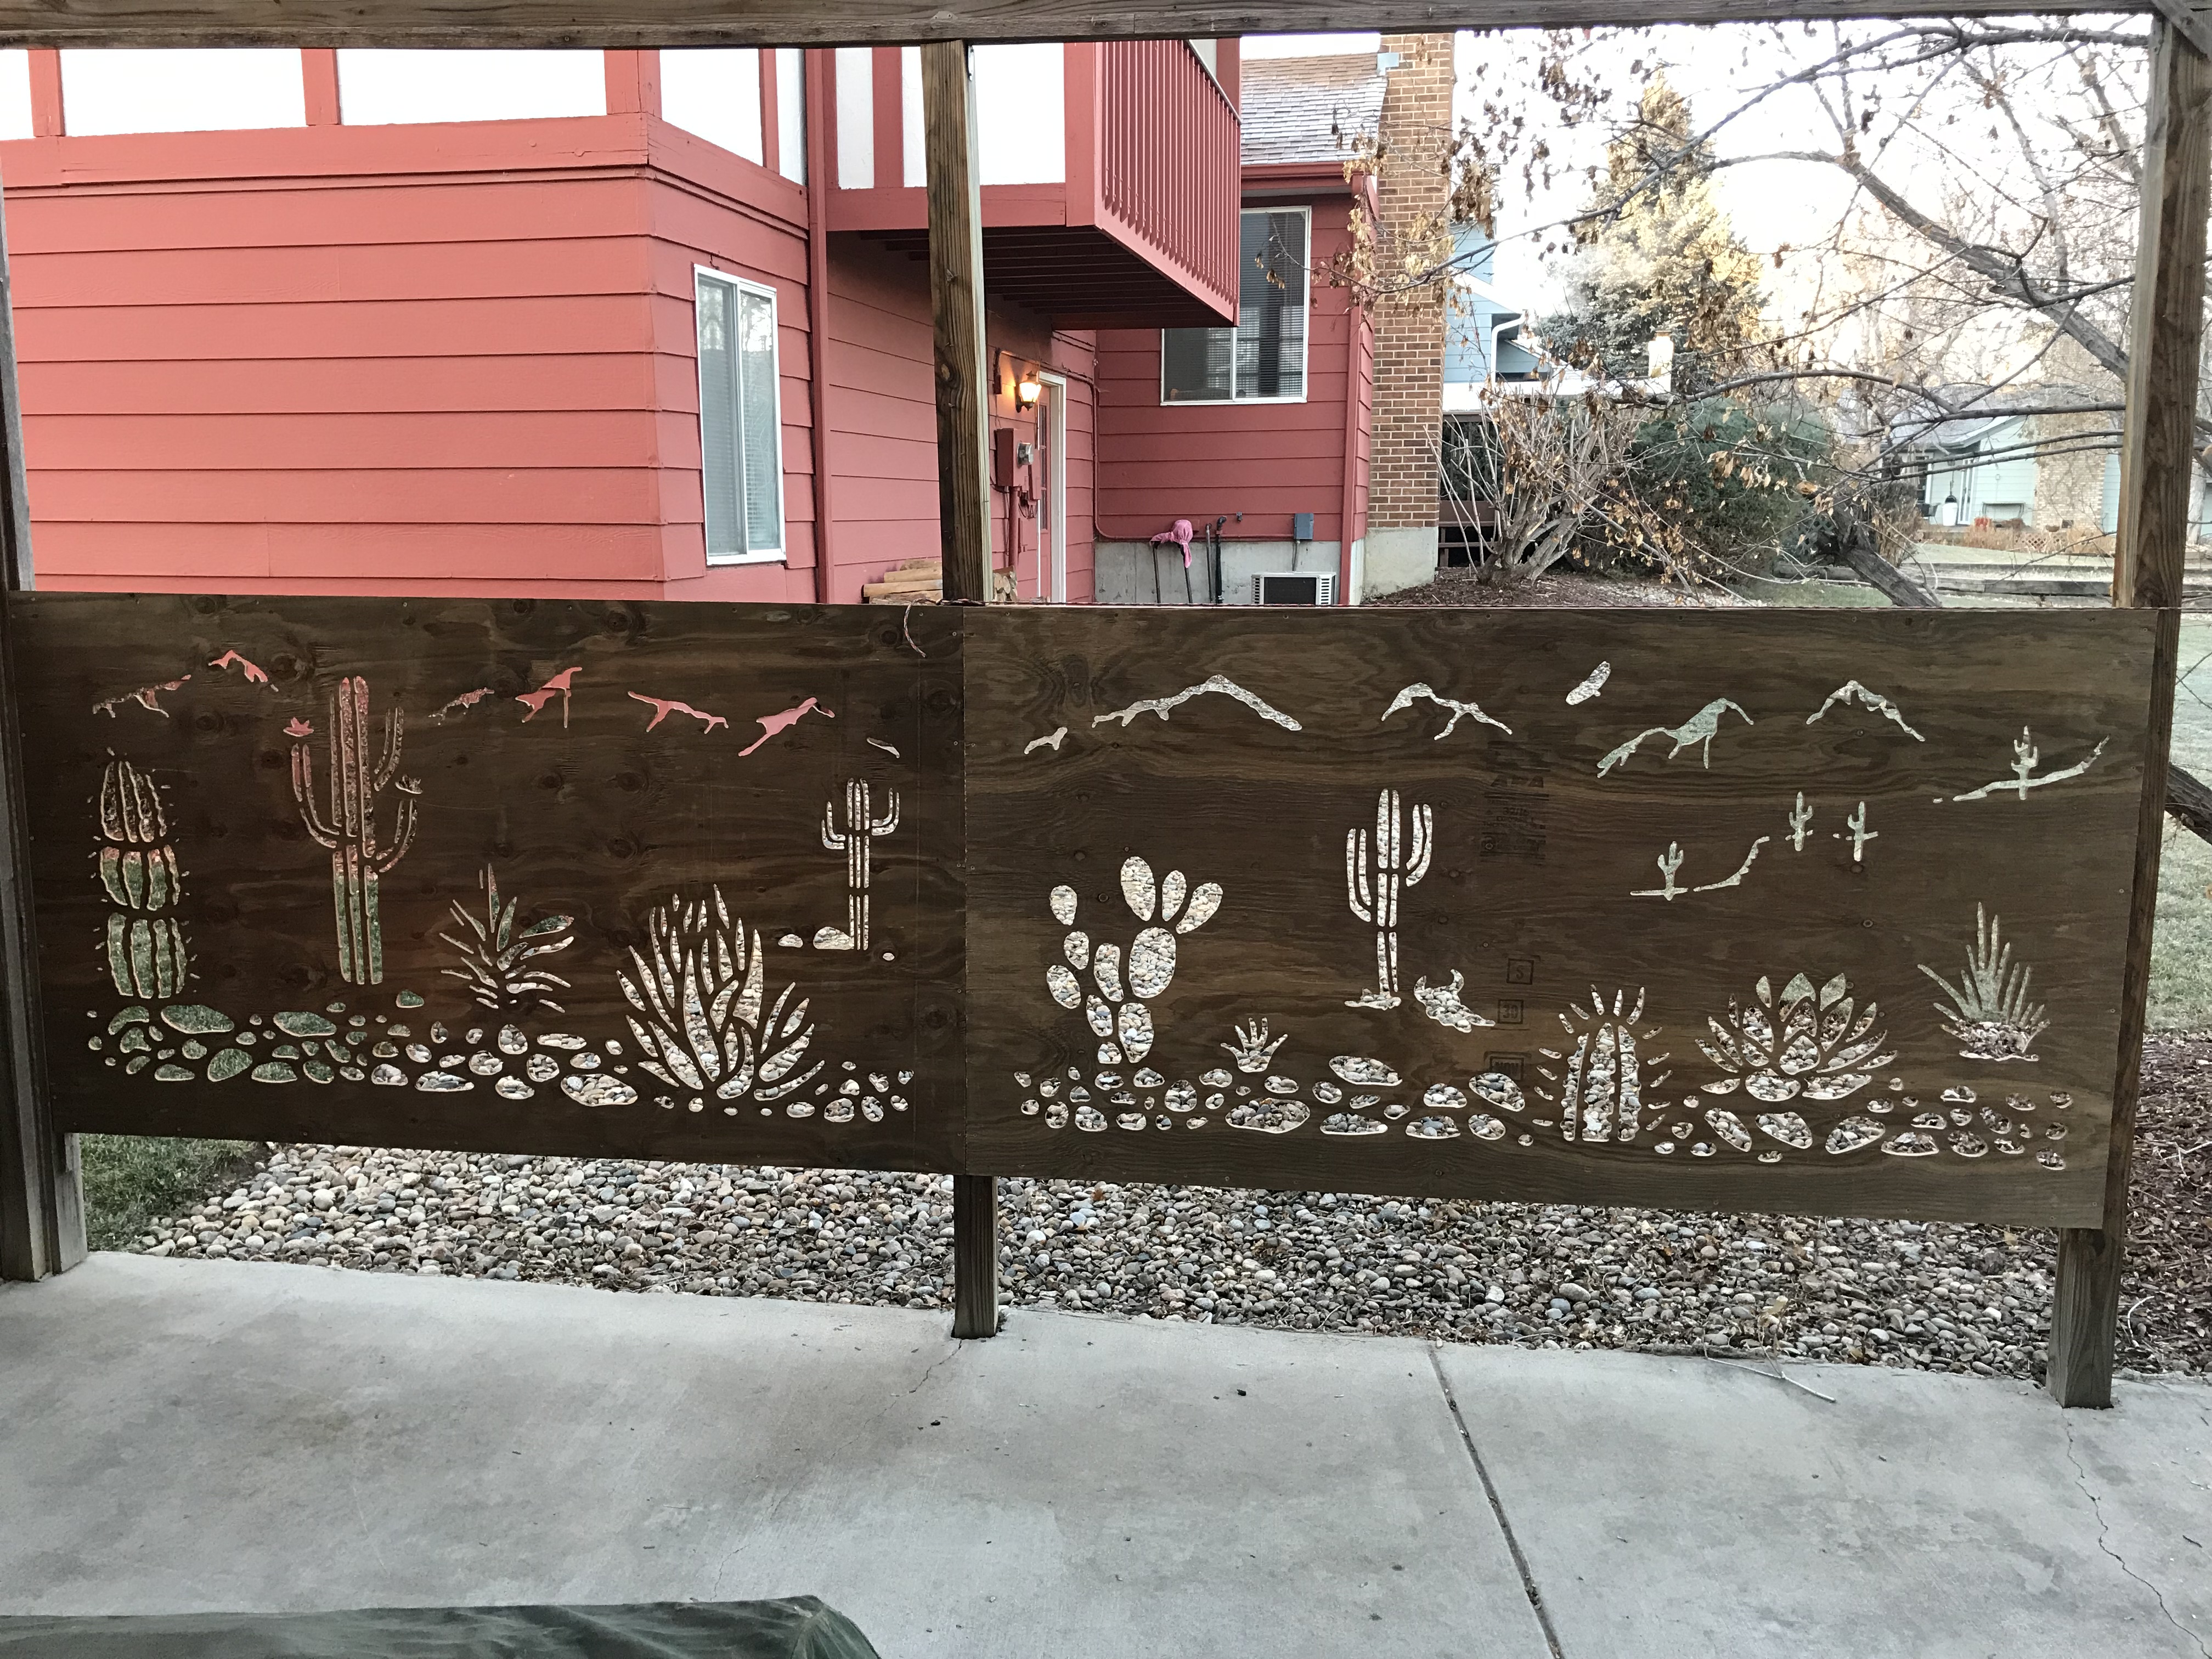
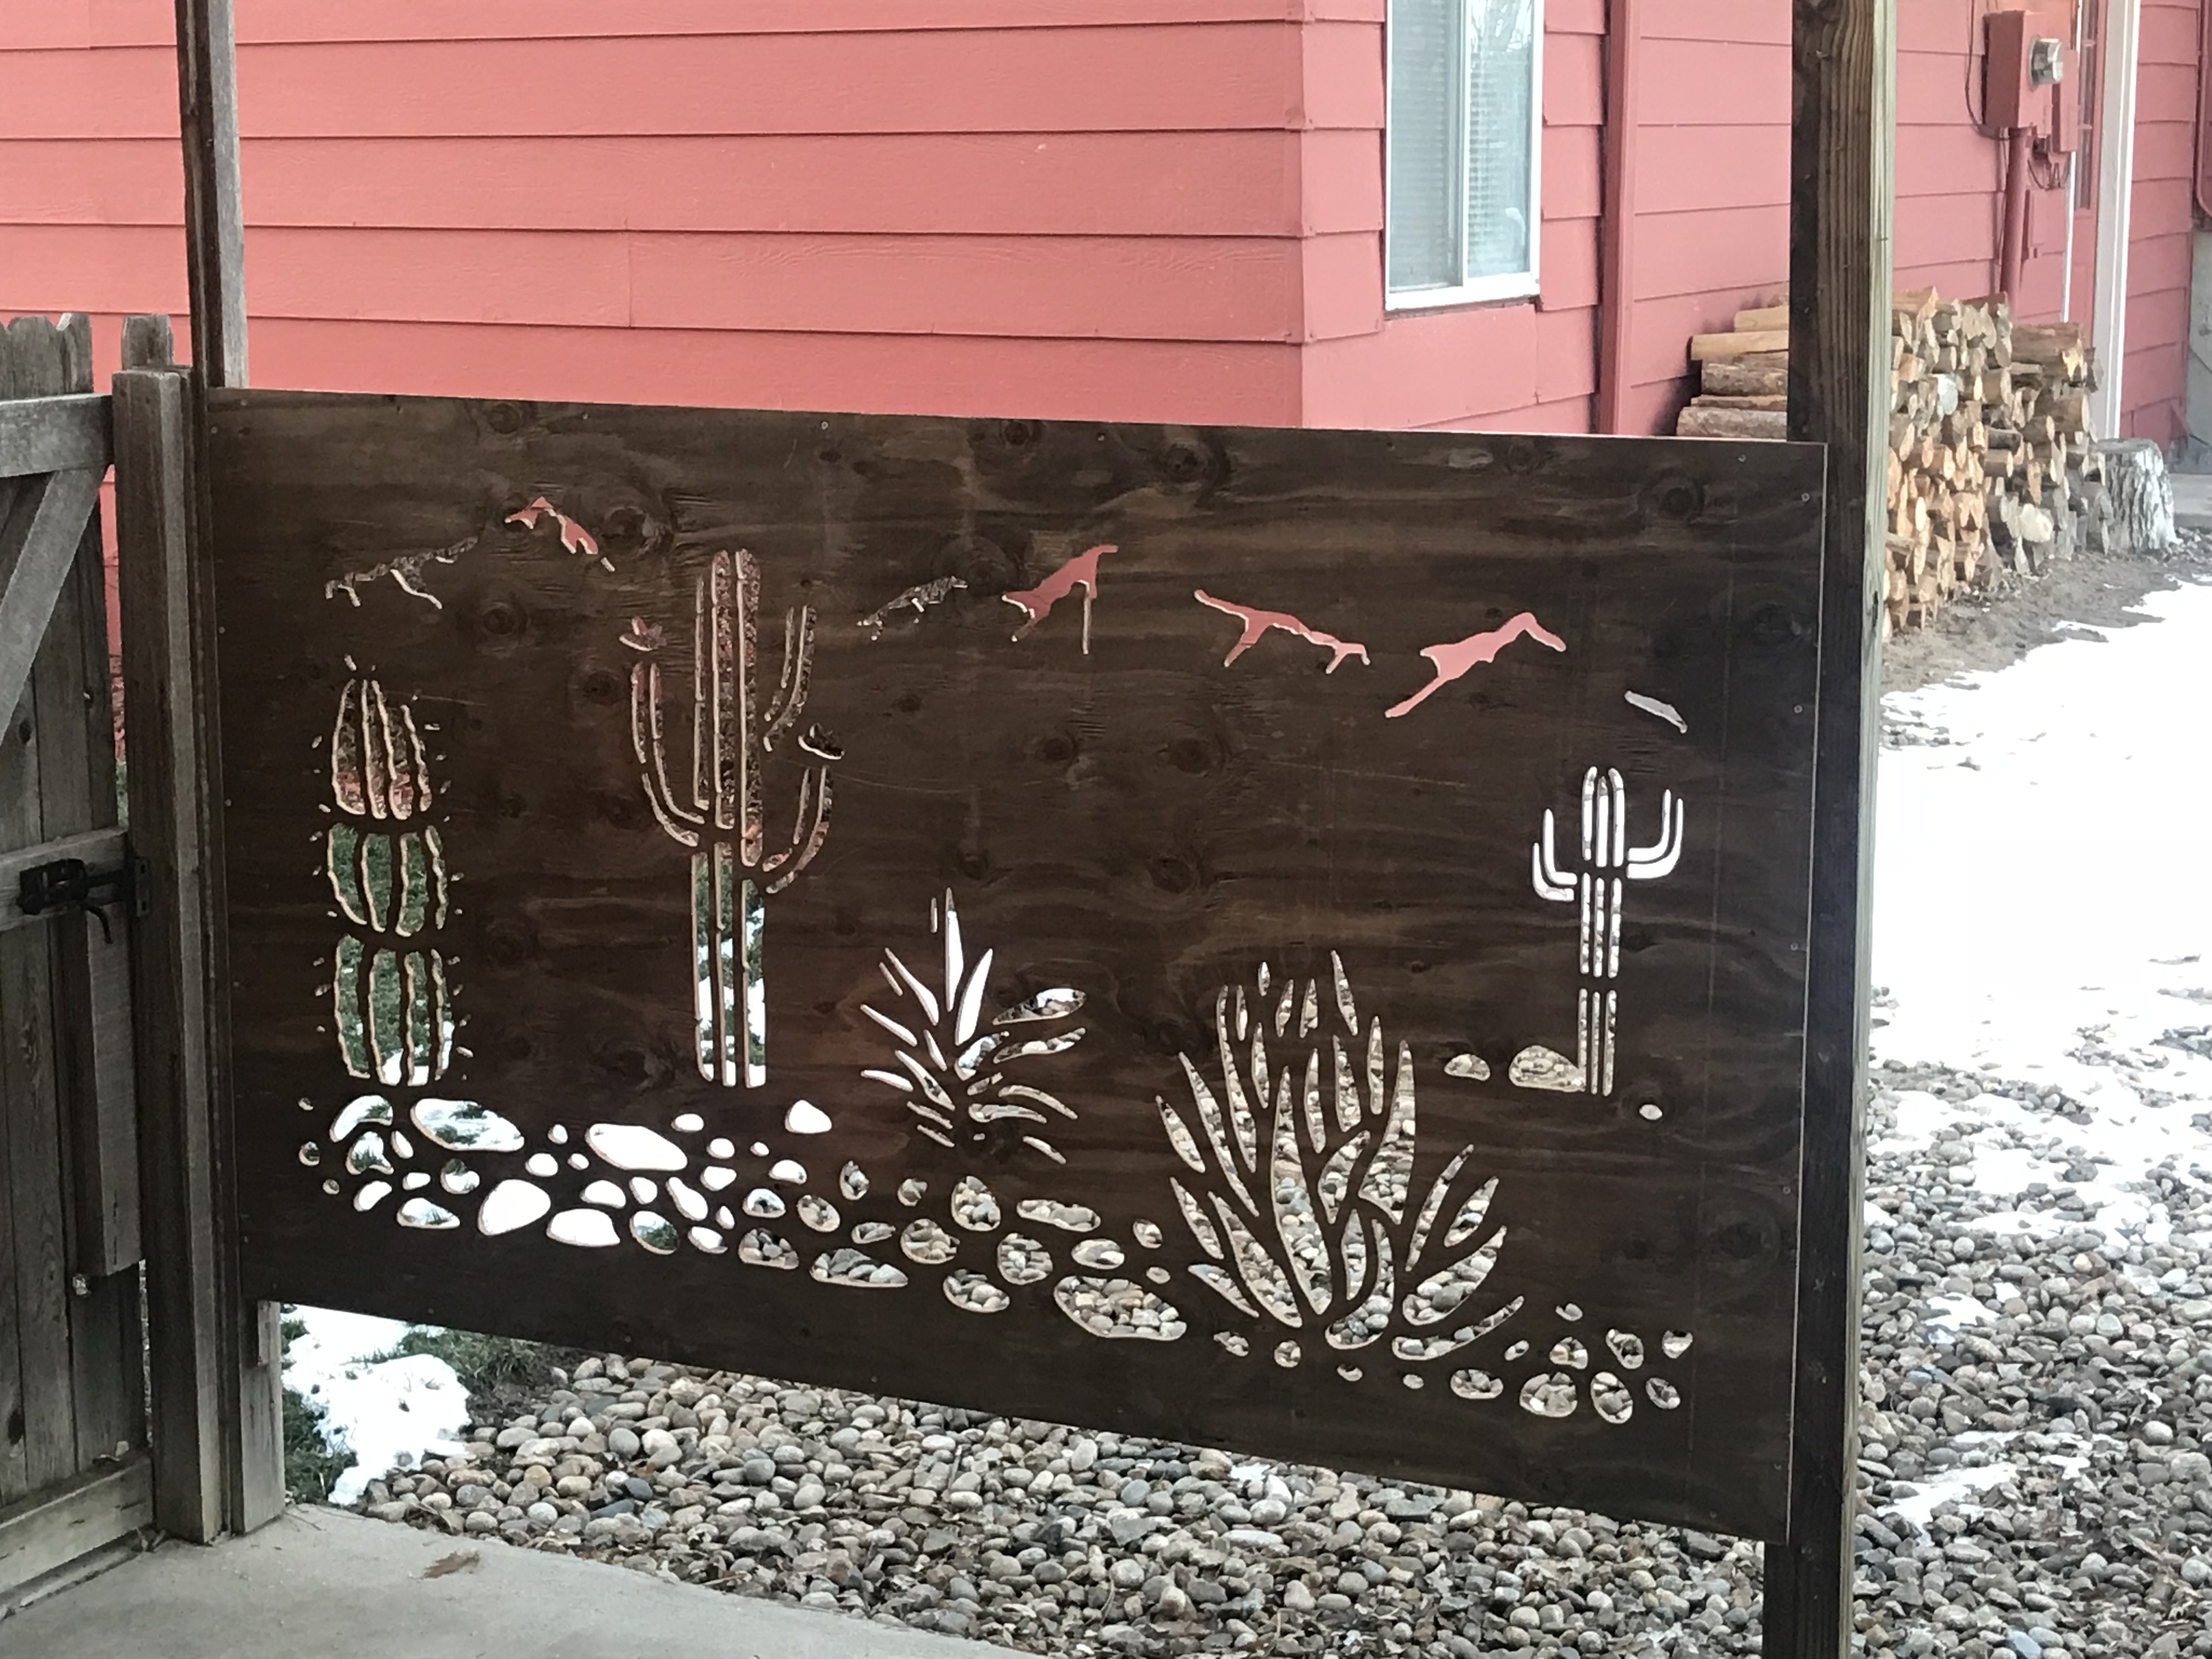
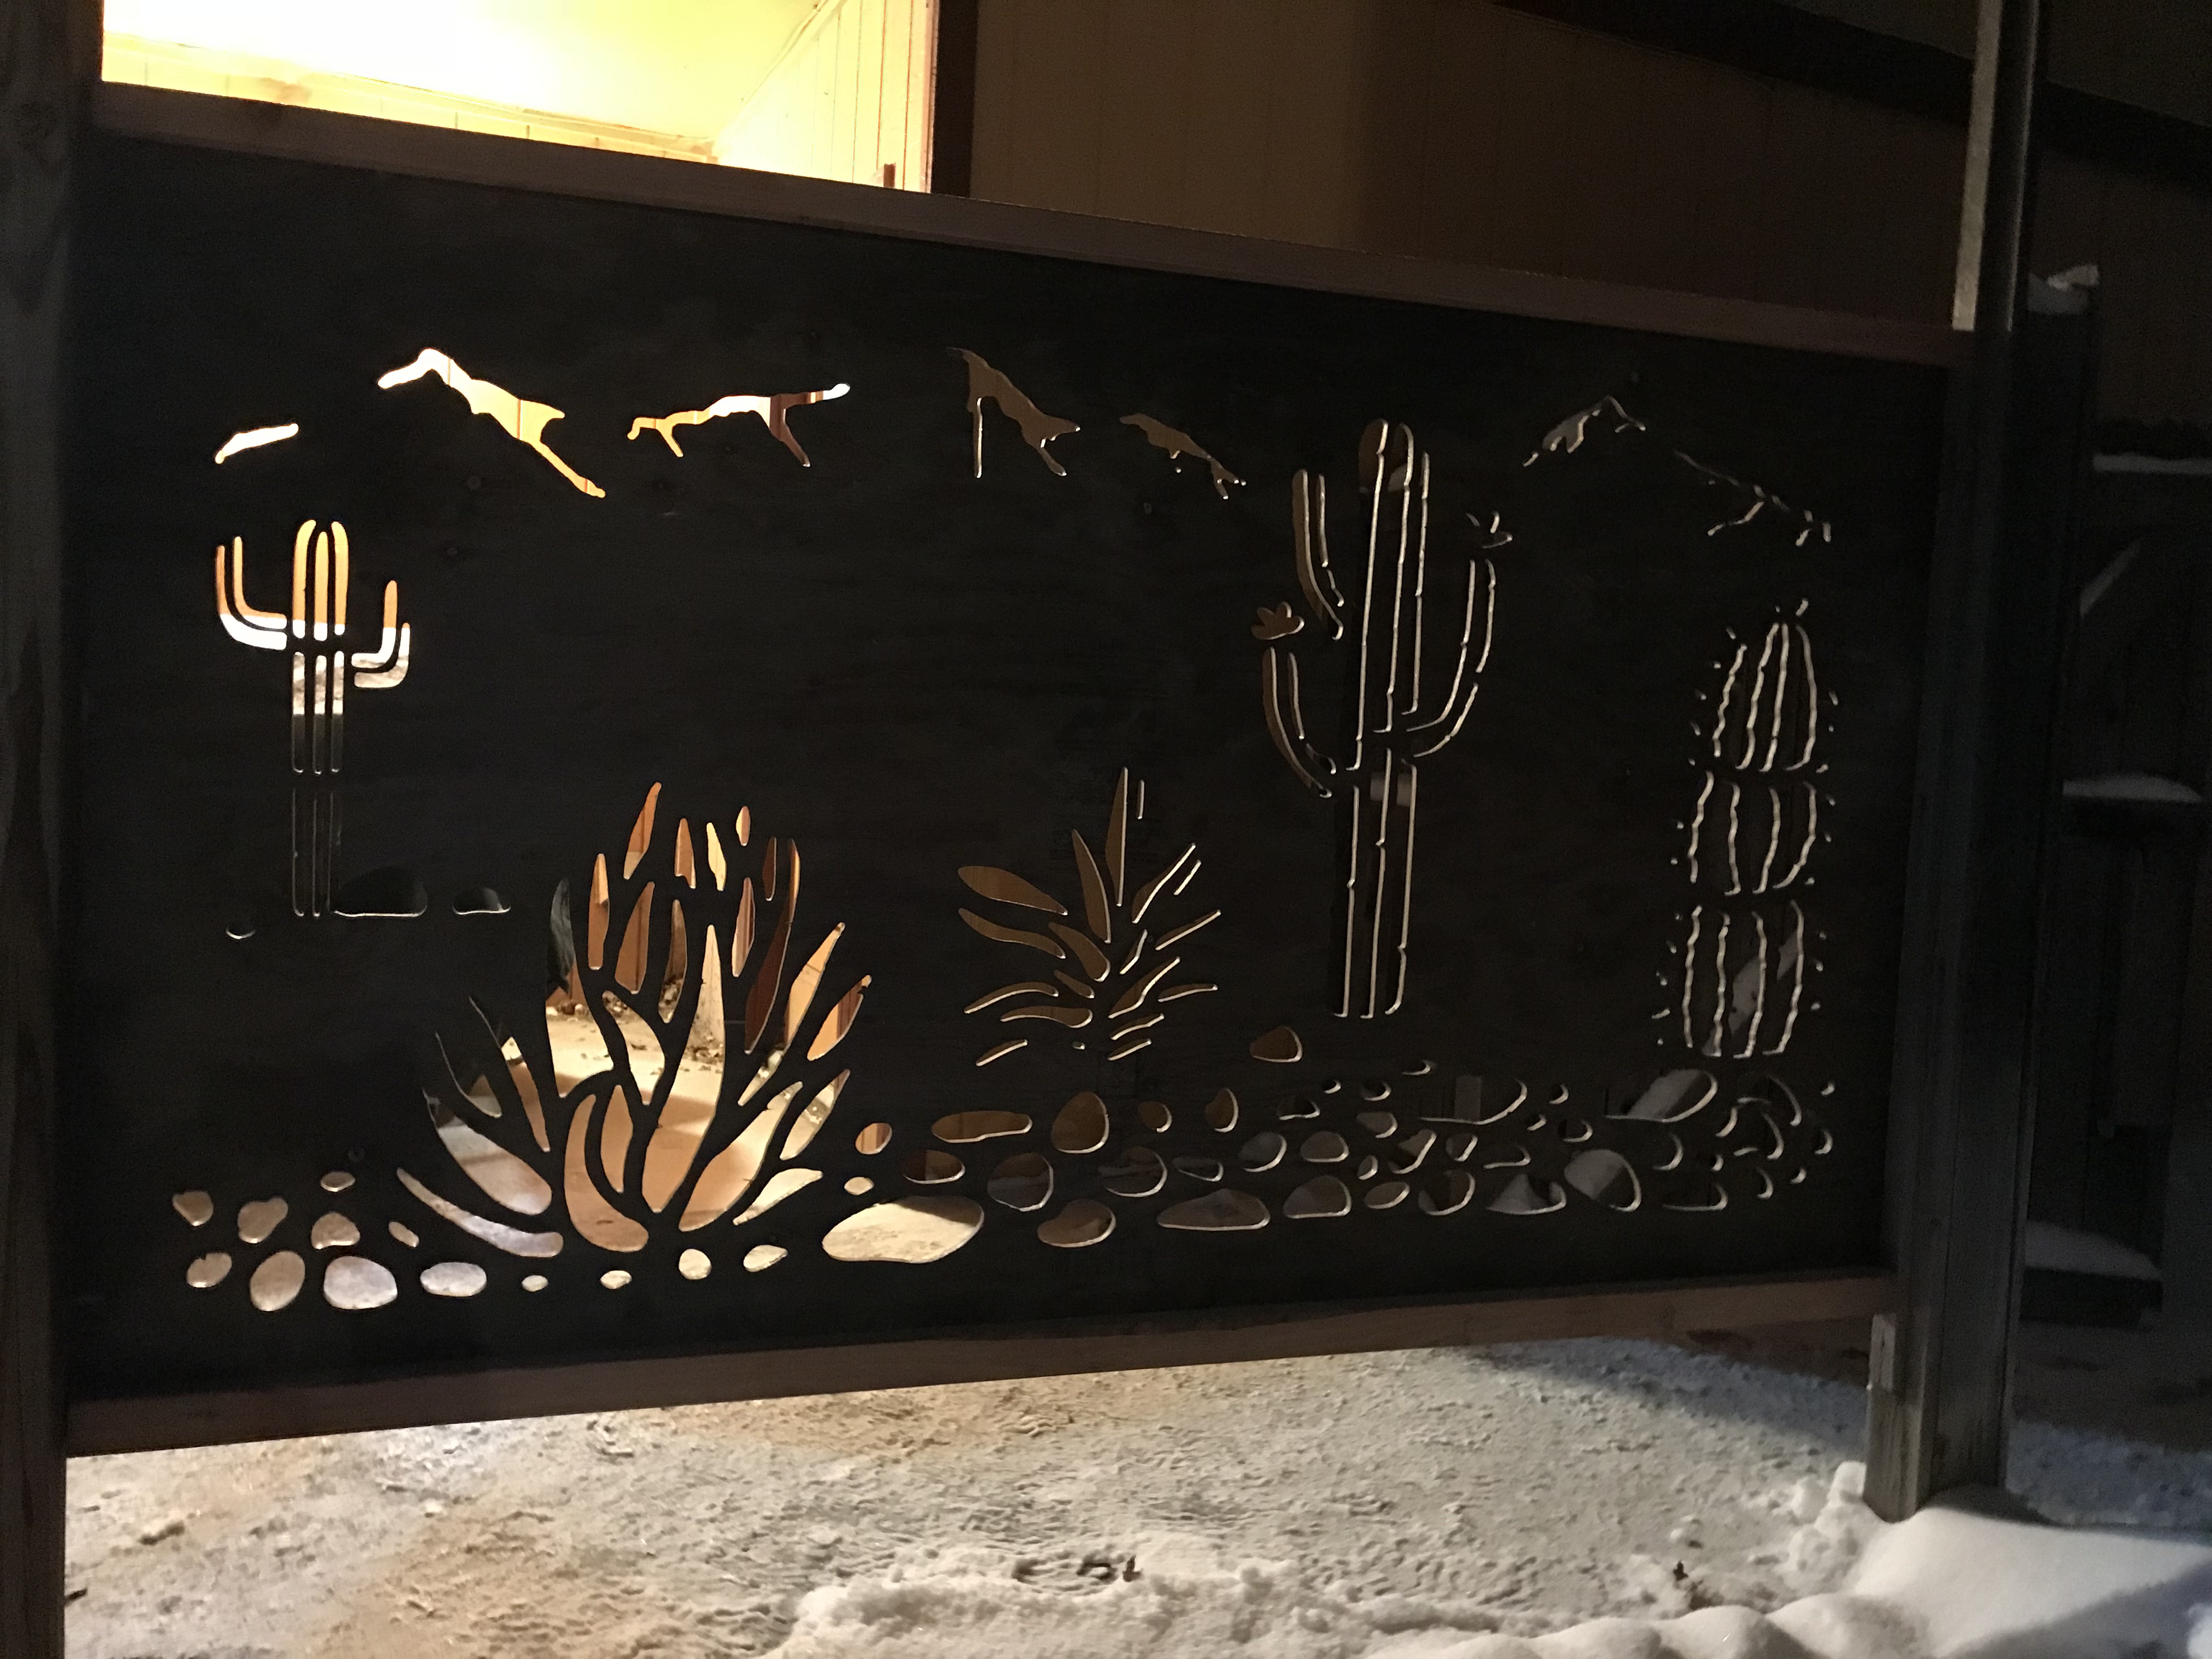
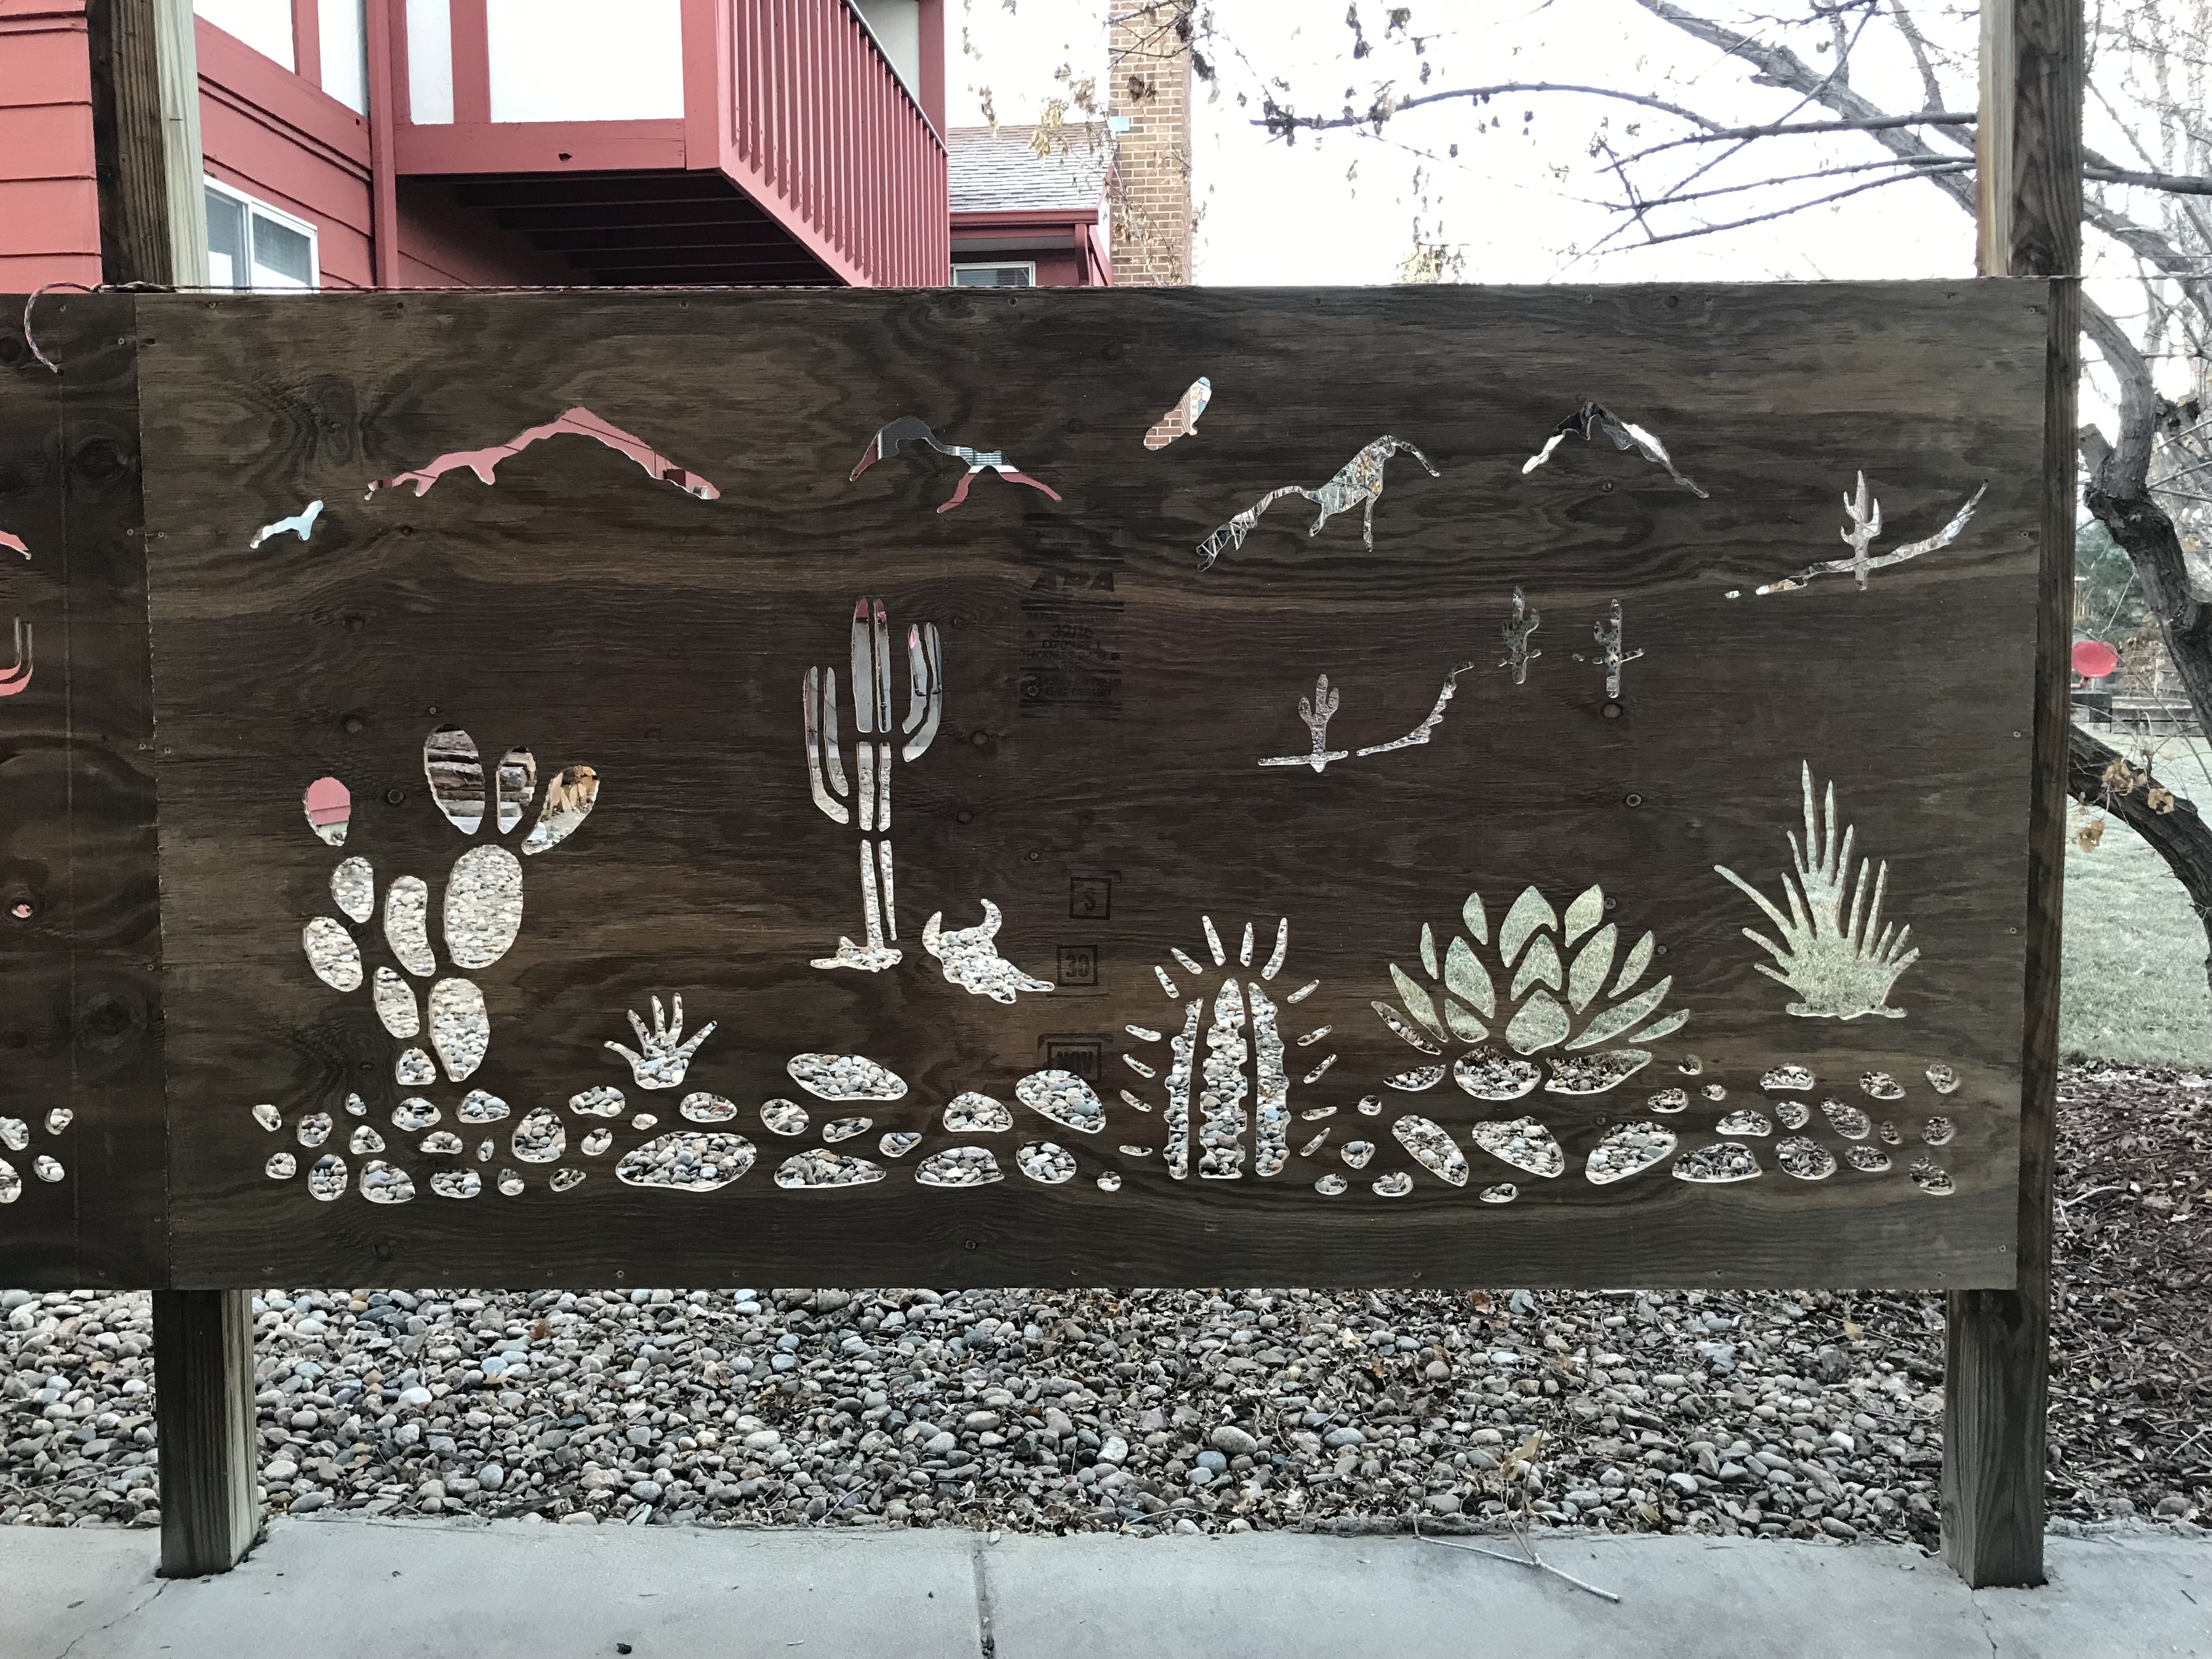
Thanks for sticking out to the end of this instructable.
We love our new fence and if you happen to build one, please upload some pictures to let us know.
Next time maybe I add some blinky lights.
Tschöhö
Superbender