Garbage Light
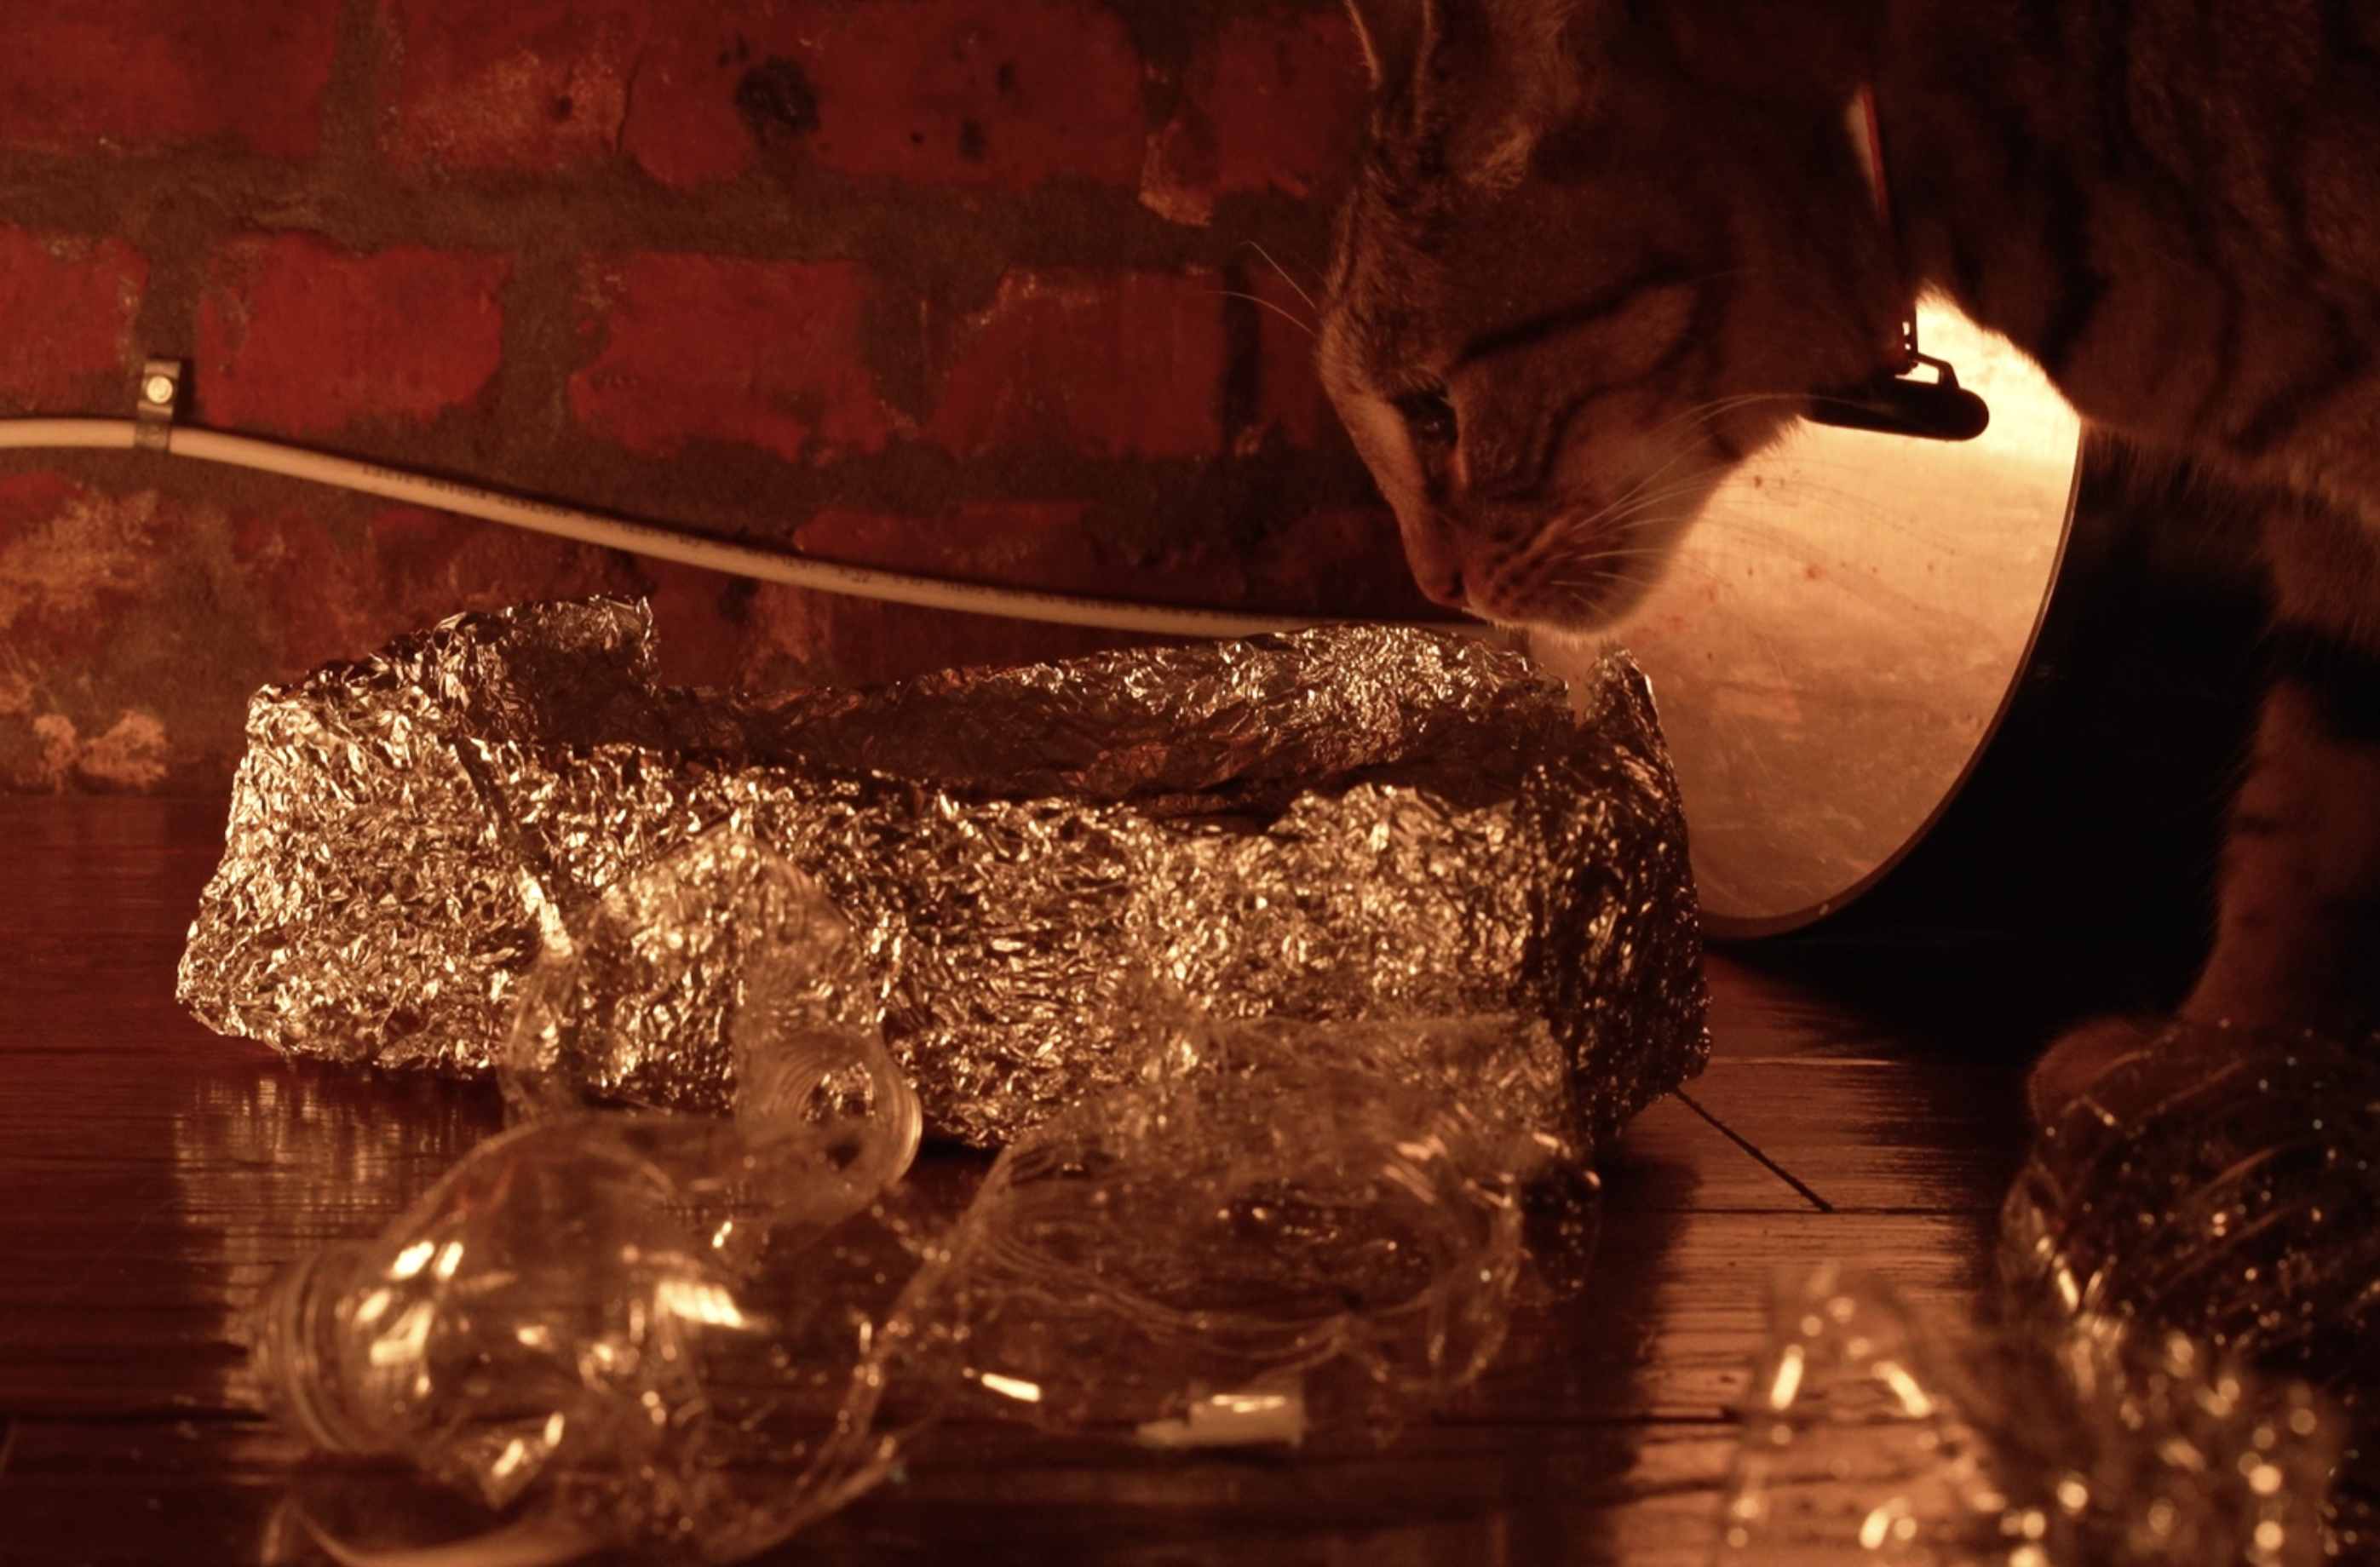

This is a tutorial on how to build a companion light for the online show "Dumpster Fire".
Supplies
Materials:
- One ArduinoNano ESP32
- One Neopixel strip
- Aluminum foil
- Plastic water bottles
- Scissors
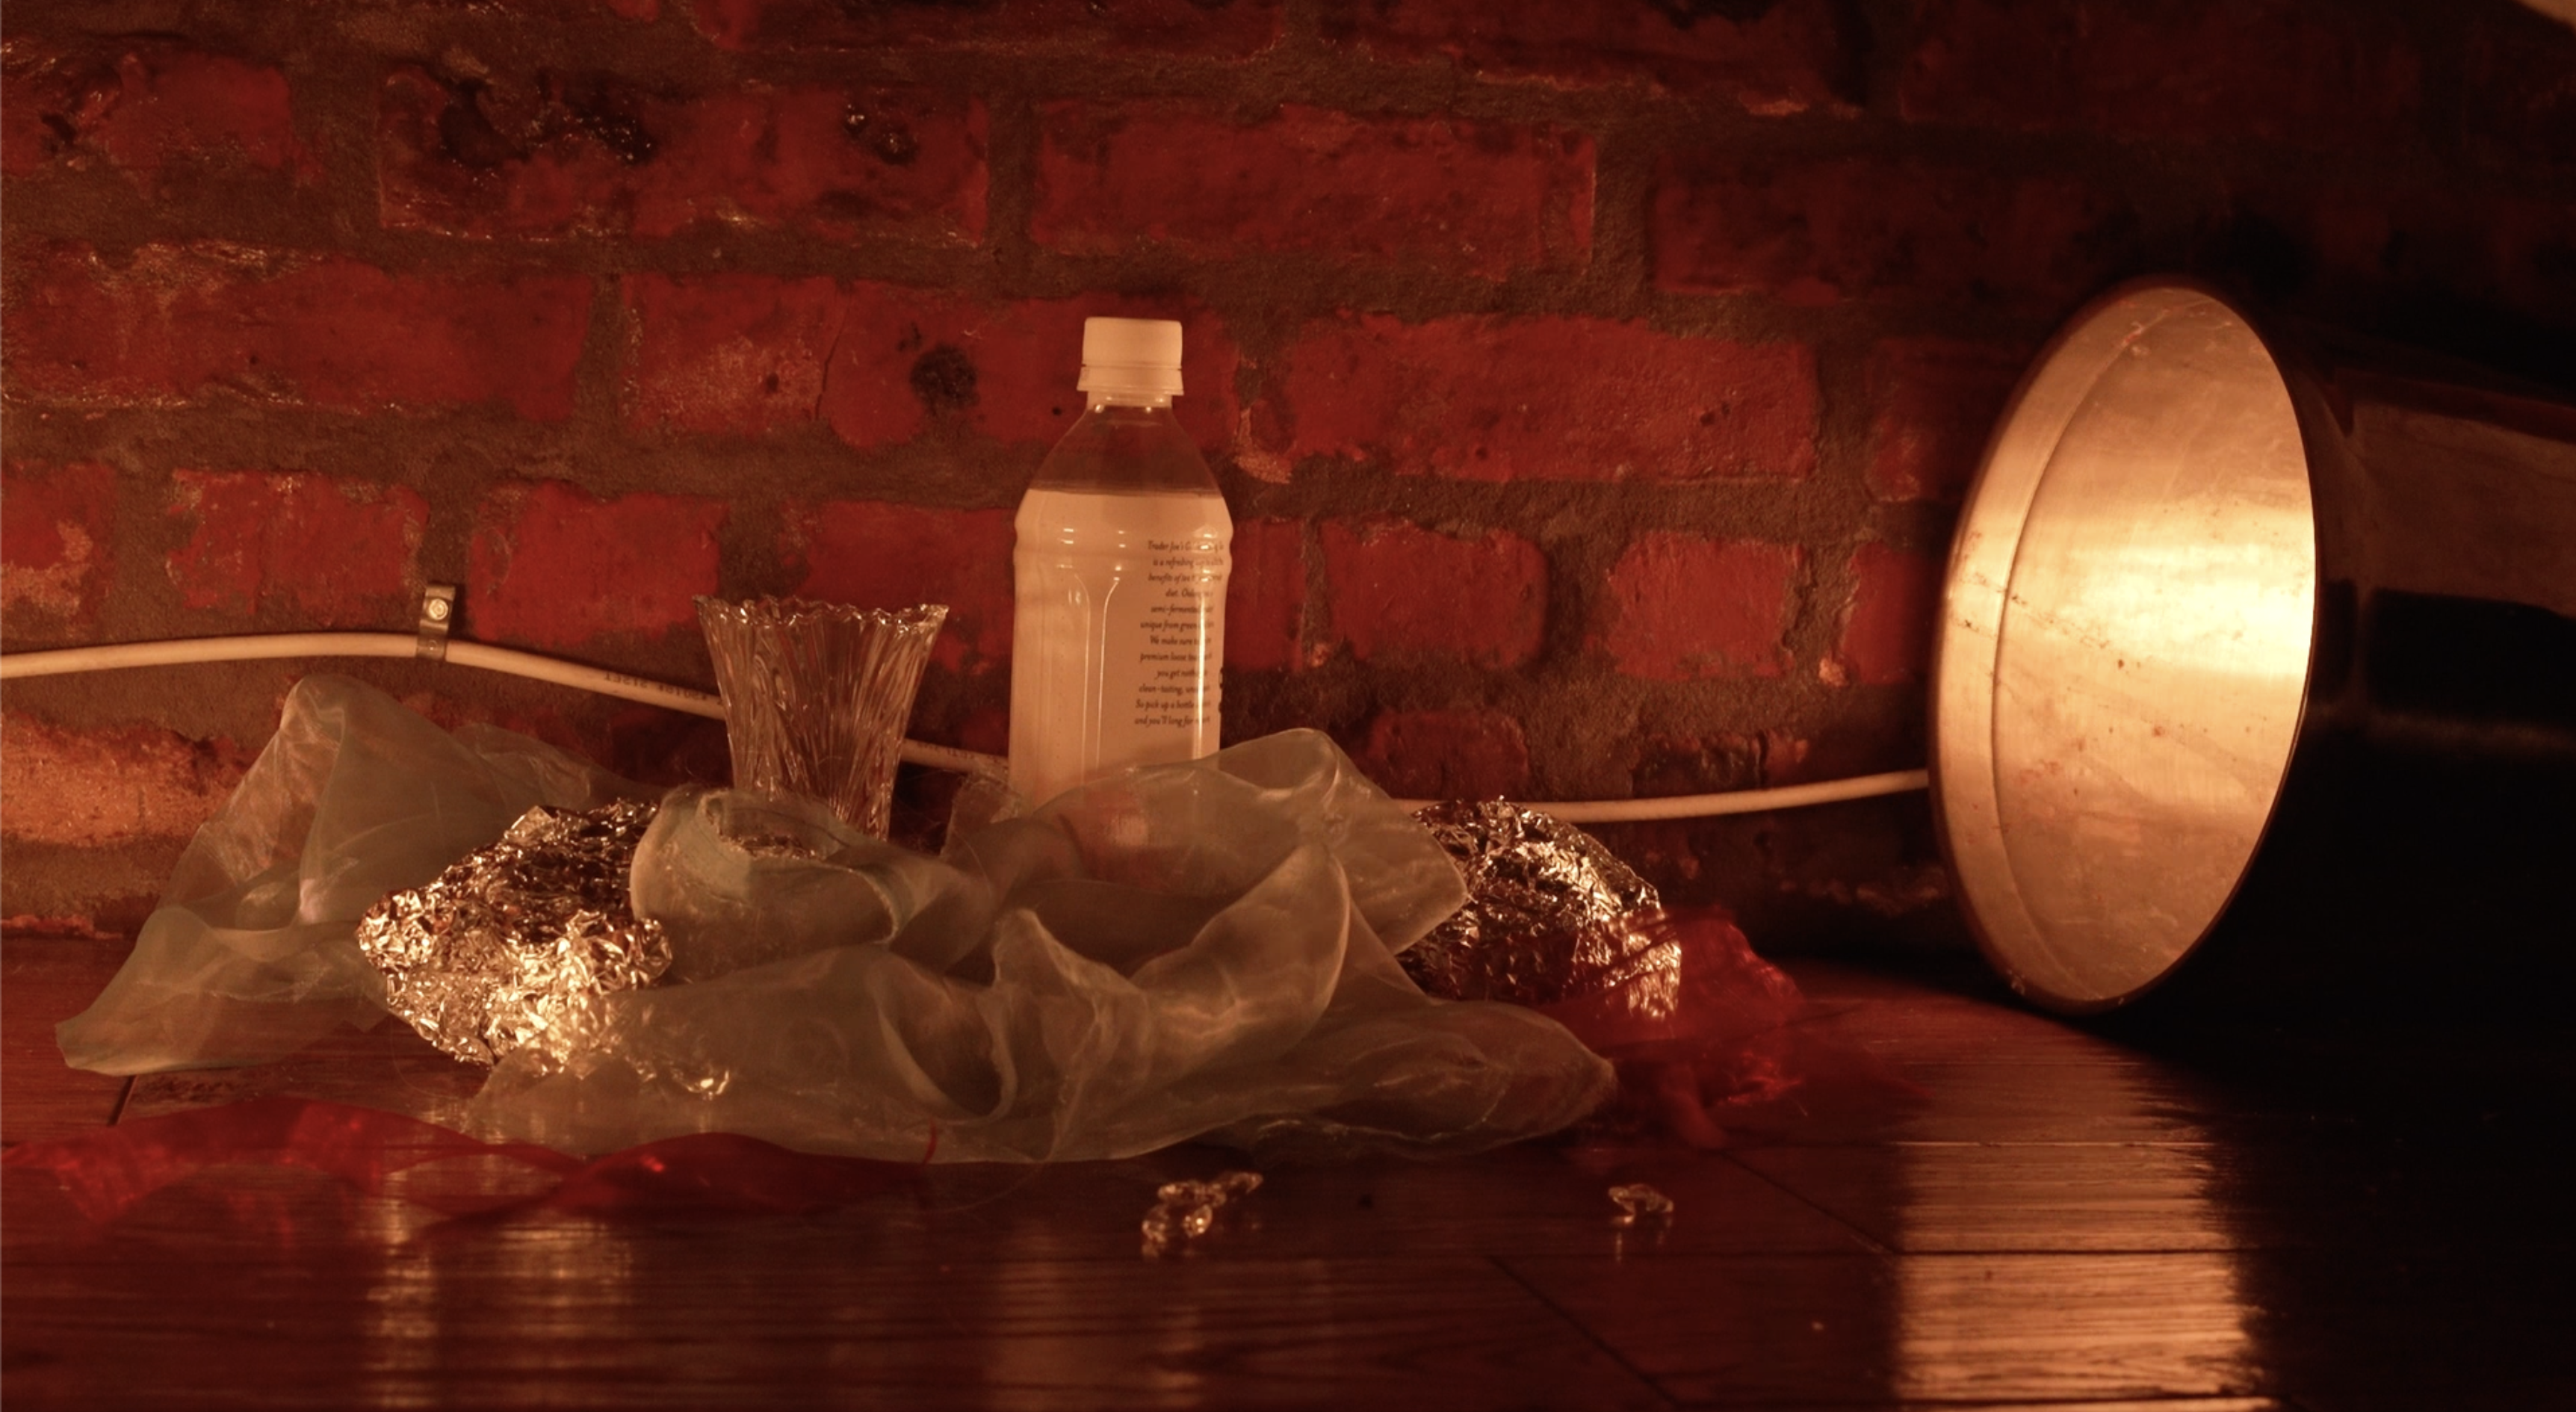
Step One: Gather your materials, and make sure to wash your recycled goods.
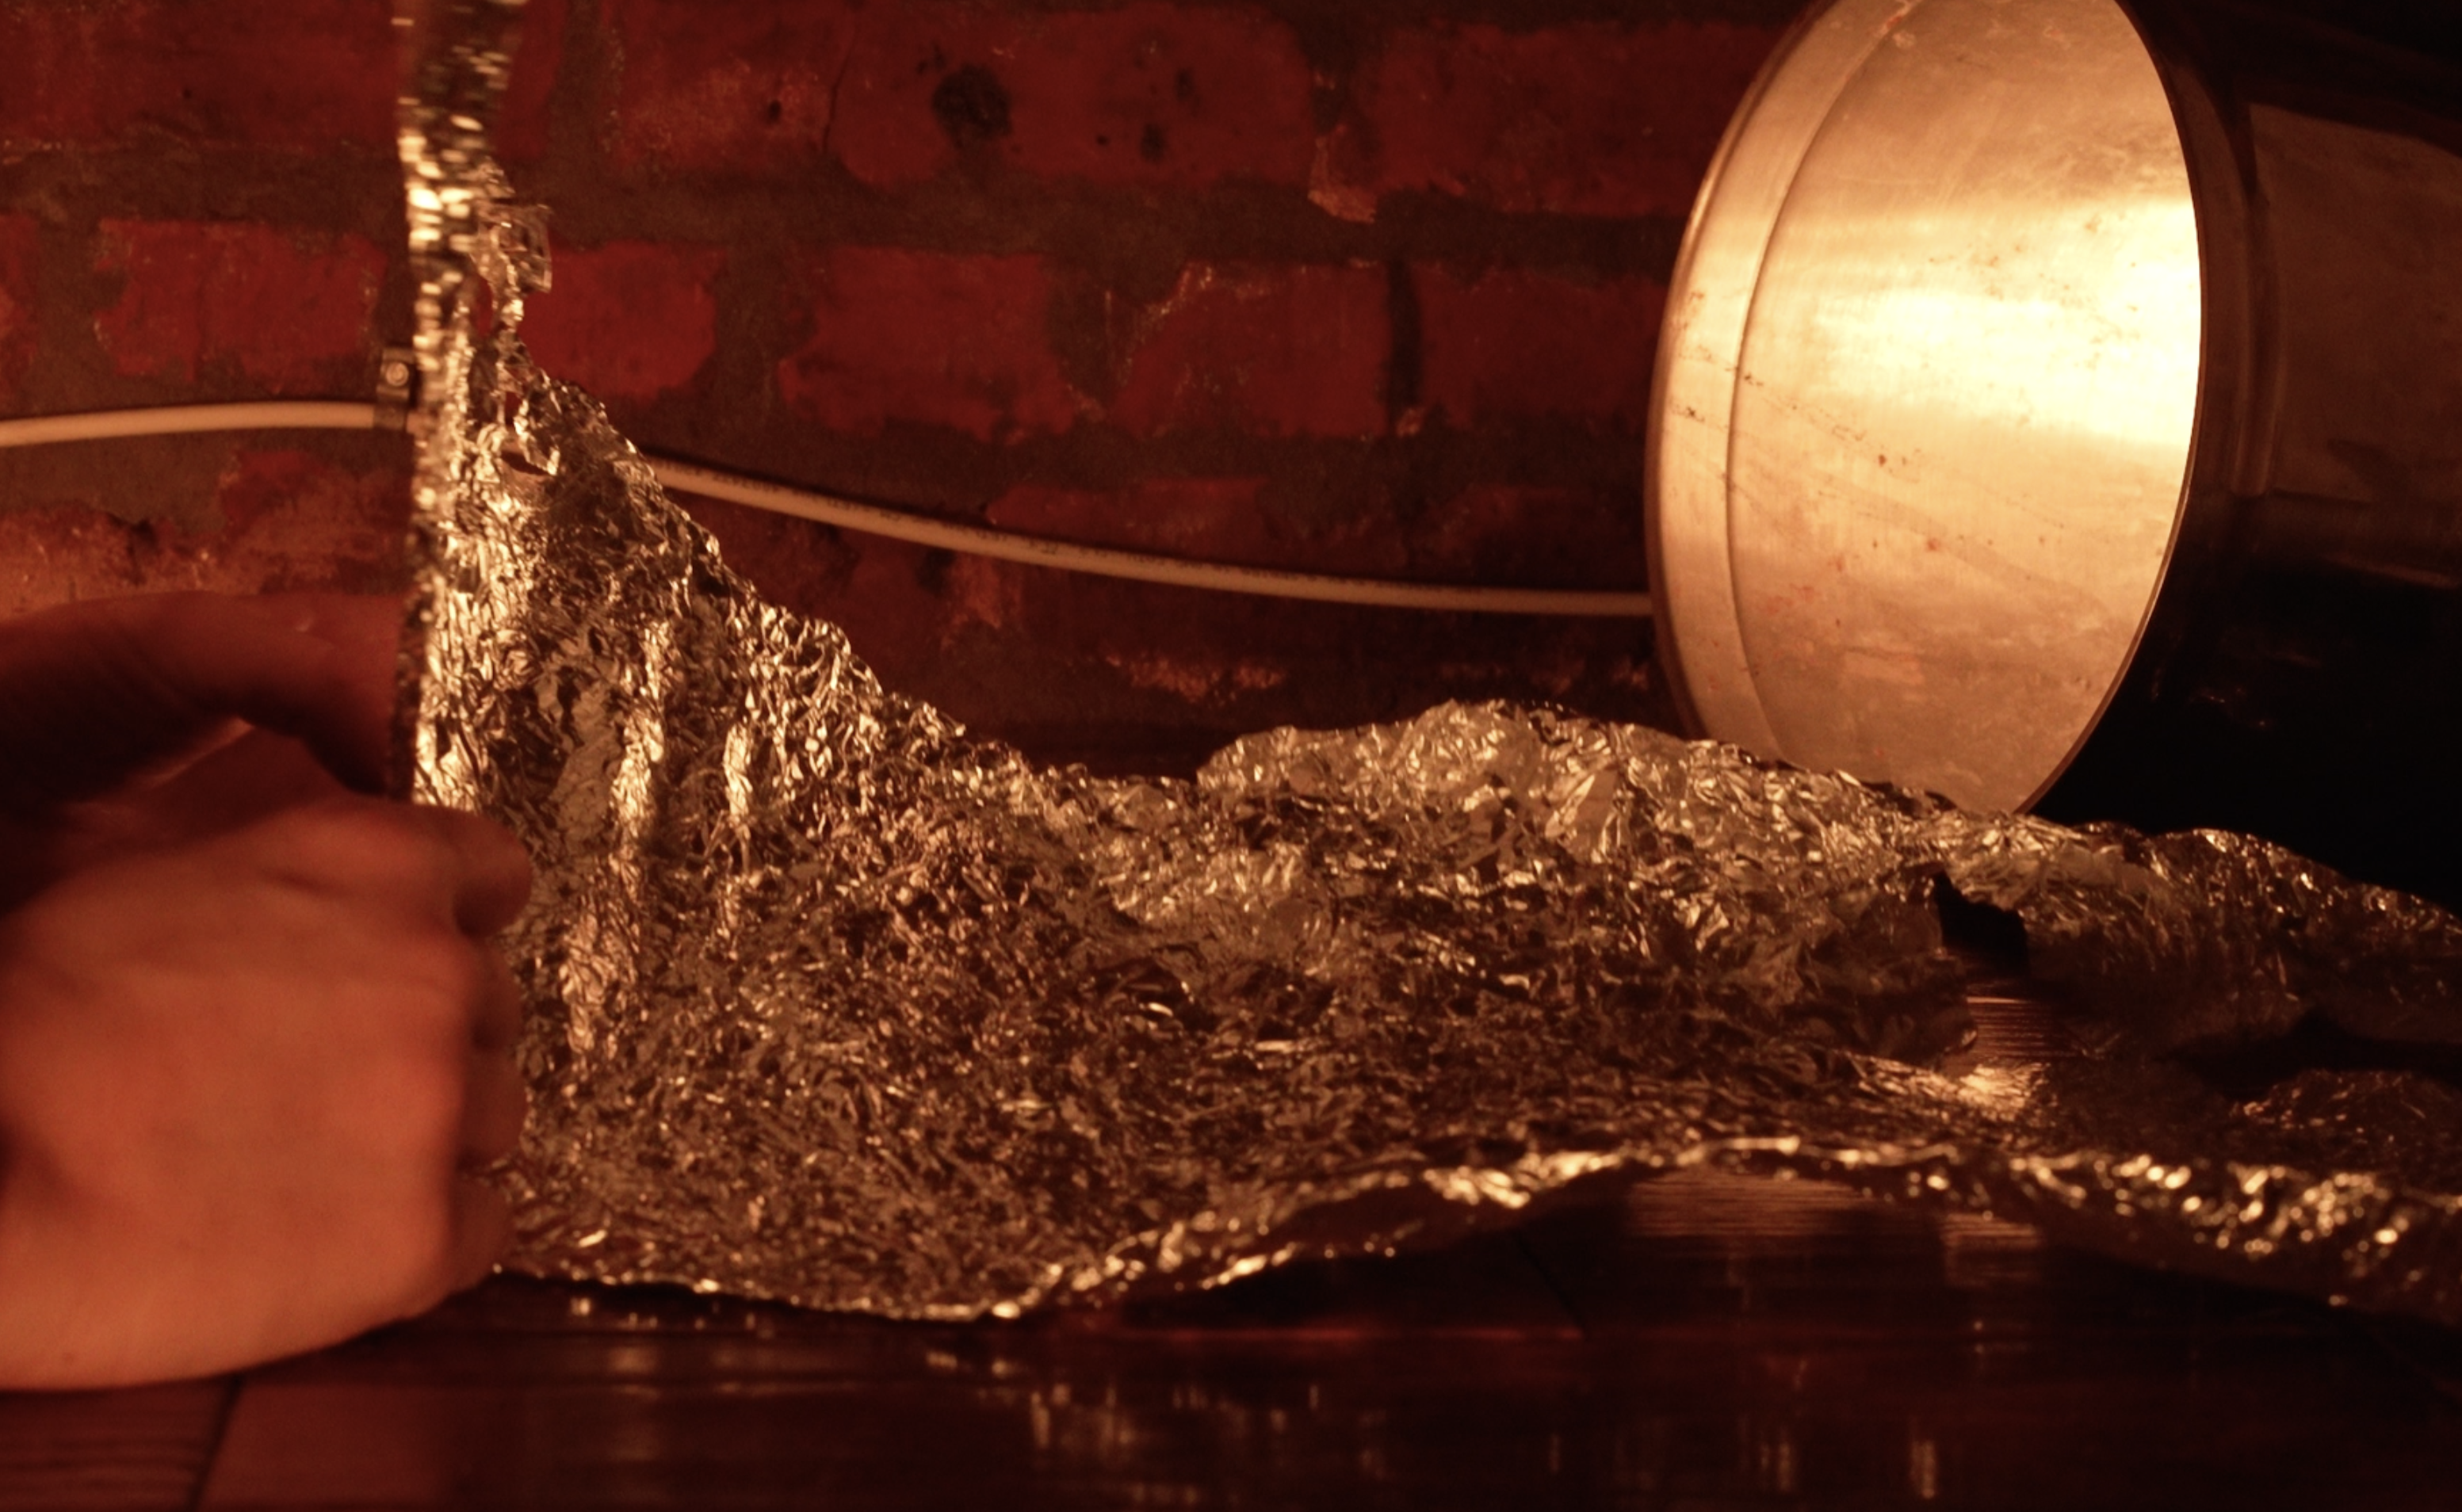
Step Two: Fold your aluminum foil into the dumpster. The template below will show you how to do it without needing to use scissors or glue. Make sure to save your scraps.
Downloads
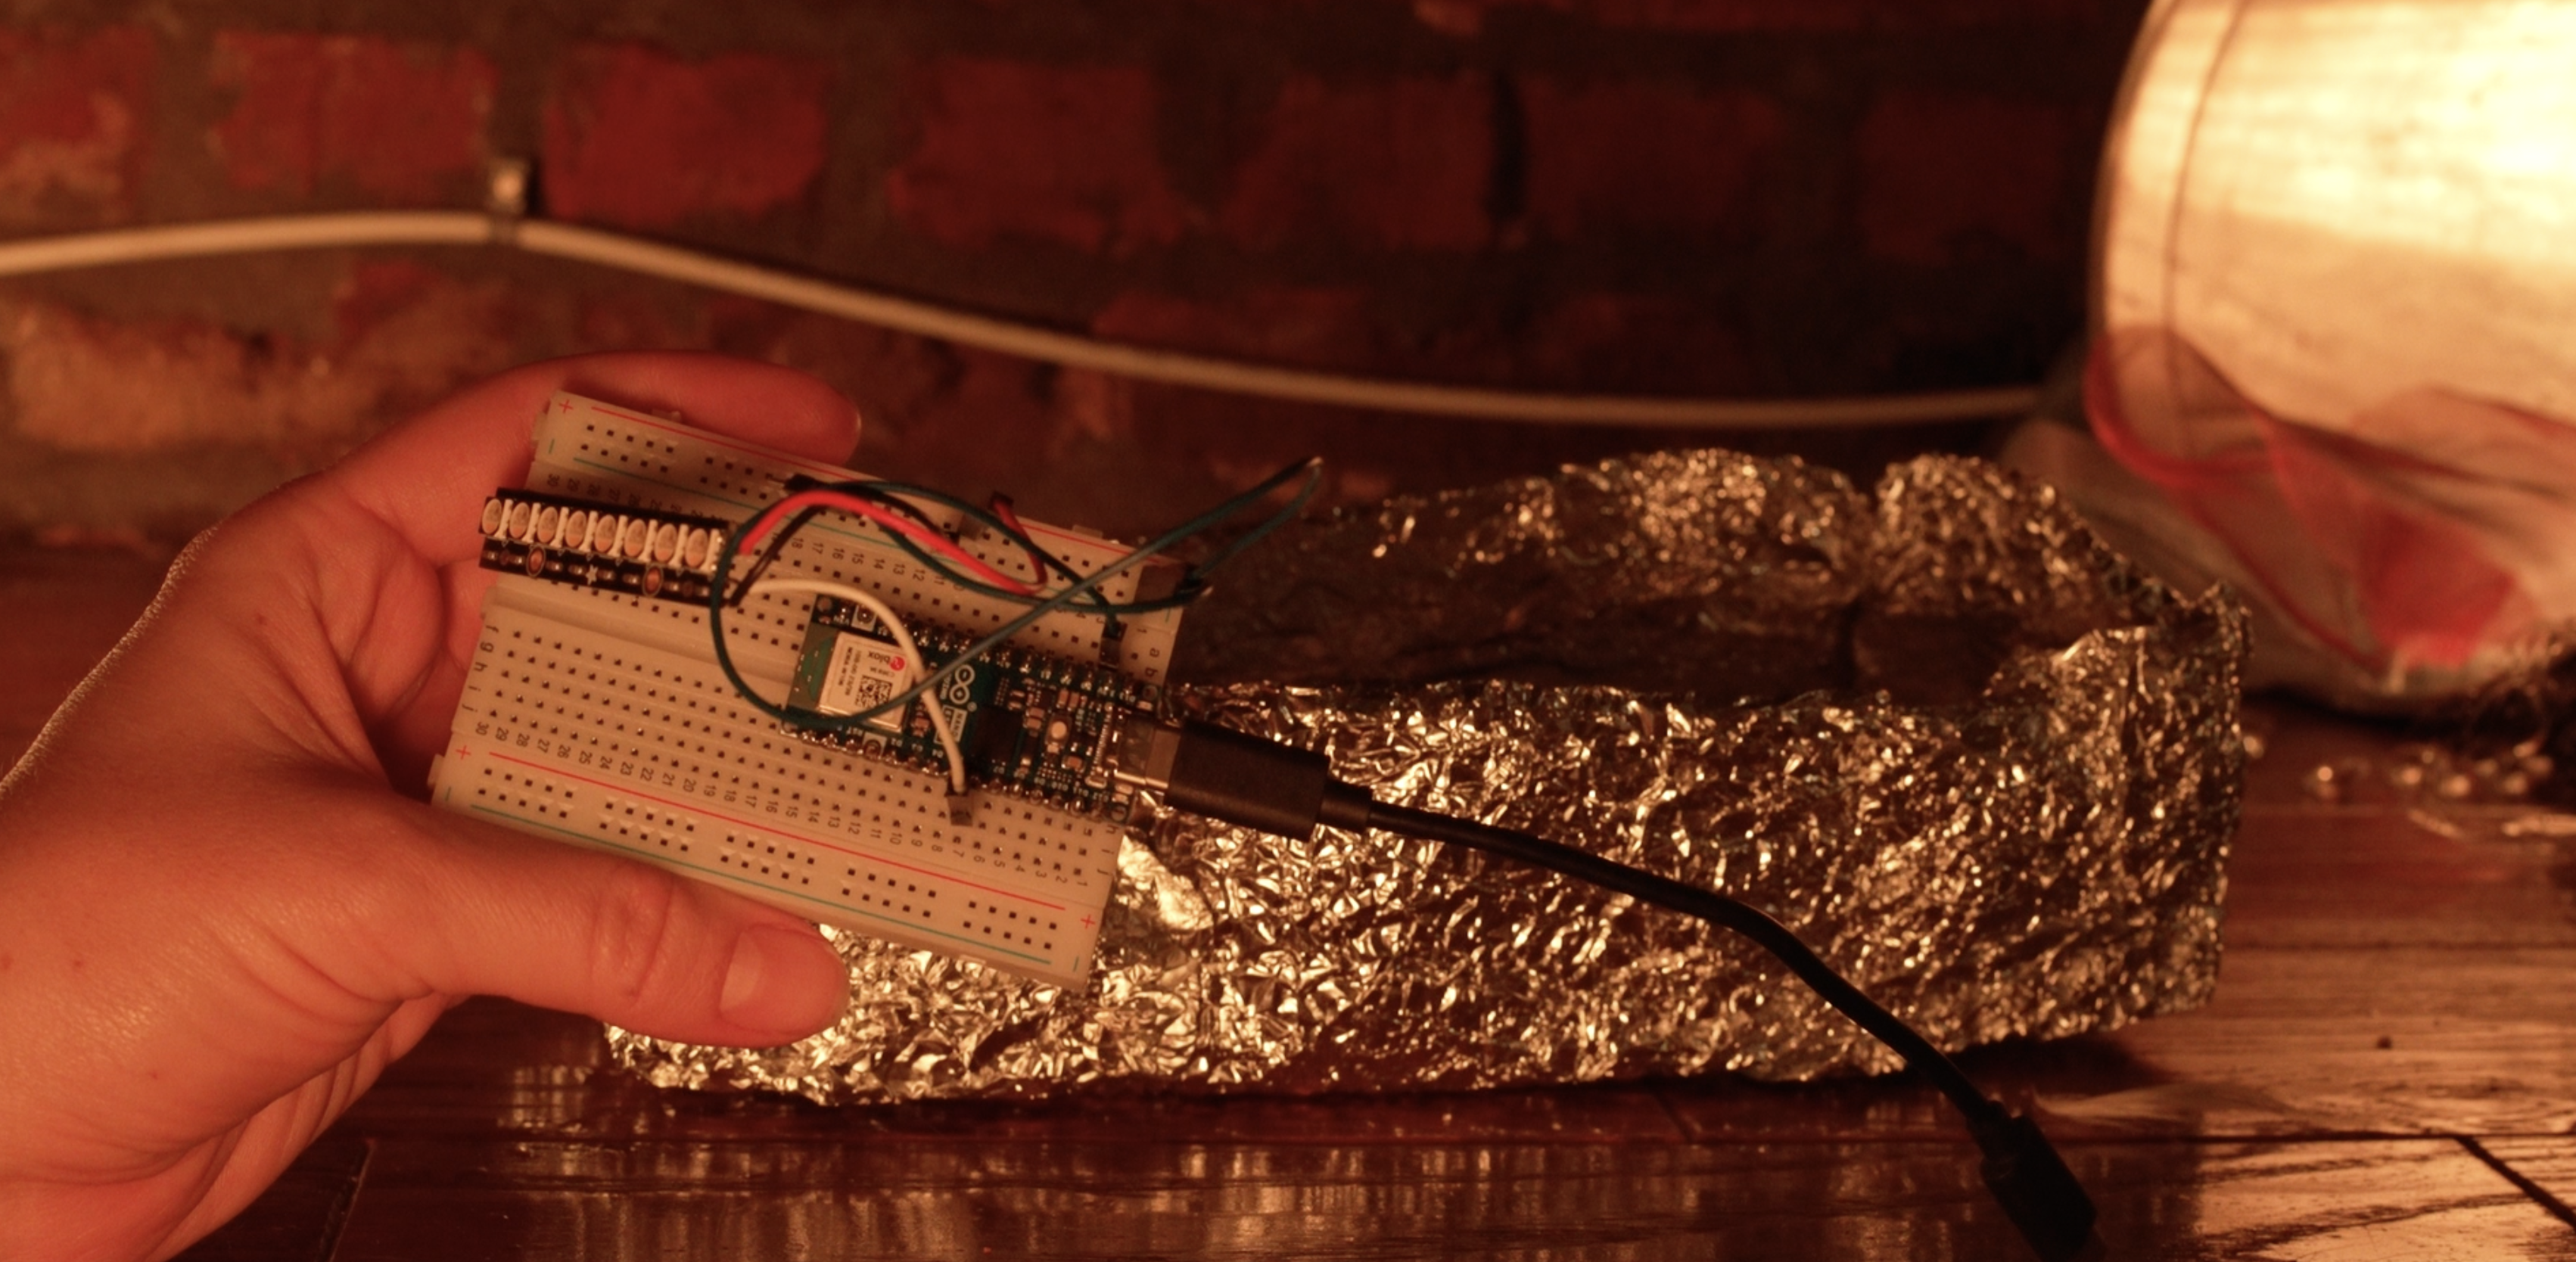
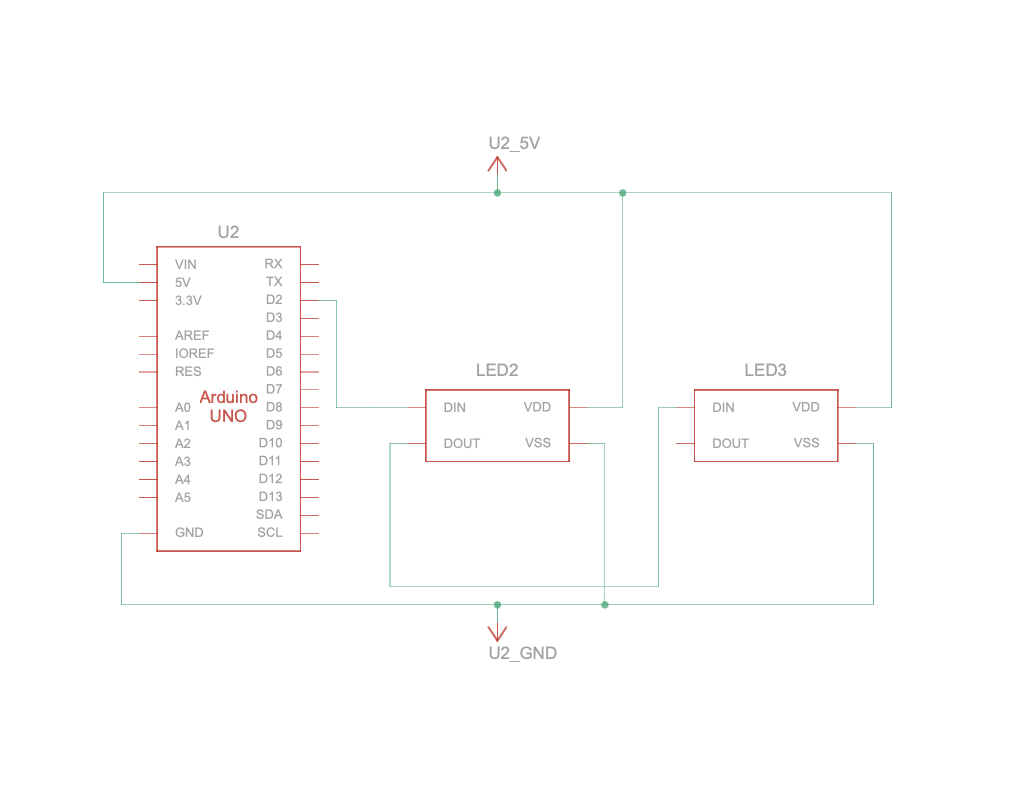
Create your circuit according to the circuit diagram.
Step Three: Situate your Arduino inside the dumpster, on the bottom. If you need to run power for your arduino to an outlet, use a pencil or a pen to make a hole in the side of the dumpster to run your cable through.
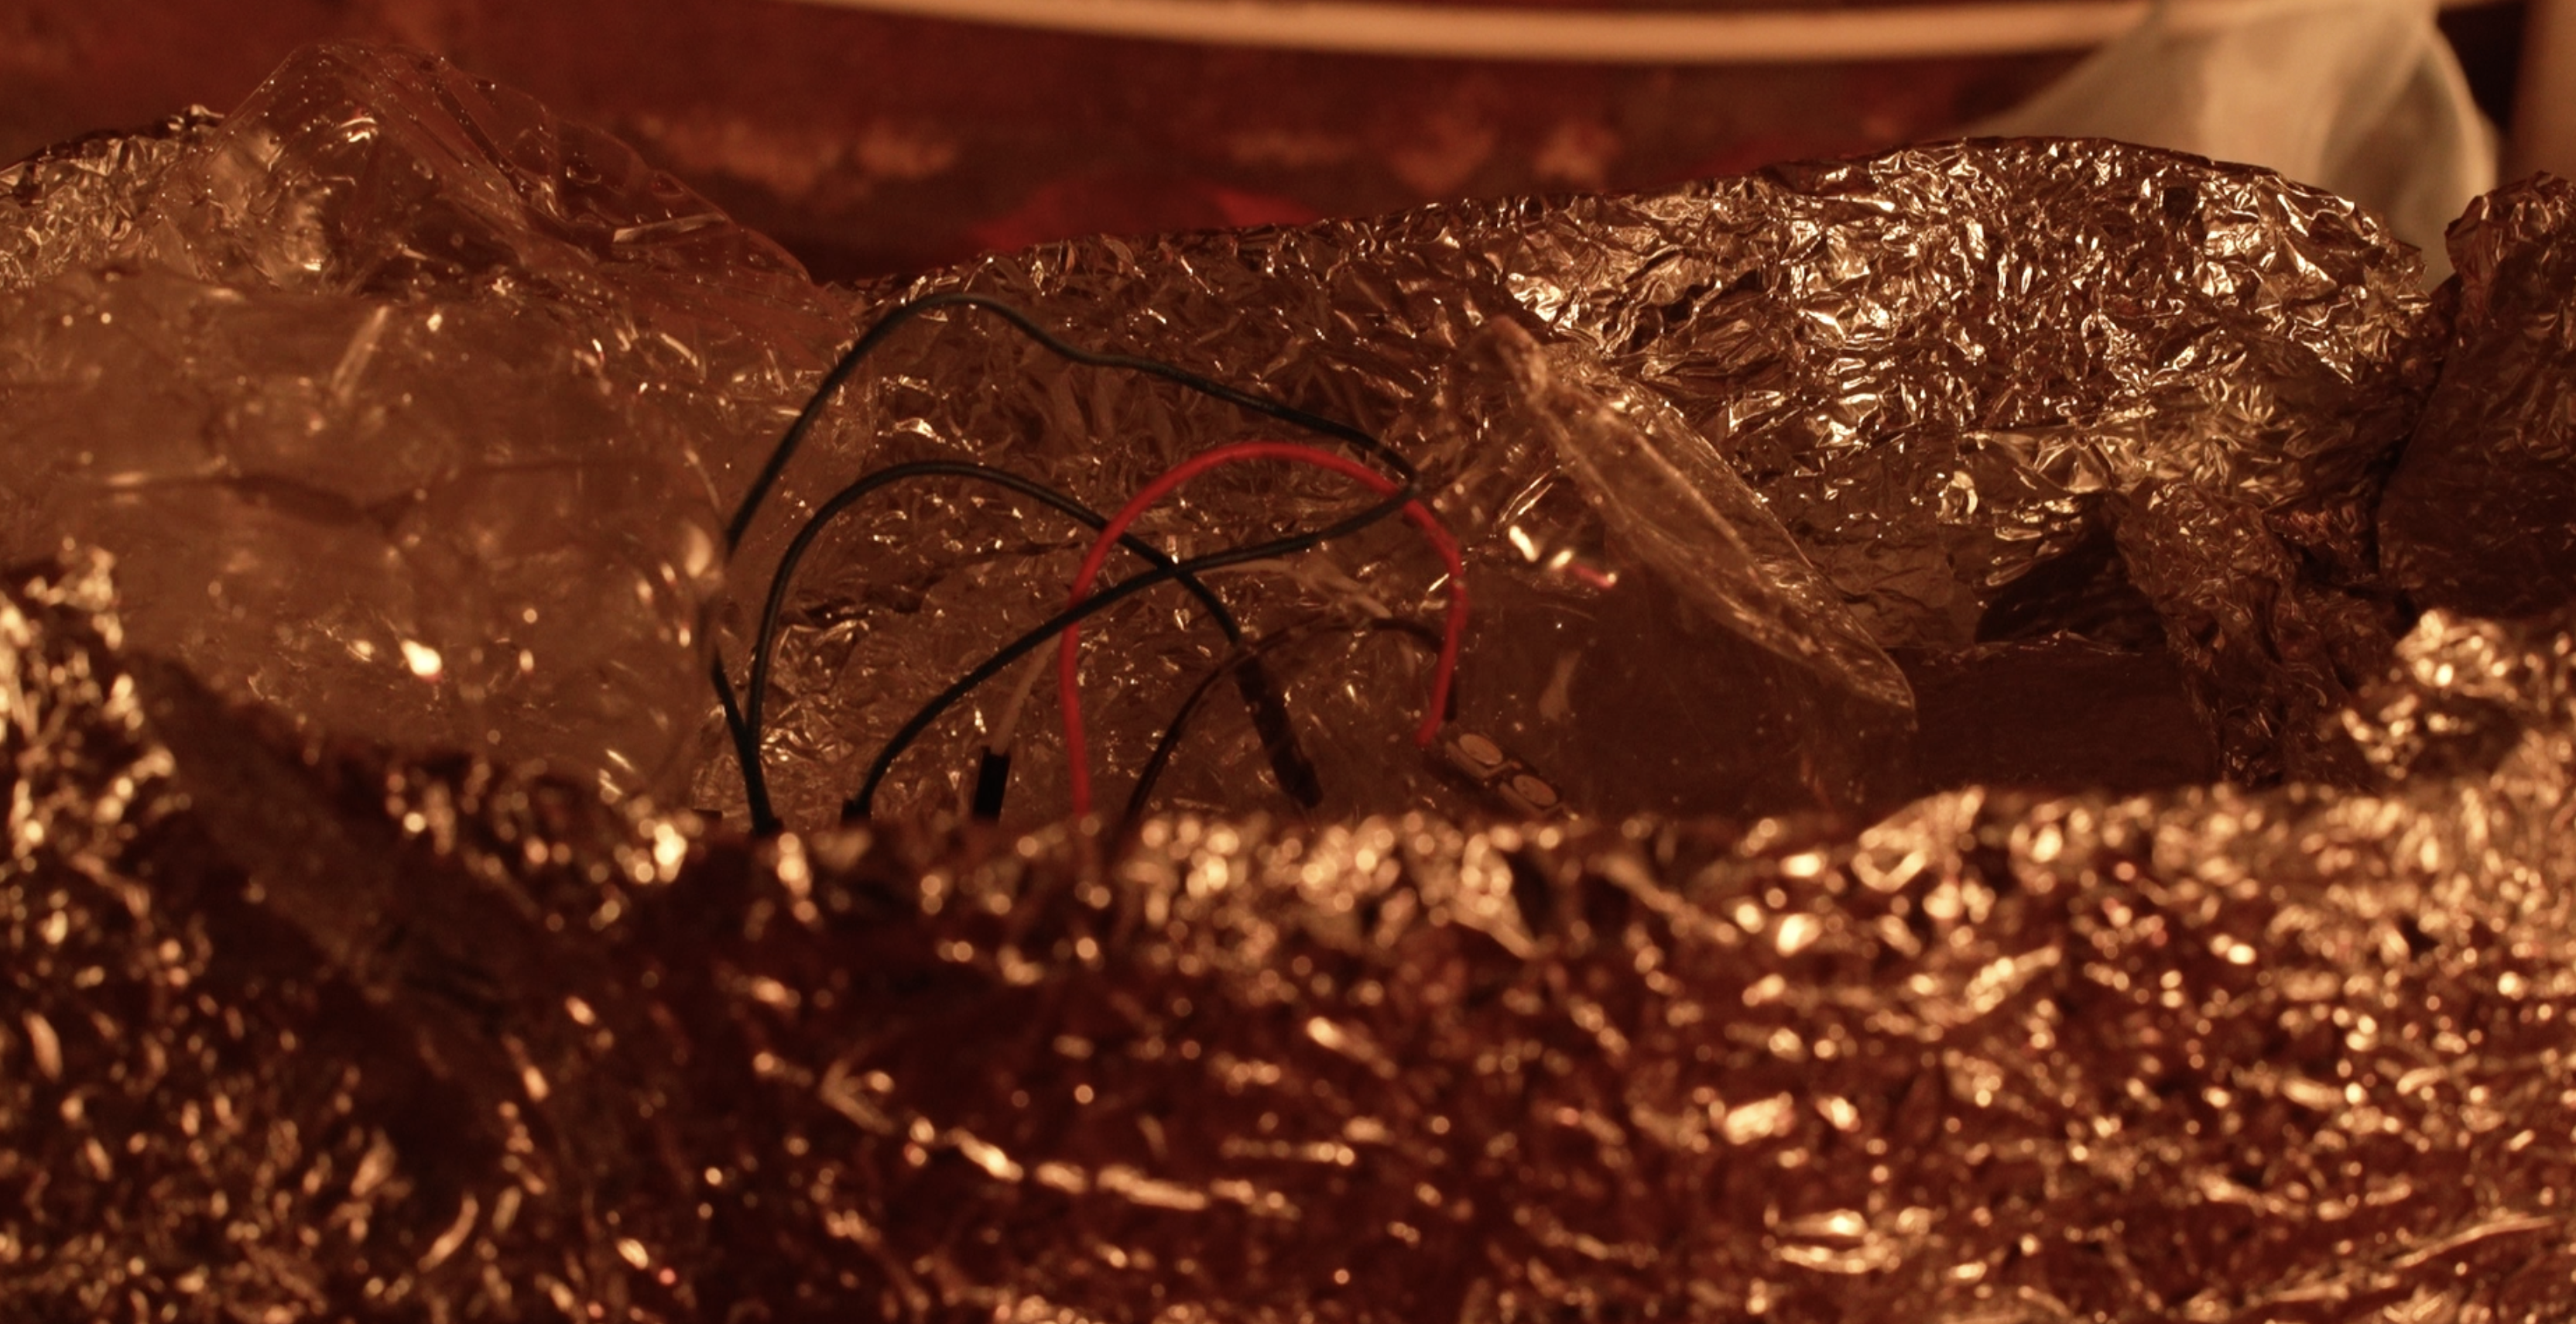
Step Four: Take your aluminum foil scraps from cutting out the dumpster pattern. Crumple them up and add them to your arrangement. It is suggested to add them to the bottom of your dumpster, without covering up your neopixel strip.
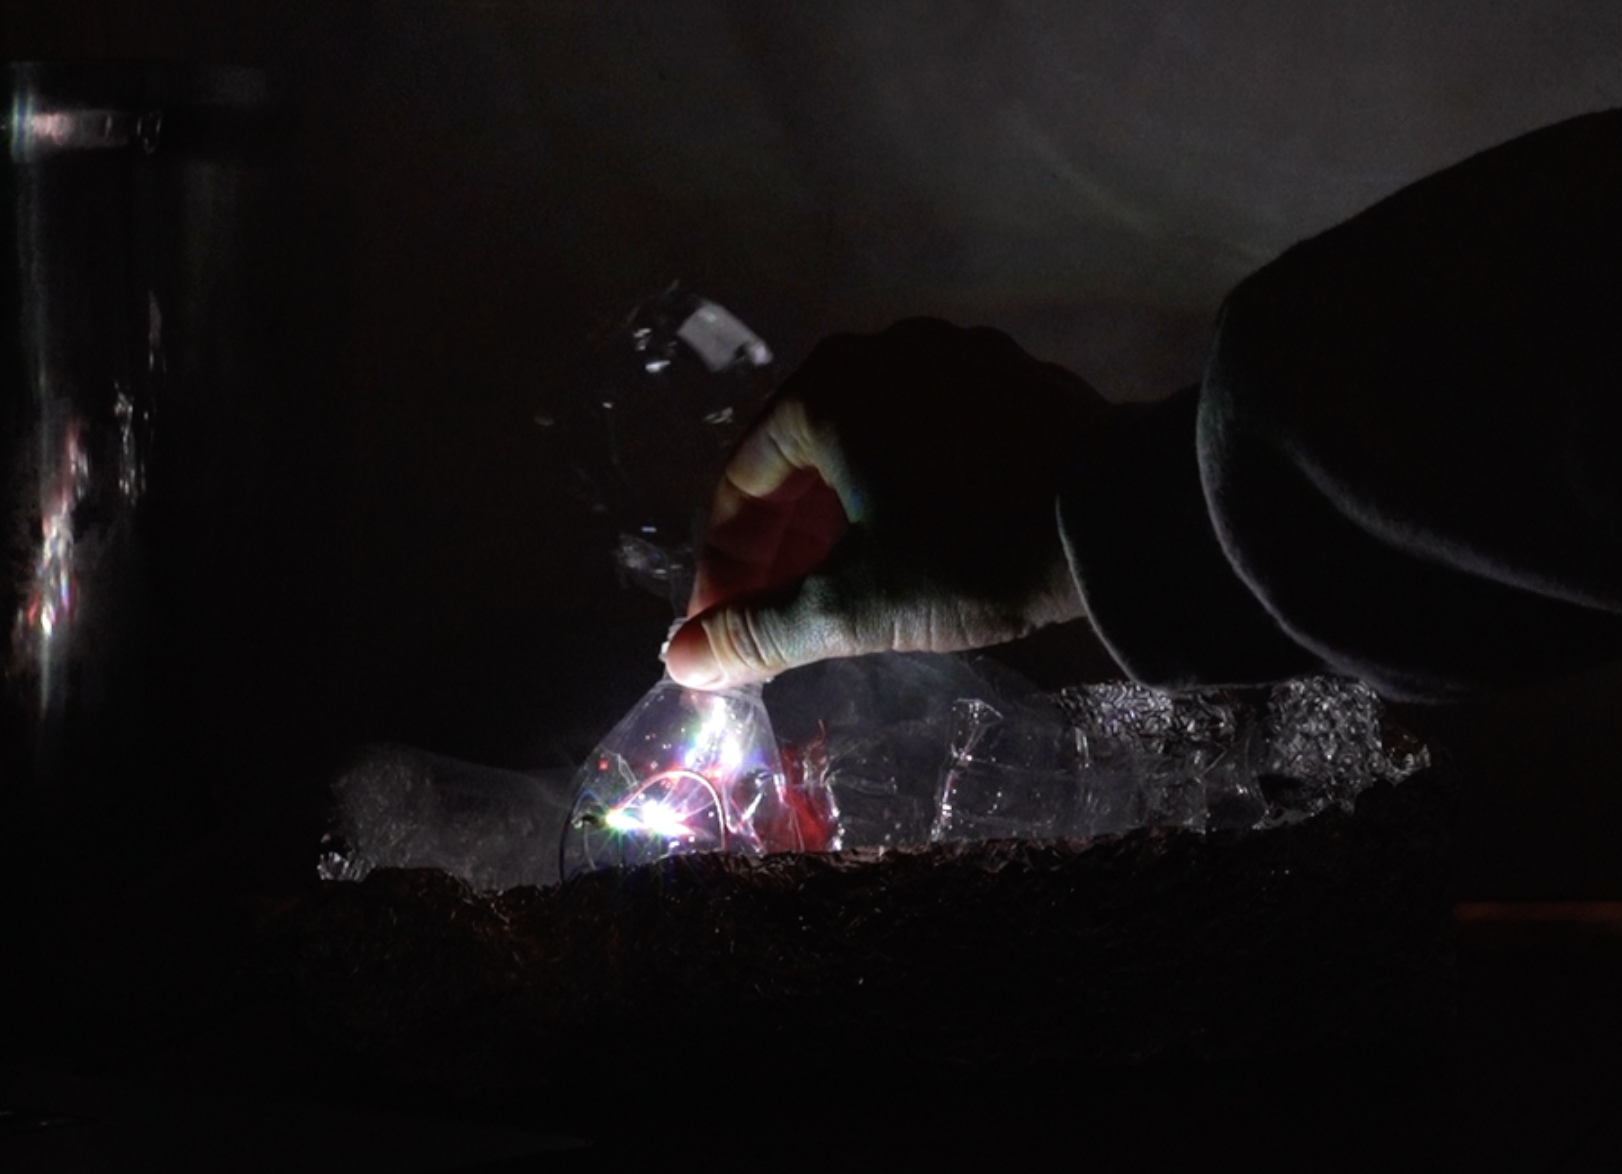
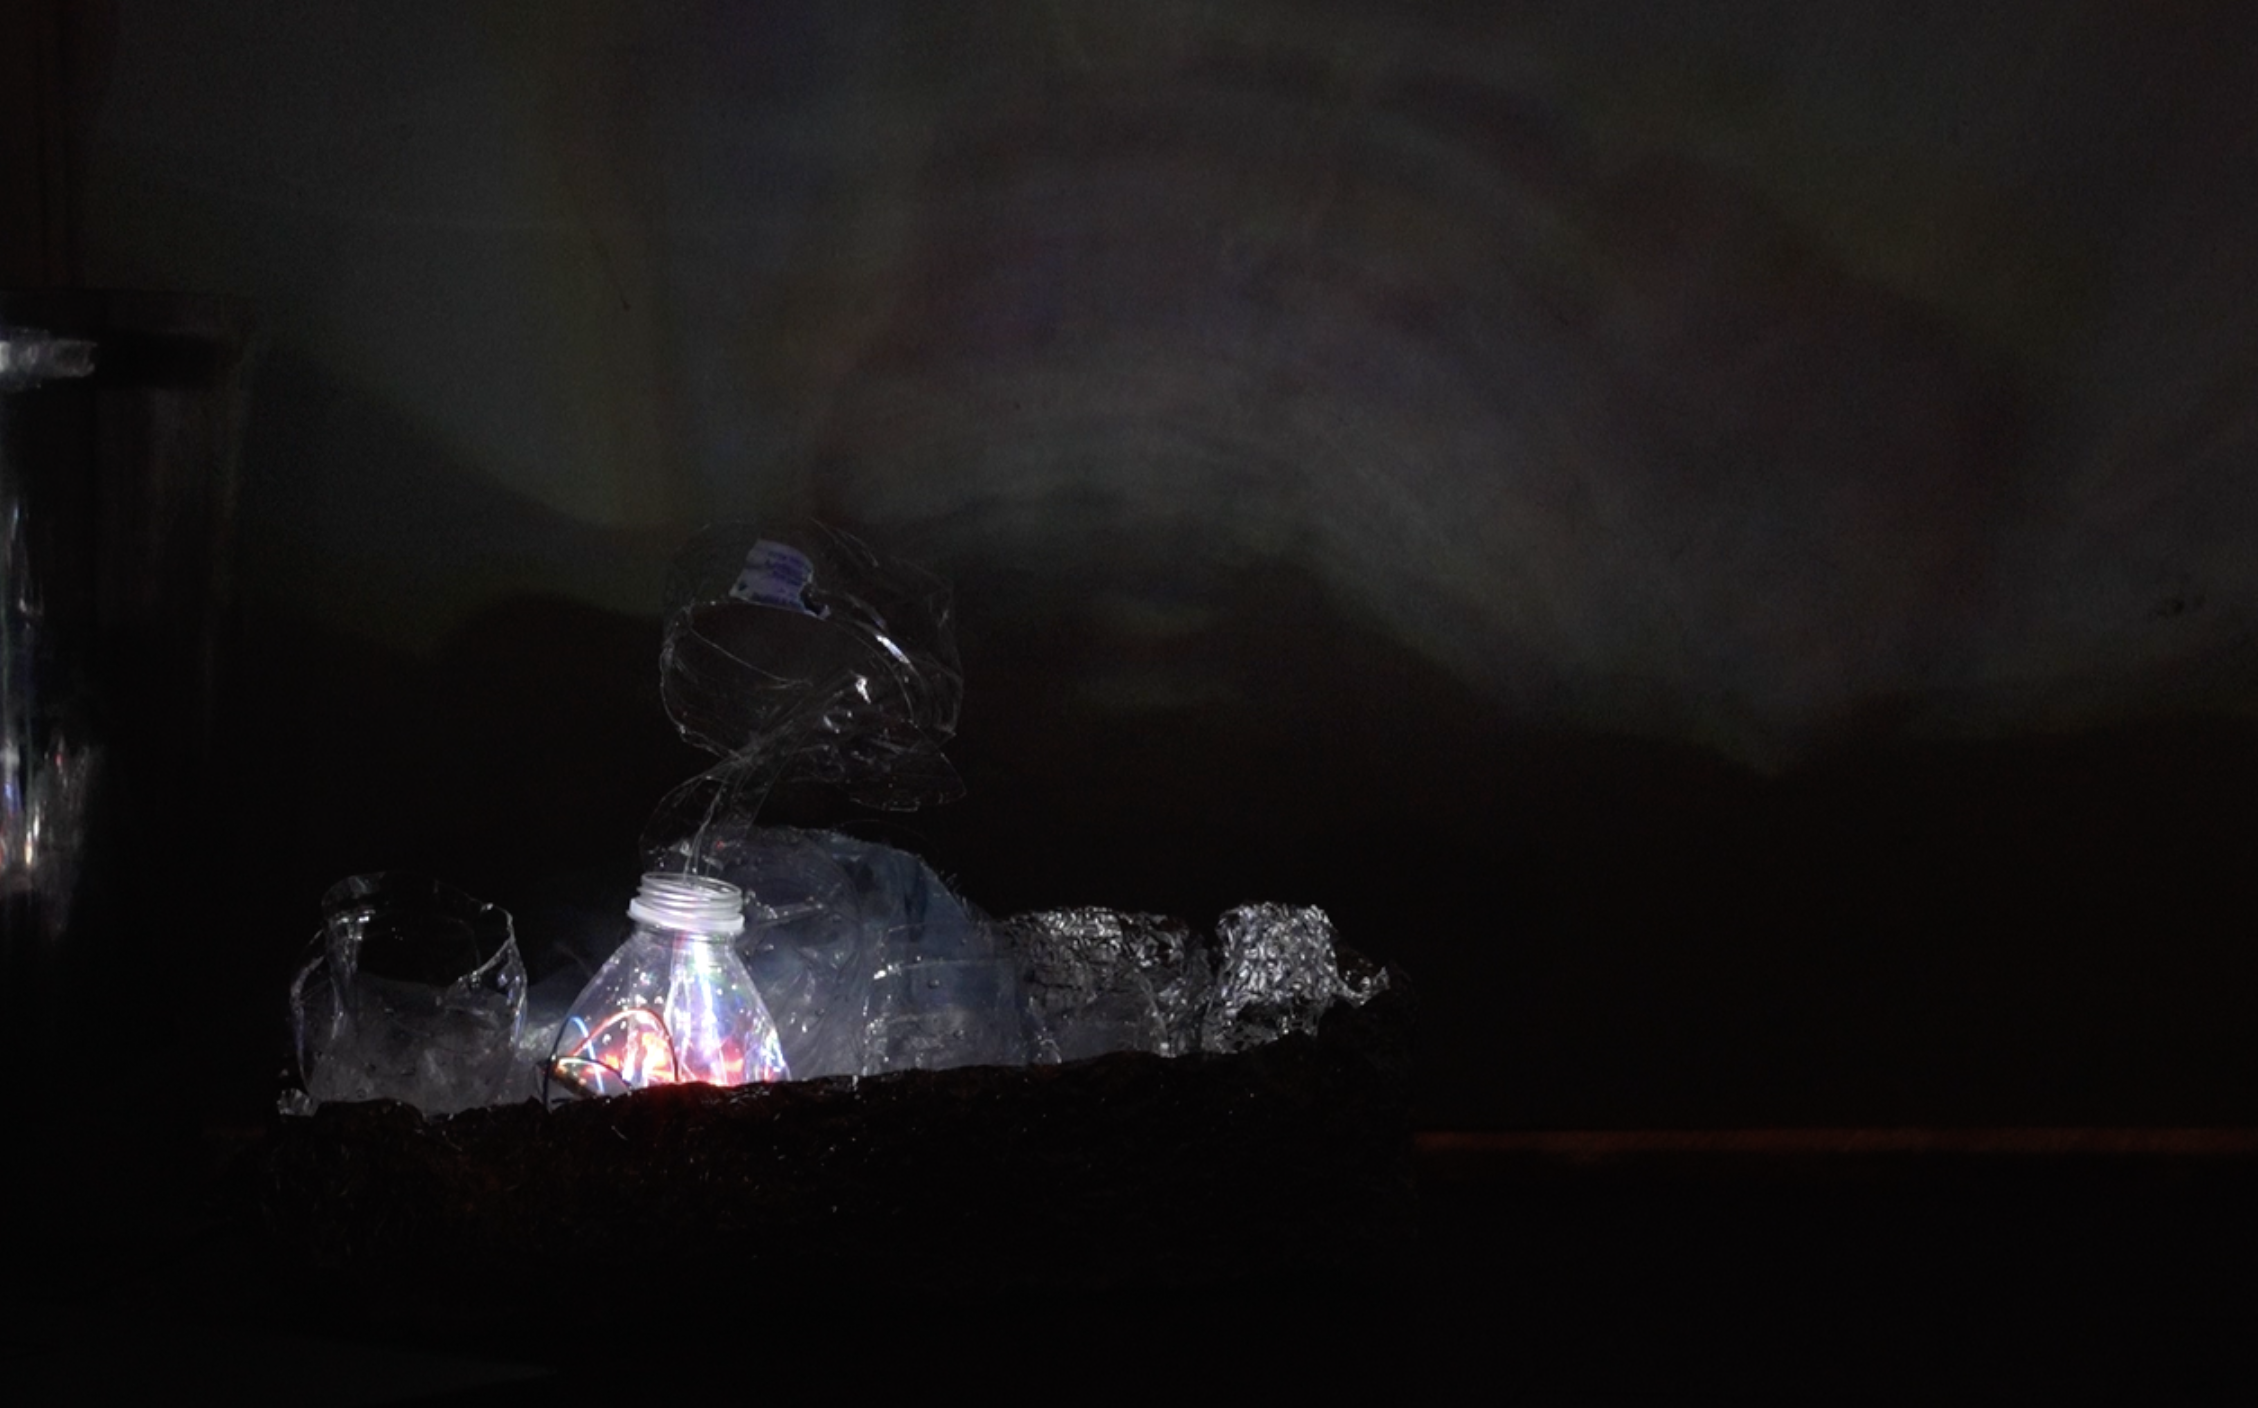
Step Five: Look at your garbage. Analyze your garbage. Find the parts that have ridges and curves as these will be your sculpting blocks. Begin to arrange and stack them into your dumpster. If you are using anything opaque, be sure to keep it to the edges so it doesn’t block your LED strip. If you are using clear plastic pieces with the same pattern and you plan on stacking them, be sure to rotate each piece as you stack it.
Example: If you are stacking two of the same part of a water bottle, rotate the top piece 90 degrees. This allows for more variation in the light refraction.
Step 6: When you are satisfied with your garbage arrangement, set your dumpster next to a wall.
Step 7: You can go to dumpsterfire.com/garbage light to request a test signal be sent to your garbage.
Upload Your Code
Upload this code to your Arduino. When it's five minutes before the showtime, turn your Arduino on.
// Include the NeoPixel library
#include <Adafruit_NeoPixel.h>
// Define the pin where the NeoPixel data line is connected
#define LED_PIN 6
// Define the number of LEDs on your NeoPixel strip
#define NUM_LEDS 8
// Create an instance of the NeoPixel strip
Adafruit_NeoPixel strip = Adafruit_NeoPixel(NUM_LEDS, LED_PIN, NEO_GRB + NEO_KHZ800);
// Array of colors to cycle through
uint32_t colors[] = {
strip.Color(255, 0, 0), // Red
strip.Color(0, 255, 0), // Green
strip.Color(0, 0, 255), // Blue
strip.Color(255, 255, 0), // Yellow
strip.Color(0, 255, 255), // Cyan
strip.Color(255, 0, 255), // Magenta
strip.Color(255, 255, 255) // White
};
int numColors = sizeof(colors) / sizeof(colors[0]);
void setup() {
strip.begin();
strip.show(); // Initialize all pixels to 'off'
}
void loop() {
for (int i = 0; i < numColors; i++) {
pulseColor(colors[i], 1000); // Pulse the current color over 1 second
}
}
// Function to create a pulsing effect
void pulseColor(uint32_t color, int duration) {
int steps = 256; // Number of brightness steps
int stepDelay = duration / (steps * 2); // Time per step
// Fade in
for (int brightness = 0; brightness < steps; brightness++) {
setStripColor(color, brightness);
delay(stepDelay);
}
// Fade out
for (int brightness = steps - 1; brightness >= 0; brightness--) {
setStripColor(color, brightness);
delay(stepDelay);
}
}
// Function to set all LEDs on the strip to a specific color and brightness
void setStripColor(uint32_t color, int brightness) {
for (int i = 0; i < strip.numPixels(); i++) {
strip.setPixelColor(i, dimColor(color, brightness));
}
strip.show();
}
// Function to adjust the brightness of a color
uint32_t dimColor(uint32_t color, int brightness) {
uint8_t r = (uint8_t)((color >> 16) & 0xFF);
uint8_t g = (uint8_t)((color >> 8) & 0xFF);
uint8_t b = (uint8_t)( color & 0xFF);
r = (r * brightness) / 255;
g = (g * brightness) / 255;
b = (b * brightness) / 255;
return strip.Color(r, g, b);
}
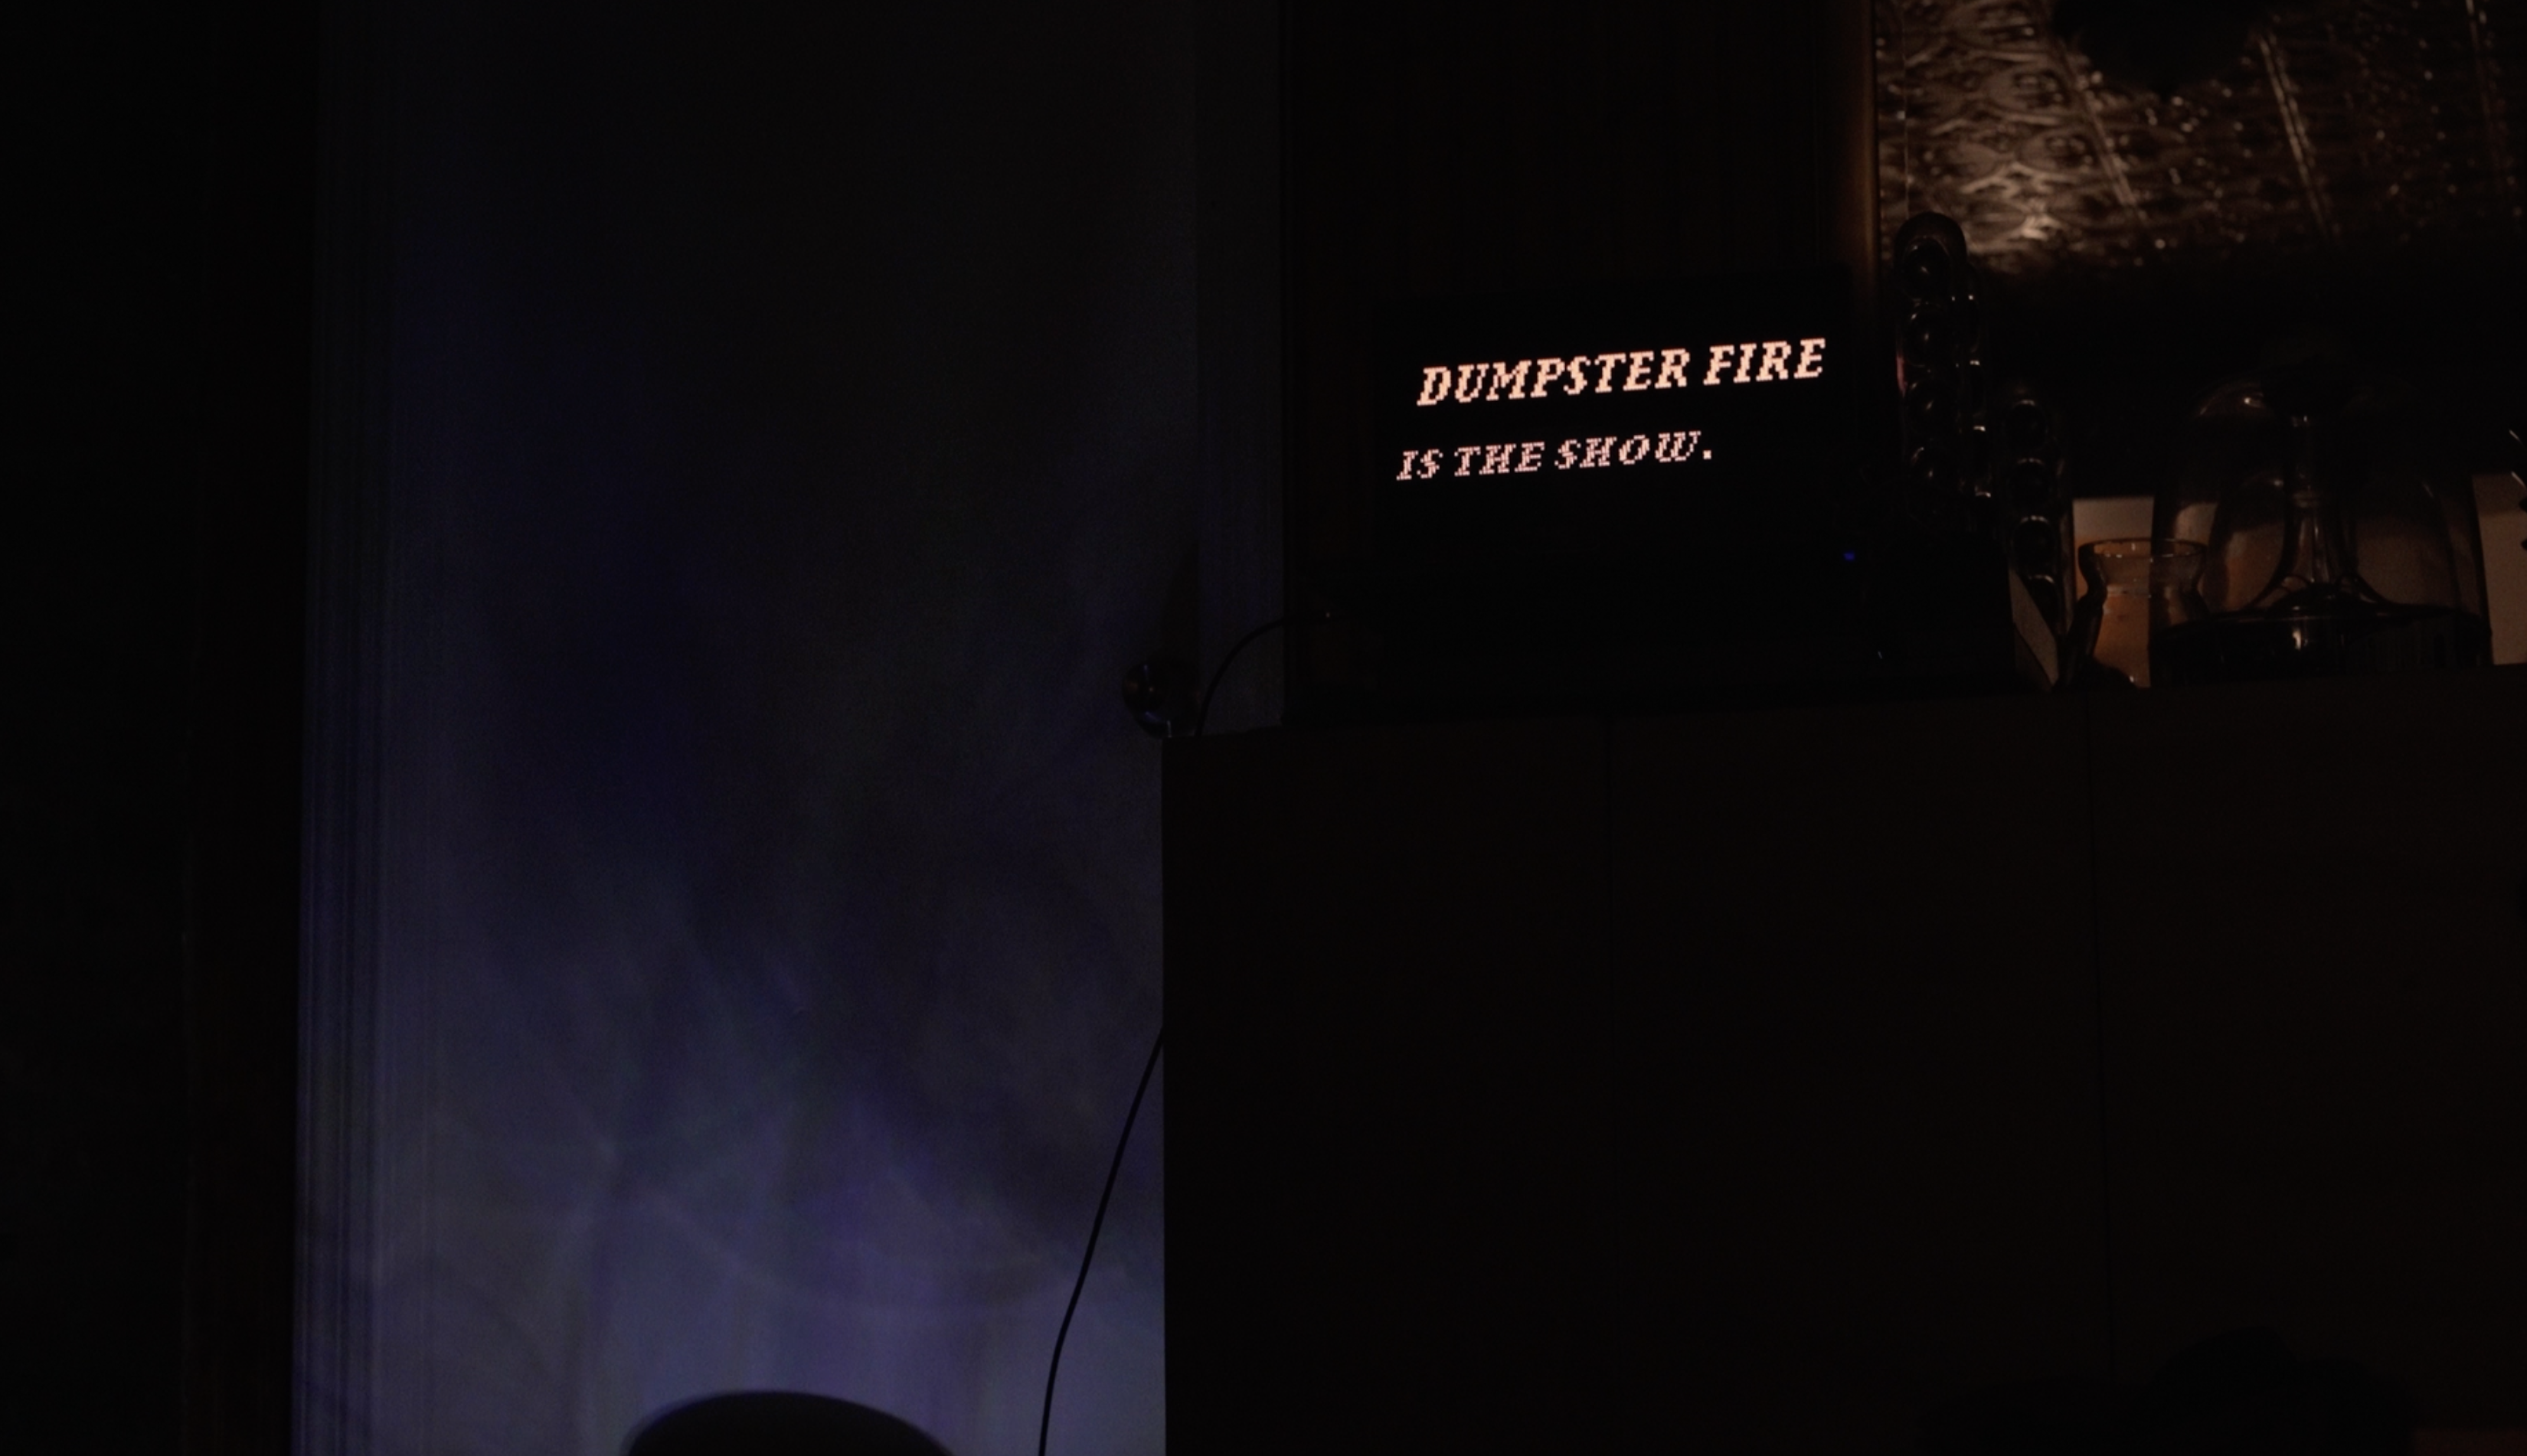
Step 9: Enjoy the episode.