Garage Style Outdoor Kitchen
by Charles Projects in Design > 3D Design
1410 Views, 16 Favorites, 0 Comments
Garage Style Outdoor Kitchen

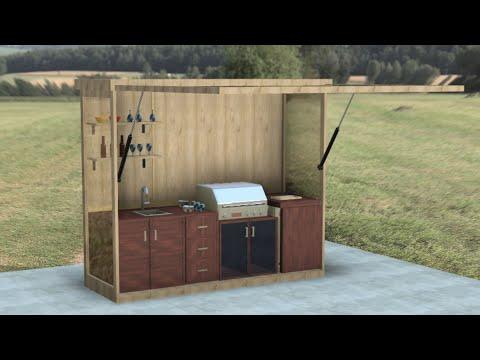

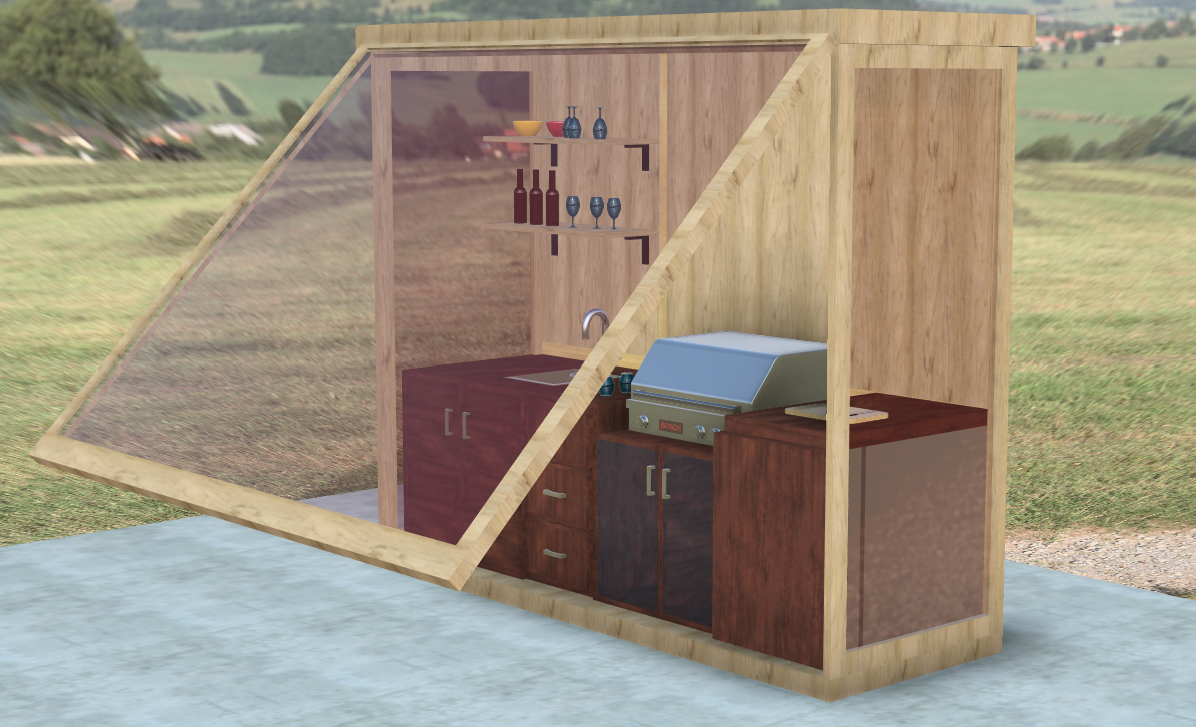
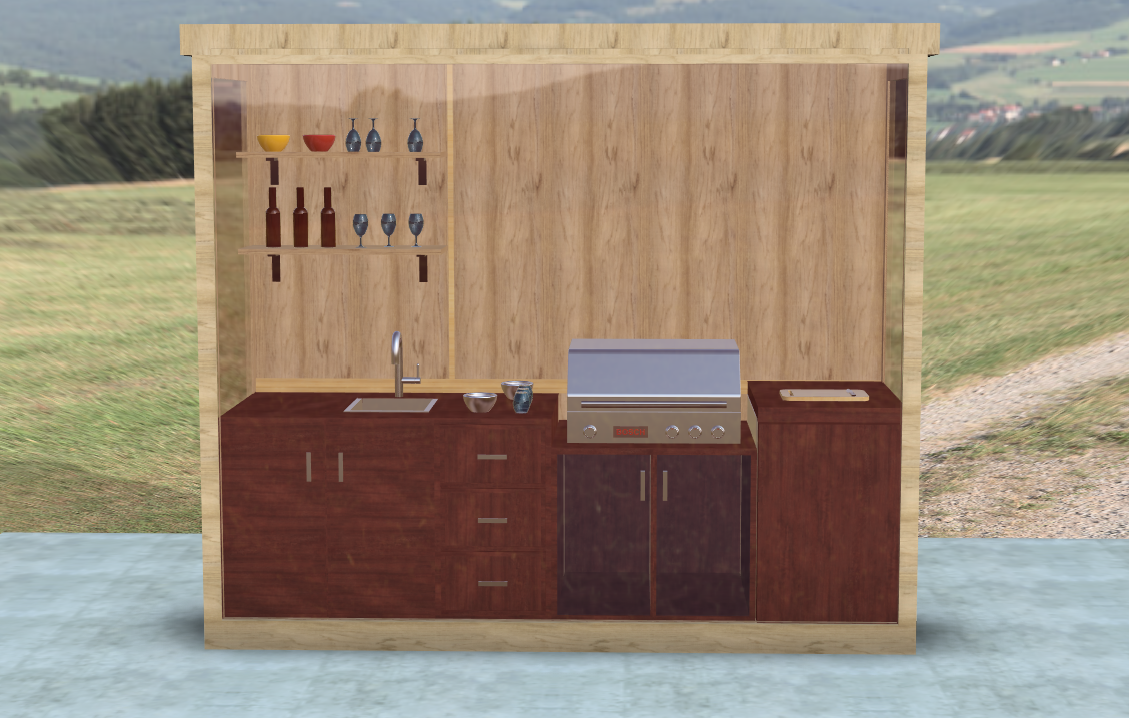
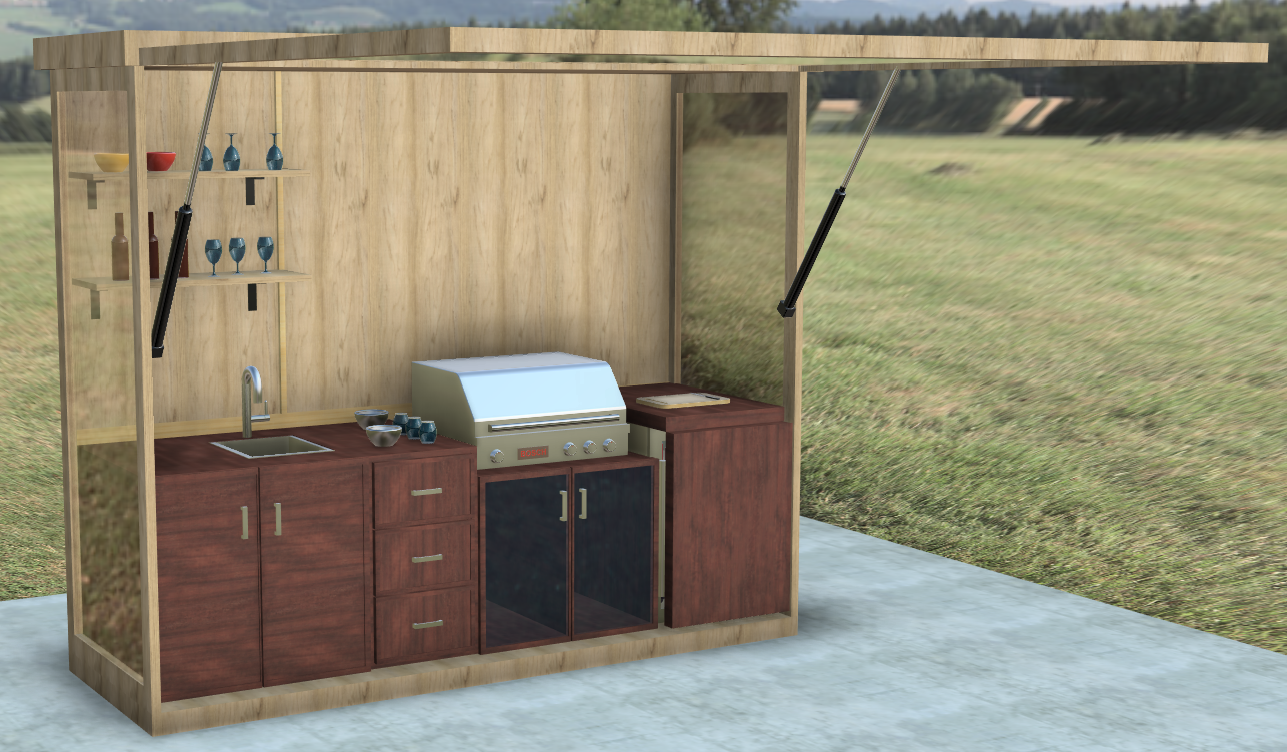
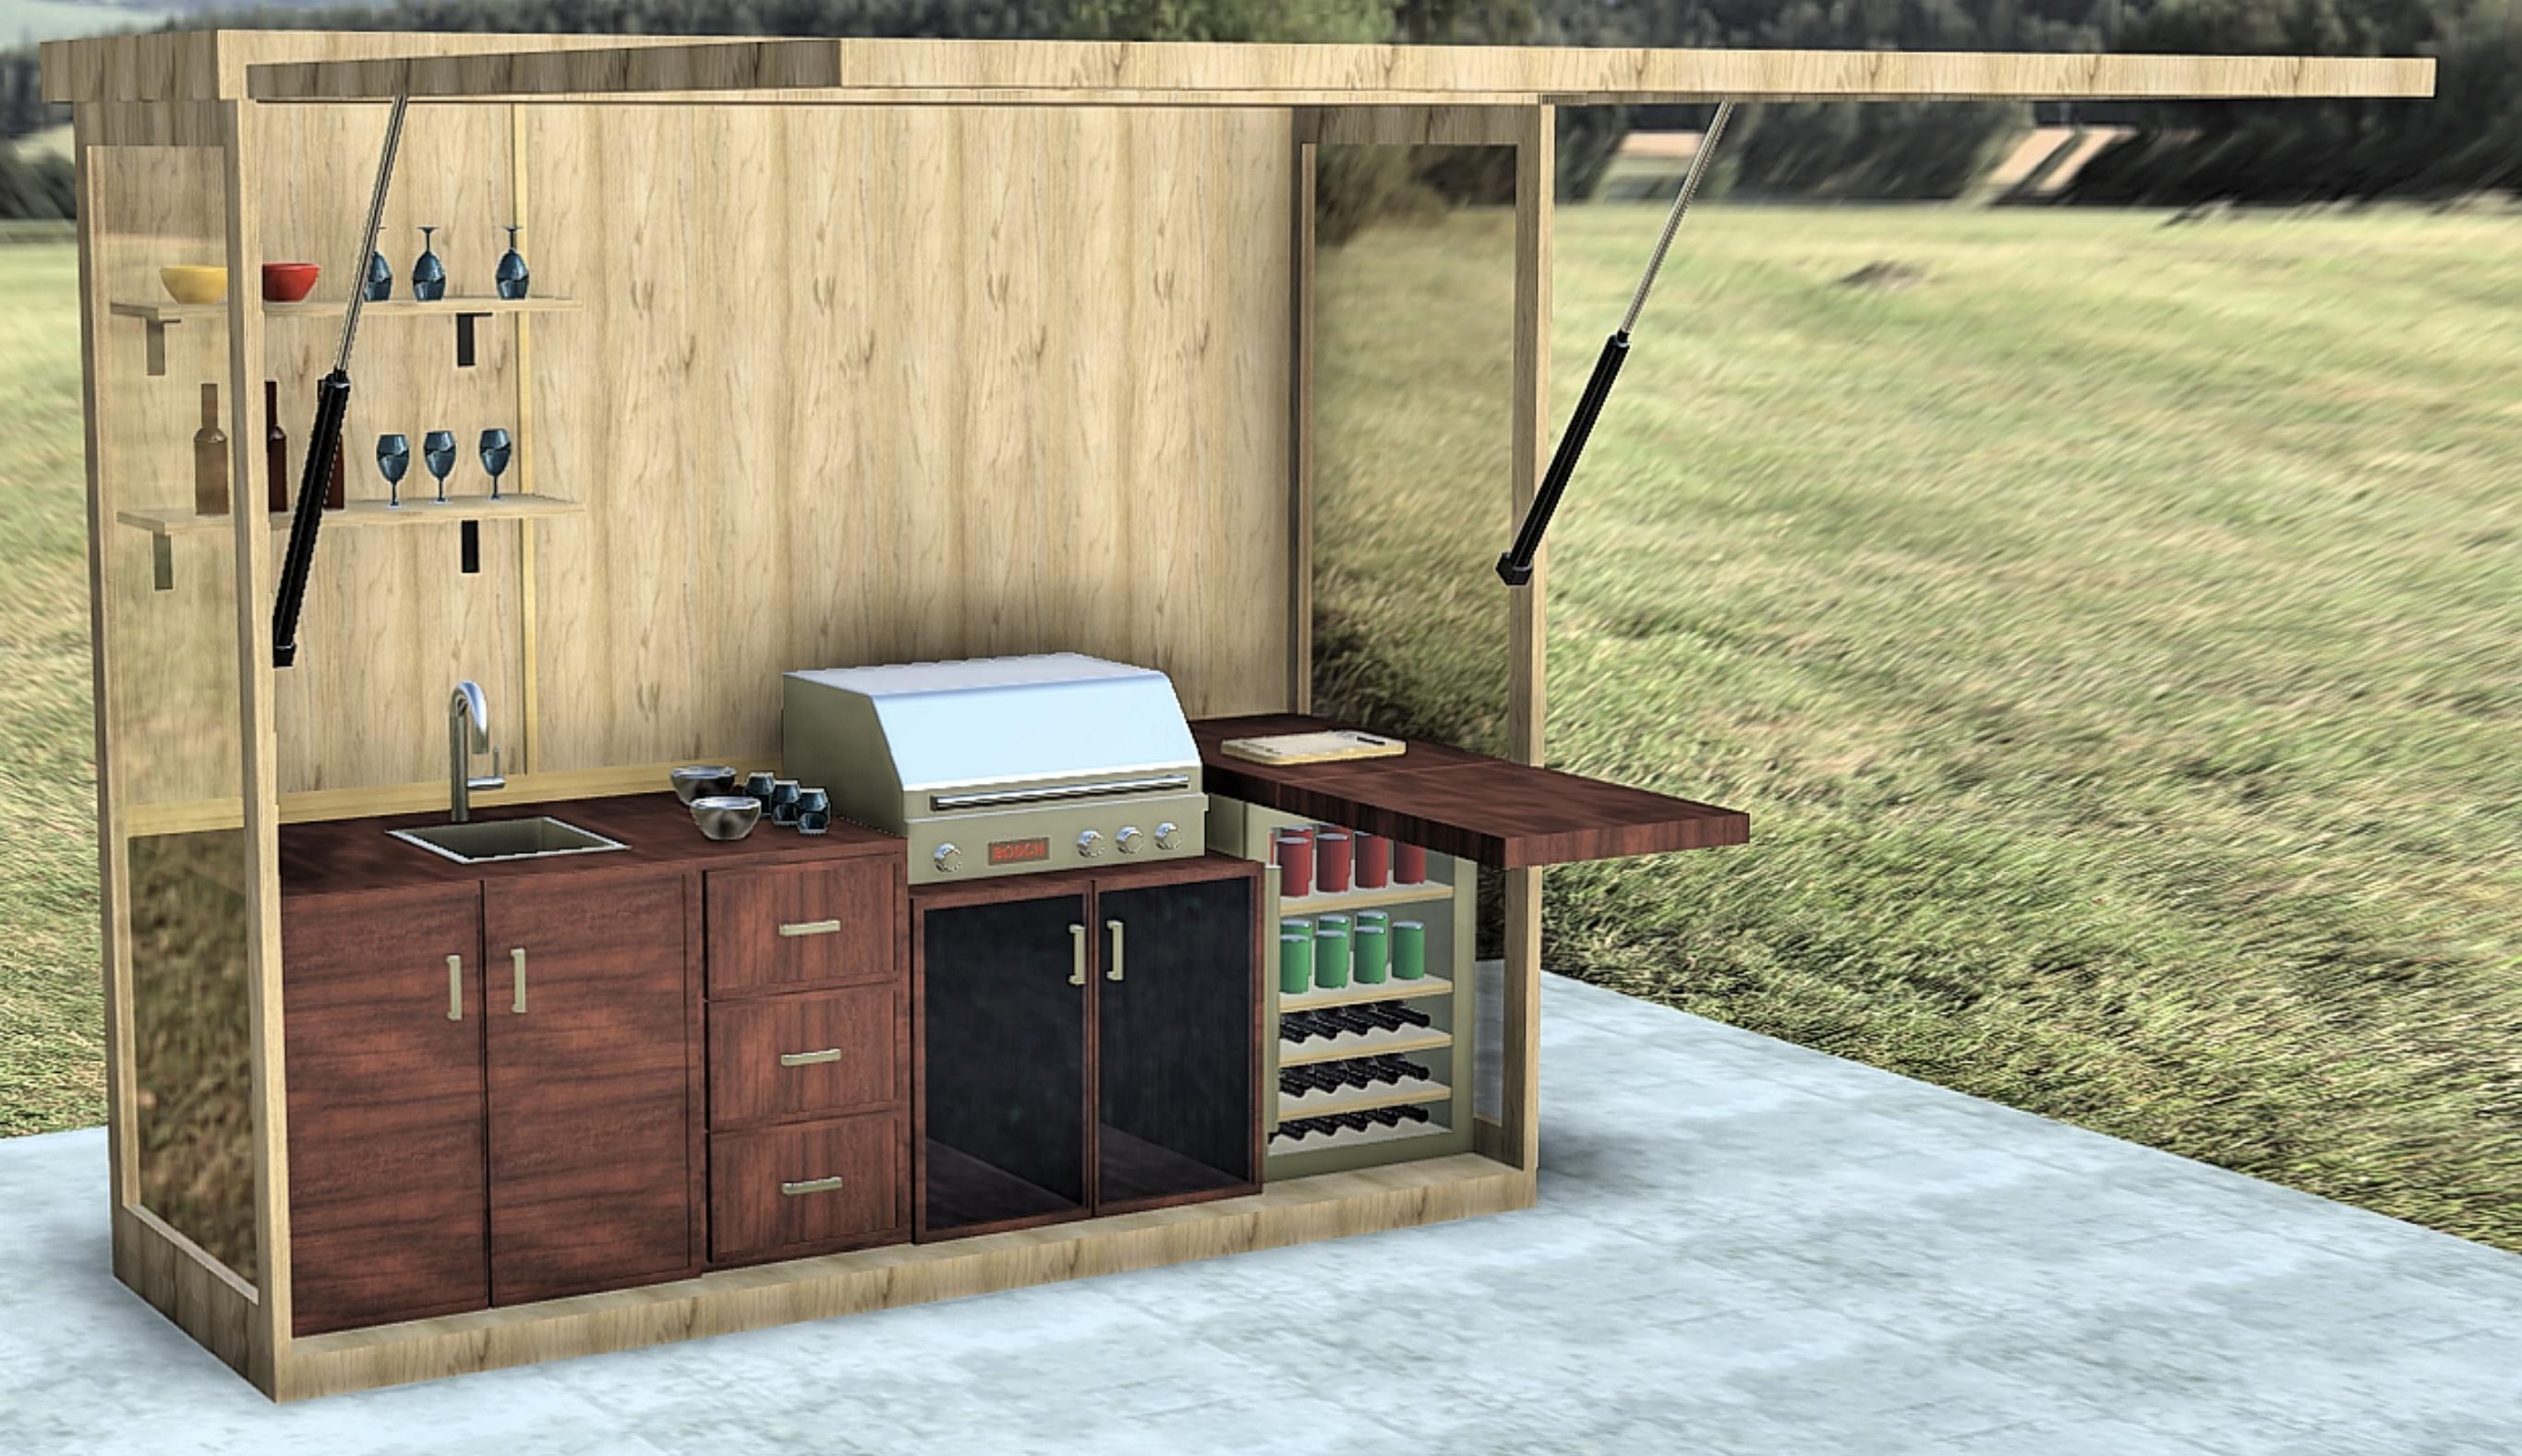
Have you feel want to build something, but you have limited space? Do you want to BBQ, but you have to go back and forth from your kitchen and backyard? Feels frustrating, right? So, I came up with this idea to build a garage-style BBQ kitchen that does not take up much space. In this instructable, I will share a tutorial how to make BBQ / Grill kitchen in your outdoor backyard. Oh, I forget to mention that I am a 12th grader student in California Virtual Academies (CAVA).
Supplies
All you have to do is only have Fusion 360 software and computer. To make a 3D Model design in Fusion 360, you need to open Fusion 360 software. If you do not have Fusion 360, click here to download it. It is a free trial.
Downloads
Sketch
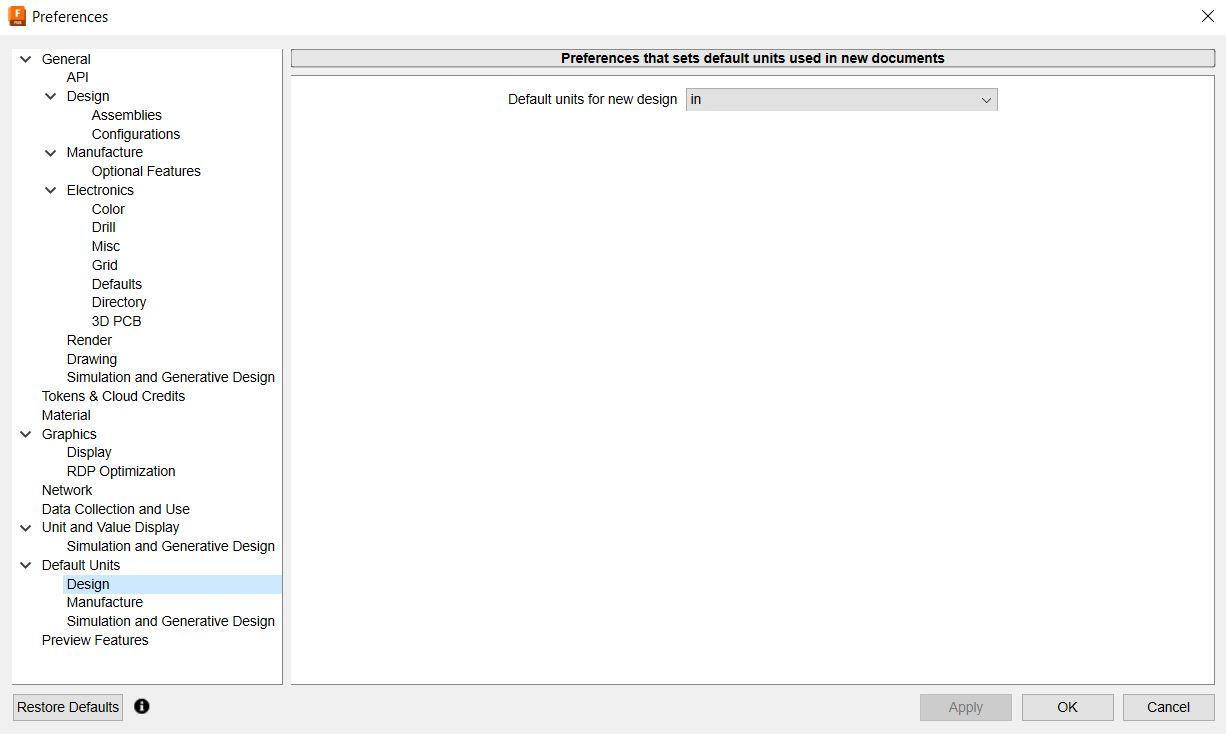
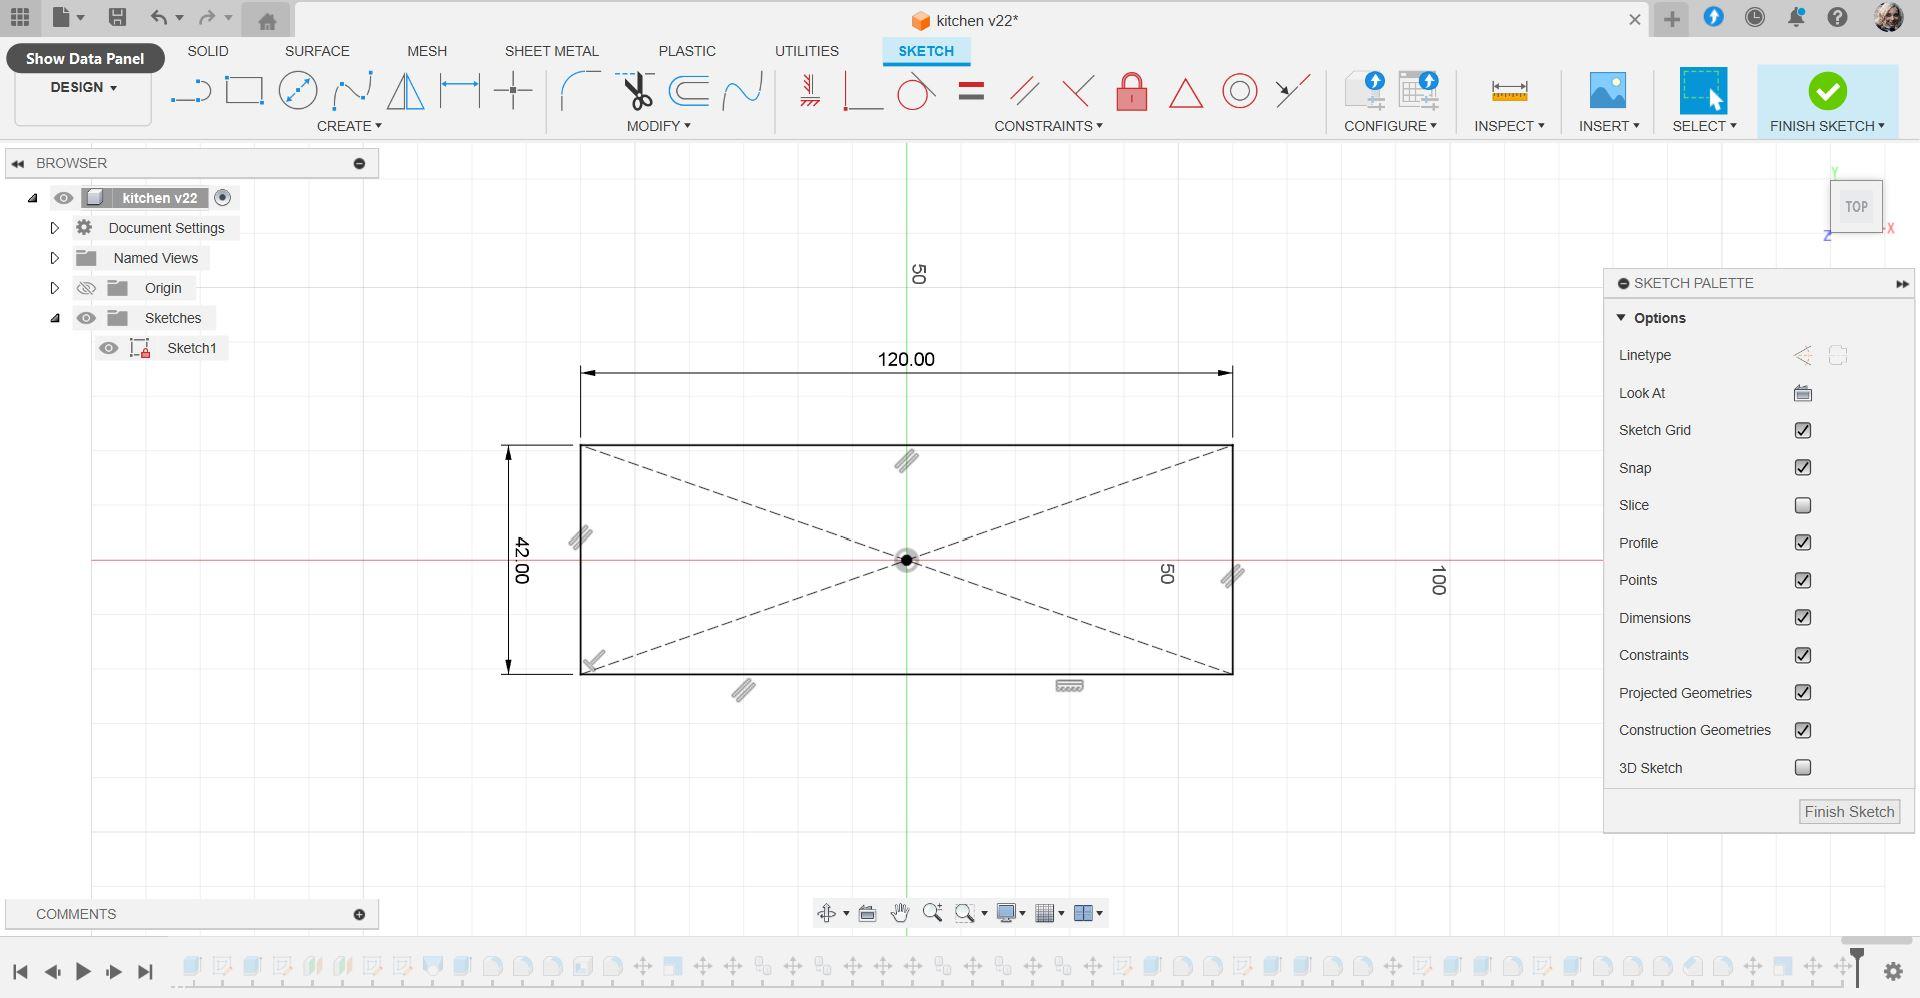
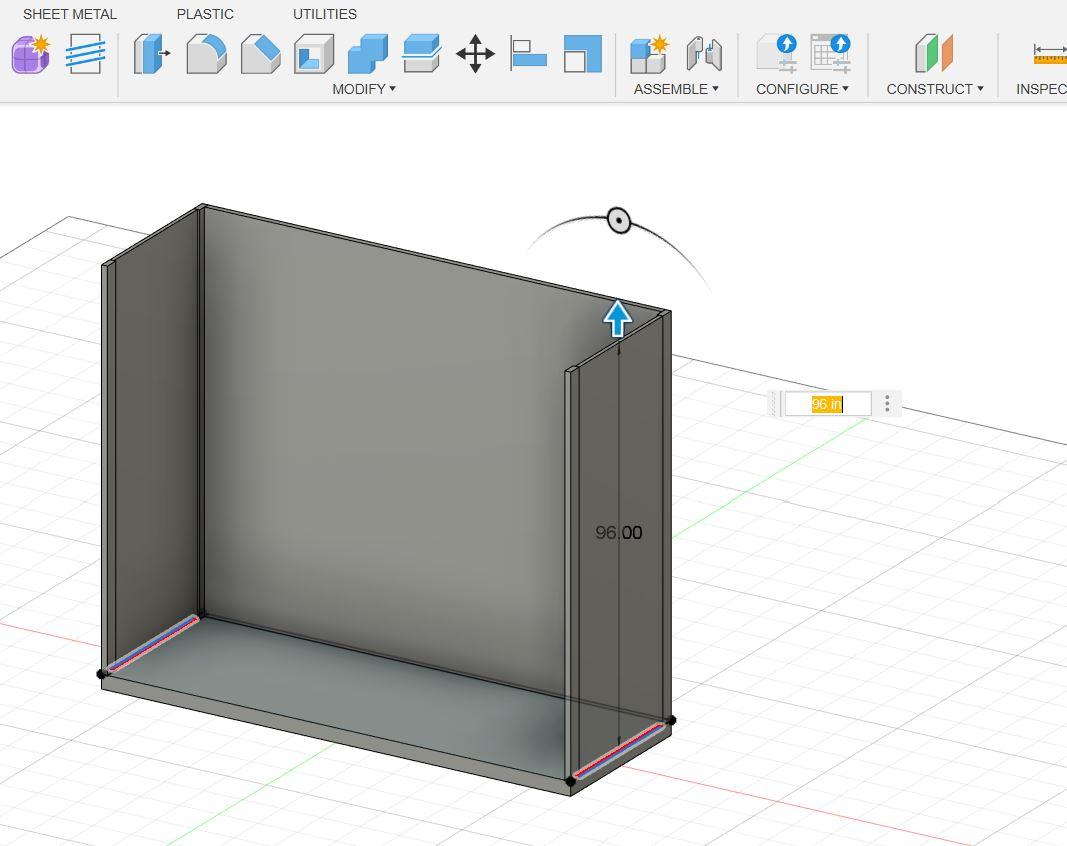
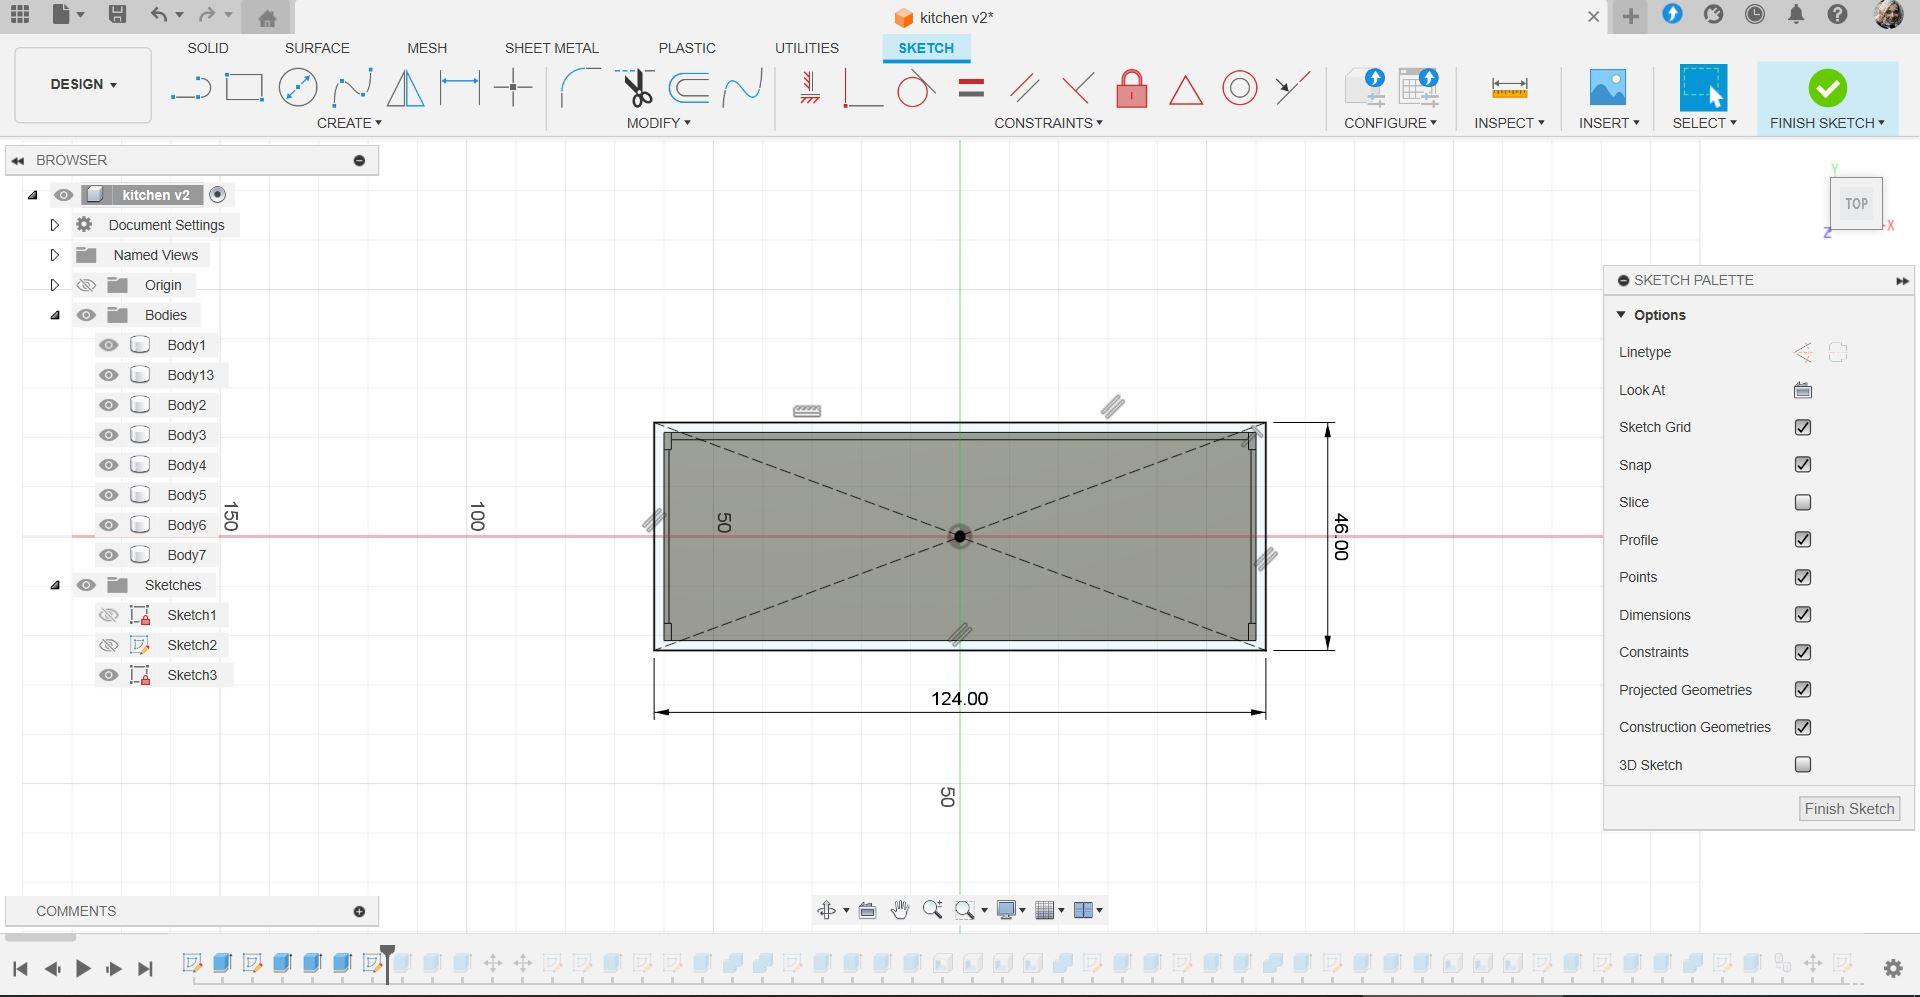
To work with Fusion 360, it is very easy when you use a sketch. But, before doing the sketch, you should set up the units. I choose inches for this project. After setting the unit, you can start to make a sketch. In this tutorial, the first sketch to do is making the kitchen framing, which in a rectangular shape with measurement of 120" x 42" and then extrudes it. It becomes the base of your kitchen. Then, make the second sketch to make the wall and extrude it. The height of the wall is 96" or 8'. Lastly, make the roof with measurement of 124" x 46" and extrude it.
Cabinet Details Part 1 - the Cabinets
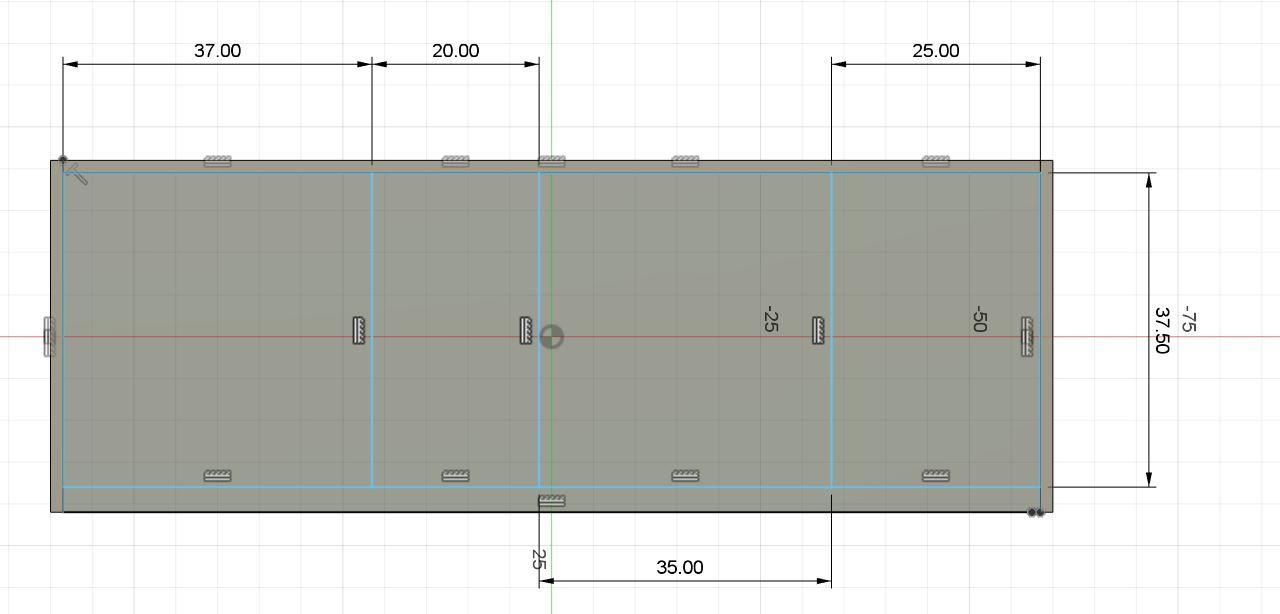
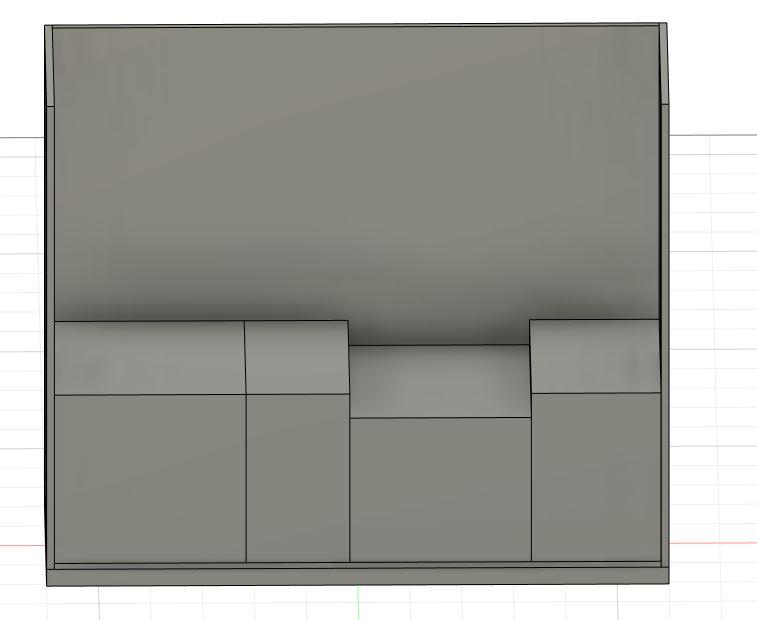
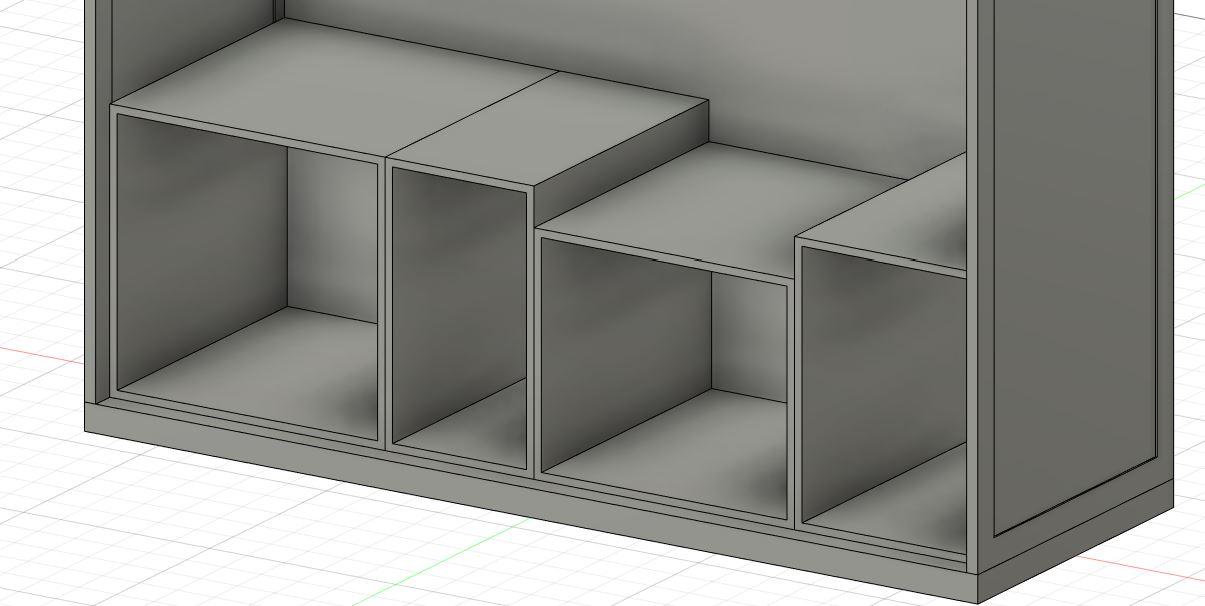
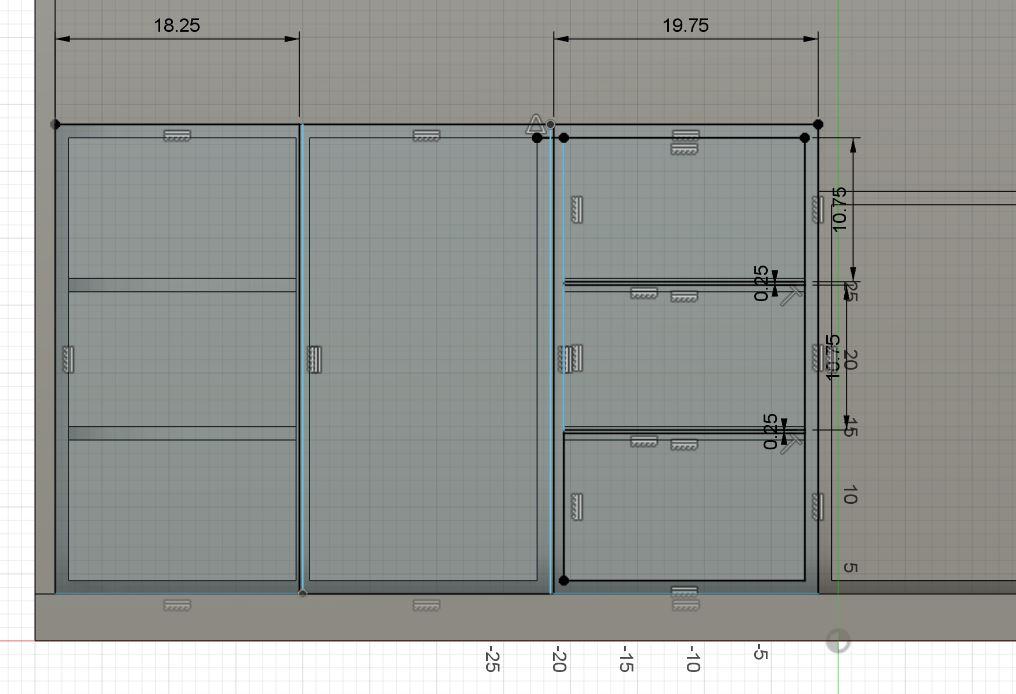
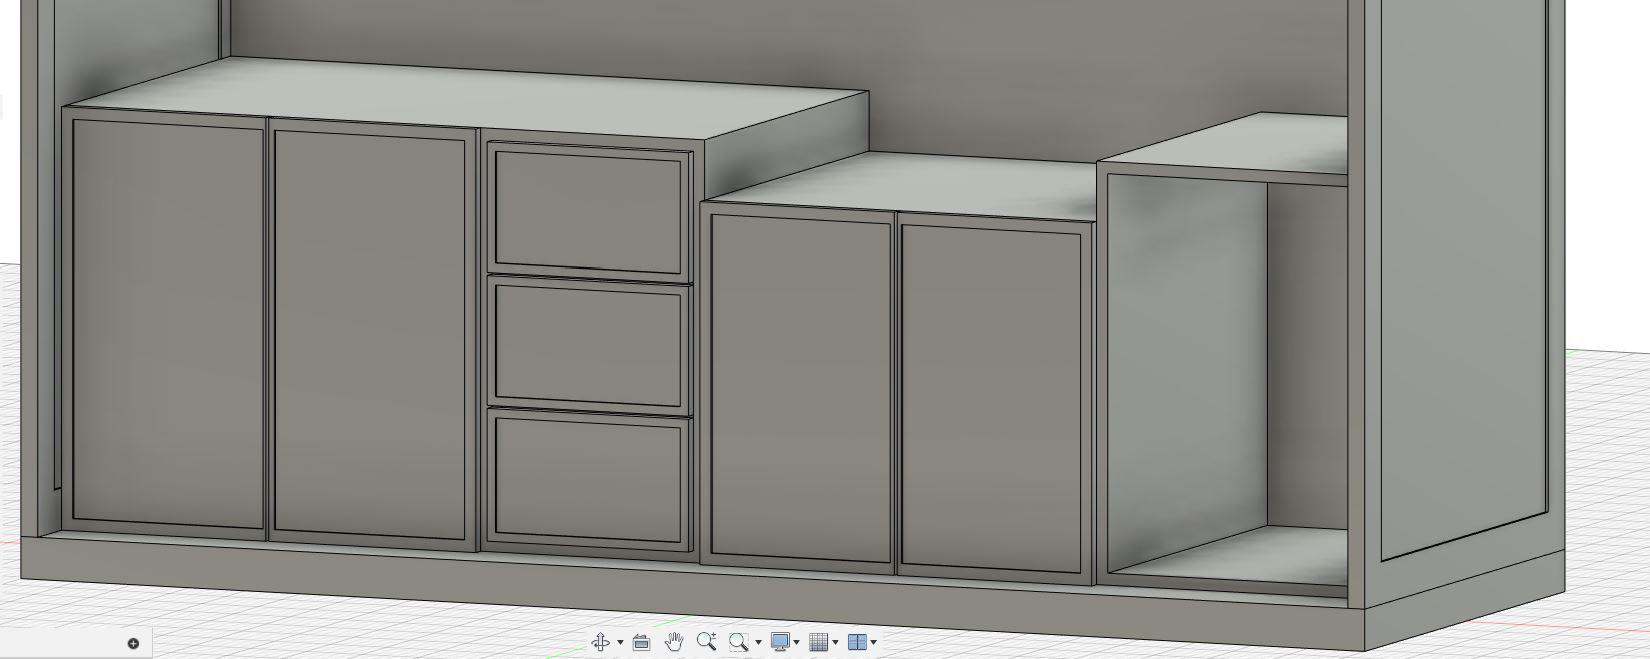
Once the framing of the kitchen is done, you can start sketching the cabinets and extrude it. See the measurement in the image. I used shell to make the cabinets. Later, to make the doors, I sketch of rectangle and extrude it. Repeat it for every door cabinet and drawers. For the final touch, make the door cabinet handles. I use 2 rectangular forms, extrude it, and make a hole. Duplicate the door handles and put it in every door.
Cabinet Details Part 2 - the Floating Shelves and Molding

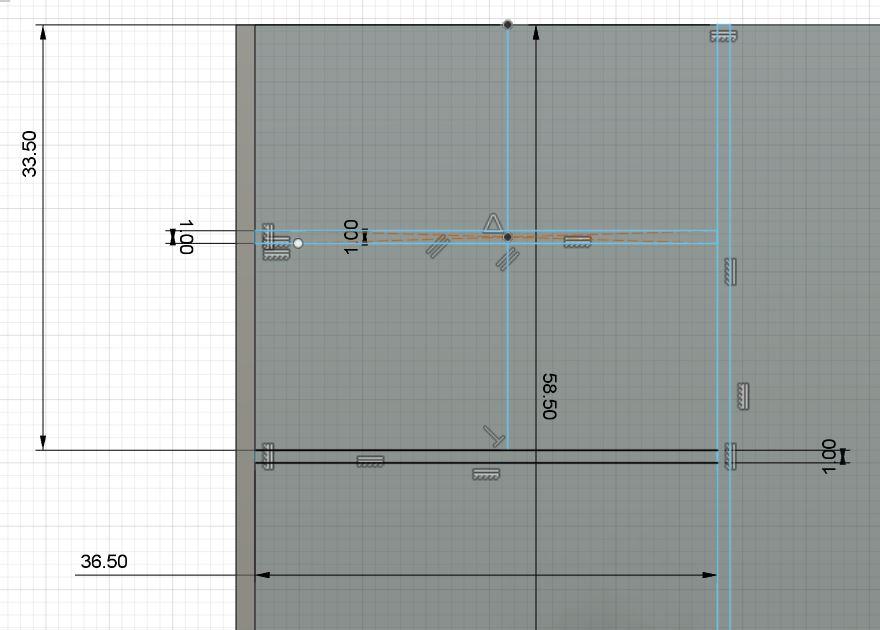
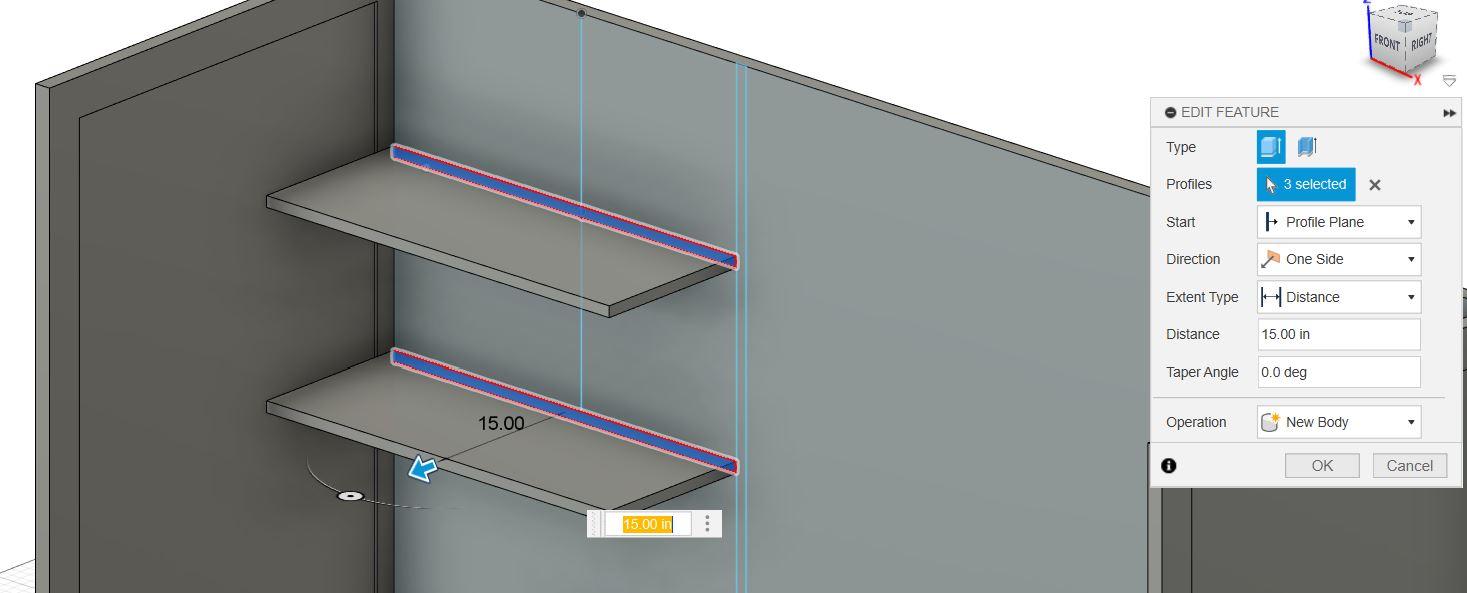
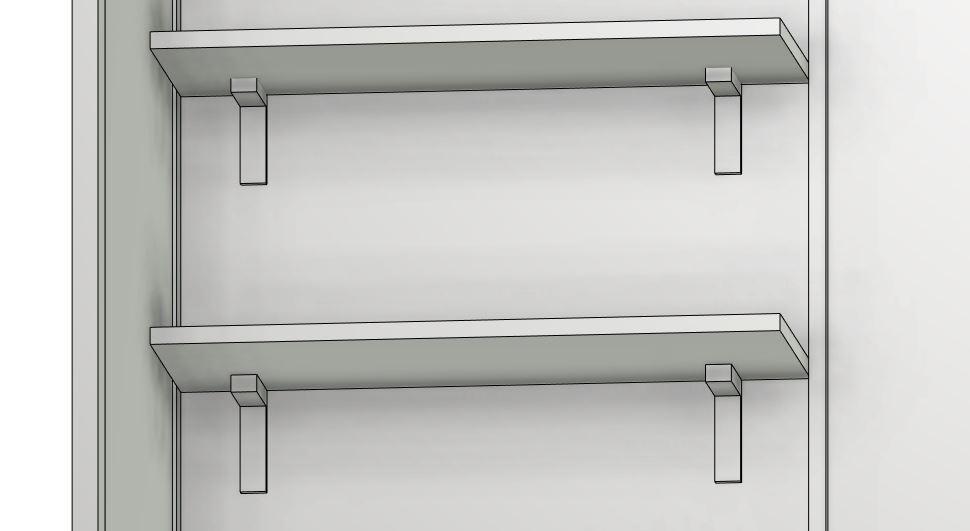
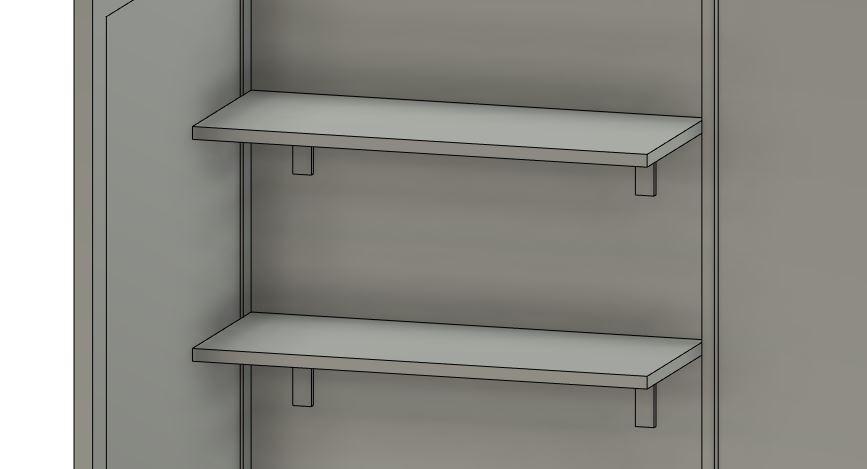
To make the floating shelves, sketch them with a rectangle. While sketching the shelves, don’t forget to add the molding to make it look modern. Extrude them all. After extruding, make the brackets for the floating shelves.
Appliances Part 1 - the Grill
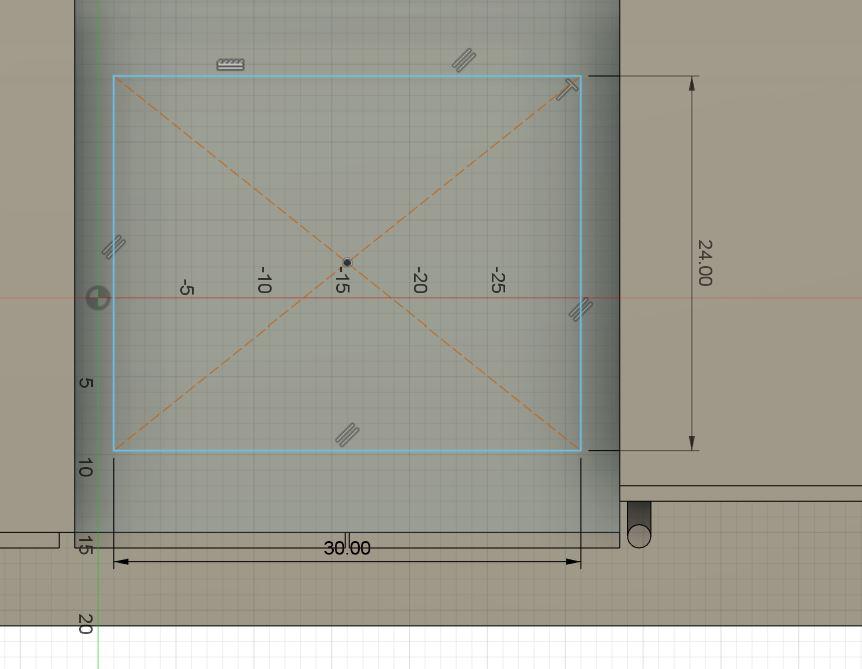
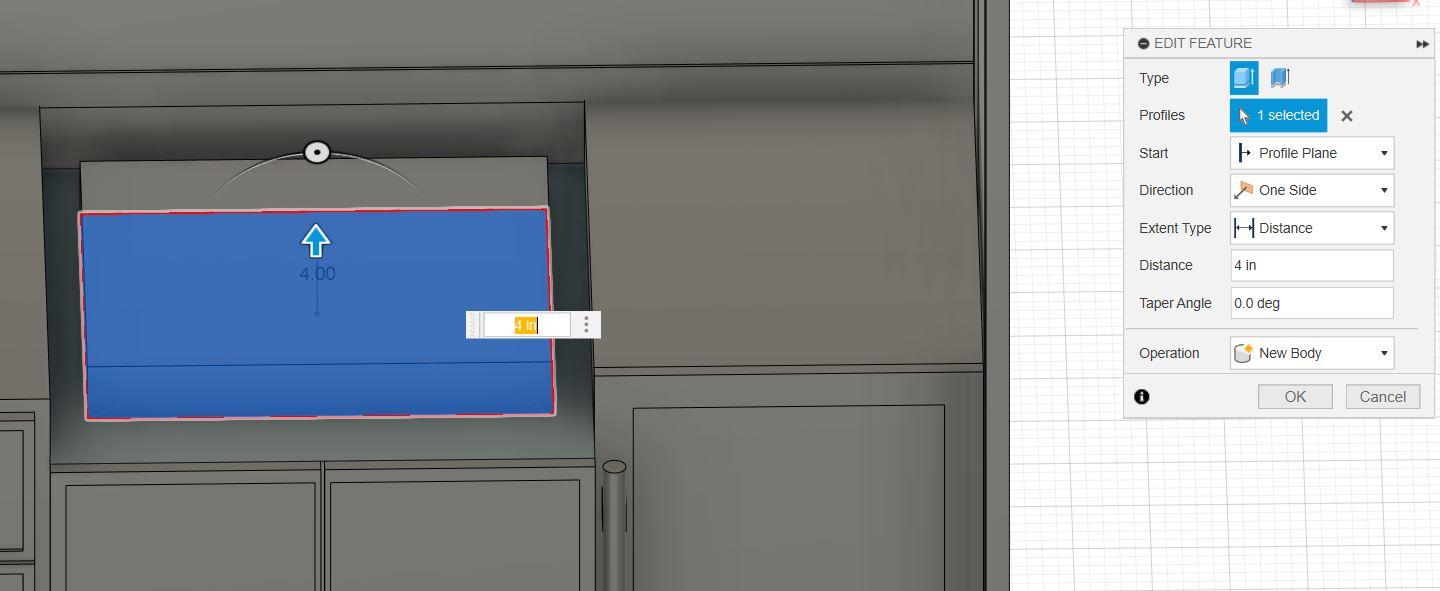

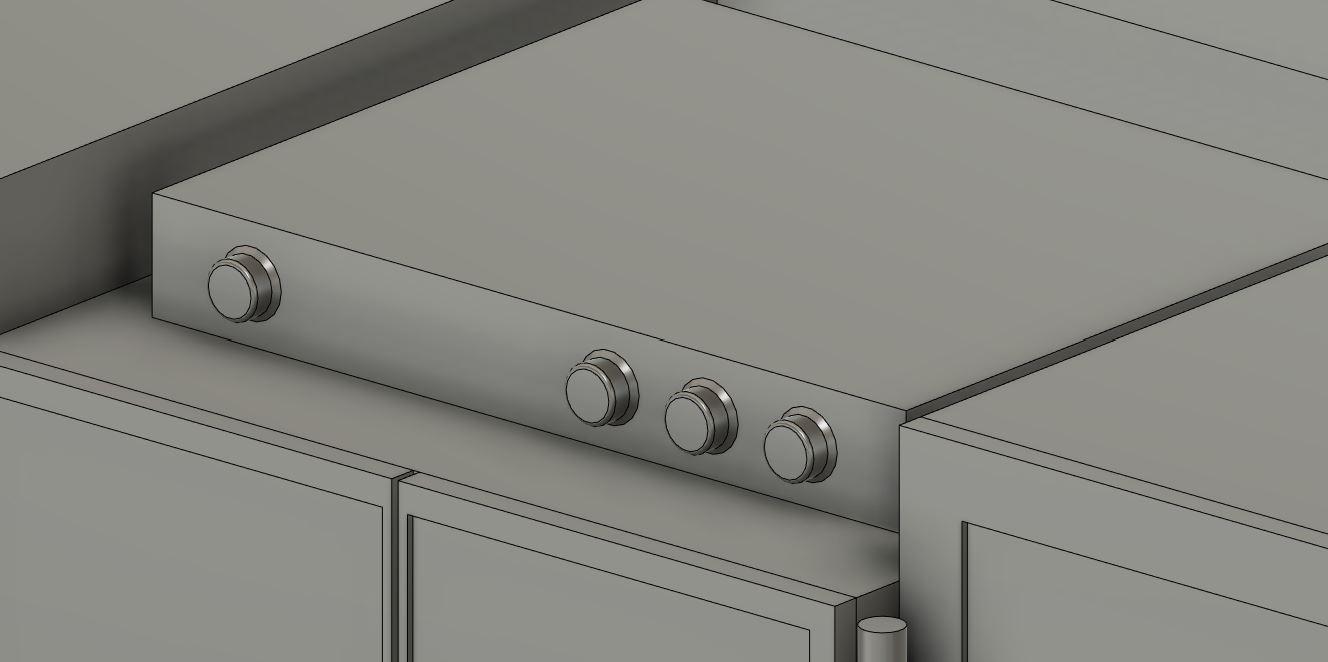
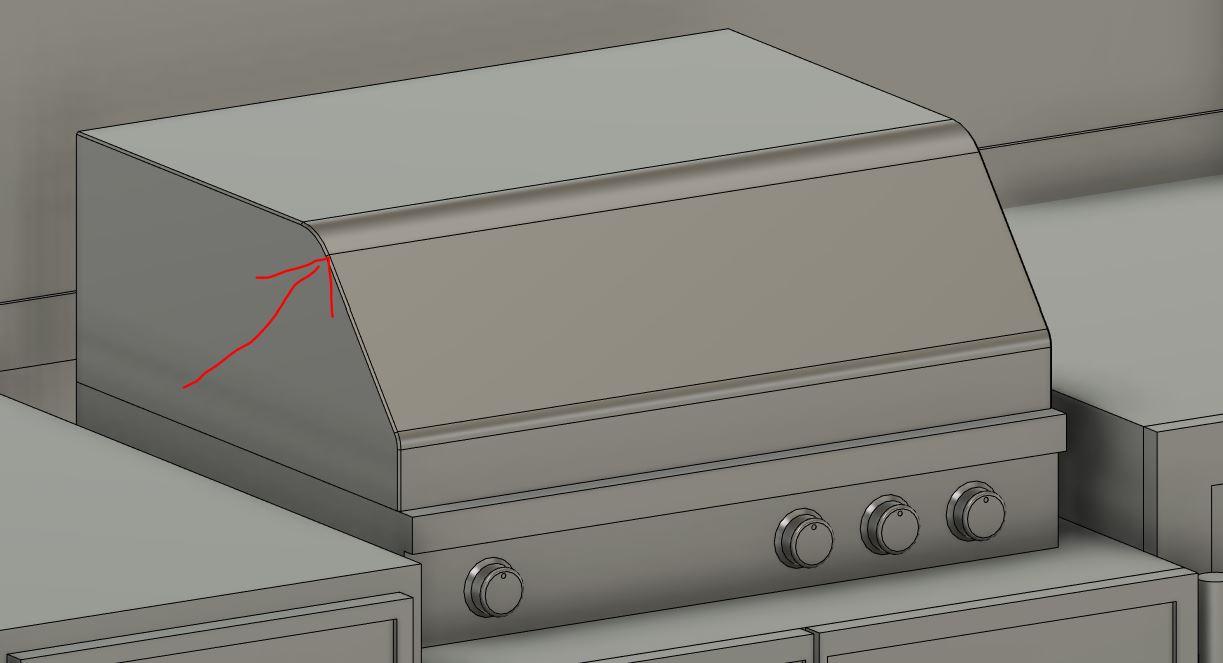
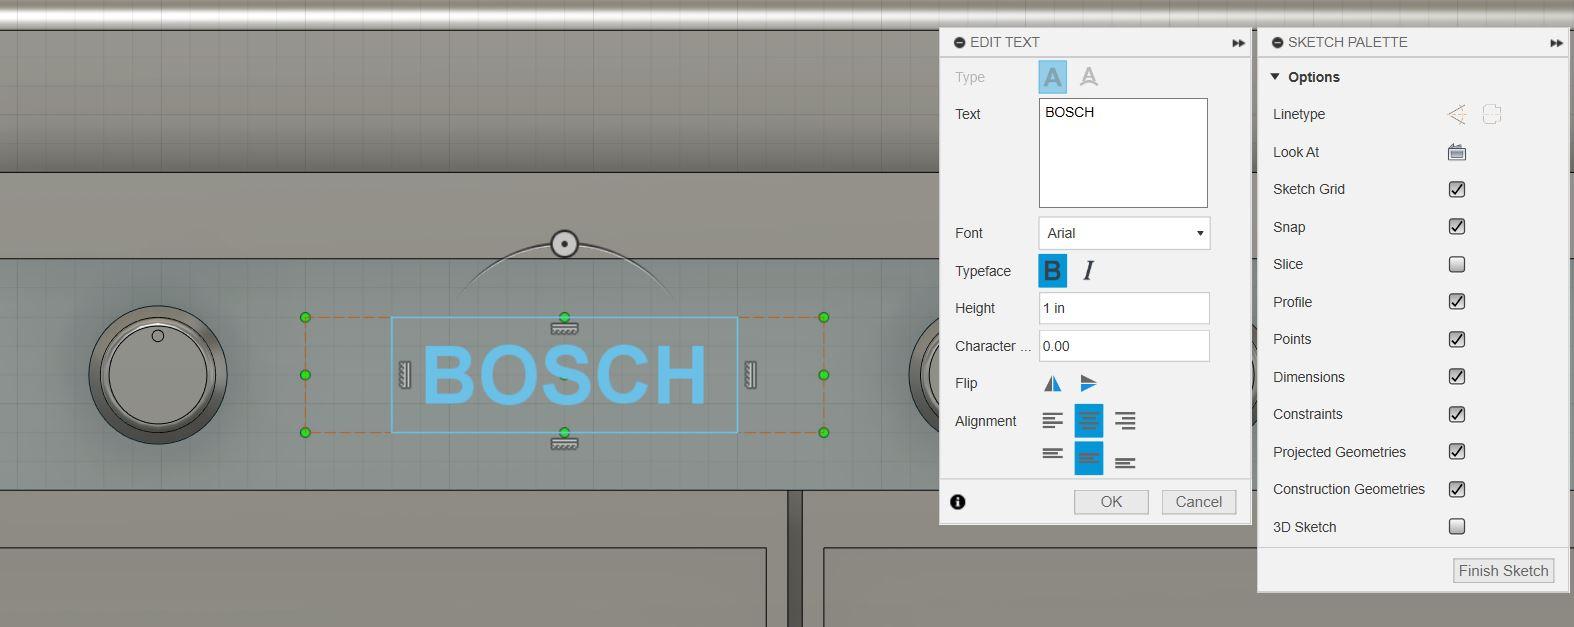
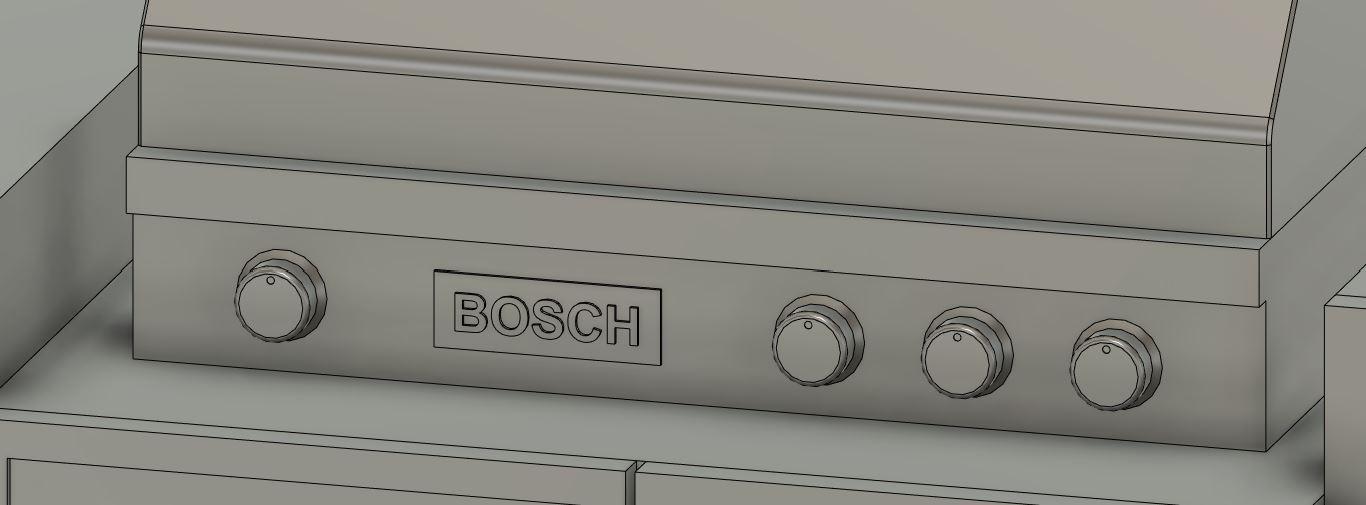
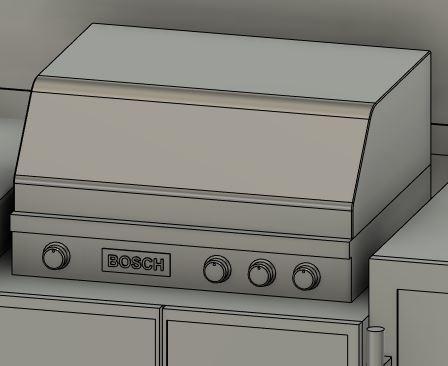
It is important to make the grill since this is an outdoor kitchen, so the grill is a must have to make. First, always make a sketch of rectangle. Then extrude it and add some more buttons to the front of the grill. To make it sweeter, bevel all the sharp edges. To make it more stylish and realistic, I make the logo of the grill. You can choose whatever brand you want. To do this, use text and then type the brand and make sure the brand fits the grill. Extrude it.
Appliances Part 2 - the Wine Cooler
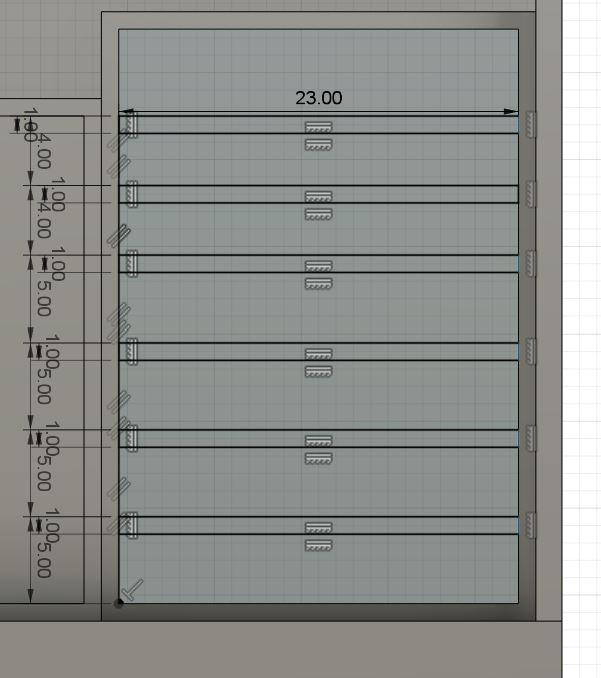
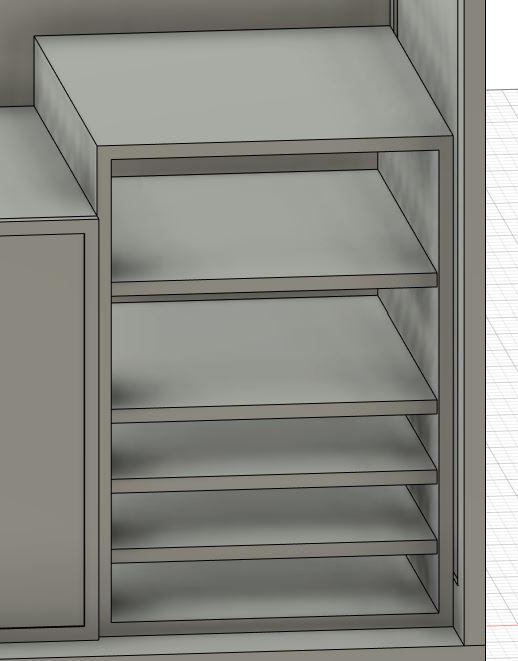
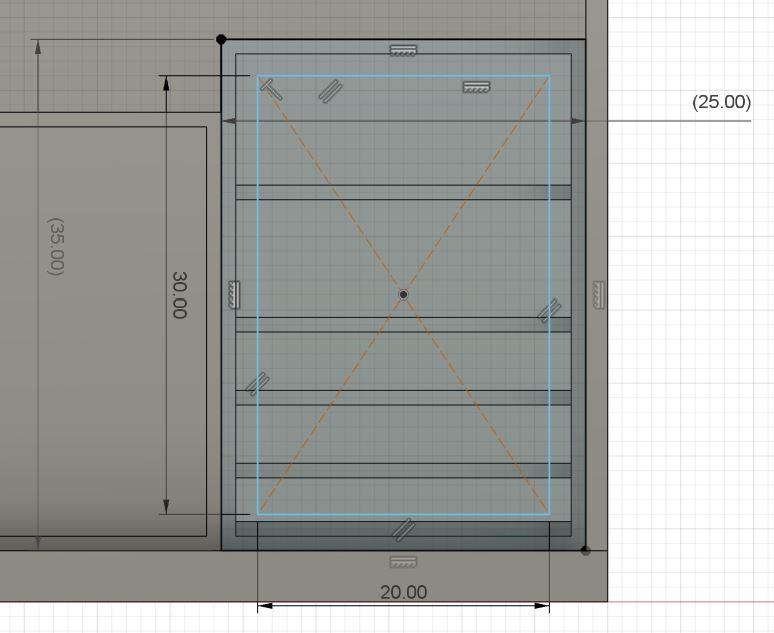
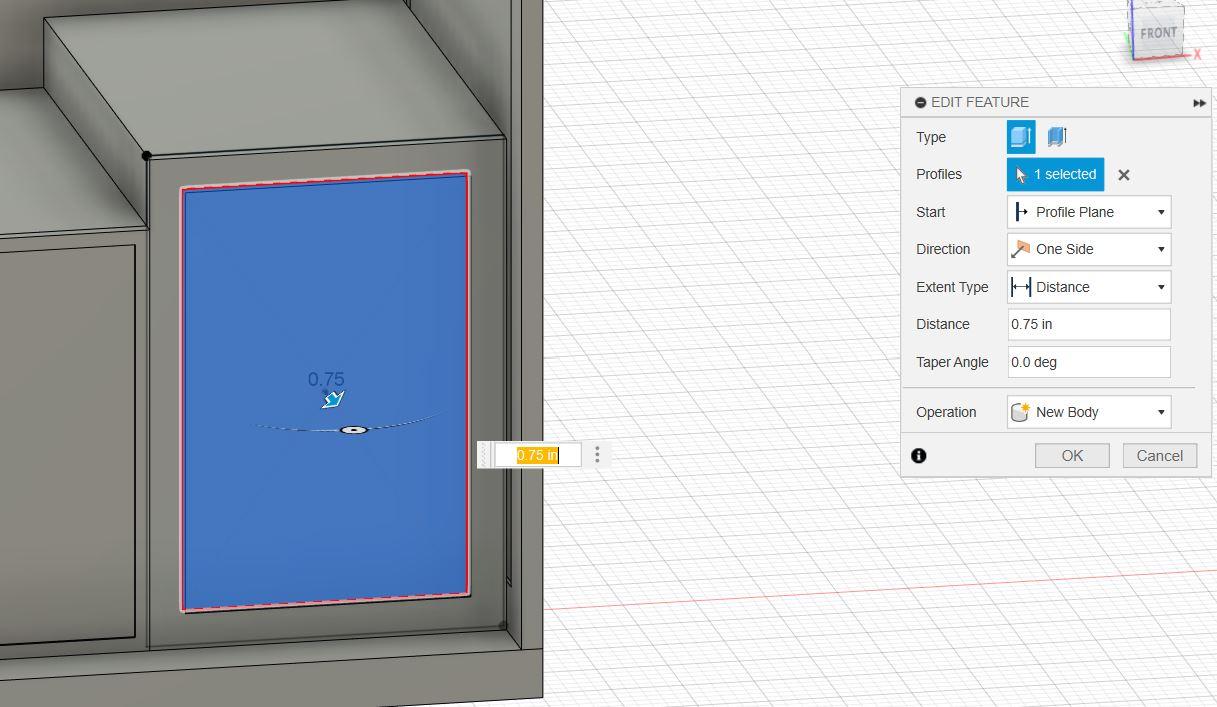
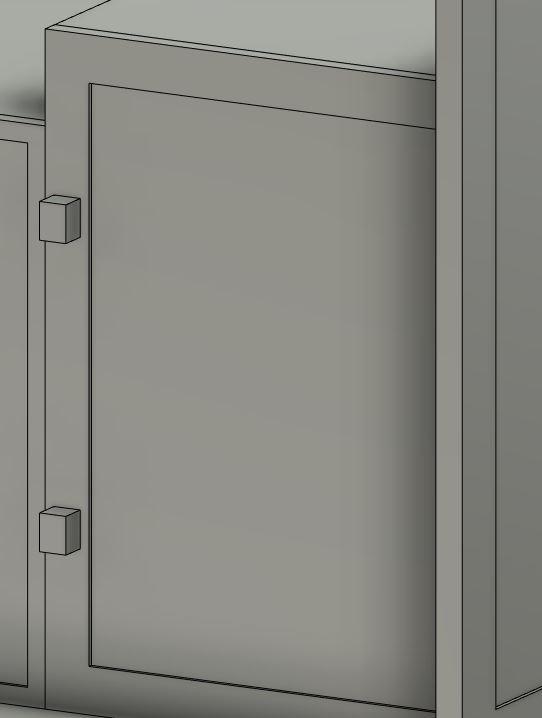
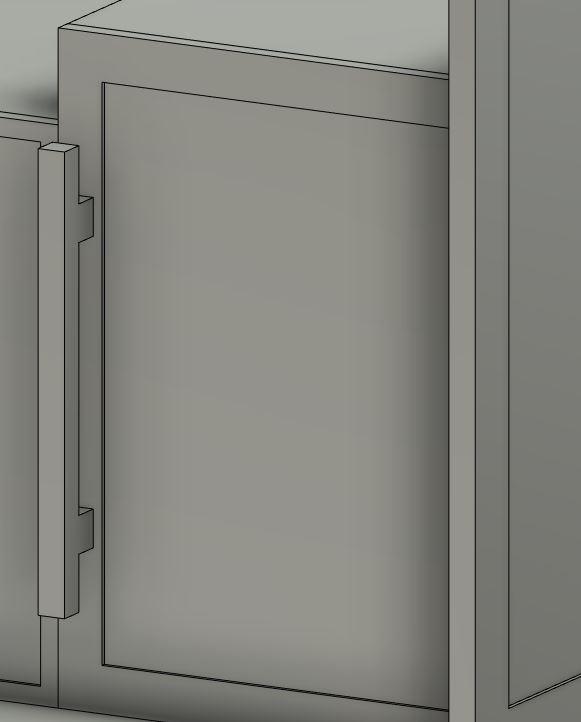
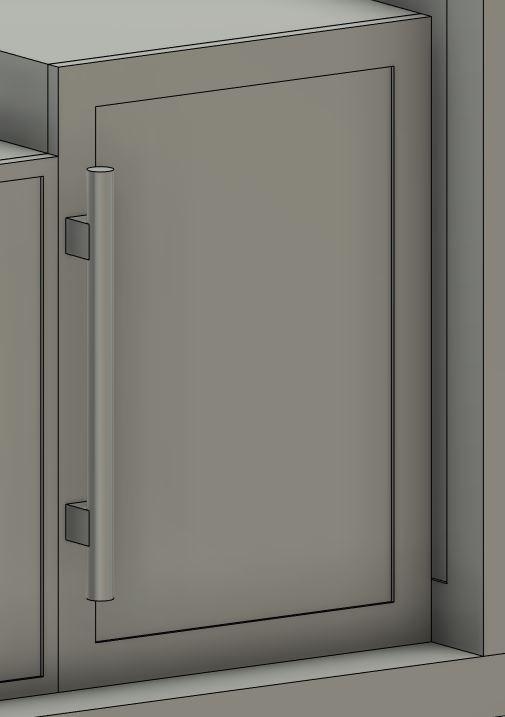
To complete the kitchen, I add the wine cooler for the appliance. The step is almost the same with the cabinet. I divide the racks by making a sketch of rectangle and extrude it. Next, I add the door for the wine cooler and make a handle similar to the cabinets. First, add rectangle box for the handle mount. Then make the handle with a square and fillet or bevel it to make the handle smooth.
Accessories Part 1 - the Sink and Faucet
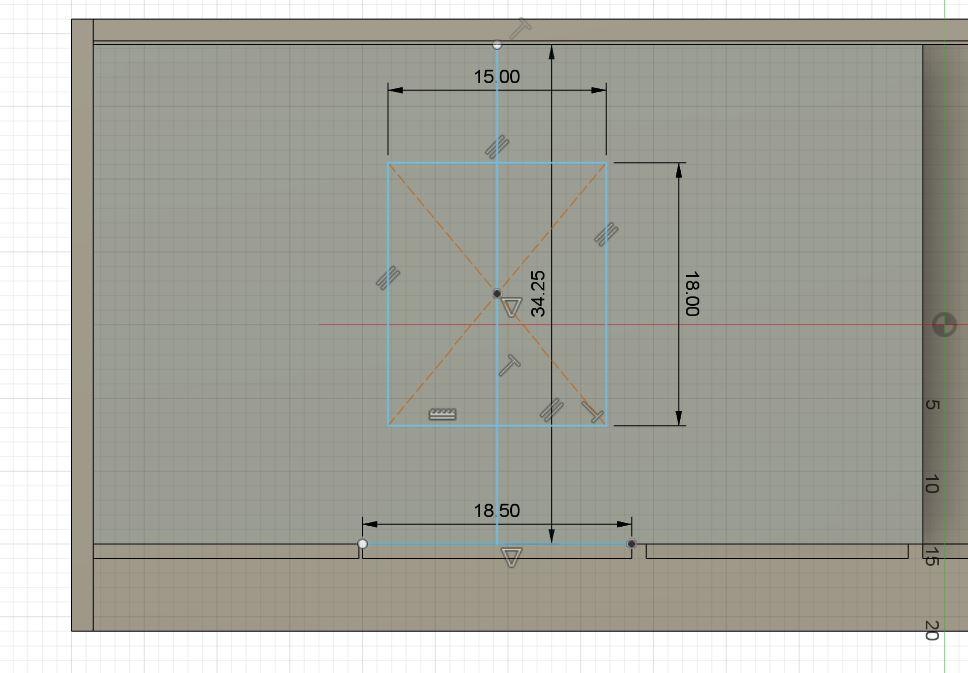
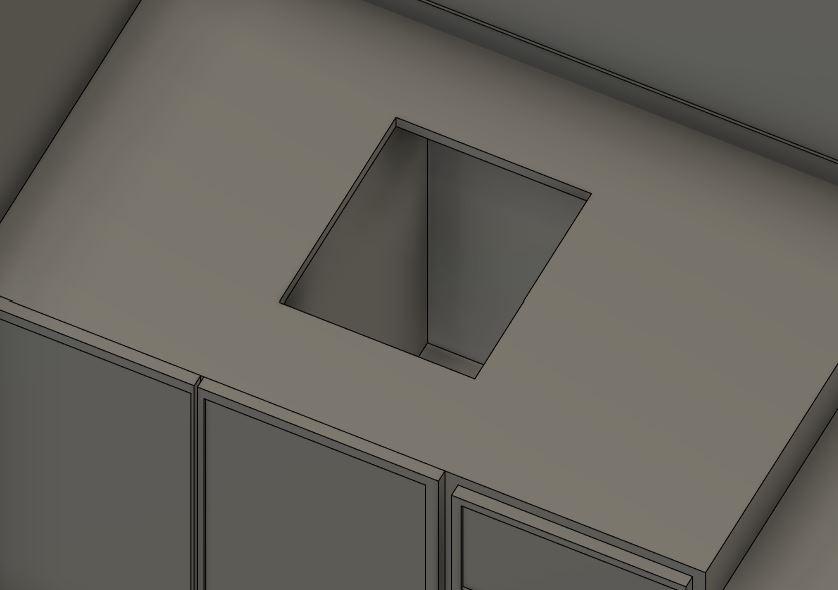
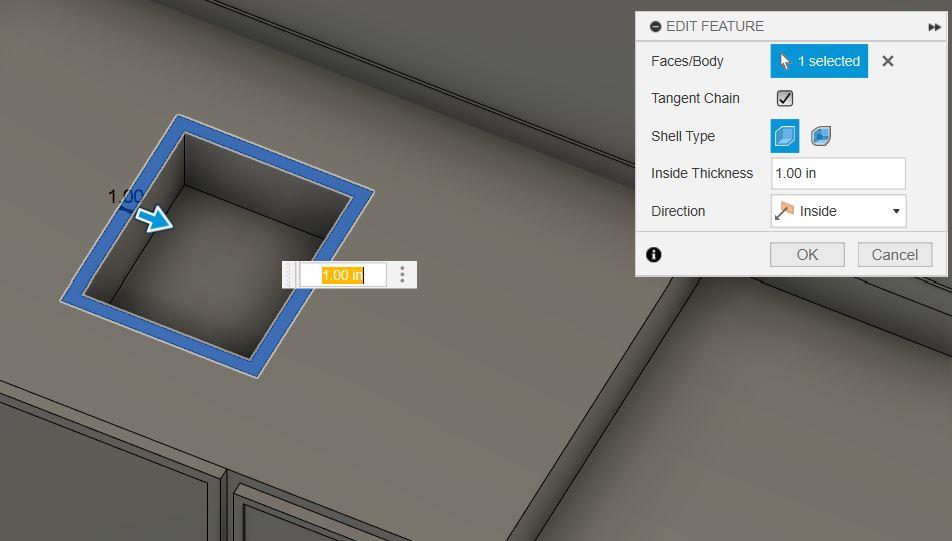
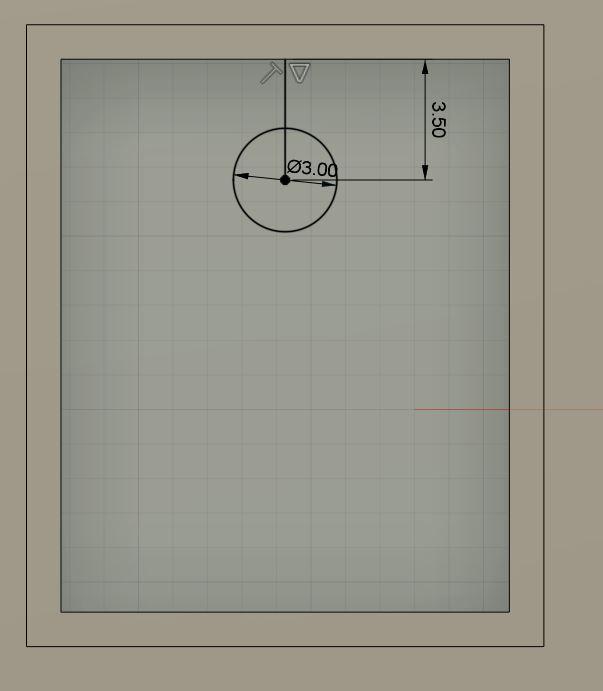
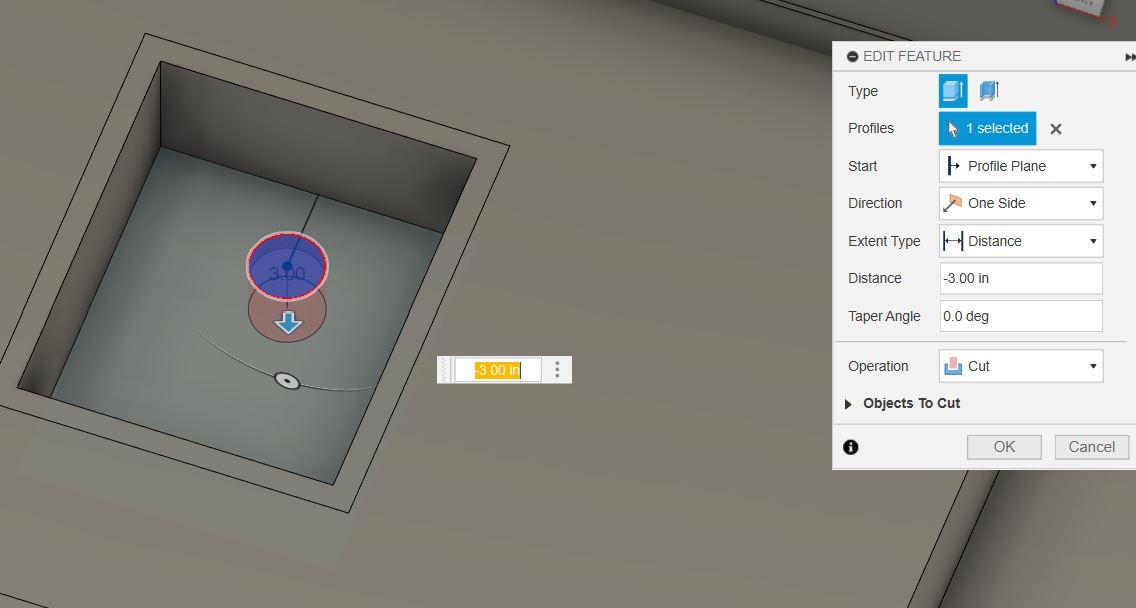
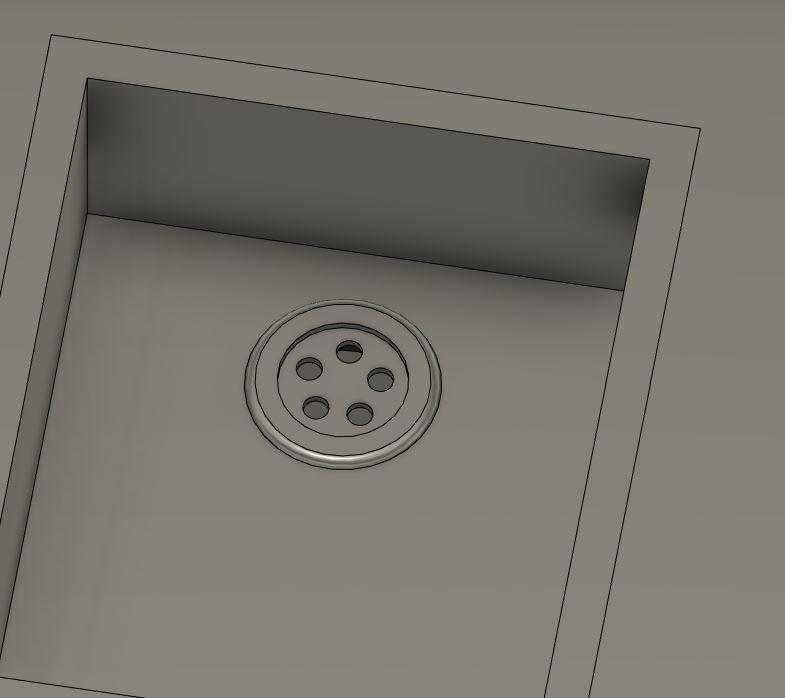
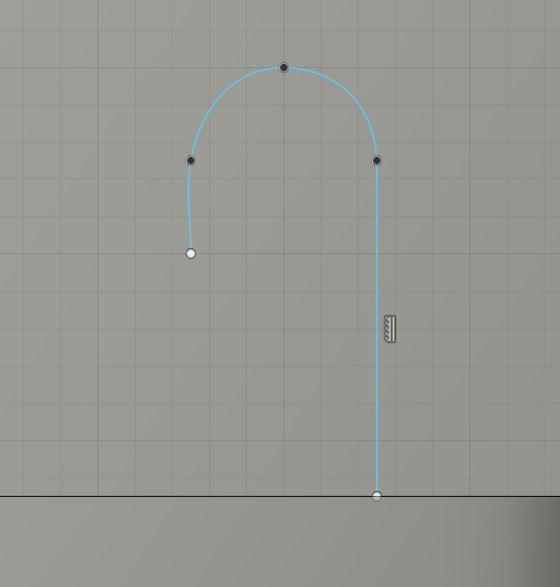
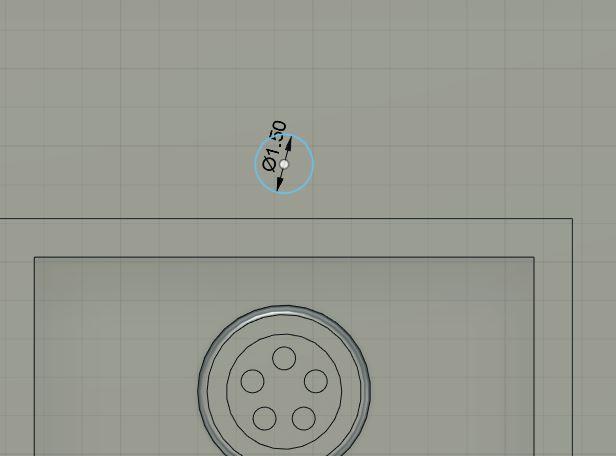
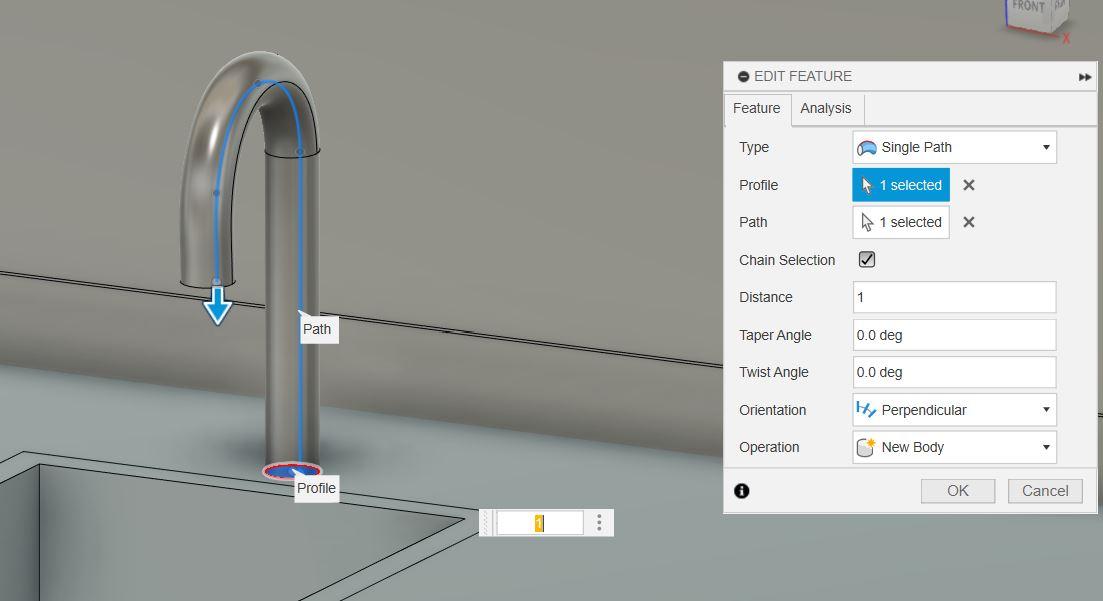
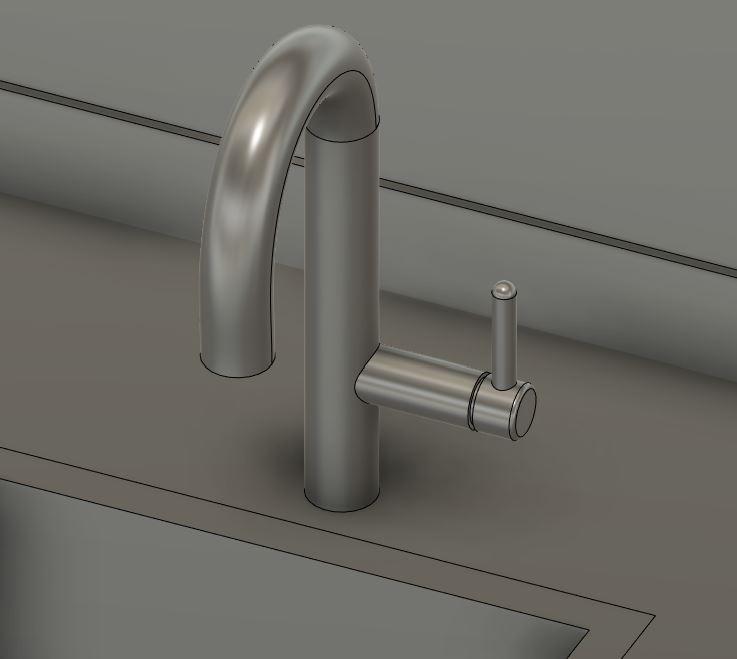
The kitchen also has sink and faucet features to make it more complete. To create sink, first create sketch of rectangle and then make a hole in the cabinet. Make another box exactly the size and then select "Shell", choose direction inside and type your desired thickness. Every sink has a drainer. To make the drainer, create circle in the sketch. Create variety of the drainer until it looks like in the image. For the faucet, I use sketch of fit point spline and make it look like a faucet. Make the base of the faucet that looks like a circle, made in the sketch. Use Sweep to connect the faucet and the base. I use the default option for the path. For the valve, I use cylinders and extrude them.
Accessories Part 2 - the Wine Bottles
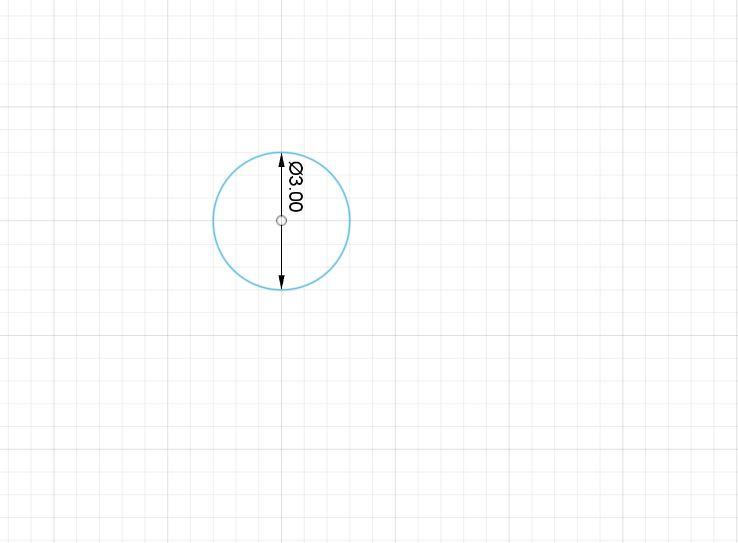
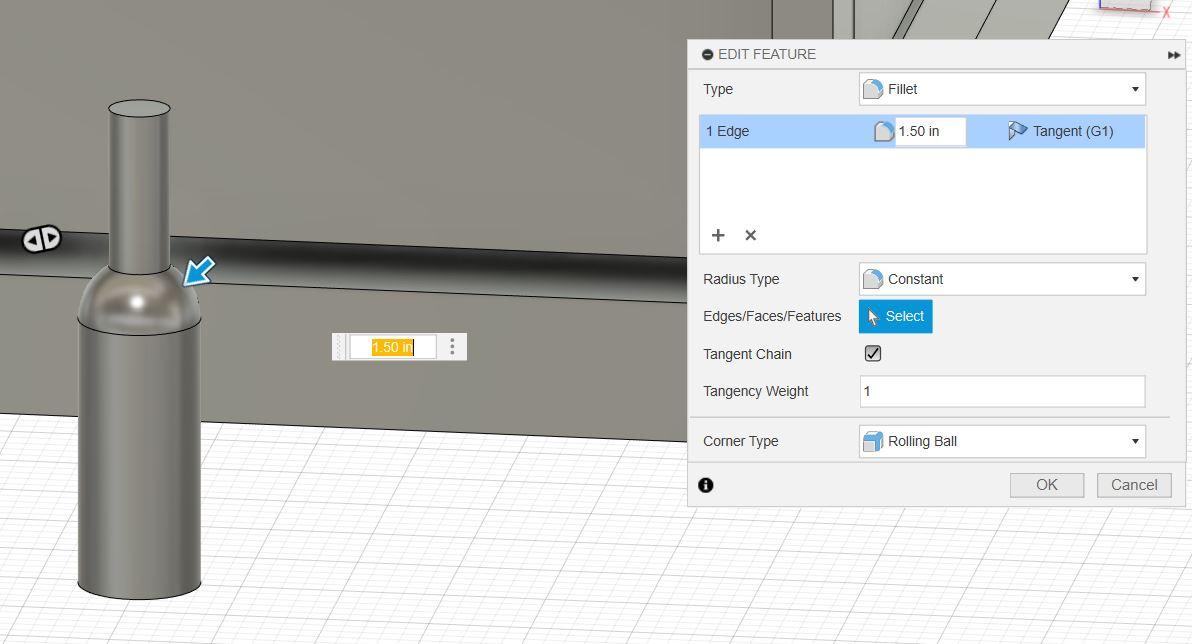
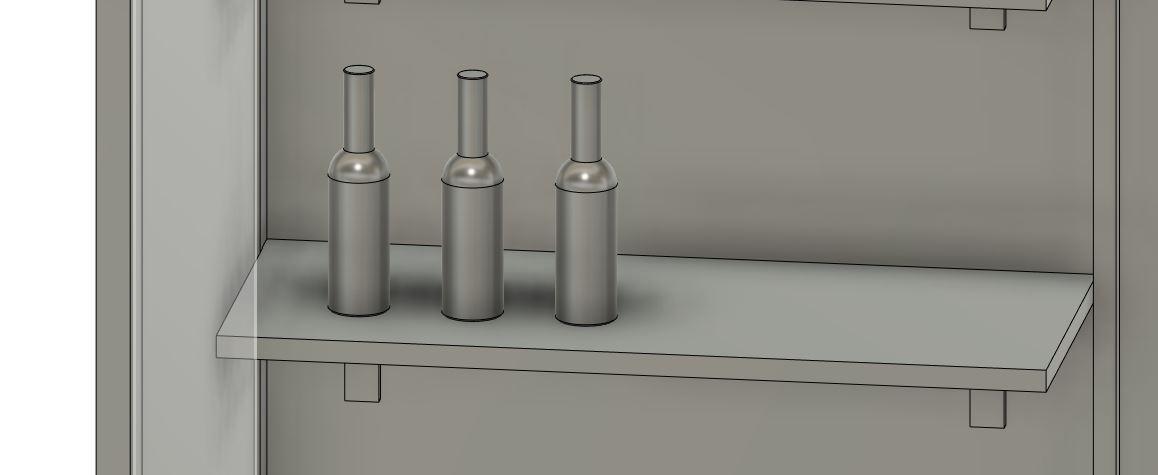
This time, we will create the accessories for the kitchen. Start with the wine bottles. To create this, use circle in the sketch and then extrude it. To make the neck of the bottle, create a smaller circle on top of the first cylinder and extrude it too. Remember to use bevel to smooth the transition between the body and neck. Duplicate the bottle for displaying.
Accessories Part 3 - the Wine Glasses and Cans
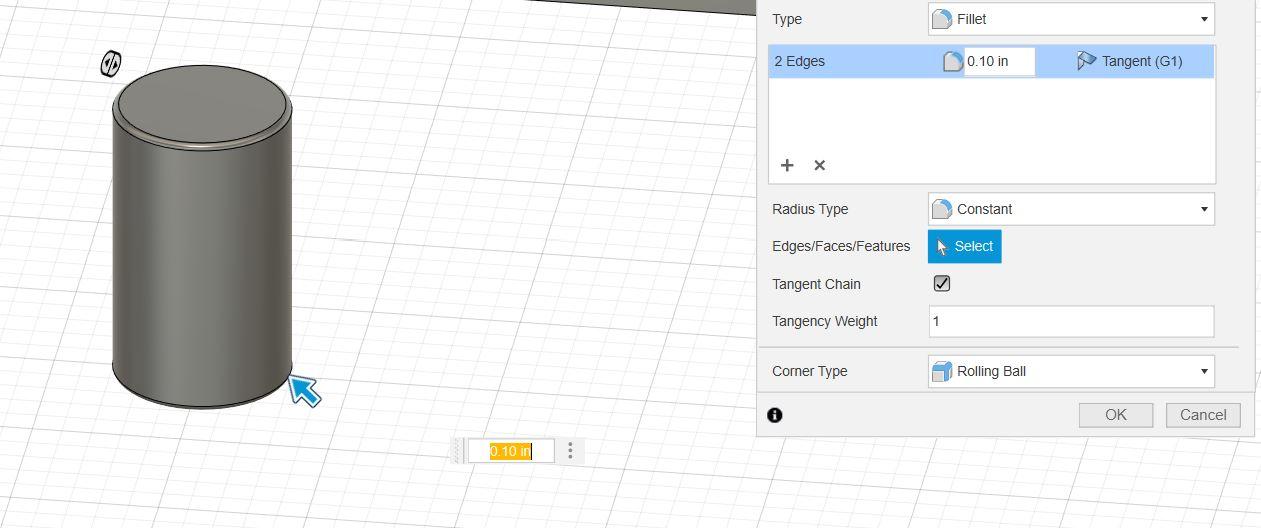
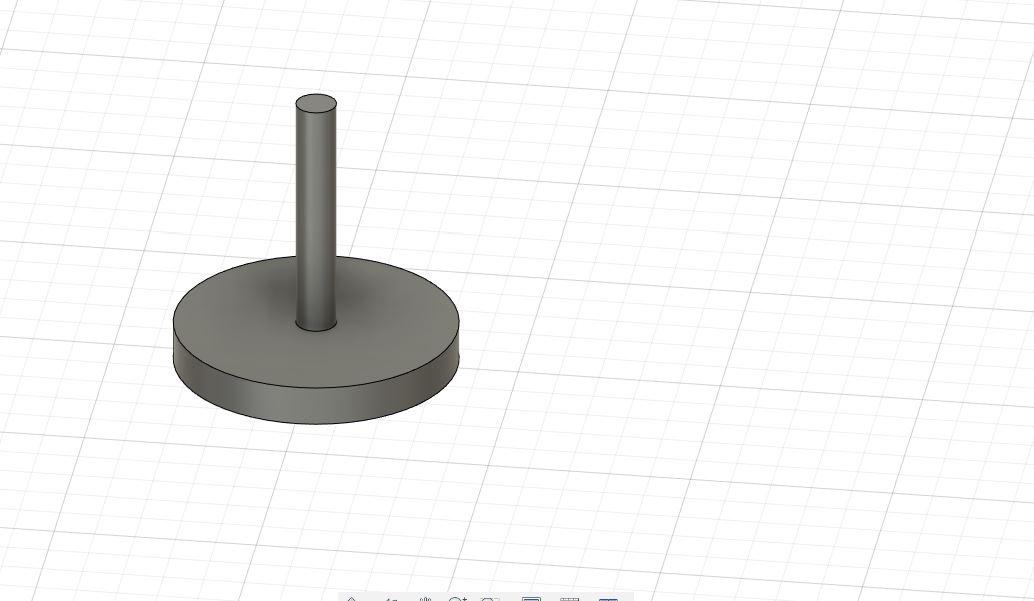
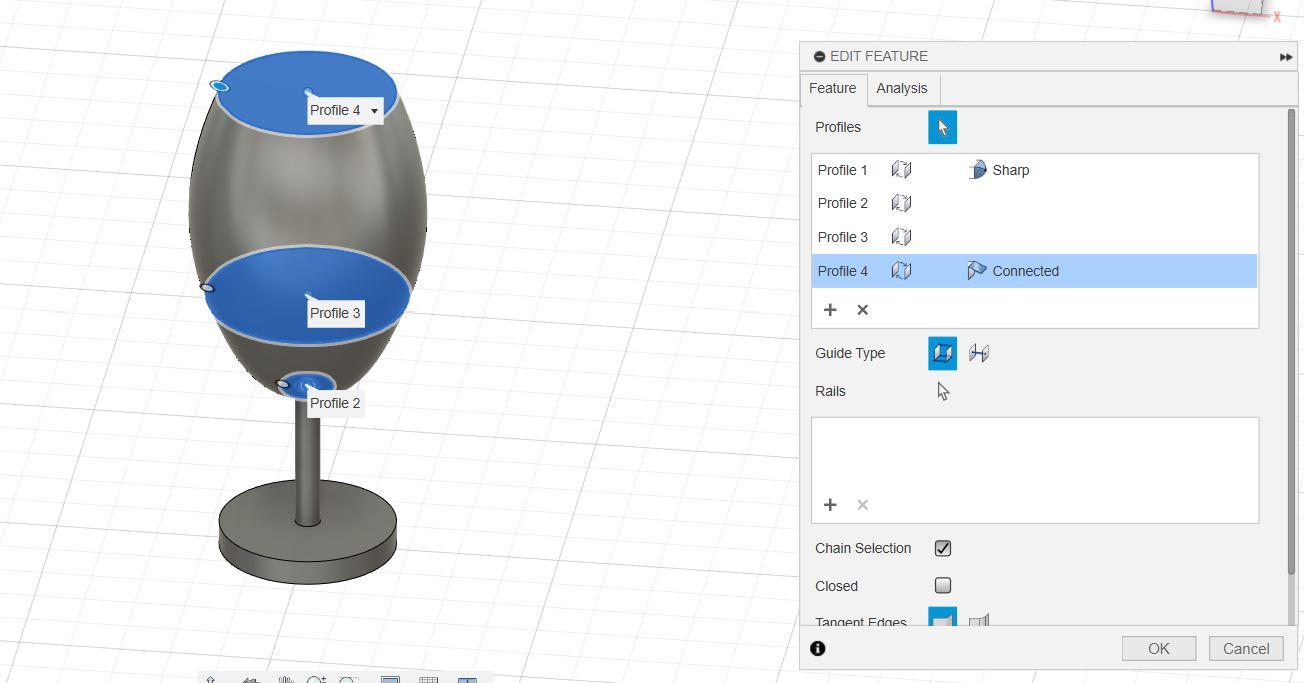
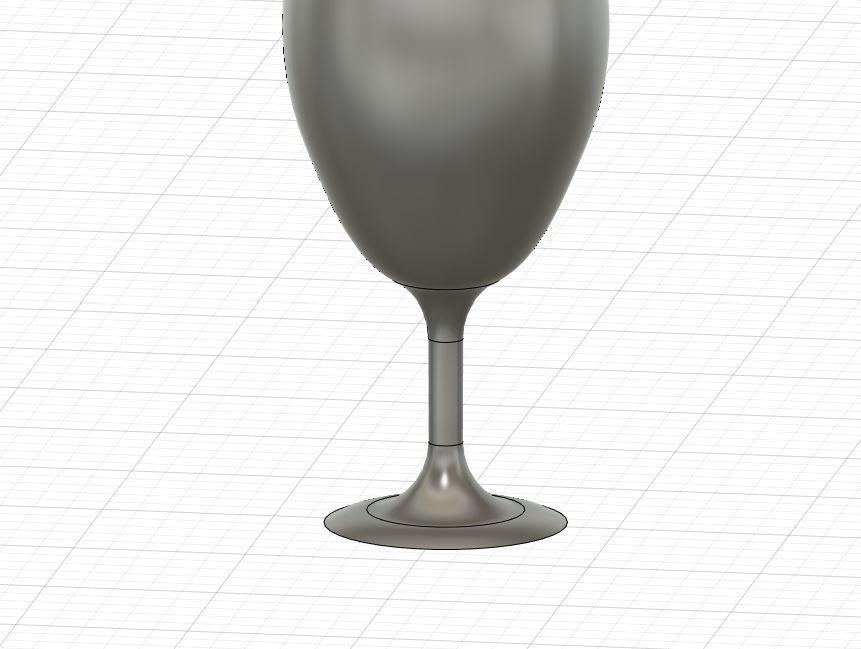
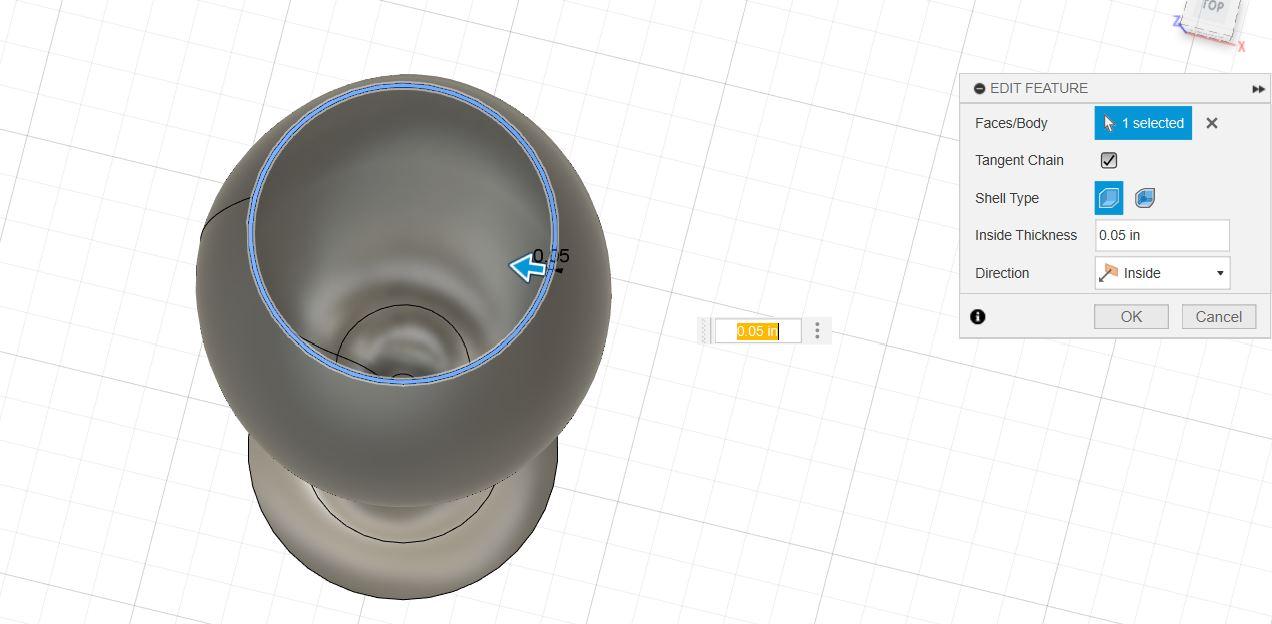
For cans, use cylinder and bevel the rough edges to make it realistic. To create the wine glasses, use two cylinders (one bigger and one smaller.) Create another circle in sketch and space them apart by using loft. Bevel all the sharp edges in the leg of the glass. Lastly, make a shell to the glass.
Accessories Part 4 - the Bowls
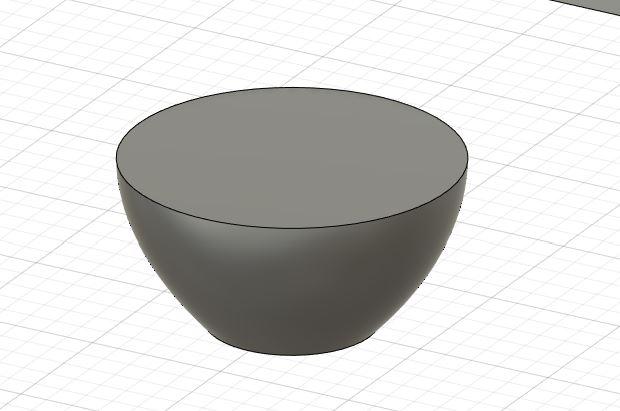
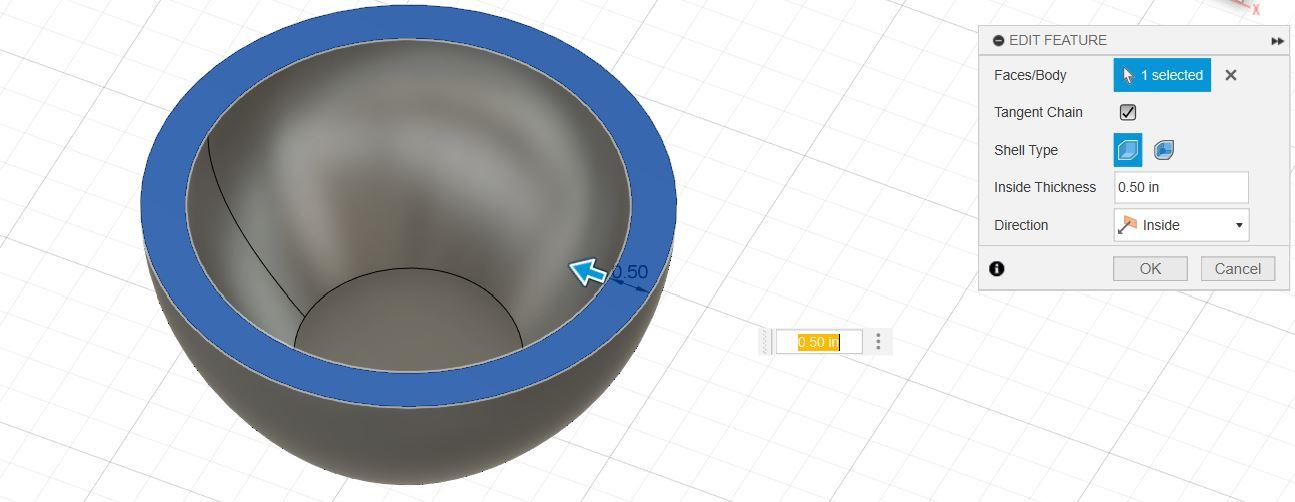
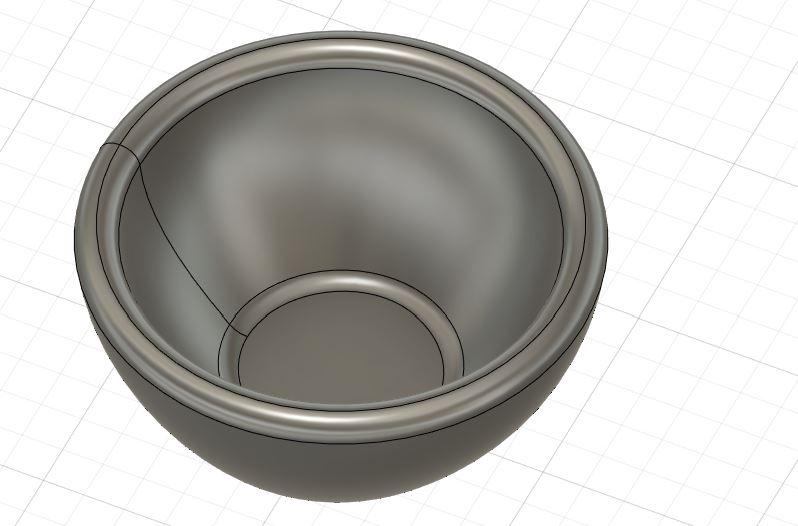
To create the bowls, we need two circles in the sketch, smaller on the bottom and larger on the top. Create loft to connect both circles, but it's not finished. The bowl needs to be holed by using shell. Don’t forget to bevel all the sharp edges.
Accessories Part 5 - the Spices Bottles
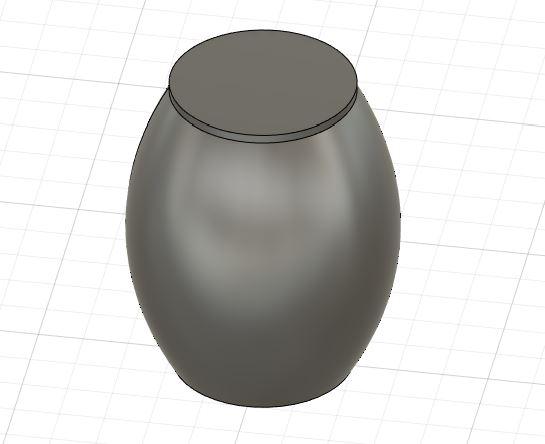
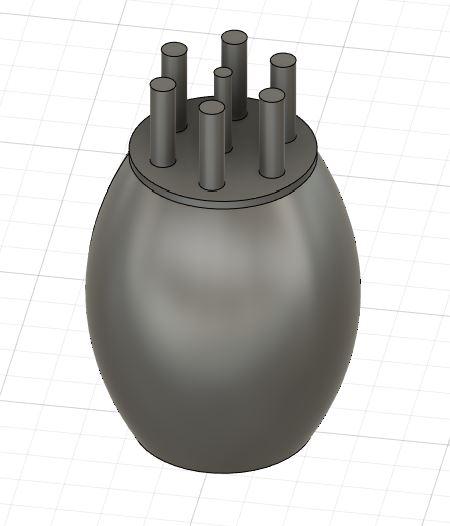
To create the spice bottles, the steps will be the same with the bowls. We need two circles one on top of the others and then we select loft. Create holes on the top of the bottle by using cylinders and holes.
Accessories Part 6 - the Cutting Board
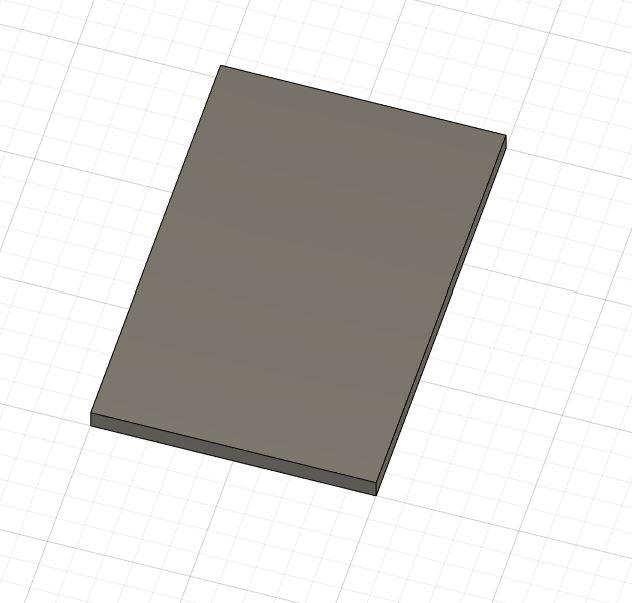
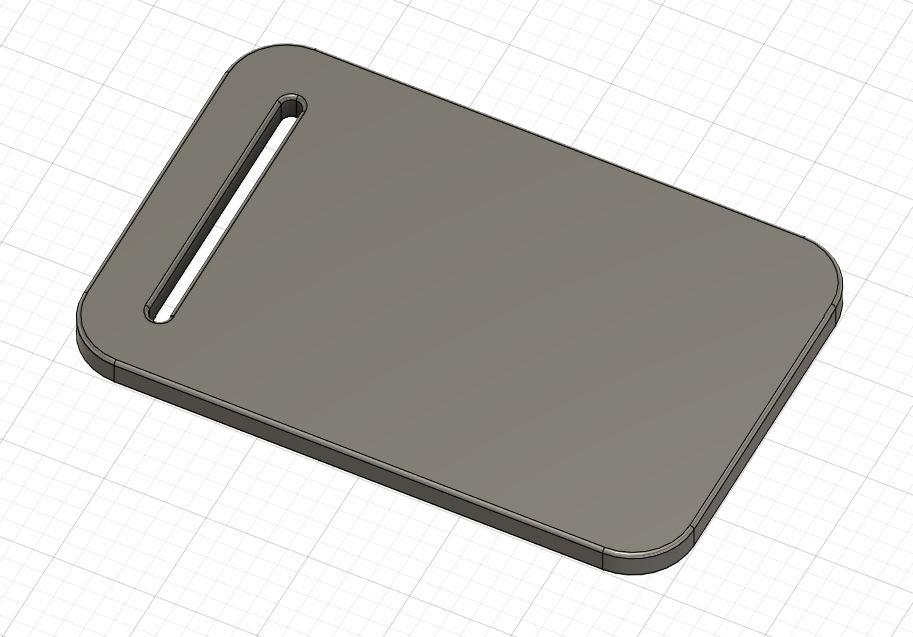
To make the kitchen more complete, I add cutting board by making a sketch of rectangle and extruding it. Make a hole for the handle and bevel the rough edges as you desire.
Accessories Part 7 - the Knife


For the knife, I create sketch by using fit point spline and rectangle (see in the image). Extrude it and bevel the handle. Add some details to the handle.
Door Requirement - Gas Shocks and the Door
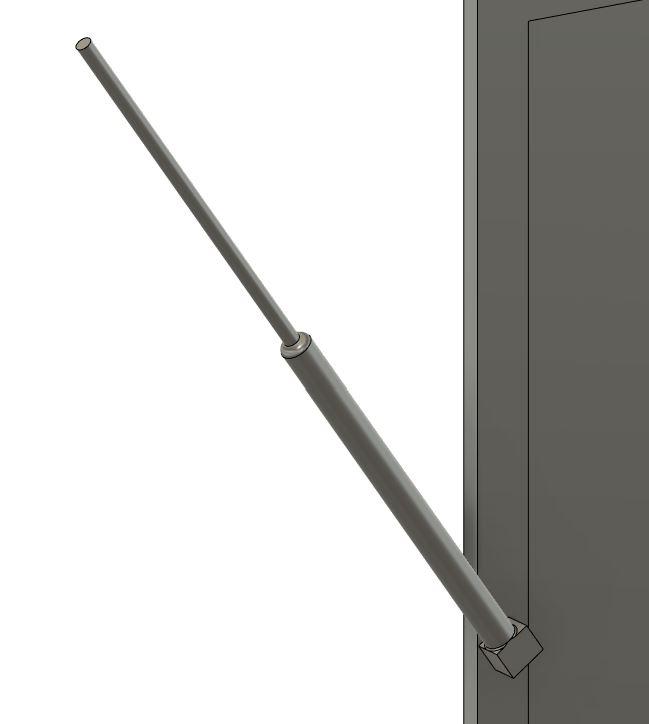
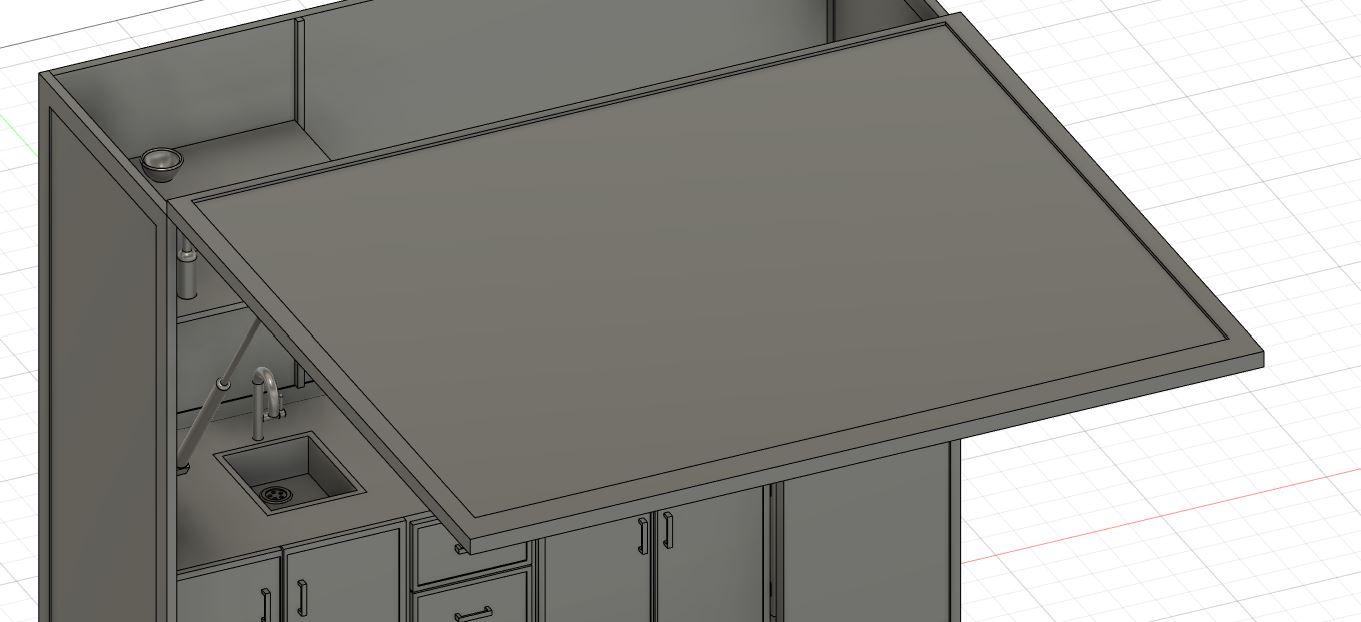
For the gas shocks, I use two cylinders and one rectangular box. Make the door the same size of the kitchen by making a rectangle in sketch and extruding it.
Rendering
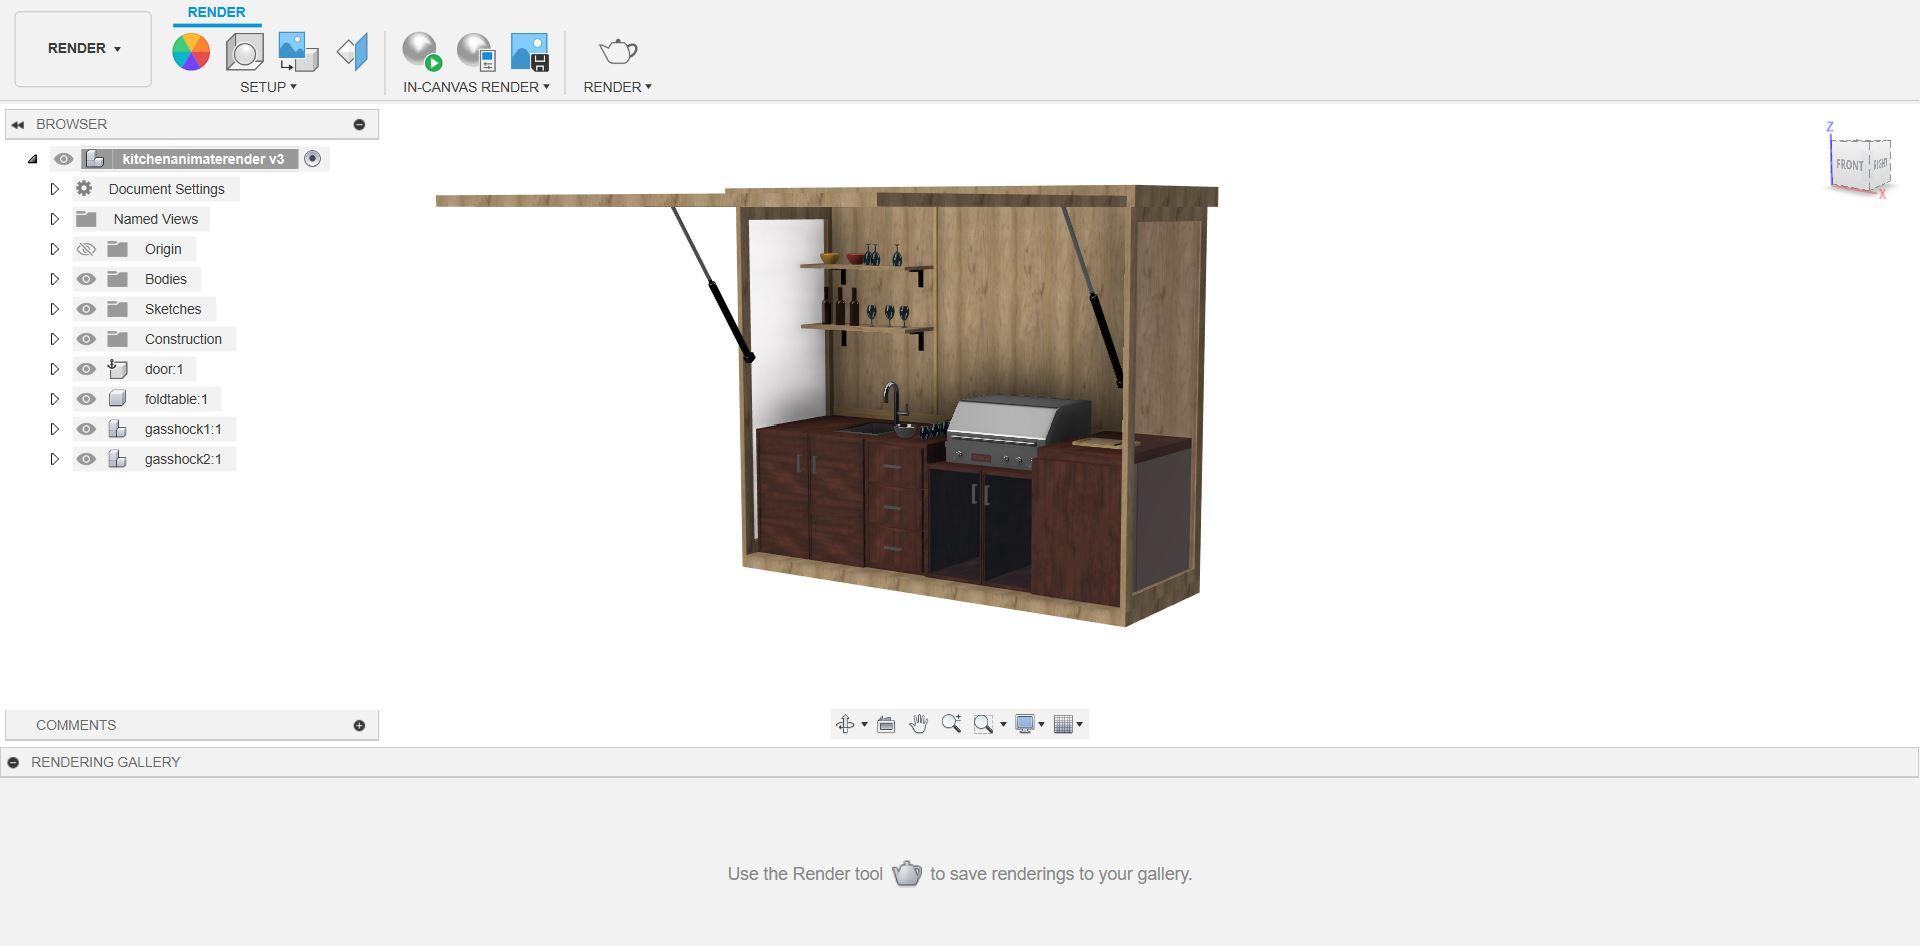
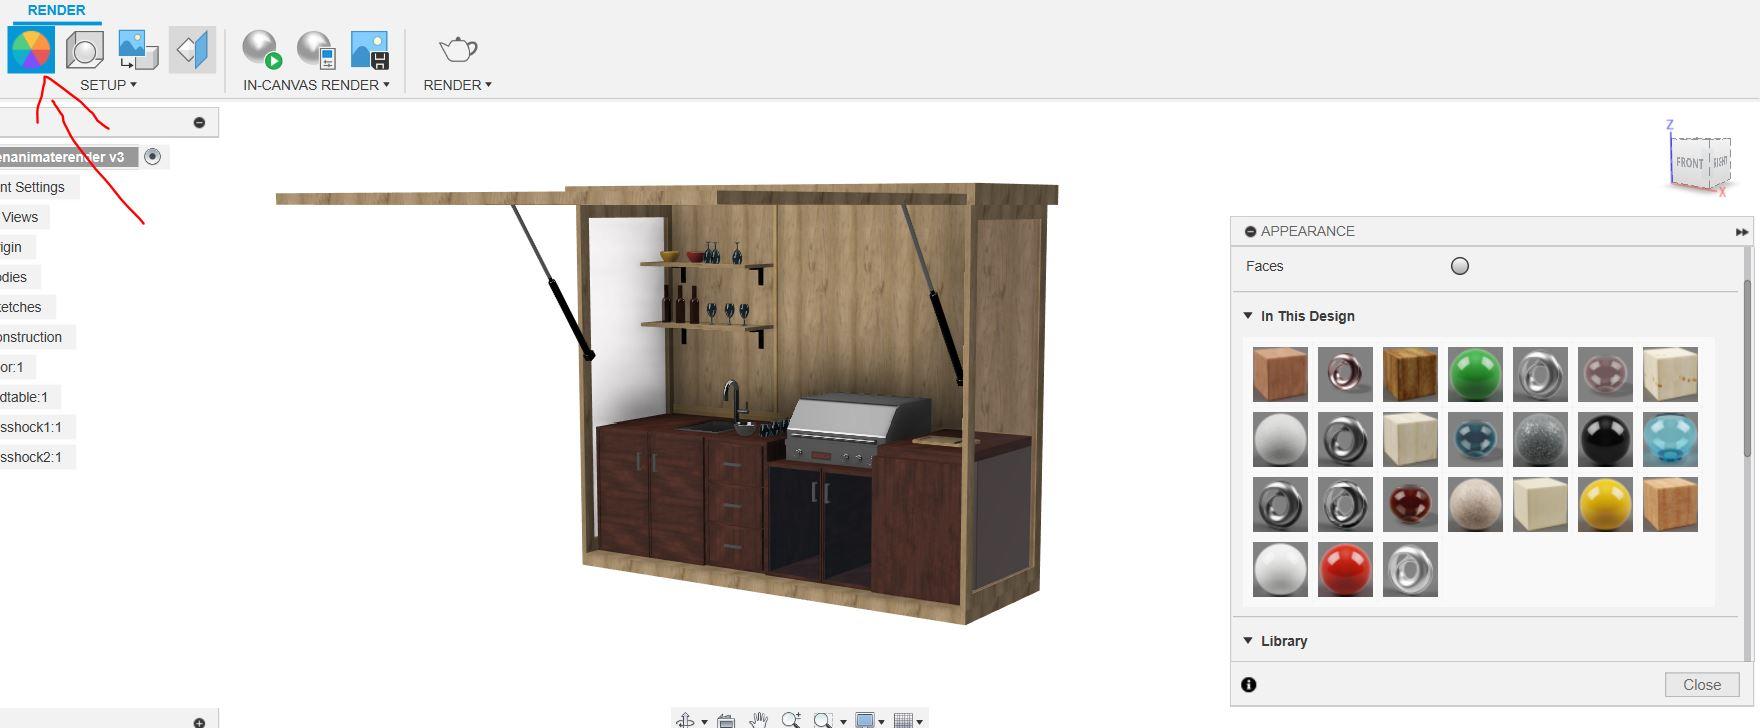
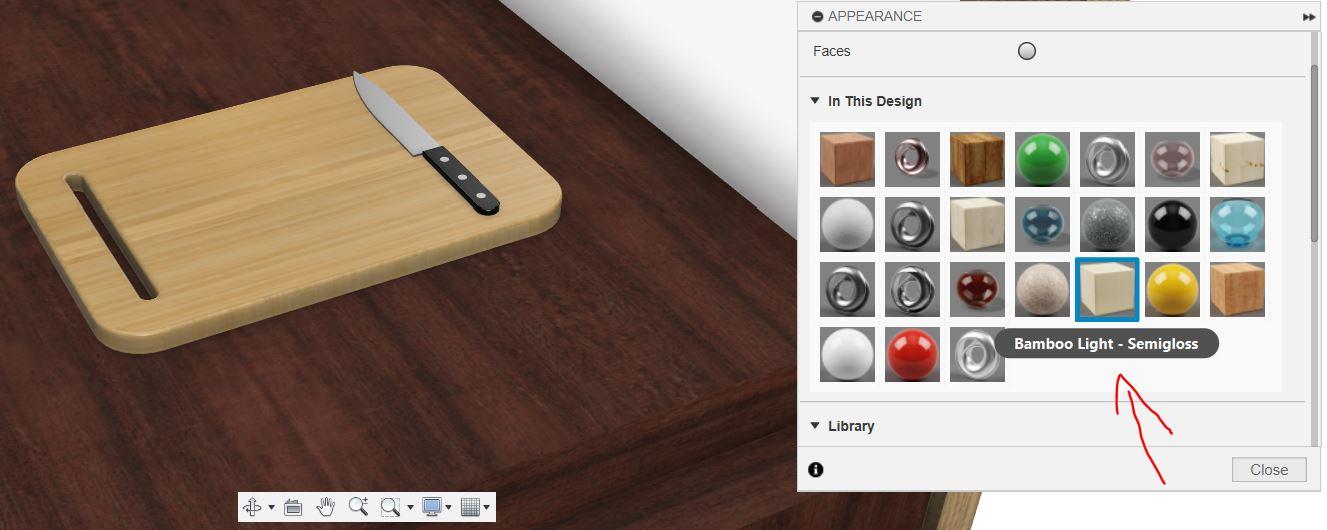

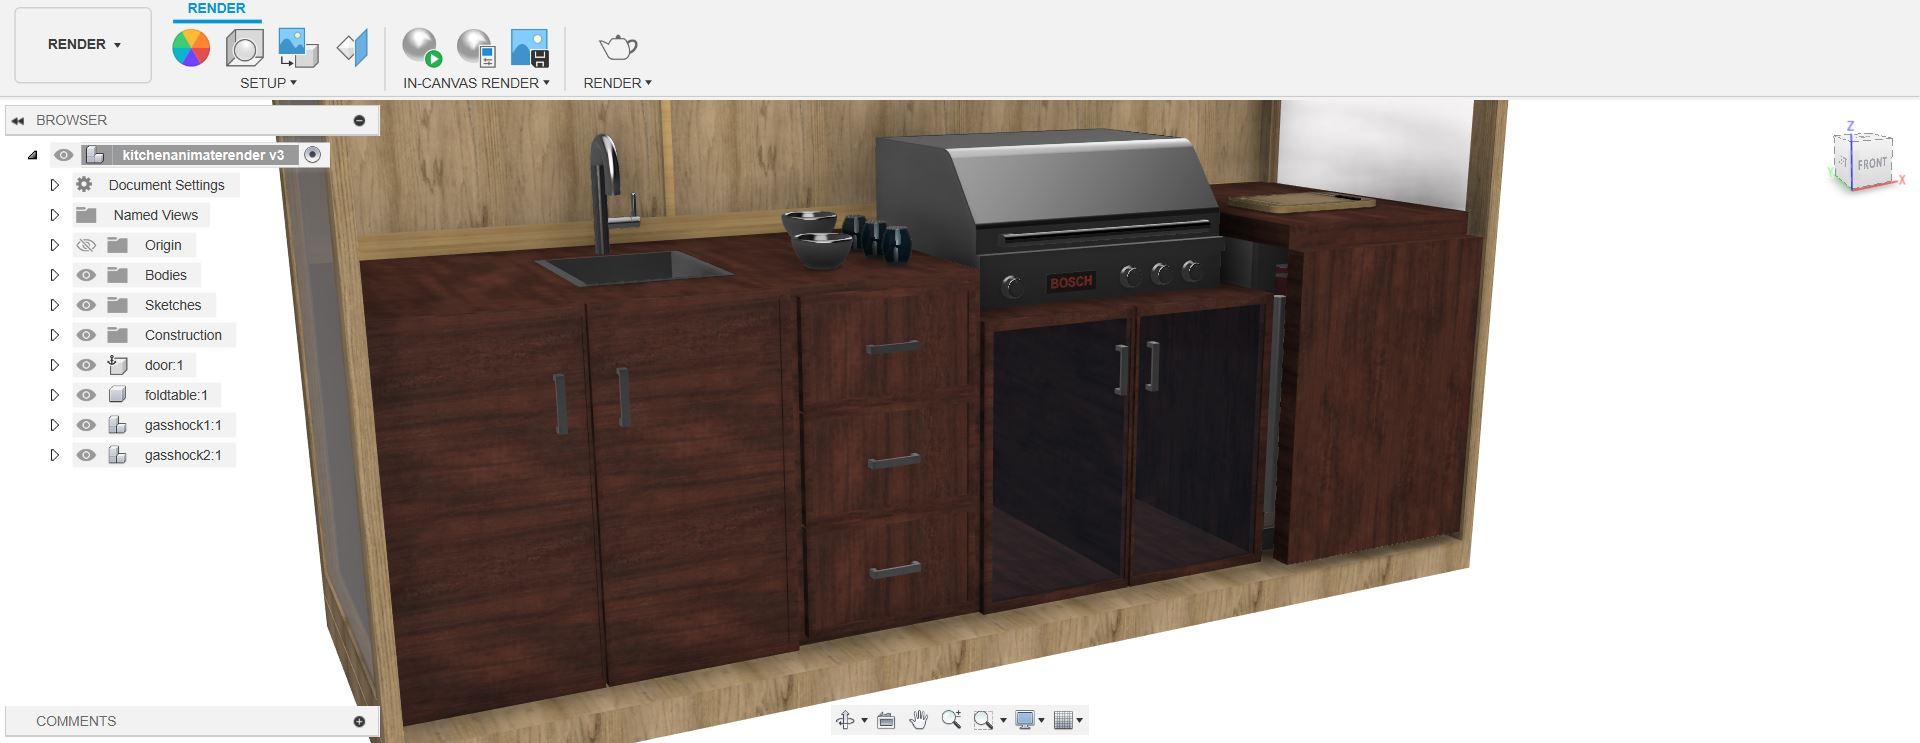
This is the final touch of making 3D kitchen without printing it. Why are we doing this? We doing this since we want to present our 3D models to make it real with adding more textures, such as wood, glass, stainless steel, and more. To create render, click the render button on the top left bar. Select appearance and choose material or texture as you desire. Drag the material or texture to the face or body you want to render. For instance, I choose bamboo material for my cutting board (See the image.) You do the rest until all your 3D modeling parts are rendered.
Animation
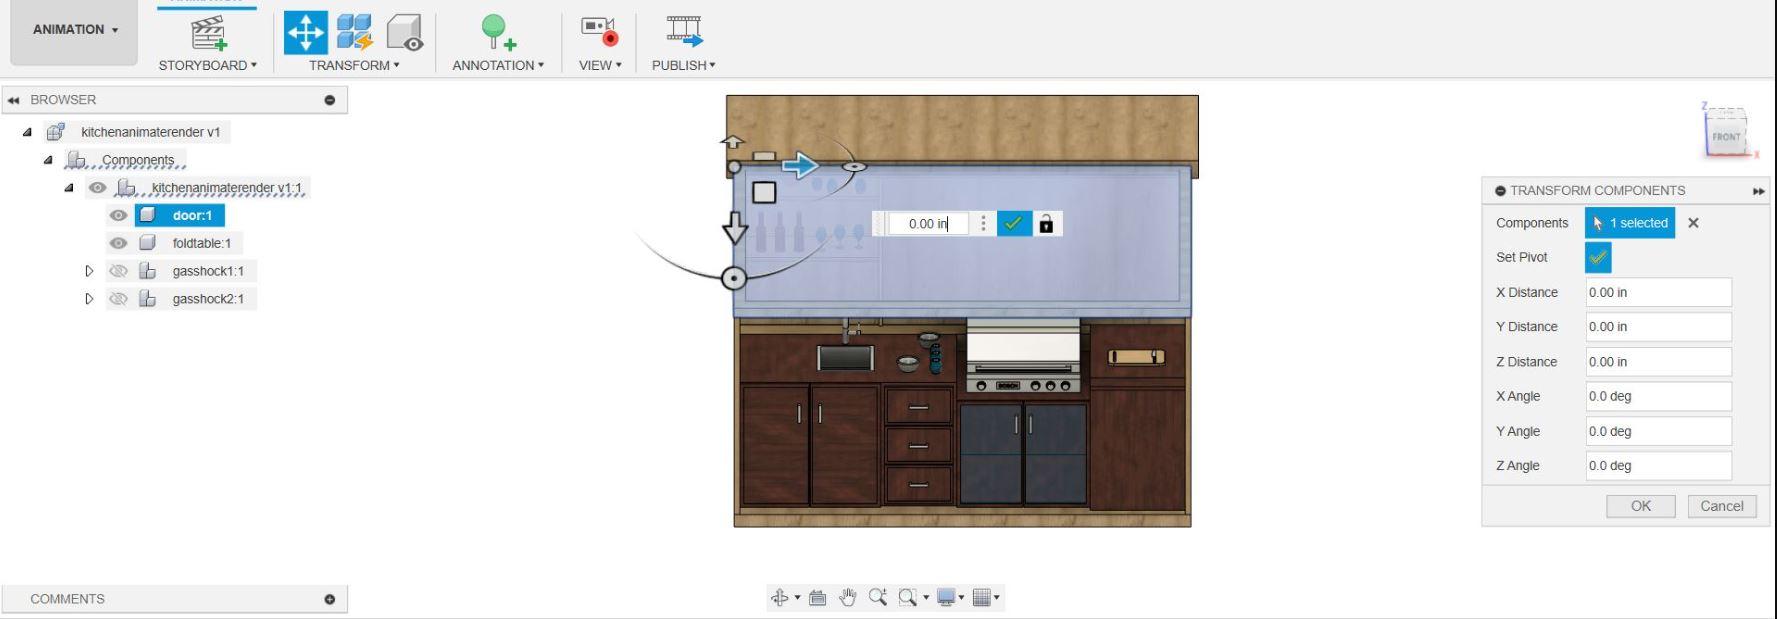
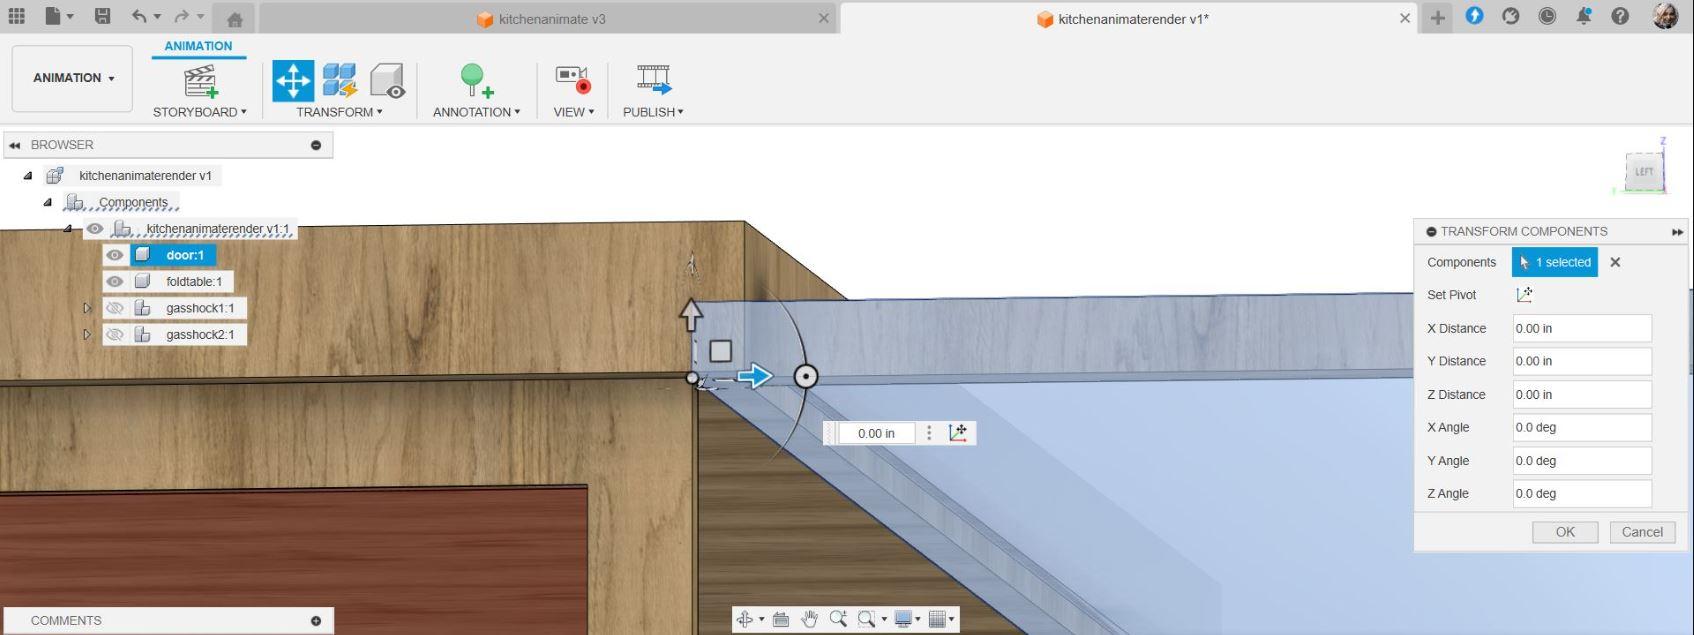
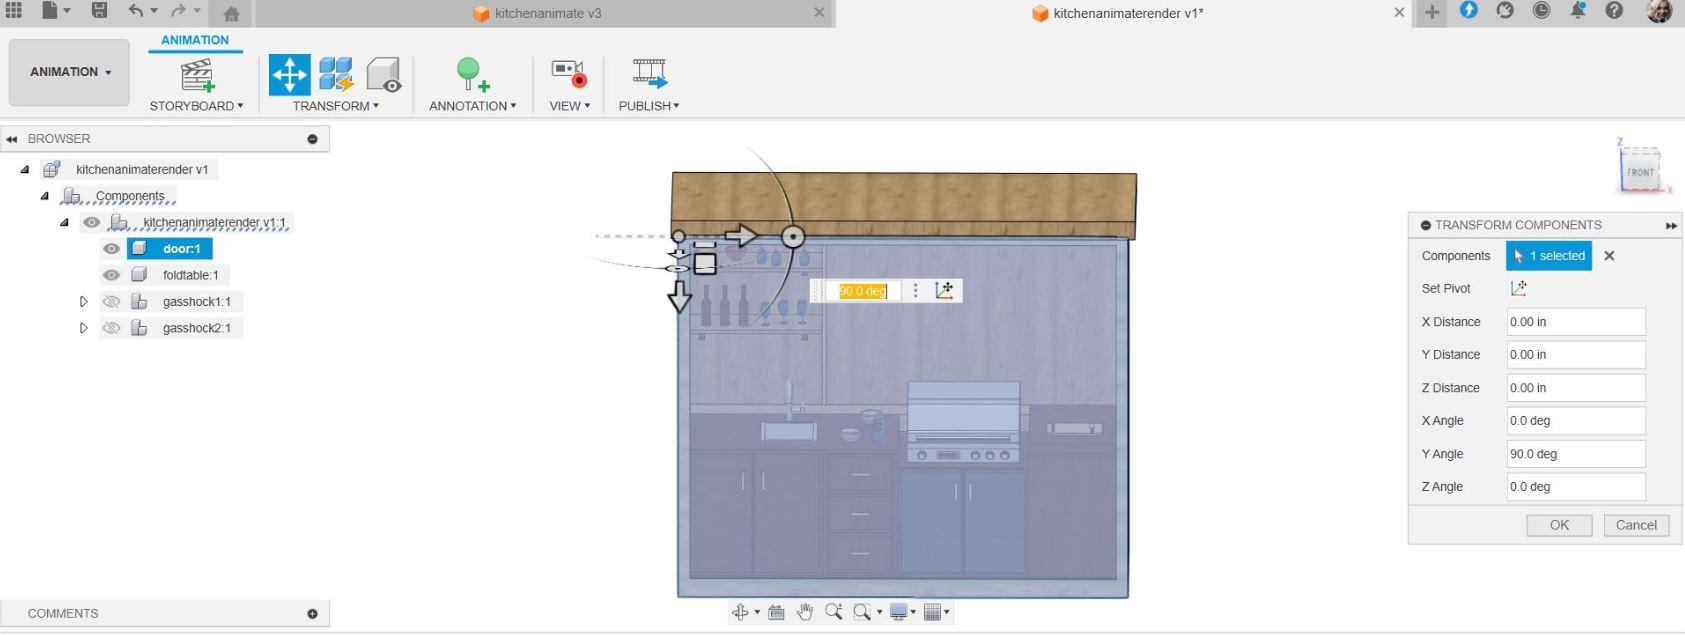

This is the toughest part of this project. To make the presentation look more amazing, we need to animate it so audiences catch my intentions in delivering my model since this is virtually (not making a printing of it.) In this section, I only mention one part of my animation. You can do the rest by yourself with my steps. So I decided to make tutorial for animation in Fusion 360 for the door. The concept will be for the door to close- open-close again. First step in animation is create a component for your door. Click animation button on the top left bar. Set the pivot on the corner of the door. The position will be close, open, and close, so when we animate it, the door will be in the sequence close, open, and close. Set the duration time for your animation by dragging the playhead. Just play around until you get the desired animation. I attached a video of the animation.
Final Reflection
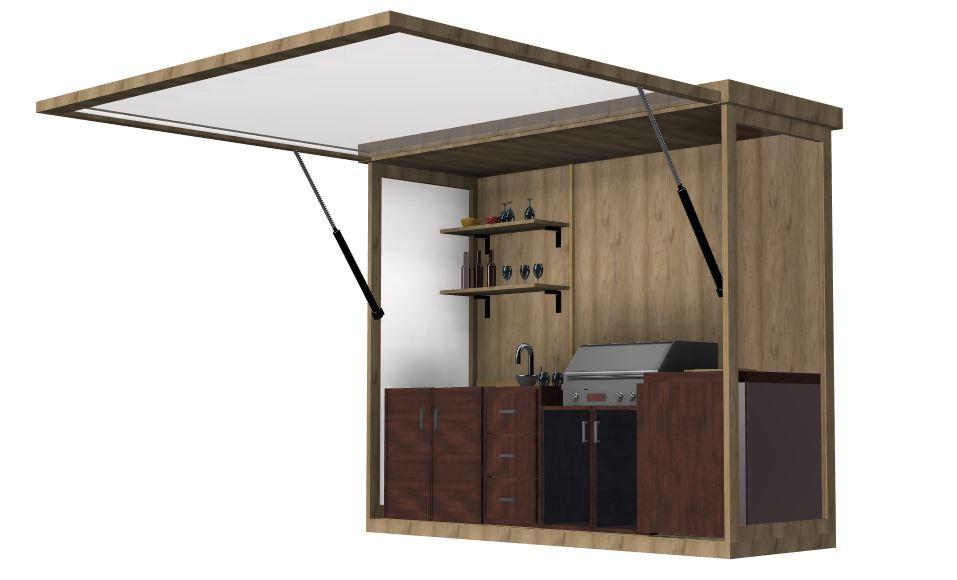
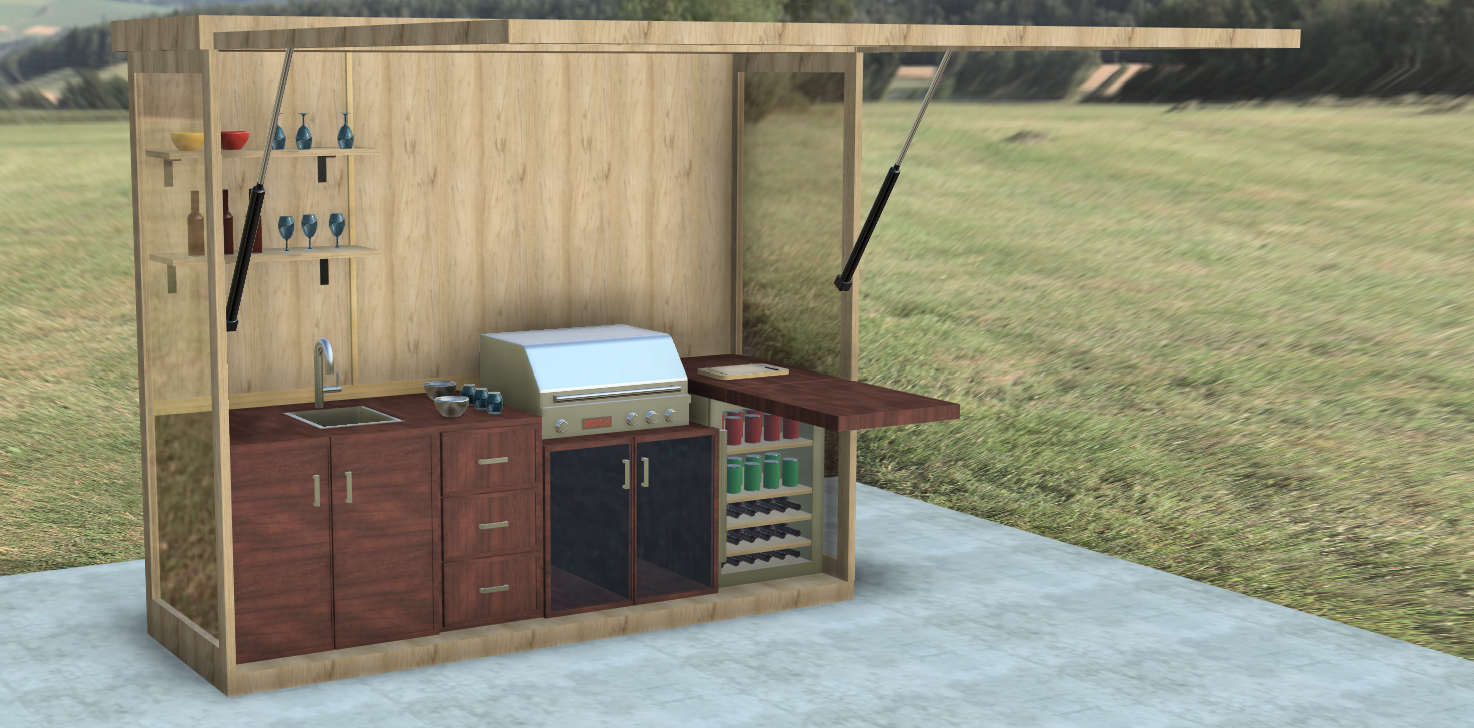
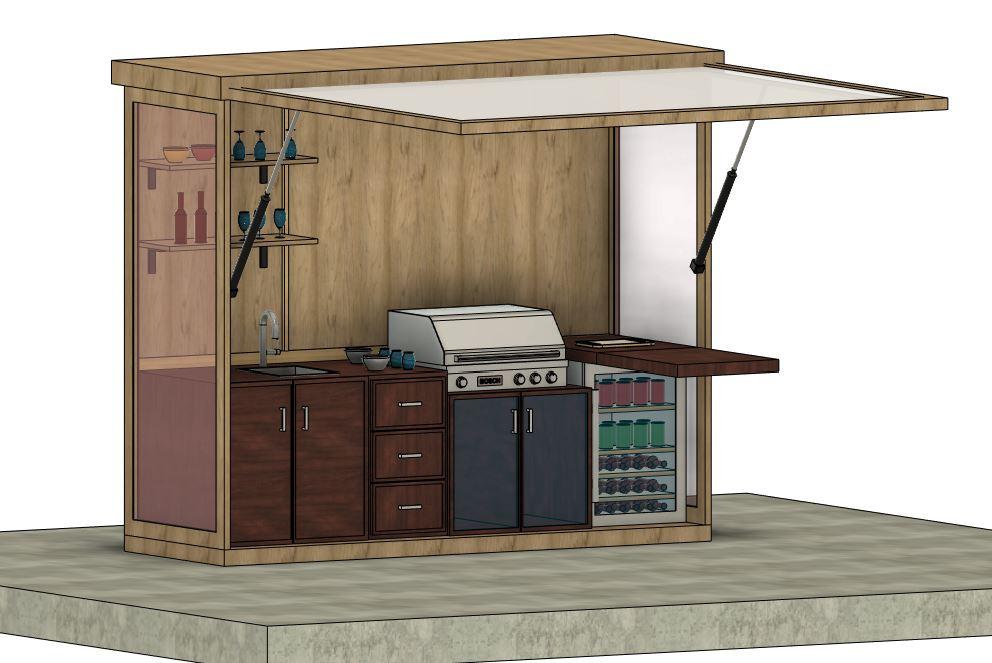
When working this project, I become more mastered in rendering and animating since making animation in Fusion 360 is the hardest part of the project. I really enjoy making this since this is fun and related to my home renovation project. Overall, this project made me more achievable in making solution for small spaces.