Game Boy S'mores


What if we could make S'mores more exciting by reshaping them into a Game Boy! And draw on the screen with eatable markers. Let's make this fun byte-sized snack a reality.
Watch the YouTube video for all steps too!
Supplies
Chocolate, marshmallows, graham crackers, plastic plates, heat gun, glass bowl.
Note: Wear safety gloves and glasses and always be safe.
Vacuum Form


I designed my own vacuum form! Download and 3D print the files. It can attach to a standard vacuum cleaner.
Heat up the back of a plastic plate until the plastic starts to bend downwards. Then turn on the vacuum cleaner and press the plate over the model. The suction will pull out the air conforming the plate to the model.
Melting


Cut out the shapes from the plastic plates and wash them really well.
Spray no stick spray so it will be easier to remove later.
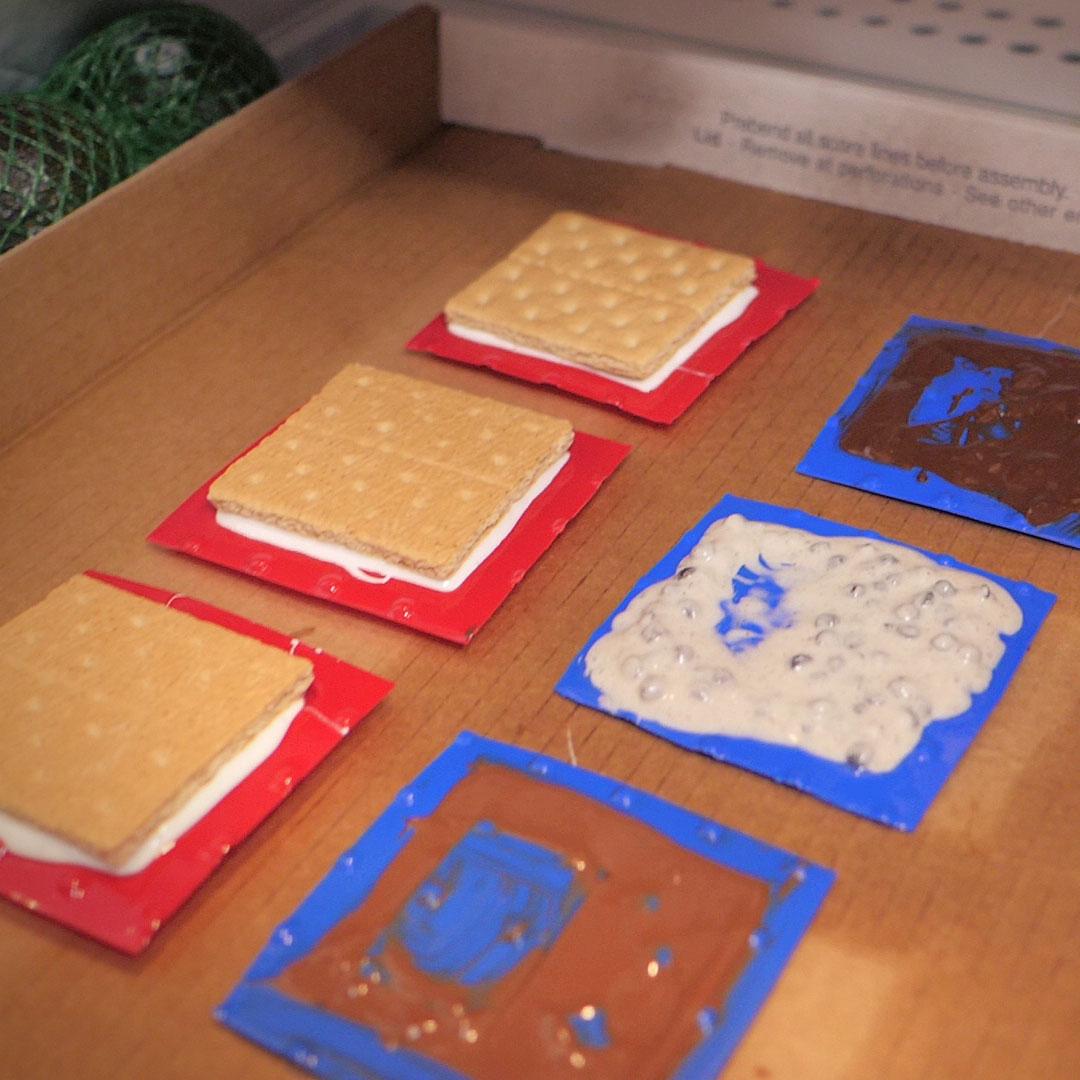
I use a glass bowl over a pot of boiling water to slowly heat and melt the items starting with marshmallows then 3 different types of chocolate.
There is a technique called tempering where you heat to melt, but then removed from heat and cool a little but then heat up again before using. This makes the chocolate and marshmallows stronger and better to use. Read more about it online.
I placed a graham cracker on top of the melted marshmallows and put all in the refrigerator to cool.
Assemble S'more


There will be some chocolate flash to clean up with a sharp knife.
You can gently assemble the S'more parts together!
Final, Draw, Eat!


These Game Boy S'mores need graphics on the screens.
I found these food markers on amazon. You can draw anything you like and it will still be eatable!
I hope you enjoyed this! I know it's a random idea but I thought it was fun and I'm happy to share it with you.
YouTube - 3DSage for more fun videos! https://www.youtube.com/c/3DSage/videos