GY-521 MPU6050 3-Axis Acceleration Gyroscope 6DOF Module Tutorial
by mybotic in Circuits > Sensors
14883 Views, 11 Favorites, 0 Comments
GY-521 MPU6050 3-Axis Acceleration Gyroscope 6DOF Module Tutorial
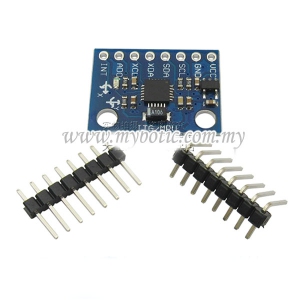
Description
This simple module contains everything required to interface to the Arduino and other controllers via I2C (use the Wire Arduino library) and give motion sensing information for 3 axes - X, Y and Z.
Specifications
- Accelerometer ranges: ±2, ±4, ±8, ±16g
- Gyroscope ranges: ± 250, 500, 1000, 2000 °/s
- Voltage range: 3.3V - 5V (the module include a low drop-out voltage regulator)
Materials Preparation
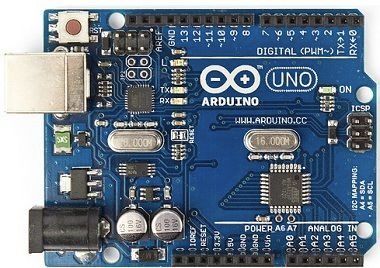

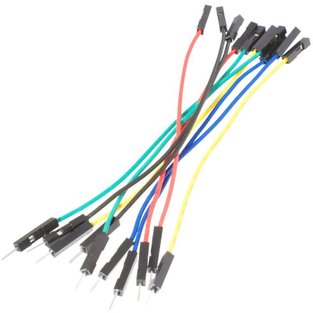
In this tutorial, we will show you how the module works in detailed. First, we need to prepare the materials listed as below:
- Arduino Uno
- Male to female jumper wire
- USB Cable Type A to B
- Breadboard
Hardware Installation
.jpg)
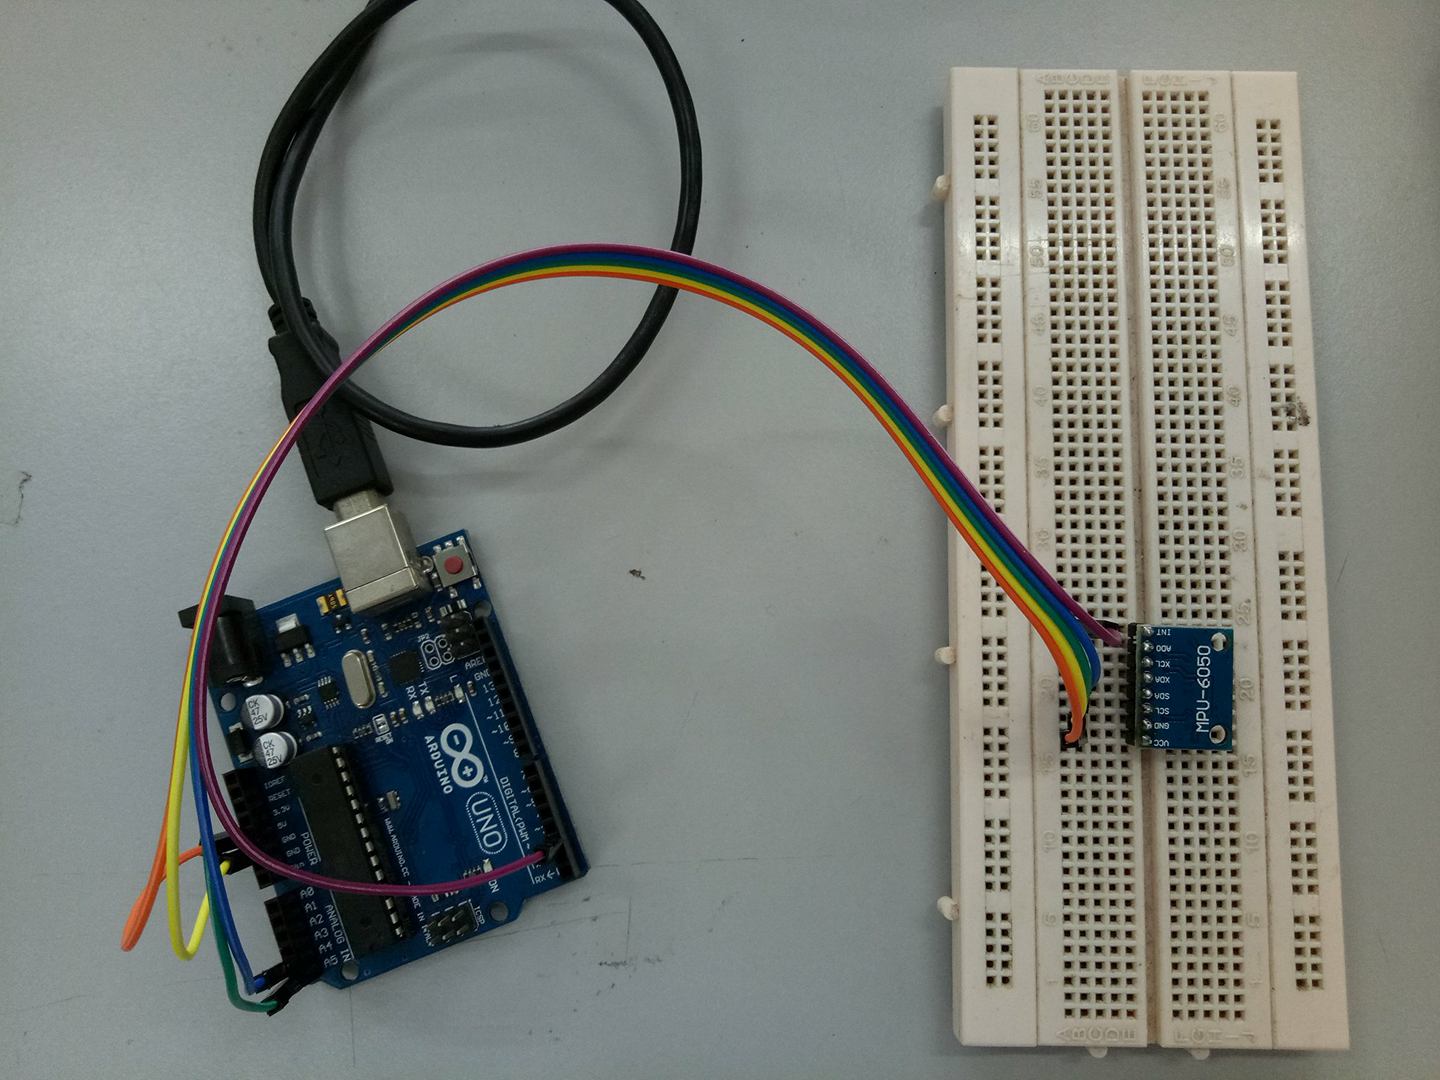
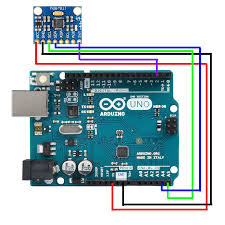
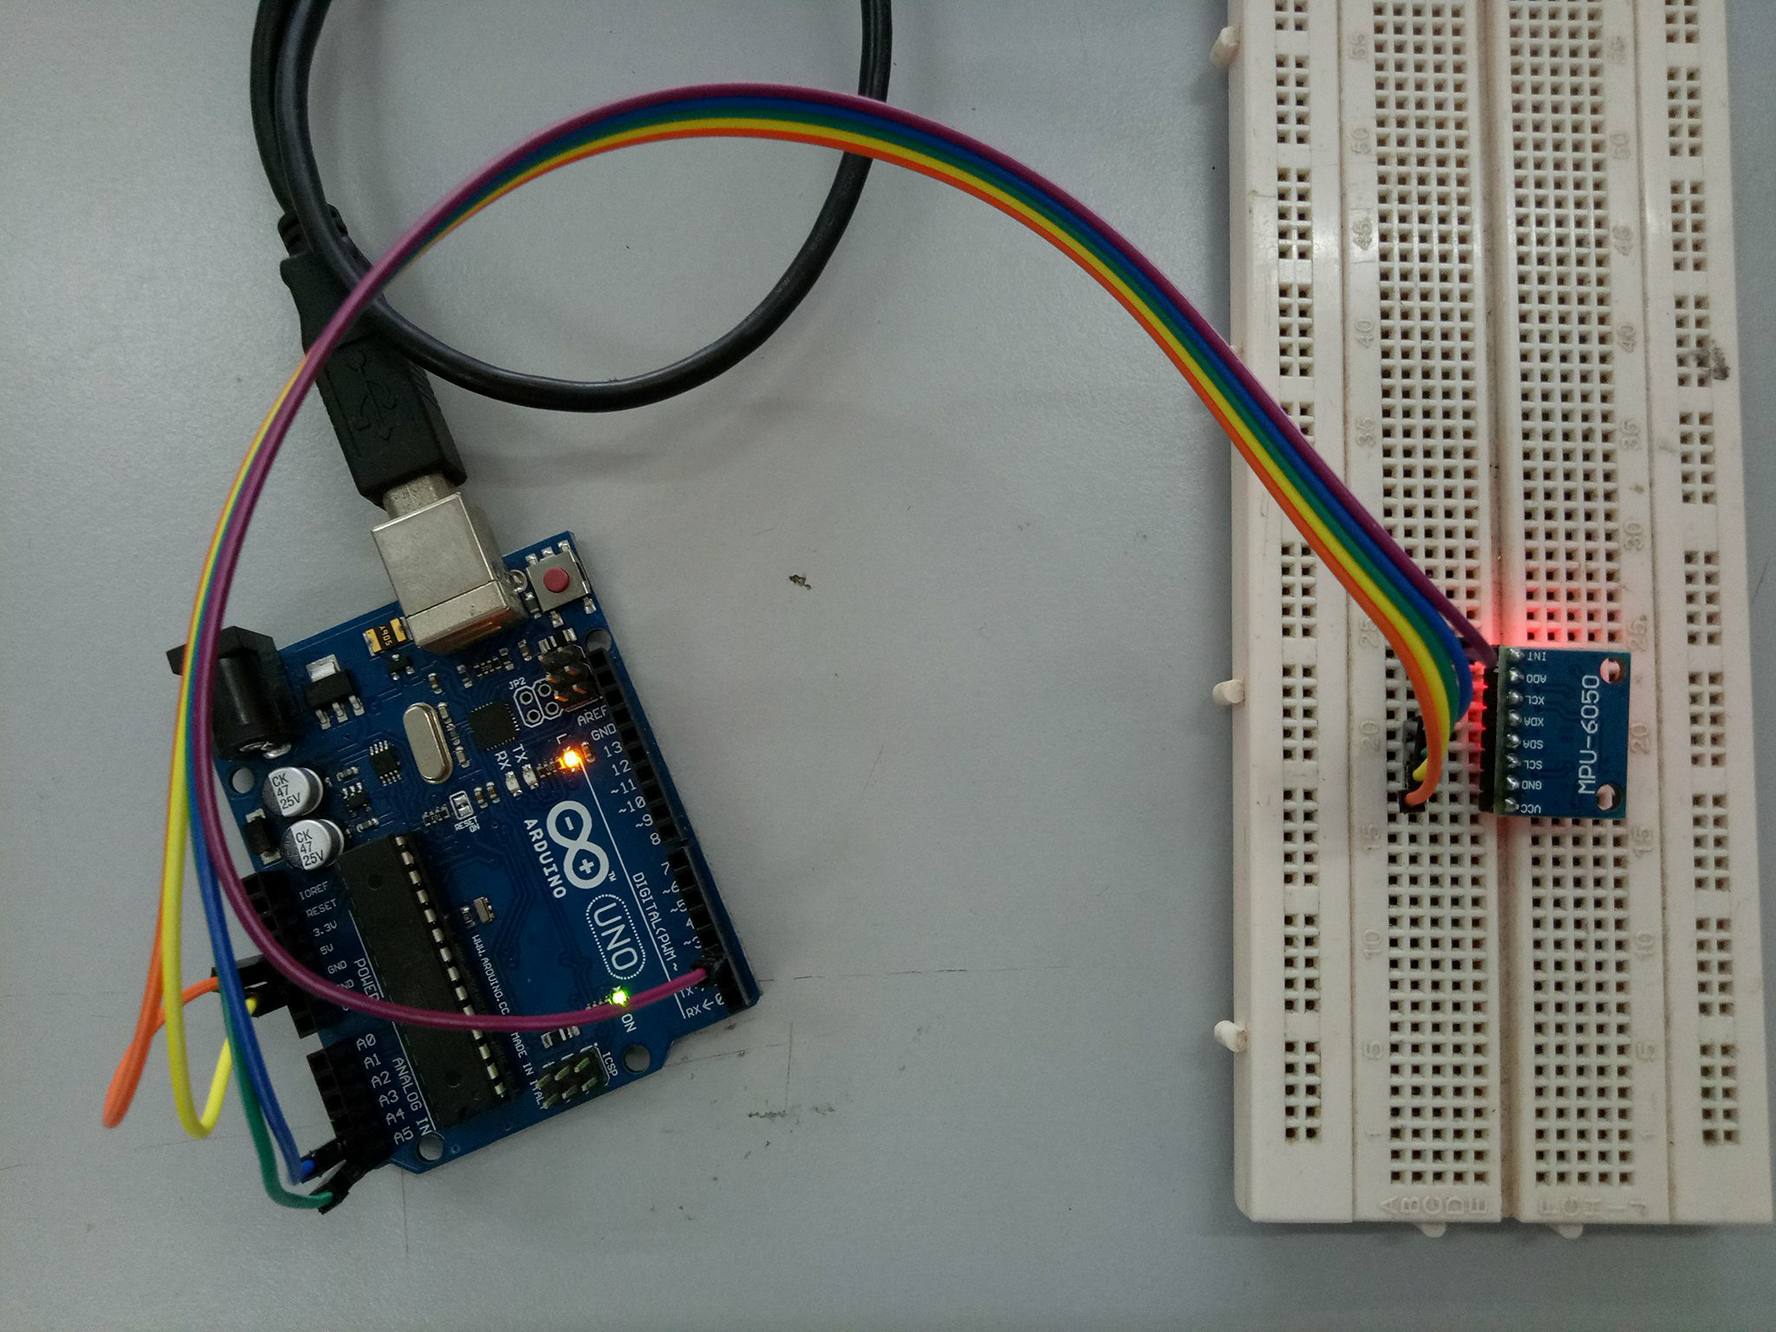
After getting the materials ready, We will connect the module with Arduino Uno. The detailed connection will be written in below:
- VCC -> 5V
- GND -> GND
- SCL -> A5
- SDA -> A4
- INT -> D2
Source Code
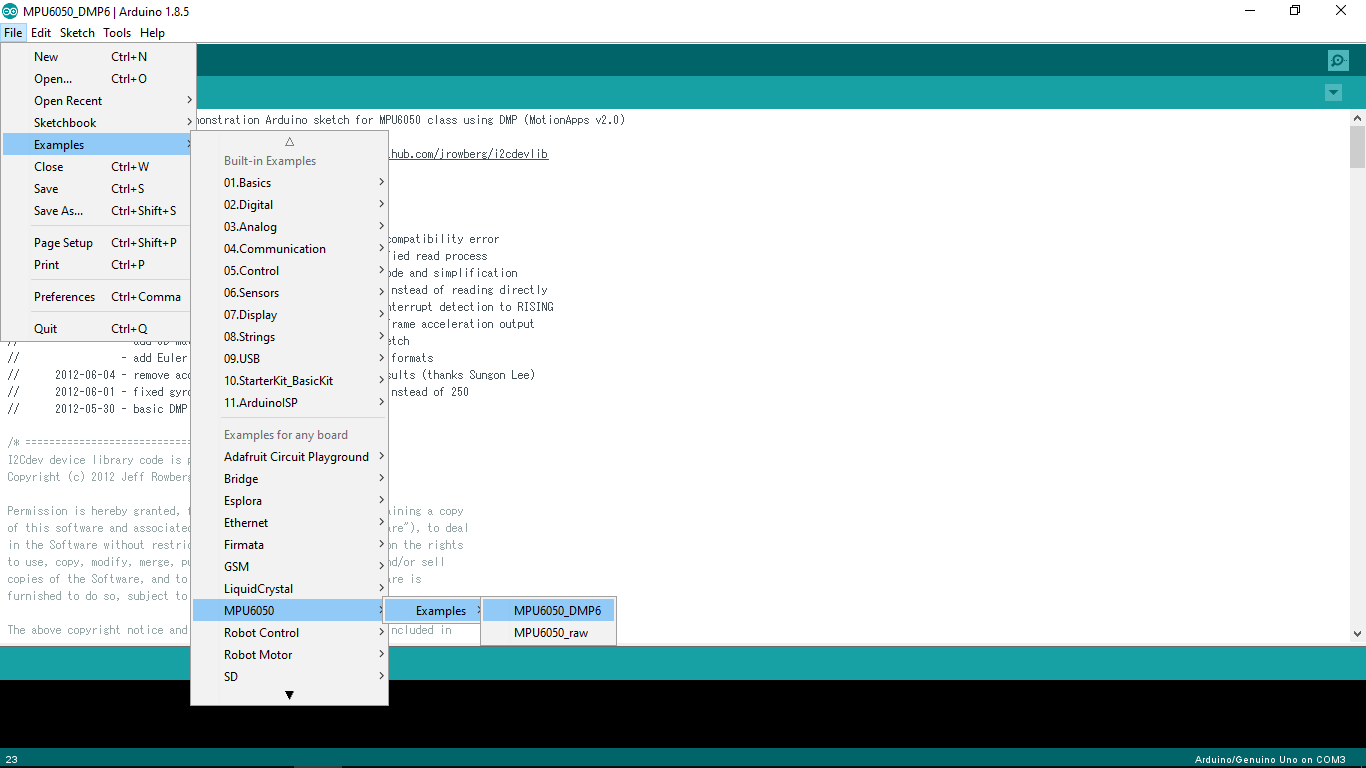
To test the Arduino MPU 6050,
- First, download the Arduino library for MPU 6050. The link is provided here.
- Next, unzip/extract this library and move the folder named "MPU6050" inside the Arduino's "library" folder.
- Install the I2Cdev library if you don't already have it for your Arduino. Do the same procedure as above to install it. You can find the file here.
- Open Arduino IDE and follows the steps: [File]->[Examples]->[MPU6050]->[Examples]->[MPU6050_DMP6].
- Upload the source code to your Arduino.
Results
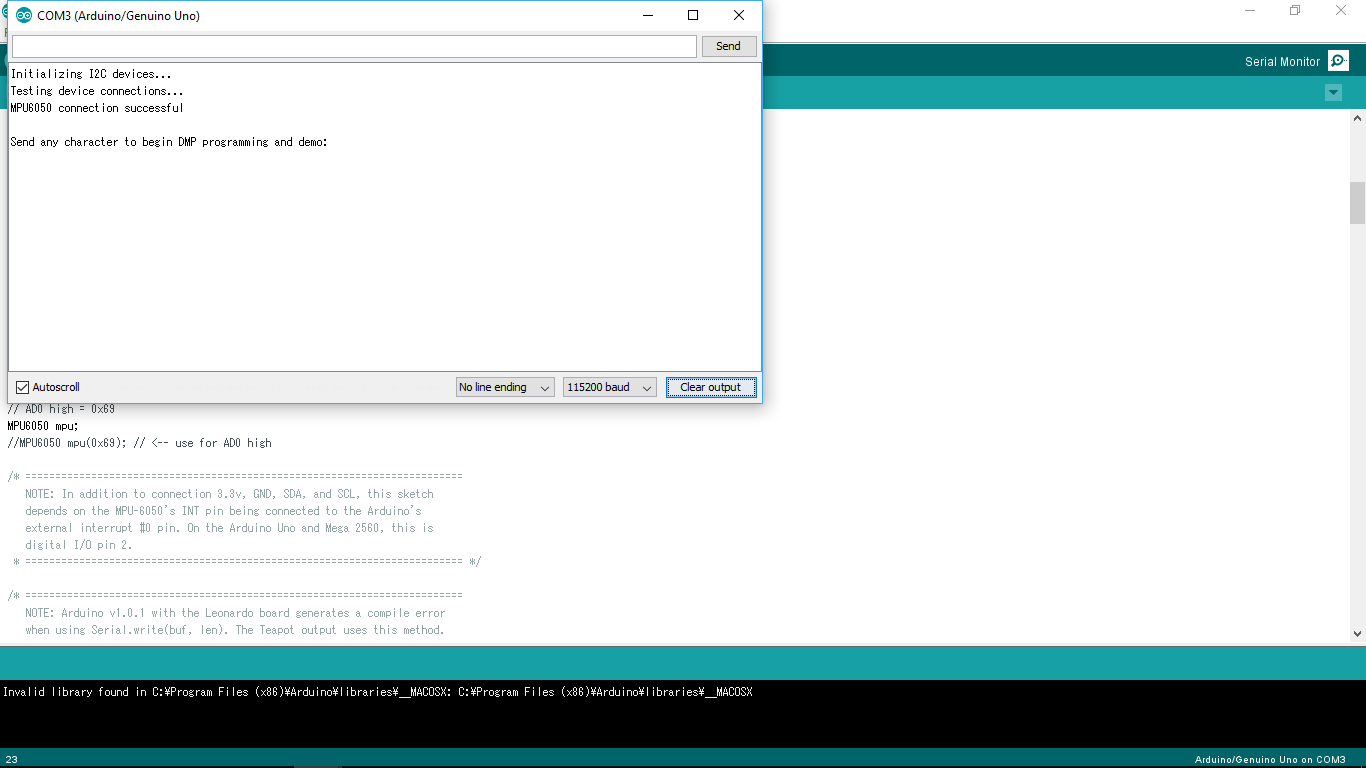
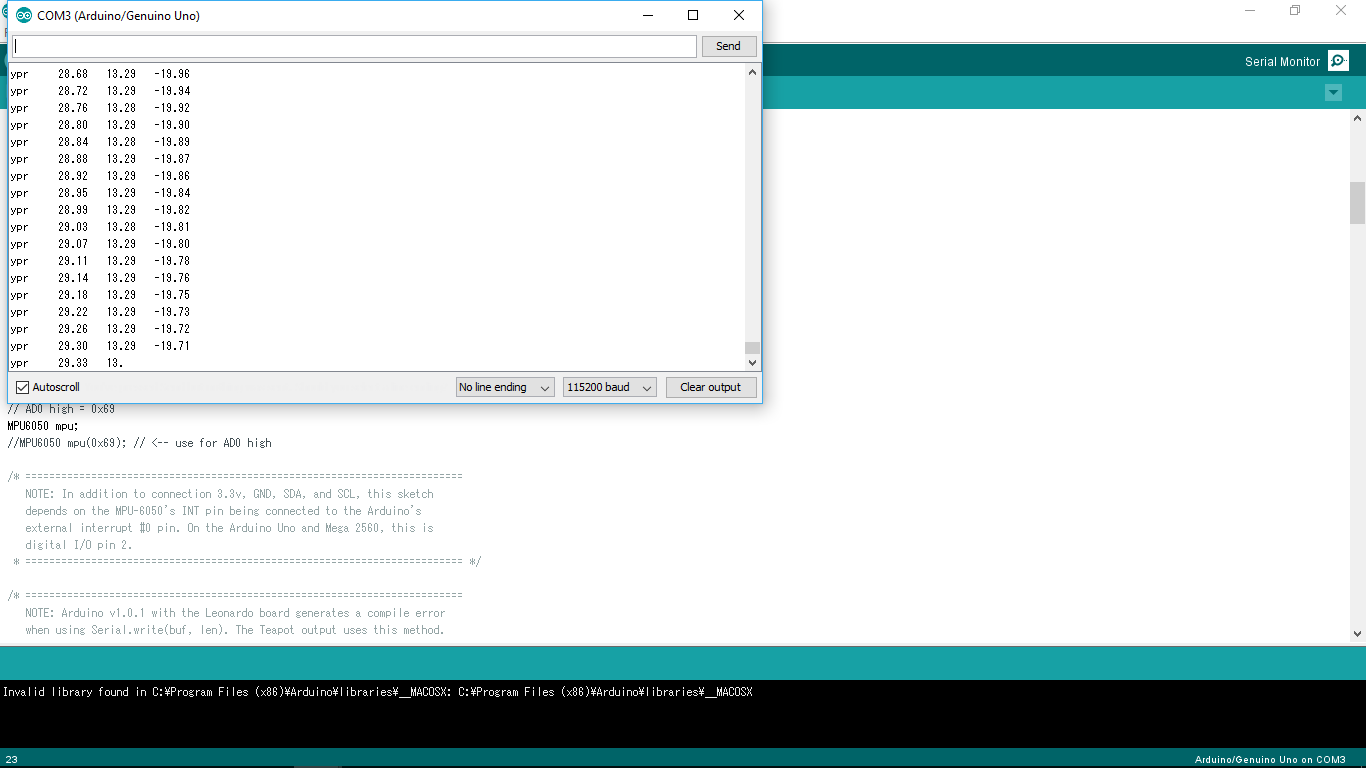
- After uploading the code, open up the serial monitor and set the baud rate as 115200.
- Next, check if you see something like "Initializing I2C devices ..." on the serial monitor. If you don't, just press the reset button.
- Now, you'll see a line saying, "Send any character to begin DMP programming and demo." Just type in any character on the serial monitor and send it, and you should start seeing the yaw, pitch, and roll values coming in from the MPU 6050.
Notes: DMP stands for Digital Motion Processing. The MPU 6050 has a built-in motion processor. It processes the values from the accelerometer and gyroscope to give us accurate 3D values. Also, you will need to wait about 10 seconds before you get accurate values in serial monitor, after which the values will begin to stabilize.