GPS Tracker Using the AVR-IoT Cellular Mini and Adafruit FeatherWing GPS (Arduino)
by aavardsen in Circuits > Arduino
4054 Views, 22 Favorites, 0 Comments
GPS Tracker Using the AVR-IoT Cellular Mini and Adafruit FeatherWing GPS (Arduino)
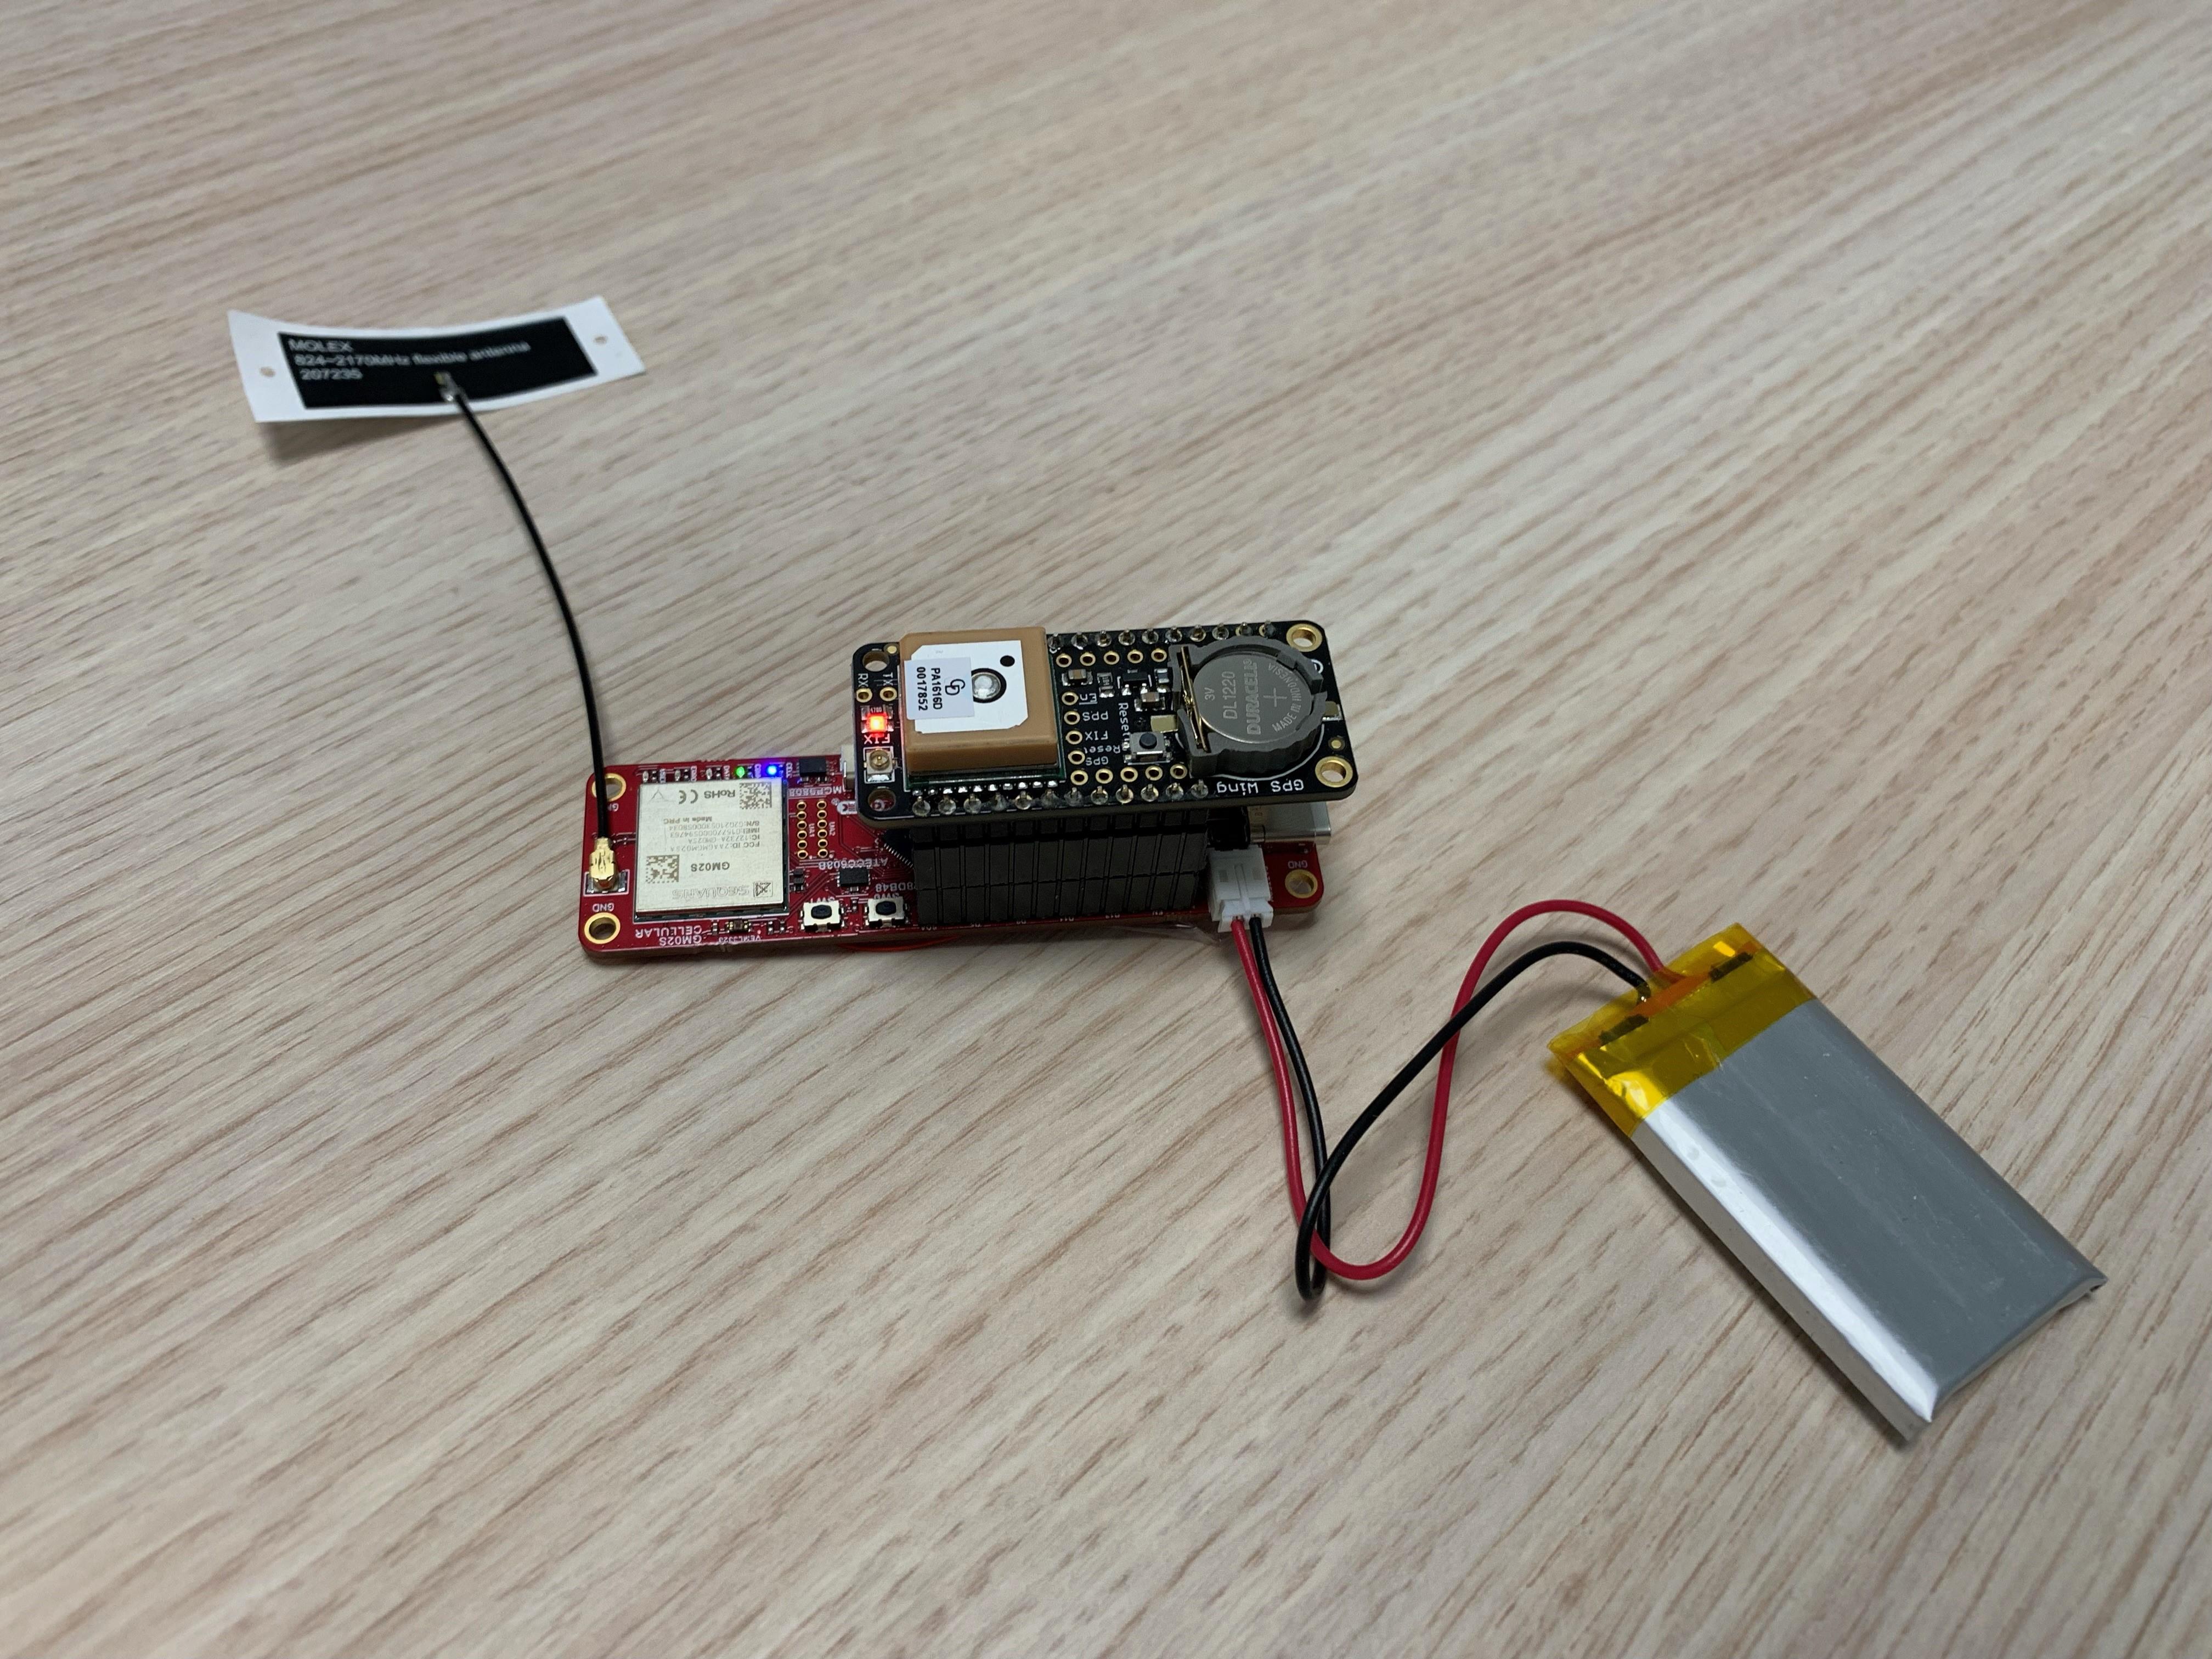
In this tutorial, you'll learn how to make a GPS tracker using the AVR-IoT Cellular Mini and Adafruit FeatherWing GPS as well as a website where the GPS positions can be seen. All the programming is done in the Arduino IDE. This tutorial is from Microchip, which produces the AVR-IoT Cellular Mini board.
Supplies
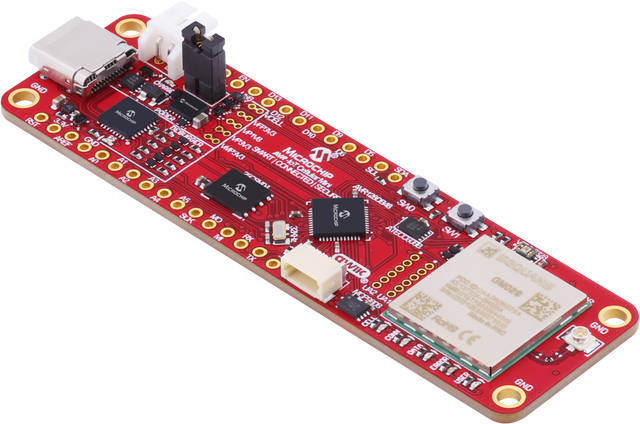
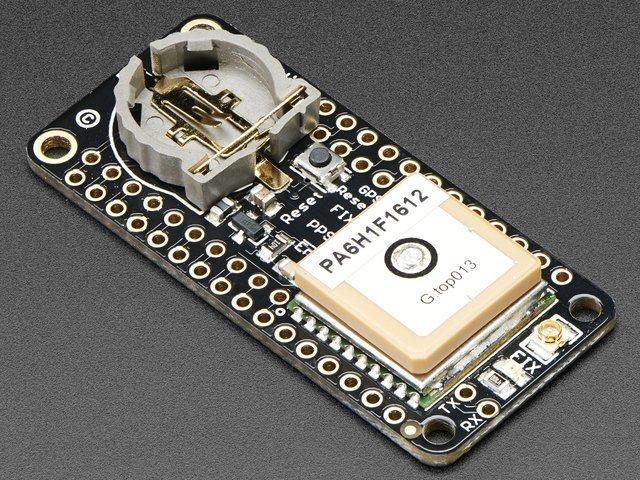
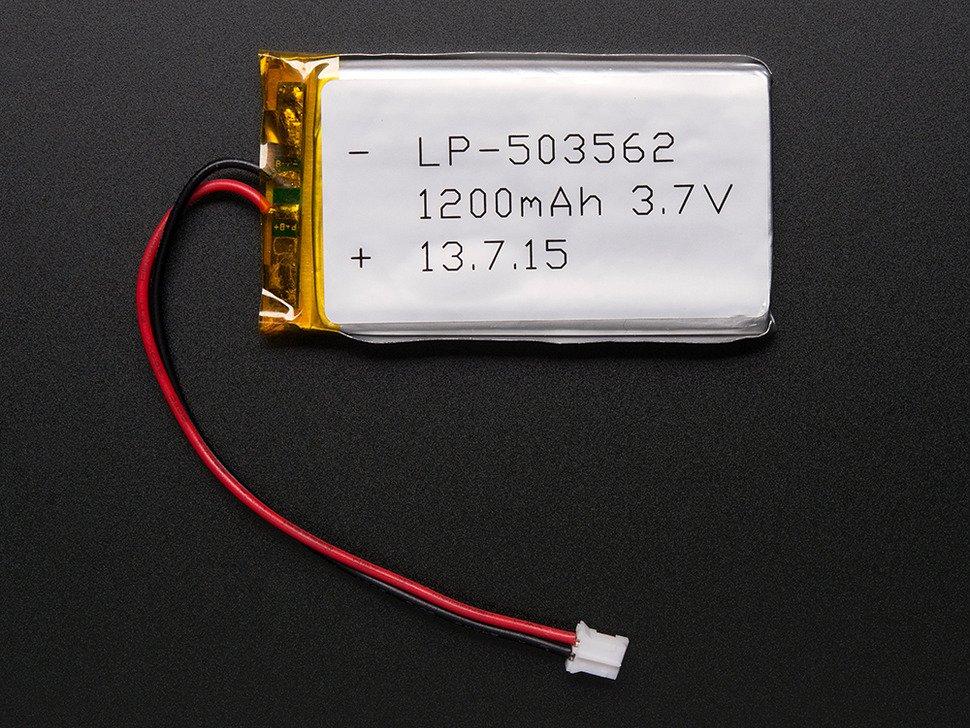
The GPS tracker requires the following components:
- AVR-IoT Cellular Mini board (includes a SIM card)
- Adafruit GPS Ultimate Featherwing
- A battery with a JST-PH connector, for example this one from Adafruit
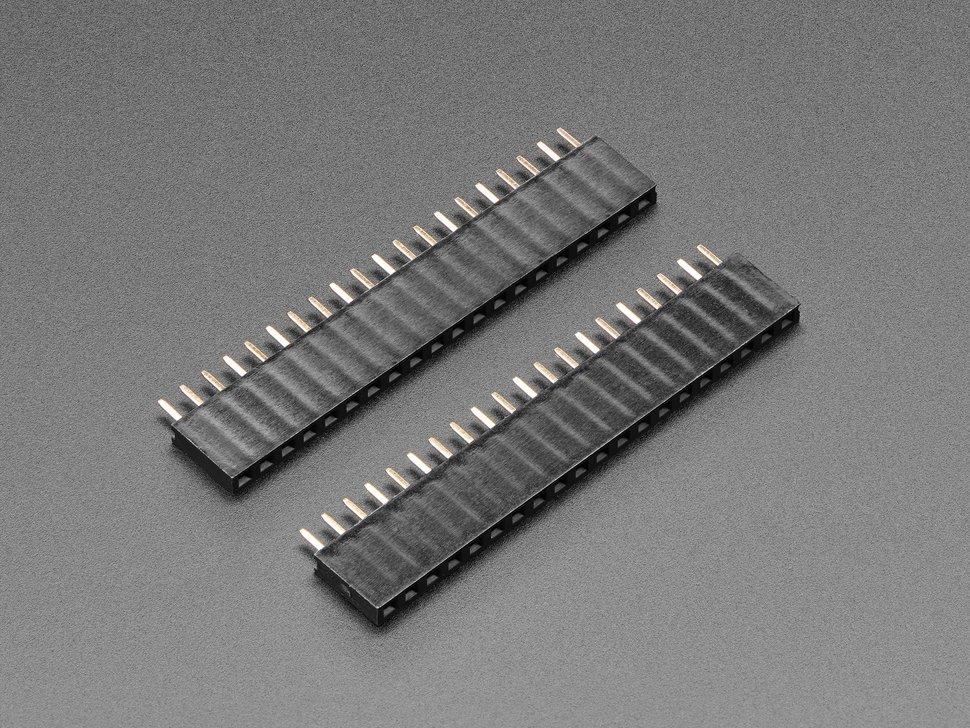
- Socket headers
- A CR1220 battery for the GPS featherwing (used to reduce the time needed to get GPS fix)
- USB-C cable
Assembly
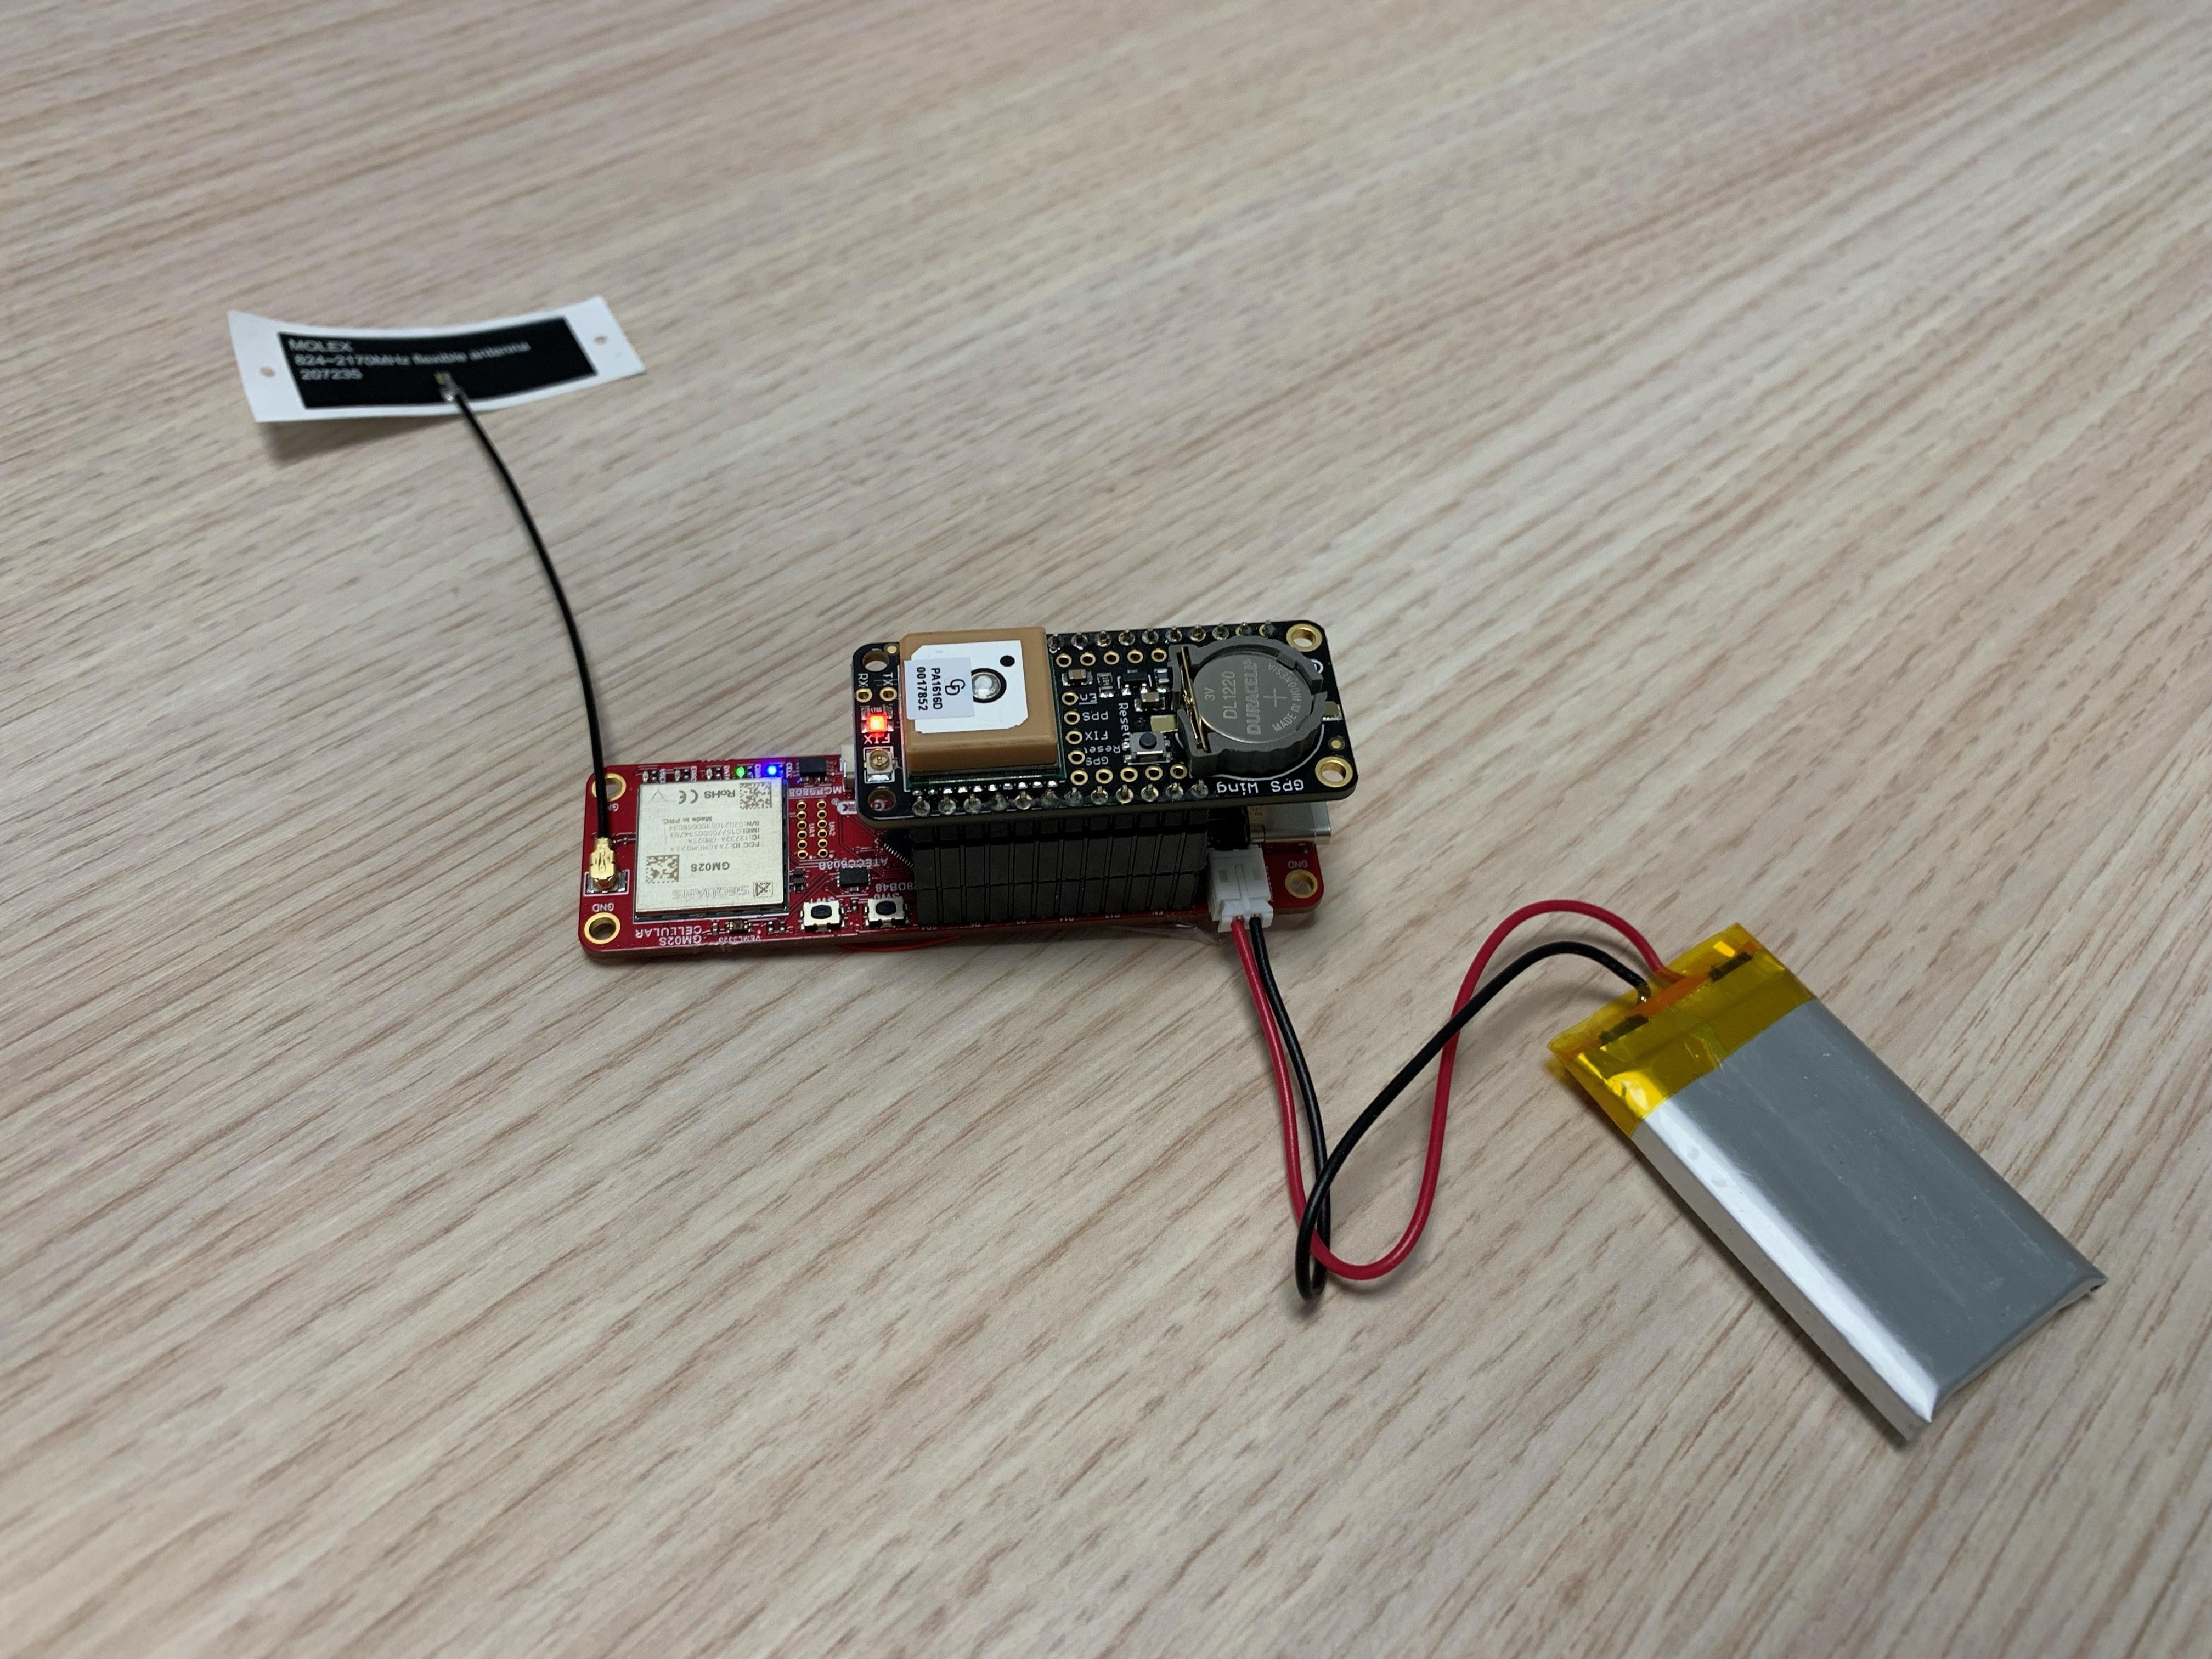
- Attach the cellular antenna
- Solder socket headers to the pinholes on the board. You might need two in height (to reach over the jumper)
- Attach the CR1220 battery to the GPS module and attach the GPS module to the board
Registering Your SIM Card
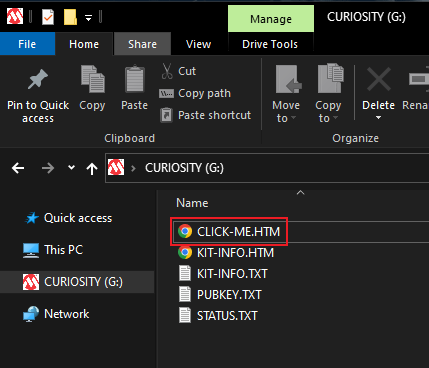
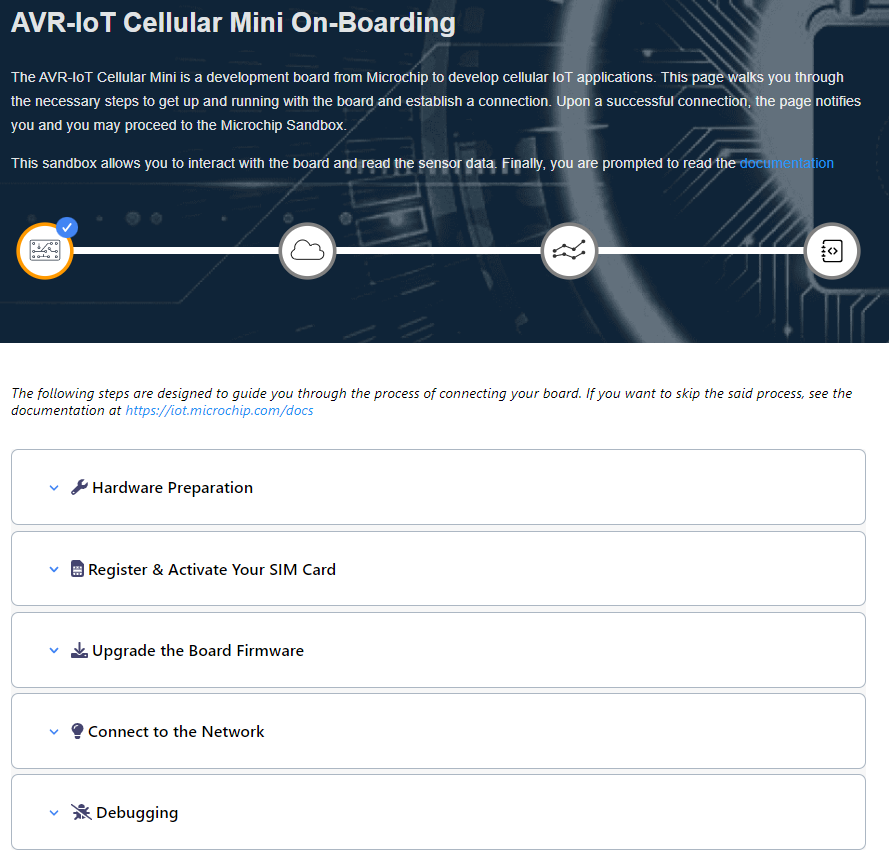
The first step to get started with the AVR-IoT Cellular Mini kit is to register the SIM card bundled with the kit. The easiest way to see how this is to connect the board to the computer using an USB-C cable and click the "CLICK-ME" file in the disk the appears in your file explorer. This will lead to an on-boarding page where it is described how to register your SIM card and how to flash the latest firmware for the board.
Downloading the Libraries in the Arduino IDE
In order to use the board in the Arduino IDE, follow this guide from the AVR-IoT Cellular Mini documentation. You will also need to install the Adafruit GPS library in the Arduino IDE. Remember to set up the board parameters as specified in the guide under step 3.
Preparing Your Web Server
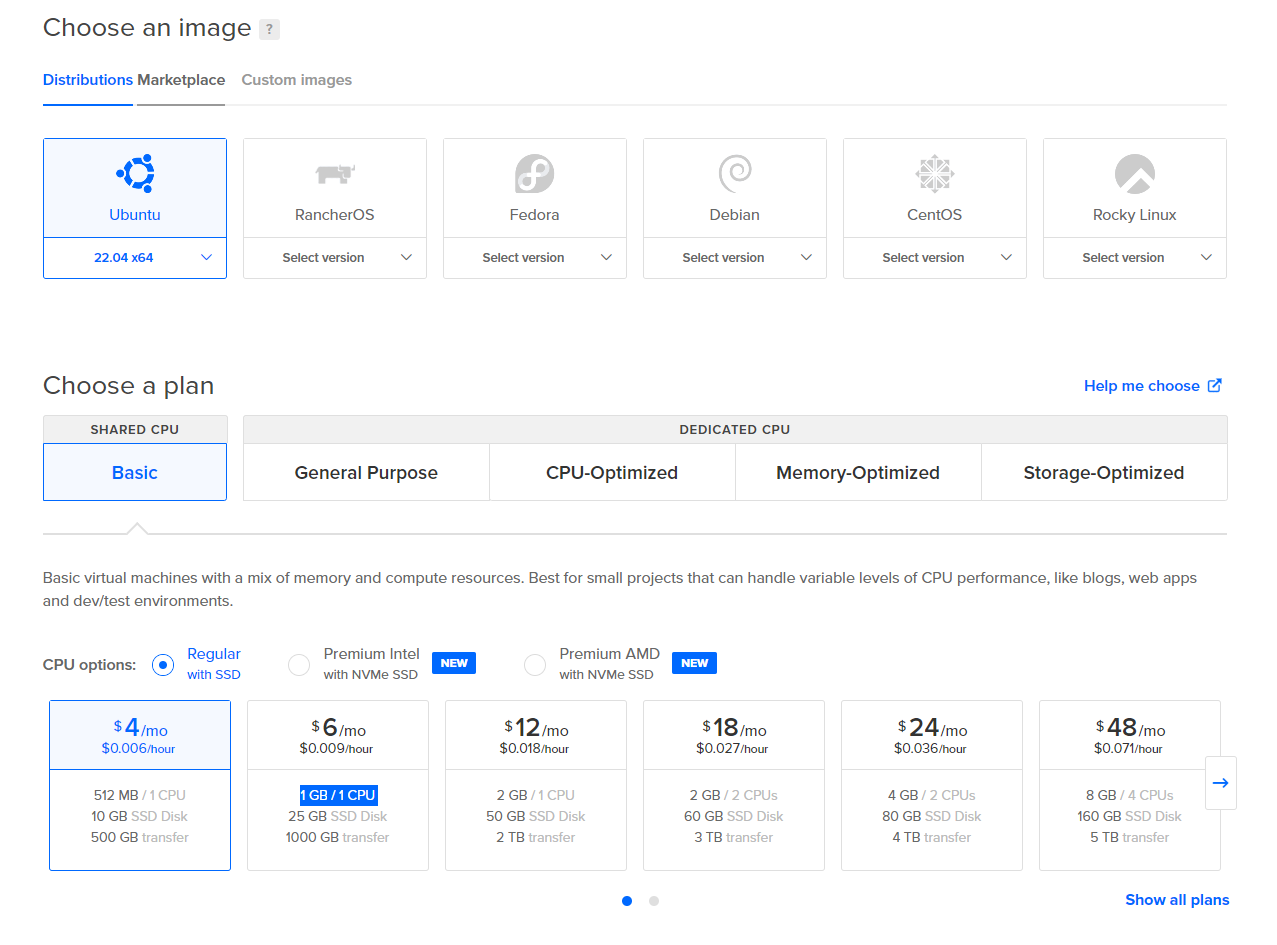
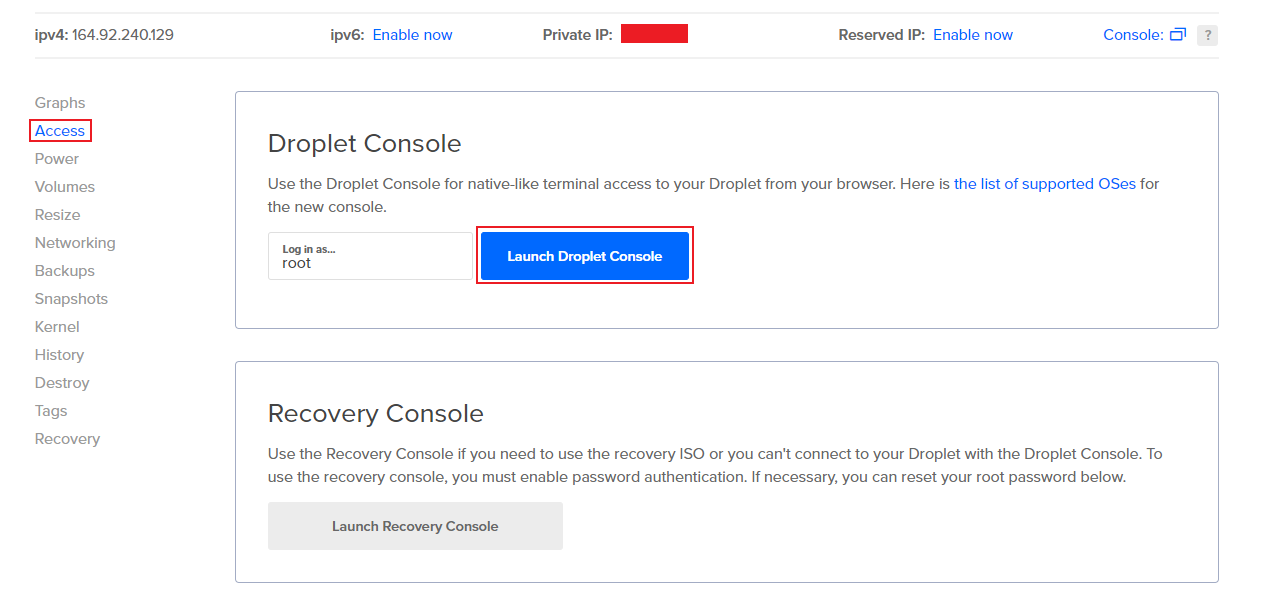
In order for the GPS tracker to send data to a web server, we need to set up a web server. You can host your own server (but you have to open port 8080 on your router) or use something like Digital Ocean (which is a bit safer). The web server for this project is built on Python Flask.
In order to set it up with Digital Ocean, you can do the following:
- Register a Digital Ocean account (tip: if you are a student, you can get free credits through the Github Student pack)
- On the main dashboard, click Create -> Droplets. A page where you can choose an image will appear (as shown above in the first image). The cheapest one with Ubuntu is more than enough for this application. Scroll a bit down and create a password and click Create Droplet.
- The Droplet will be created and when it's done, click on it. Navigate to Access and click Launch Droplet Console, as shown in the second image
The following steps are identical whether you choose to self-host the server or host it on digital ocean.
First we need some packages. In a terminal (if you are self hosting) or in the conolse on Digital Ocean, do:
sudo apt update && sudo apt install wget unzip python3 python3-pip
Download the server (if the link doesn't work, it can be found on this page):
wget https://iot.microchip.com/docs/assets/files/avr-iot-cellular-gps-tracker-server-d9b4df2d7bb8ce26bc6e2836e52a6d2d.zip -O web_server.zip
Unzip the zipped folder by issuing:
unzip web_server.zip
Navigate into the folder:
cd avr-iot-cellular-gps-tracker-server
Install the requirements:
pip install -r requirements.txt
Then start the server:
python3 app.py
Copy the server address (the second address printed from Running on <address>) without the http:// and port part. It should be on the format x.x.x.x. We'll need this address for the Arduino sketch.
In order to see the web page in a web browser, type the whole address in a browser: http://x.x.x.x:8080. You should see the map appearing.
If you utilized Digital Ocean, remember that you will be billed whilst the Droplet is active. In order to not be billed, you have to destroy the droplet.
Uploading the Code
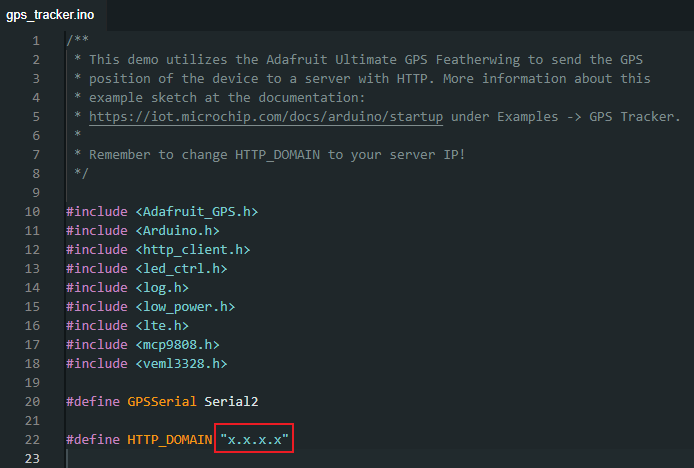
In the Arduino IDE, navigate to File -> Examples -> AVR-IoT-Cellular -> gps_tracker. This is the code for the GPS tracker running on the AVR-IoT Cellular Mini board. The only thing needed to modify is the HTTP_DOMAIN. This is the server IP address printed from the previous step (only the x.x.x.x part). Replace the HTTP_DOMAIN with this address.
Now you can upload the code and see the GPS trackings appearing on the webpage! Remember that GPS doesn't work that well inside, so for the best results, the device should be placed outside with a clear view towards the sky.